I had 2 motors originally but sourced a 3rd from someone that was sitting unused. I have 2 batteries. The mechanical failure definitely seemed and felt like something just broke. A loud crack and then lots of grinding/scraping.
I’ll keep my fingers crossed then. I think I read systems had gone out to a number of manufacturers - I assumed mostly smaller-scale builders, and for testing and early development rather than for paying customer builds? We’ve seen Starling, Twmpa and a couple of others in the media. I wonder how many are in (at least semi-)regular use and have survived?
Another update …
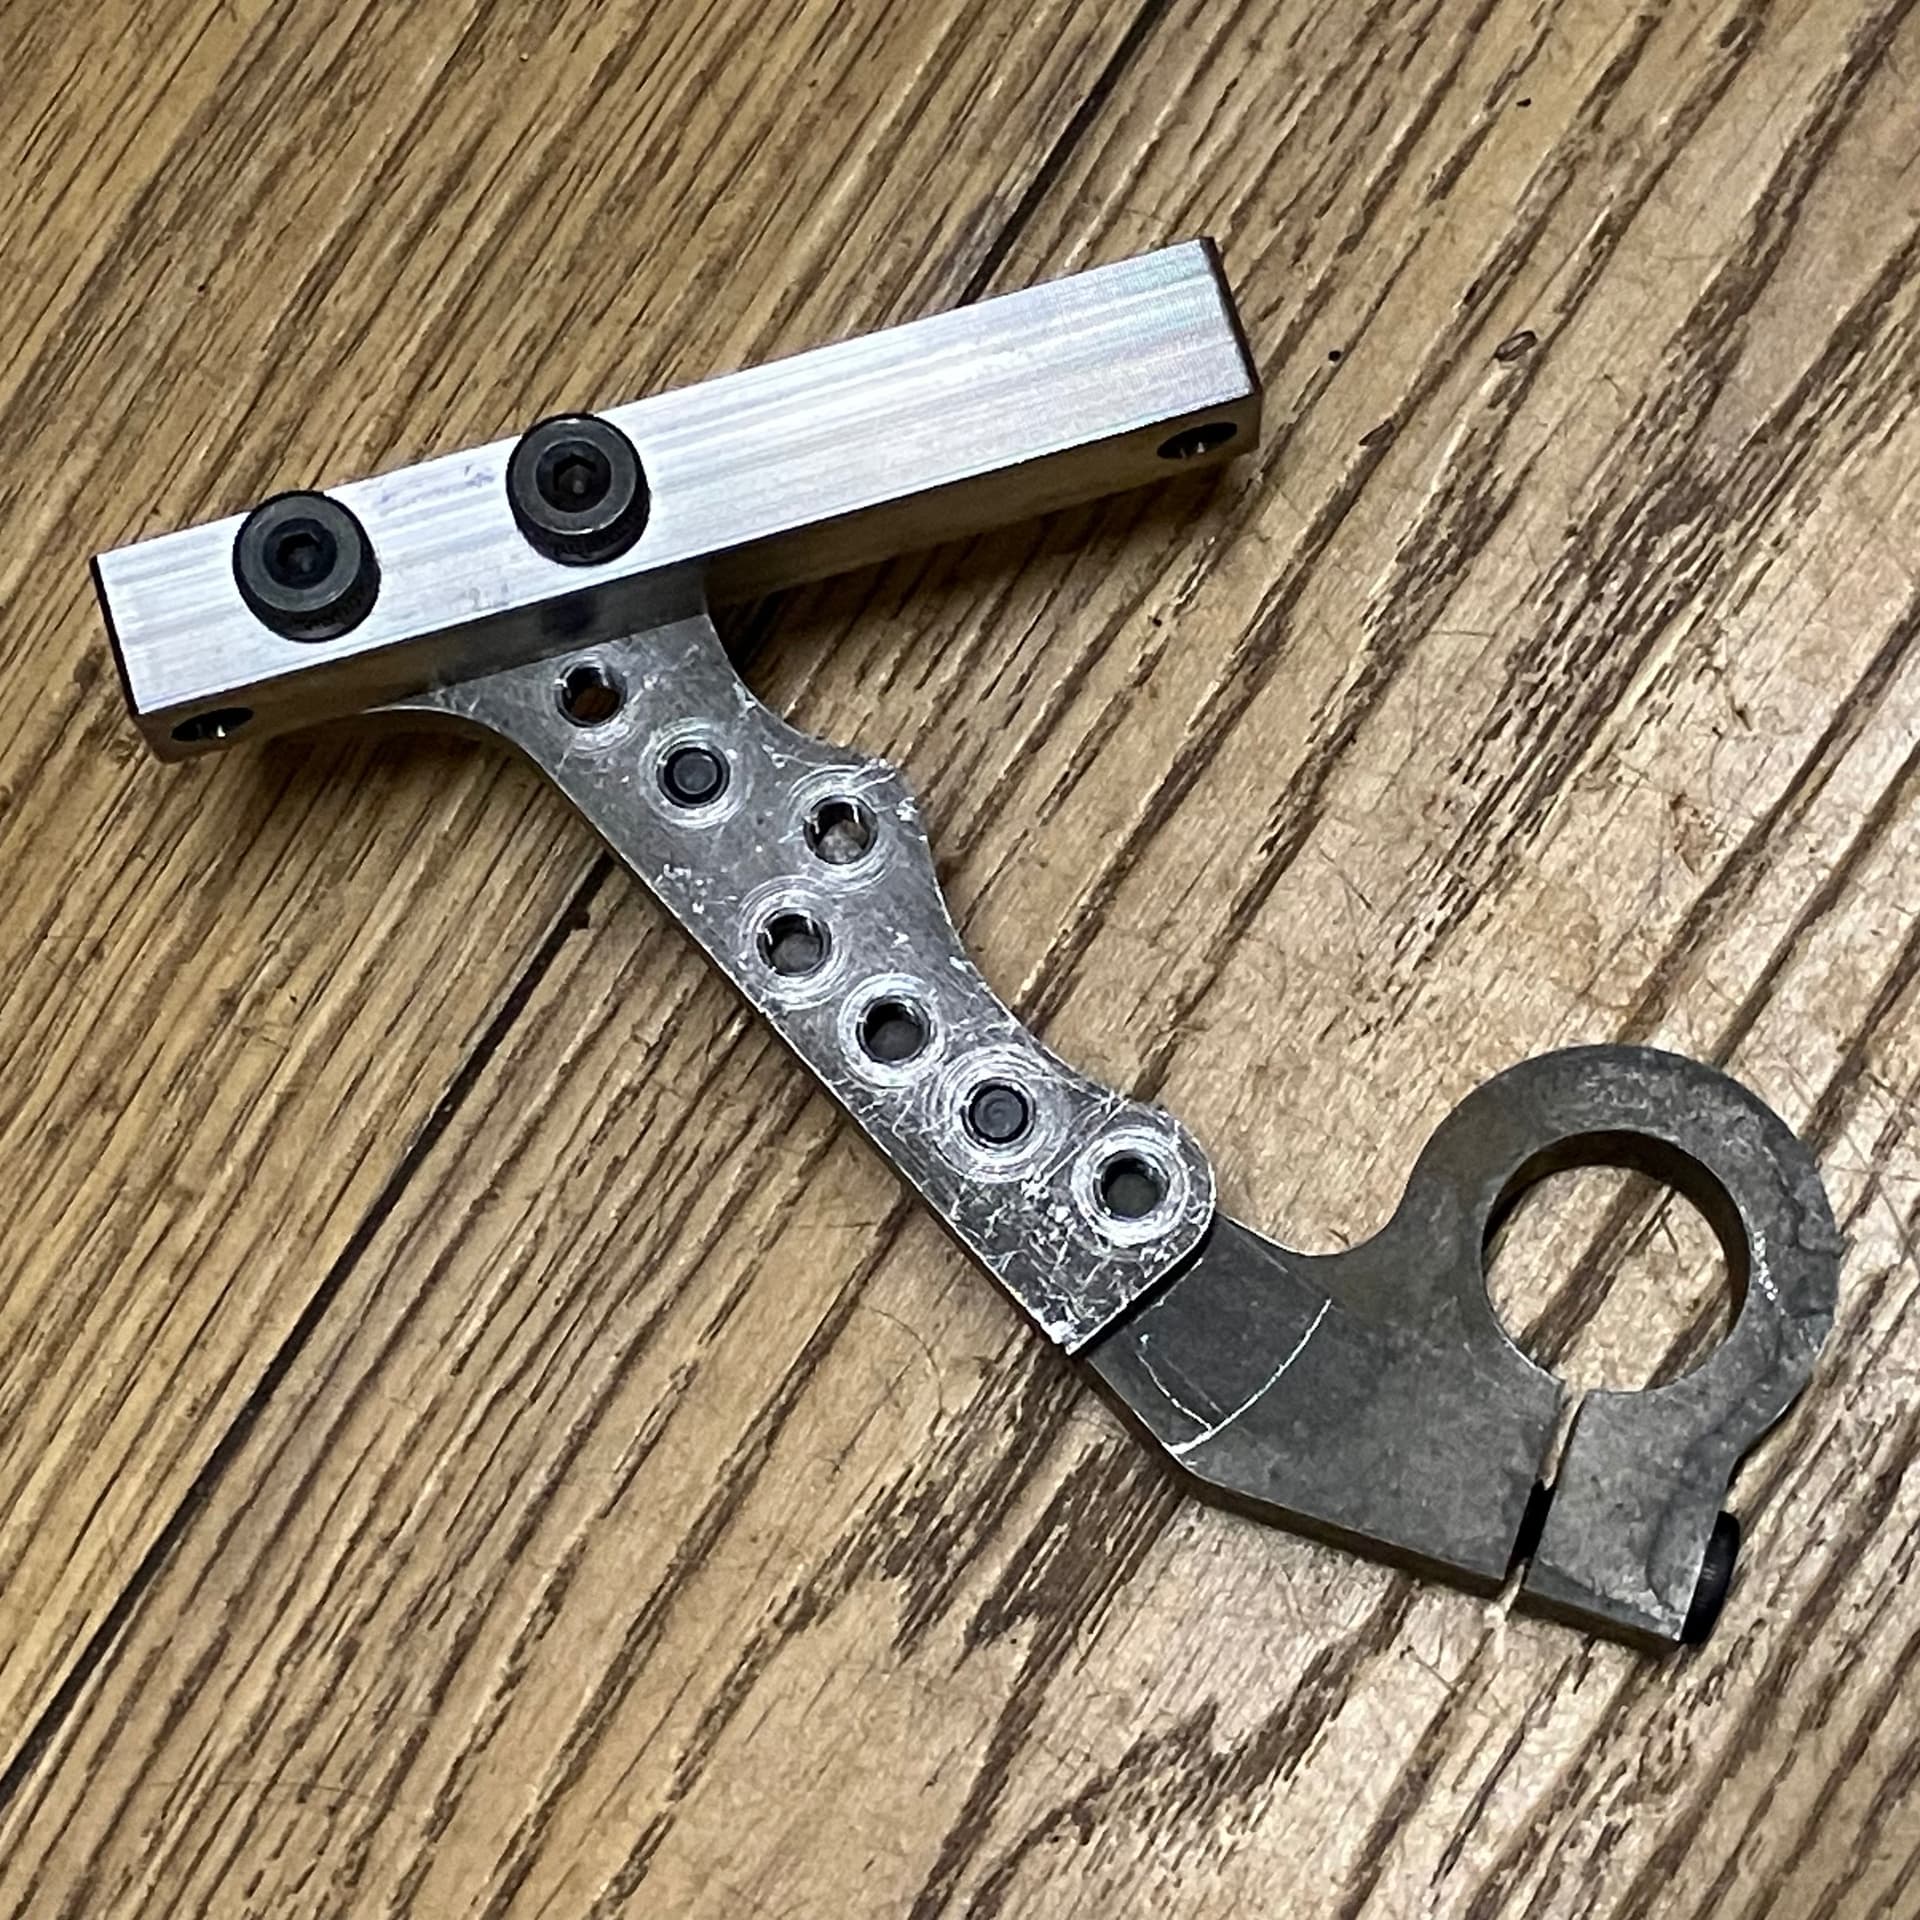
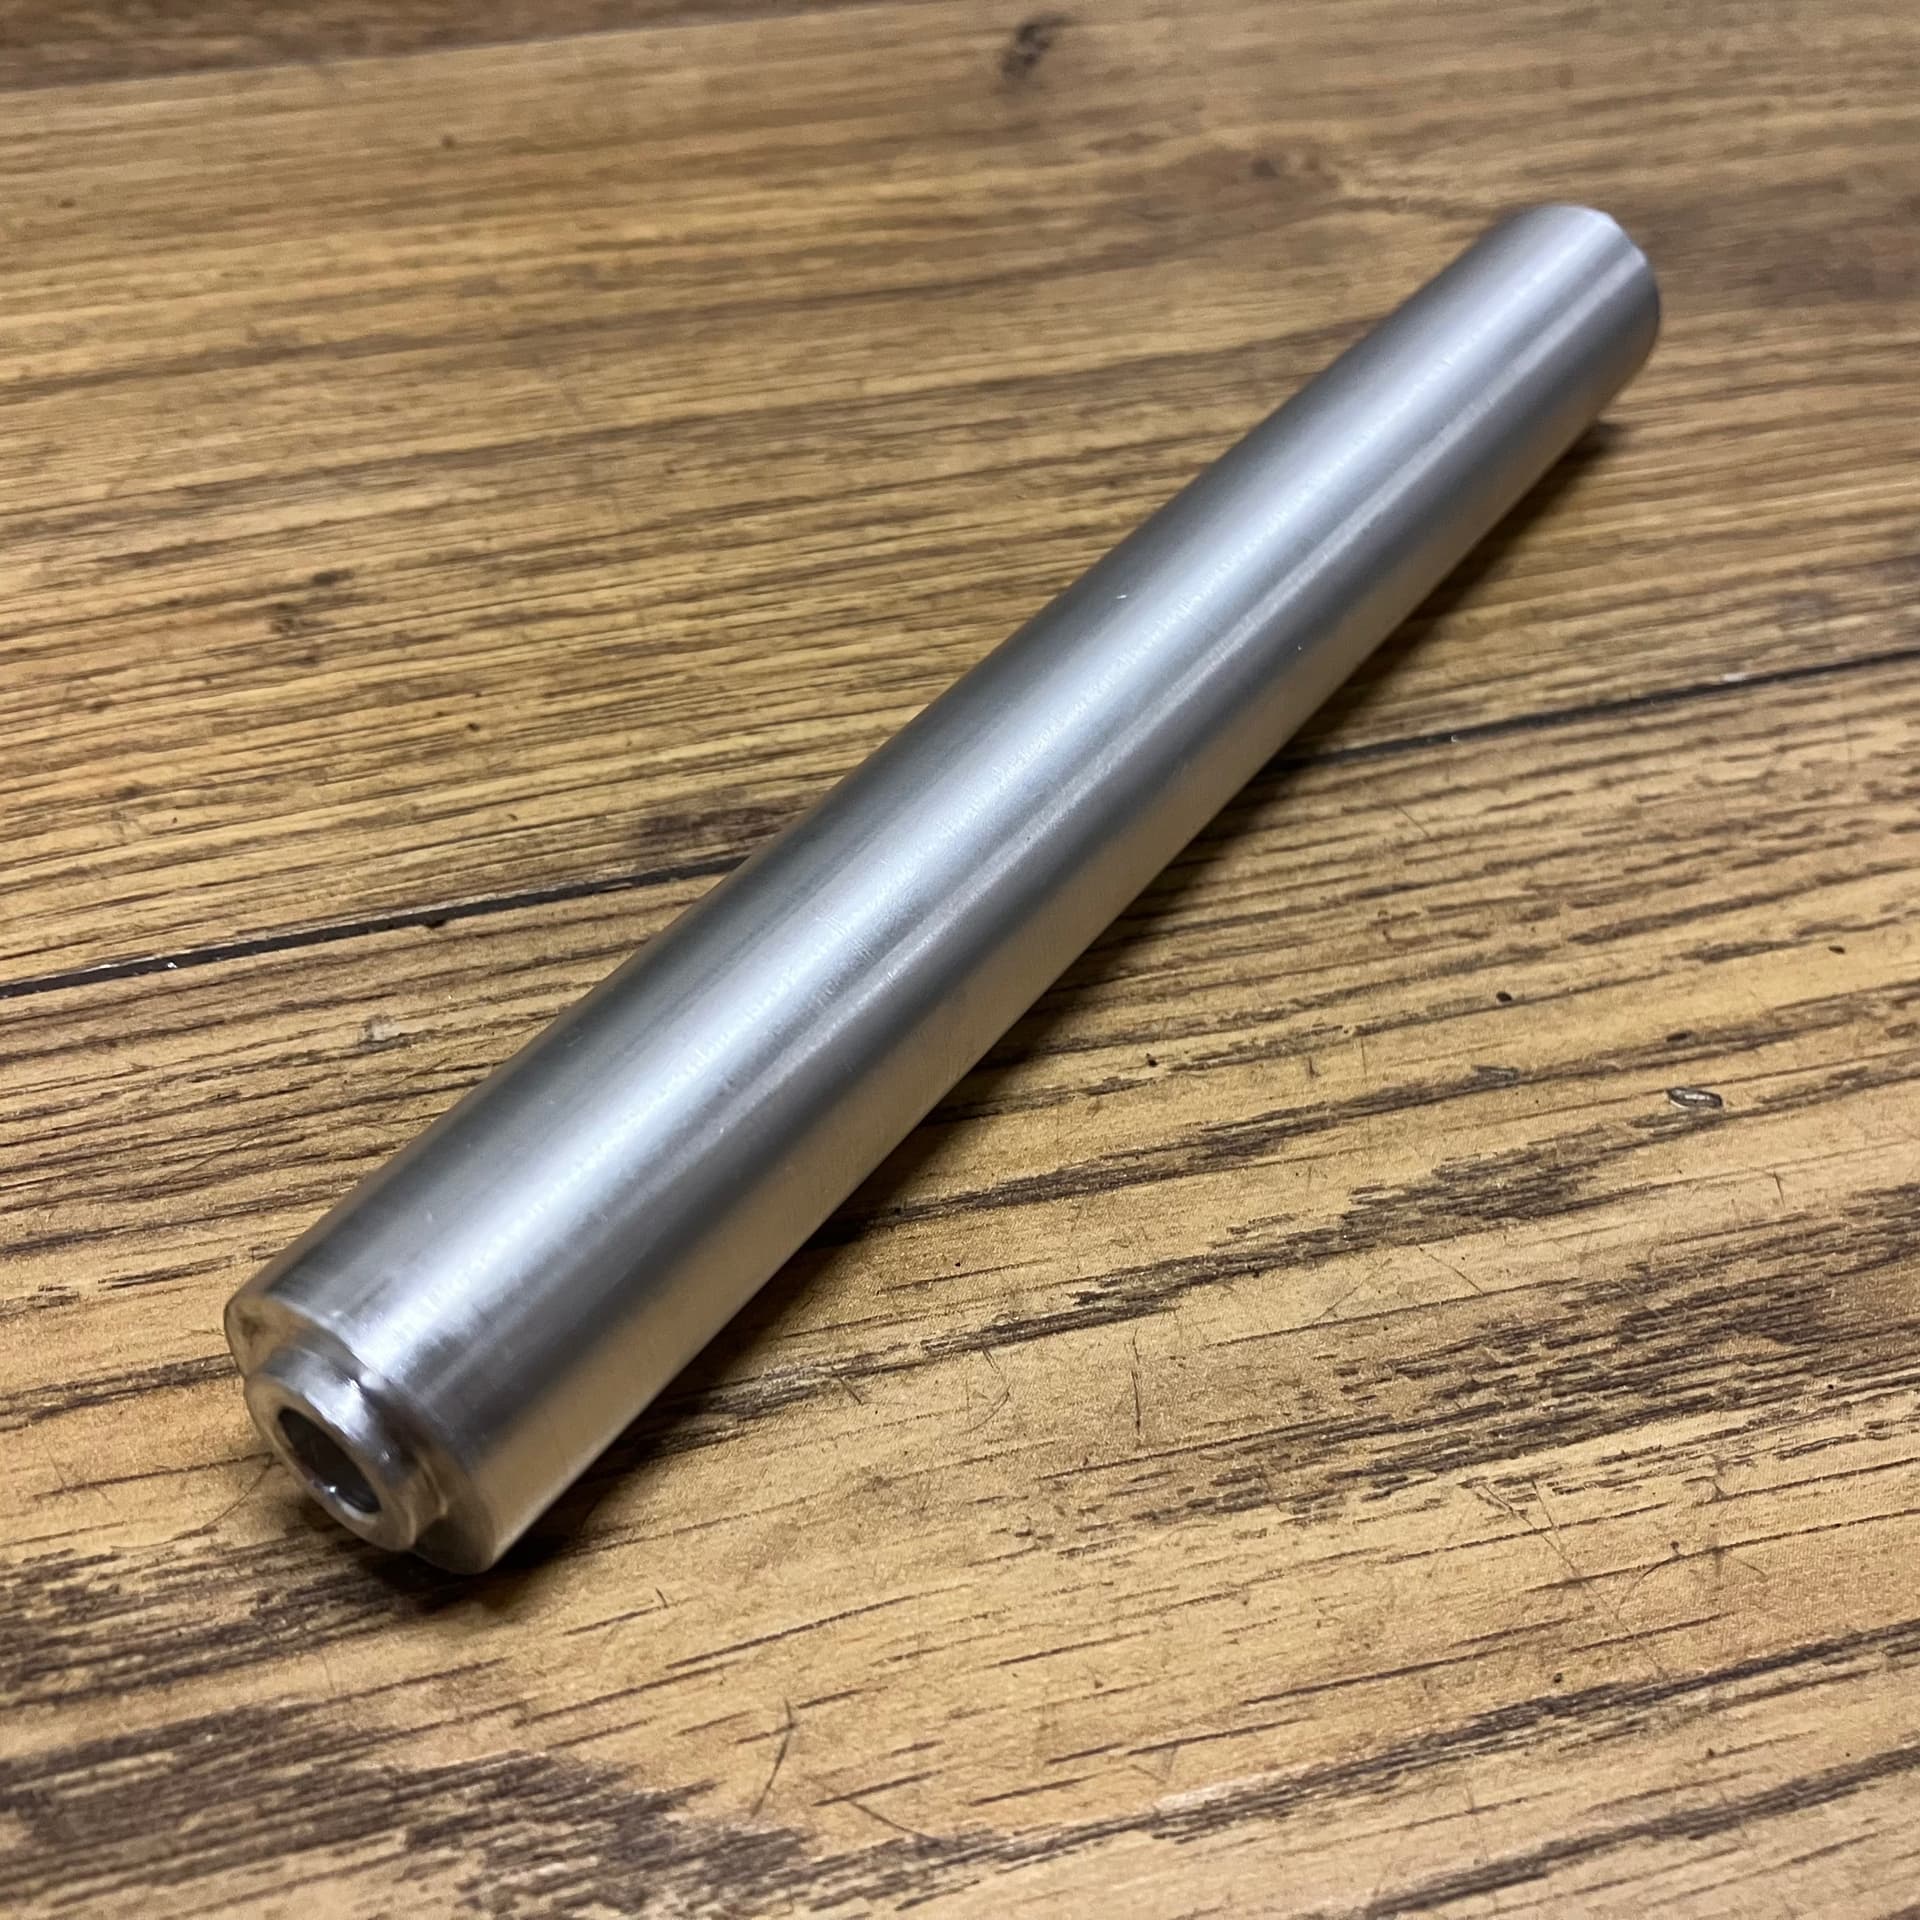
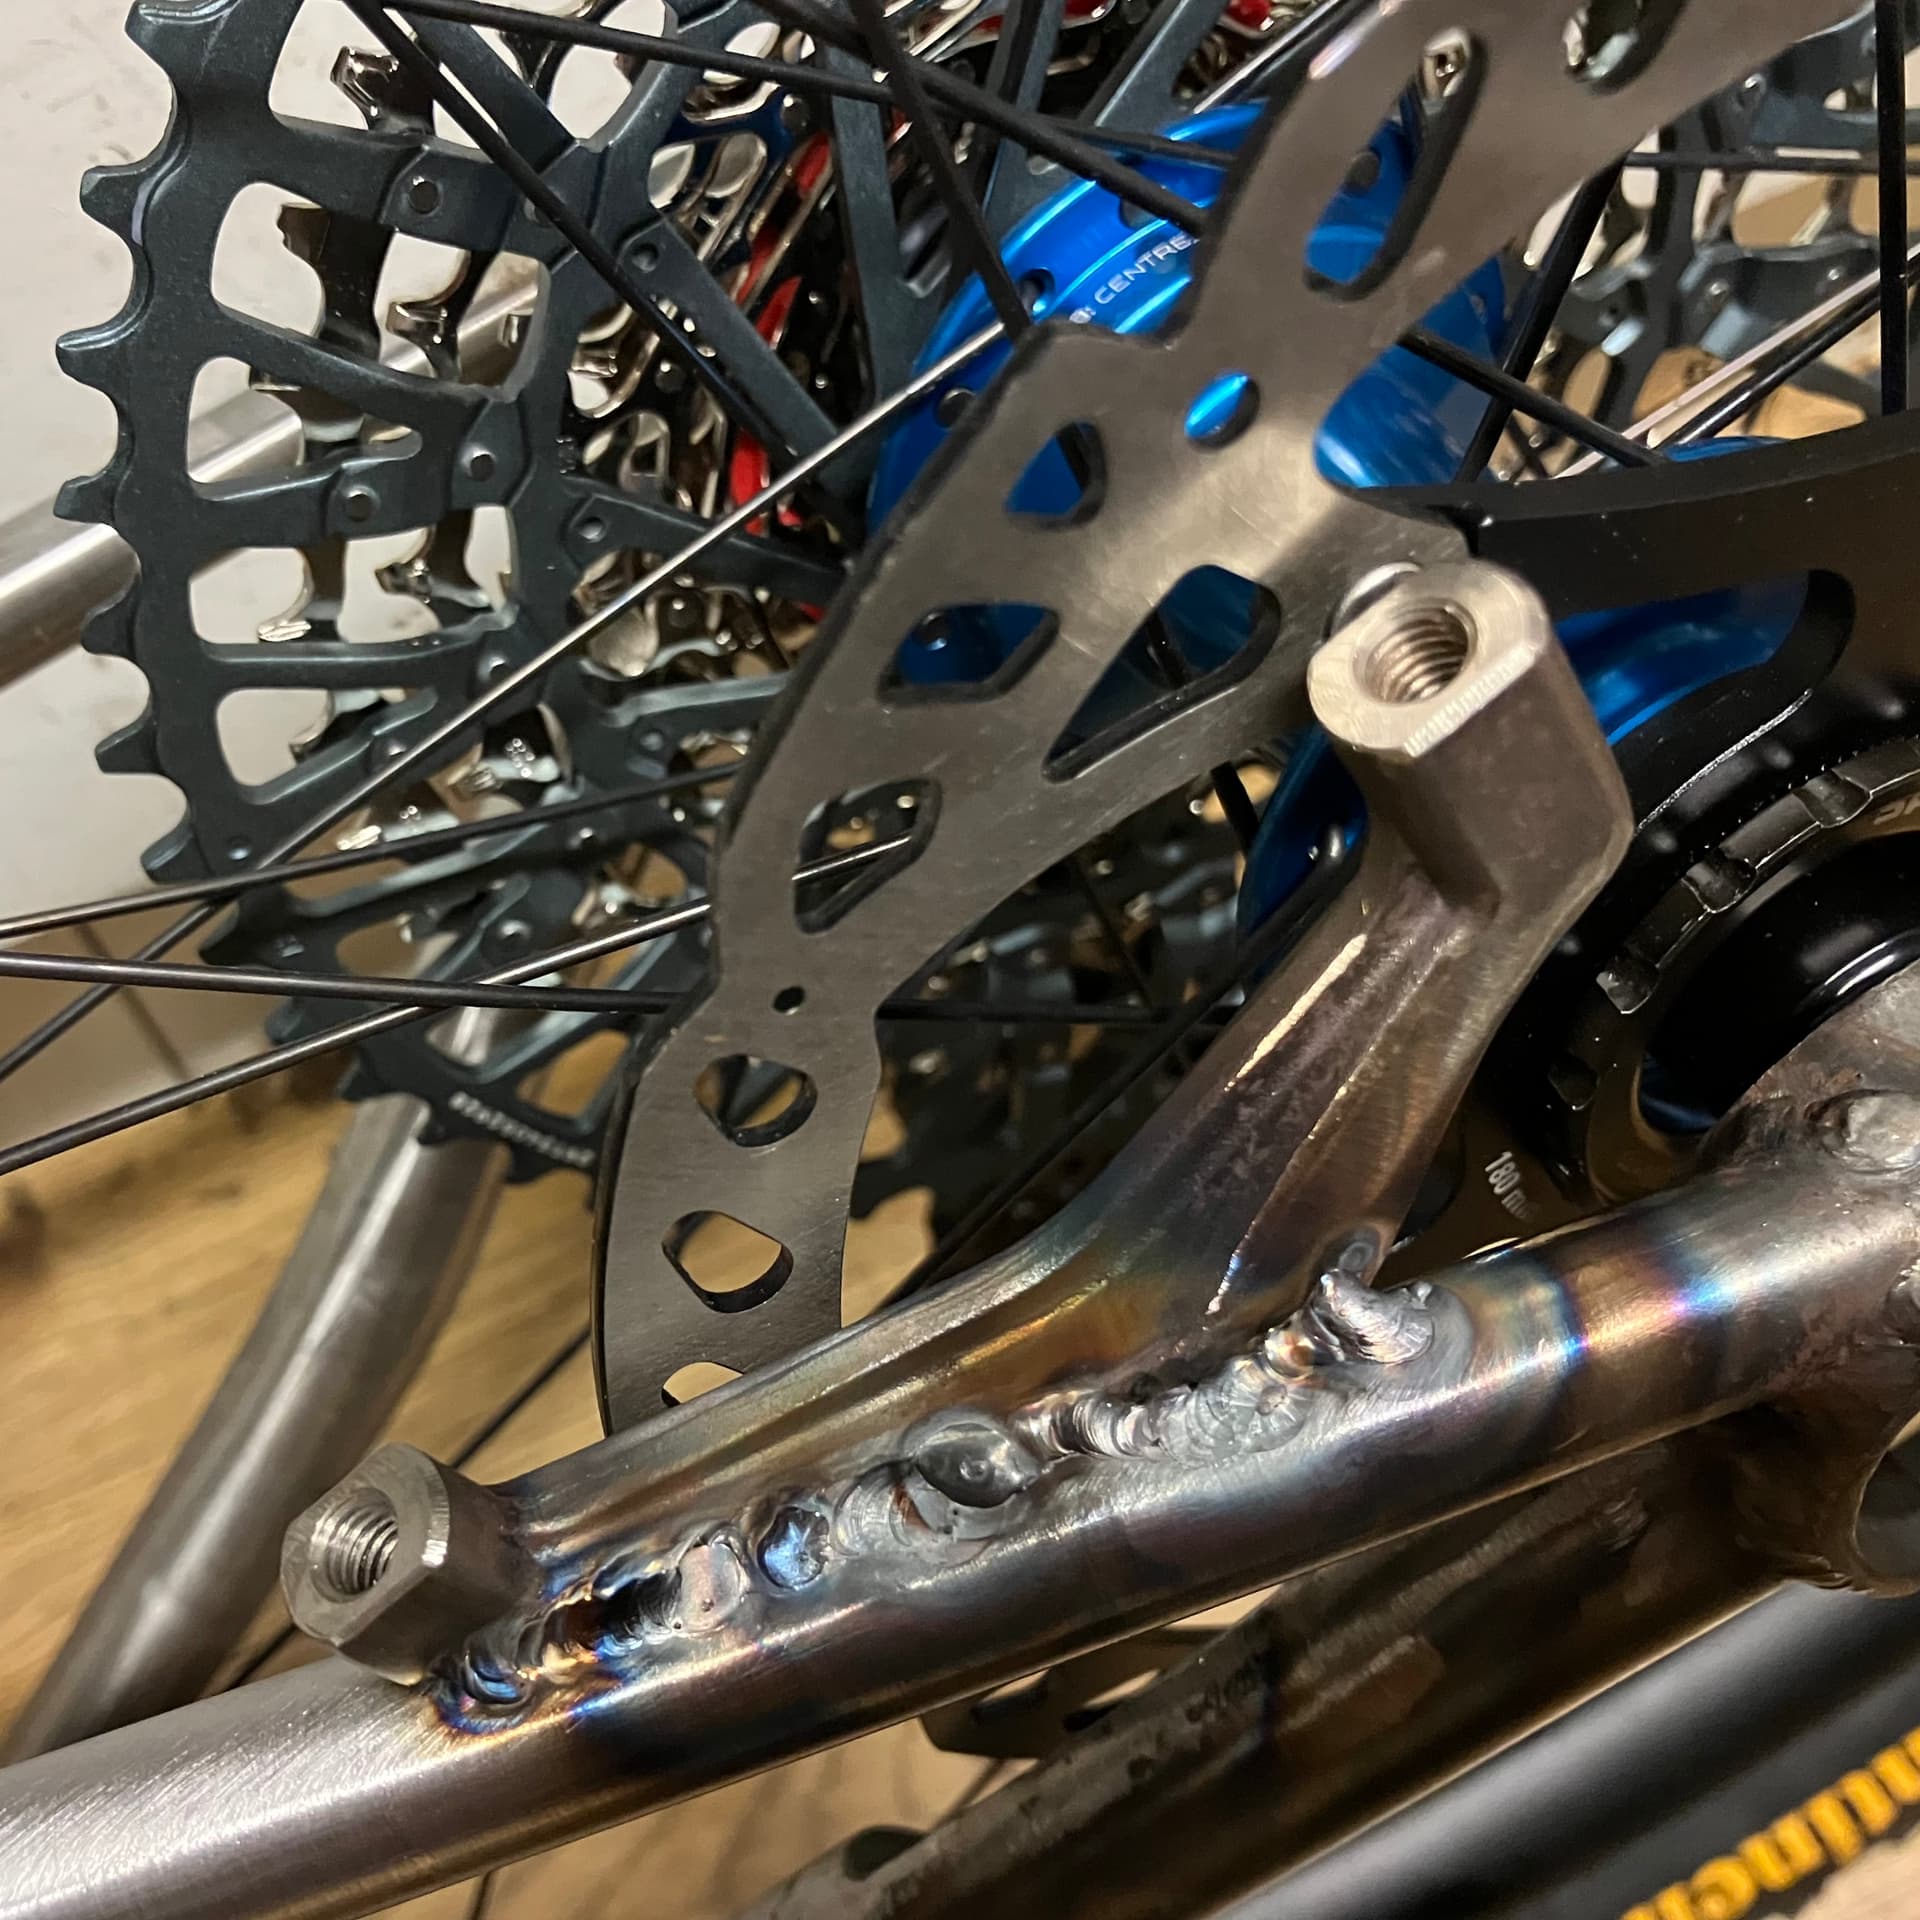
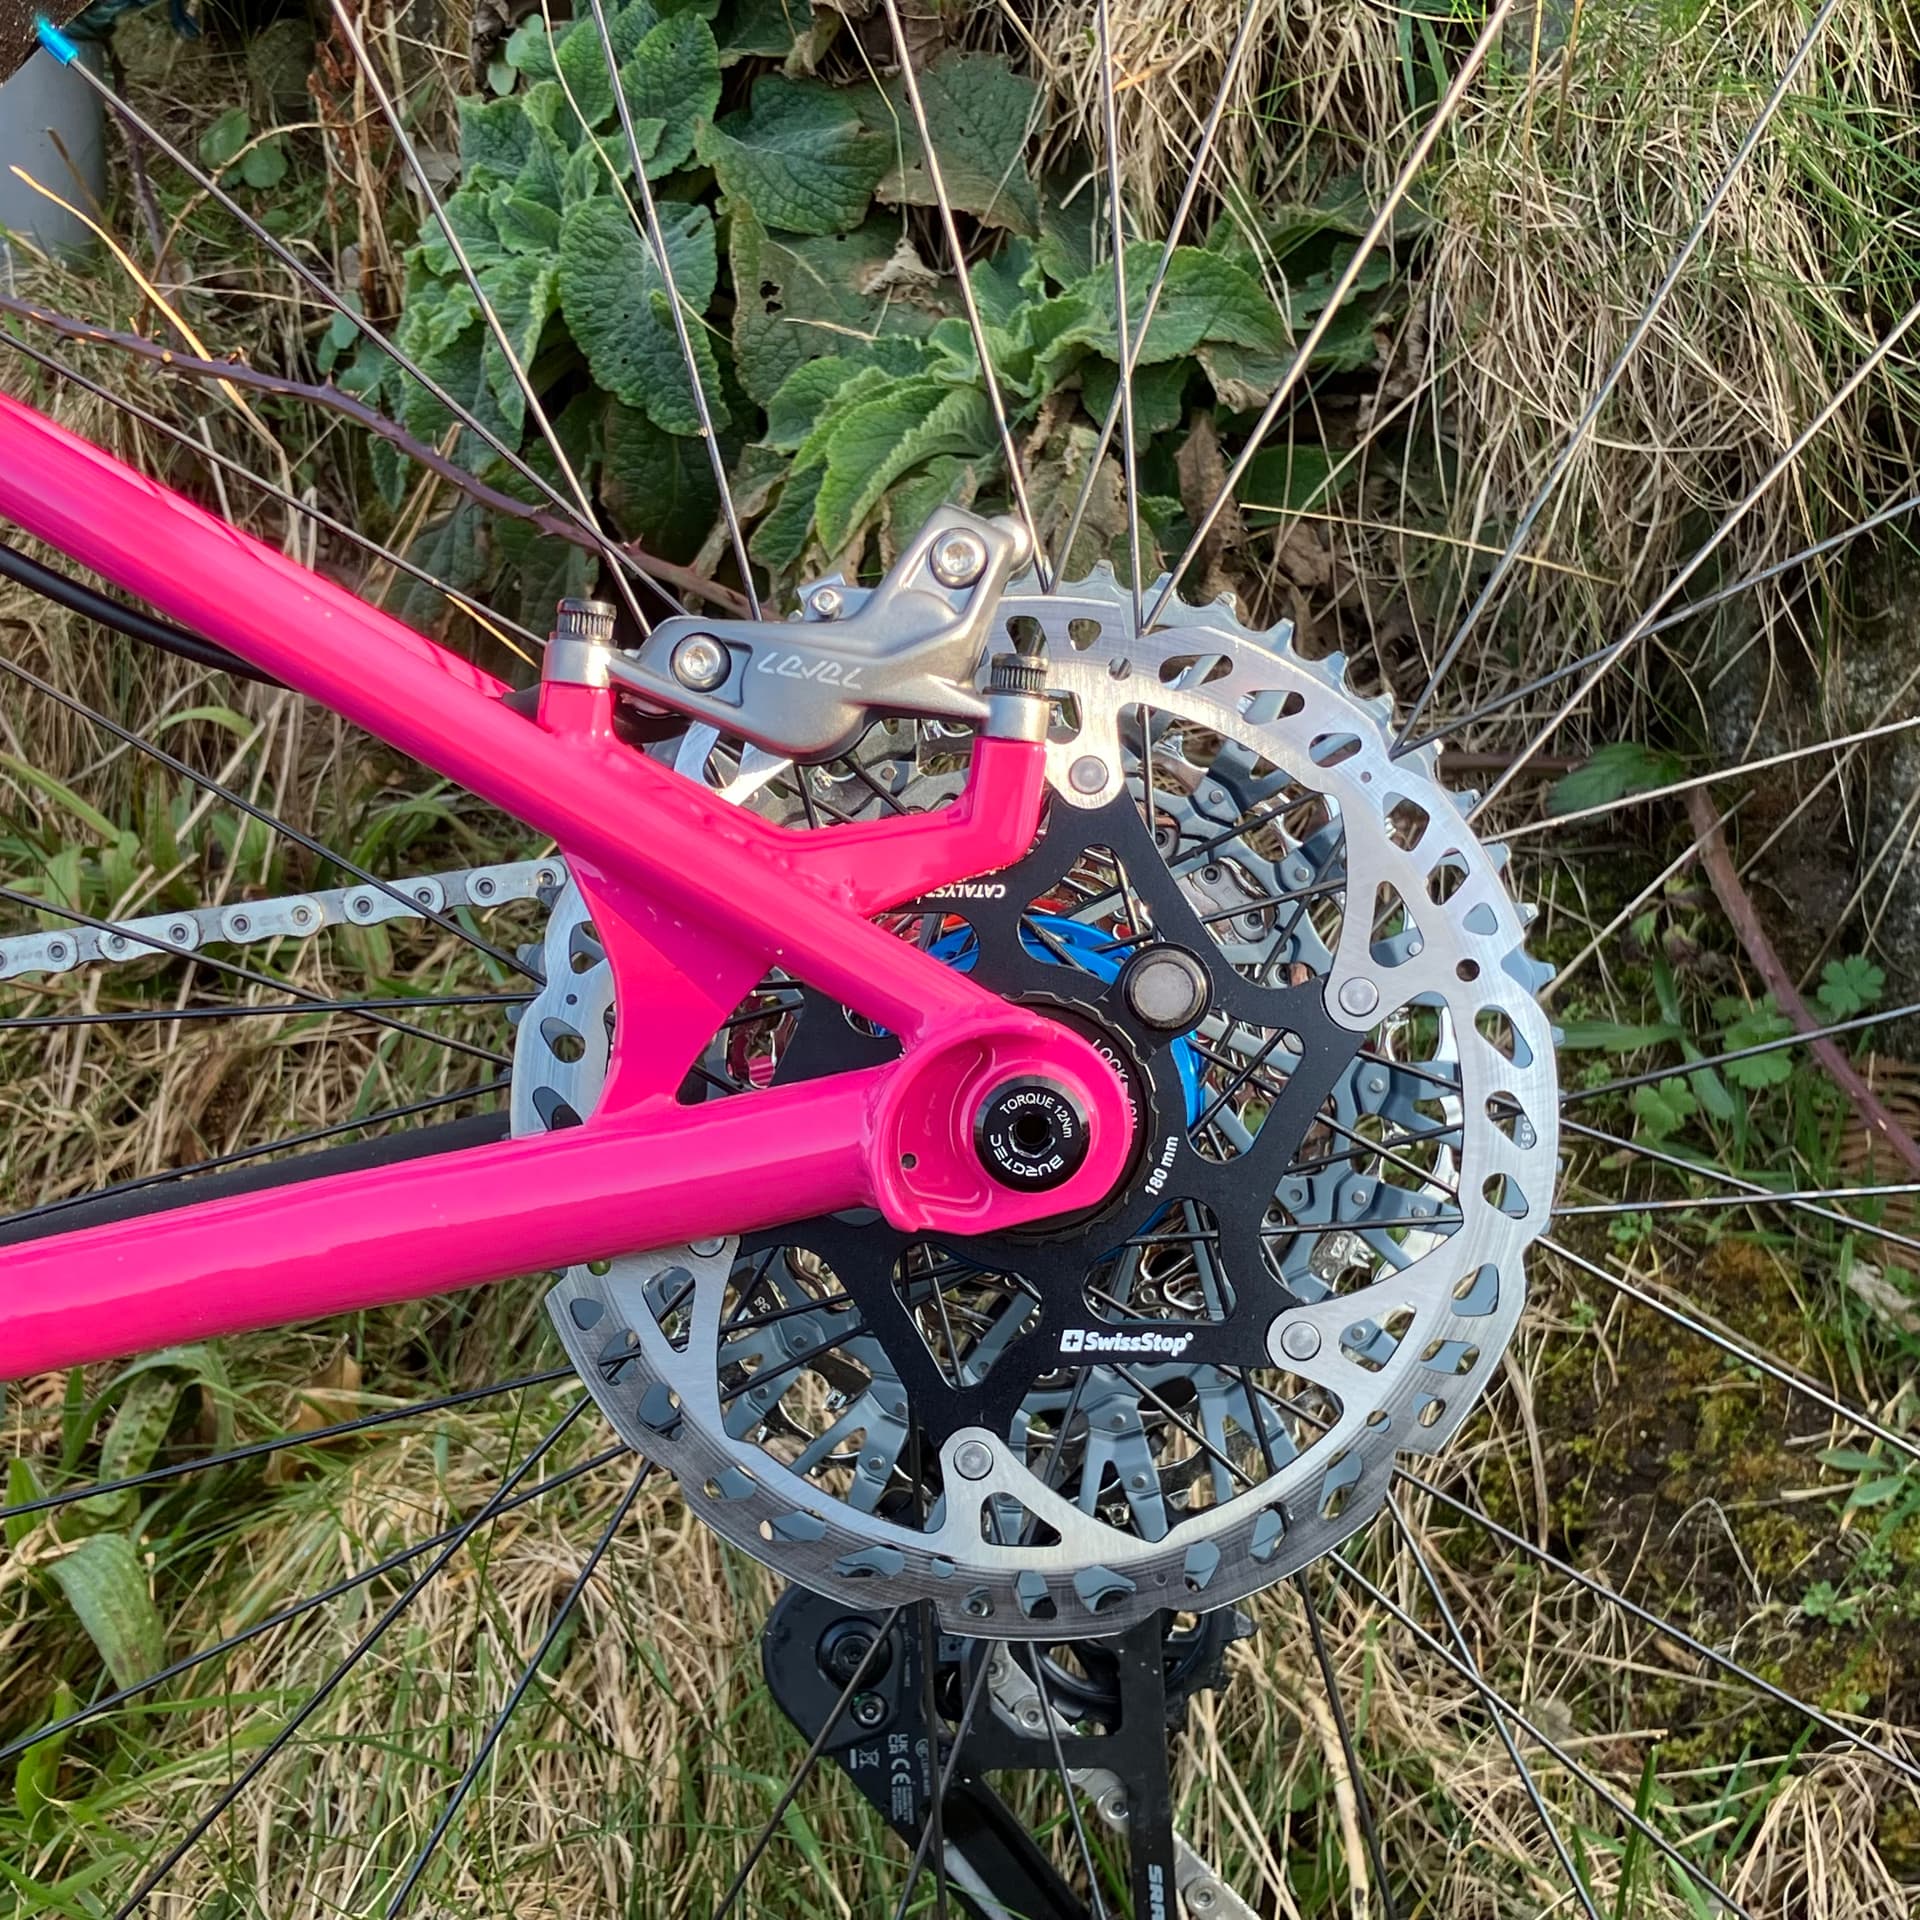
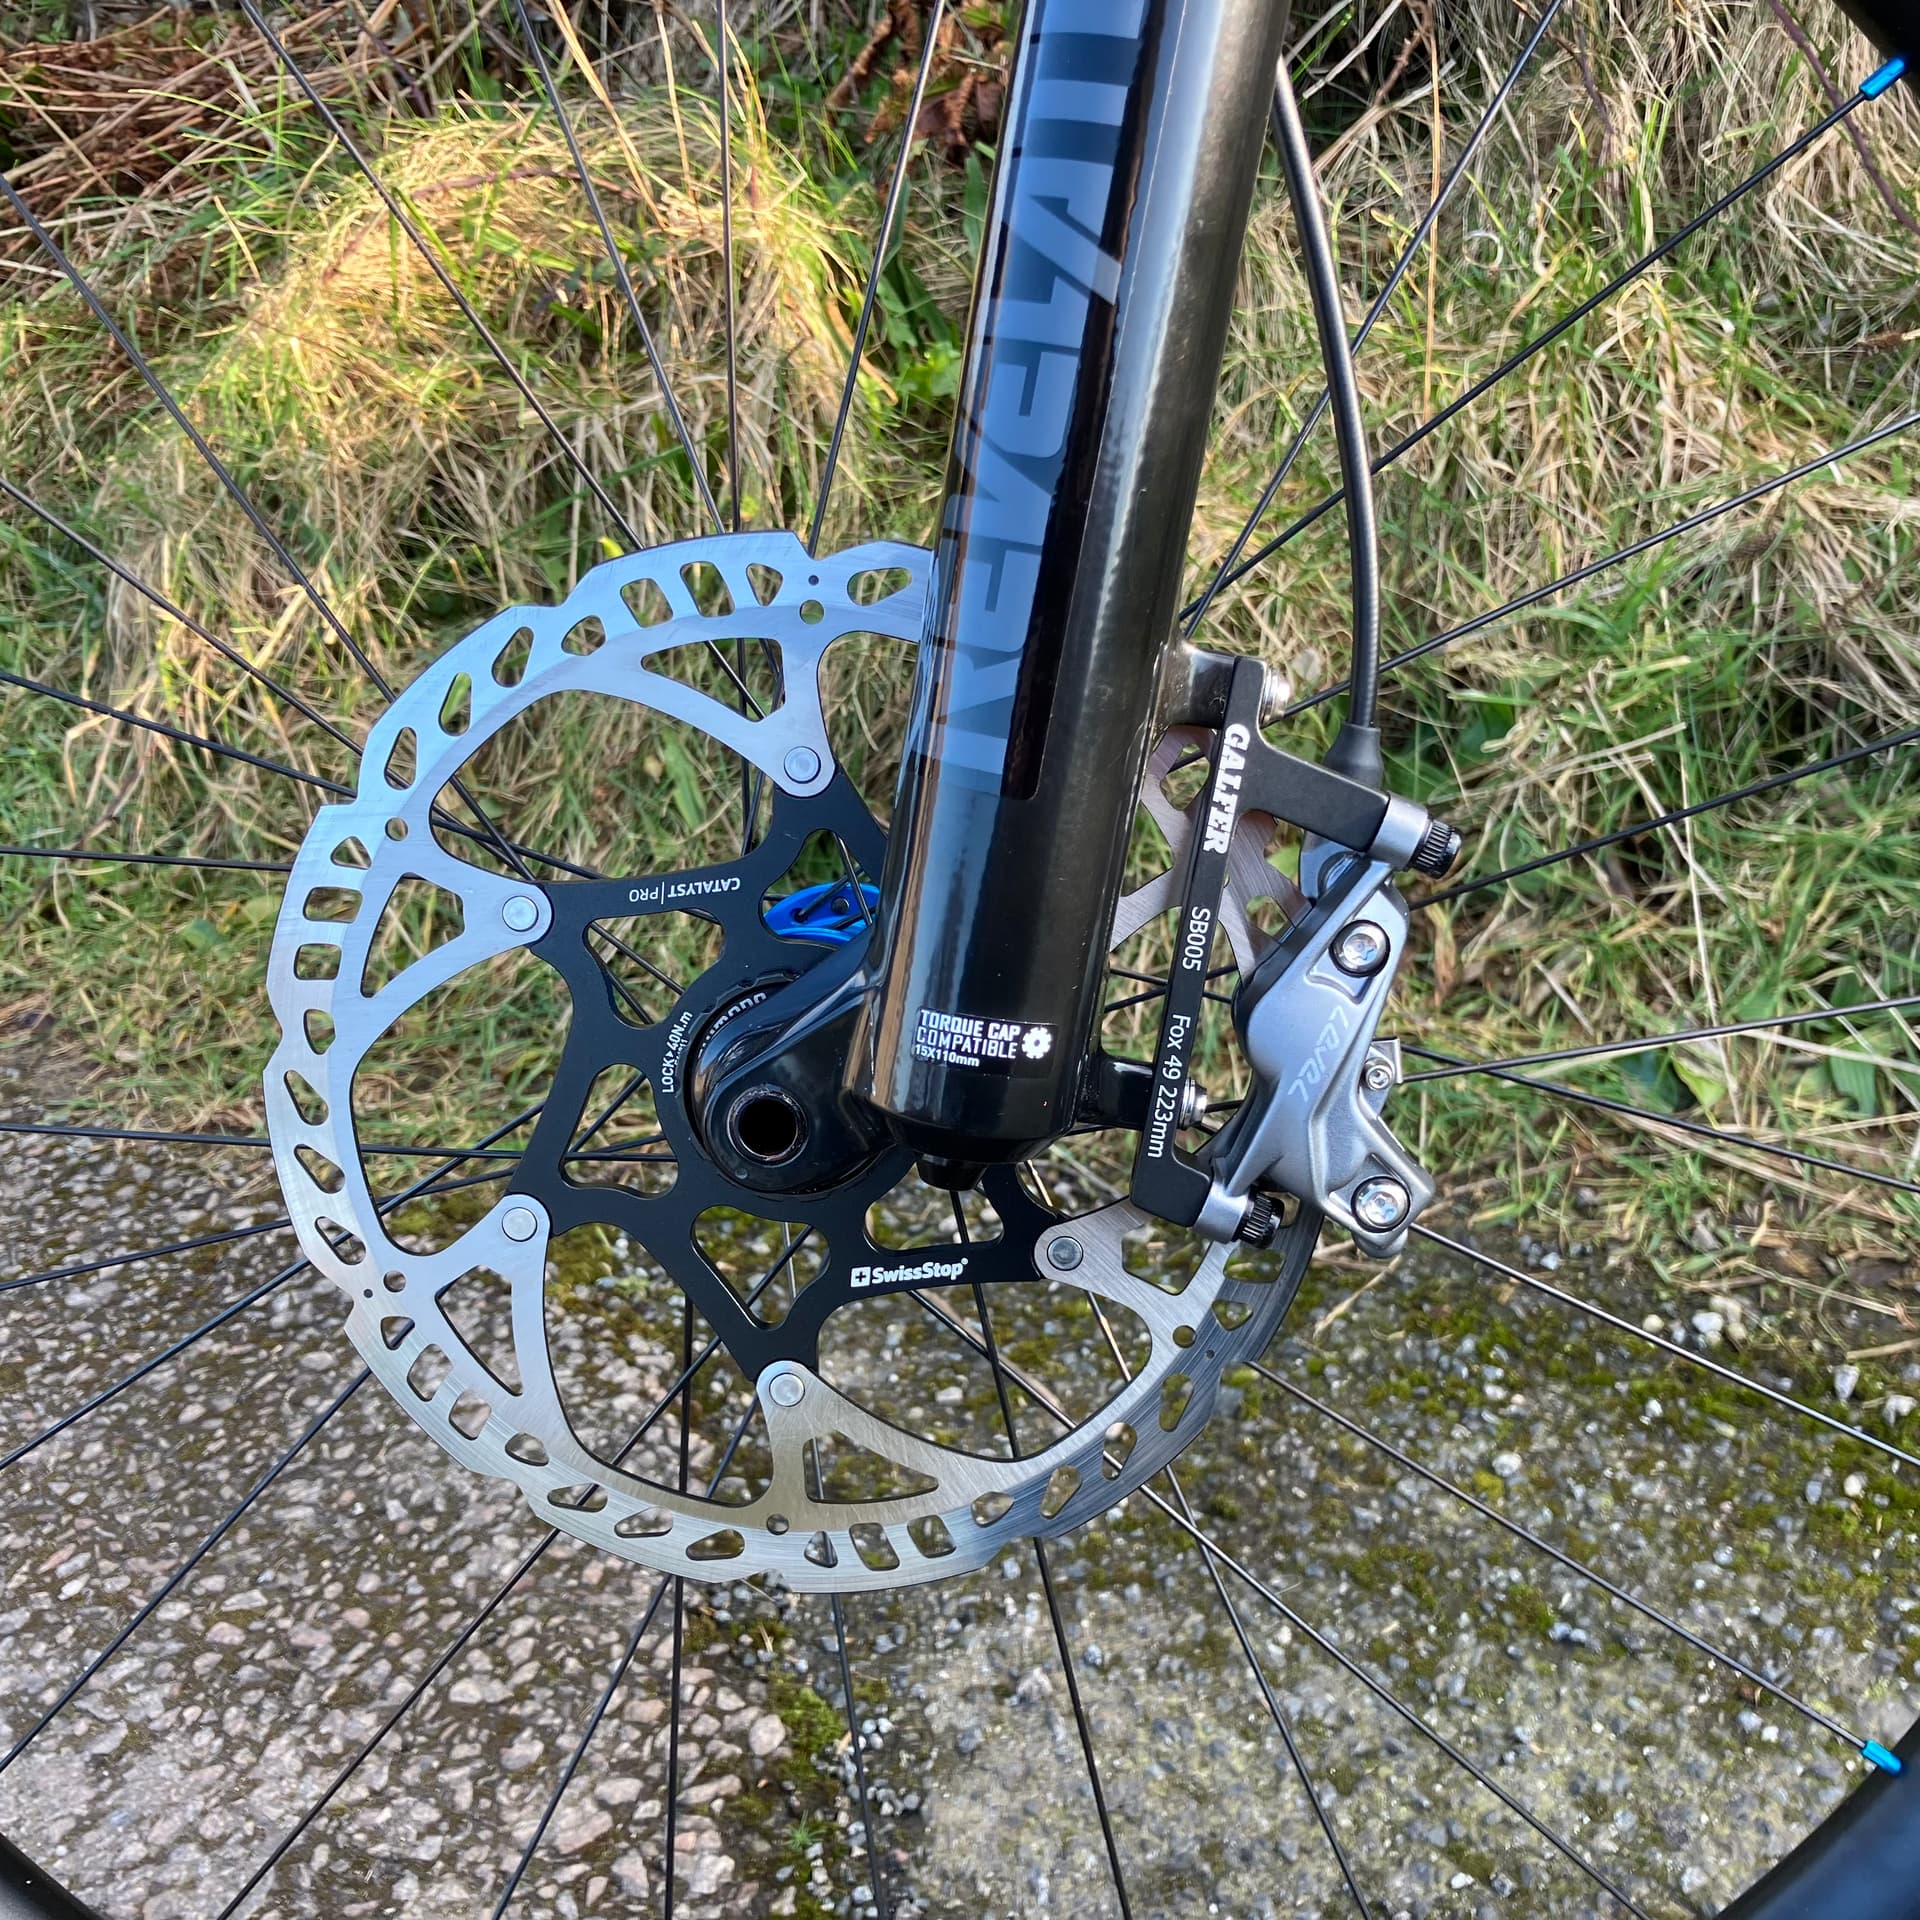
The Incepi brake fixture arrived. It’s designed for a 19mm dummy axle but I use the 1" axles with 1/2" centre section so the first job was to make a suitable axle using a length of spare aluminium.

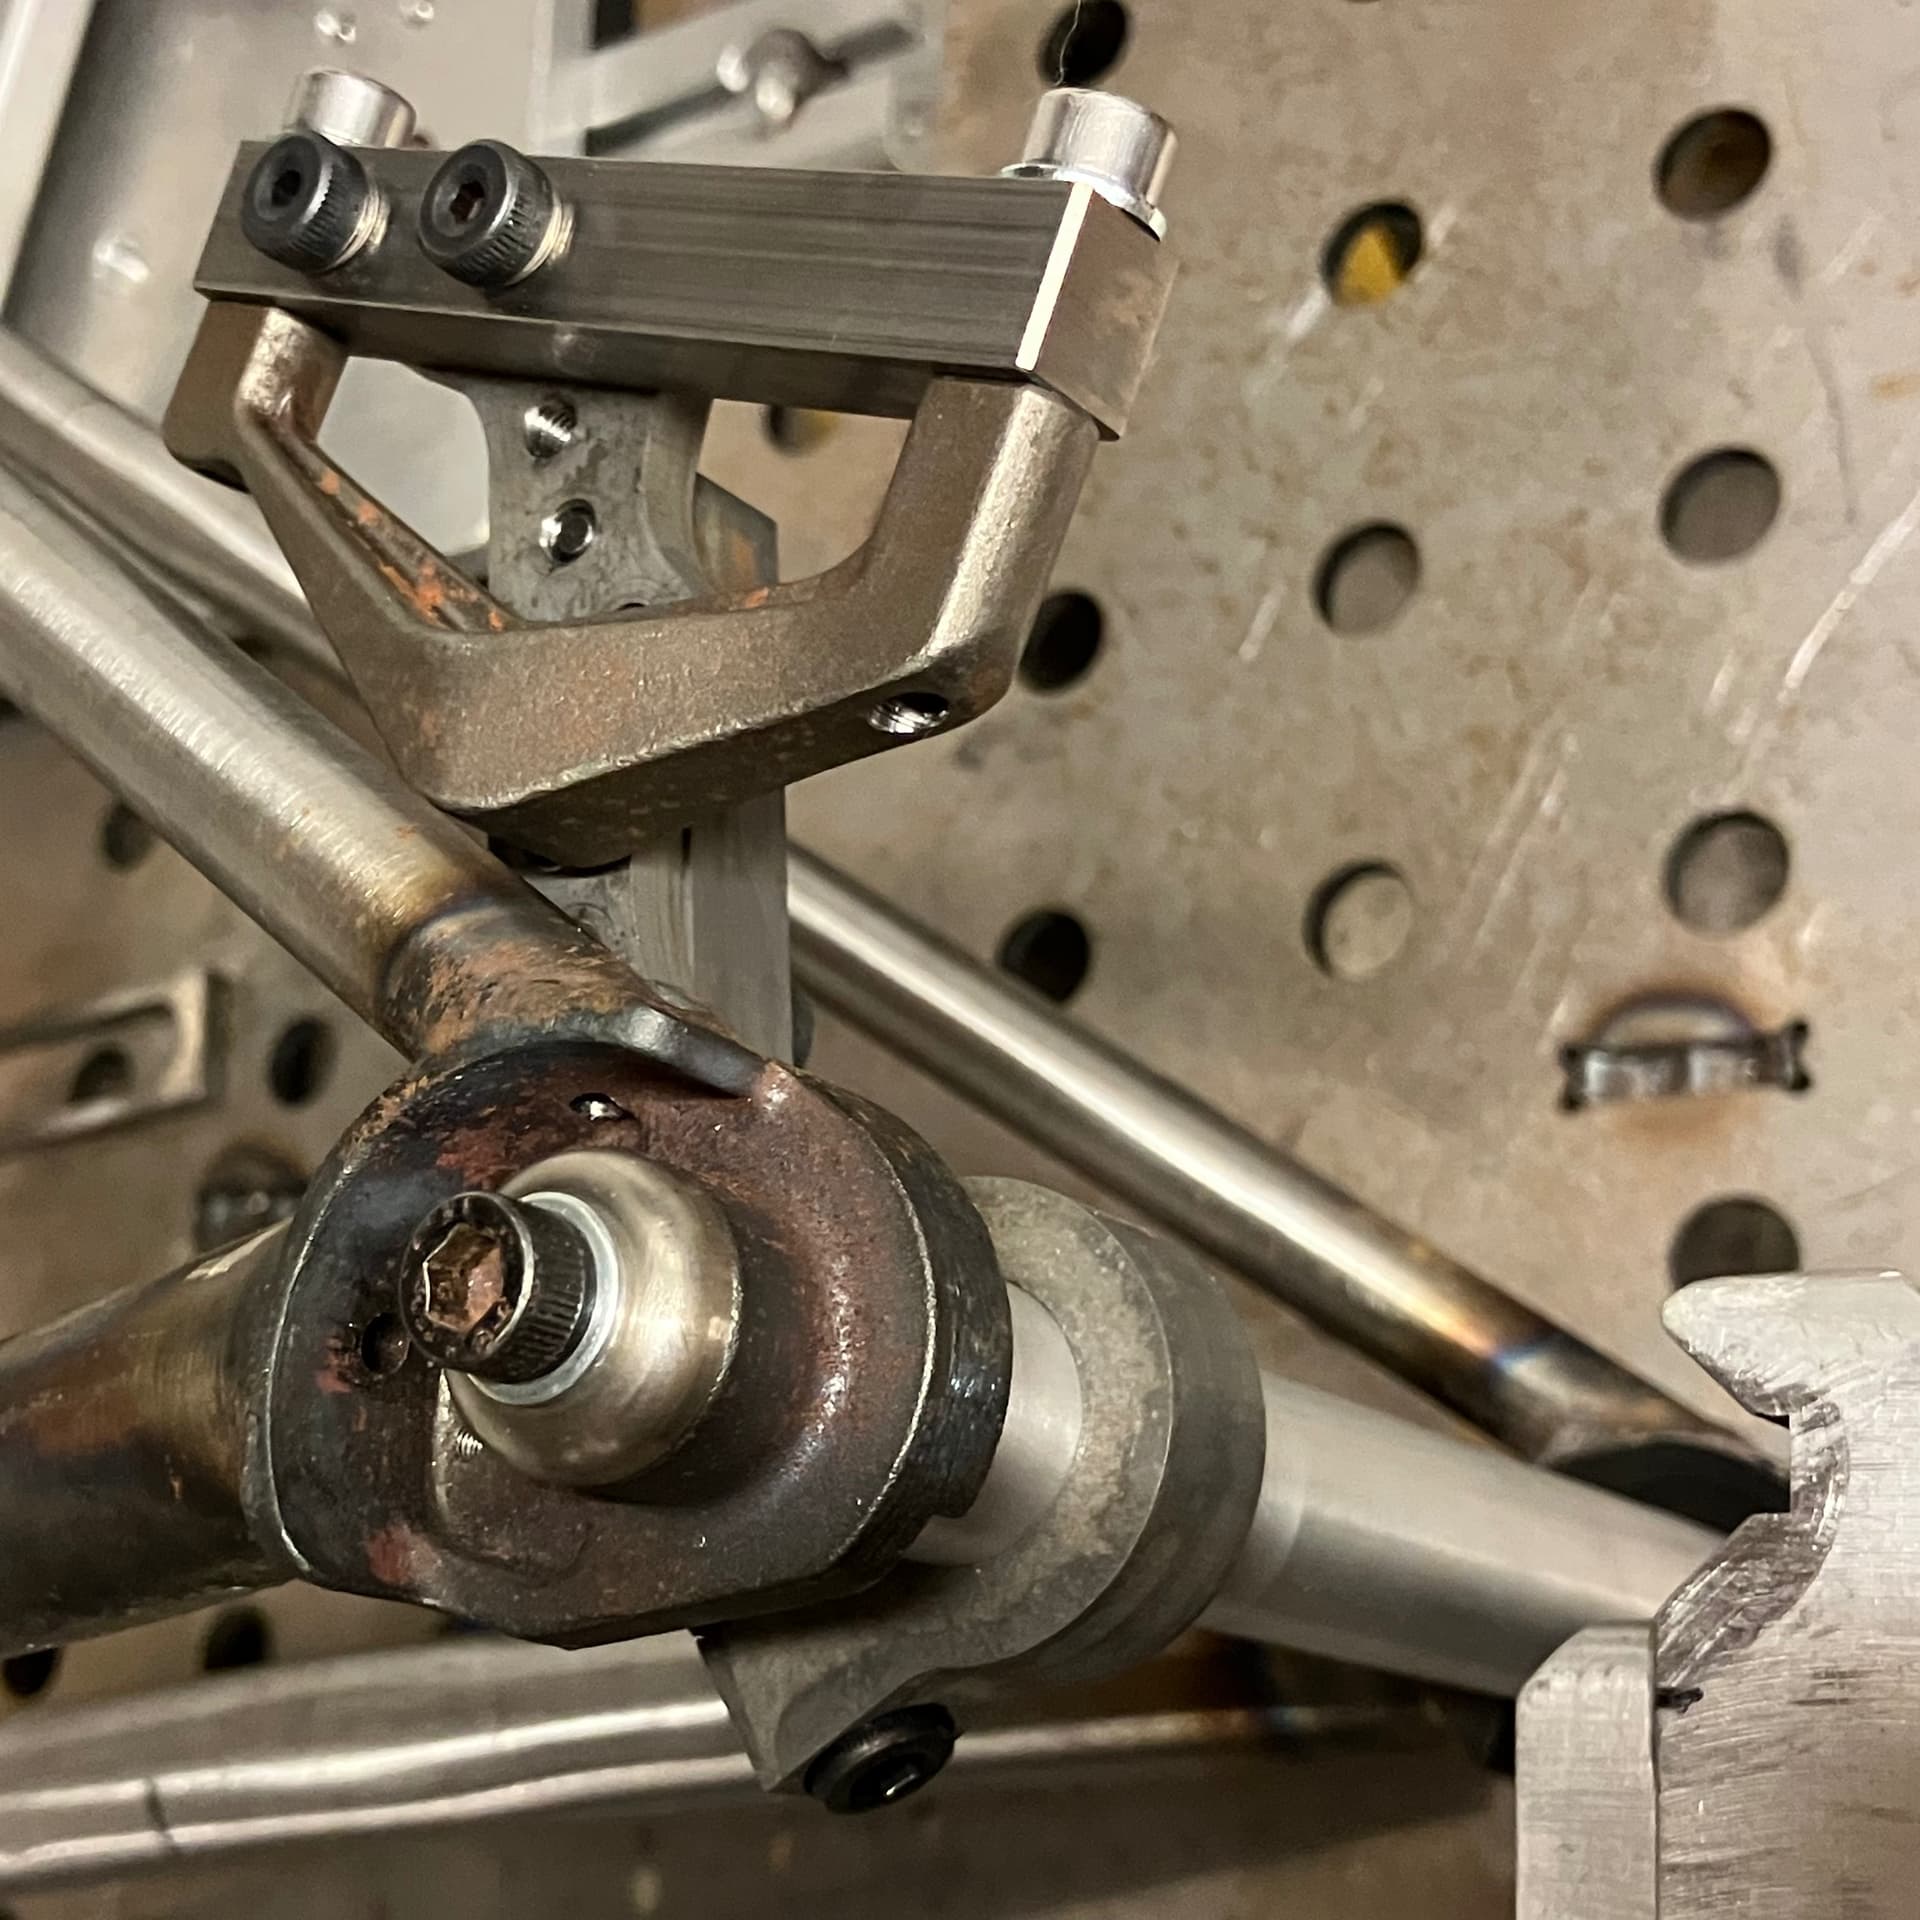
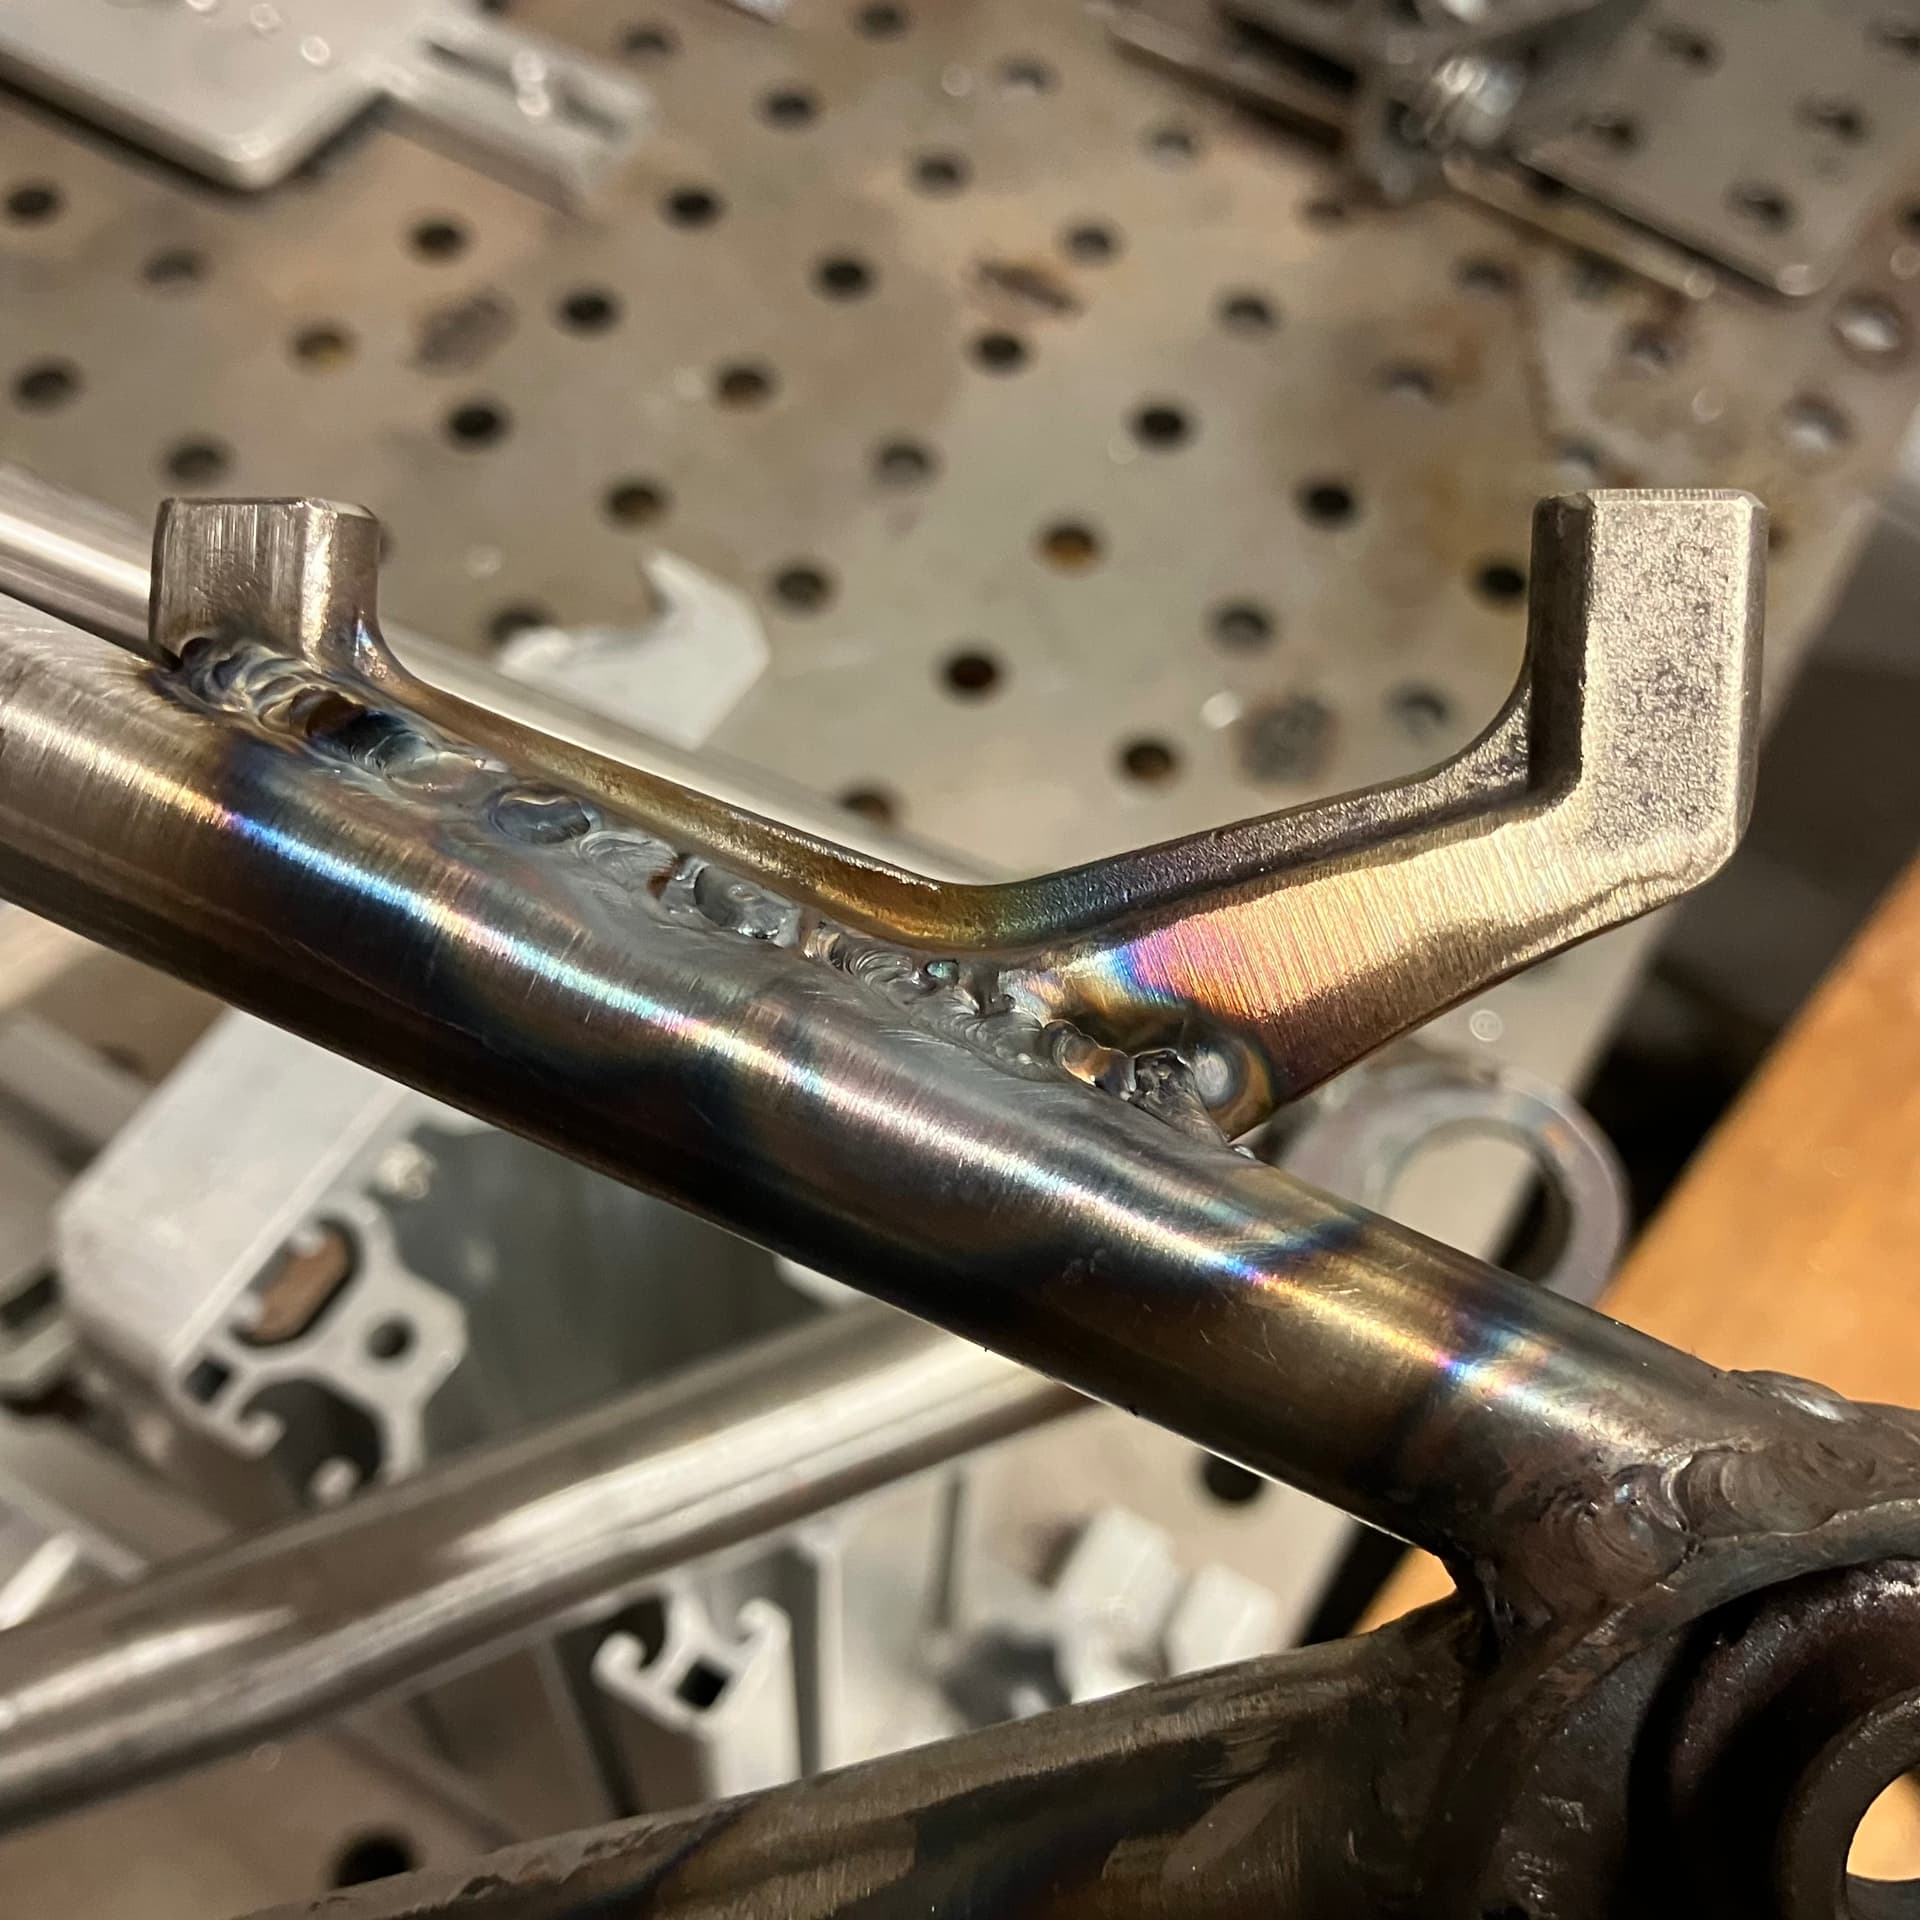
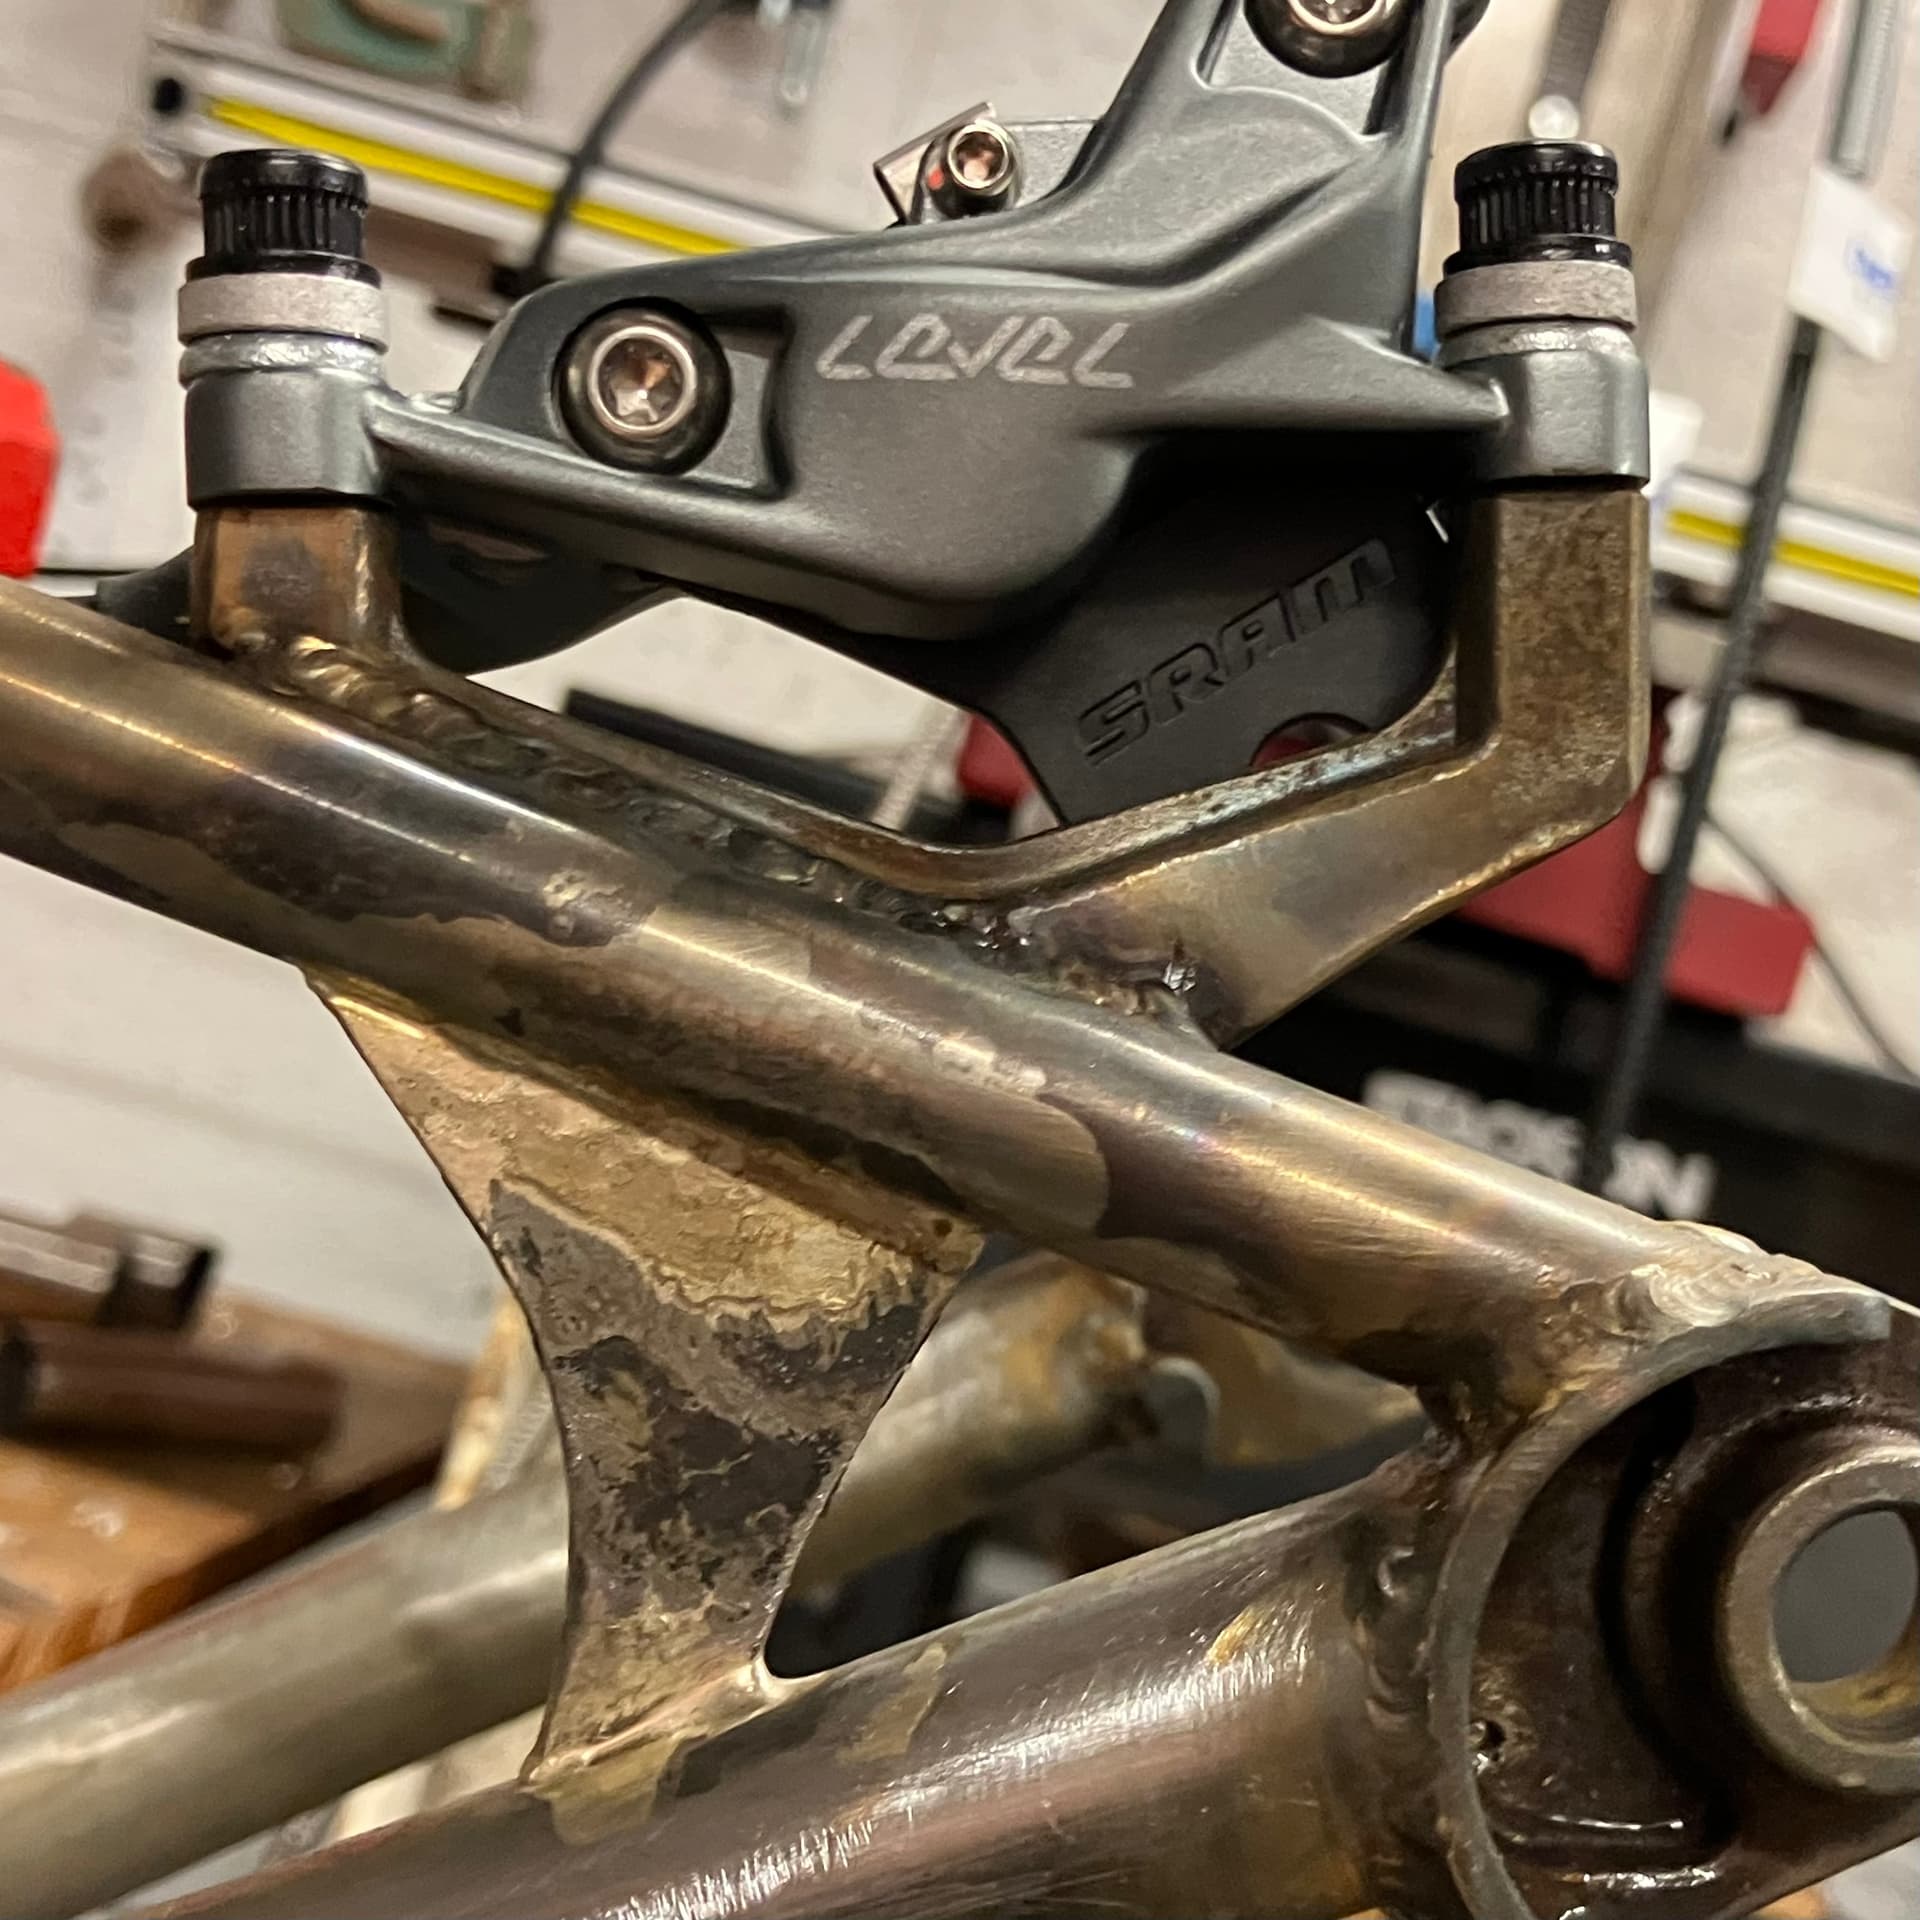
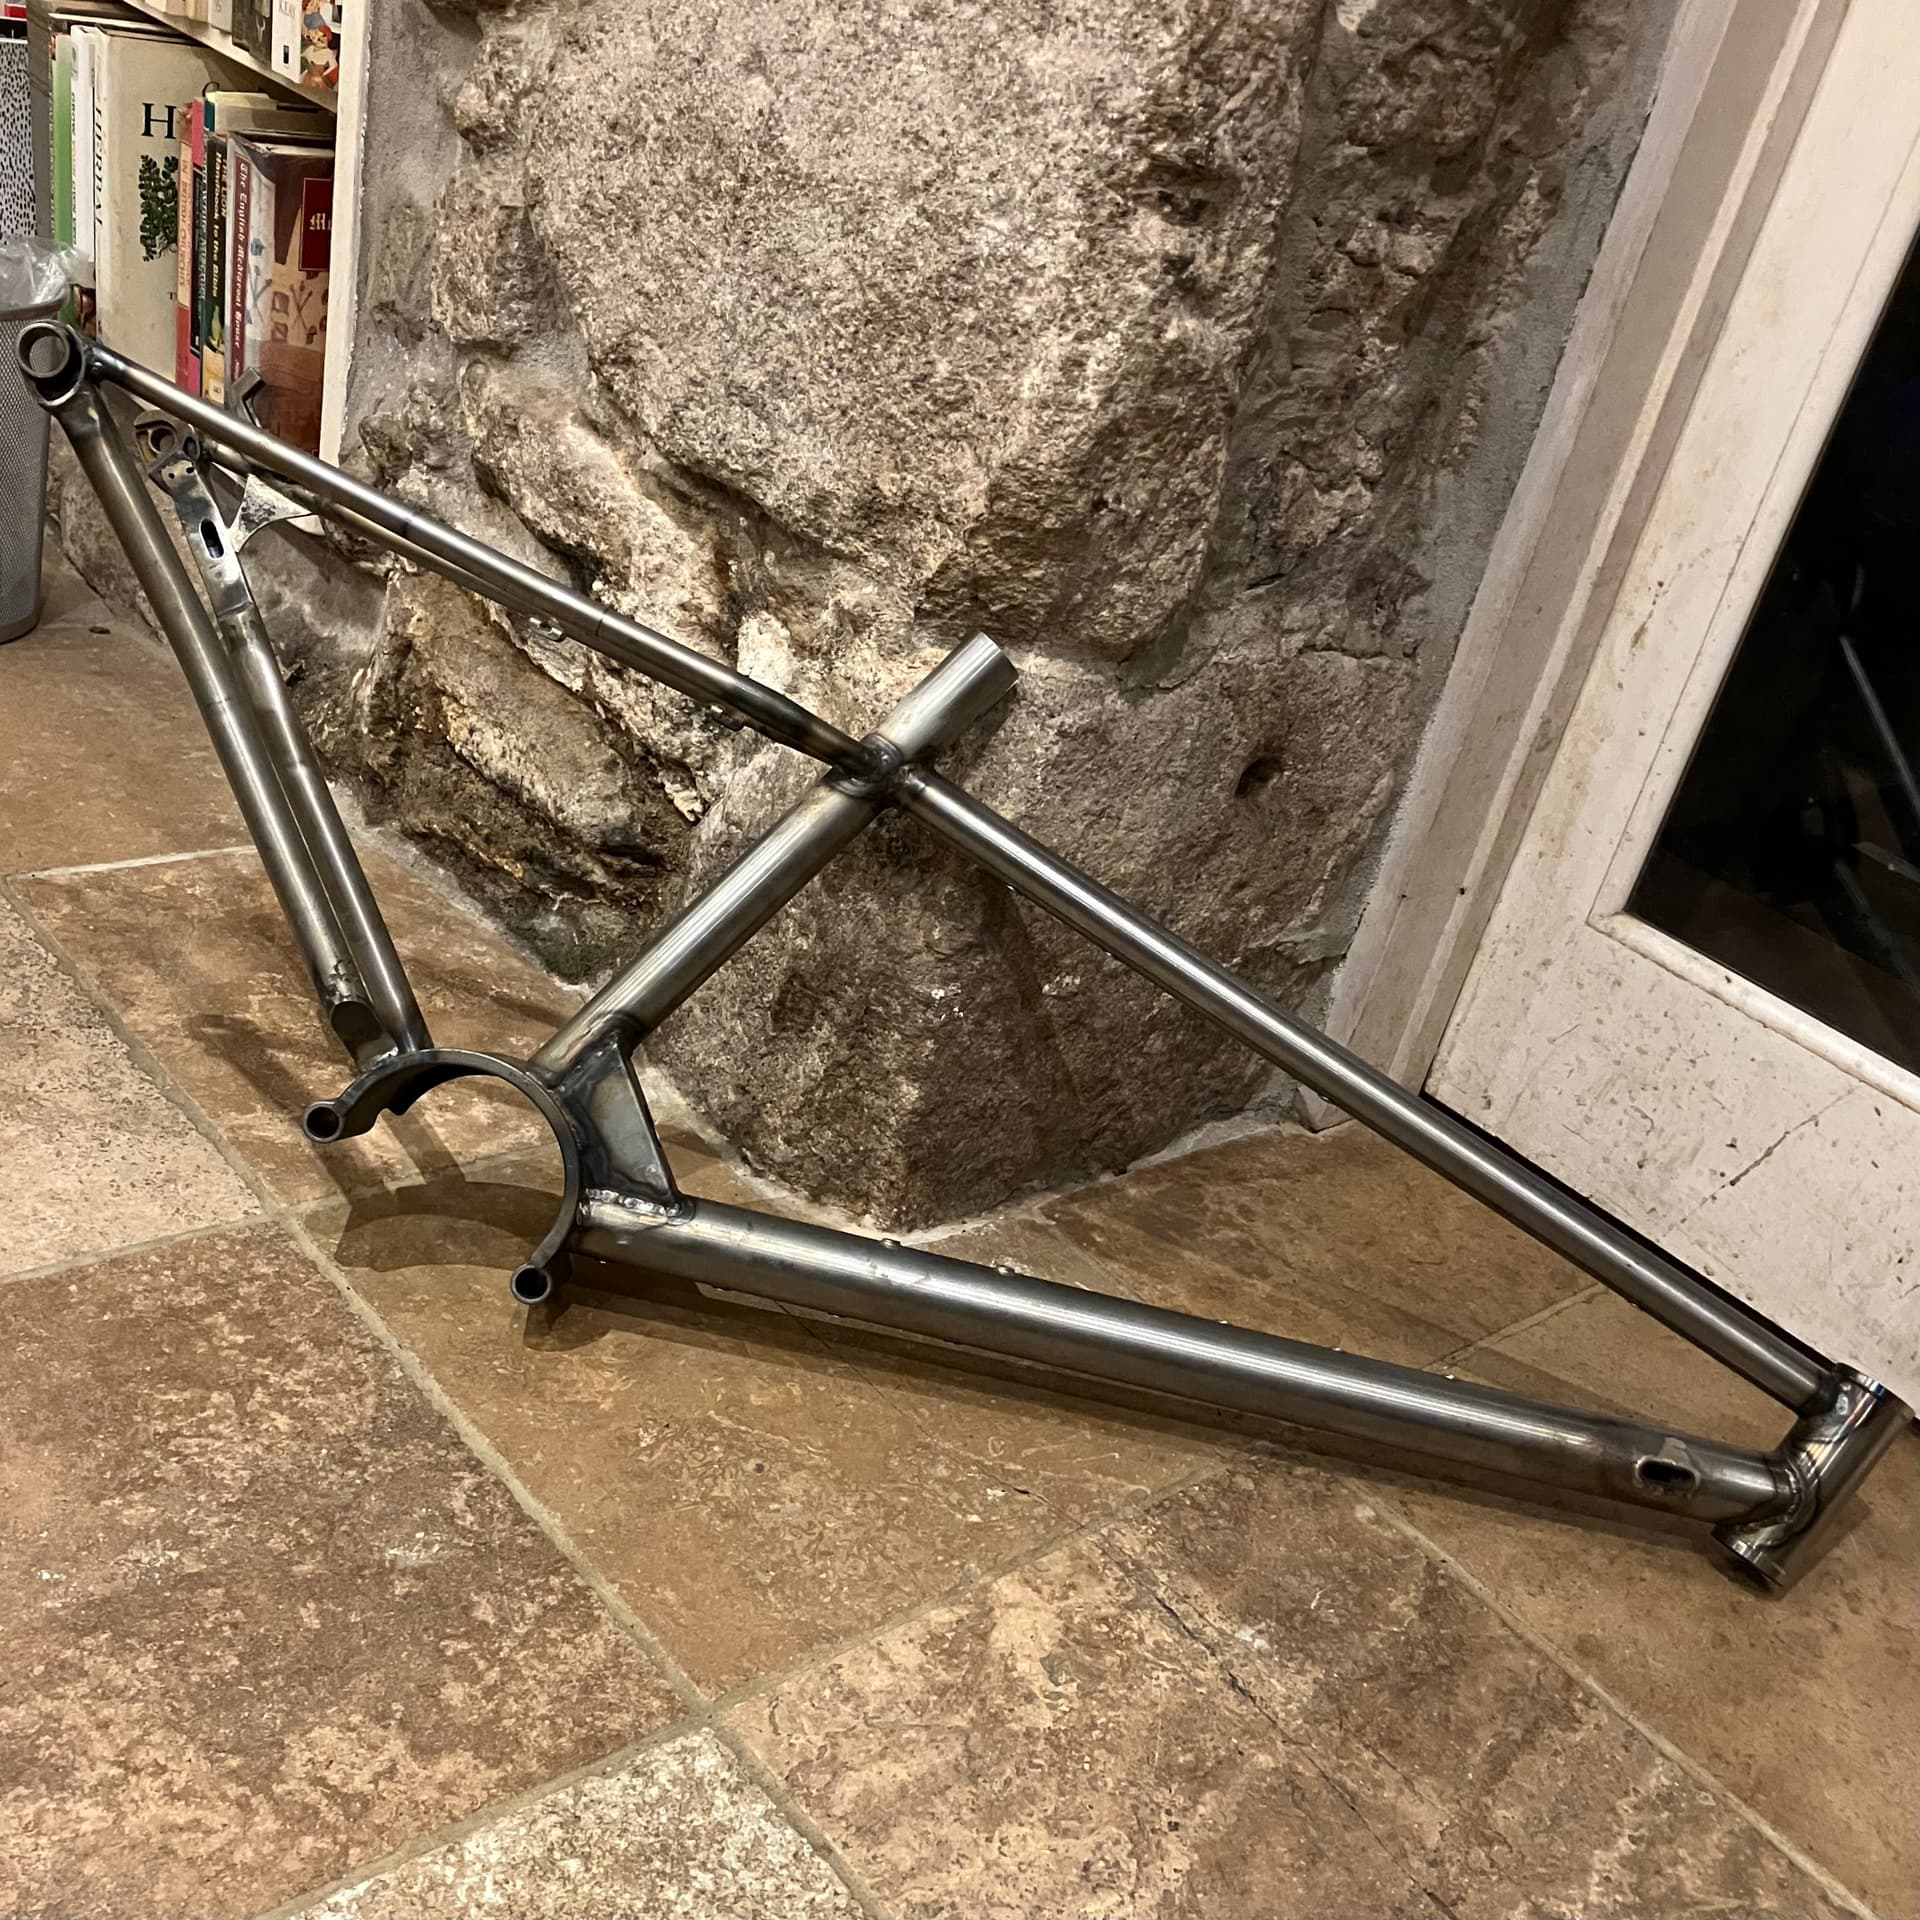
I’ve not done a post mount before so I wasn’t sure how it would go. I had a spare post mount as well as a couple of spare ISO mounts if things went really badly. Thankfully everything went smoothly the first time. I had just enough argon in the tank to get it welded - actually ran out going back over the last part of the bottom weld! Alignment is excellent - it doesn’t seem to have moved at all during welding and it’ll get faced during the final build just to be sure.

I was considering not adding a brace between the seat and chainstays but bottled it at the last minute so fabricated a small plate out of 3mm mild steel which got silver soldered in place.

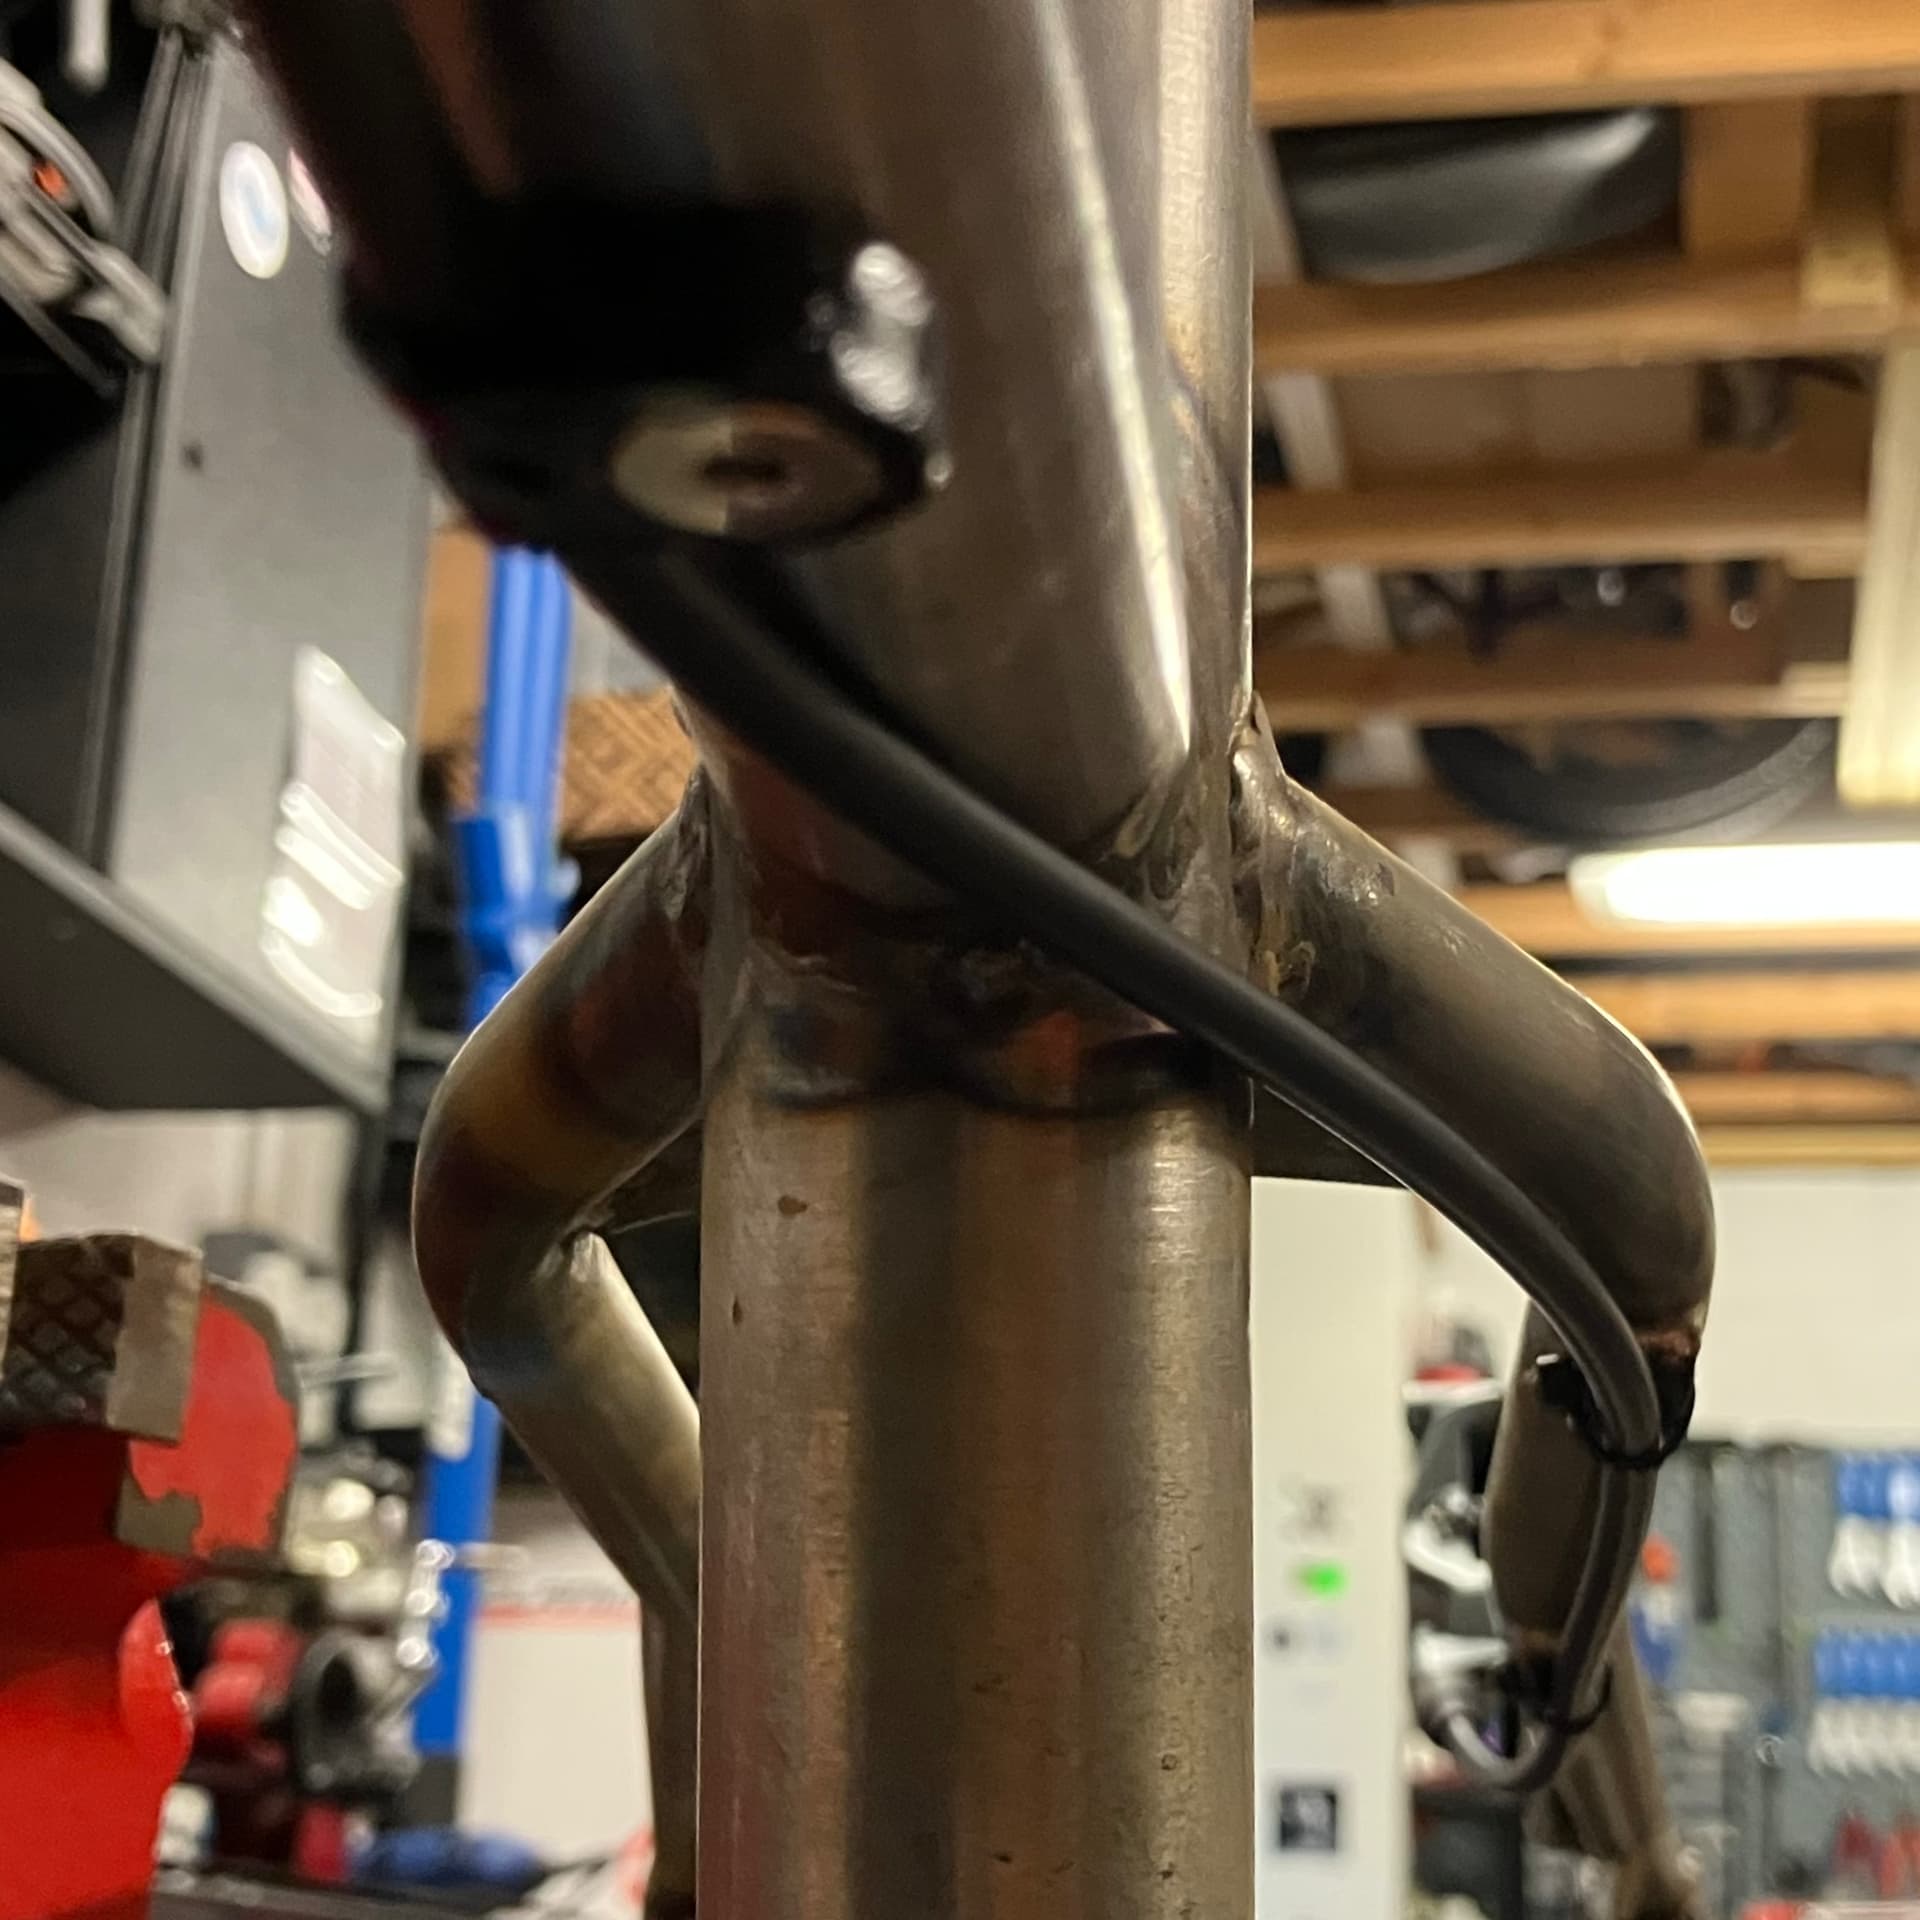
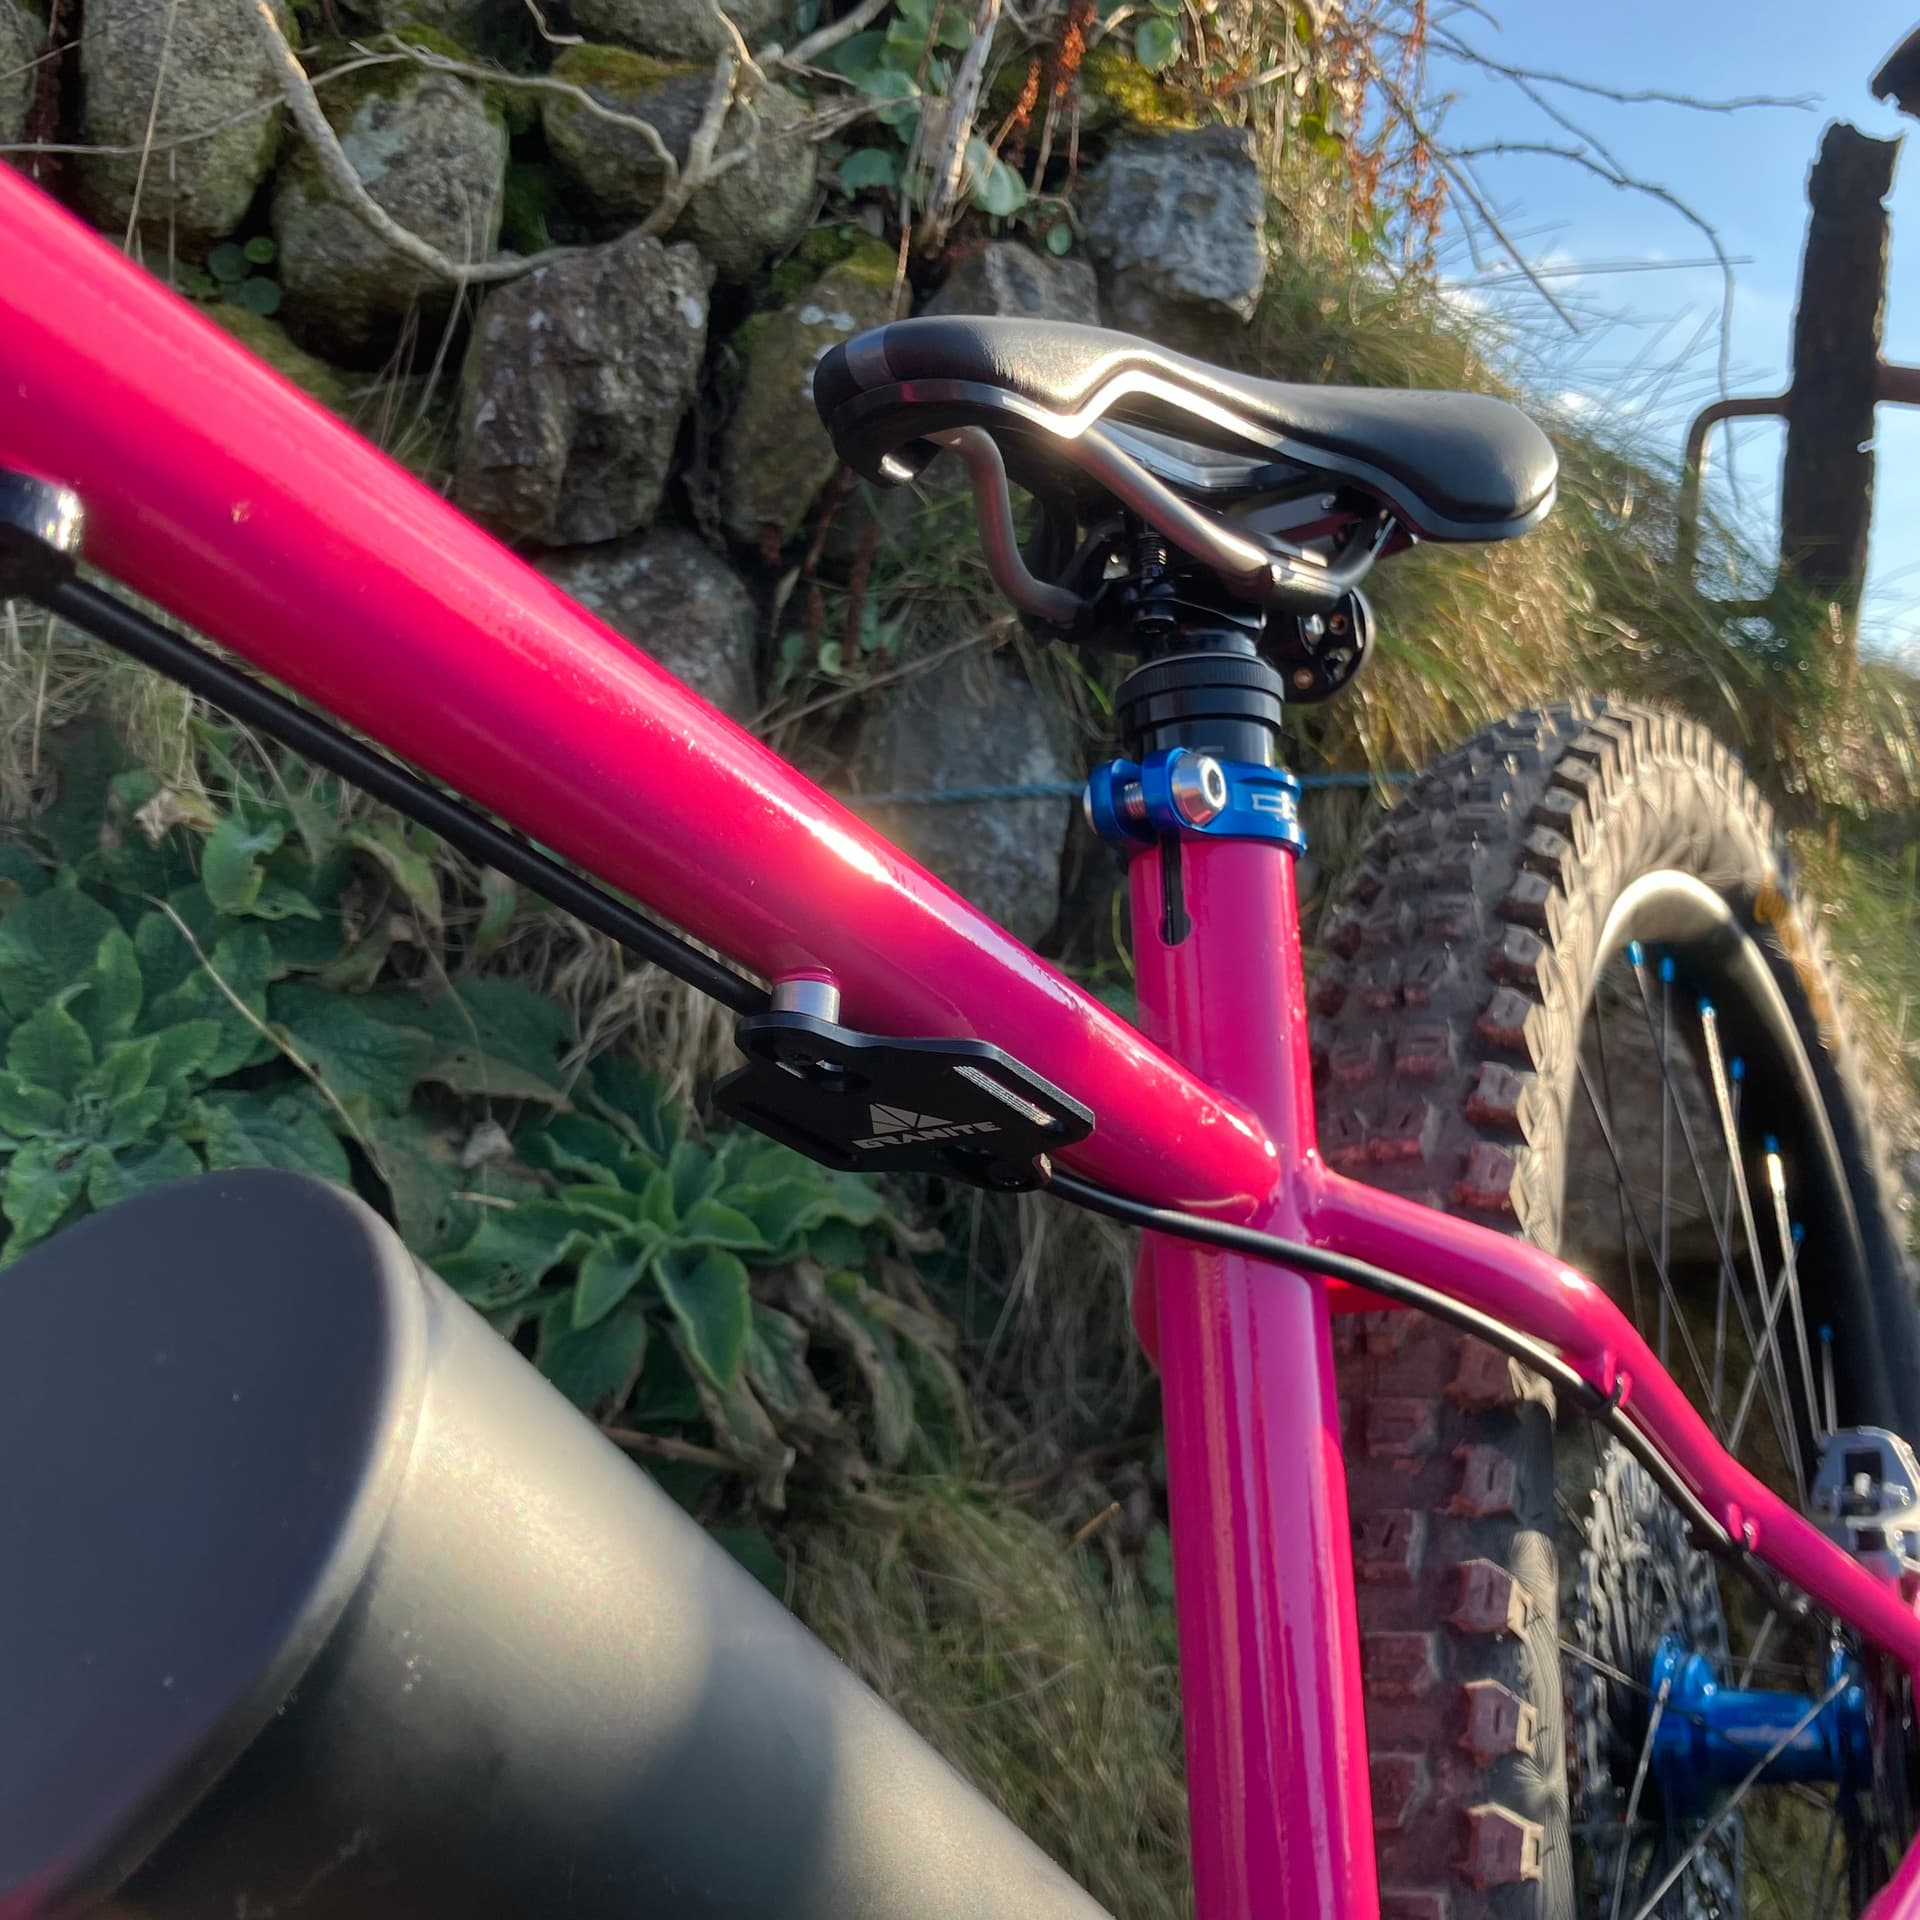
While the silver soldering gear was out, I put a couple of hose guides under the NDS seatstay. Really happy with the clean route of the hose.

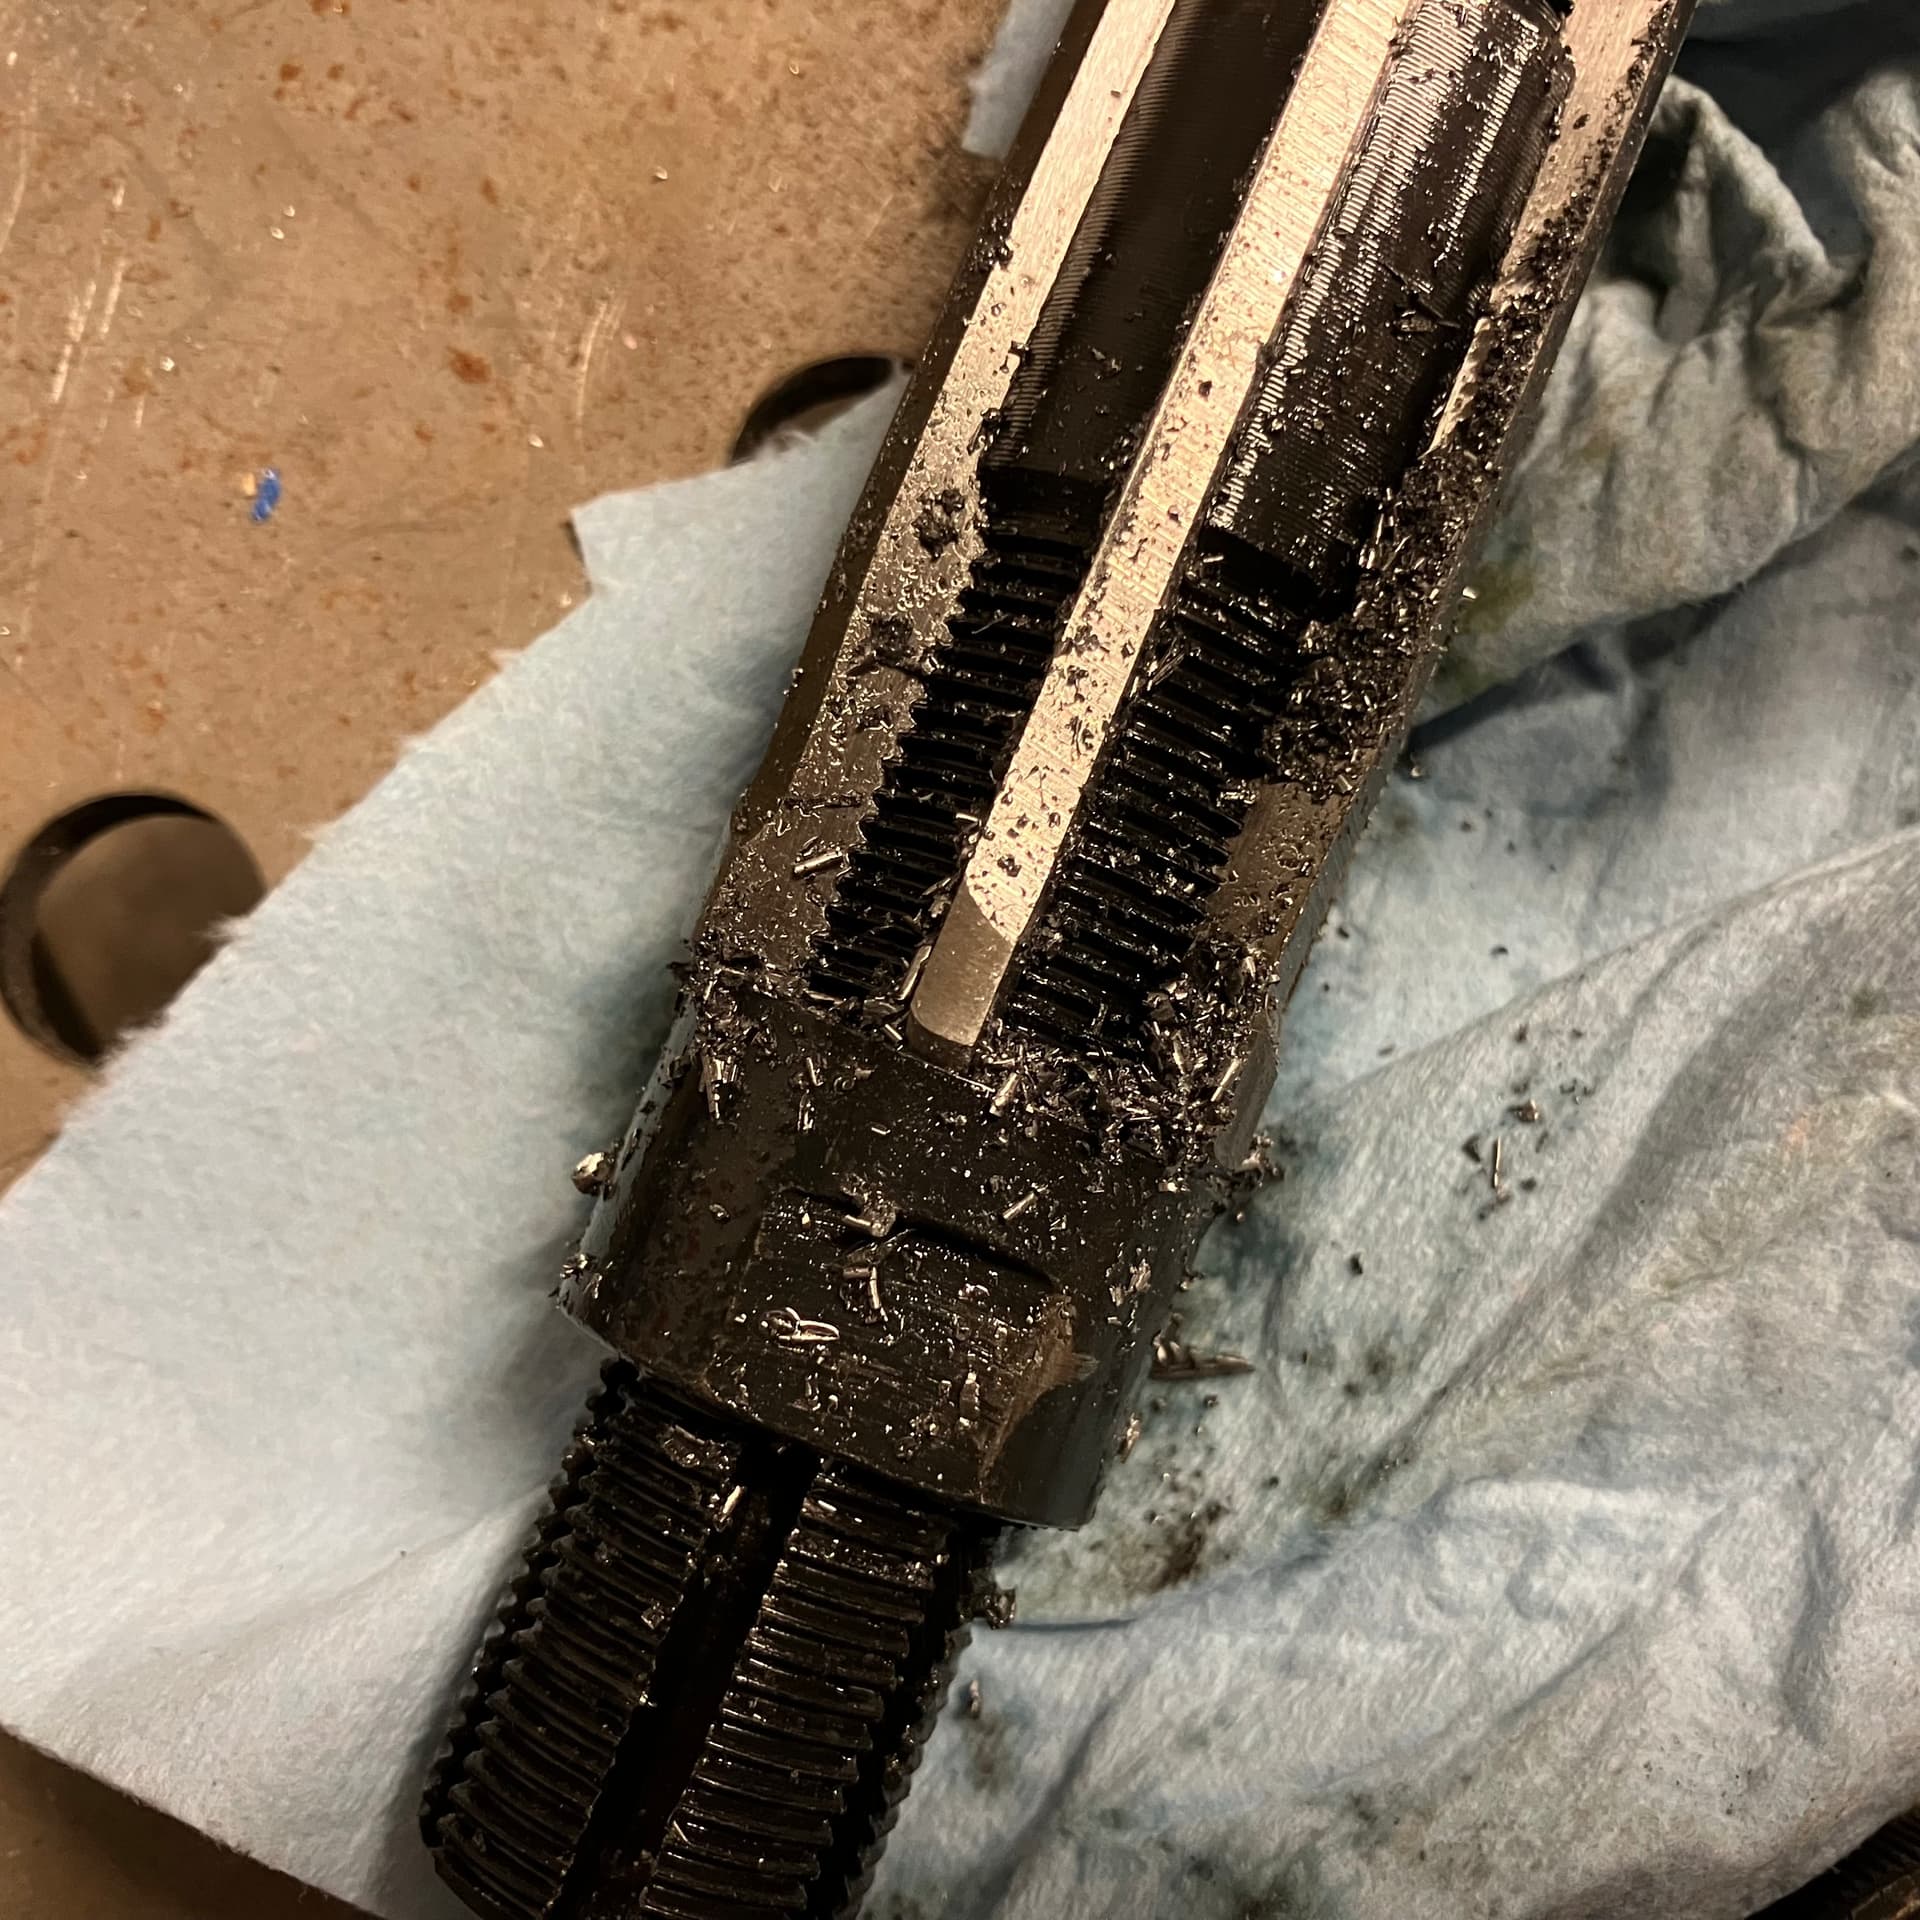
I’d decided to copy Starling Cycles by gluing an aluminium shim inside the seat tube so my post is contacting aluminium rather than steel. I’d already reamed the seat tube with a fixed 31.6mm reamer but it was too tight for post + shim so I ordered an adjustable reamer and opened the tube up a little more. I also cleaned up the slot.

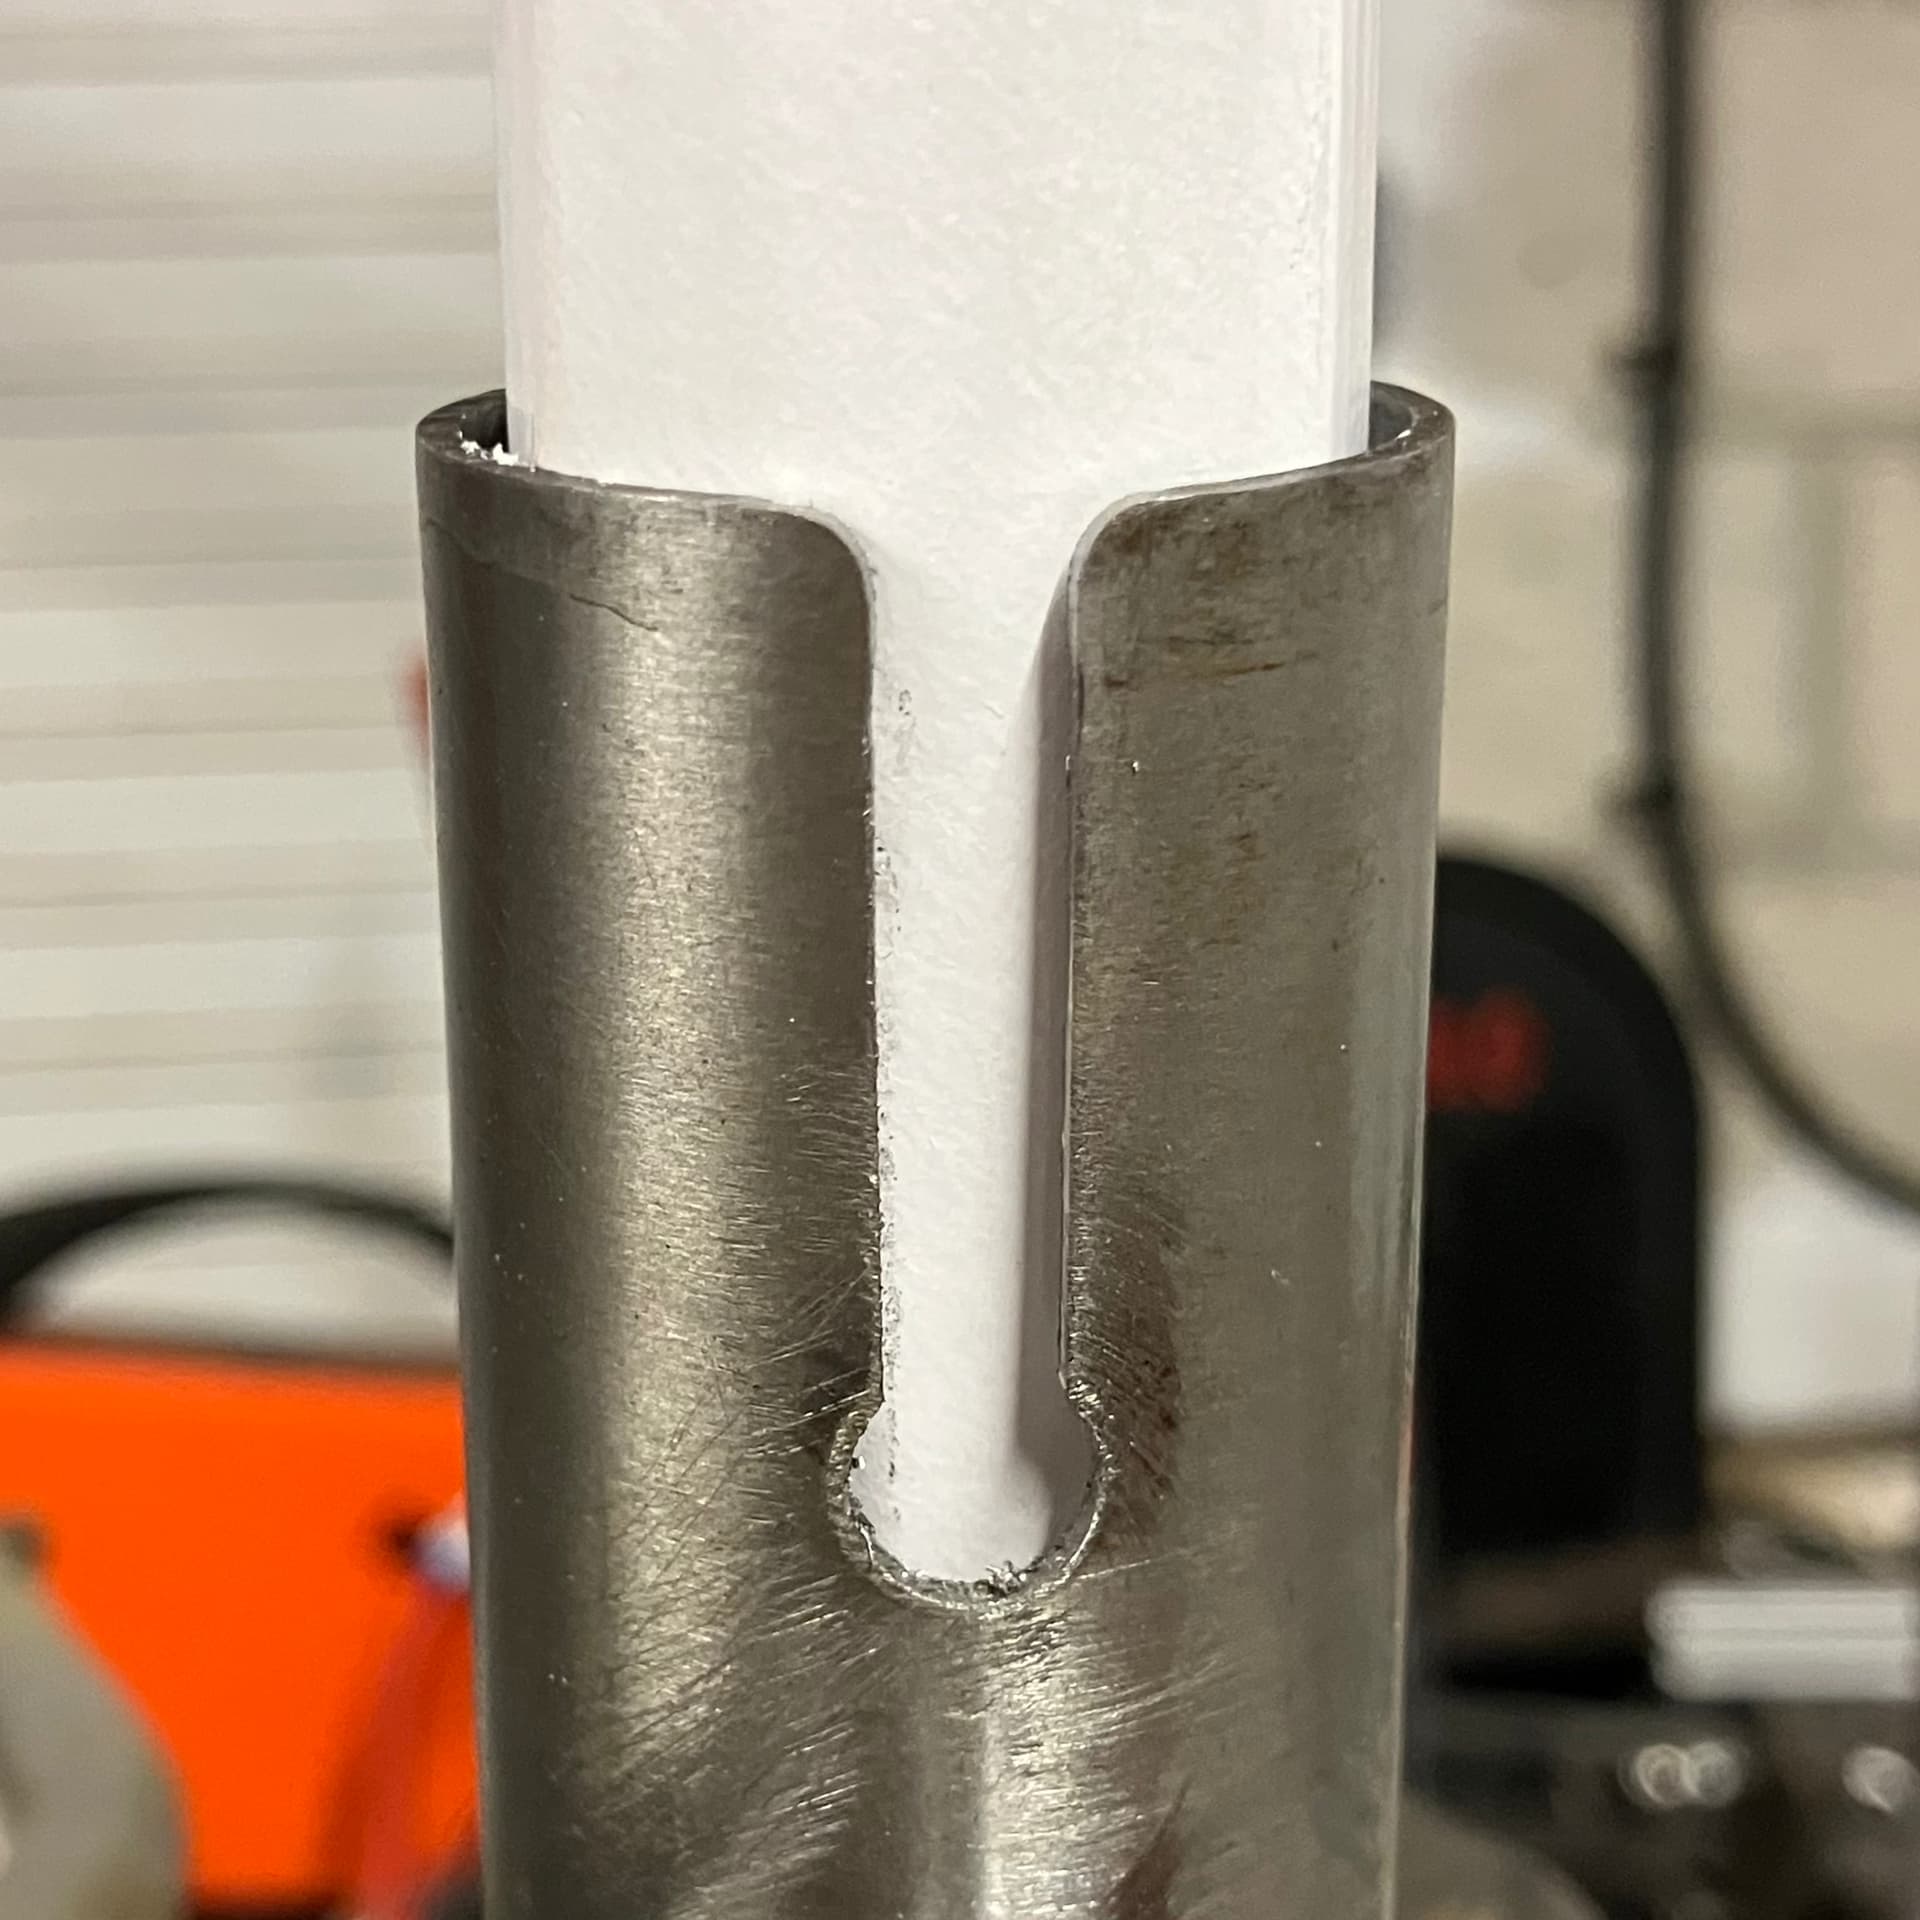
A little more cleaning up and it’s ready for paint. If all goes to plan with that, it’ll built and ready to hit the trails some time in February!
7 Likes
The final update!
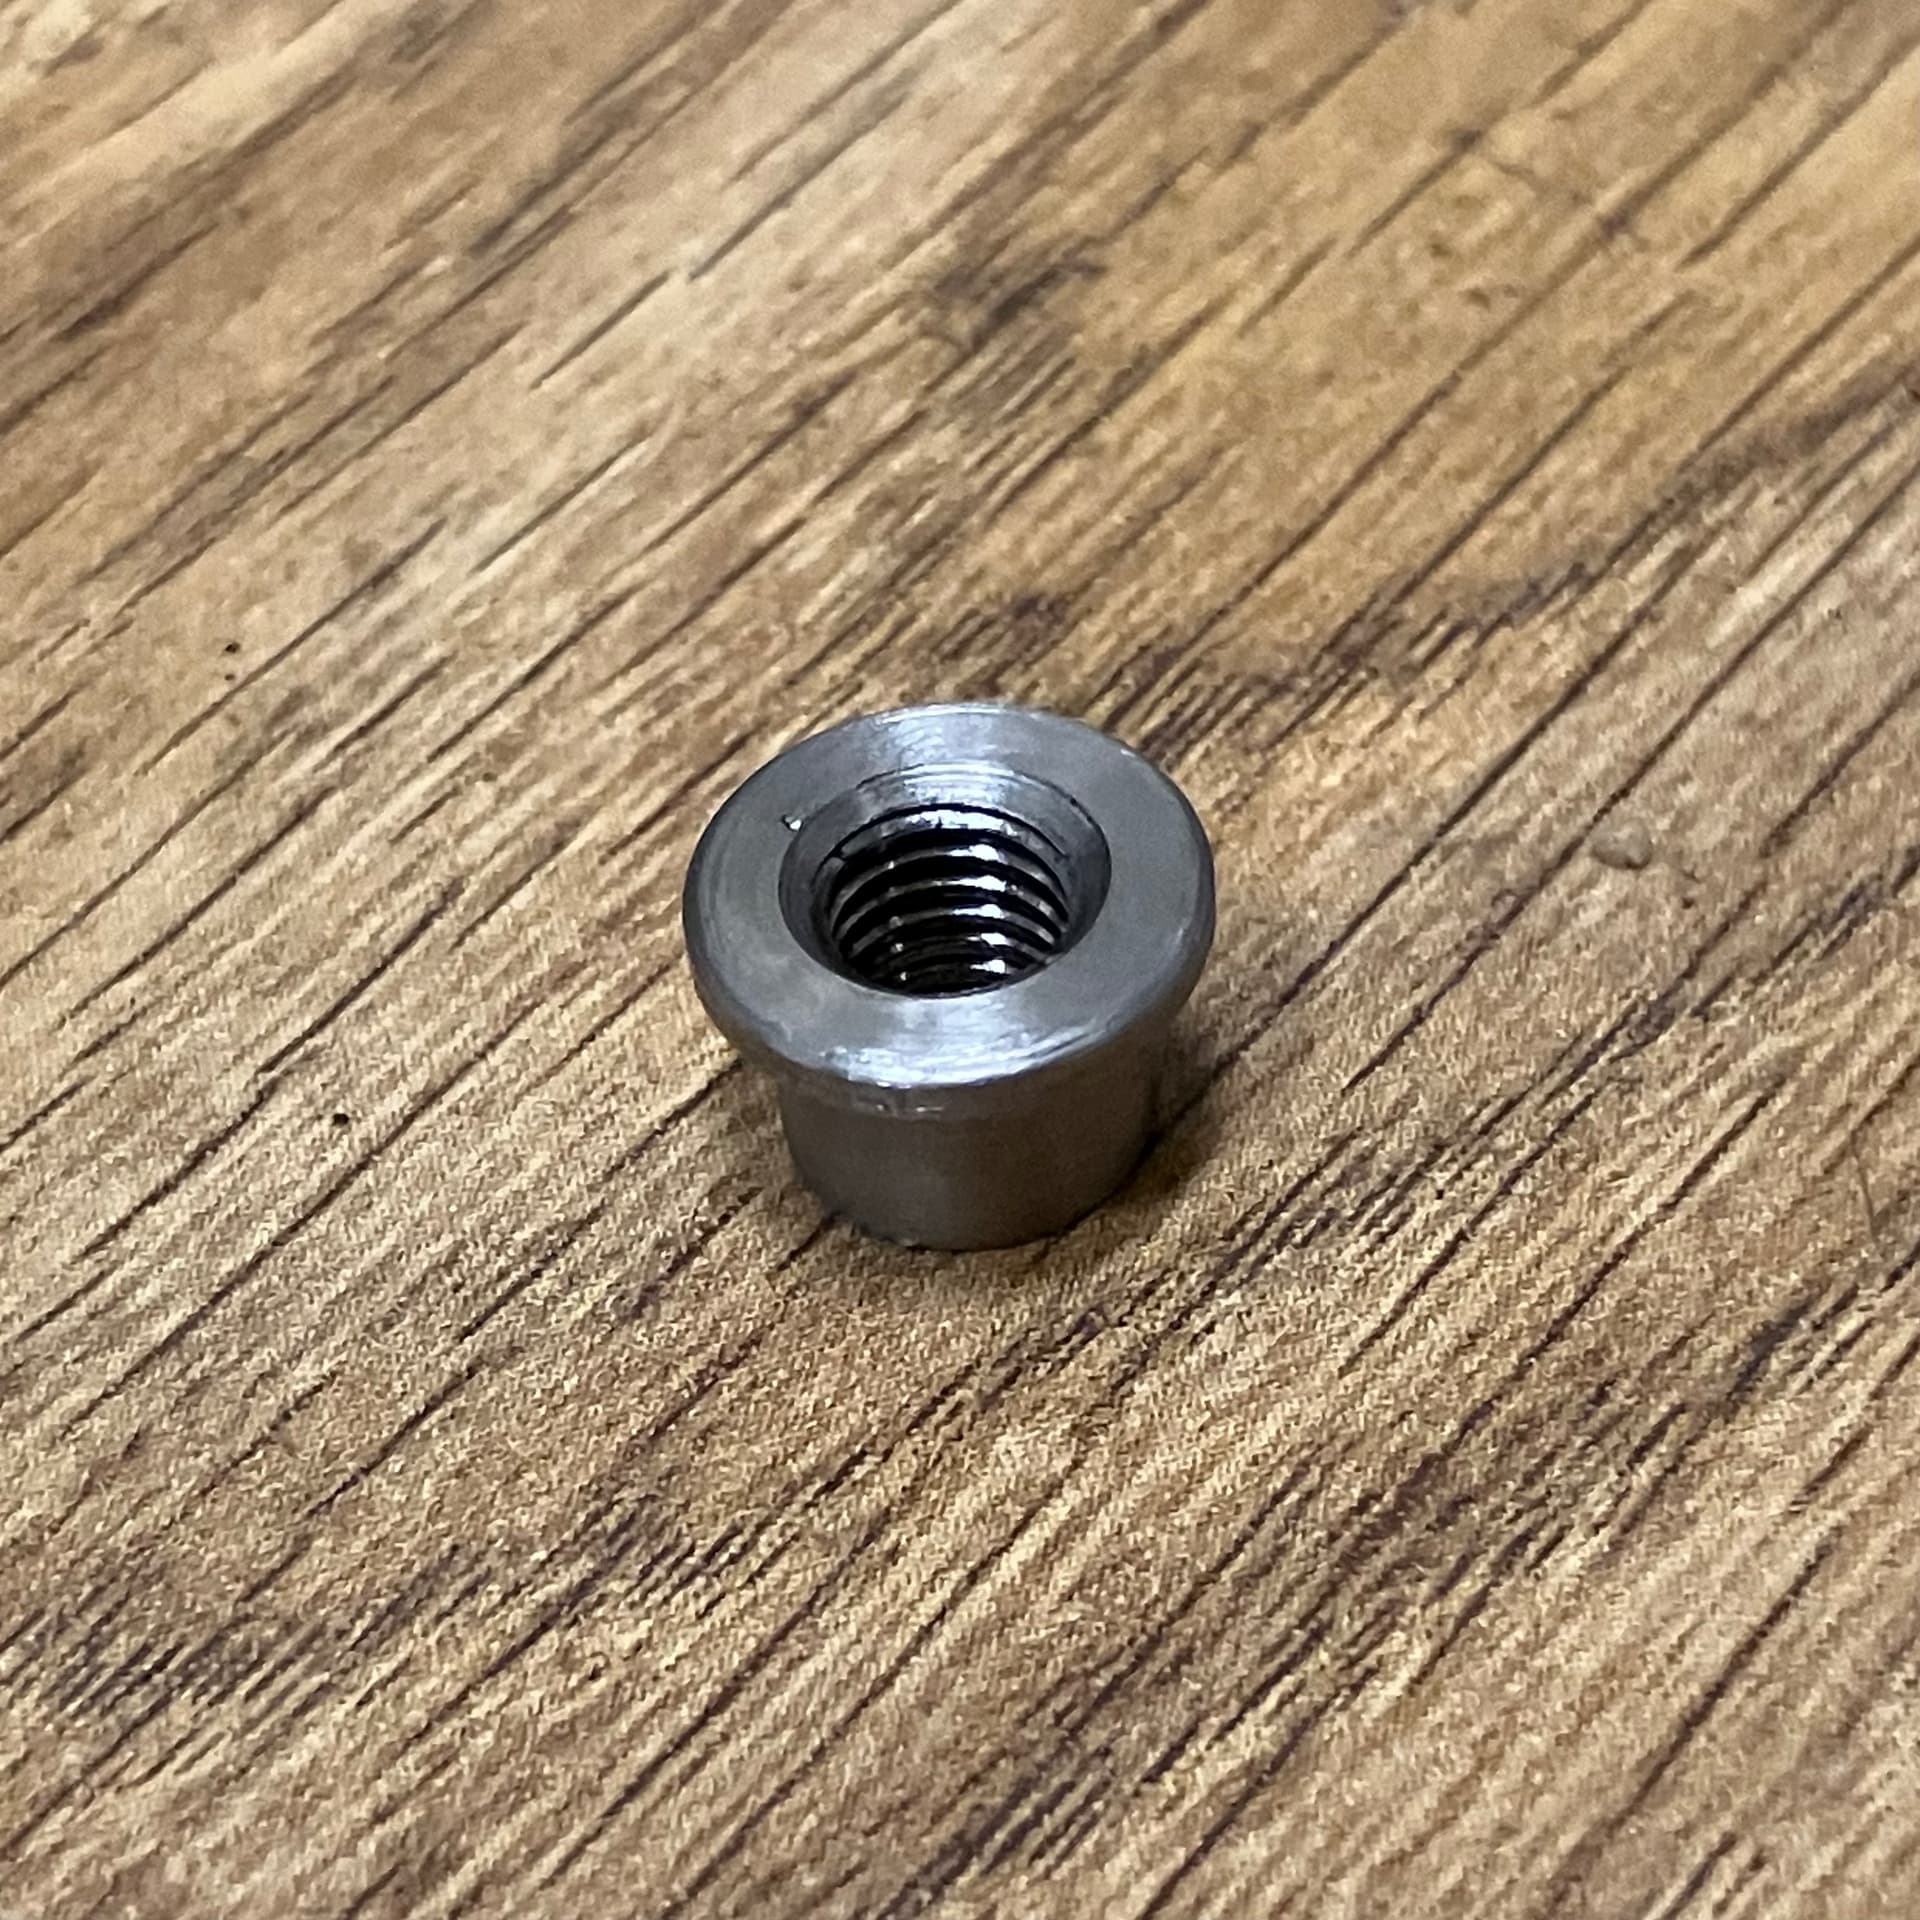
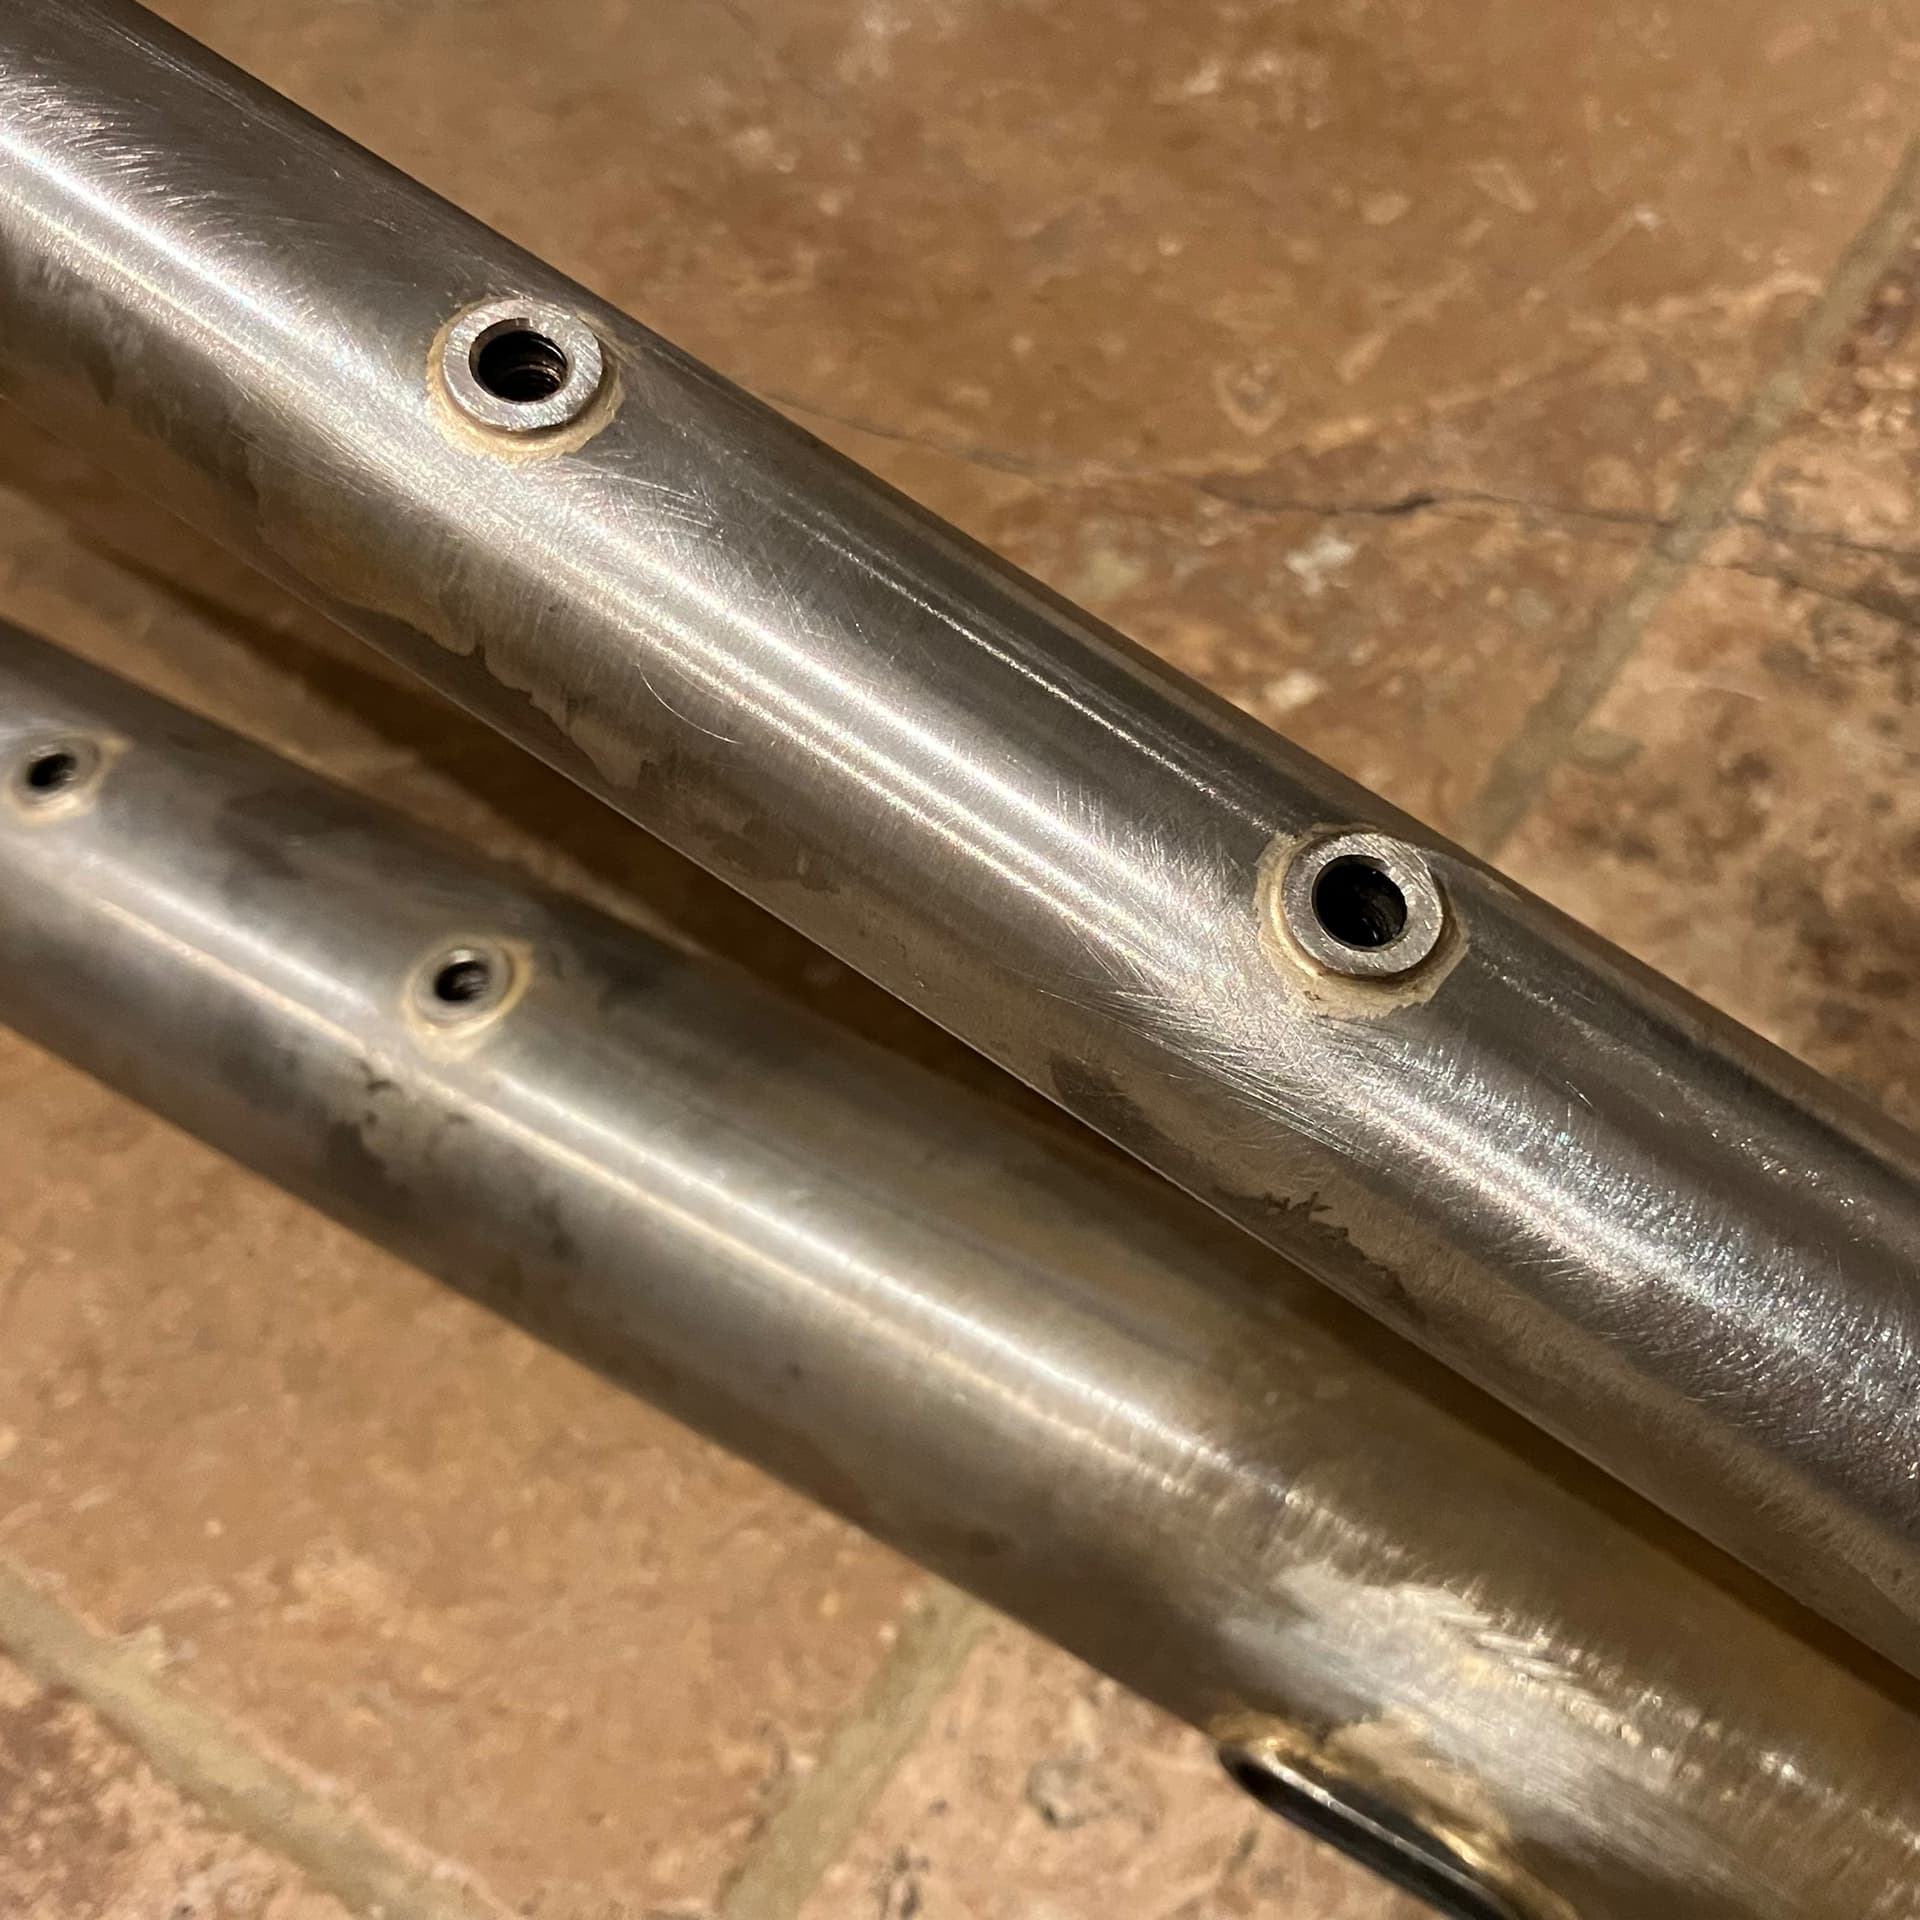
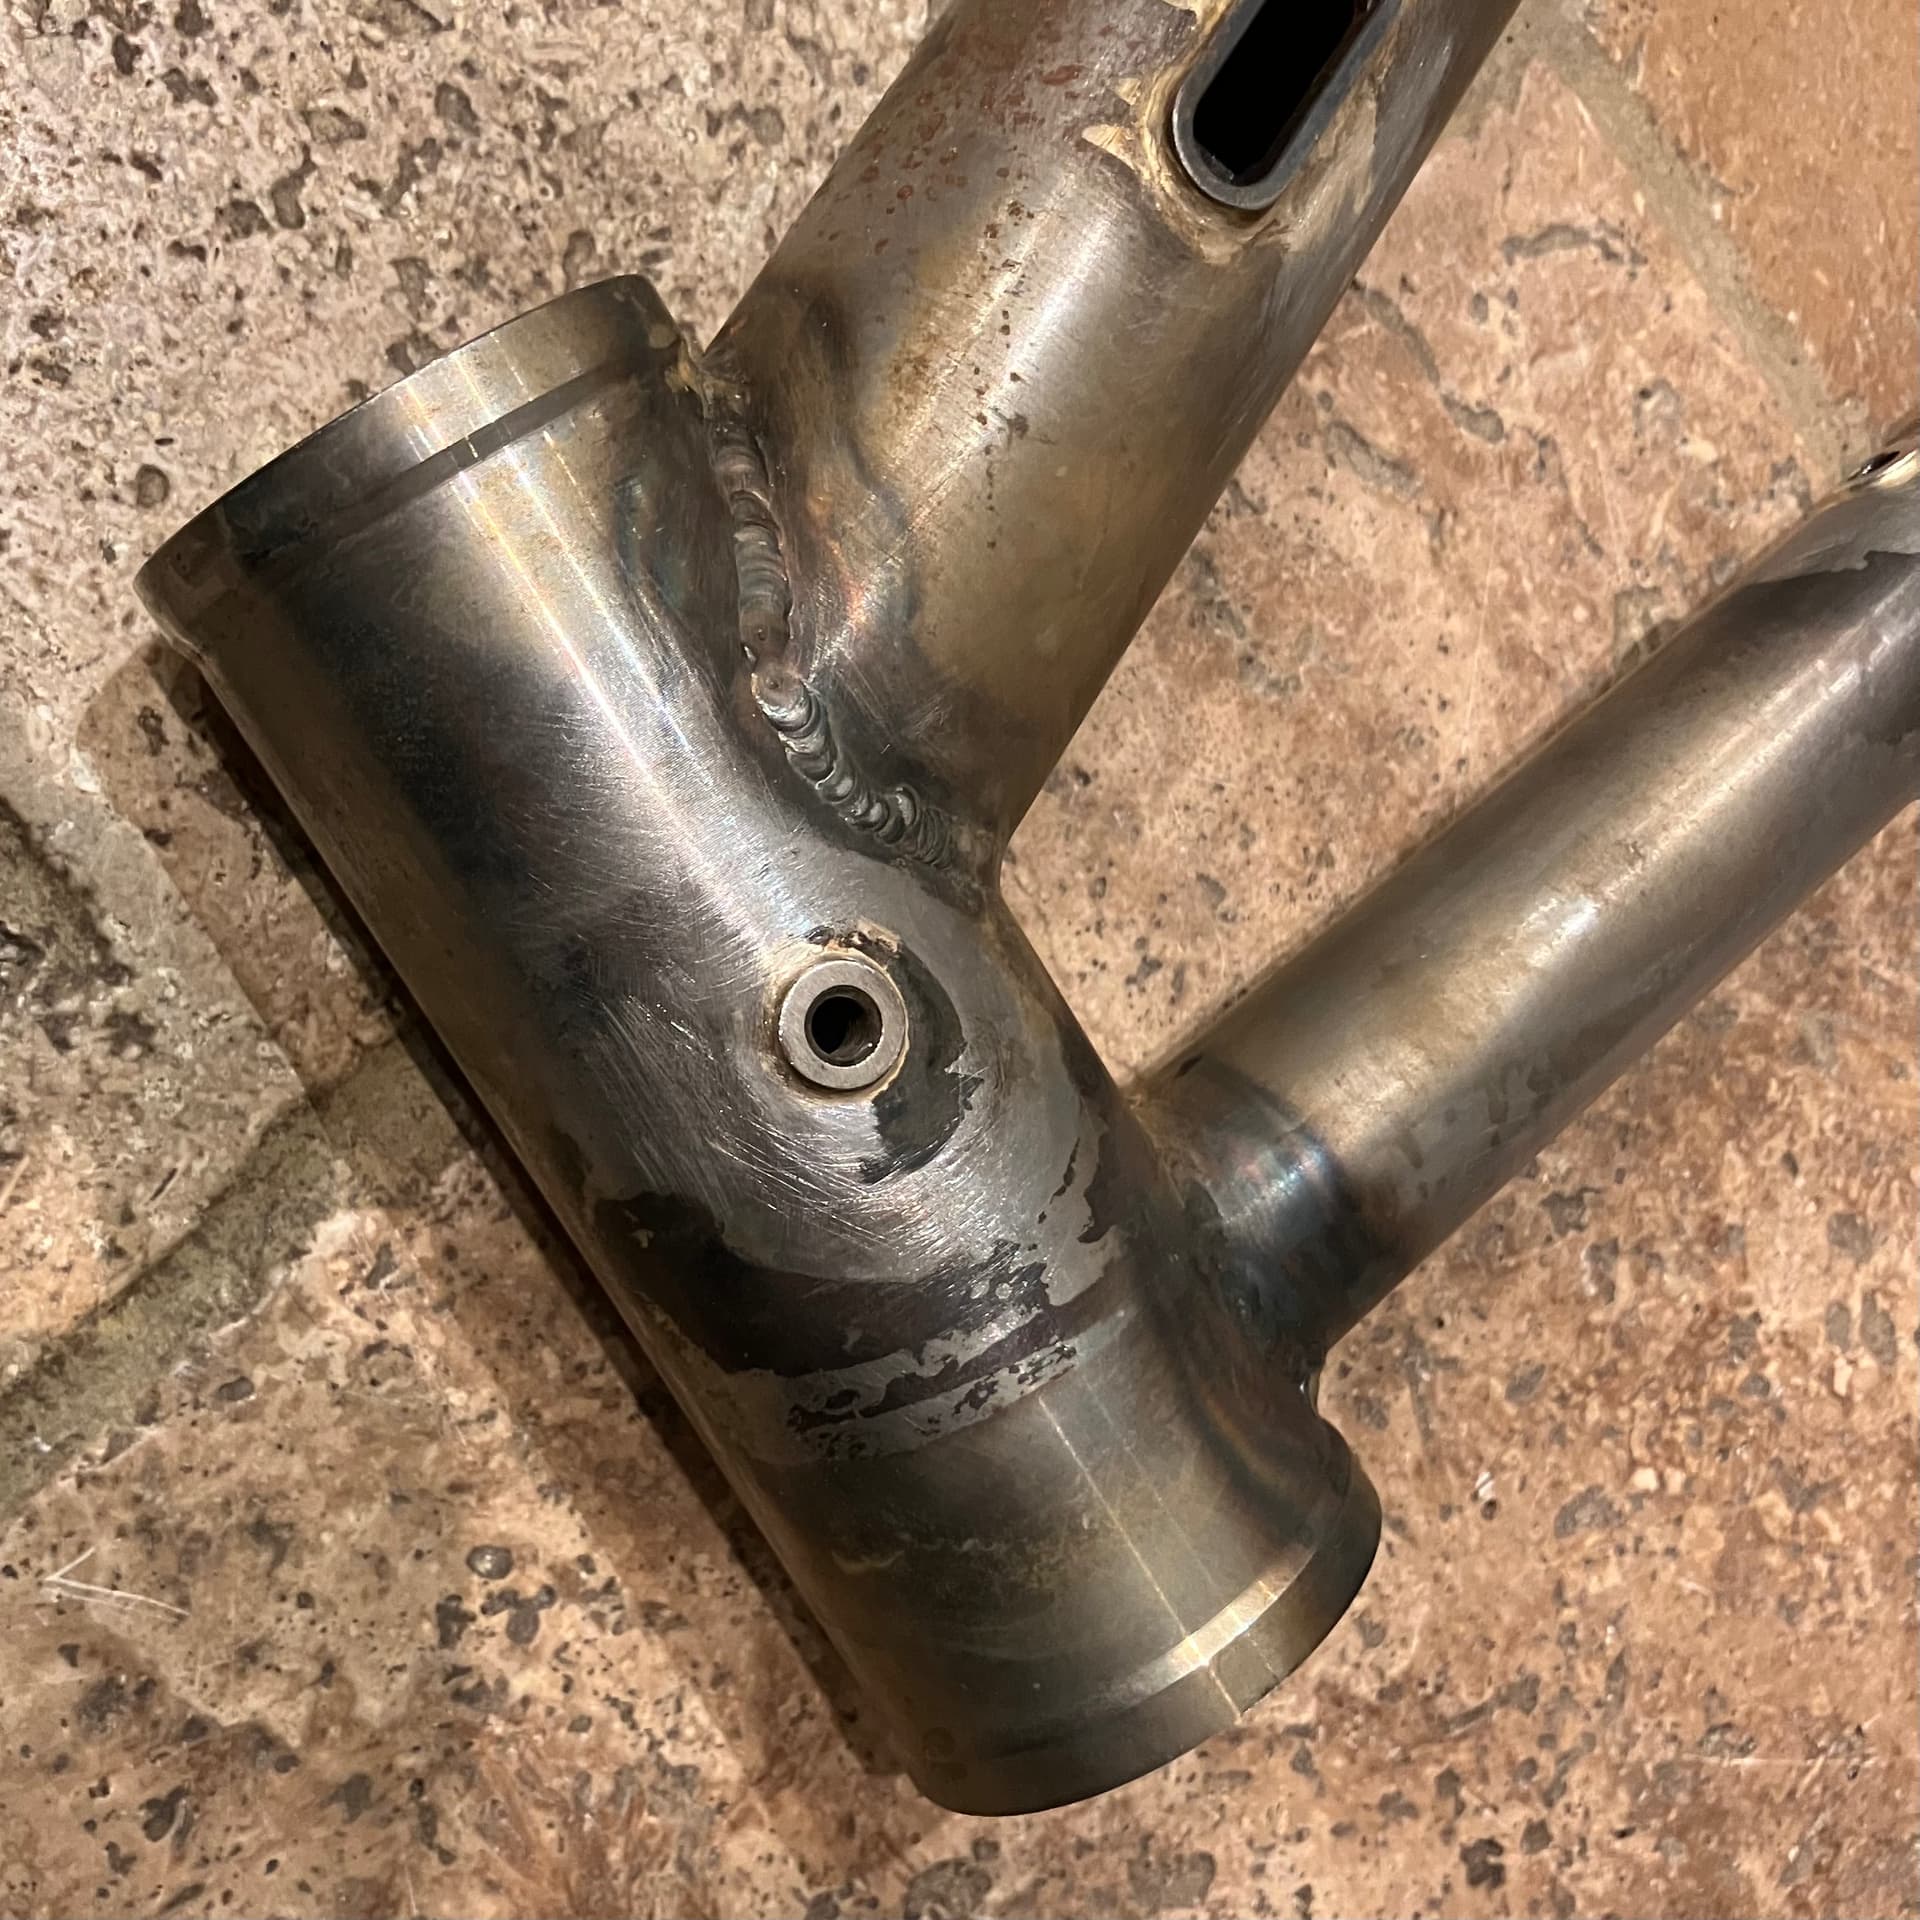
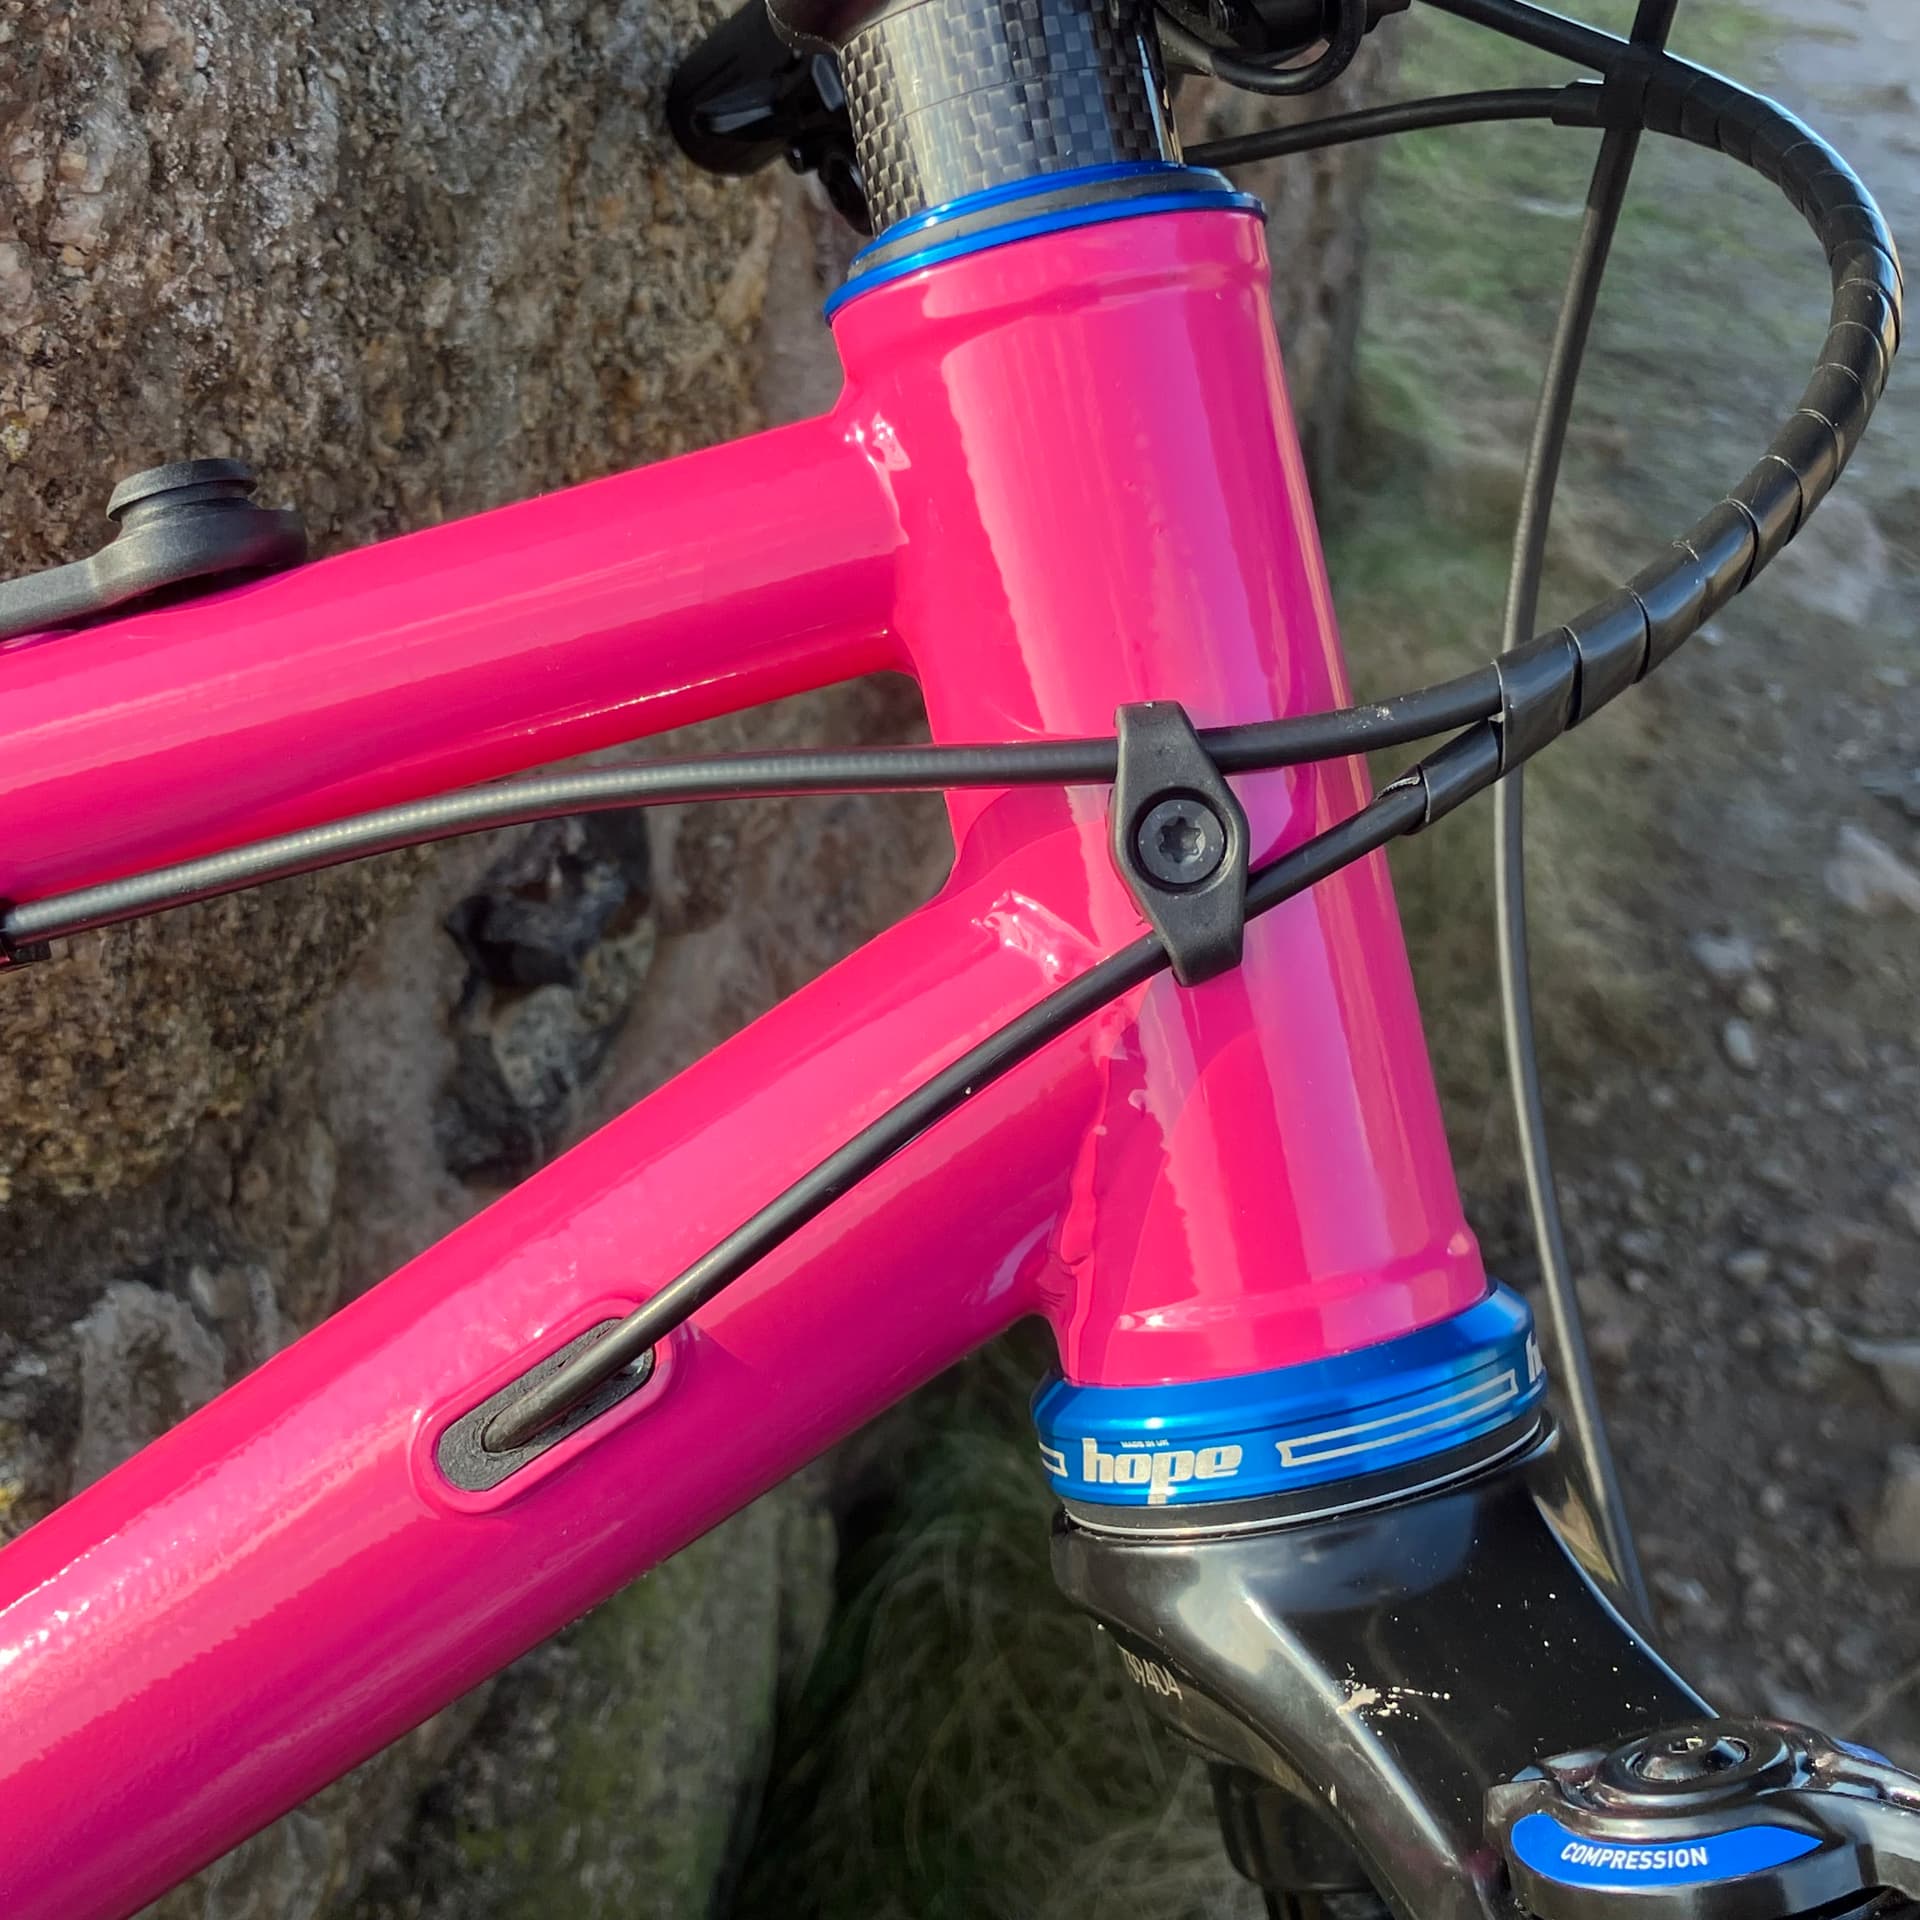
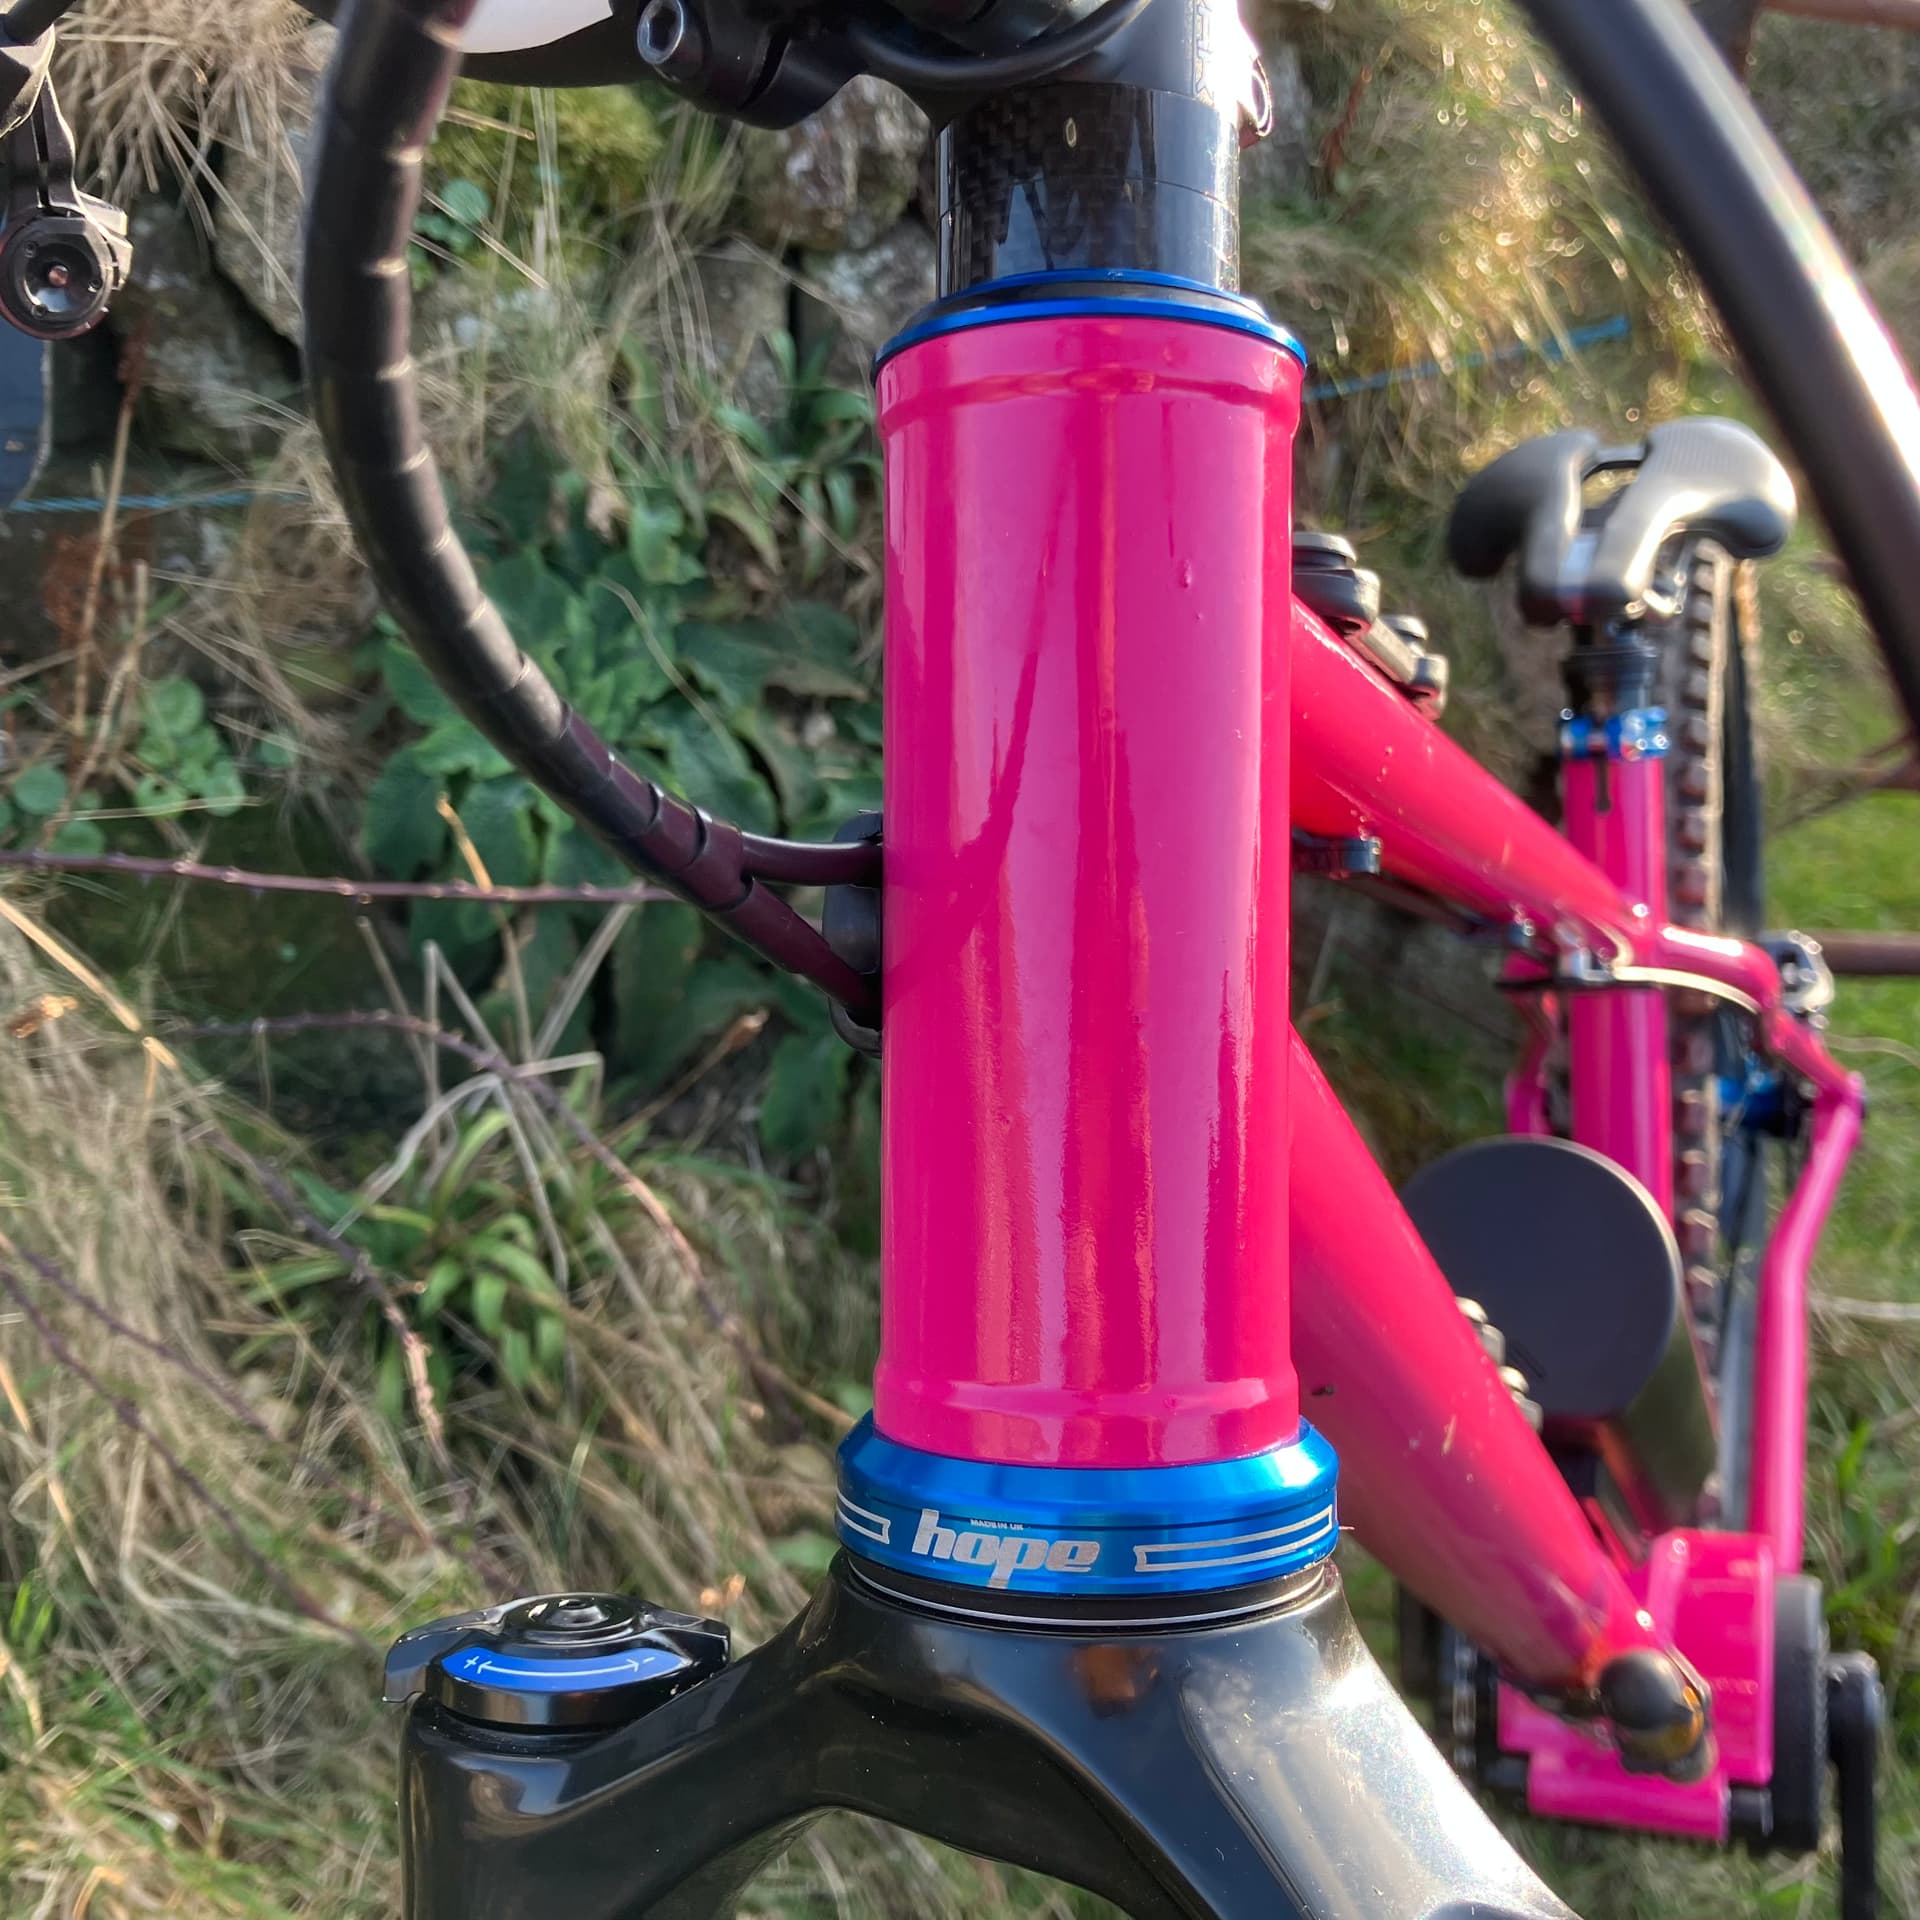
I had a last-minute idea to add a bottle mount on the top tube and a cable guide on the head tube. The top tube used rivnuts but I wanted a flush fit on the headtube so machined a M5 tapped boss on the lathe. I also spotted during the dry build that some of the rivnuts were a bit loose so decided to silver solder all the rivnuts to avoid any future issues.
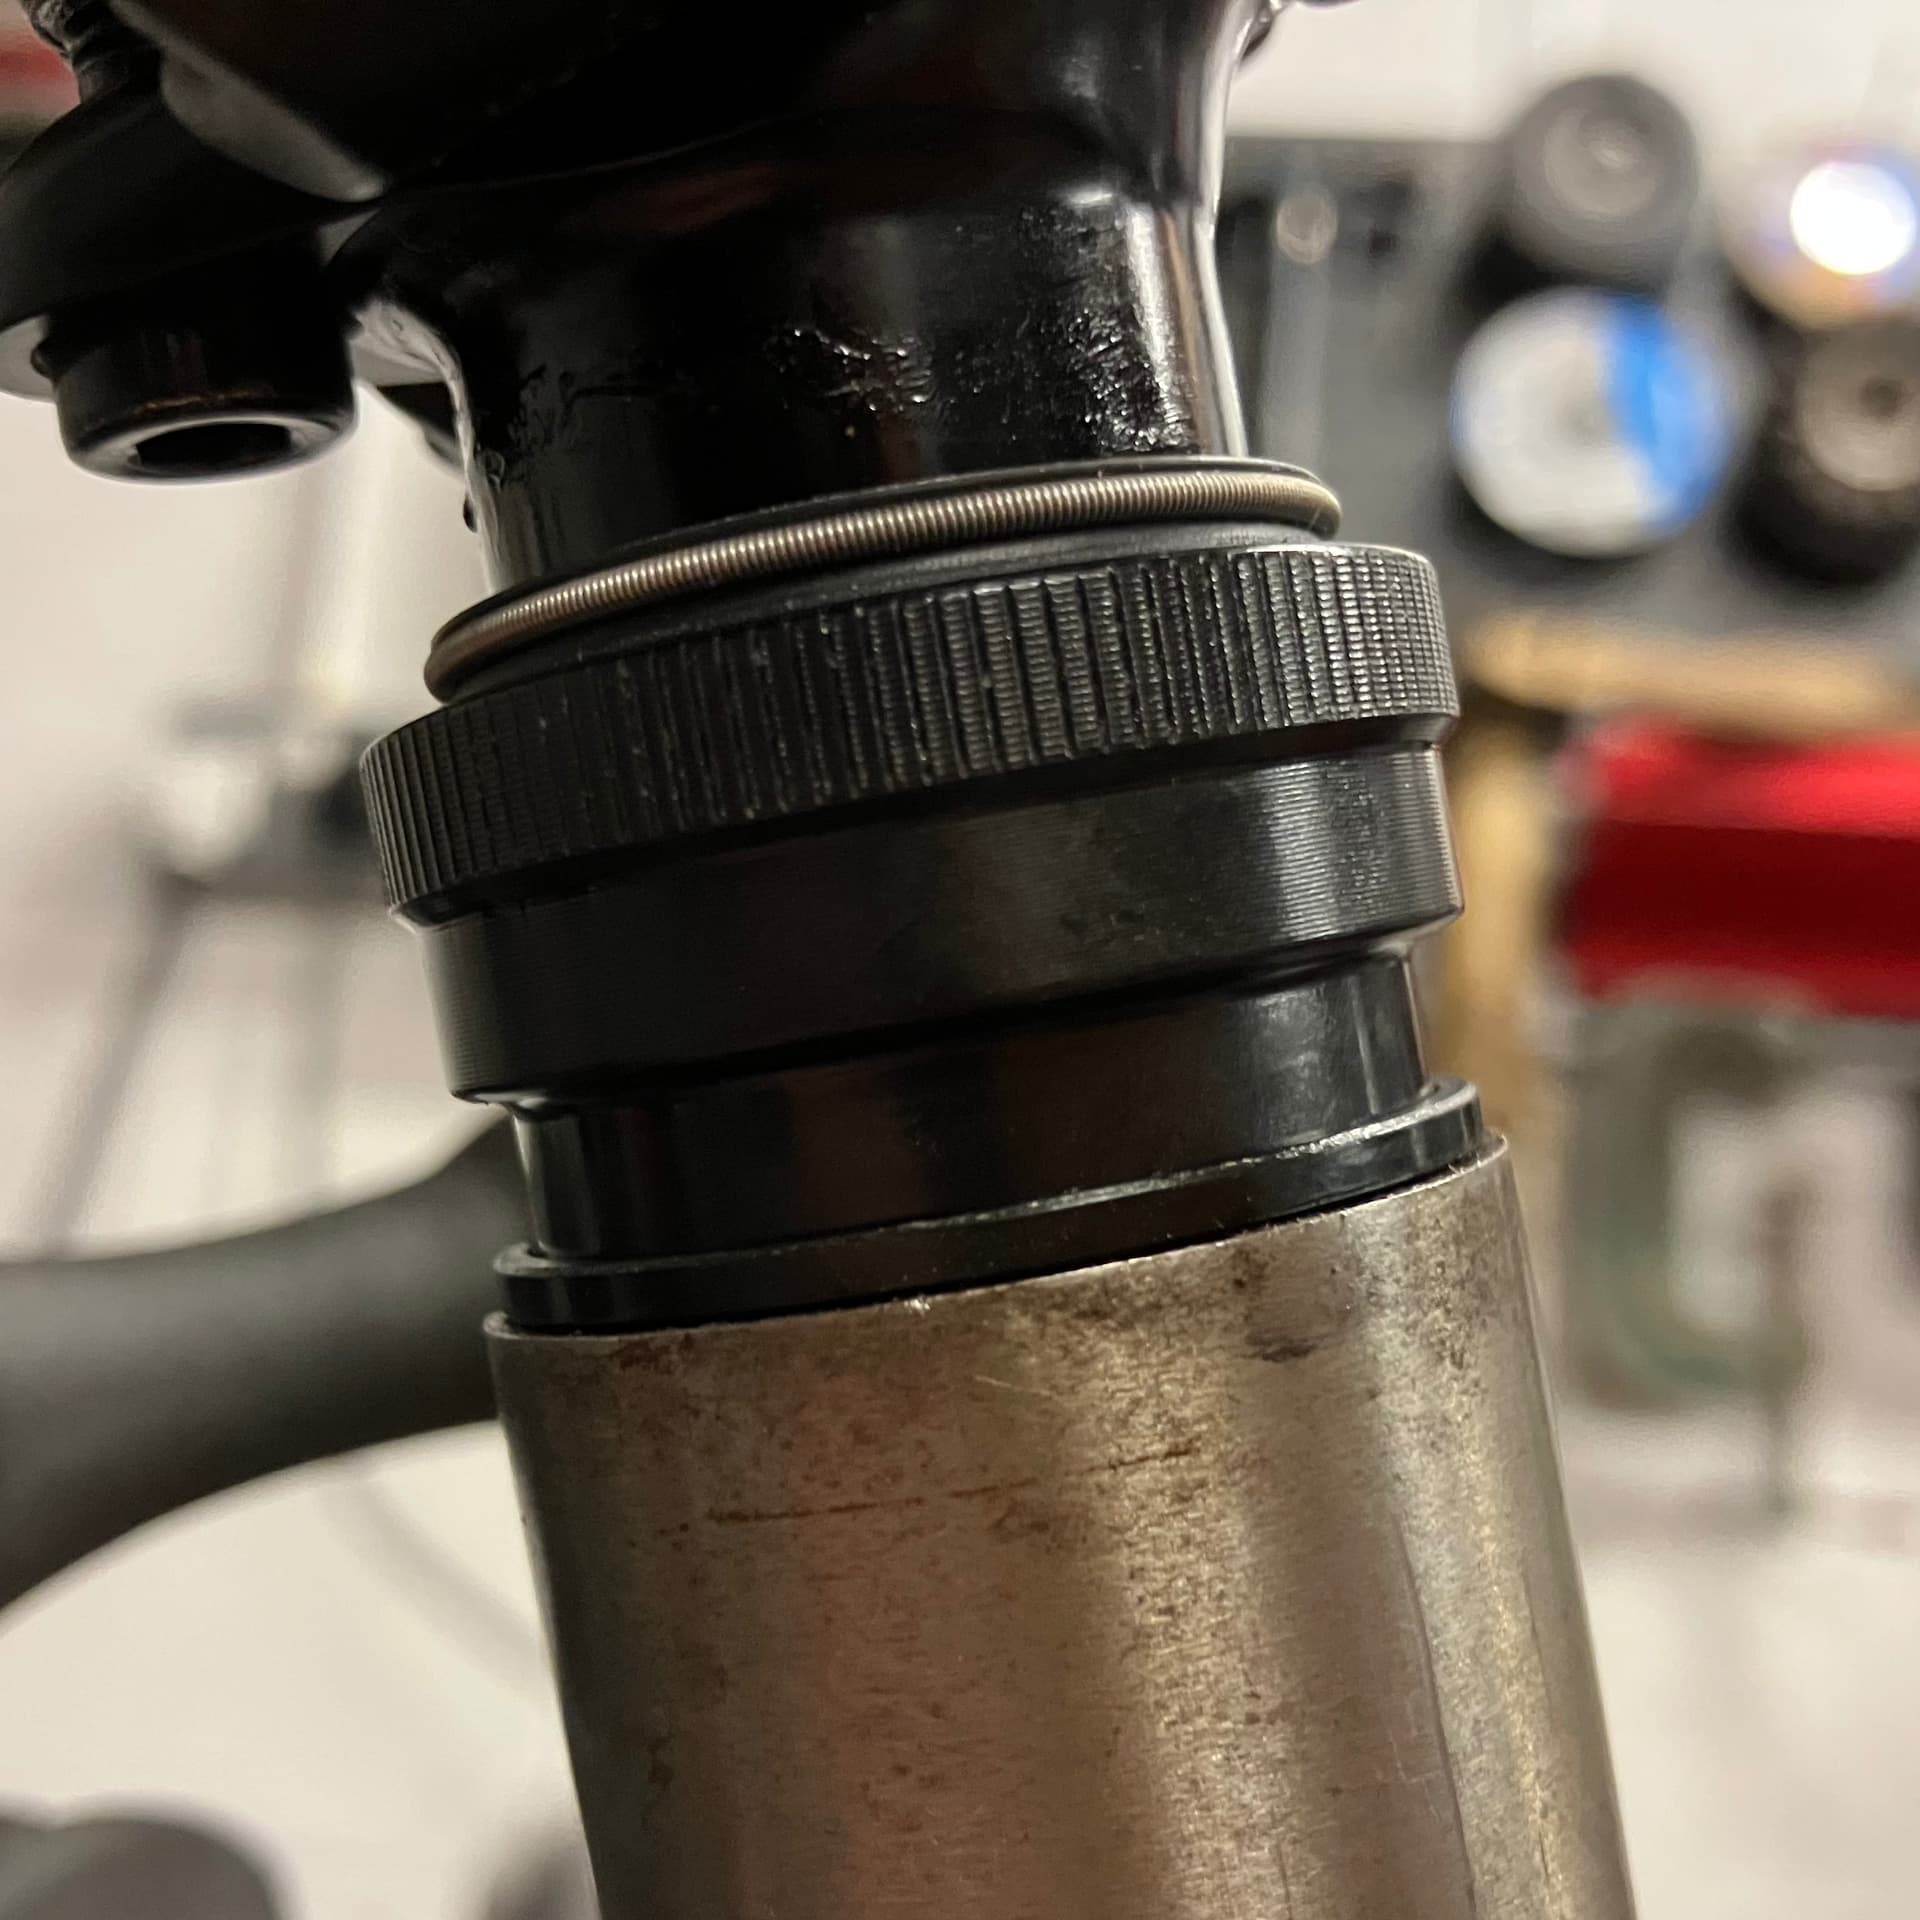
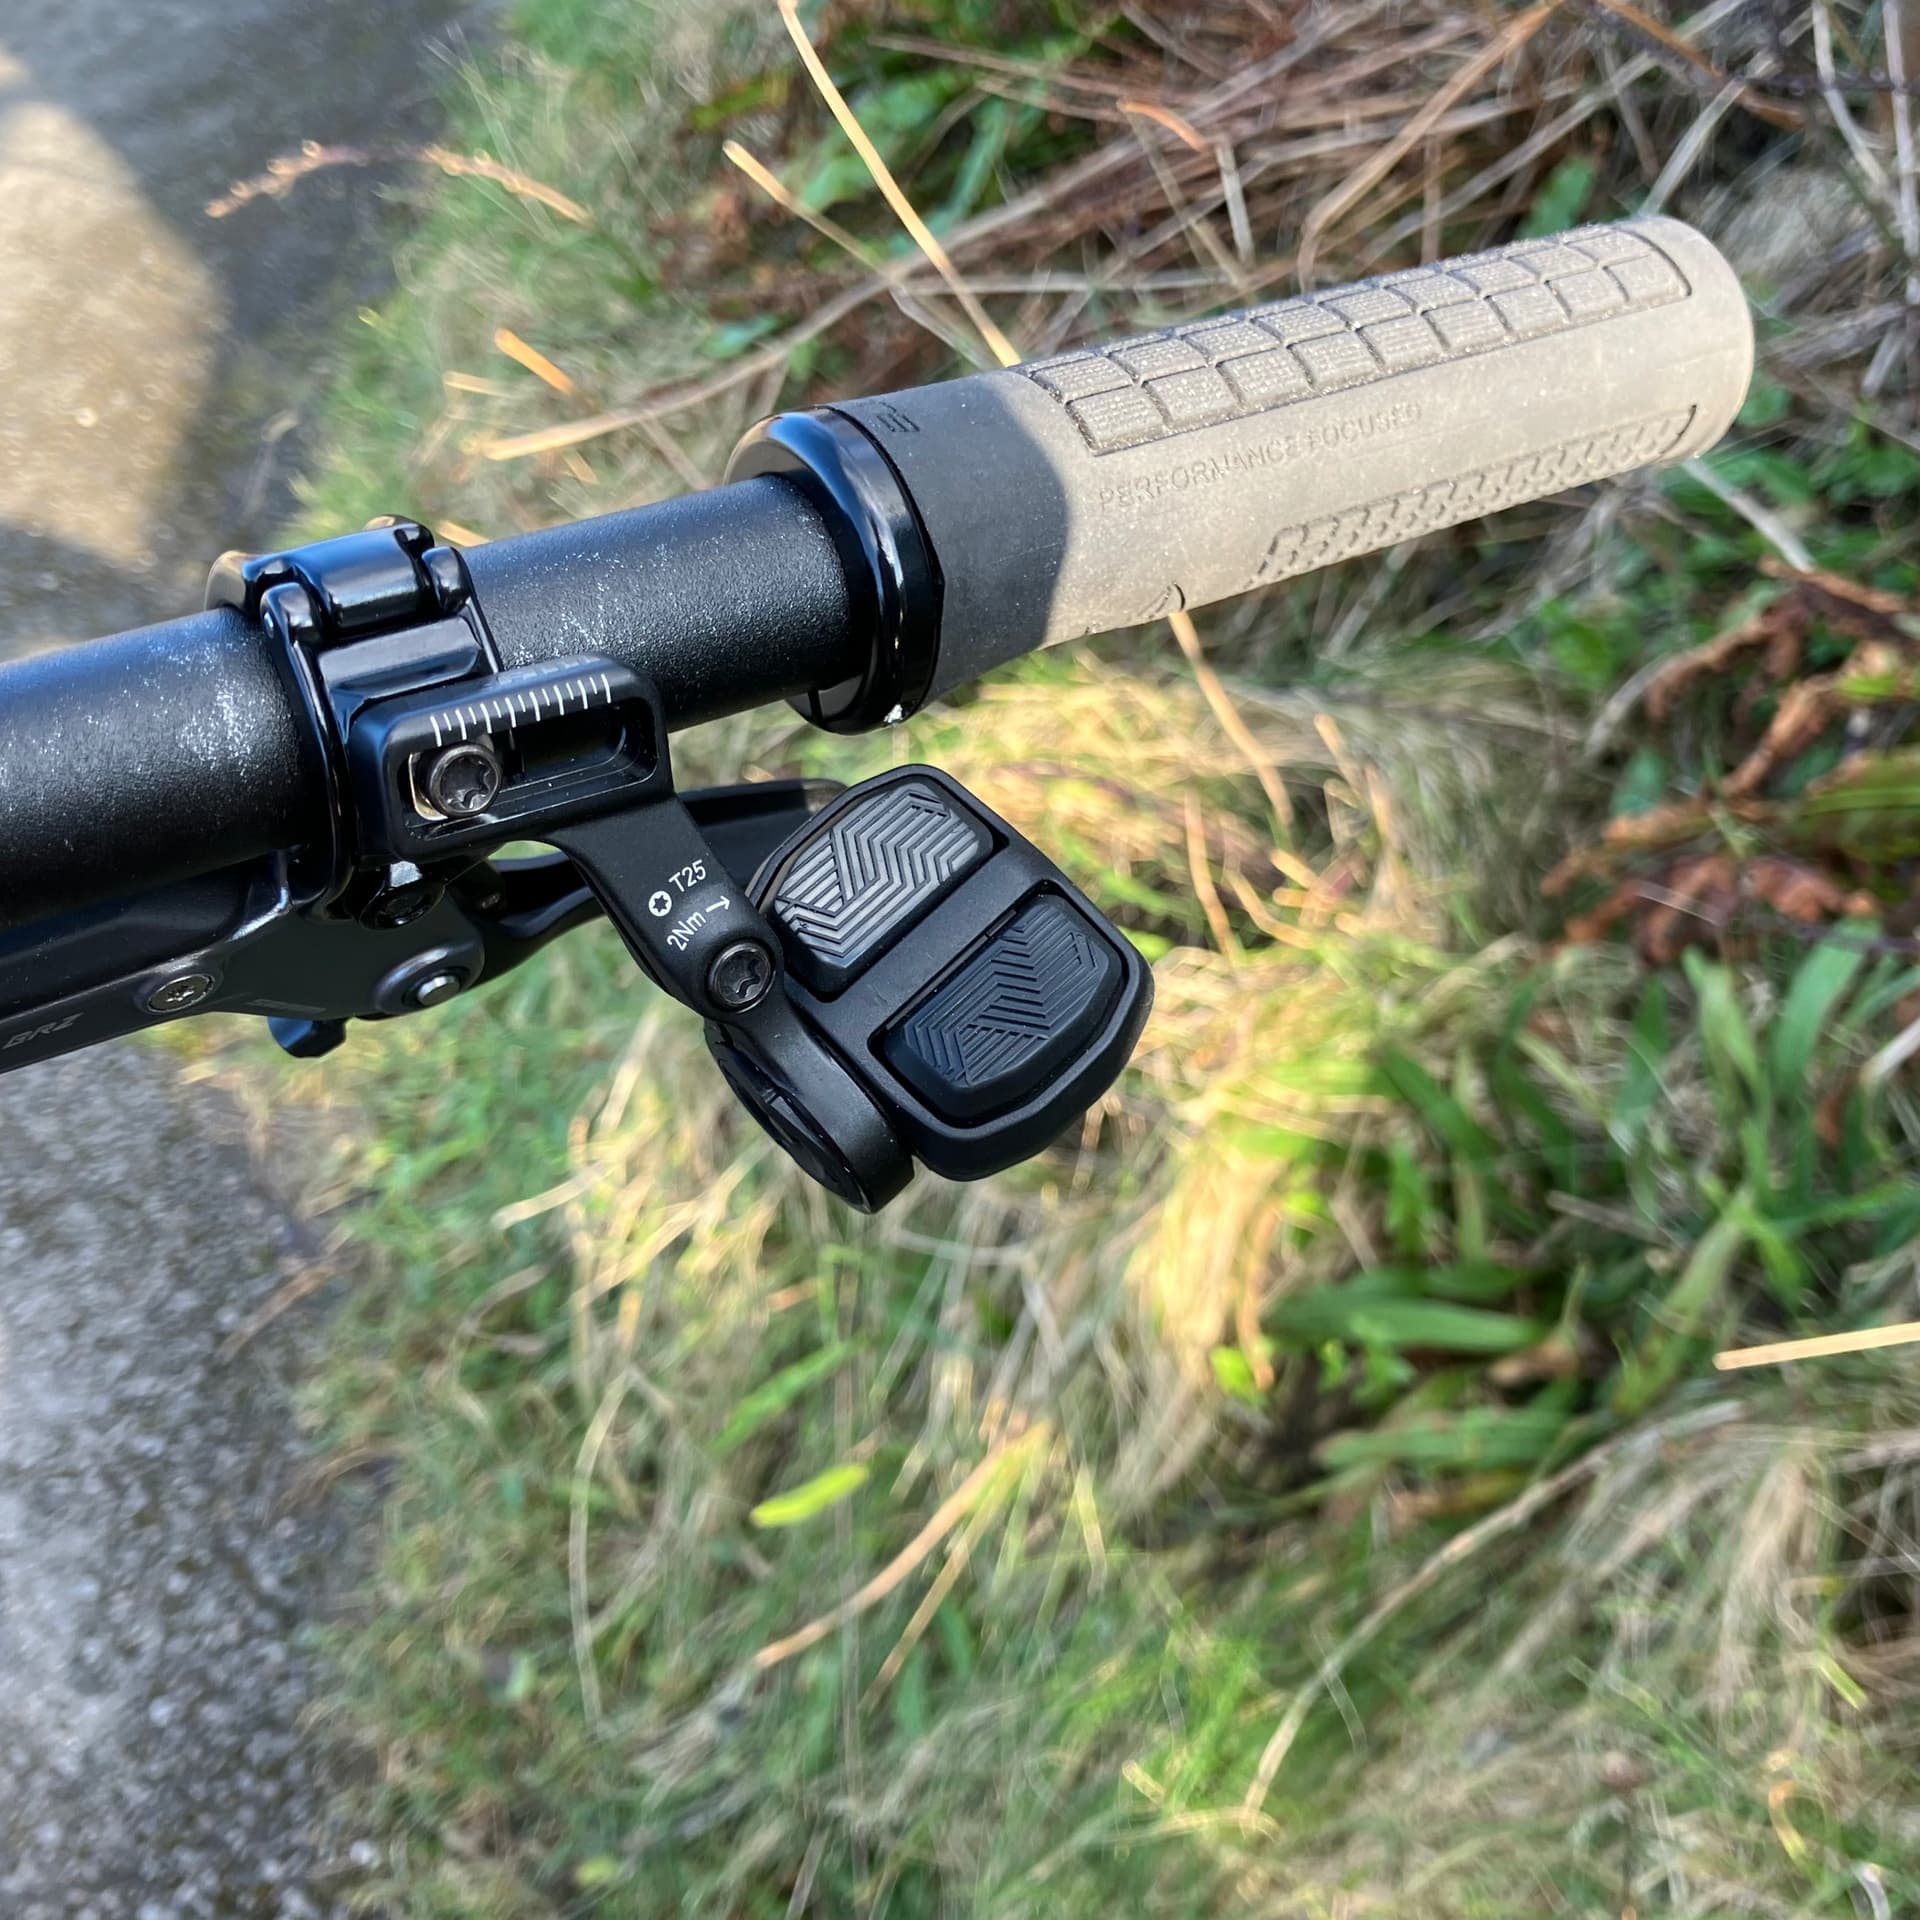
I specced a OneUp 240mm dropper post for this build. The frame was designed to allow sufficient space for this with the post completely slammed, but I’d forgotten to allow for the cable - d’oh! To make room for this while keeping the dropper post I’d bought, I used a set of the supplied adjustment keys to bring the dropper down to 230mm and 3D-printed a compact cable guide. This left me with 10mm of stickout.

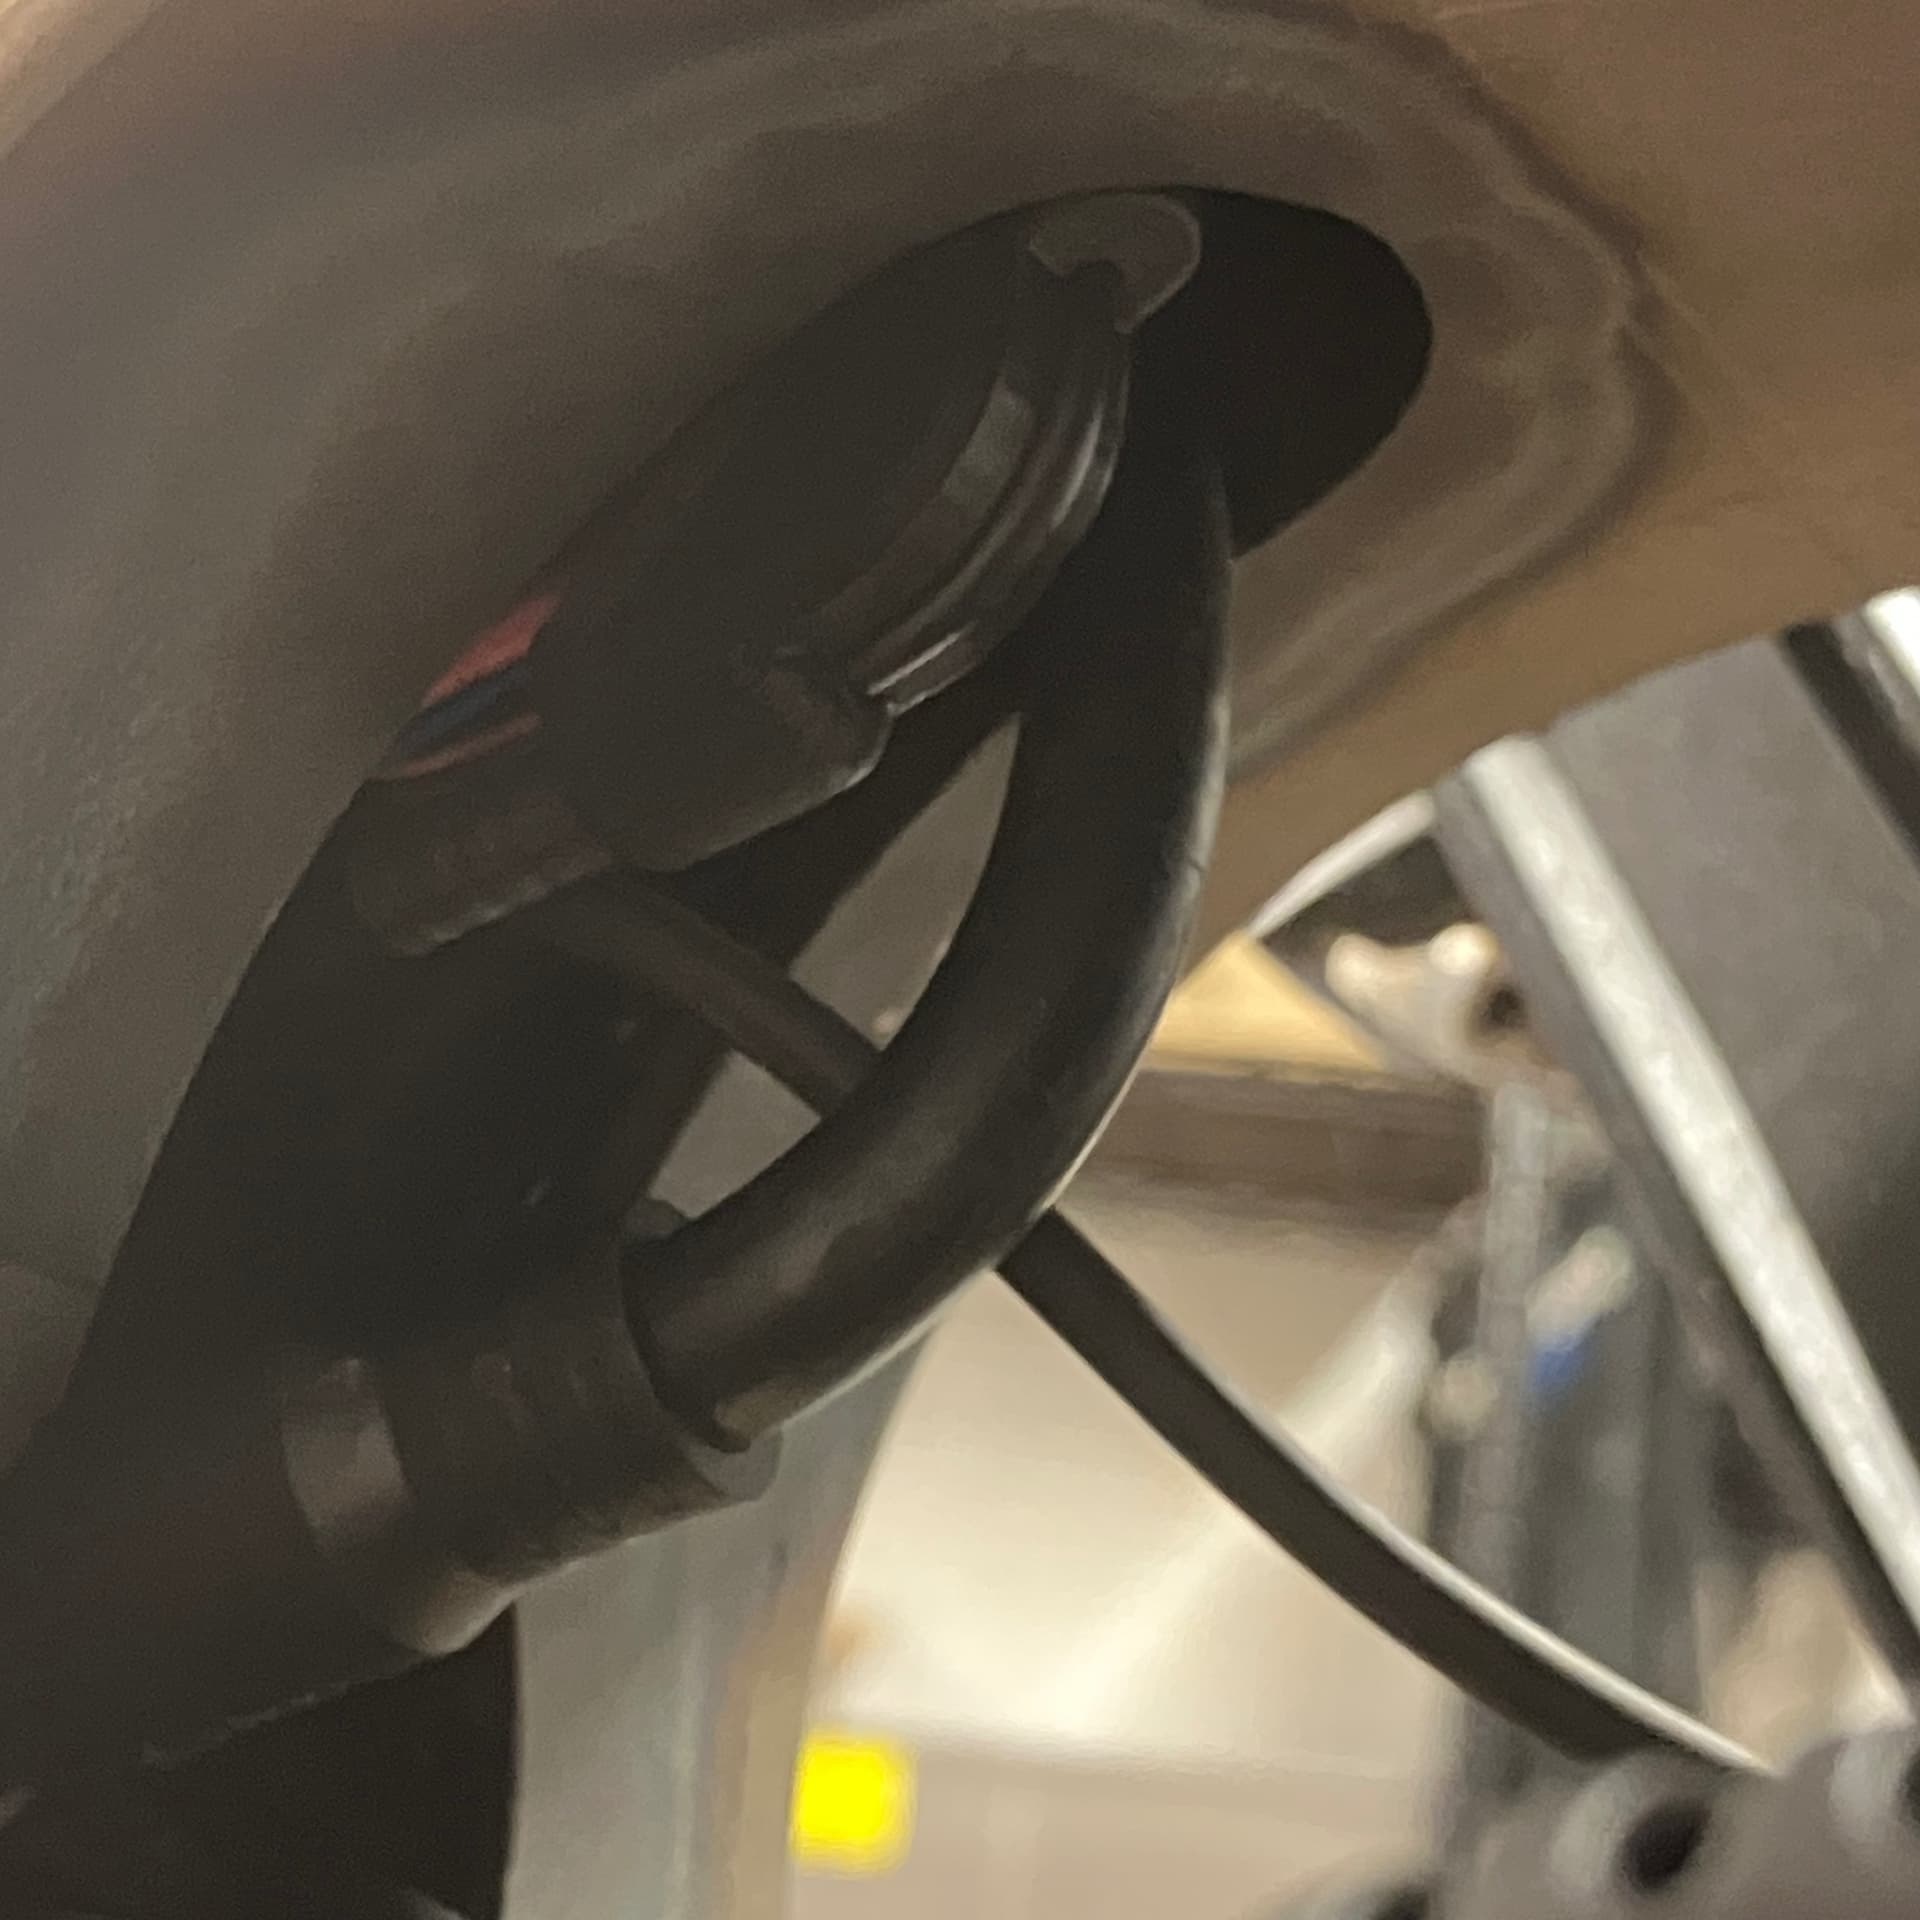
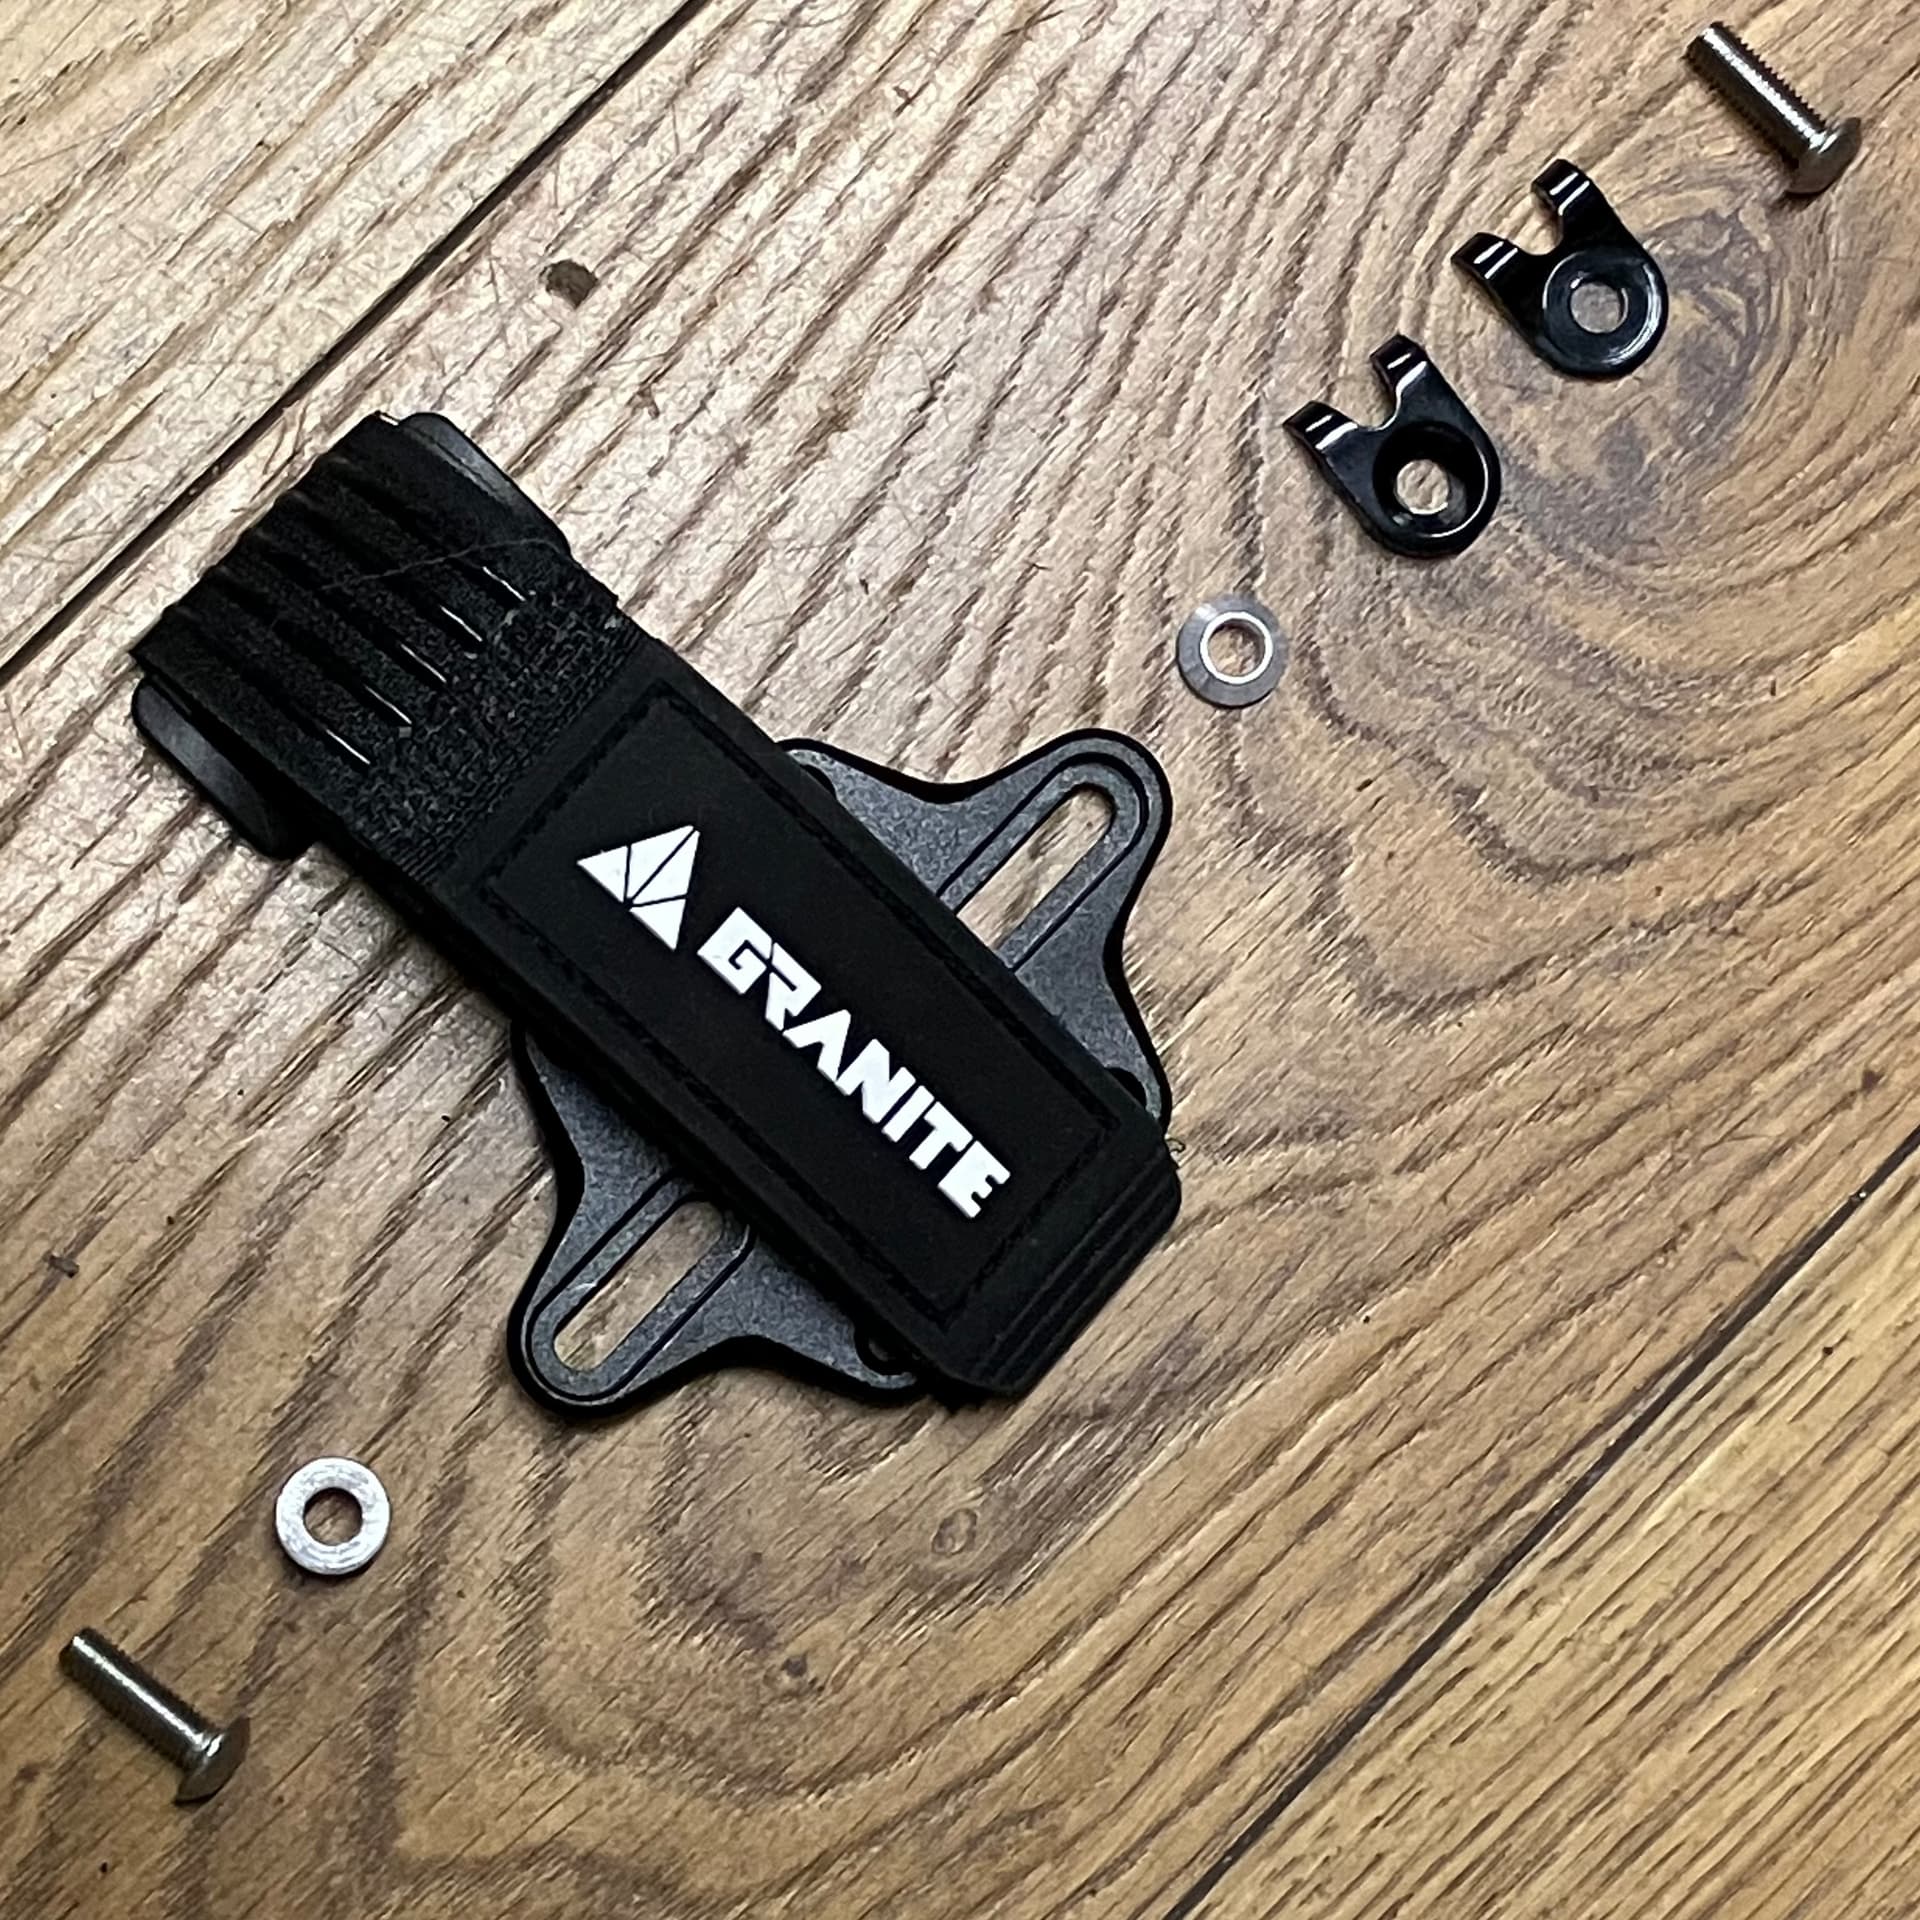
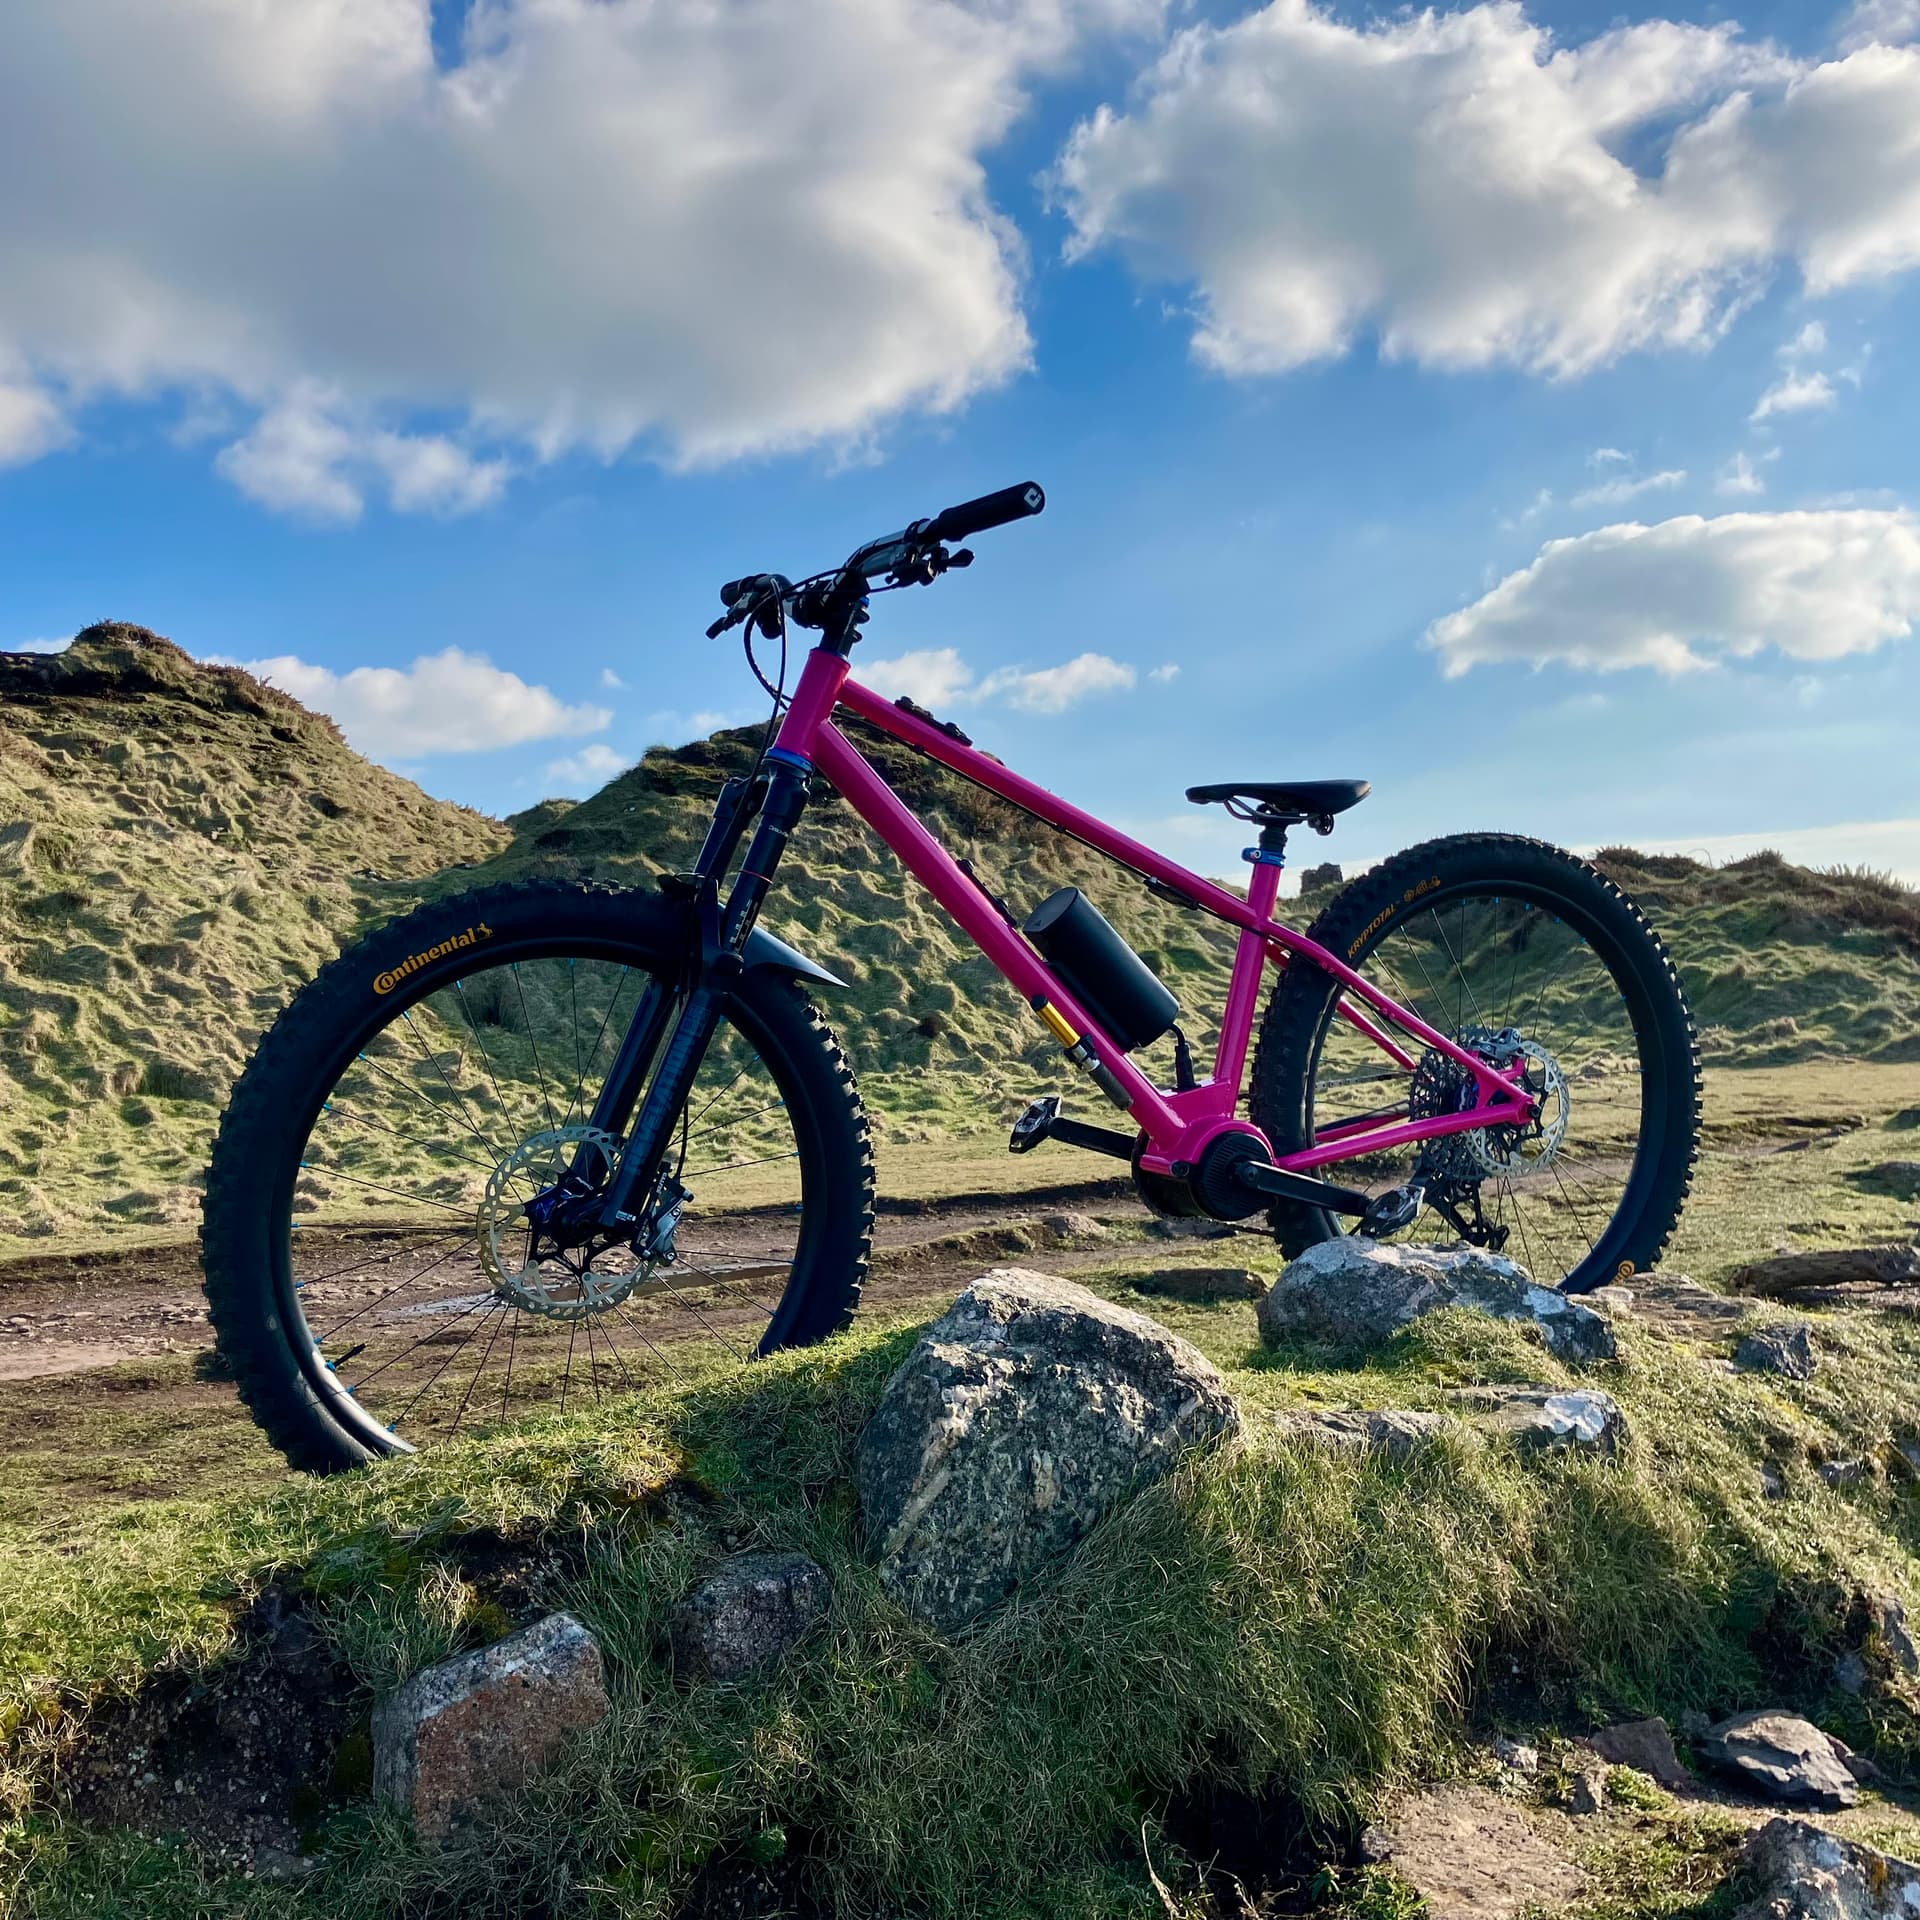
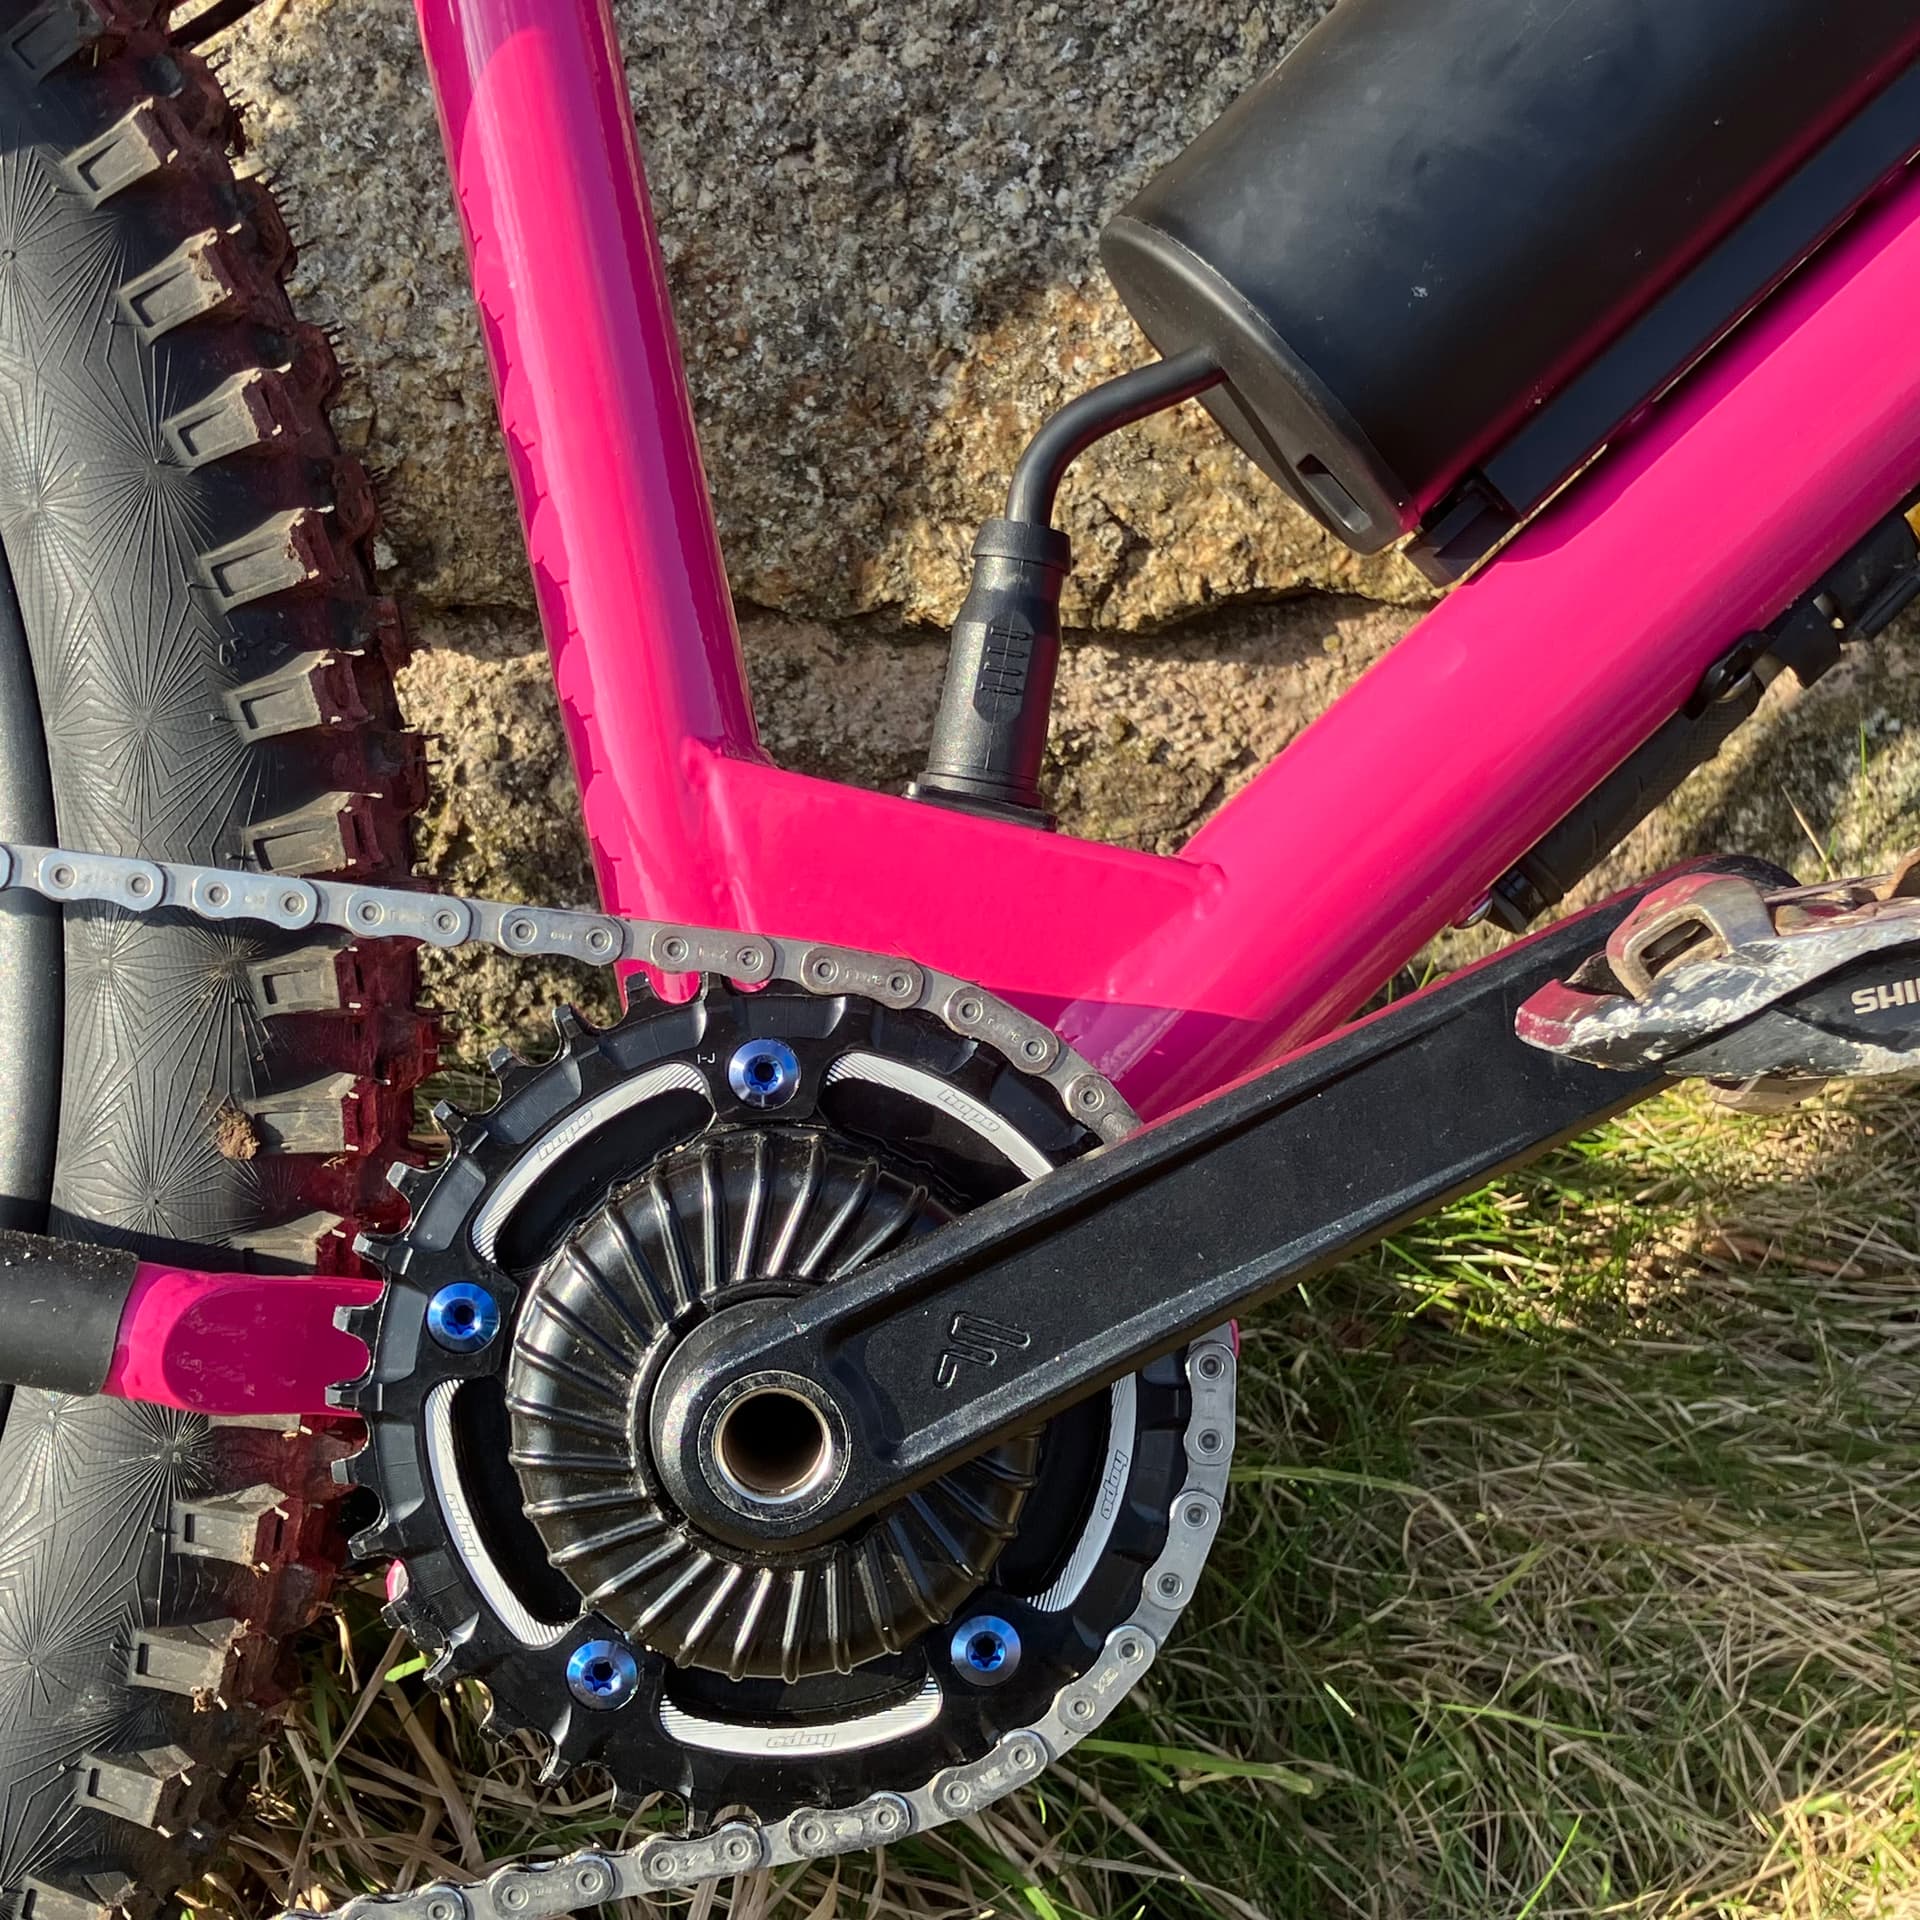
One of the features I designed into the frame was a bottle/accessory mount under the down tube to sit over the cable guide. I machined up a couple of spacers to fit which allows a handy strap mount base to be fitted just in front of the seat tube for an inner tube and essential trail tools.

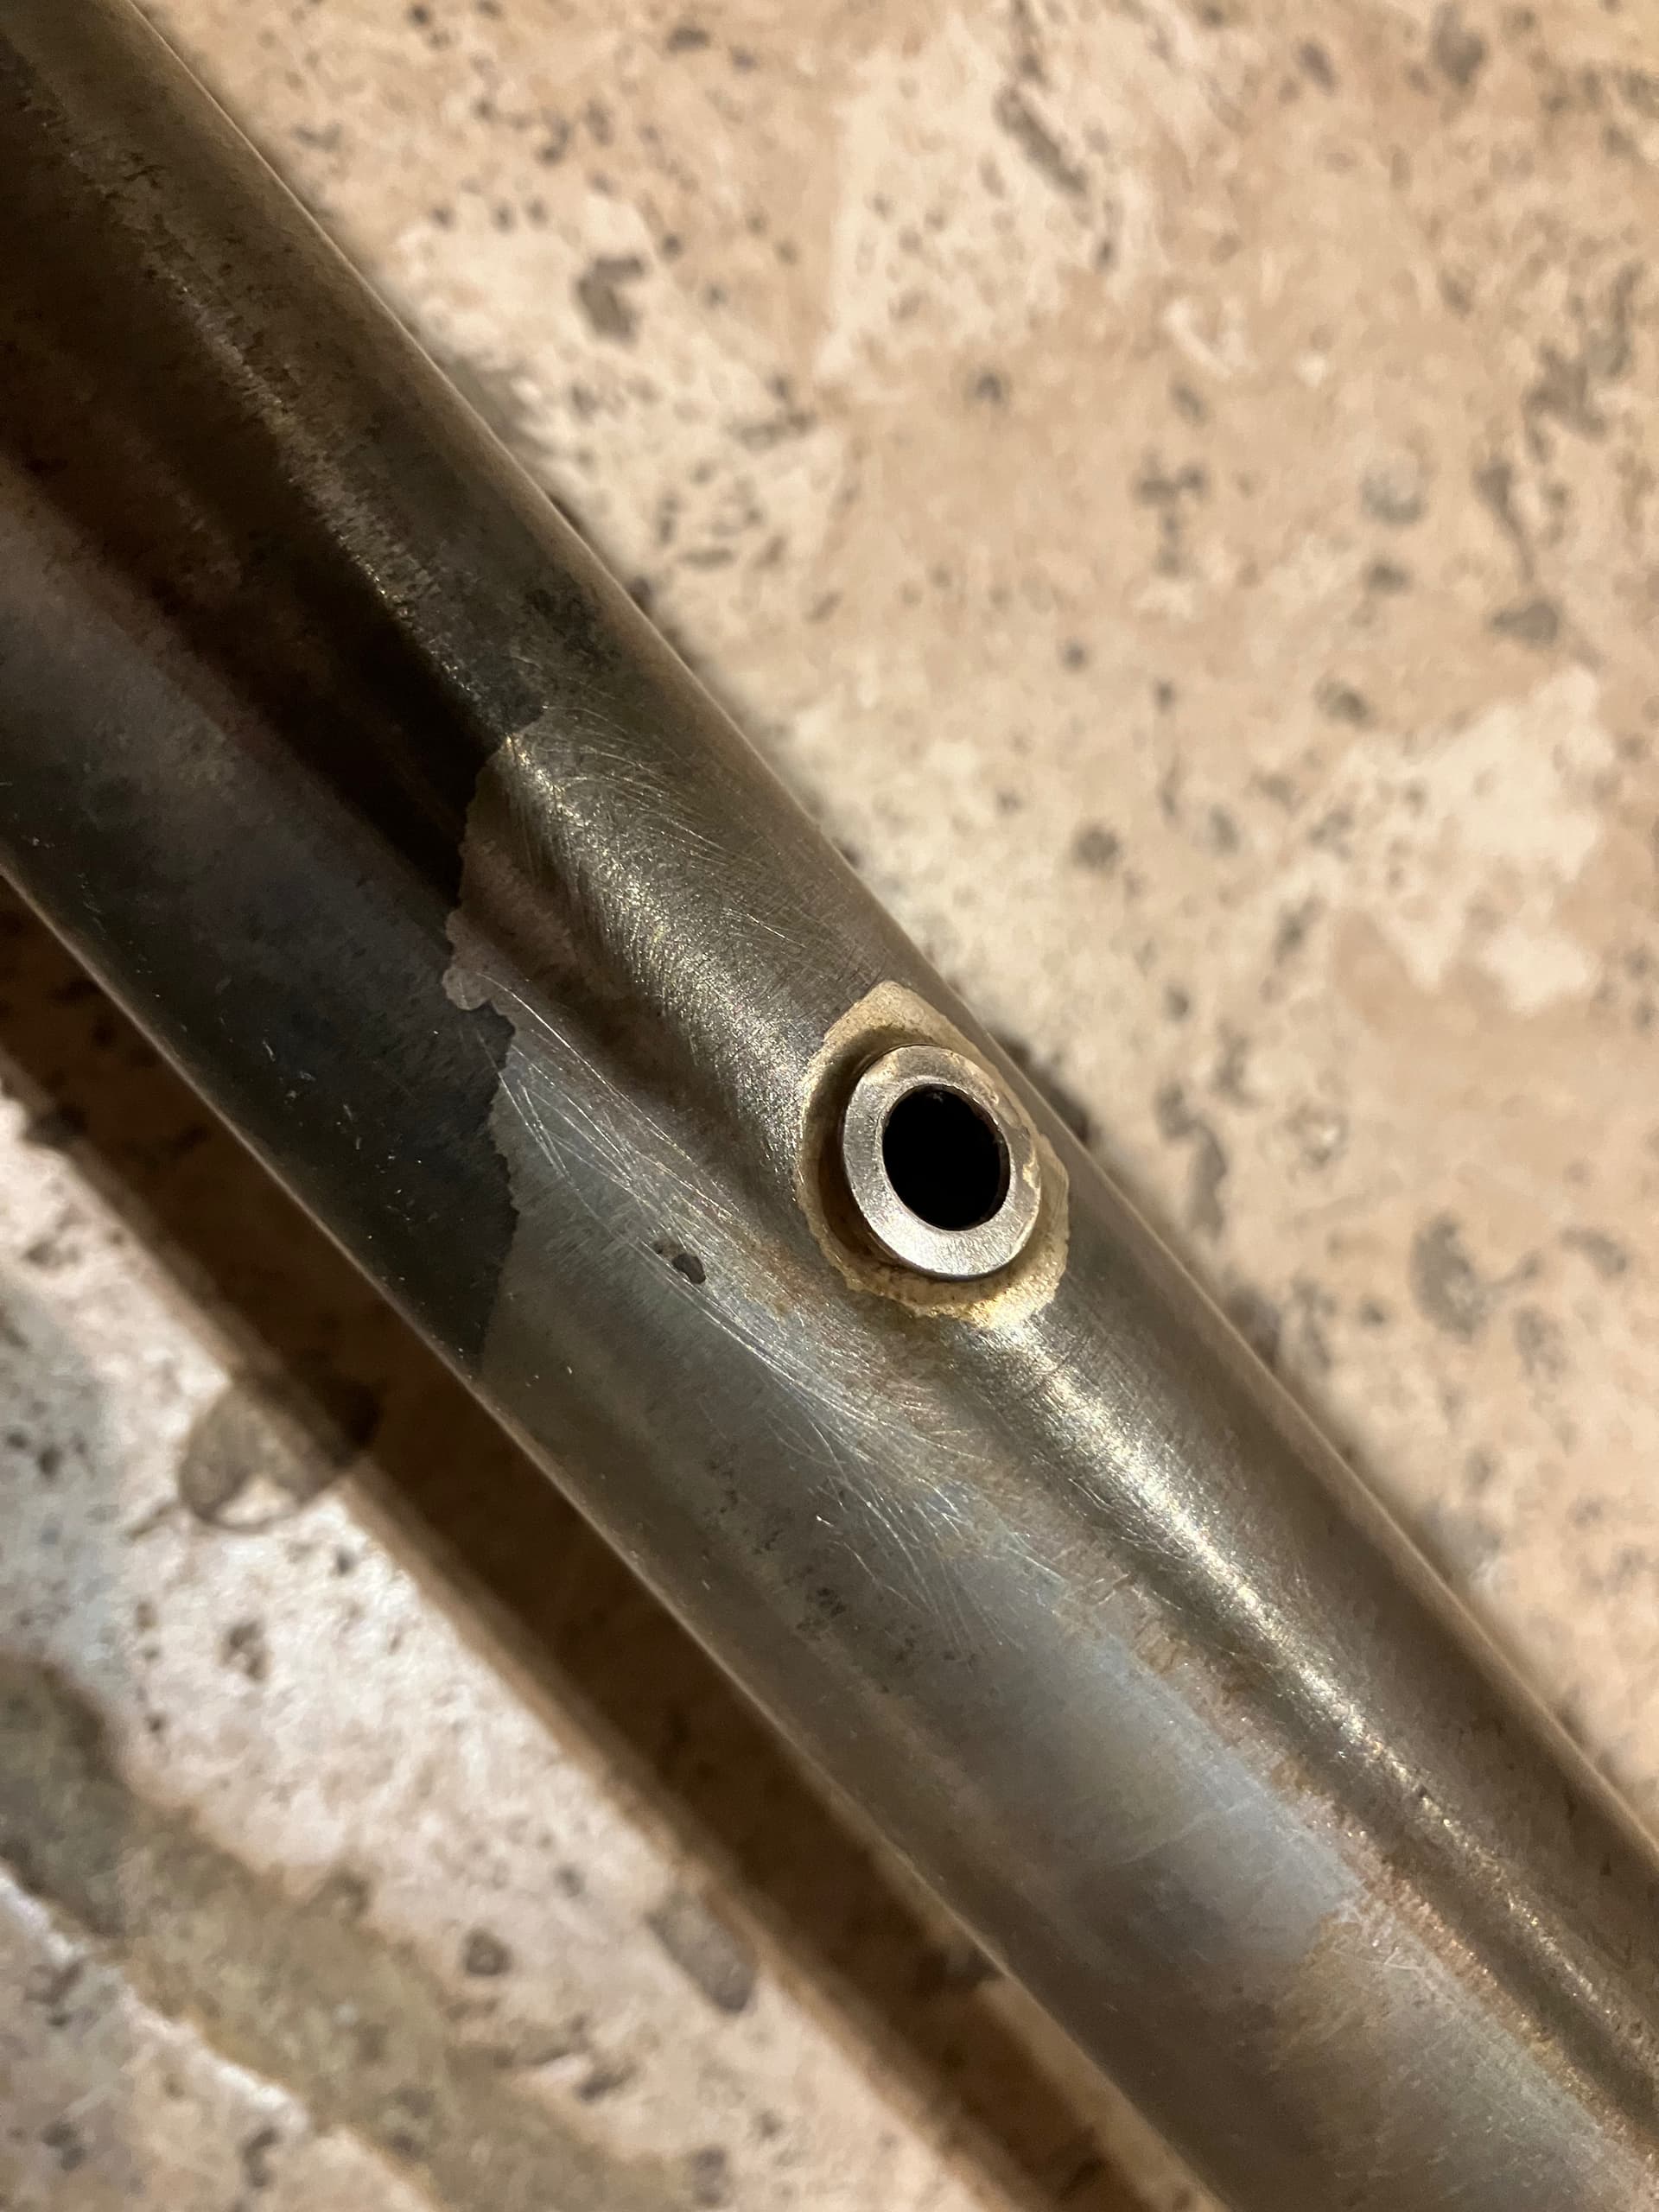
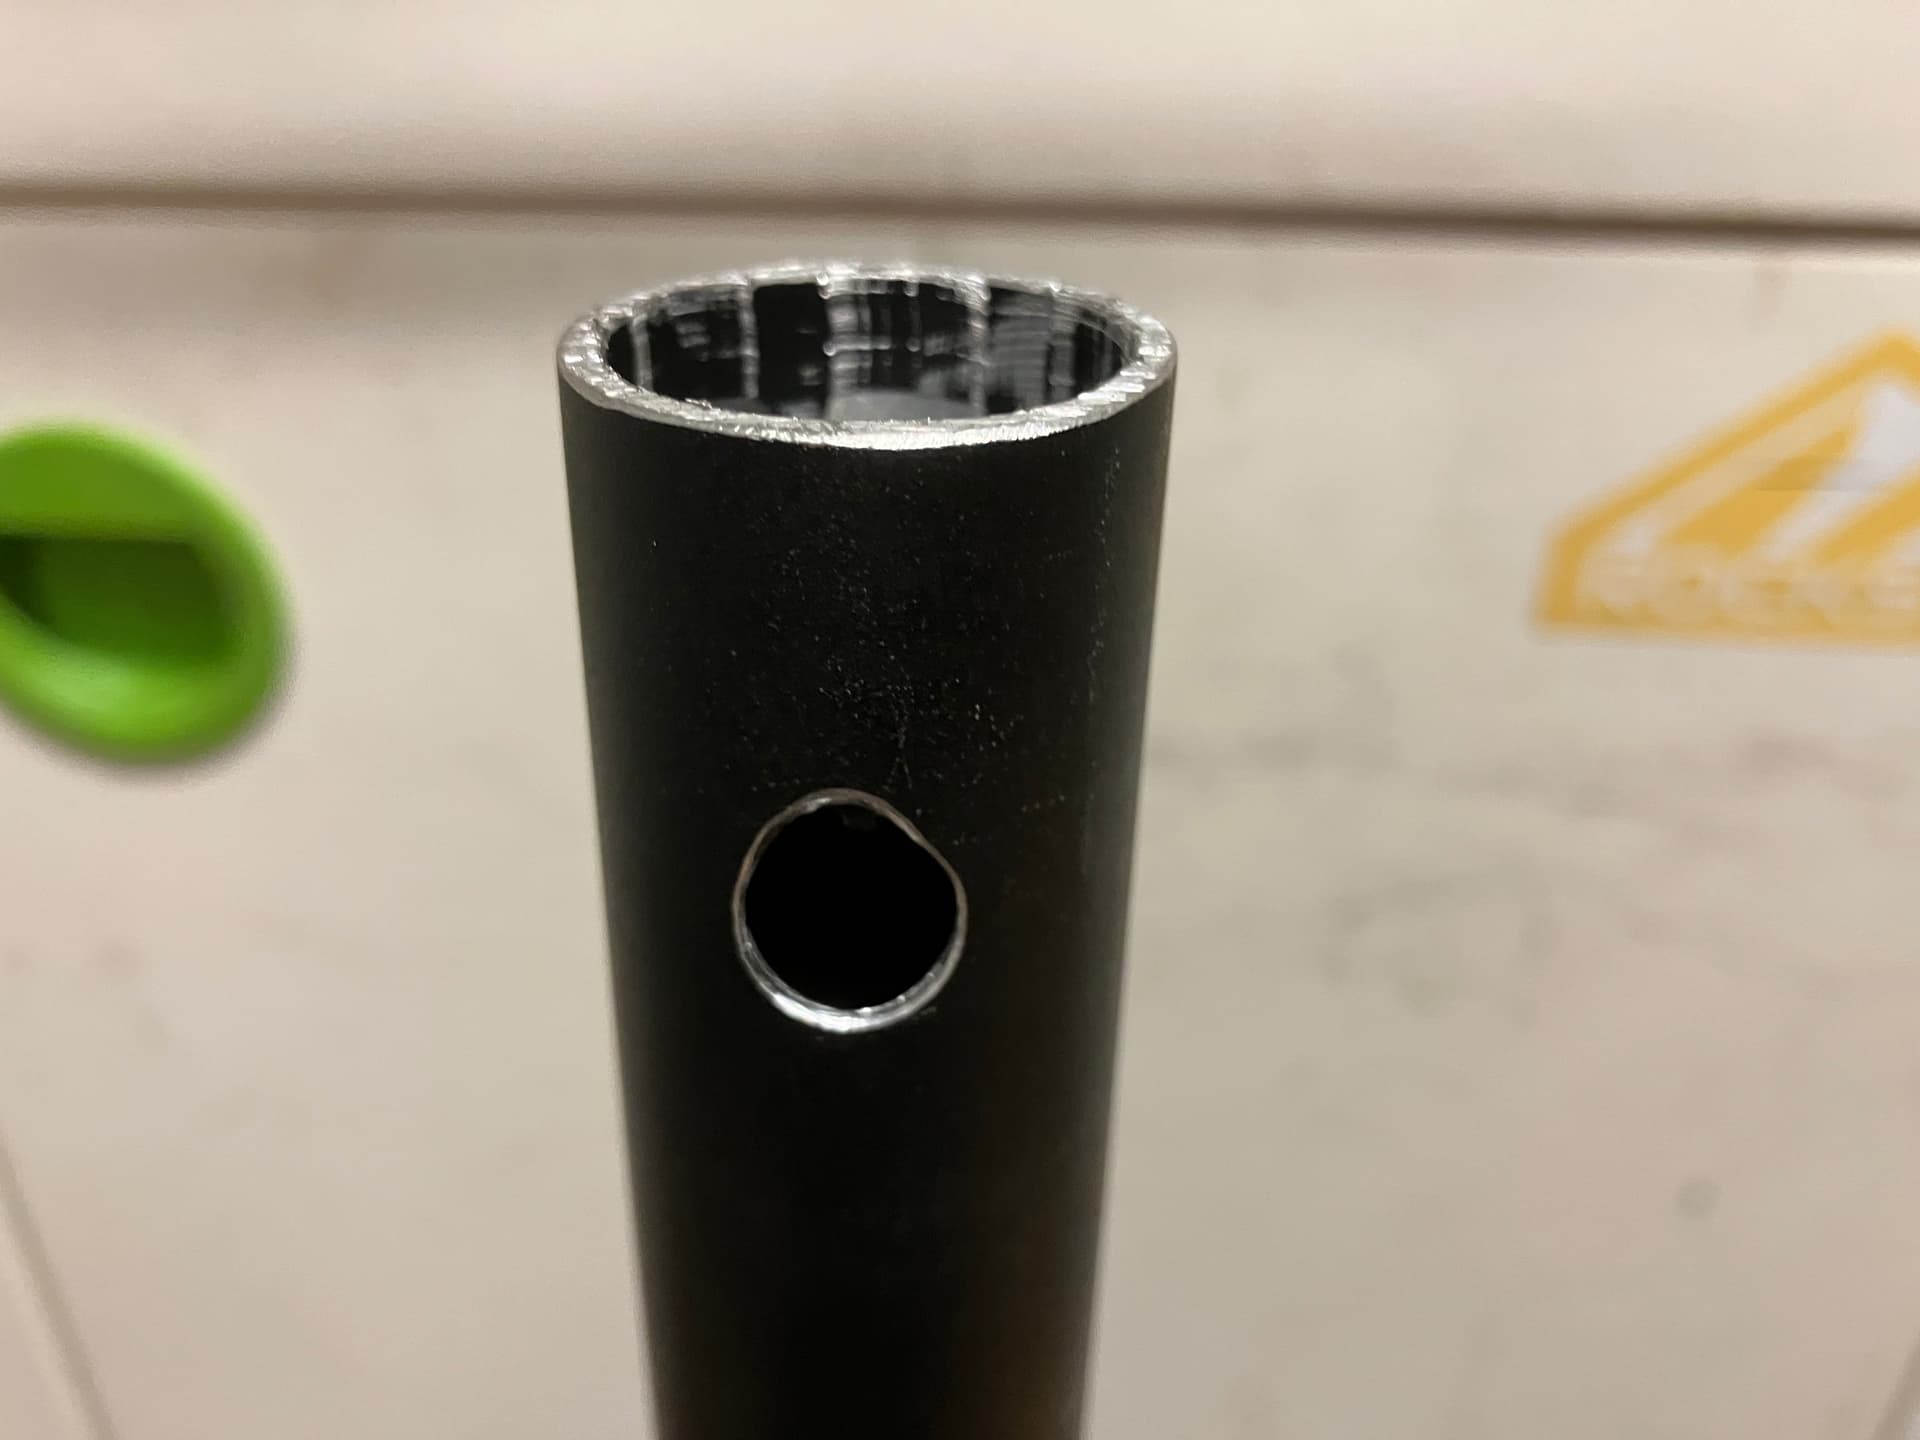
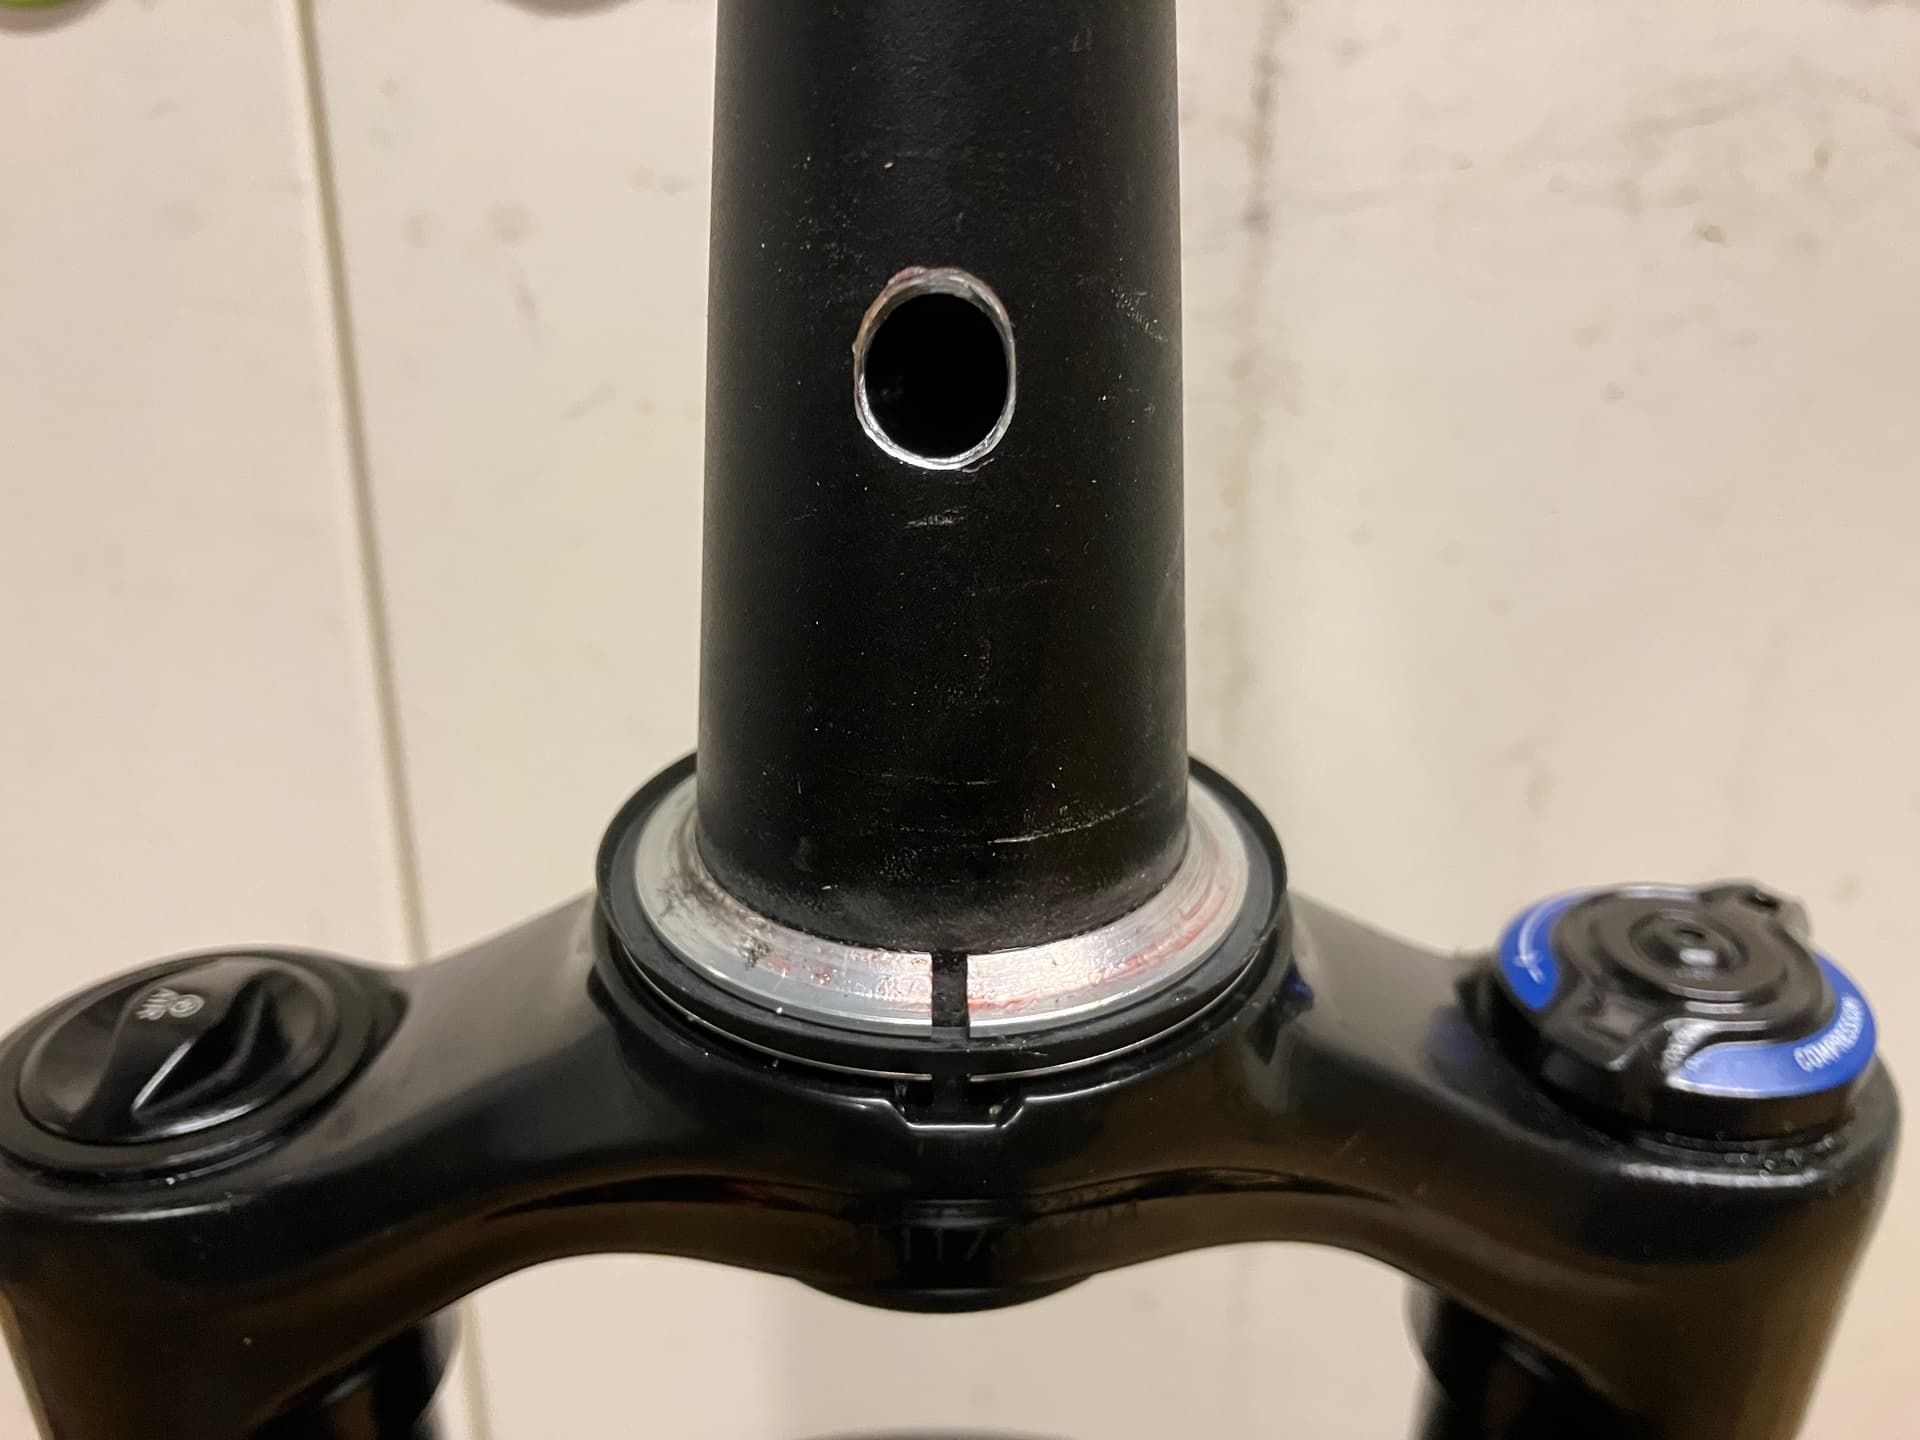
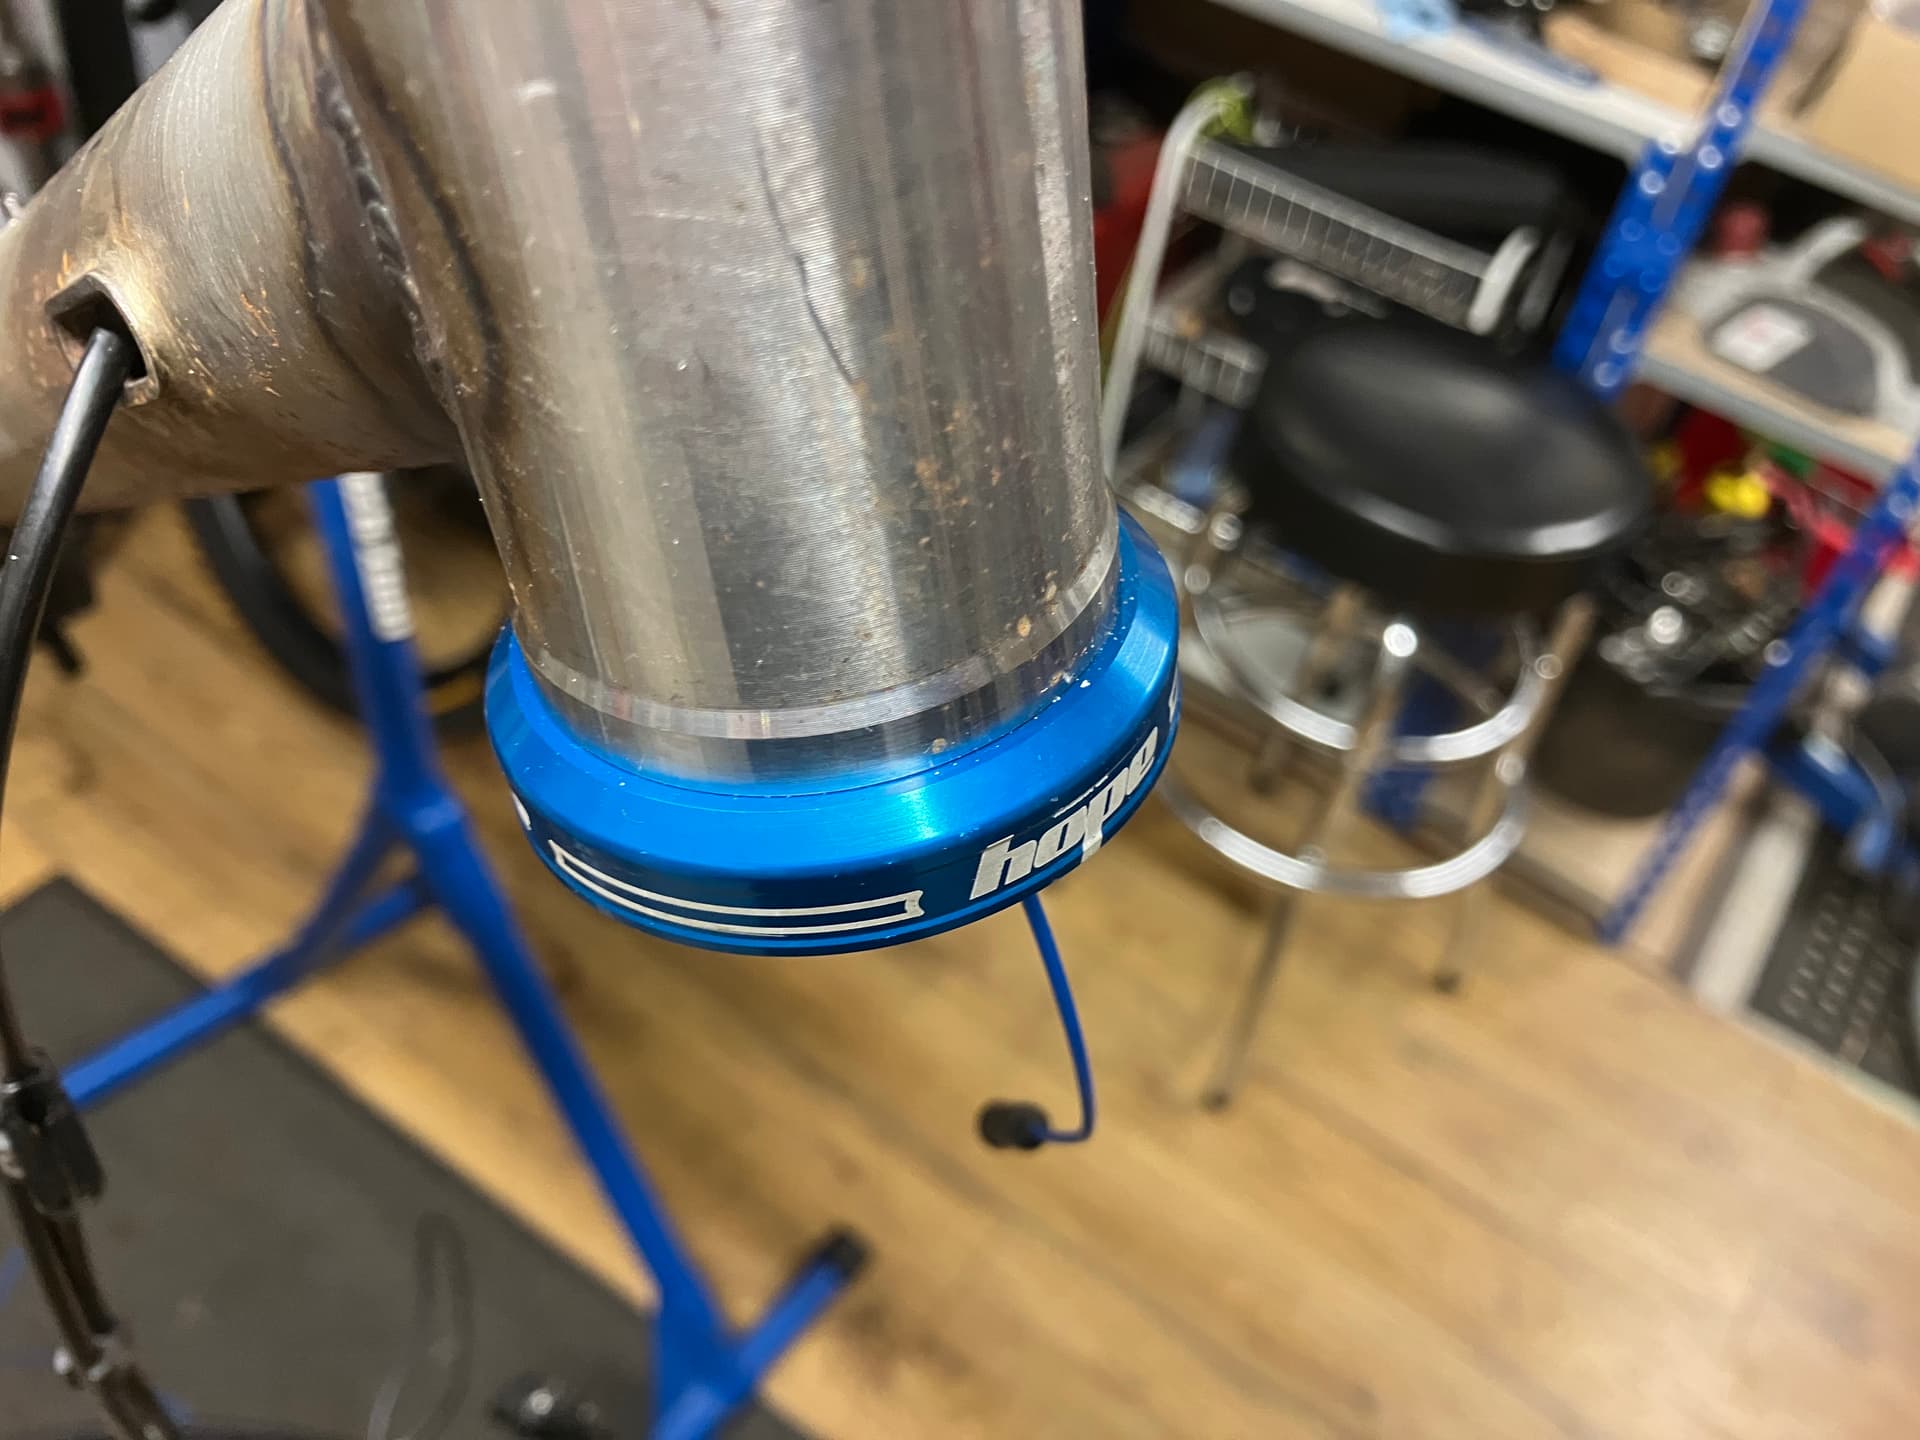
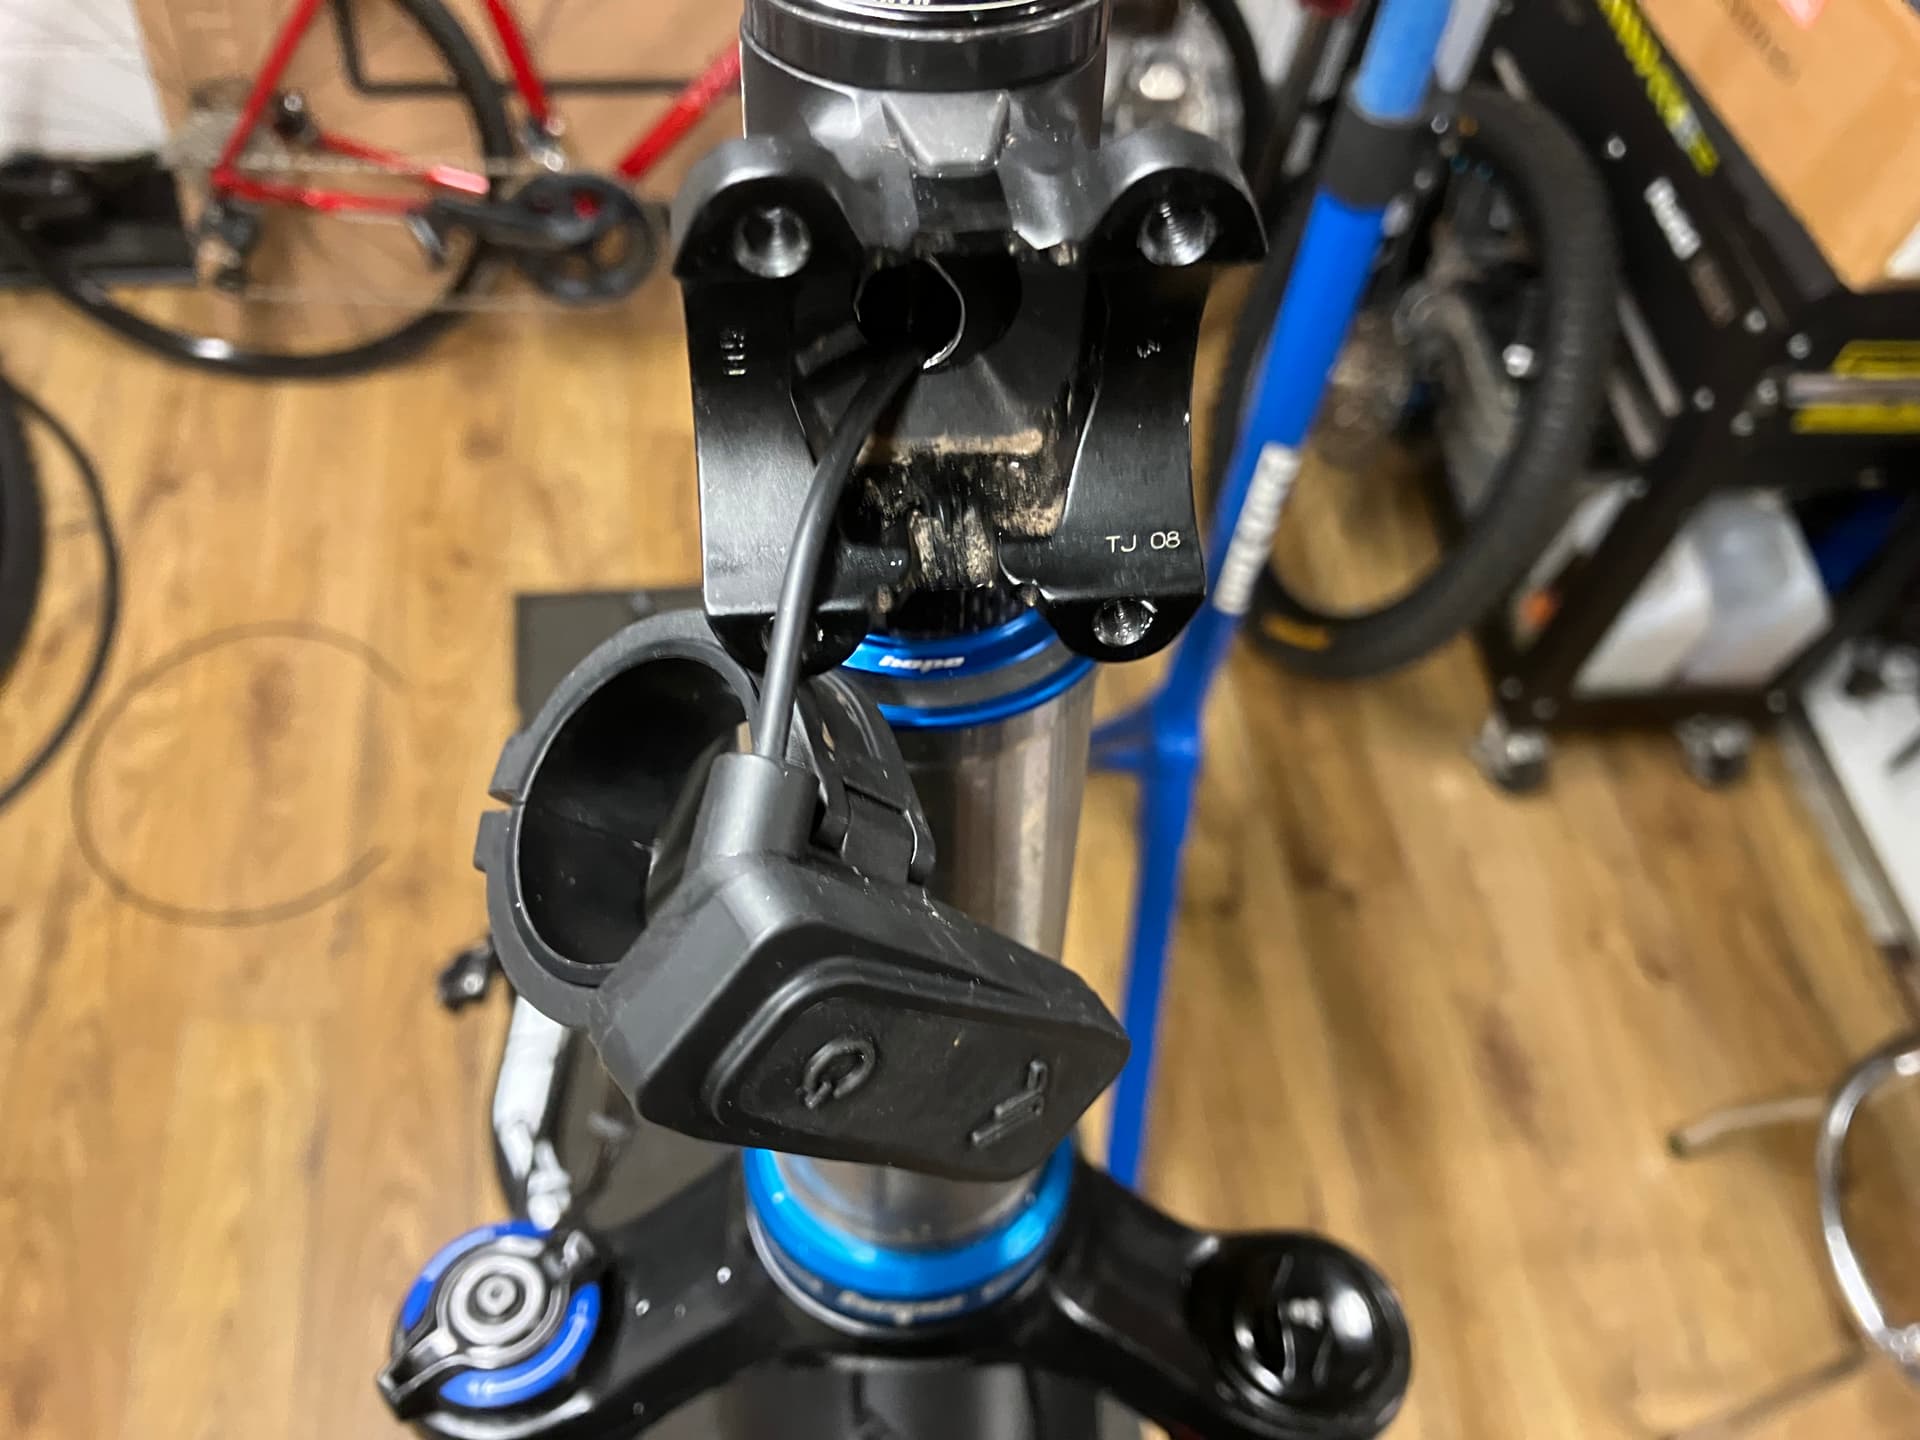
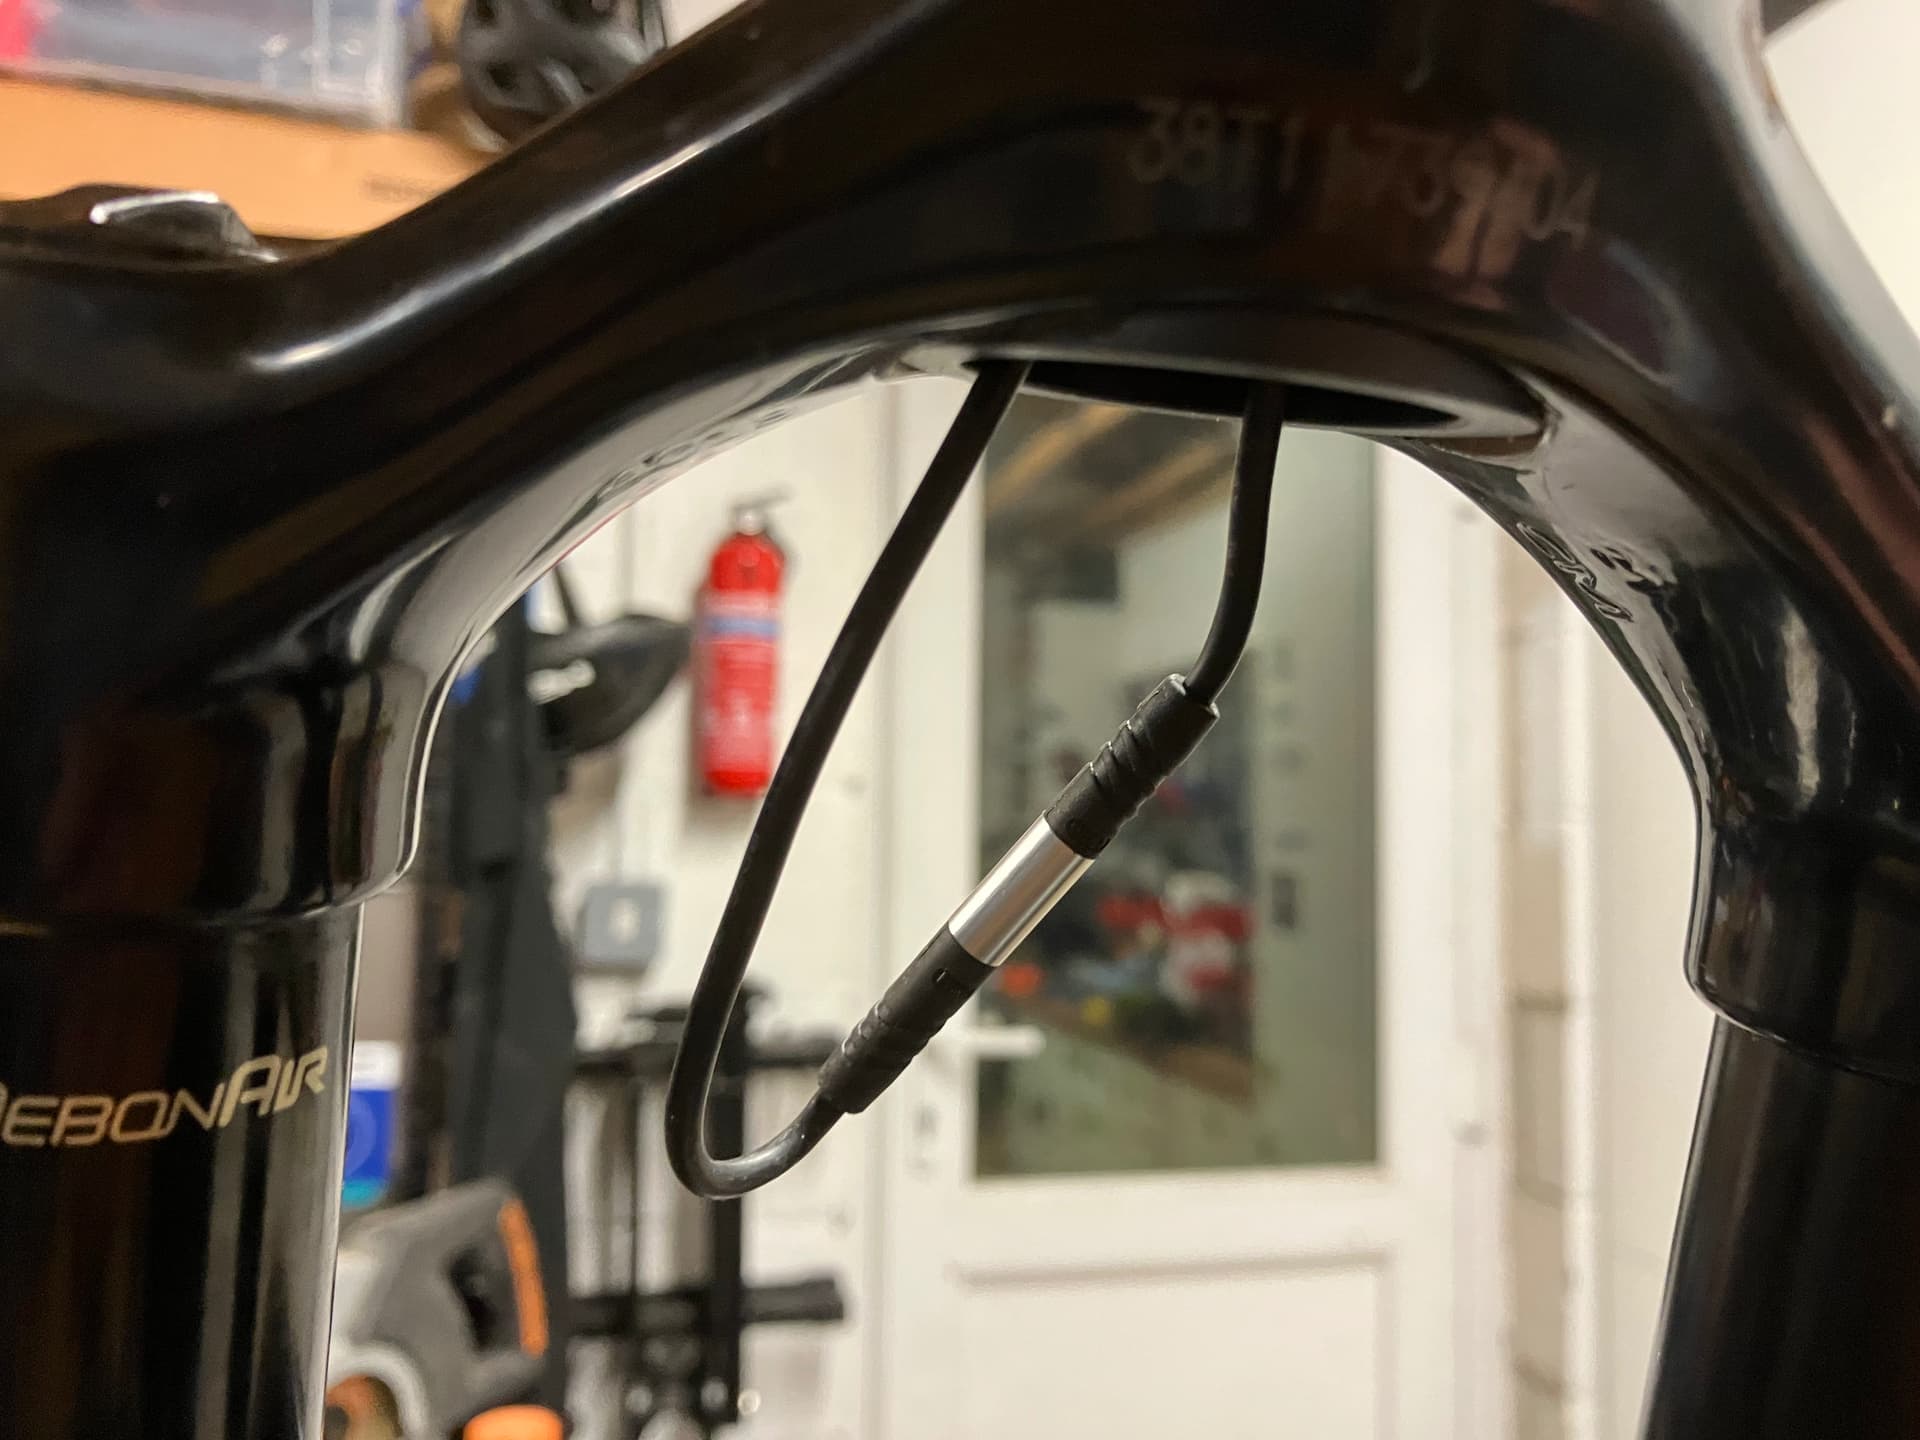
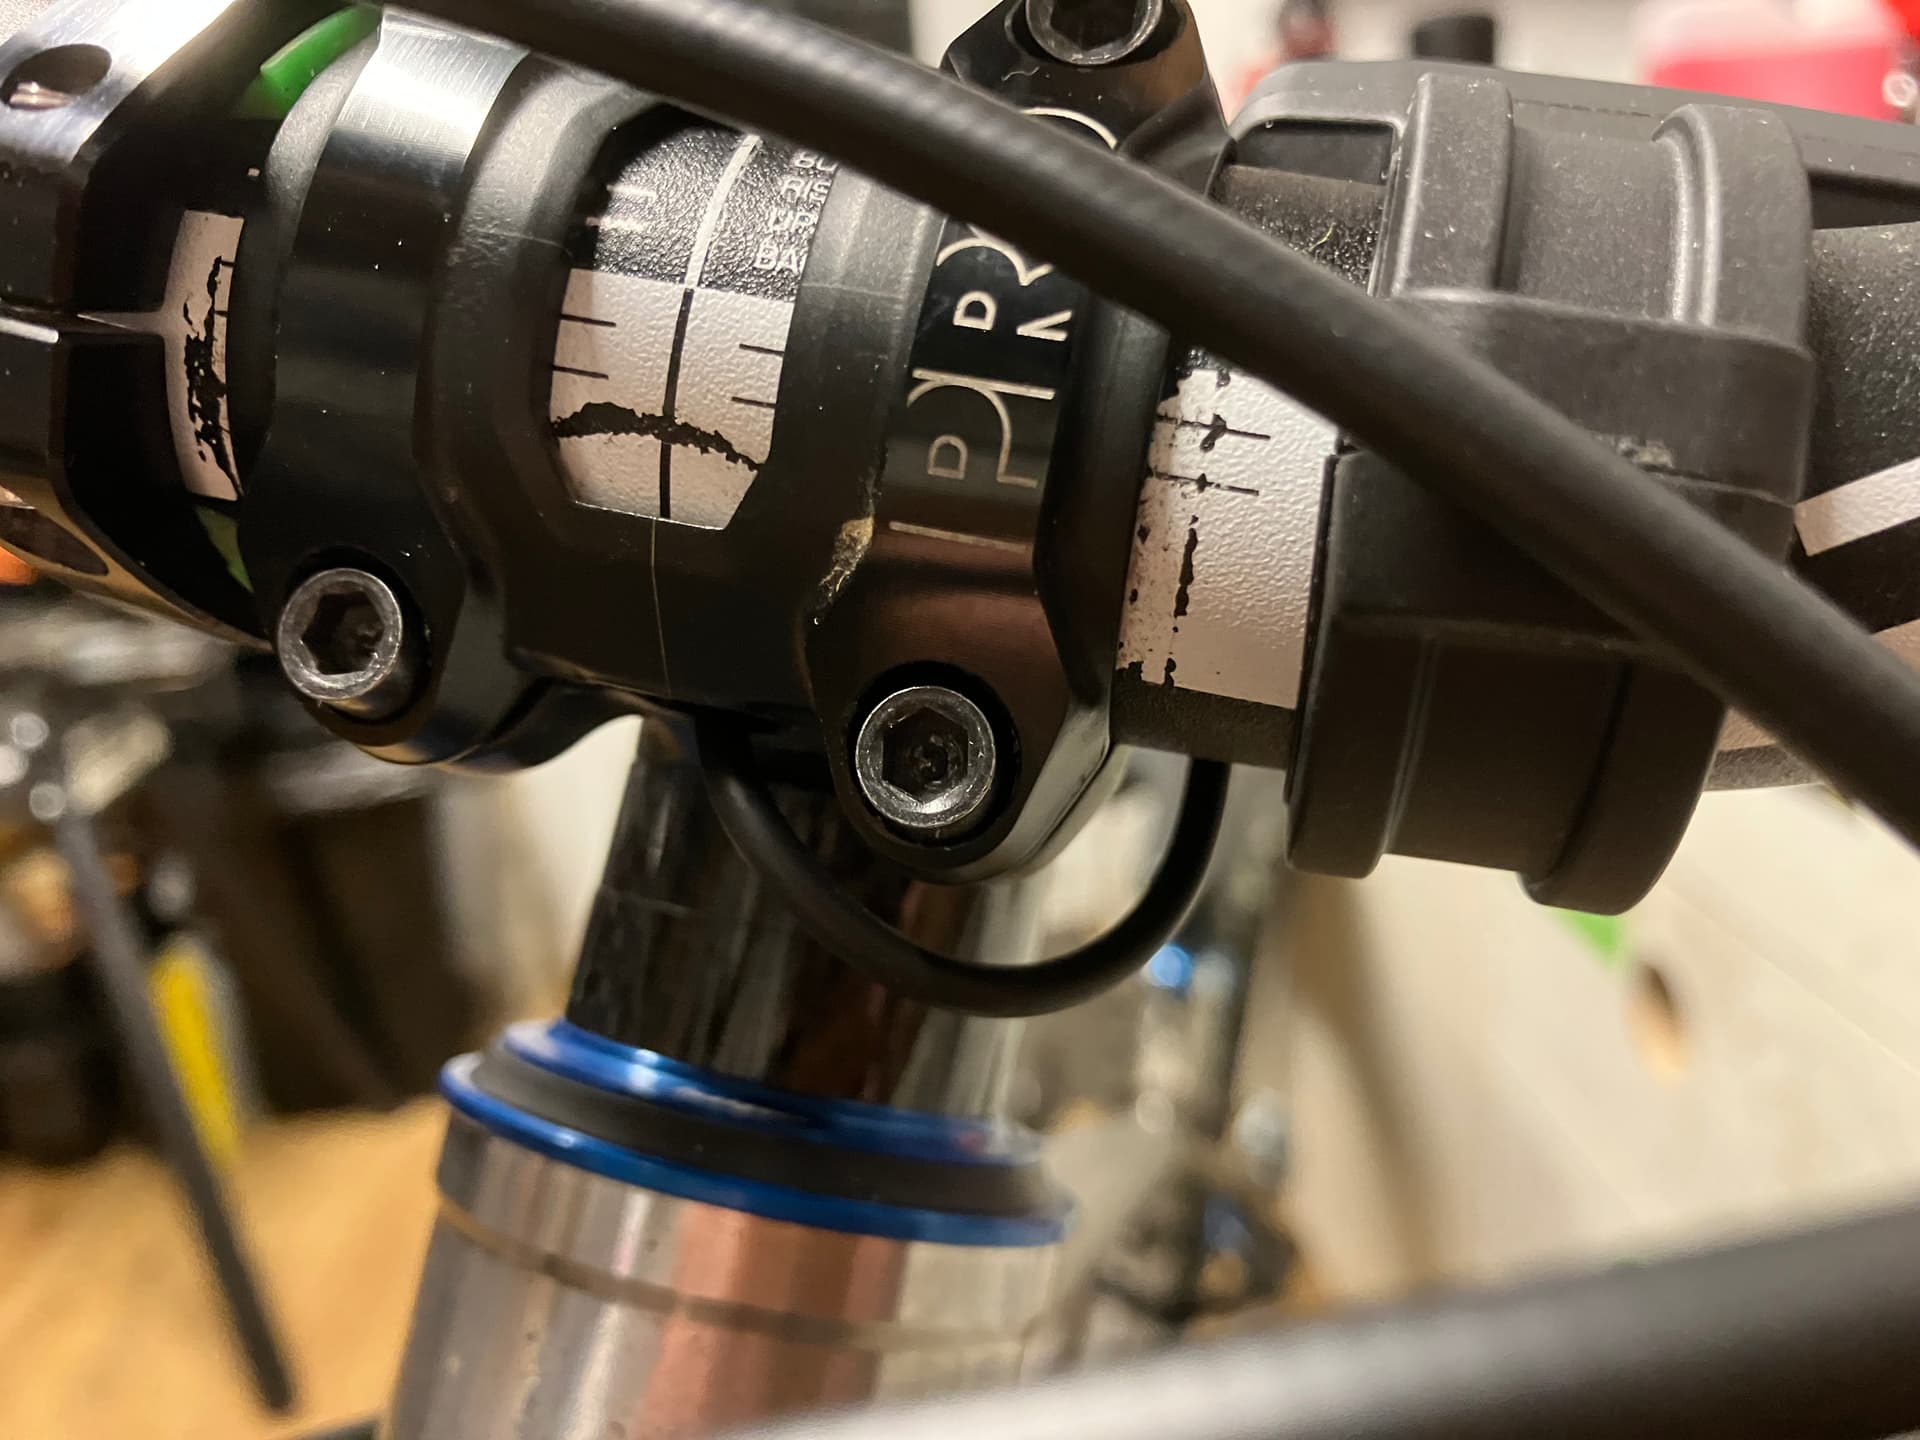
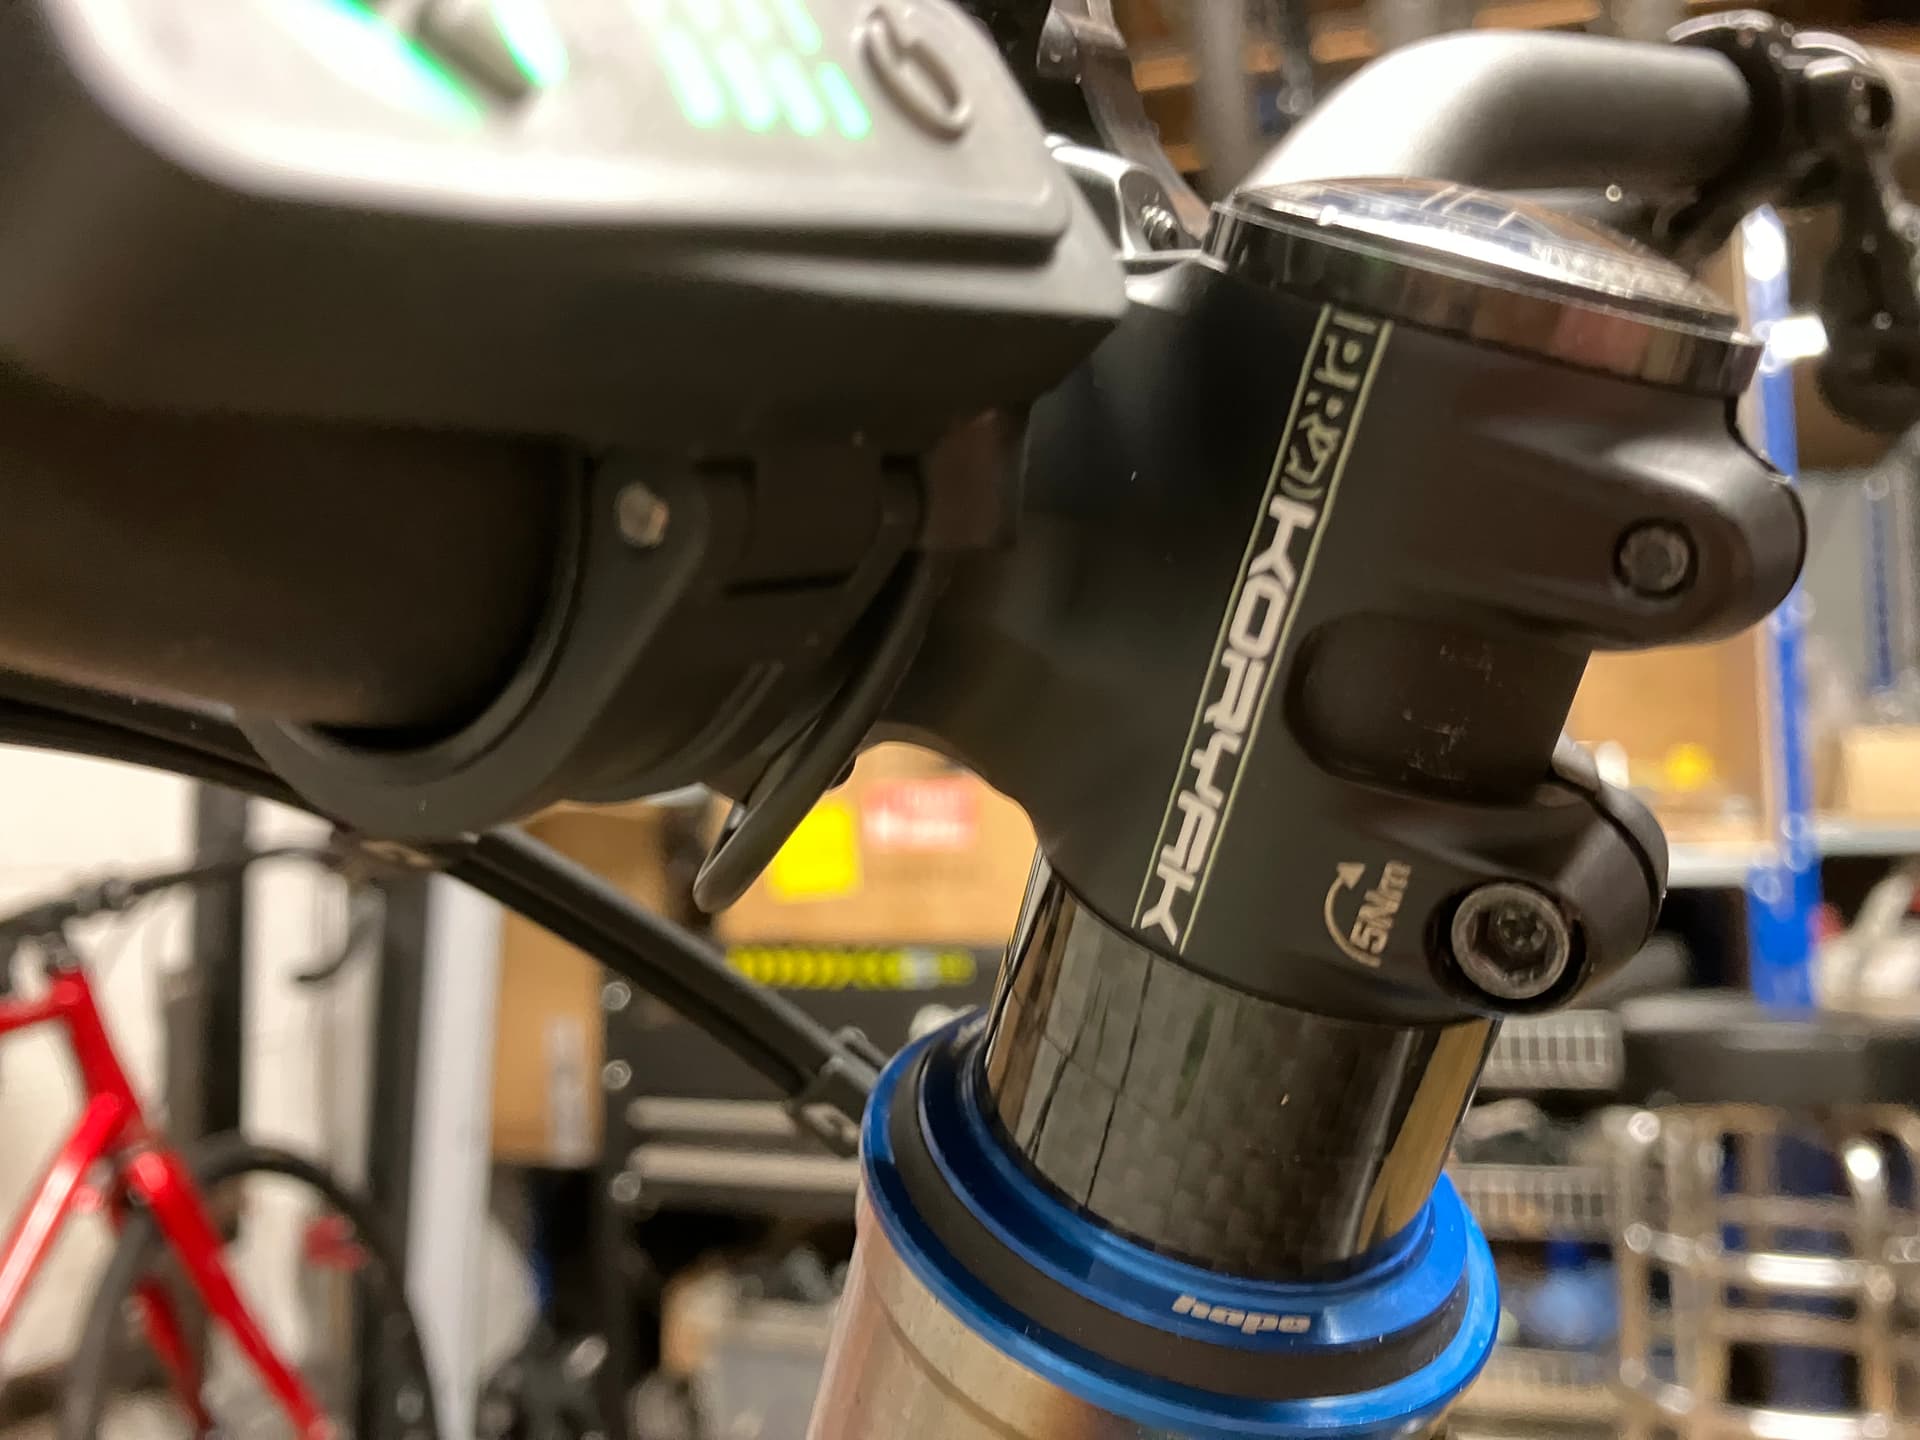
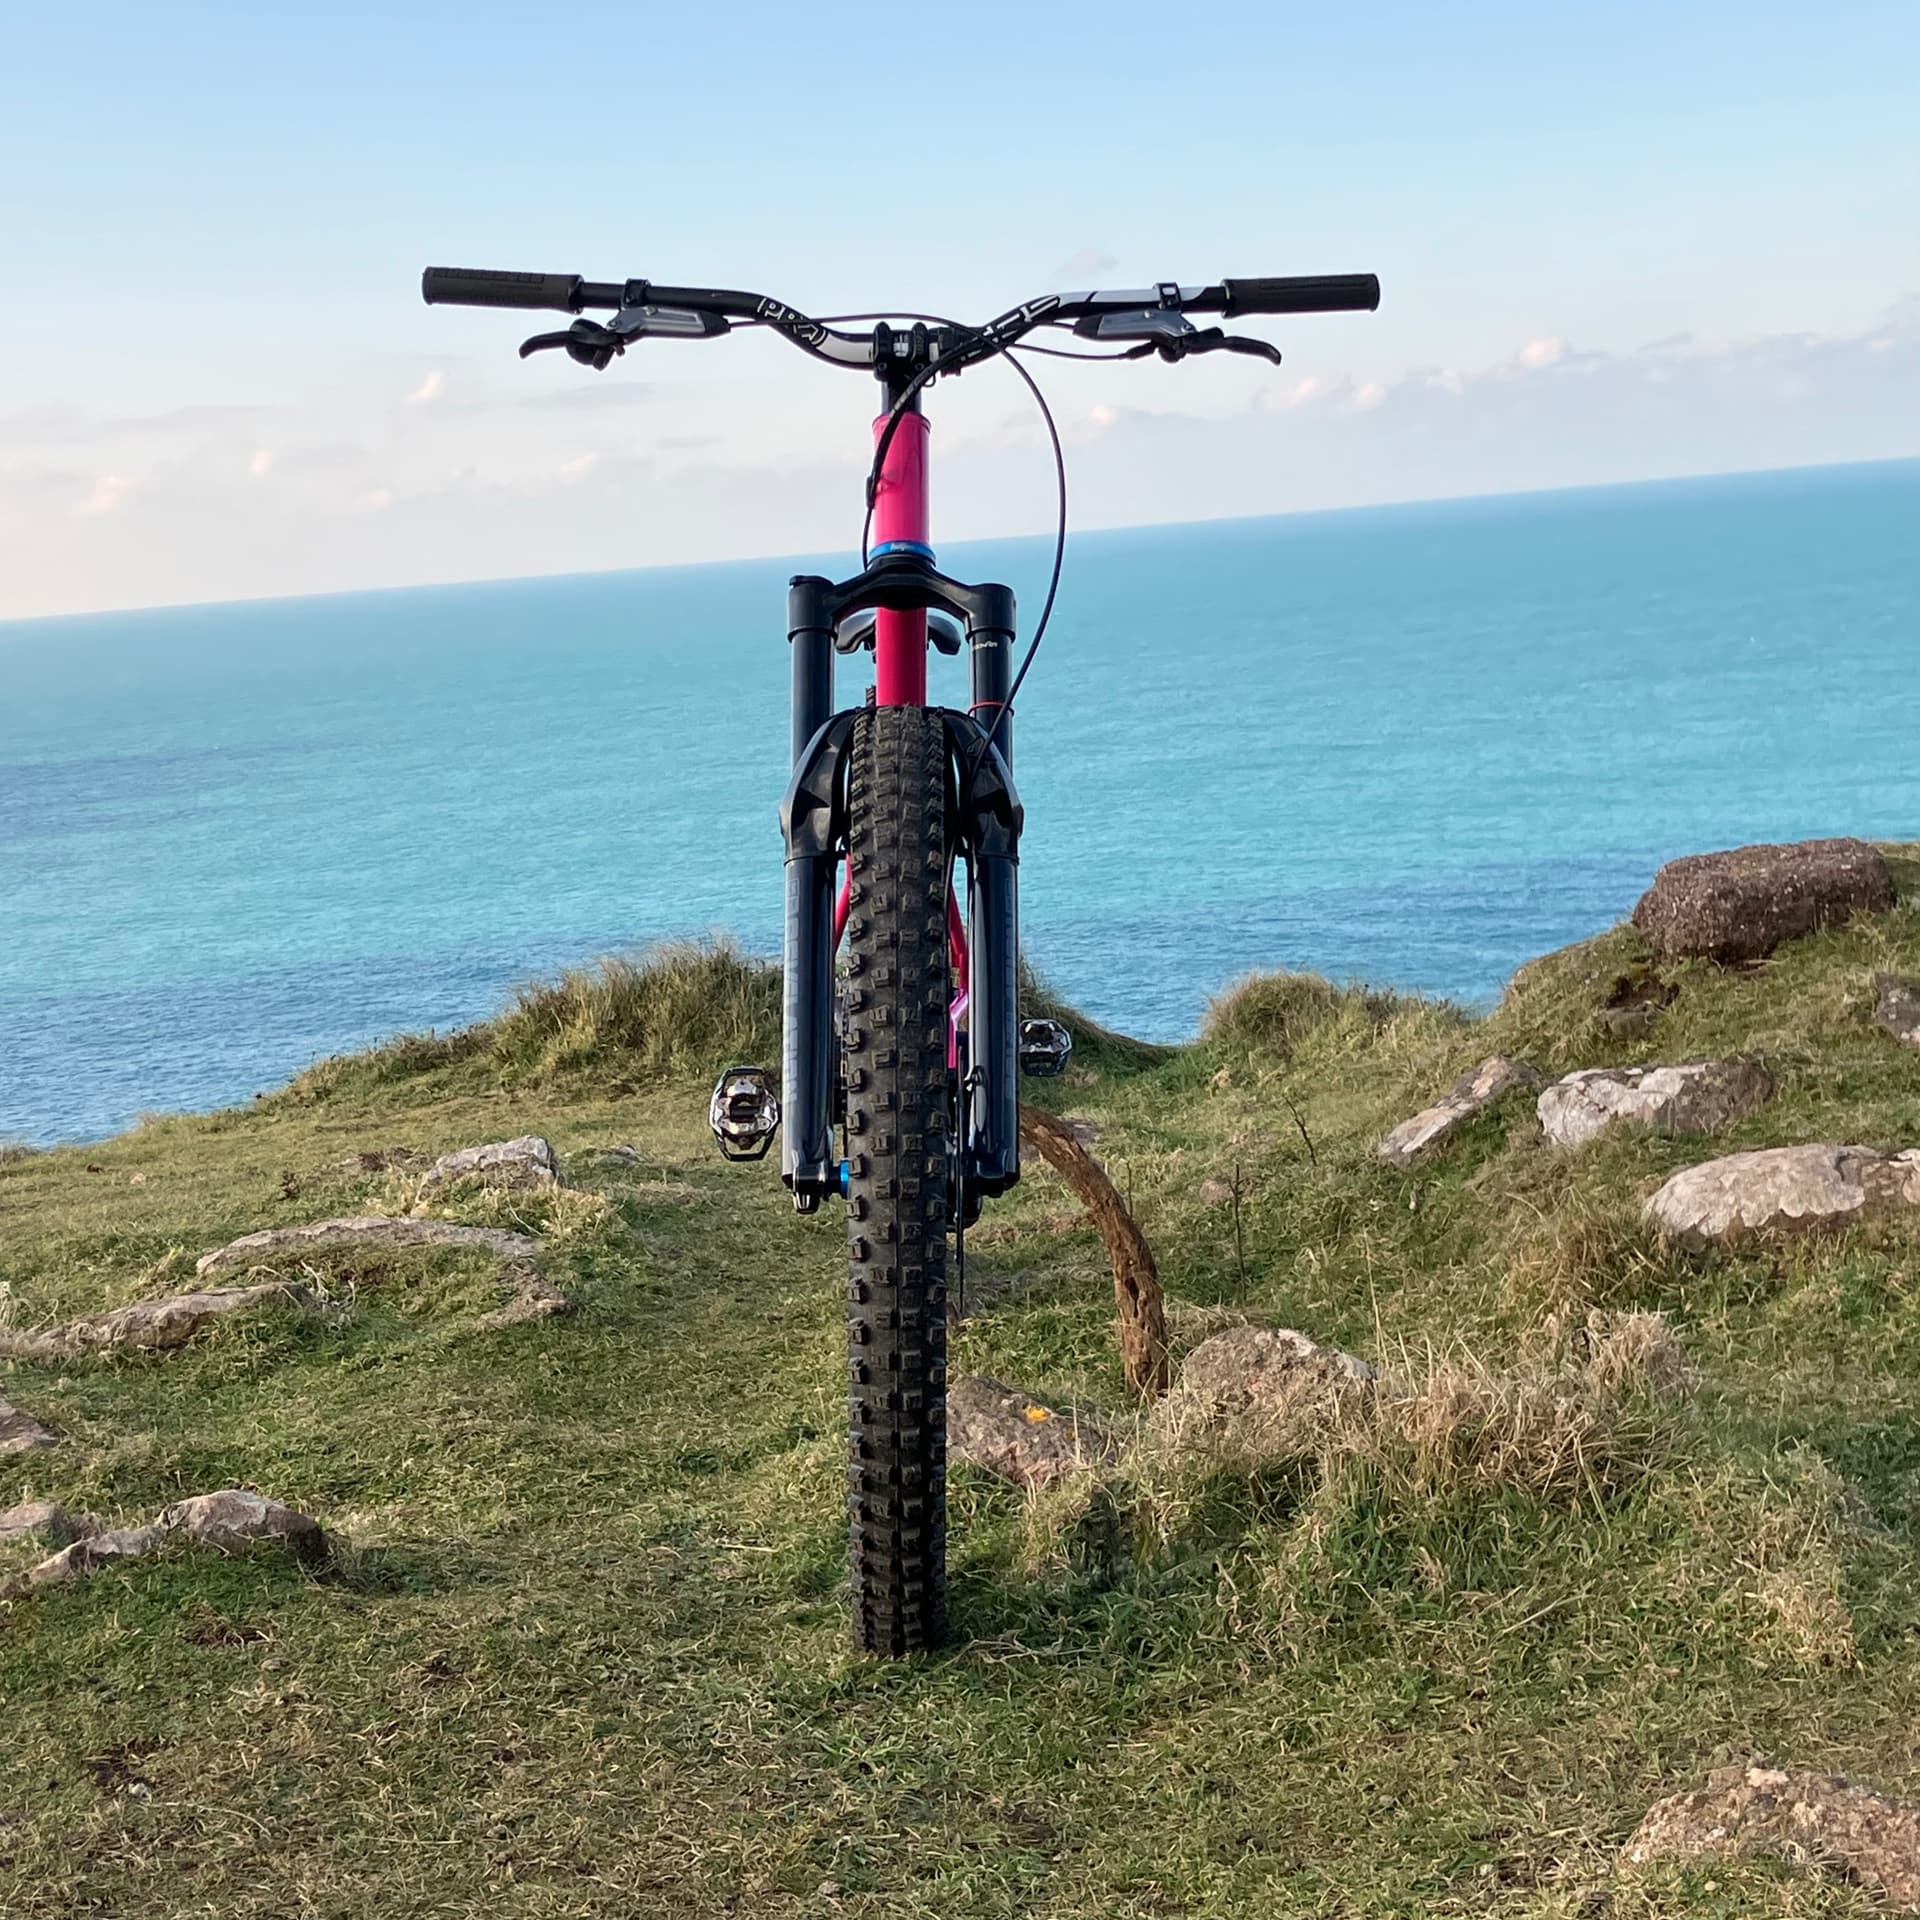
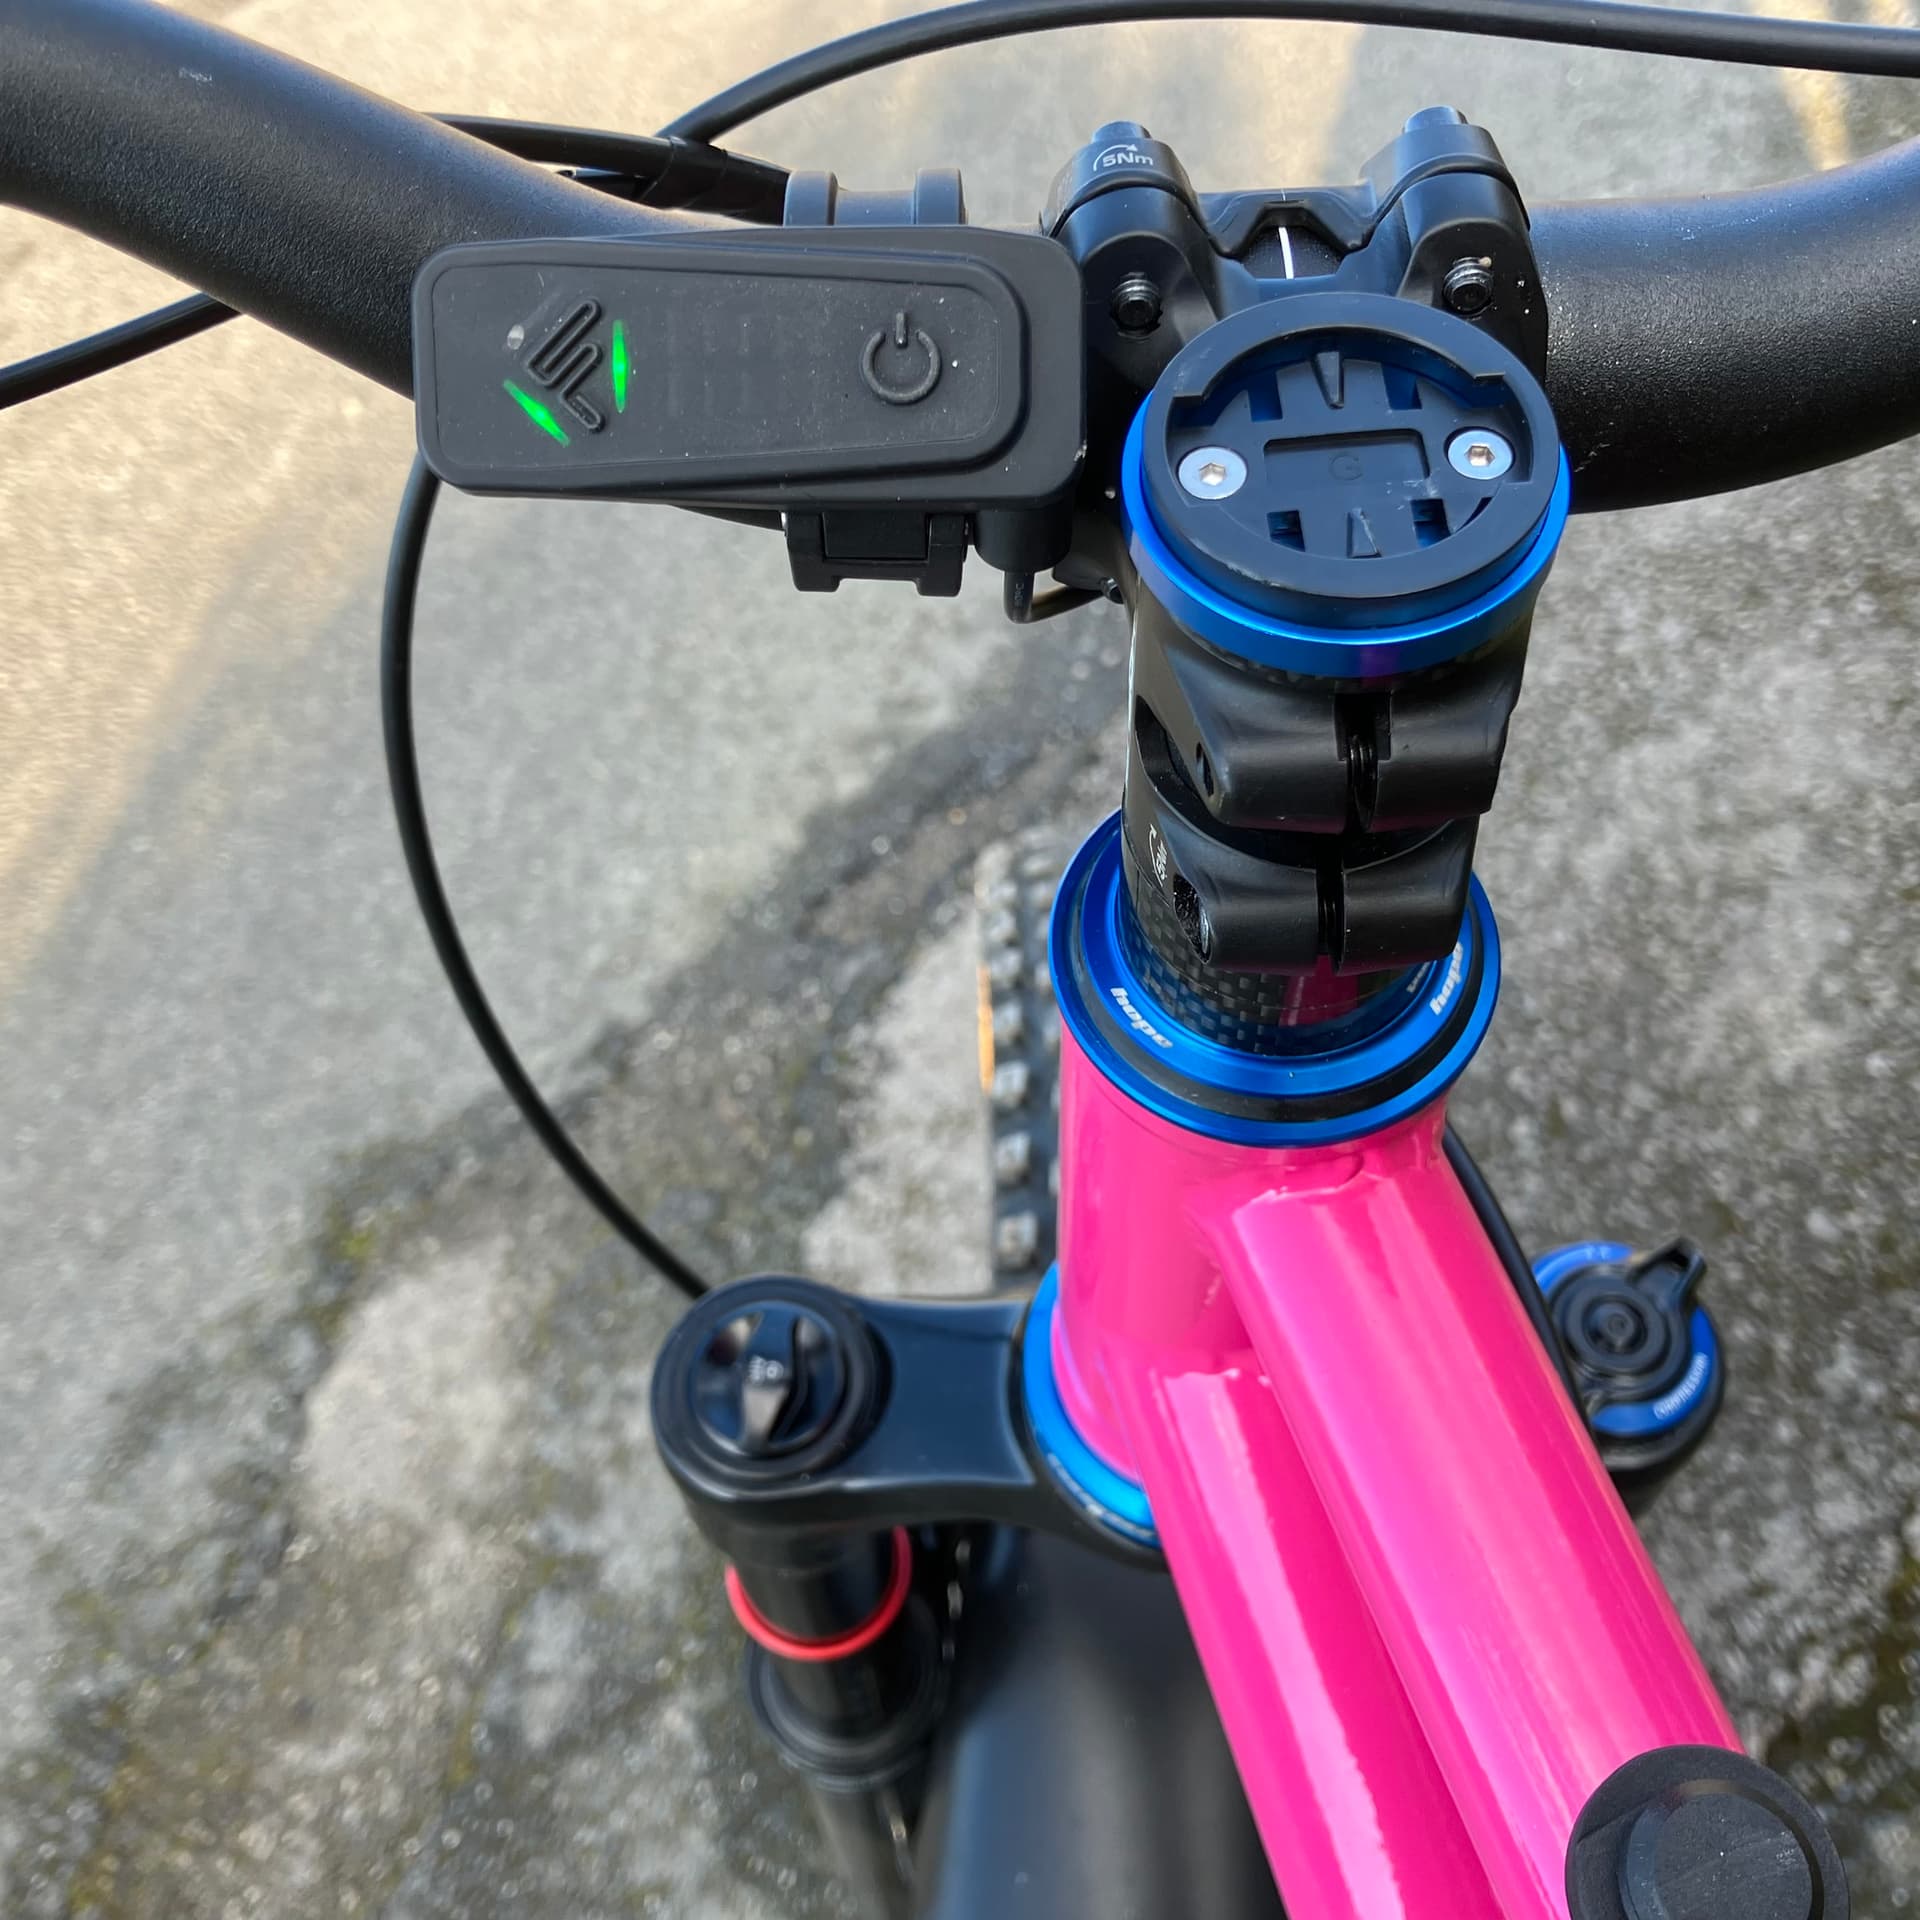
Finally, I decided I wanted the bar-mounted display’s cable to be fully internal. I drilled a couple of holes in my fork steerer - time will tell how much of a bad idea this is ![]() I’m not usually a fan of fully internal routing but I really didn’t like the way the cable was fitting when run alongside the dropper cable (external routing to the top of the down tube, then internal). It’s not too much of a hassle to fit it once you figure out the process and there’s no indication that it’ll damage the cable.
I’m not usually a fan of fully internal routing but I really didn’t like the way the cable was fitting when run alongside the dropper cable (external routing to the top of the down tube, then internal). It’s not too much of a hassle to fit it once you figure out the process and there’s no indication that it’ll damage the cable.
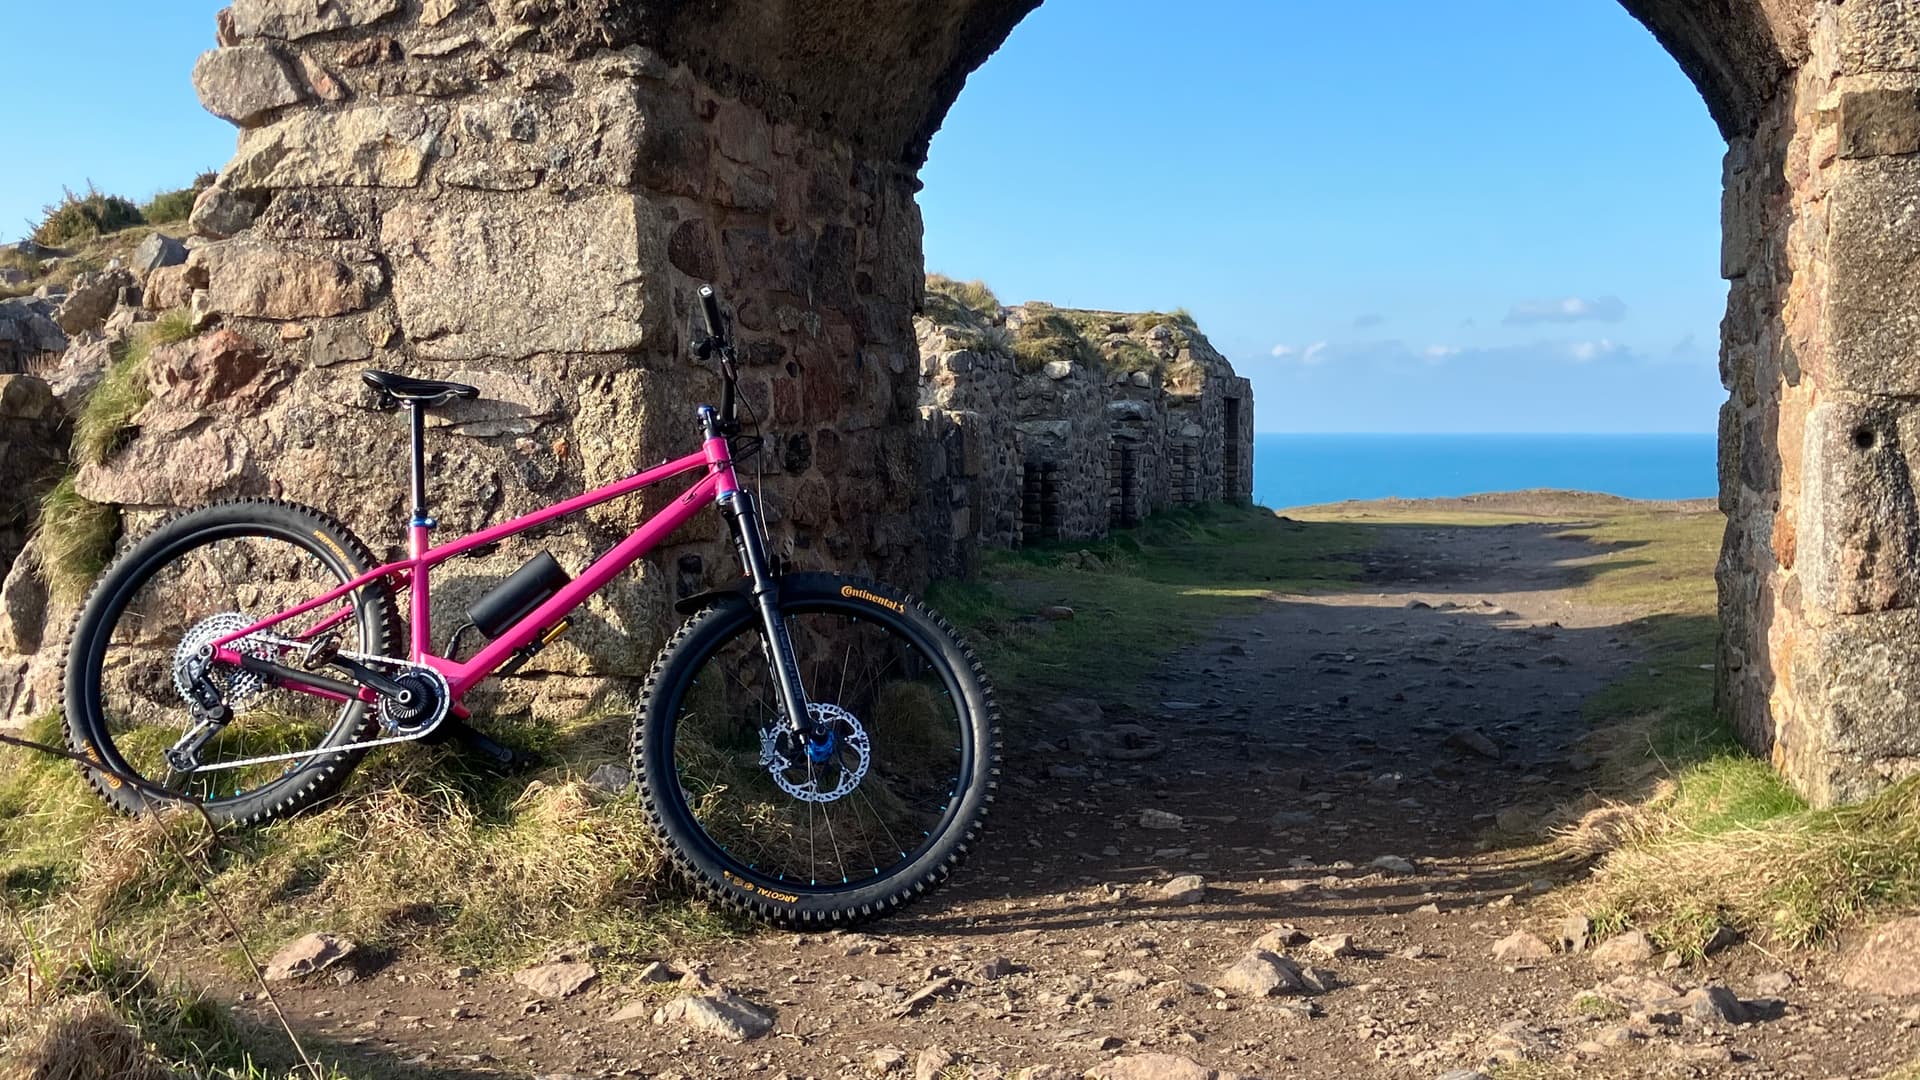
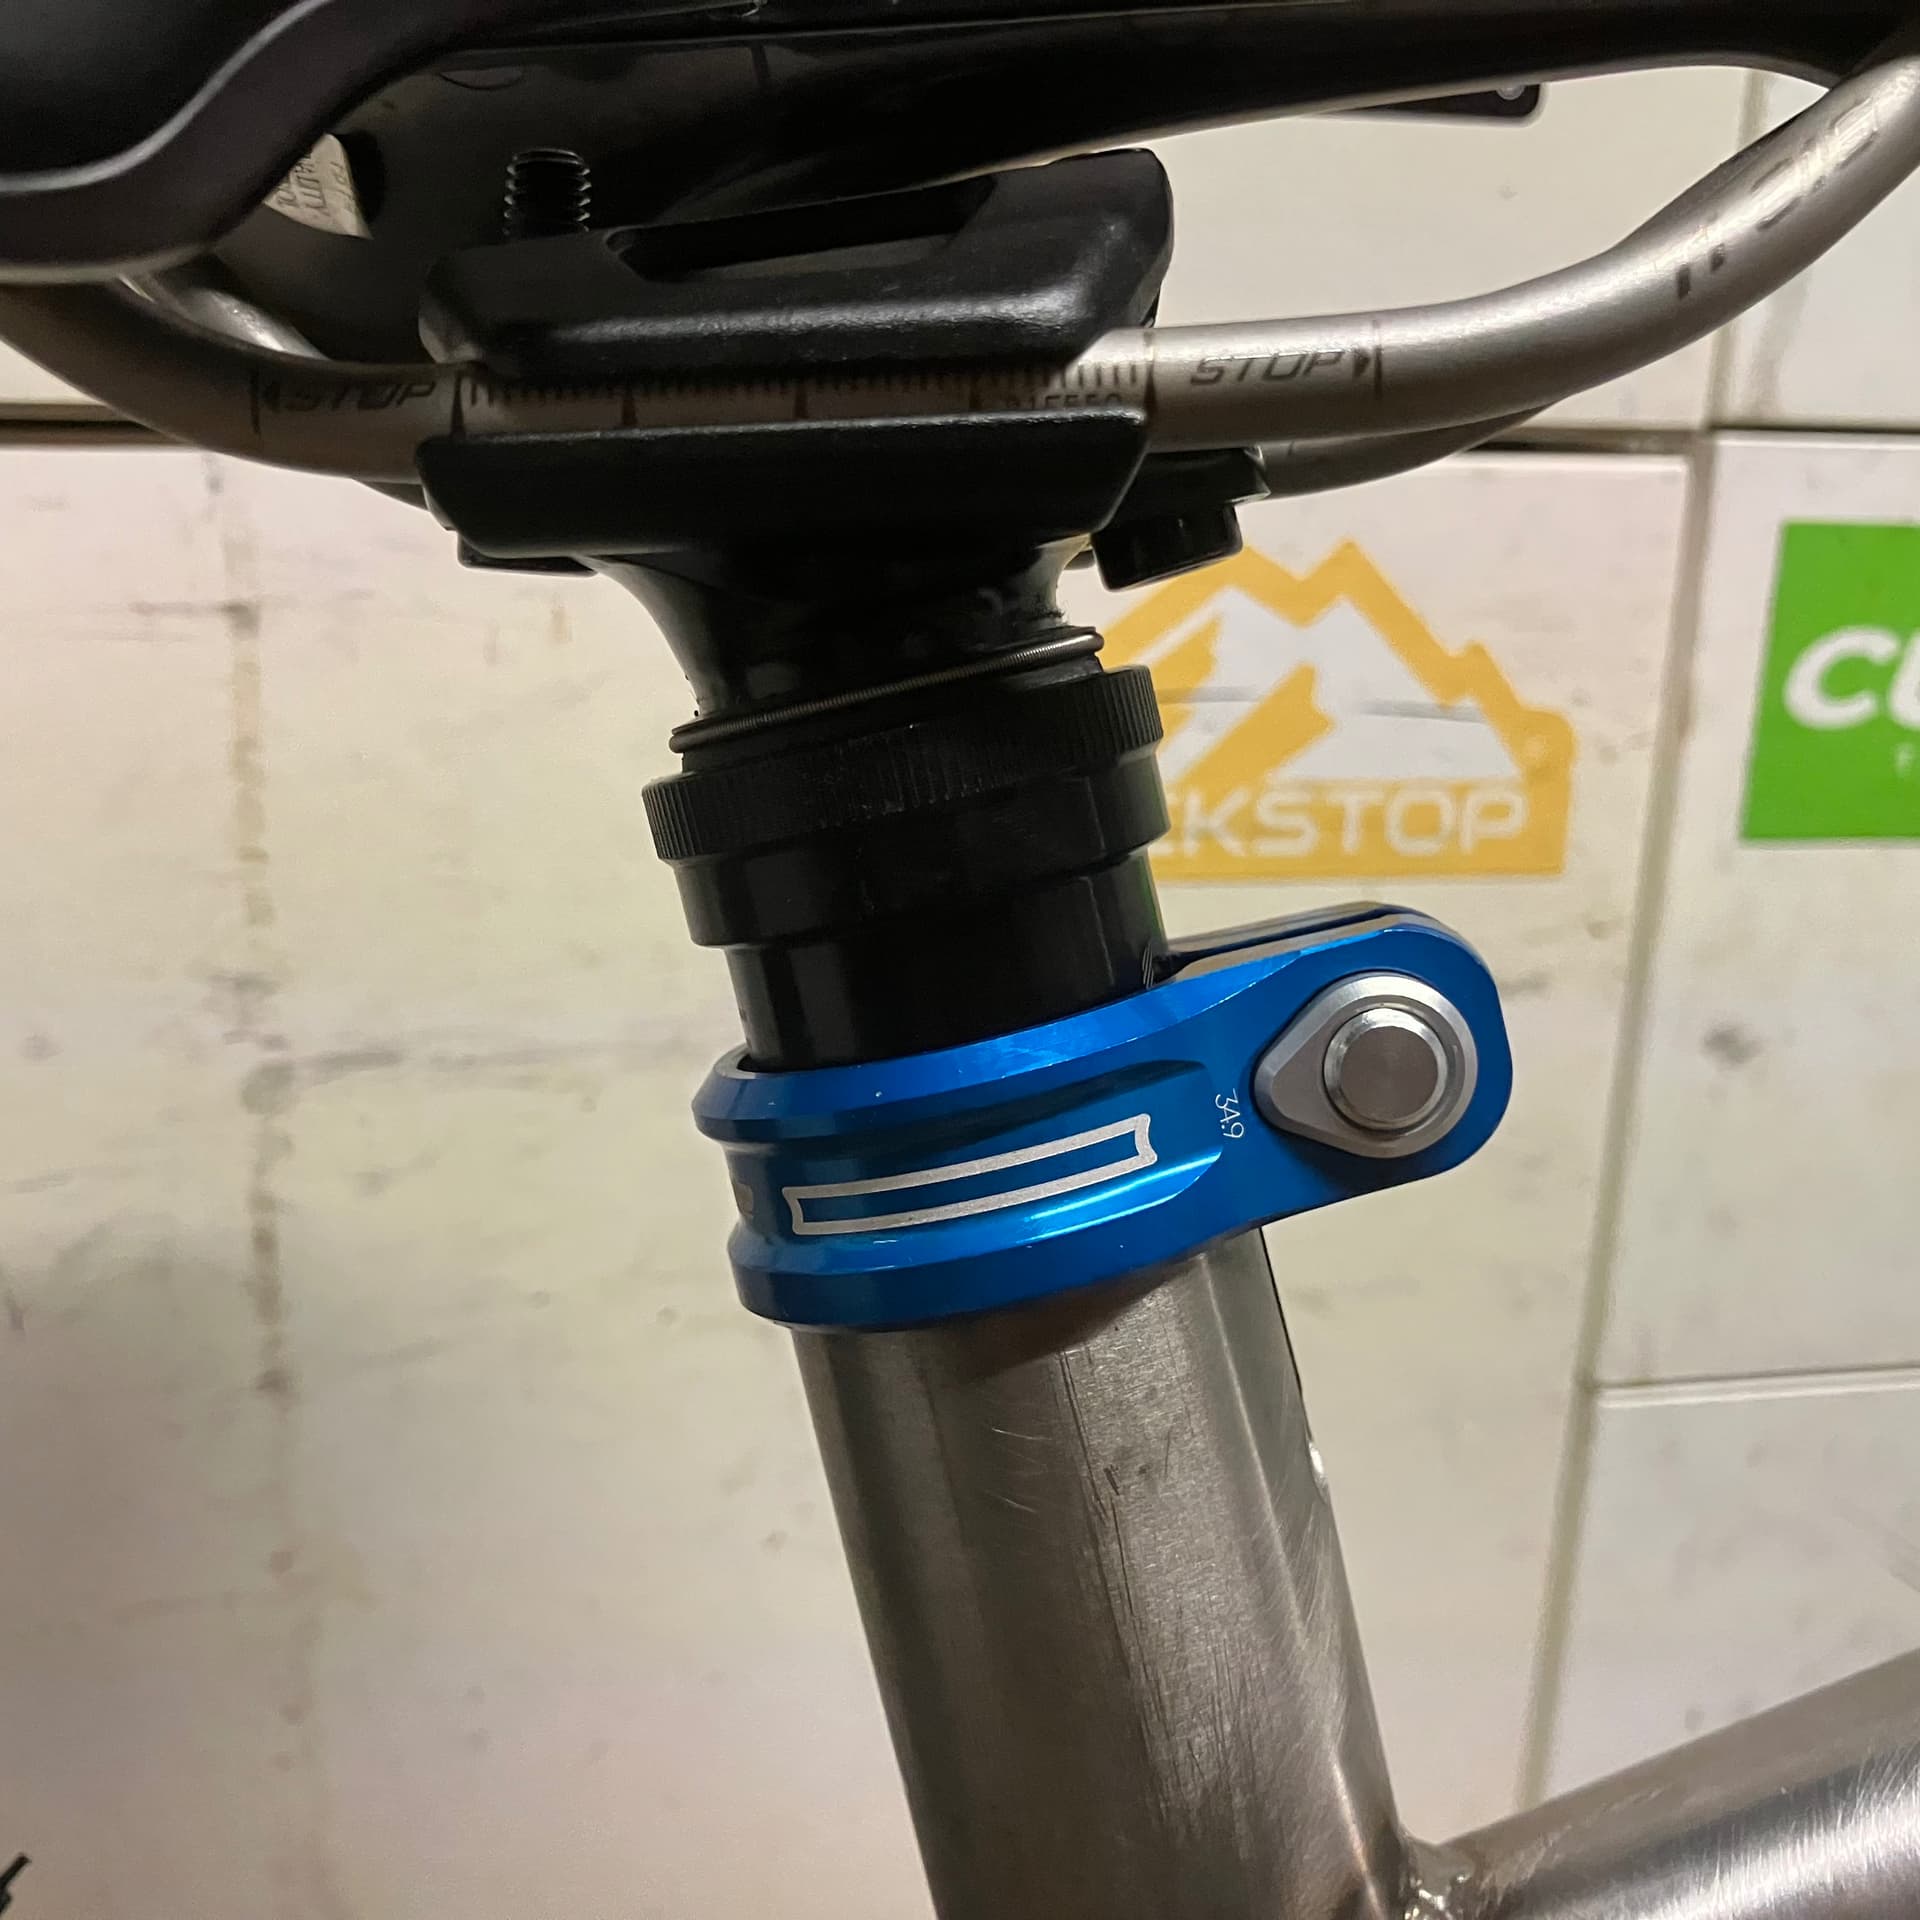
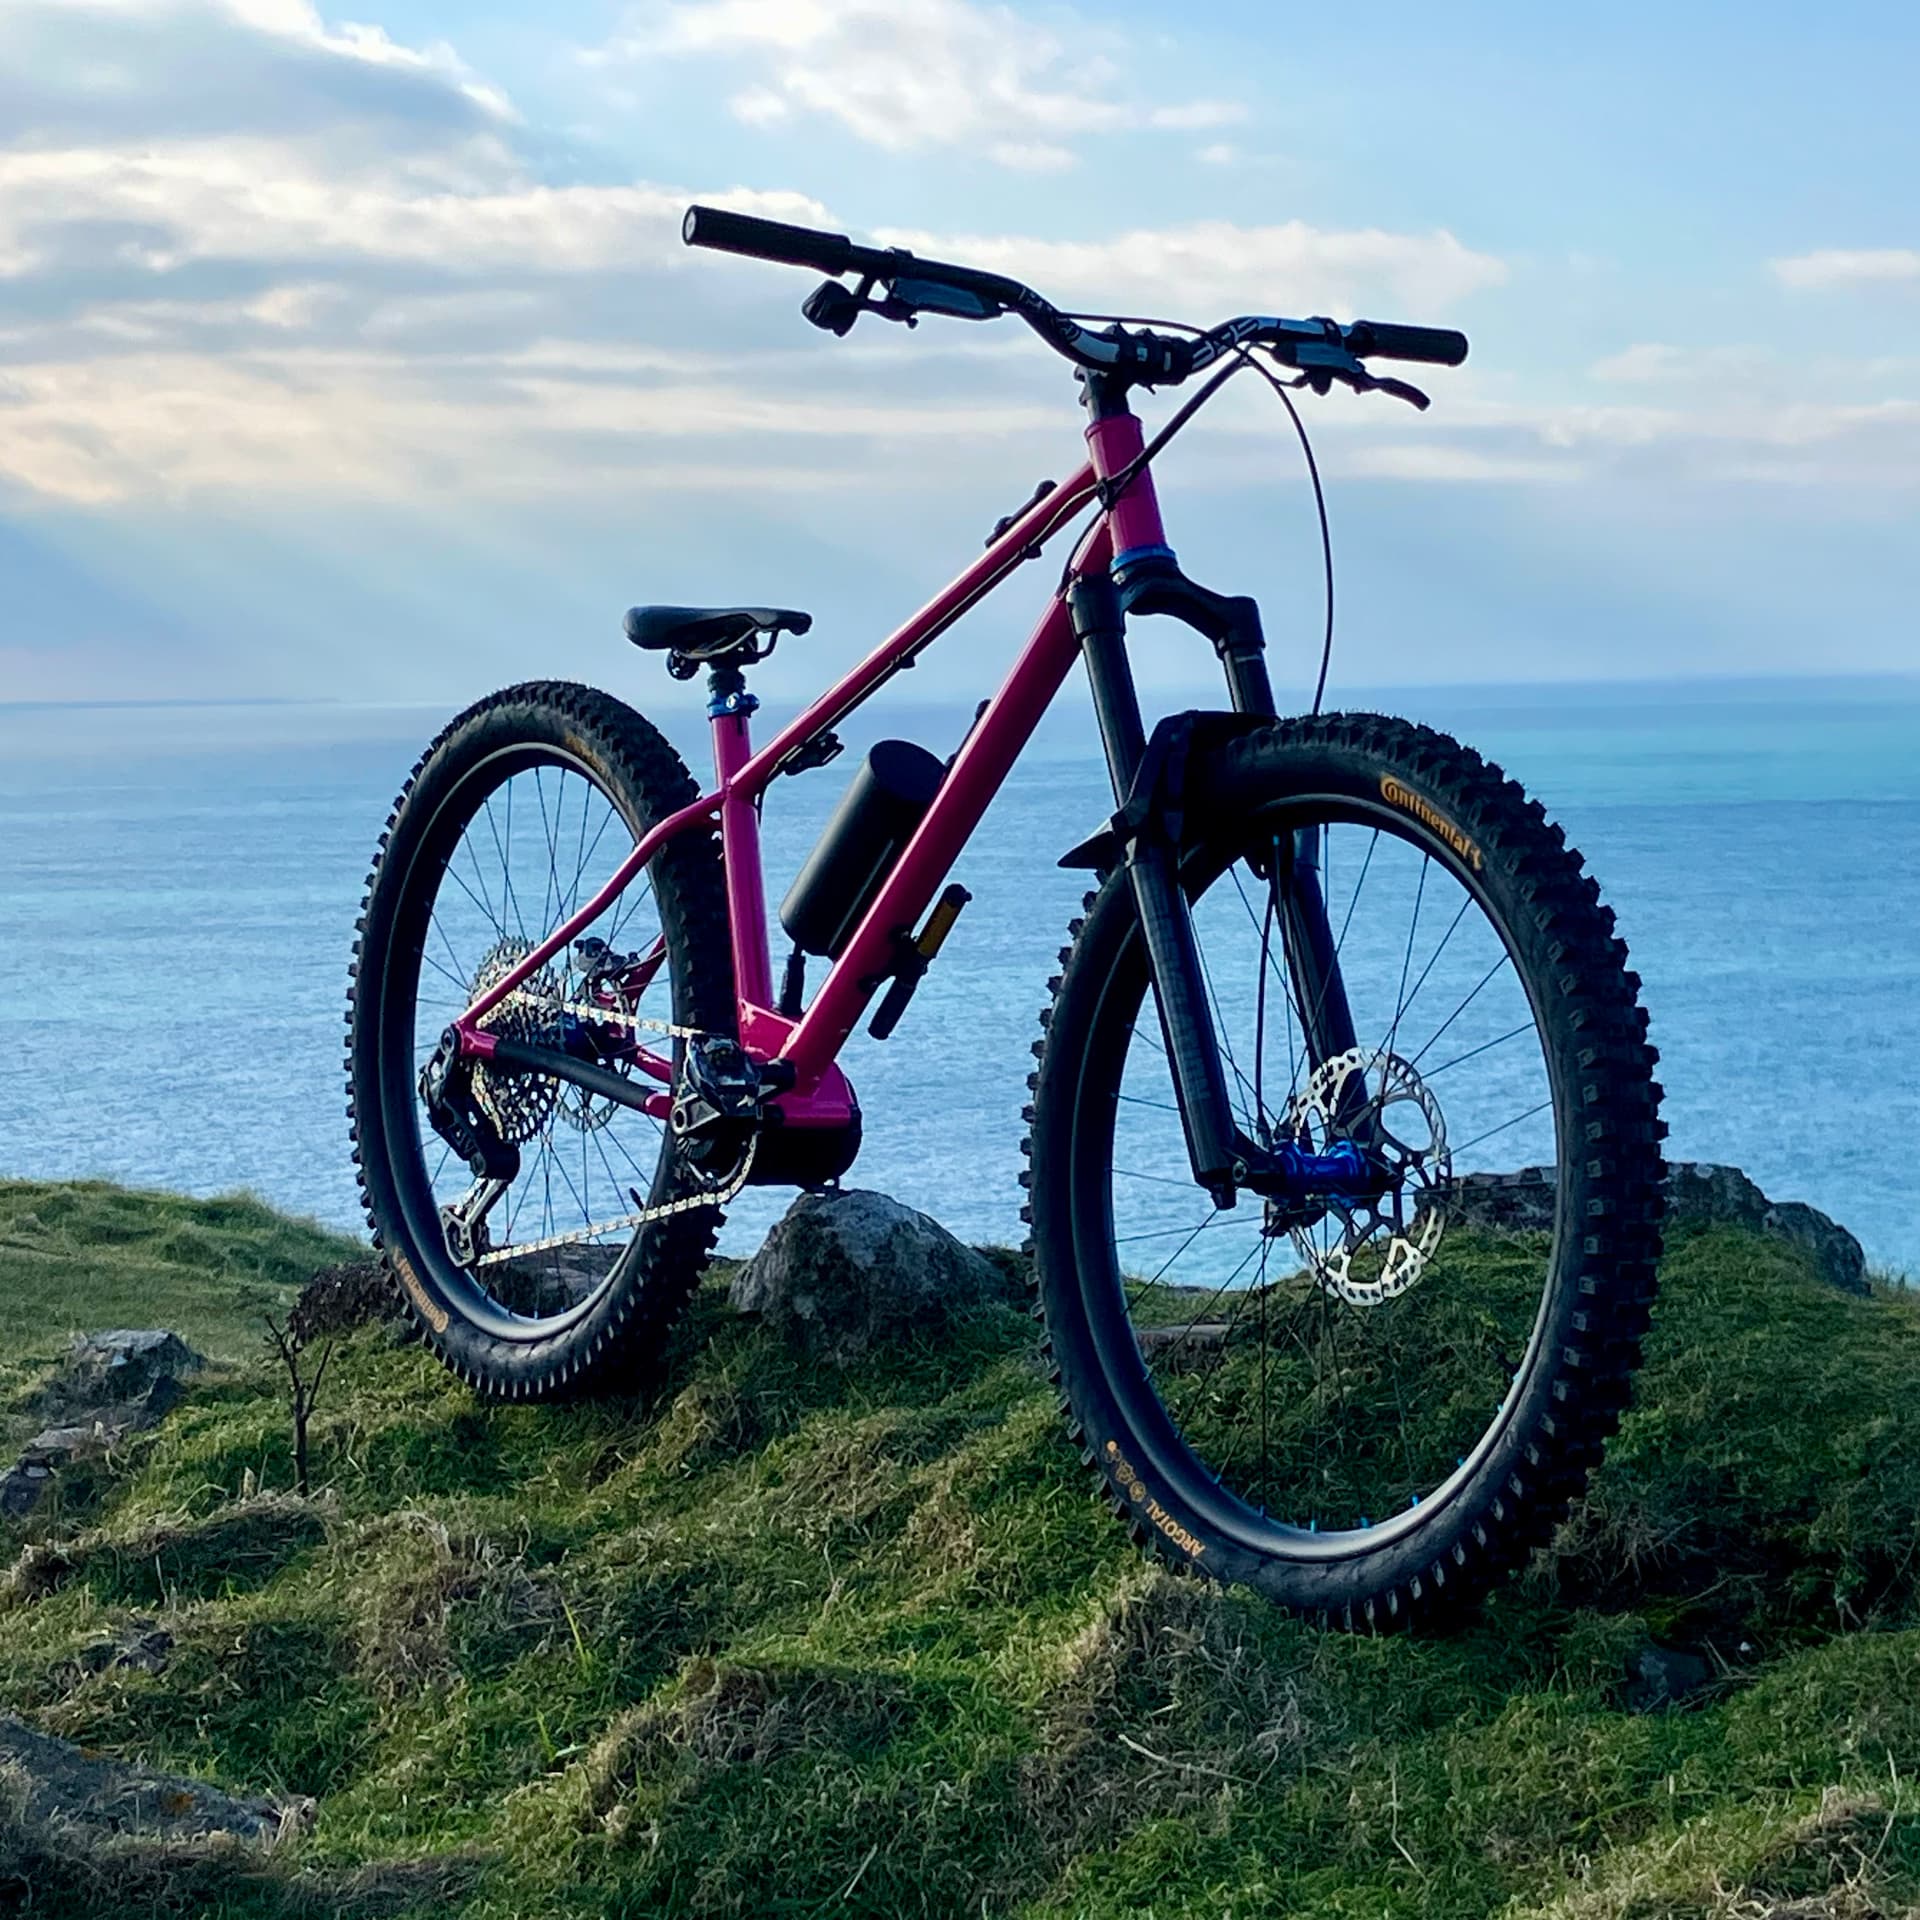
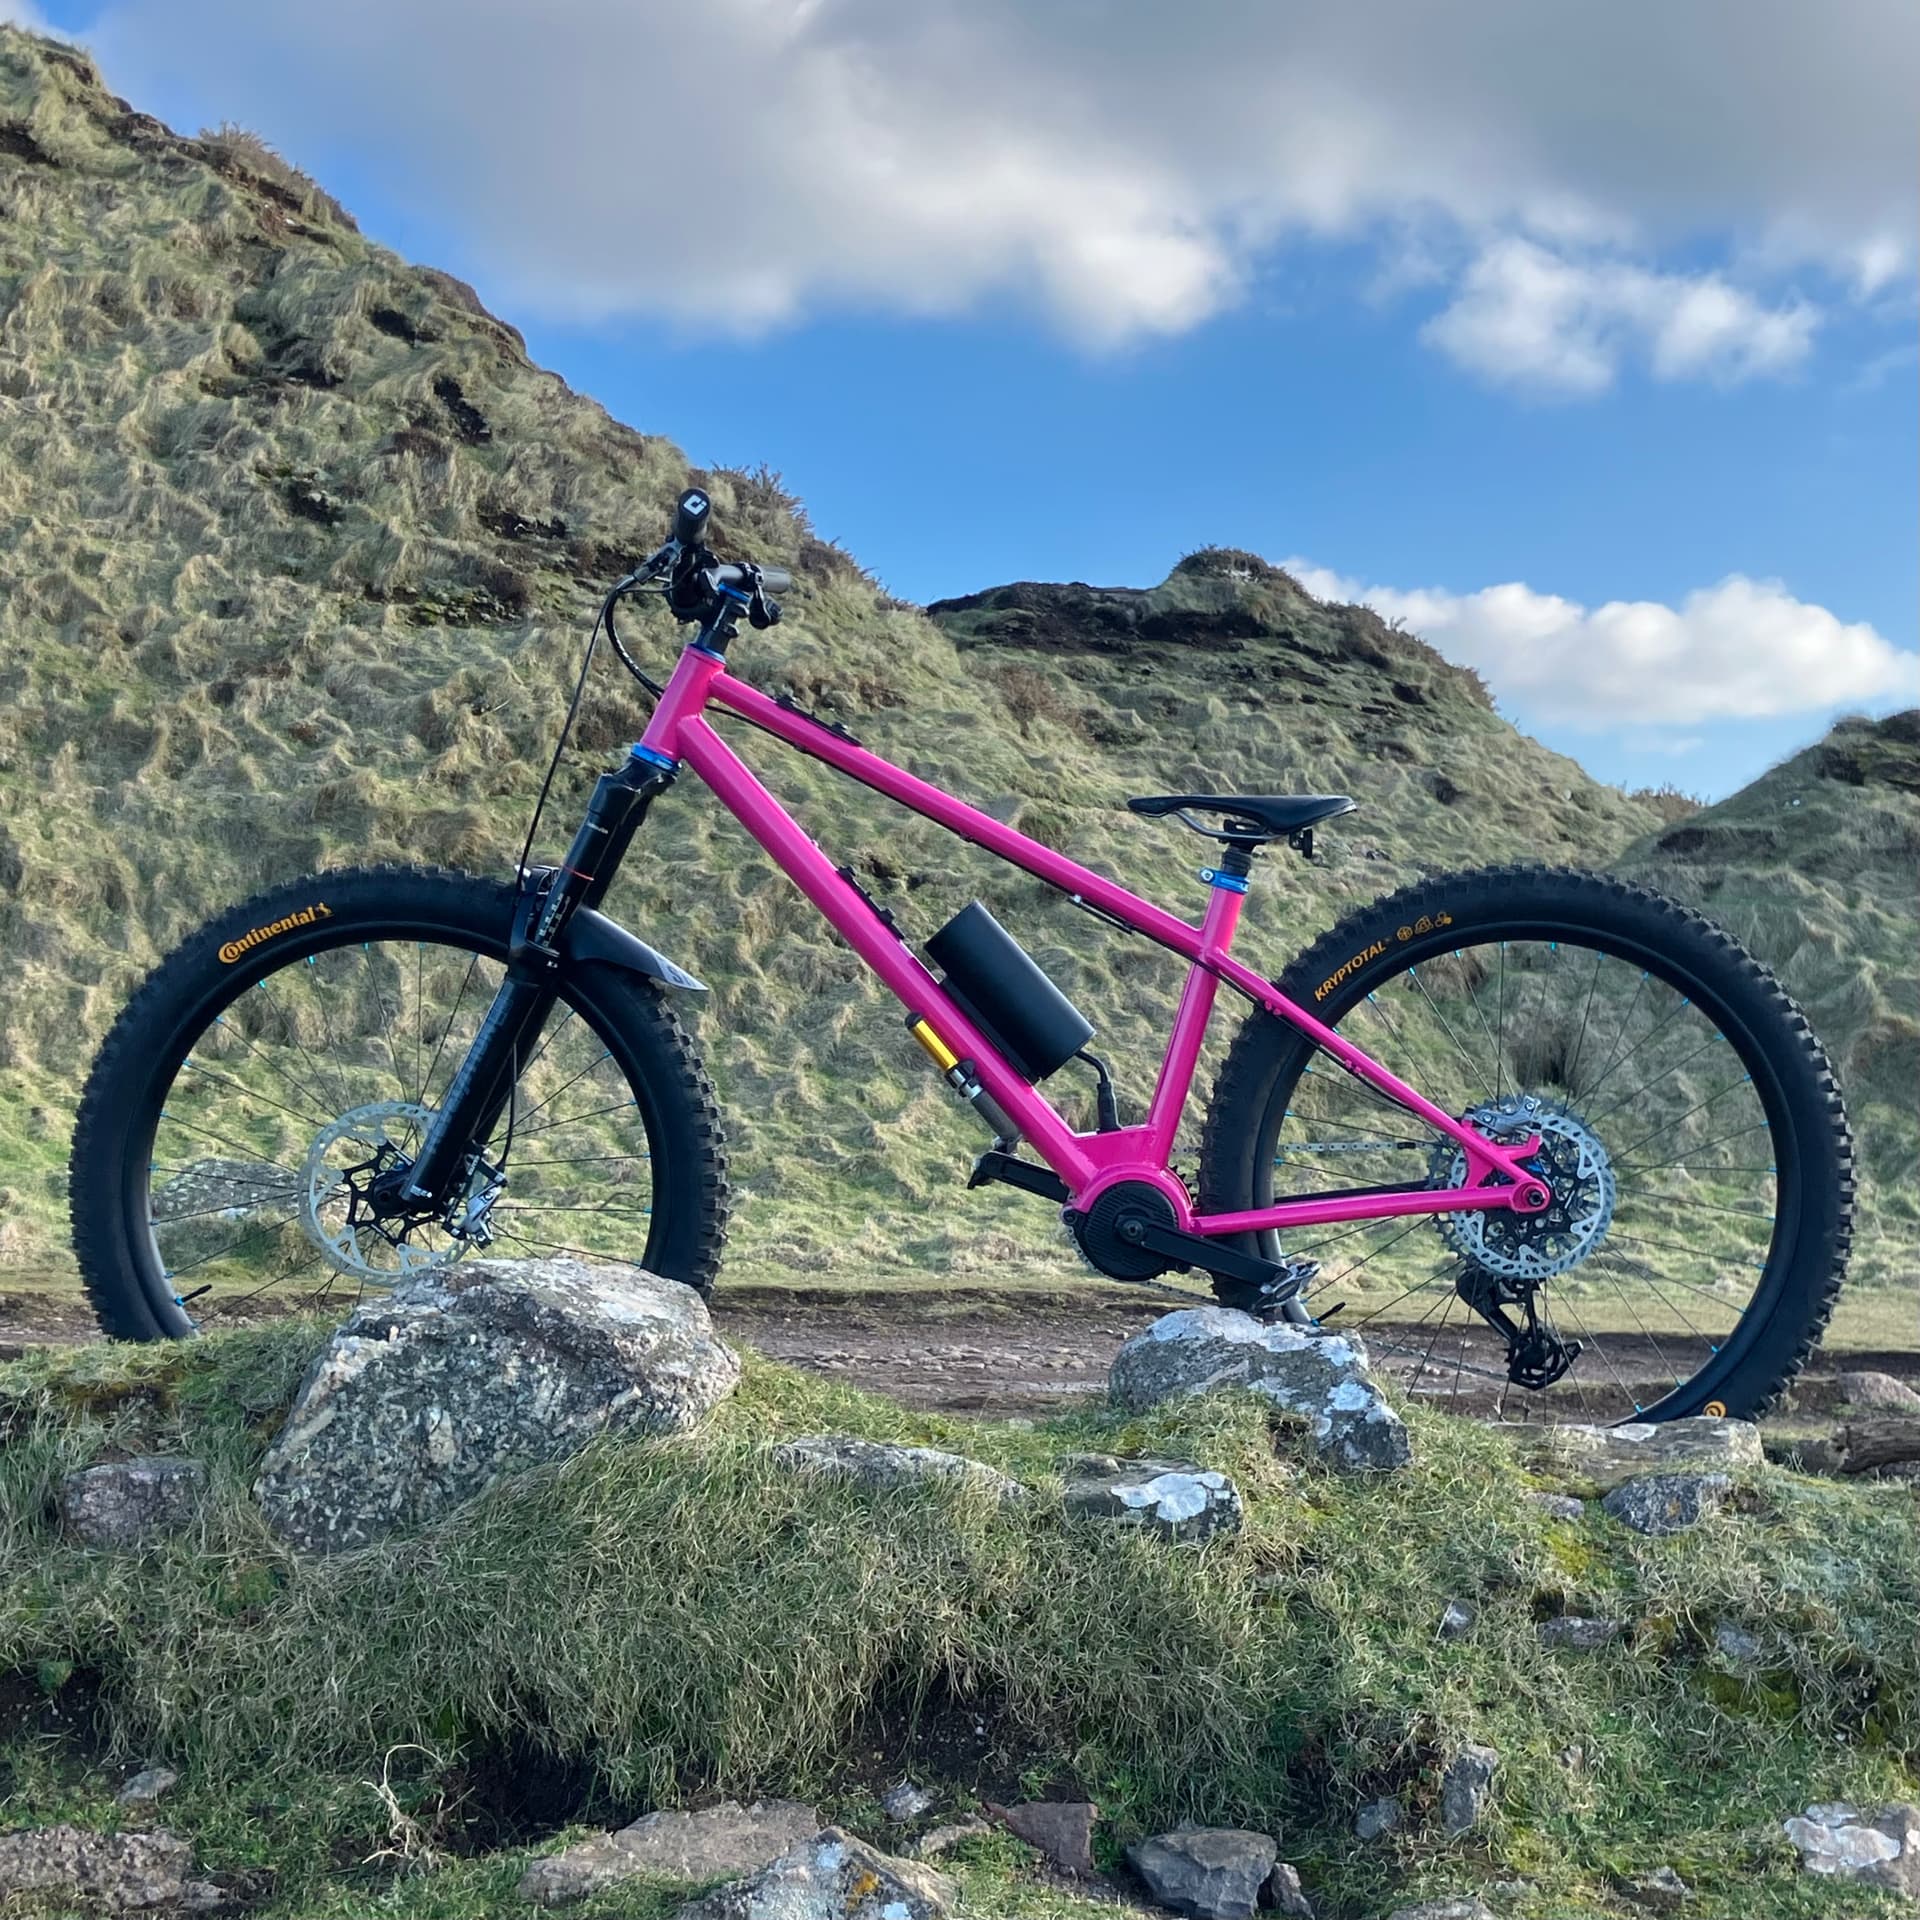
So it was finally ready for paint. I chose RAL 4010 “Telemagenta” powder coat for a real 90s-era vibe, especially with the anodised blue accents. The final build went smoothly. I needed to do the usual cleanup of head and seat tubes, chased all the threads and reamed the NDS dropout for the thru axle.
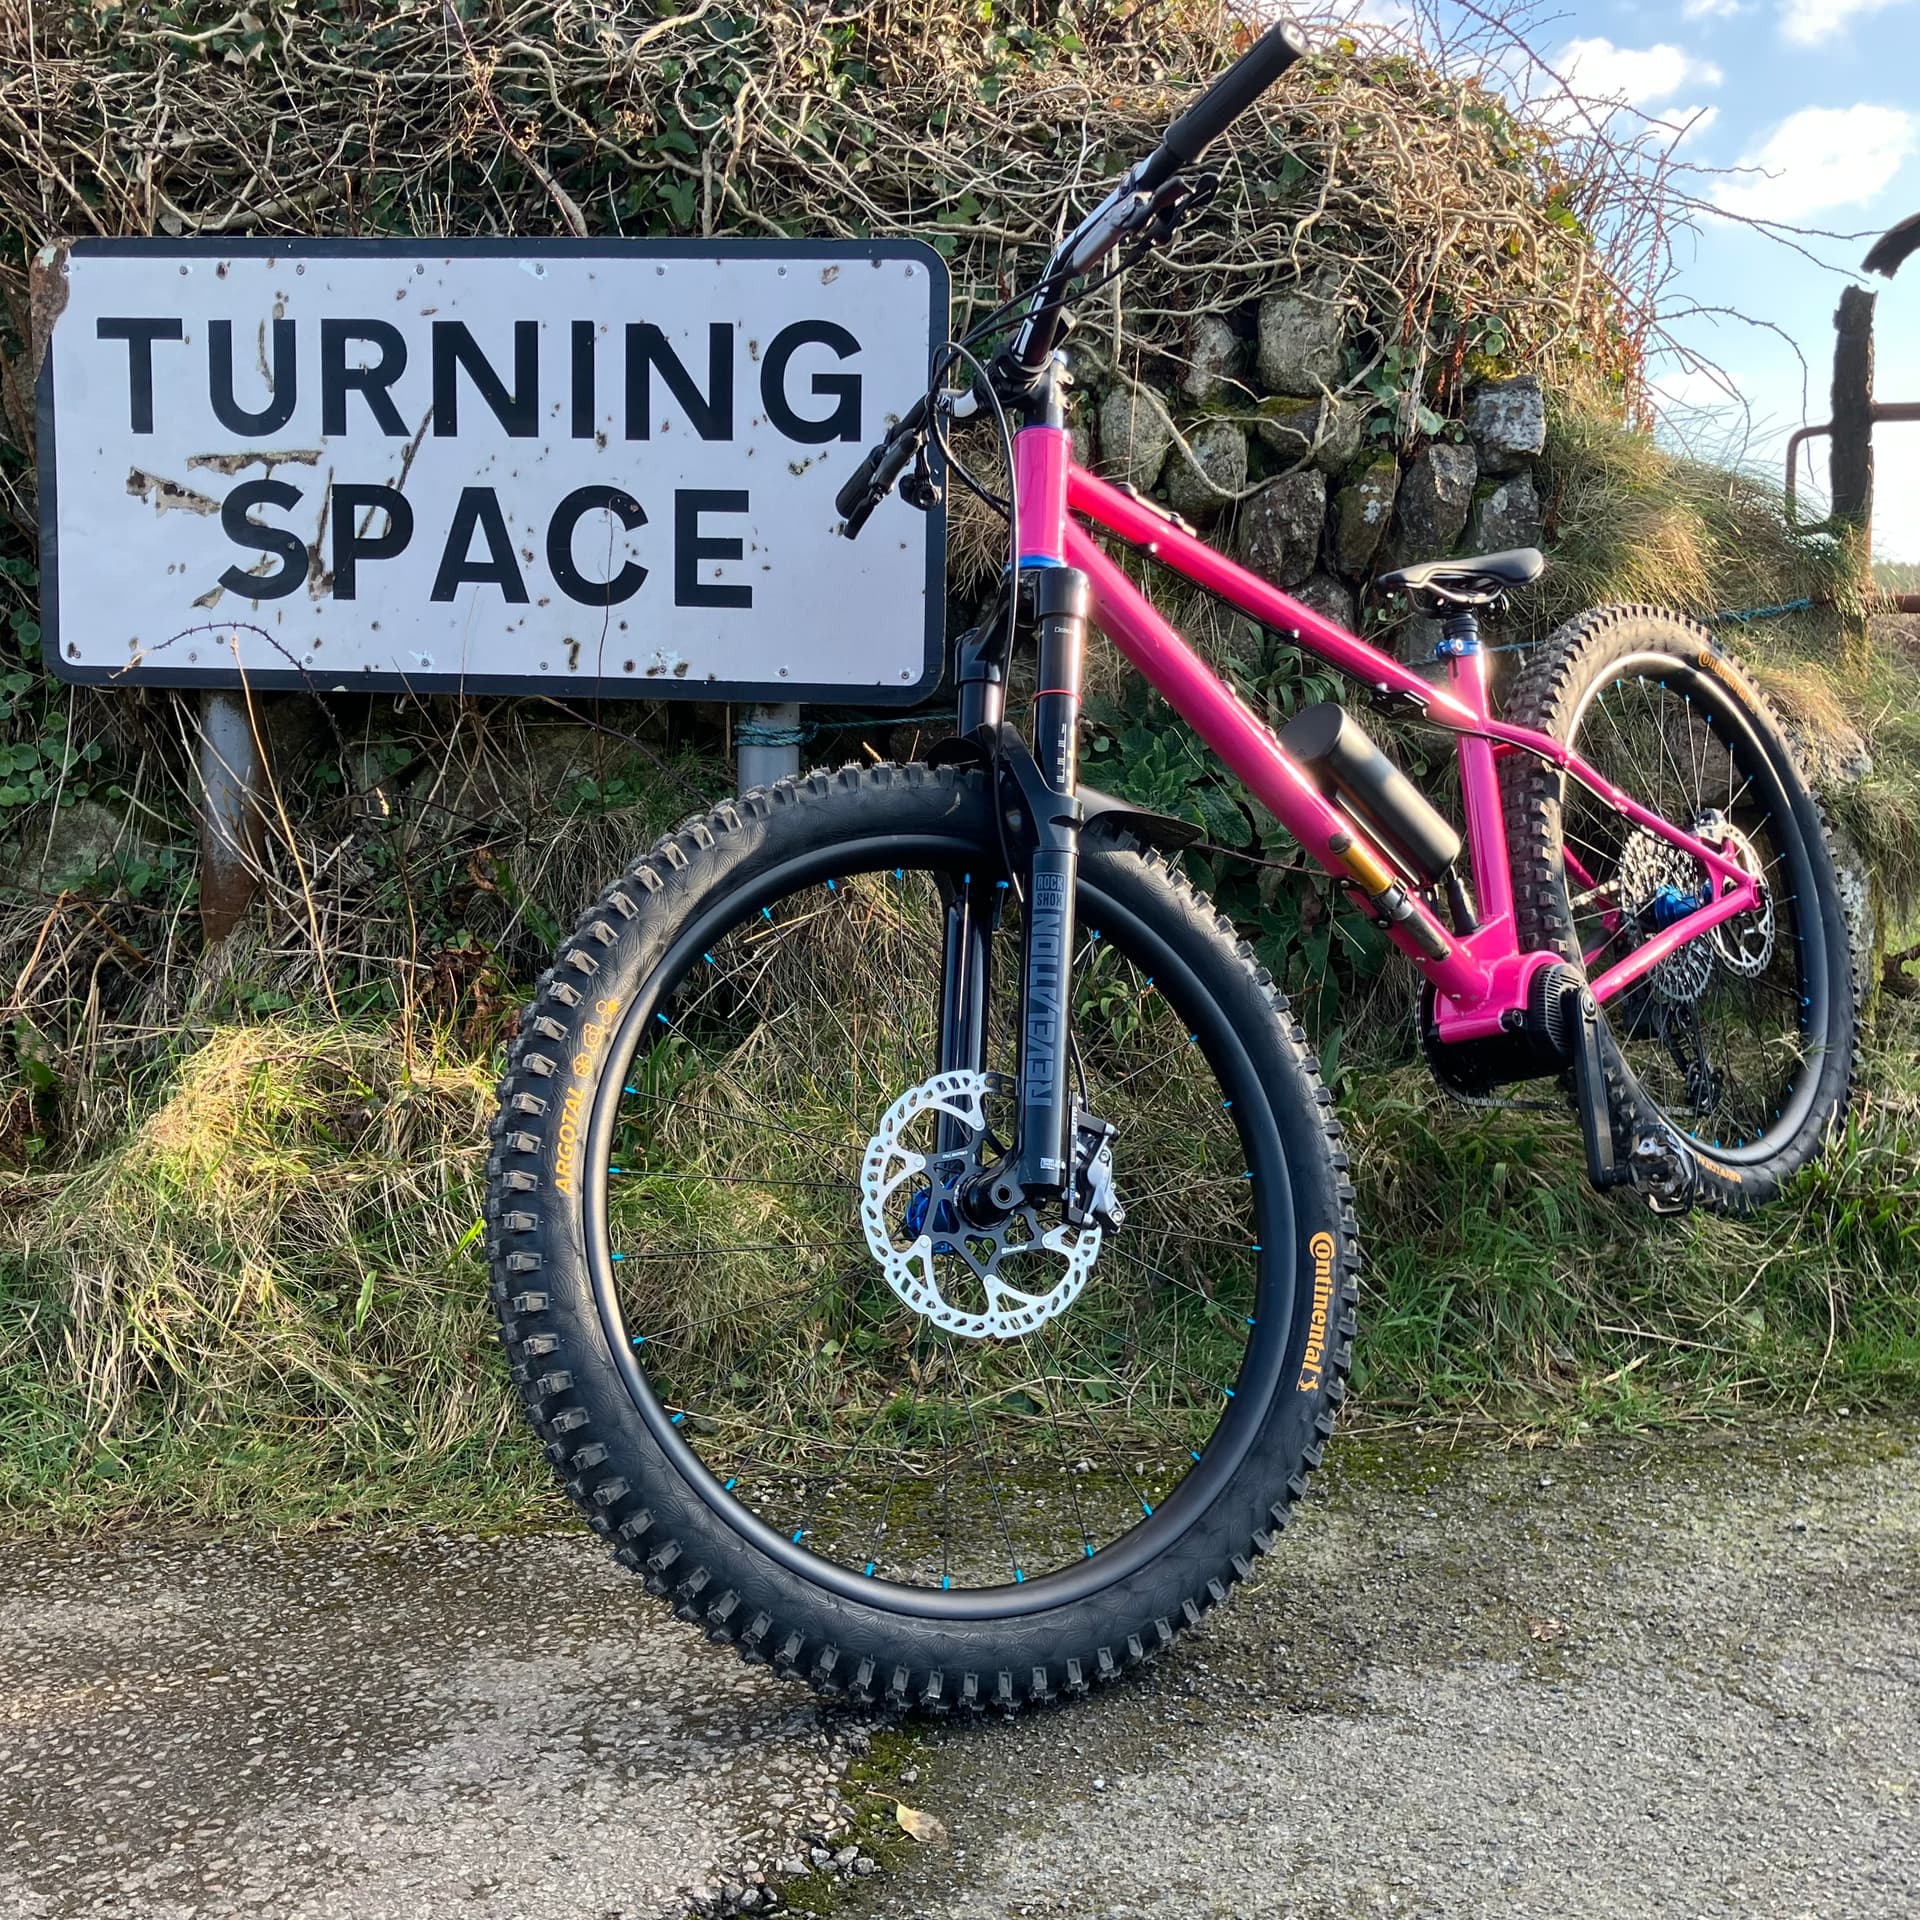
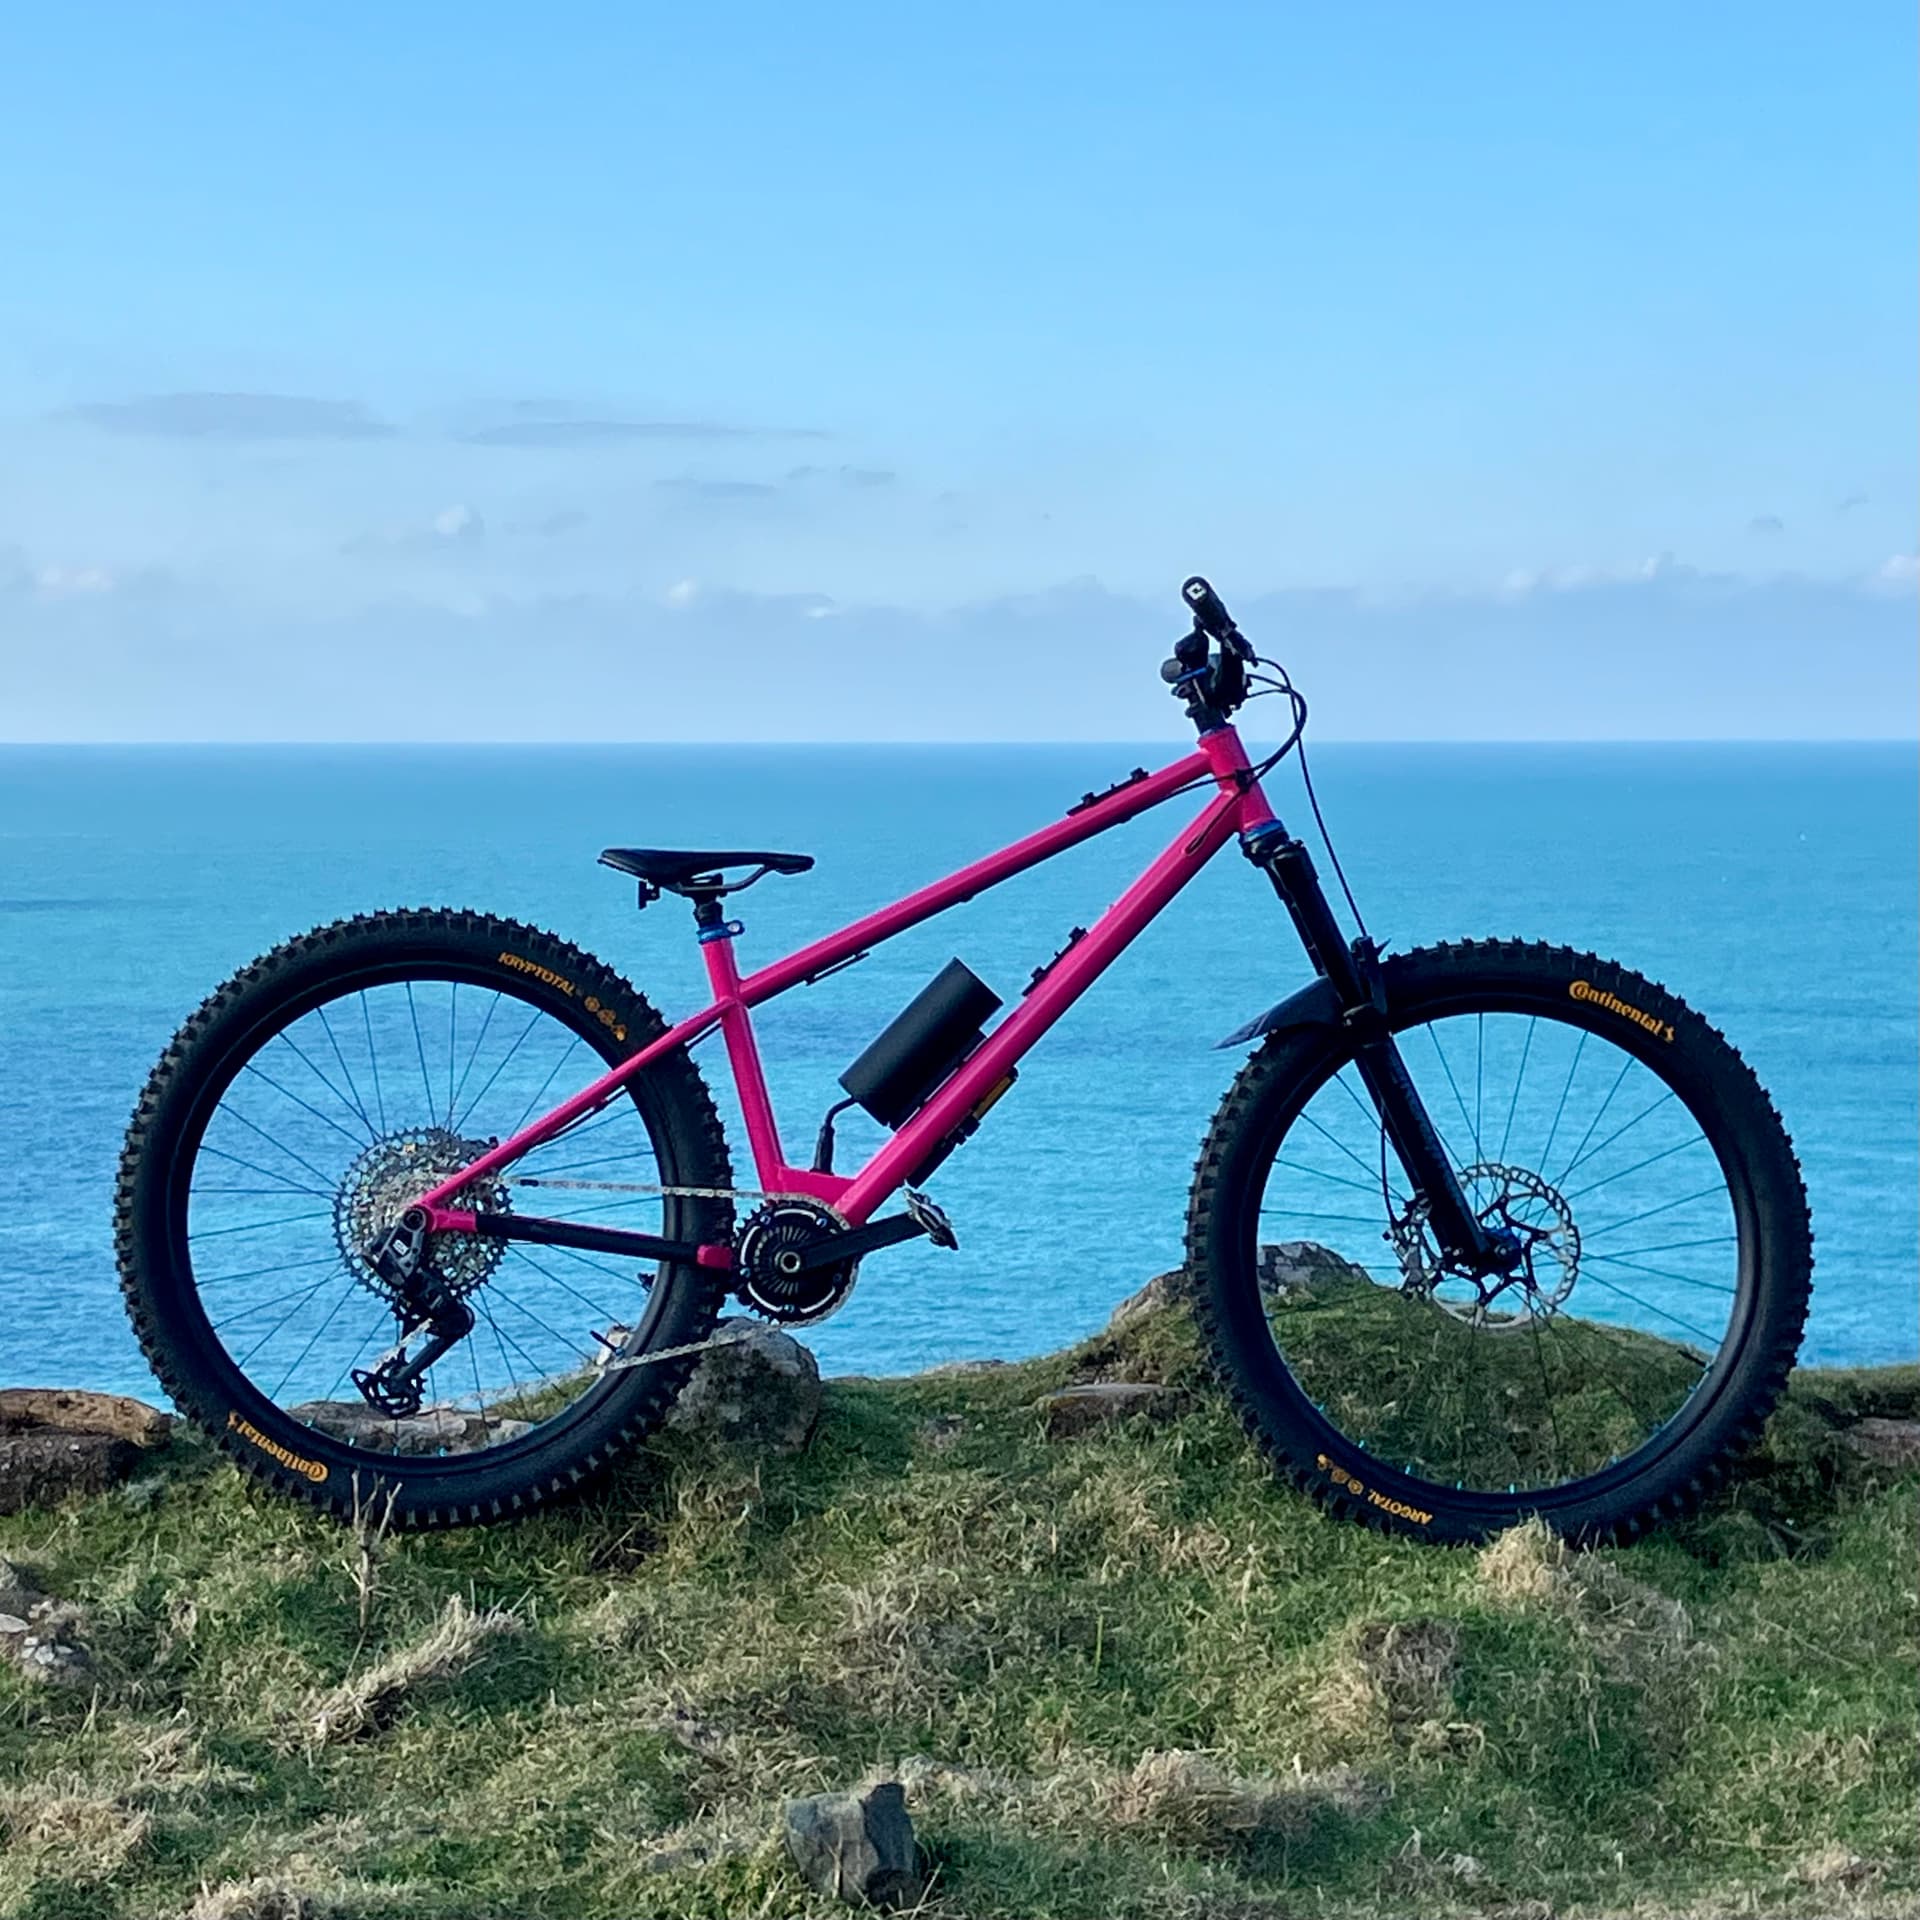
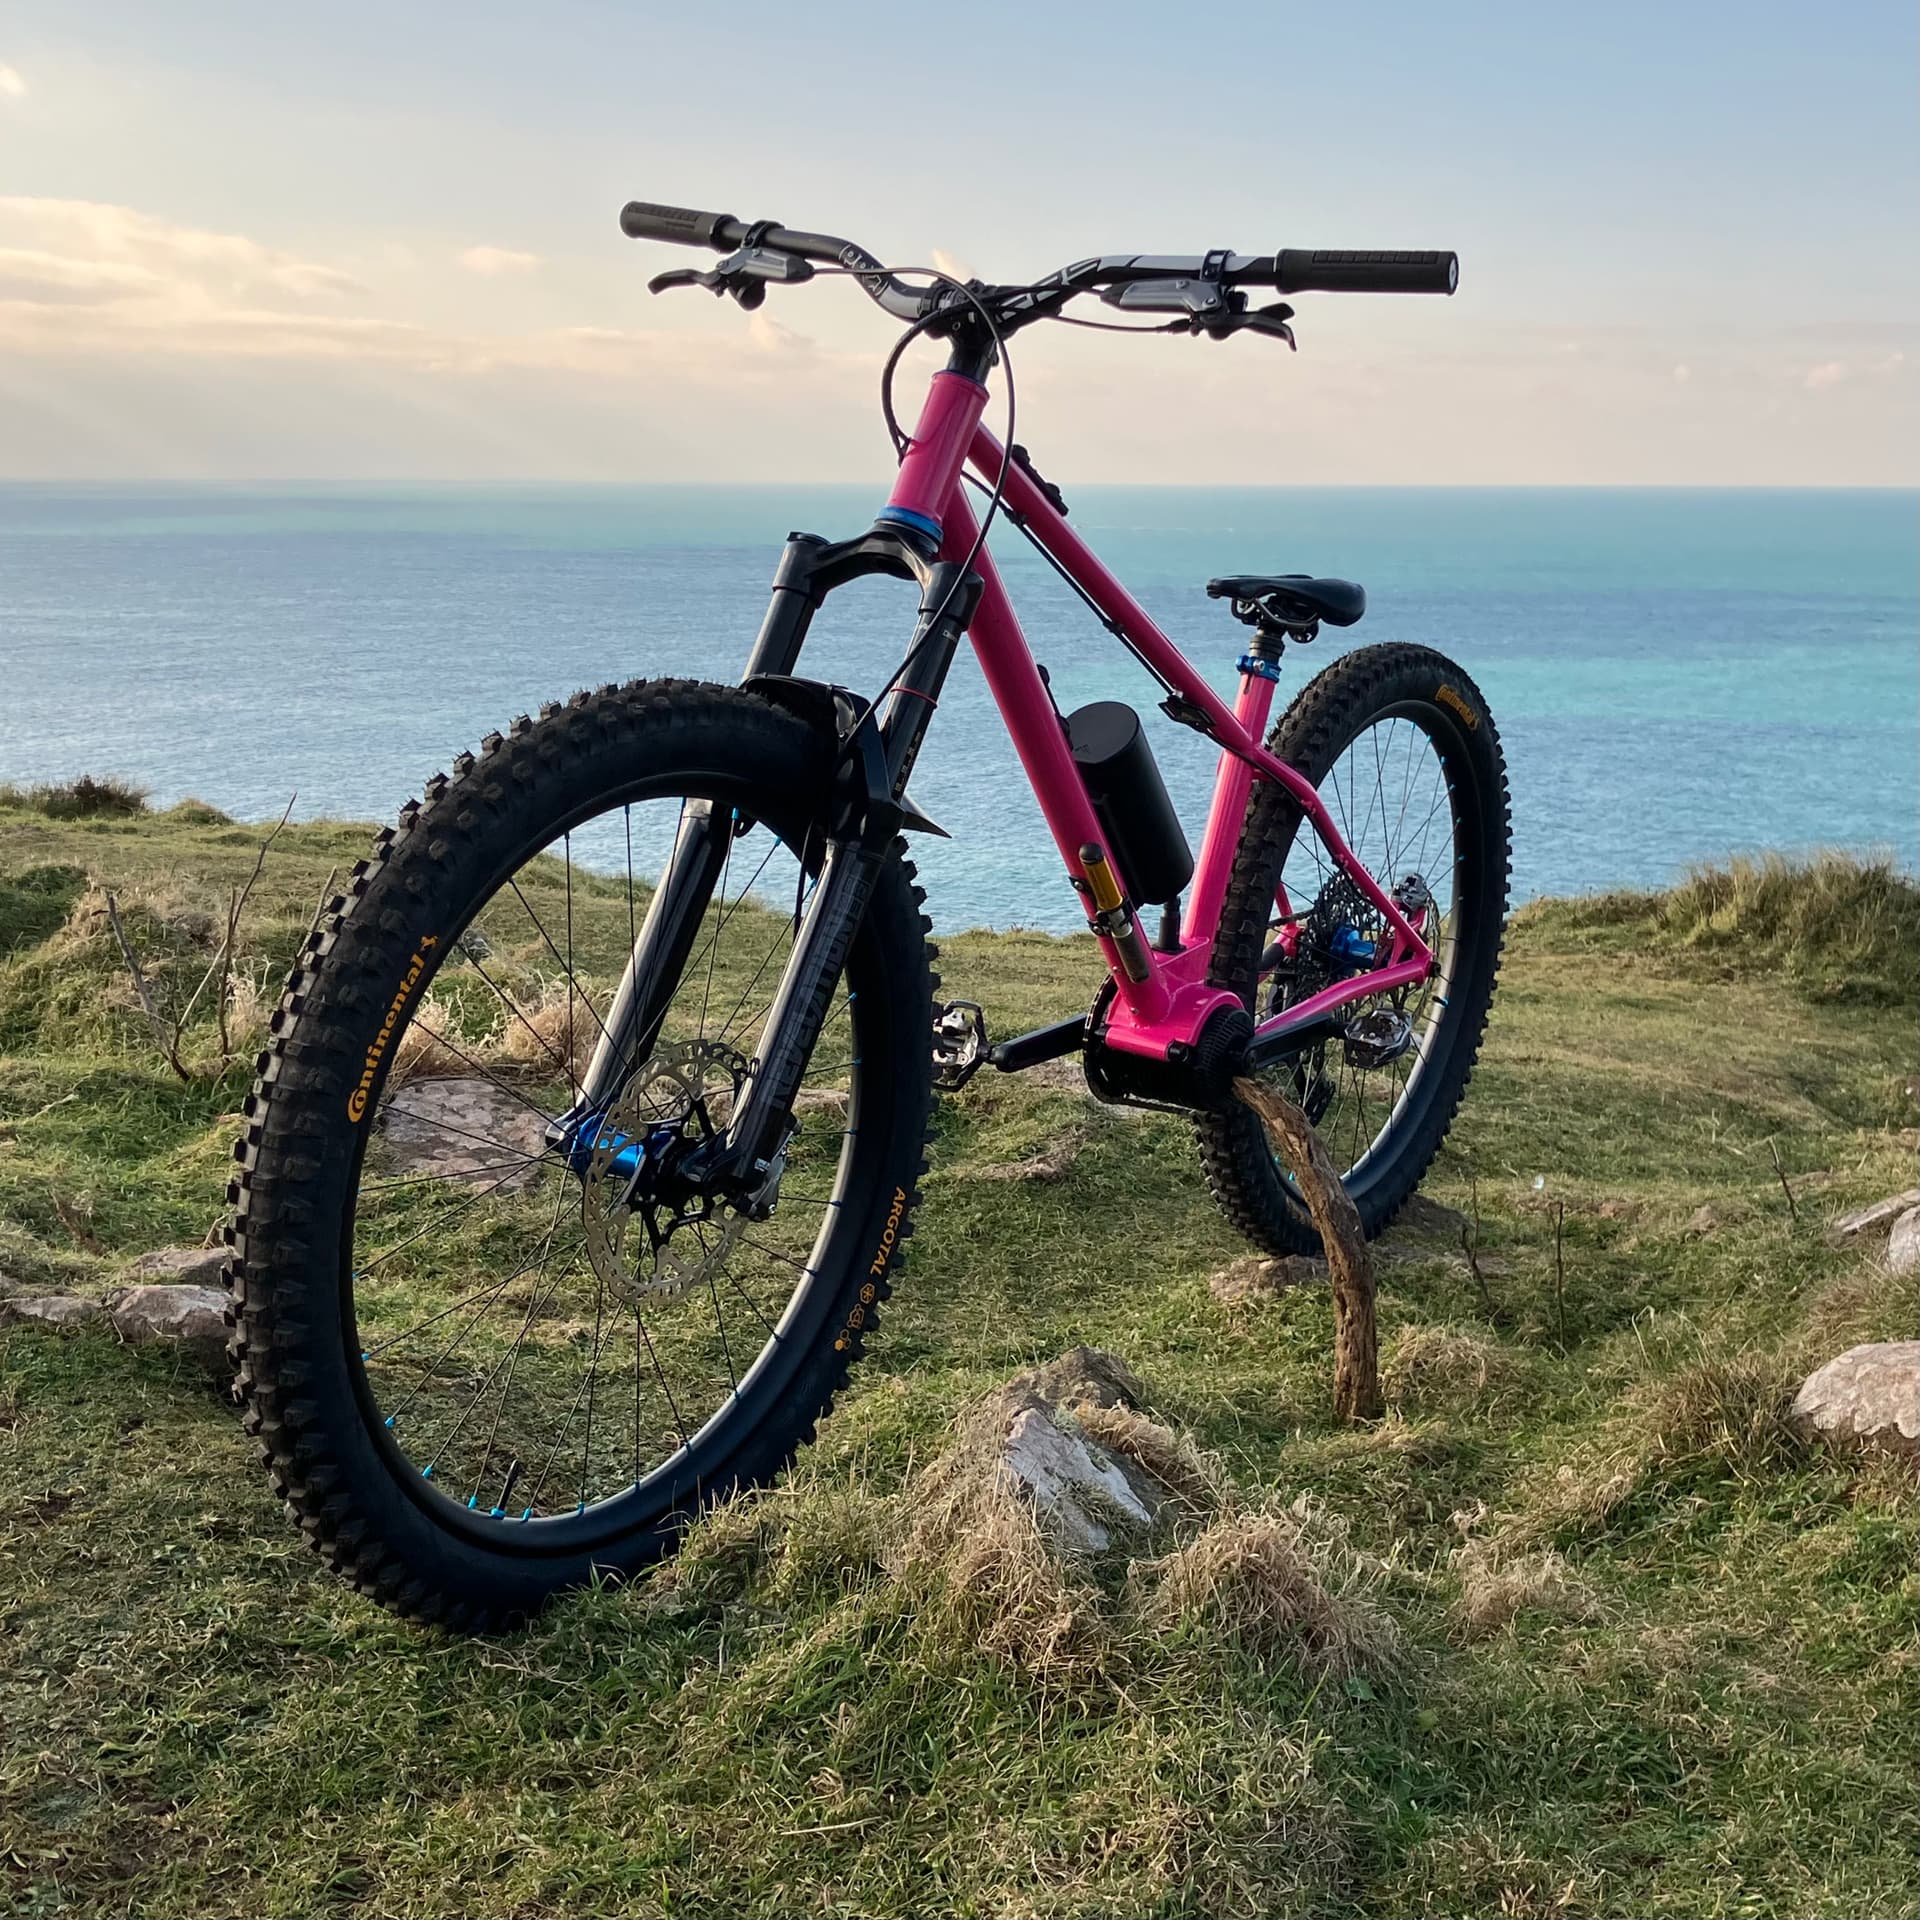
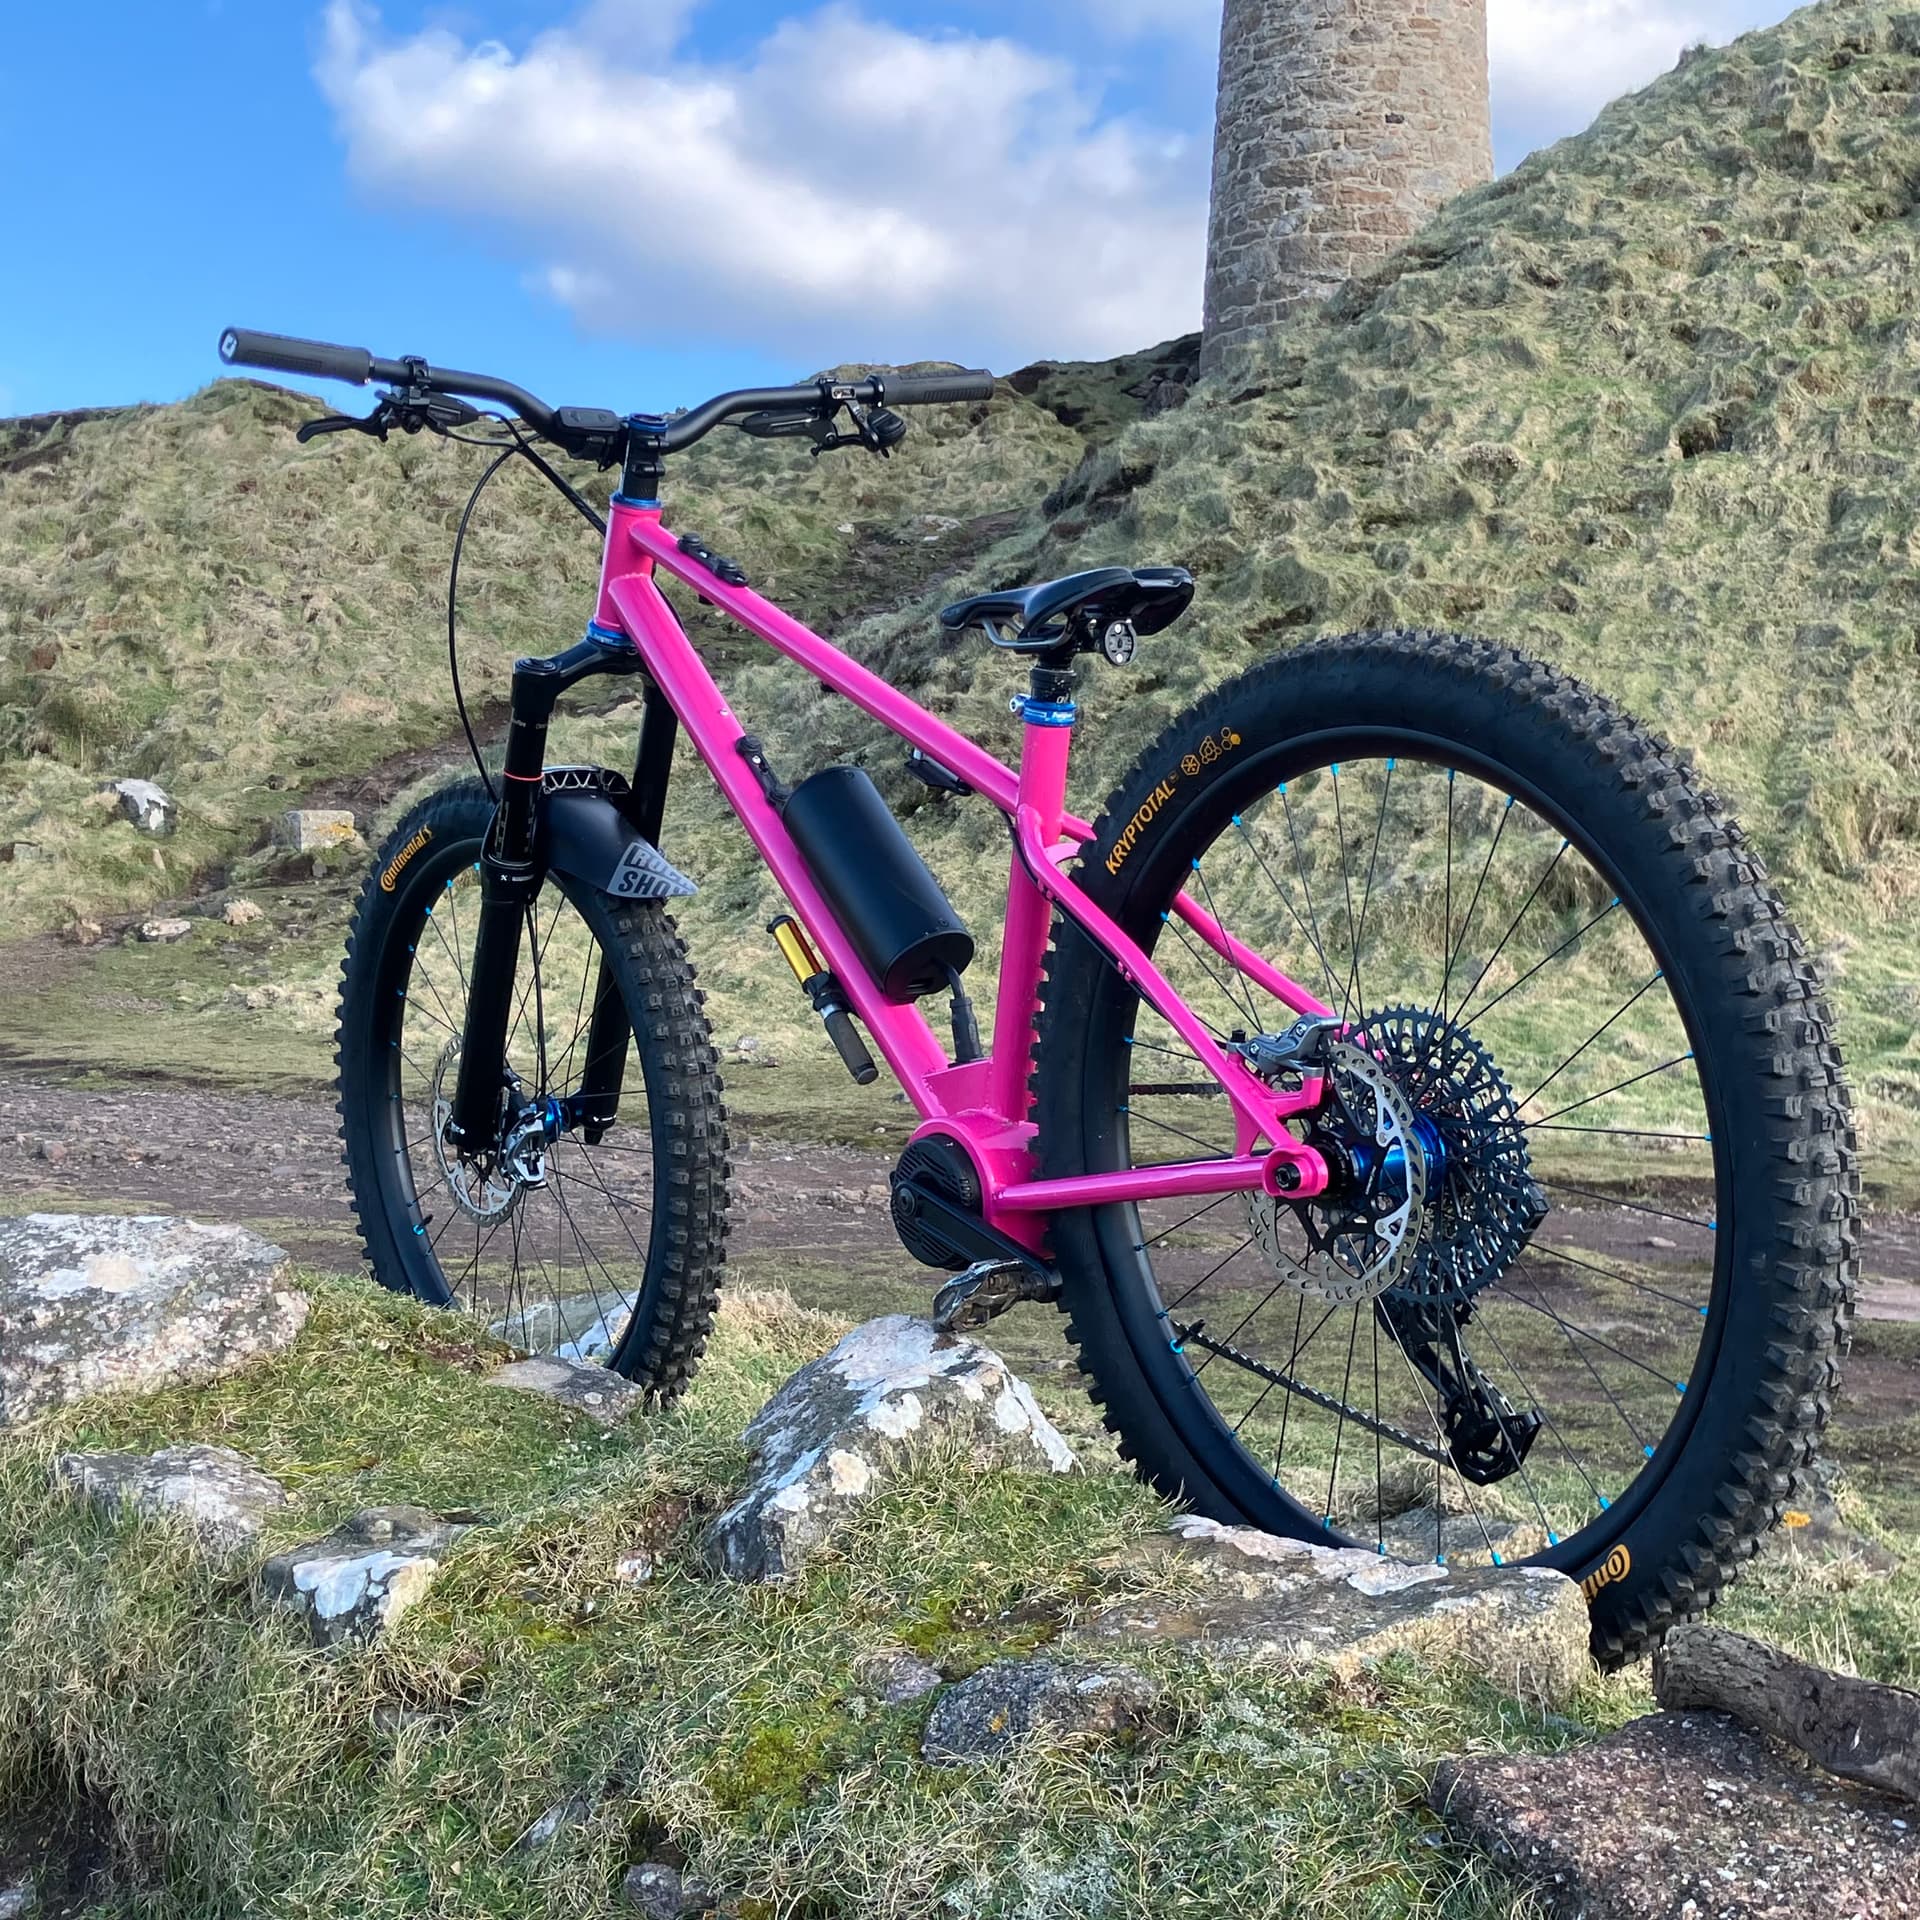
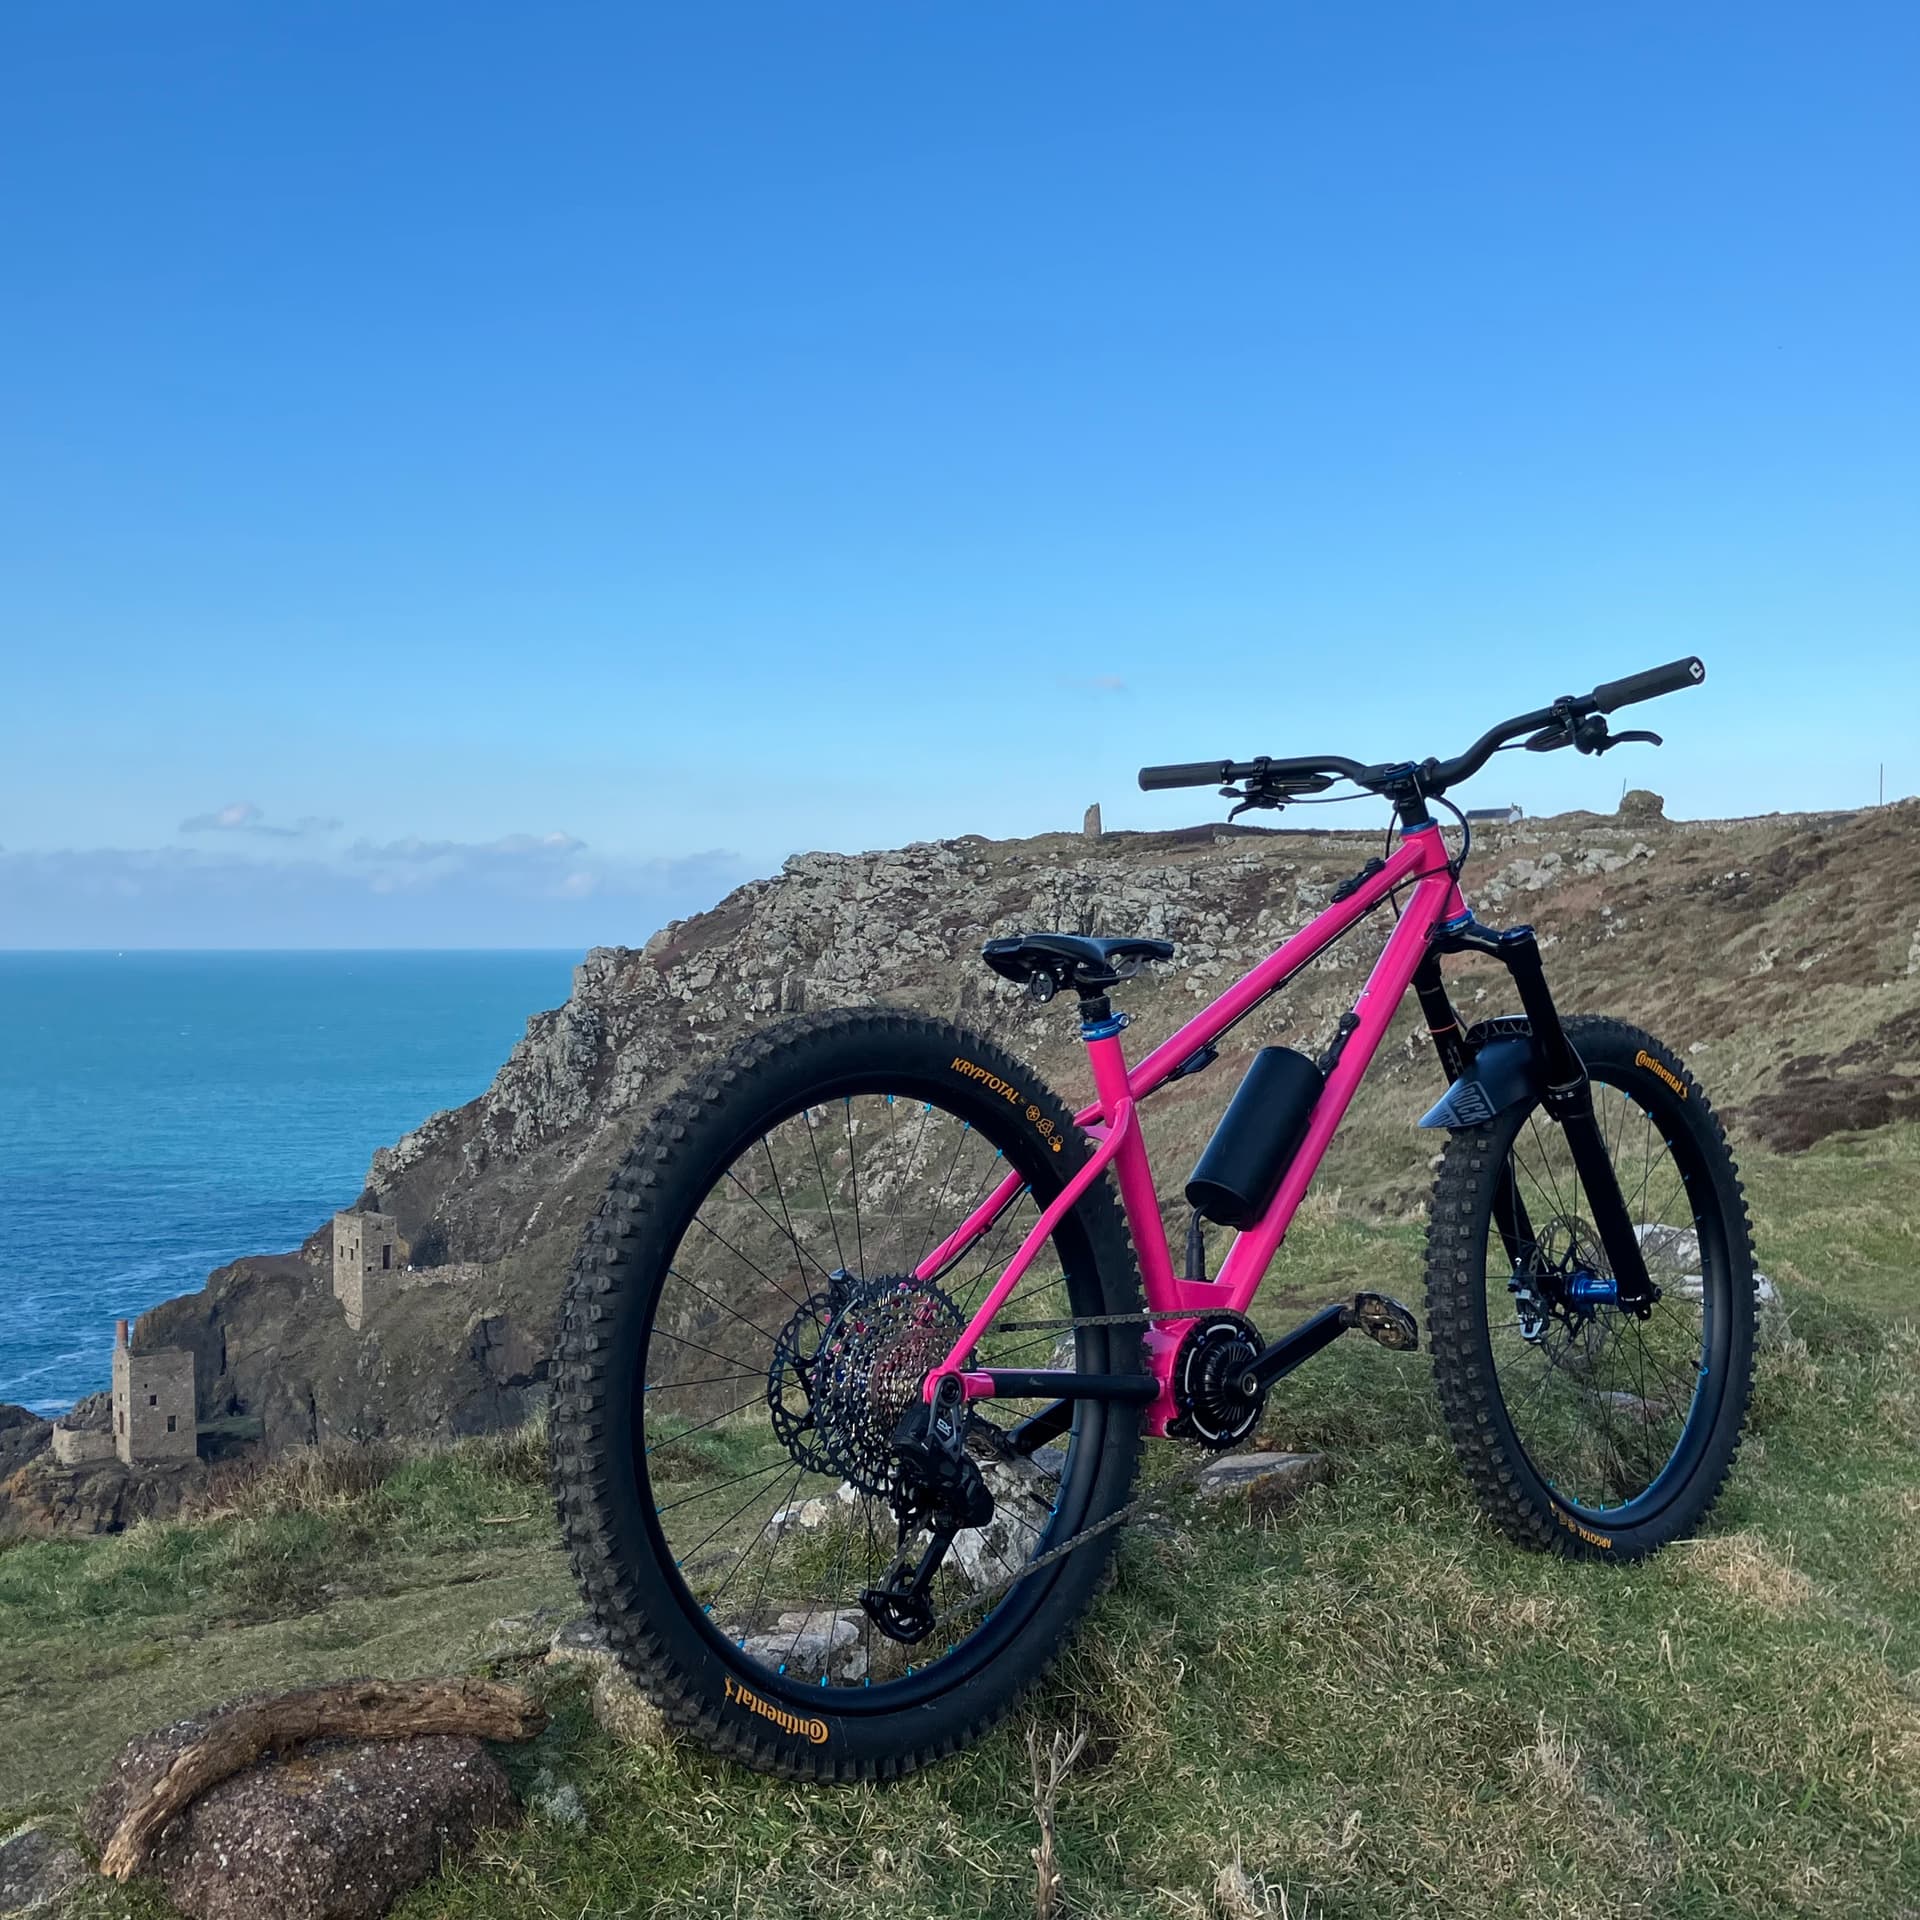
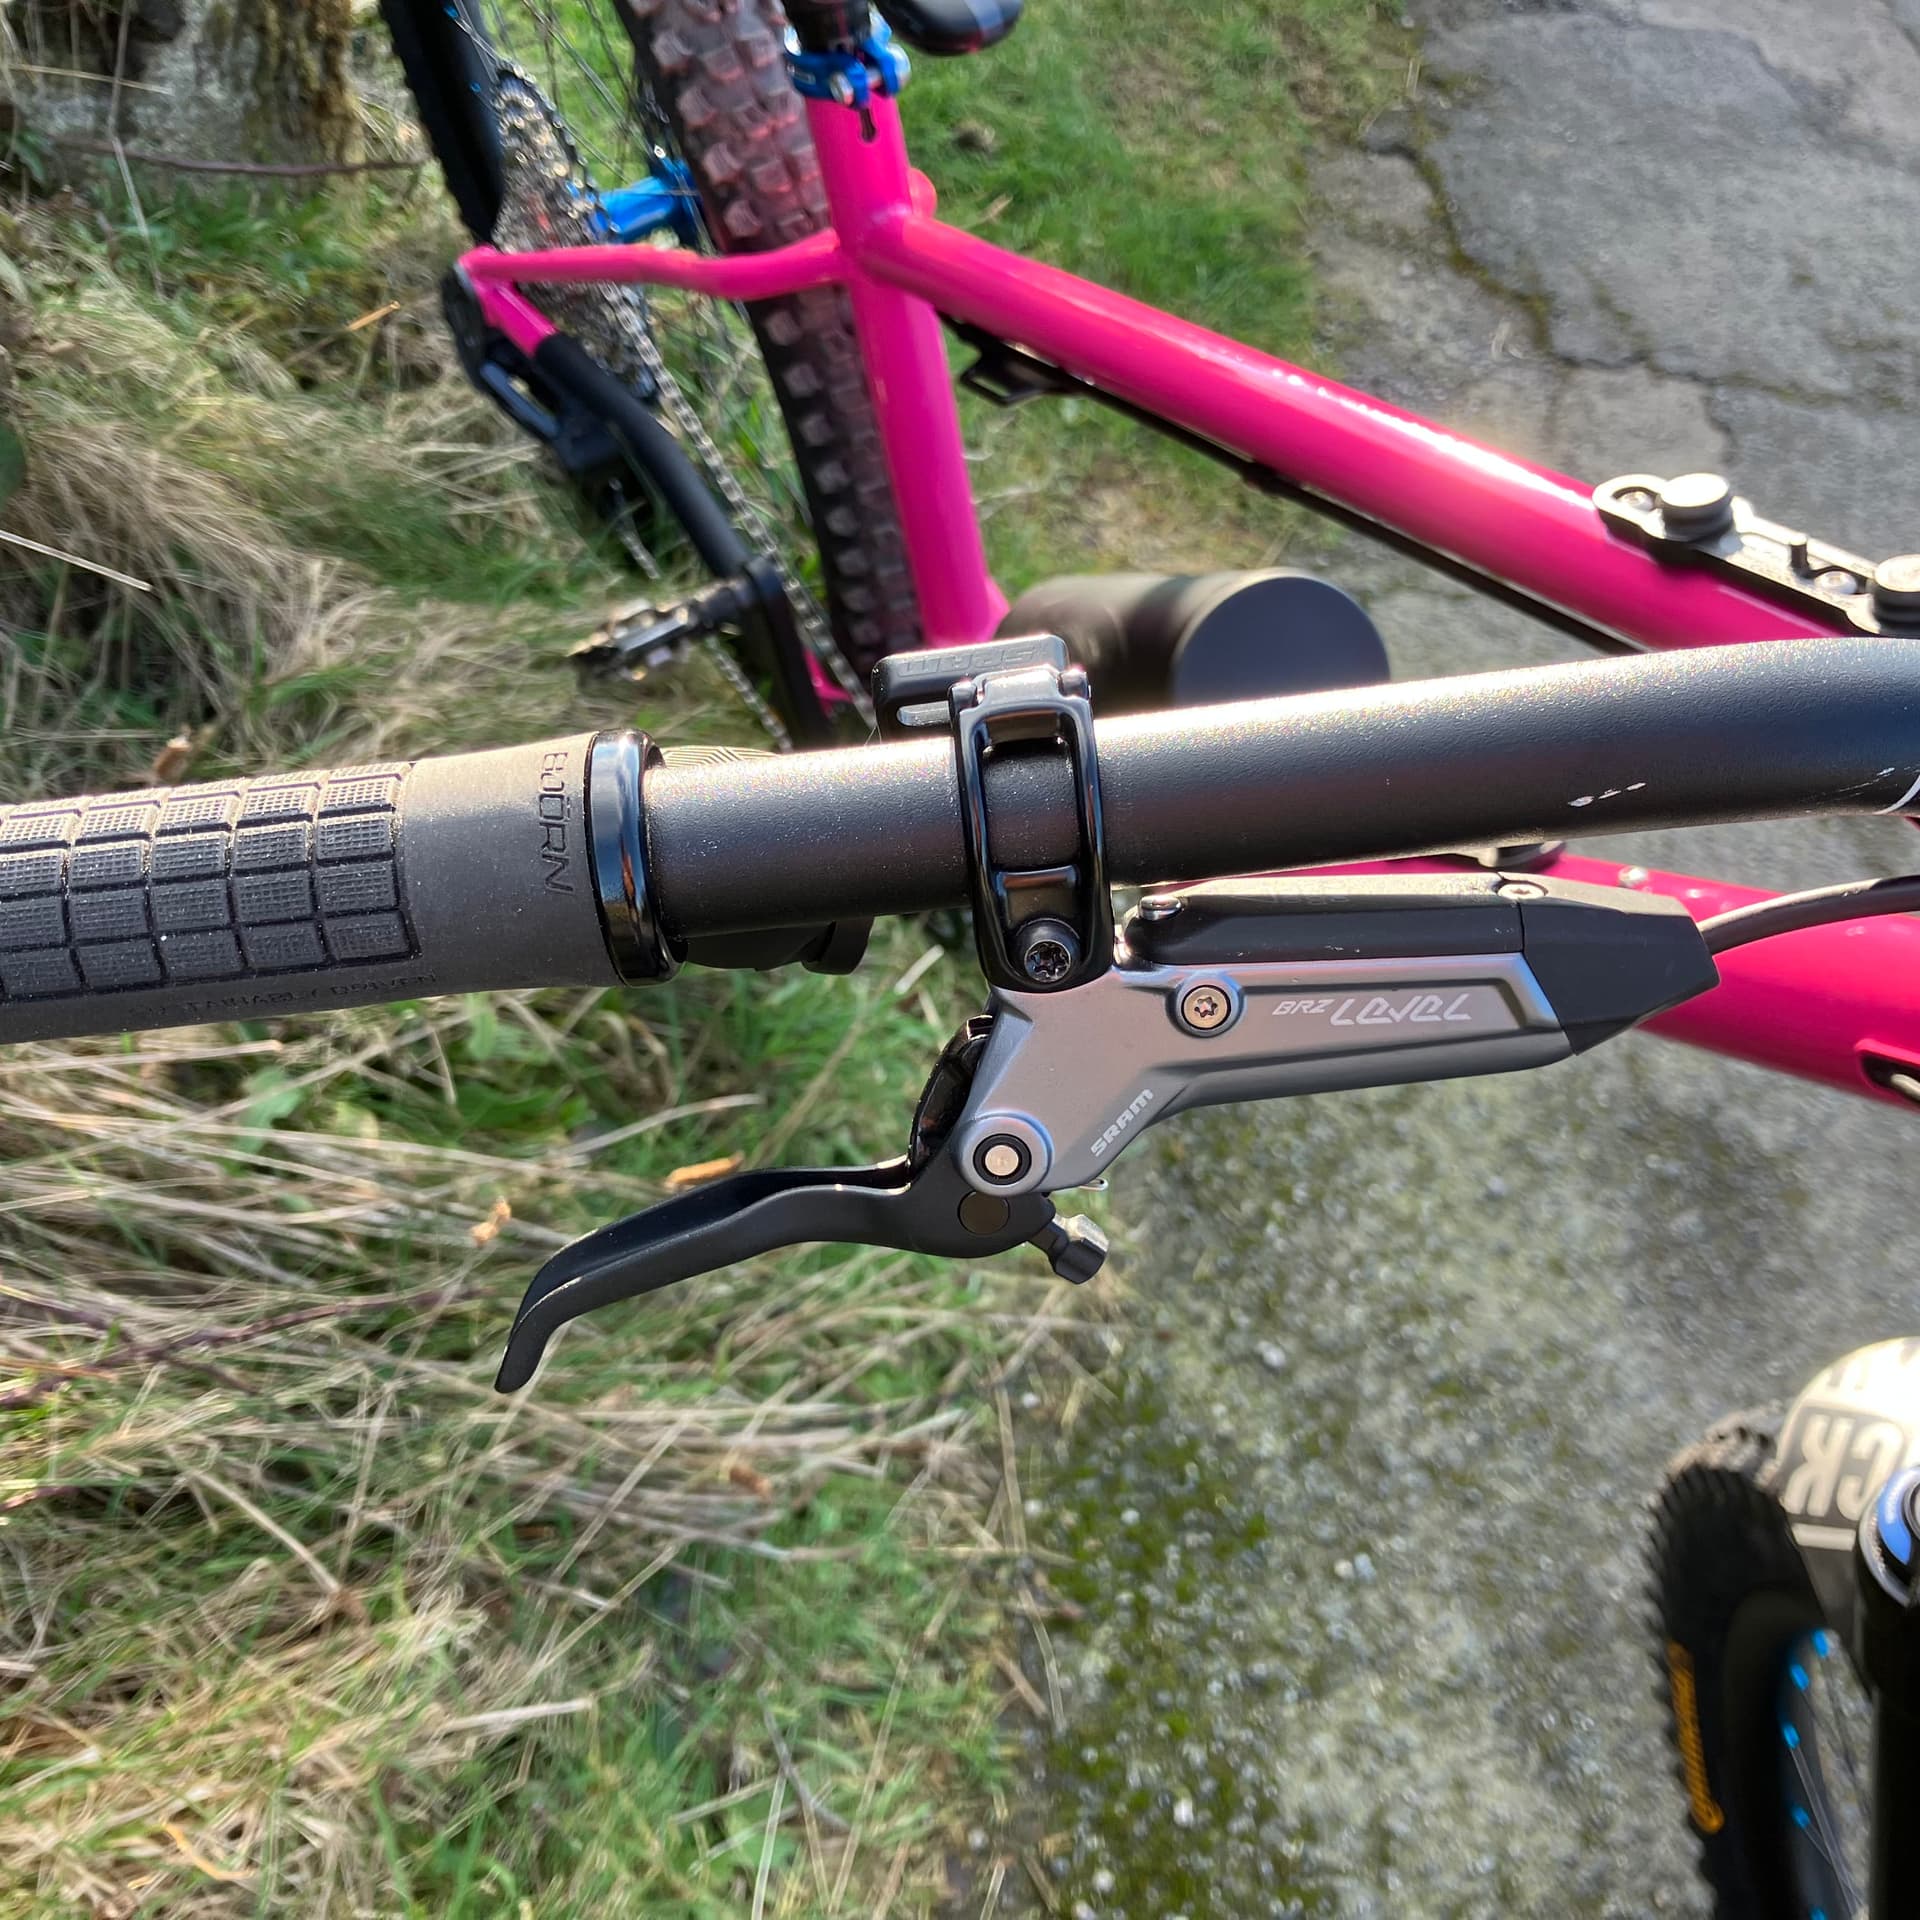
Some detail shots.

I used some 3D printed (PLA) masks for the motor mount and UDH hanger which mostly worked well. One of the motor mount masks did melt and fall out so I’ll need to look into a more suitable material but the concept seems useful. Sorry, no photos of these.
And that’s it. I’m happy overall with this build so now I need to get some miles on the tyres!
4 Likes
That’s super cool. Glad to see this one finished. Lots of novel ideas and concepts that I’ll probably steal for my own builds in the future. Love the dropper cable guide.
1 Like
Thanks. I can share the 3D model with you if you’re interested. I used some PTFE liner to enclose the cable and prevent wear on the plastic channel.
Anything else on the build which you’re interested in, let me know and I’ll share any info which isn’t included here.
1 Like