Frame 2: The First Homebuildering

After noticing Paul Brodie did it in his YouTube video series building whole frames, I decided to file the main triangle fillets before moving onto the rear triangle. Its nice breaking large tasks down into smaller parts. It’s also nice feeling seeing a completed stage of progress. With fillets finished, it looks more like a bike.

The fellow from whom I purchased the frame jig included the manuals from his class with Doug Fattic, c. 2009. In the manual, it provides some instruction around brazing rear dropouts to chainstays without a jig. I was not feeling so confident. I like jigs. @StarMichael kindly sold me his Alex Meade jig and shipped it to me in Canada. Came with blocks so it works for seat stays, too!

It worked well and I brazed the dropouts into the chain stays and the chainstays into the lugged bottom bracket last night.

I’ve gotten better with the 56% silver, but I still tend to add too much, wanting to make sure the joint is good and full and solid. But that means I then have to remove the excess from around the lug edge later. My filing around the lugs and bilaminate points isn’t as clean as I would like with the tiny straight files I have, so I’ve ordered a couple of riffler files to see if I can better clean them up before paint.

I considered a few different options for alignment. Sometimes it is hard when starting out to know where to best invest in tools and equipment. After reading some threads, I opted for a budget welding table. It’s assembled and seems adequate for what I need it for.

I can tell the frame’s main triangle isn’t straight and neither is the rear triangle, but it also doesn’t seem terrible. I put a wheel in the rear and it spun without rubbing. That’s a win, I think. The spacing between stays and tire is unequal side to side, but its in the 60/40 ballpark at least and not 80/20.

3 Likes

An ART337, along with some other fittings, tools, and supplies are coming from Peter at Ceeway next week. I’m keen on some kind of fastback-esque seat stays and this fitting should work with the SL seat stays and provide enough width between them to clear the 43c tires I intend to run. Nice.

After supplies arrive, I should have what I need to jump into the alignment work.

There is still a good amount to do, but I am optimistic I will be able to have it finished enough (certainly not painted) and in some kind of rideable condition before the snow flies. Here’s hoping, anyway :slight_smile:

3 Likes

Those fillet brazed joints look nice and even before filing and beautiful afterwards. Great work!

Alignment can be a controversial subject but I don’t think you need a table. If you look down the bike from the front, shut one eye, line up the HT with the ST, and move your head from side to side so you can just see the ST peeping in and out, you can see tiny errors just with the eye. I’ve found this more accurate than messing around with lasers. And I’m pretty sure it’s all people used to do back in the day (if you’re lucky). There’s a video somewhere about some lads in Yorkshire holding frames up to the window to look down them I suspect like this. This is the most important aspect of alignment to get right.

To get the BB square I tack that to the ST first and just lie it on its side in the same place on my reasonably but not perfectly flat table. If the gap from the table to the top of the ST is the same both ways up then it’s perfect. But I’m tigging everything. The process is a bit different if using lugs because you can actually bend the lug a bit. Once the TIG weld is fully in there, you’re not changing that angle, so it had better be right.

I believe this is also at the root of some of the controversy around alignment. If you use a table you’re using the edge of the BB shell as your reference. Since you can’t correct that on a TIG frame (all you will do is bend the ST if you try to) you’re better just to get that as square as you can right from the start and then do any further checking/correction in the vertical plane. In other words, you align the HT with the ST. You don’t align both with the edge of the BB shell.

As for the rear triangle it’s all about whether a wheel will go in there and be equidistant from both pairs of stays. Tiny errors are magnified by the wheel. I always put the seatstays on last because this makes any final corrections that may be necessary very easy. When mitring chainstays I check that each chainstay will fit exactly the same in both sides (turn it the other way up). That guarantees they are exactly the same length which is the key thing to get right.

String around the HT and back to the stays, and then measure the distance to the string on both sides from the ST is how to make sure ST and HT are both on the centreline.

2 Likes

Hey Matt, I have a question. I ha e built 3 frames so far and the bilaminate process intrigues me! I assume you use silver to braze the “lug” to the tube. But is there a problem/challenge when doing g the fillet brazing because of the more prolonged heat?

Tom

Thanks for the question! This is only my second frame. I’m no expert. Please know I don’t know what I’m doing. I just looked at some stuff and gave it a try.

I did use silver for the bilaminates. I did those first, then fillet brazed after. I just finished the frame this morning and haven’t ridden it yet, so I don’t know how well it took, but so far, I haven’t noticed any issues.

I did not notice any funny business happening with the silver when I was fillet brazing with bronze afterwards.

If someone more experienced with this wants to jump in, please do.

Part of the motivation of doing the bilaminate was that the effectively thicker tubing might be more forgiving to my novice brazing.

1 Like

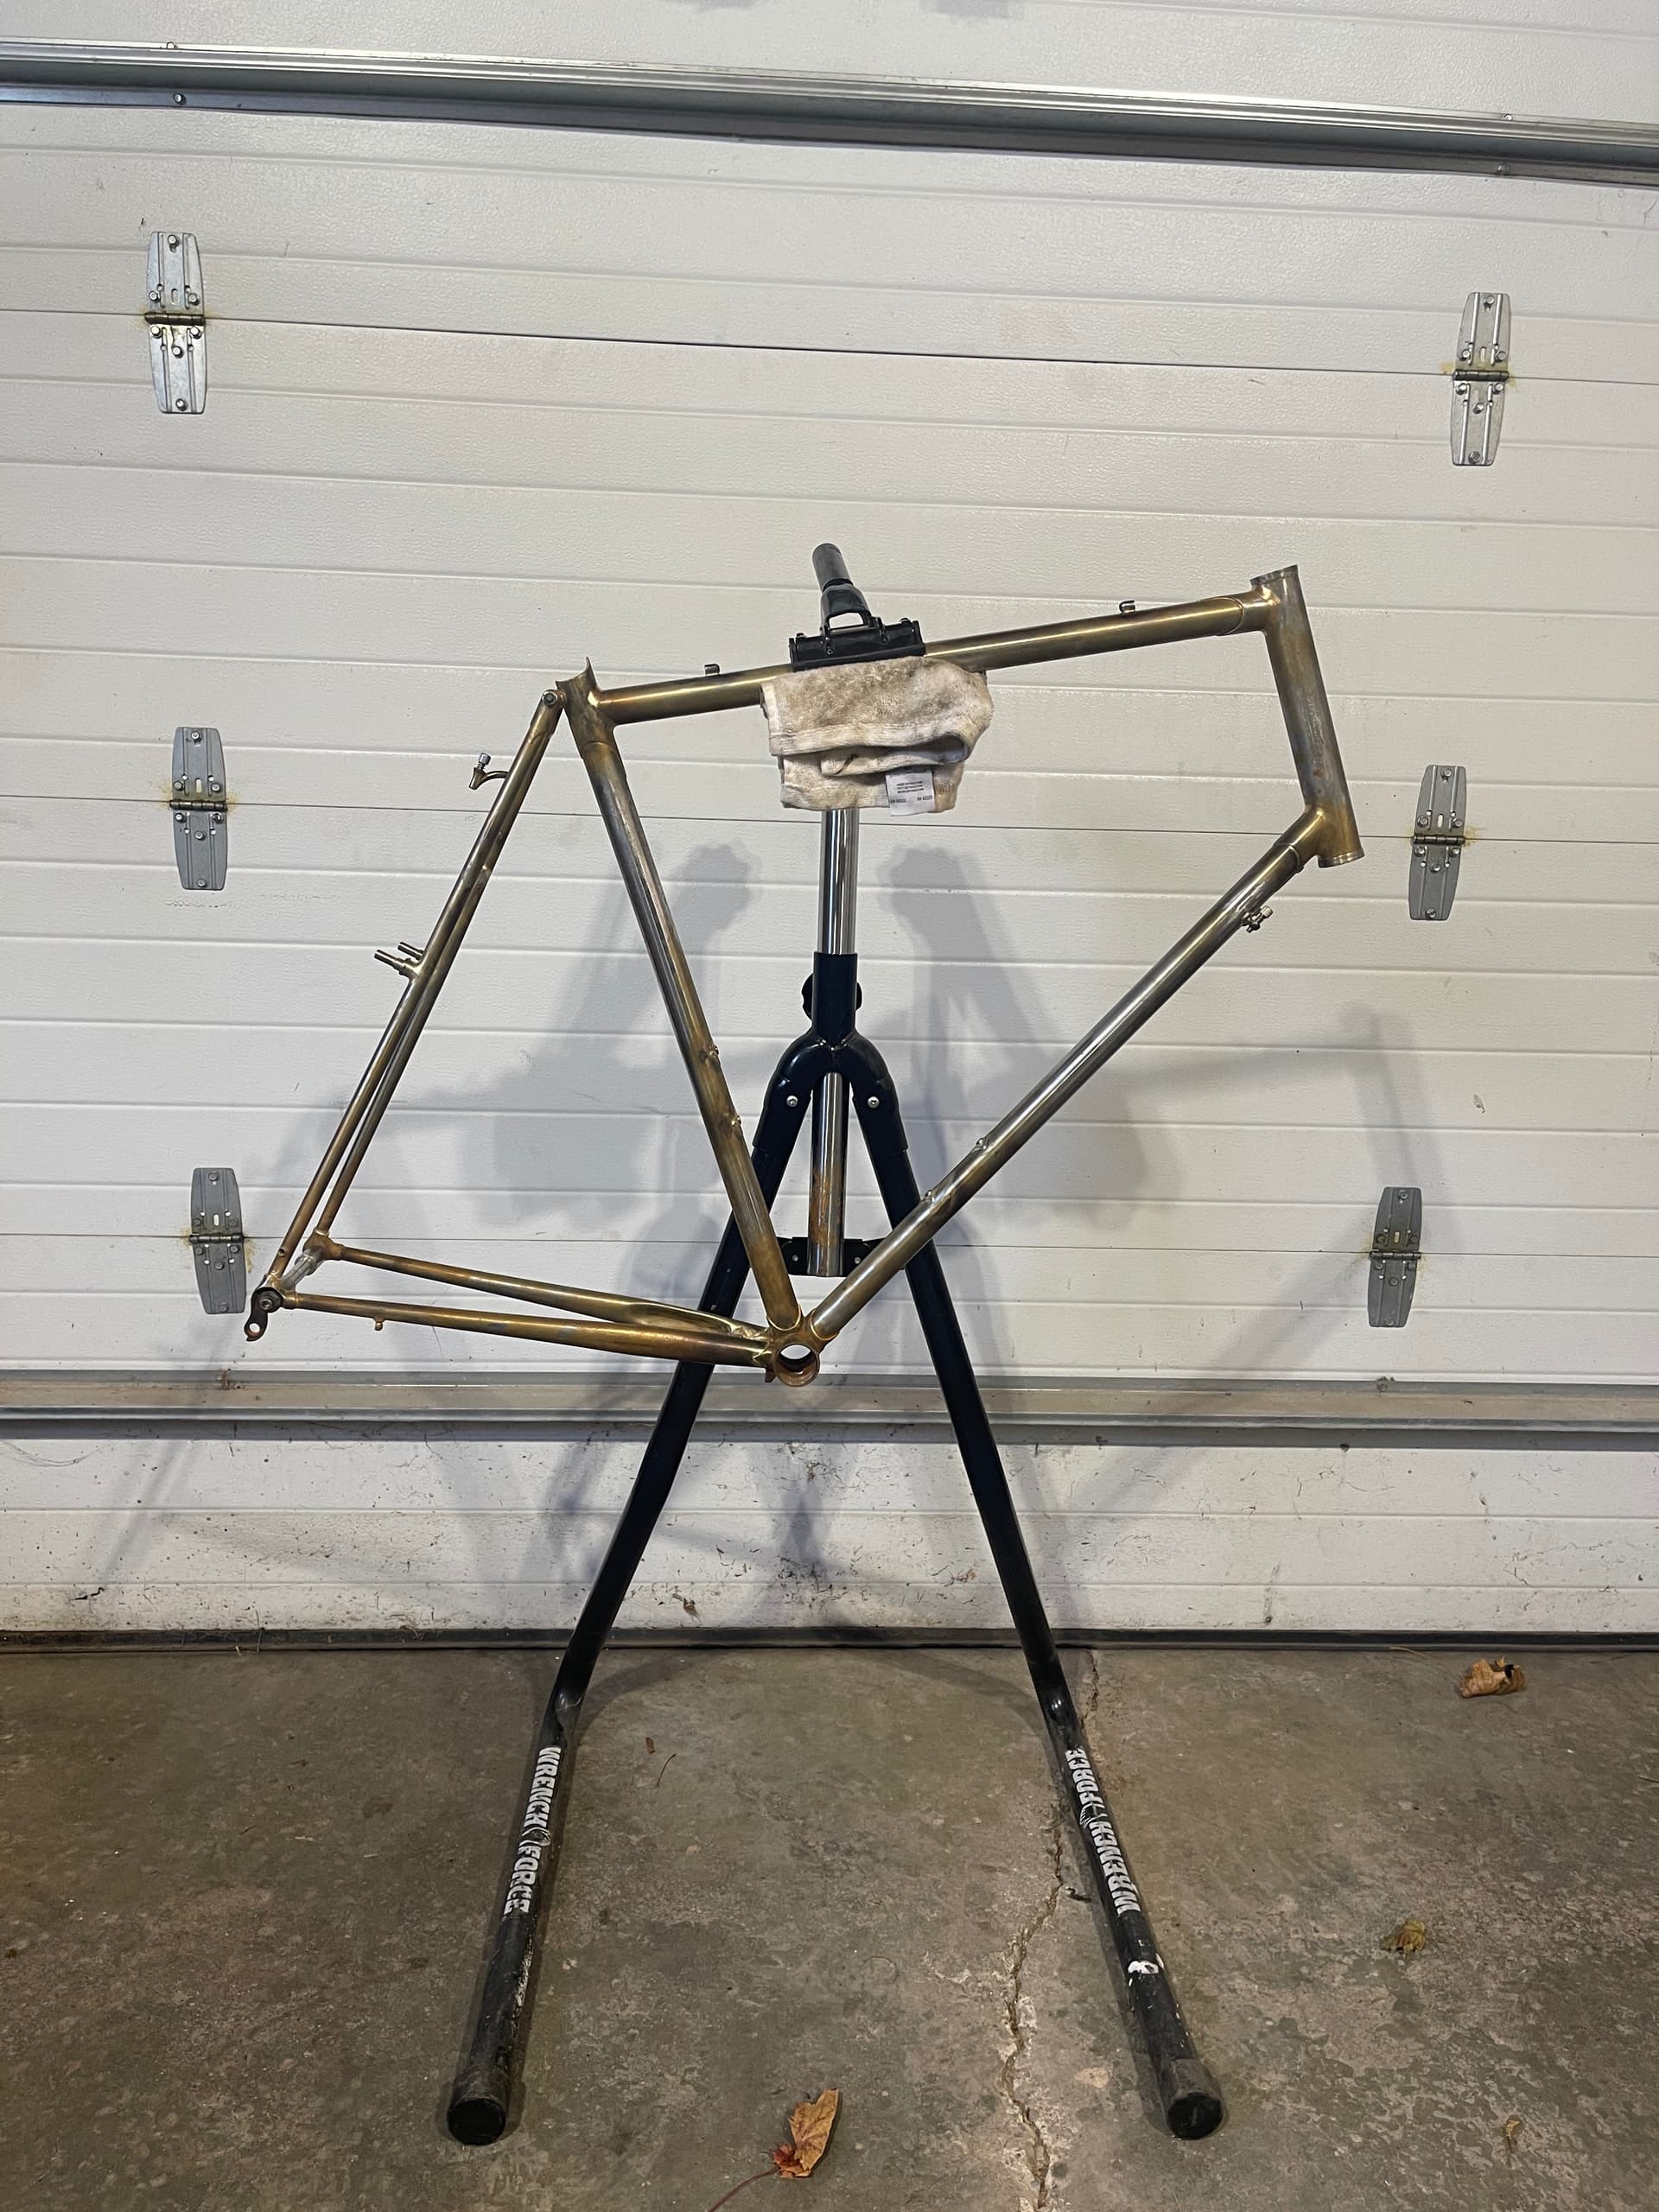
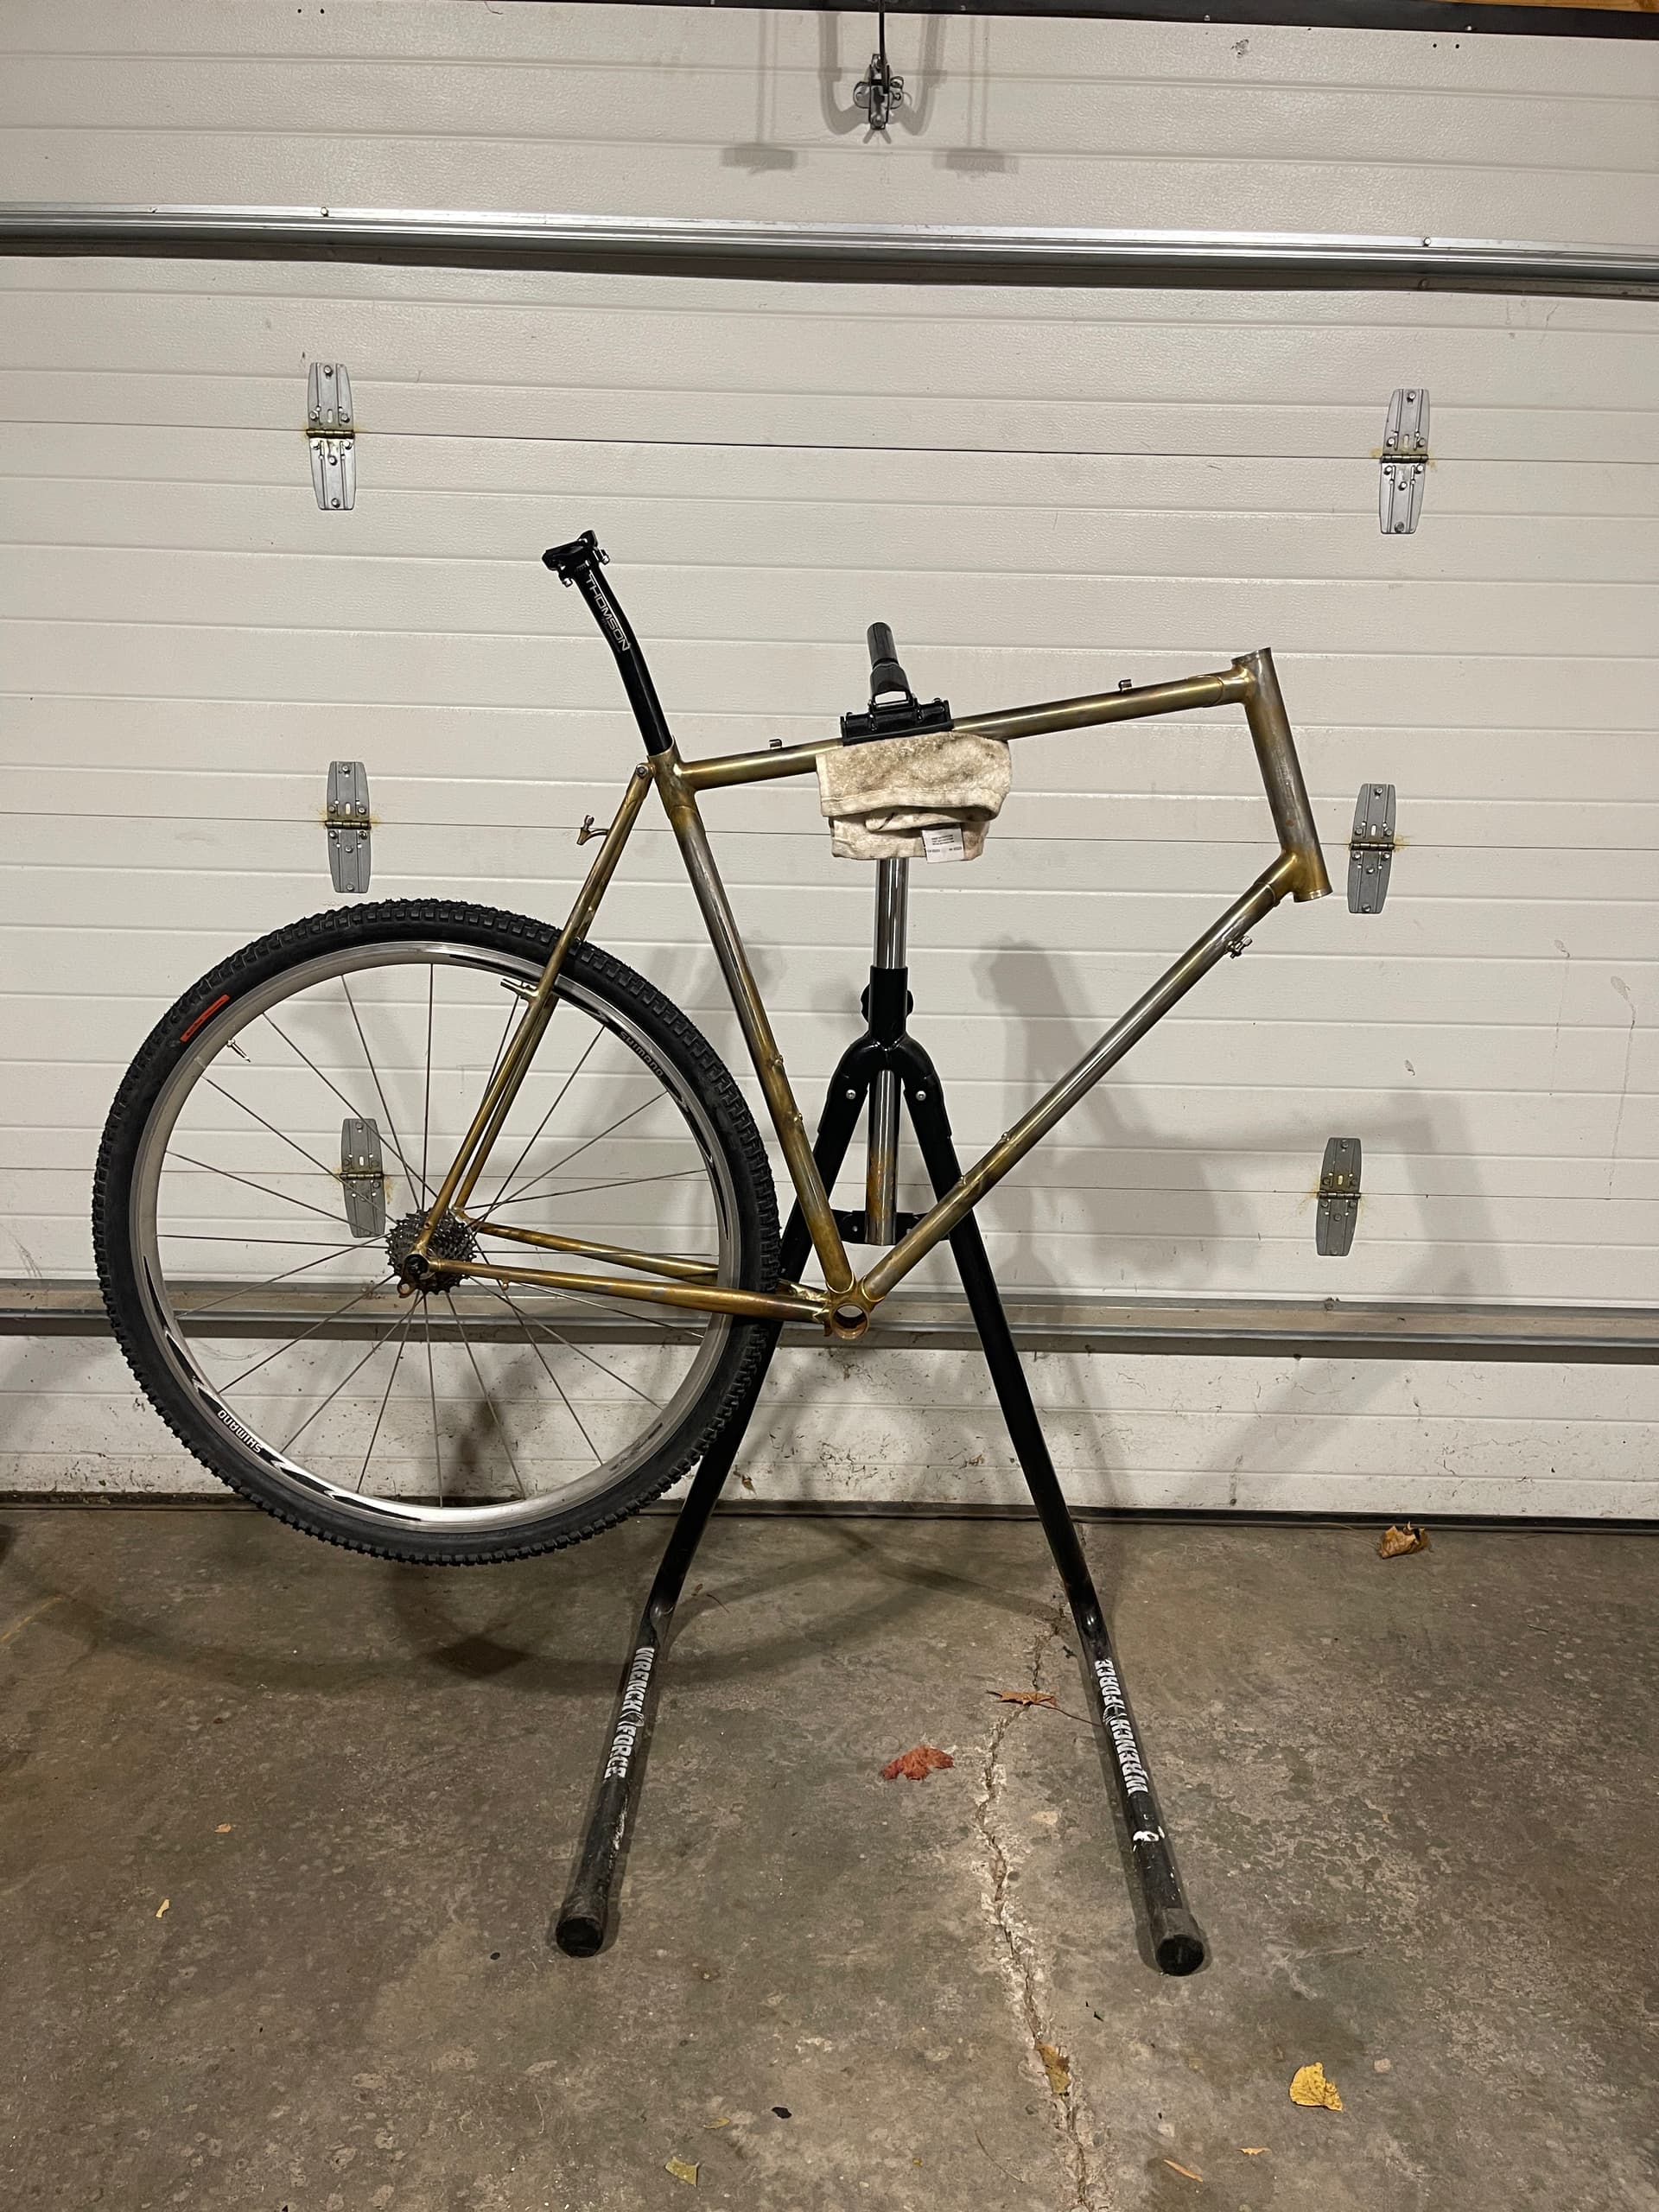
I Frame progress update:

I finished it in the wee hours of this morning.

It’s nowhere perfect. It’s not bad the way that is motivating to try again to do things better the next time.

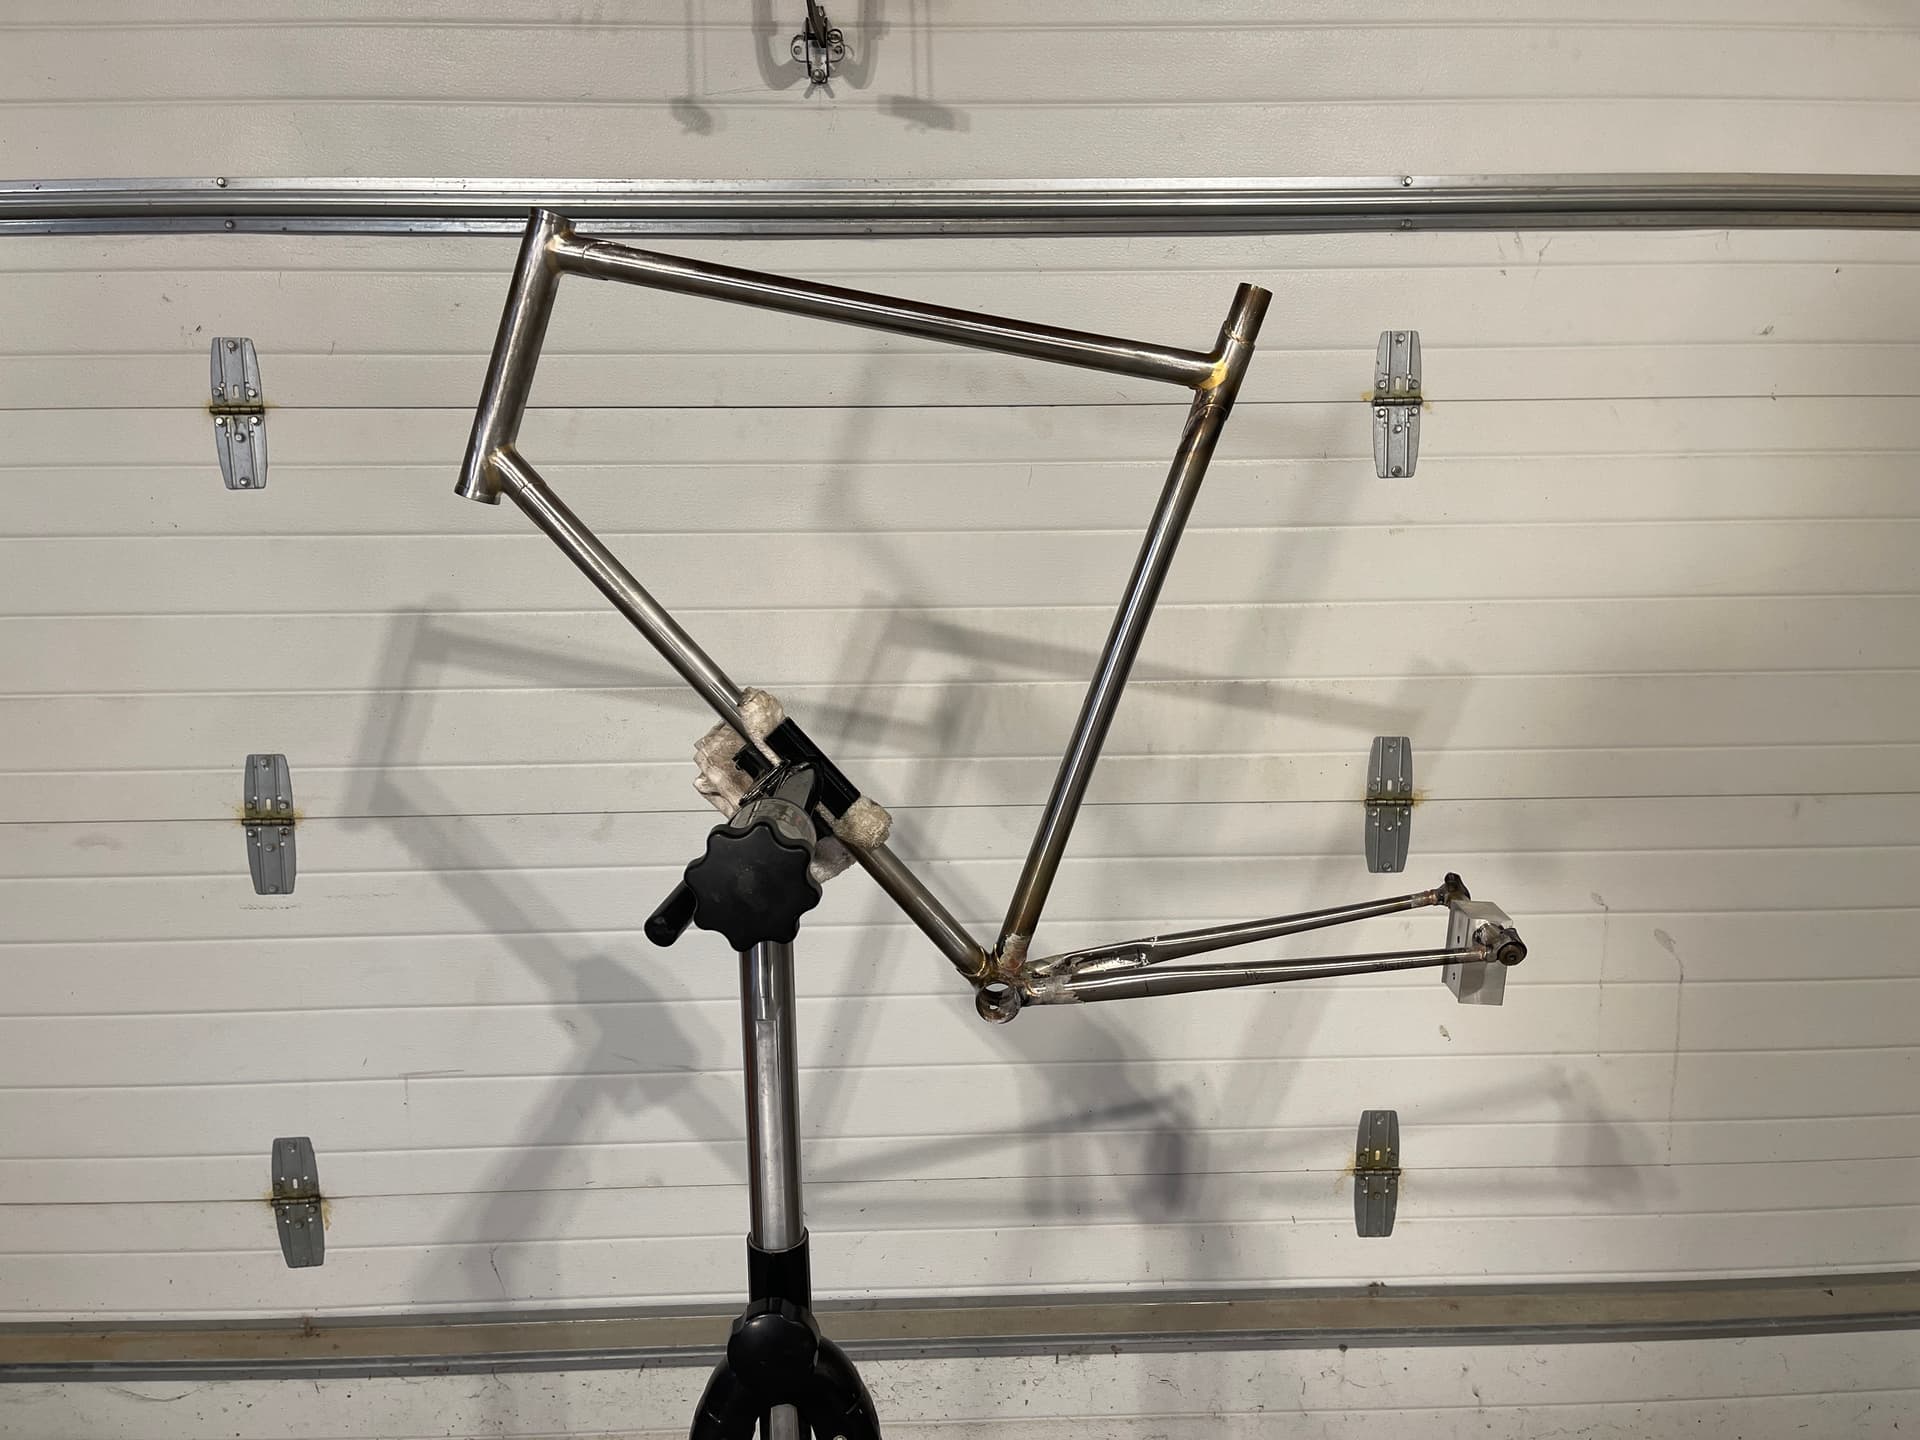
The alignment process was both more and less interesting and complicated than I thought. The front triangle turned out to be in the same plane in a really nice way, however, relative to the bottom bracket it was off by a bit. Maybe a centimetre over the approximately 60 cm seat tube. It wasn’t so hard to put it to less than a millimetre out over that same length using the Harbour freight – grade welding table I bought for just this purpose.

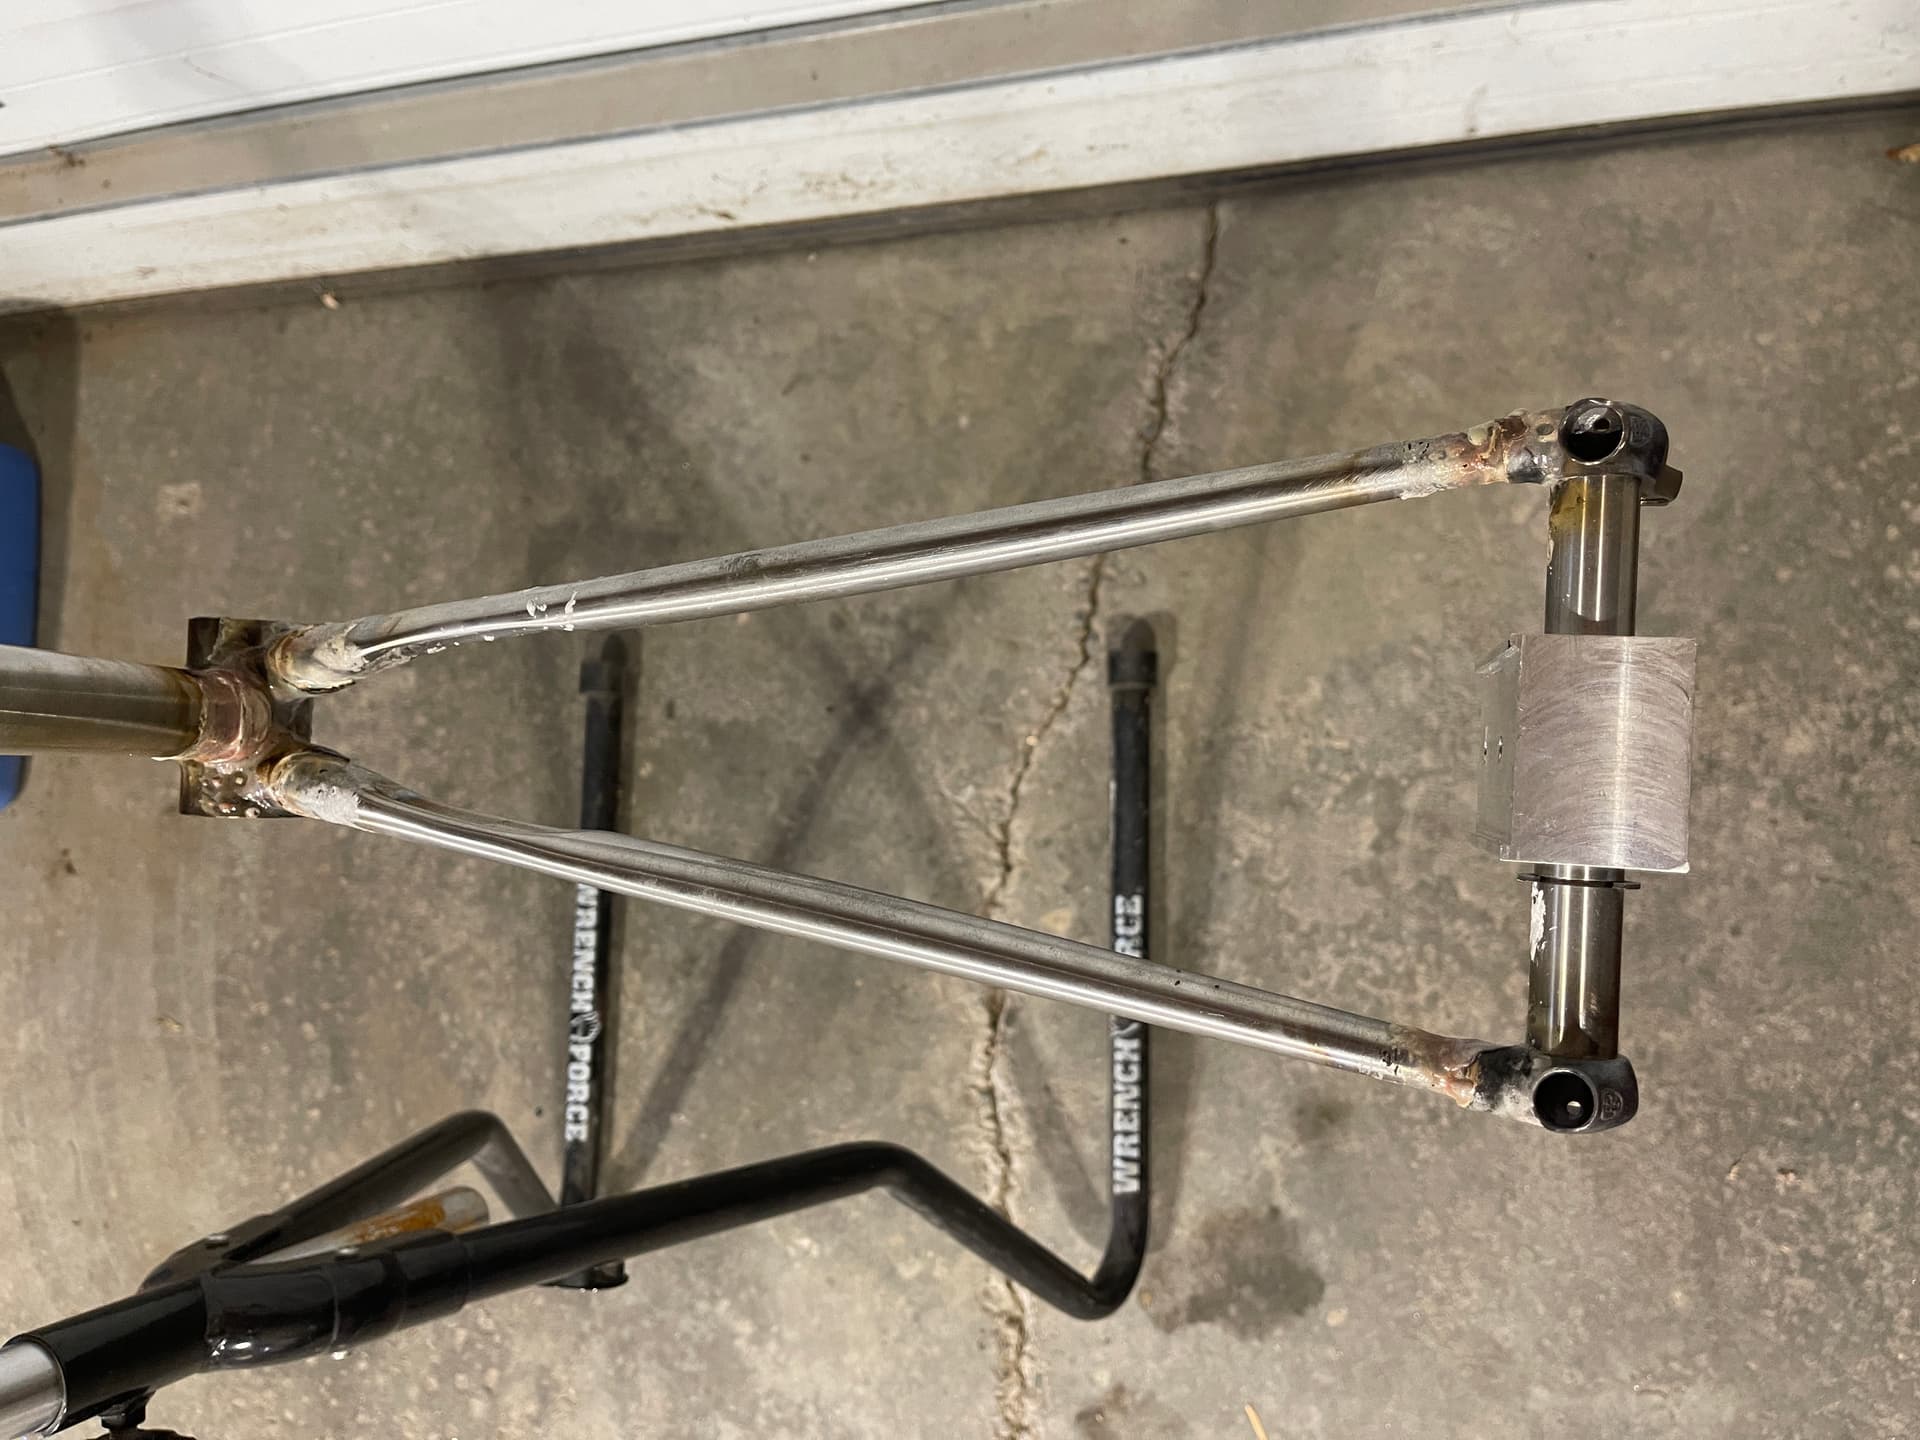
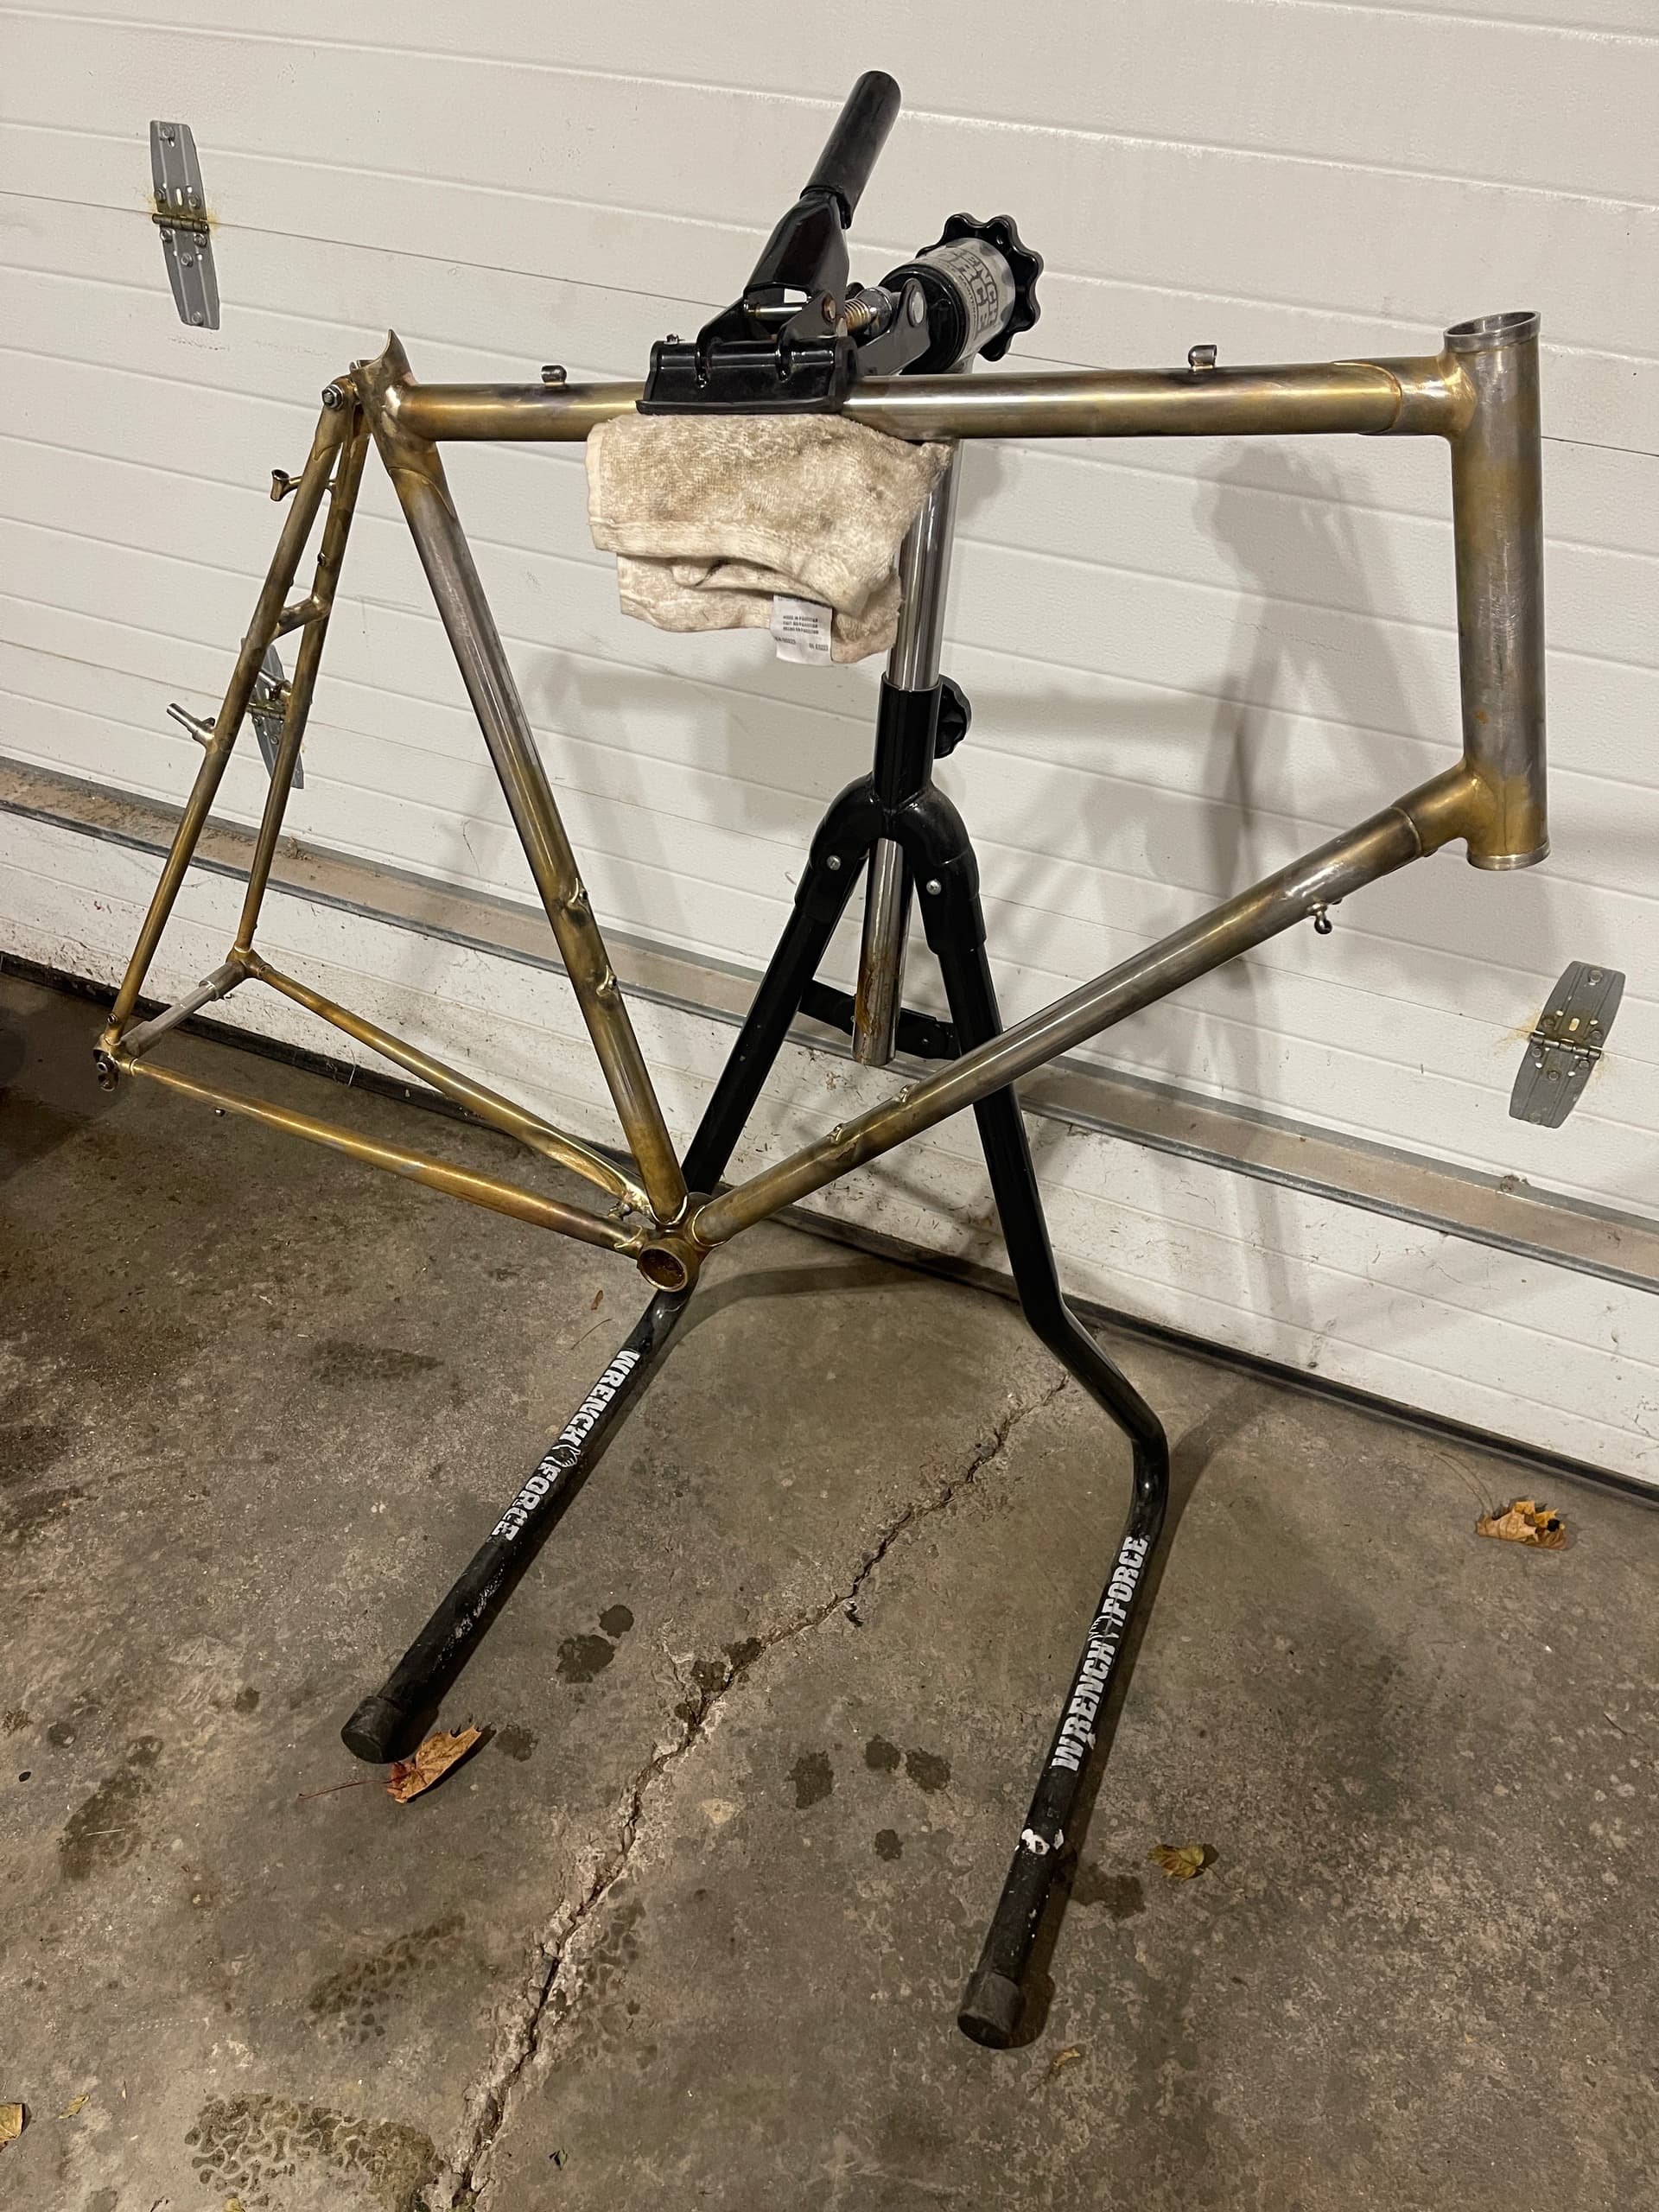
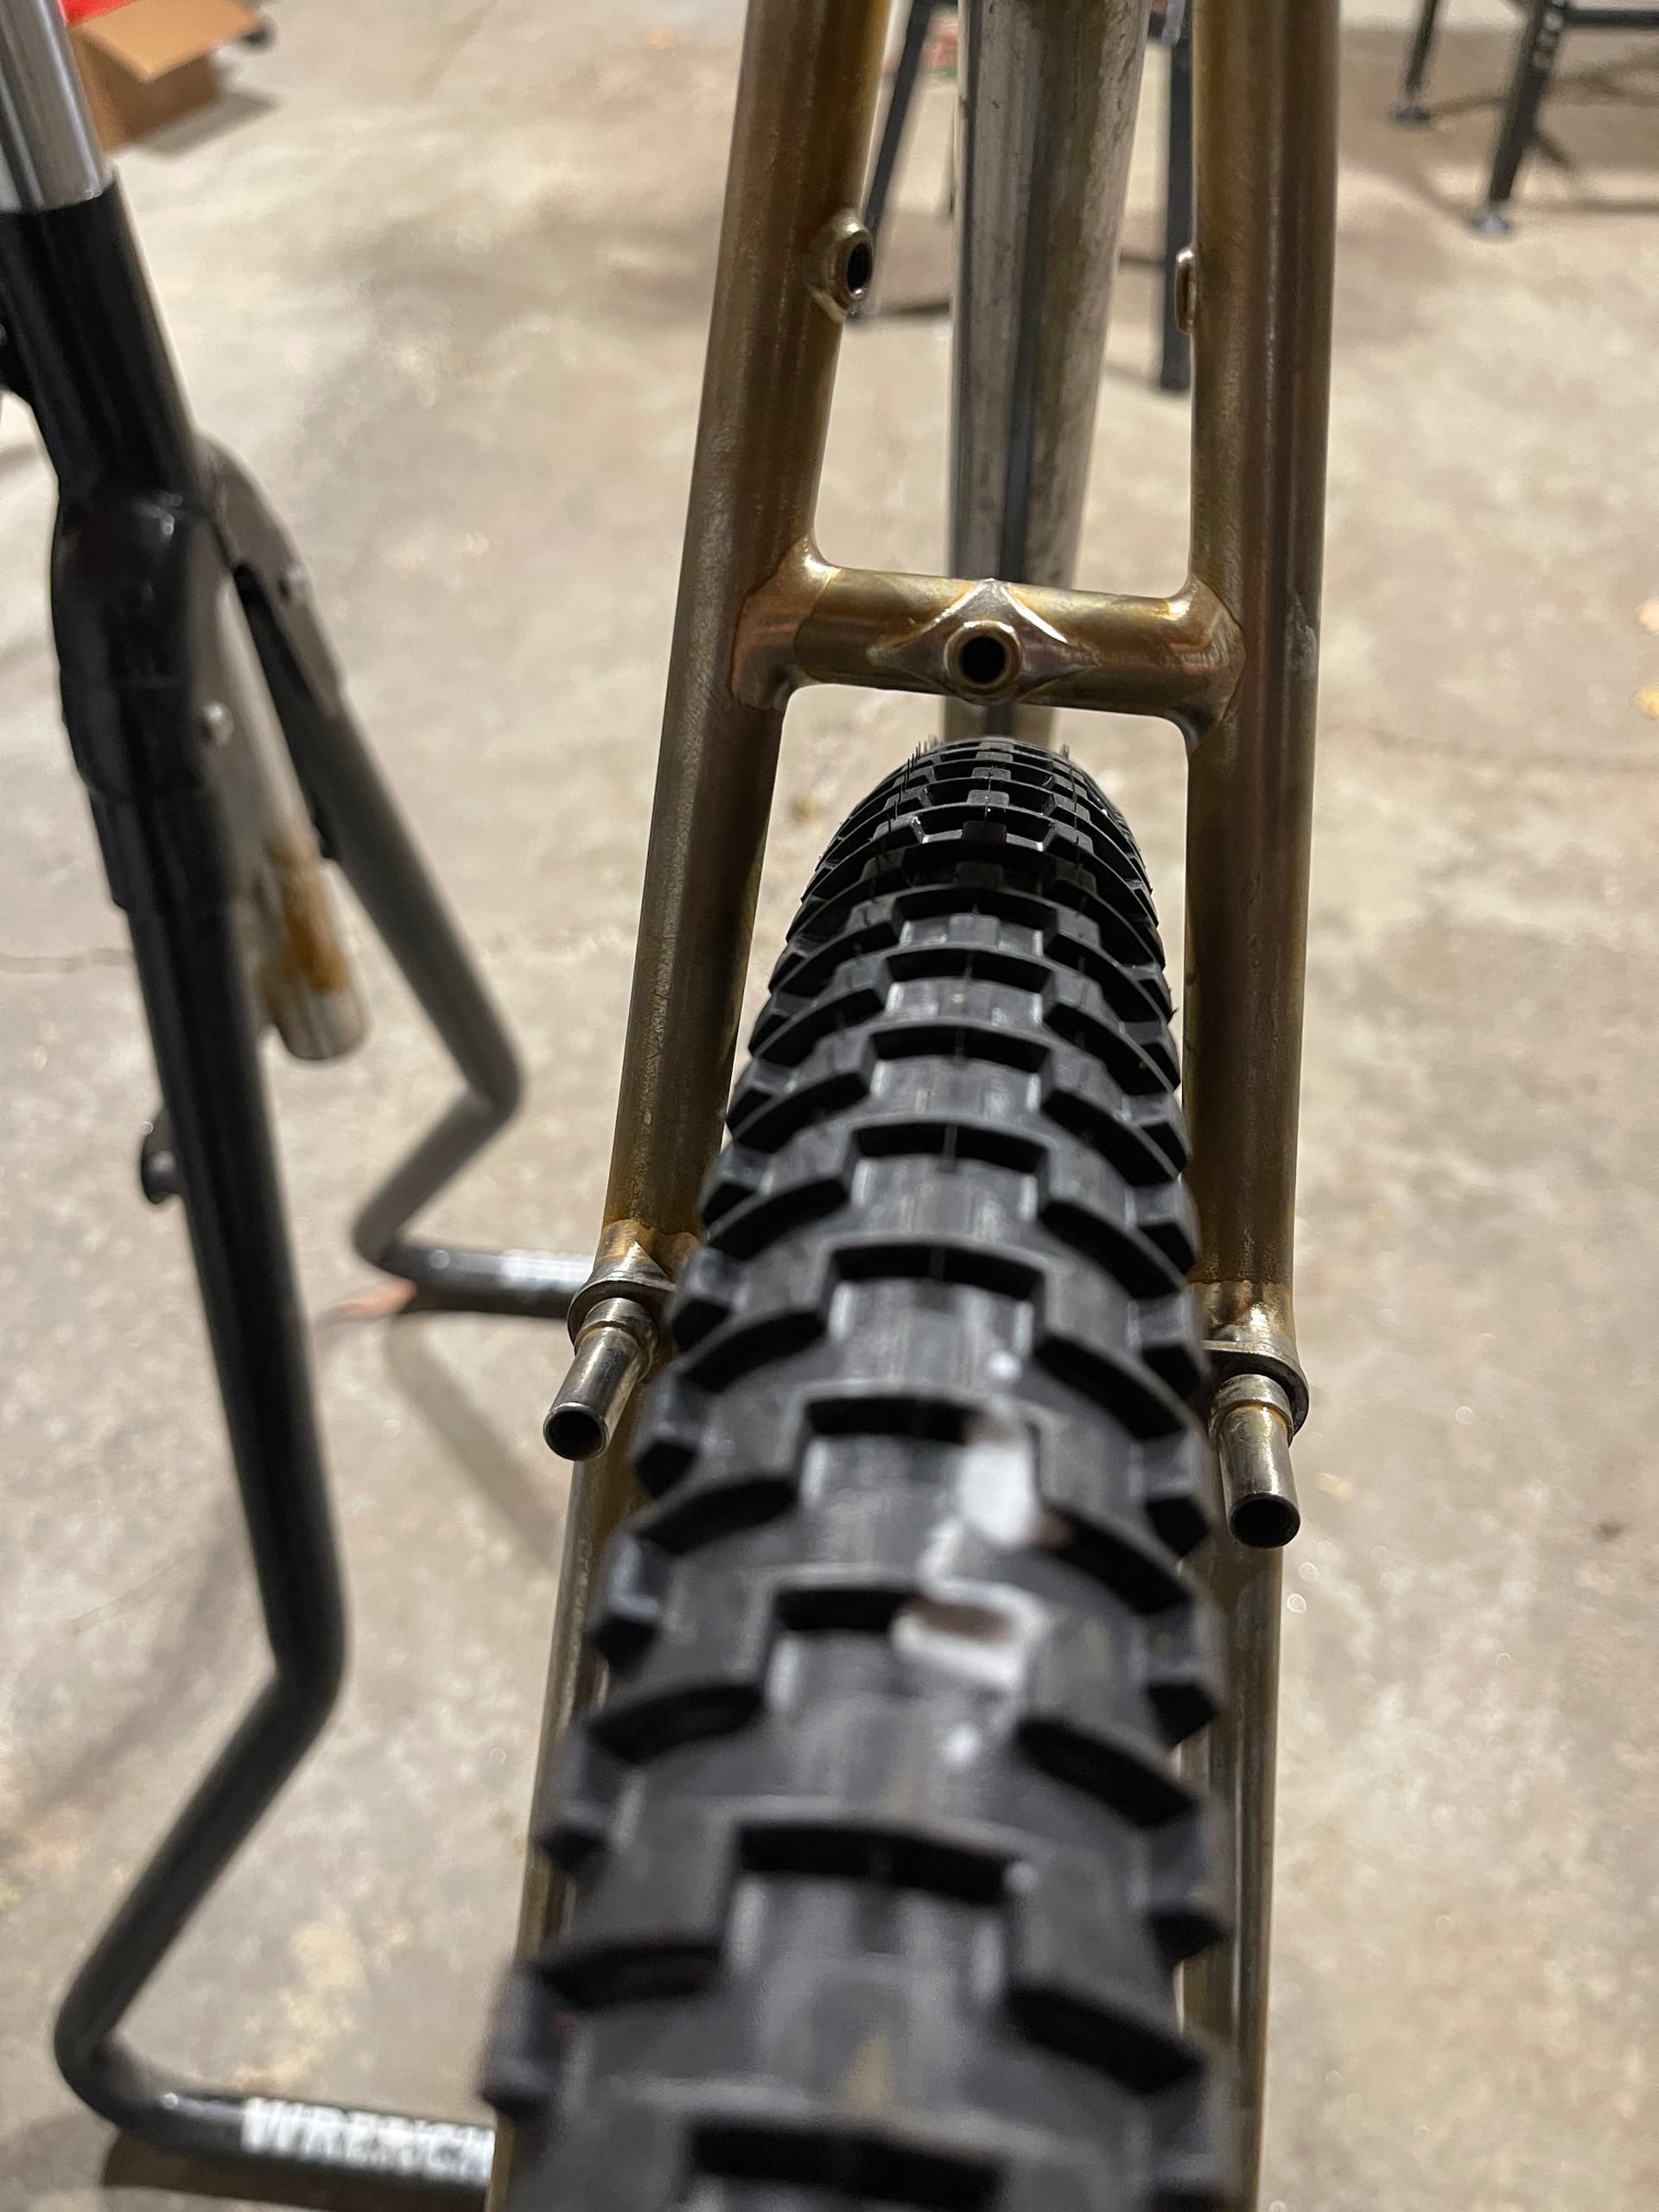
I severely manipulated the classic SL chain stays, so they didn’t deform consistently. I also thought that they were in perfect alignment when I installed them, but the rotation in the lugged bb turned out to be off a little bit.

I aligned the rear wheel in the chain stays fairly well I think, but the seat stays are a little off, I think, because of the asymmetrical deformation of the chain stays and my not knowing how to and not bothering to compensate.

I had to put the seat stays on twice. The first time I forgot to tack both stays in their dropouts before completing the silvering. The state assembly pulled very heavily to one side.

The second time, the seat stays rotated a little bit somehow, so they’re not as aligned as I would like.

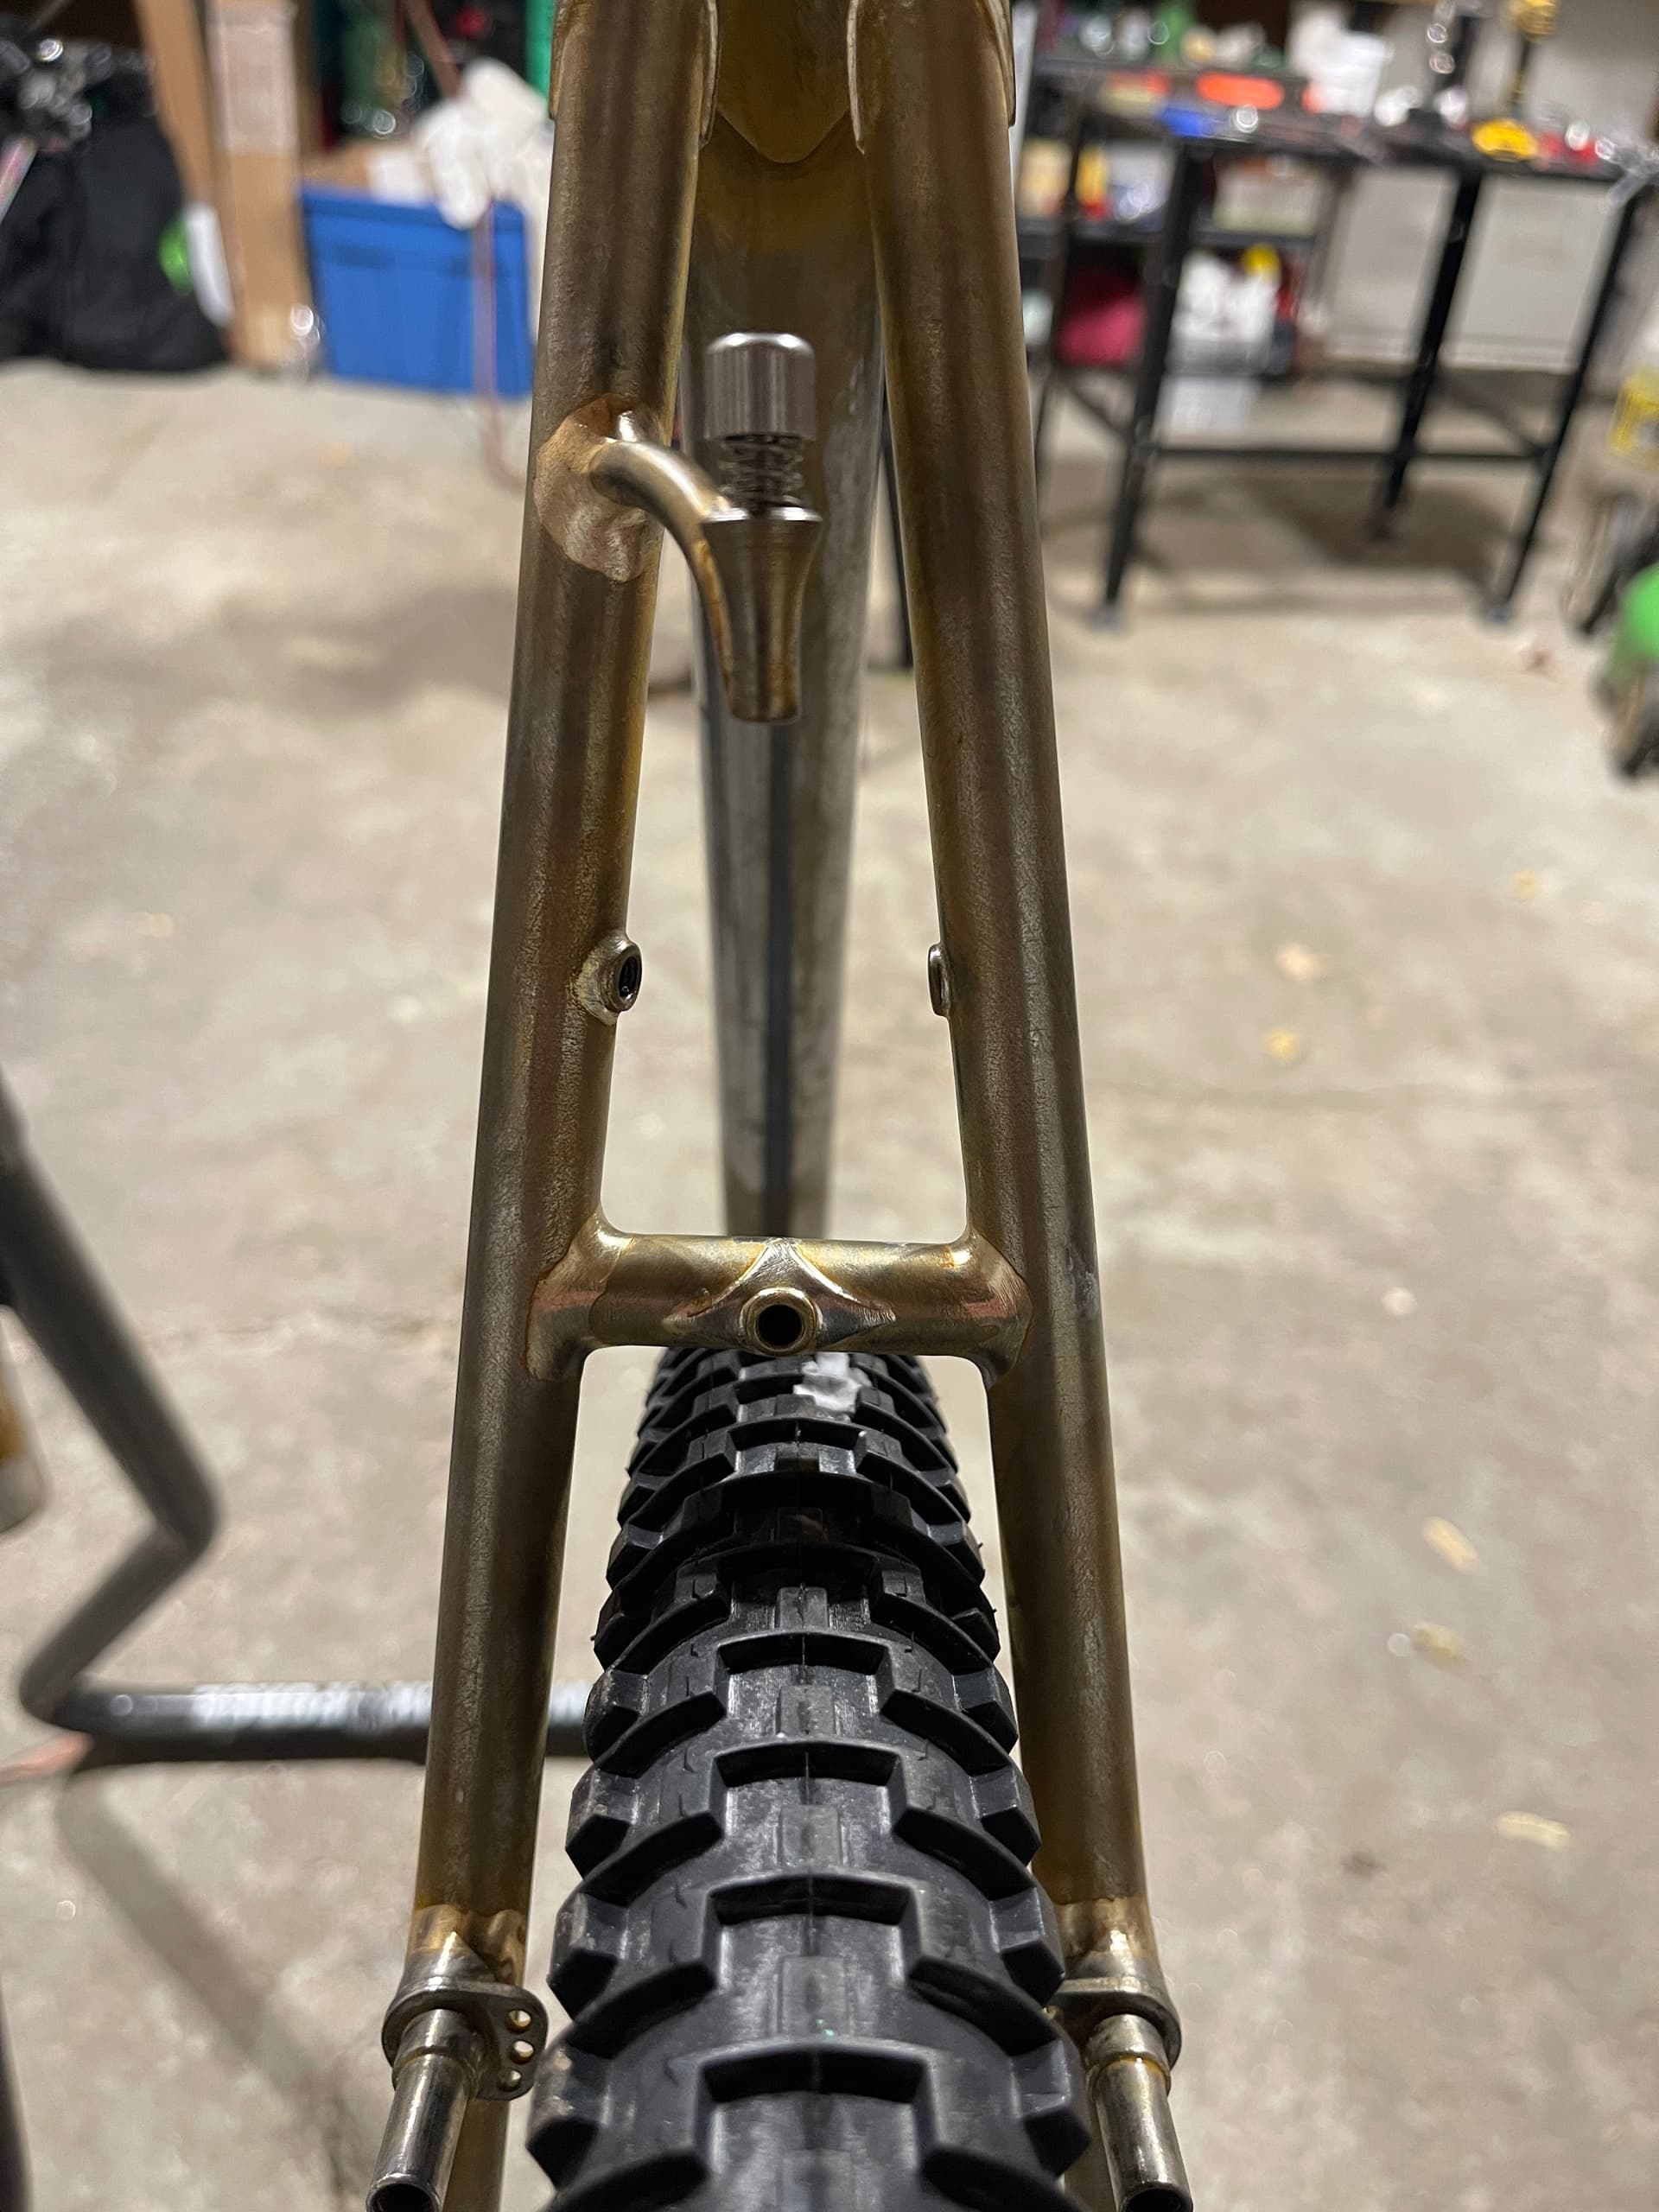
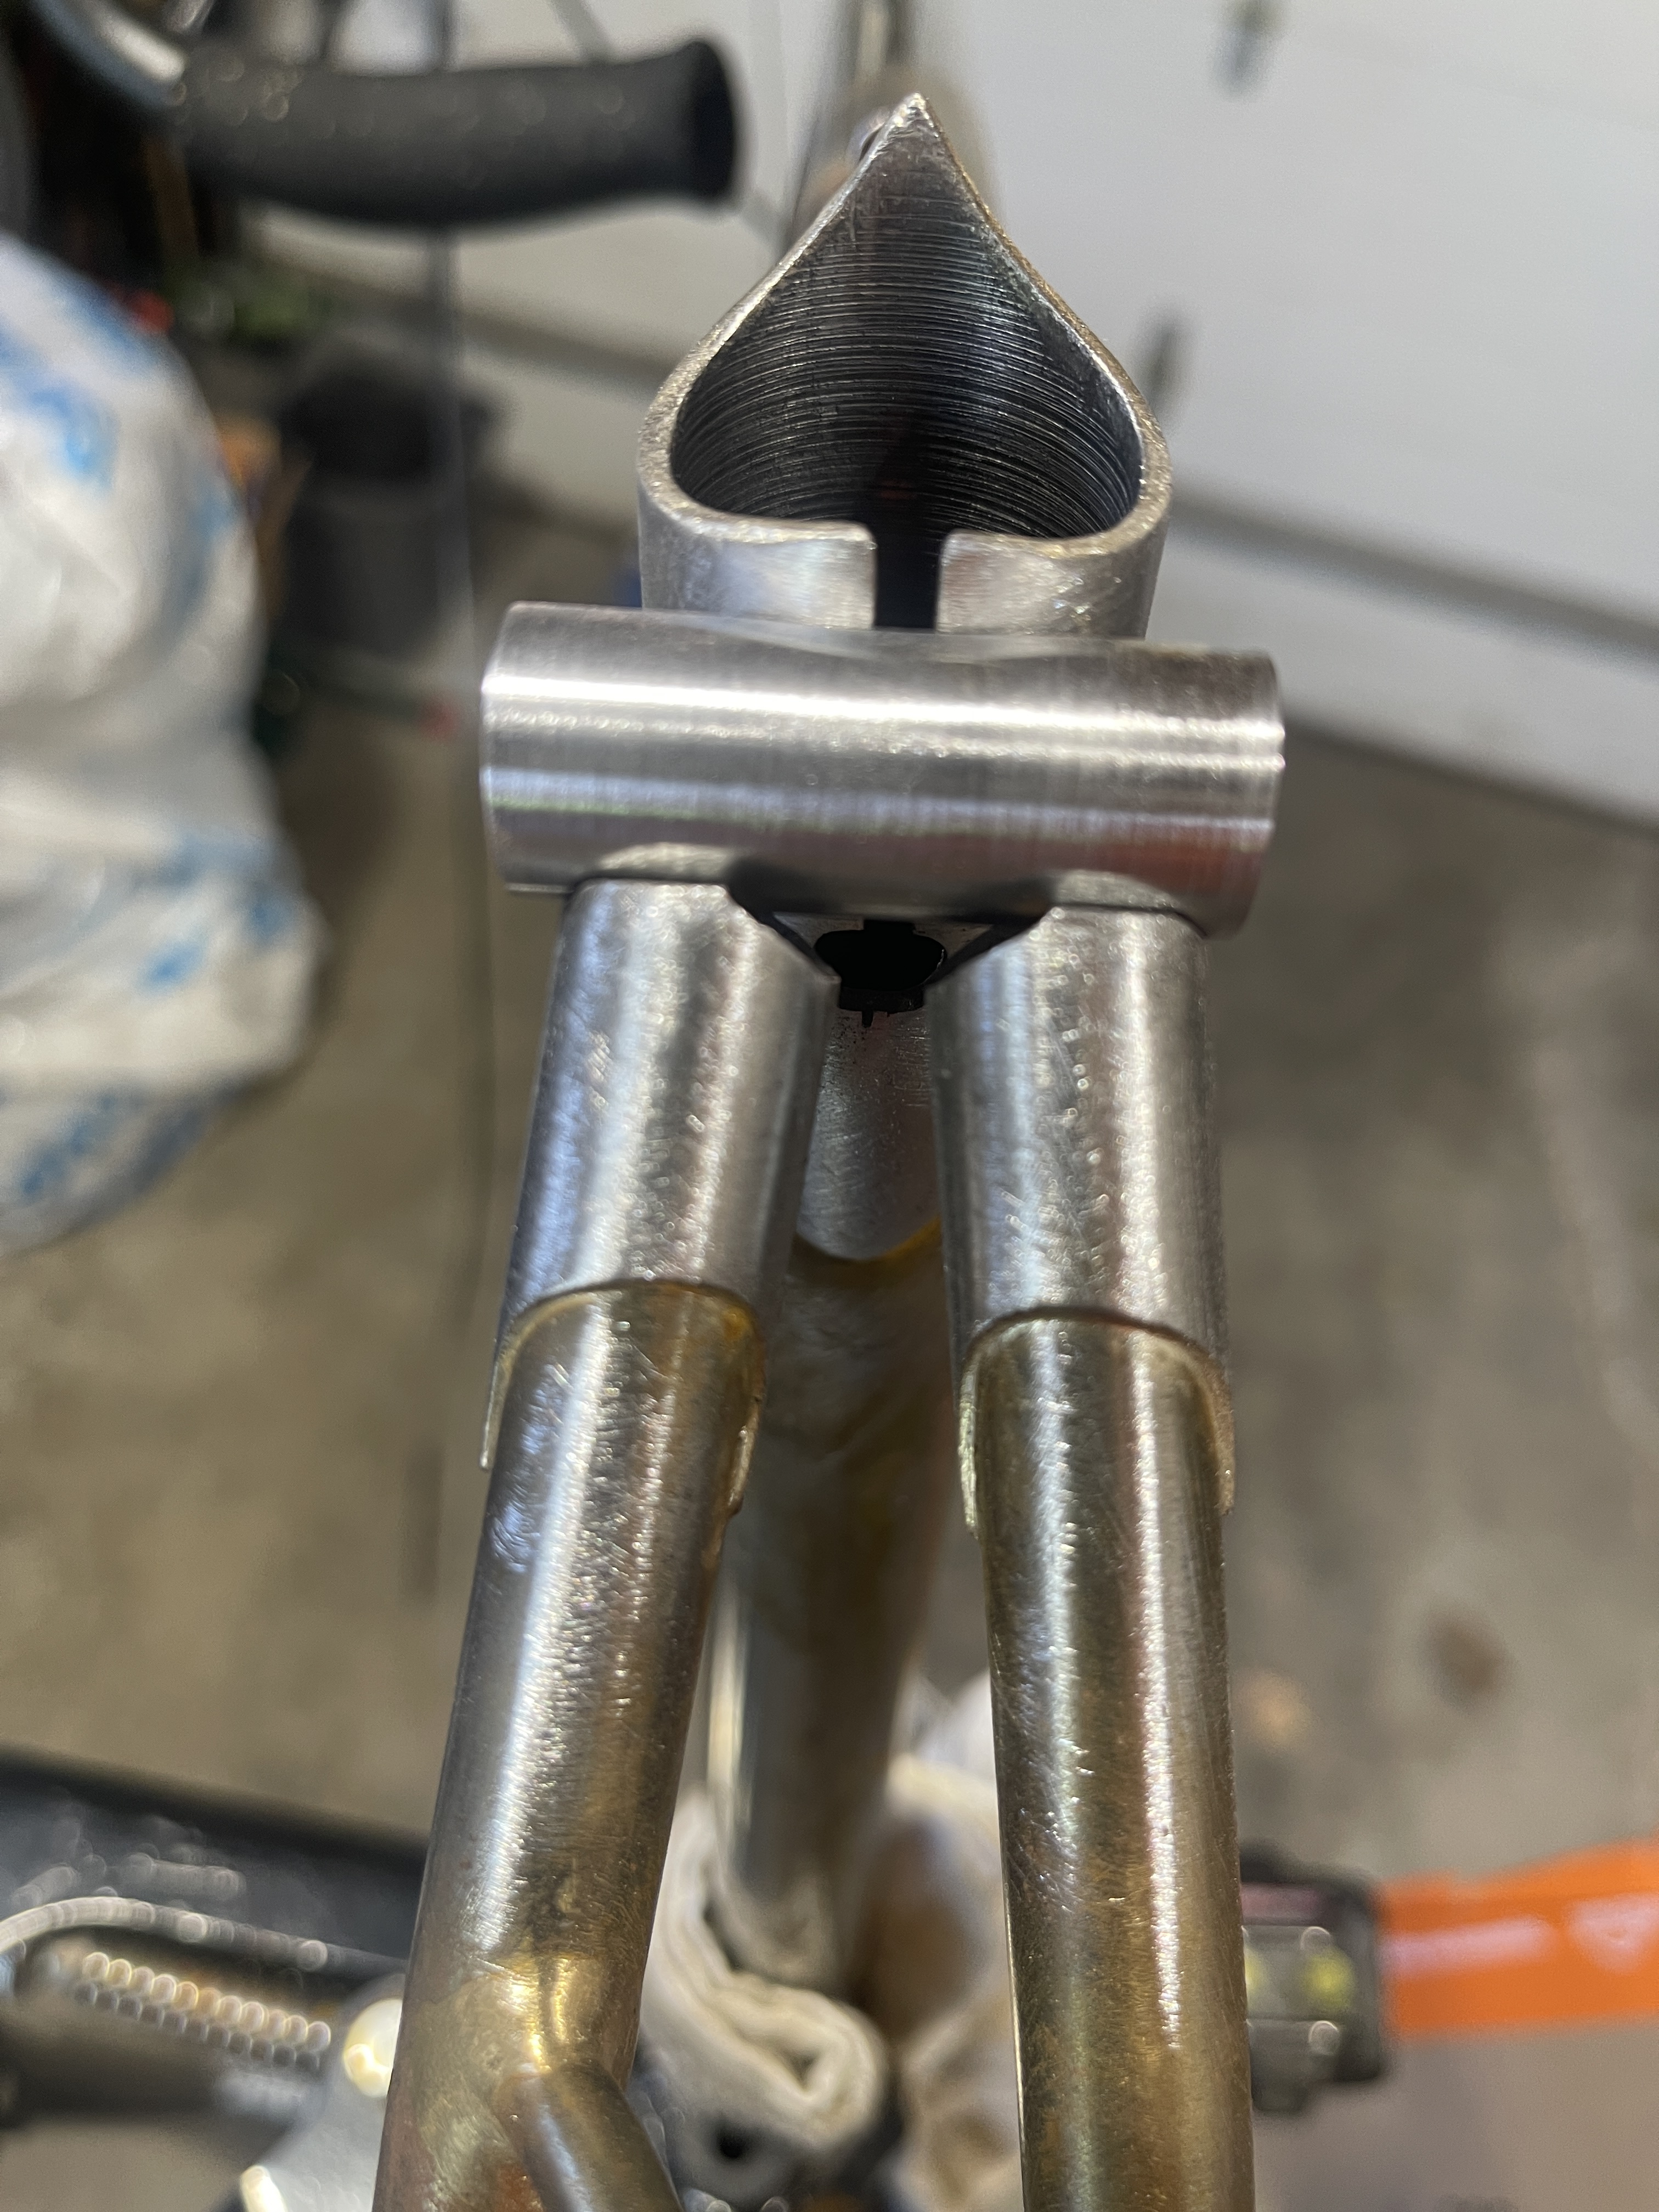
The seat stay bridge is, in all likelihood, a little crooked.

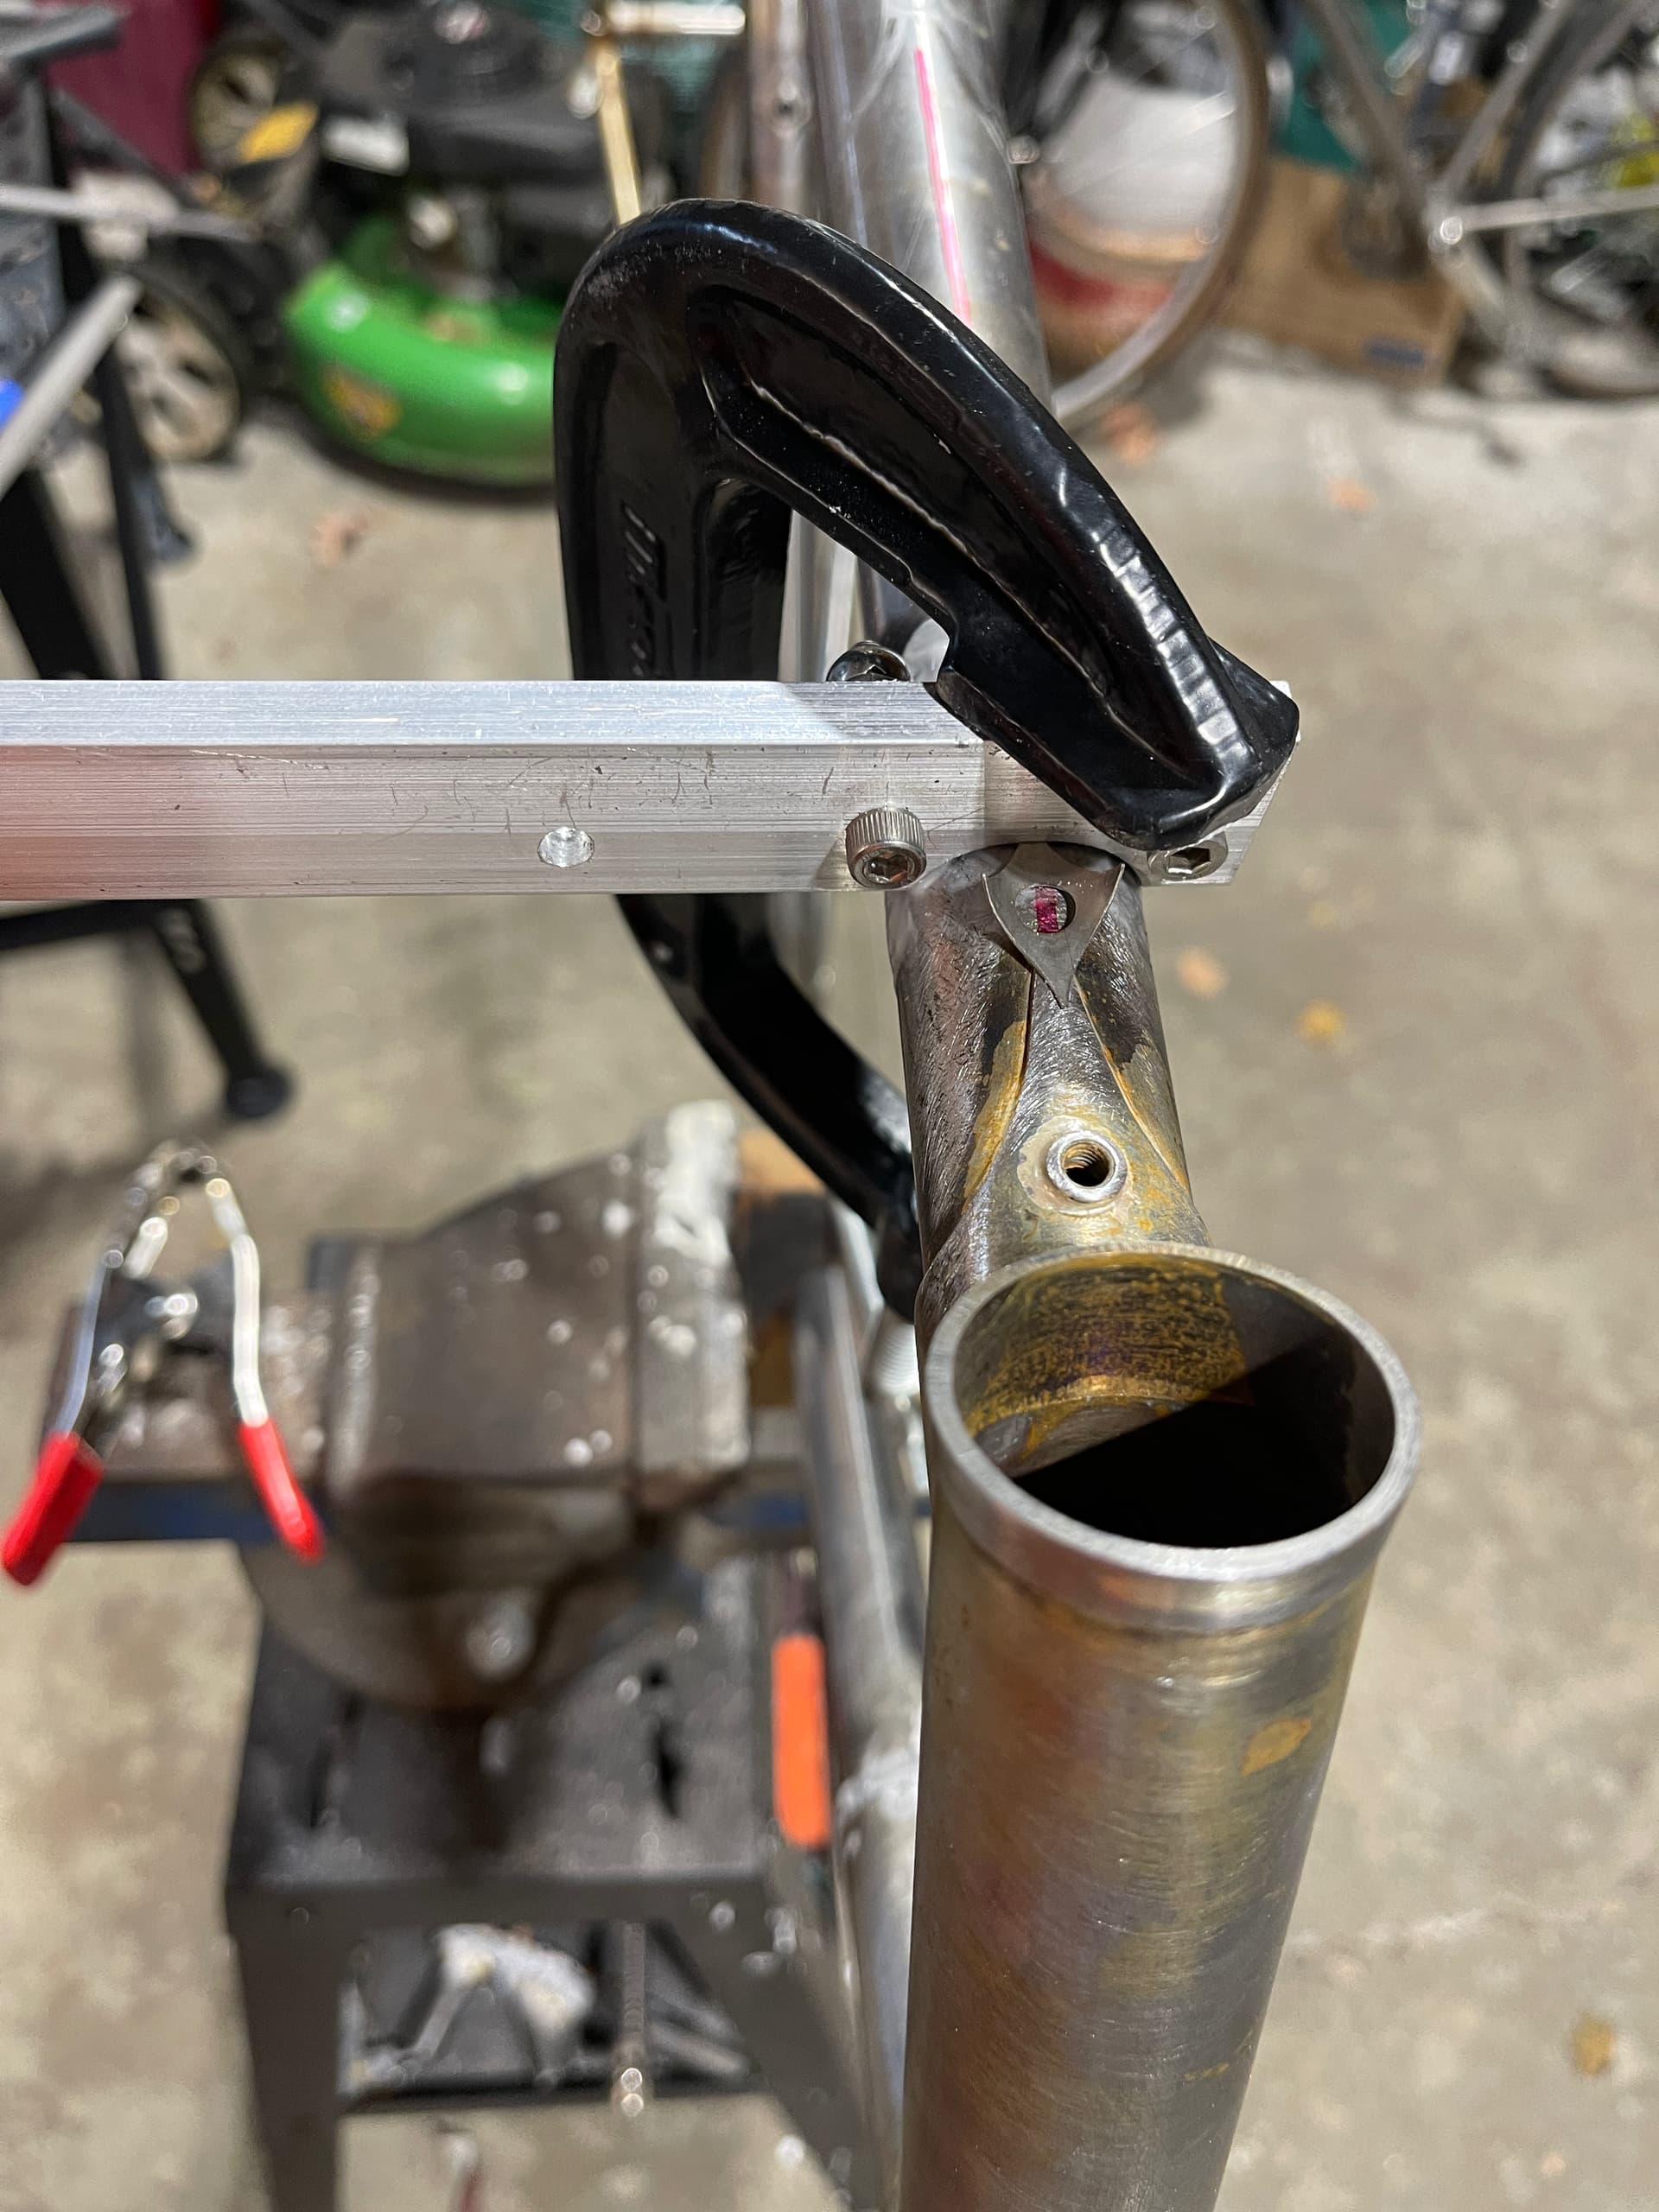
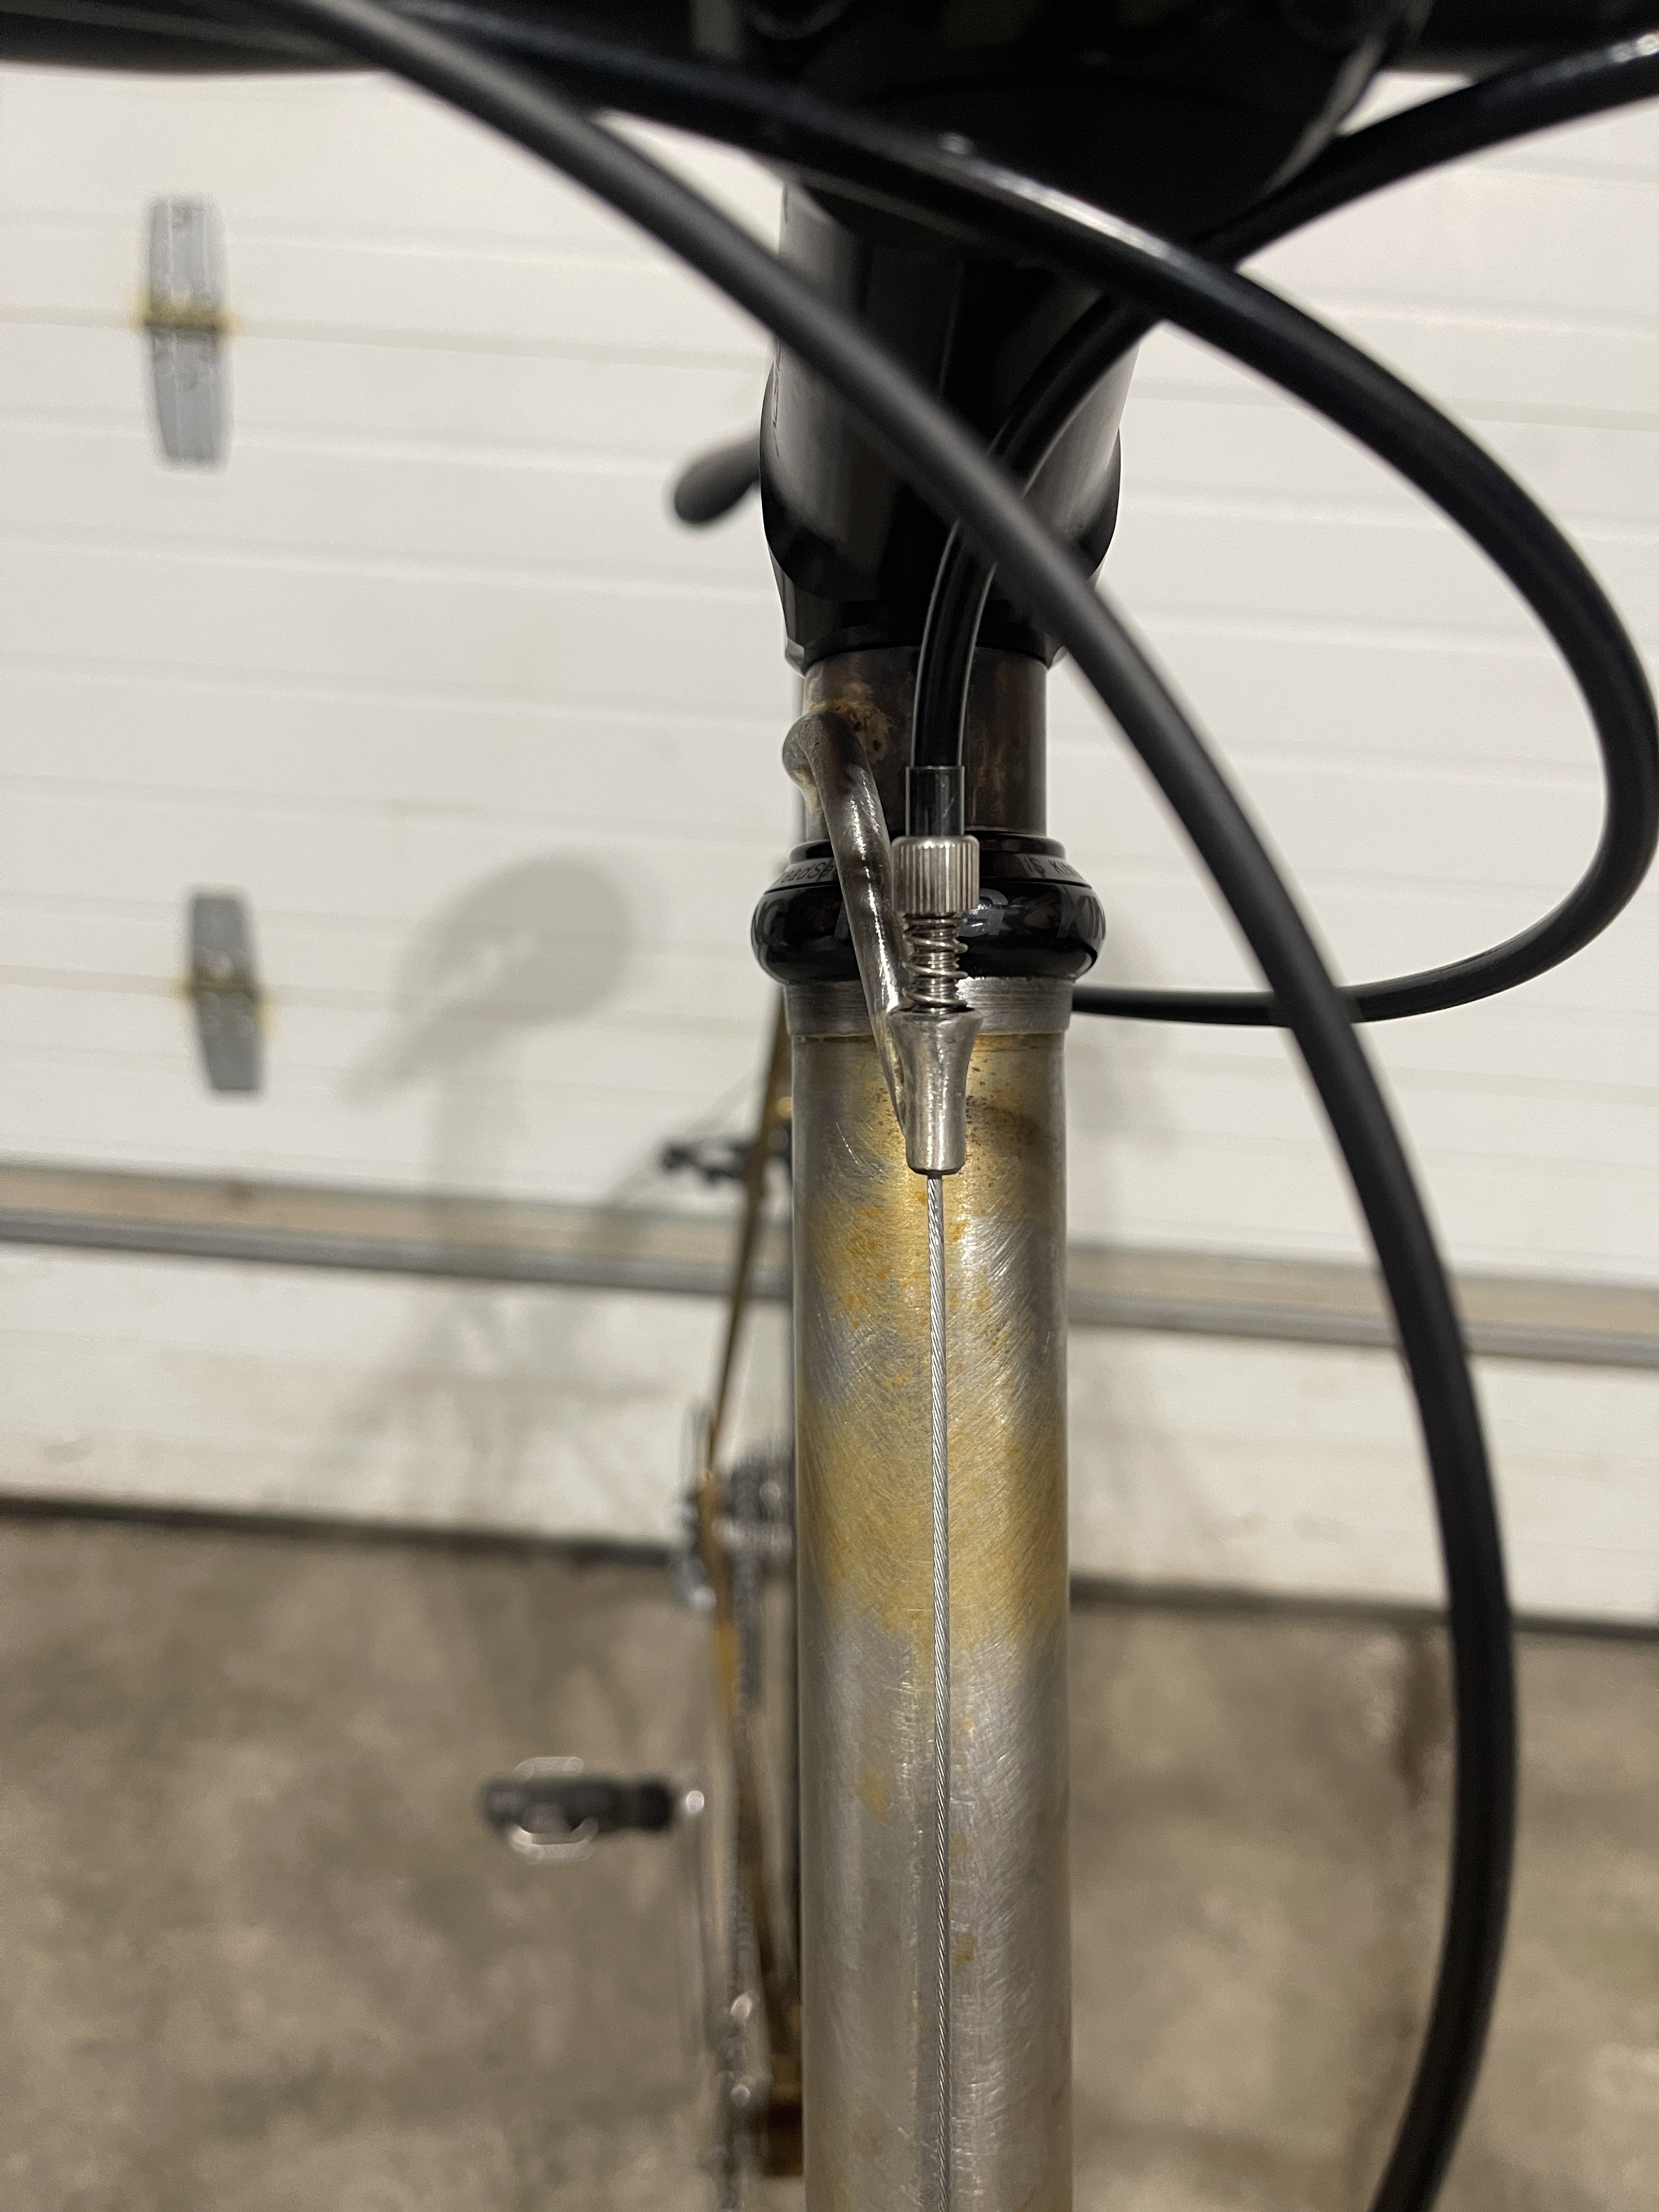
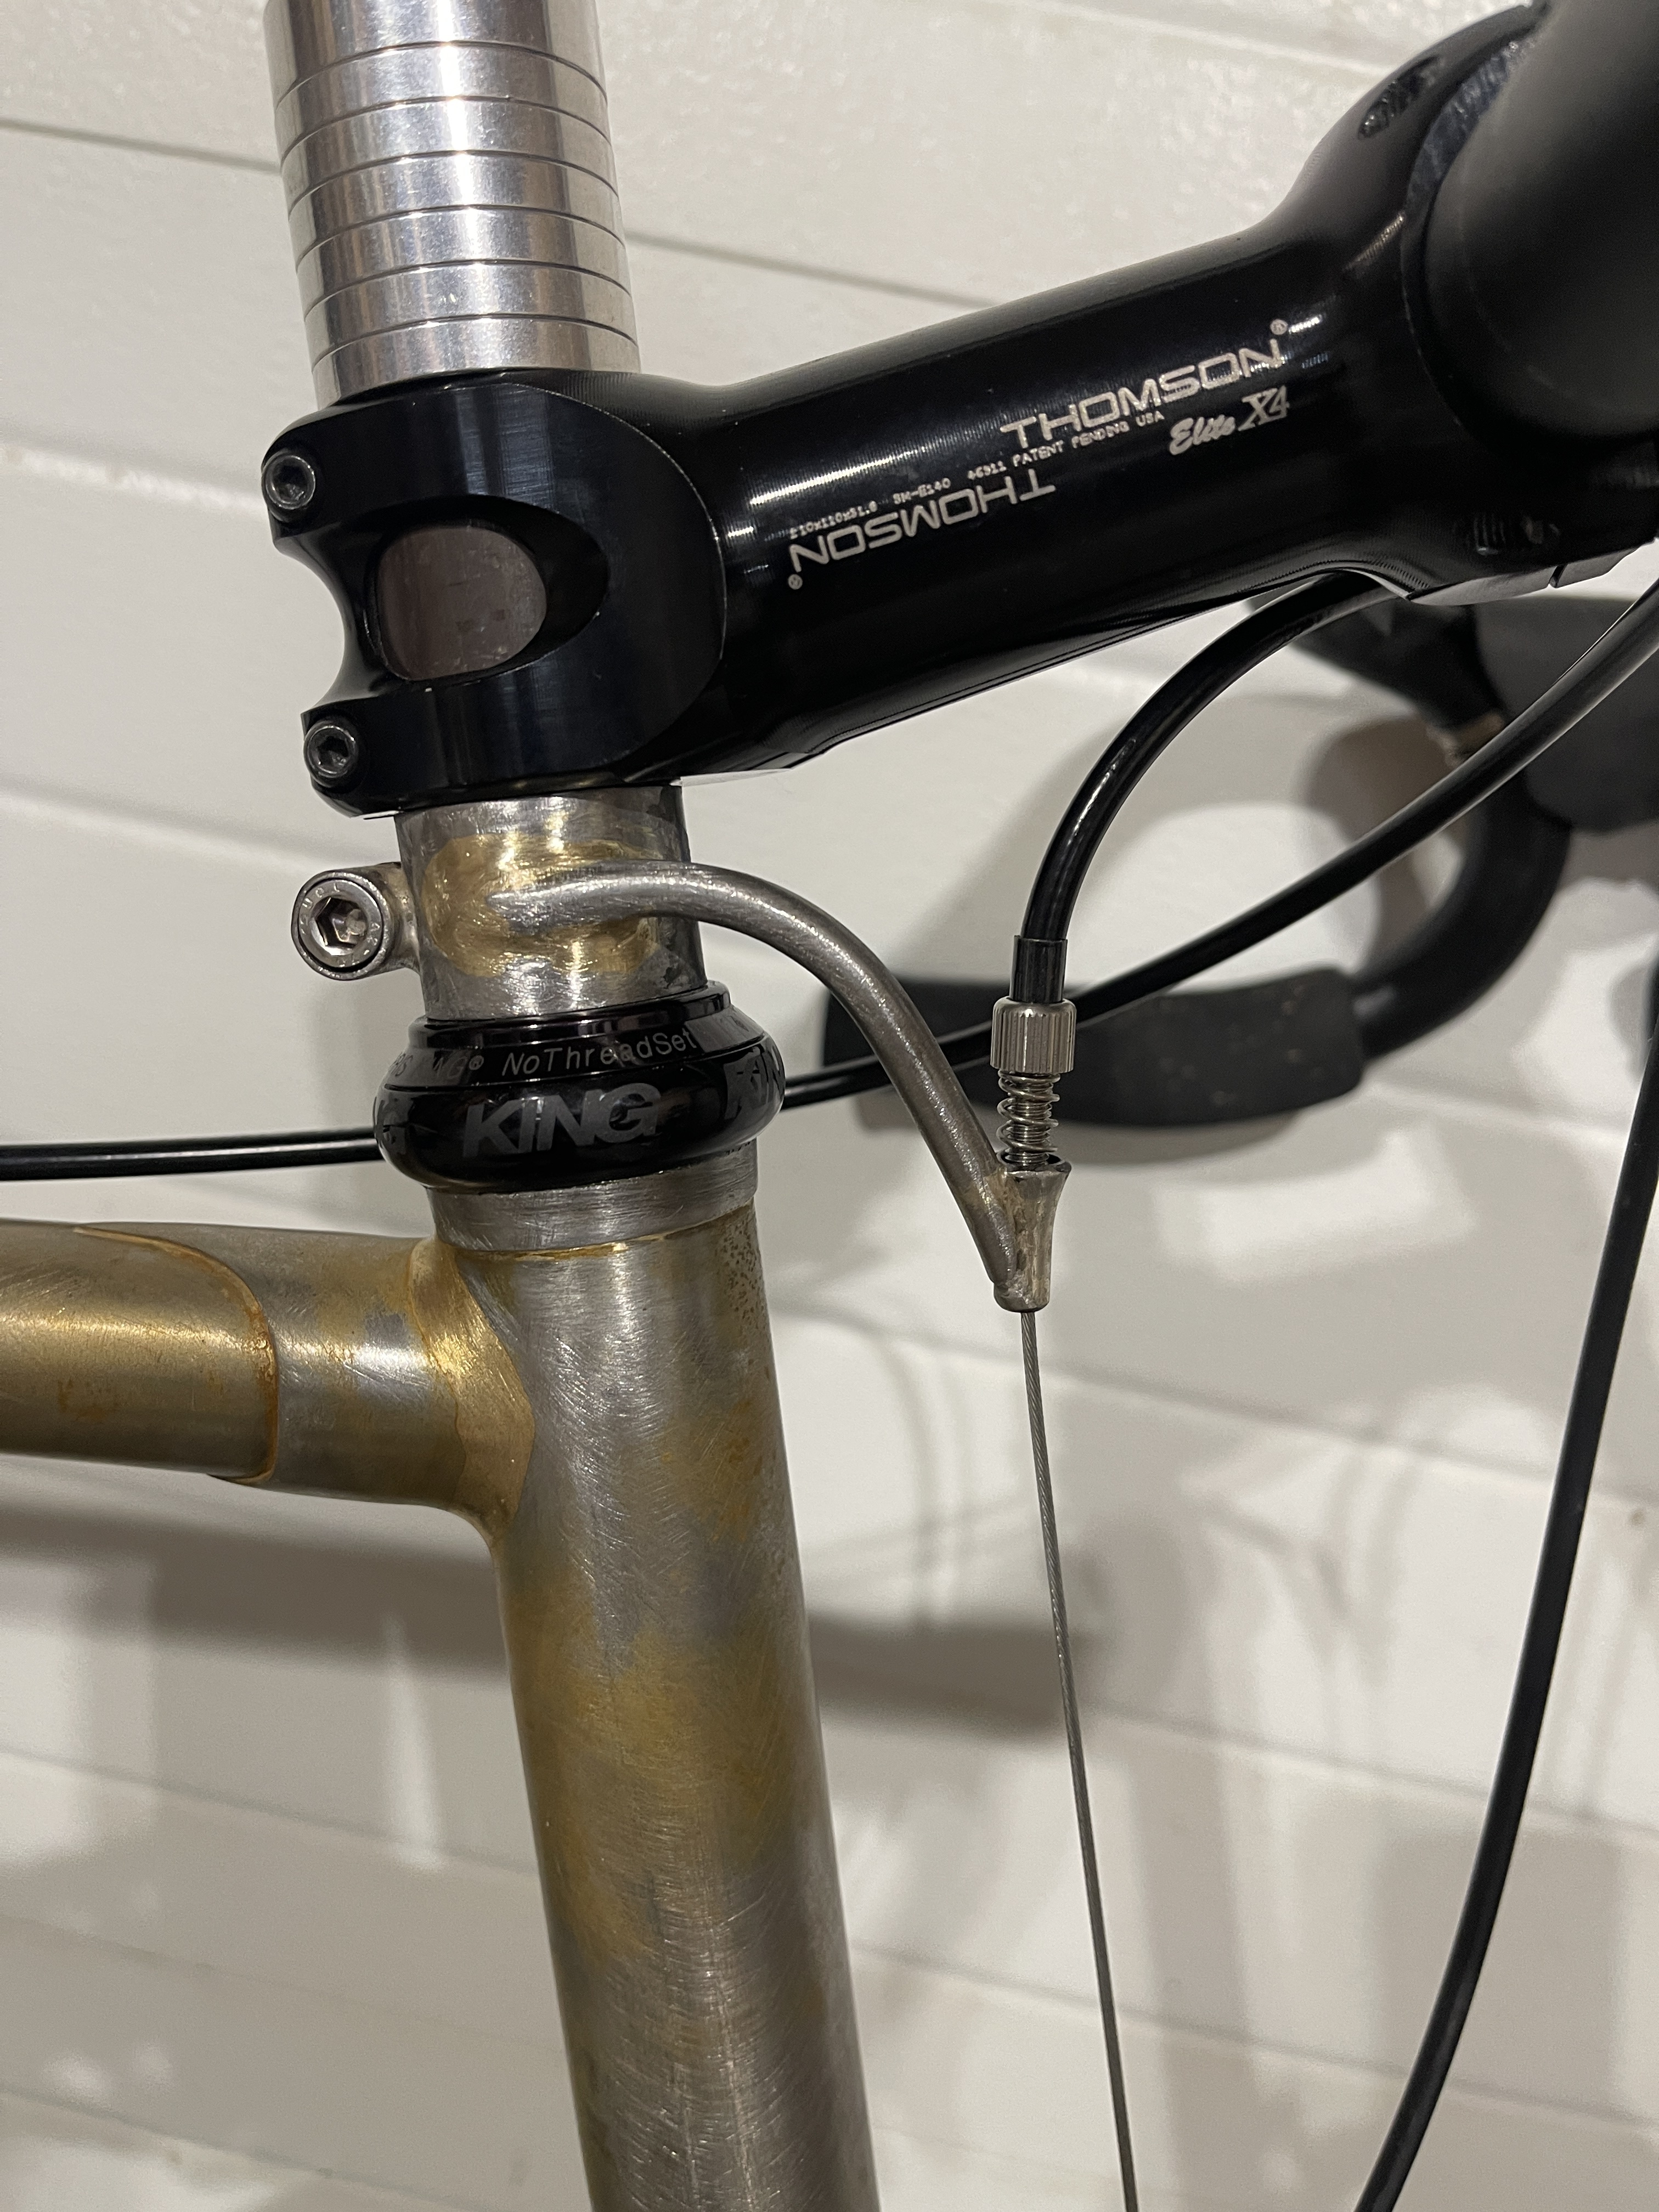
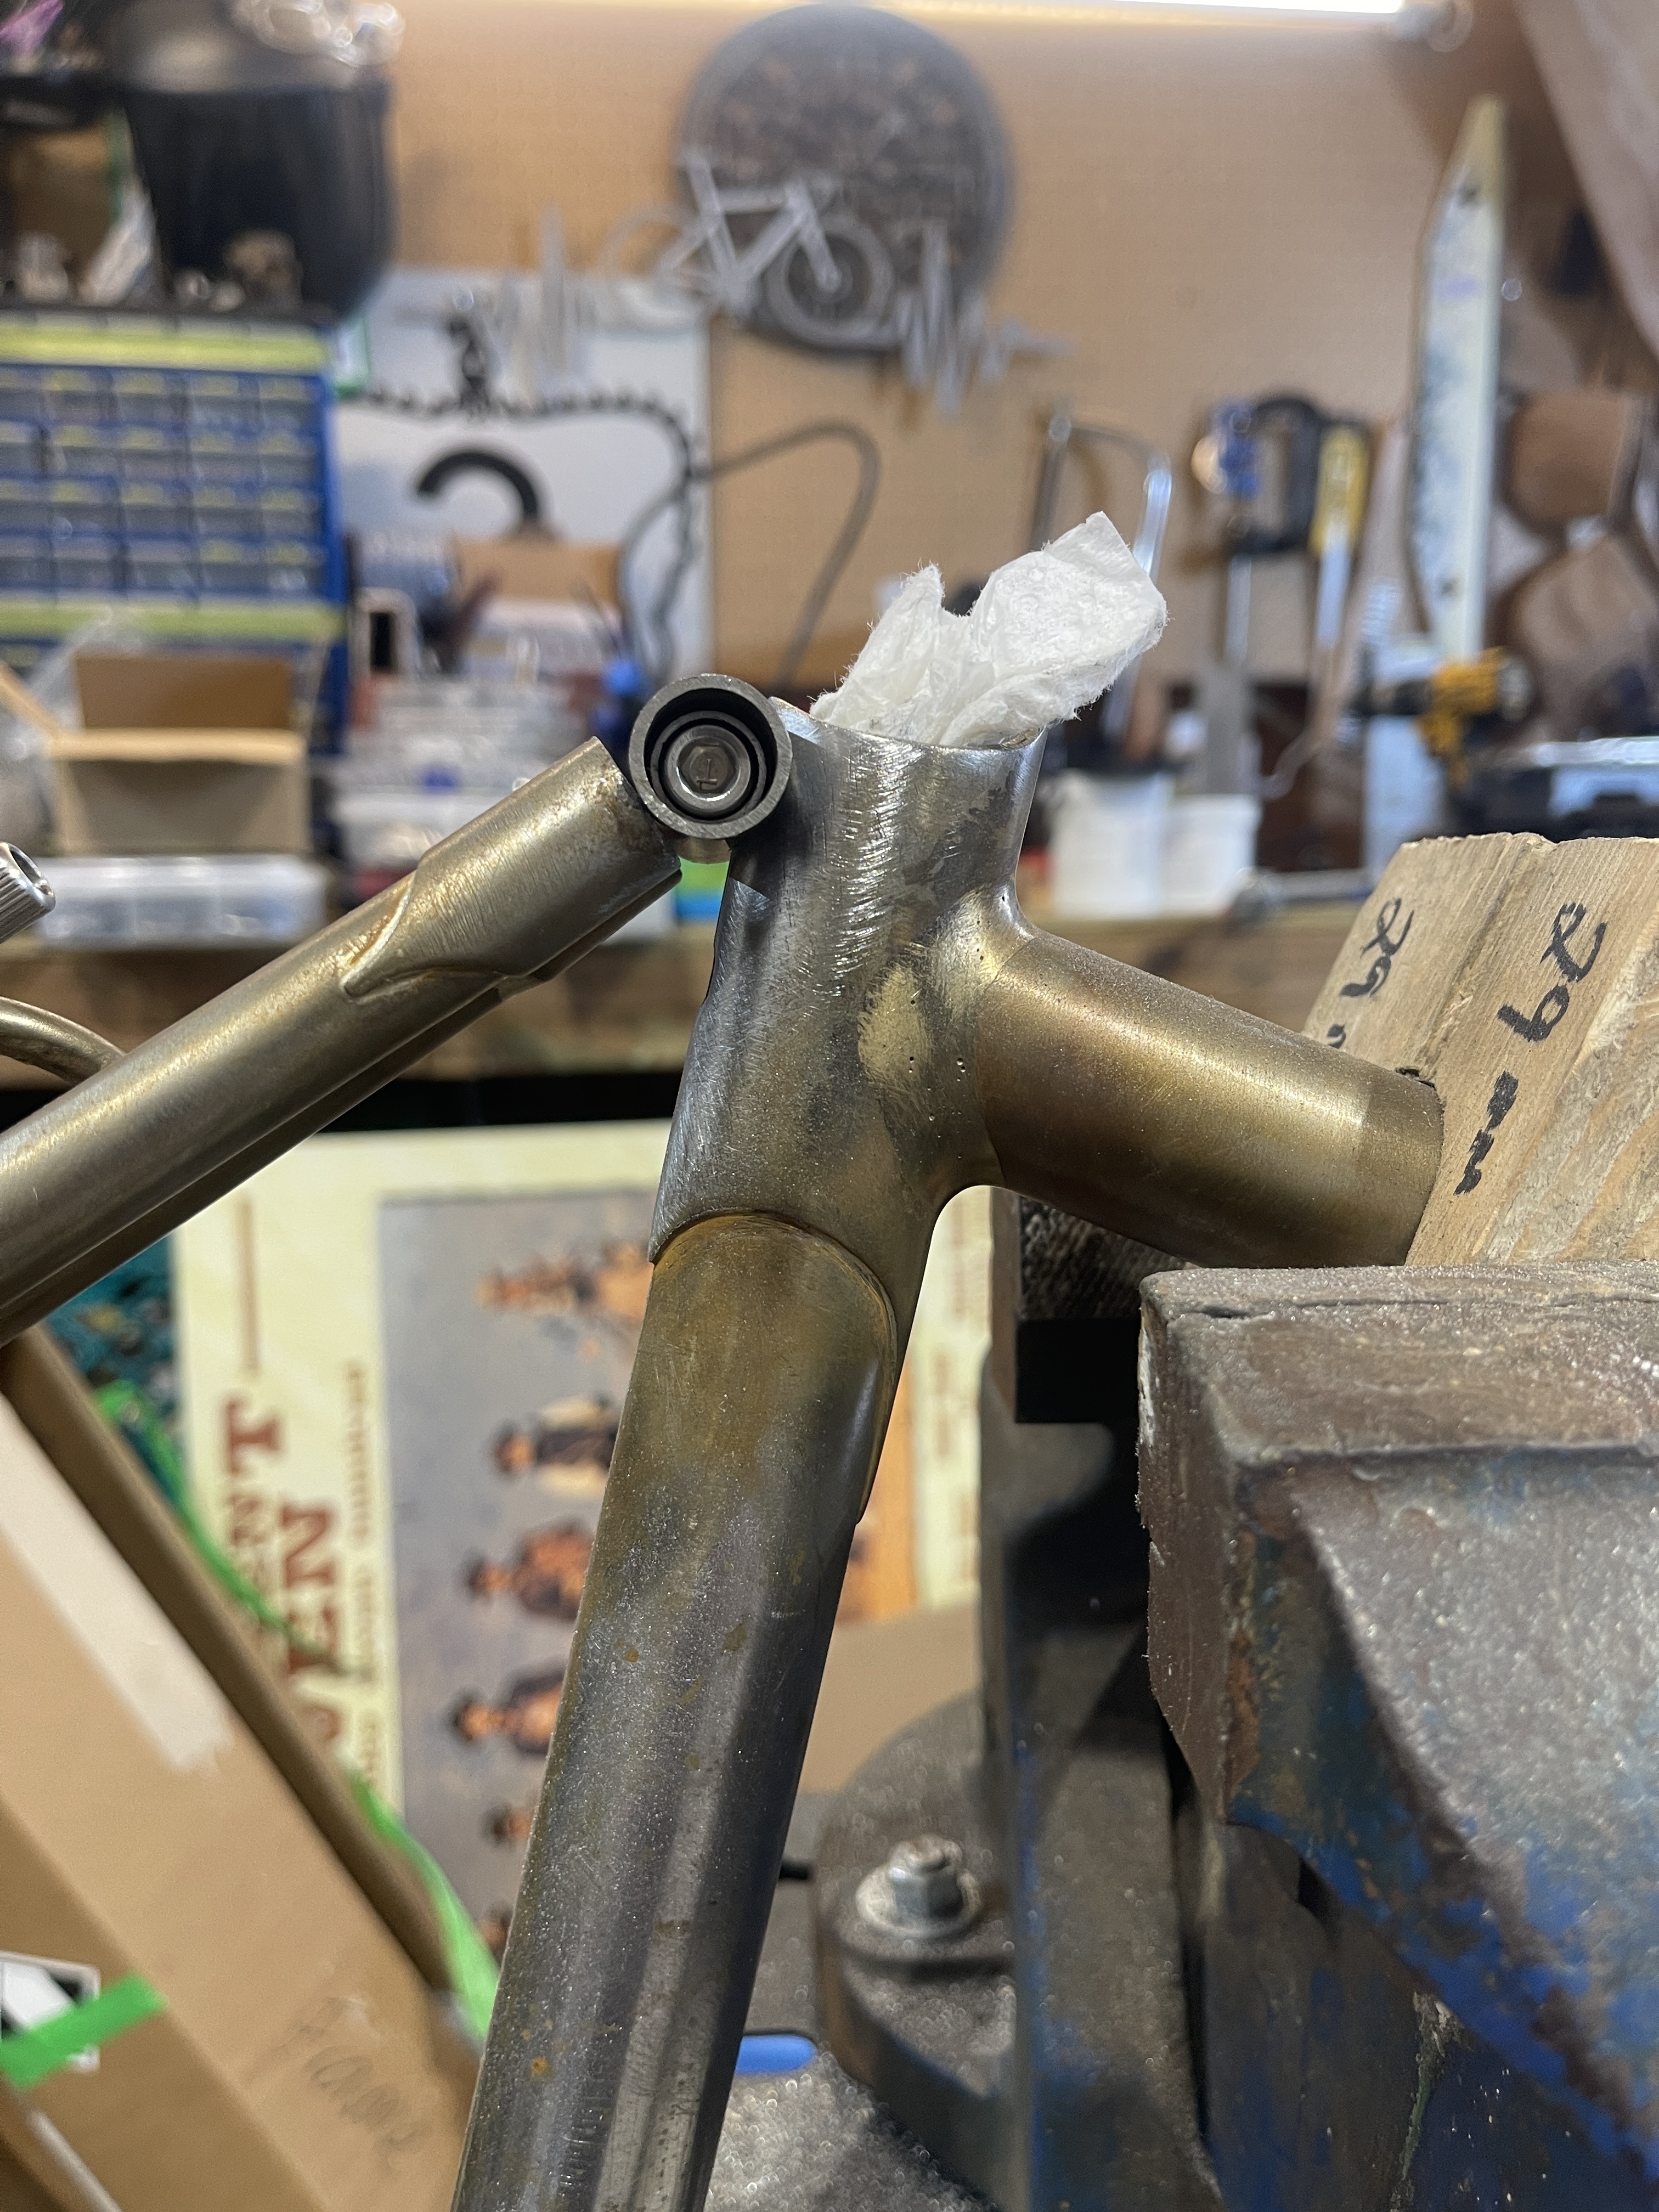
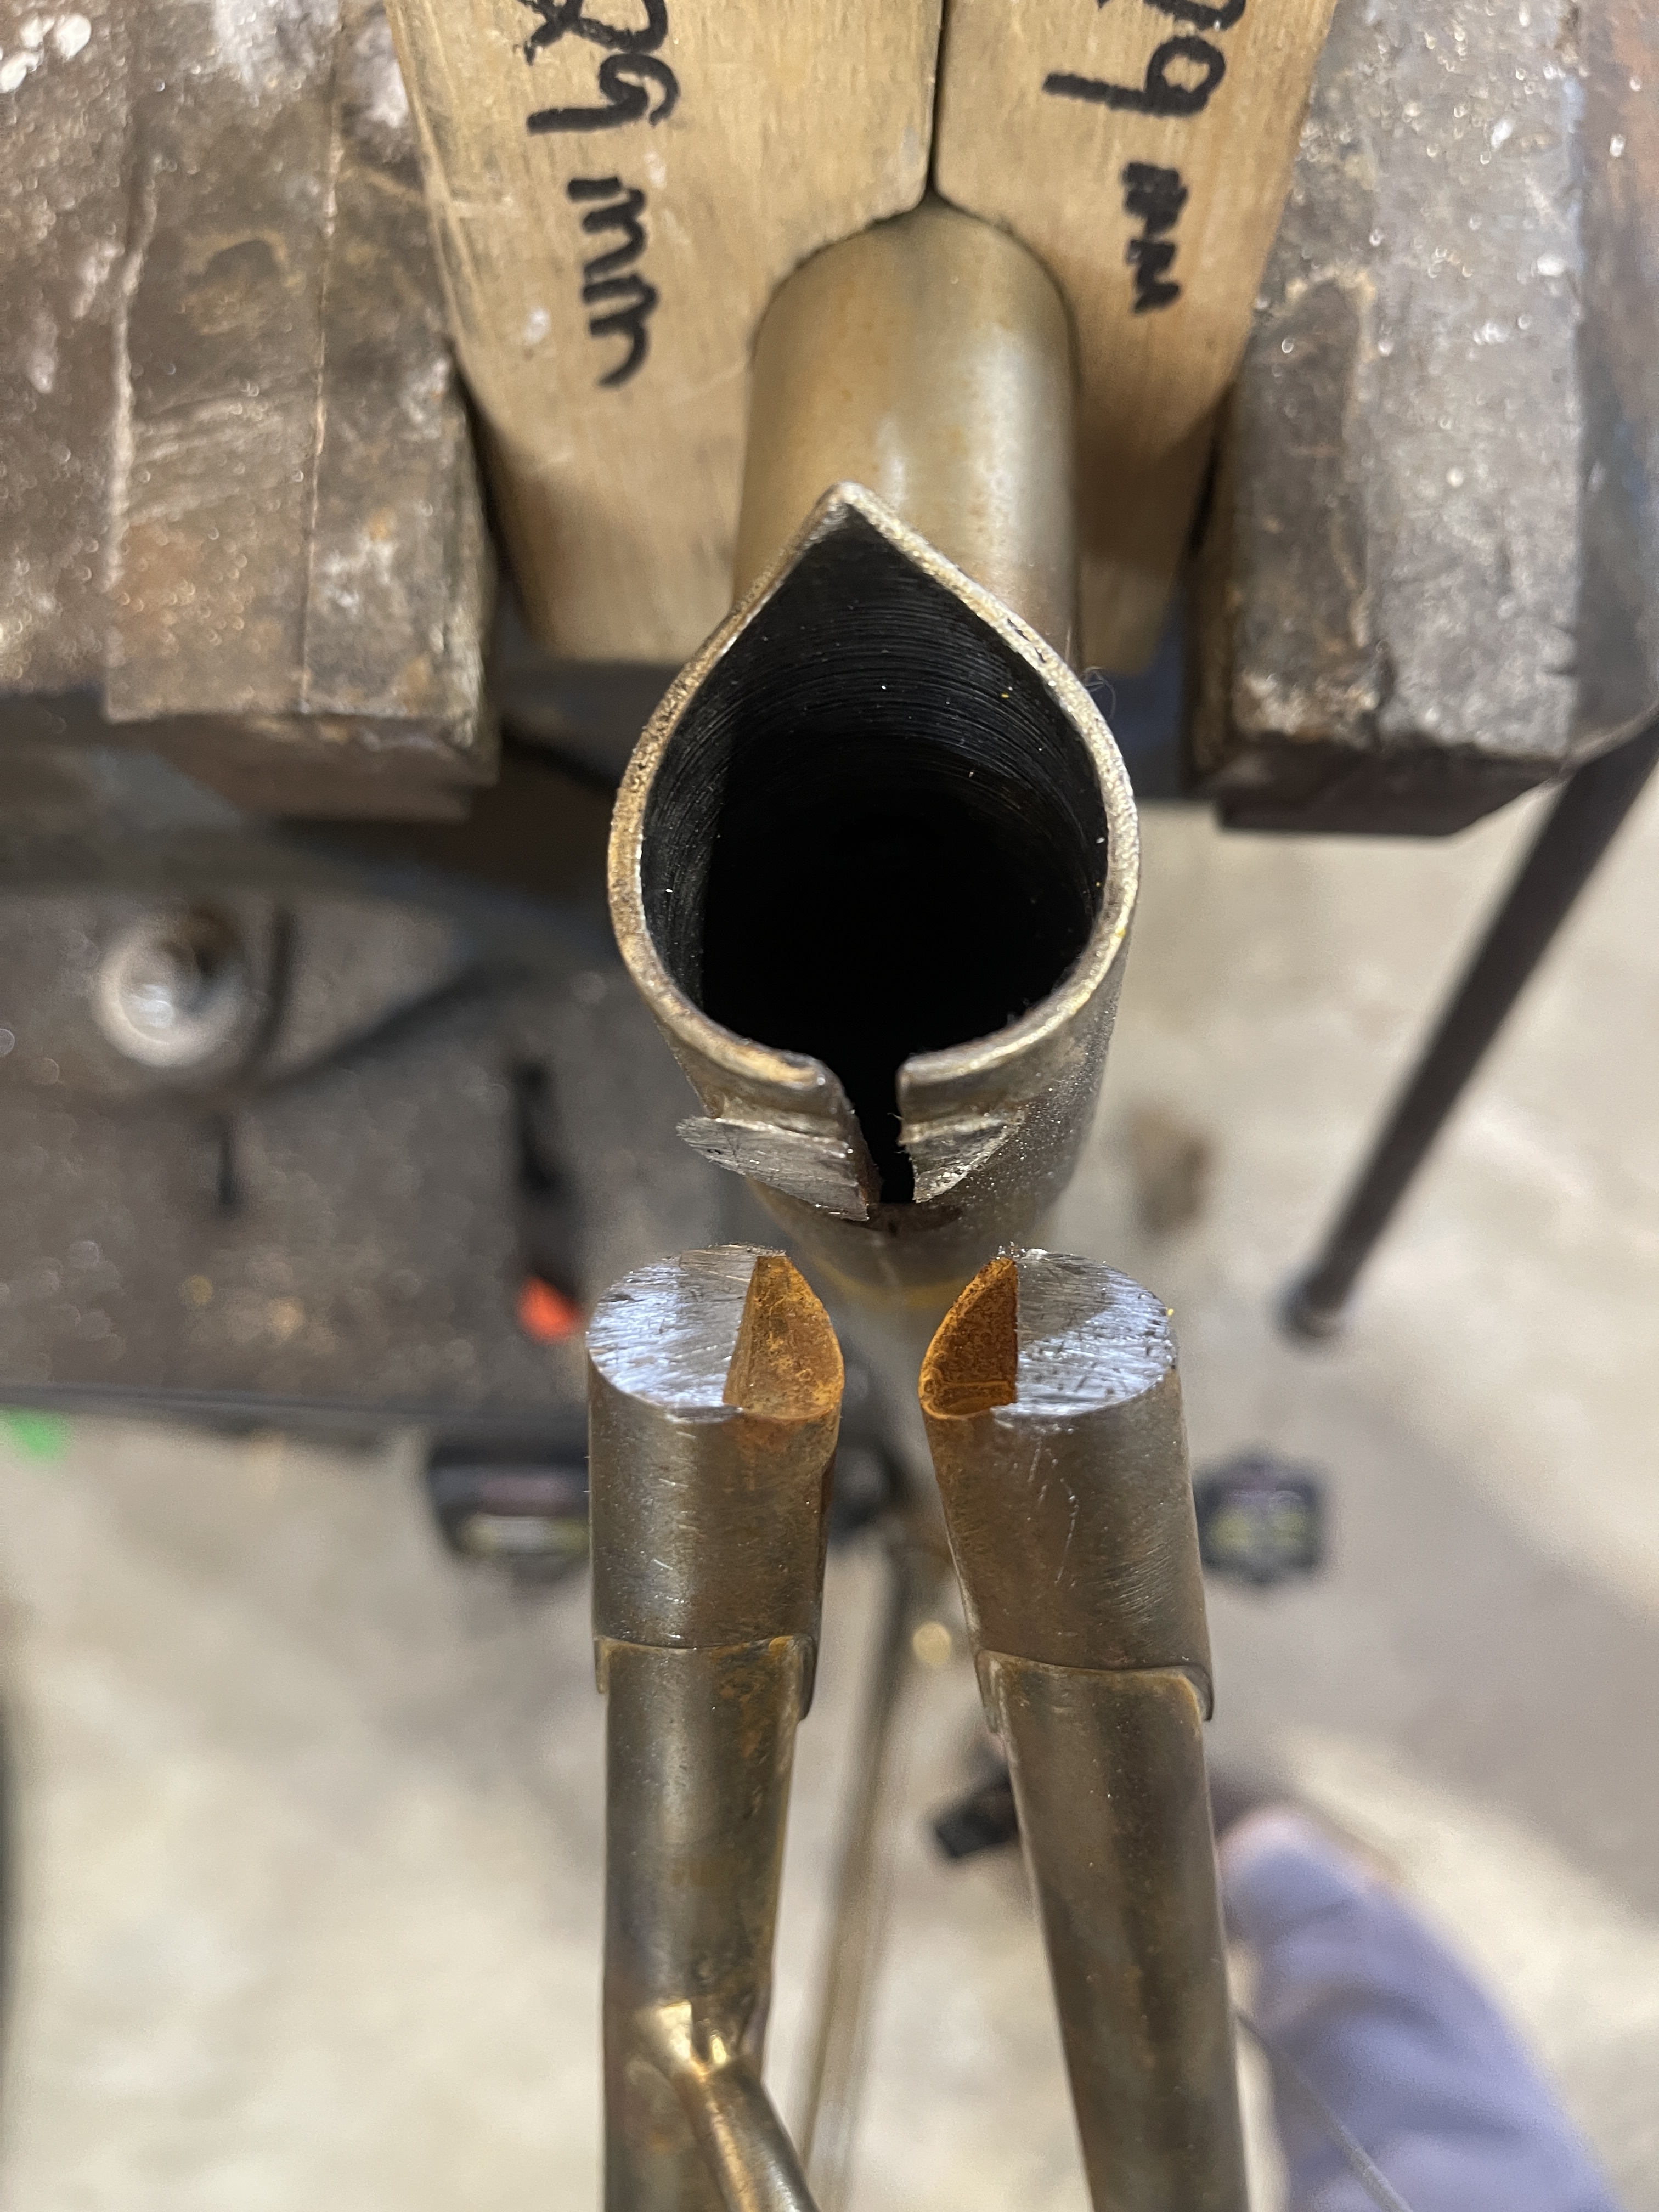
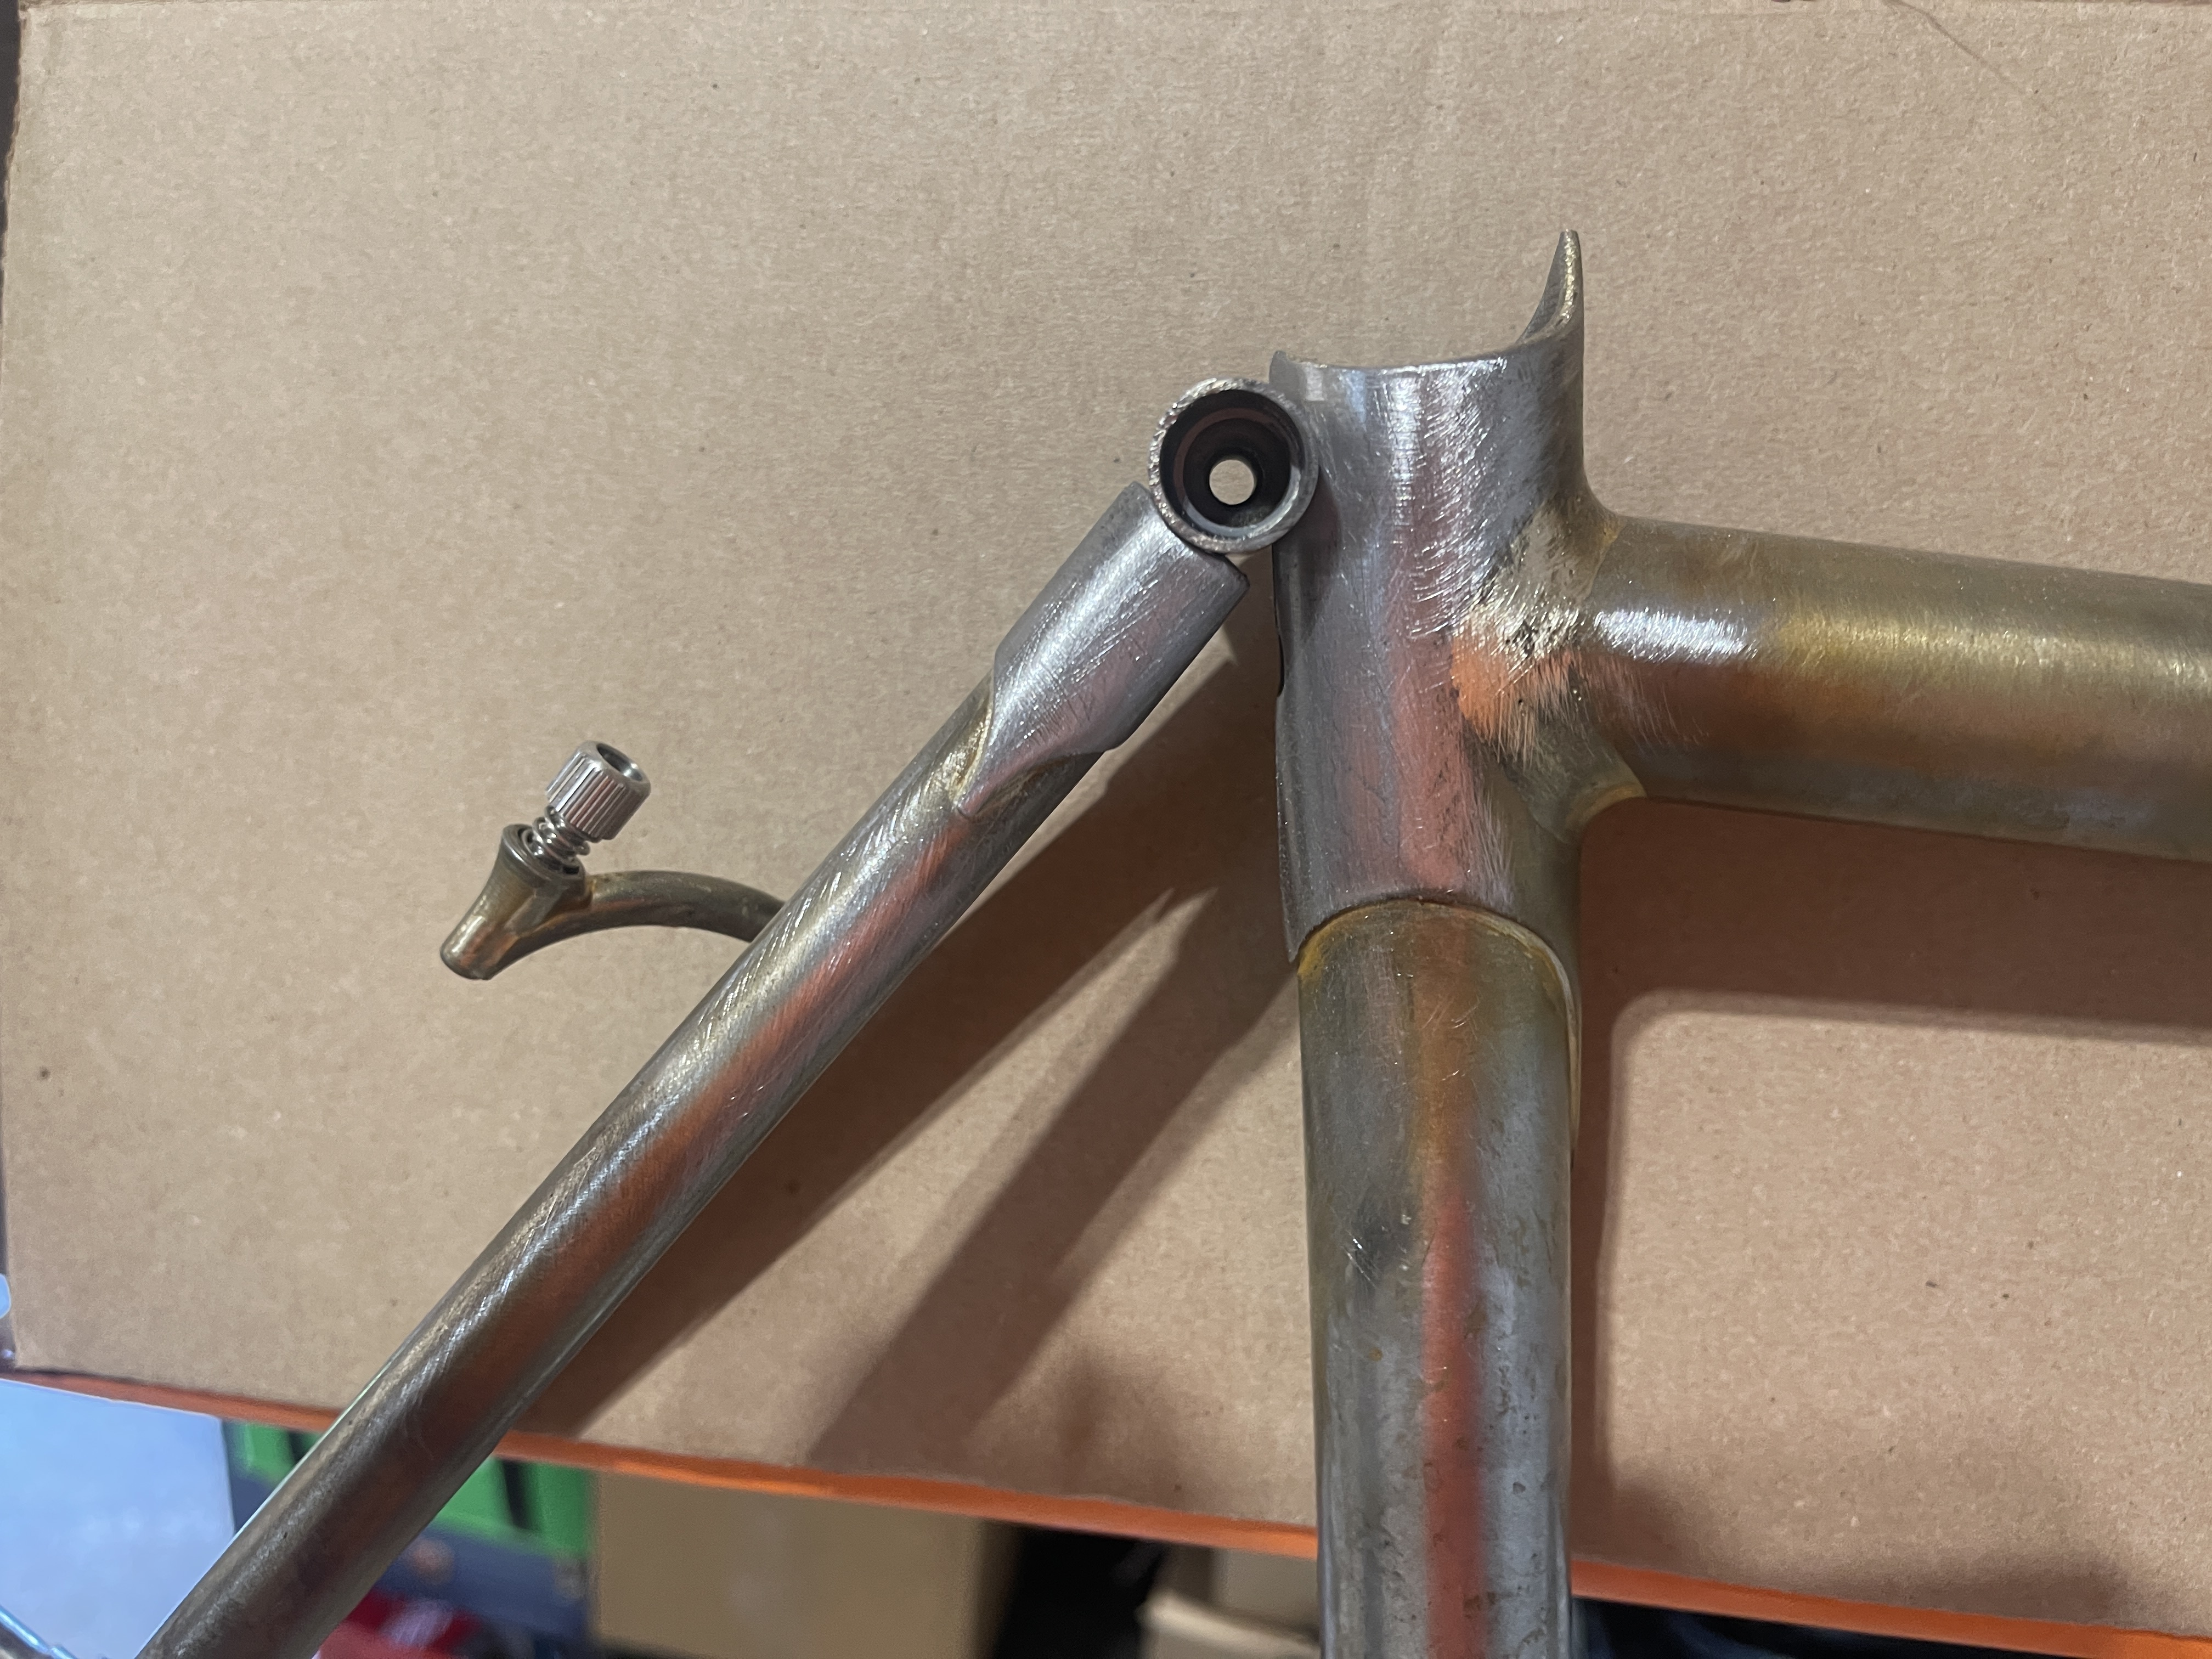
I’ve always been very intimidated by precision hacksaw cut, but did fairly well with the slot for the seat post clamp. Also, Danielle Schon @schonstudio strongly recommended securing the seat post hone so that it doesn’t fall down into the frame. I drilled out the tiny threads, original to the tool and drilled and tapped a larger size for better securing. Excellent advice!

Part of my motivation to use by laminate at the seat post clamp was to give myself additional material. I was not the best with heat management on my first frame and I think some more generous honing than ideal was required. The 27.2 seat post fits OK in that frame, but I can tell the seat post clamp is doing a lot of work. I think I did markedly better with this frame in that respect.

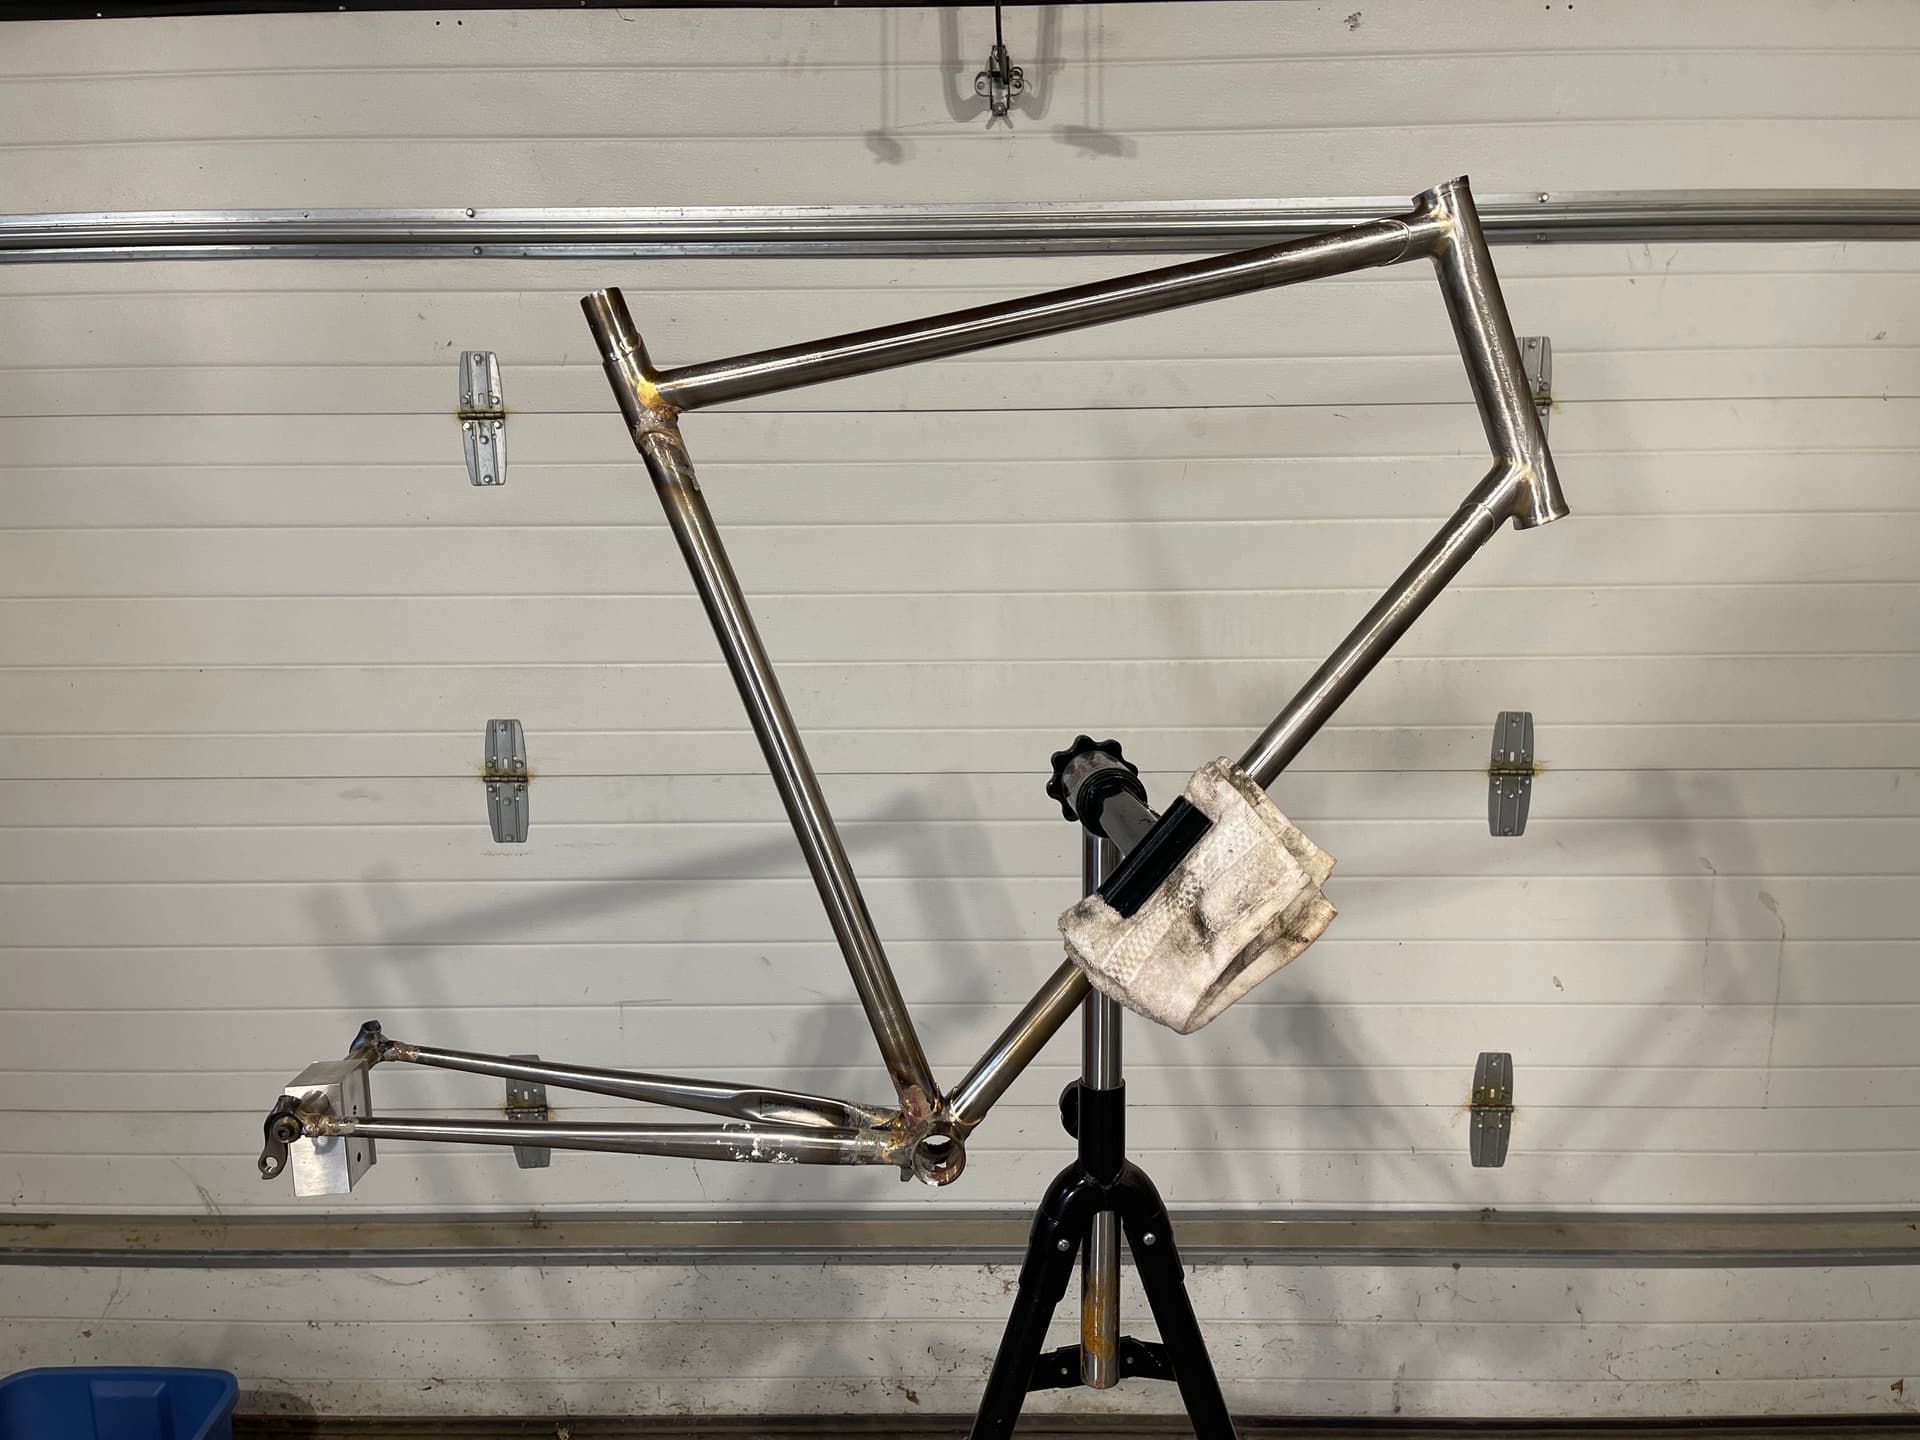
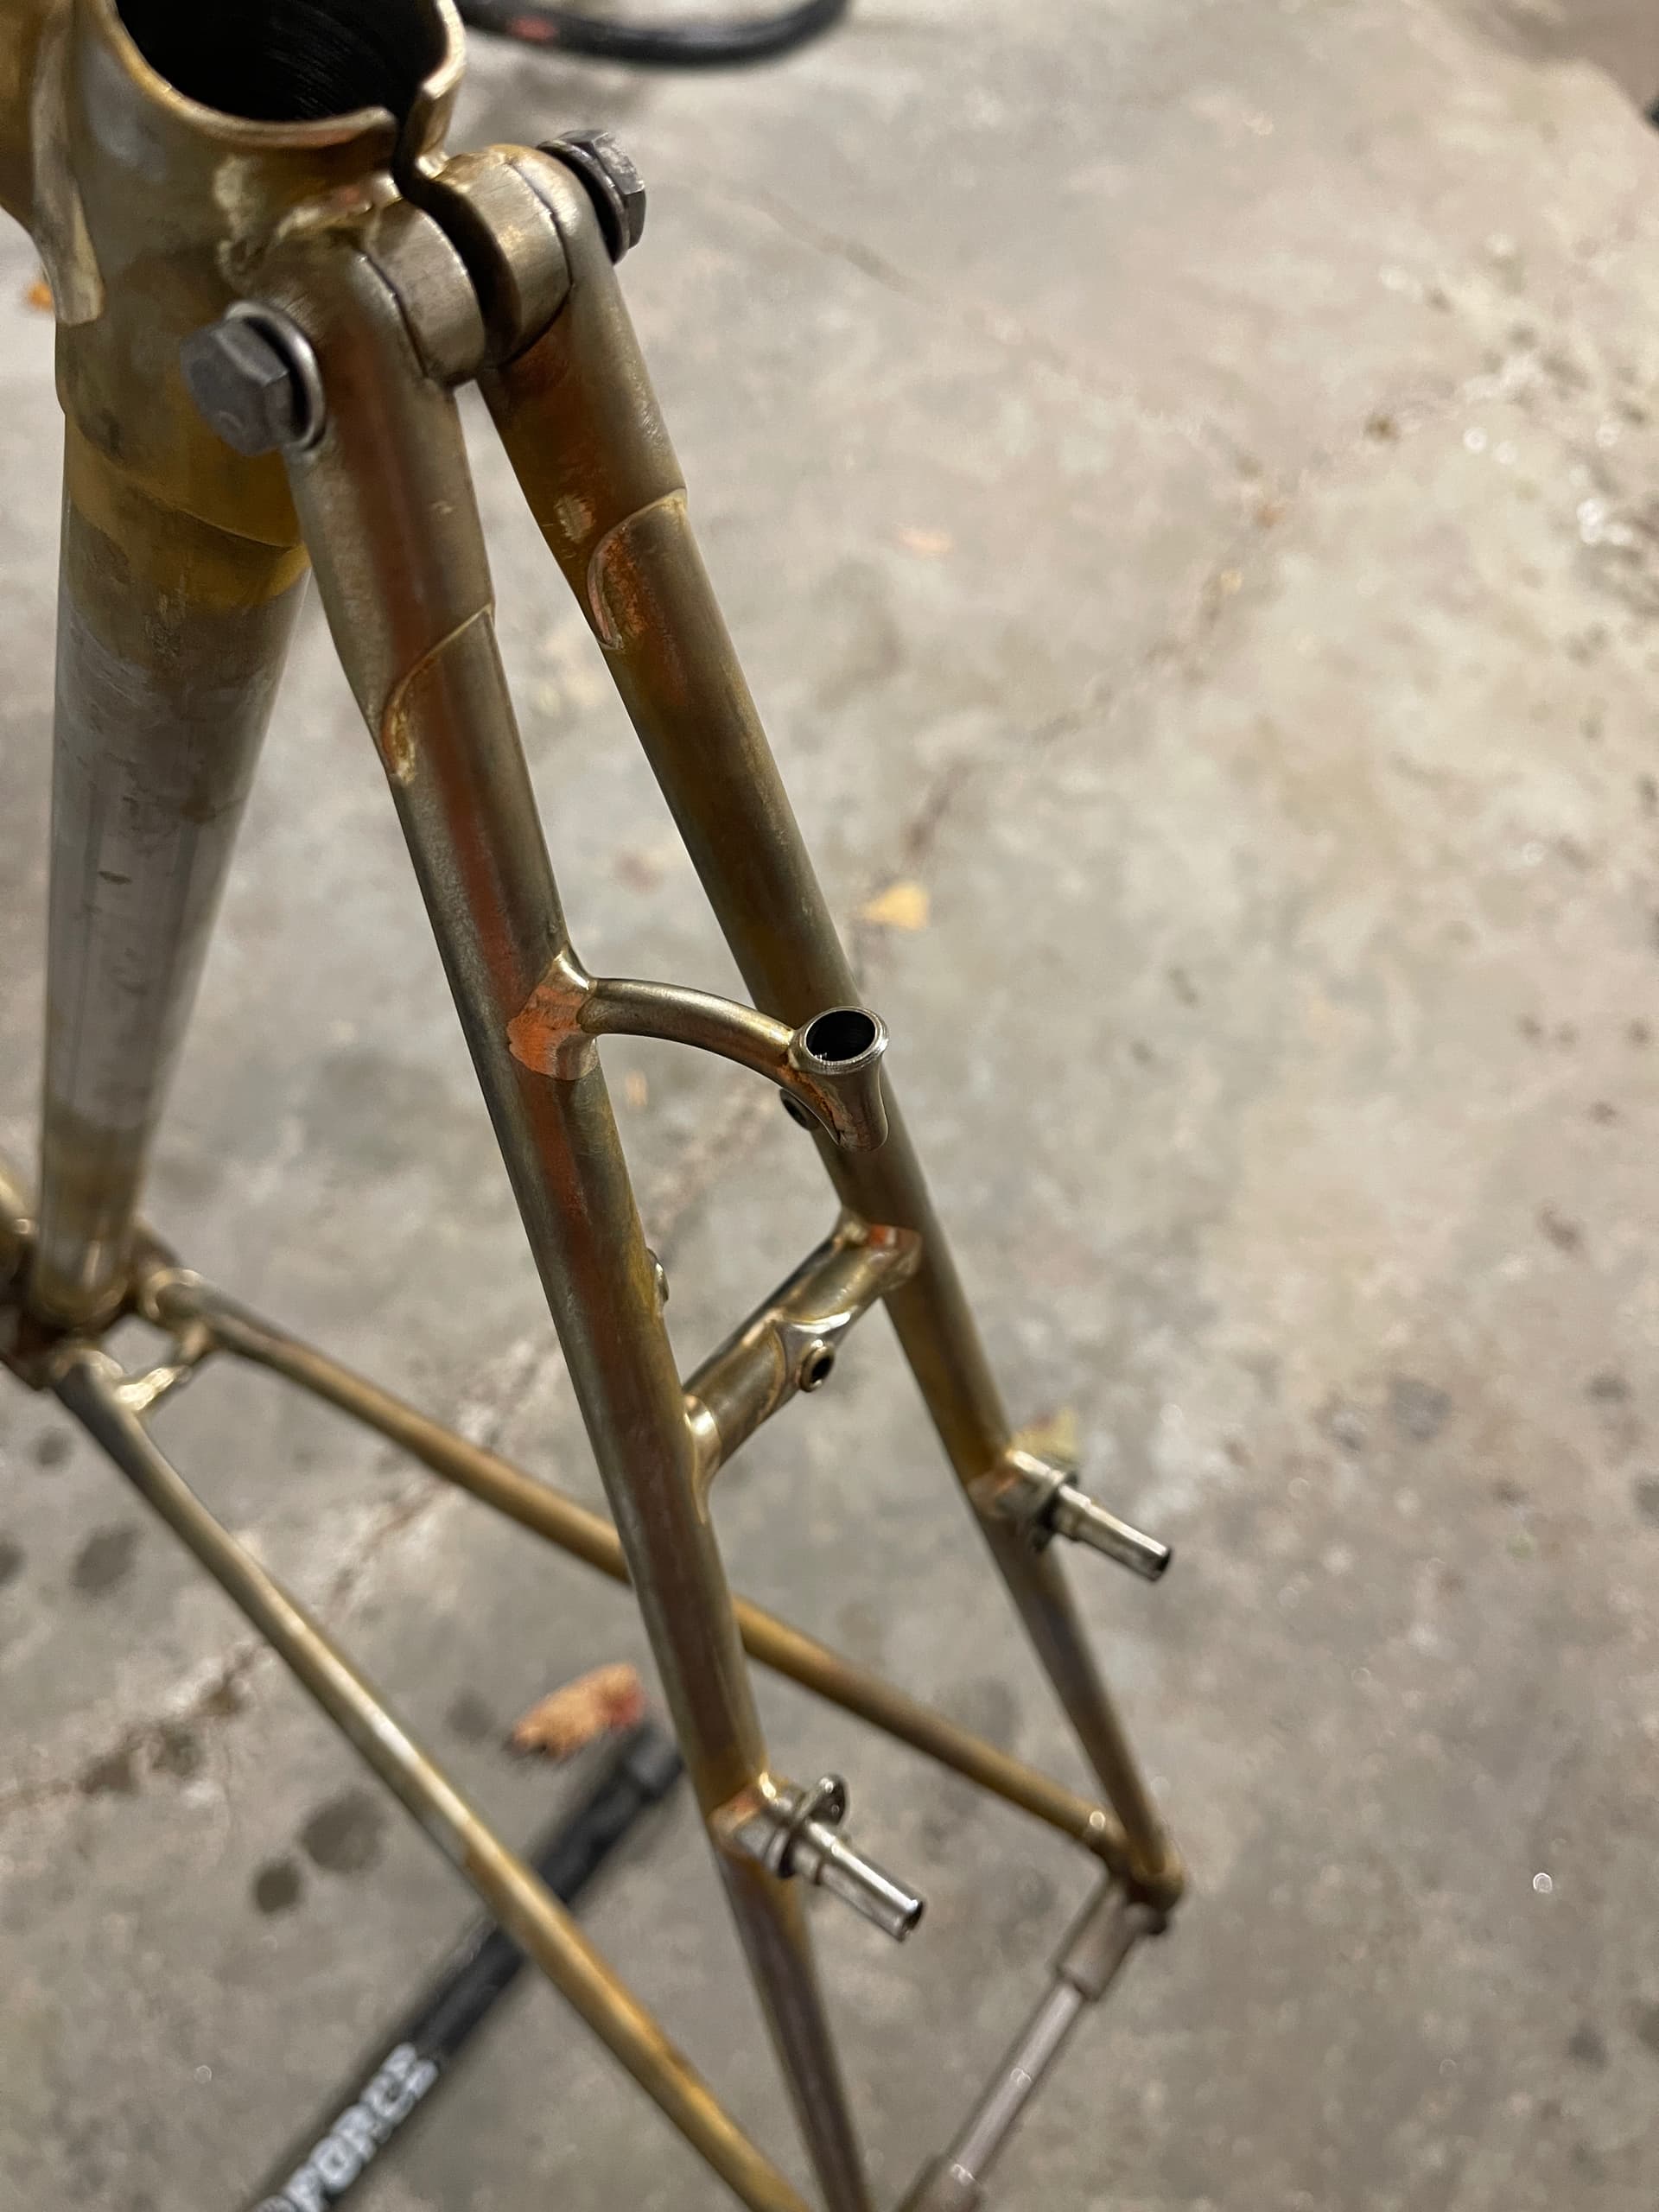
I made a little jig out of a miscellaneous piece of aluminum to hold the down tube shifter bosses. I screwed up, though, and removed too much material, requiring a bottle boss reinforcement to shim the assembly in place.

The candle lever bosses were installed, using a jig, made out of the same kind of aluminum bar plate. The one cantilever boss rotated a little bit during braising, so they are not perfectly symmetrical.

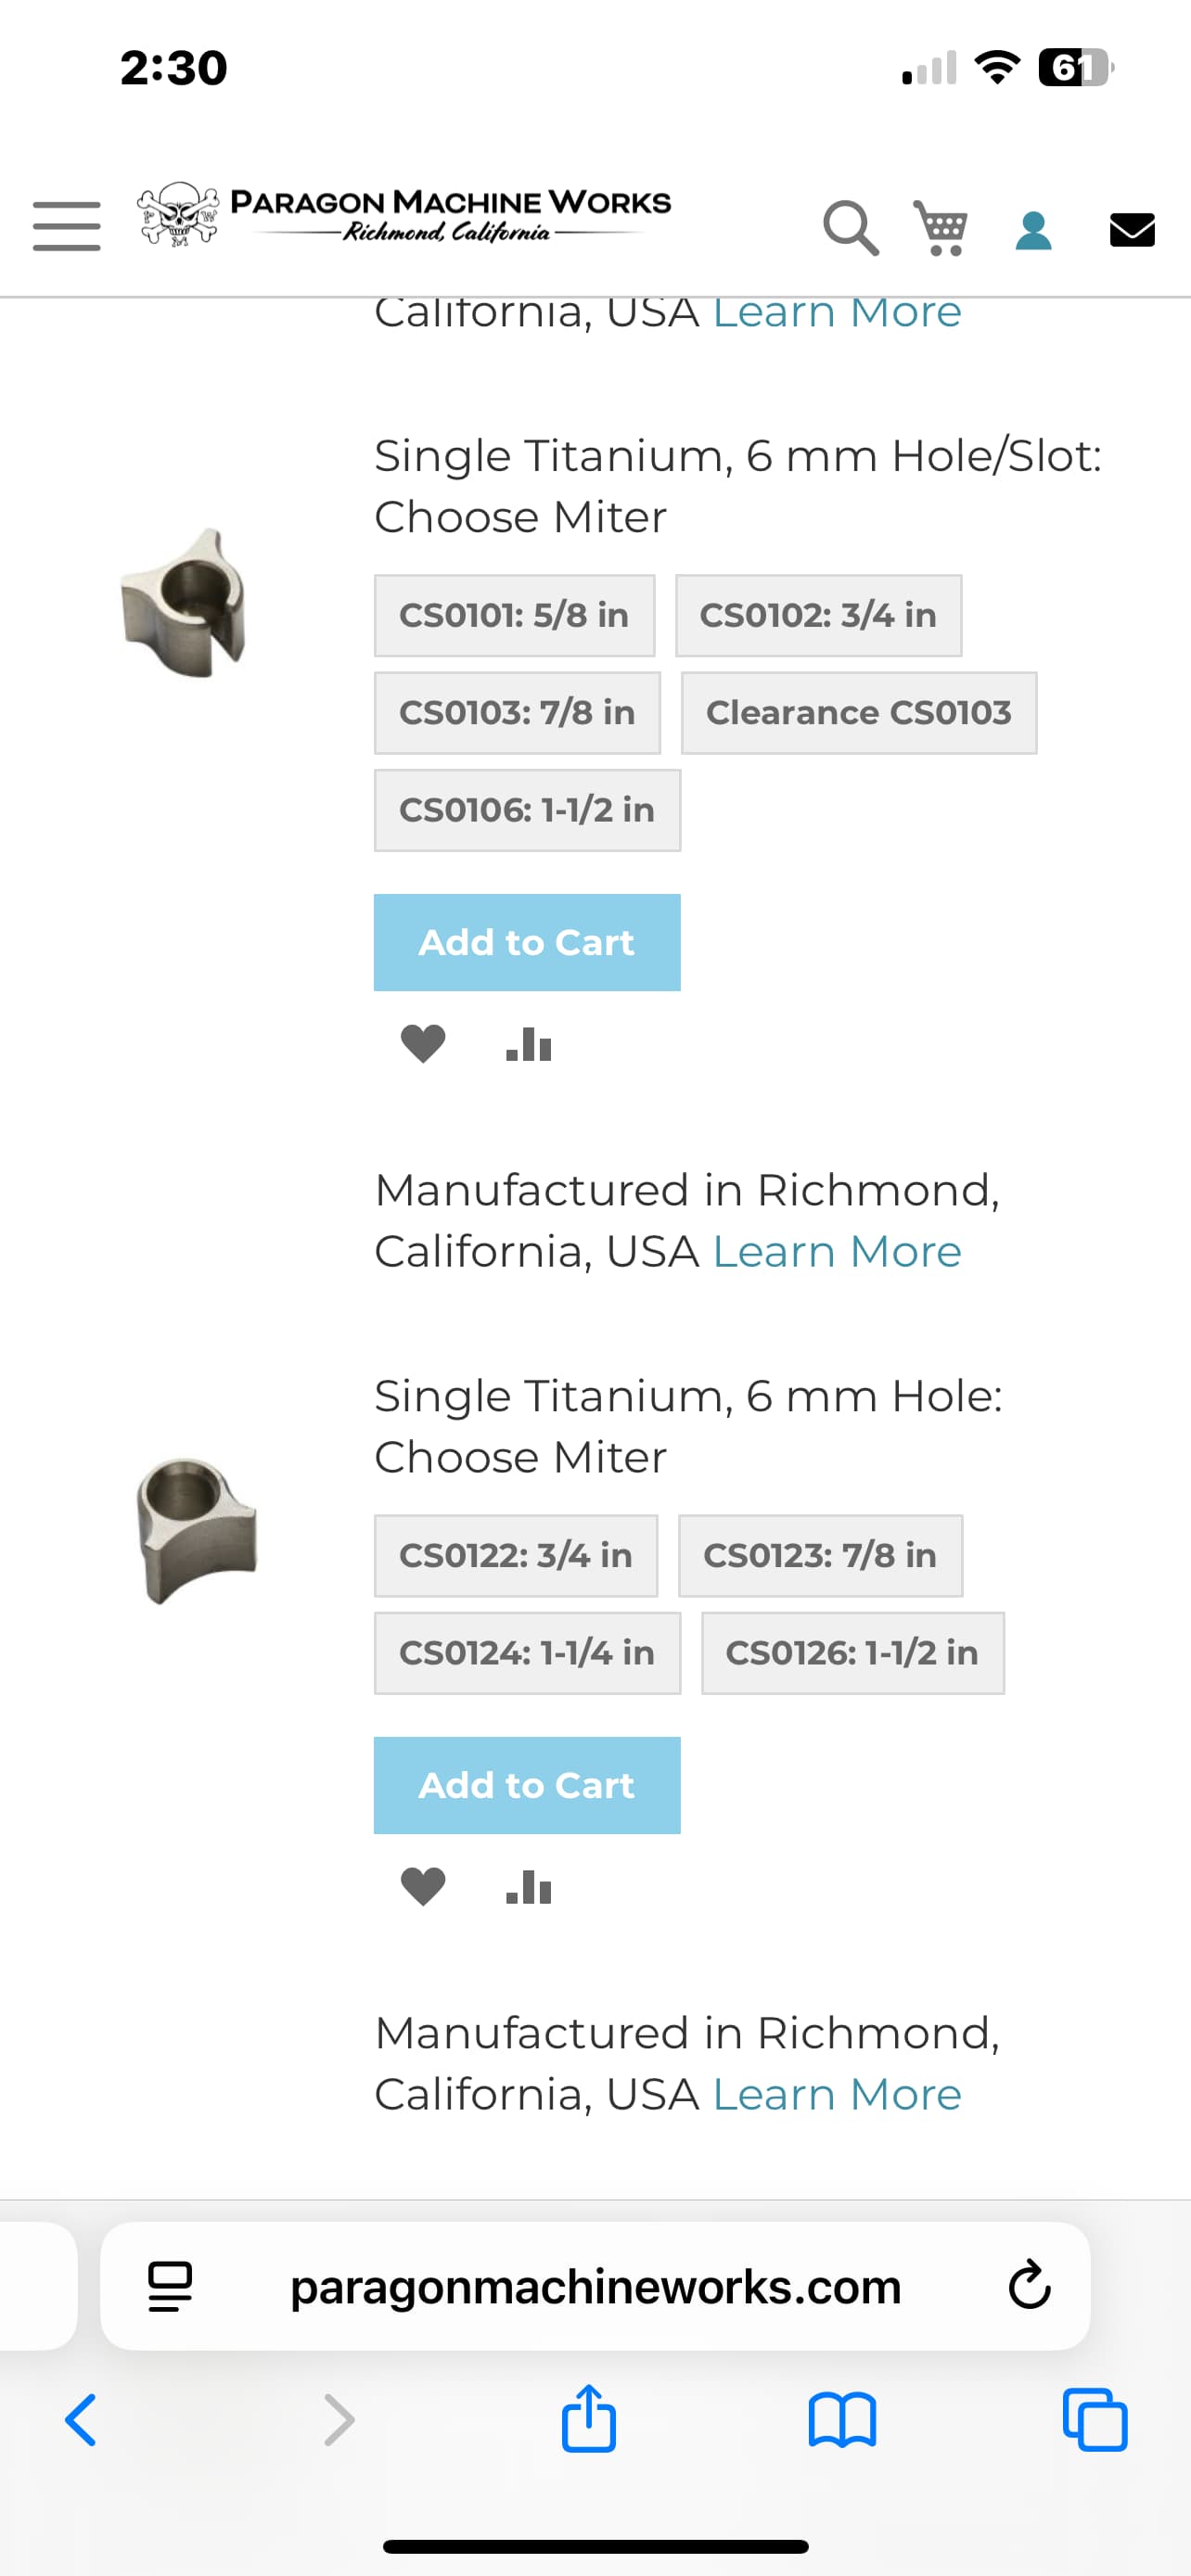
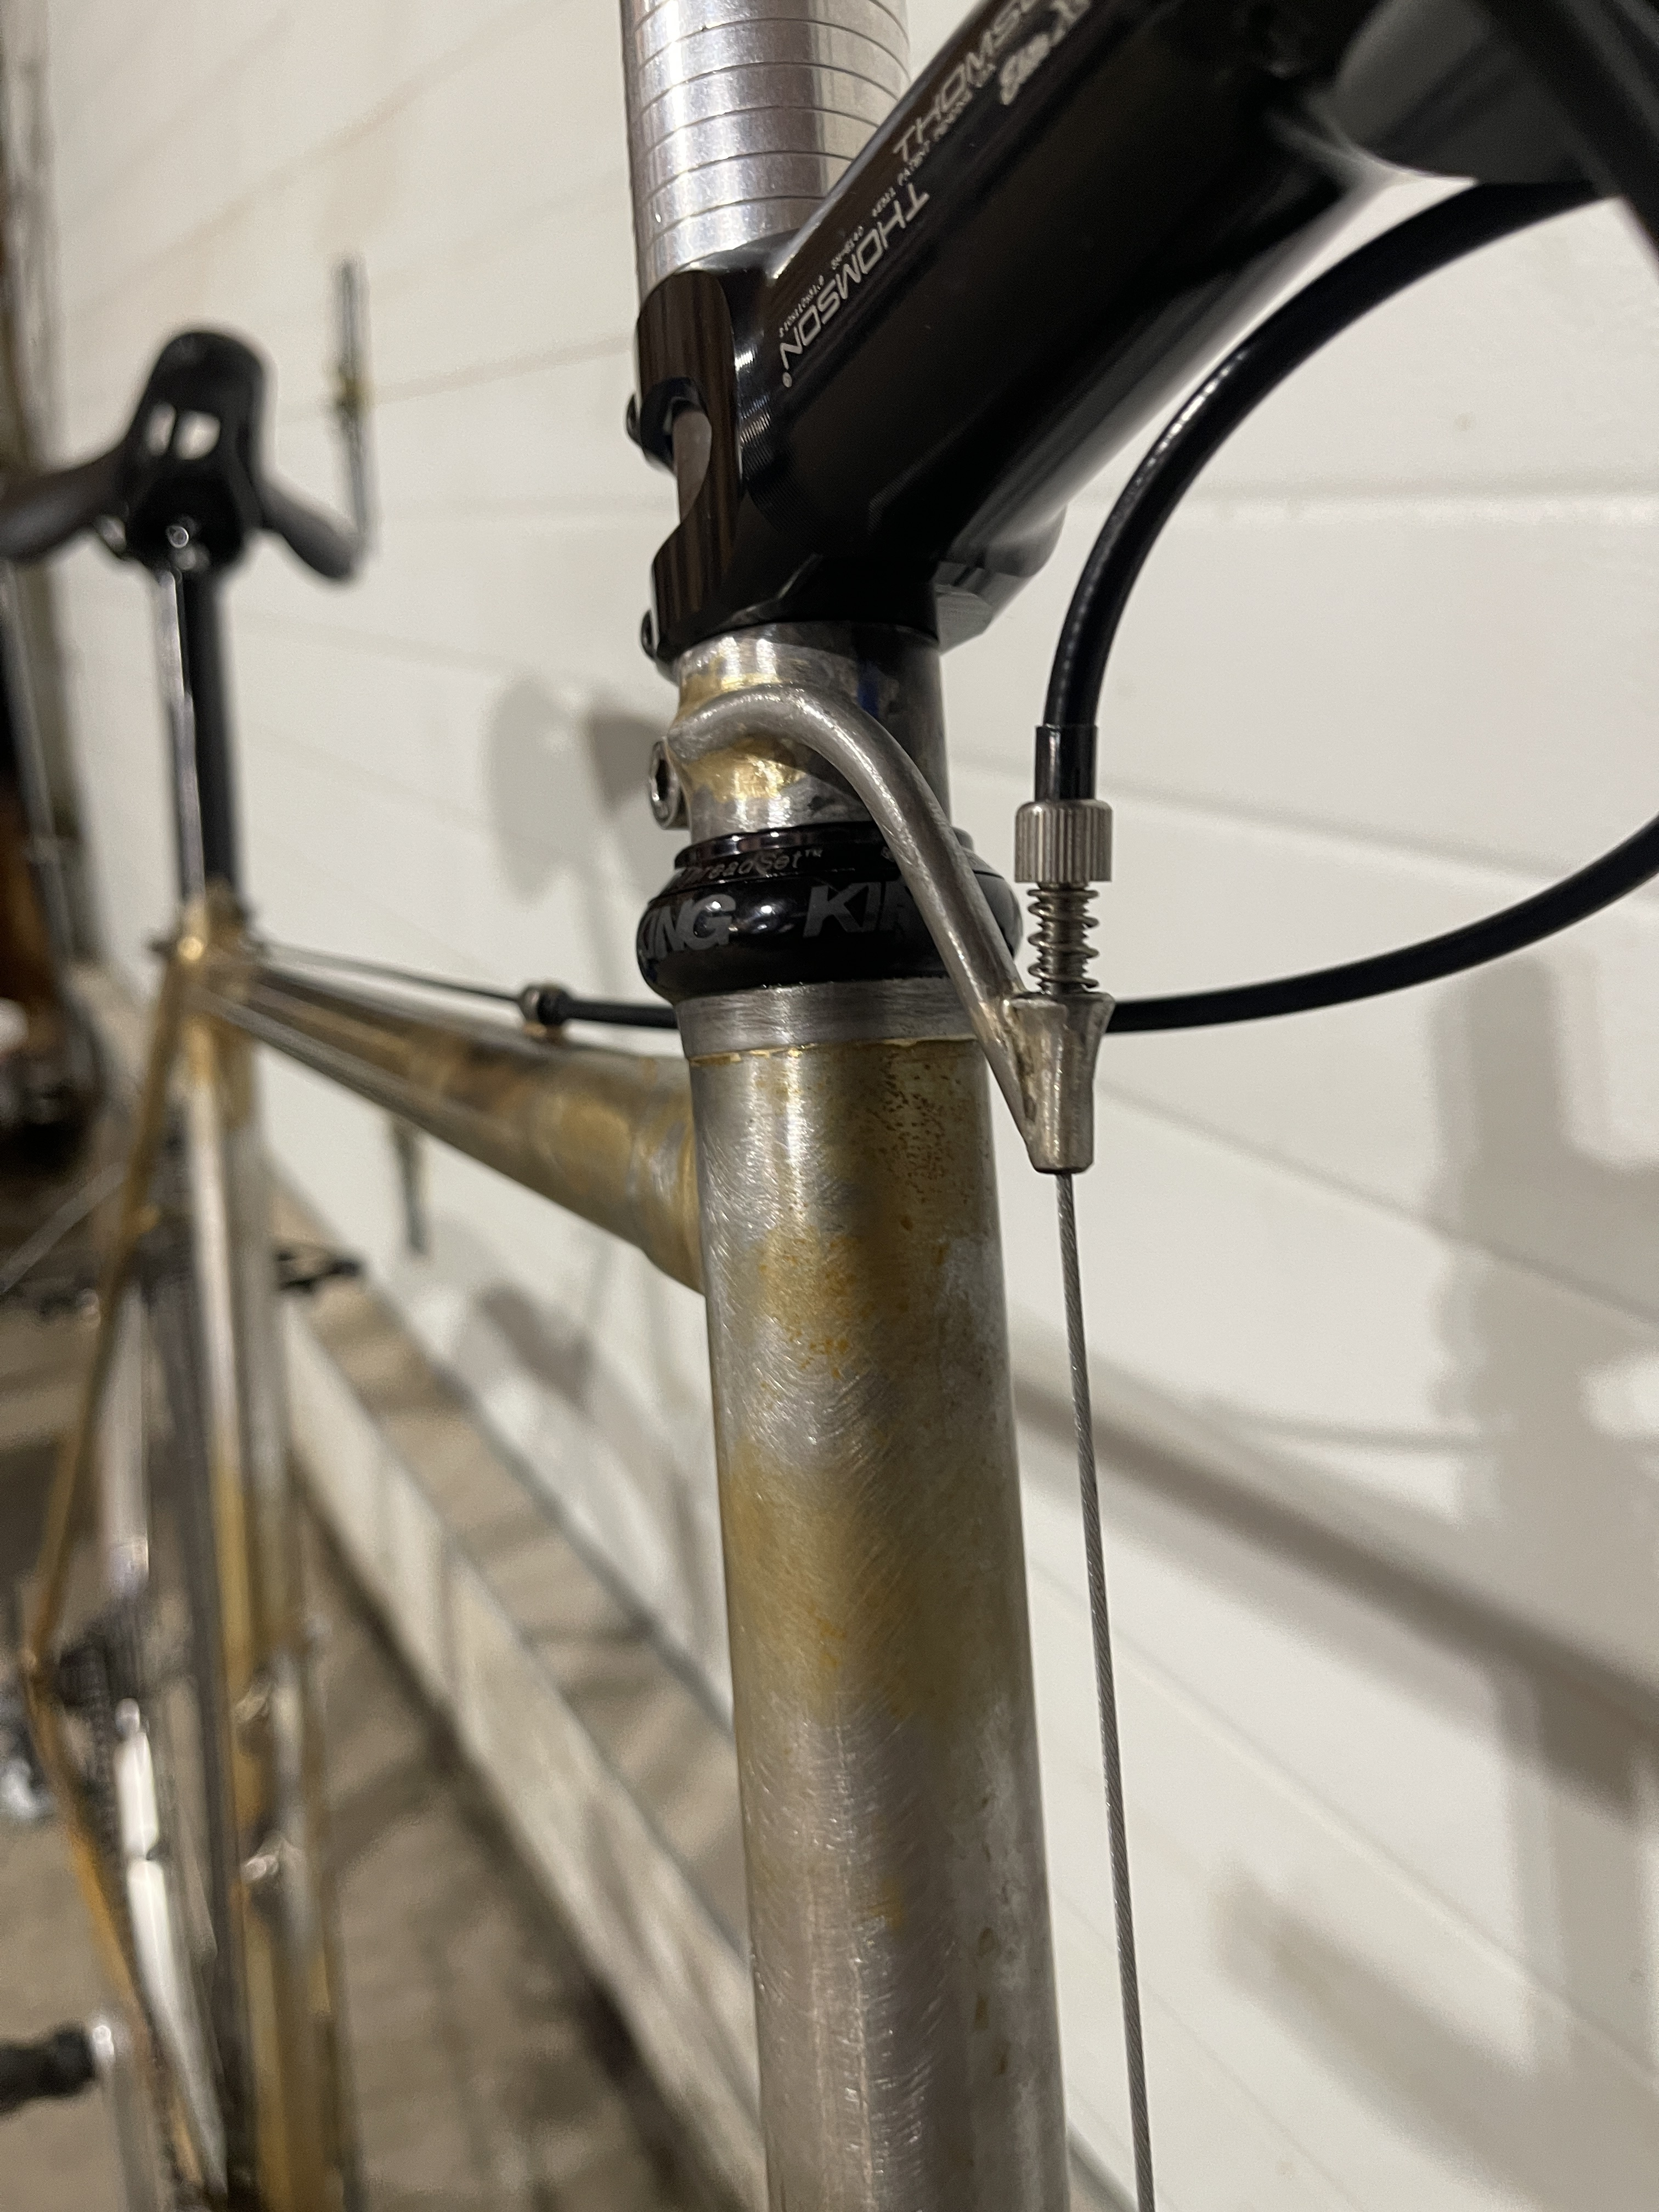
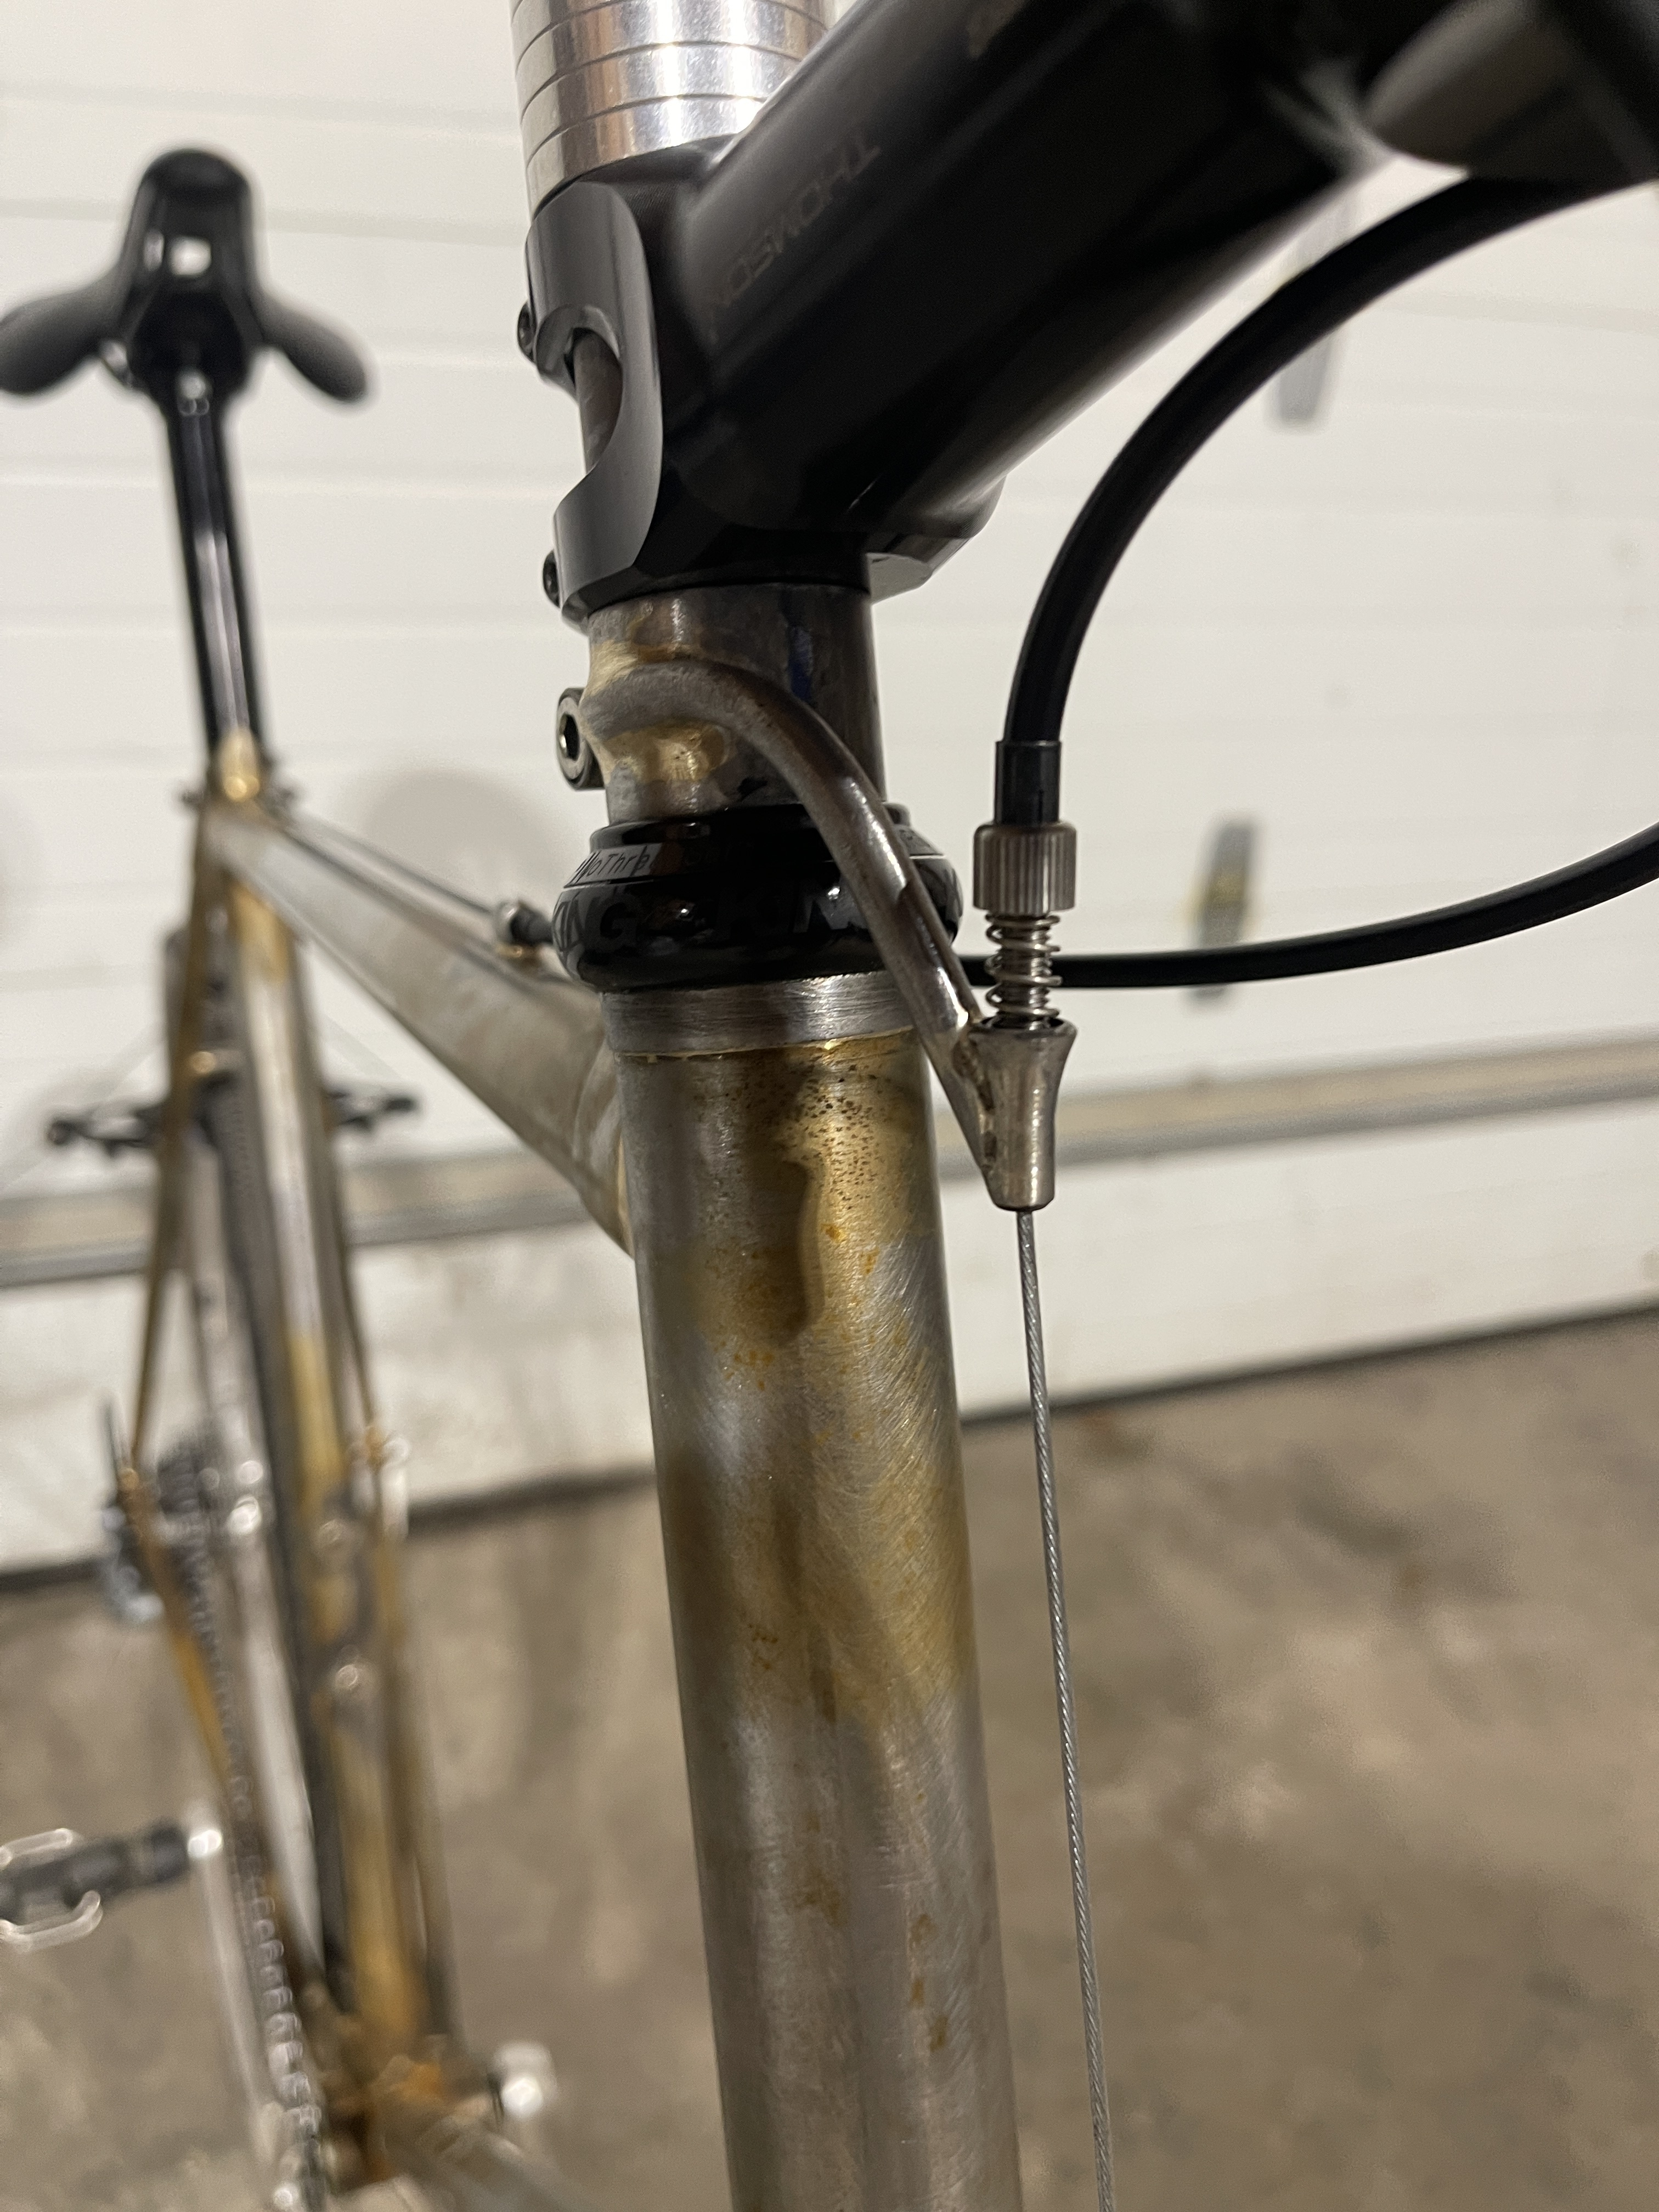
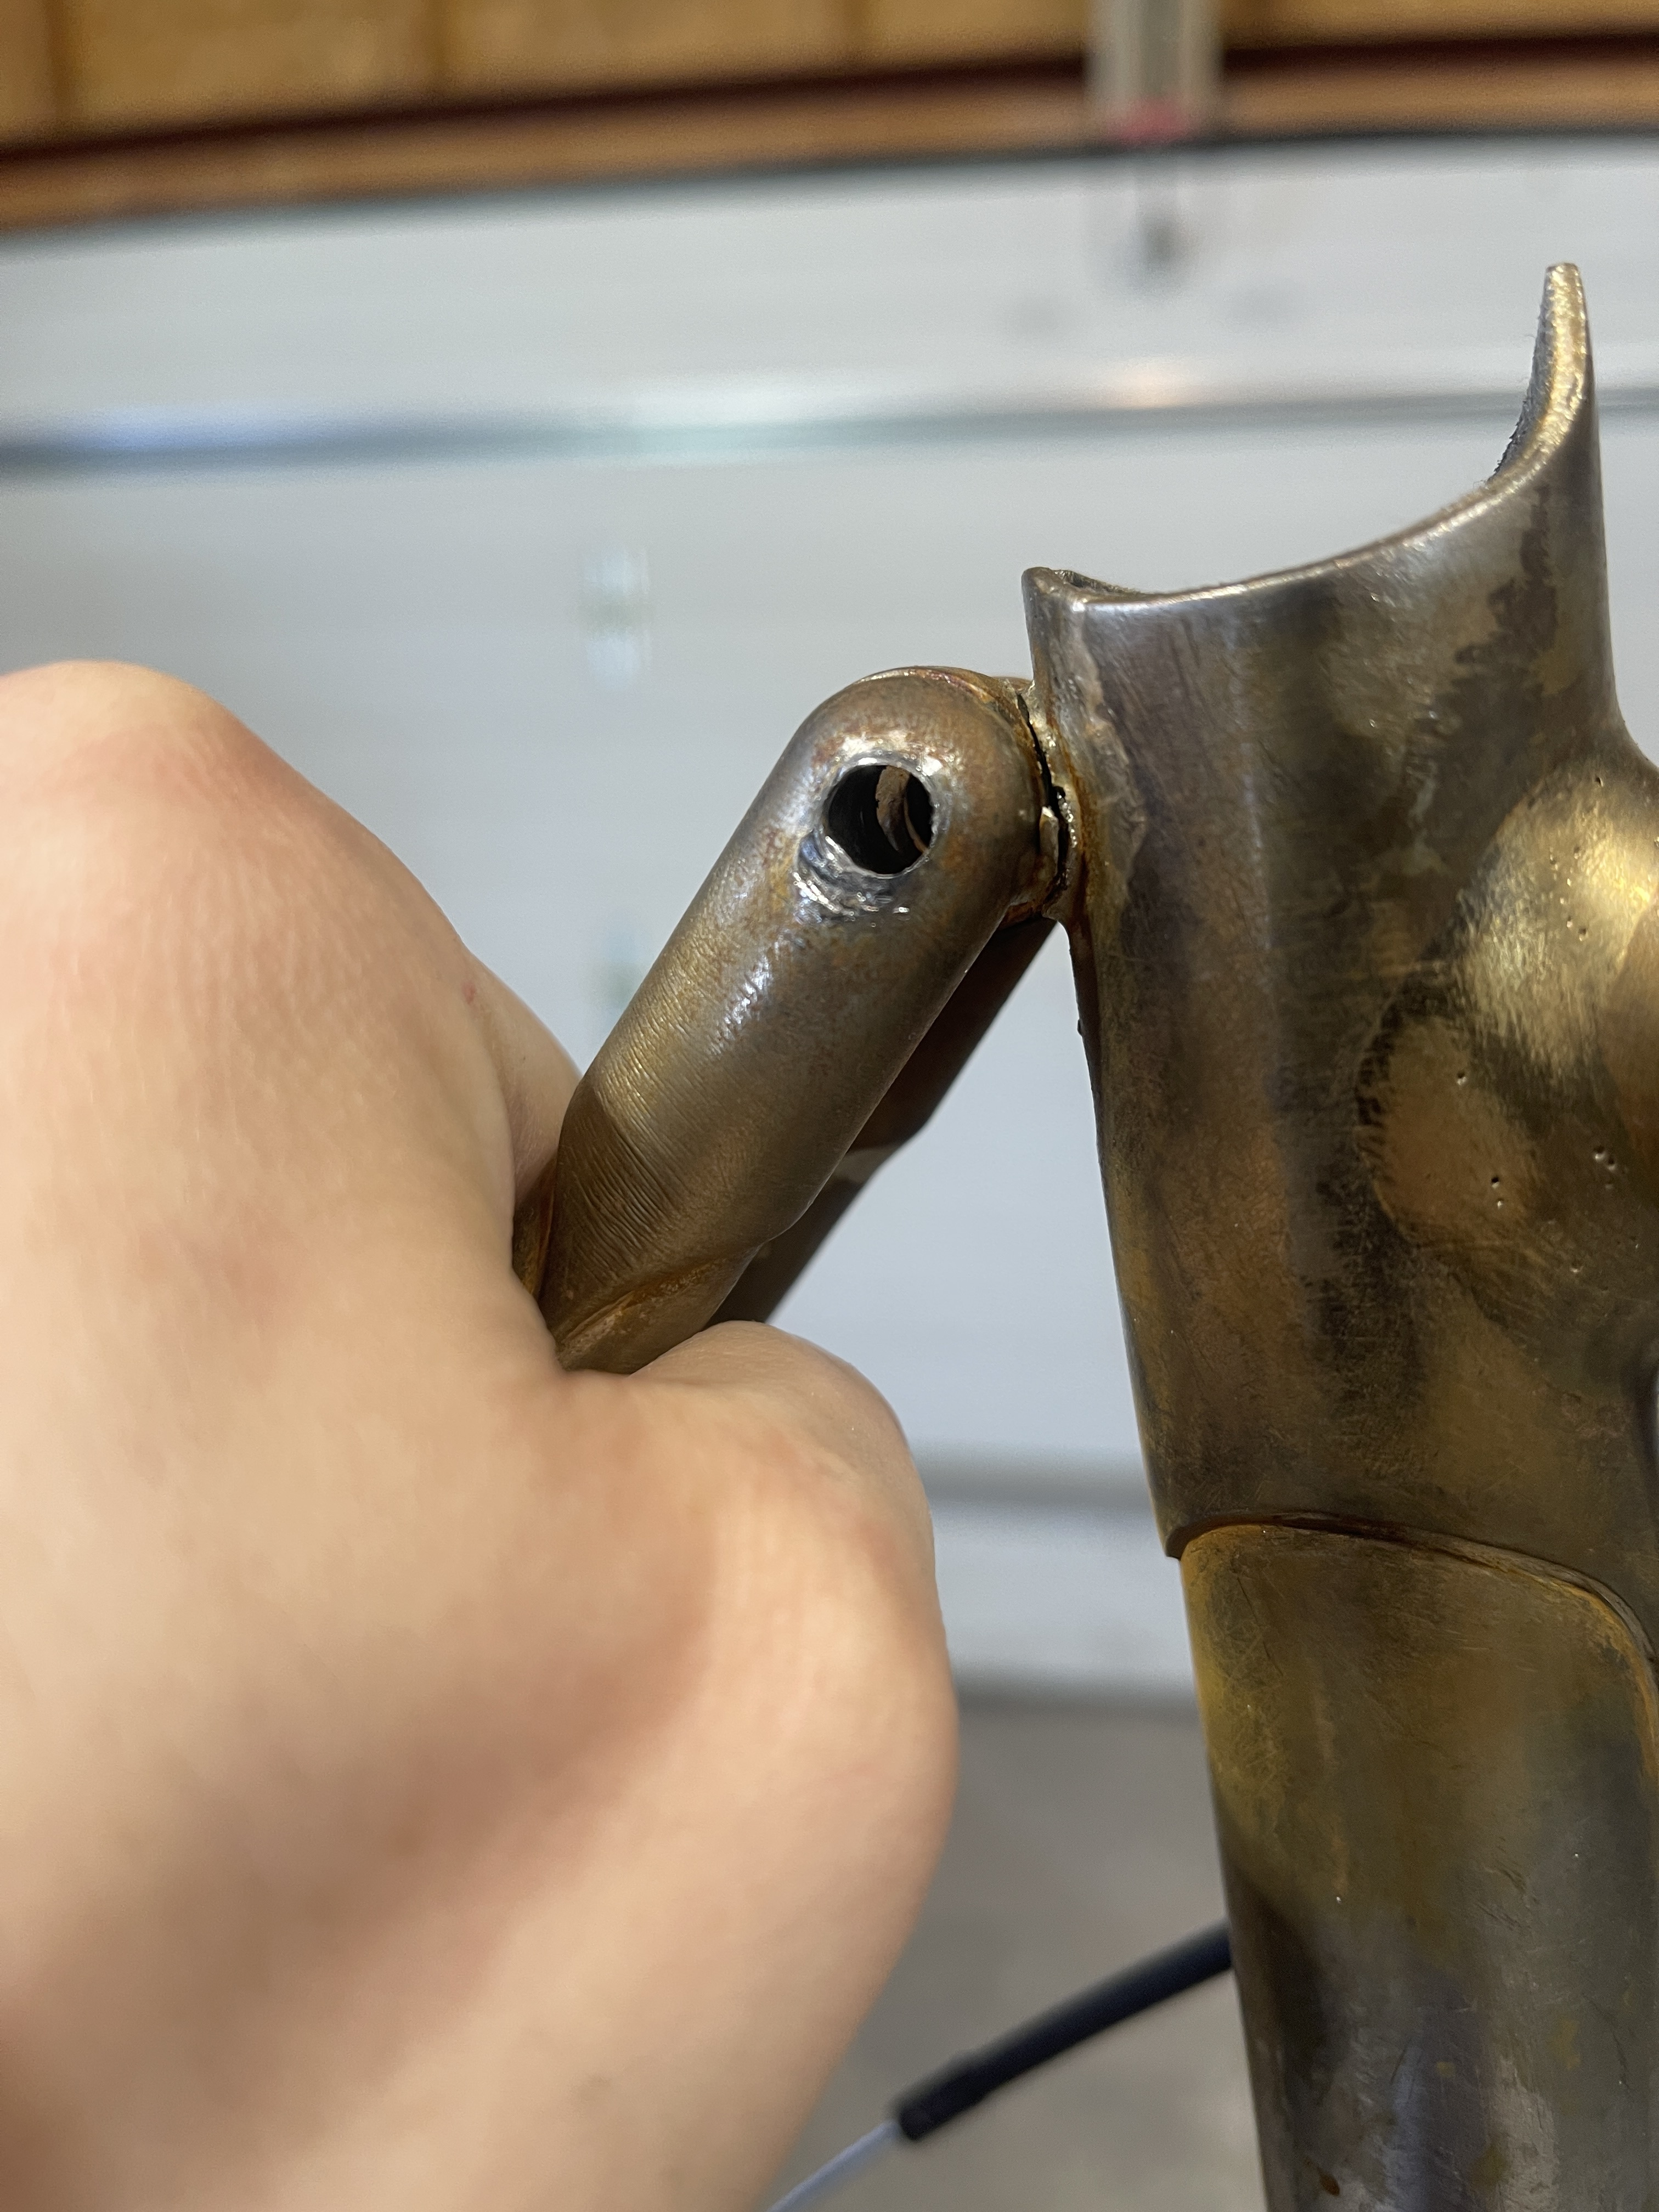
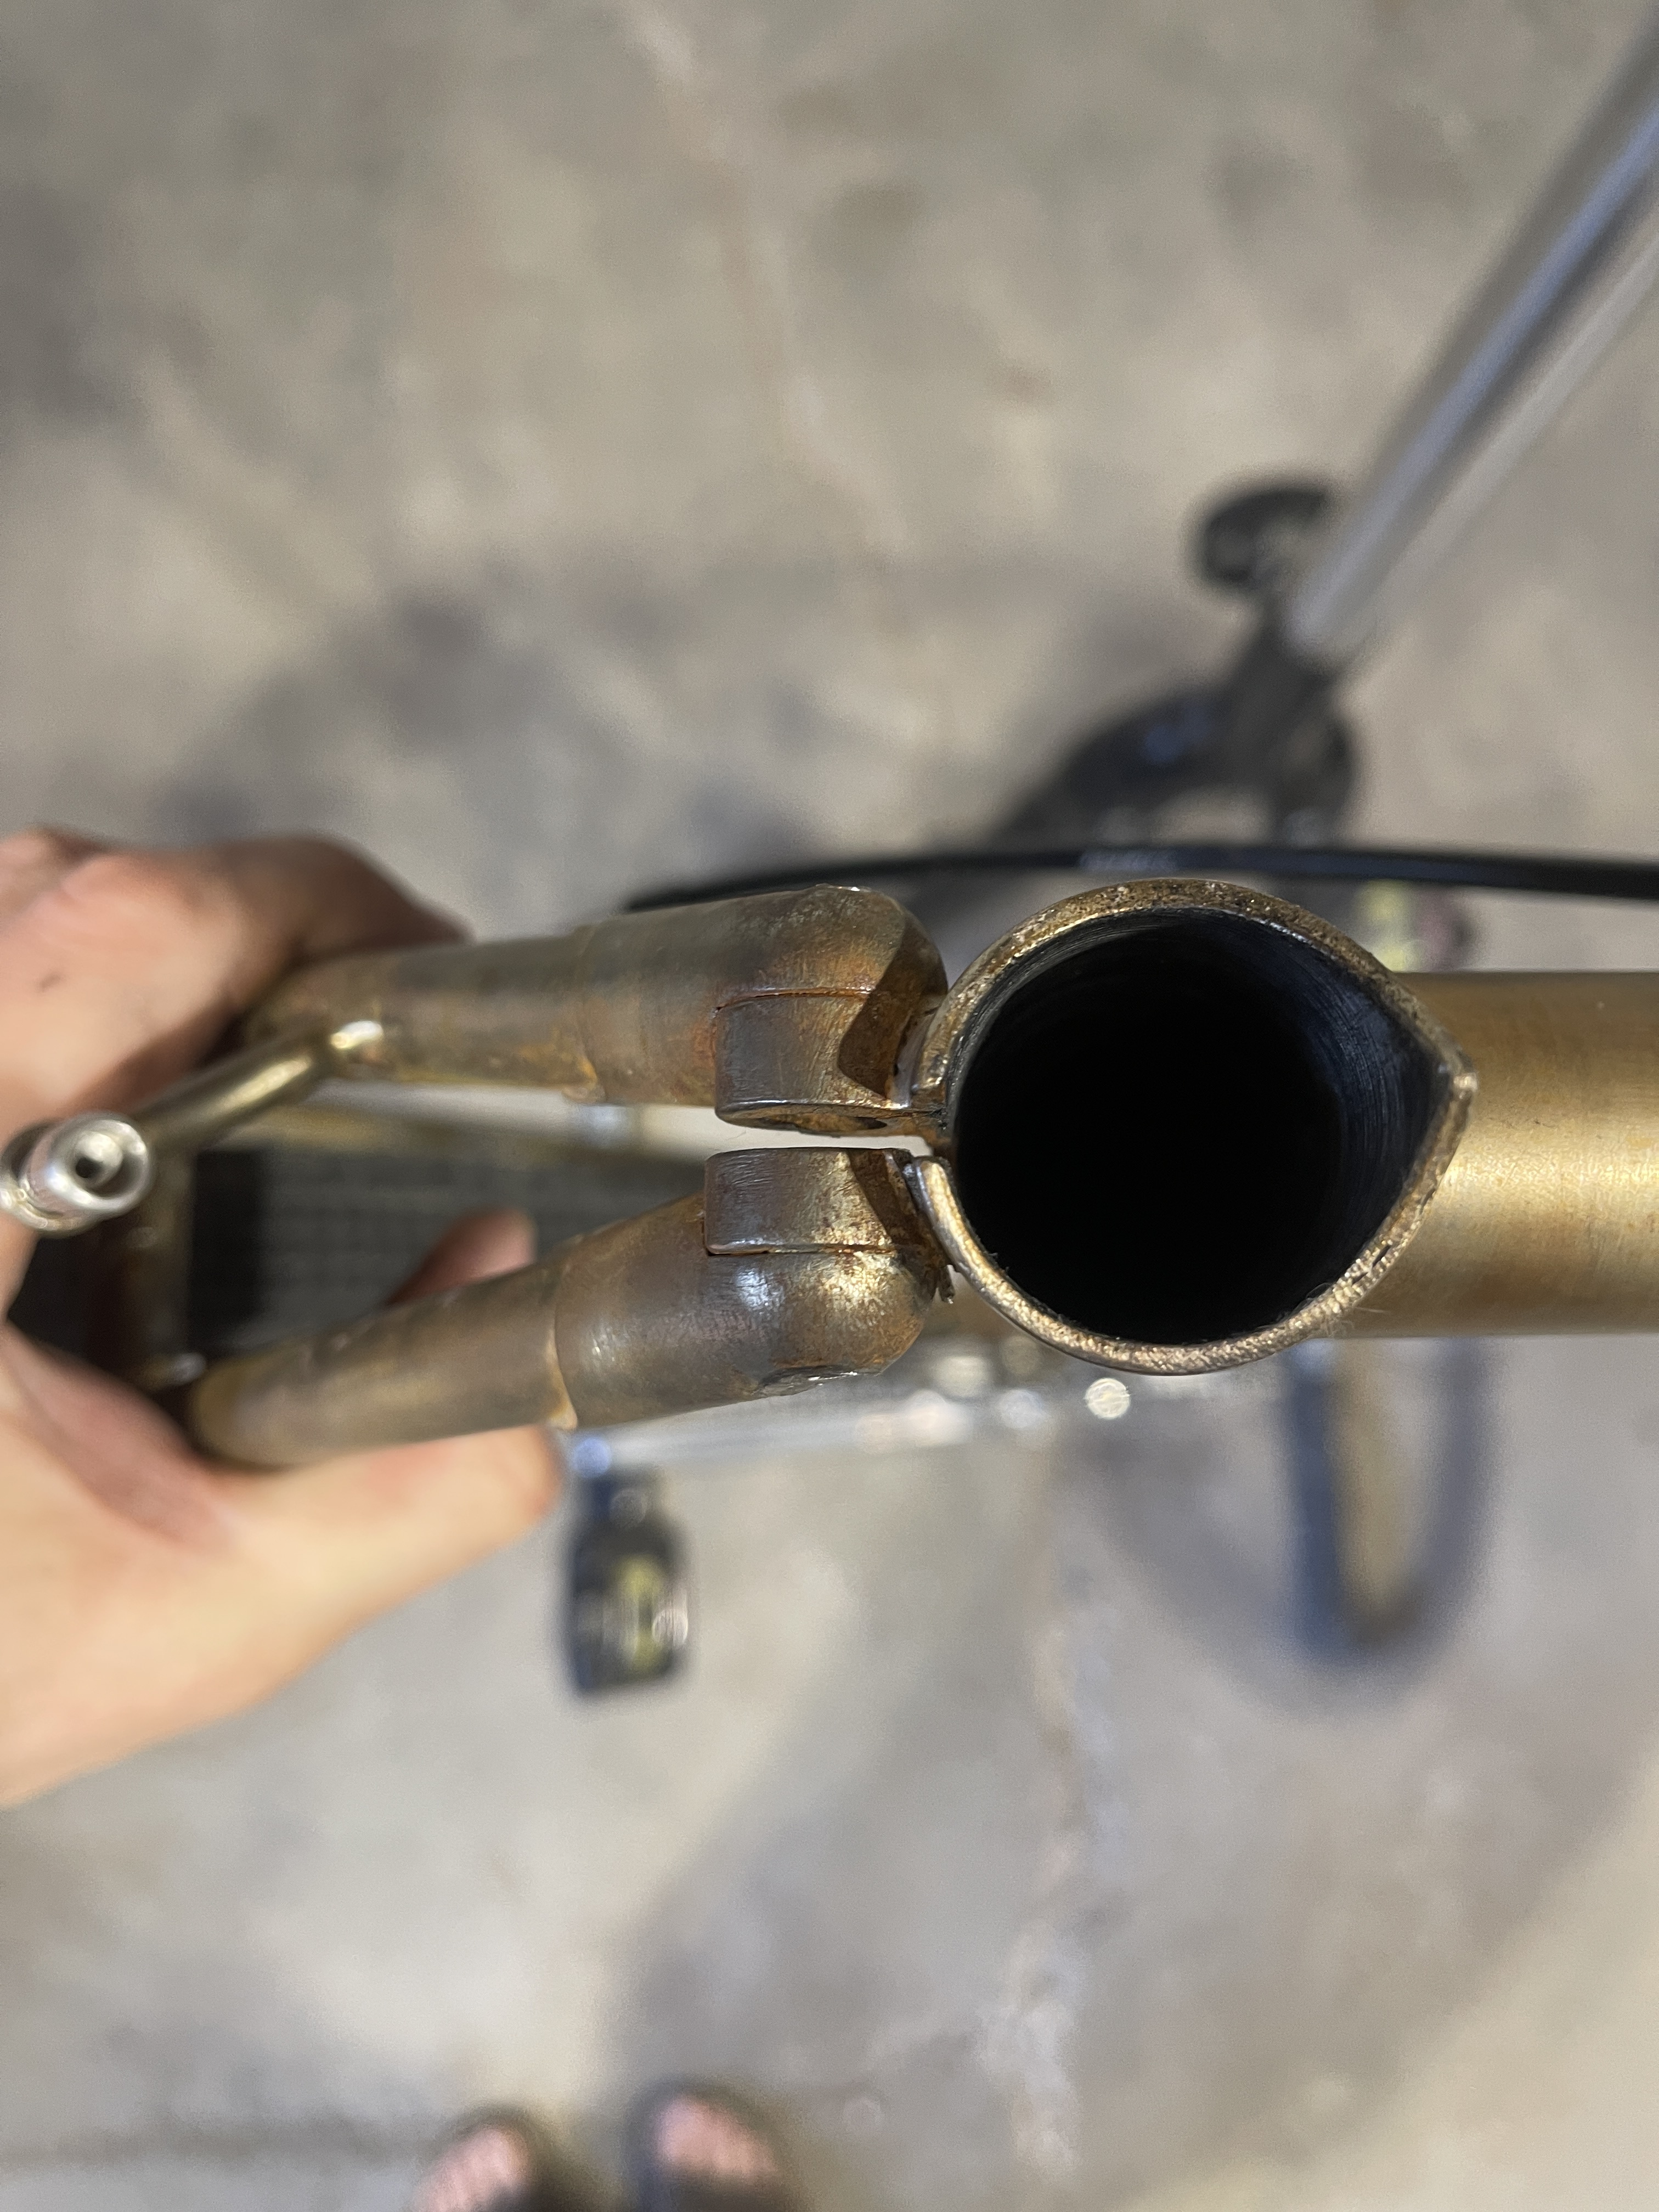
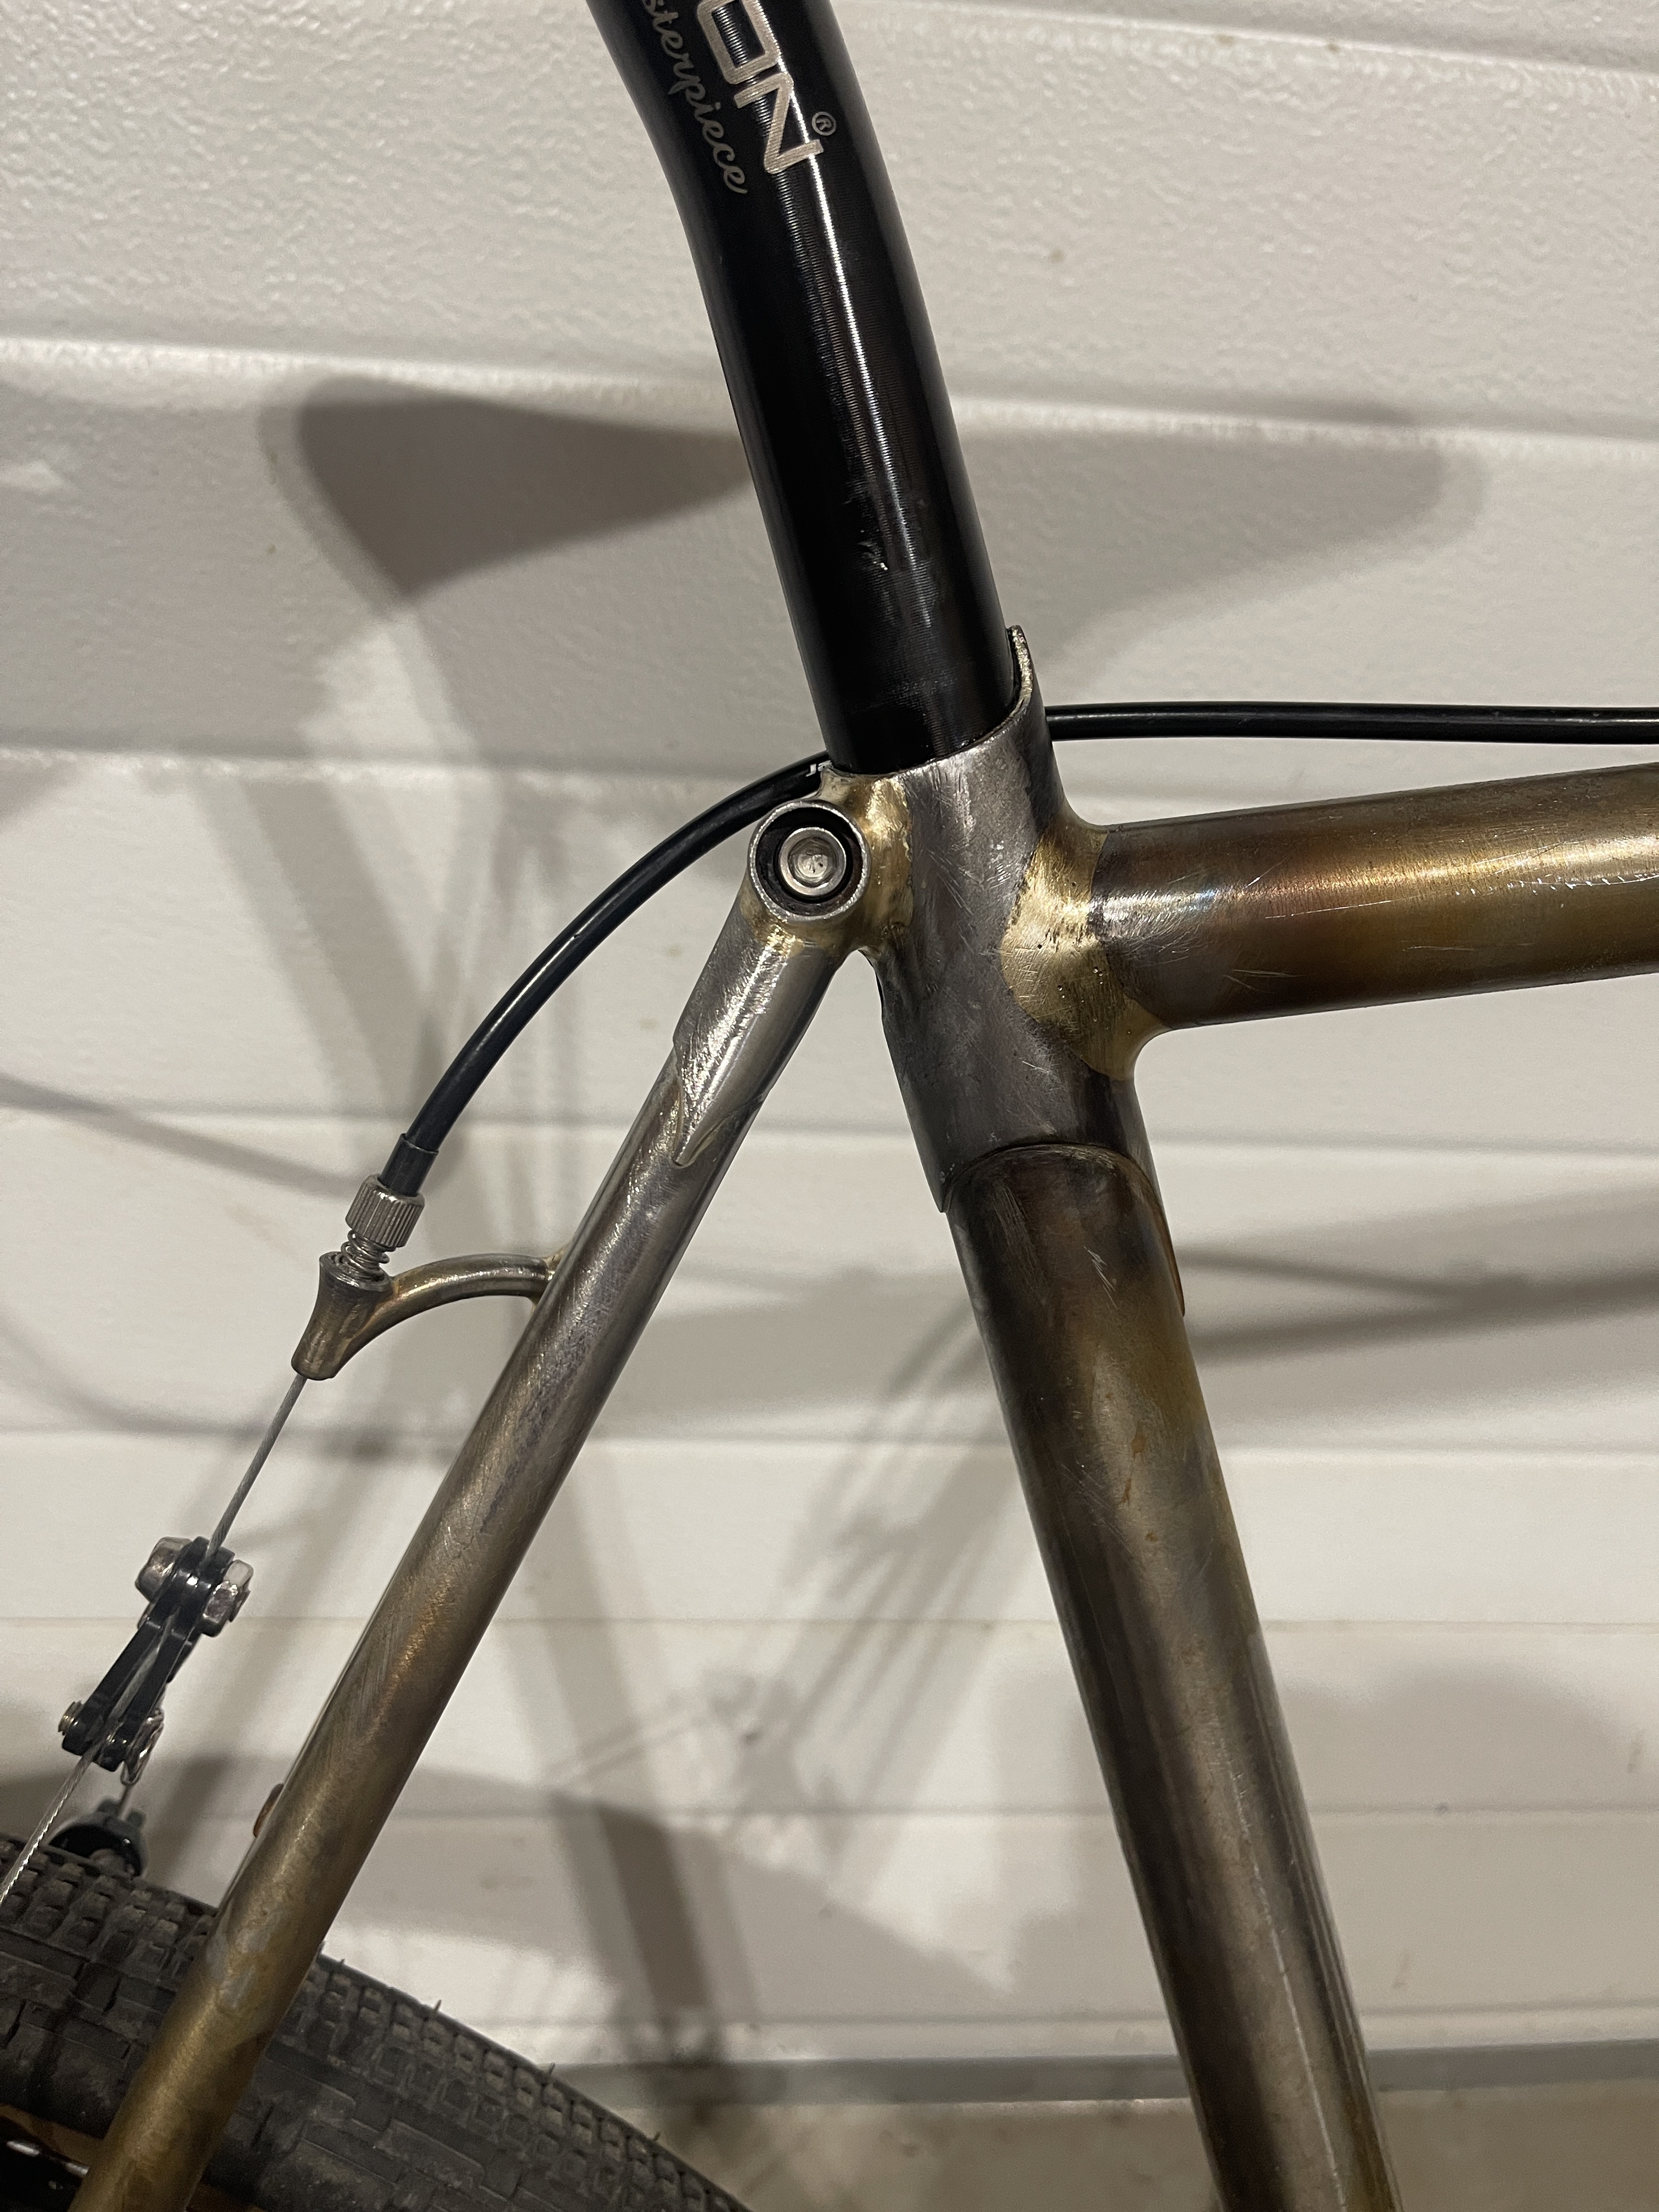
Another challenge was using the very beautiful paragon machine works cable stops. I tried installing two of them on the top tube probably six or seven times, but they got hot so quickly that the flux blackened and the silver wouldn’t adhere. I kept scraping off the burnt flux and trying again with less heat, smaller flame, more flux, etc. but didn’t quite get it. I’ll try again with them on the next frame, hopefully after having built up my skills.

The bottle boss showing in the by laminate next to the down tube shifter pods is intended for dynamo cable routing for a rear light. I drilled out the vent holes in the non-drive side dropout, so that I could run a cable up to the seat stay bridge if I wanted to.

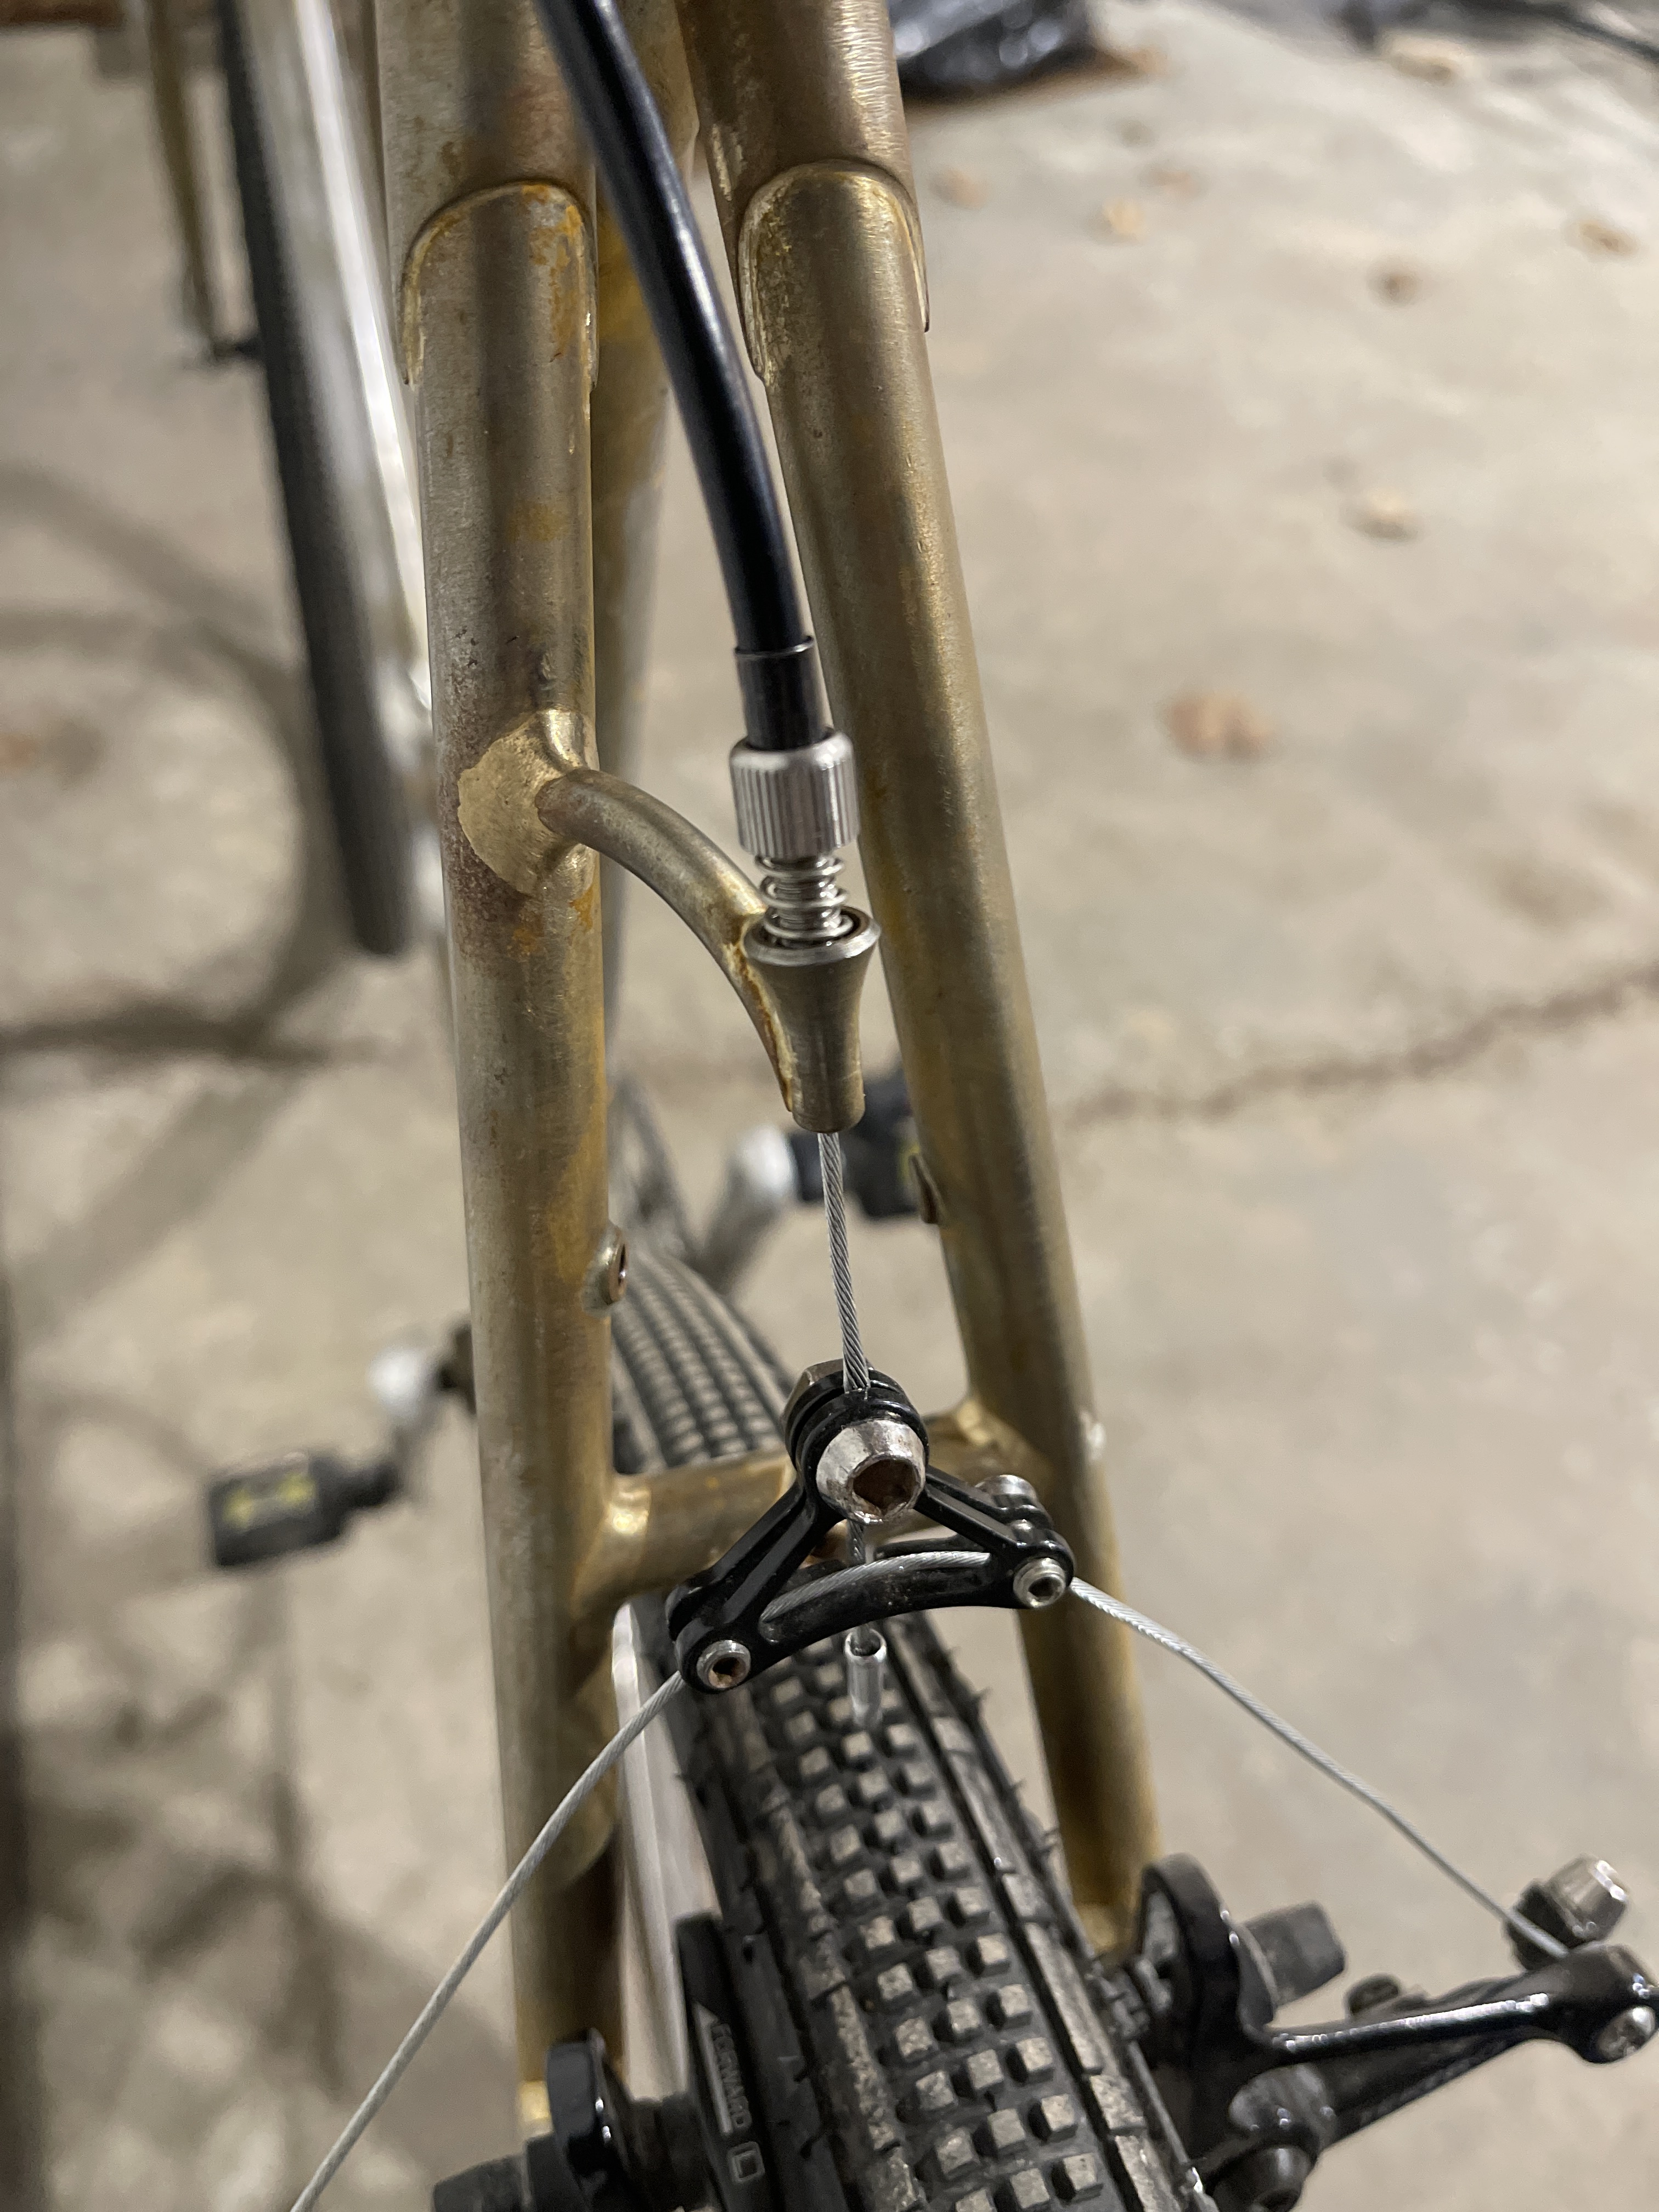
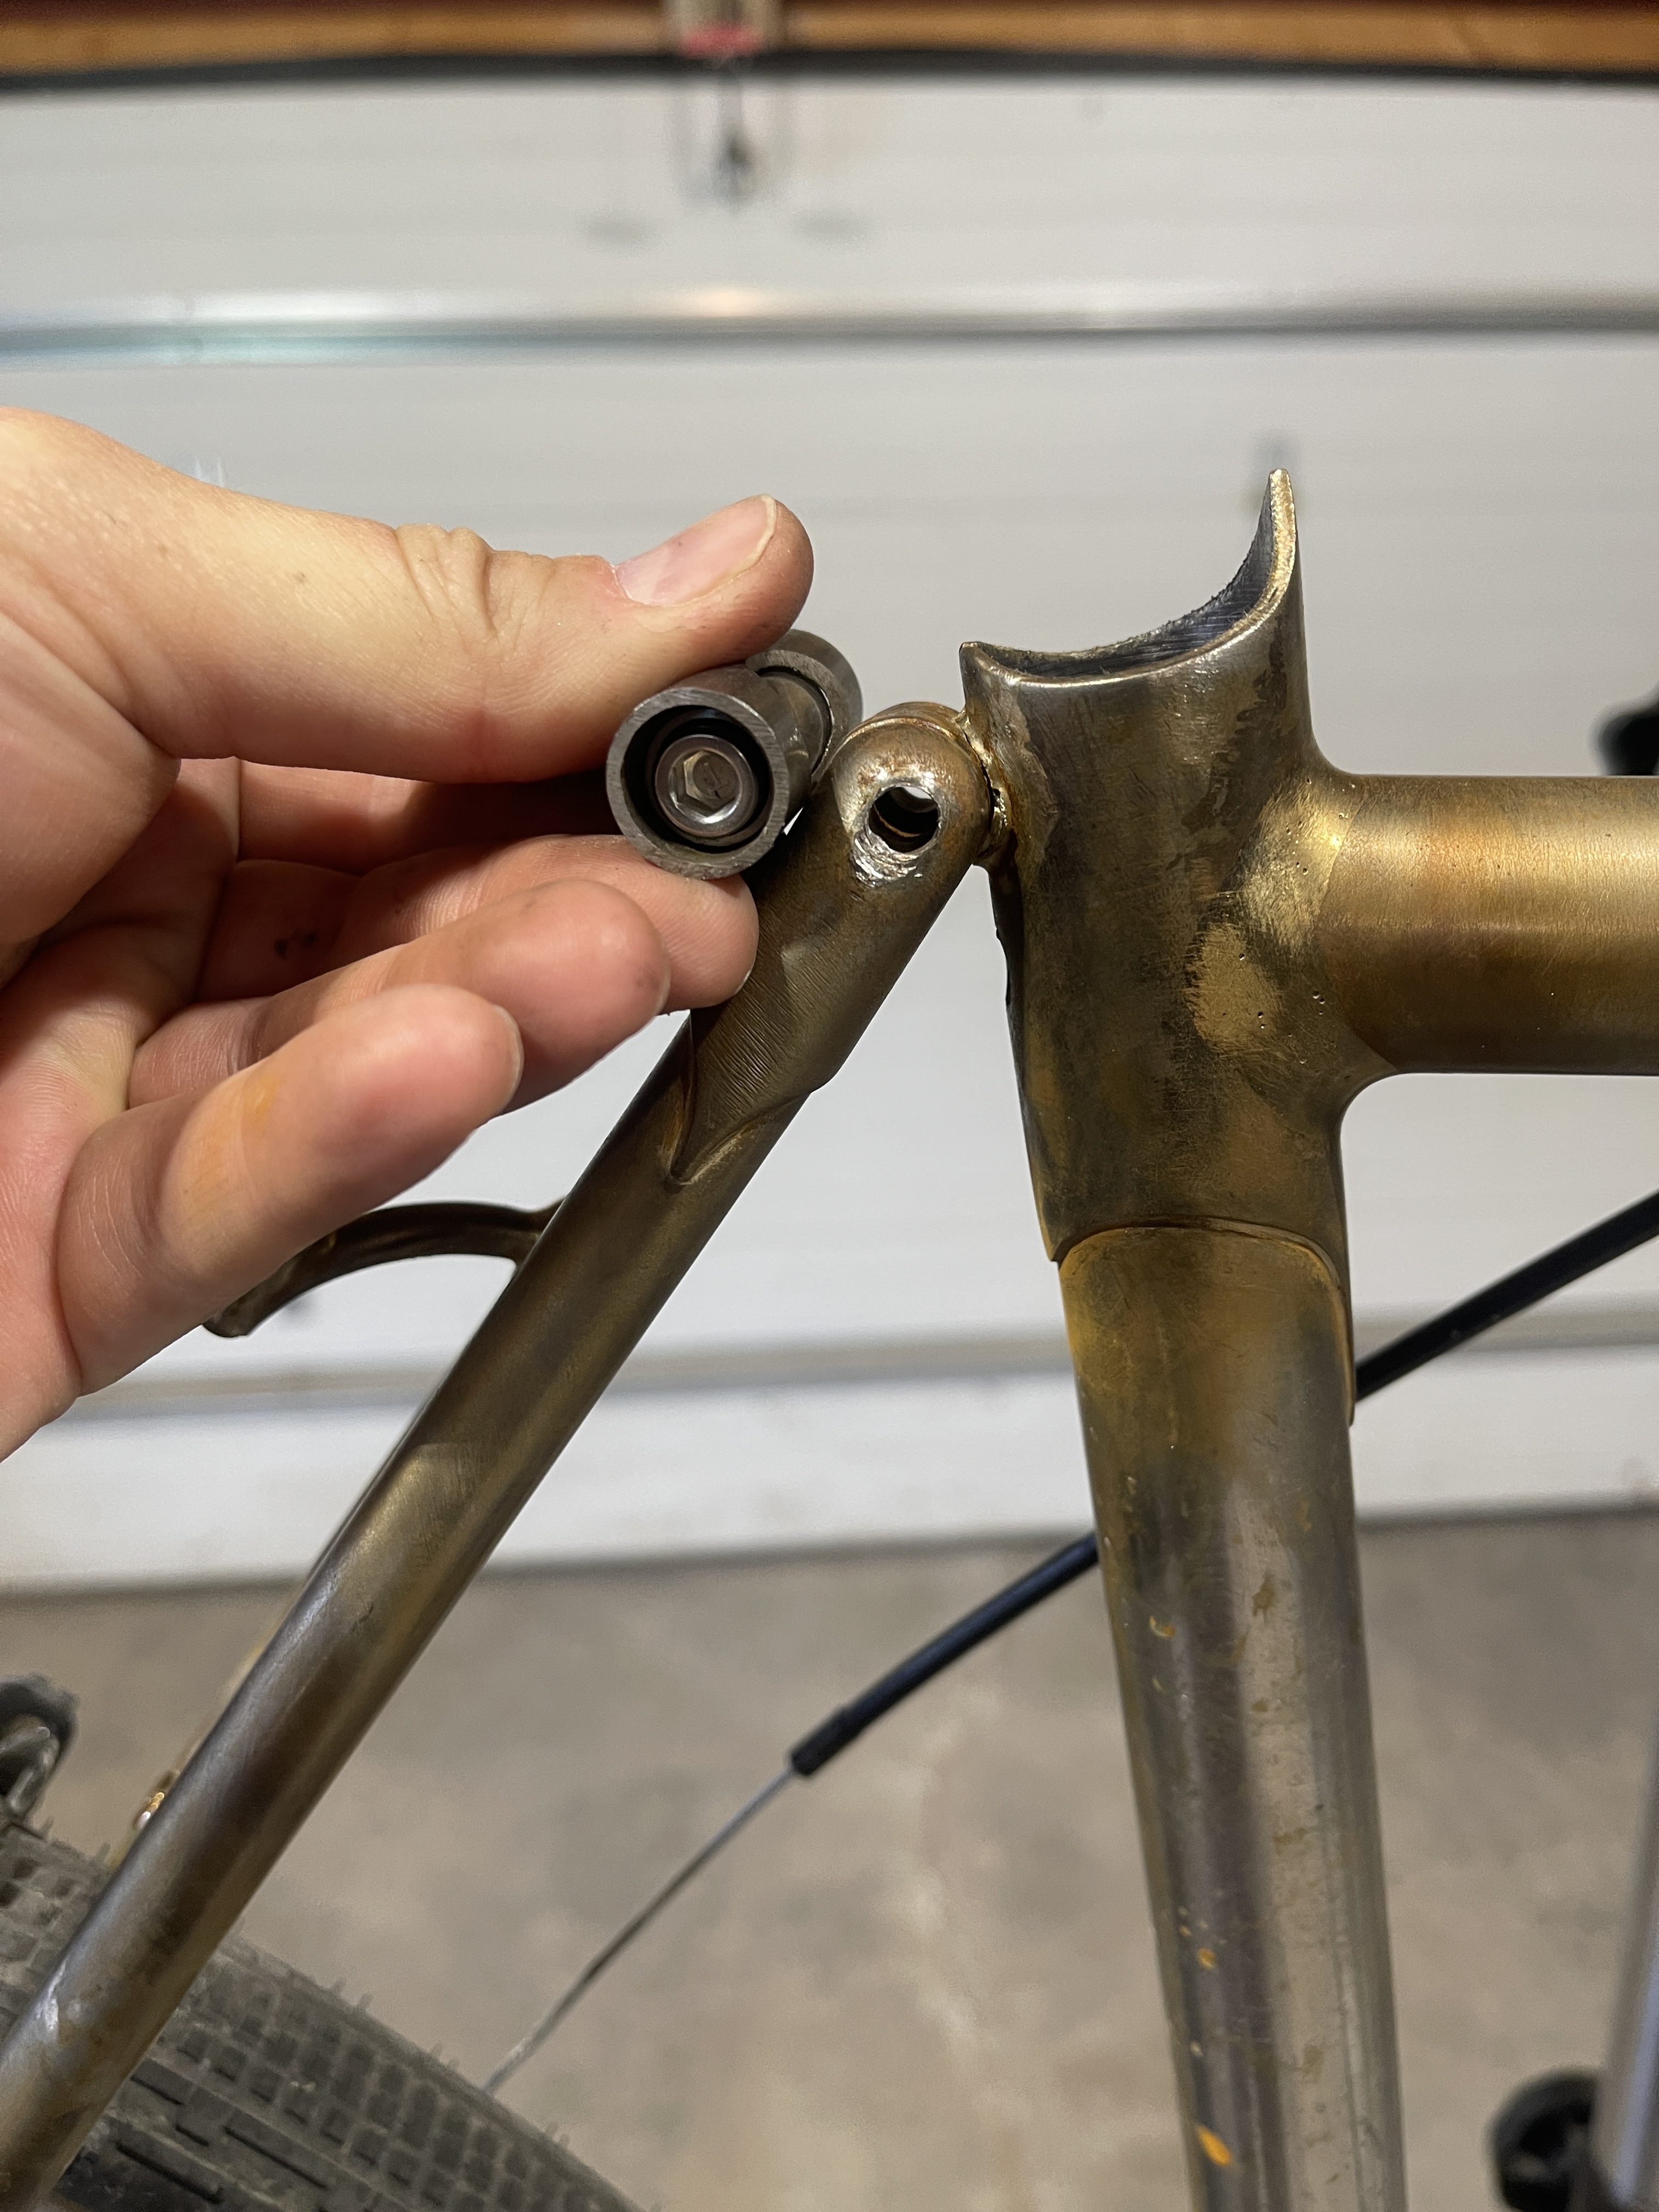
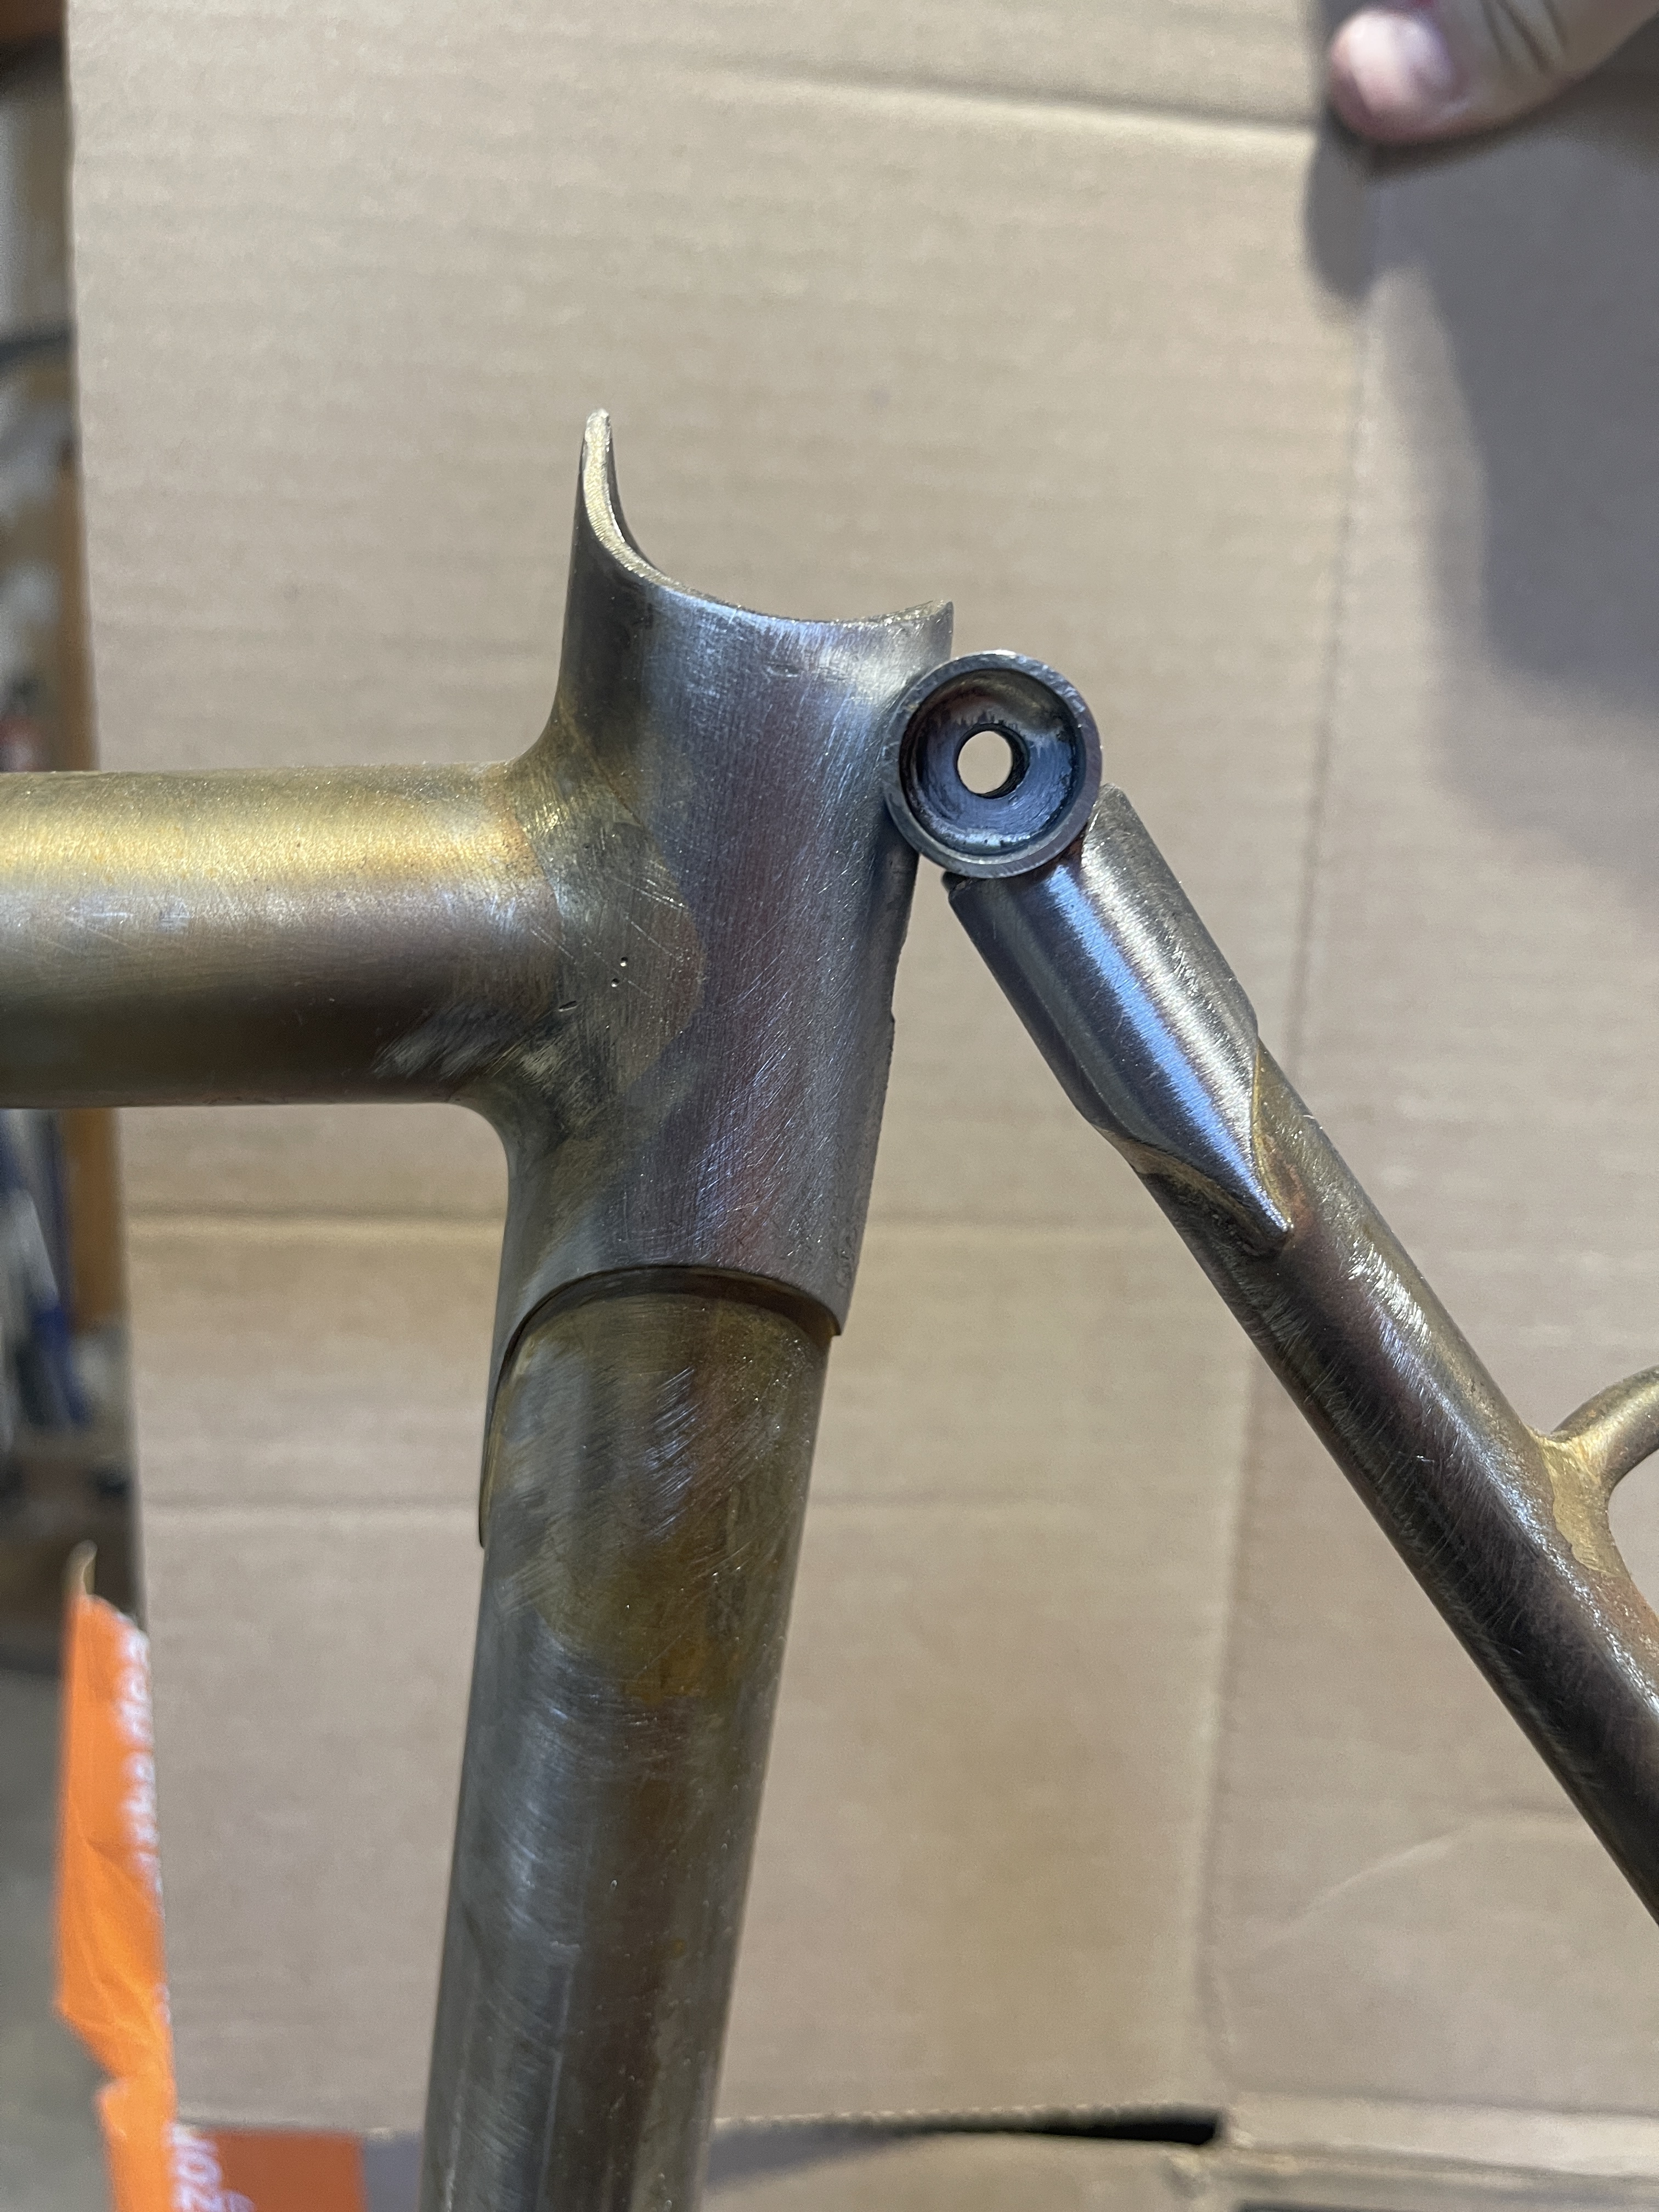
Metal Guru kindly sent me an adjuster screw bugle with my last order, so I have incorporated it to the built-in hanger for the rear canti brakes.

The fork is more or less ready to braze together, but I’m holding off now that I have the steer tube and for crown assembly only, which should be easier to get machined. I’ve been holding off purchasing the 300 -ish dollar tool. In favour of hopefully putting those funds towards a lathe an/or mill.

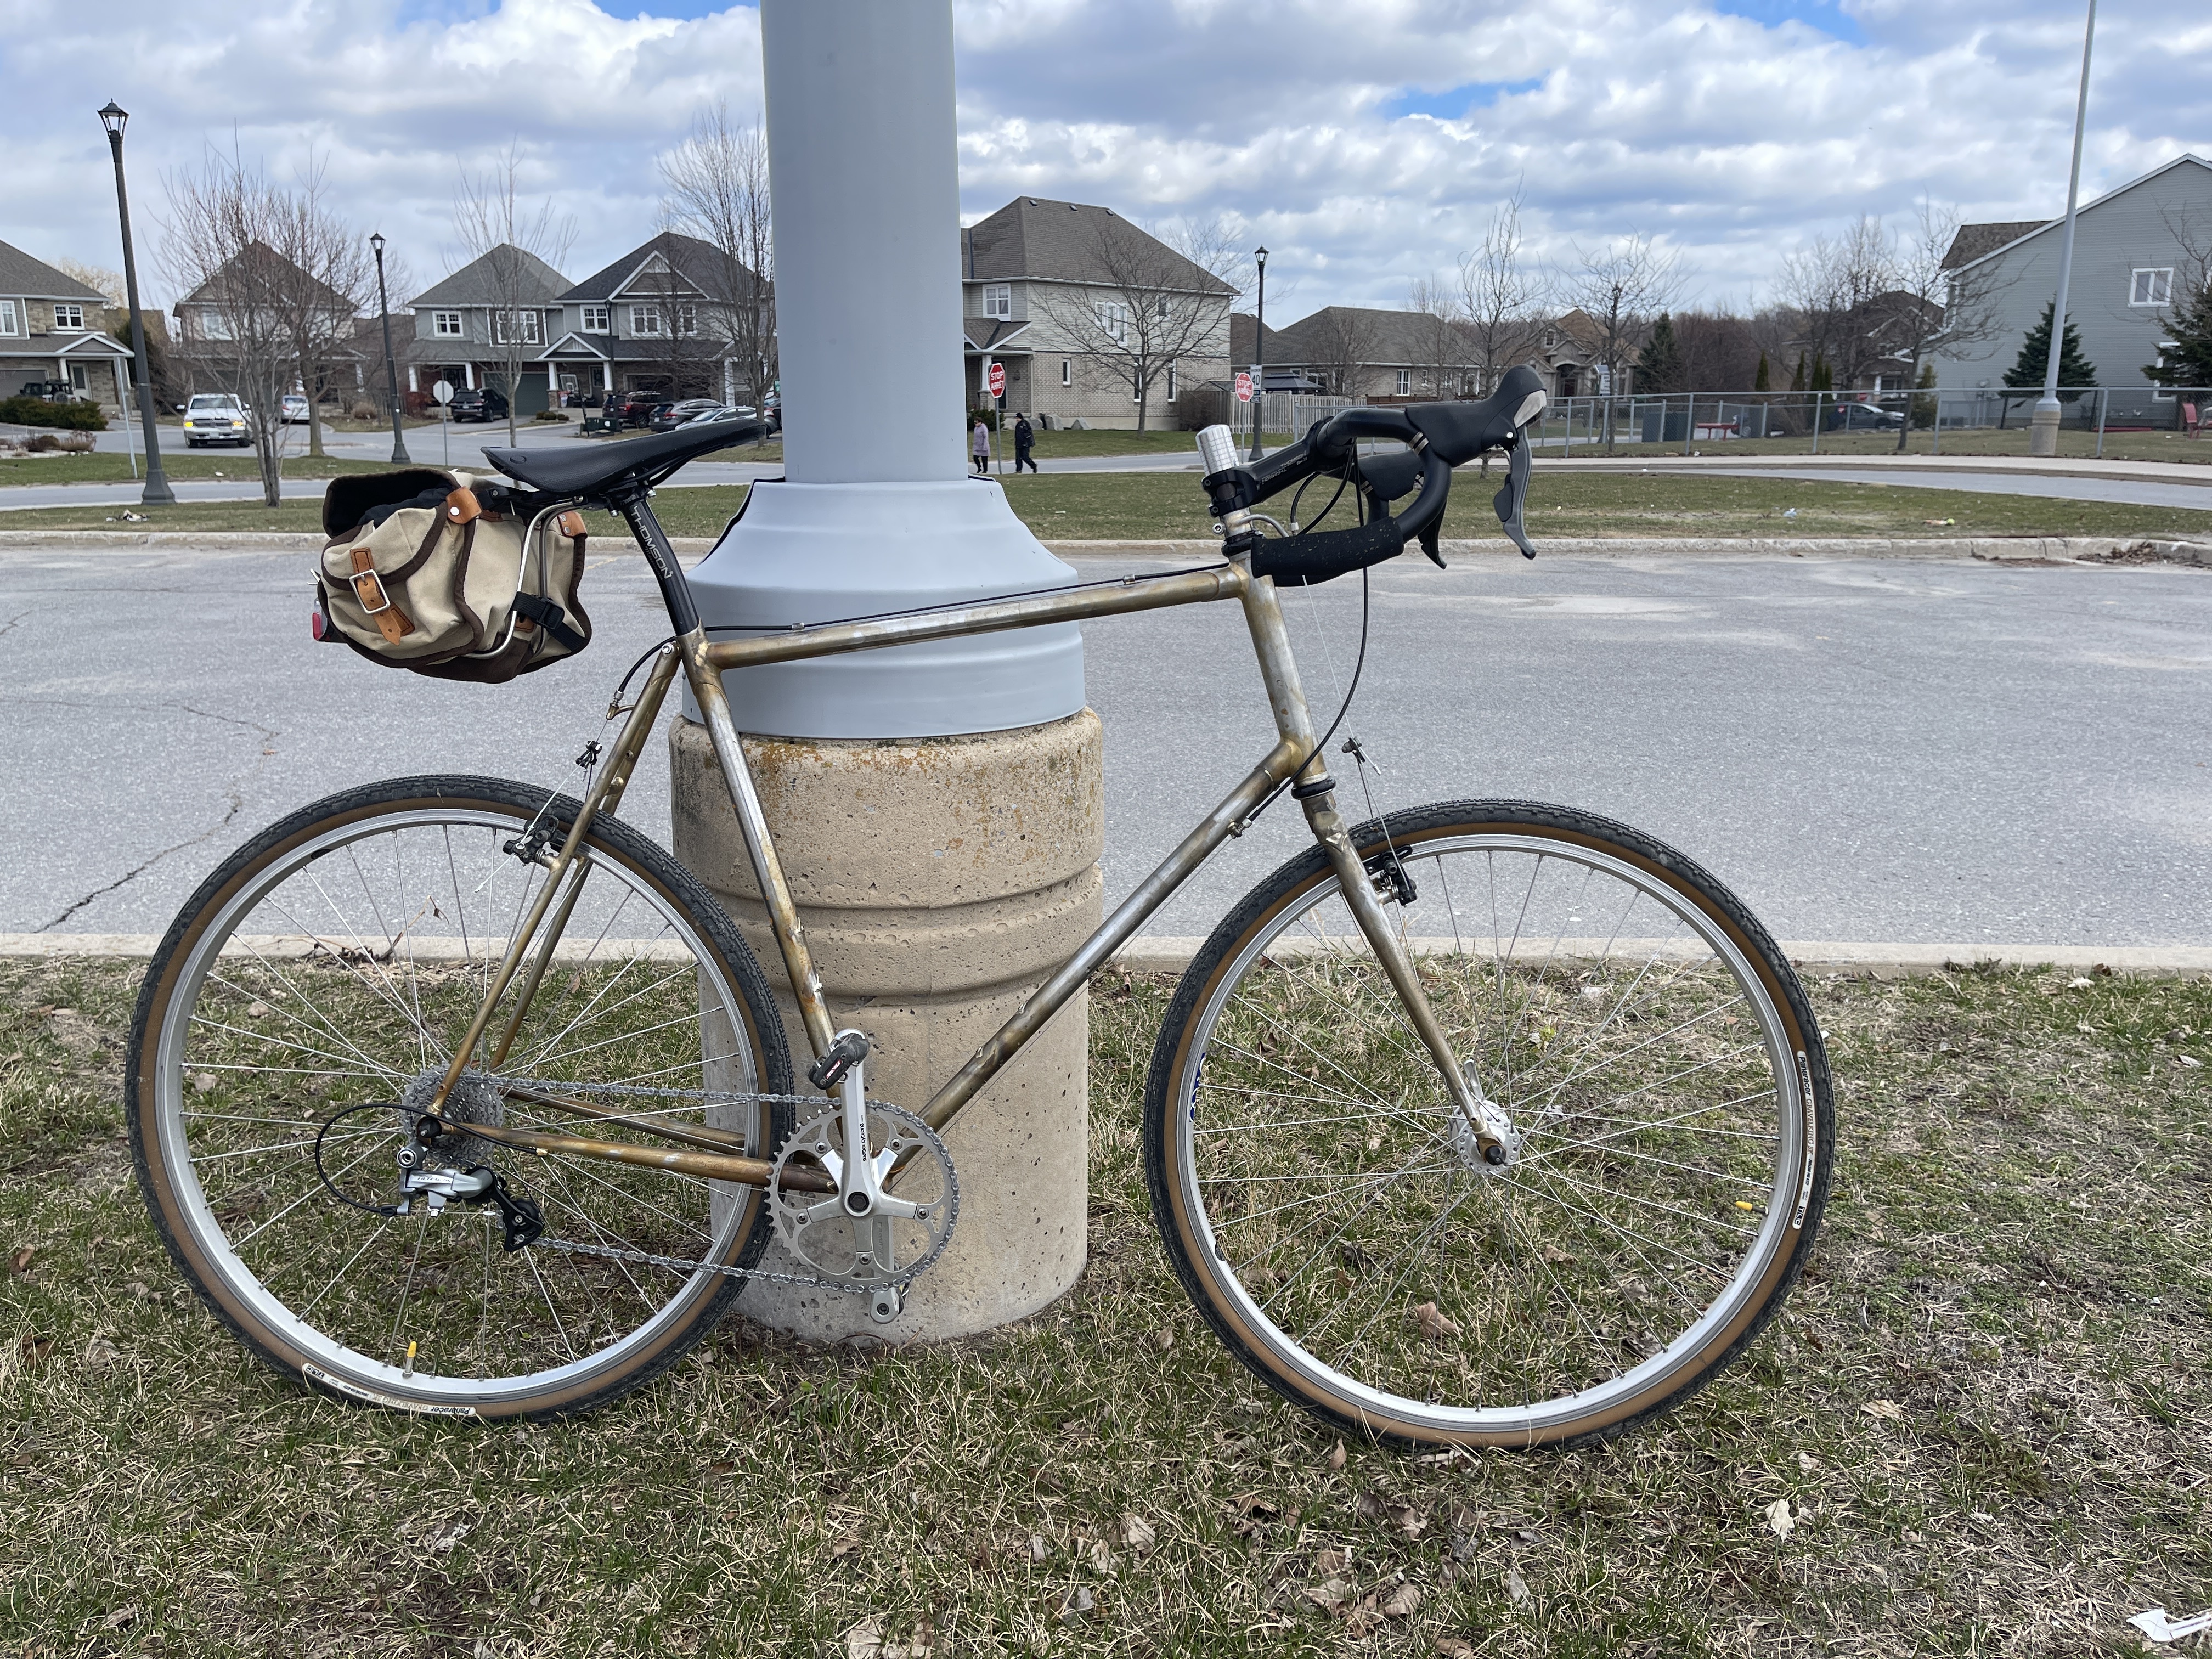
For its first ride— hopefully this week, I am planning to borrow a black mountain cycles monster cross Fork off of. It has very similar axle to crown and rake measurements.

(Please know I have dictated this using voice to text, so my apologies if spelling or wording is not perfectly correct.)

4 Likes

This build was admittedly sophomoric. I used and tried to do a bunch of fancy things well above my skill level. But I knew that and it was fun and I got better at some things along the way.

for frame 3, I’m thinking something less fancy is in order. Taiwanese 9-6-9 in all likelihood from CL cycles in Montreal.

3 Likes

It looks like it went well for a first build! Always learning. I know I felt quite beat up after my first one. Once you get some paint on it and ride it the stoke will kick in :slight_smile: And you will want to make more to get all those little things right.

The brazing looks beautiful (to my untrained eye anyway– I TIG everything). Brake bosses rotated a bit won’t matter because the springs are adjustable and it won’t be visible once the brakes are on there.

2 Likes

Mocked up at very close to intended ht and st angle (both 72 degrees), with a seat post at typical saddle height, and rear wheel and Bruce Gordon Rock n Road tire, 70x43c.

2 Likes

Thank you! Very much the case!

The imperfections are very motivating, as you note, and I’m very excited to get out on the bike and actually ride it, dial it in, and enjoy it.

Every time I finish a bike project, I find there is always something I want to change or try or do differently that prompts the next project. I’m excited to find out what that is this time. Now that a torch is involved, the possibilities have expanded considerably.

With the imperfections on my mind, I wanted to write about them because so often all we see is people’s end result (and builders share so much of those on this and other web venues!) and not much of the process. That and it’s hard to tell what something actually looks like from cell phone pictures on the internet.

I had wanted to do a framebuilding course for 20-ish years before actually doing it. Keeping me from doing so, aside from the cost (the courses are well worth it! Life is just expensive, so it can take time), was being intimidated and being afraid to get and do things wrong.

Because of this, I wanted to explain a bit about the process of building this frame here and show all the stuff I’m doing “wrong” while having fun, doing it anyway, and still ending up with a not bad looking rideable object.

5 Likes

Yes thank you for sharing the process! Must admit I never did that (for the same reason most people probably don’t: they don’t want negative comments).

The vision is never translated perfectly into reality. But you can’t ride around on a vision. And nothing beats the stoke of getting out on a ride with friends where at least one of you is on a bike you made yourself.

2 Likes

I purchased what I thought were steel versions of these. I mentioned in one of my last posts having trouble silver brazing them to the top tube of the steel frame. I think I messed up. I do not see steel versions anywhere on the PMW website. They must be titanium after all. No wonder! Silly me.

3 Likes