Hainers Build Log(s) or: How Not to build a bikeframe

I don’t think anyone’s spending a minute or so on brazing a boss/guide. A few seconds (at critical temps) at most.

The HAZ isn’t really relevant here; that’s about changes to the structure. What we’re talking about is heat input and effects on distortion. I don’t remember off the top of my head, but tig-brazing with a (silicon bronze??) rod will need temps up around 1000º, I think. Silver bazing with 55% rod will be closer to 650/700º maybe. That’s a huge difference. But you don’t need the numbers. Just try it. Braze a bunch of bosses on a tube and measure the deflection as the material heats and contracts, and you’ll see that tig-brazing will distort more. Especially in the thin section of a tube where a bottle boss would normally go.

I suspect the small HAZ you mention is actually fighting against you here. A more even heat at lower temps over a bigger area will cause less movement.

3 Likes

Today I finished the front triangle. The downtube-seattube intersection took a bit because of the weird angle, but everything went smooth.

Driven by that good start I started slotting the chainstays, which I completely messed up. My idea was to cut two slots with a hacksaw, and widen them with files afterwards. I ended up angling the cut wrong in a way, that the dropouts would not be vertical. While trying to fix it, I widened the stays a bit too much, so there is now a noticeable gap between the stay and the dropout (although, now I can push the dropouts to be vertical). I tried squashing that end in a vice, but without much success. This lets me end up here:

My question is, how bad is it really? Should I just shim it, braze it and be happy, or will this be too weak, since the brazing-gap will be quite large. Are there any other fixes? And do you have any tips on how to avoid this on the other stay?

1 Like

I think it will be fine. When I have dropouts with tabs like that, I just cut the stay at an angle, shove the dropout in there, fill it all up with braze, and sand it until it looks good enough for the girls I go out with. TIG-braze in my case, but the stuff you use the gas-torch on is usually actually a bit stronger.

Metal is metal. If you’re using a filler that can actually fill big gaps (as opposed to the kind of braze that likes to flow between things, where you do need a very specific fit) then there’s nothing wrong with a gap once you’ve filled it in. You just have to ask: is there enough metal there (accounting for the fact that the filler is probably about half the strength of the original cromoly or thereabouts)? And are there any sharp edges or dodgy bits that might create stress risers?

You could use shims but it might be easier just to fill it all with braze. What you don’t want is shims that end up not being stuck together, and that are only brazed on their edges, if you see what I mean. You want continuous metal. That’s where strength comes from. So it might be easier just to fill it all up with braze. And then you just need to be careful you don’t sand it all away again trying to make it look tidy :slight_smile:

2 Likes

That gap you’re showing is fine for brazing with brass. You’ll fill that whole area with brass up past the end of the slot. With large gaps like that there may be more clean up as the brass spills out the sides and may blob up.

3 Likes

Did my first fillet-brazing-tests this weekend. I’m quite happy with the last joins I produced today. Although I do not archive an internal fillet, I was not able to break the join in the vice, so I would call it a win :slight_smile:.

That being said, it could be more even. I will probably do 3 more joins during the next days, and start with the seattube-BB join afterwards.

I also brazed on the seat-binder, and the bottle-bosses on the downtube (where I completely scorched the first one. Switching back from silver to bronze made me underestimate the heat by a lot. But since its only a bottle-boss, it will be o.k.). seat-binder came out okay, after I did a lot of filing. I will post pictures, when the filing is done (and the ST is hopefully mounted to the BB).

3 Likes

Looks good! You’ll be fine with the ST-BB joint. I would make a few practise joints at angles sharper angles like you get from the HT-DT. Those are harder ones to braze!

2 Likes

Thank you! I will try some before fitting the downtube, I am just running out of practice-tubing, so I will probably just do one, and hope that it just works.

Today I joint the BB-Shell. Not the prettiest, not the worst I think. Lets hope, that it does hold up :smiley:

Below are the promised pictures of the burnt bottle boss, as well as the seat-binder. I’m not super happy with how these worked out, I think i got everything way too hot. But again, lets just hope it holds up.

Finally, I got the first major update for the shop, a “pistol” to light the torch. I cant describe how much better this is, compared to the awkward flint-thing, that I had previously.

I will probably join the top-tube next, hopefully in the beginning of next week. during the next week I hope to finish the frame, I did take some vacation, so I will have some time to do work.

2 Likes

Some time went by since my last post. I had two more days in my garage since then. During that time I fitted the top-tube, afterwards the head-tube, and today the chainstays (with some cold-setting in between each joint). Everything turned out quite straight and more or less in the spot I want it to be.

After fitting the chainstays, I used the string-method to check my alignment, it seems to be off by around 1mm (which is way better than I expected, since I’m using a small granite plate on the floor of my garage for my alignment checks, and don’t have a jig, lugs or anything).

While it did turn out better than I expected, I have a long road ahead, especially with my brazing skills. I tried to add some “sleeve” to the HT, to reinforce the caps, which went very bad. I did one side with bronze, but penetration was so bad, that I switched to silver for the other side (which went better, but still not good.). While I’m getting used to the bronze brazing, I’m still scorching every braze-on, when using silver.

So.. only things left to do is adding some braze-ons to the DT, braze it in place, do the seat-stays and add the braze-ons there. While im waiting for some packages with more m5-bosses, Im doing some filing.

Gonna be starting with the fork on monday after work, I’m a bit scared. However, right now it looks like the bike will be rideable for my trip.

2 Likes

1mm is fine, and better than most production frames. Sounds like it’s kicking your ass a bit but that’s normal for a first frame :slight_smile:. If it was too easy it would be no fun. It looks like it’s going to turn out fine.

2 Likes

It’s been quite a while since my last post. Since then, I finished the bike and the fork, and went on a bikepacking trip with it. Next will be paint, however I’m a bit burned out from this project.

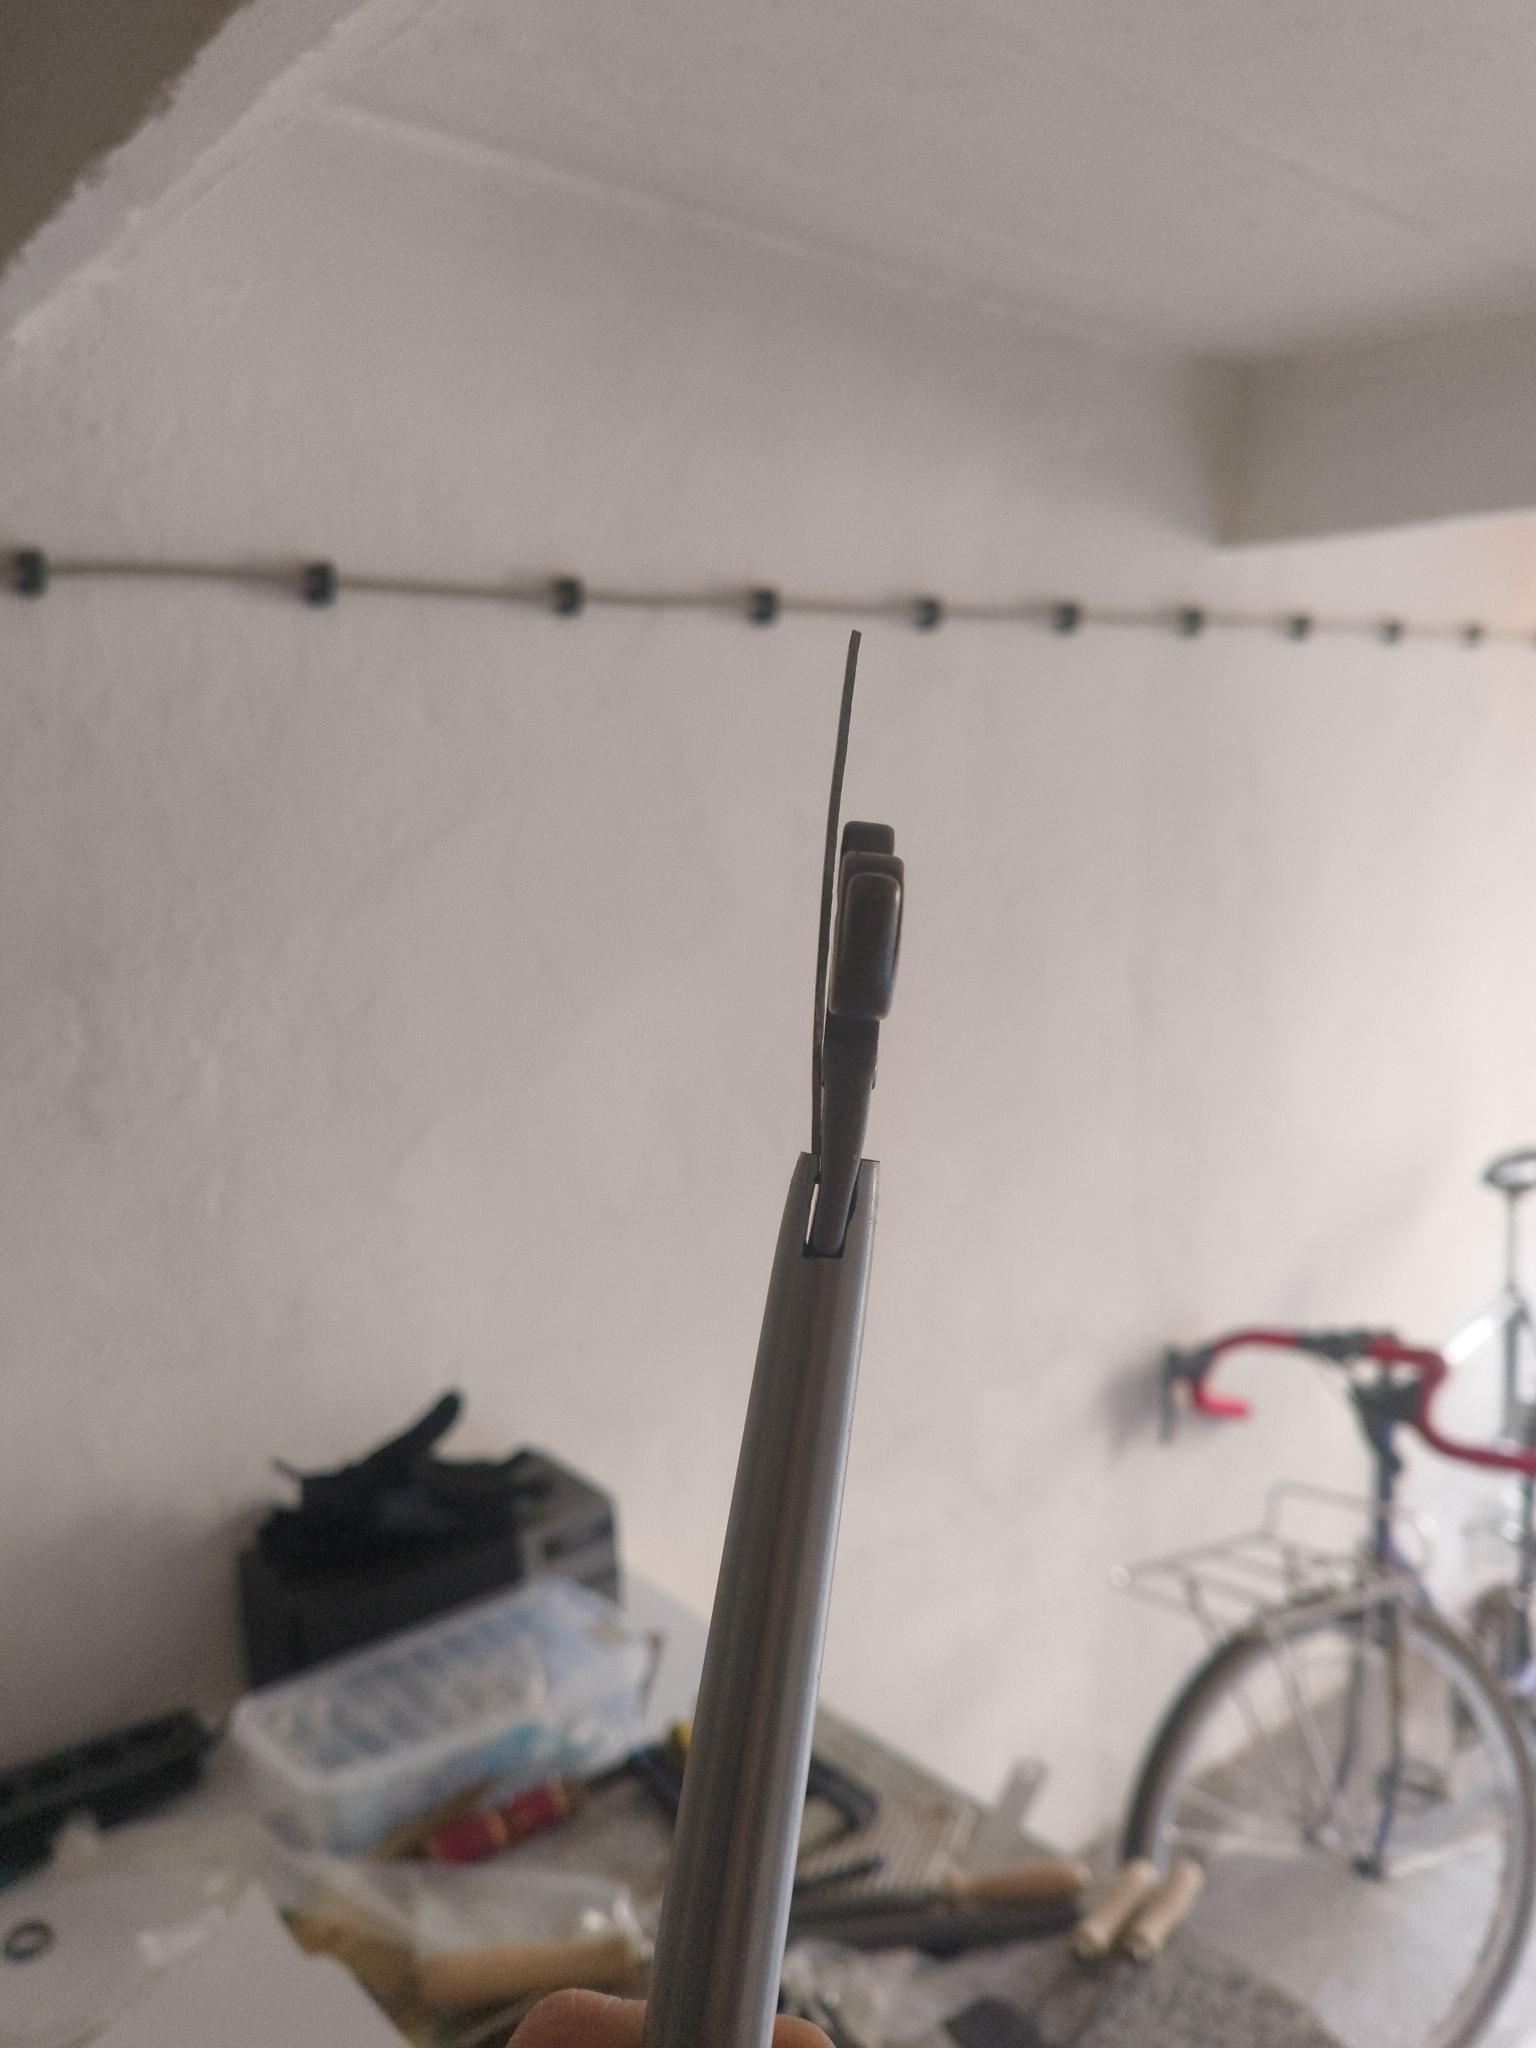
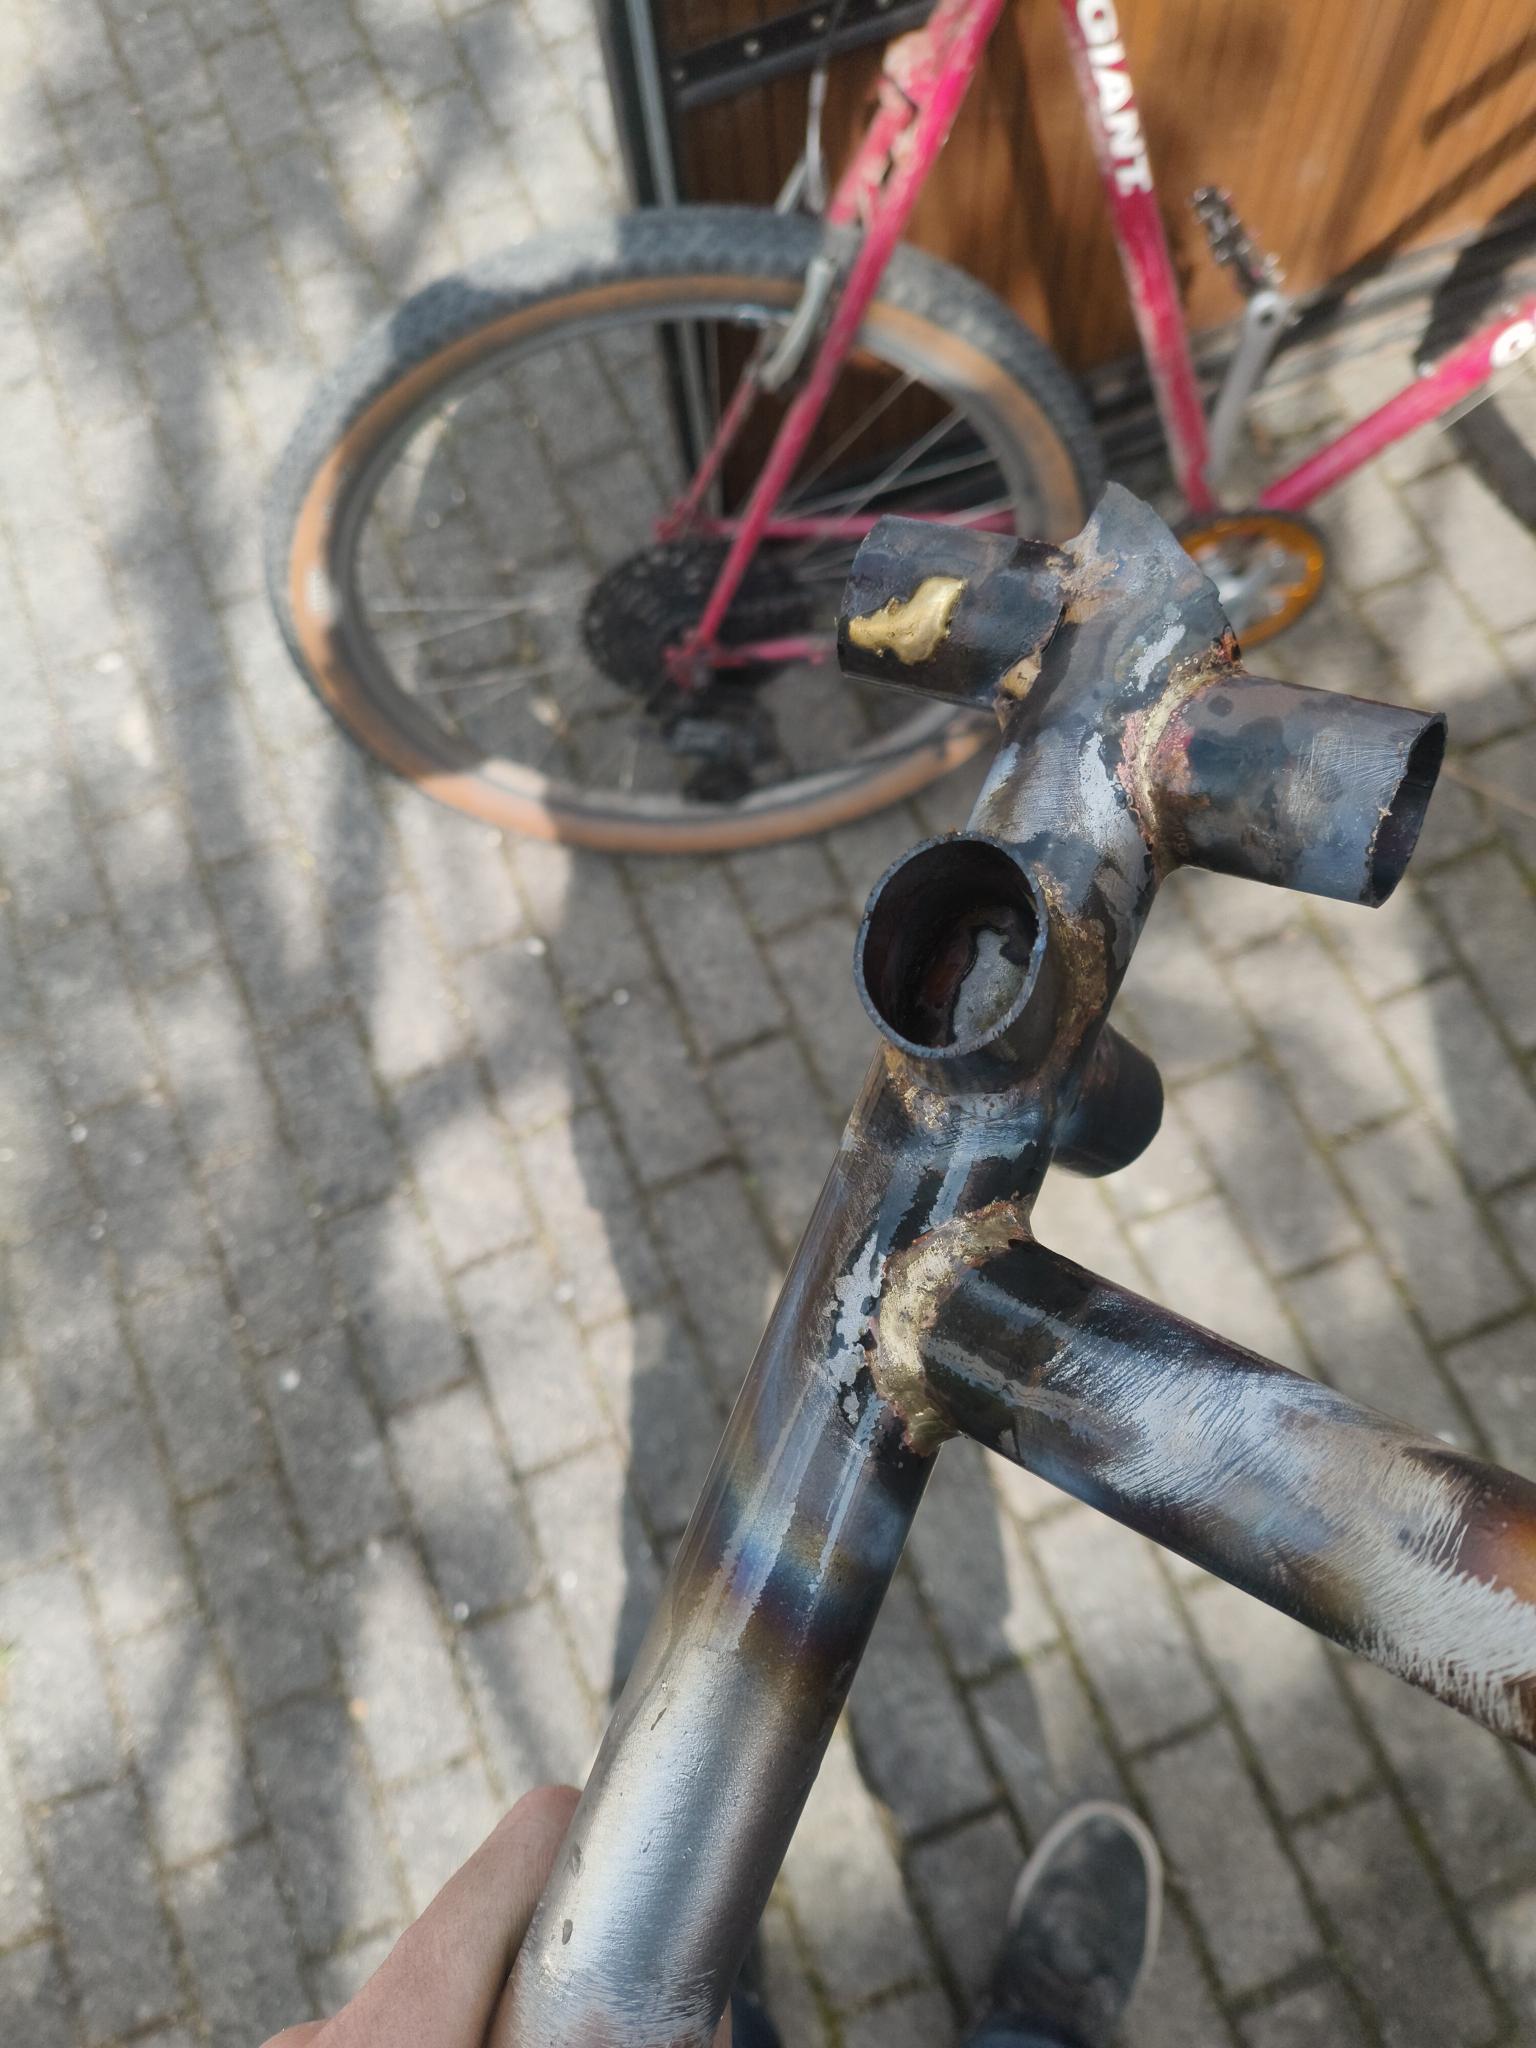
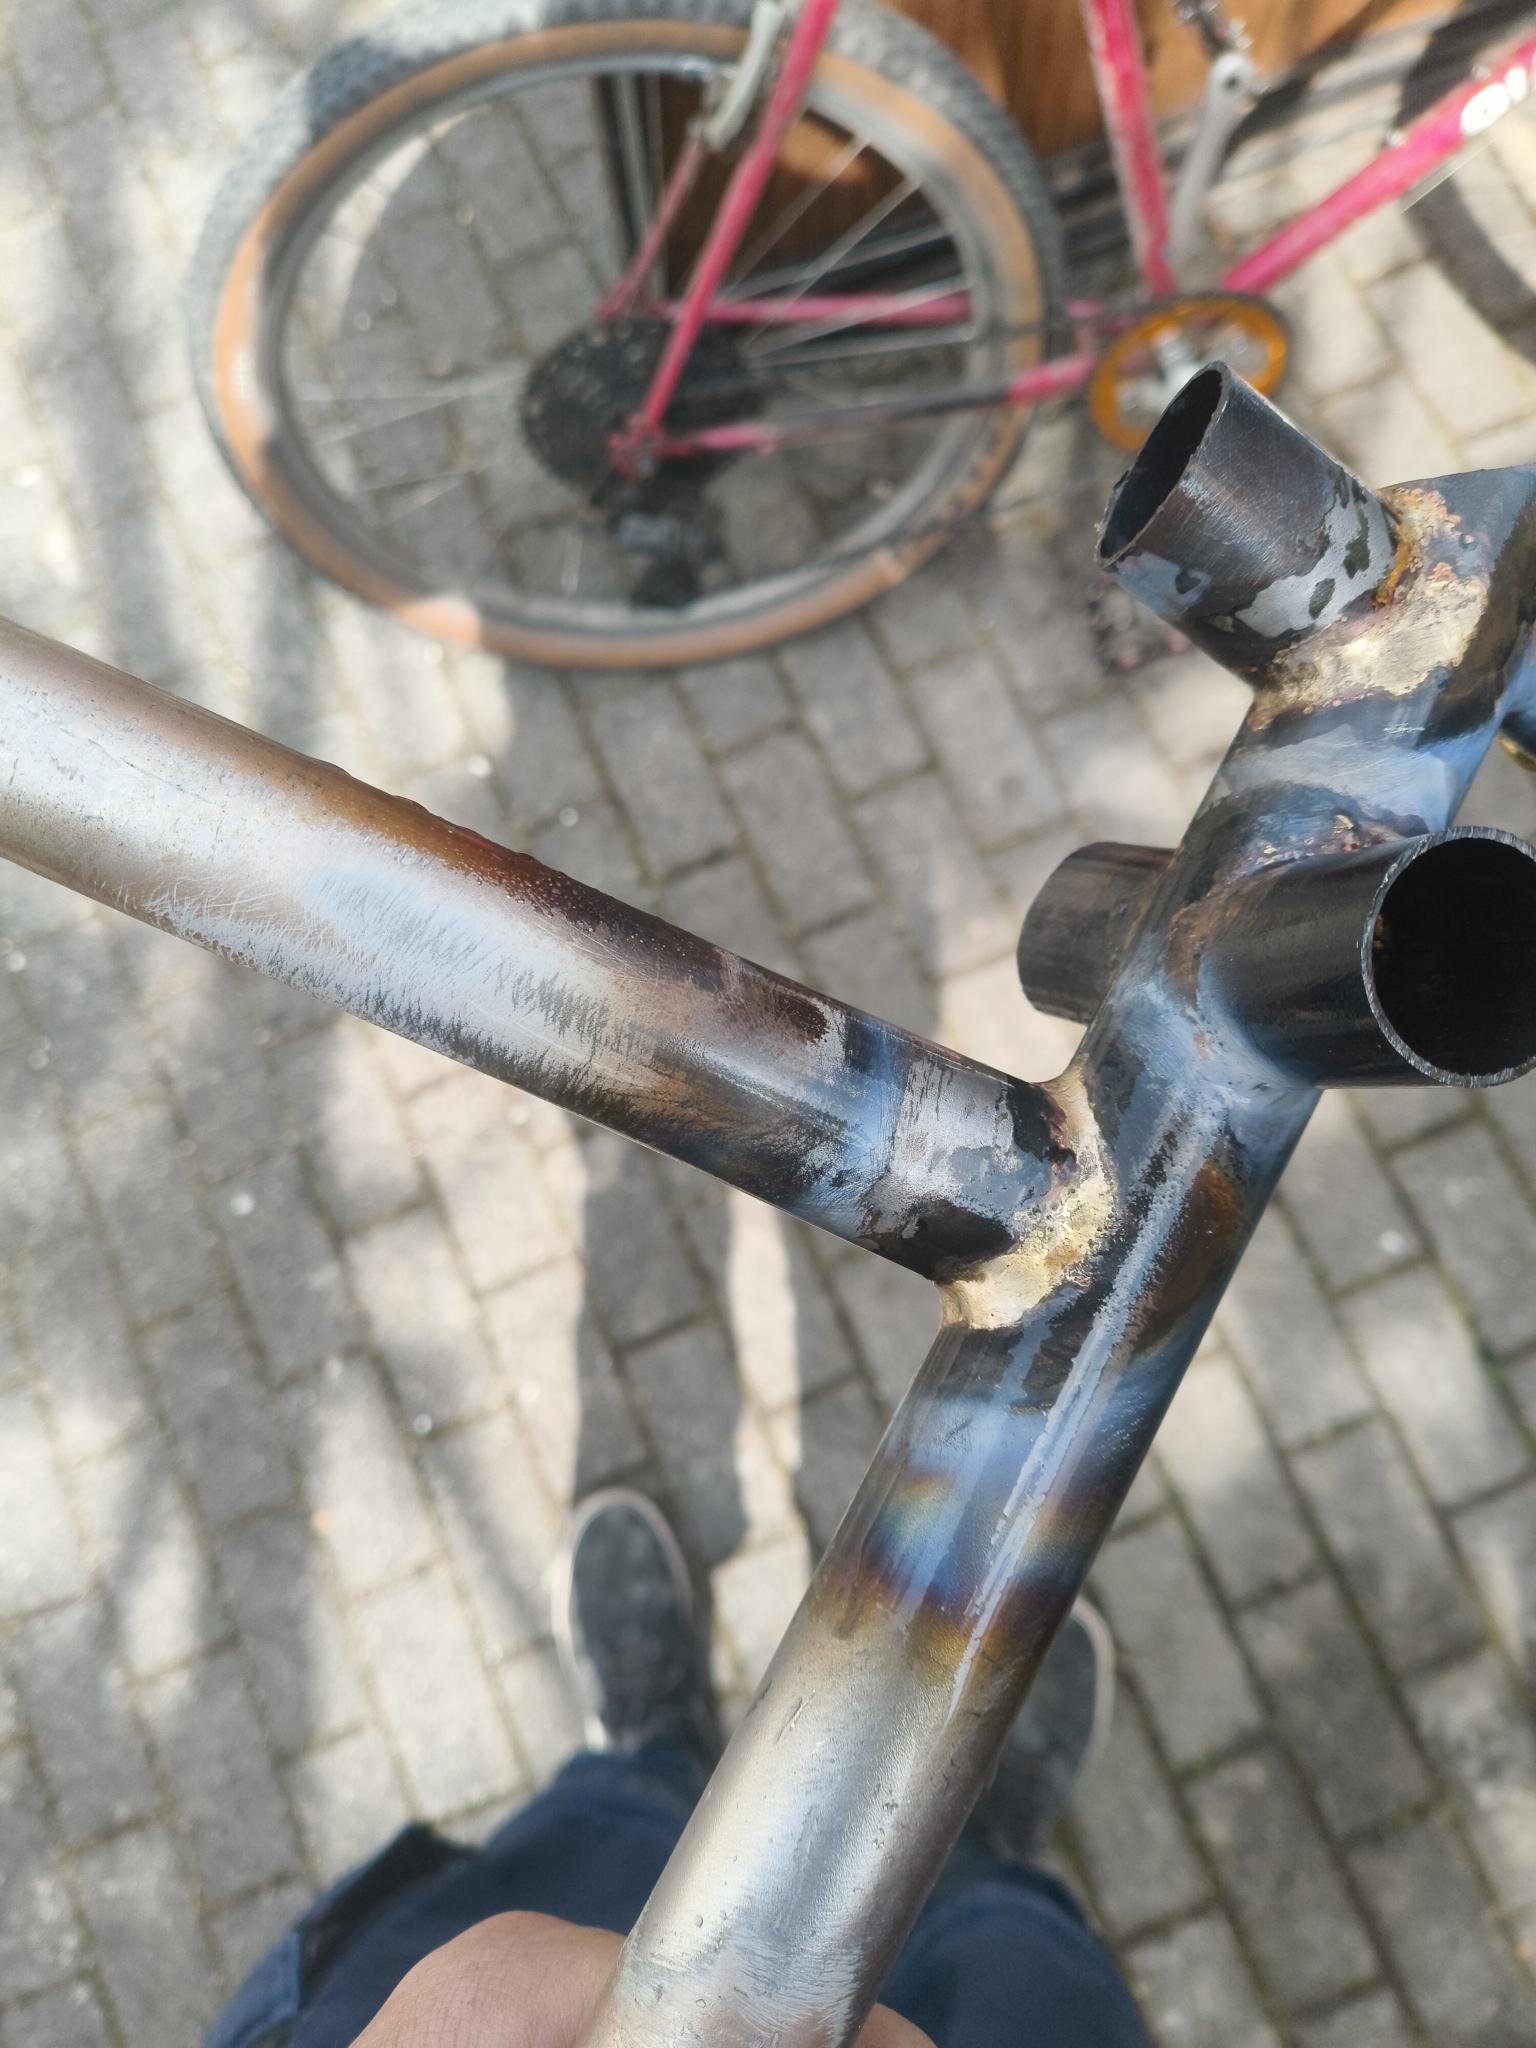
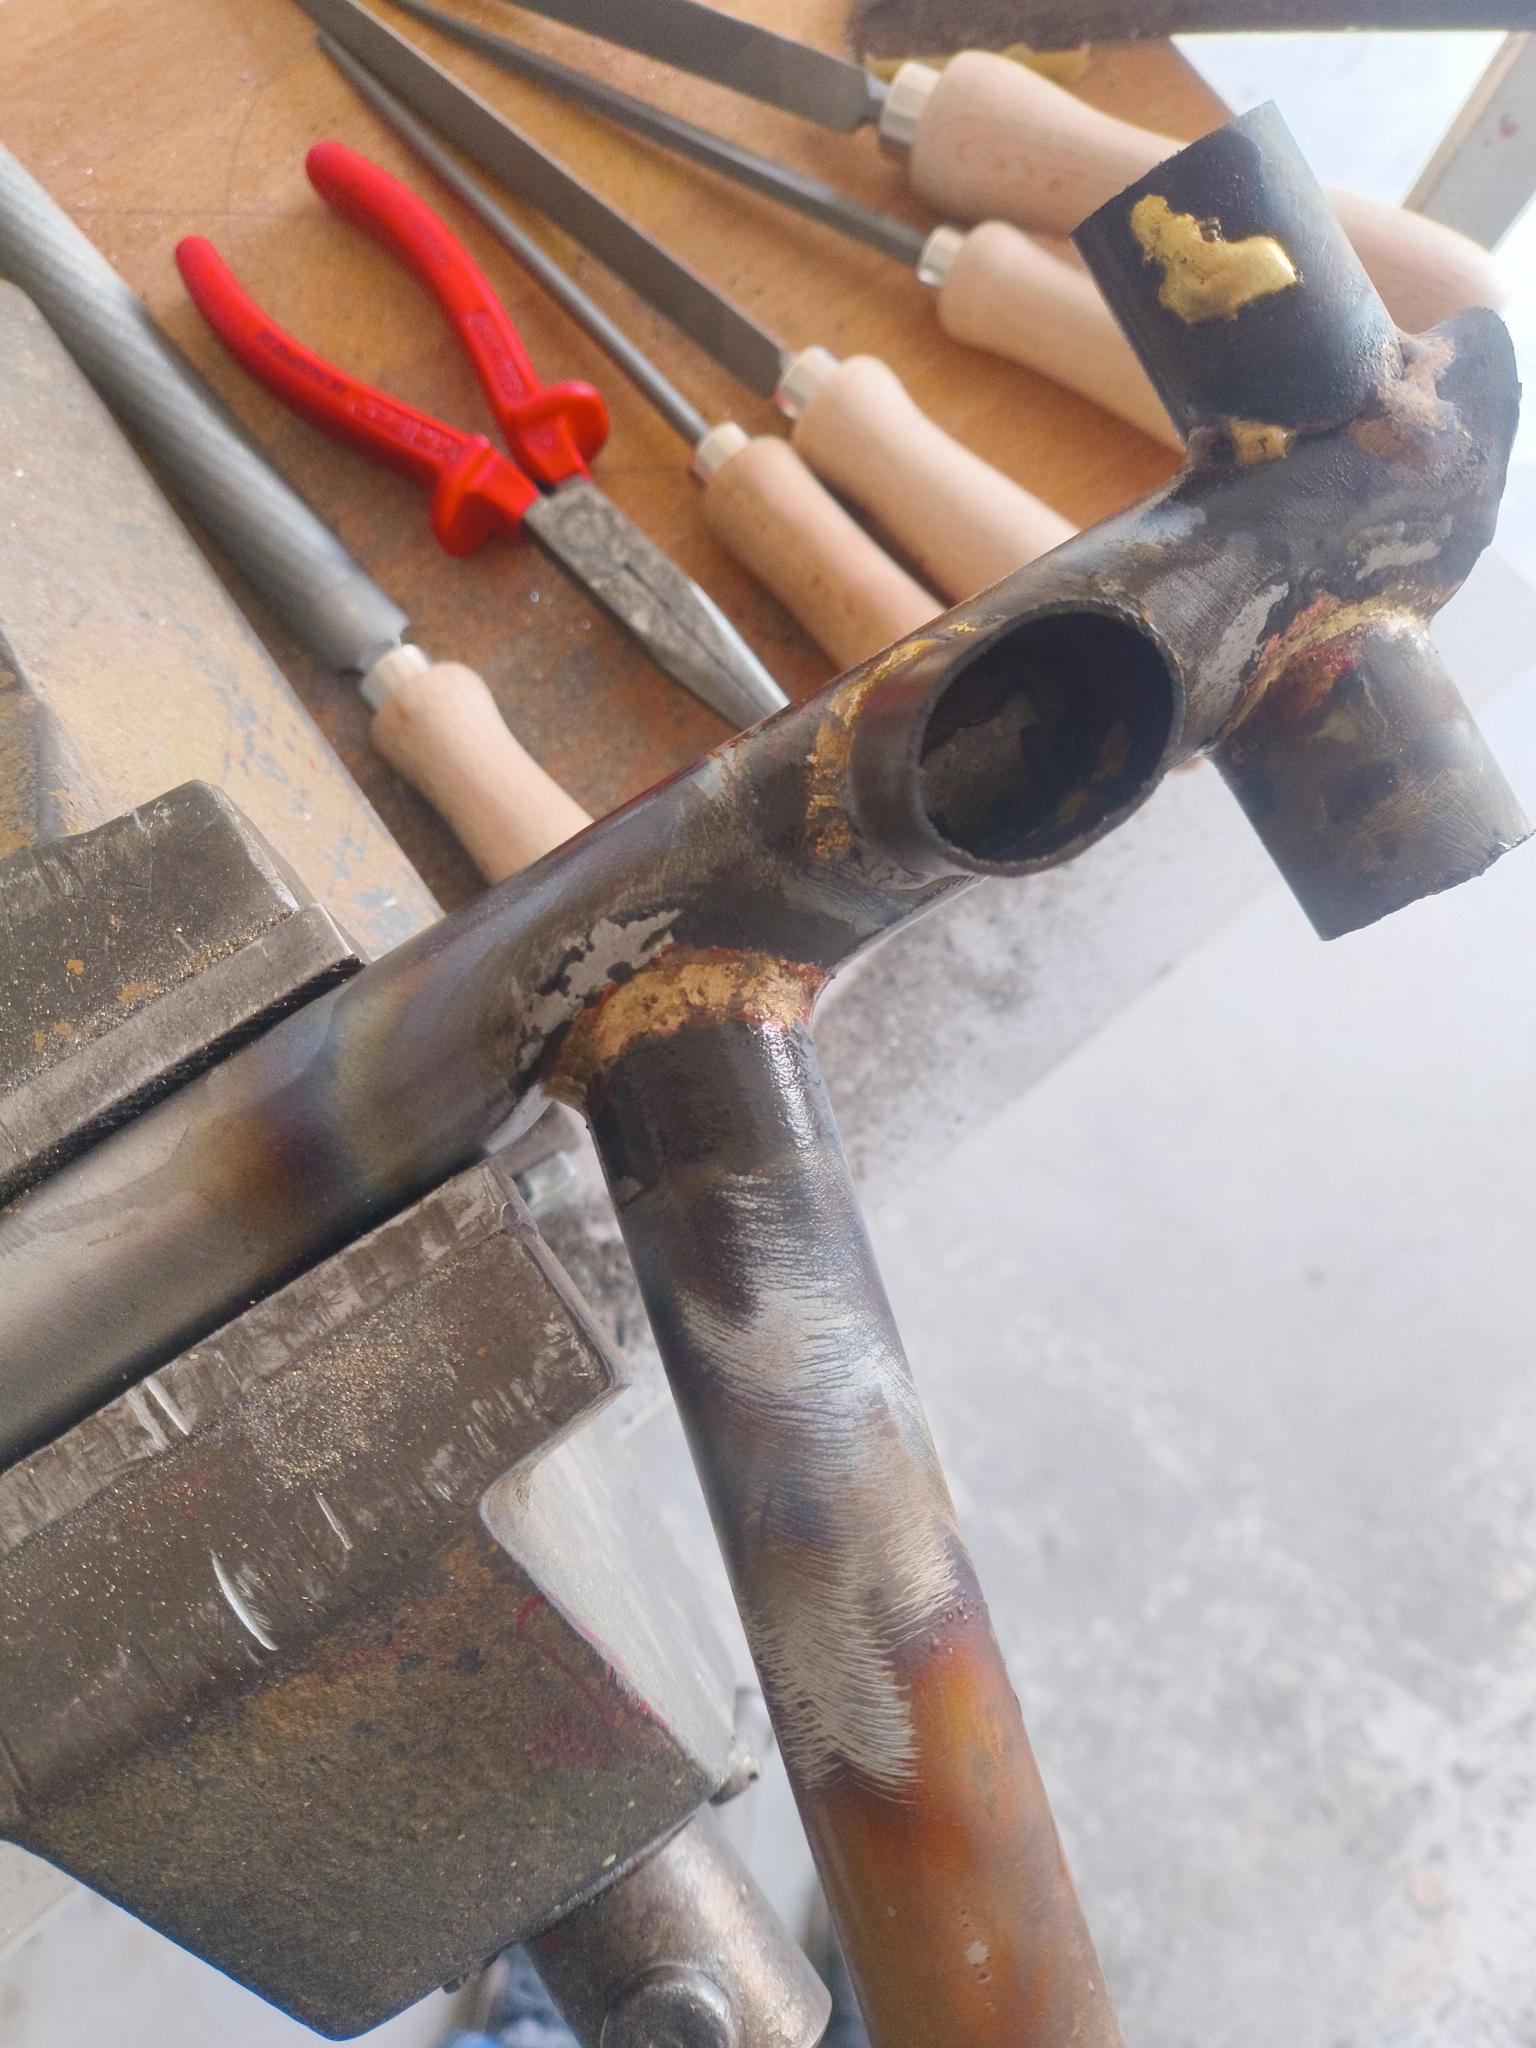
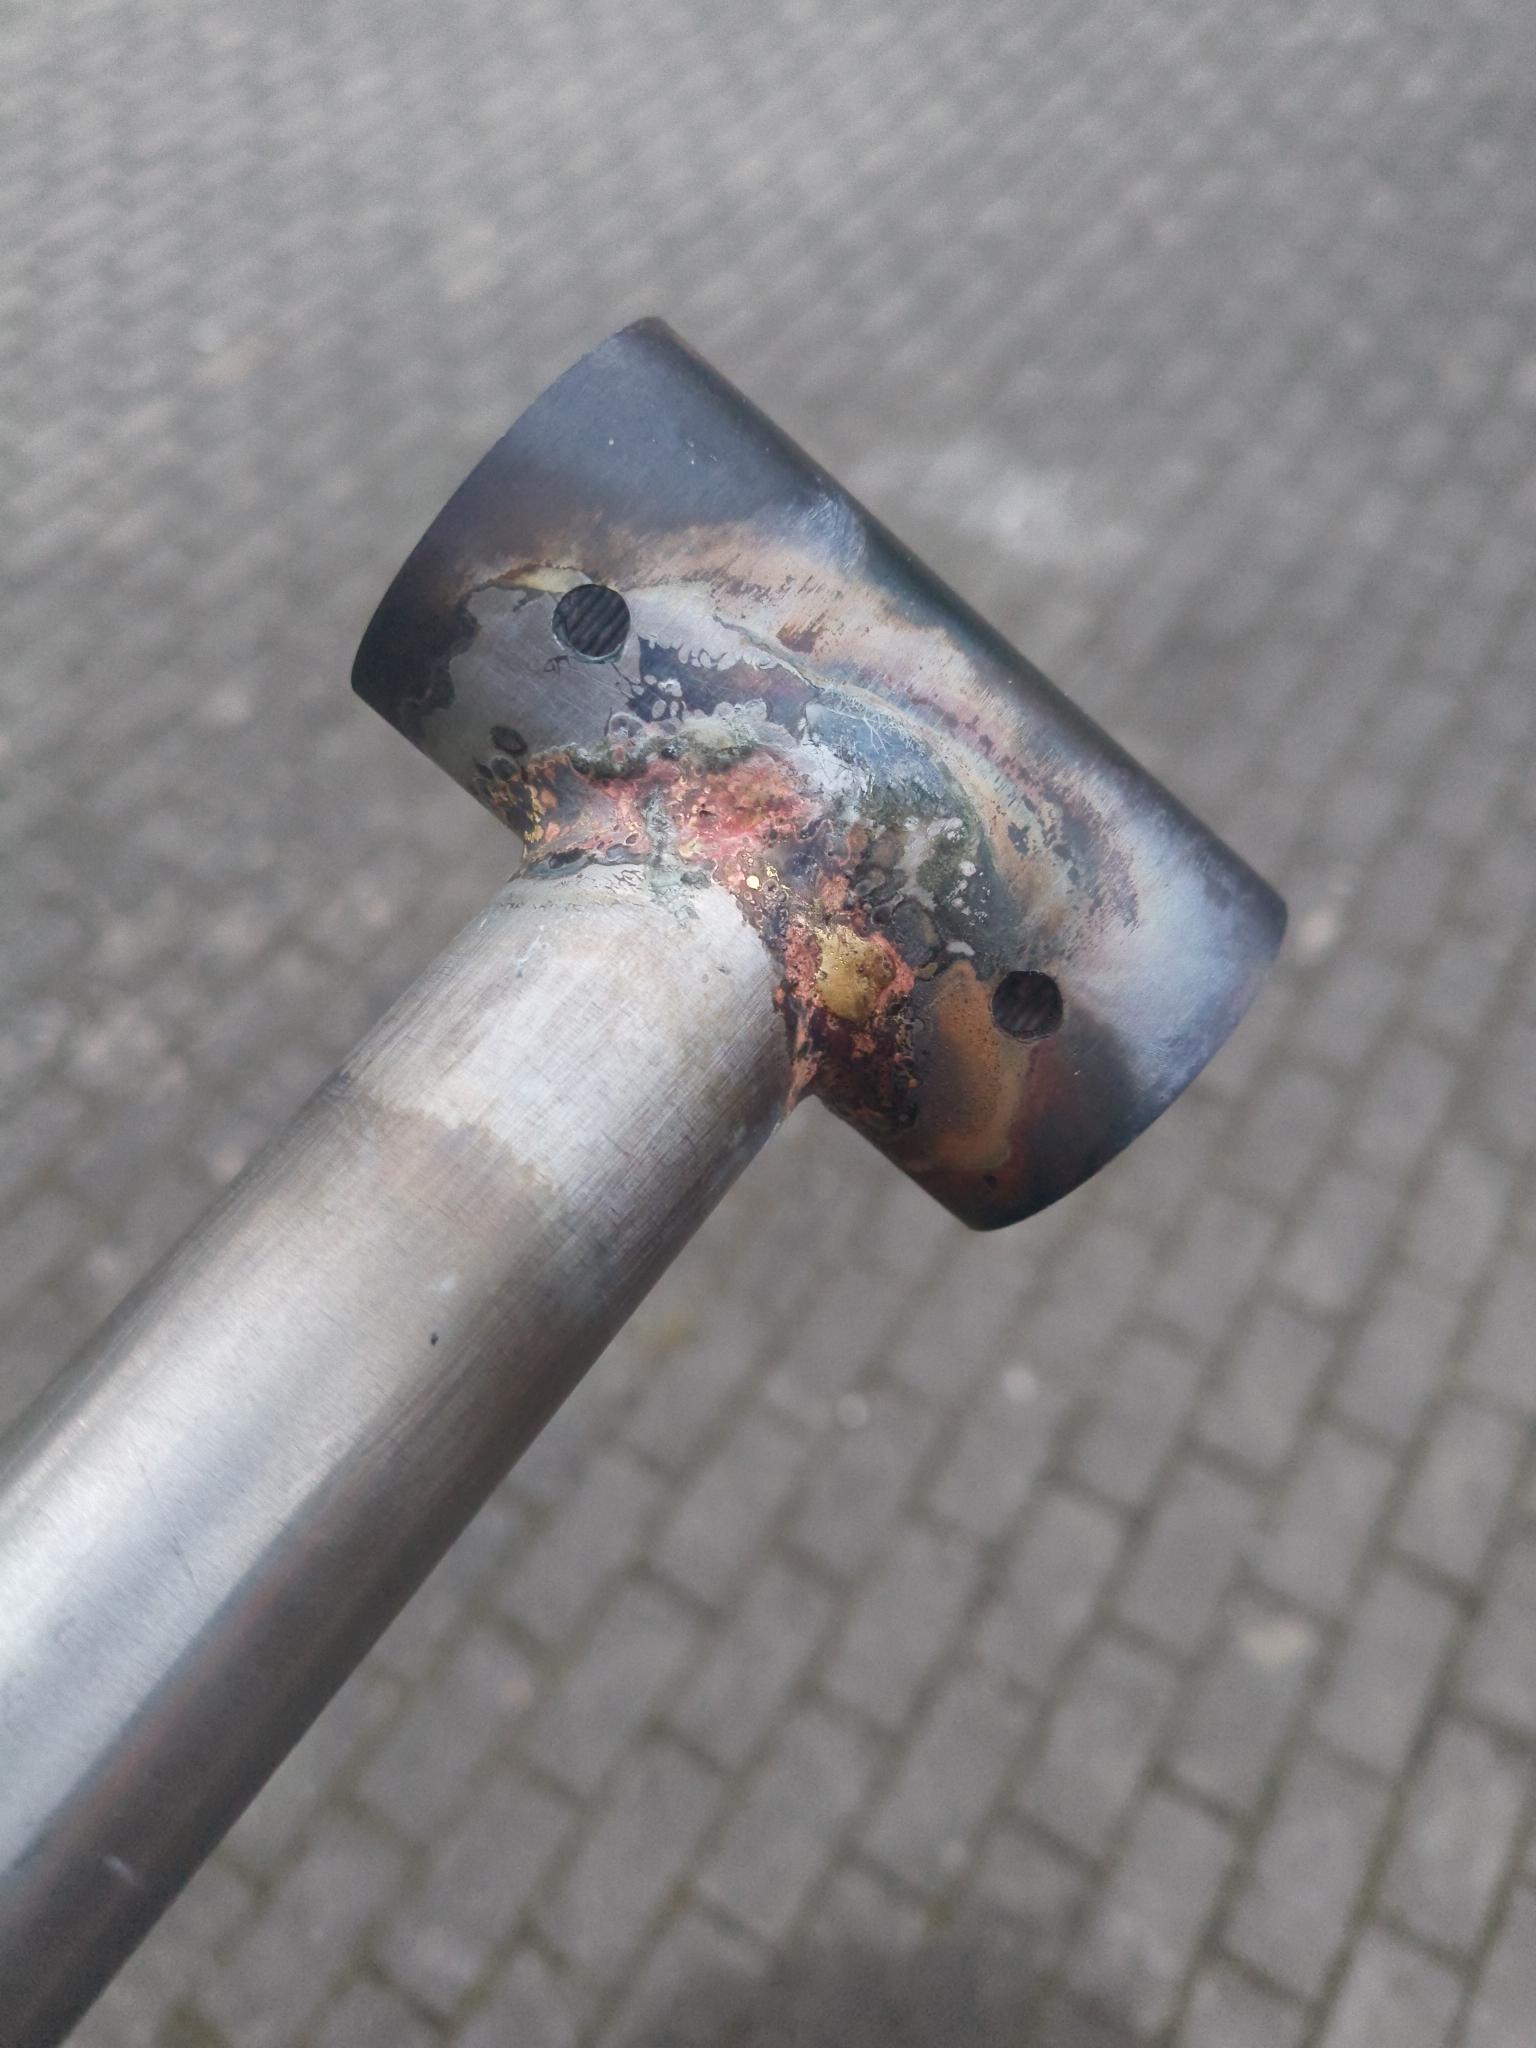
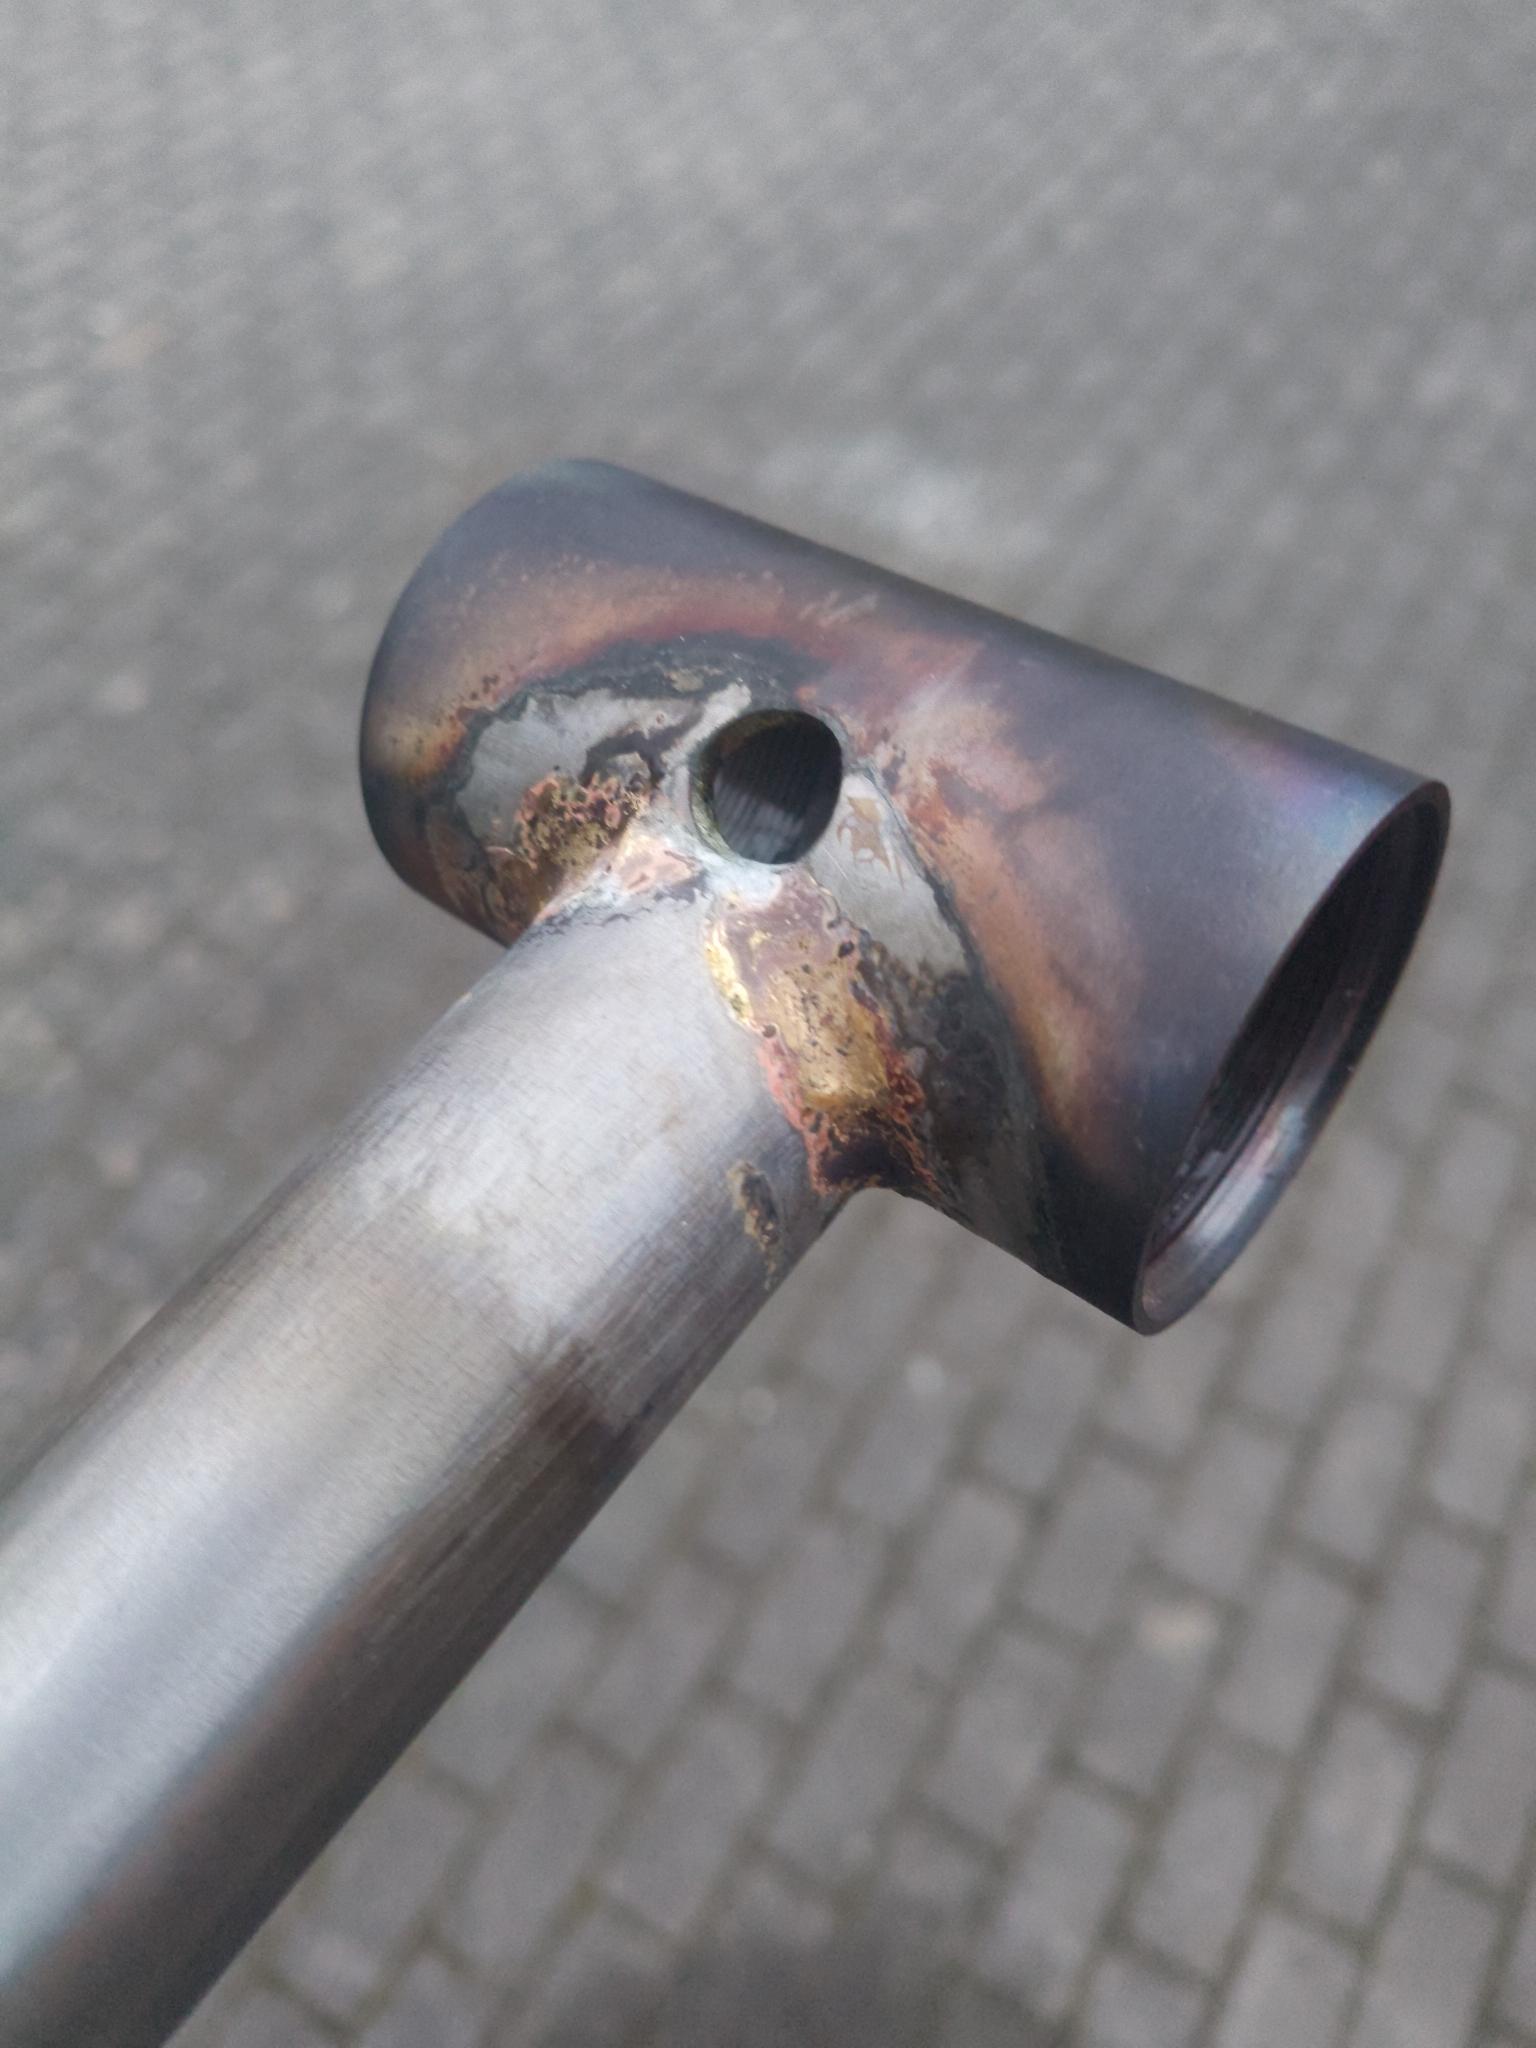
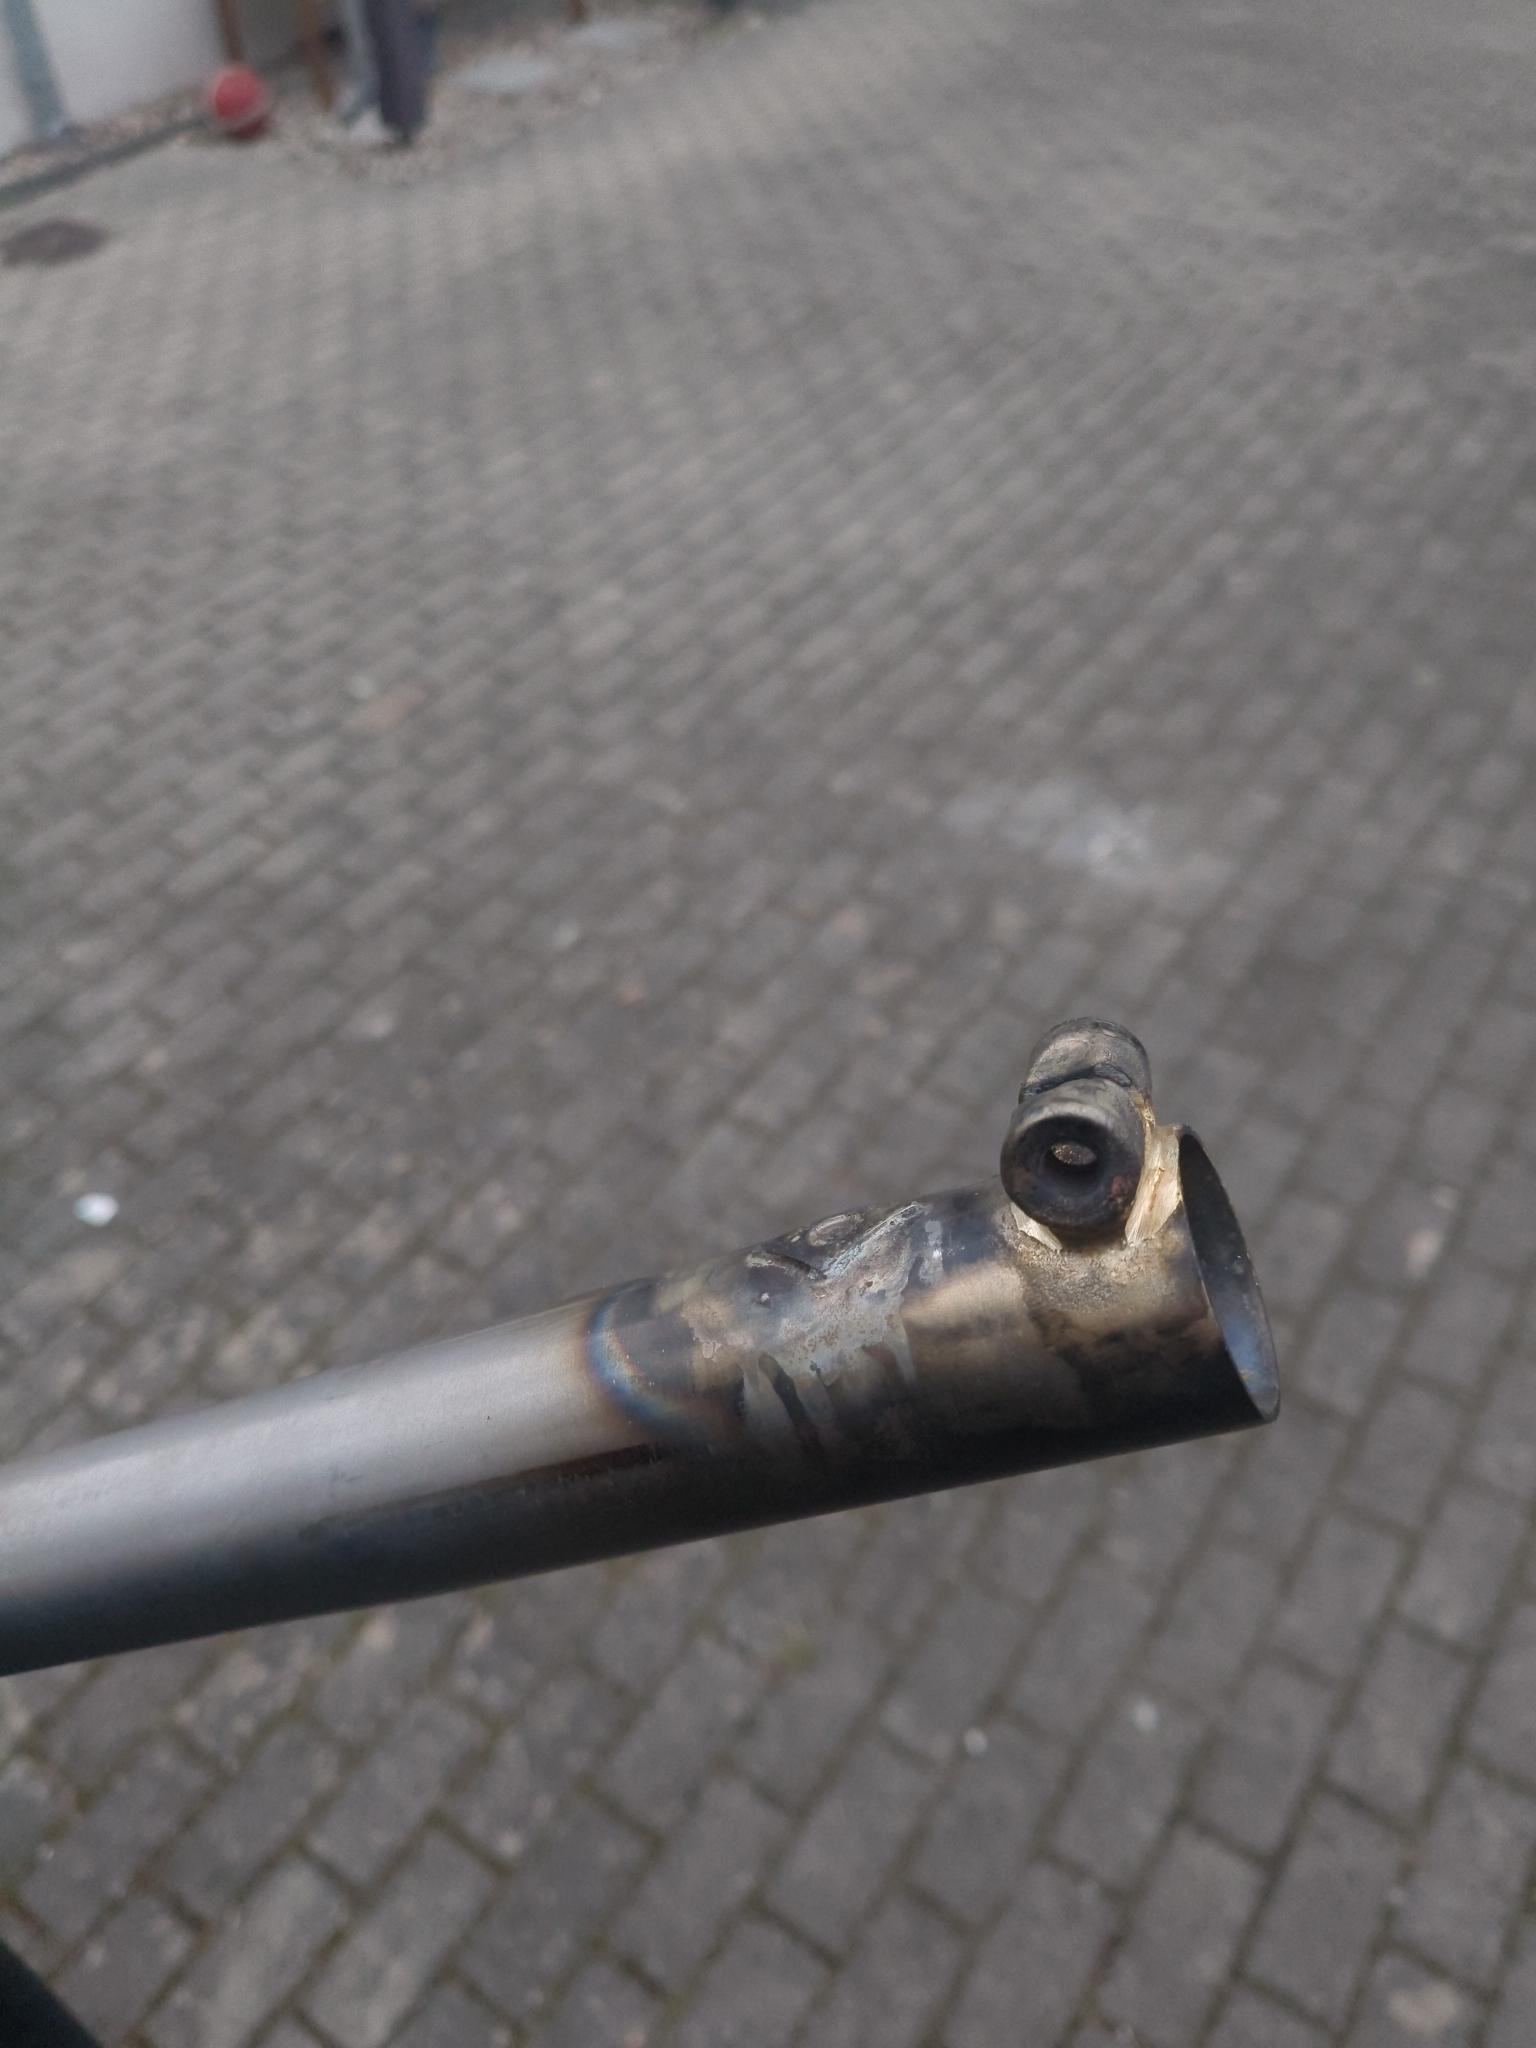
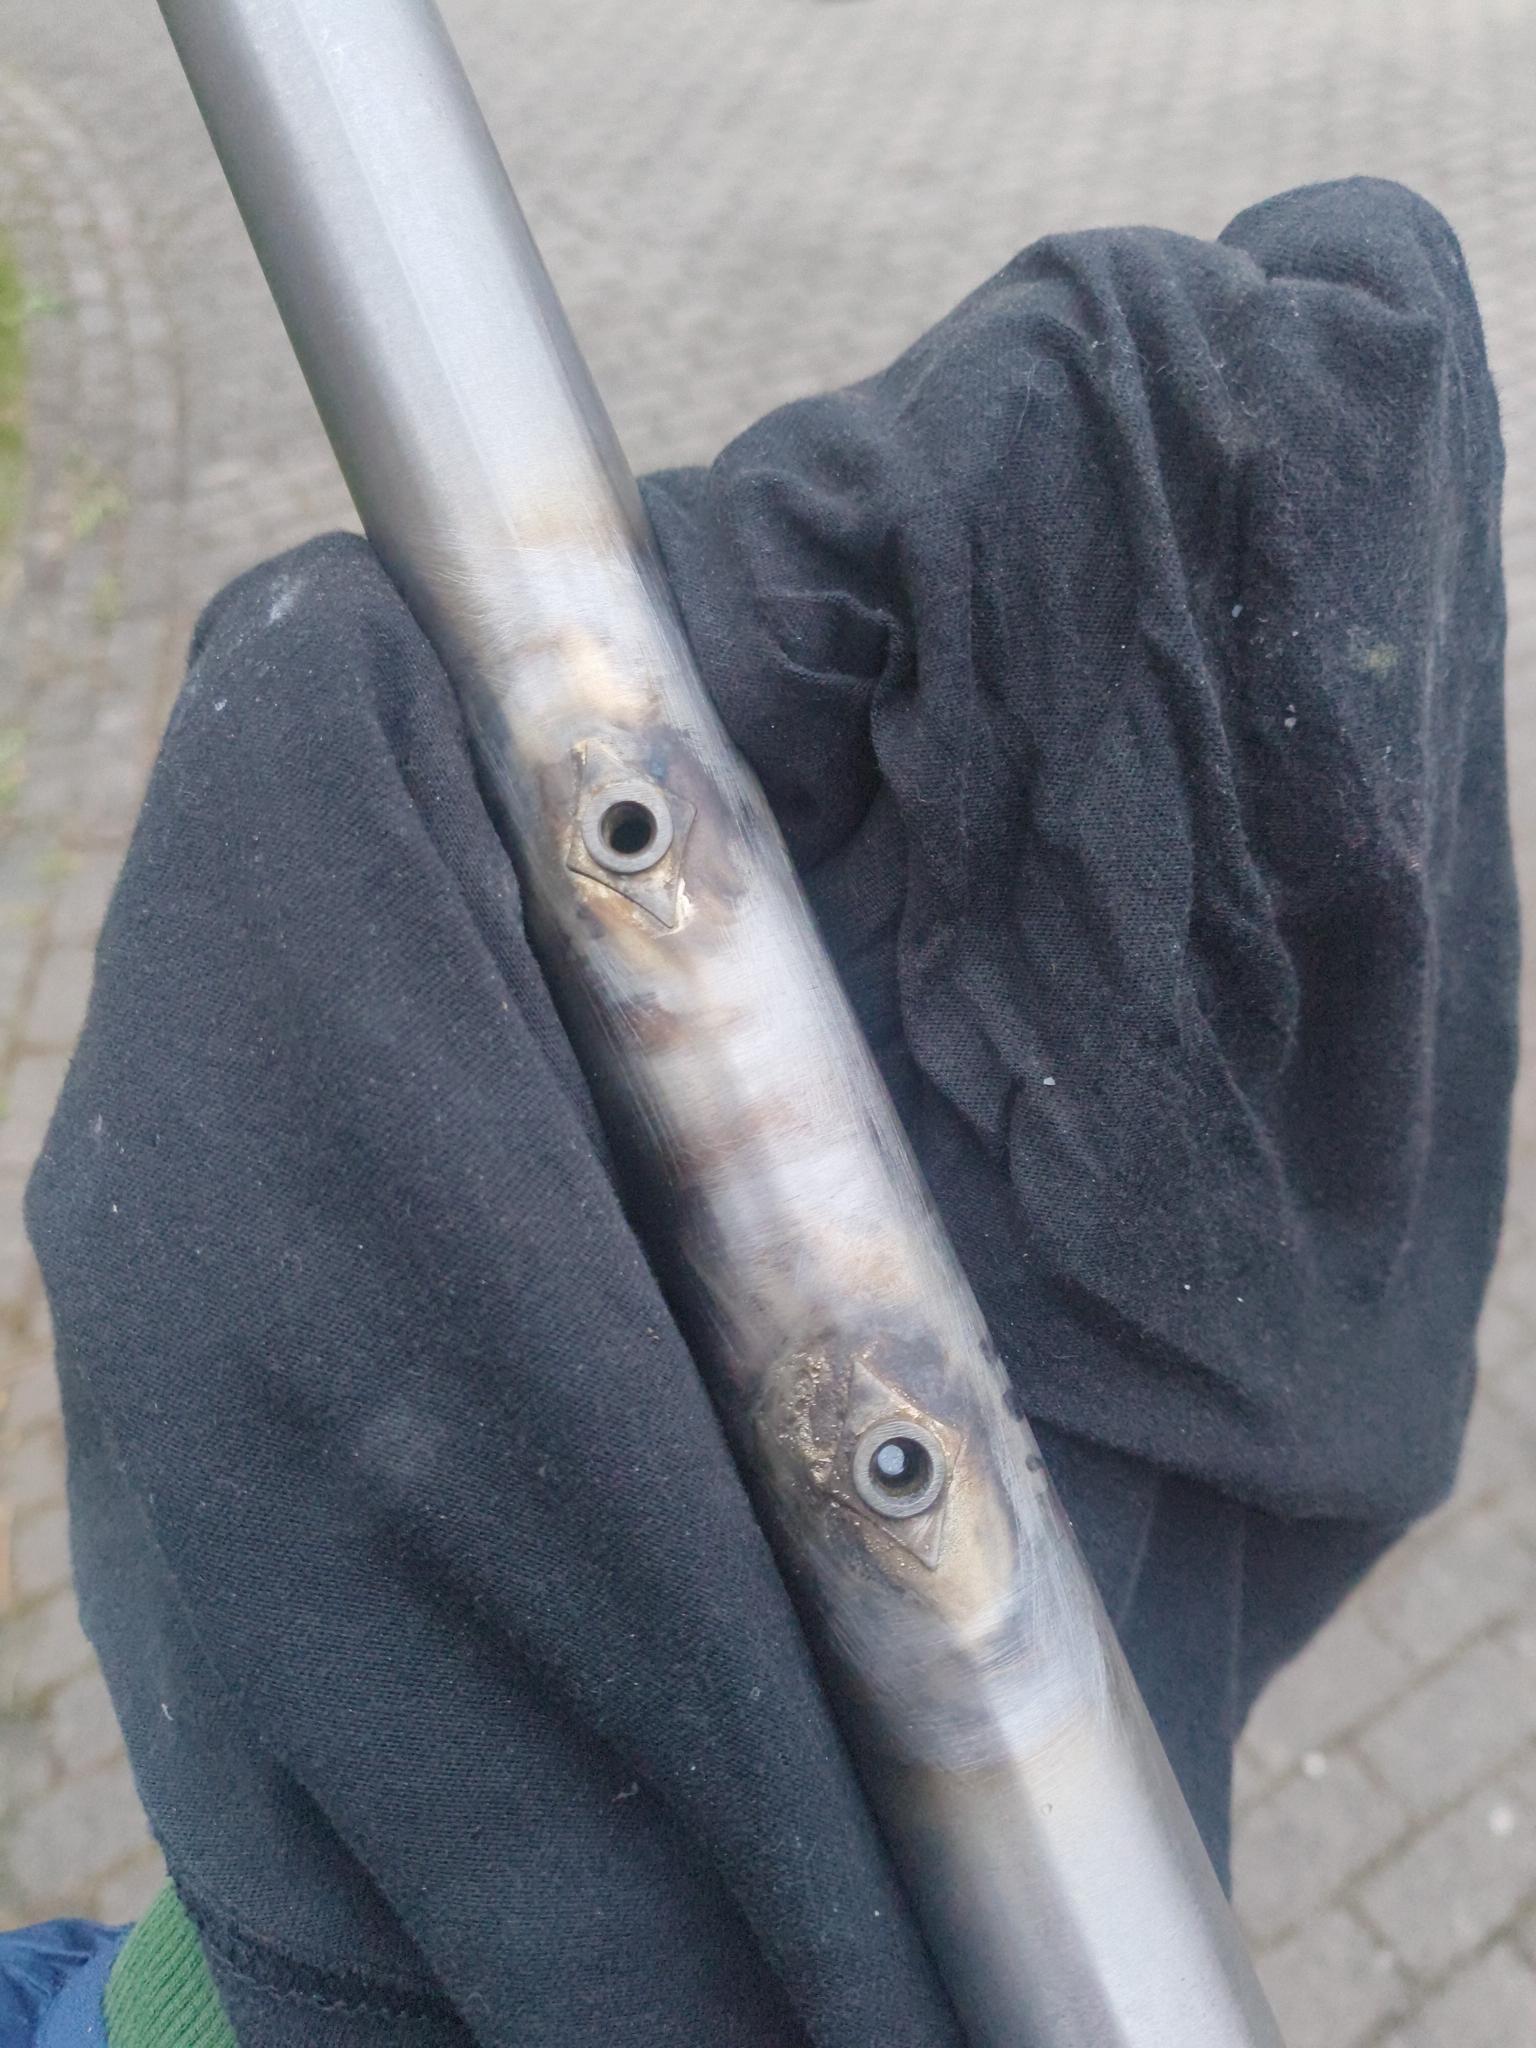
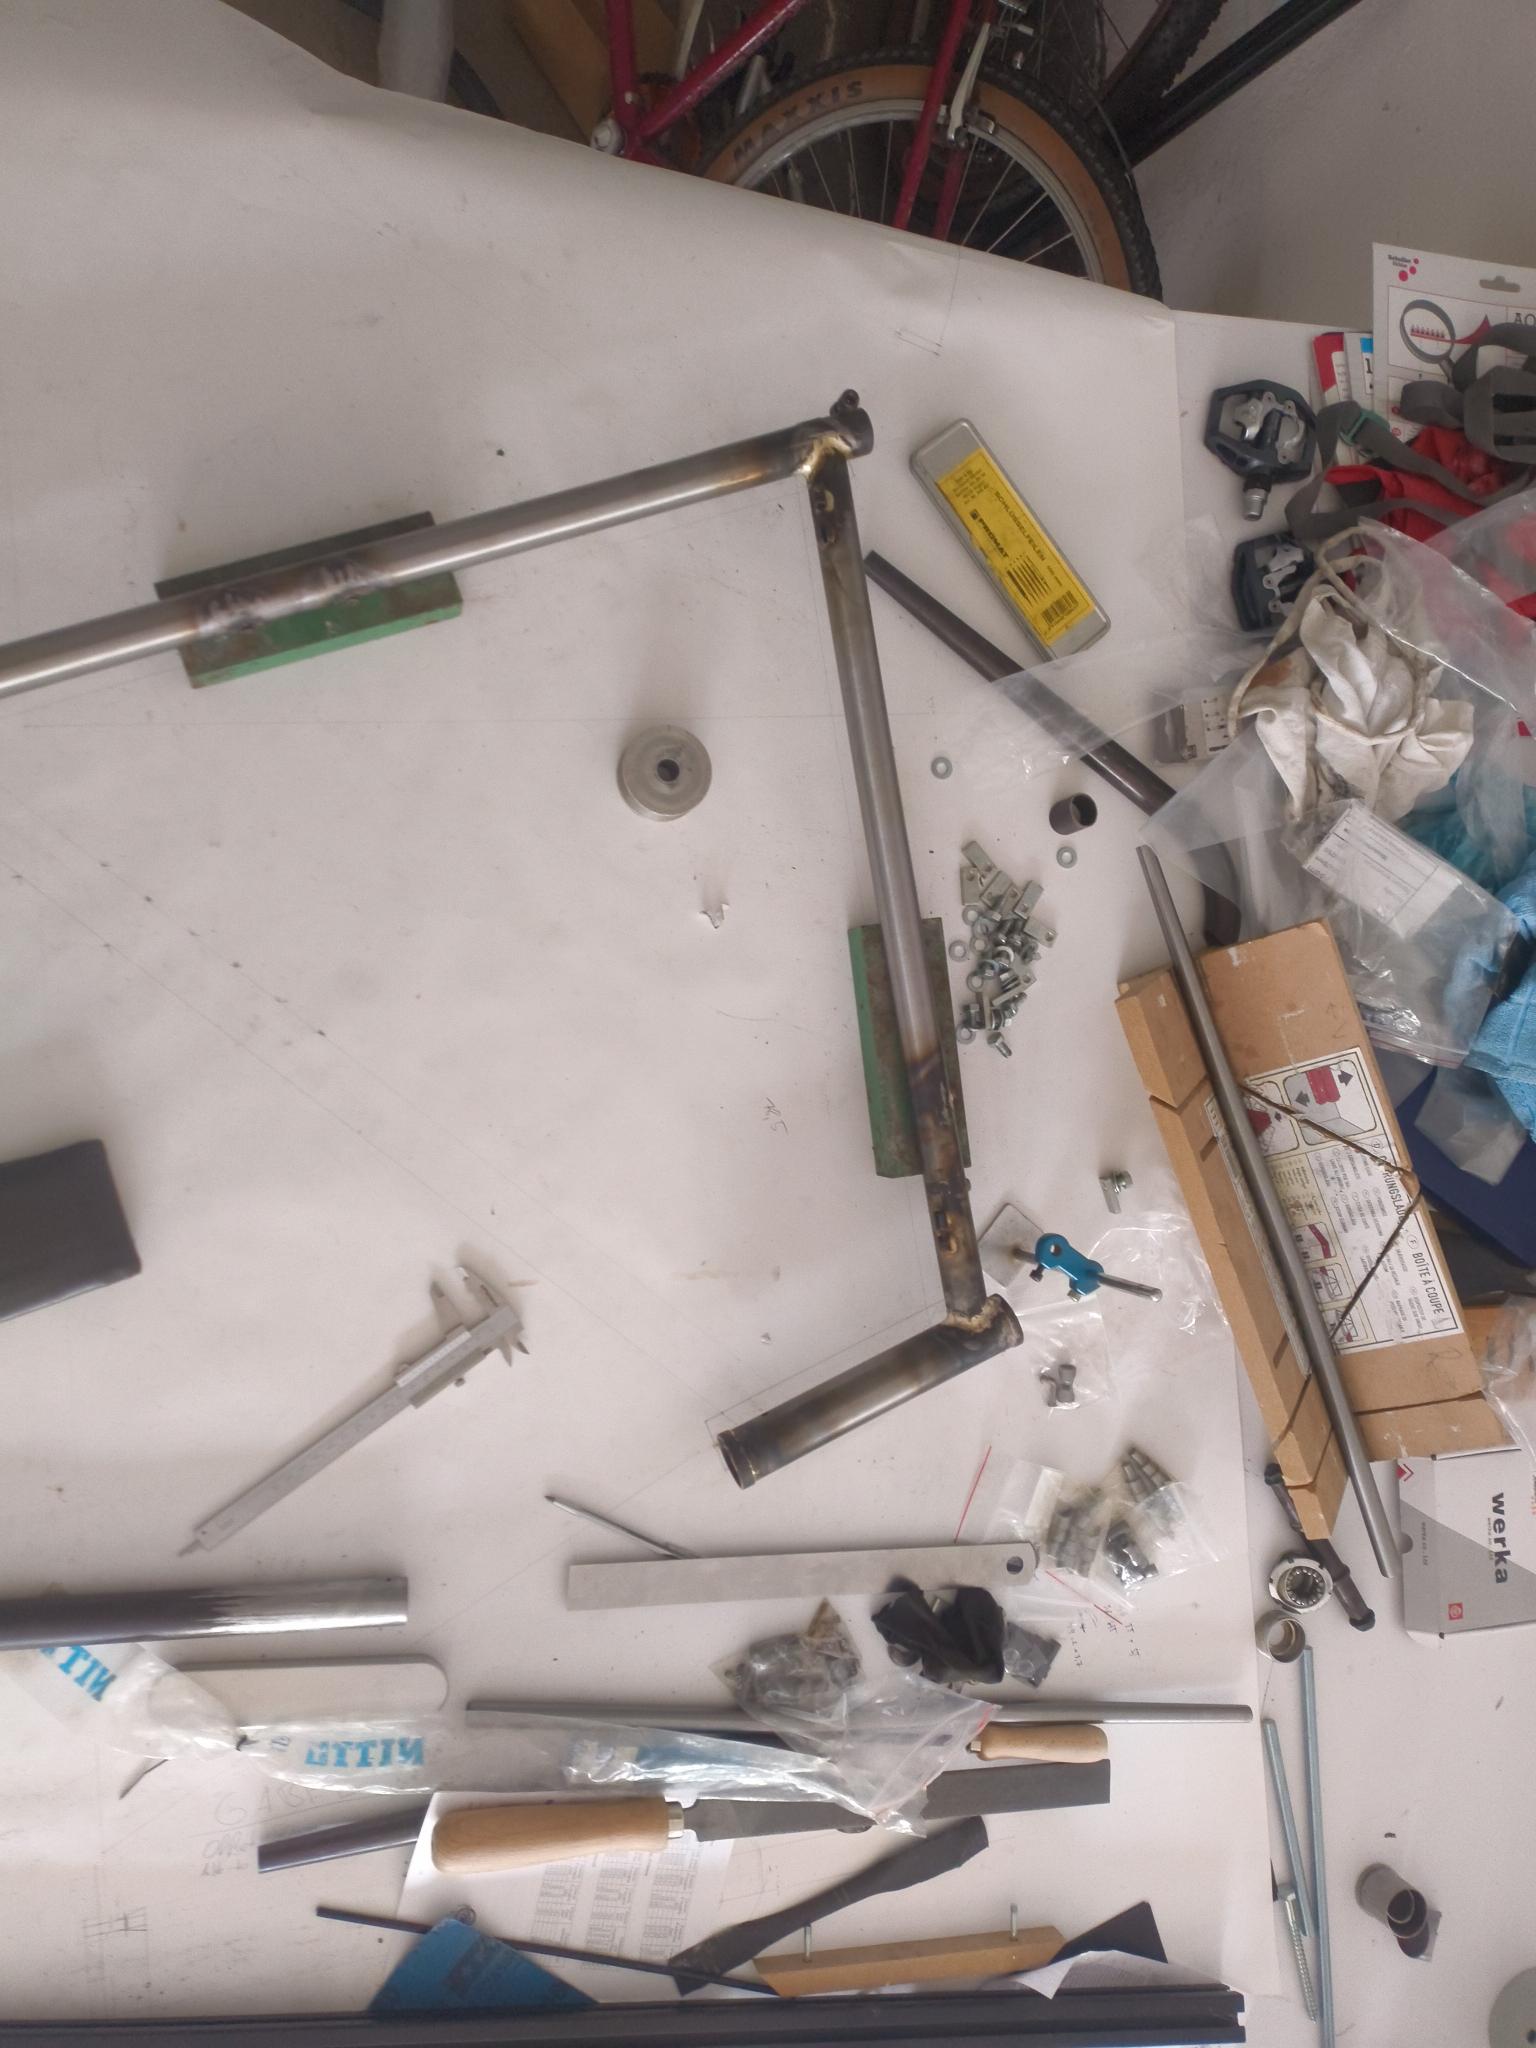
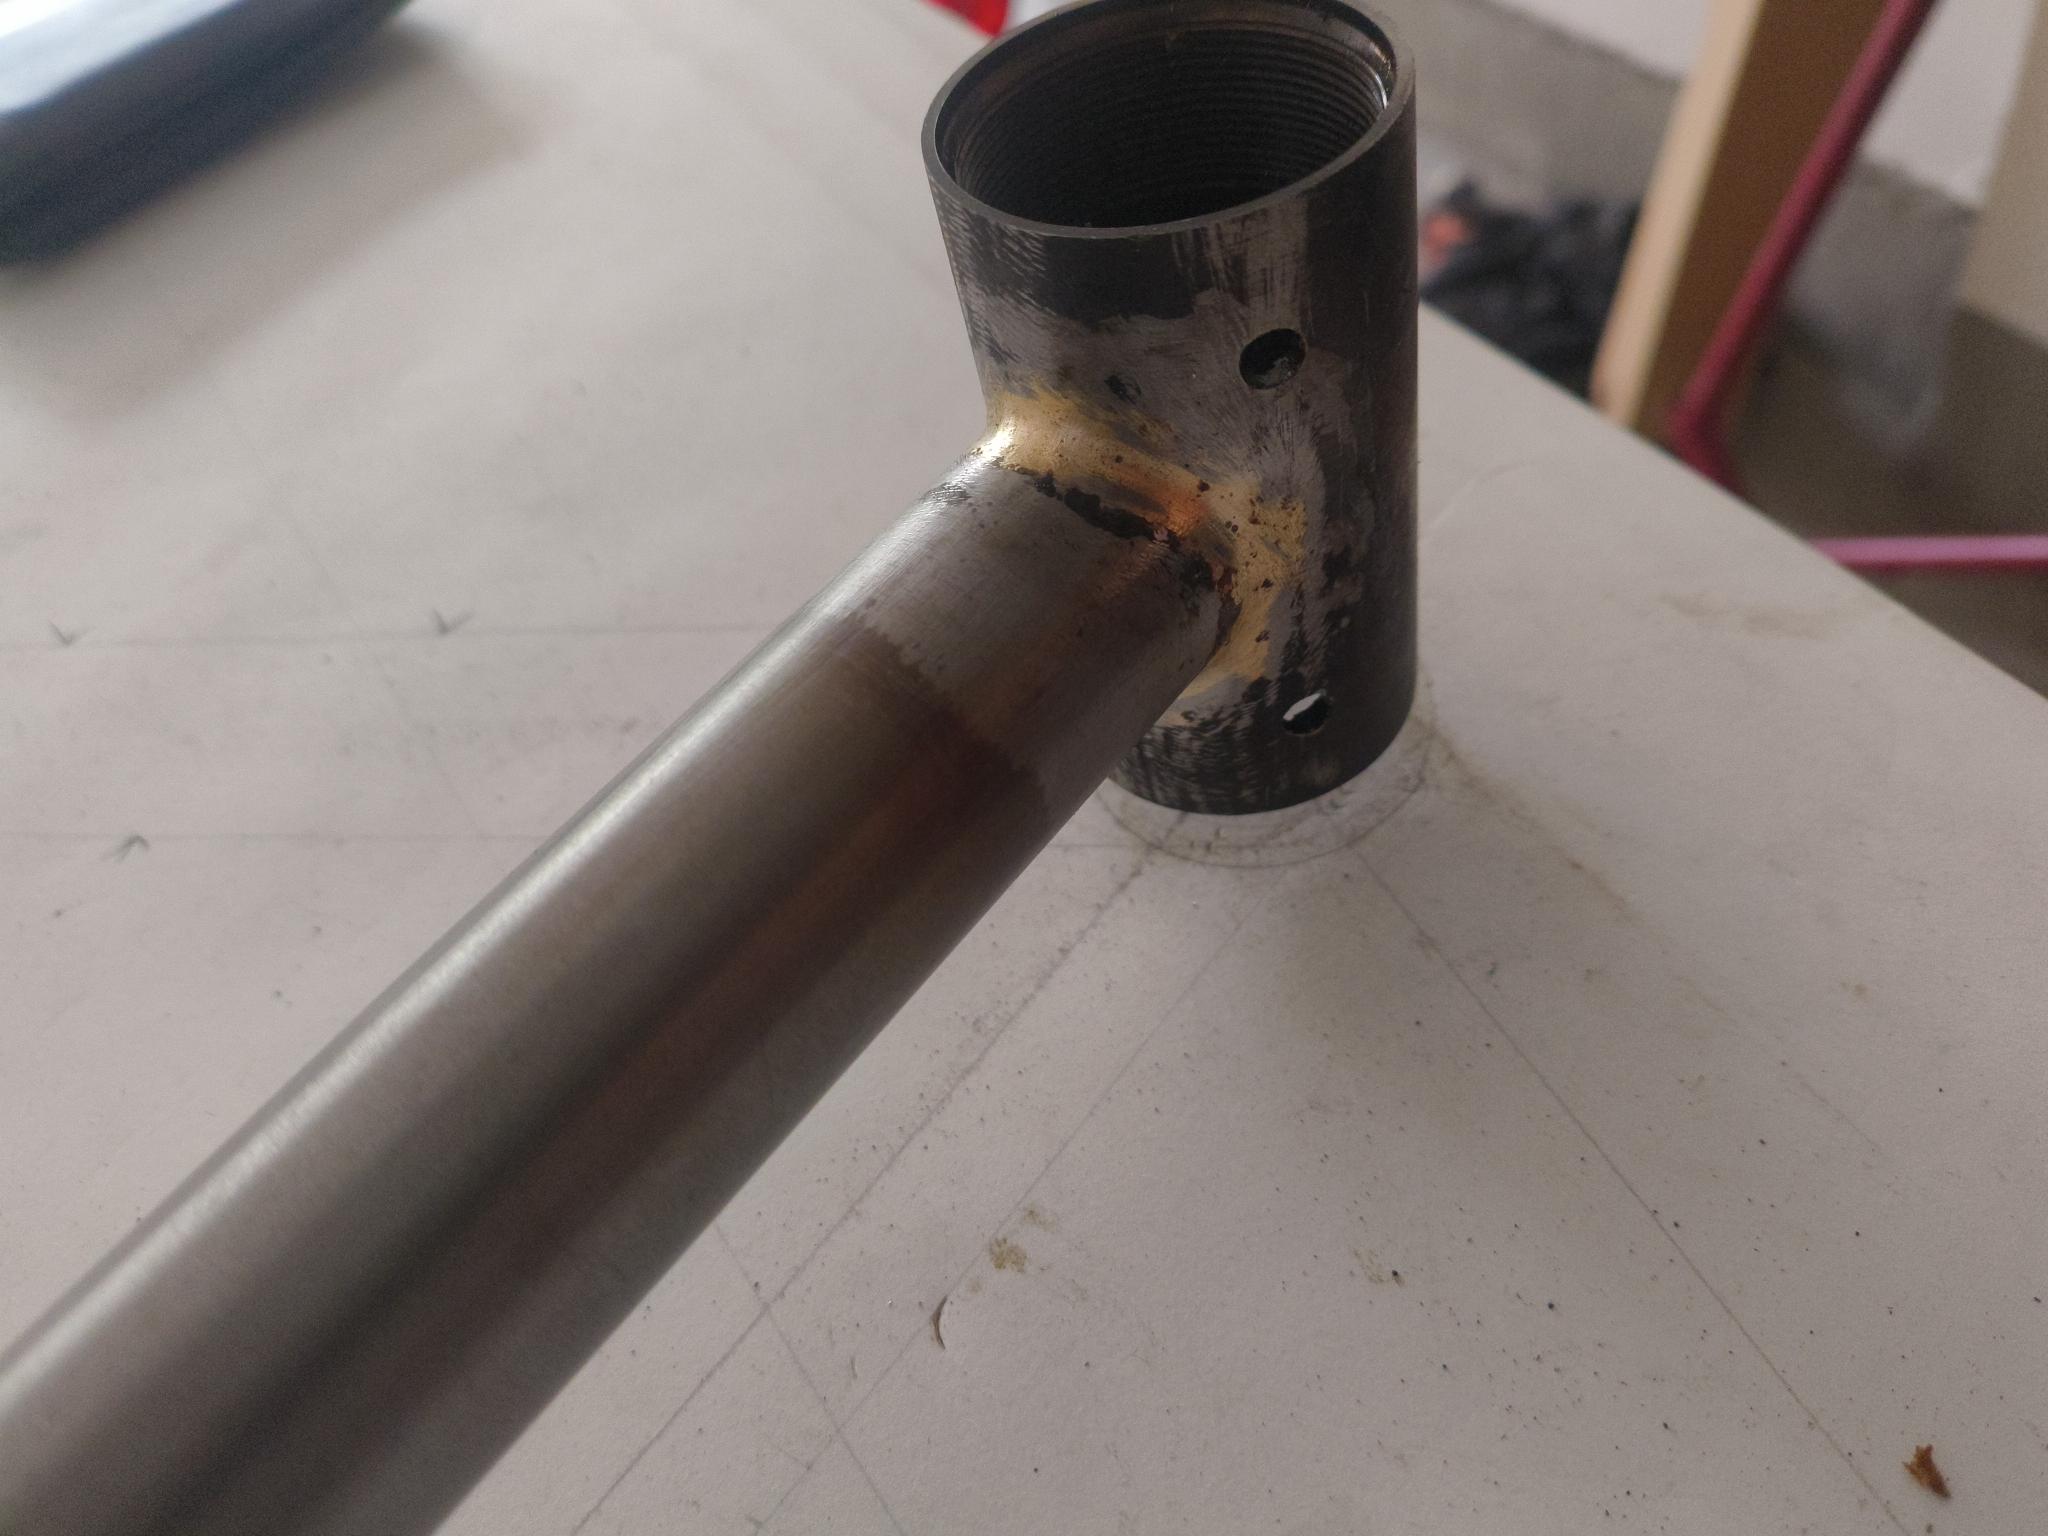
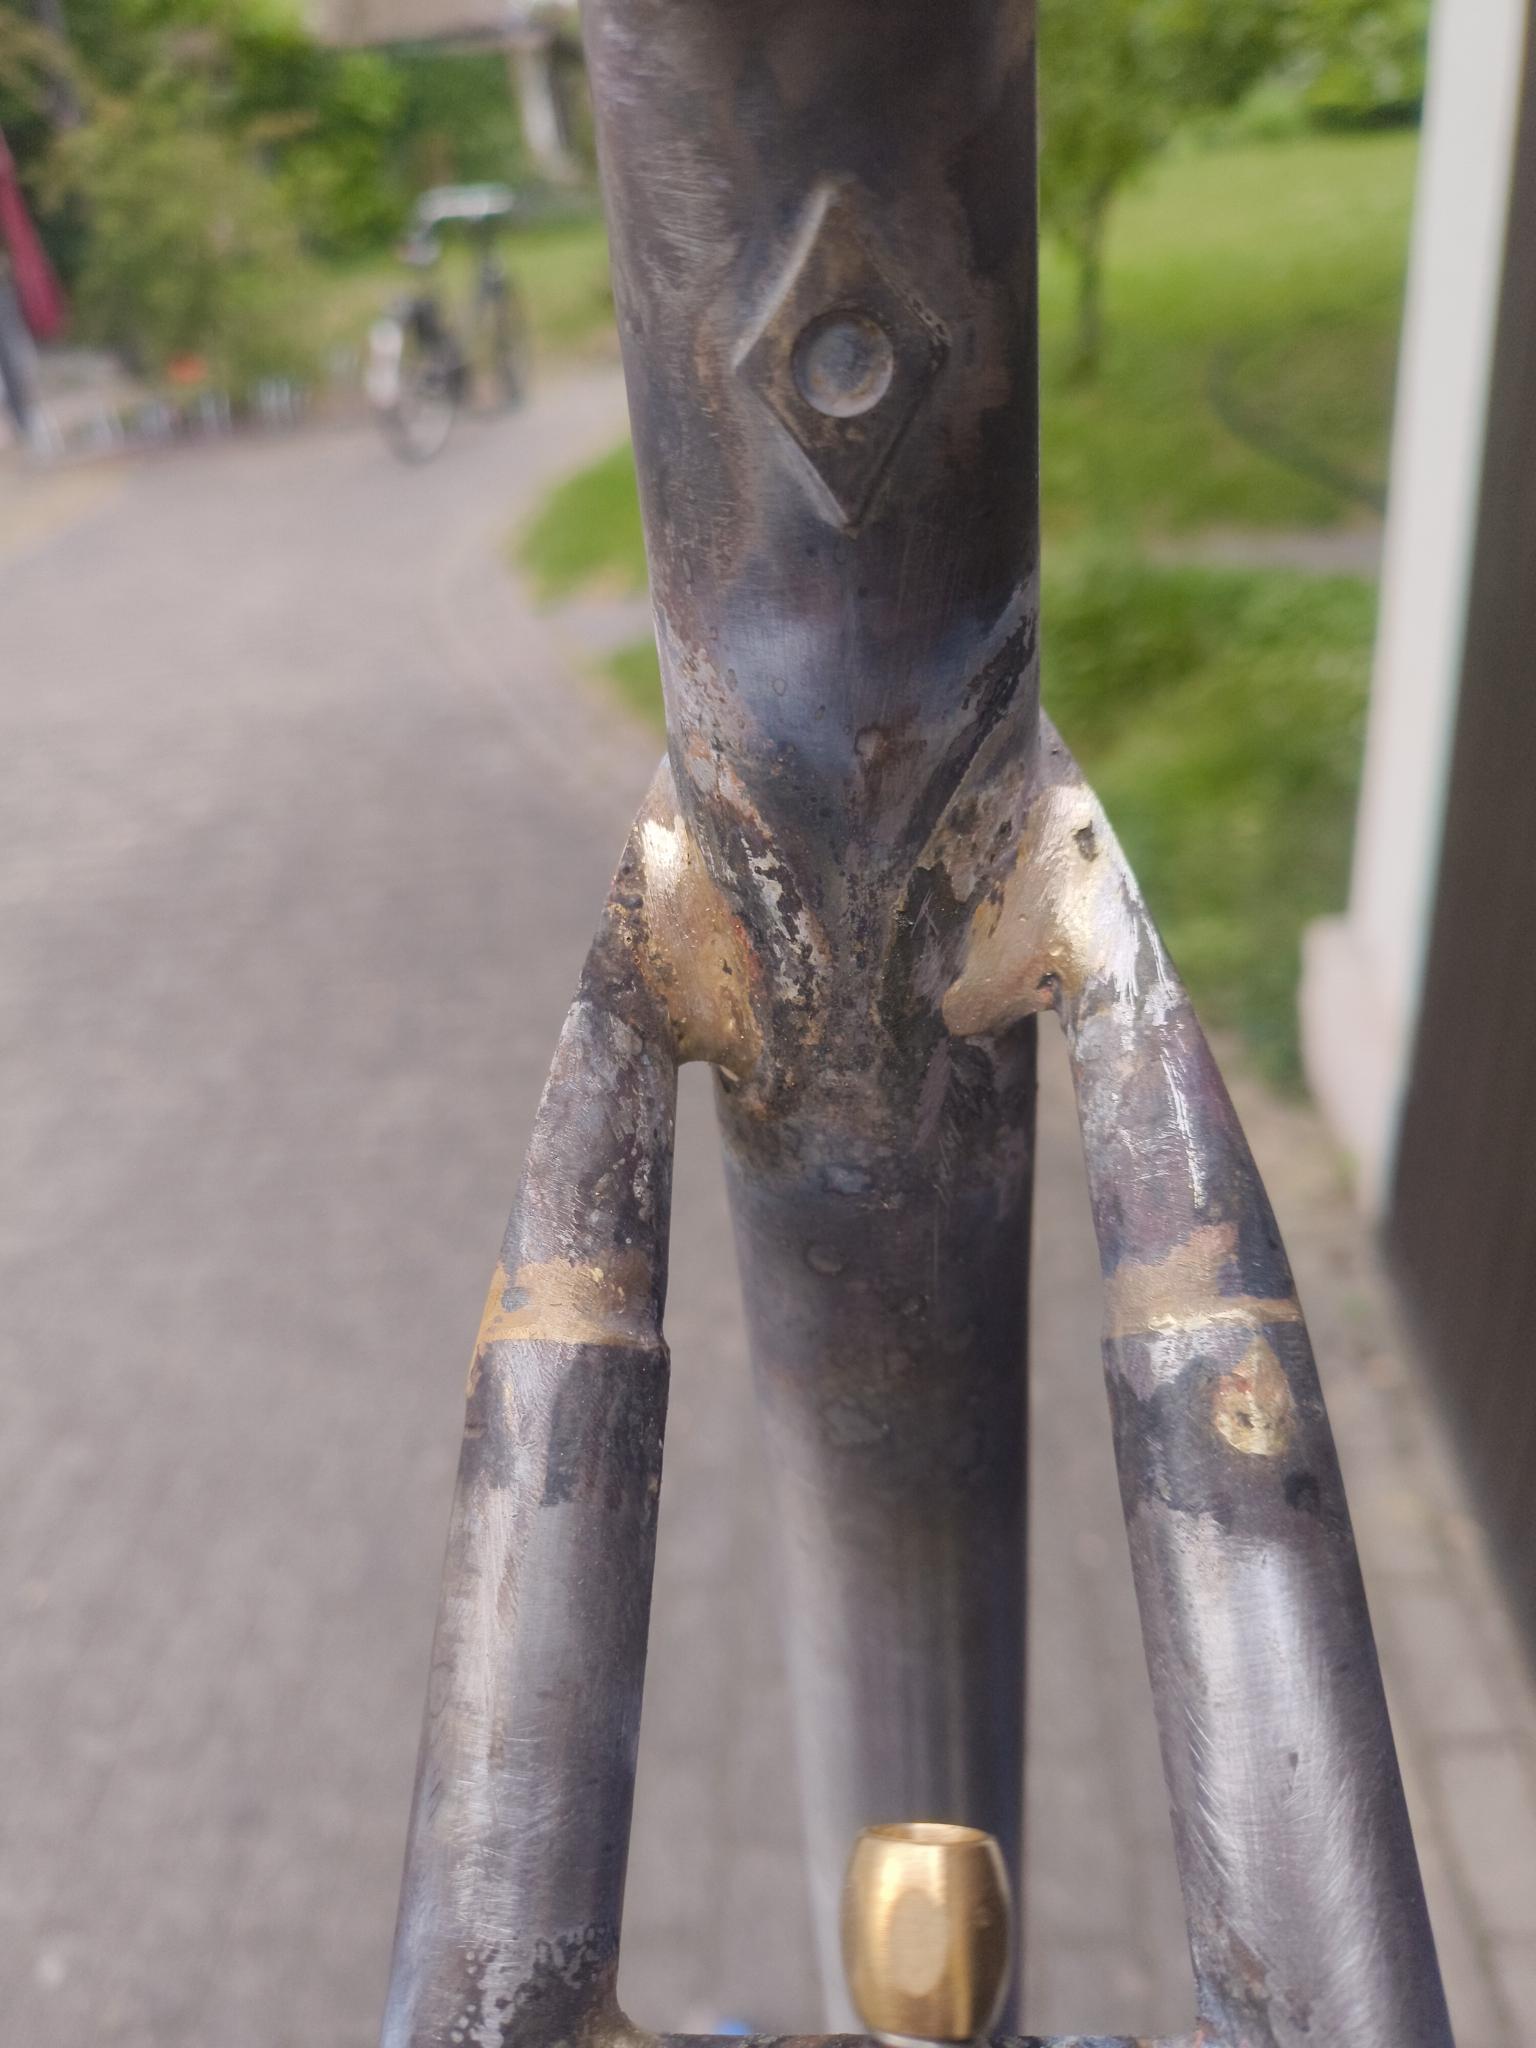
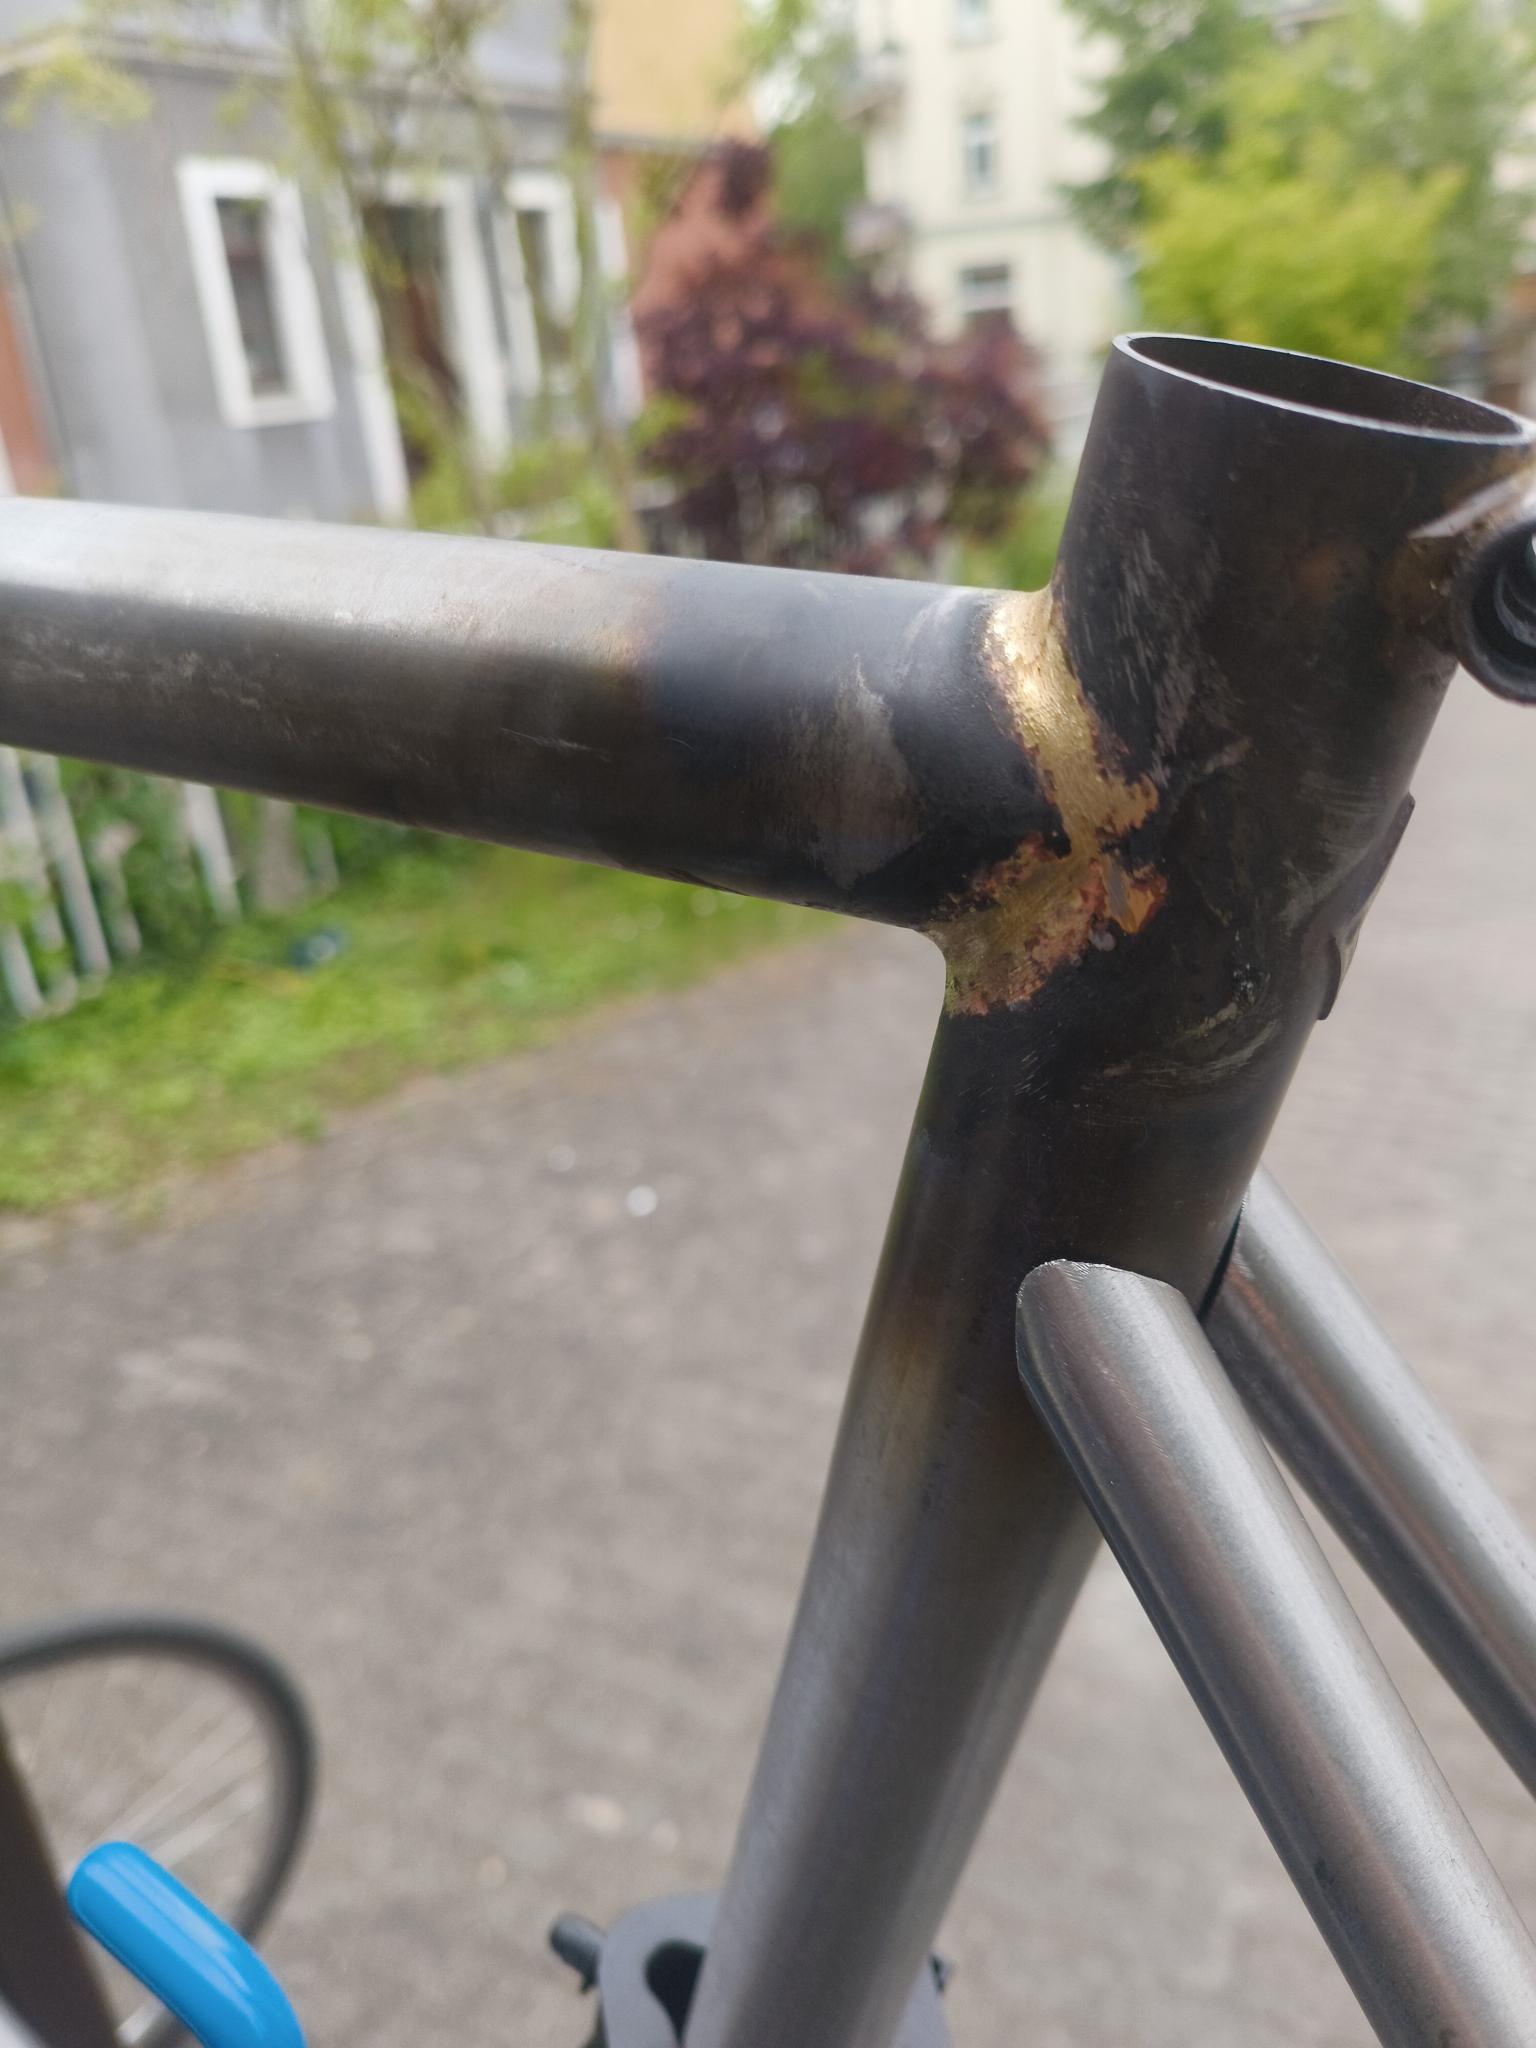
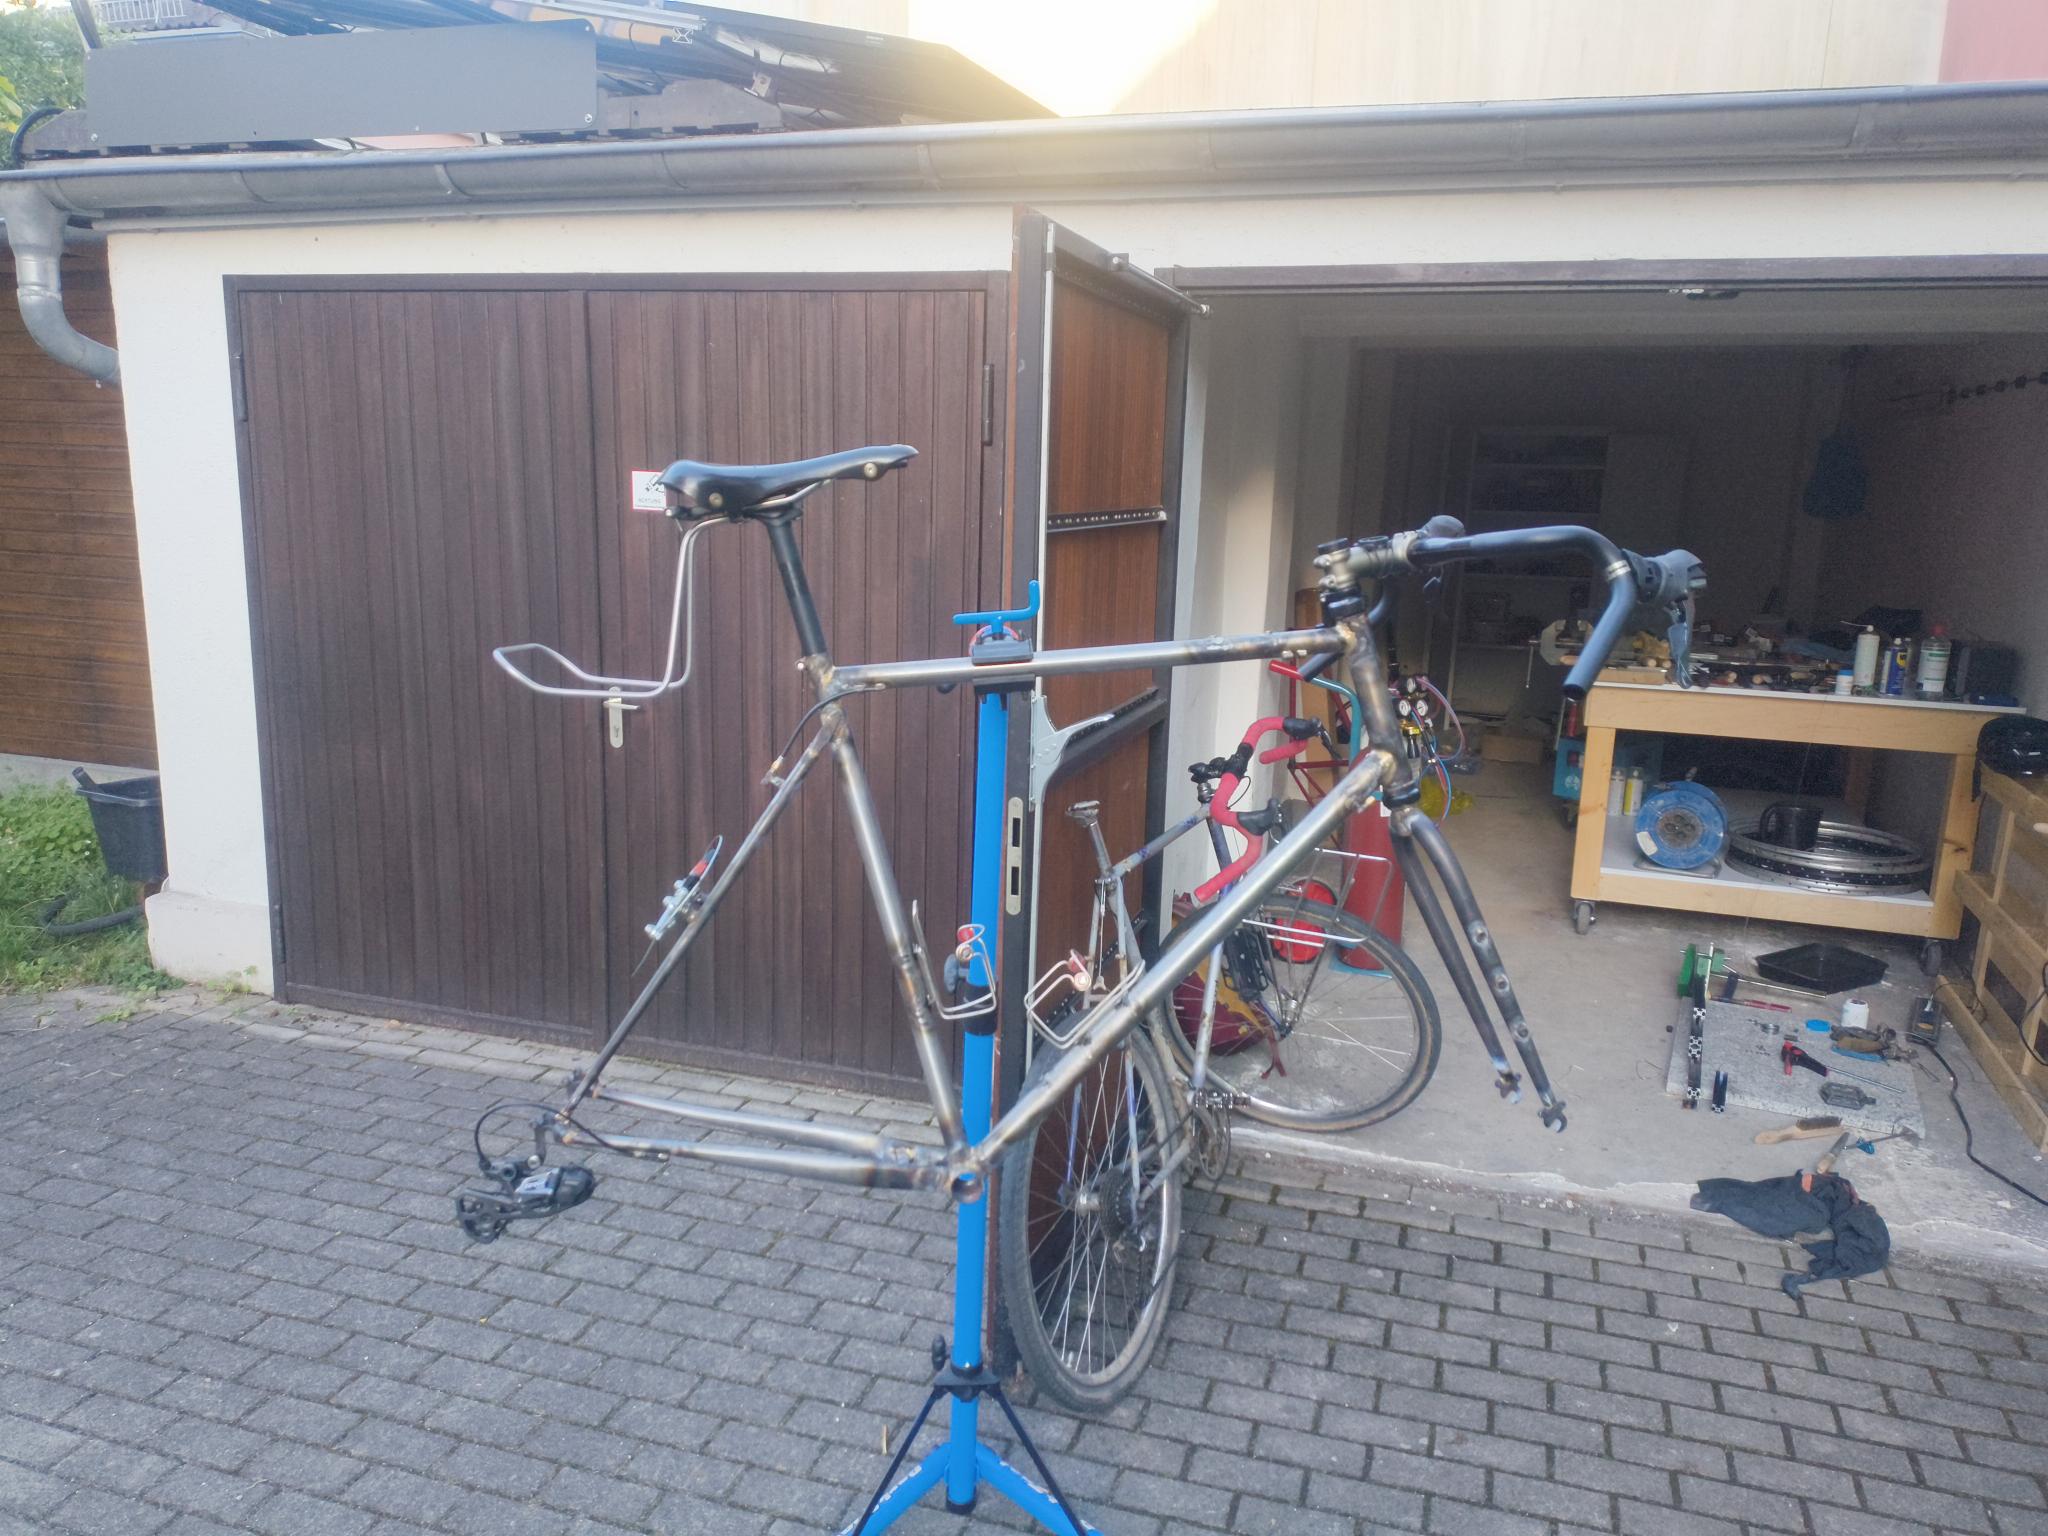
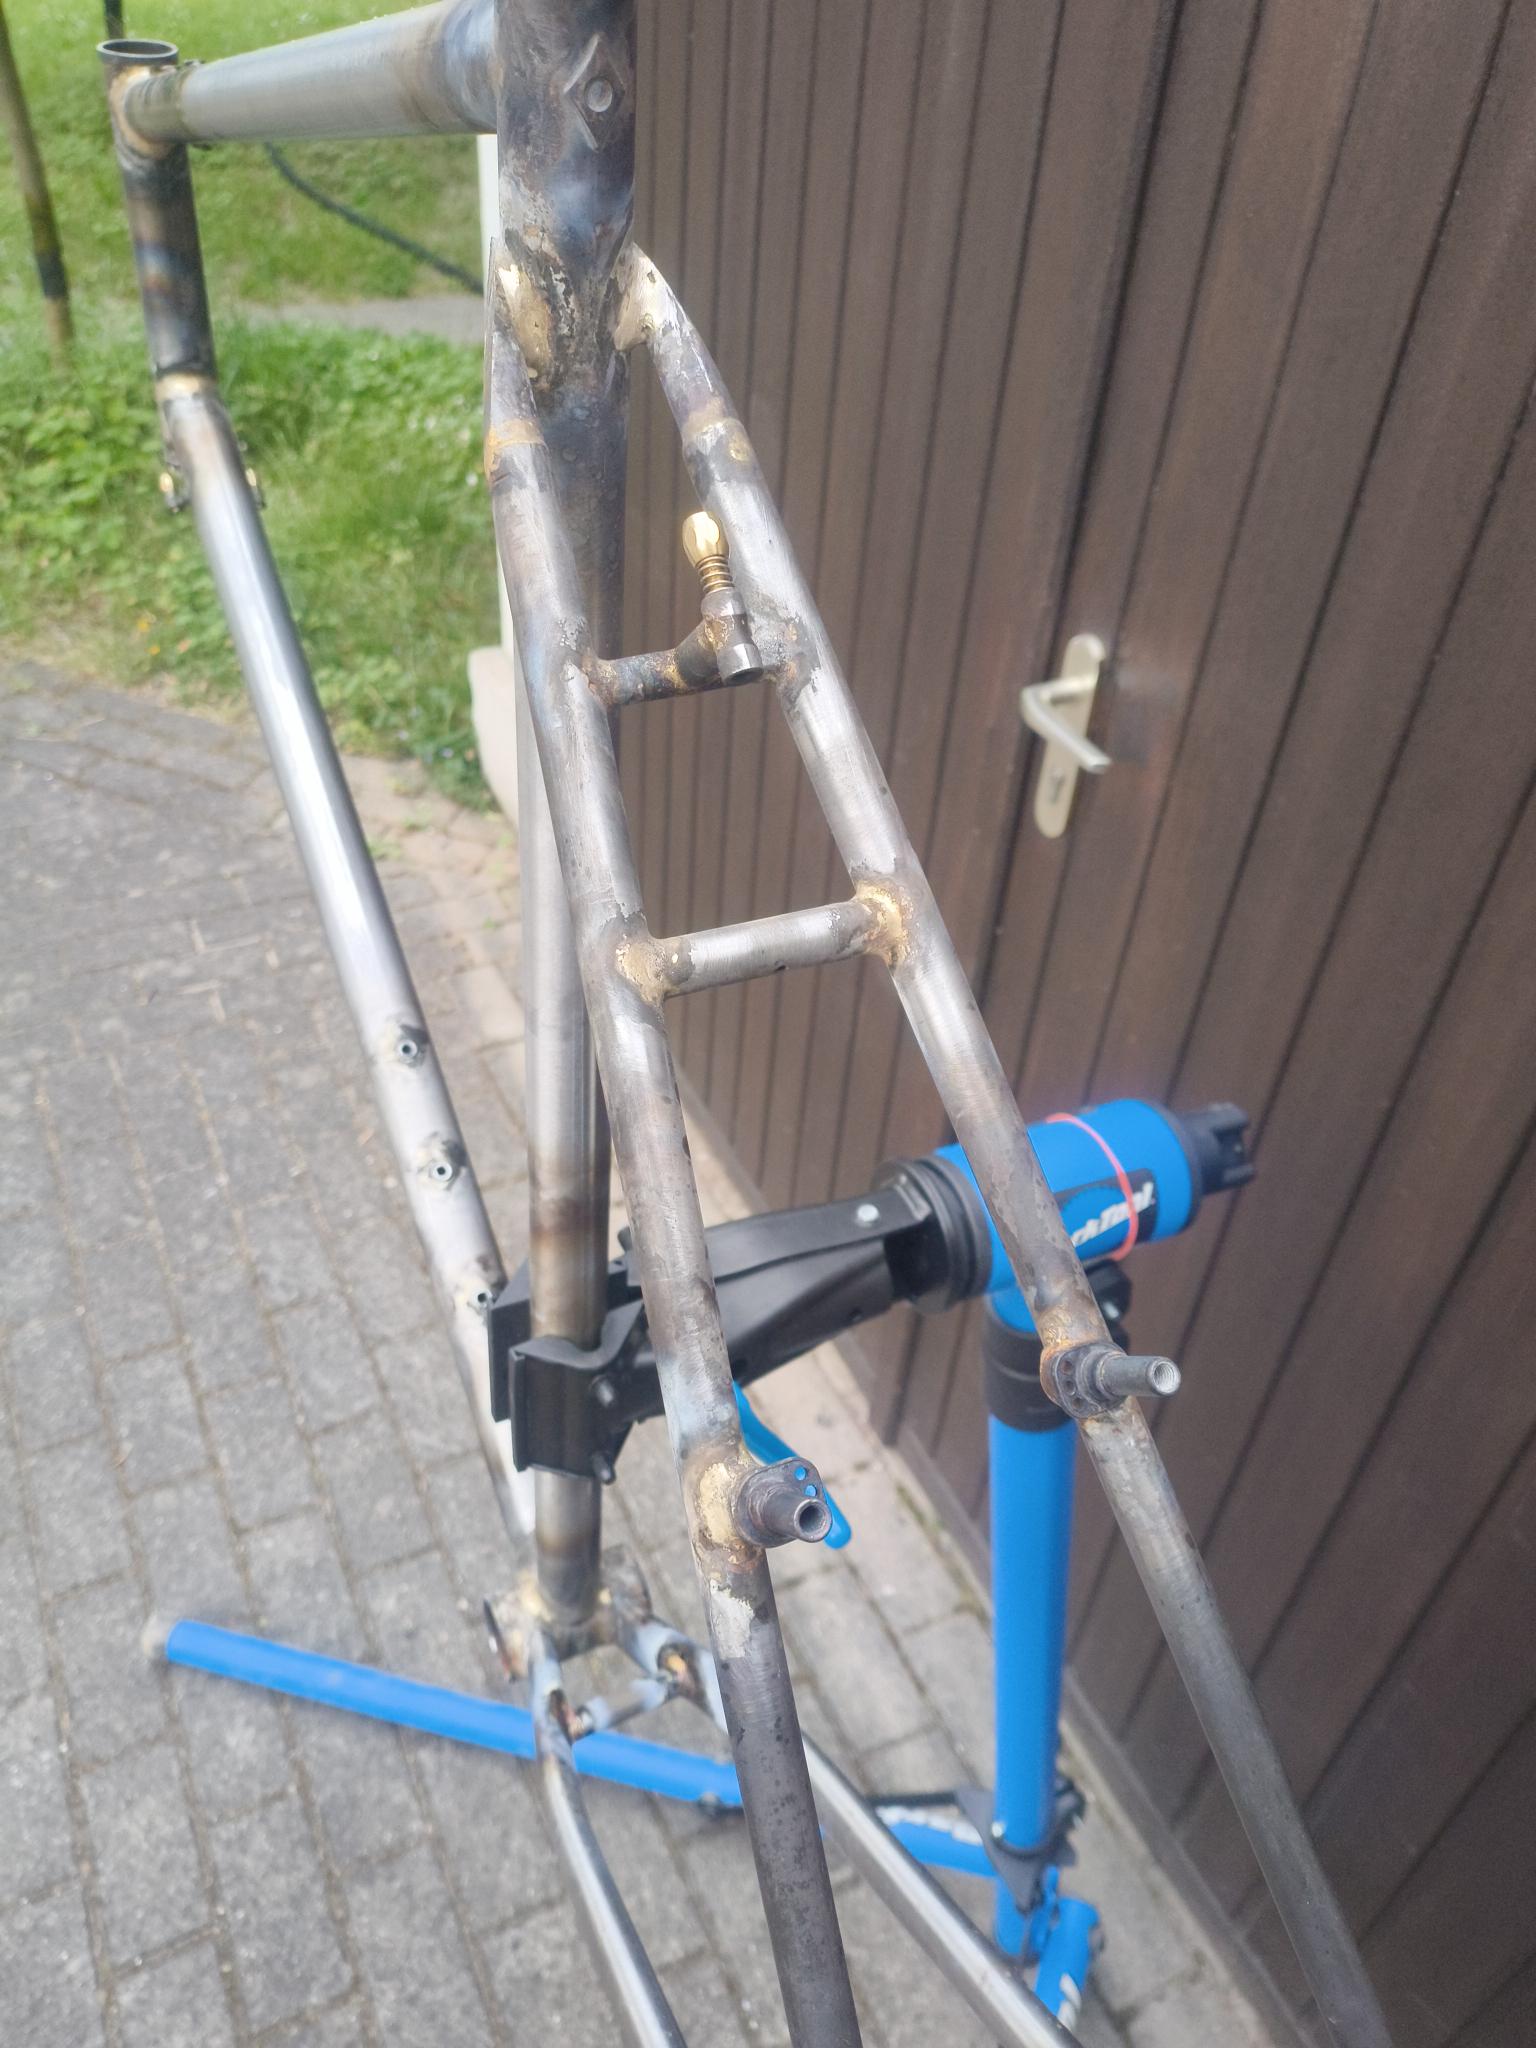
At the time I wrote my last post, the downtube and seatstays were missing, as well as the brakemounts, bridges and the fork. I installed the downtube quite late, because I was waiting for a delivery with the boss-brazeons (which never came - I had to sacrifice an old frame eventually.). Because of this, I started with the seatstays first. I wanted to build them as fastback-seastays.The join from SS to DT was quite tricky, and I didn’t get it where I wanted. In the end, I bailed and went for a simpler construction. Below is the best I could archieve. In the end I used some Reynolds 531 SS with tips, that I got from Kleinanzeigen (The german FB-Marketplace).

I did a very poor job on mitering the brakemounts, and just filled them with lots of bronze. The fork build went without too much trouble, but since I was running out of time, I didn’t take any photos.

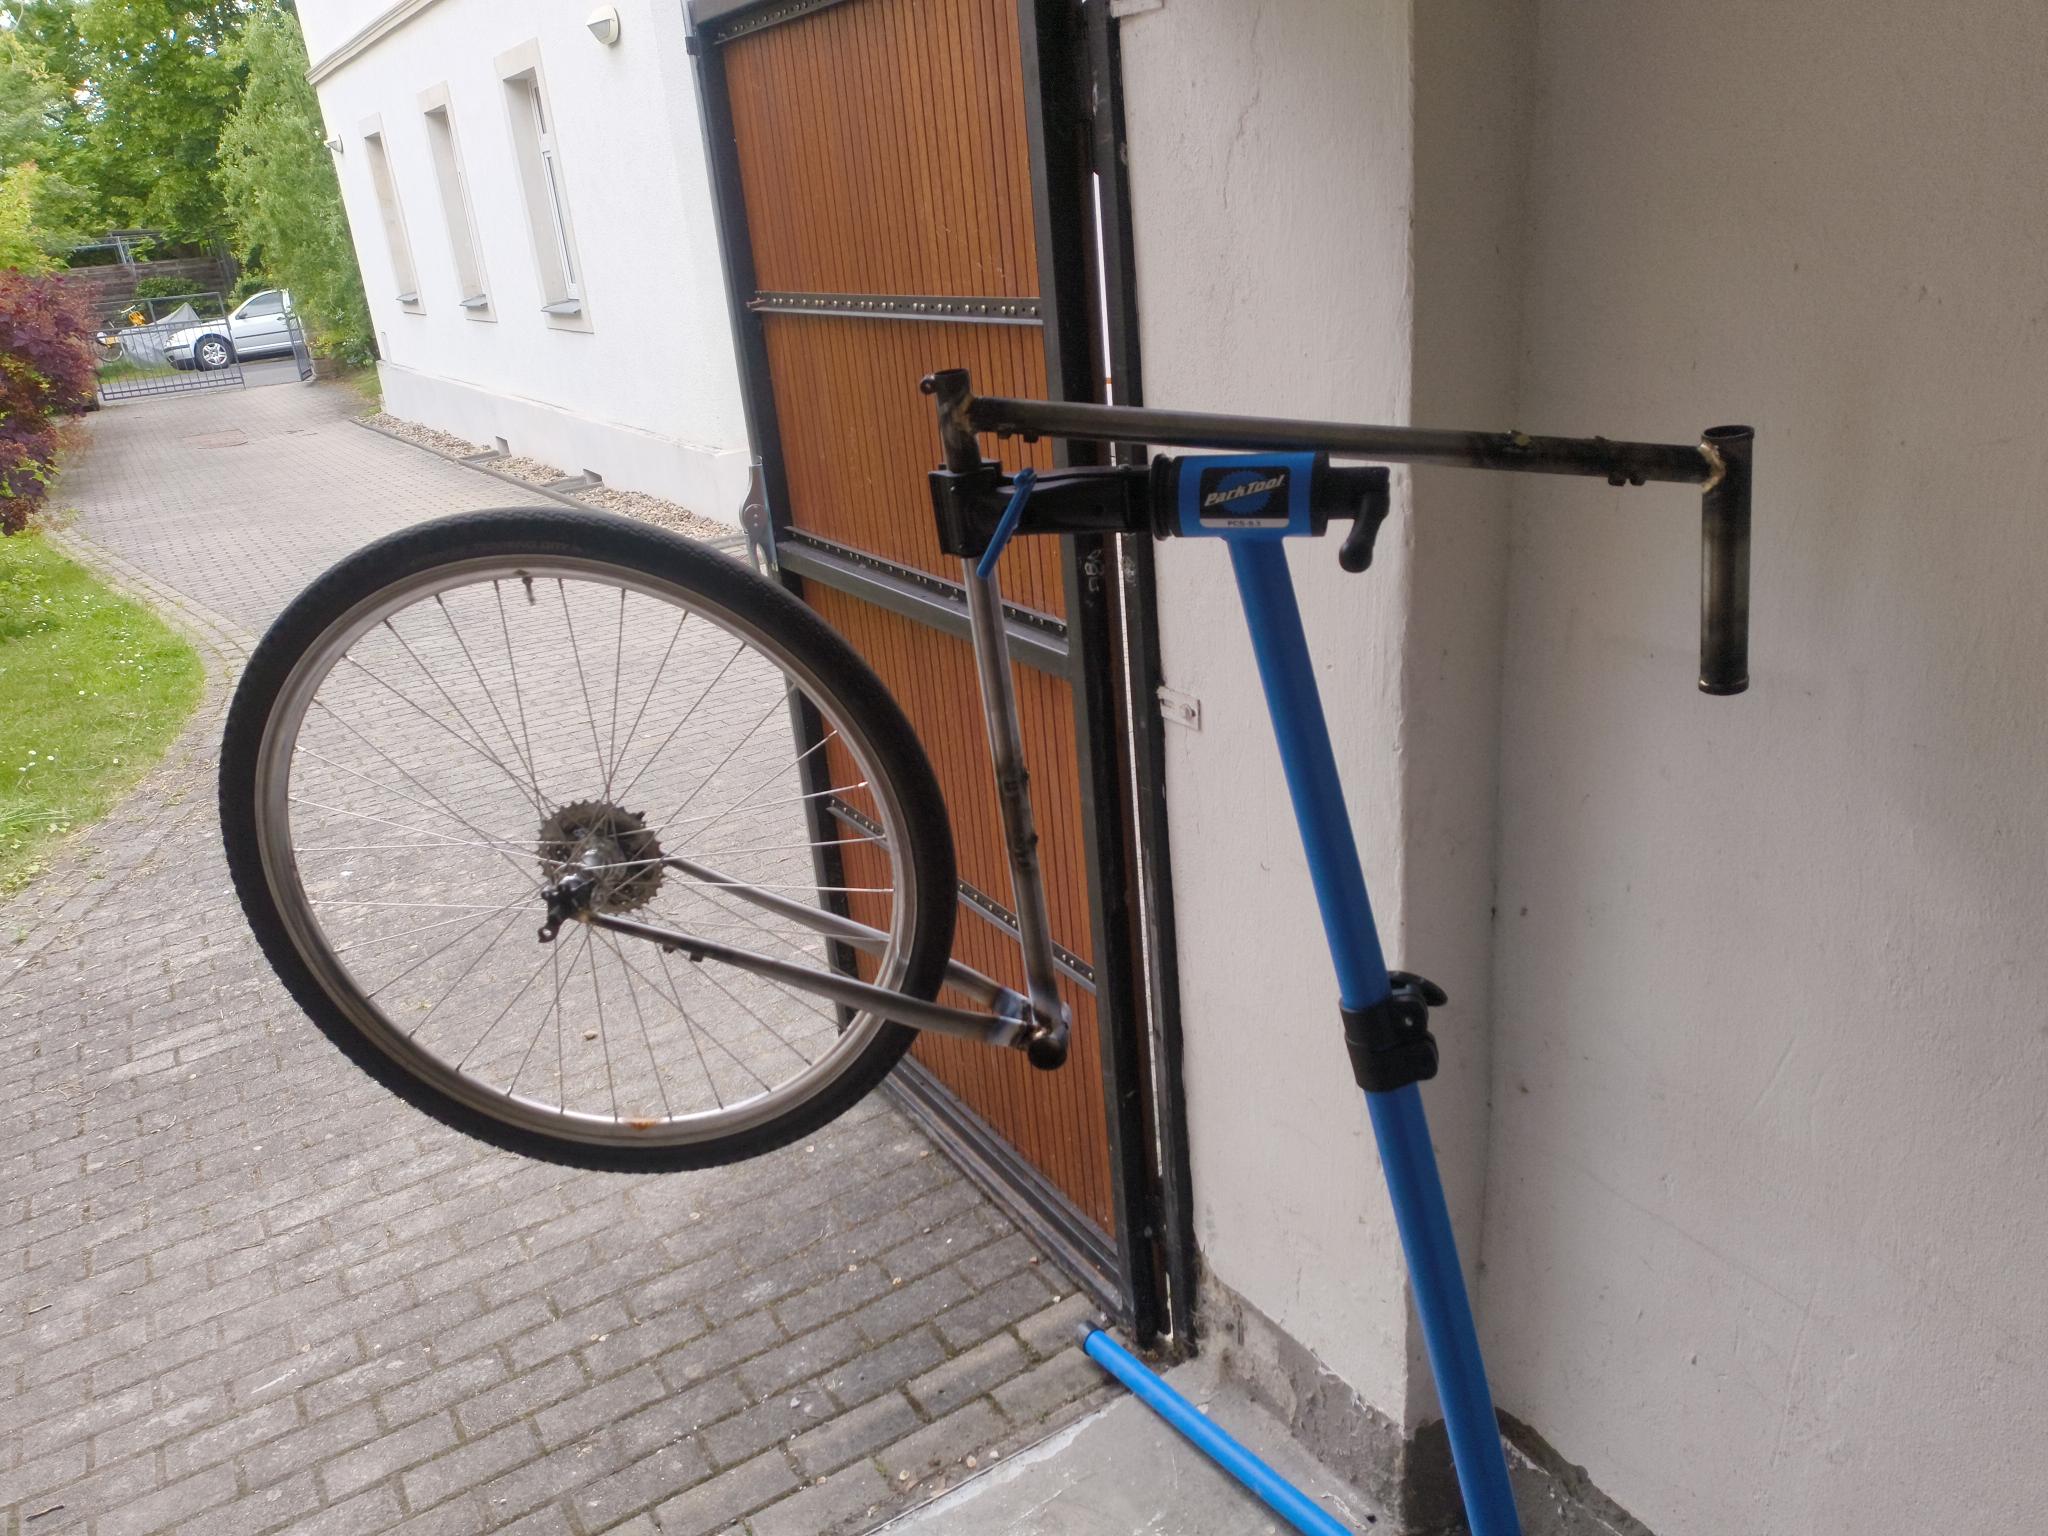
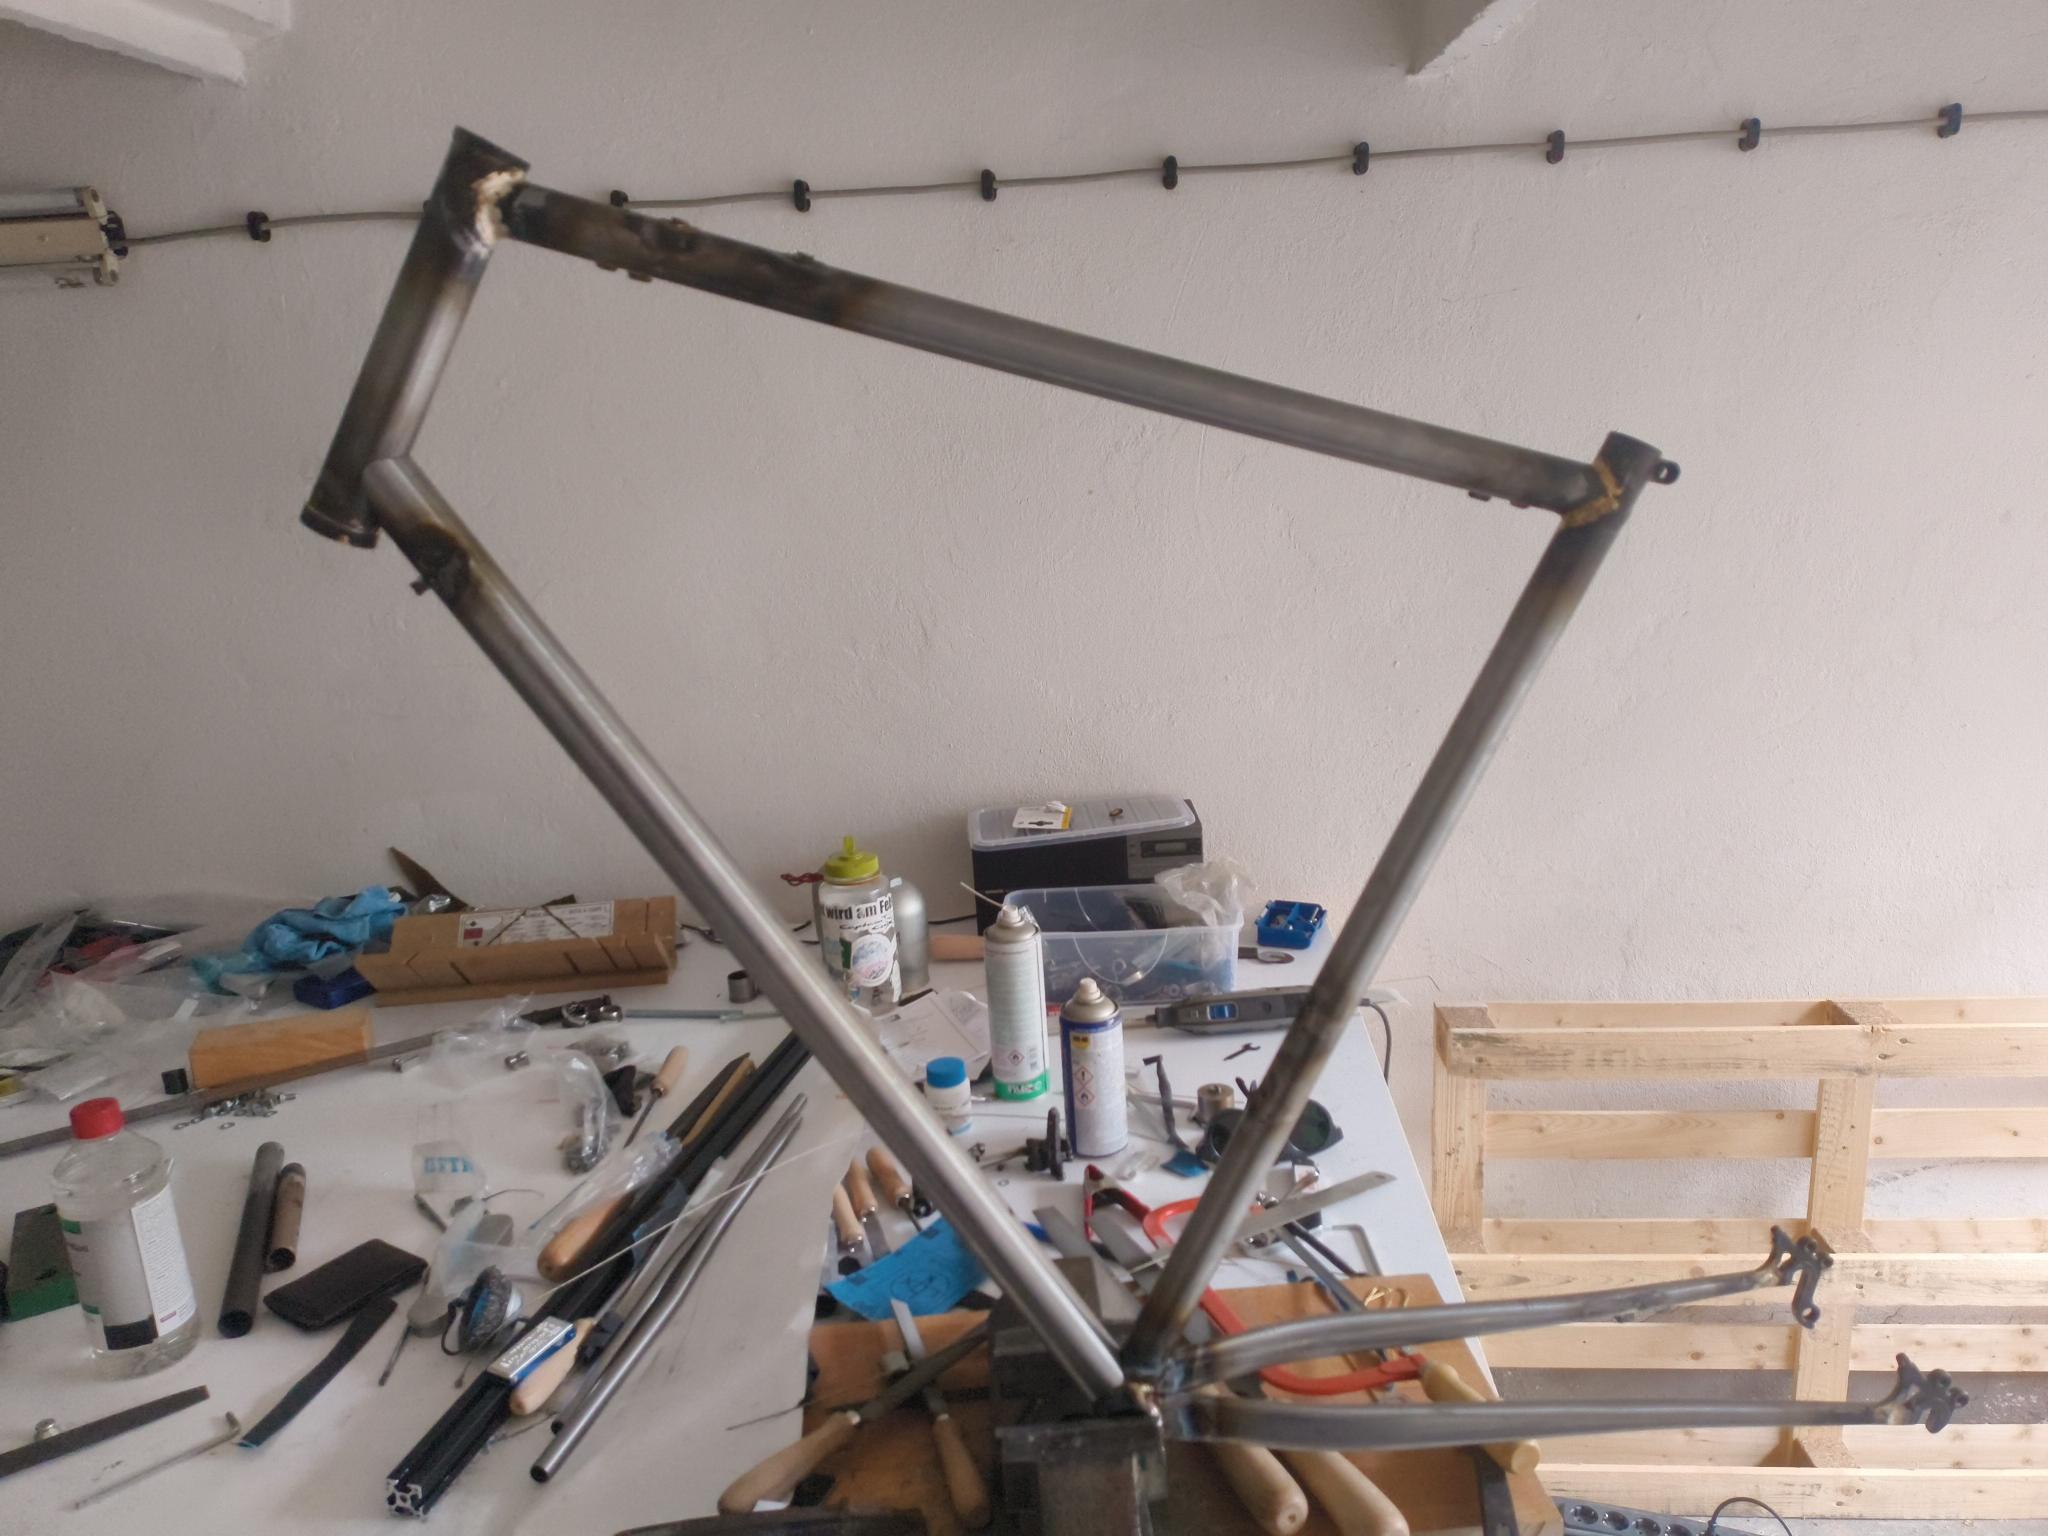
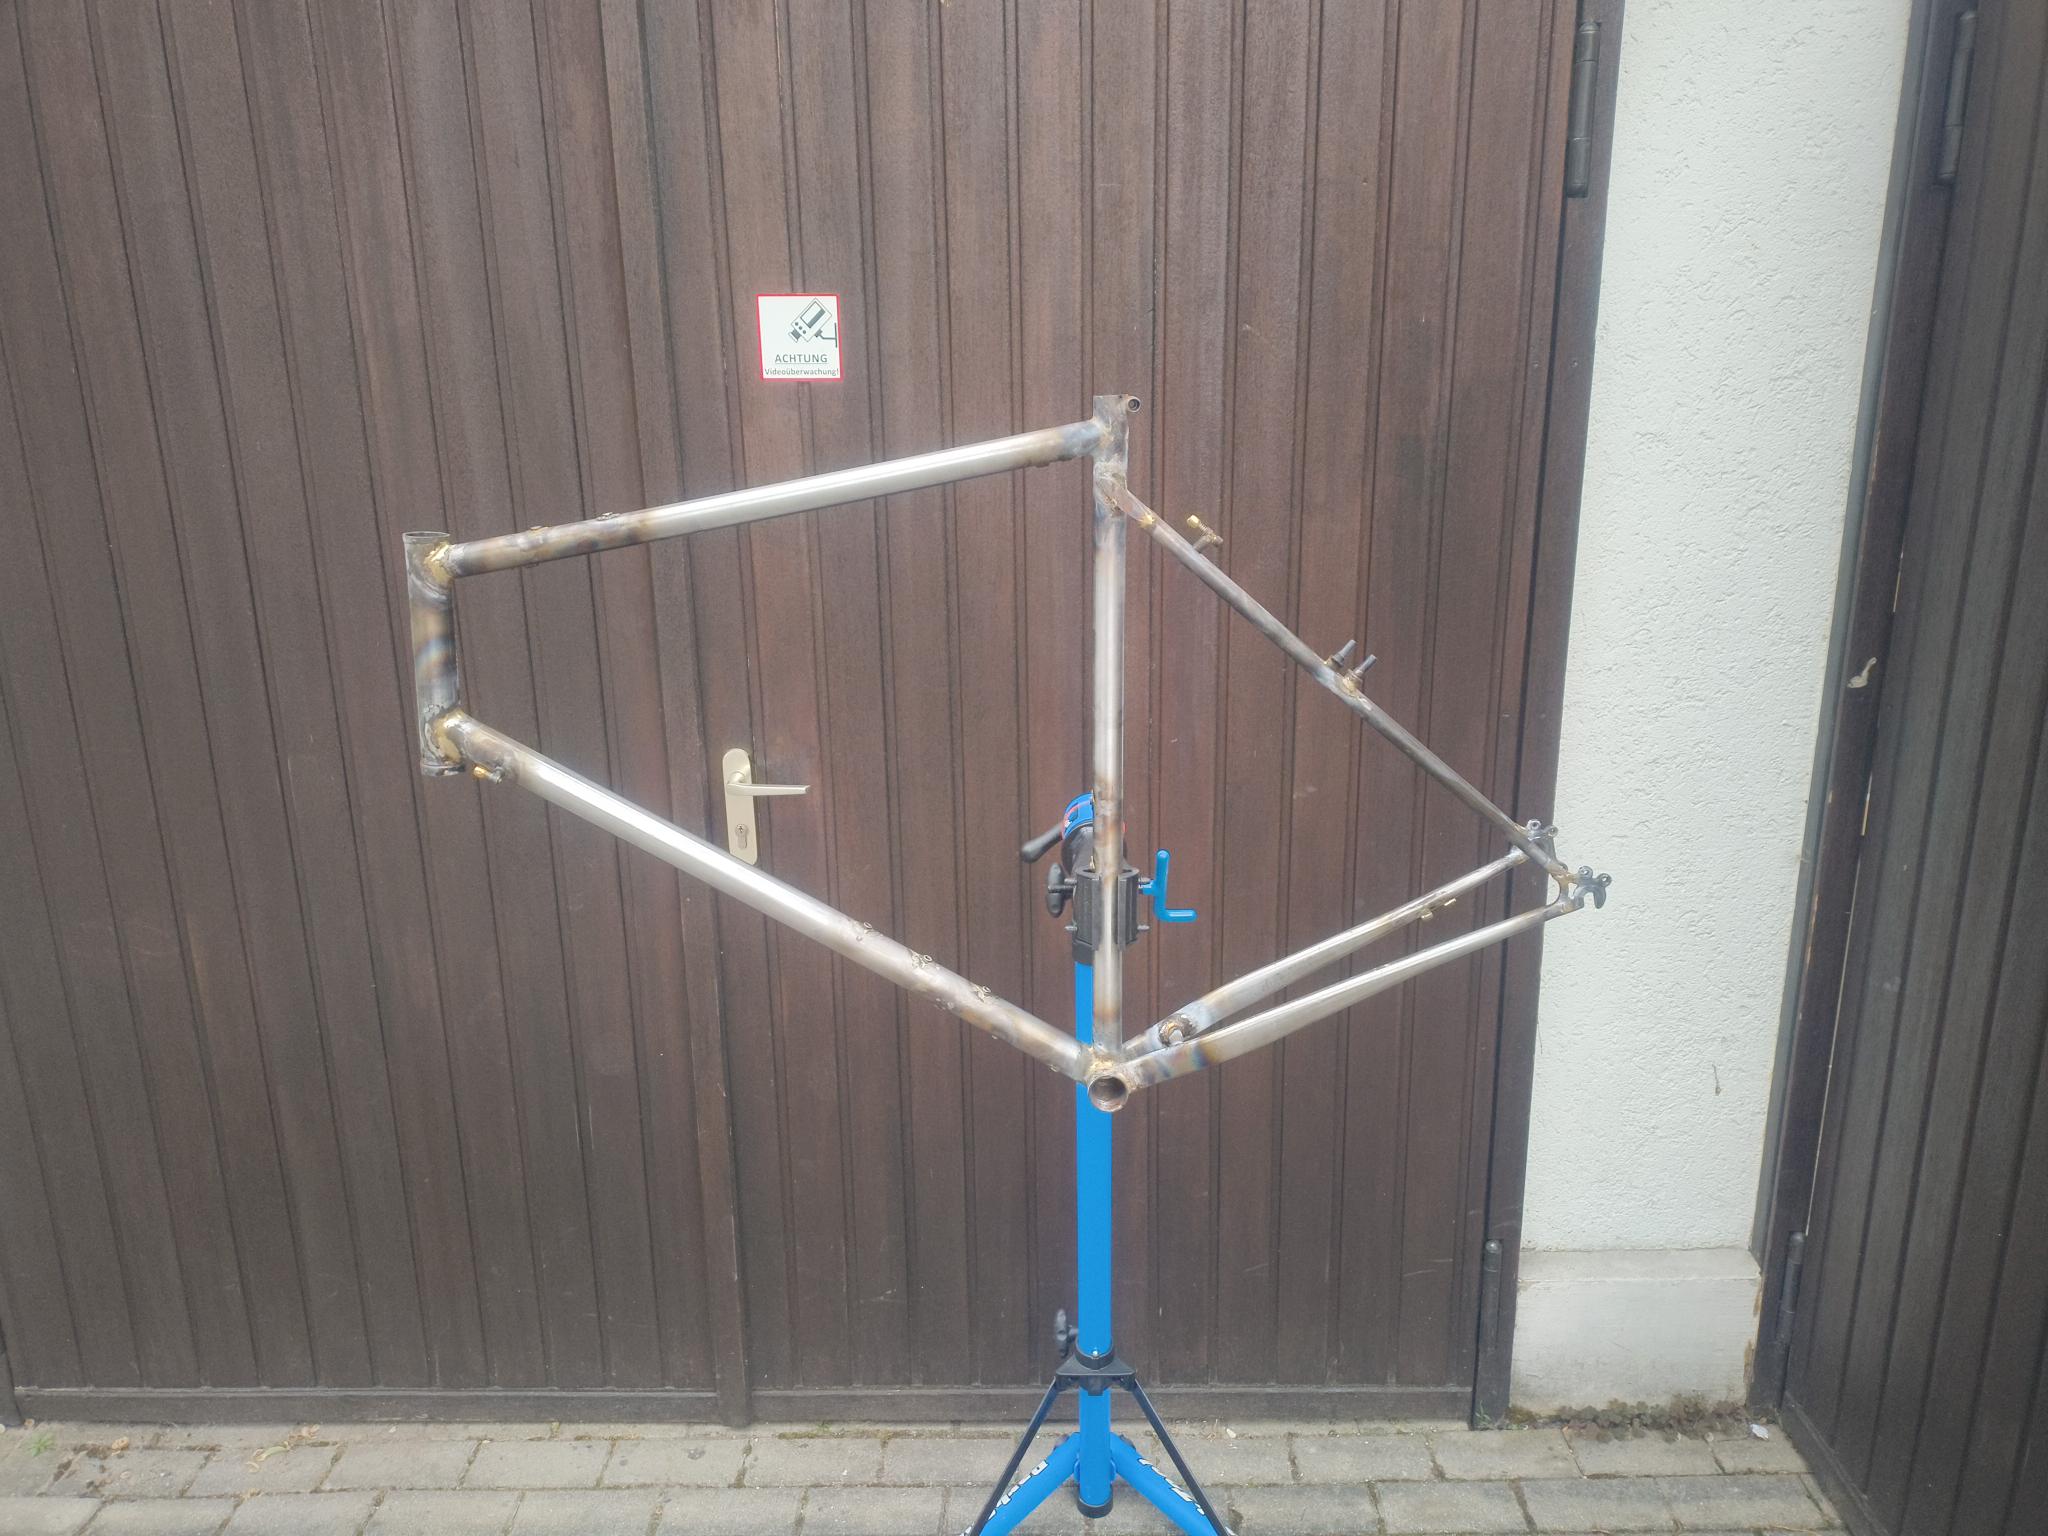
So.. here is the final frame:

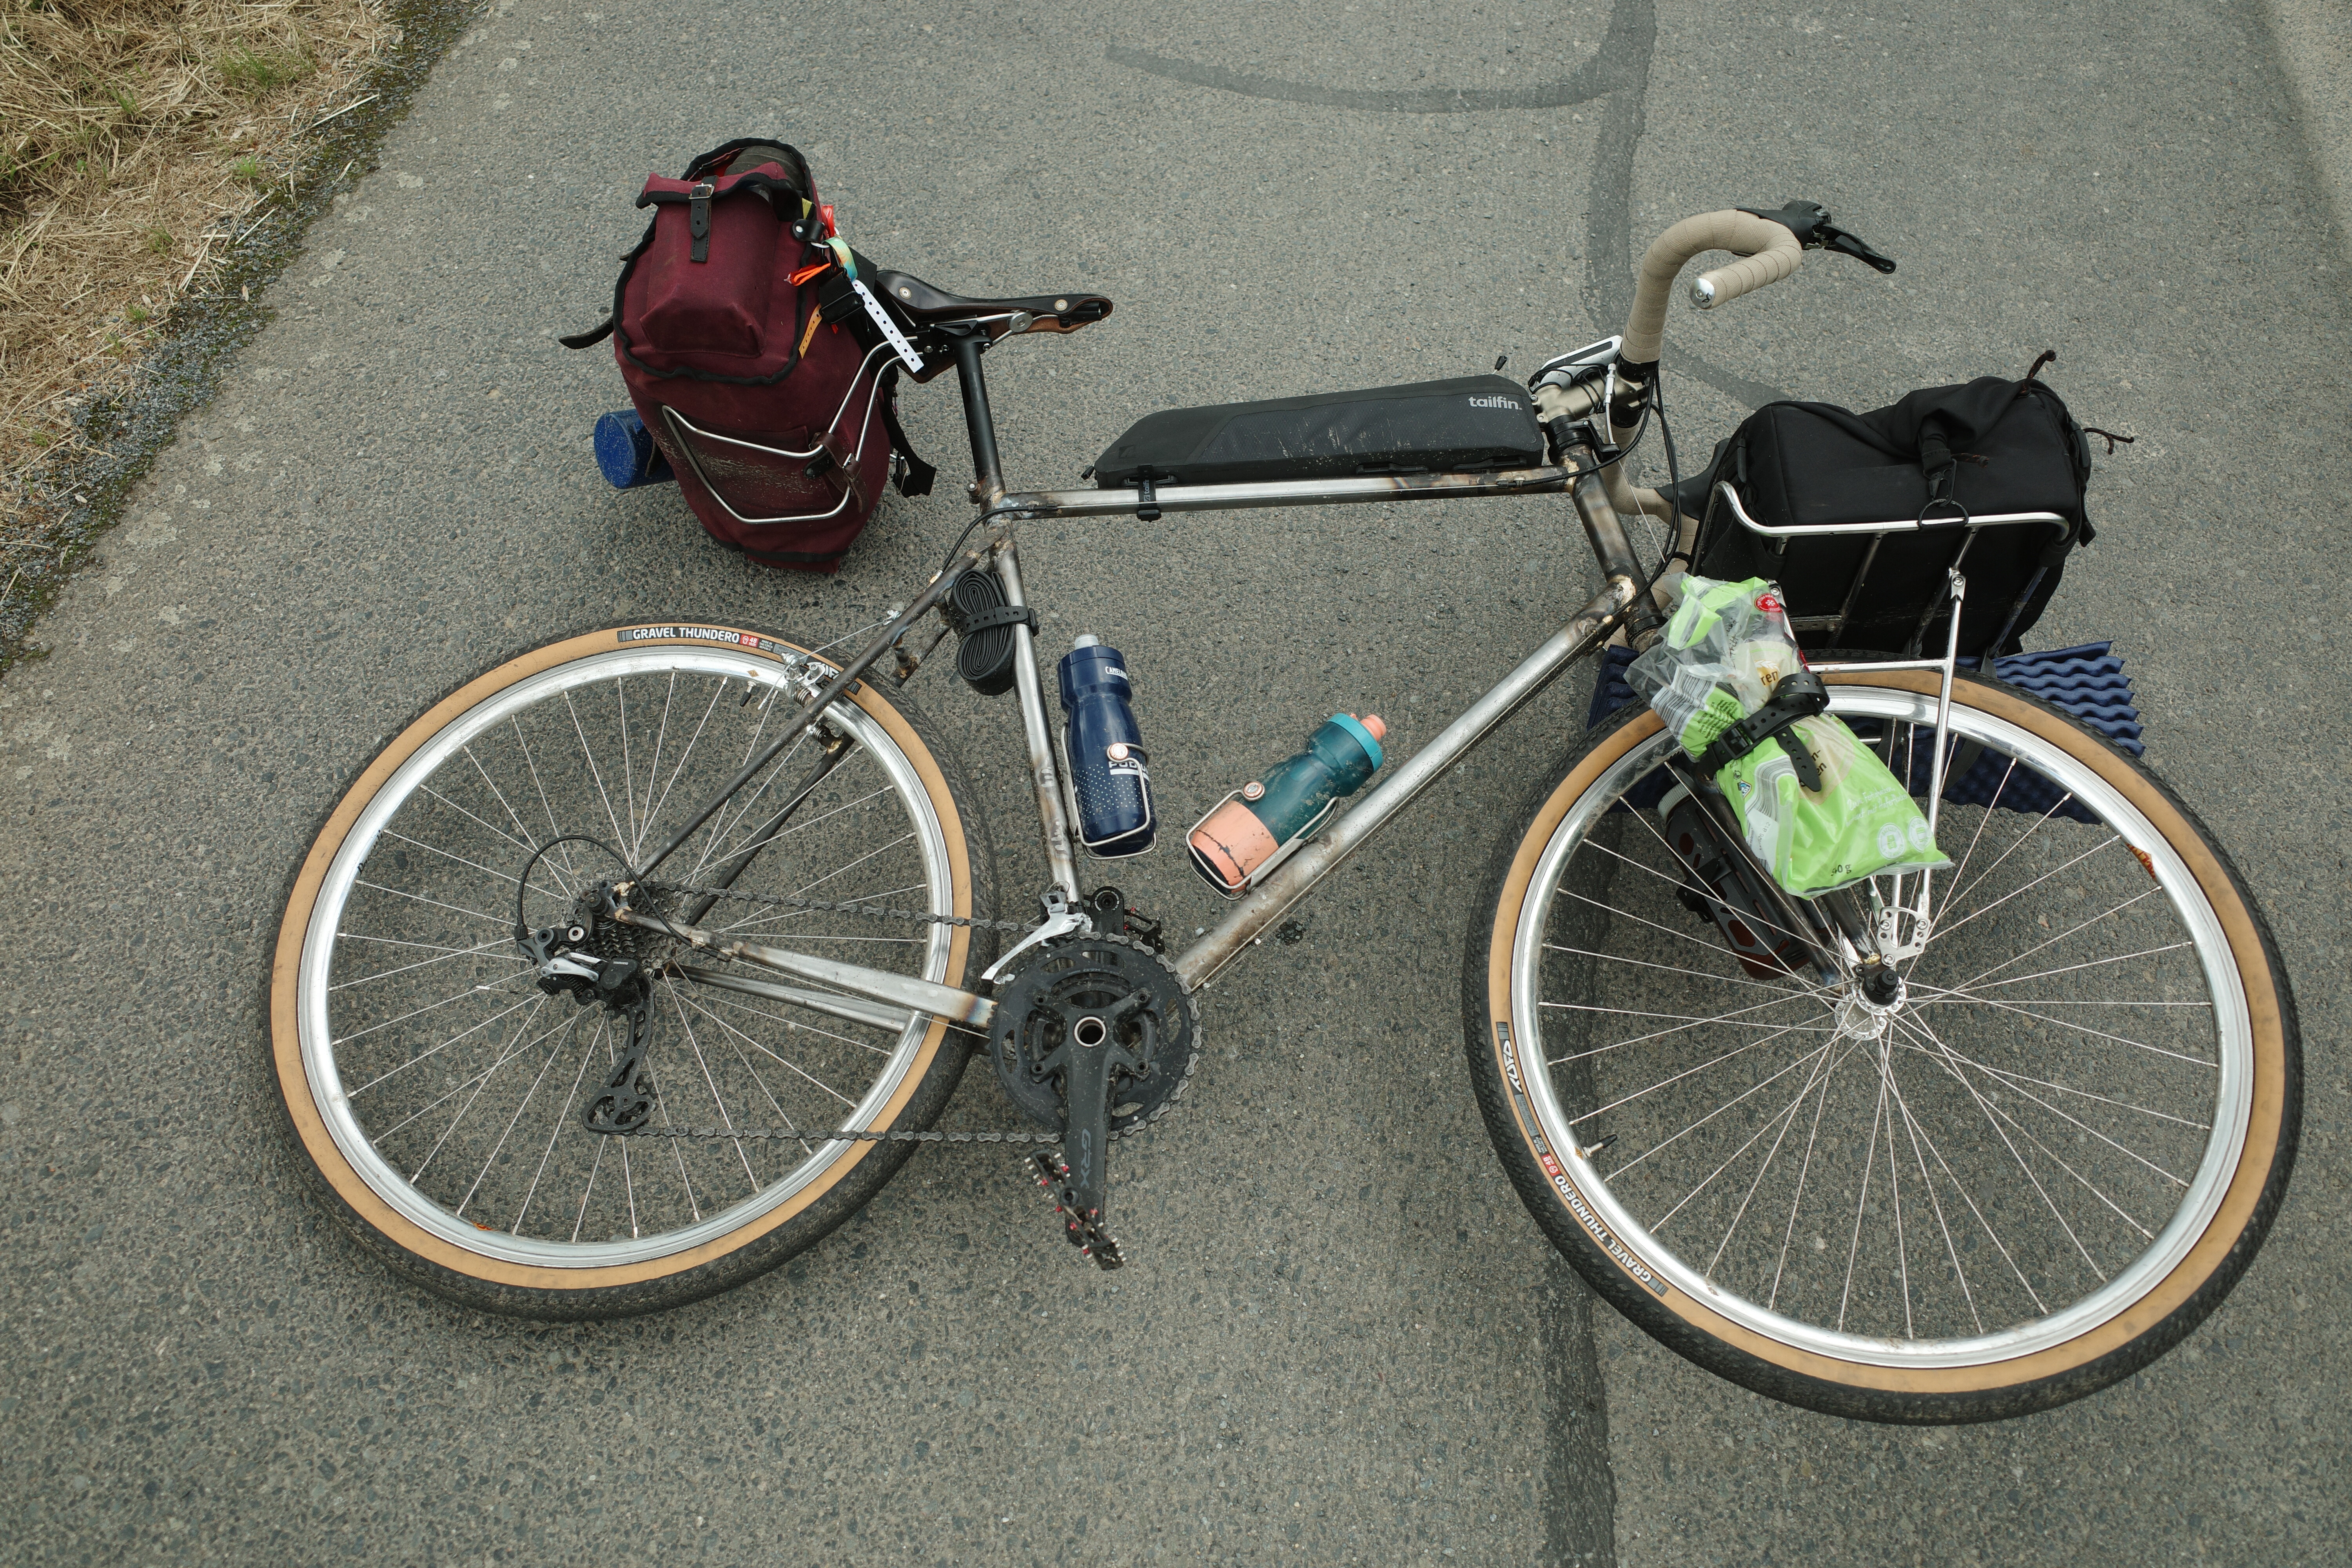
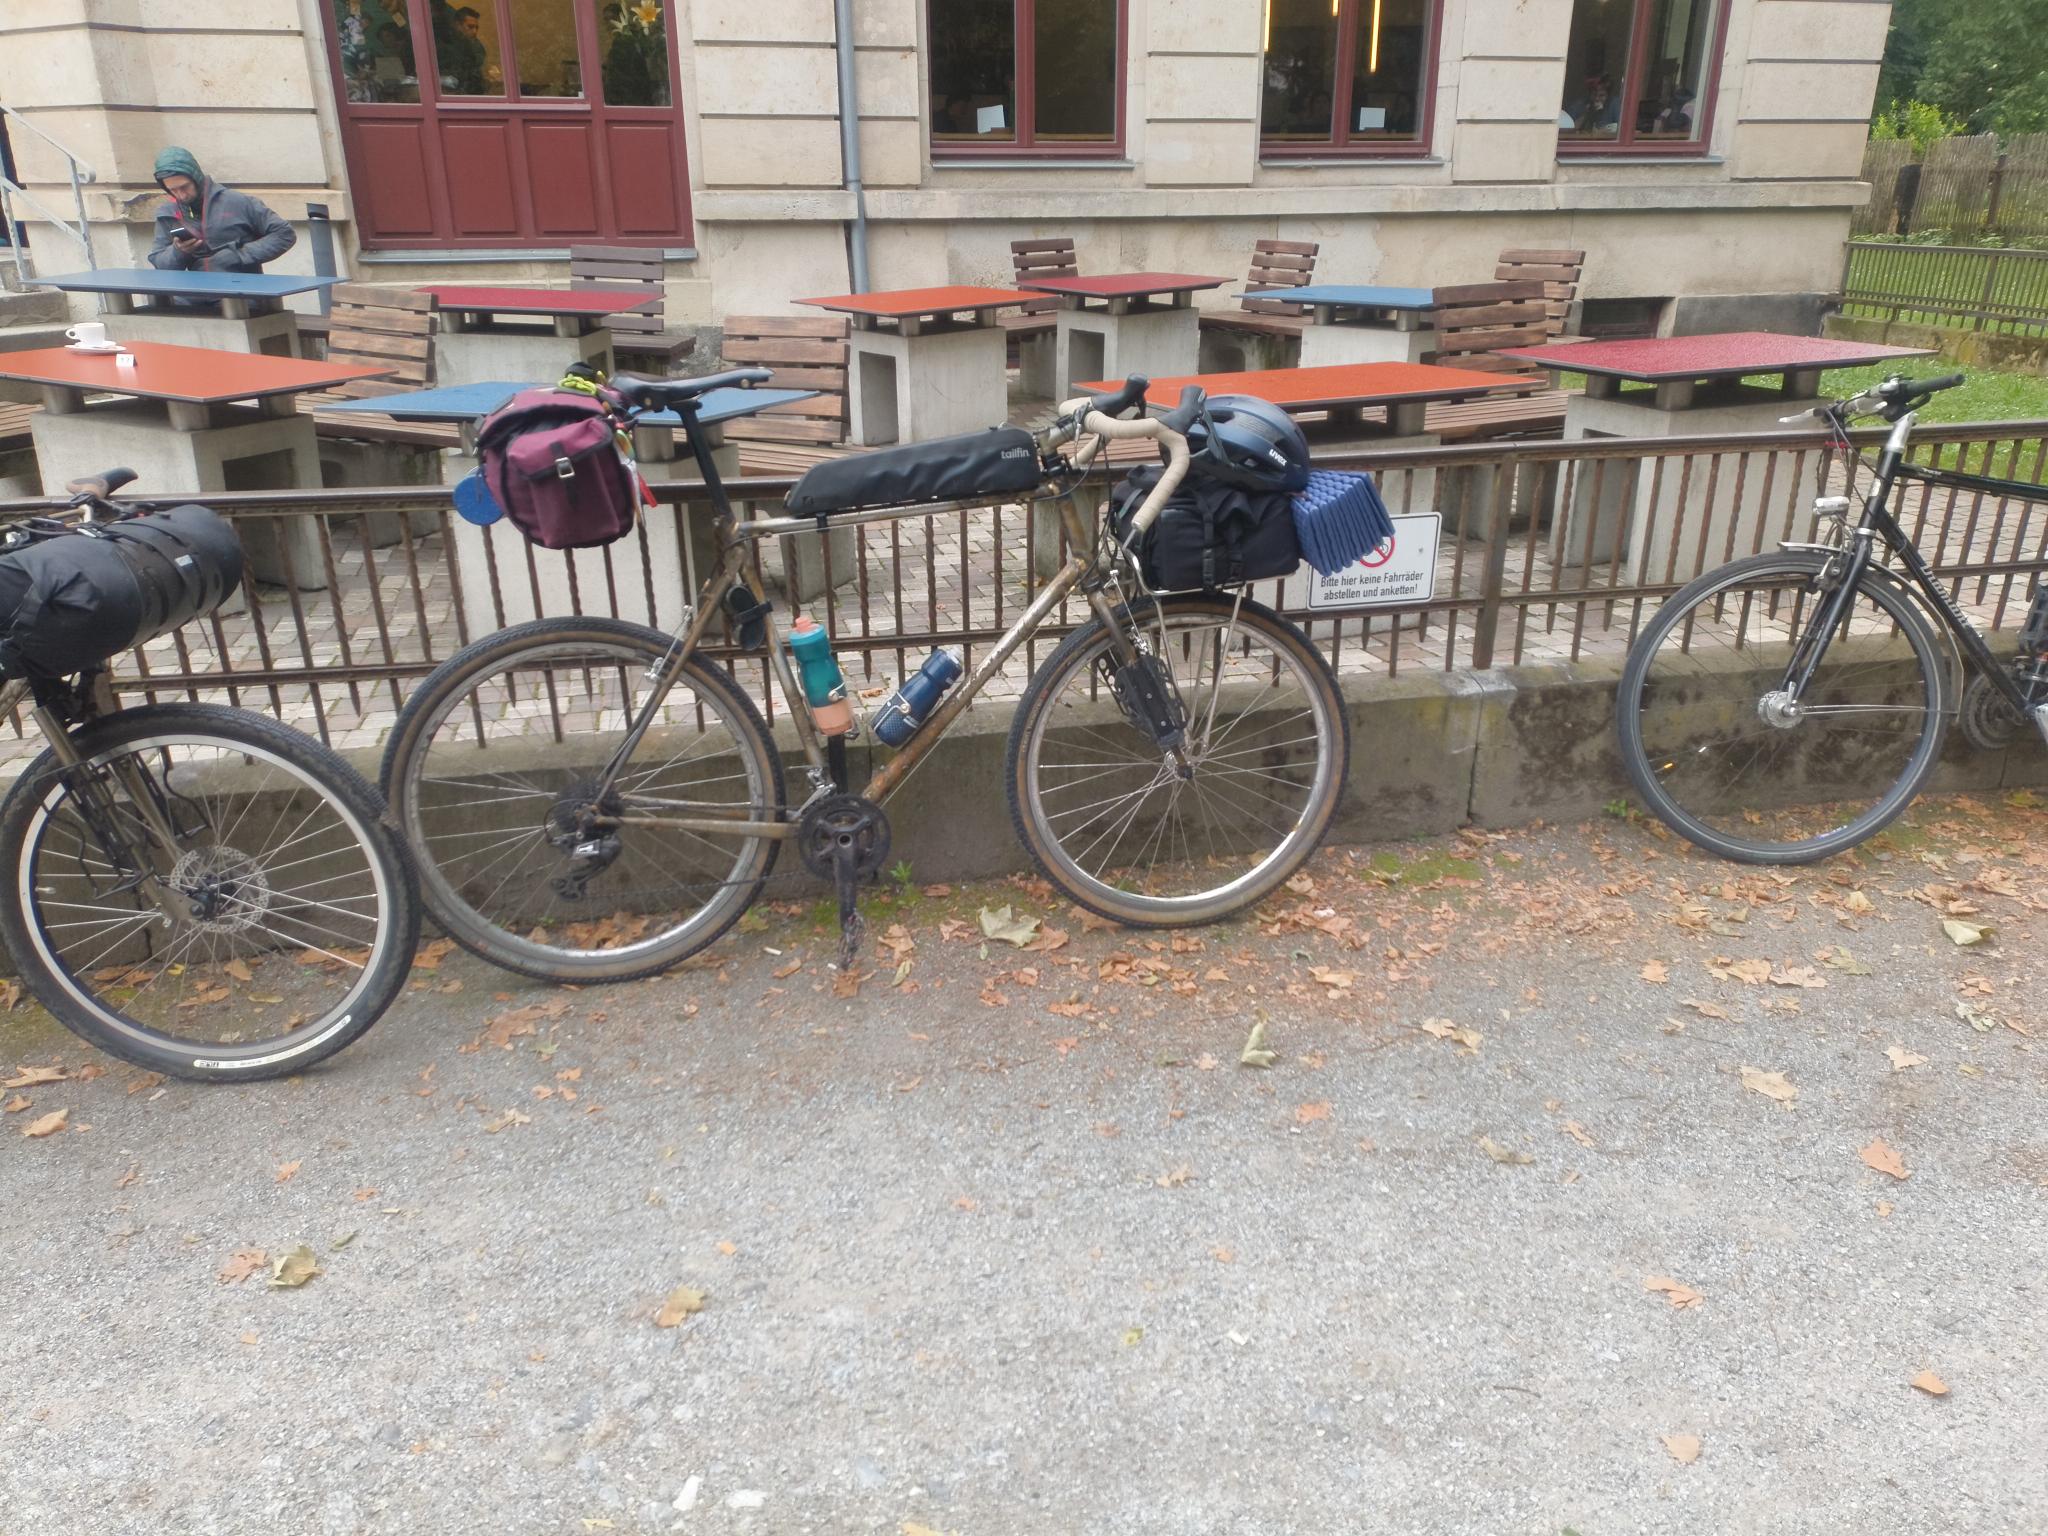
Loaded up for the bikepacking trip

The frame rides very very well. It’s straight and it’s tall. I love the steep STA, and overall, it feels like riding an adults bike for the first time. It survived the trip perfectly fine, even though we went down some pretty chunky and fast descents with camping gear.
However I have two small things that I would like to change: The frame might be a bit too small after all. Doing these trips would be more comfortable, if the handlebars were maybe 30mm higher. I might look into building a tall-stack-stem next, to see how it changes things. The steerer-tube is uncut, so I cant just add more spacers.

Second thing: I opted for 80mm of BB-drop. Since I planned on using large tires, I thought this would be enough. When going offroad this is too little imo. Maybe the long wheelbase accelerates these Issues, since I feel like I have more pedalstrike than I did on my old bike (which also had 80mm BB-drop and smaller tires). Right now I’m running 48mm tires, the frame has space for at least 2.5” knobbies, so I know a solution :smiley: .

So all in all: I’m very, very happy with everything. I didn’t expect this frame to be rideable at all or to ride good, neither did I expect it to turn out straight, or to survive loaded offroad touring. It’s easy to say, that this is the best riding frame I had so far.

Next I will add some drainage holes and get it sandblasted, so I can paint it.

My next two projects will be a custom stem, and a bike for my girlfriend. Those will be without time pressure, so they will hopefully turn out even better :slight_smile:

Thank you all for the input and help! Especially, thank you @guy153 for the bike-cad. I used it a lot, and I find it really helpful!

Cheers!

6 Likes

Great work! I like “shot-in seatstays” but they can be tricky to attach because of the sharp angle. I usually use TIG brazing around the bottom because it’s easy to kind of drop it in there. Another issue you have to watch out for is if you have brake-bosses: they need to end up about the right distance apart (it should be 80mm but there is a little bit of latitude). Attaching the stays to the sides of the ST as you have done is something I’ve done before to get that spacing right. Yours has evidently worked out fine :slight_smile:

As for BB drop I think the main reason for a low BB is just standover. All that stuff about “centre of gravity” is largely a myth IMO. However for a bikepacking/touring bike you do want it to be easy to stop and start and get going.

2 Likes

With you on the COG argument! 10-15mm of BB drop is nothing compared to getting your weight lower with a dropper post, even on gravel/ATB type bikes.

2 Likes