That’s interesting to hear, what torch angle do you find works best?
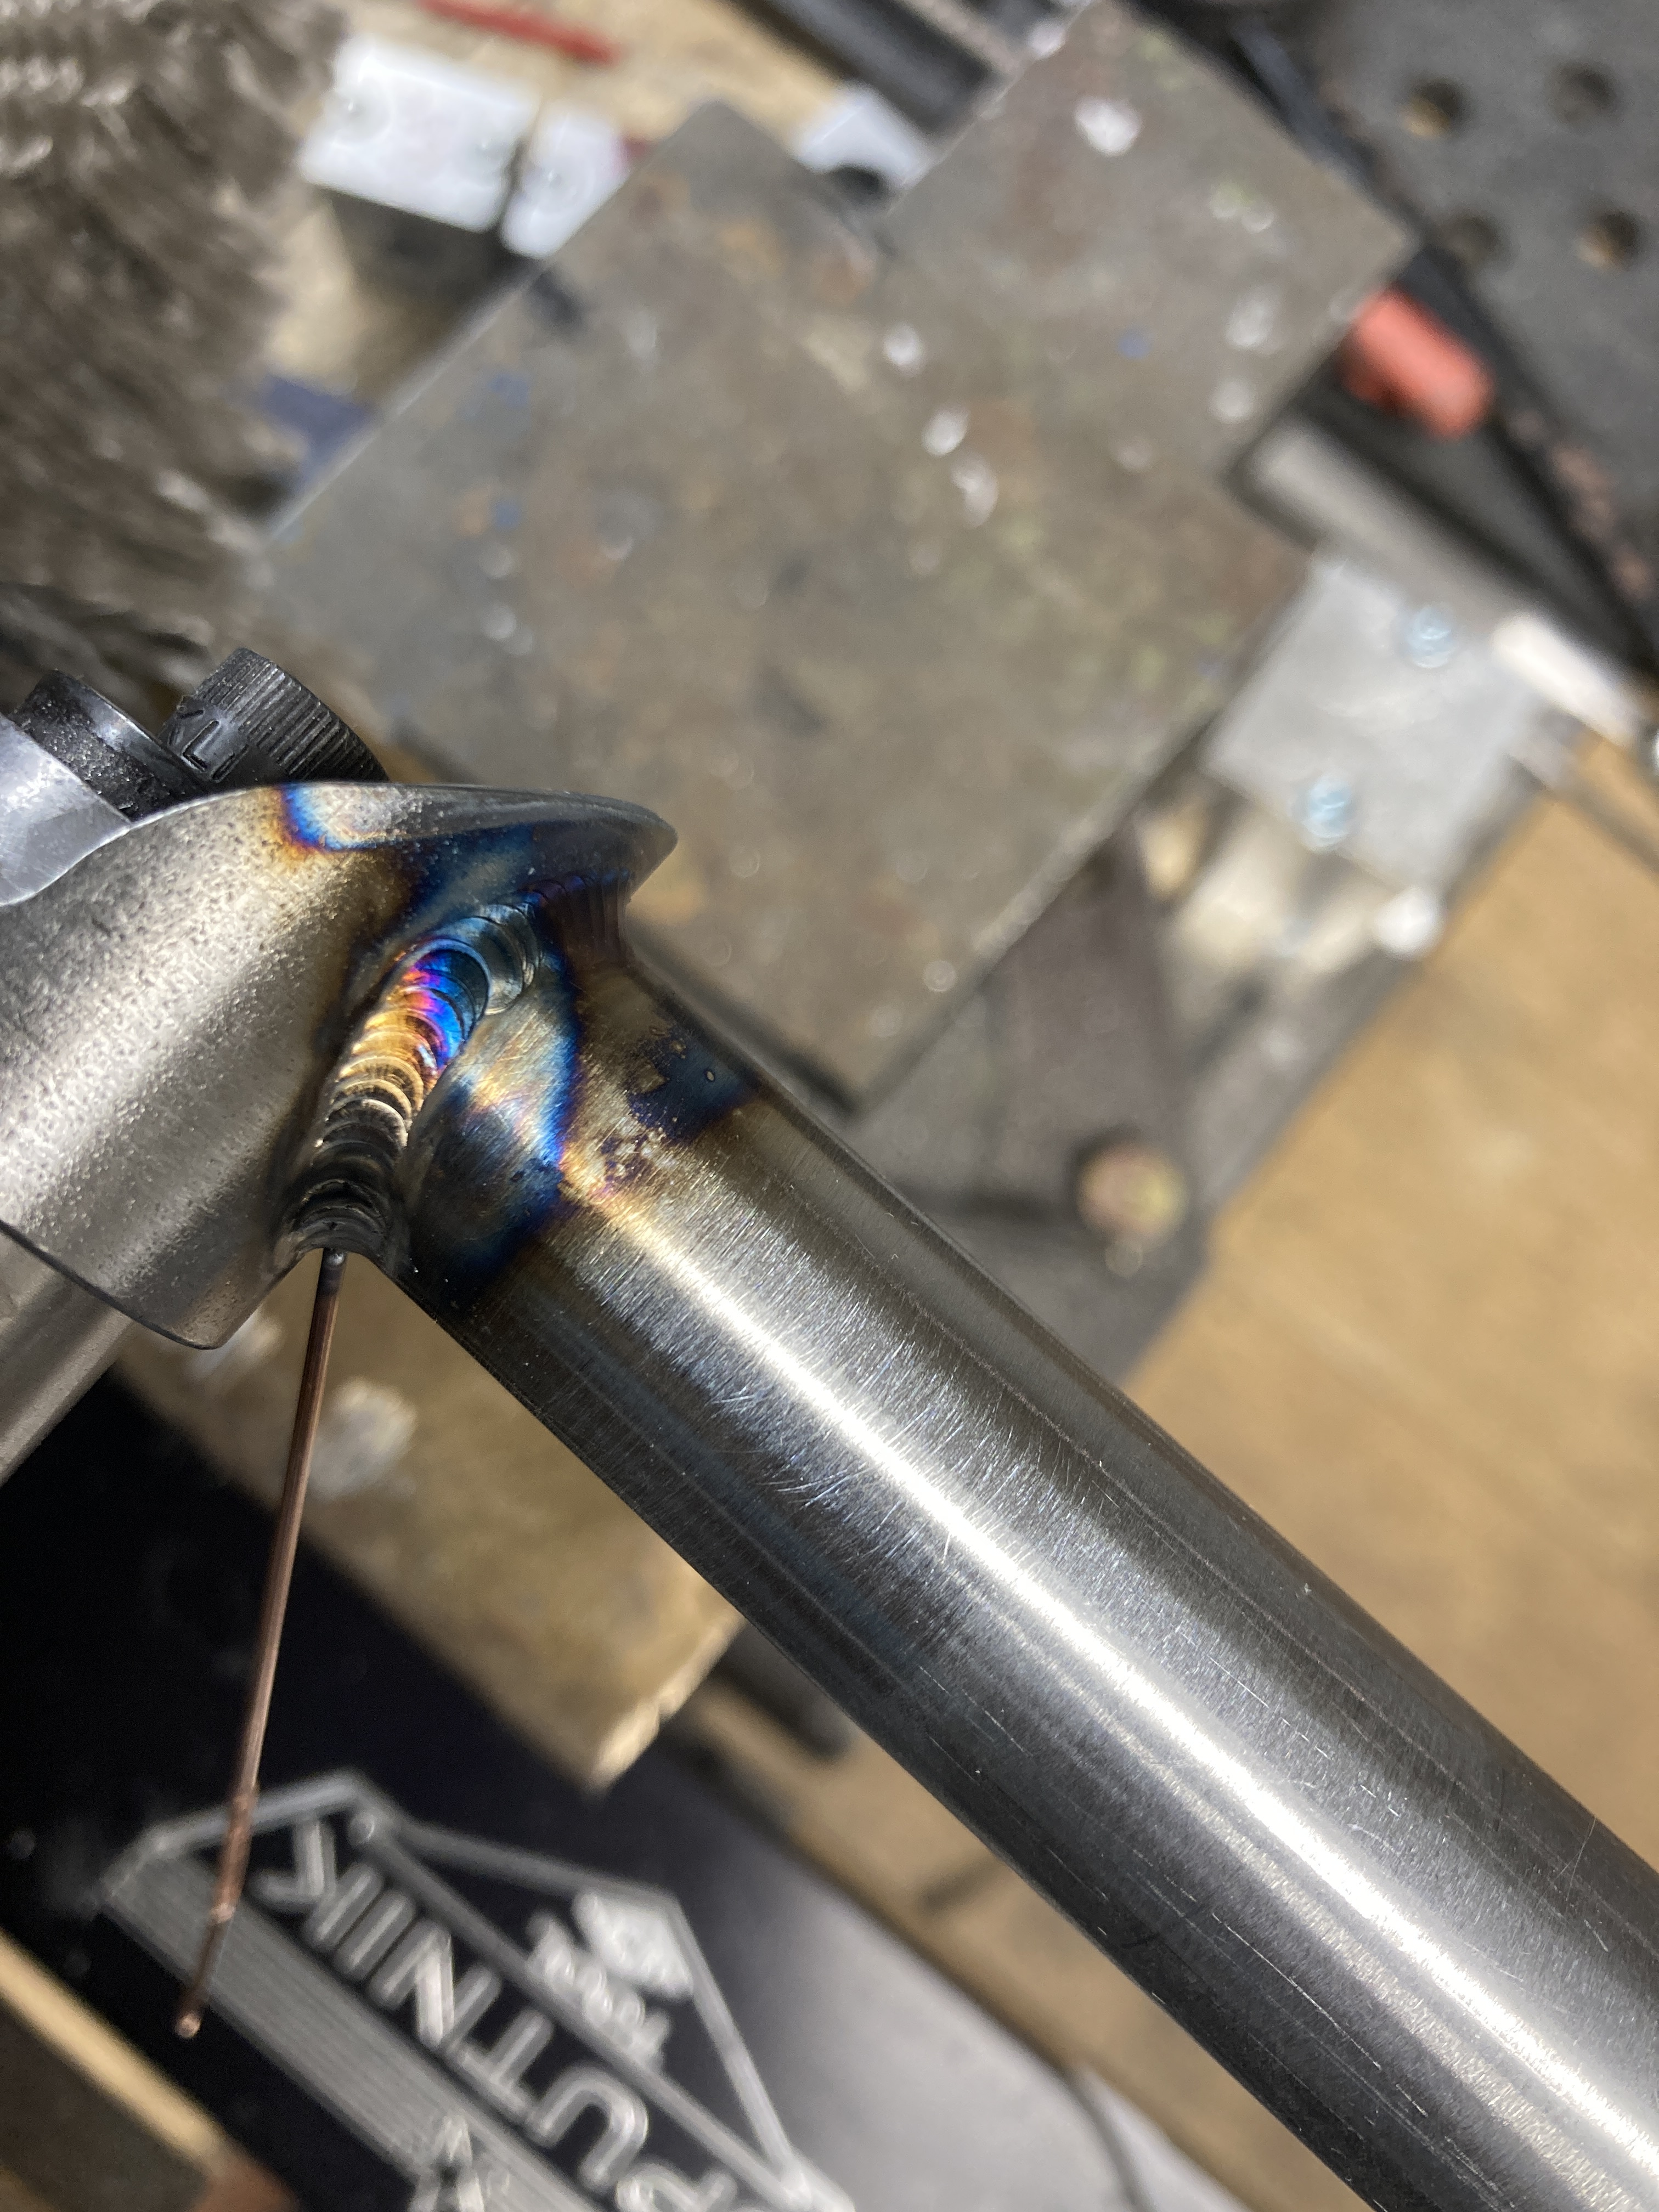
Thinking back to the amps (machine was at 175) I used and what I was seeing happen, I think I could have used a 1/16th rod. The part is 1.9mm and the rod was disappearing quicker than I am used to feeding.
I bias the arc slightly towards the printed part and try to keep the tungsten as near perpendicular to the joint. Too much angle in either the push or pull direction will result on the oblong puddle shape you have.
I’m gearing up for a big move so spending is off the cards for me right now, but if you got a pair left in a few months… I may have to cop one and build myself a commuter!
1.4 pps 33% peak 10% background. I don’t remember flooring it, but I needed the amps for the acute angles (near the BB edge).
In my experience the puddle looks more consistent with too hot of a puddle, but torch angle can also exaggerate the <<<< vs. the ((((((. With a 1/16 rod I could have cooled the puddle more with each pulse, I was struggling to keep the rod on the leading edge.
I probably should have stopped and reassessed what I was doing but I can fall into the hero welding trap hah. Had I dialed the amperage closer to what I needed my slight foot peddle adjustments wouldn’t have had such a large increase/decrease in the amps.
I appreciate your feedback @Neuhaus_Metalworks. I want to get more experience with the printed parts and printed parts that aren’t as thick as this was 1.9mm.
My settings for thick printed parts to tube are as follows:
135a (material, machines and supporting electrical can affect this, grain of salt and all that other stuff)
1.1 pps
20%
5% background
These settings allow me to see the shape the puddle is taking and correct if needed. I also suspect your puddle is still very…puddley when you move which is also creating the tail.
My settings are pretty similar to yours on steel frames.I bump it a tad bit faster at 1.3. For Ti slightly lower amperage.
I had one Ti builder who has been doing it for quite a while tell me he runs those same settings with 180A at 2.2 pps. I was like That’s hot and fast!!
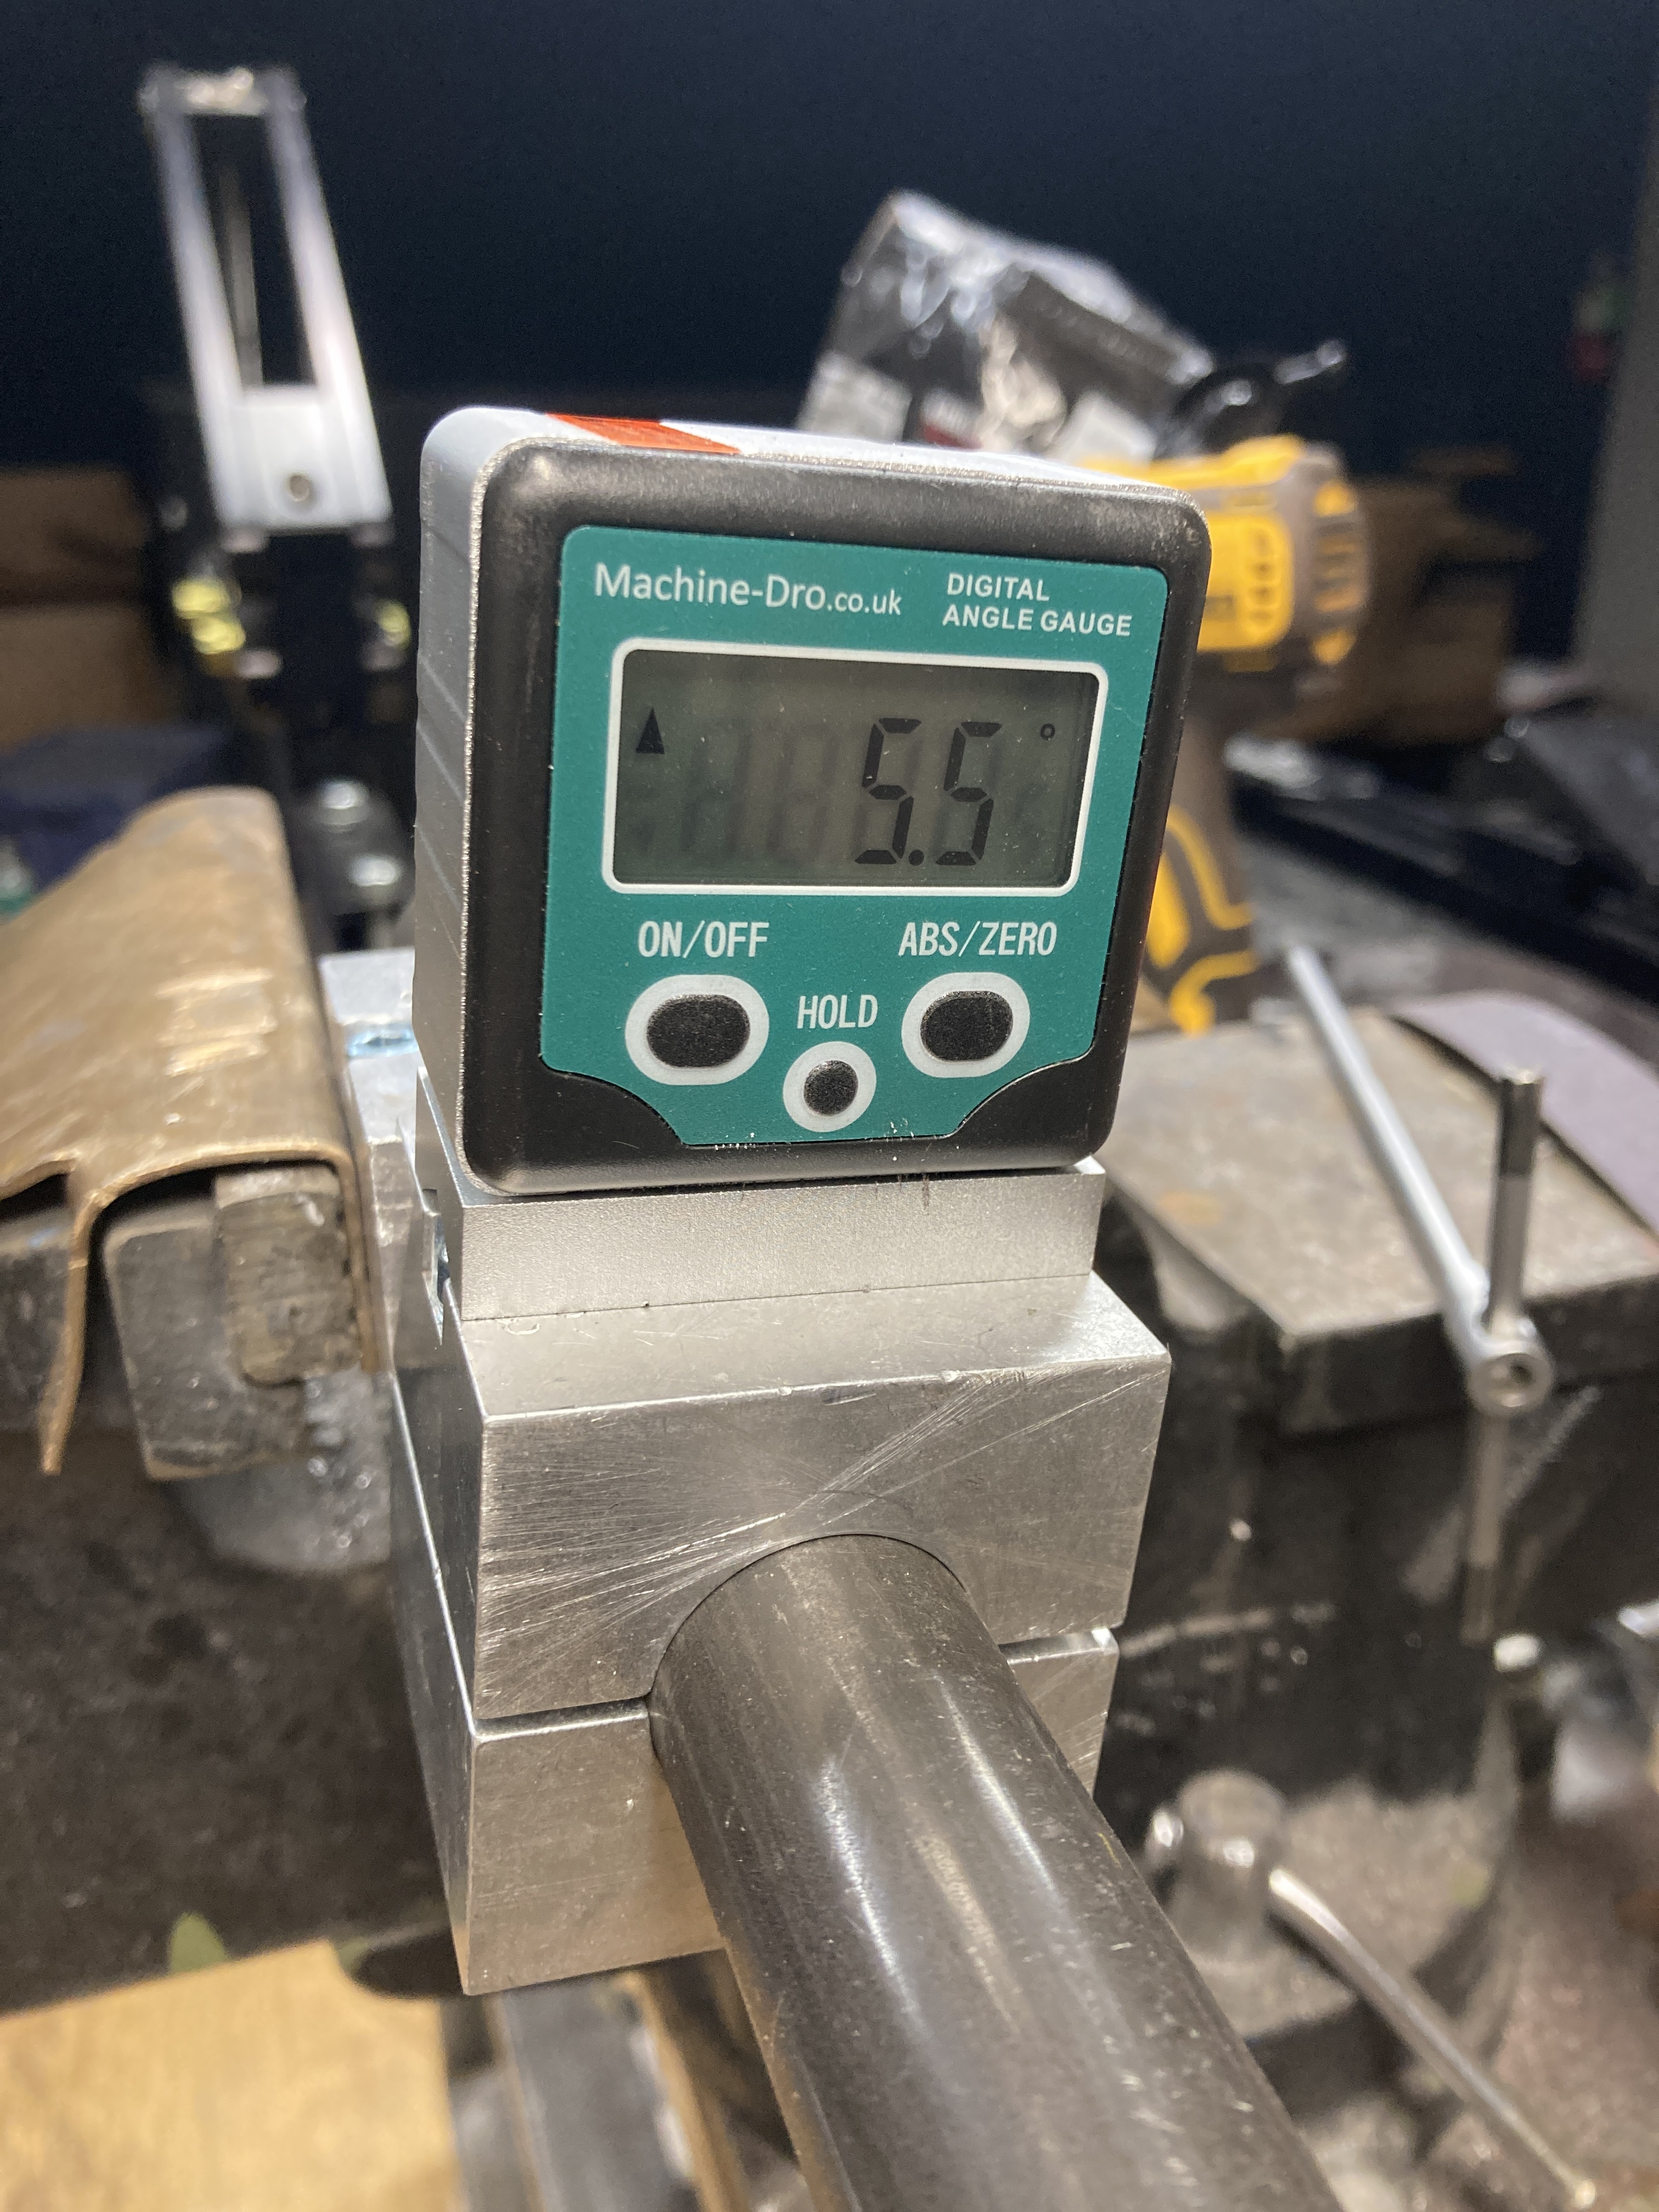
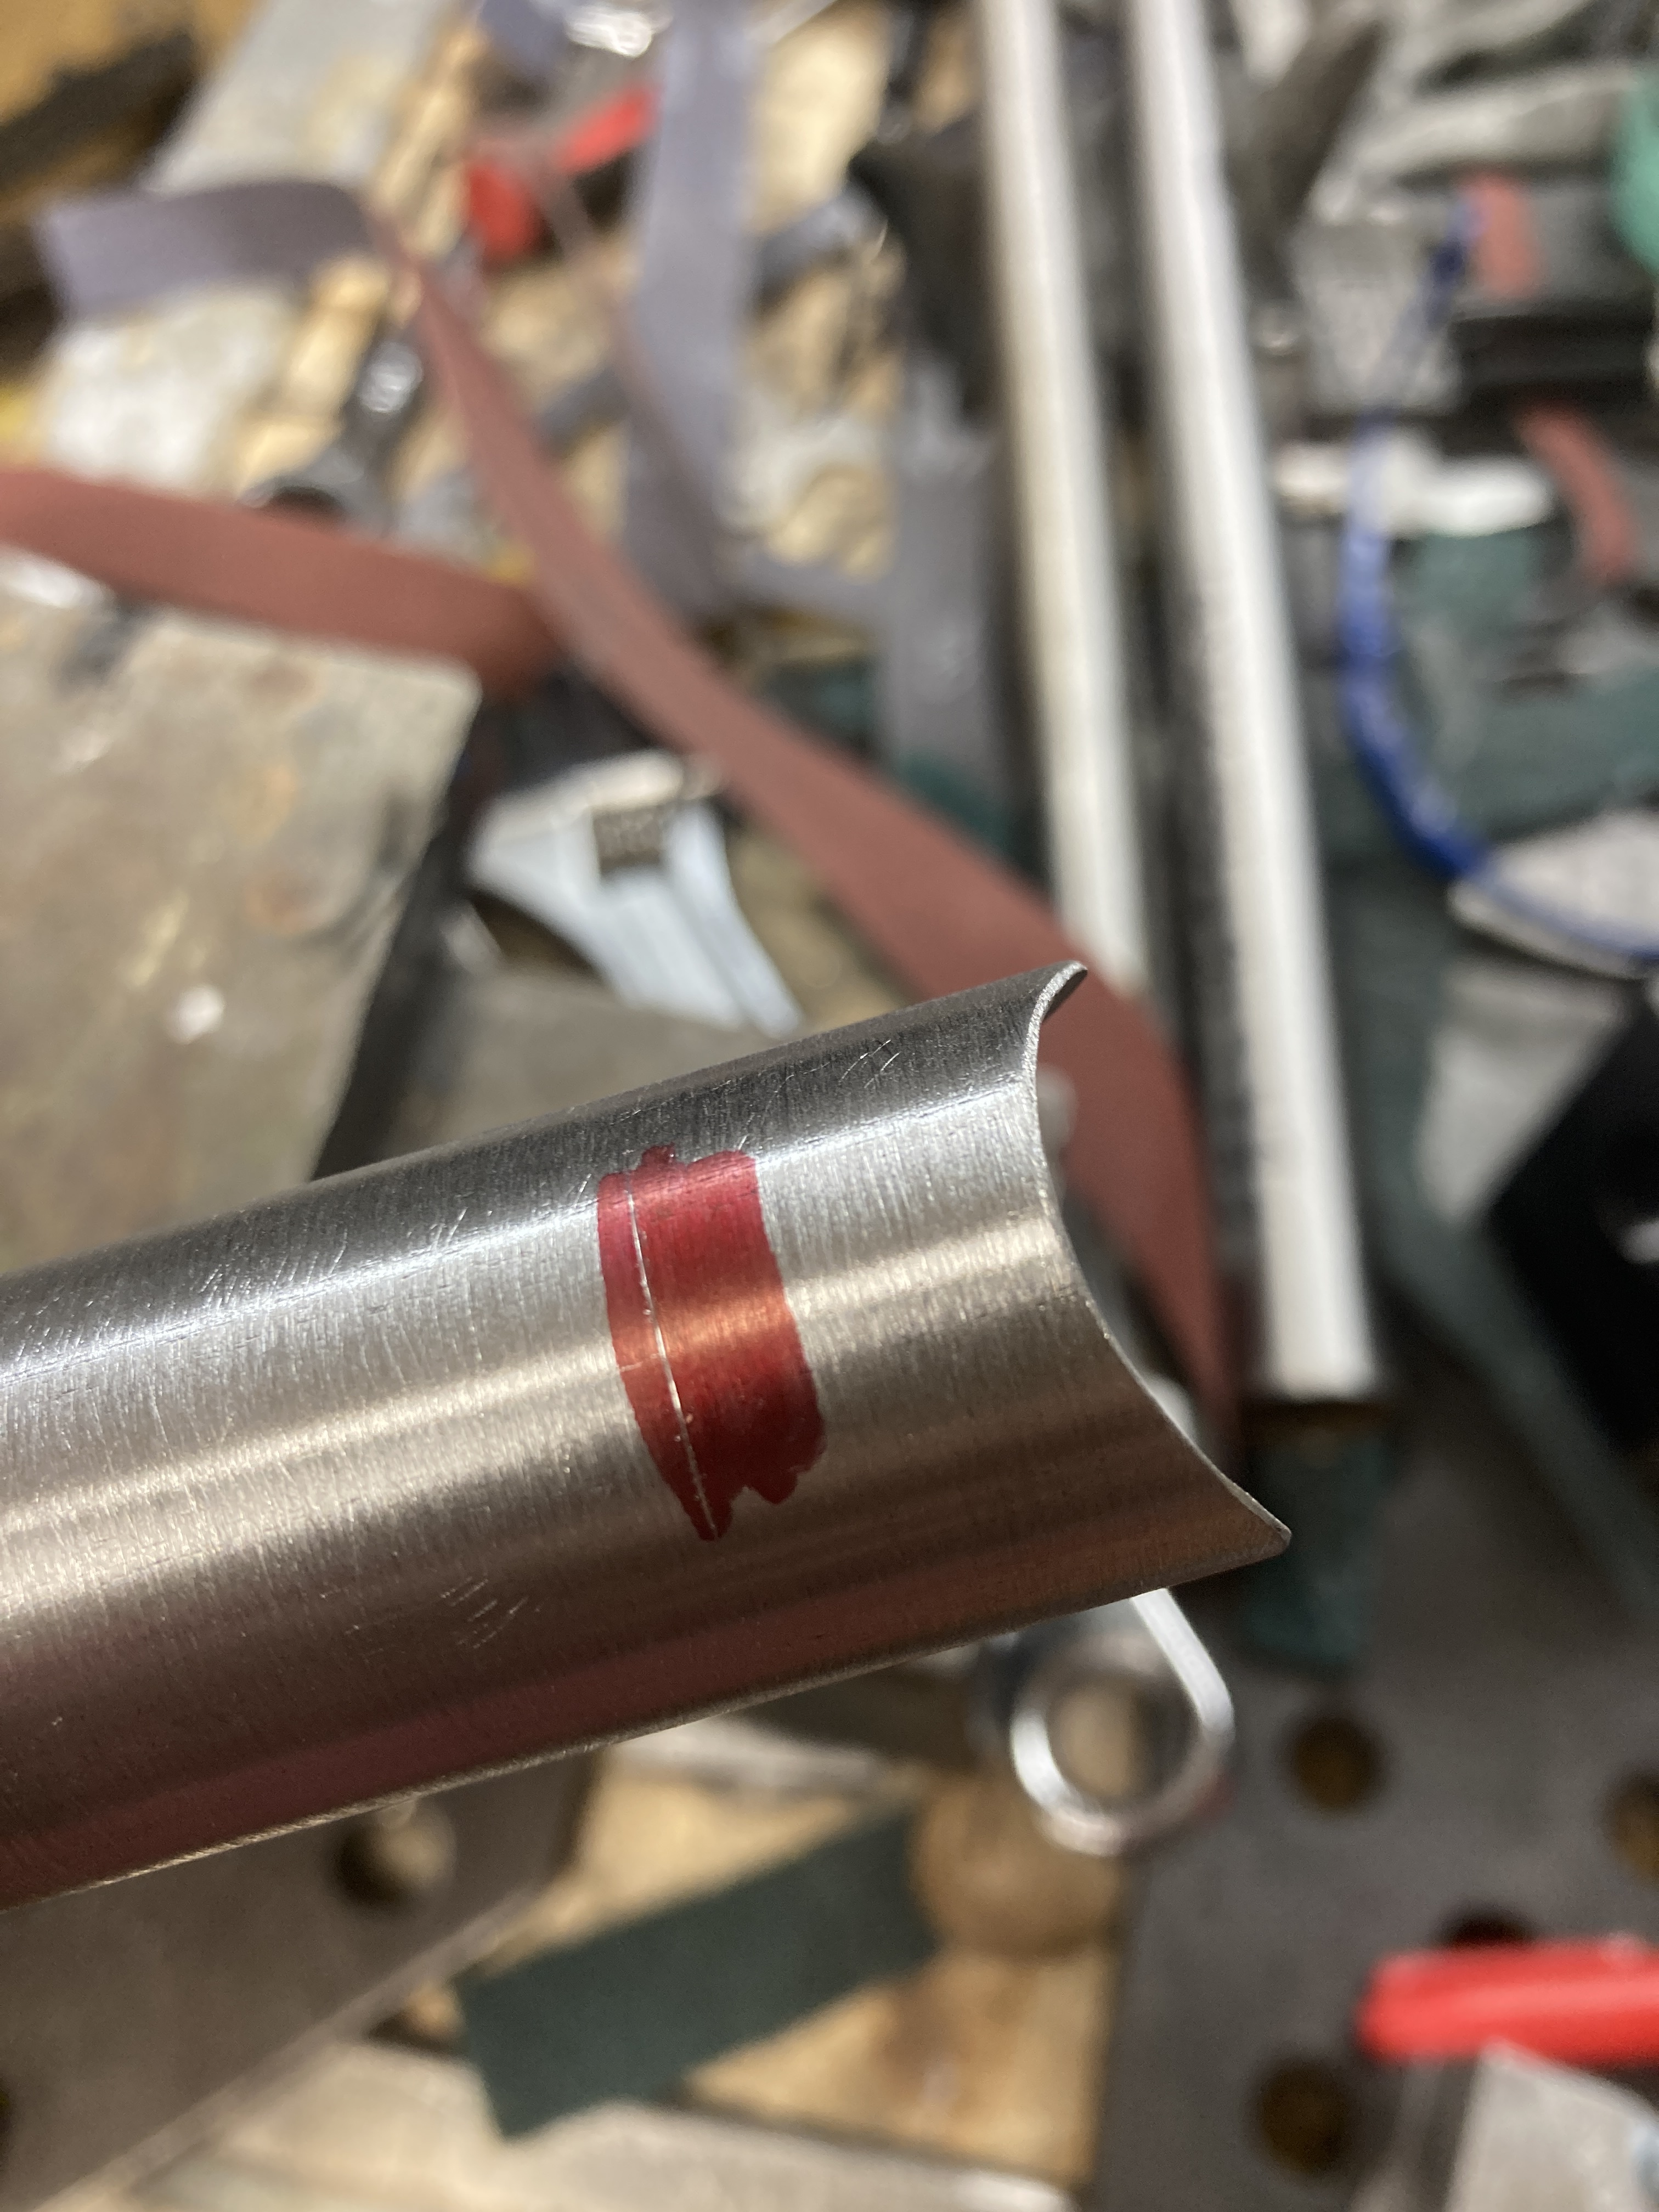
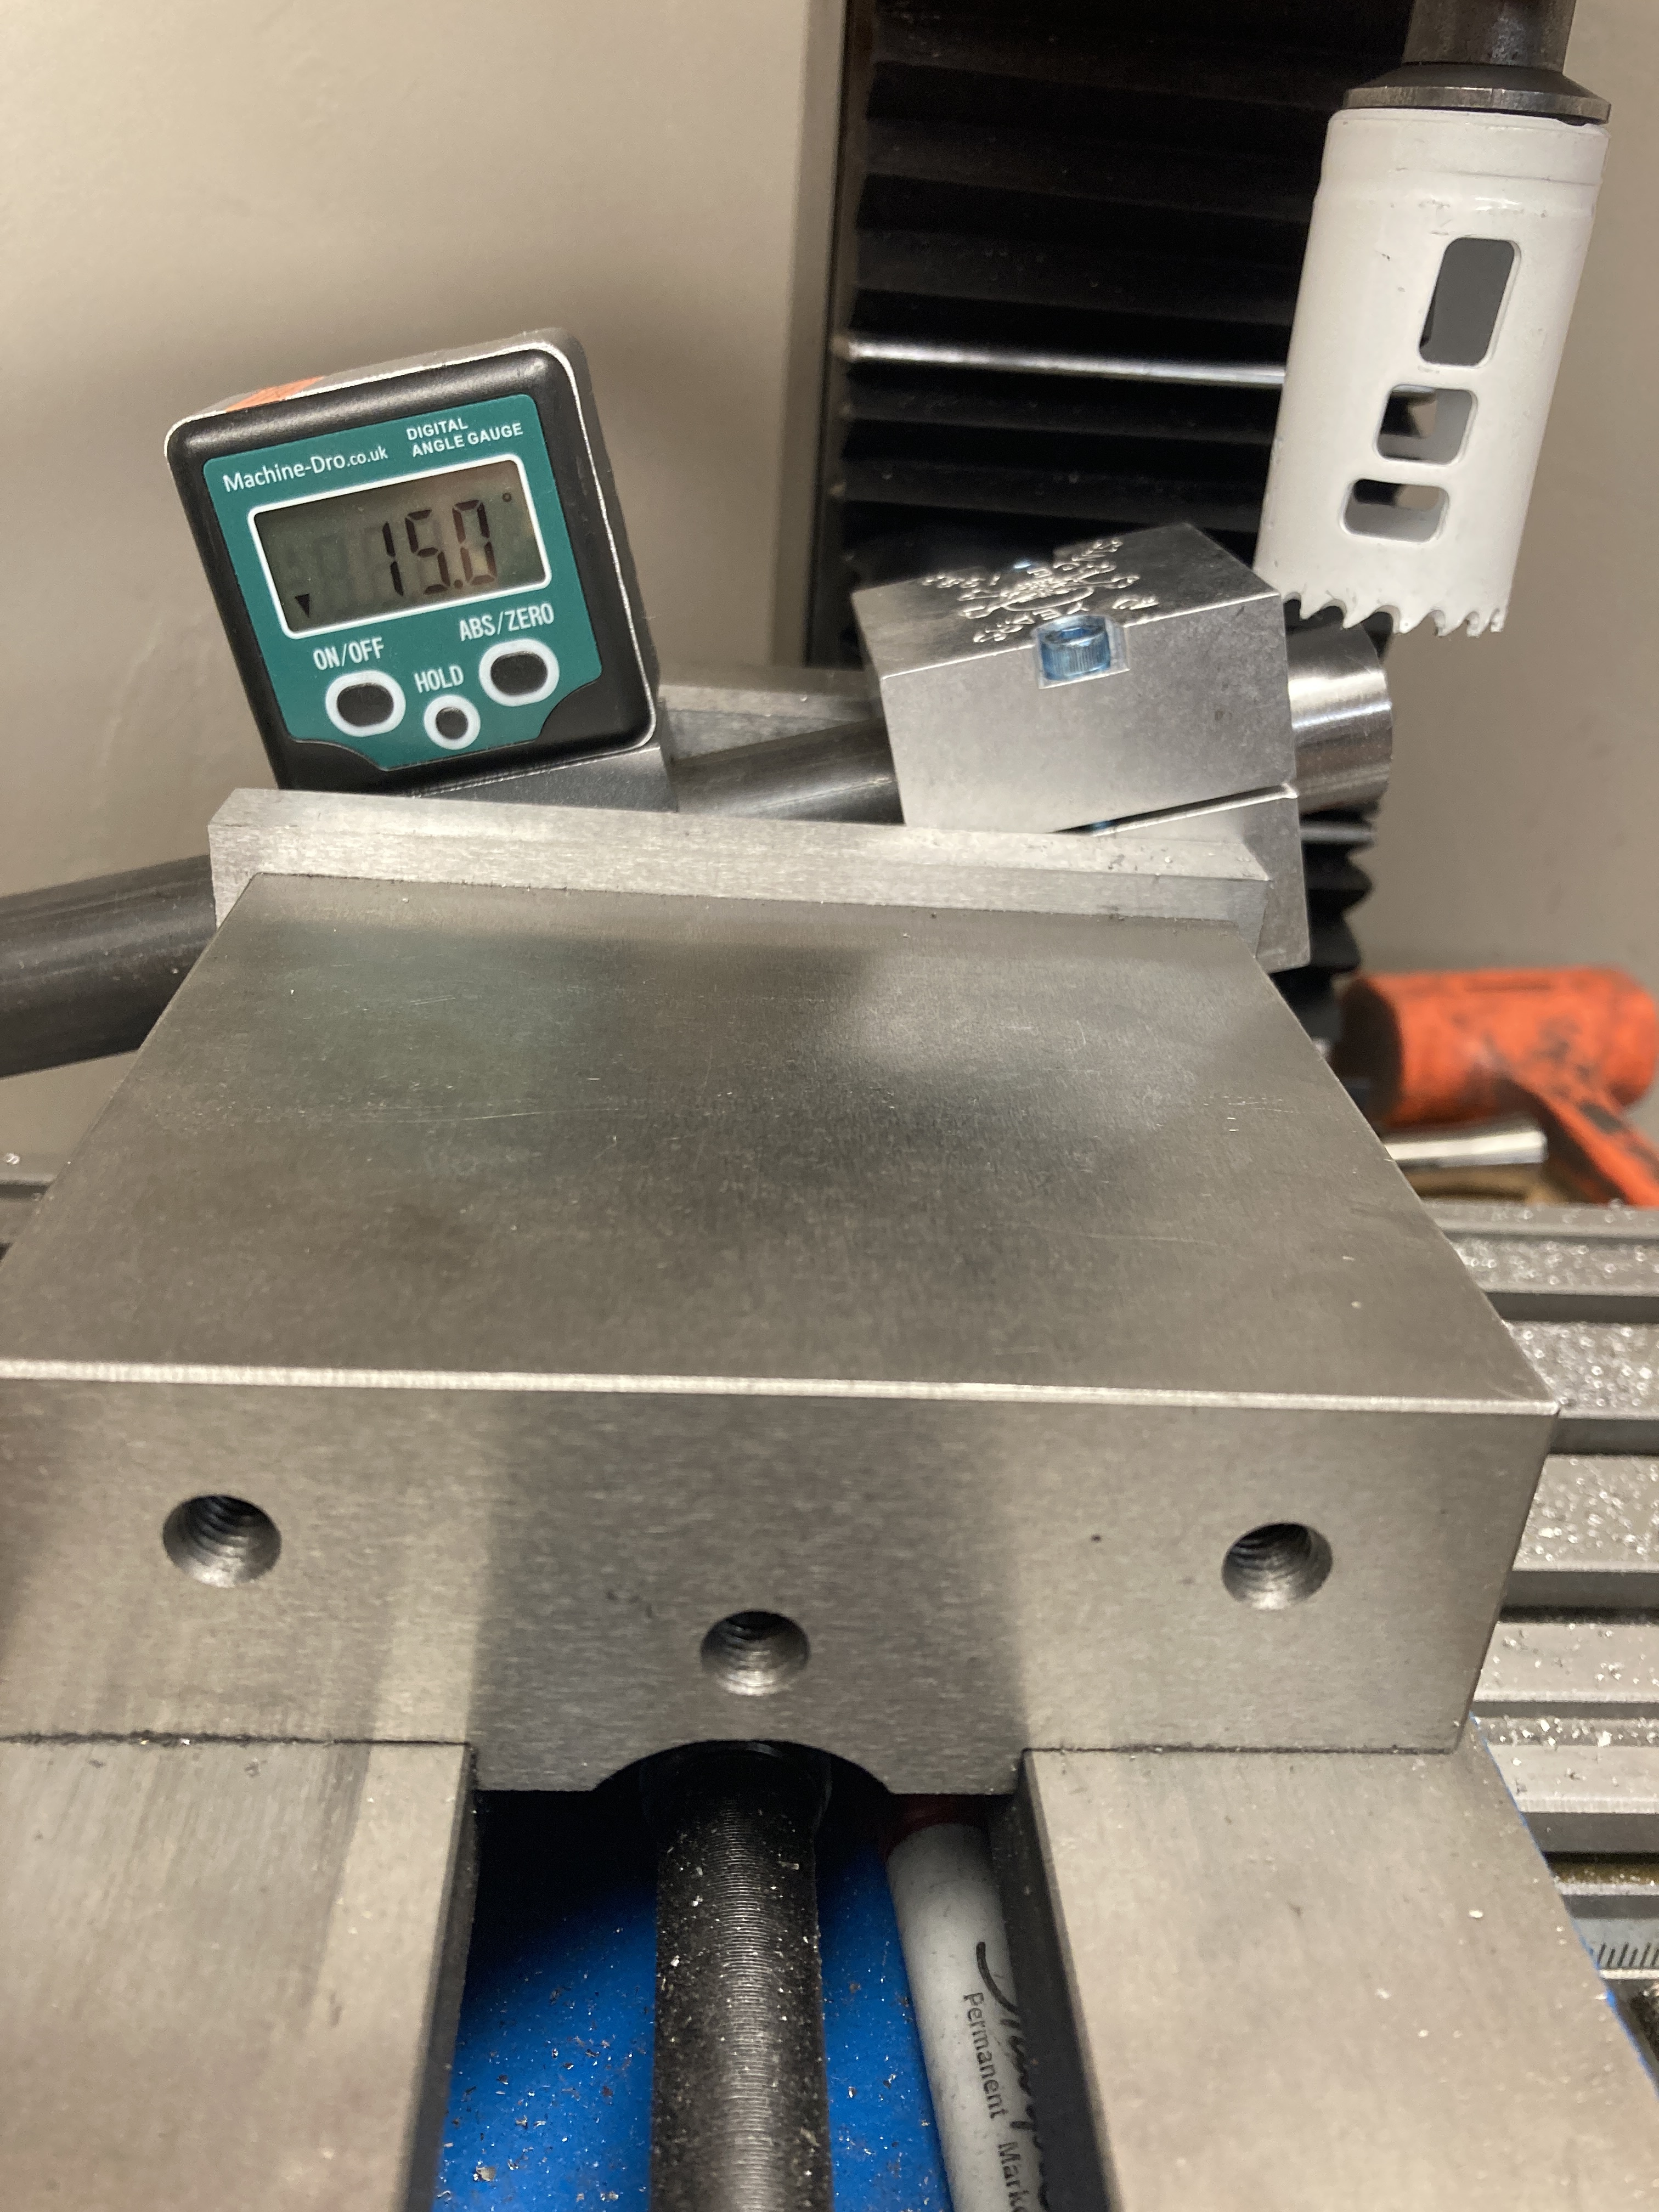
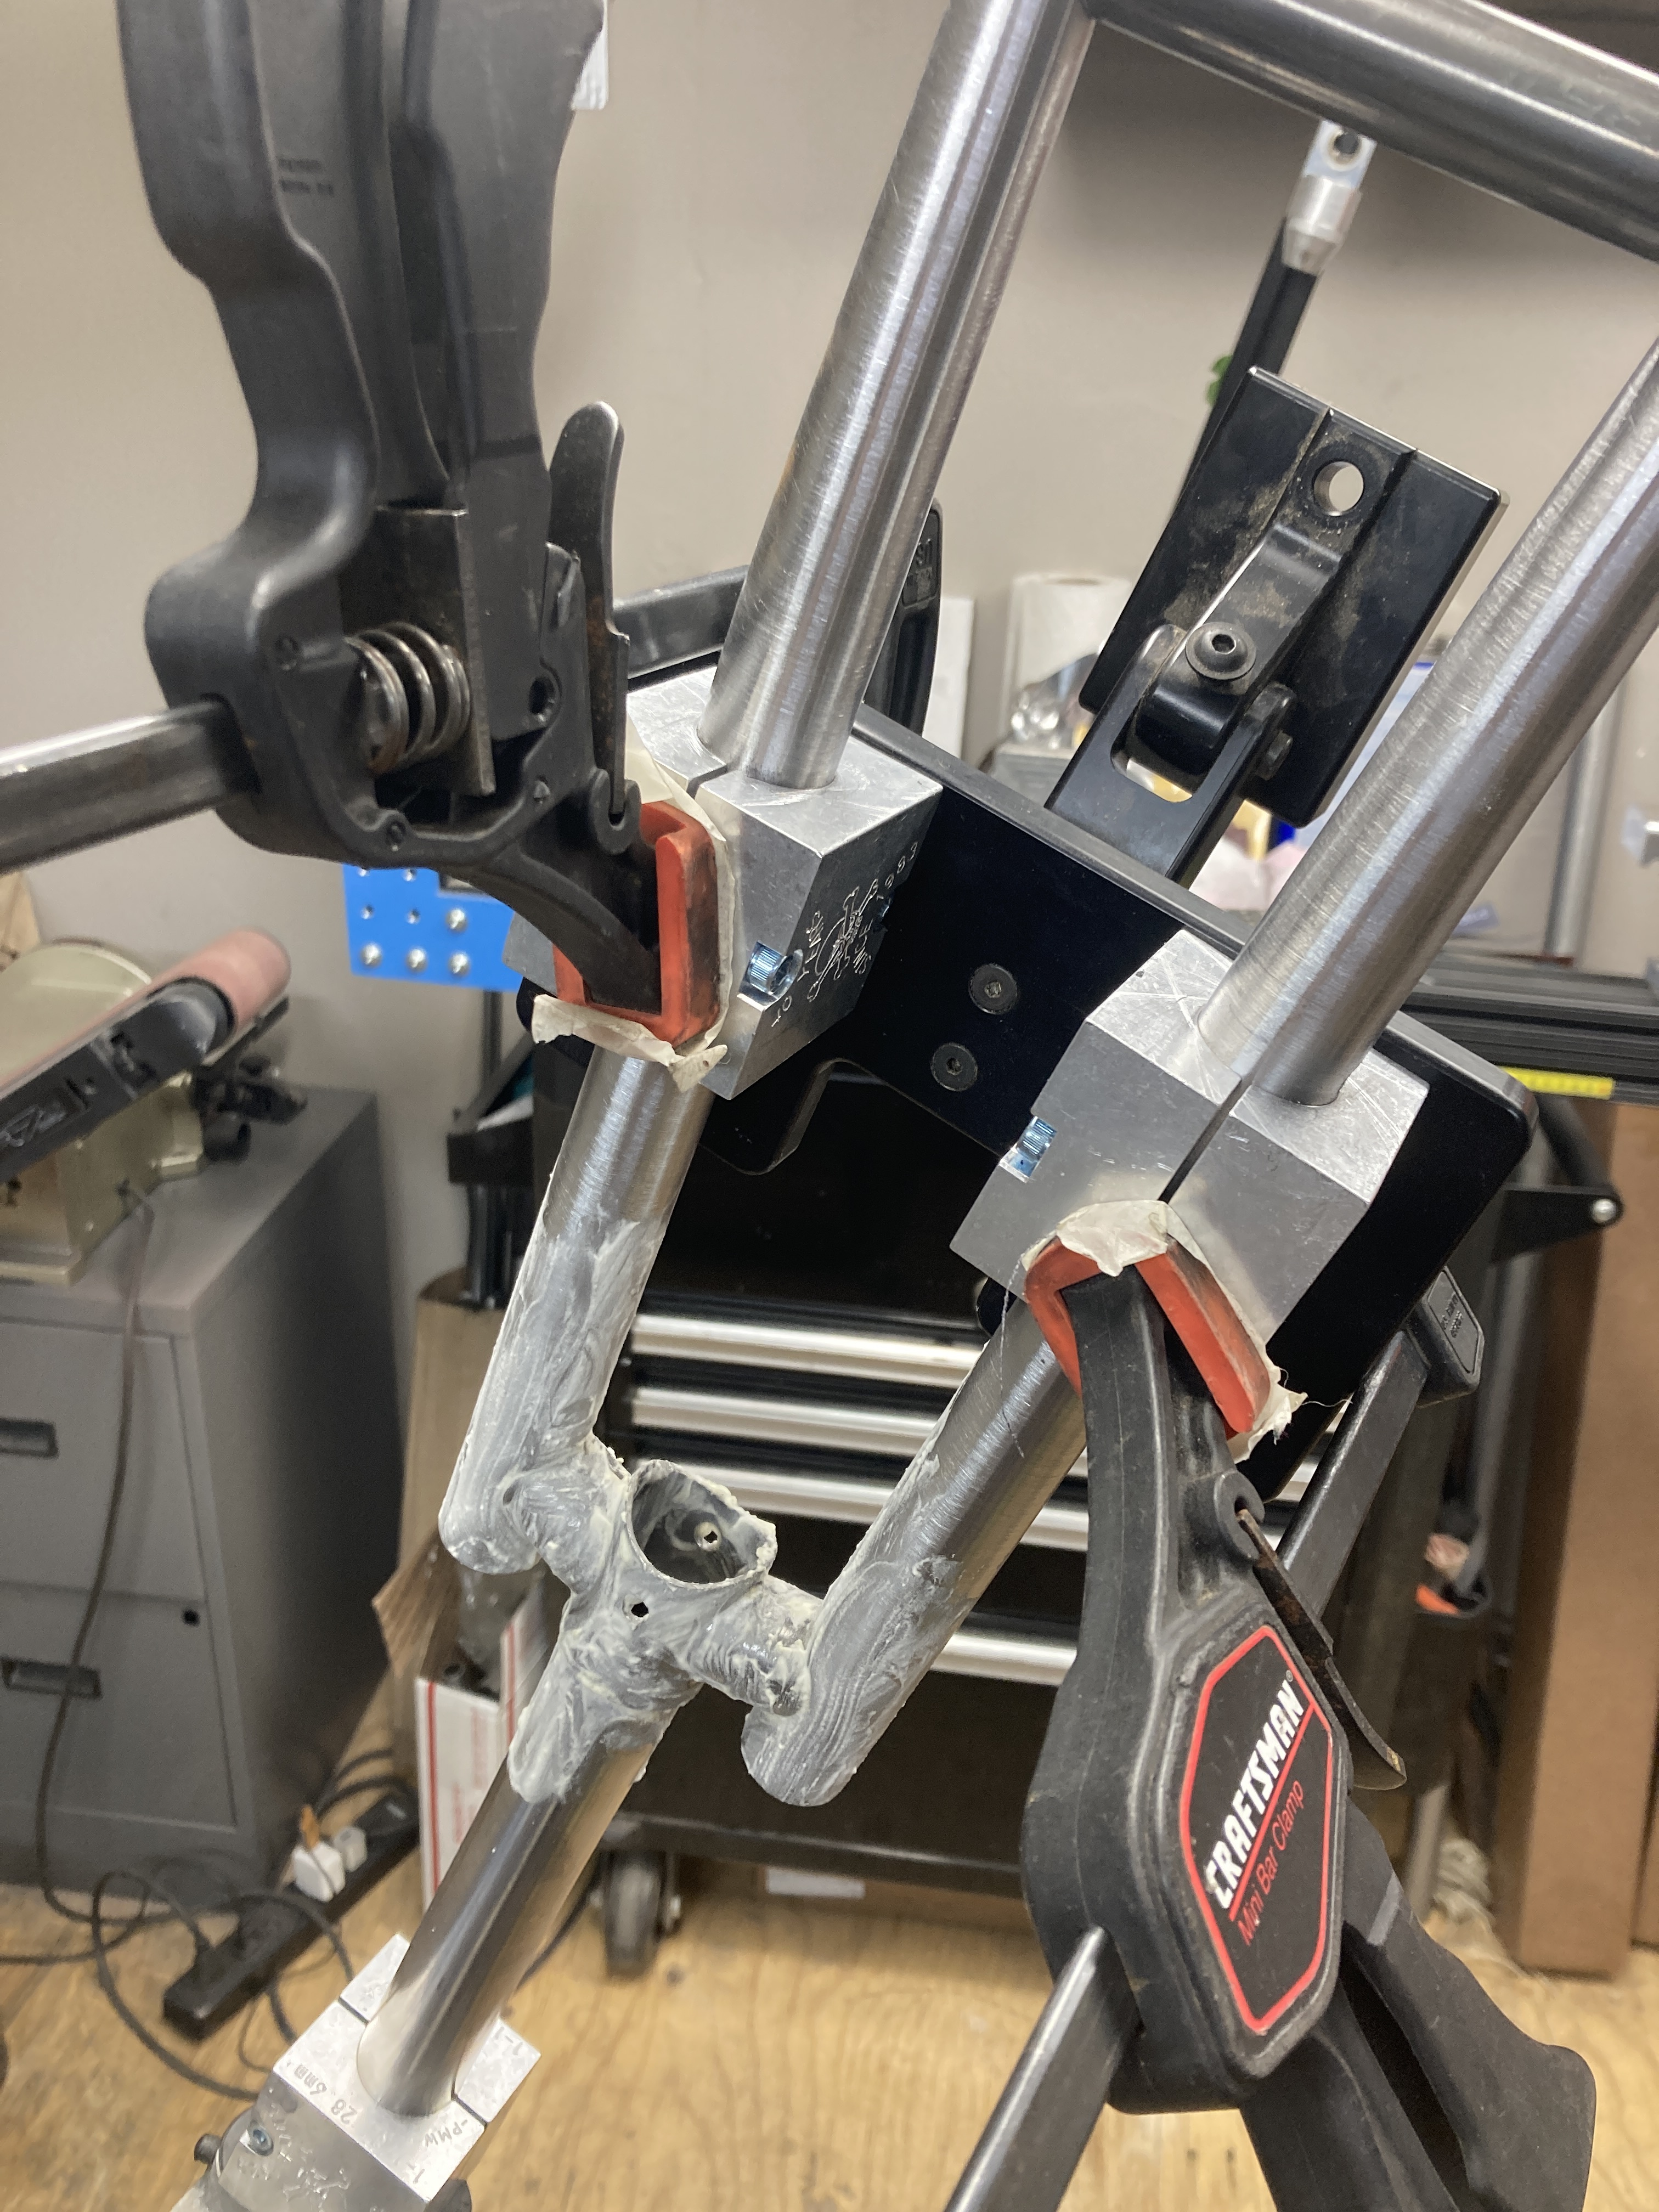
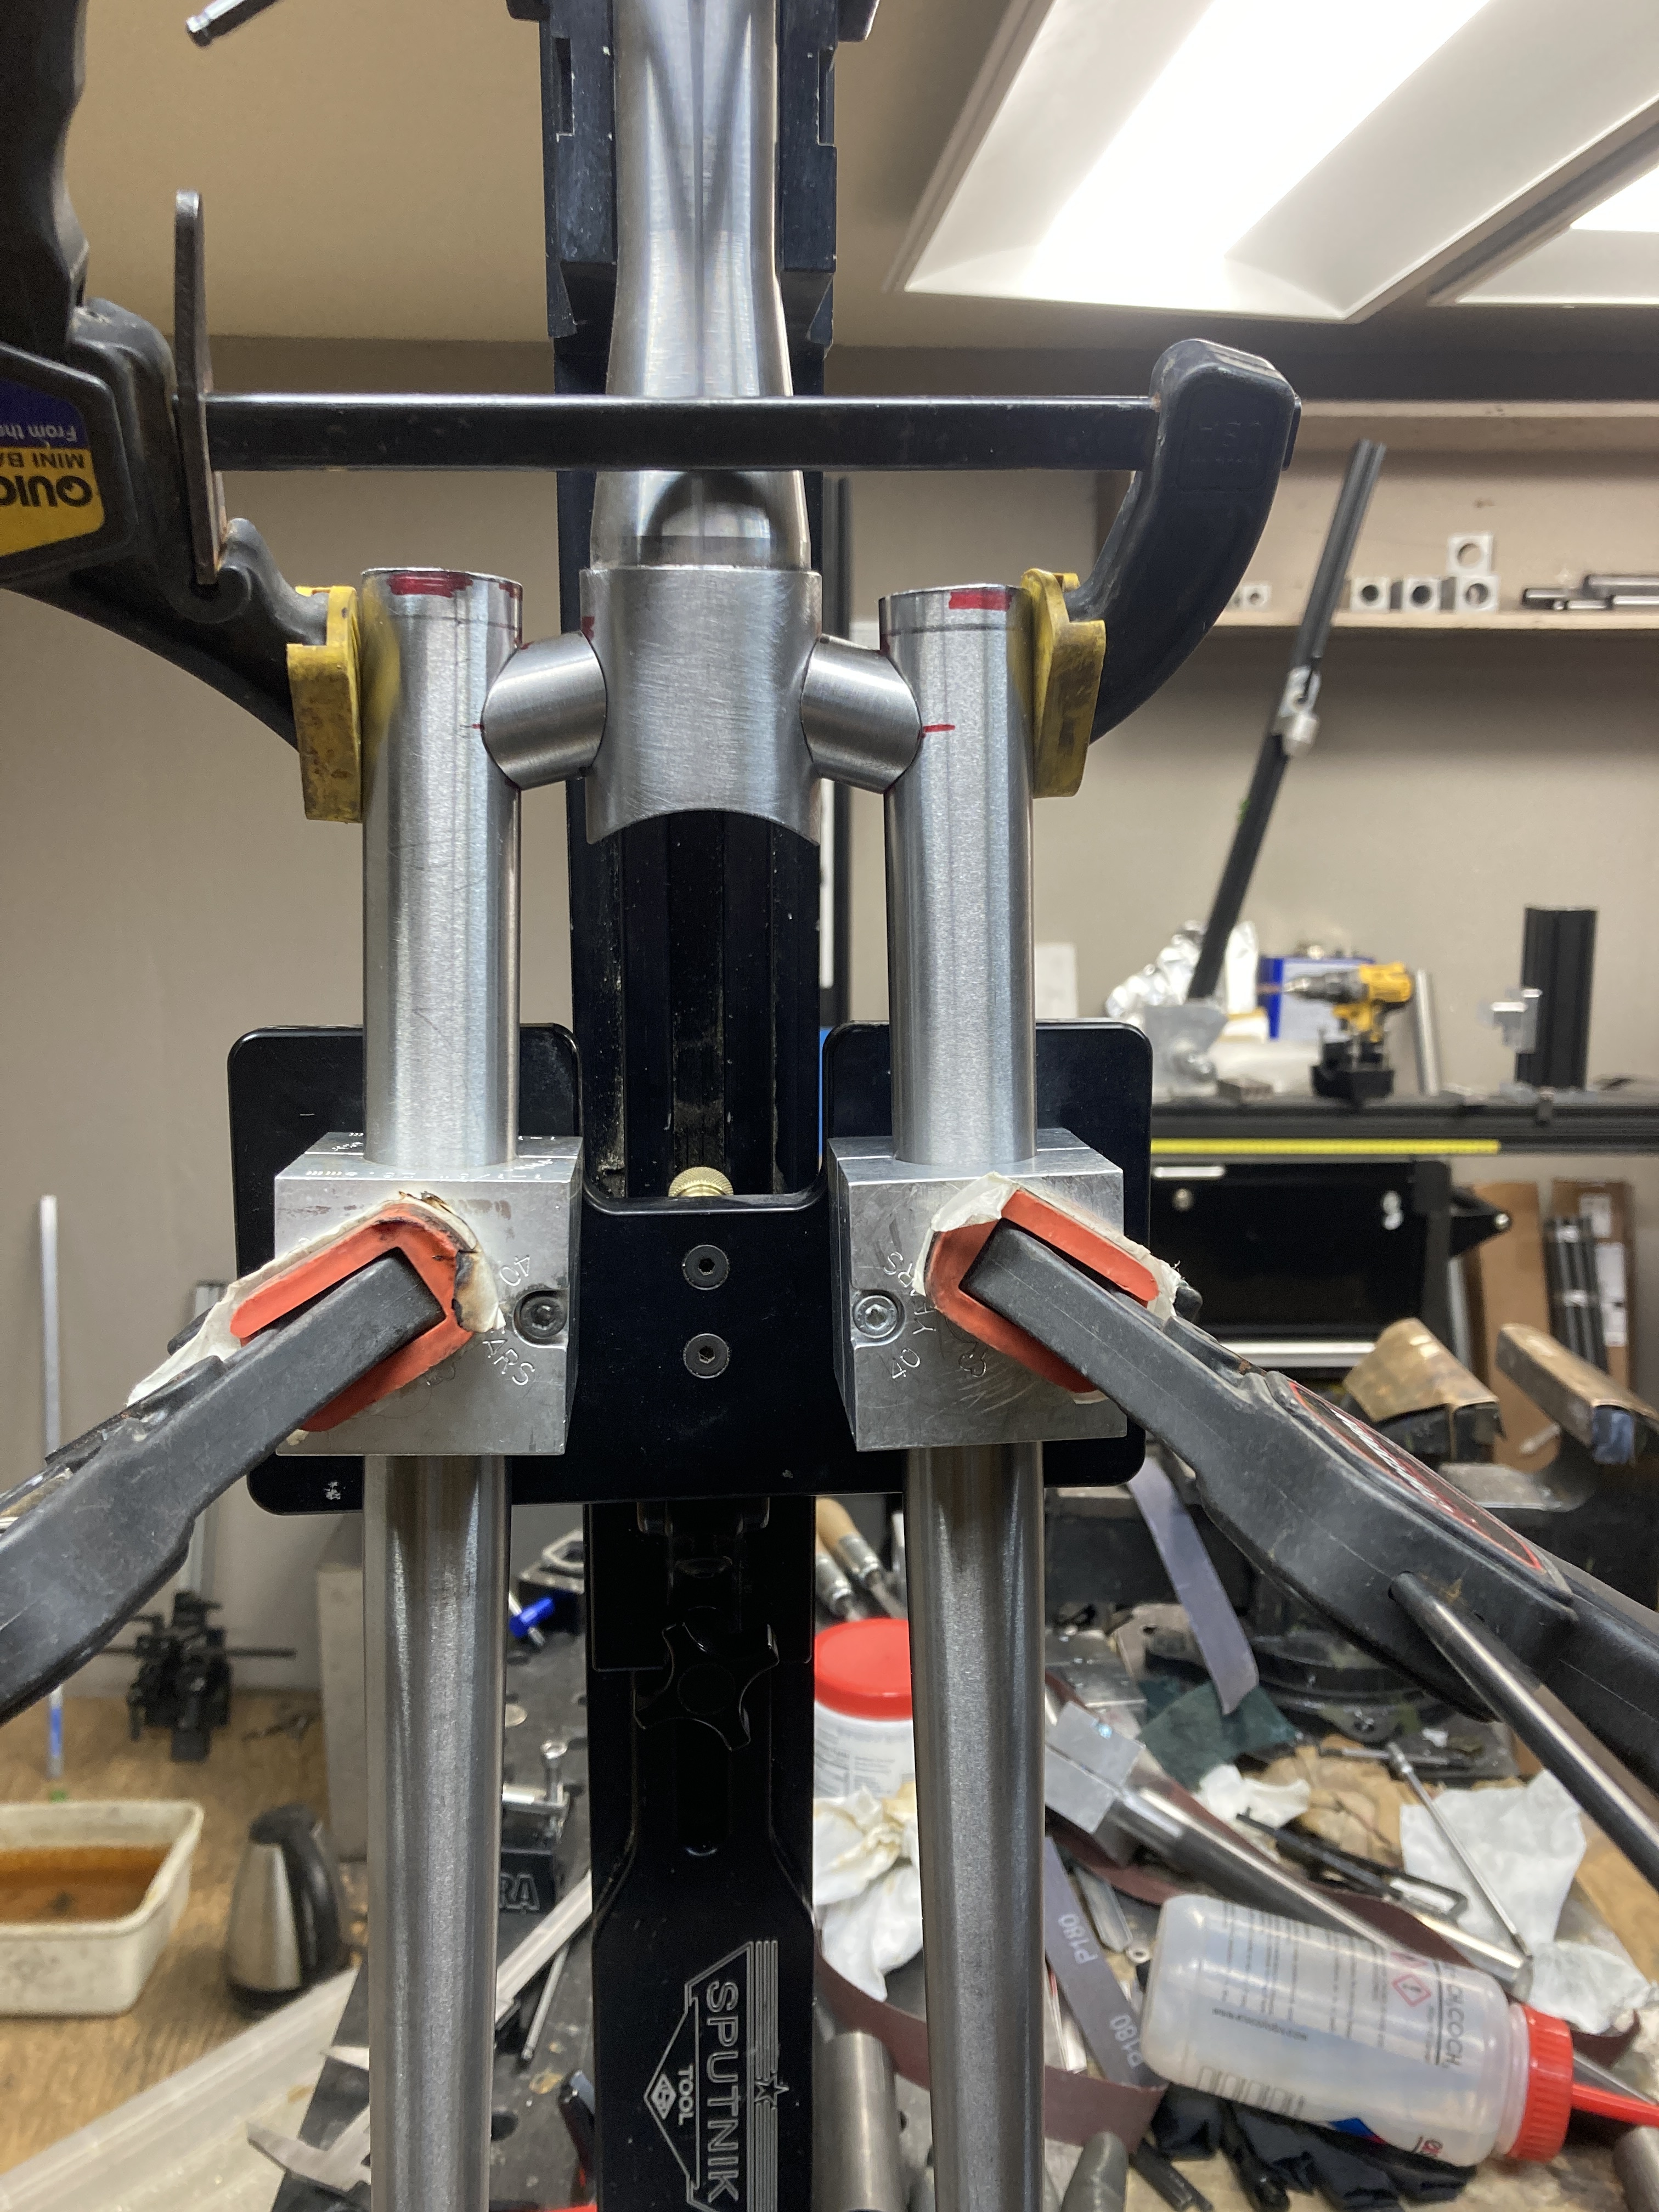
I start with the leg miters on the segment tube, then I clock and angle the steer tube miters. The segment pieces can be difficult to hold due to their small size.
Having the recipe for the segmented tubes, makes this process more precise. A nice 2-D drawing (thank you @Daniel_Y ) helps determine the exact distance between miters, the angle and clocking orientation of the cuts.
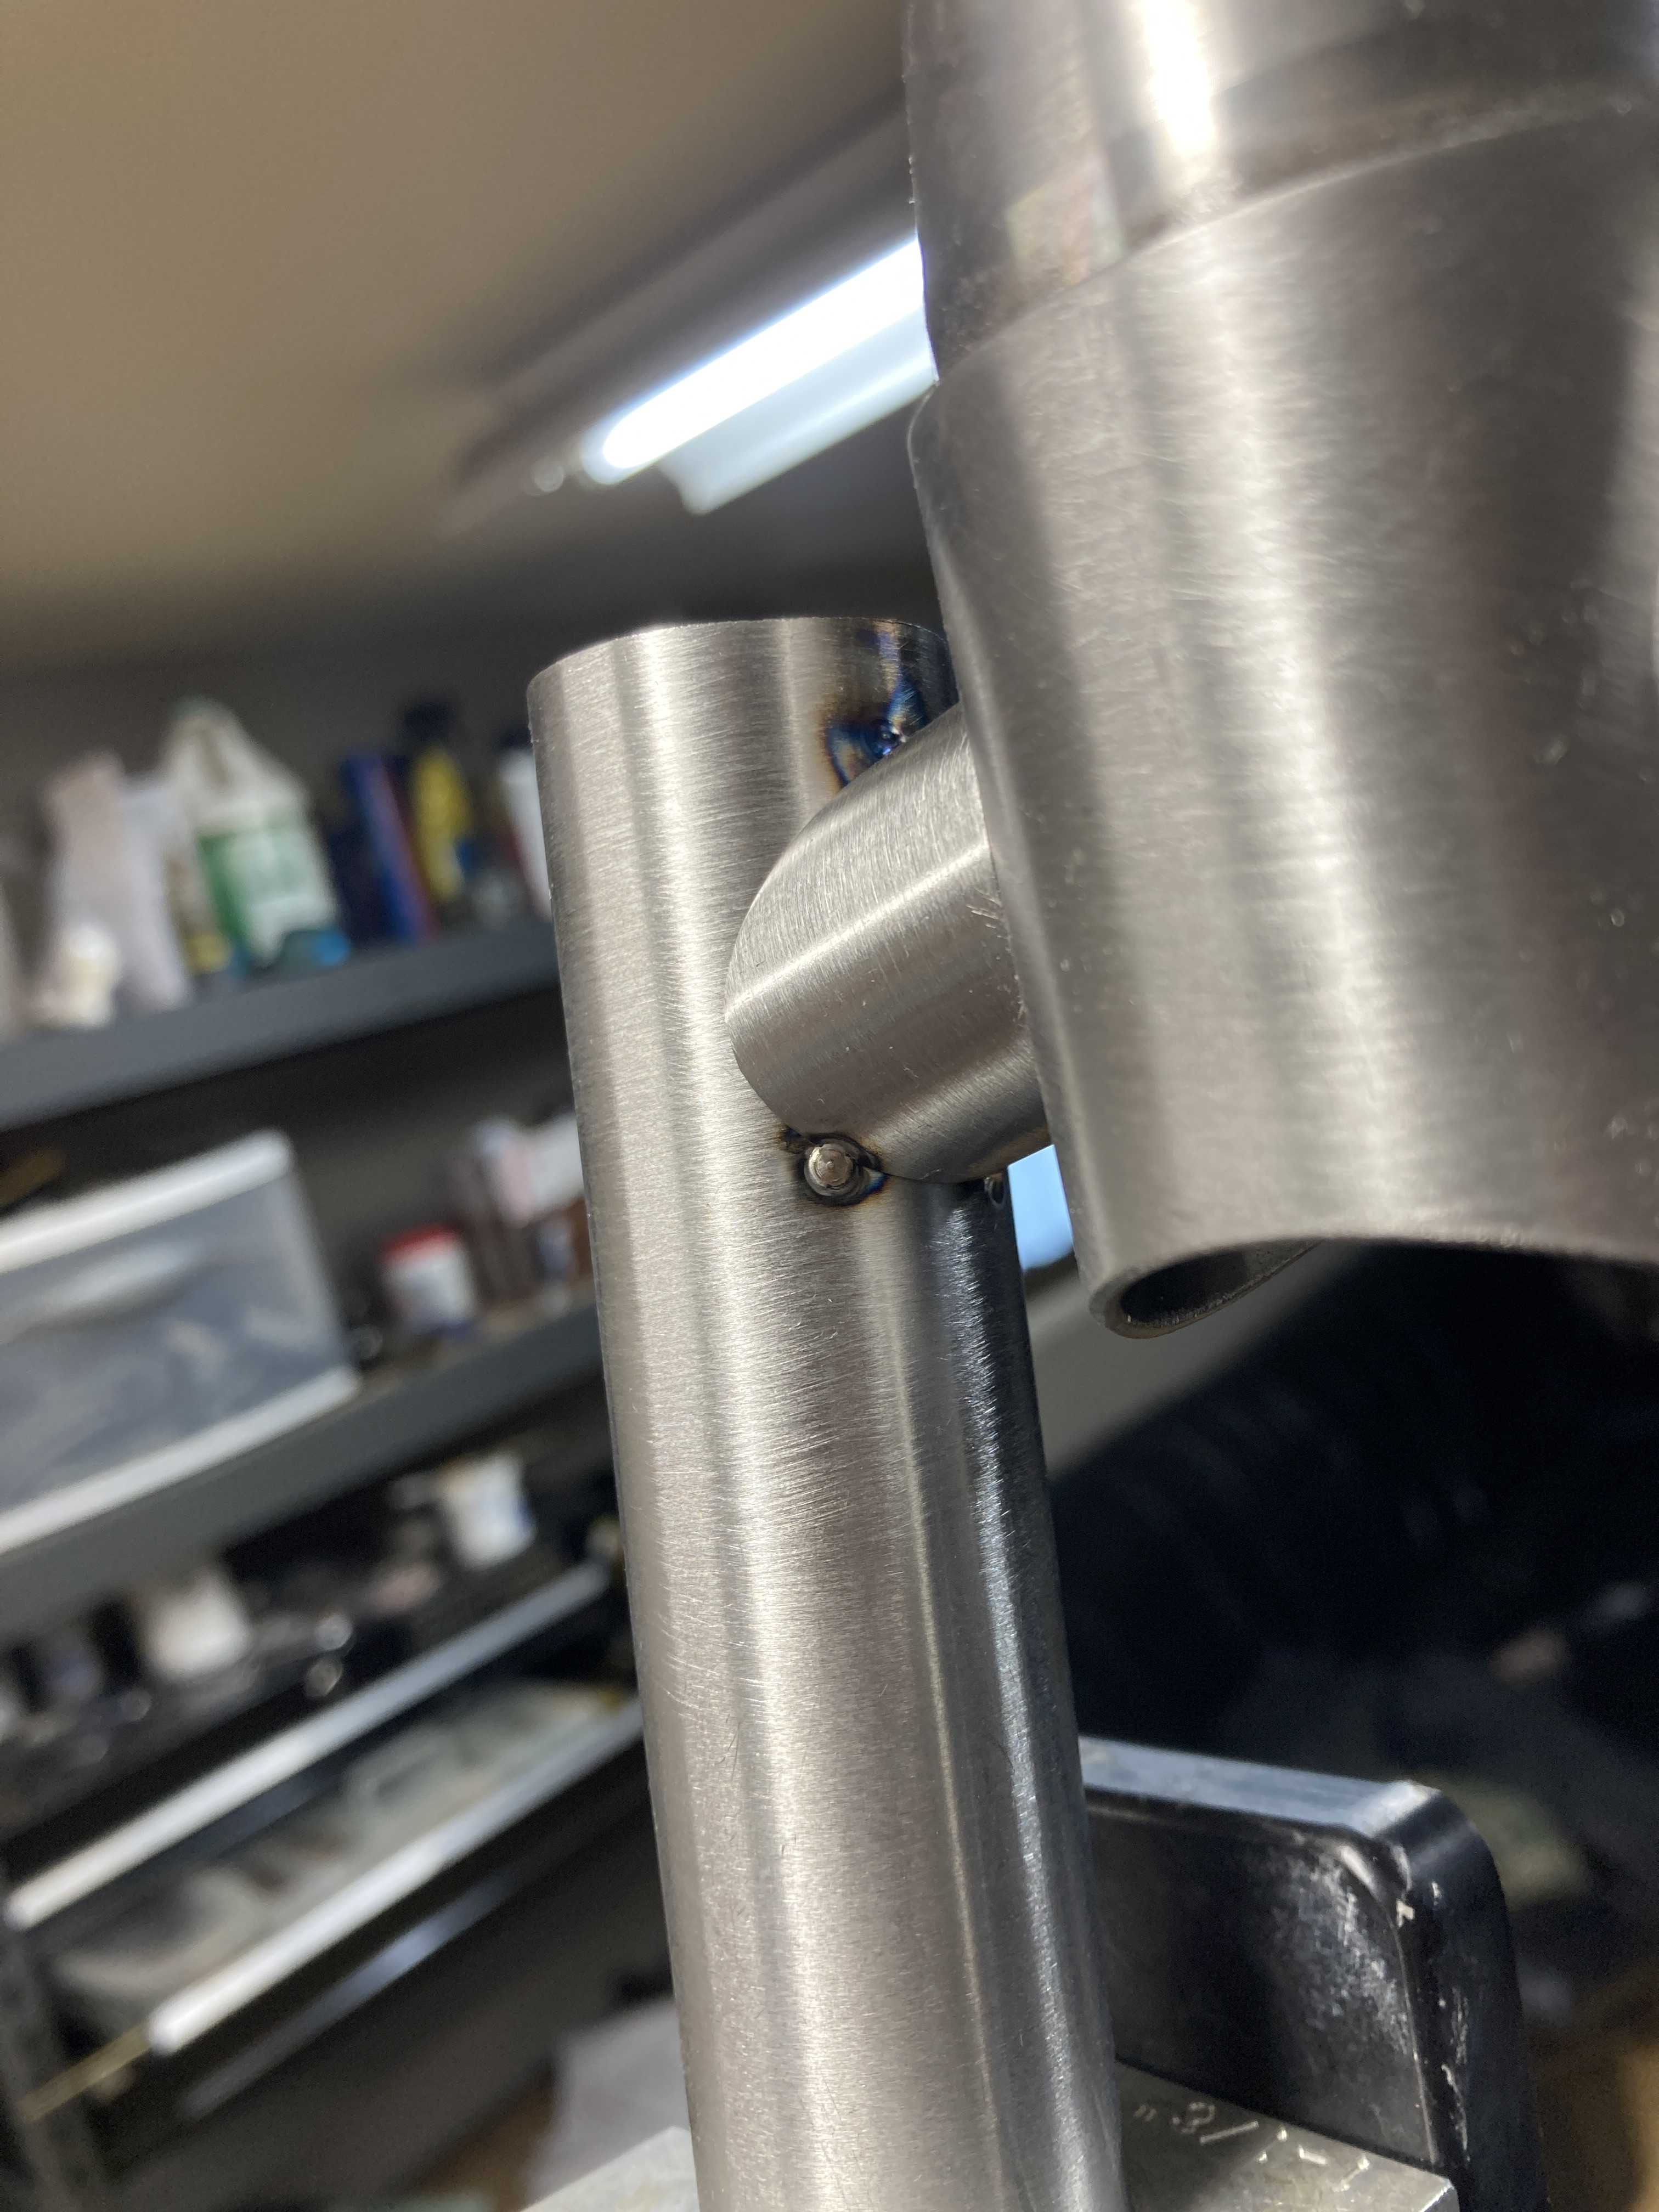
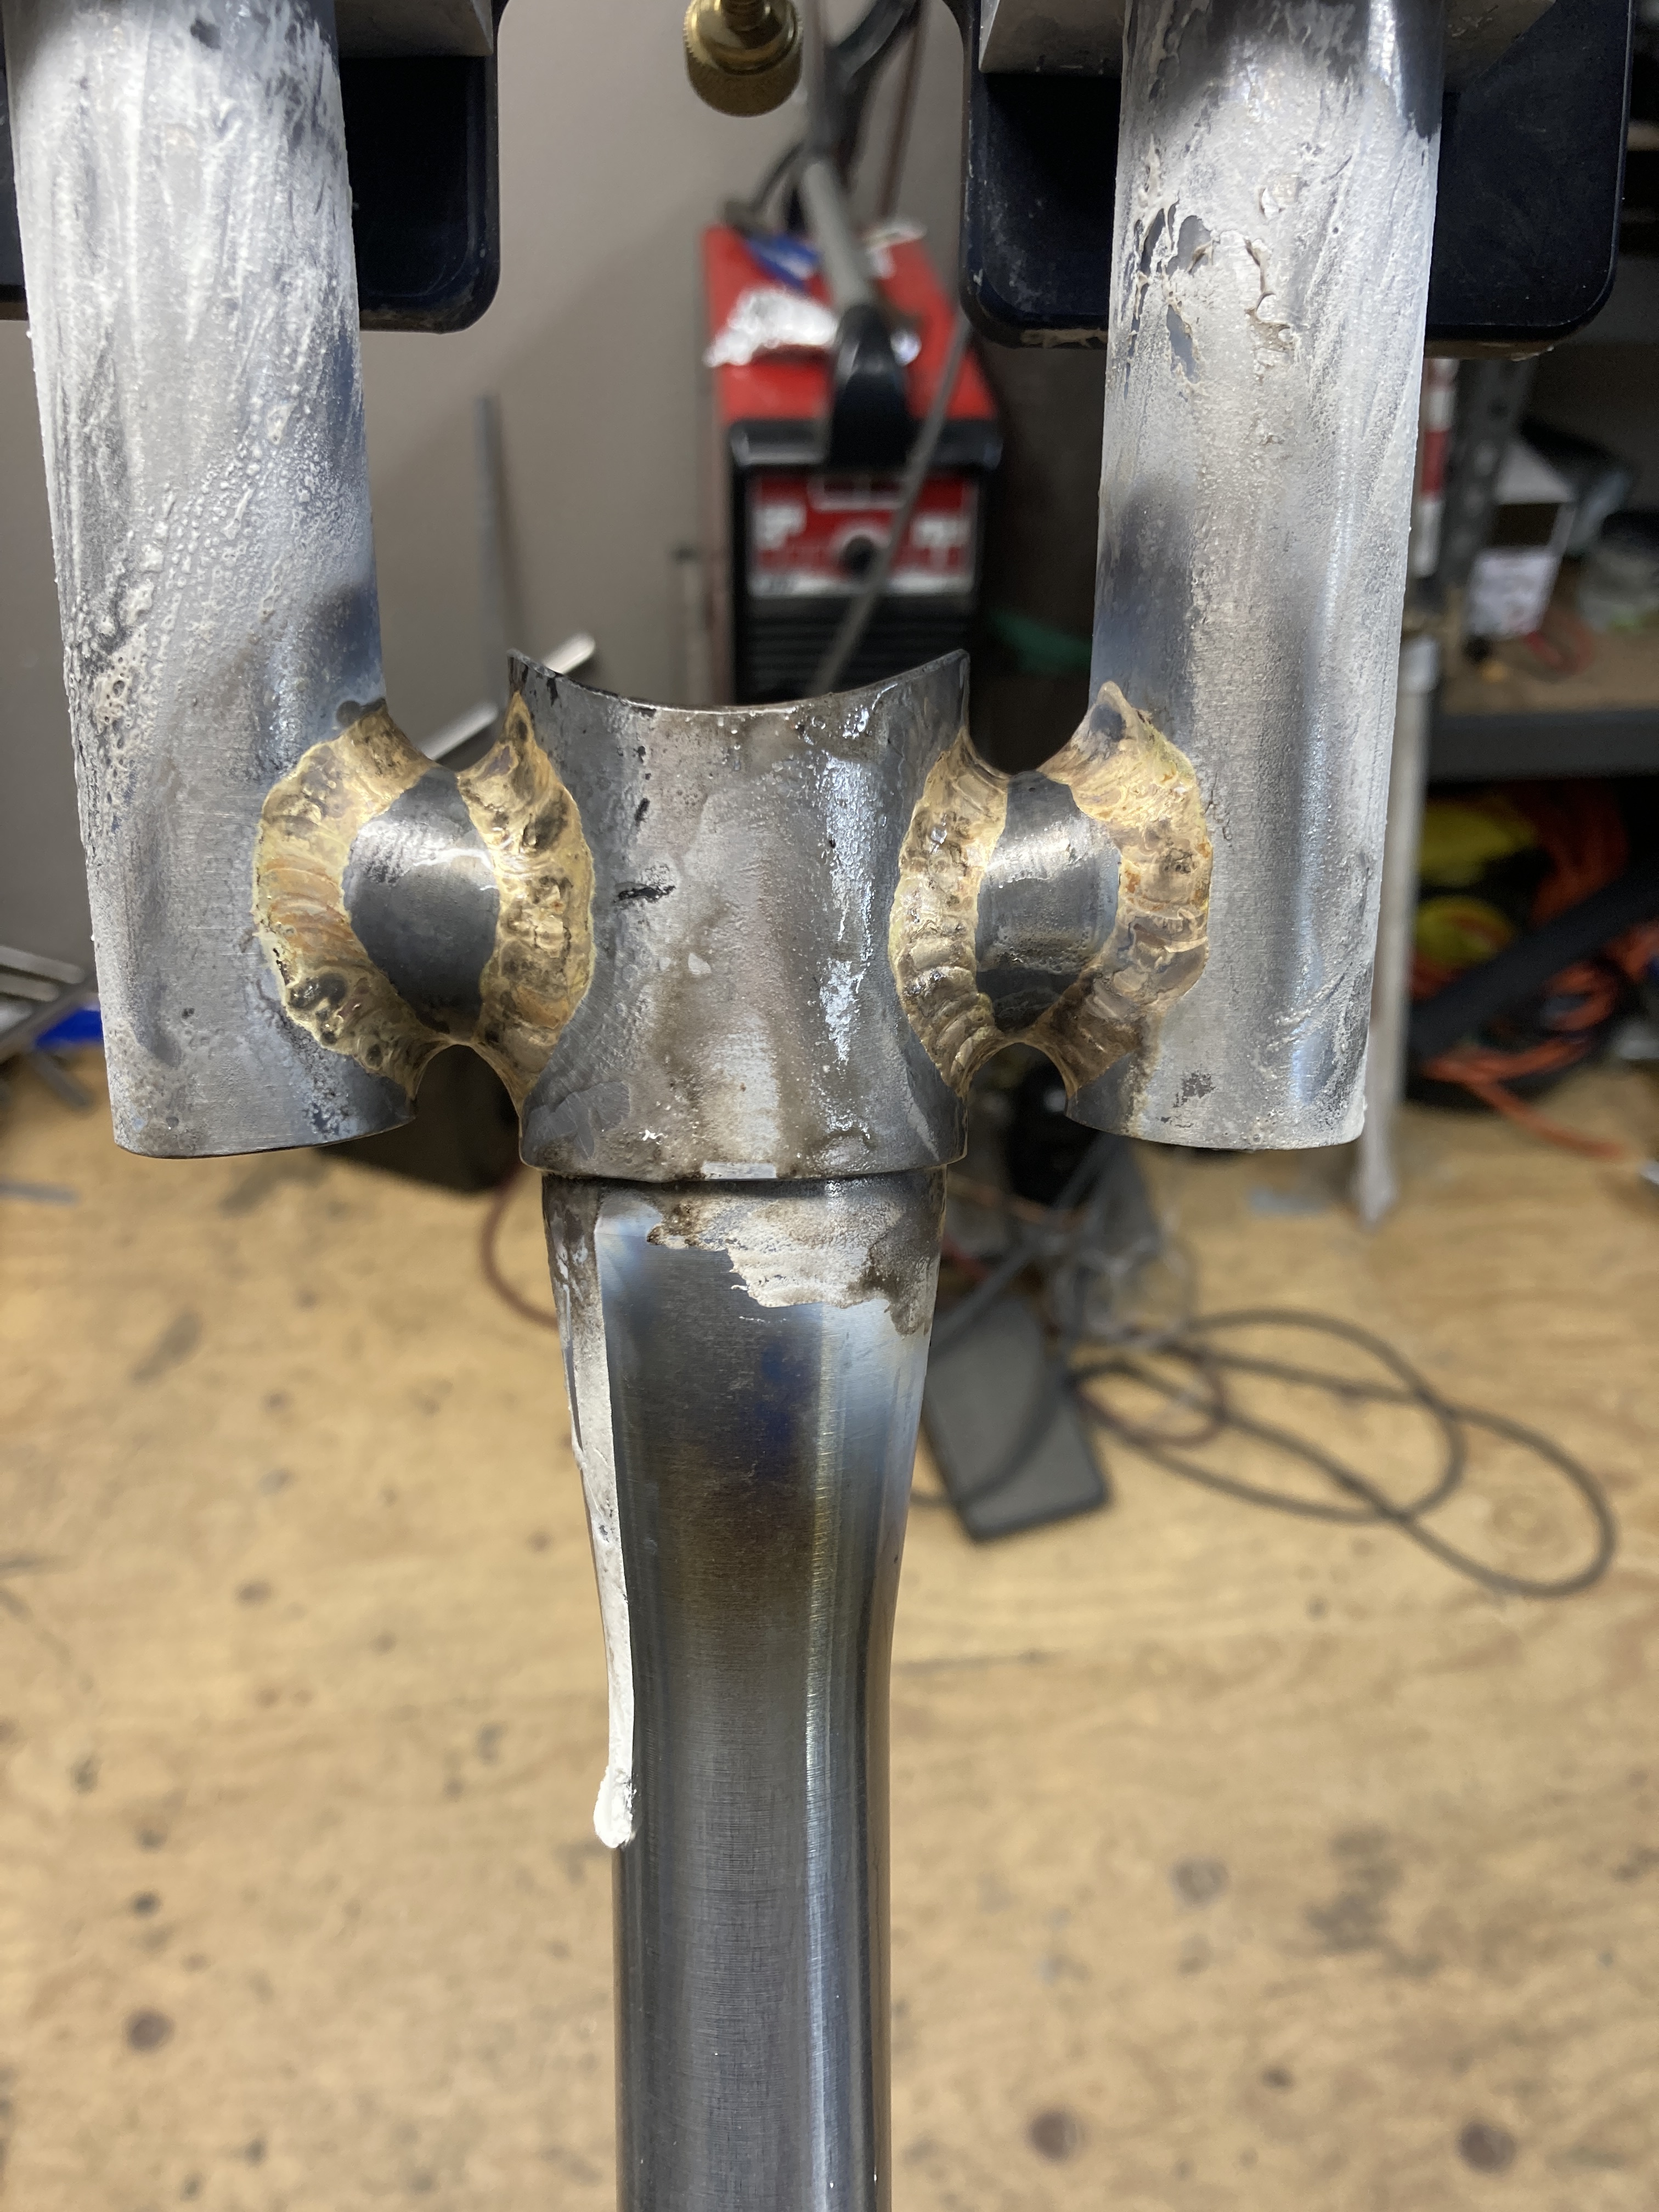
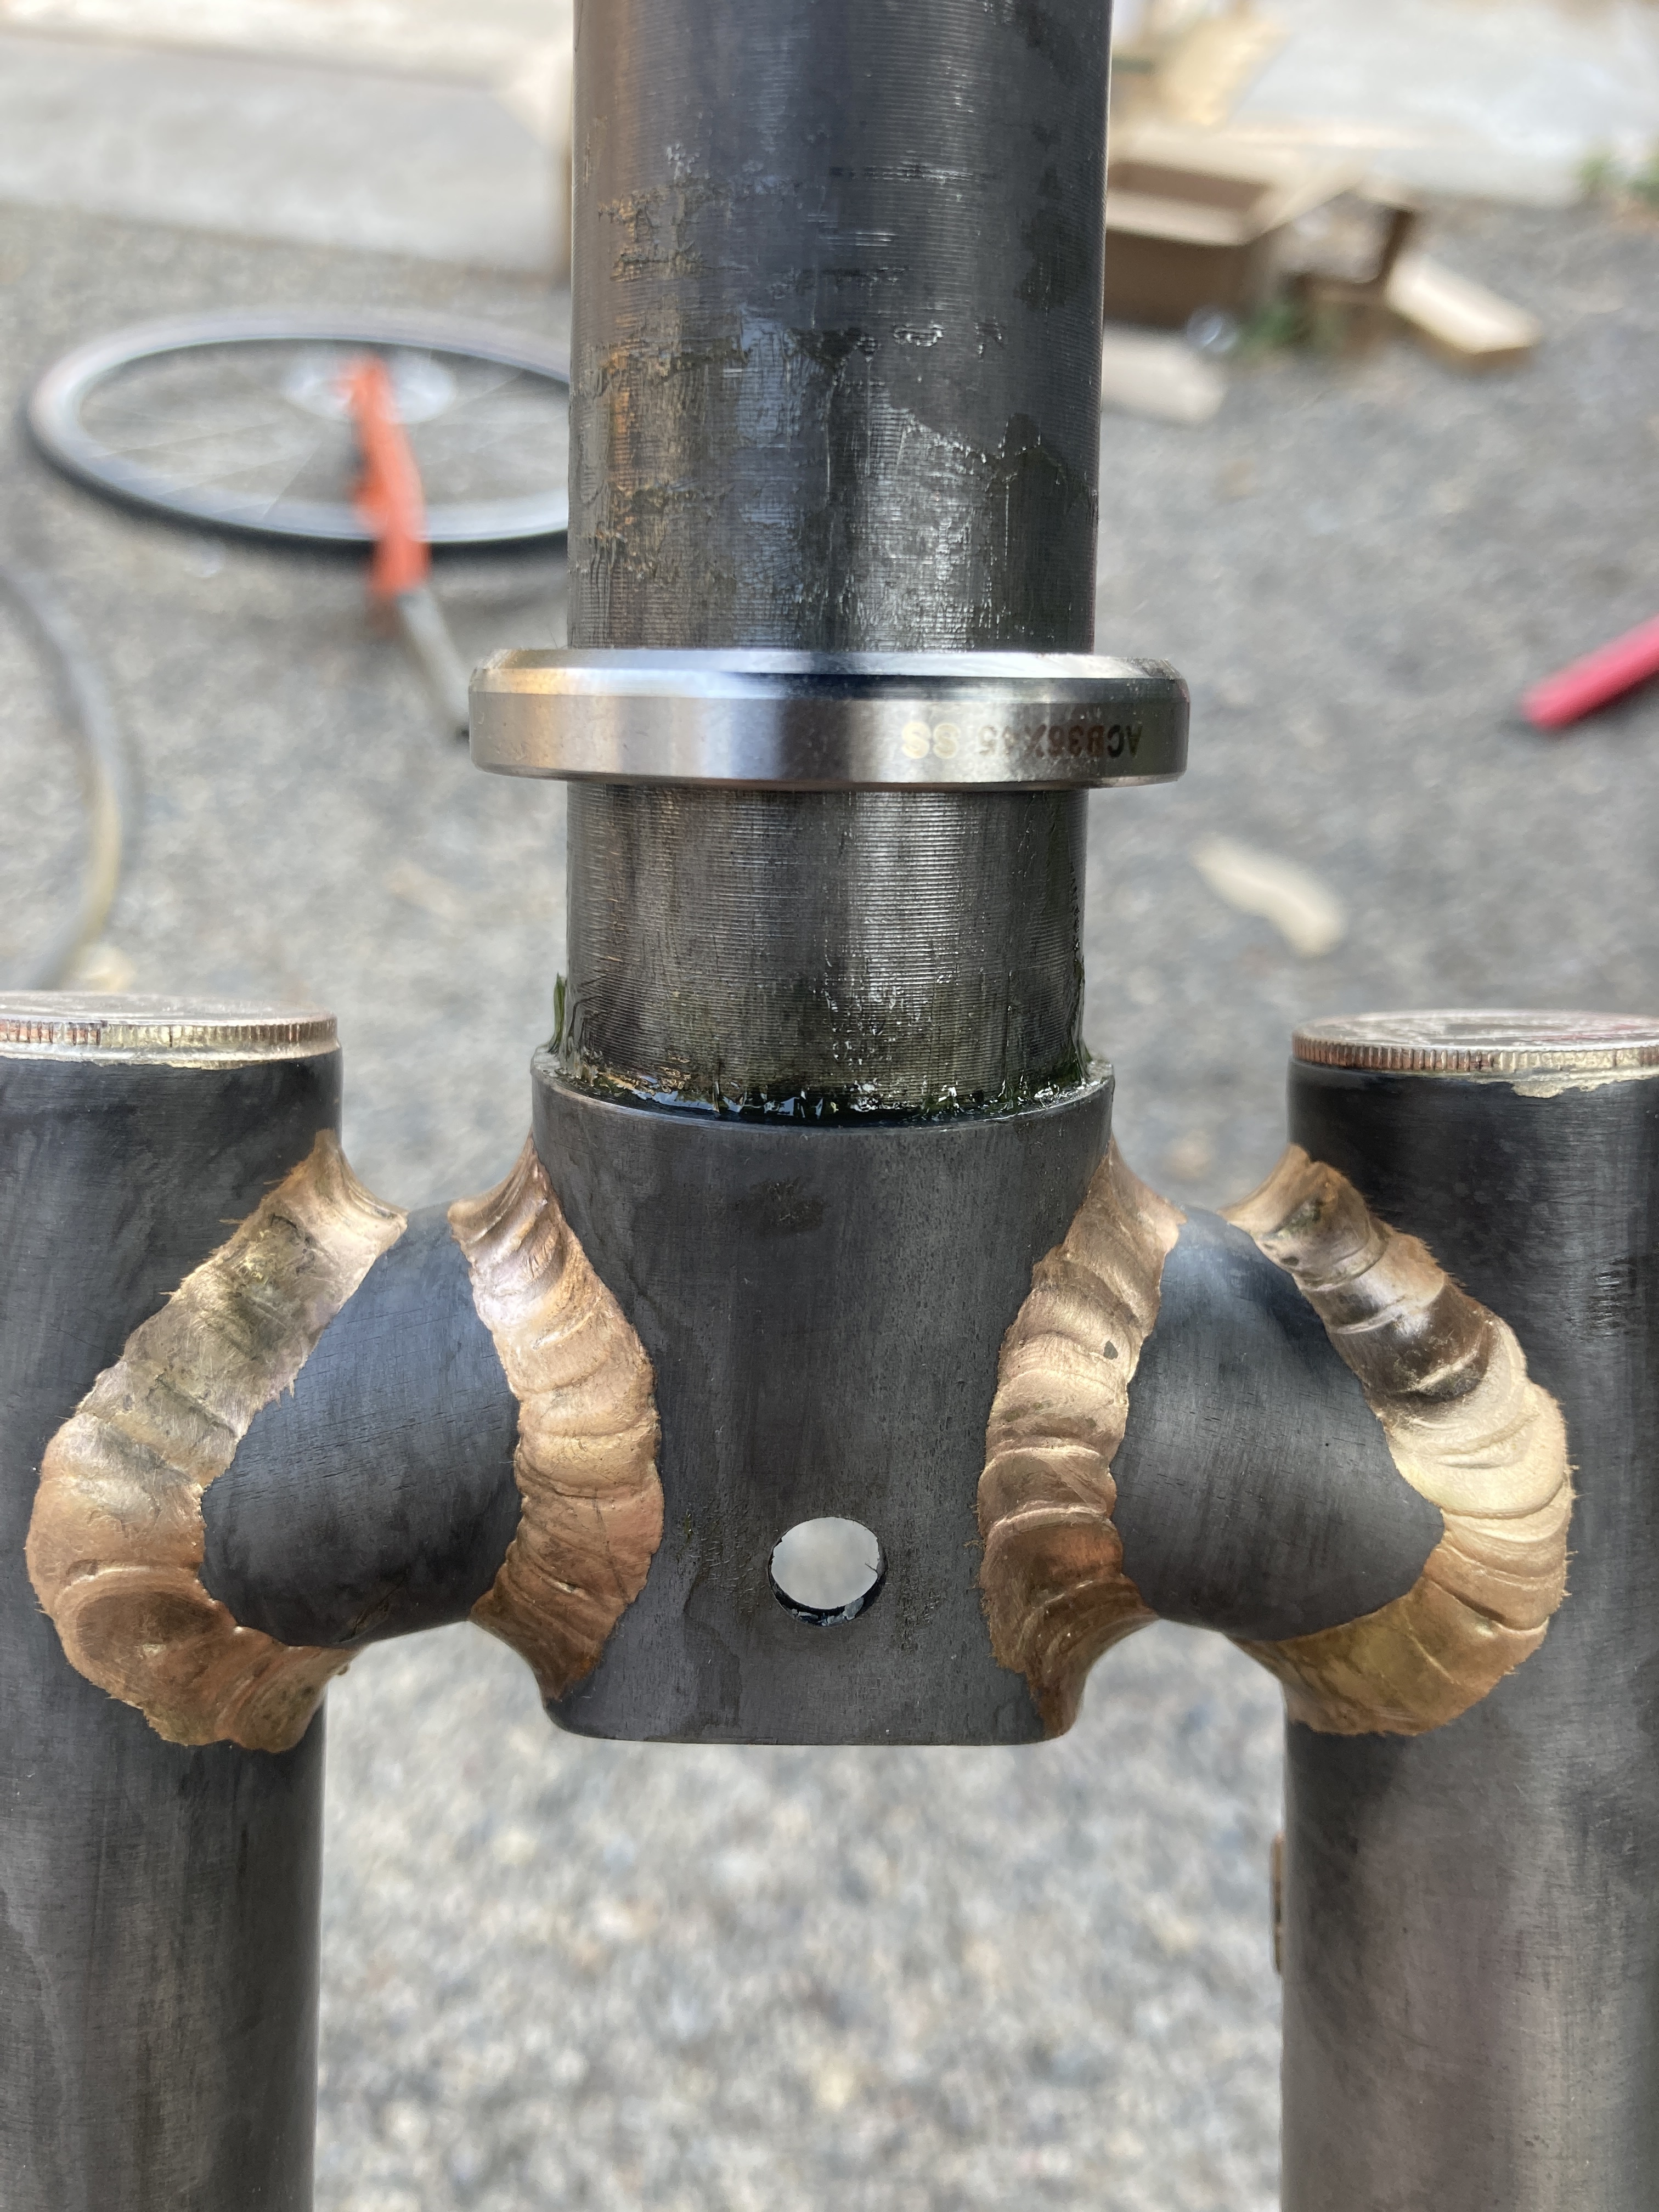
I drill bottle boss holes, vent holes and dynamo routing in the fork legs before welding brazing the assembly together. The steer tube has the vent holes for the dynamo routing. I would not drill holes in the steerer tube if it were not for the dynamo routing, or need for rack/fender mount.
I tack the dropouts to the legs, the legs to the segments and then to the steer tube. Each side gets three tacks 12 o’clock, 4 o’clock 8 o’clock. I then TIG weld the drop out to the fork leg. After those are fully welded, I braze the segments to the steer tube. Finishing by adding the ISO tab, bottle bosses and top caps.
I am fortunate to have other builders nearby that allow me to use their tools and vice versa. For these two fork builds, I used the sputnik fork fixture. However, I have decided
to invest in my own and purchased the cobra fork fixture. There are elements I like from both fork fixture designs, but I went with the cobra for a few reasons.
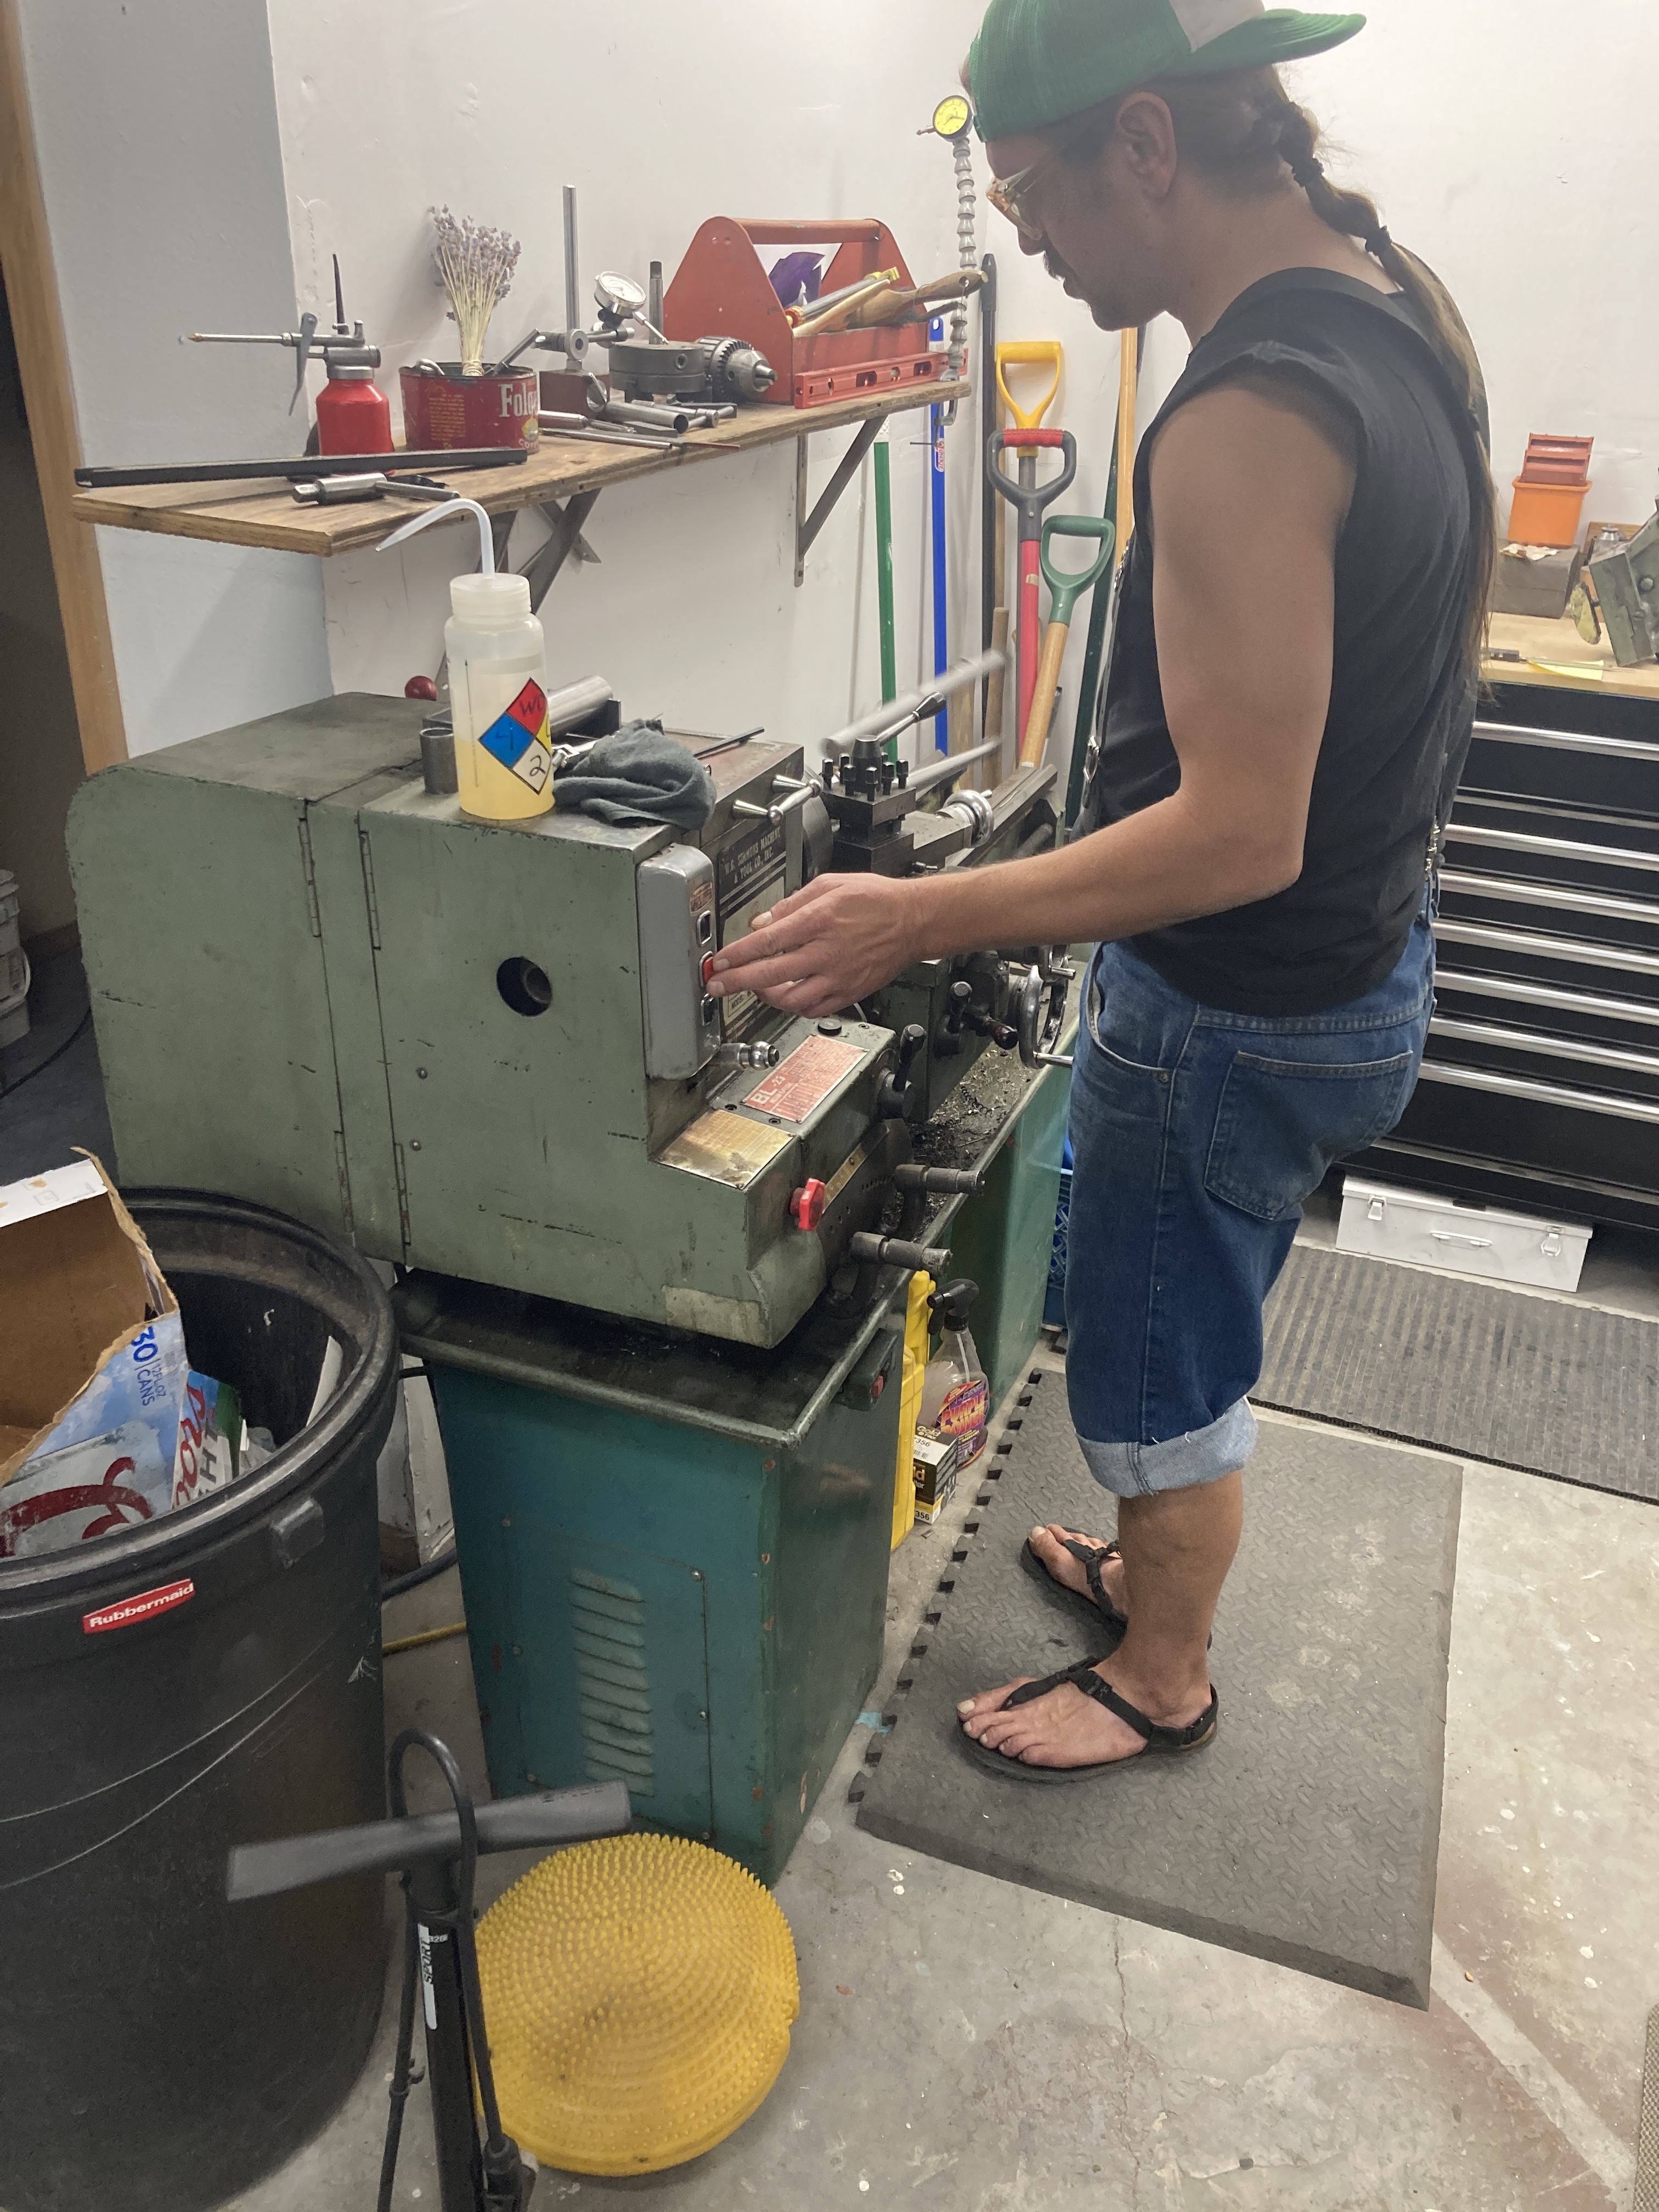
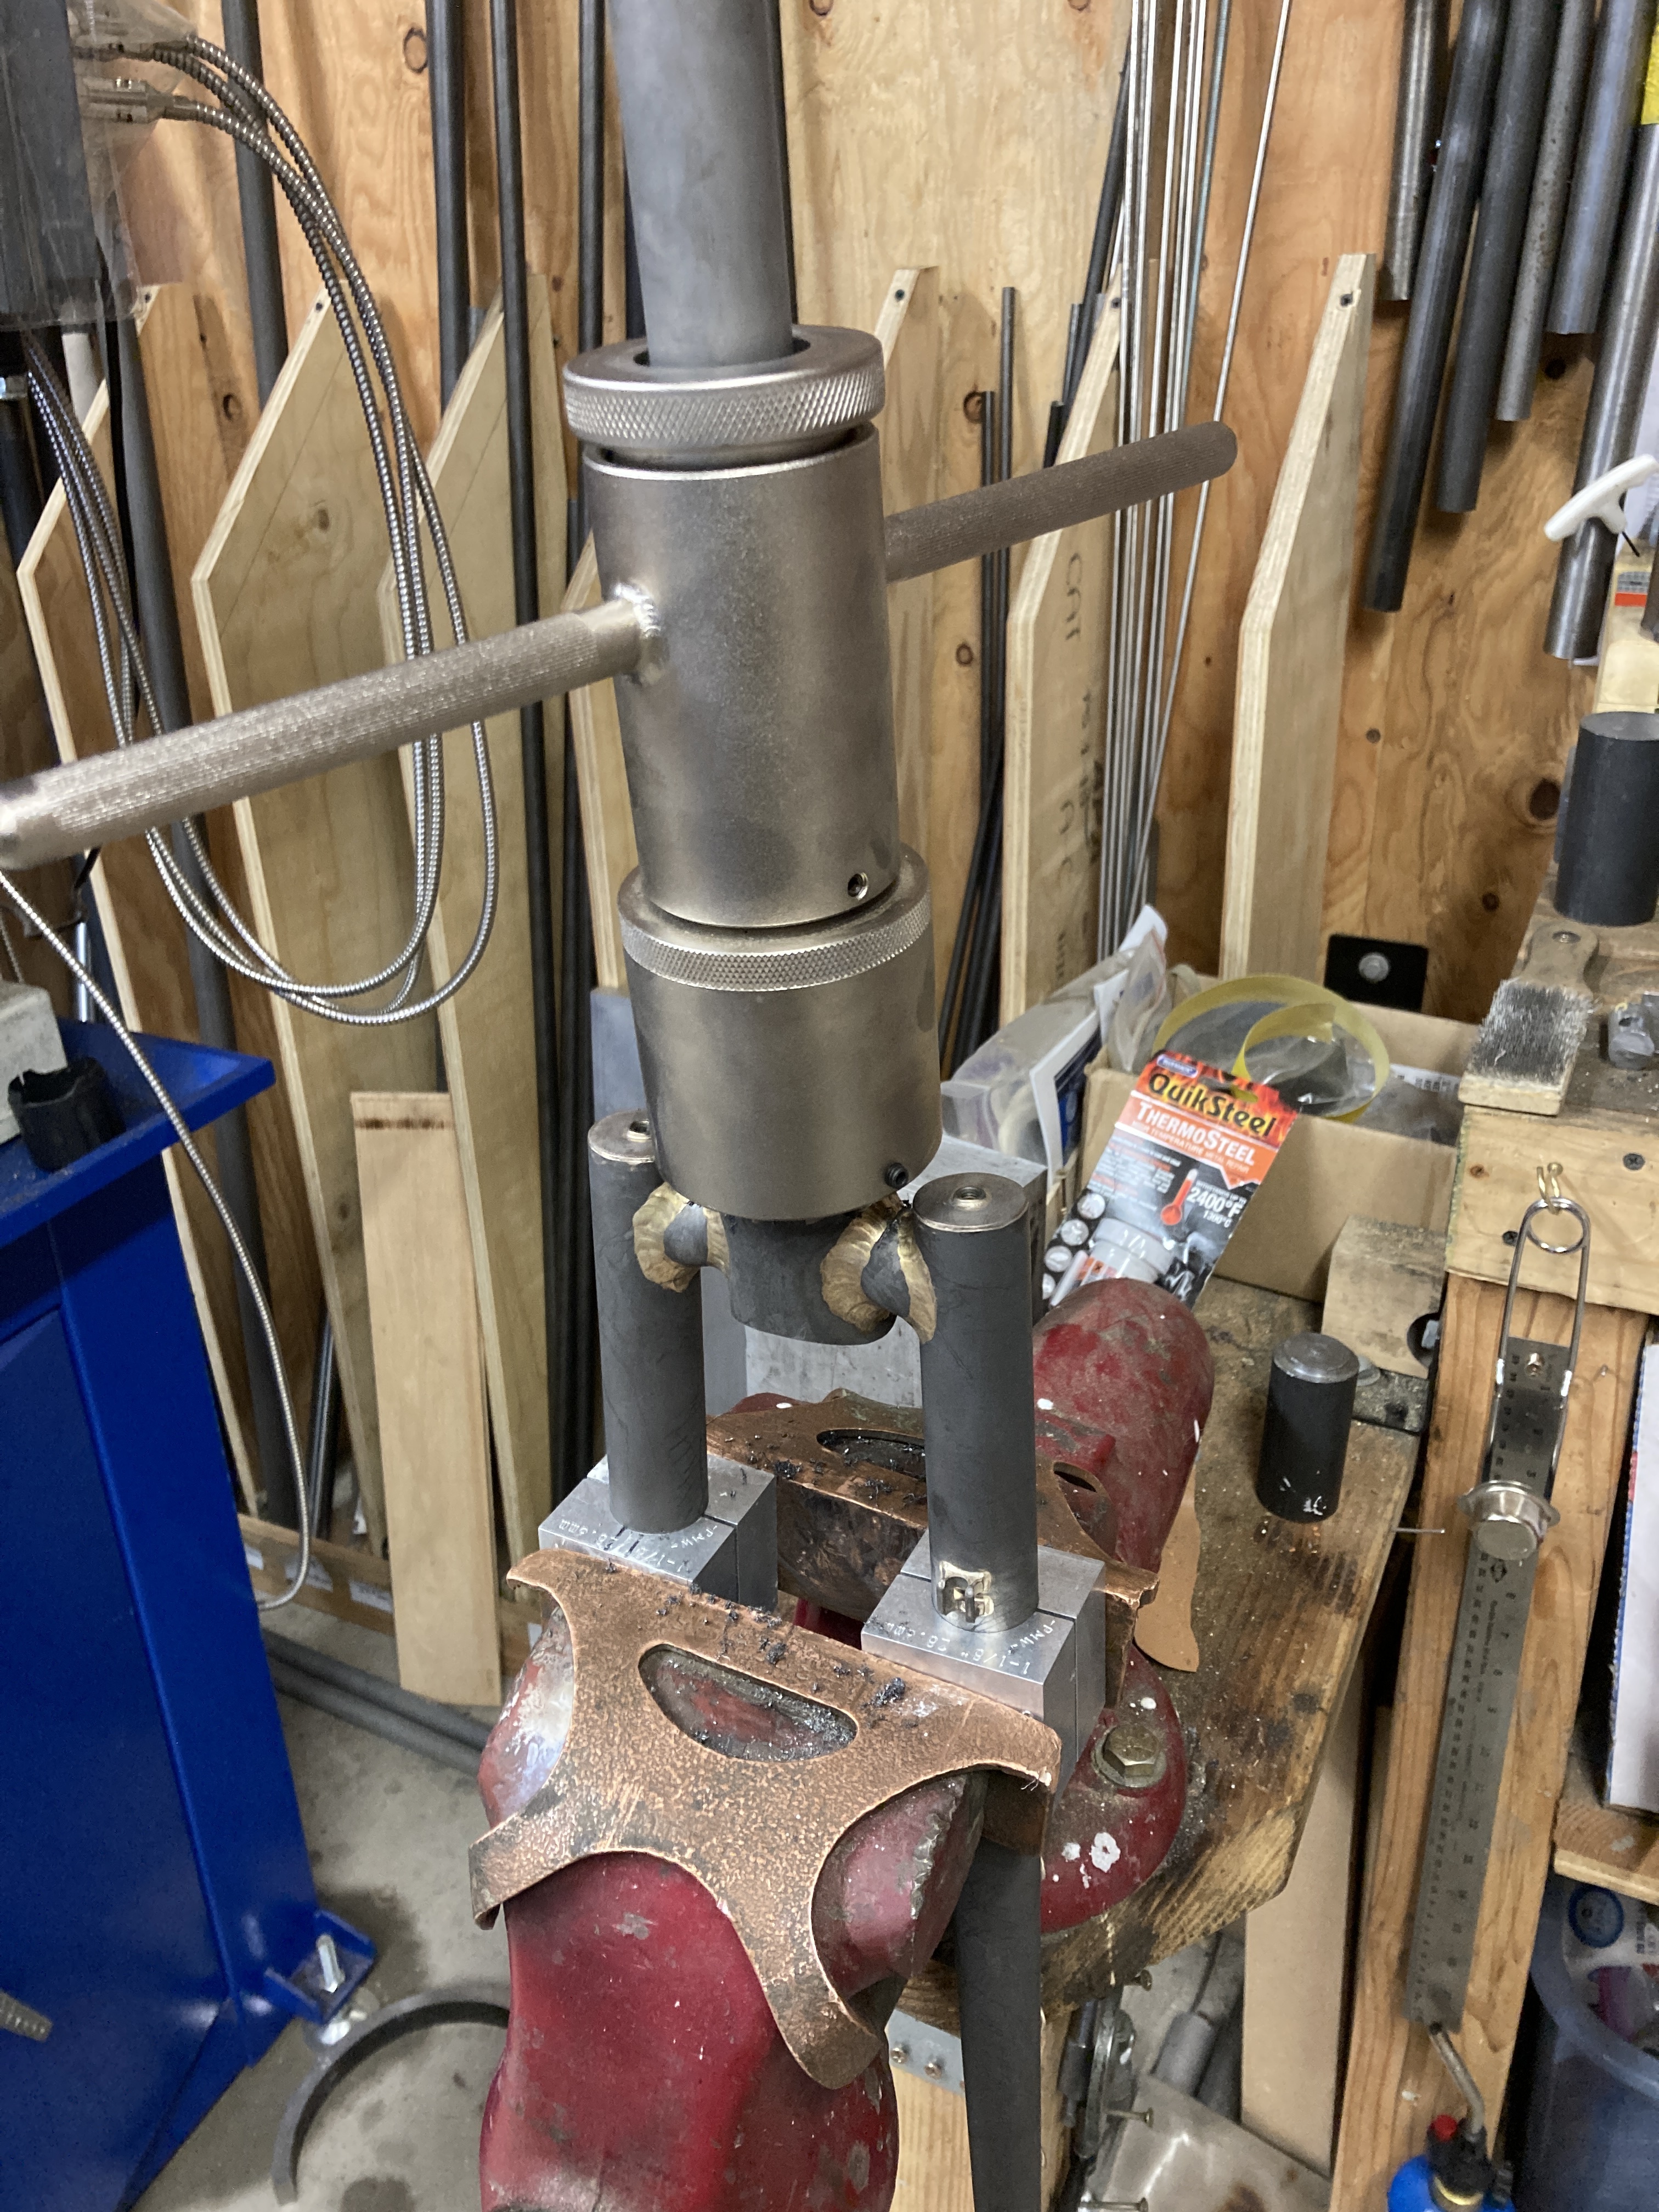
I had a friend use his lathe to turn down the race dimension on one fork, and I used the Park tool on the other. The Park tool was nice, I’ll be trying to acquire one at some point.
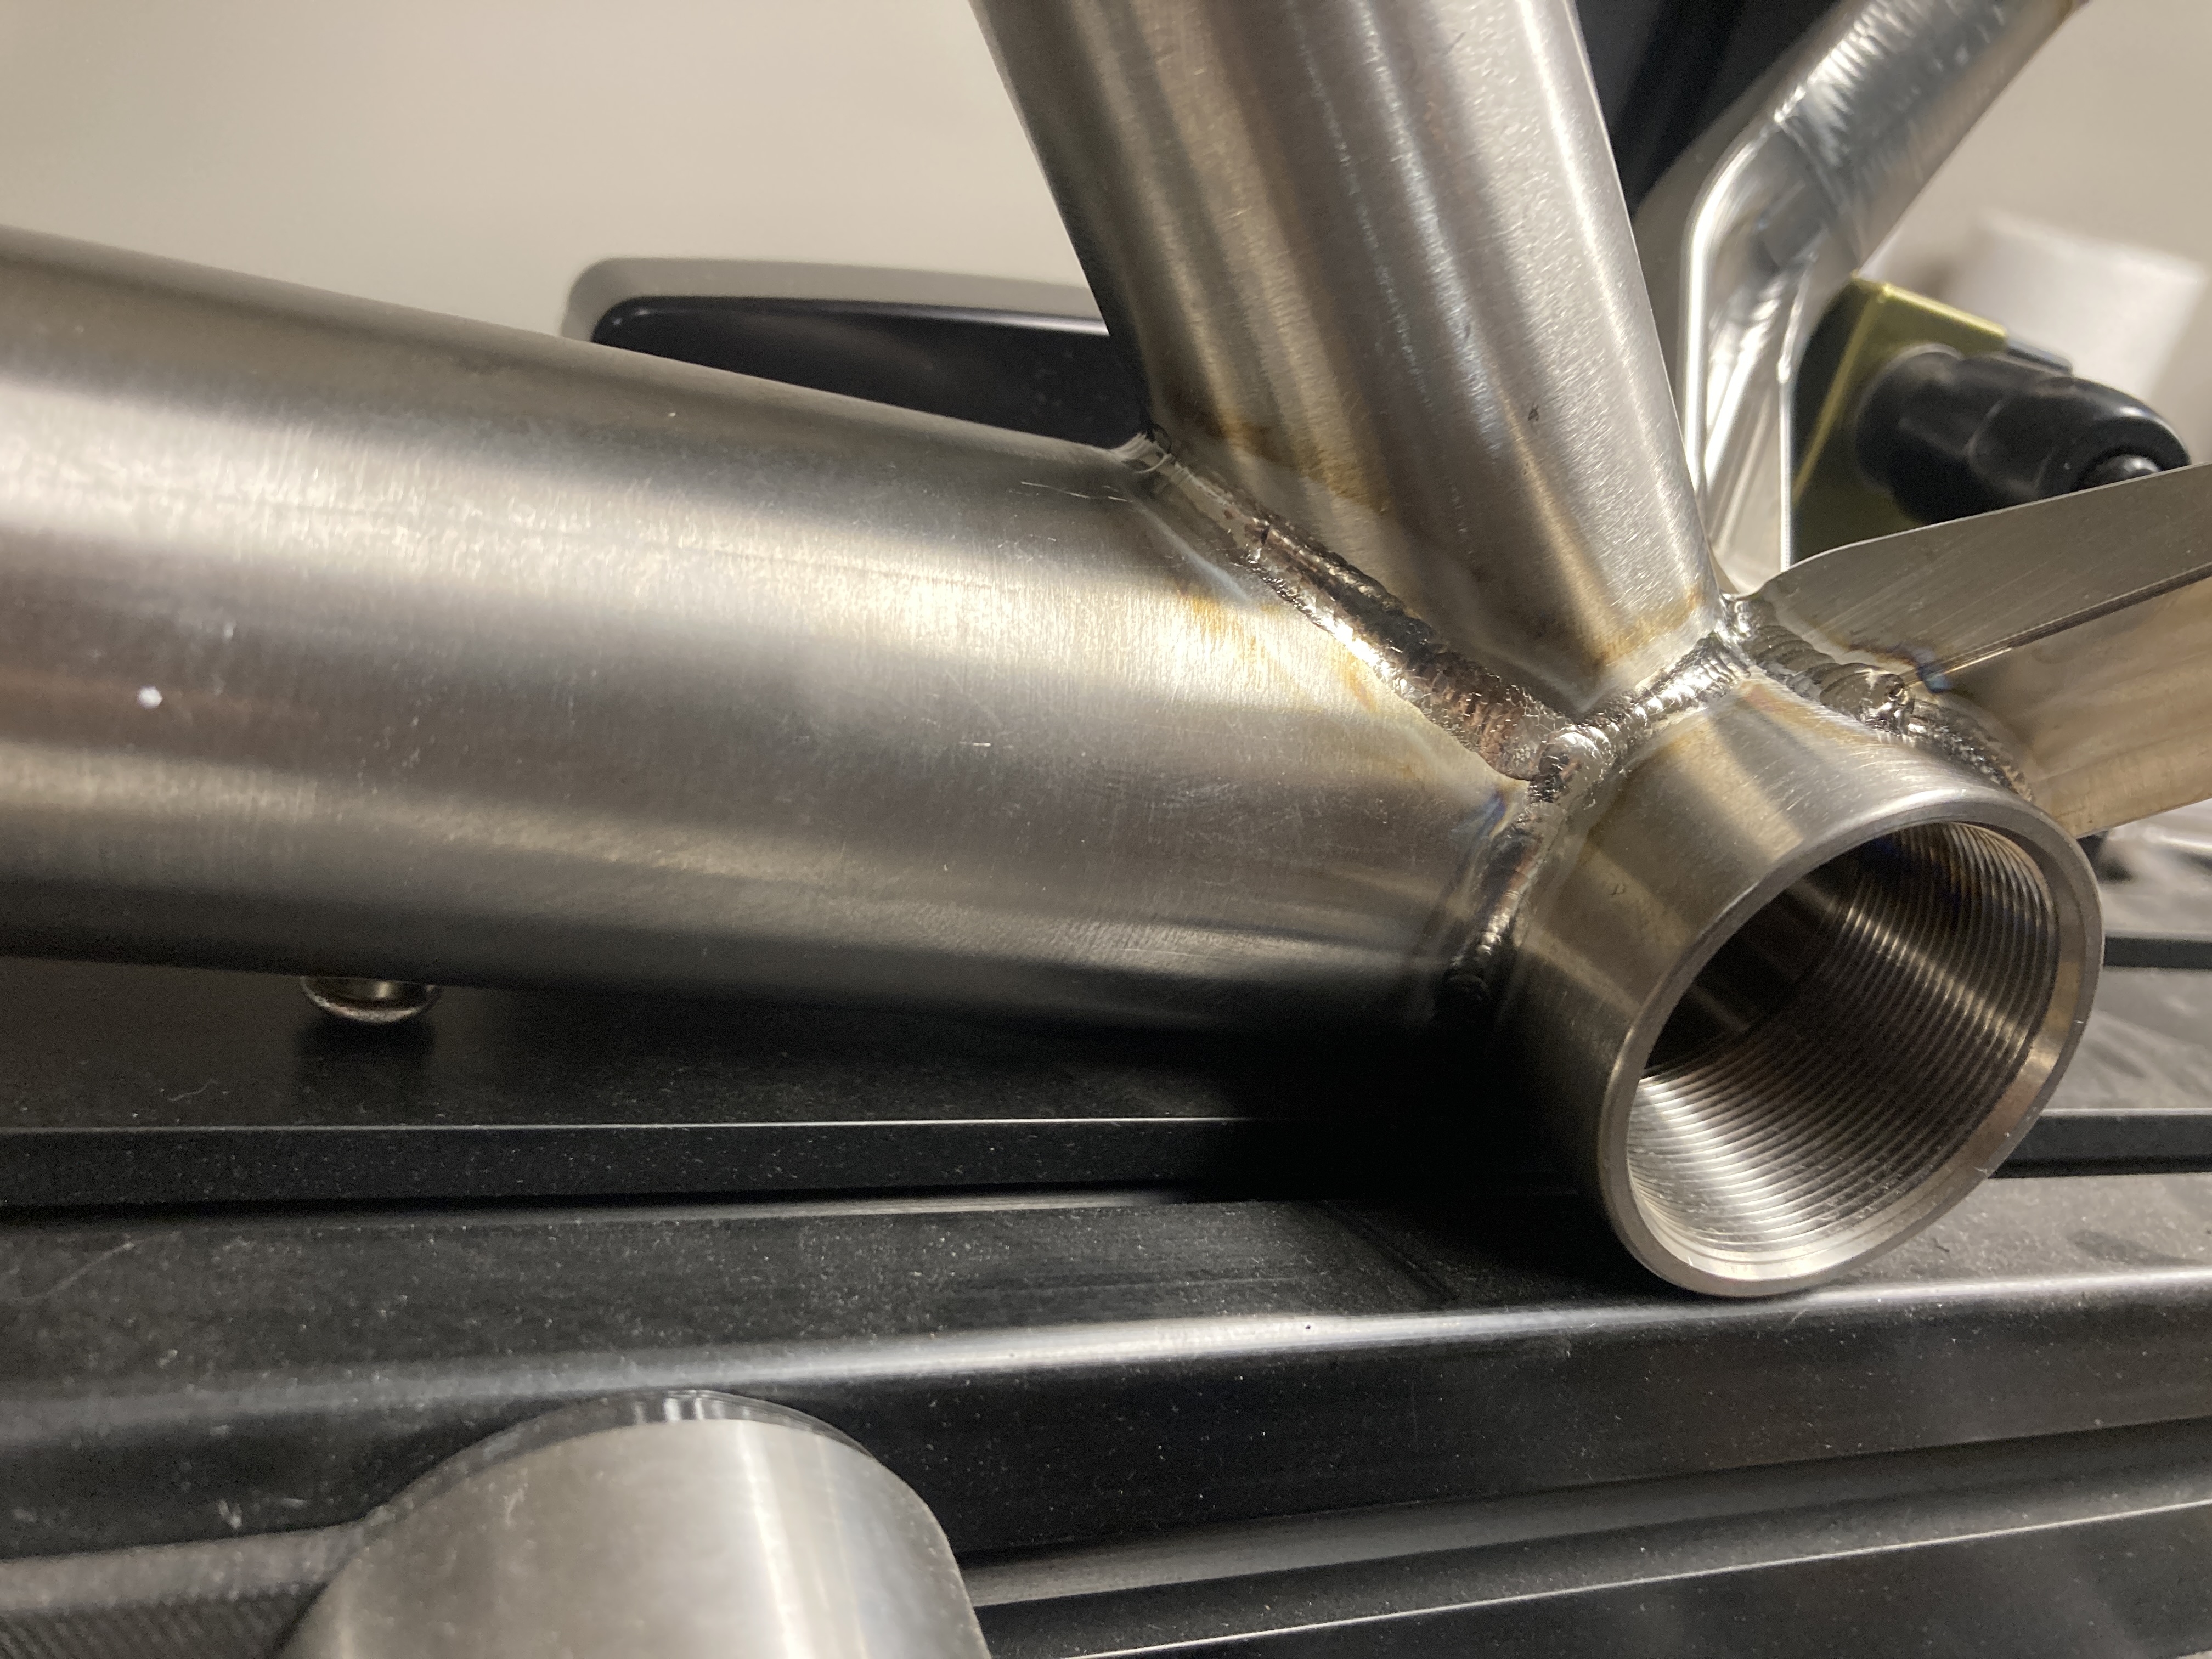
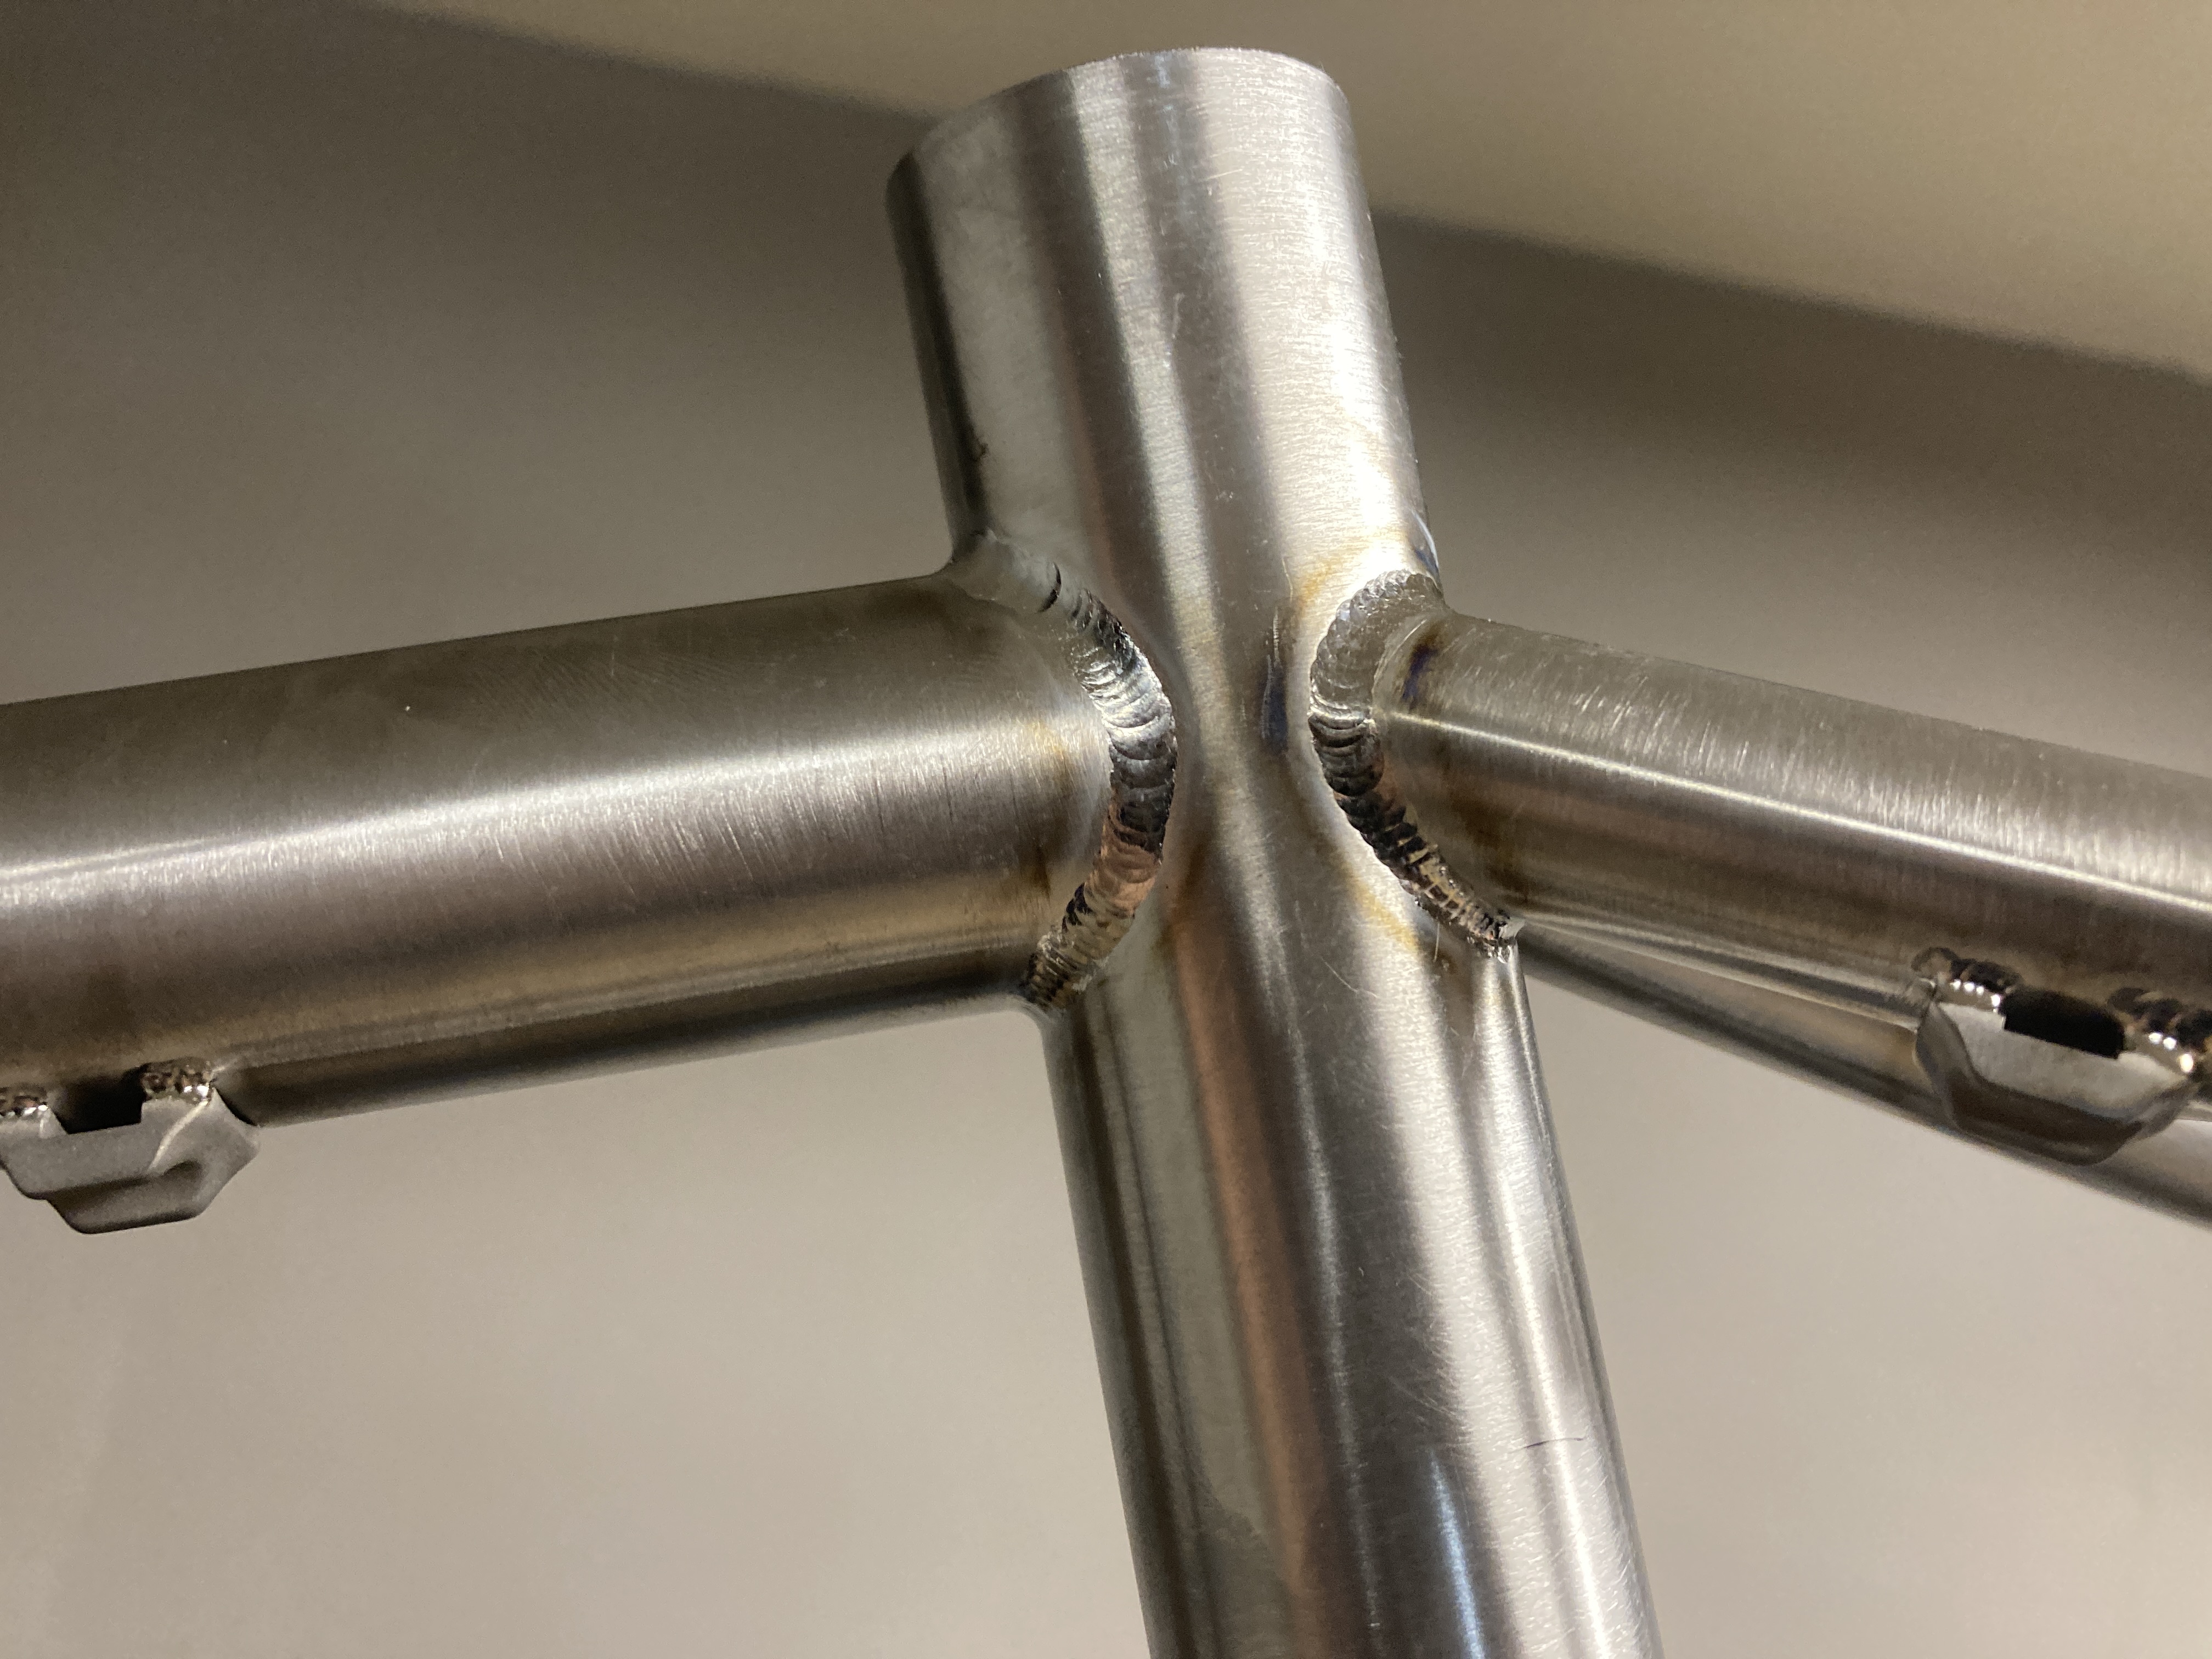
Not every weld is silver and my purge system needs improvement. Mostly interested in what others are using for tubing size and thickness.
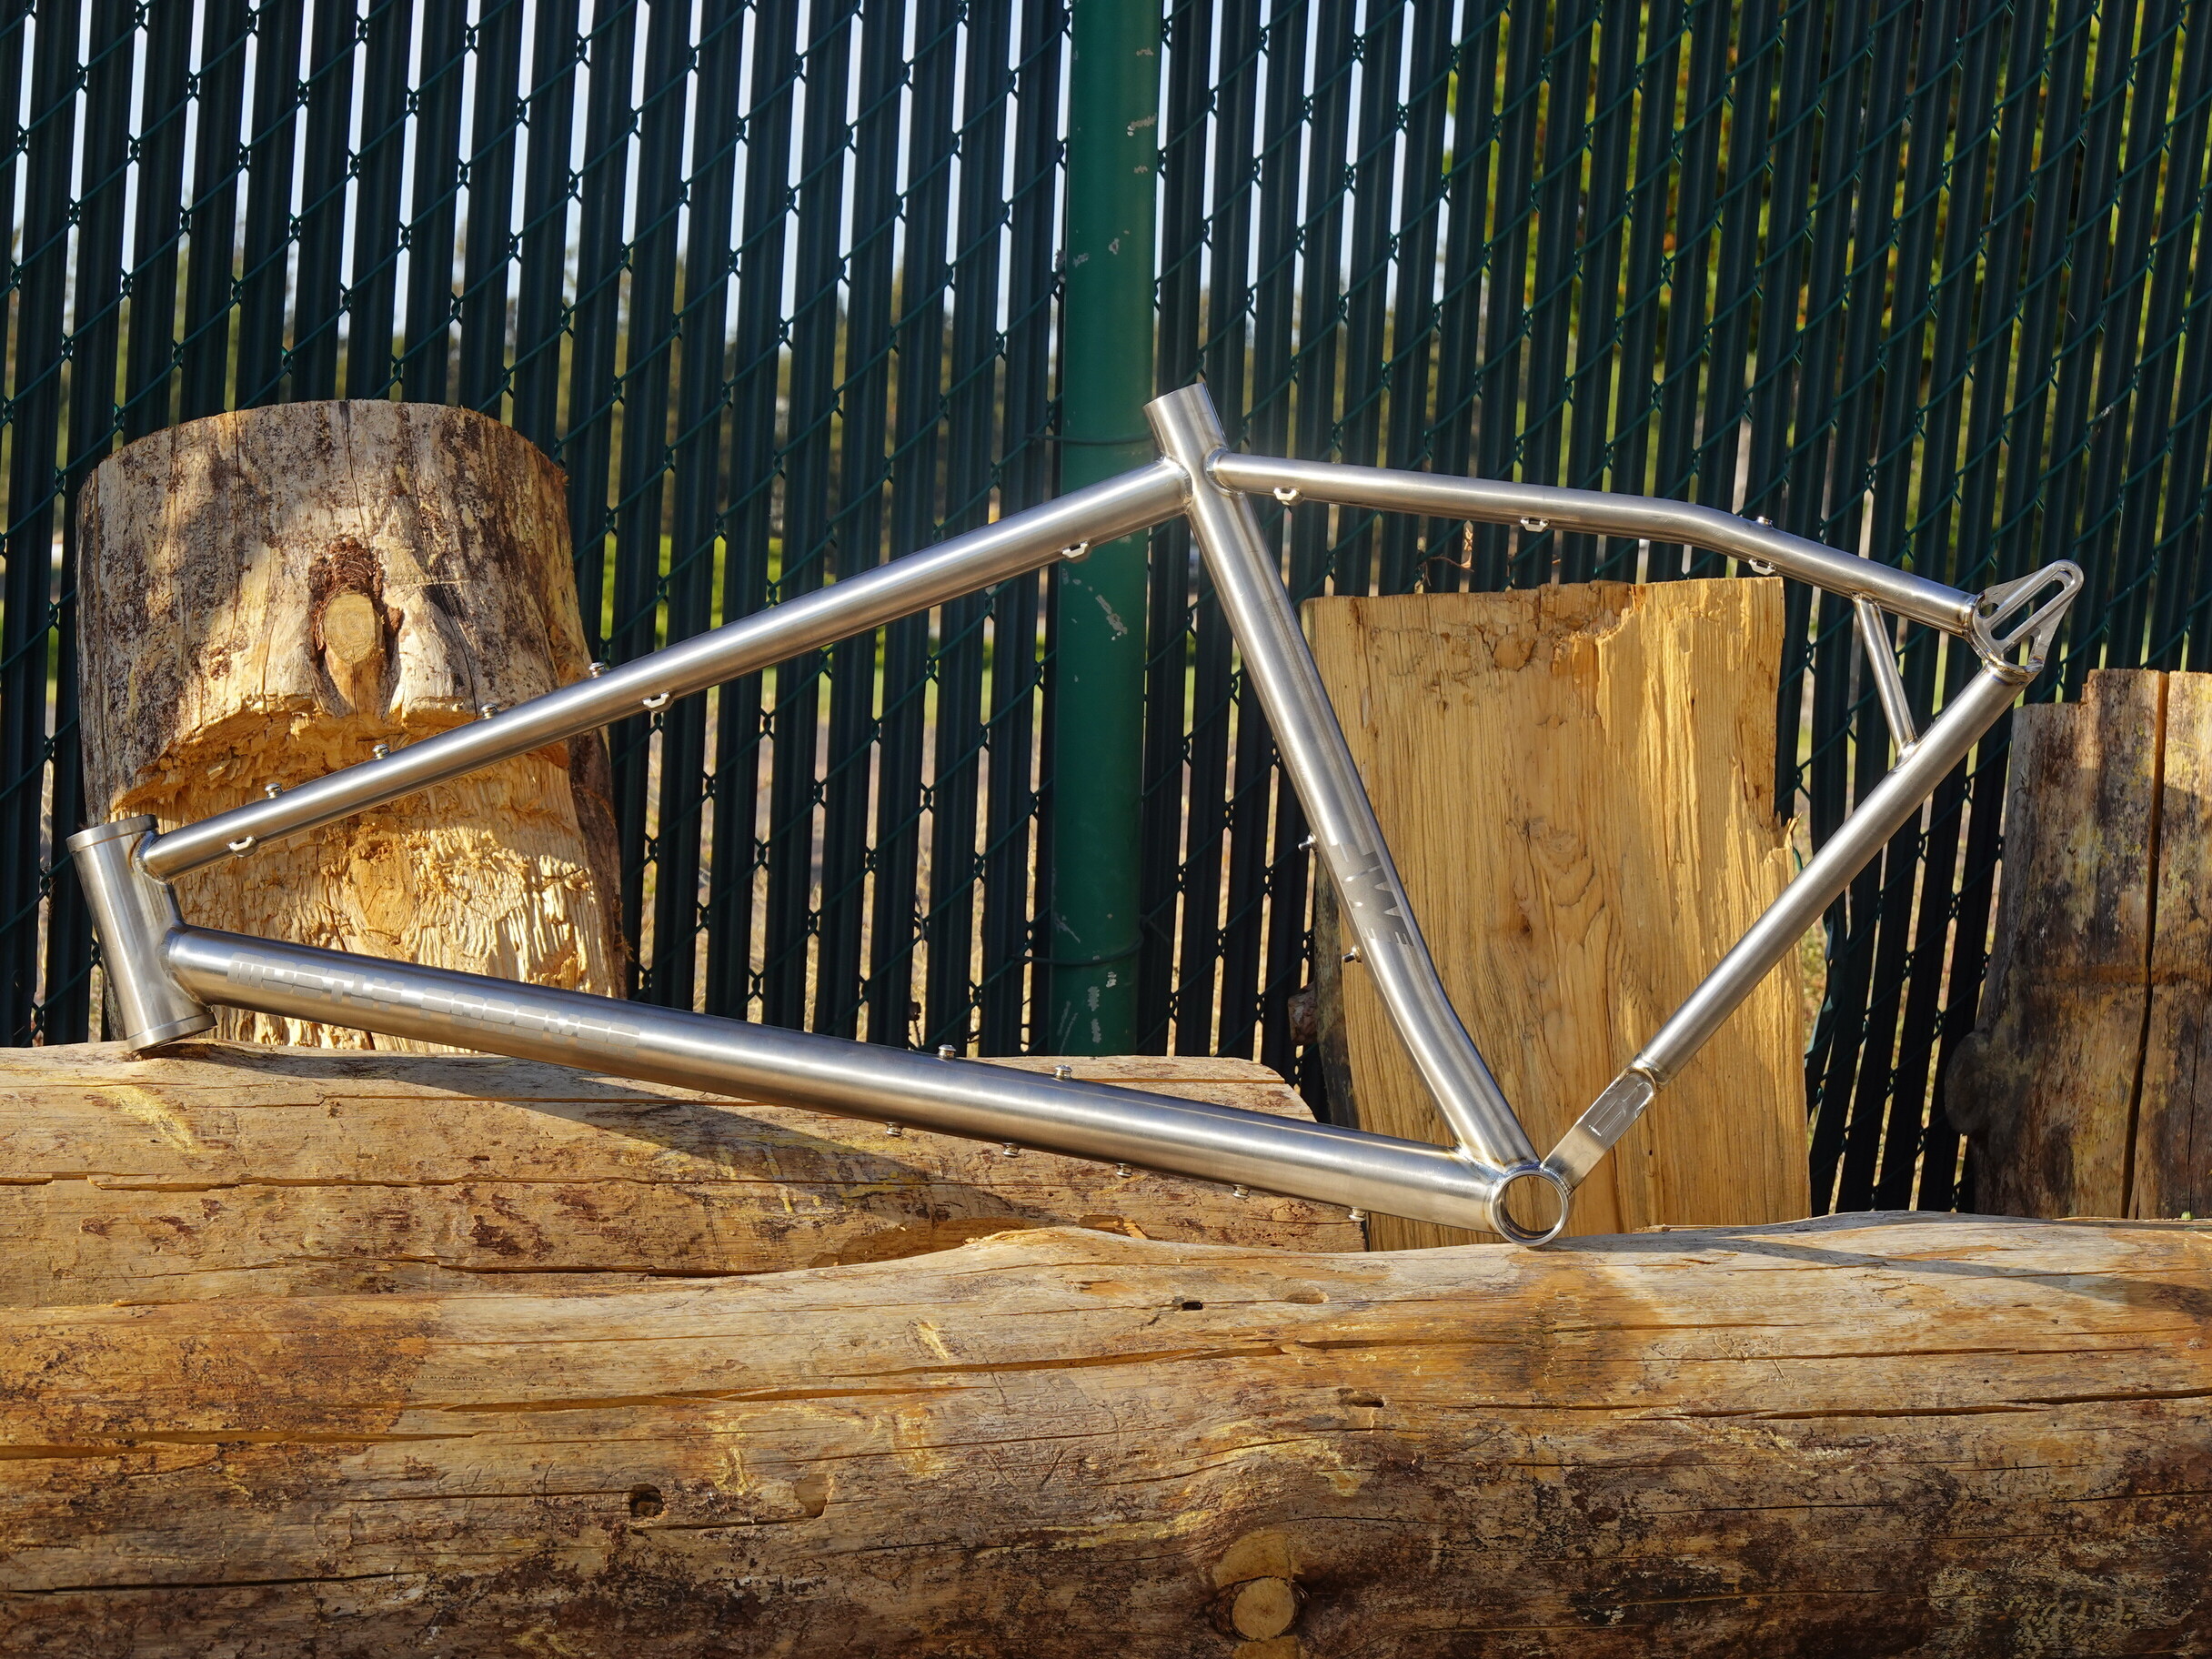
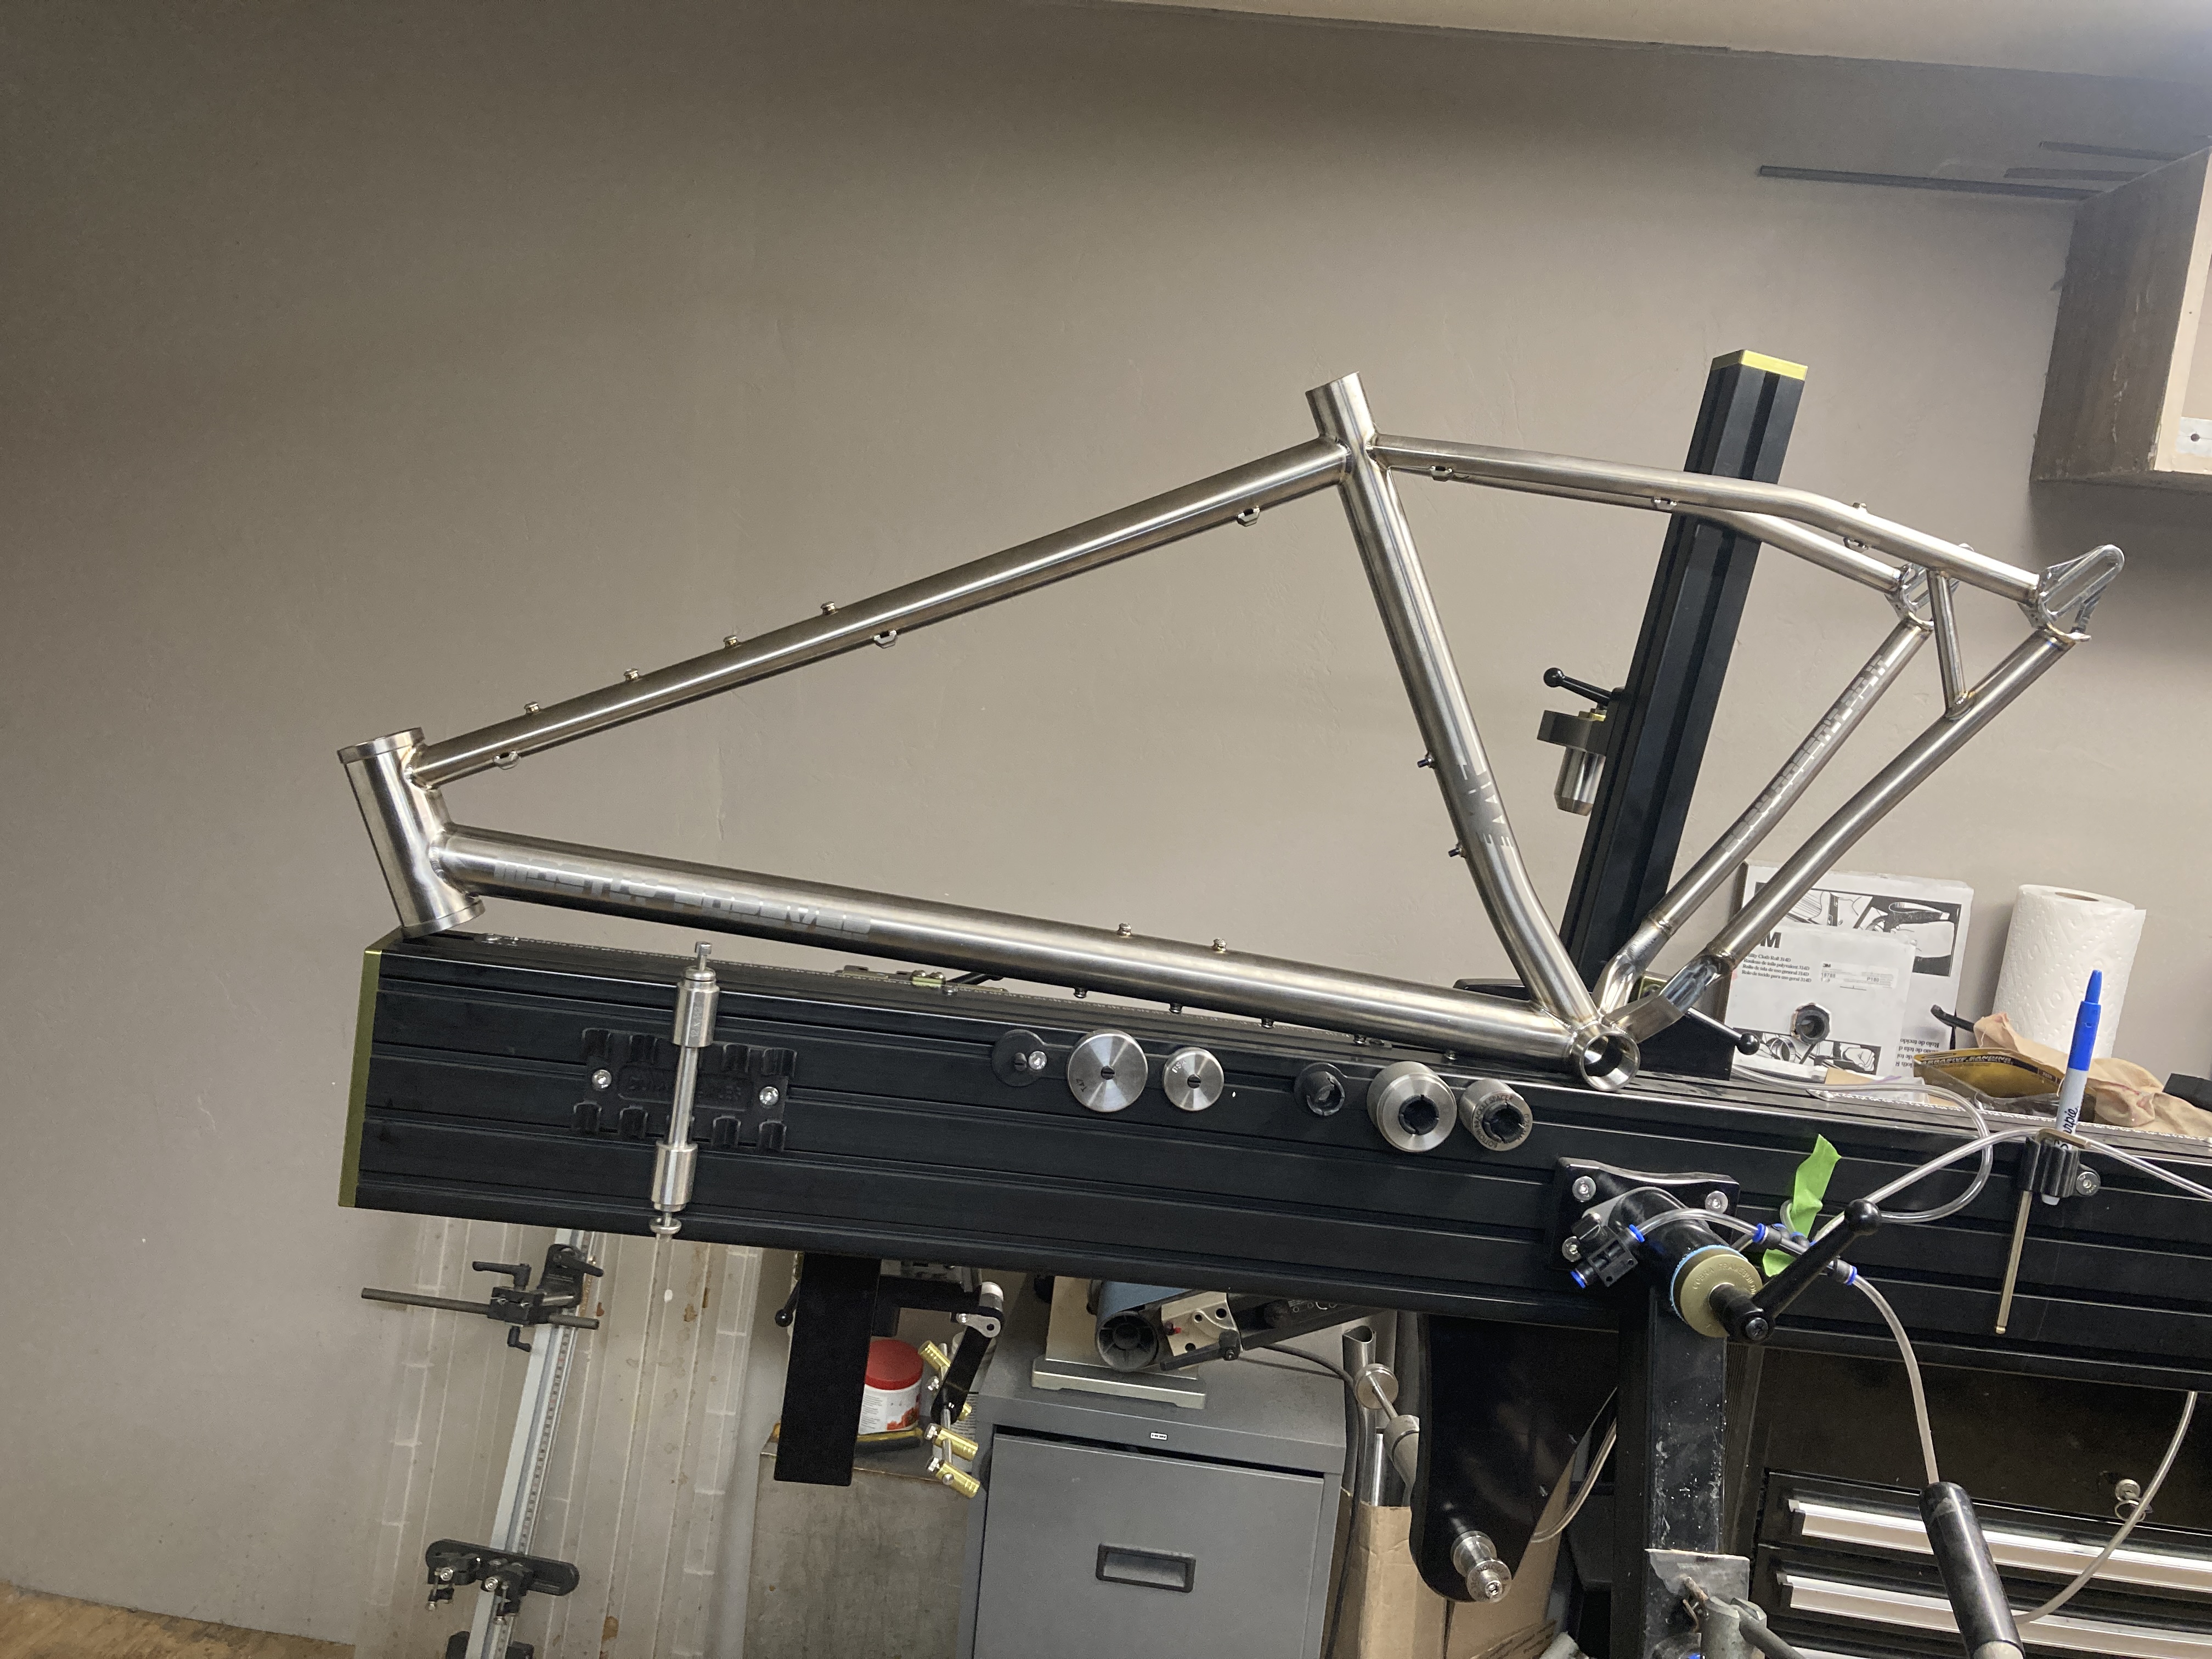
This is my do all bikepack racer, the MKUltra. Test ride soon to come and if all goes well I’m taking it down to Arizona for this years AZTR group start.
Still need to face, chase, ream. Waiting for some better cutting lubricant before I venture into those processes.
Tubes used
DT 1.625x.035 straight gauge
TT 1.25 9/7/9 smooshed ht side
CS yokes cobra made for …035 tube
CS .875x.035
SS .75x.049 there was no .035 in stock
ST 1.375 .9/1.6 single butt
BB 40mm bsa
Slider drop outs
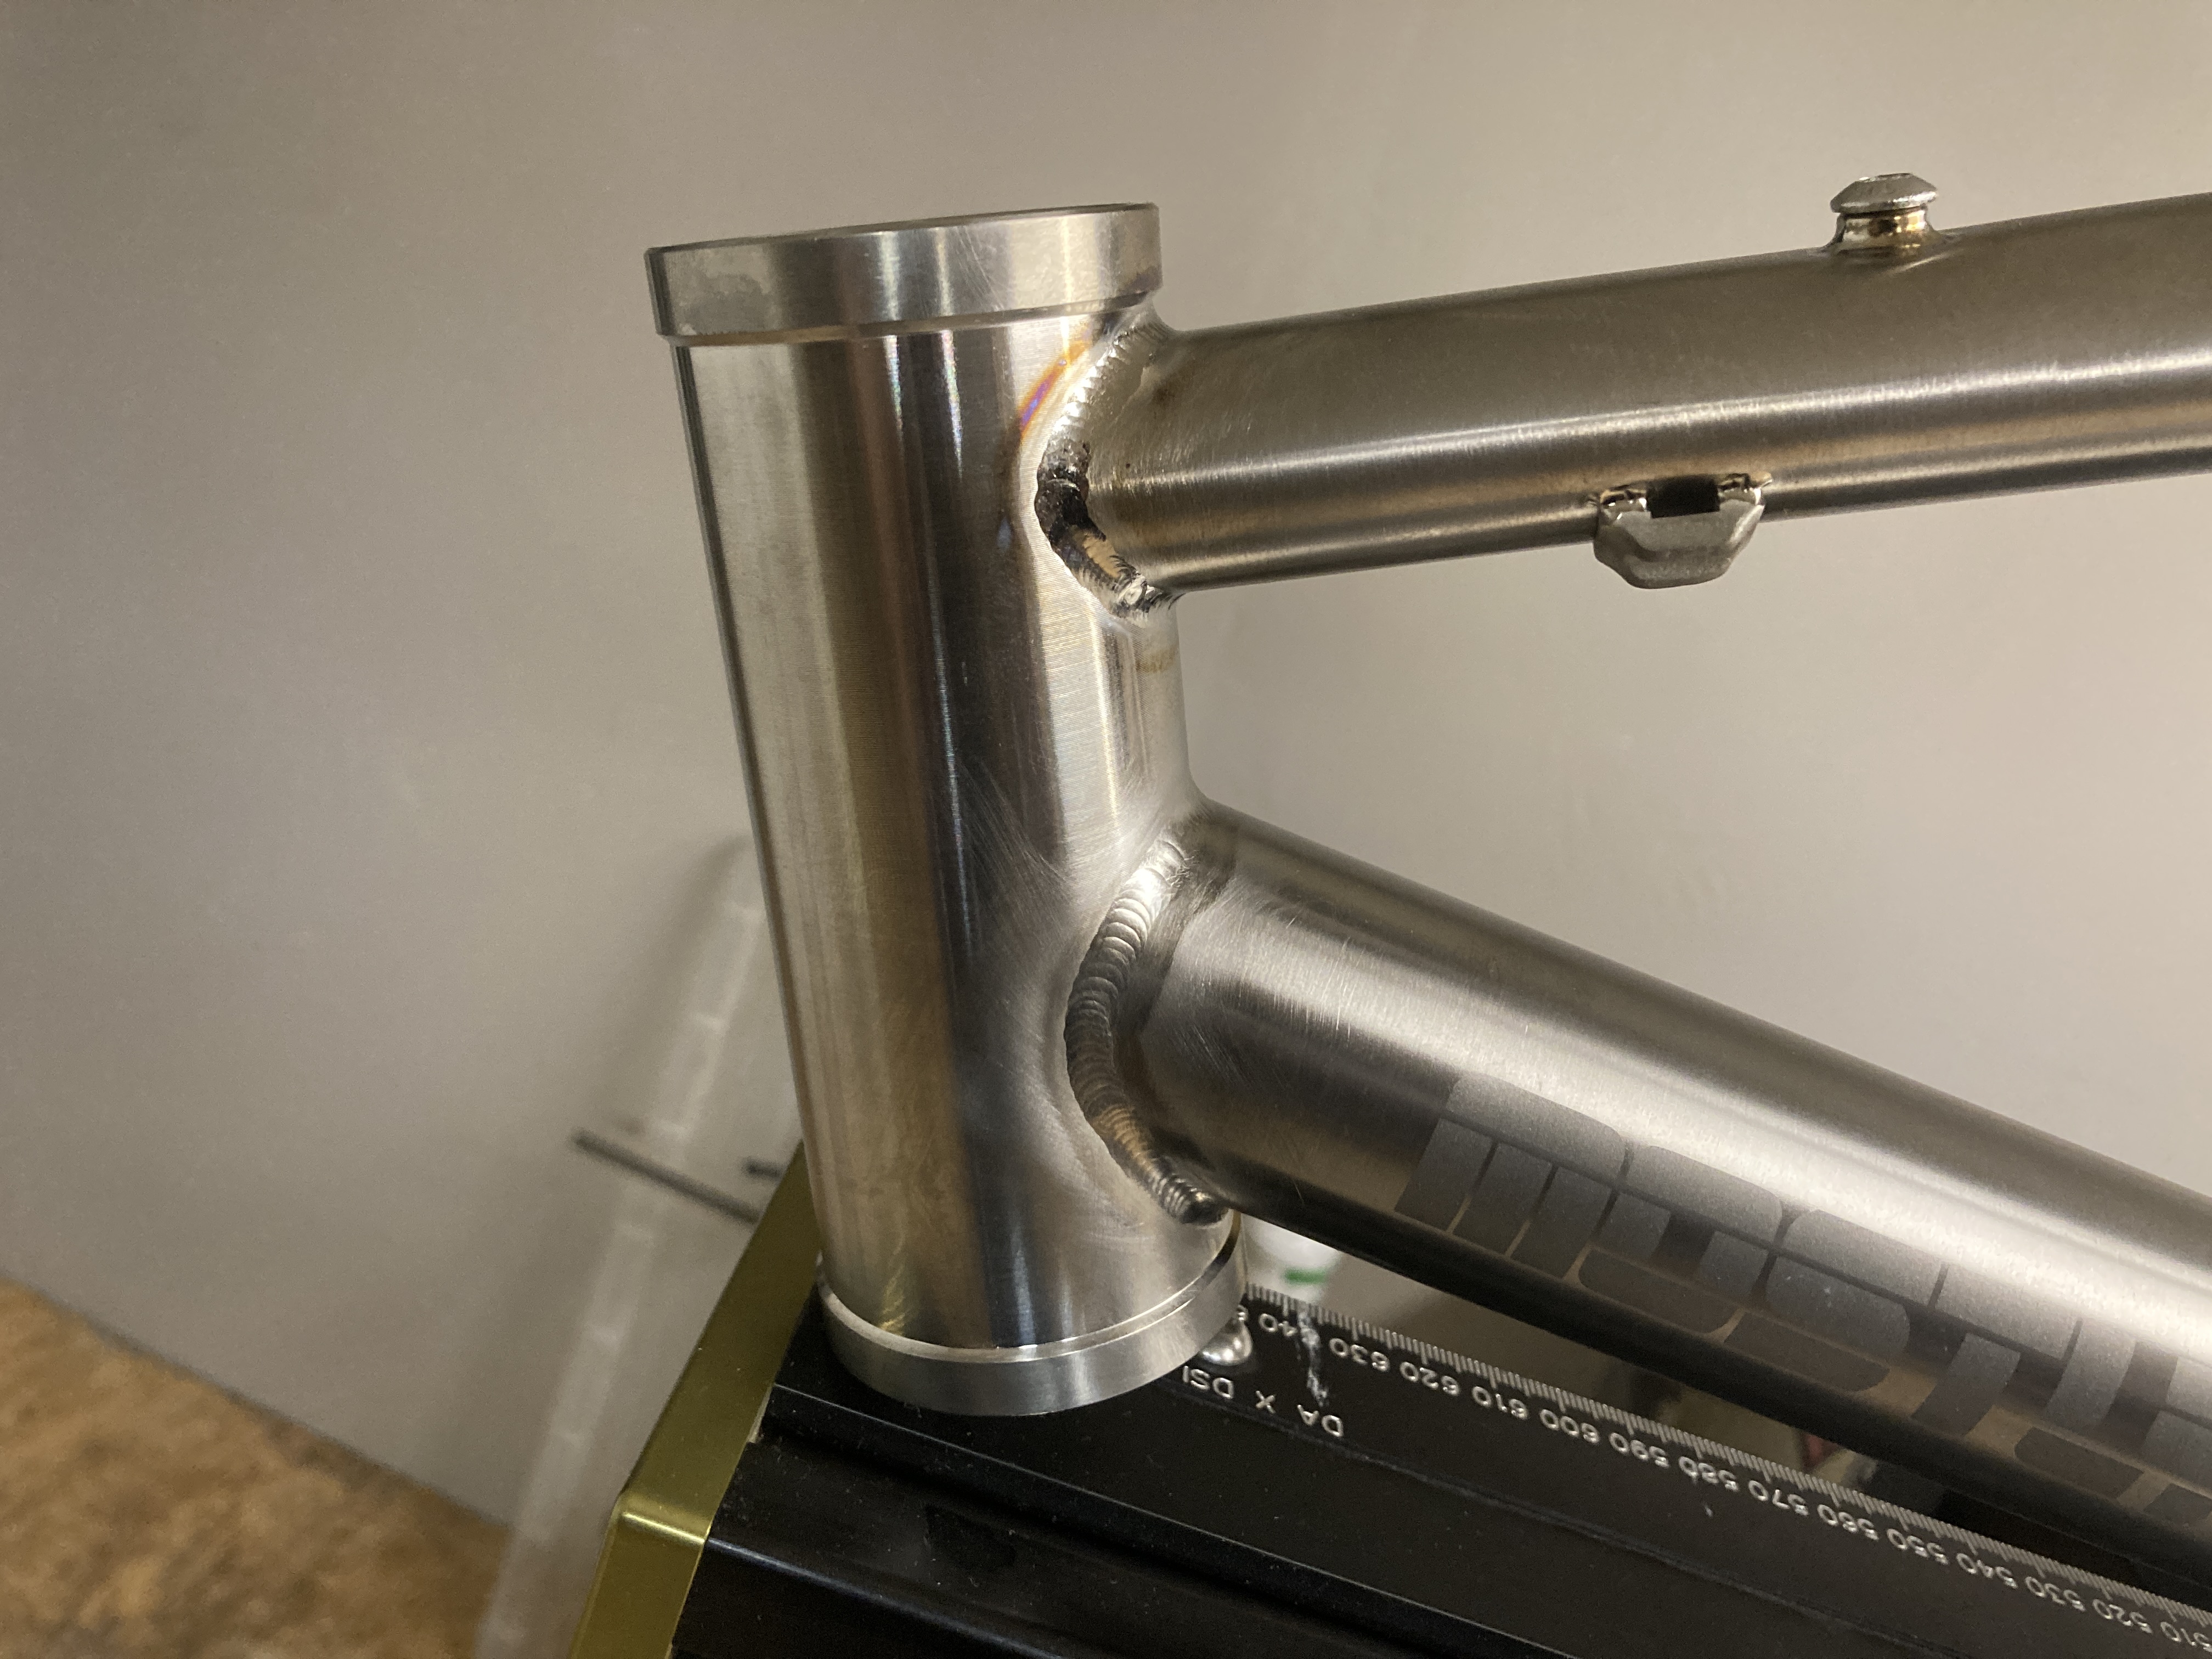
I offset the seat tube forward and the dt upward on the BB. Next version will hopefully feature a printed yoke so I can move the seat tube back.
These tube sizes/dimensions aren’t far off of what Davidson used for my 2011 custom Ti winter bike. The top tube he (actually Max Kullaway RIP) used is 1-1/4" externally butted (relieved?) tube. For reference, I was about 200lb Cat 2 sprinter at the time.
What did you do at the top of the seat tube to provide strength there? I don’t see that you used a sleeve or thicker extension at that joint.