A "mostly forever" build log

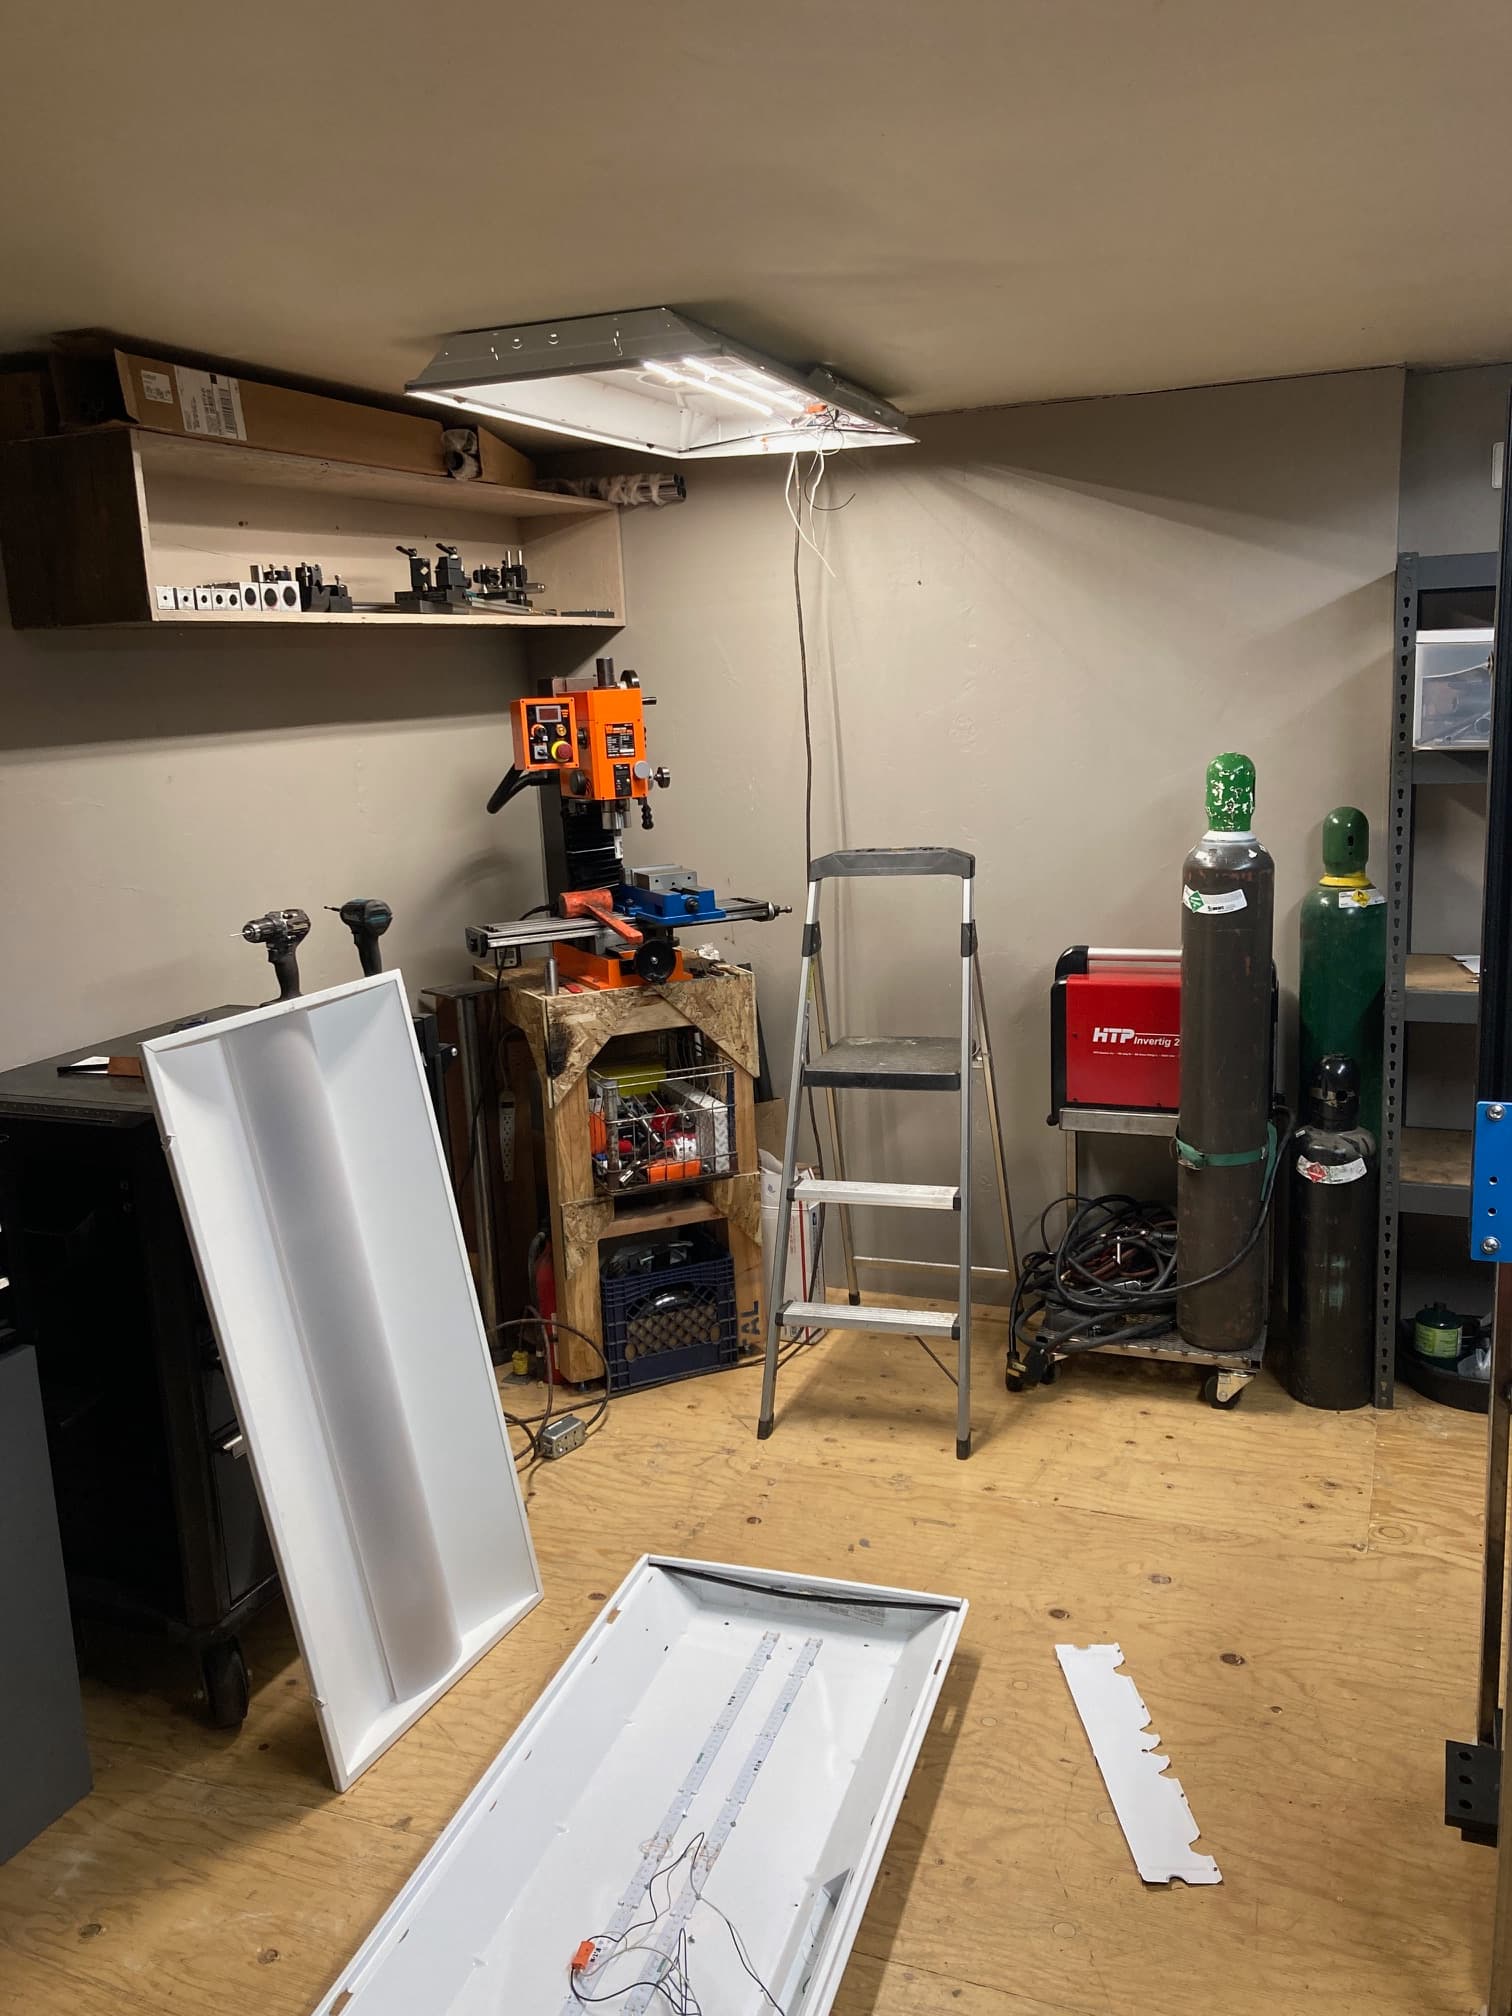
I’m being forced to move and figured I’d build one more frame before my workspace changes. I am very fortunate to have found a new place to live and the guy I work for is allowing me space at his shop to set up a workspace. This is frame number 8 for me, this is built for my housemate.

The top and down tube were gifted to me, and I had the rest of the parts except for a seat tube. This was the smoothest build I’ve done; I attribute that to having gone through the process enough times to have my order of operations more in order (*plenty of room for improvement). Building a frame is a series of steps and processes, so many in fact that trying to focus on perfecting every step on a single frame is too time intensive.

Advice to myself and new builders is to focus on steps that need the most improvement and/or the steps that are easiest to improve. Perhaps one from each category on each frame, that’s been my philosophy. The area that I have not let overly concern me in my process has been alignment. After reading various forums over the years, I never came across information that stated it’s hard to make a bike that won’t ride.

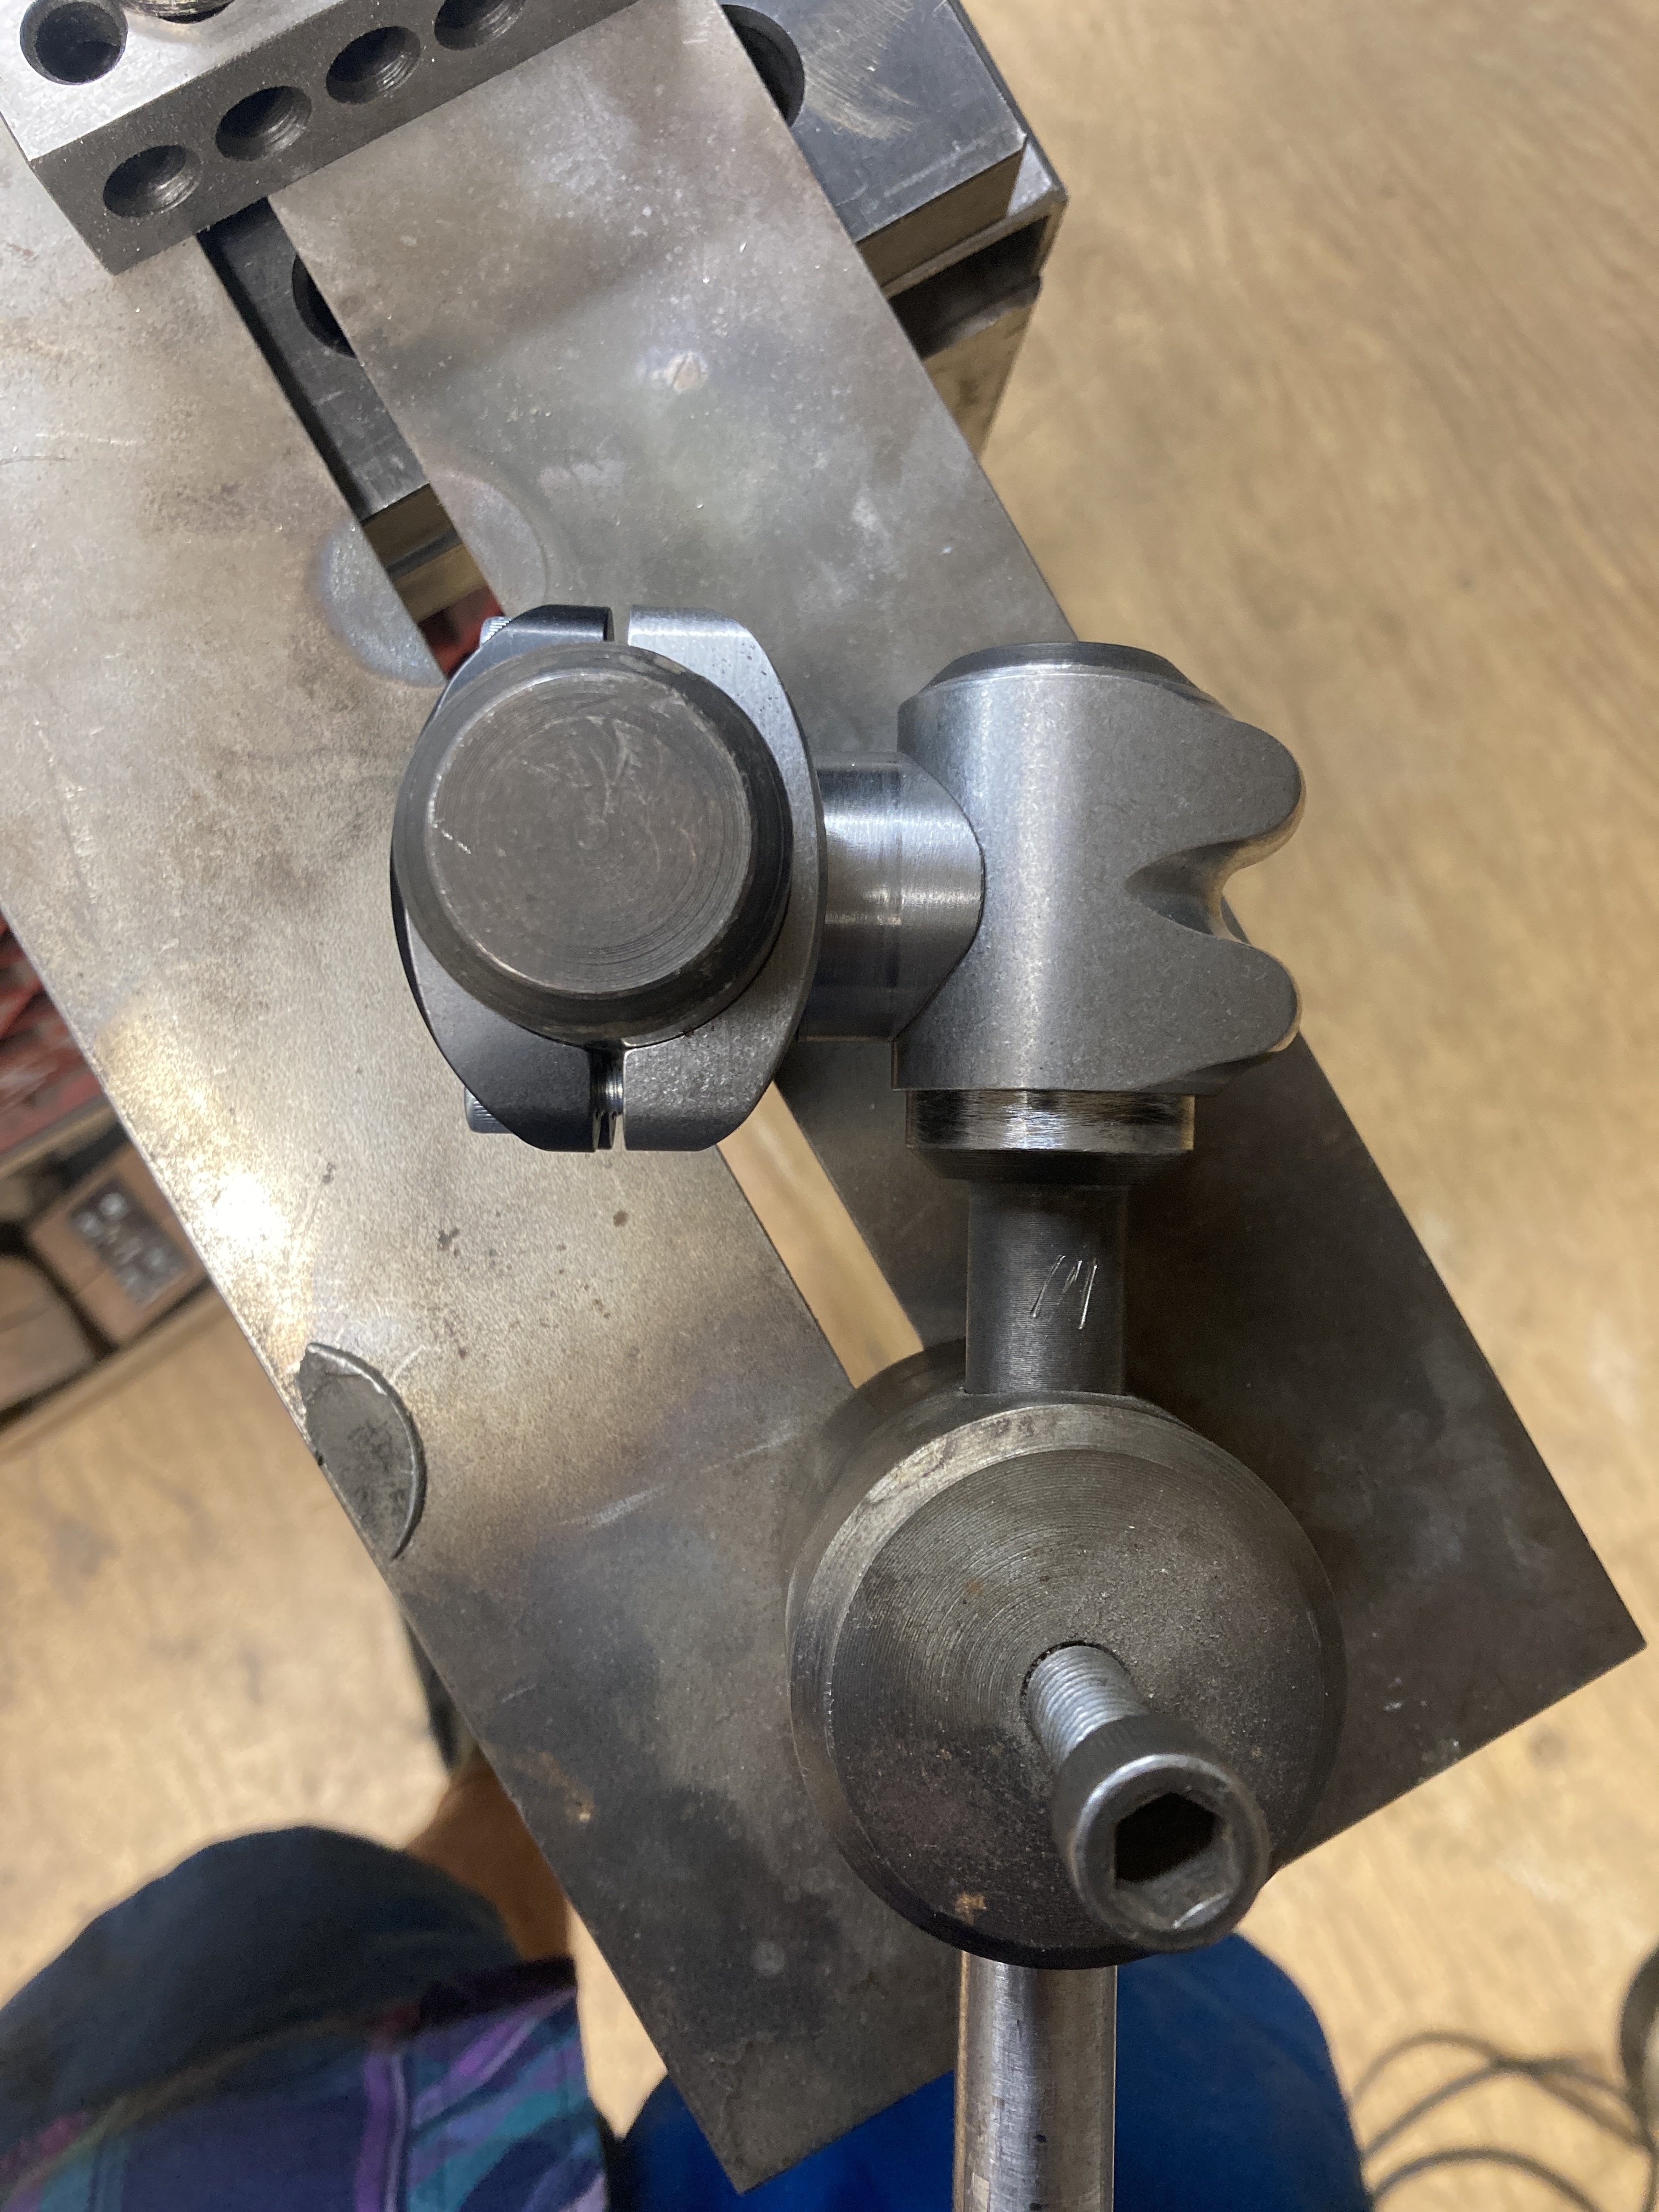
I can make a frame that’s reasonably straight when measured with my eyecrometer. I can align my droupouts so they are centered to the seat tube/head tube using a simple tool like the one used by Paul Brodie. All my bikes have functioned as intended and have visually looked straight. As I develop my skills and acquire more tooling, I will sneak up on an alignment system.

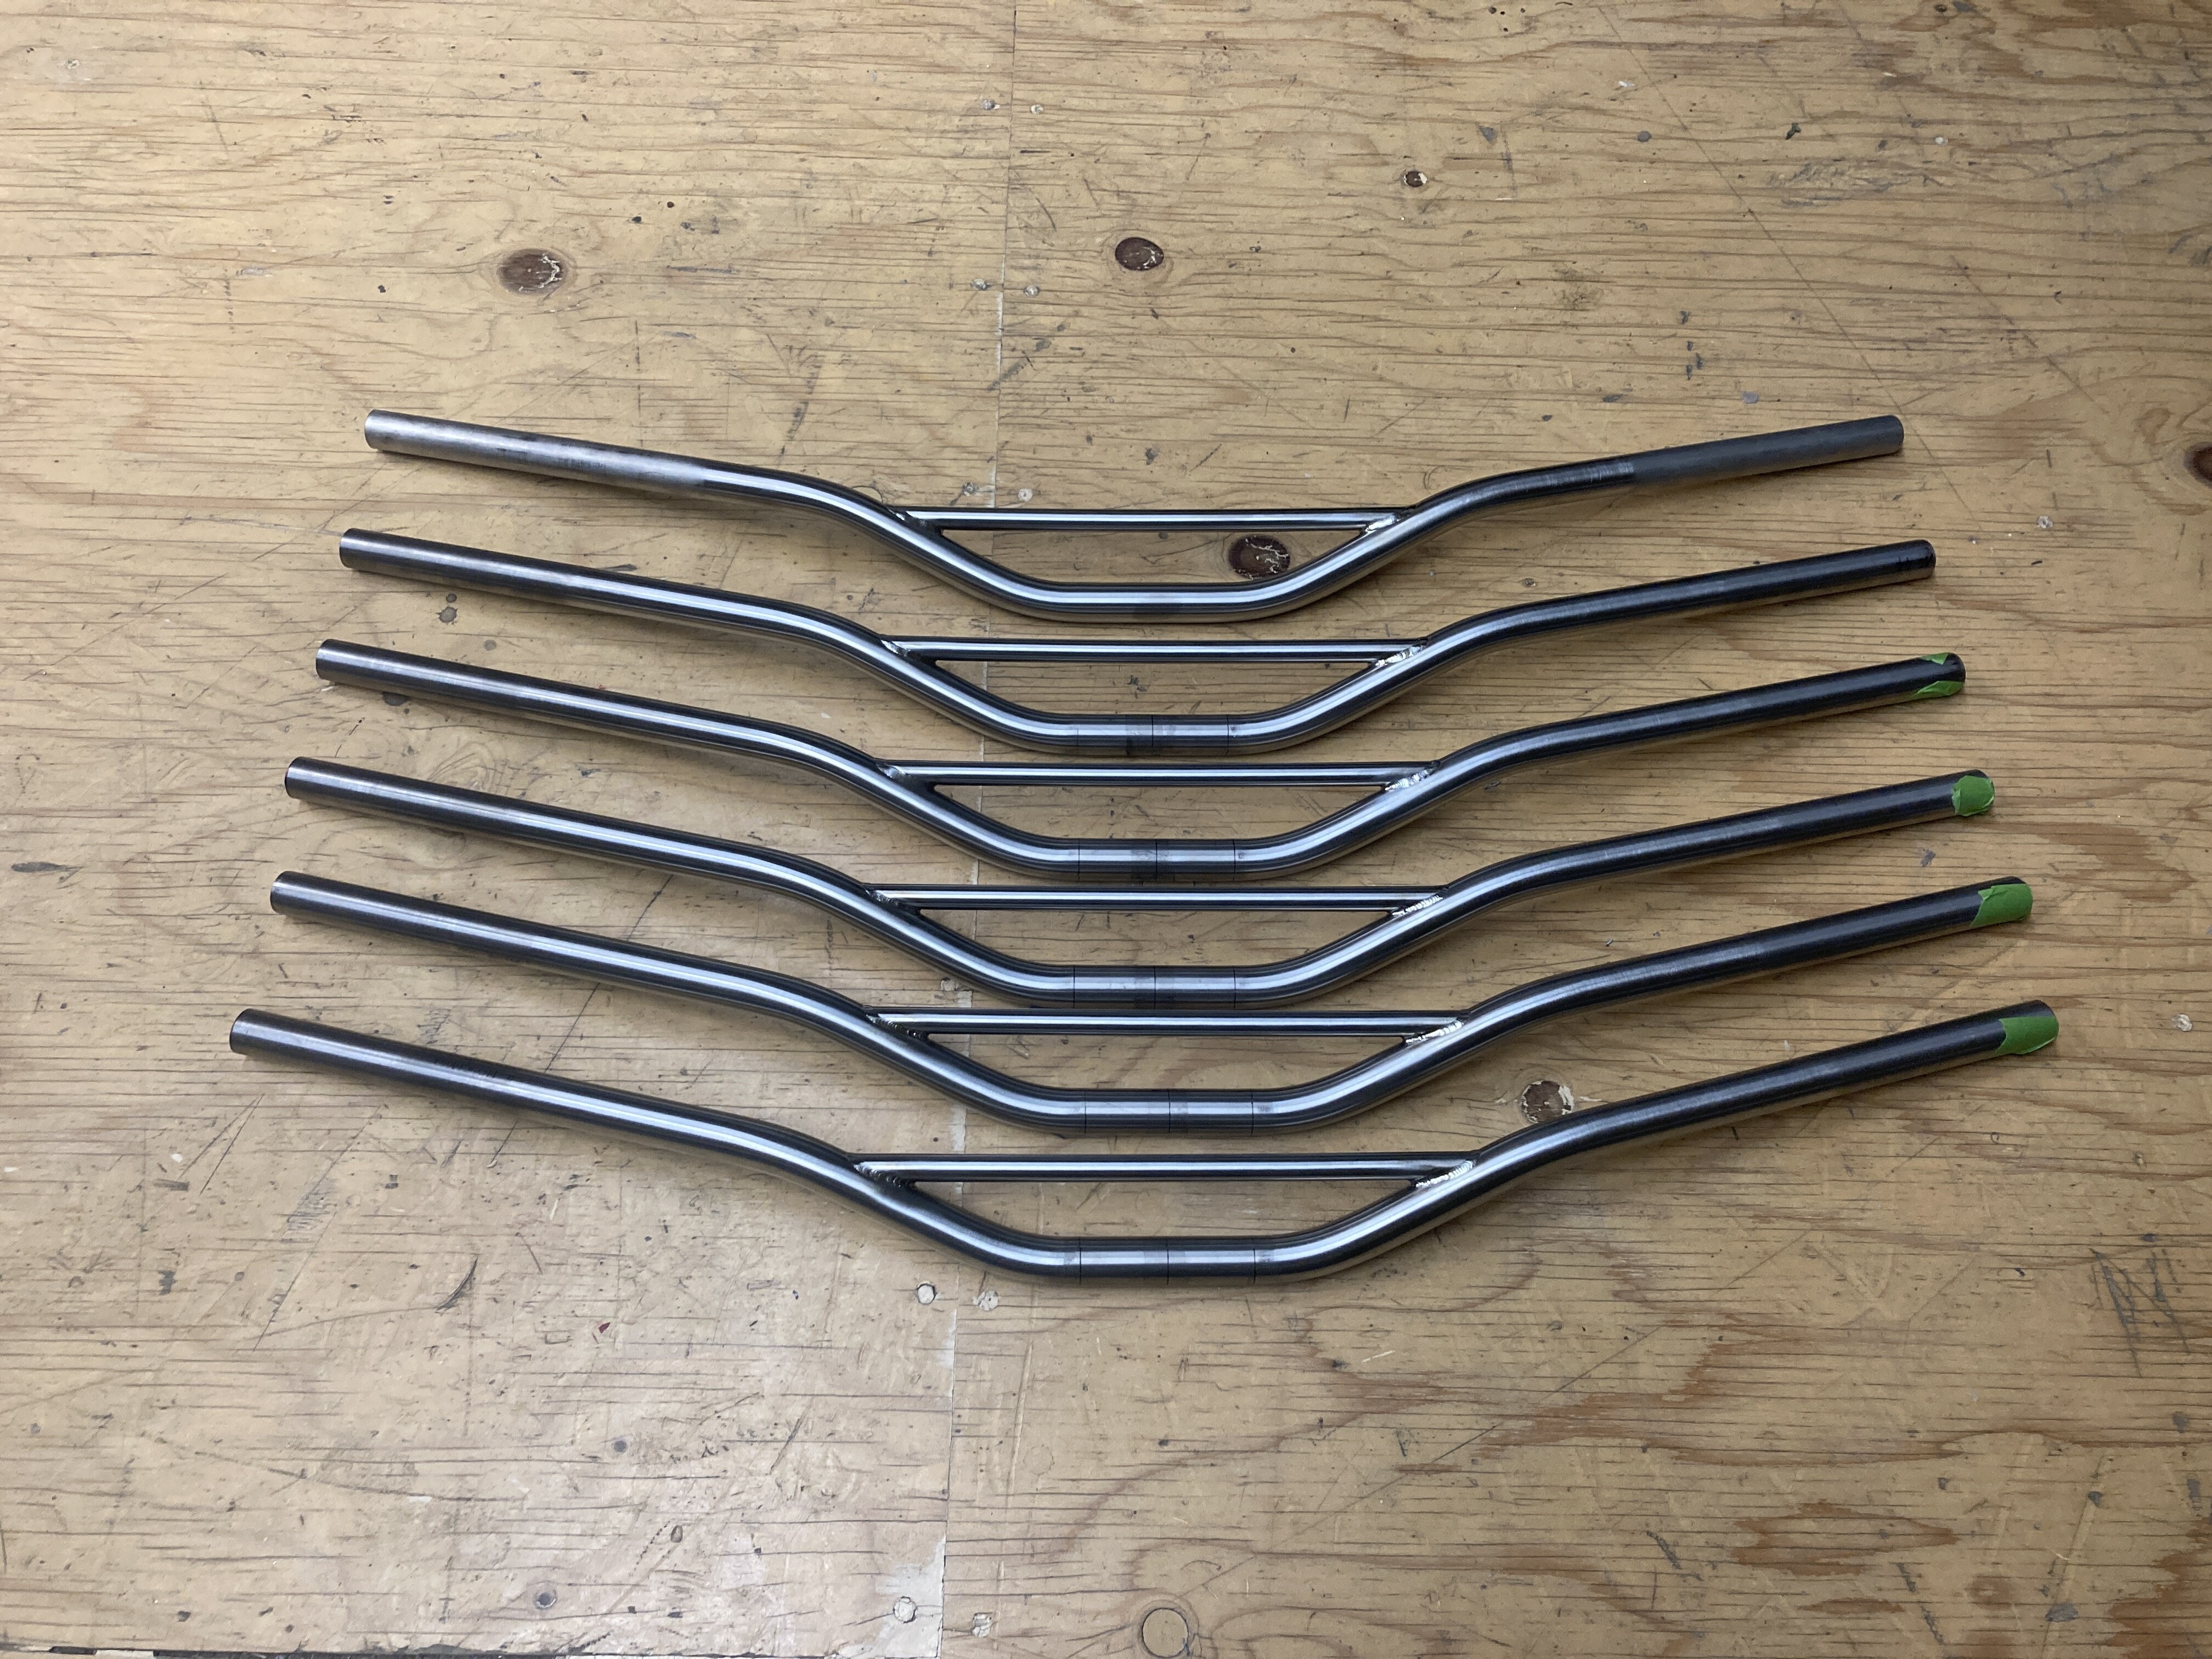
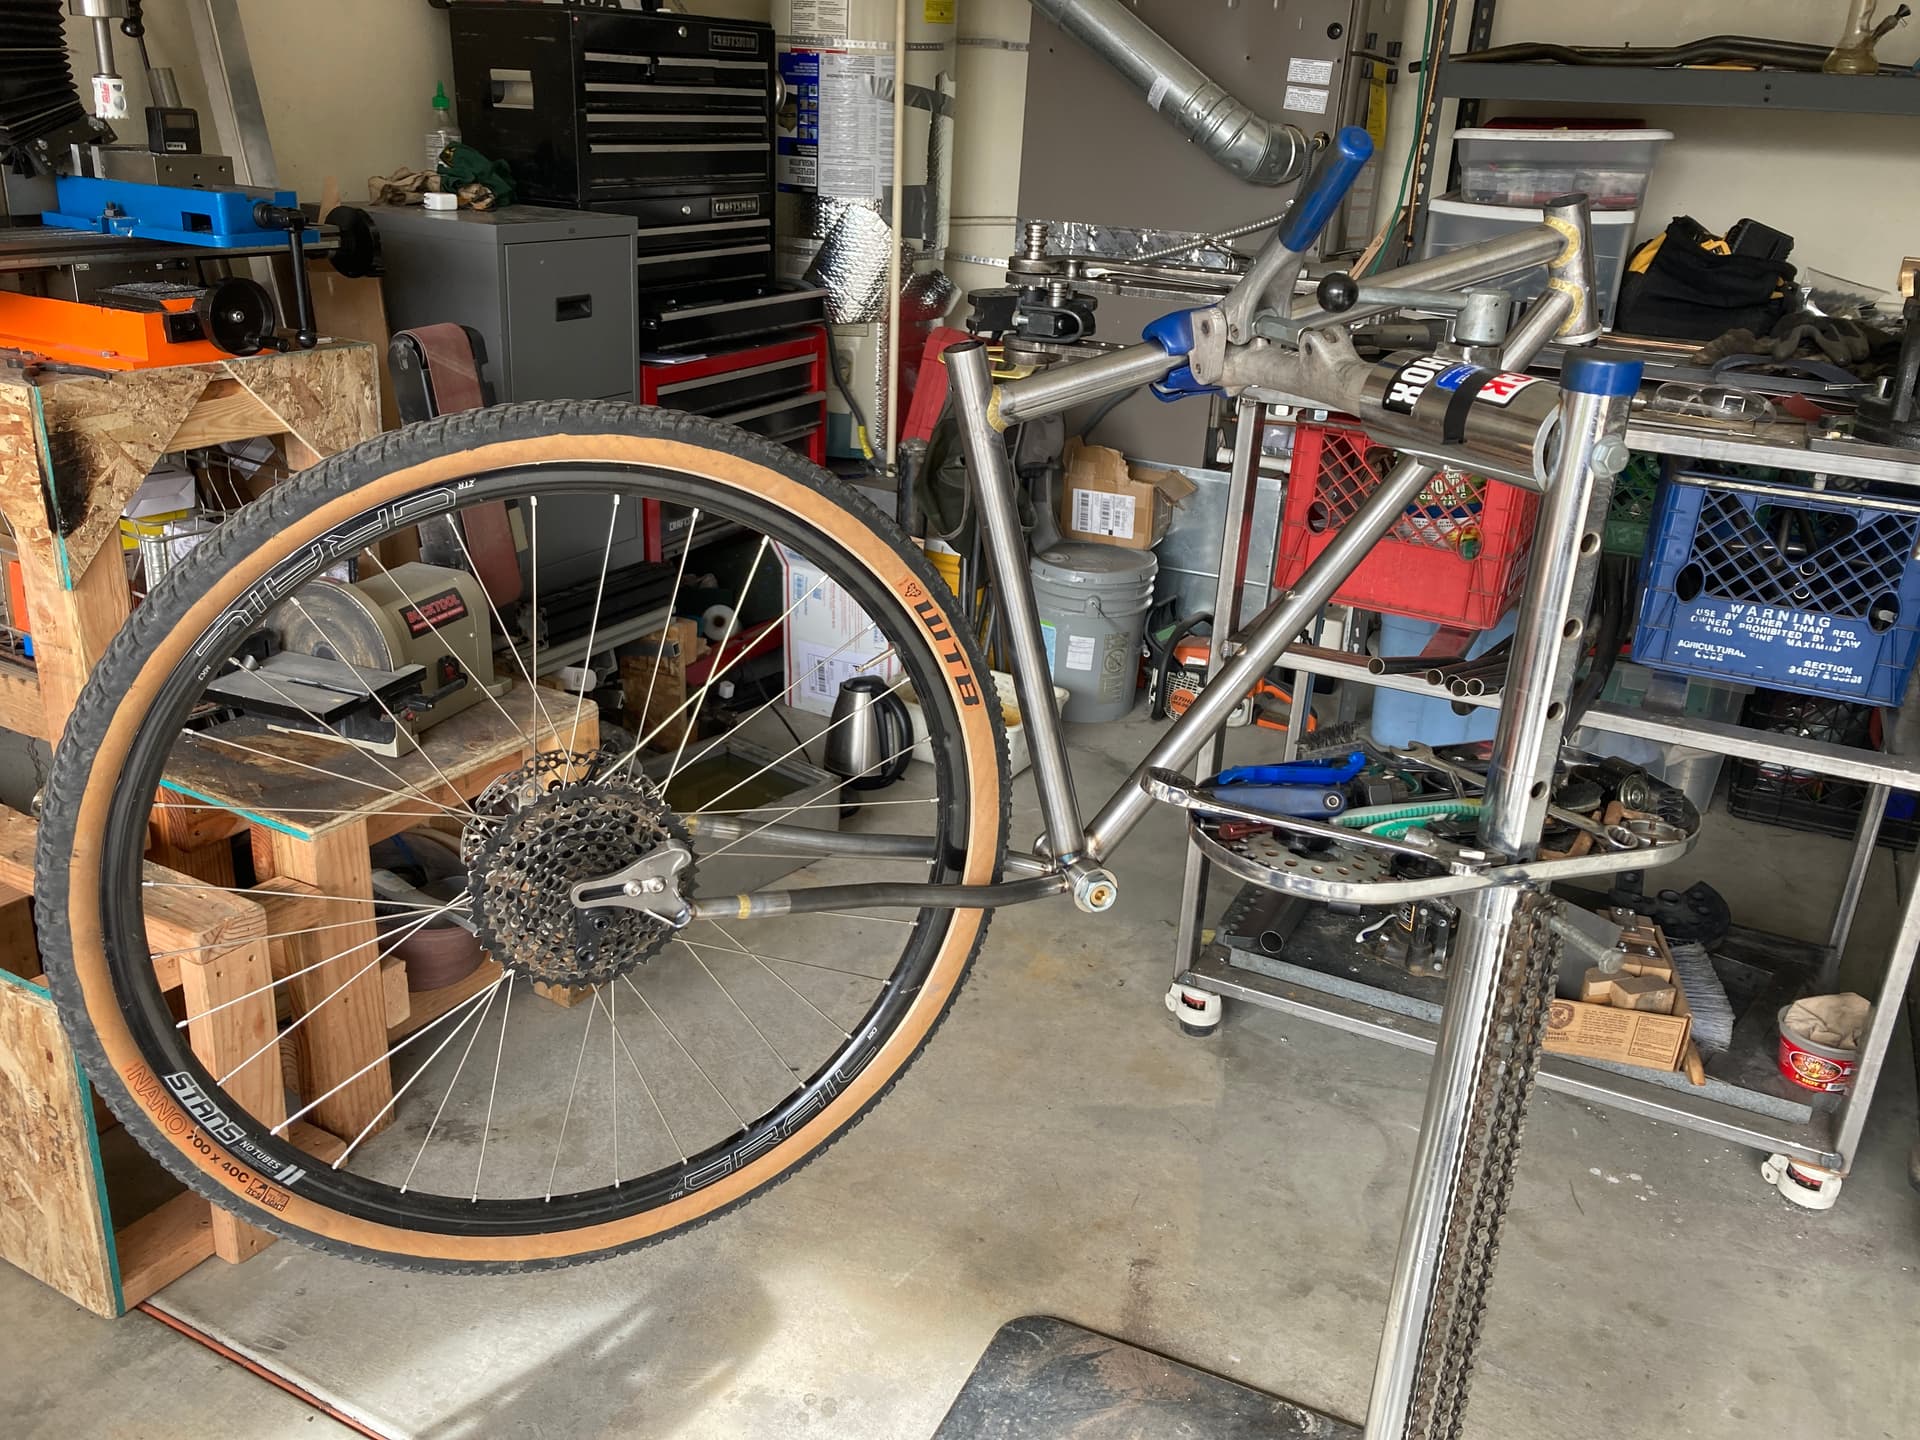
anyhow here are some pictures, definitely some gaps in capturing the process…

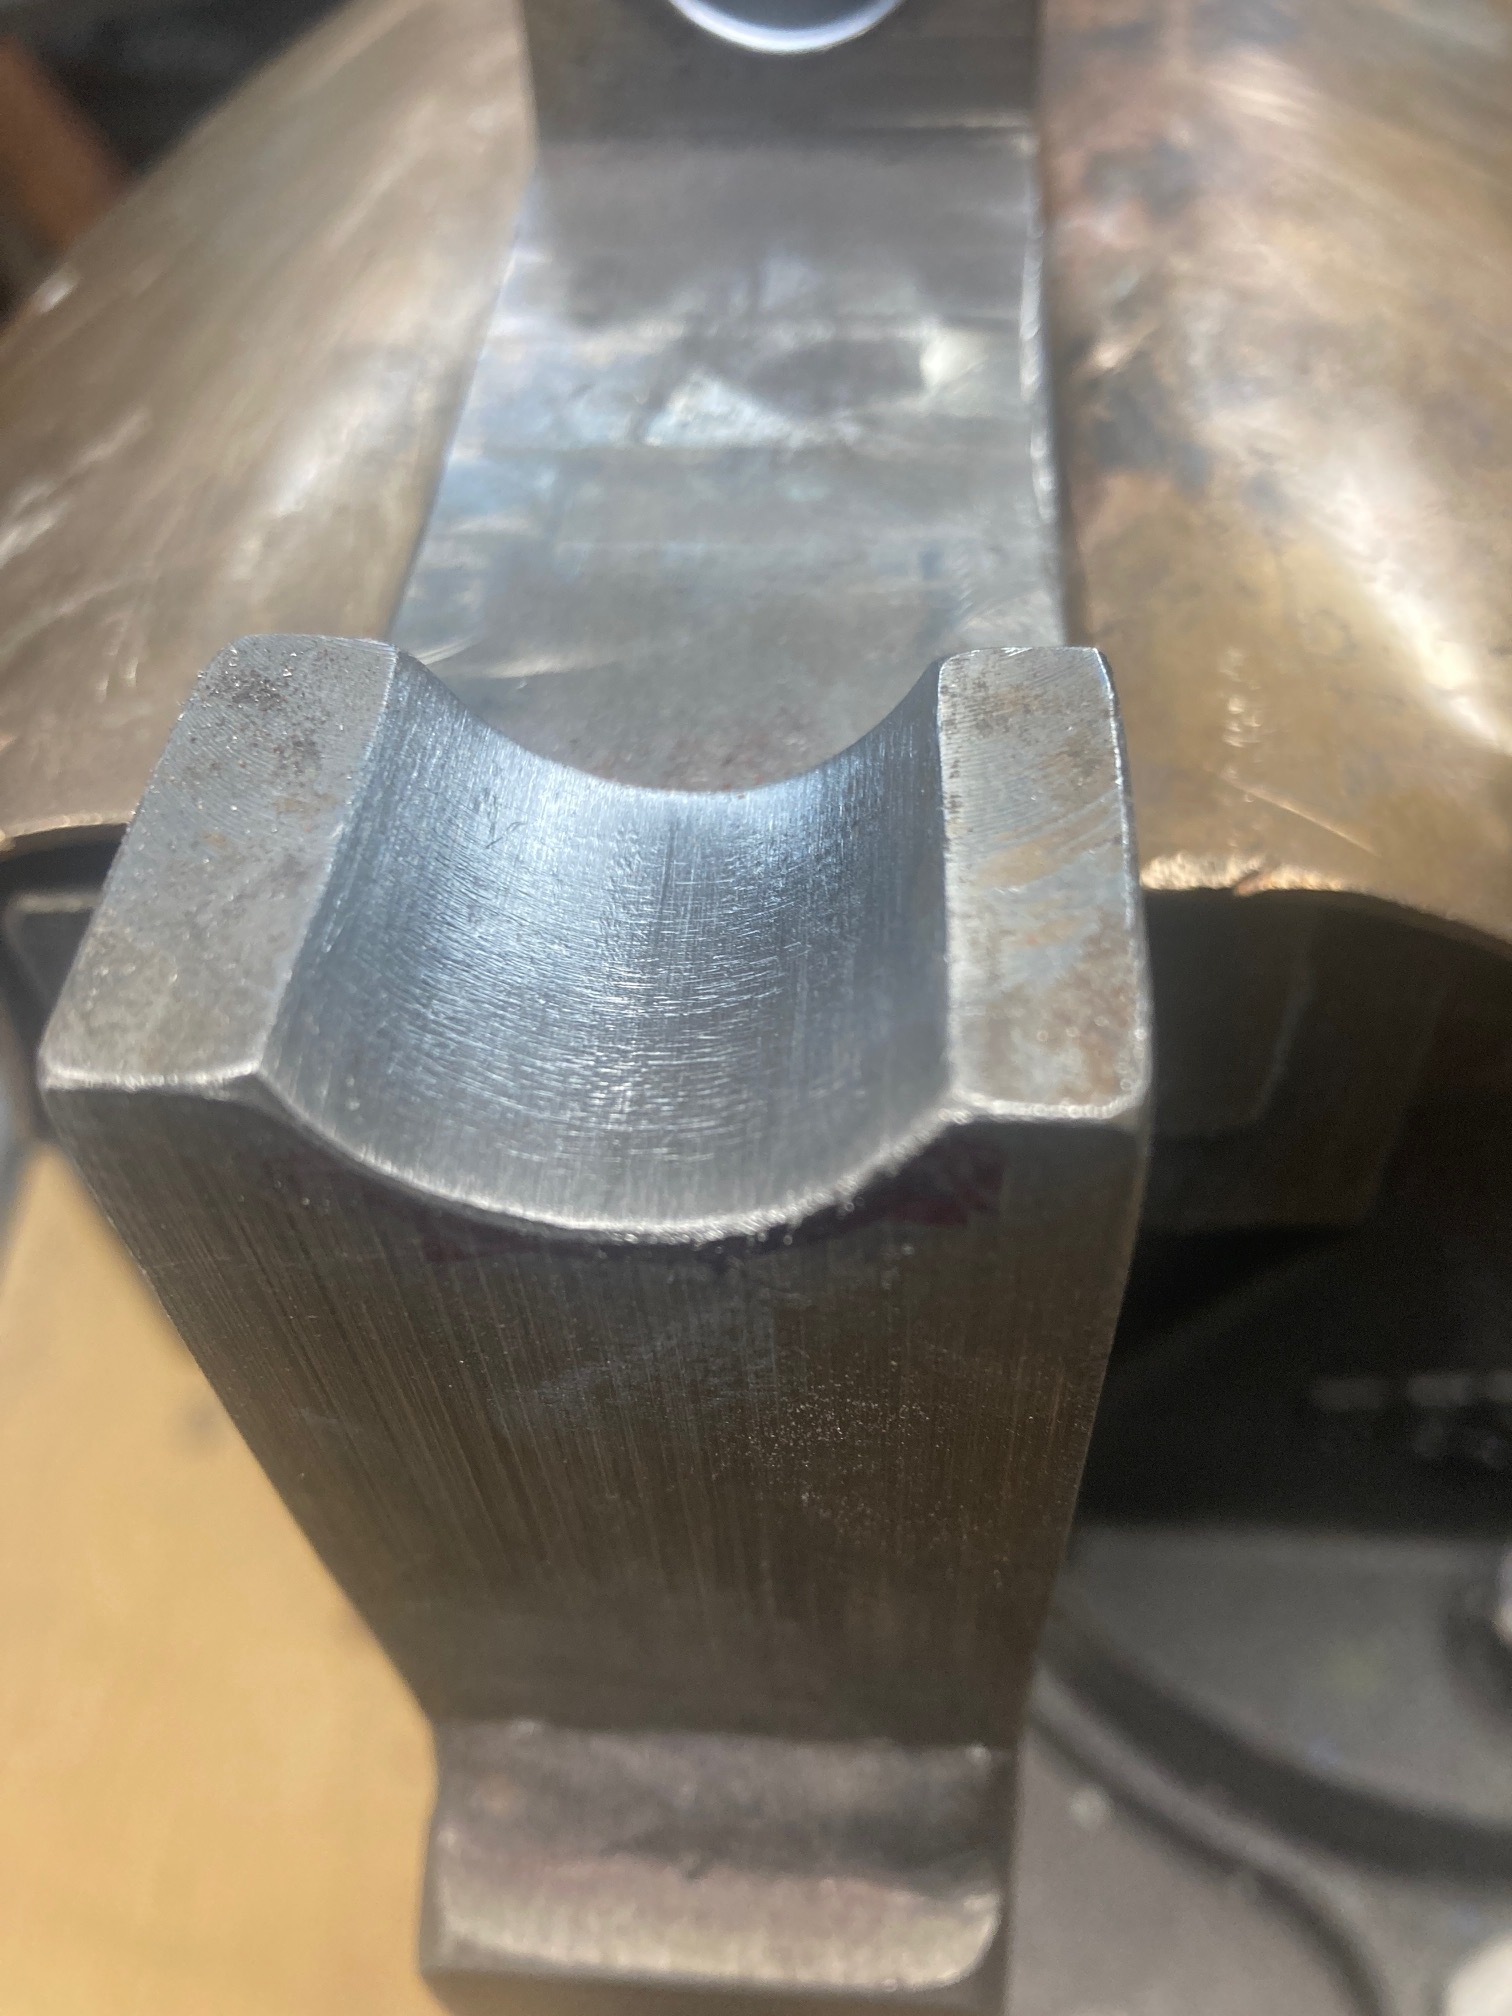
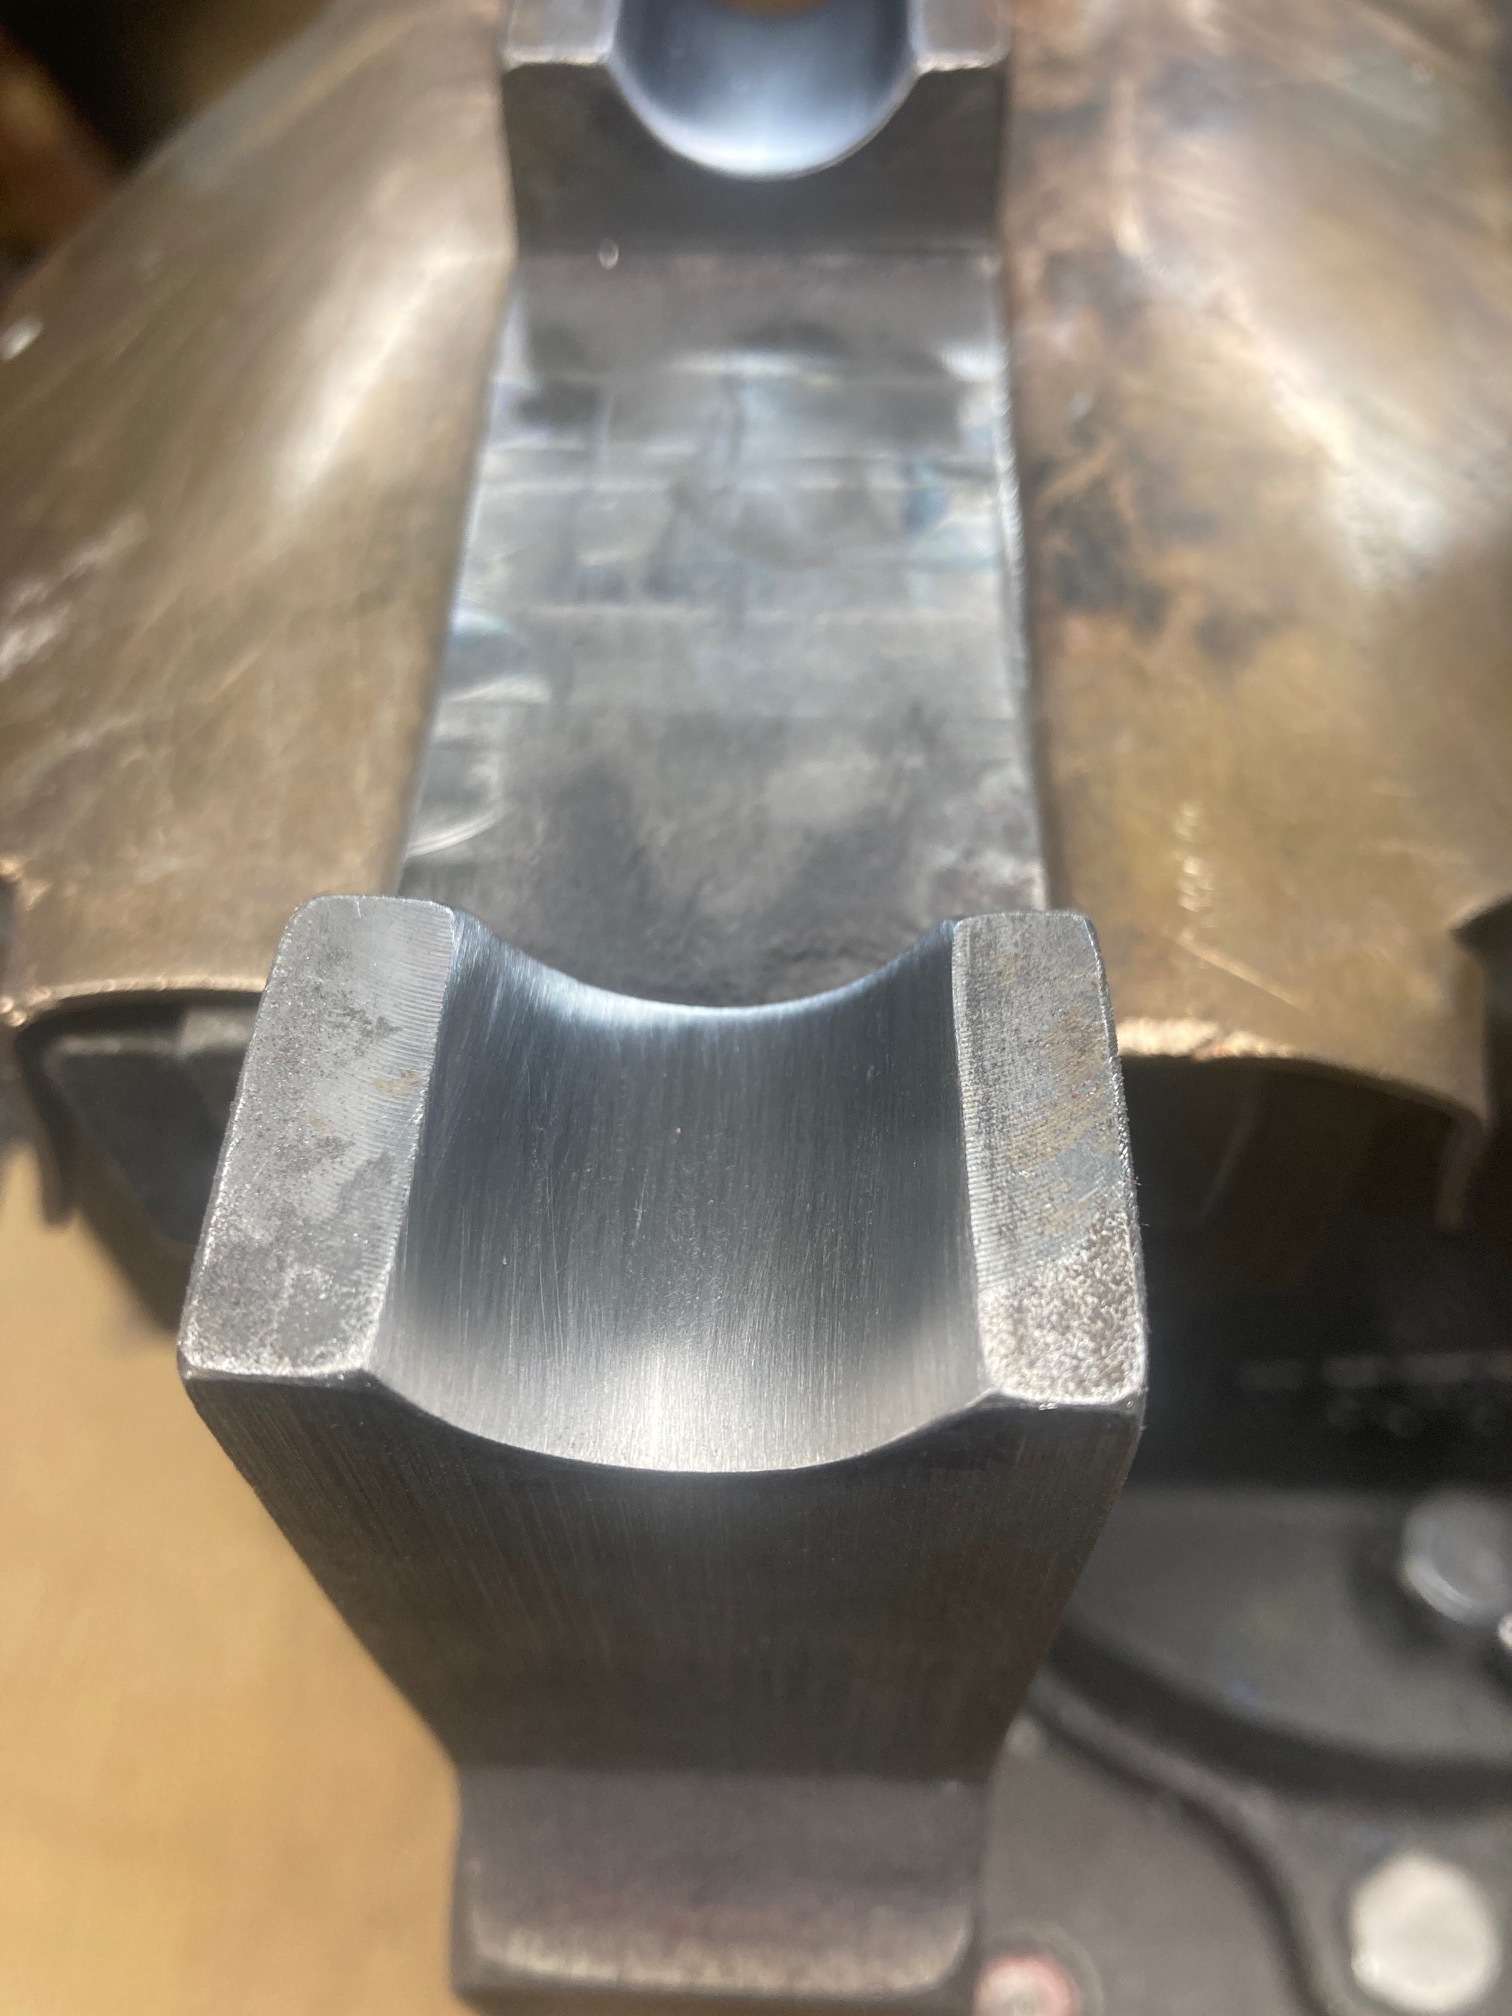
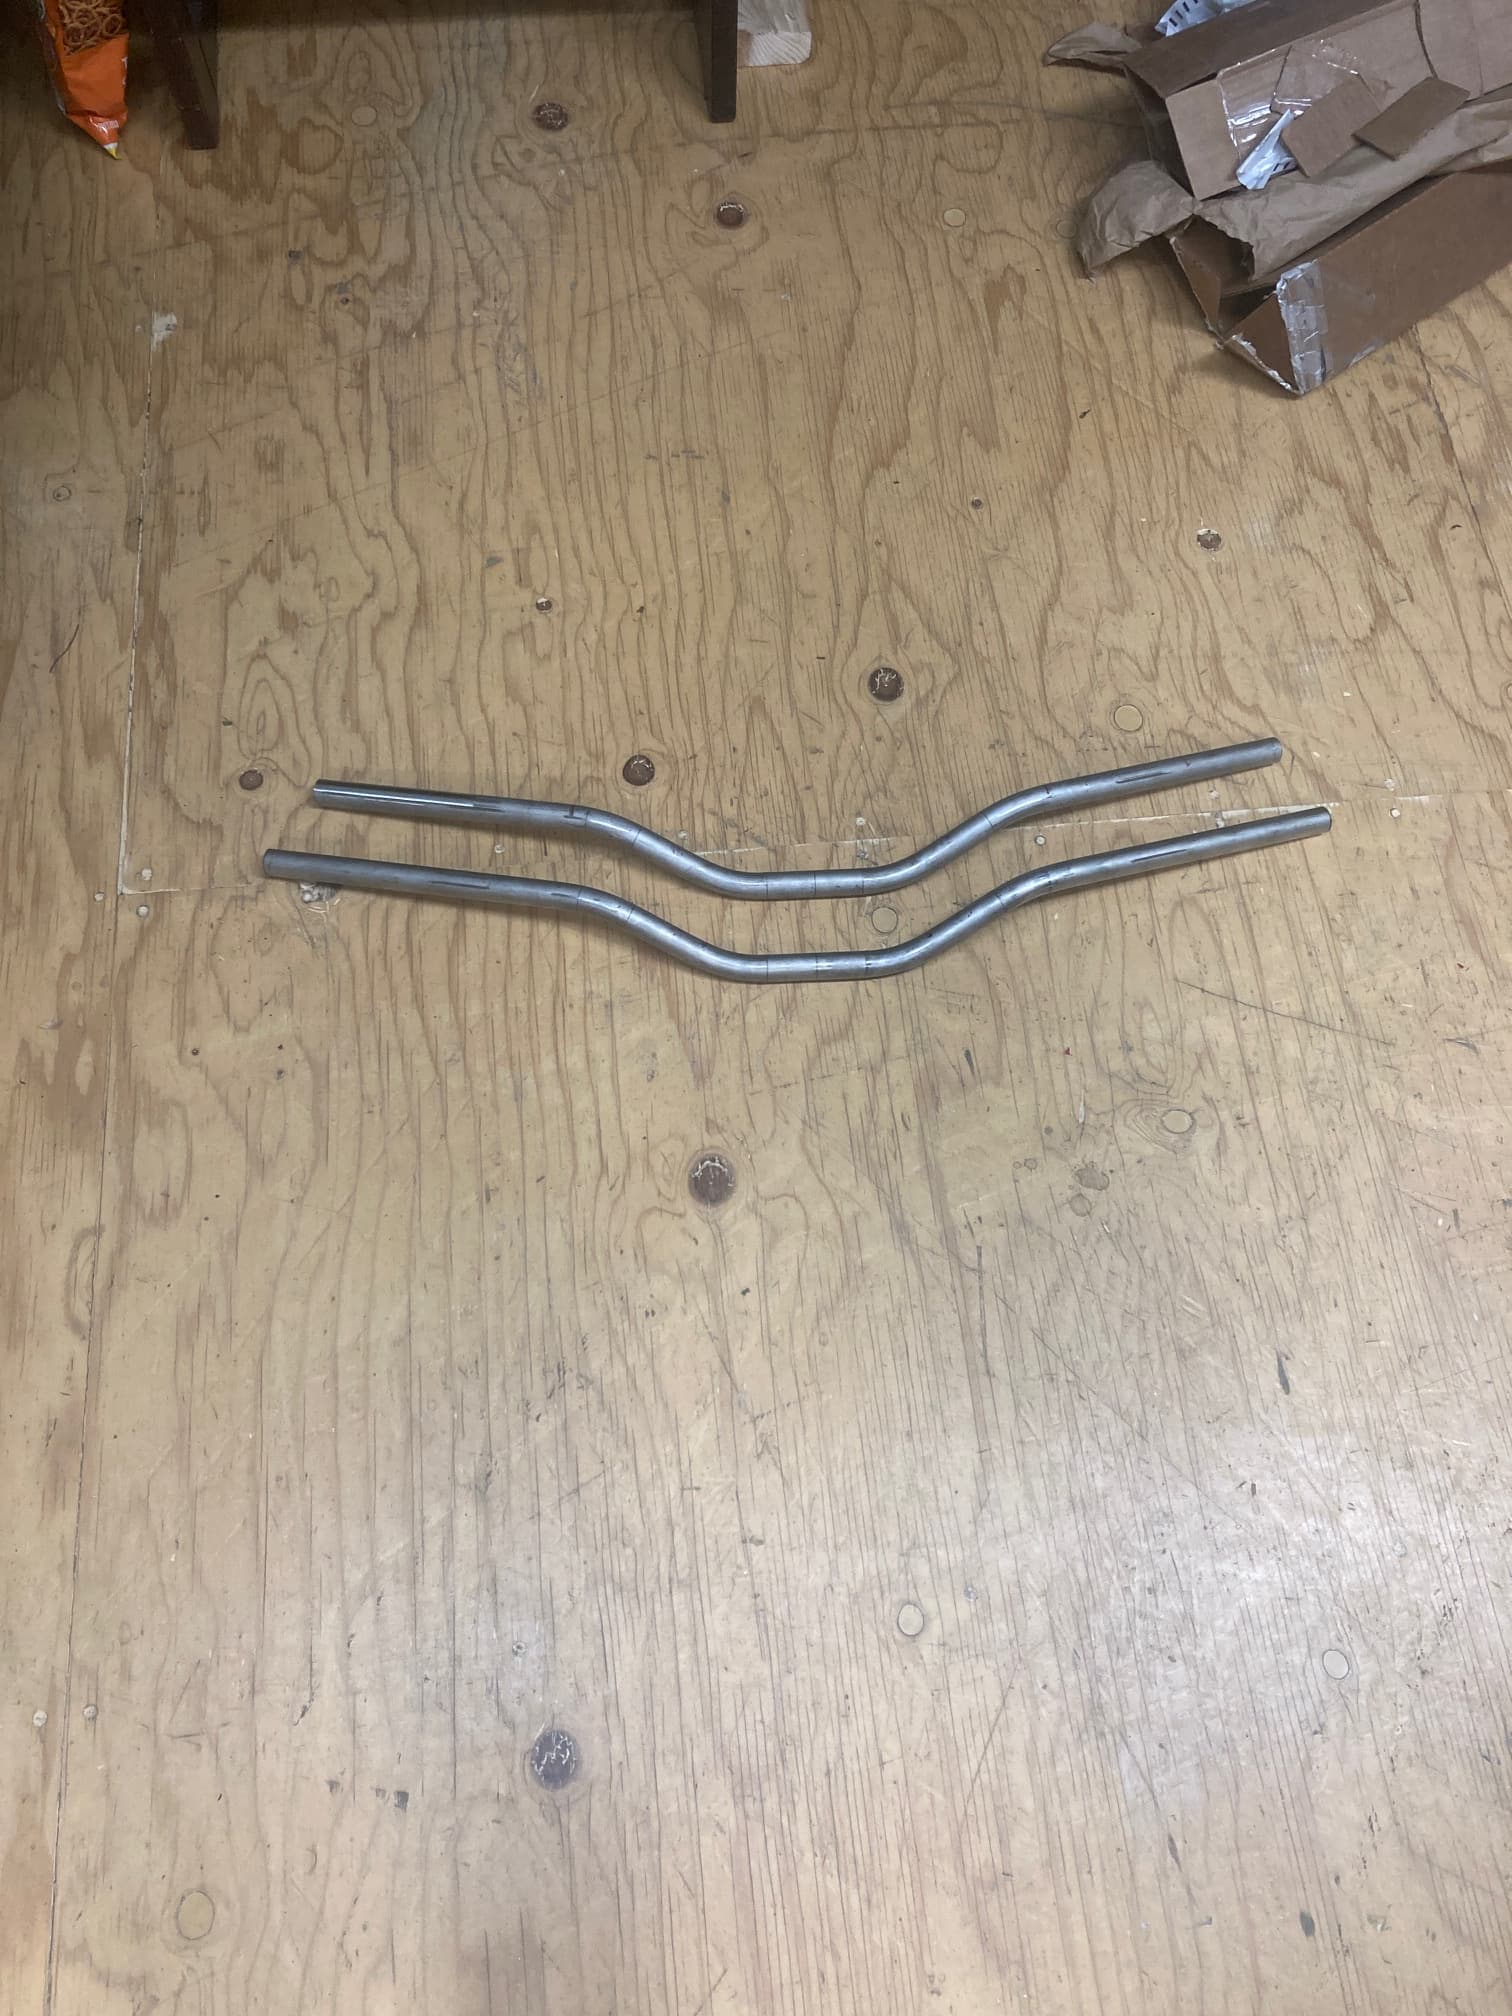
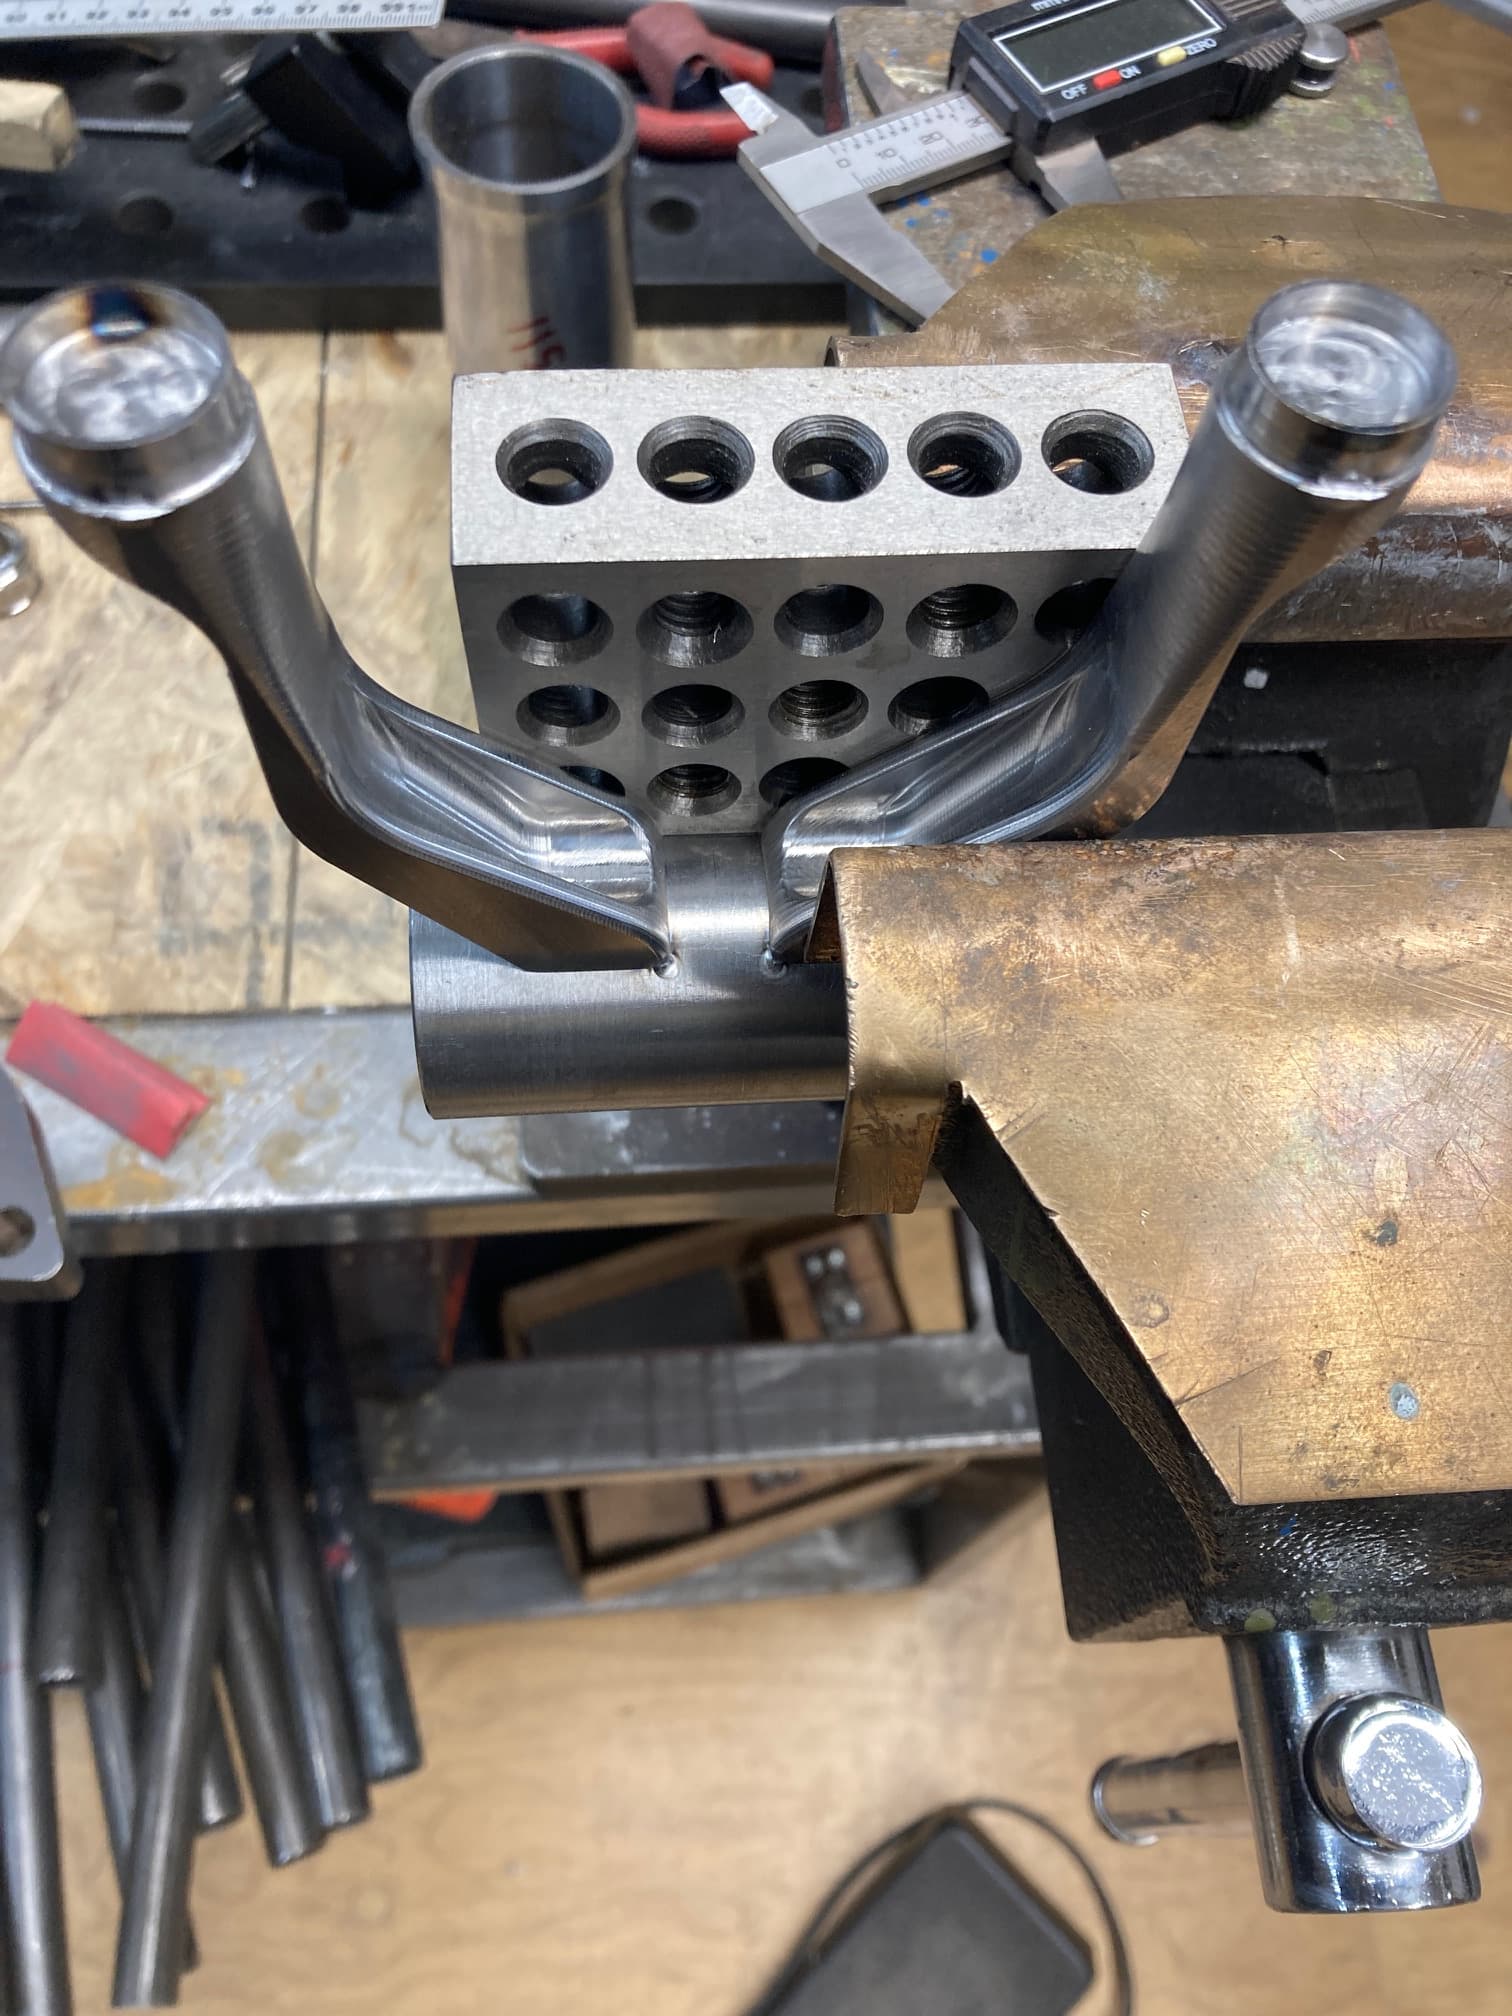
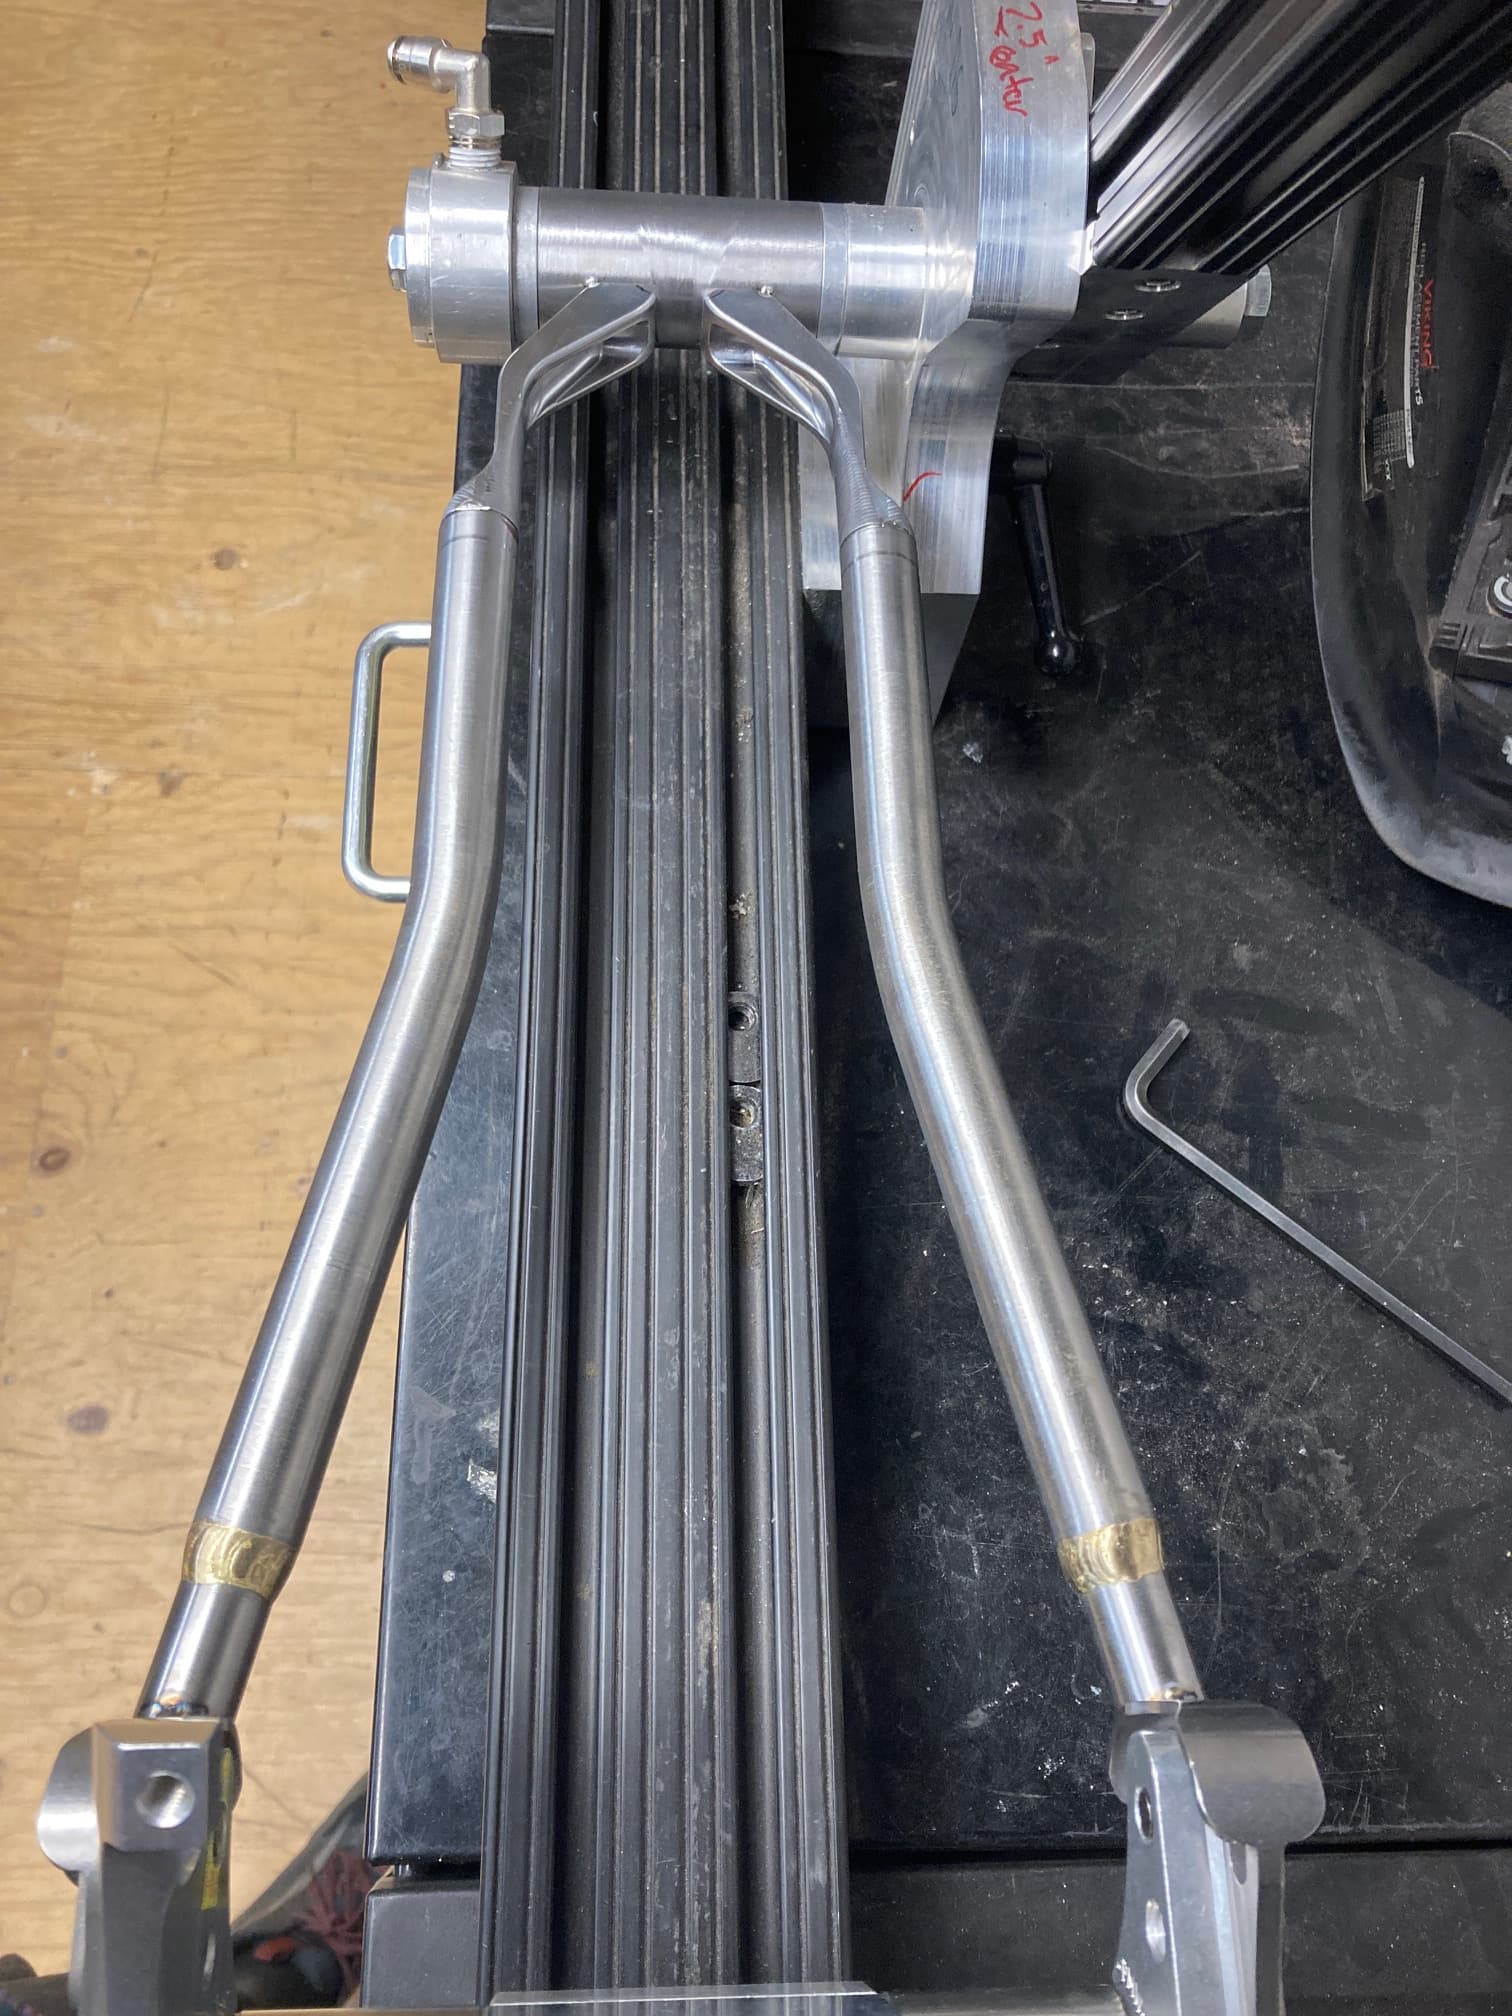
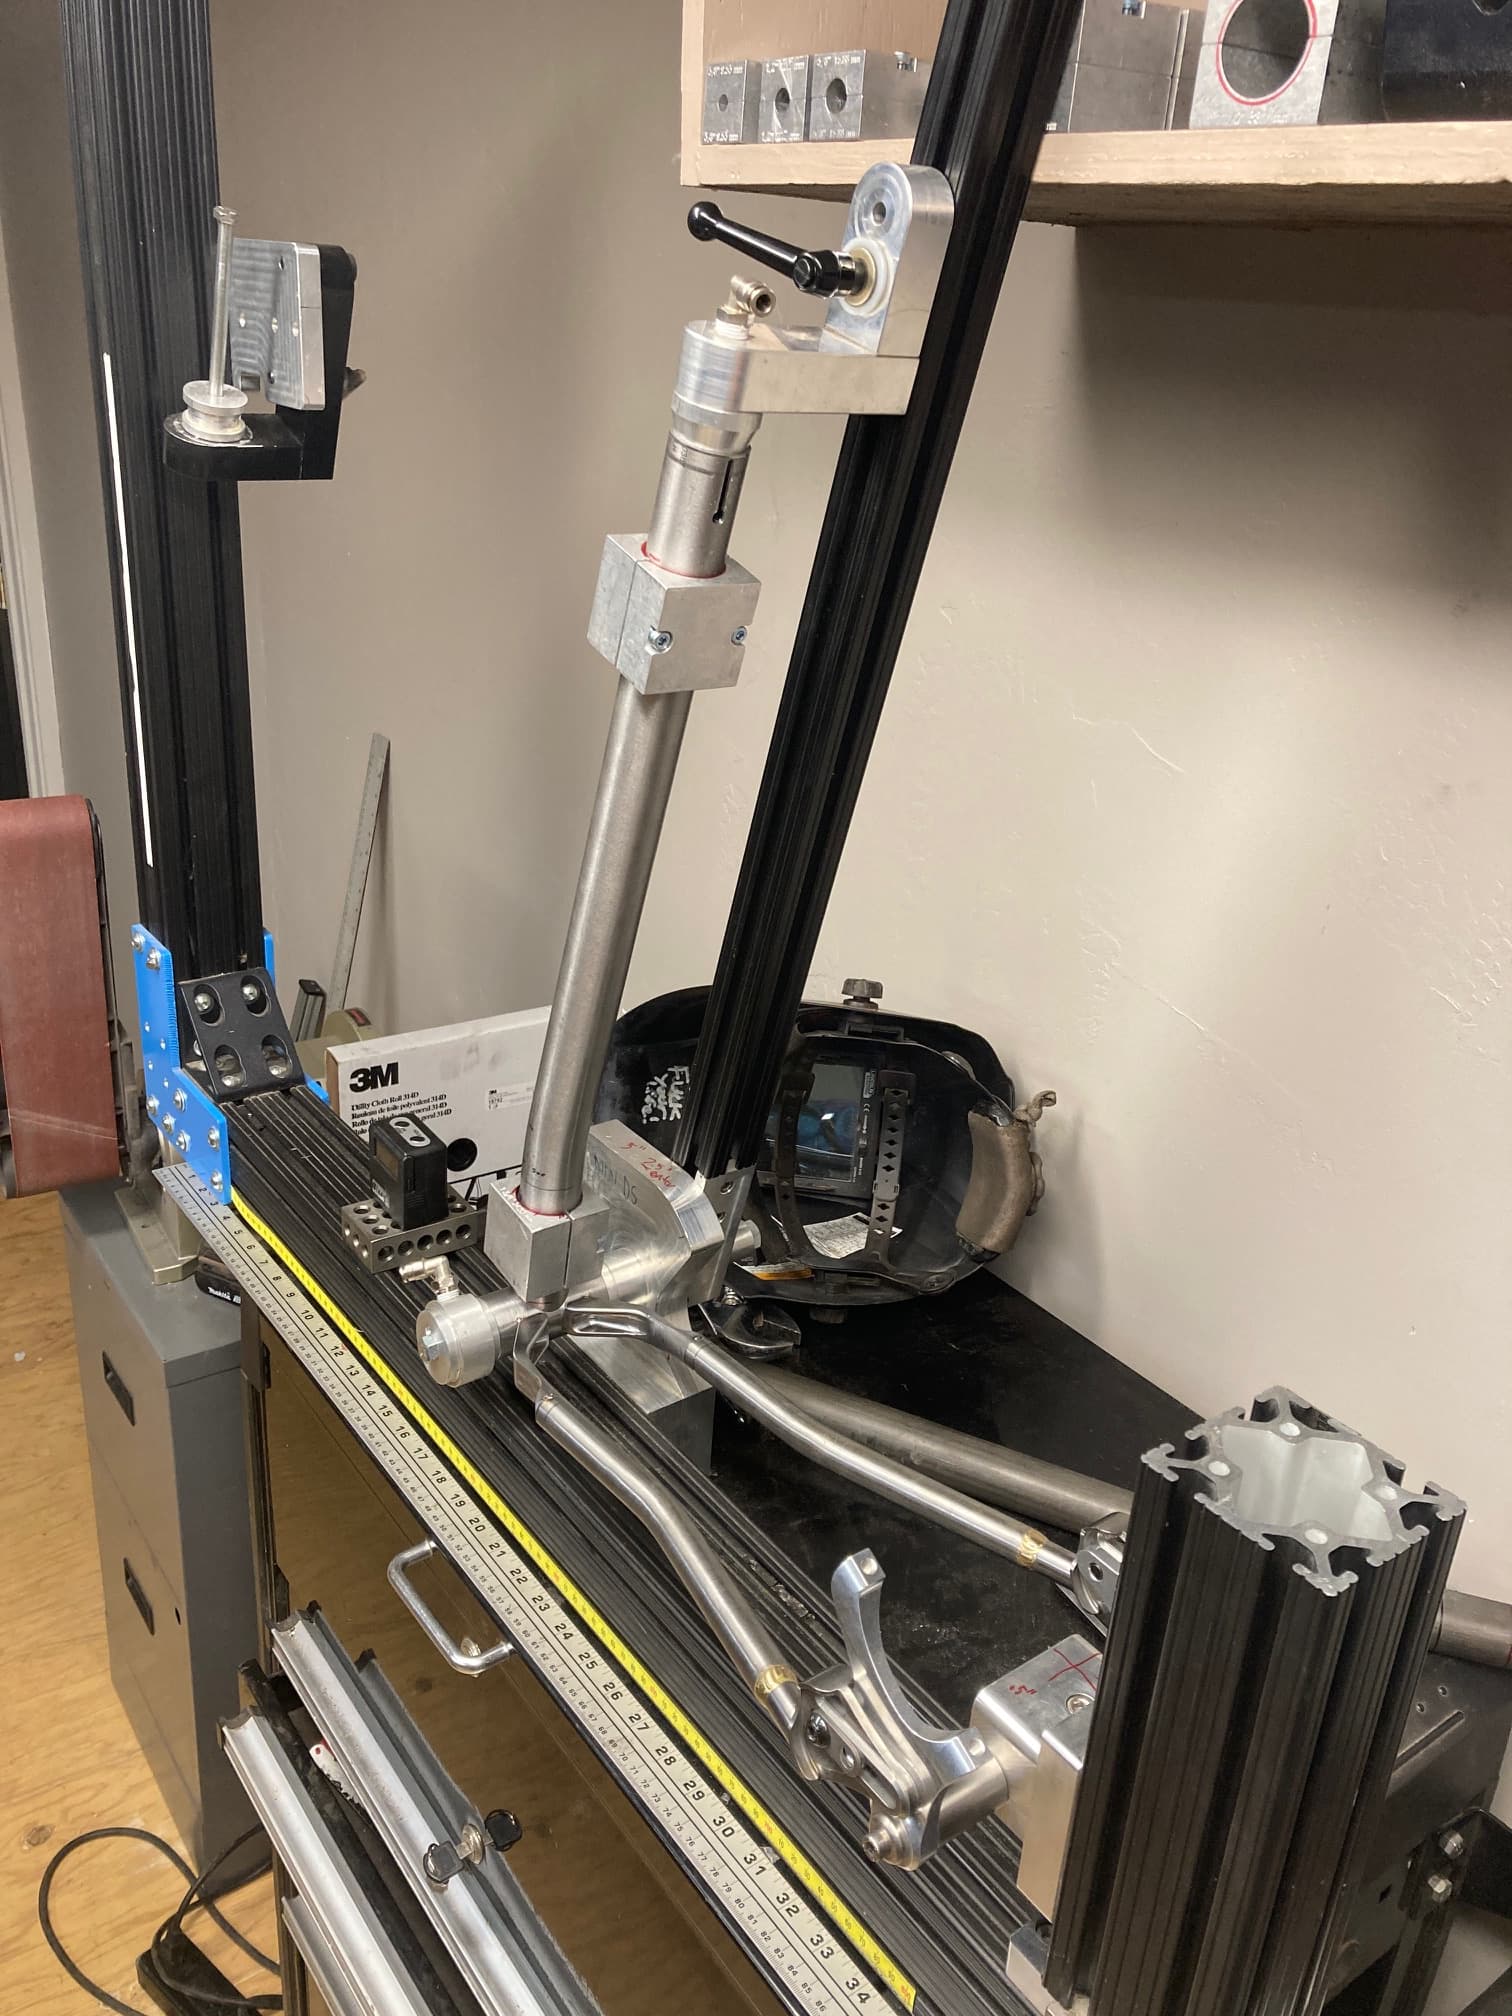
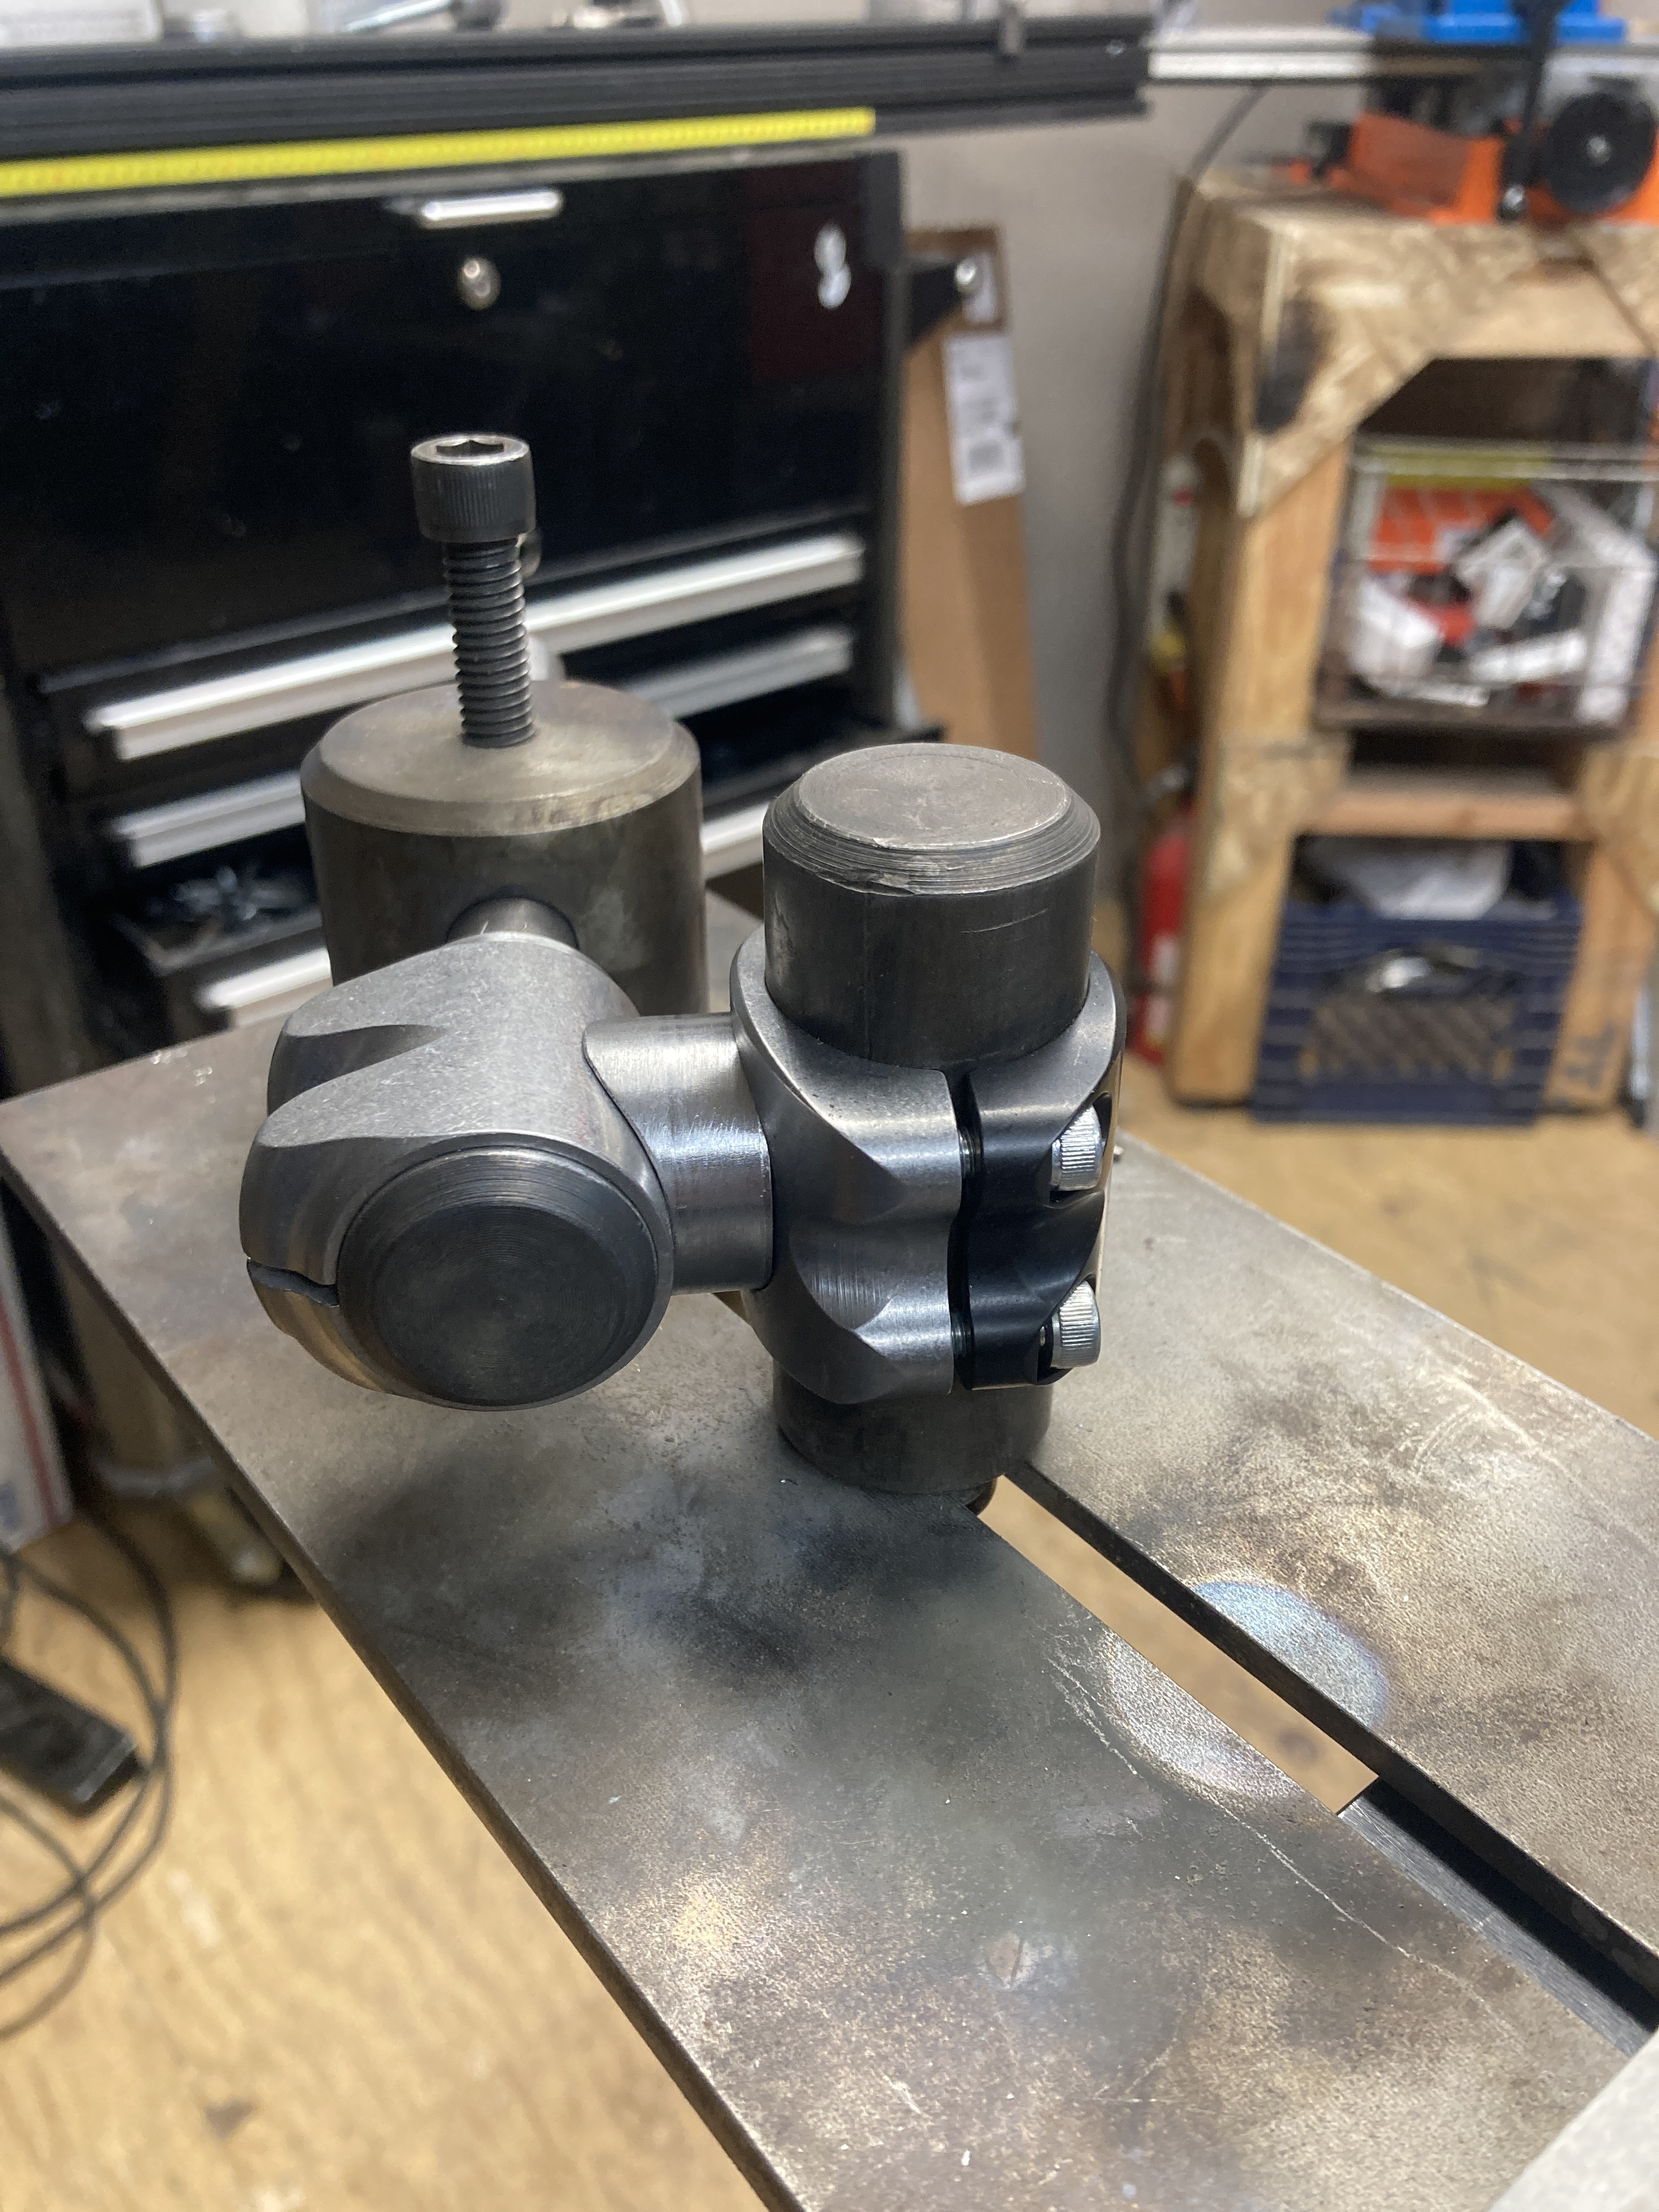
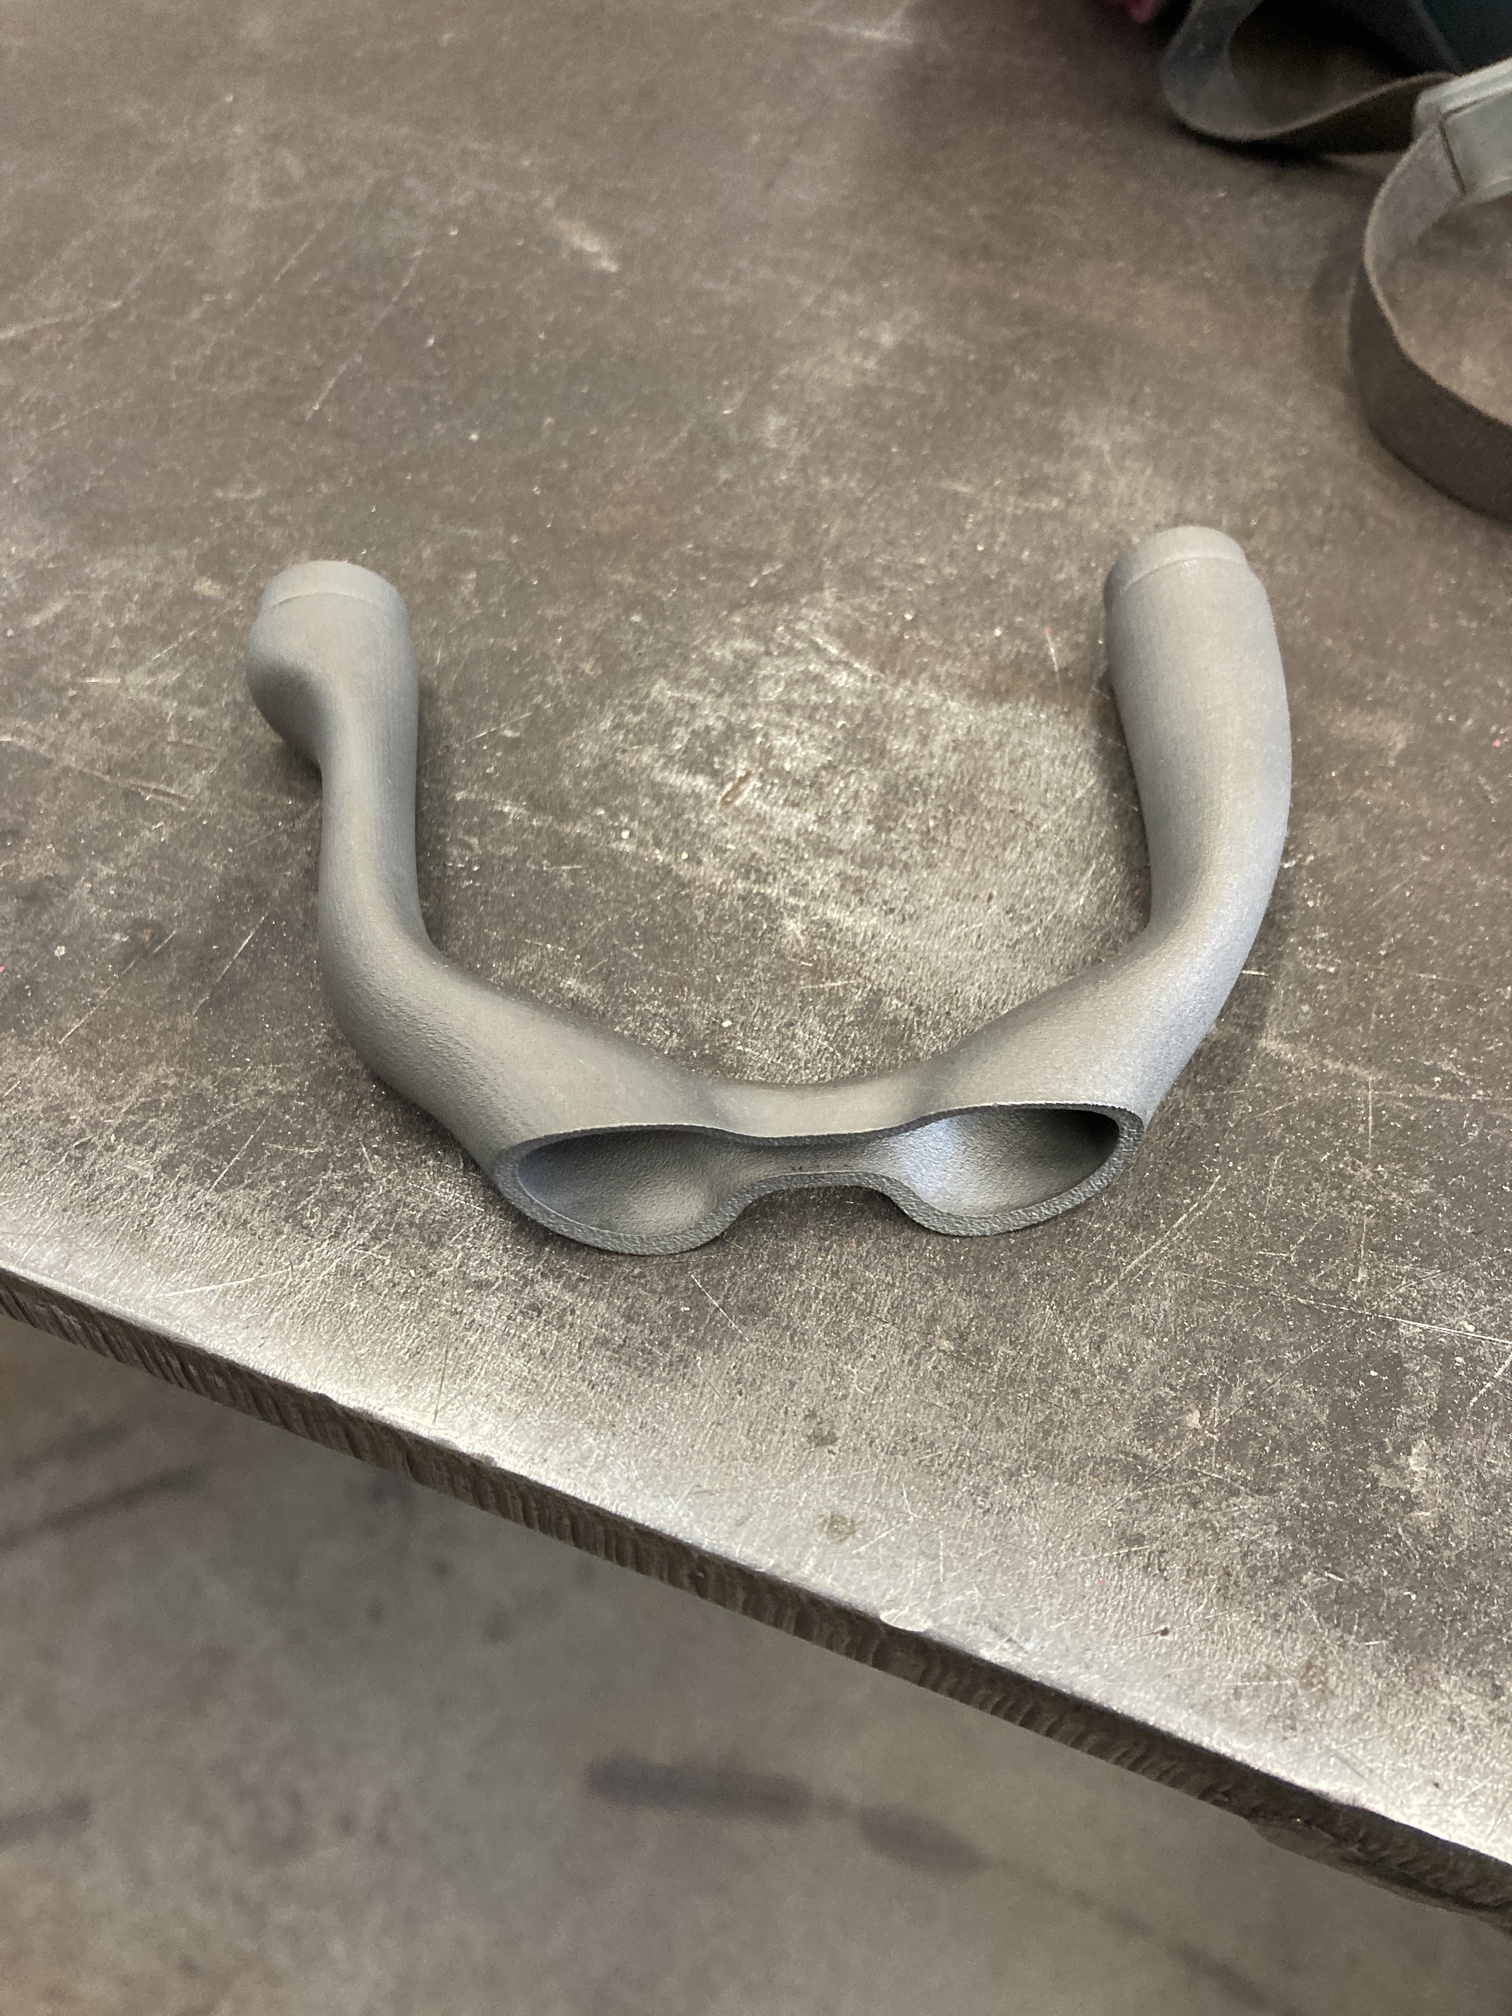
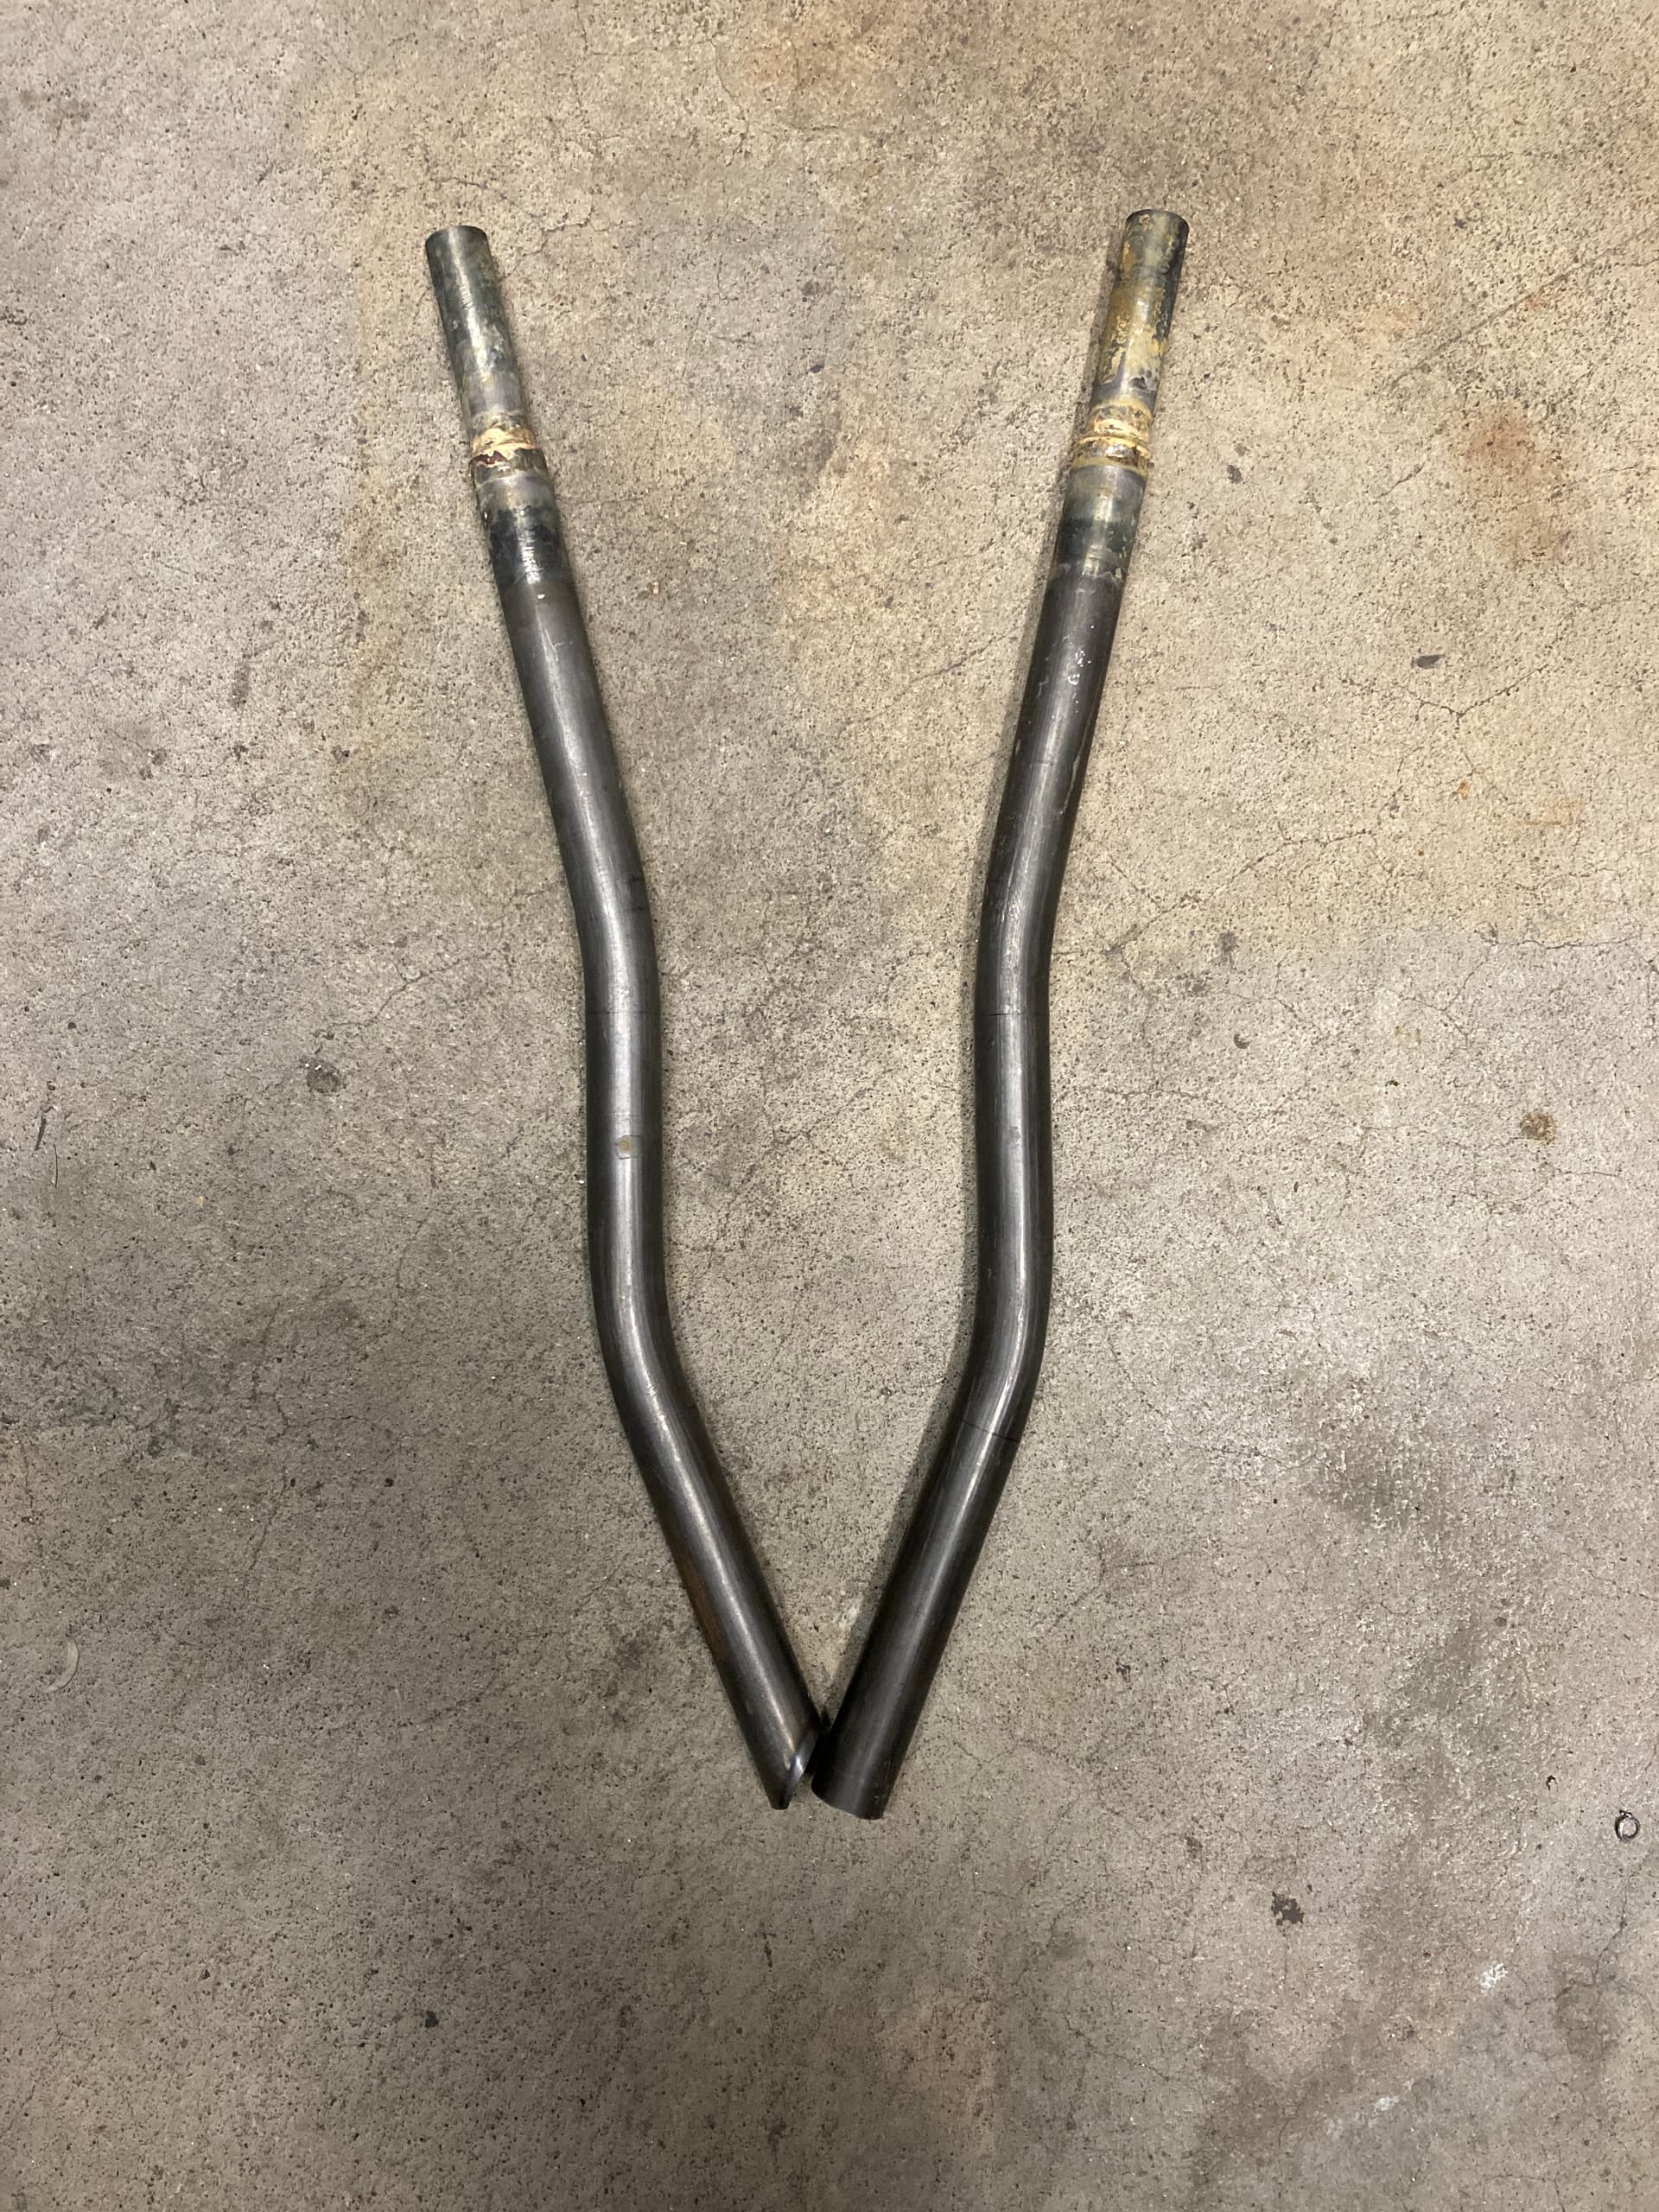
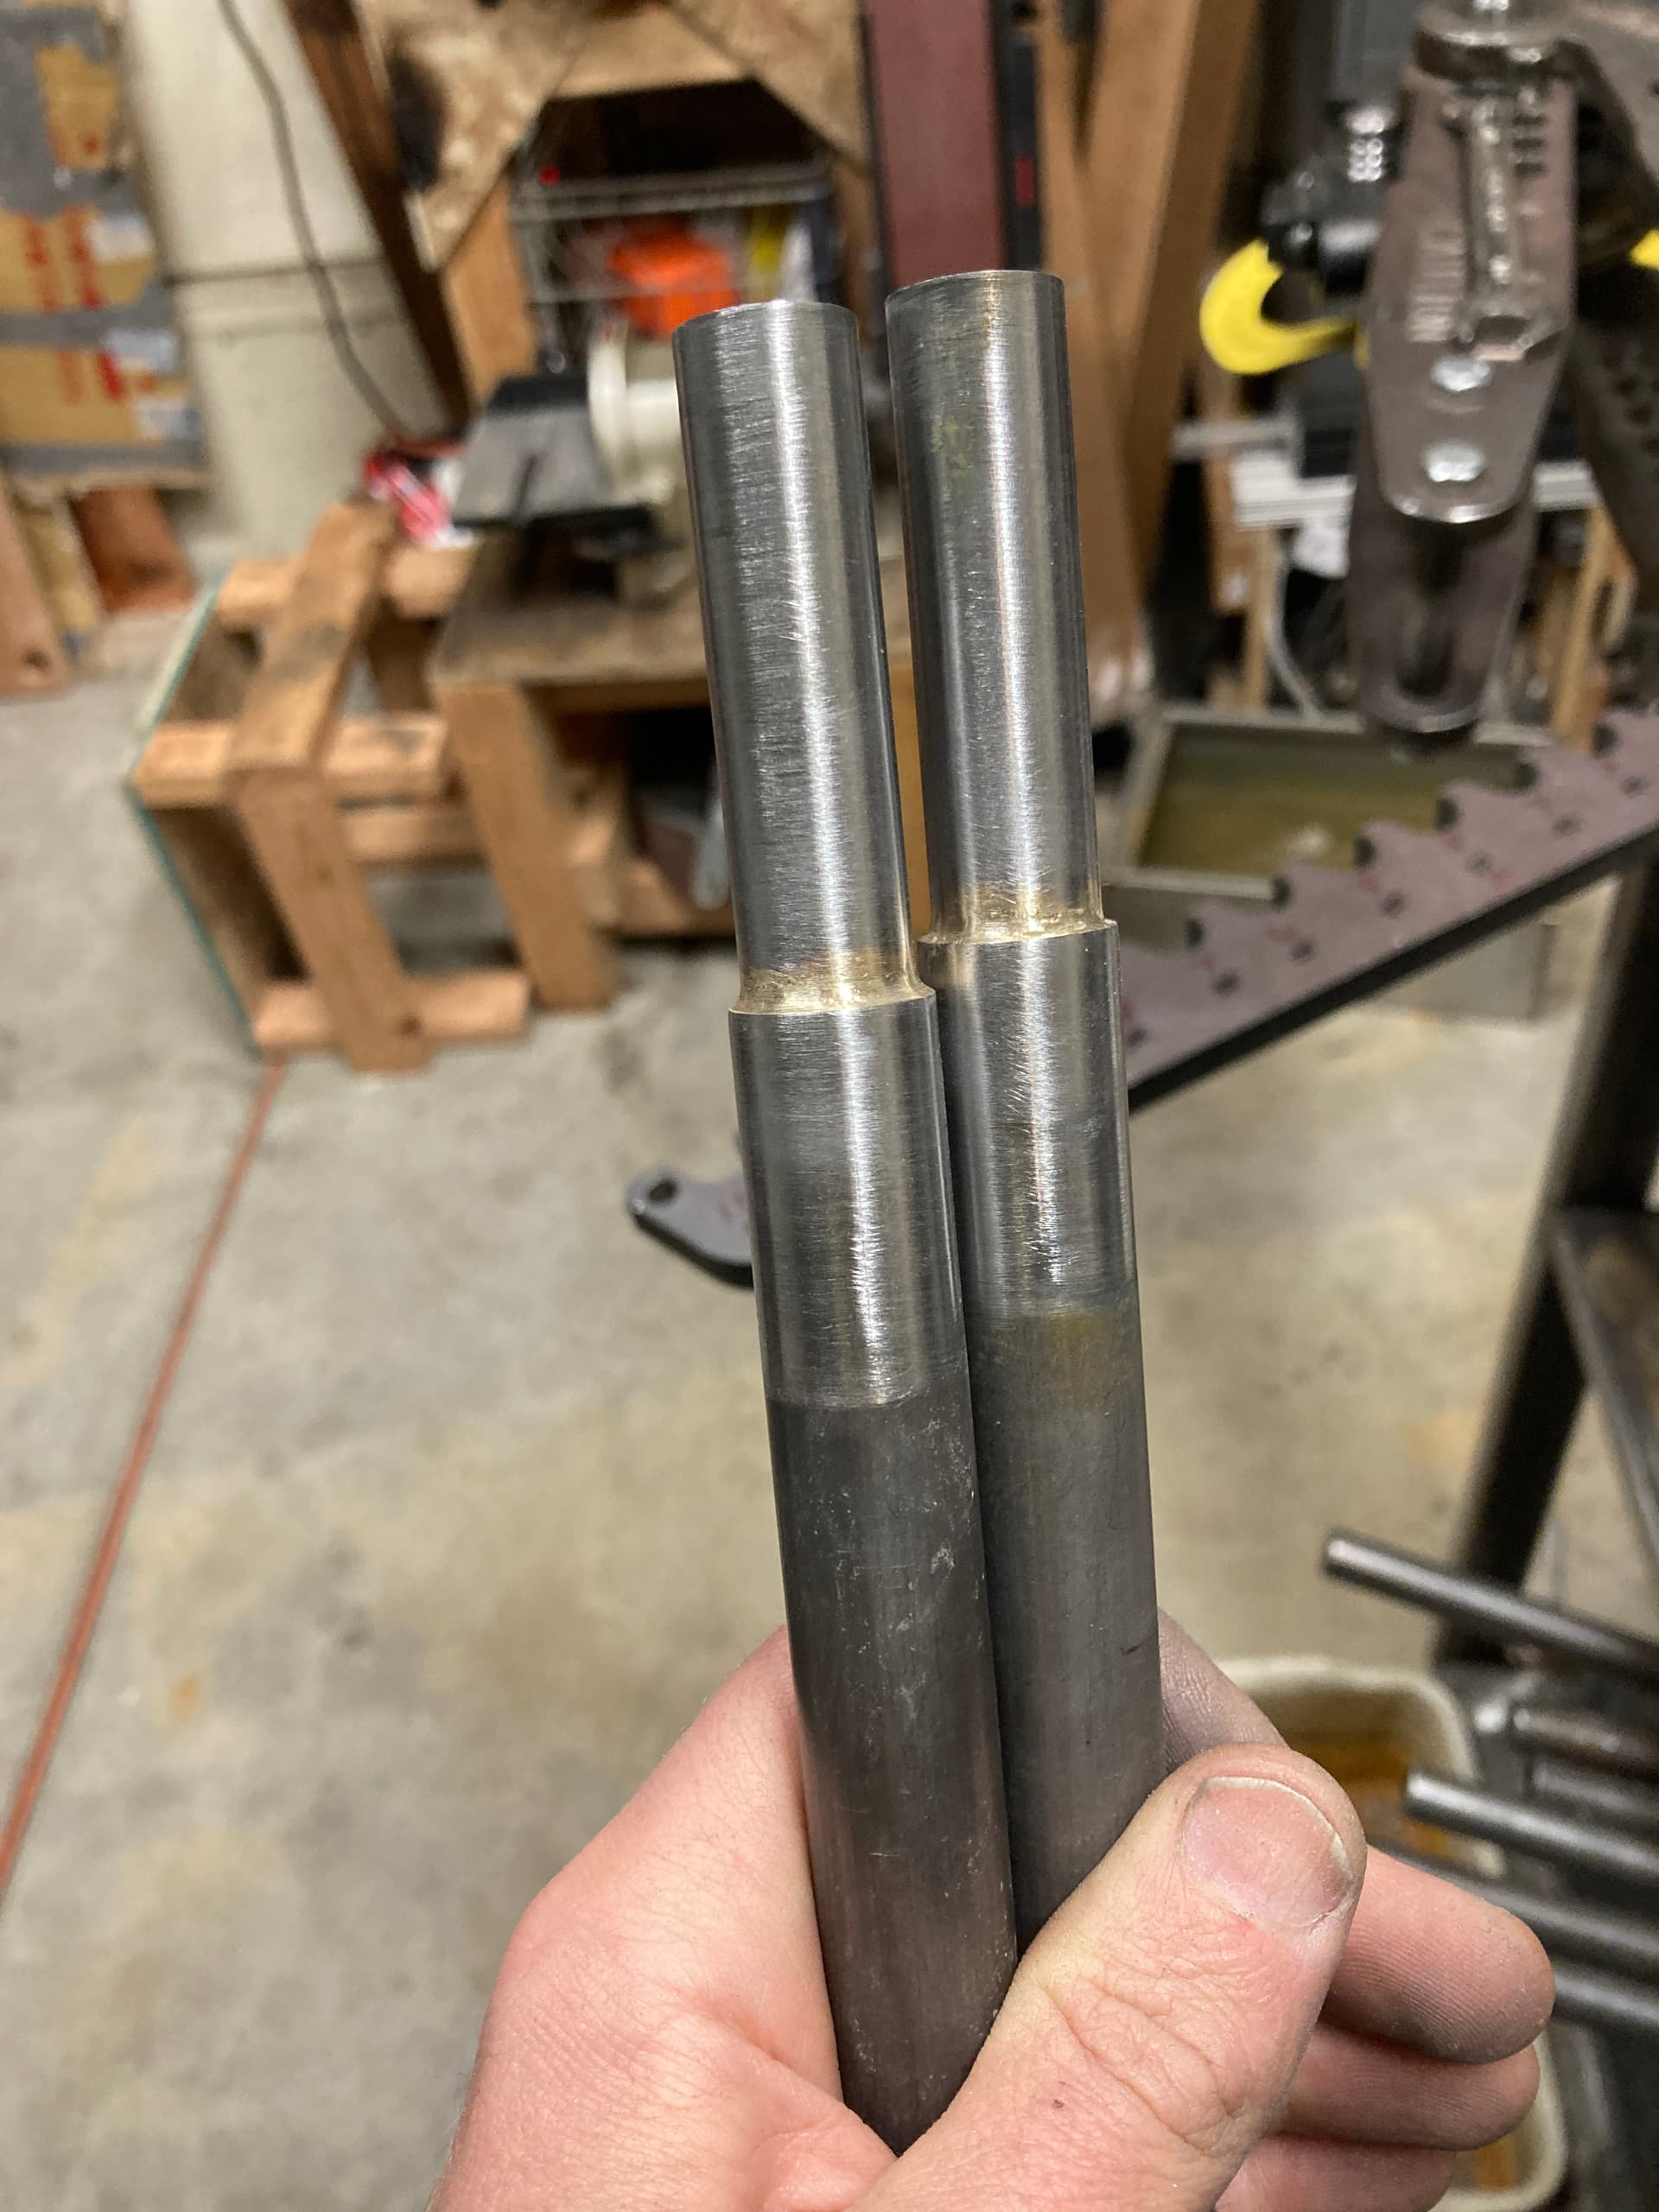
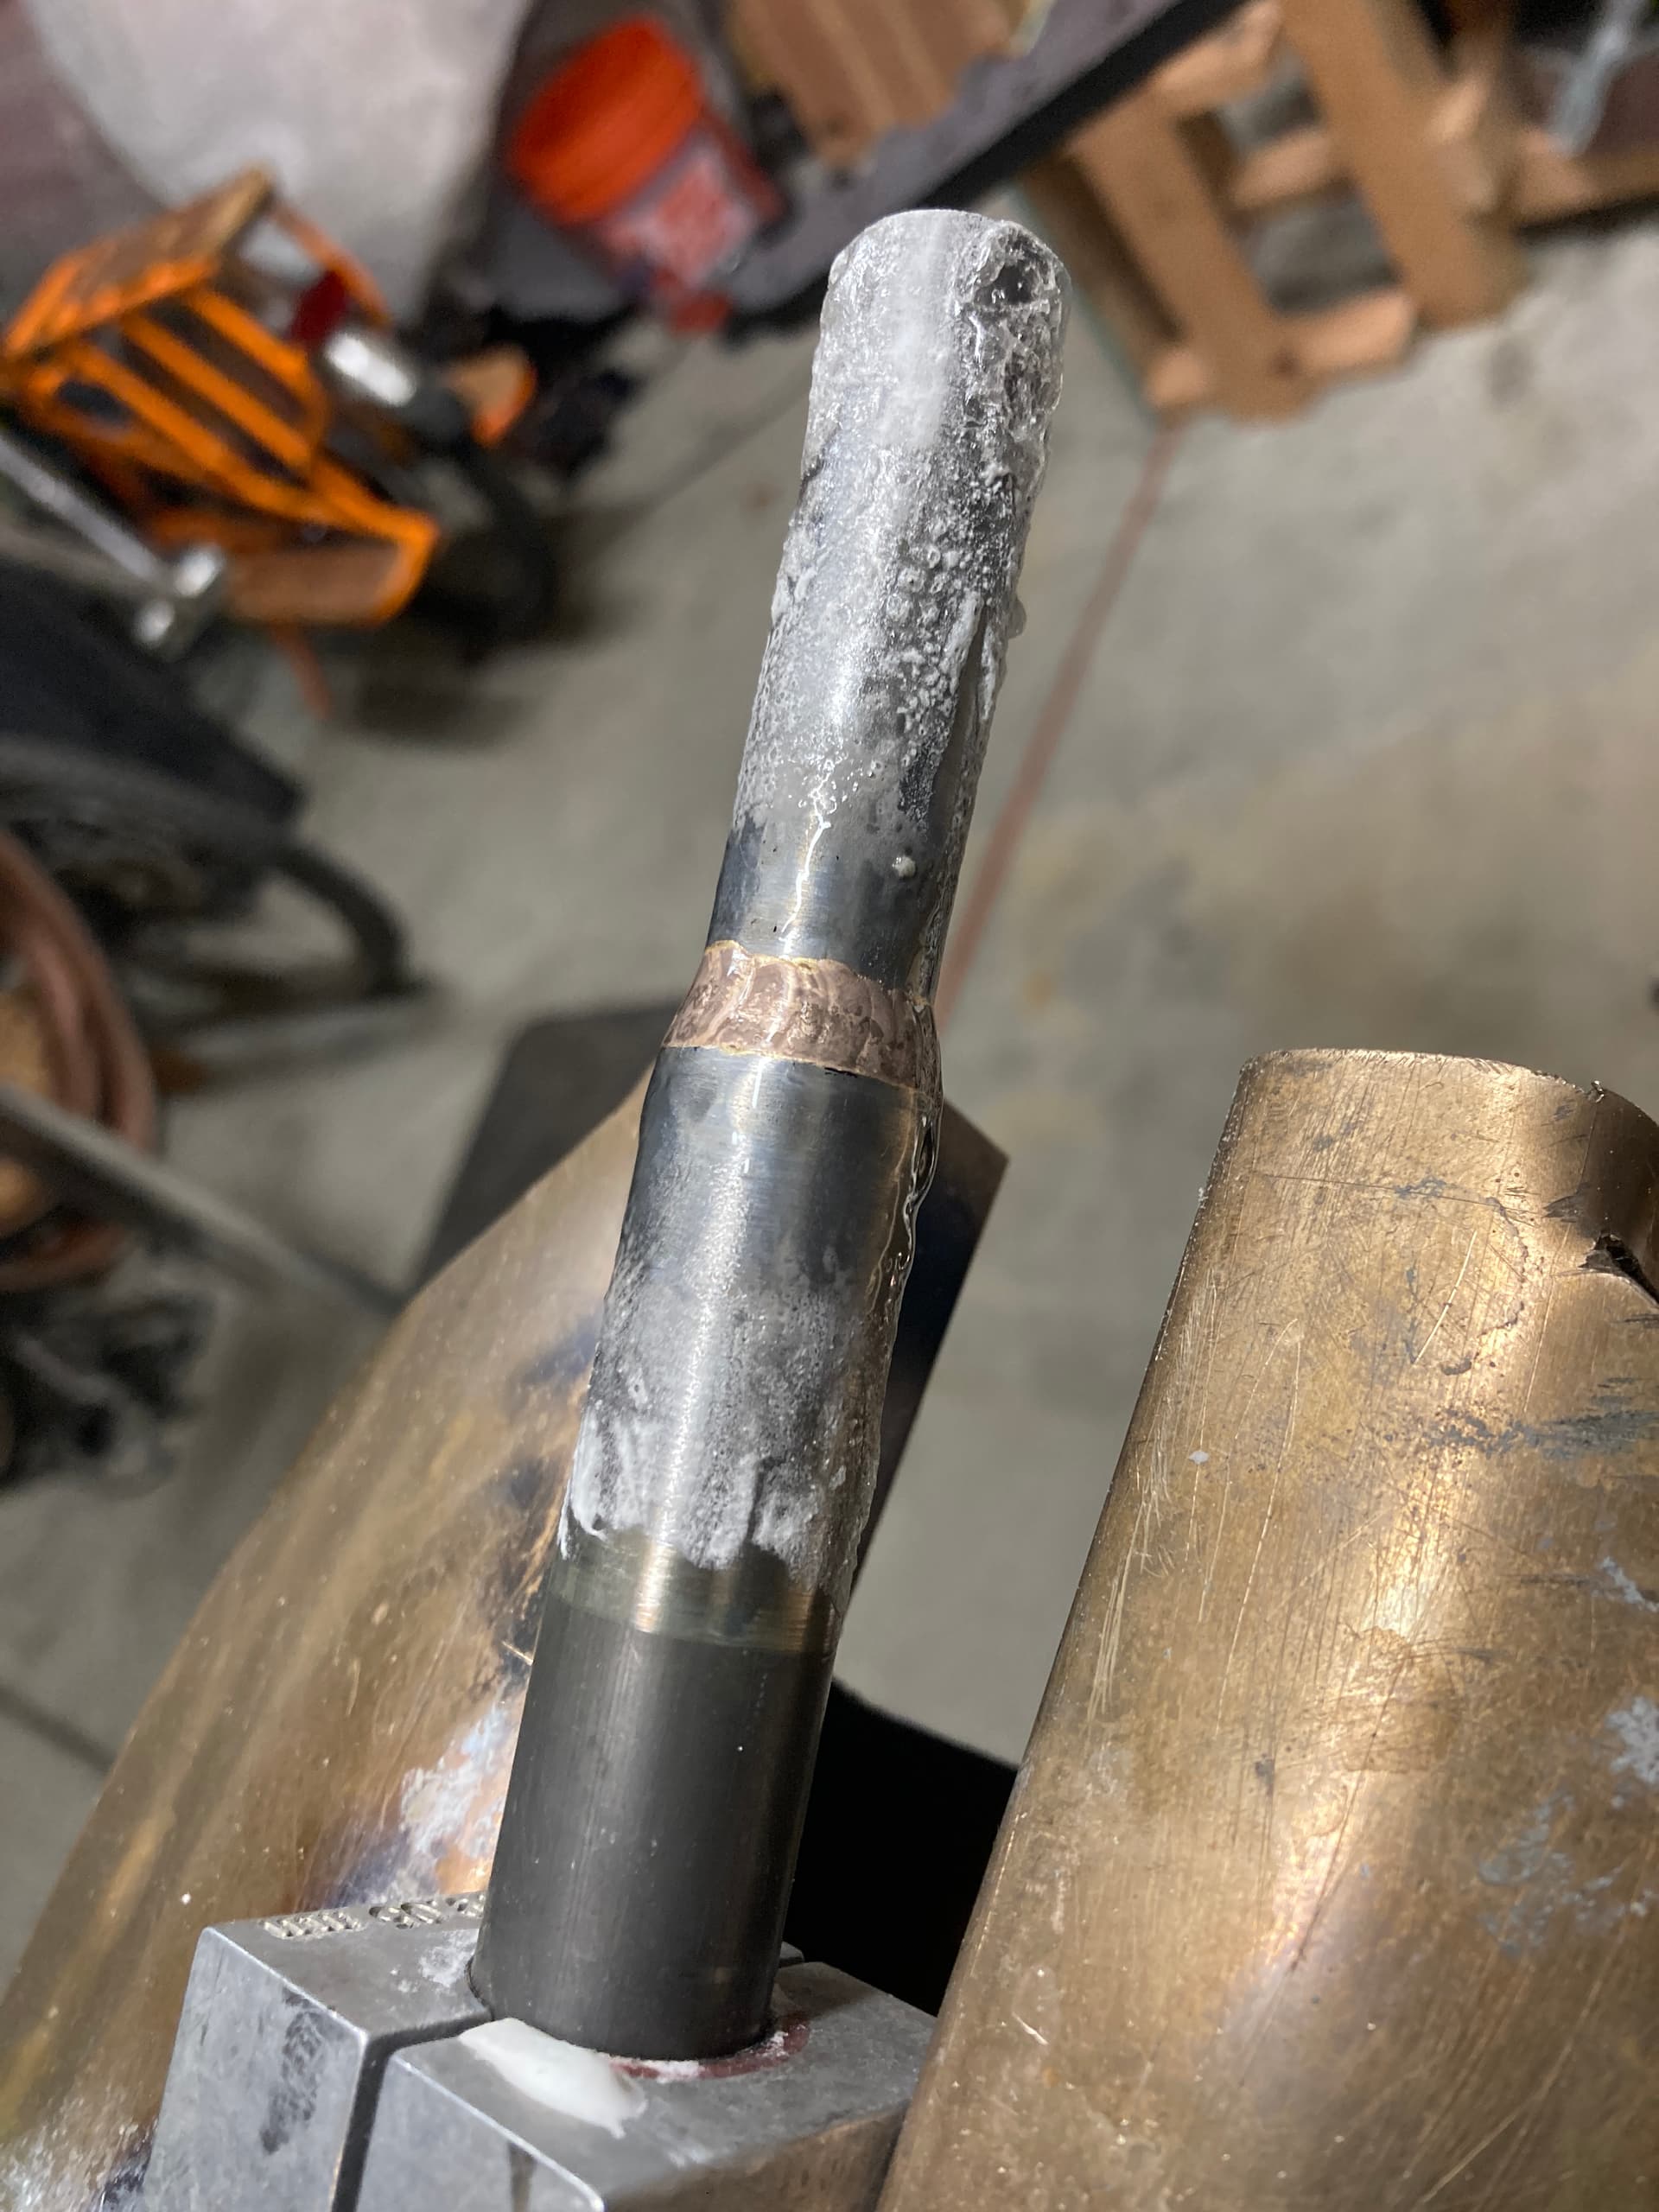
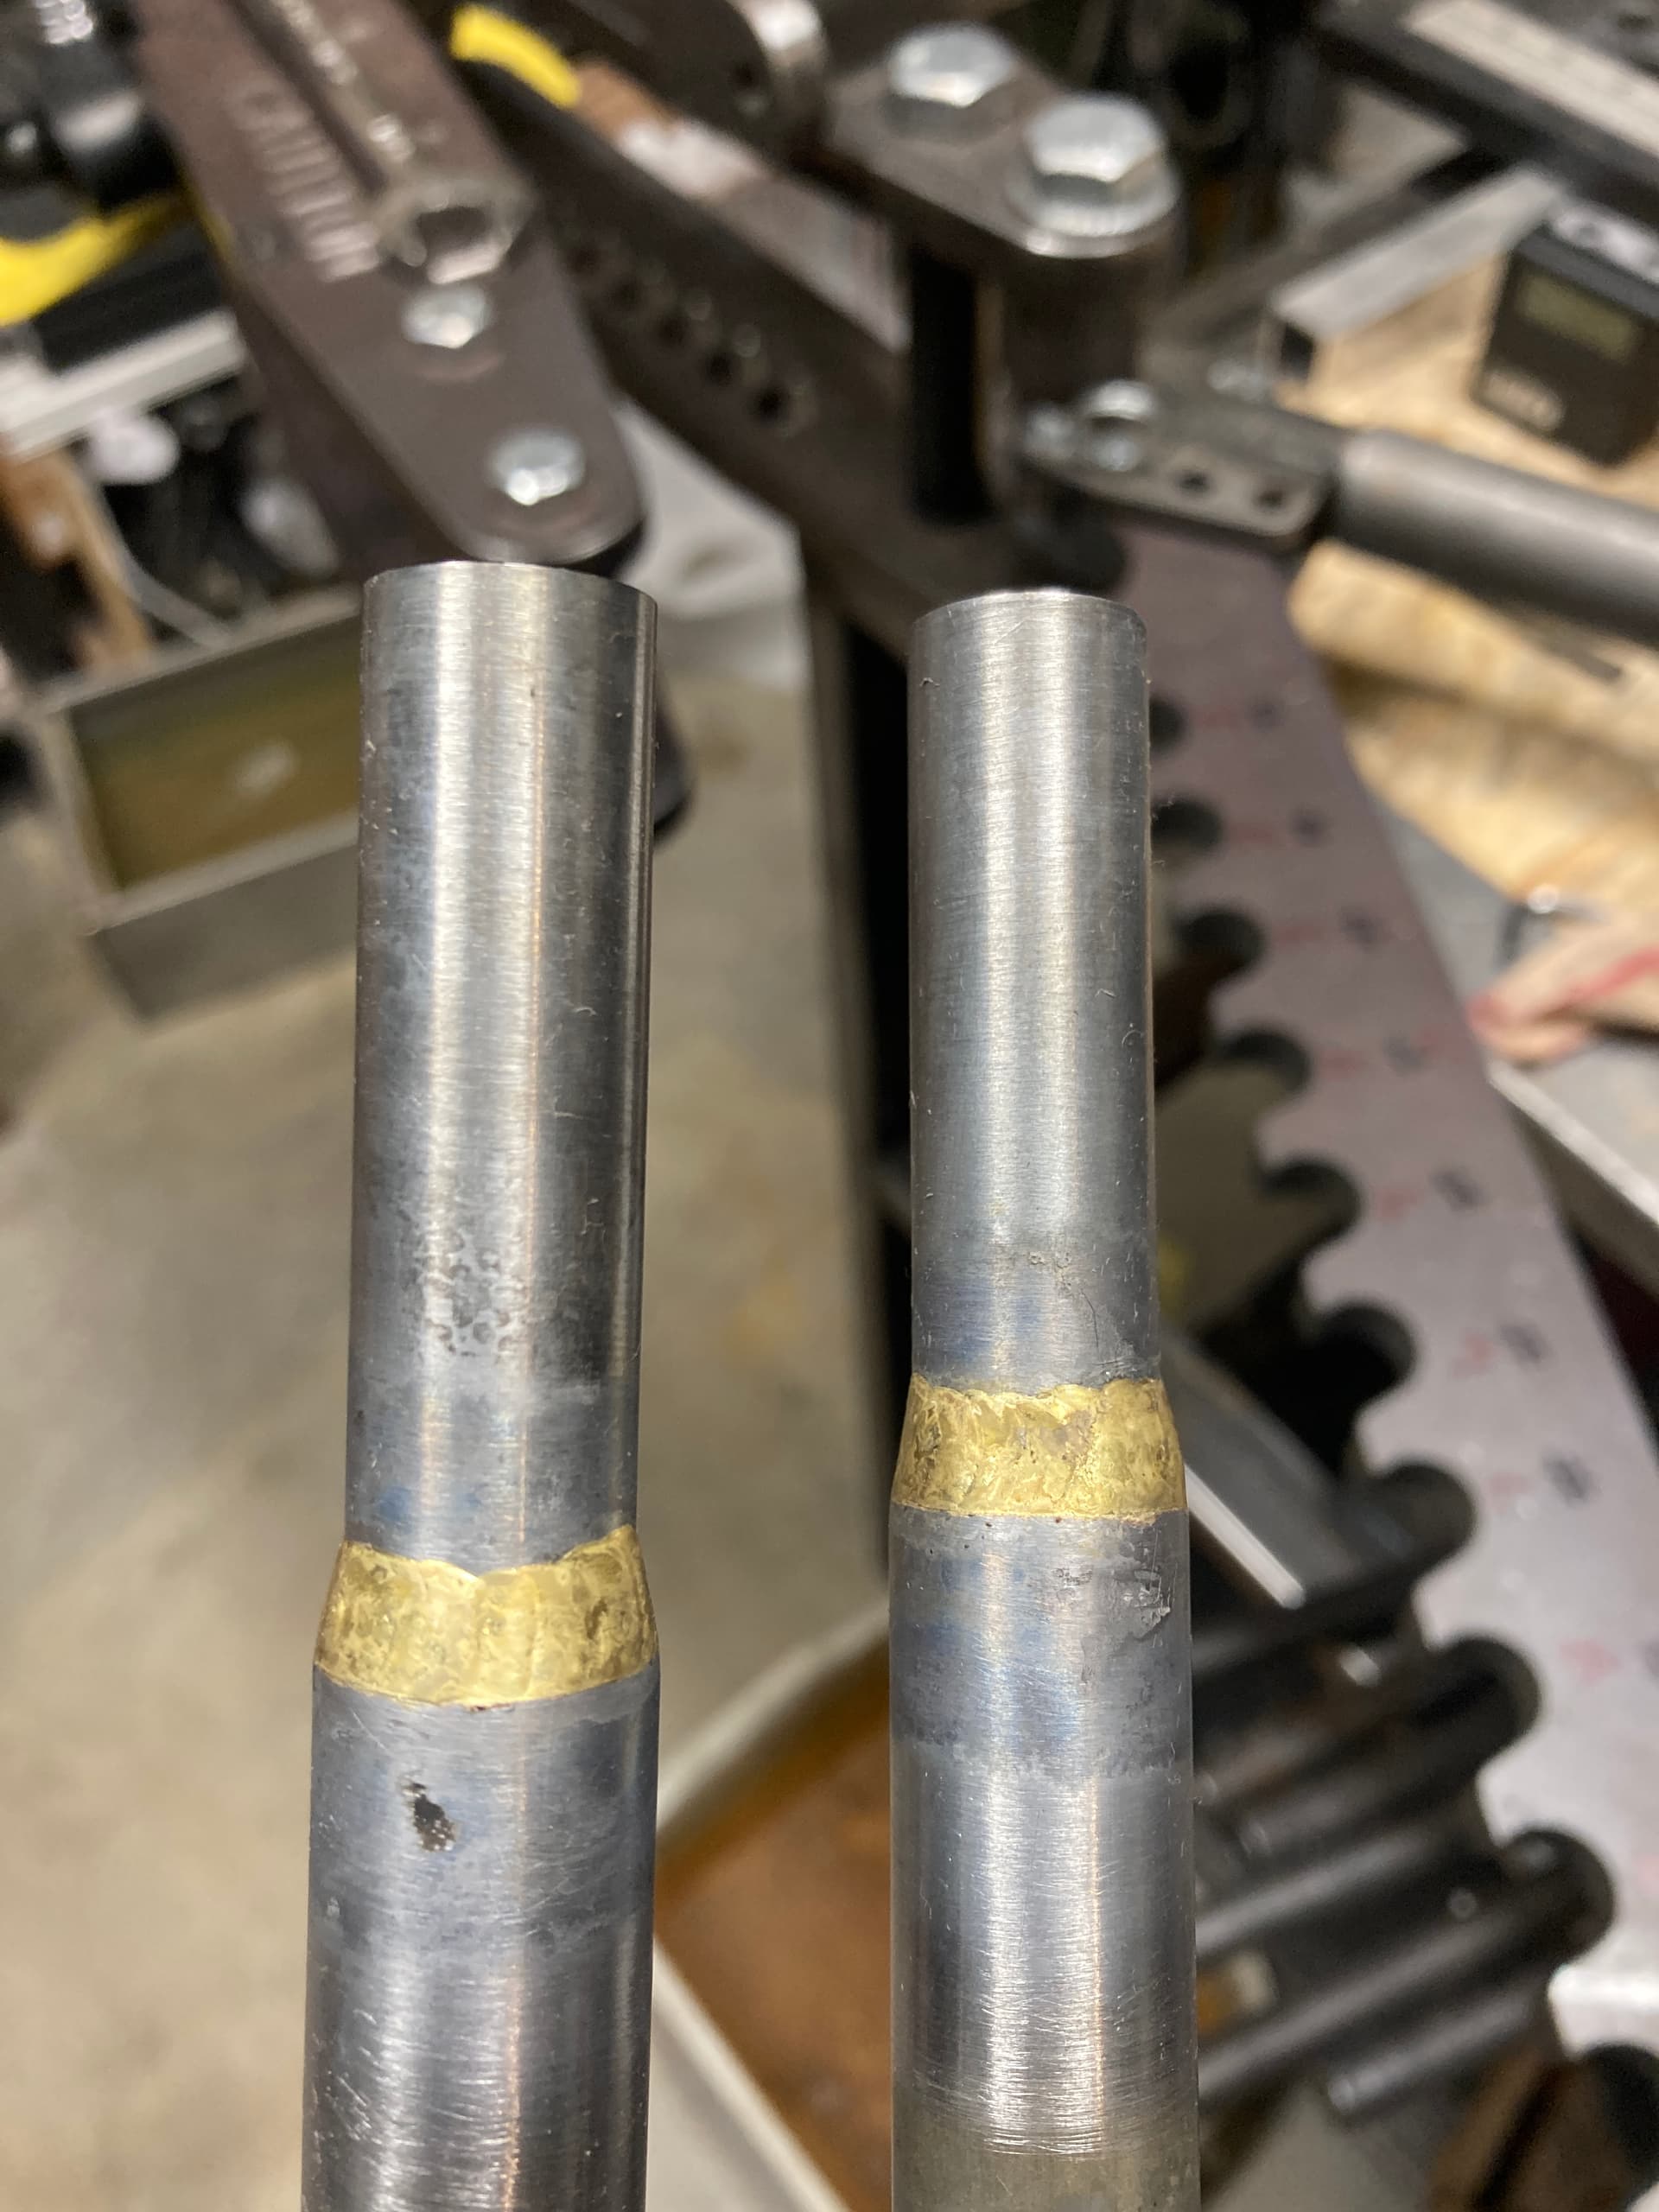
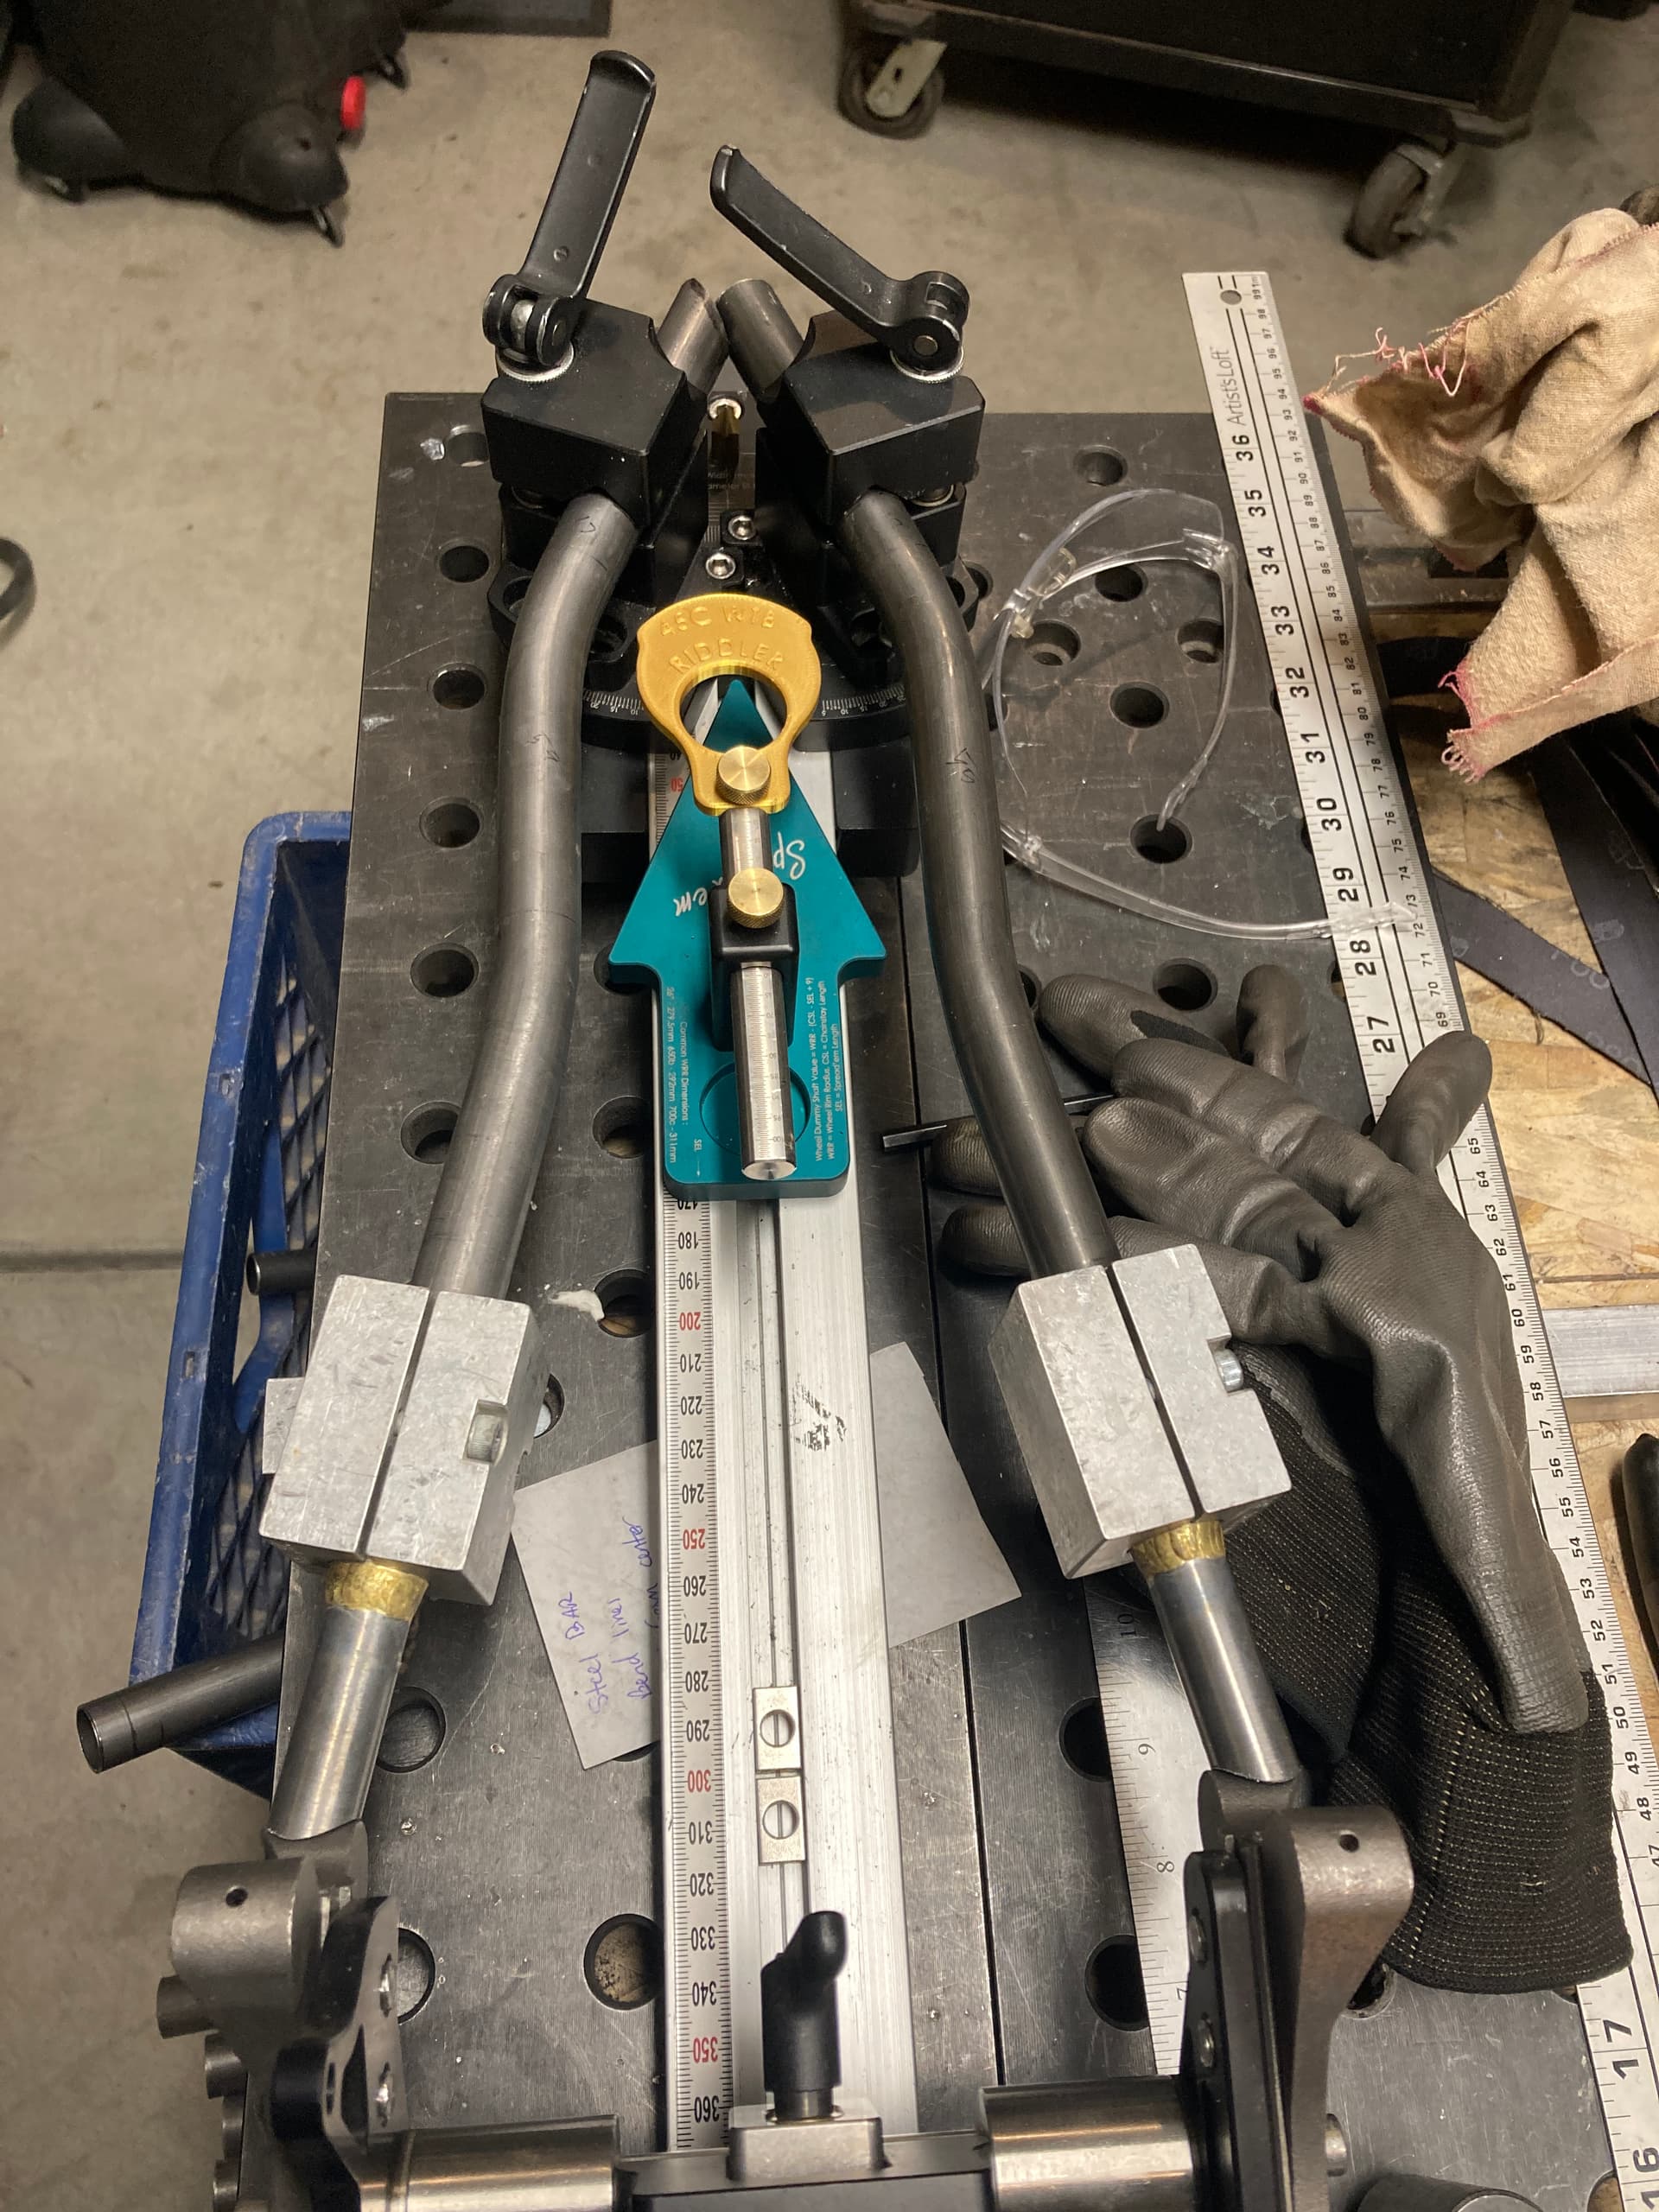
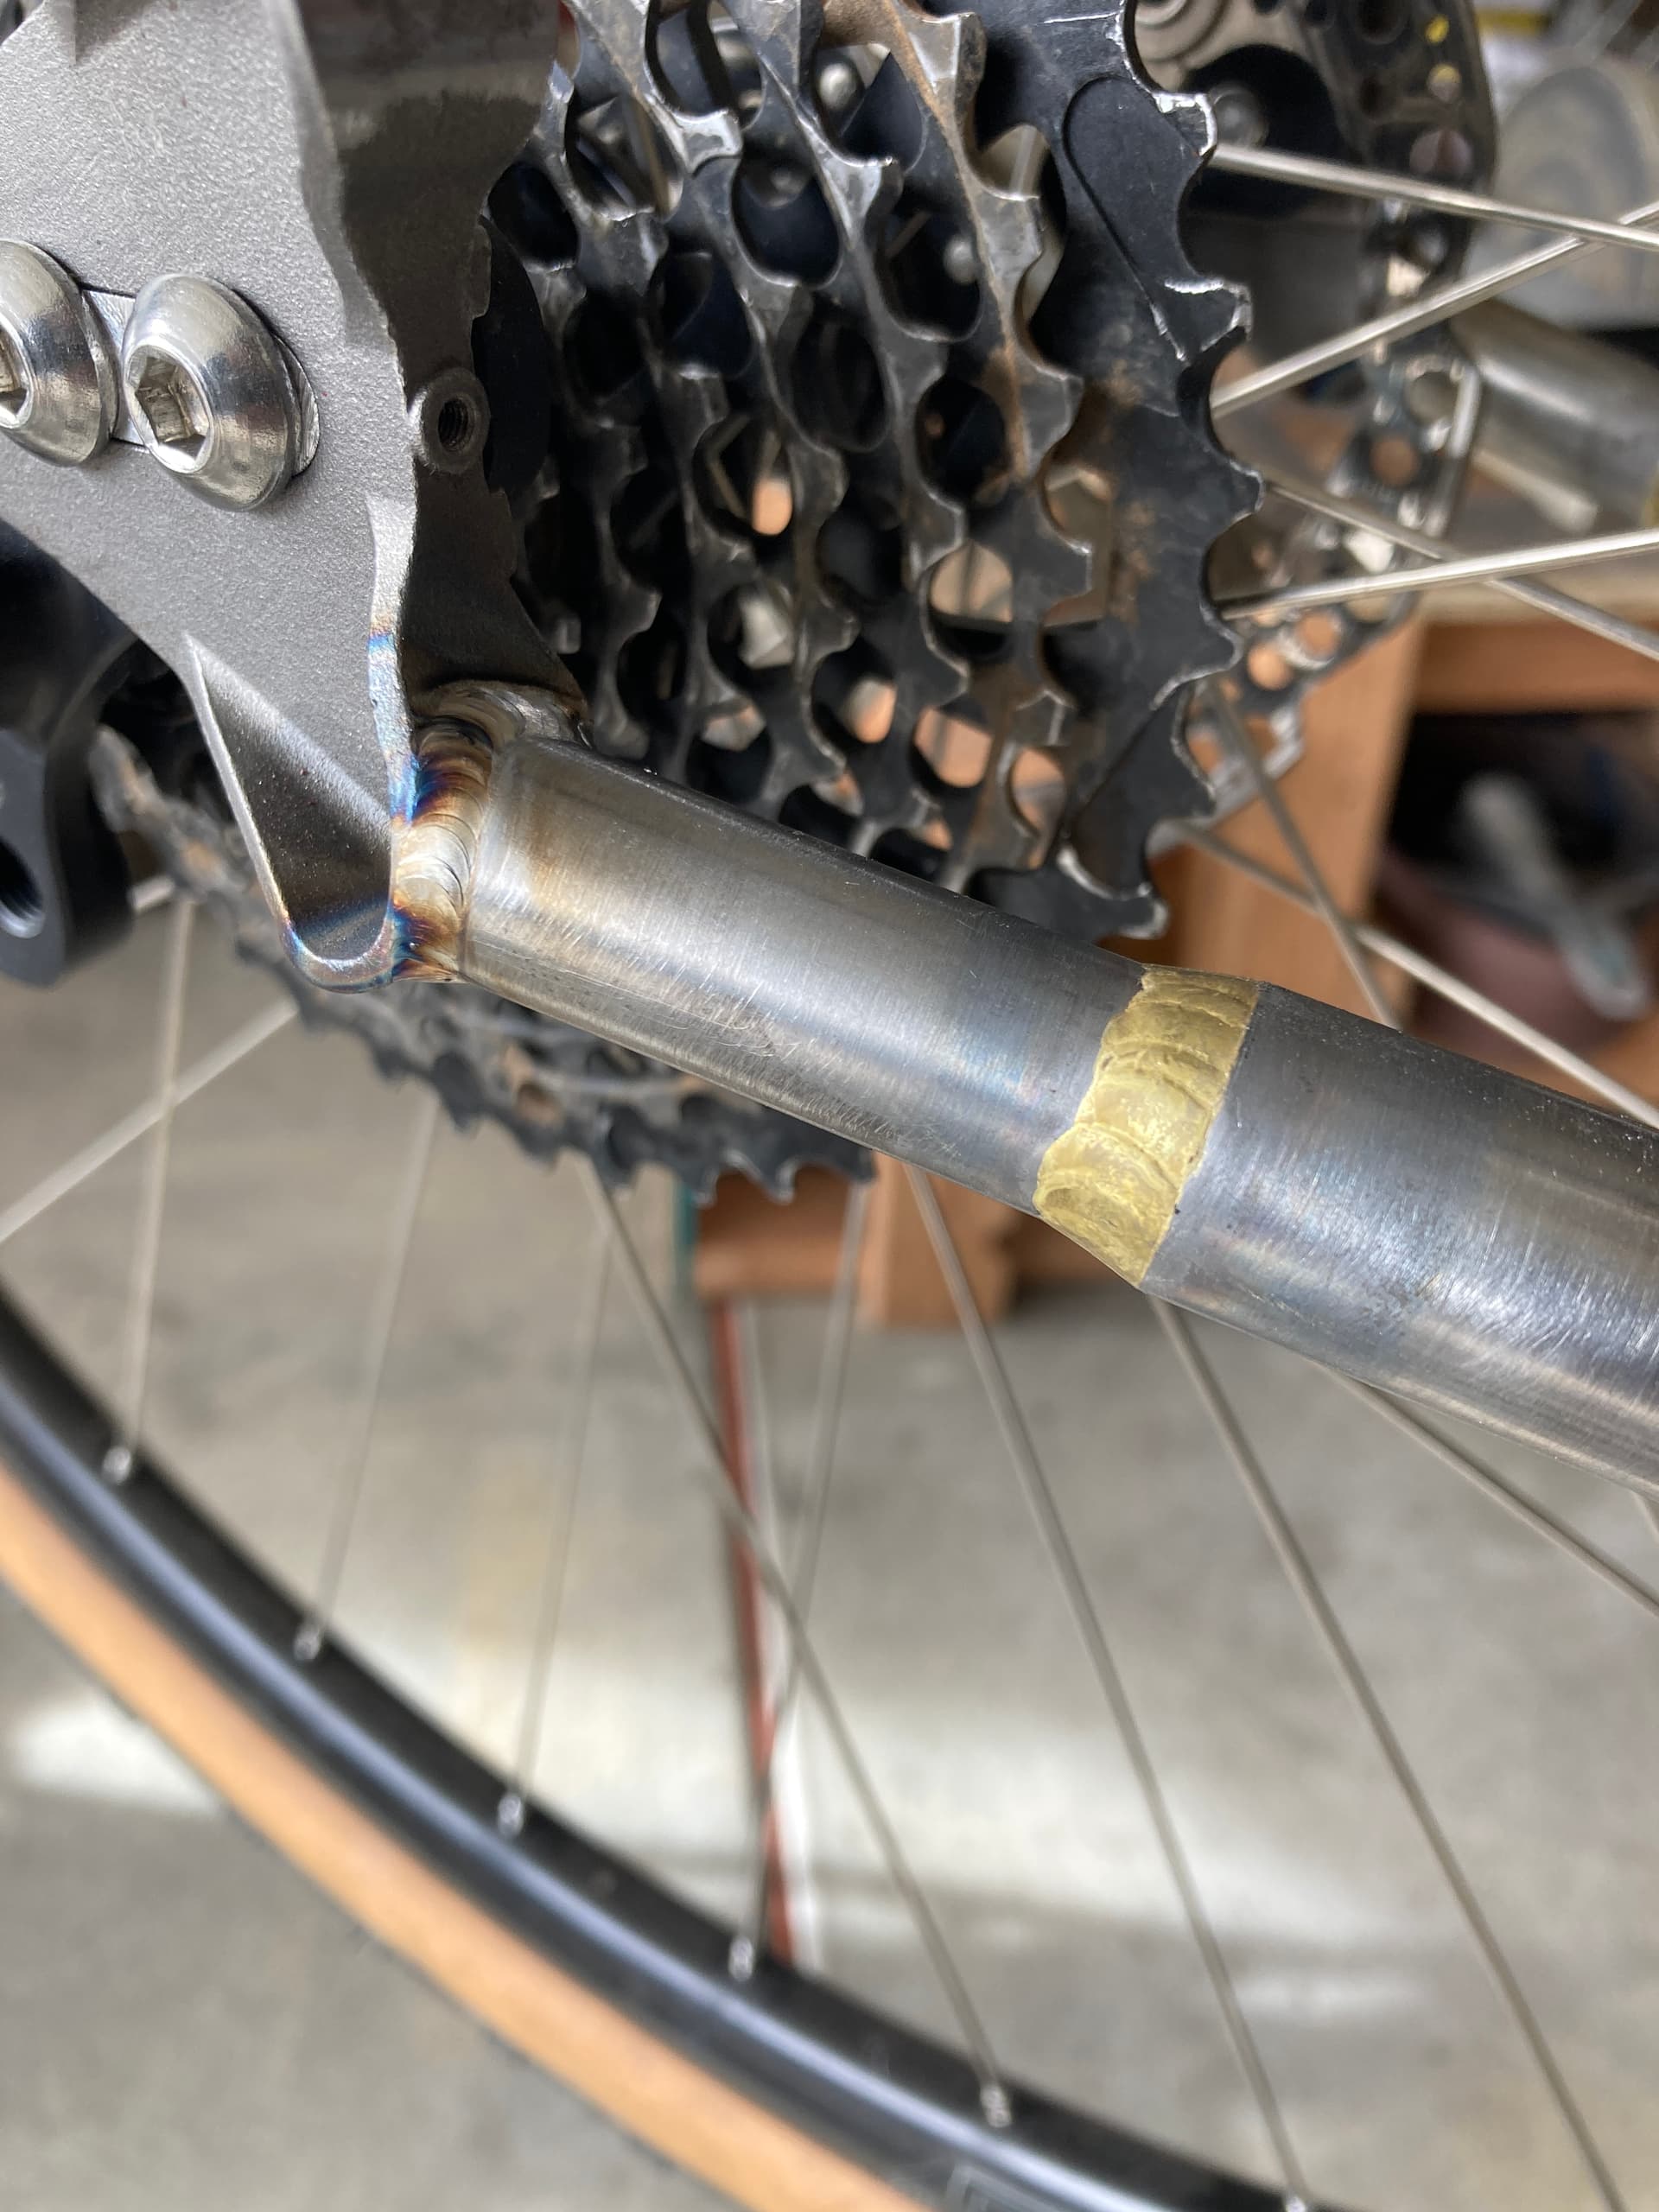
CS after I’ve bent and brazed in the taper to my stays

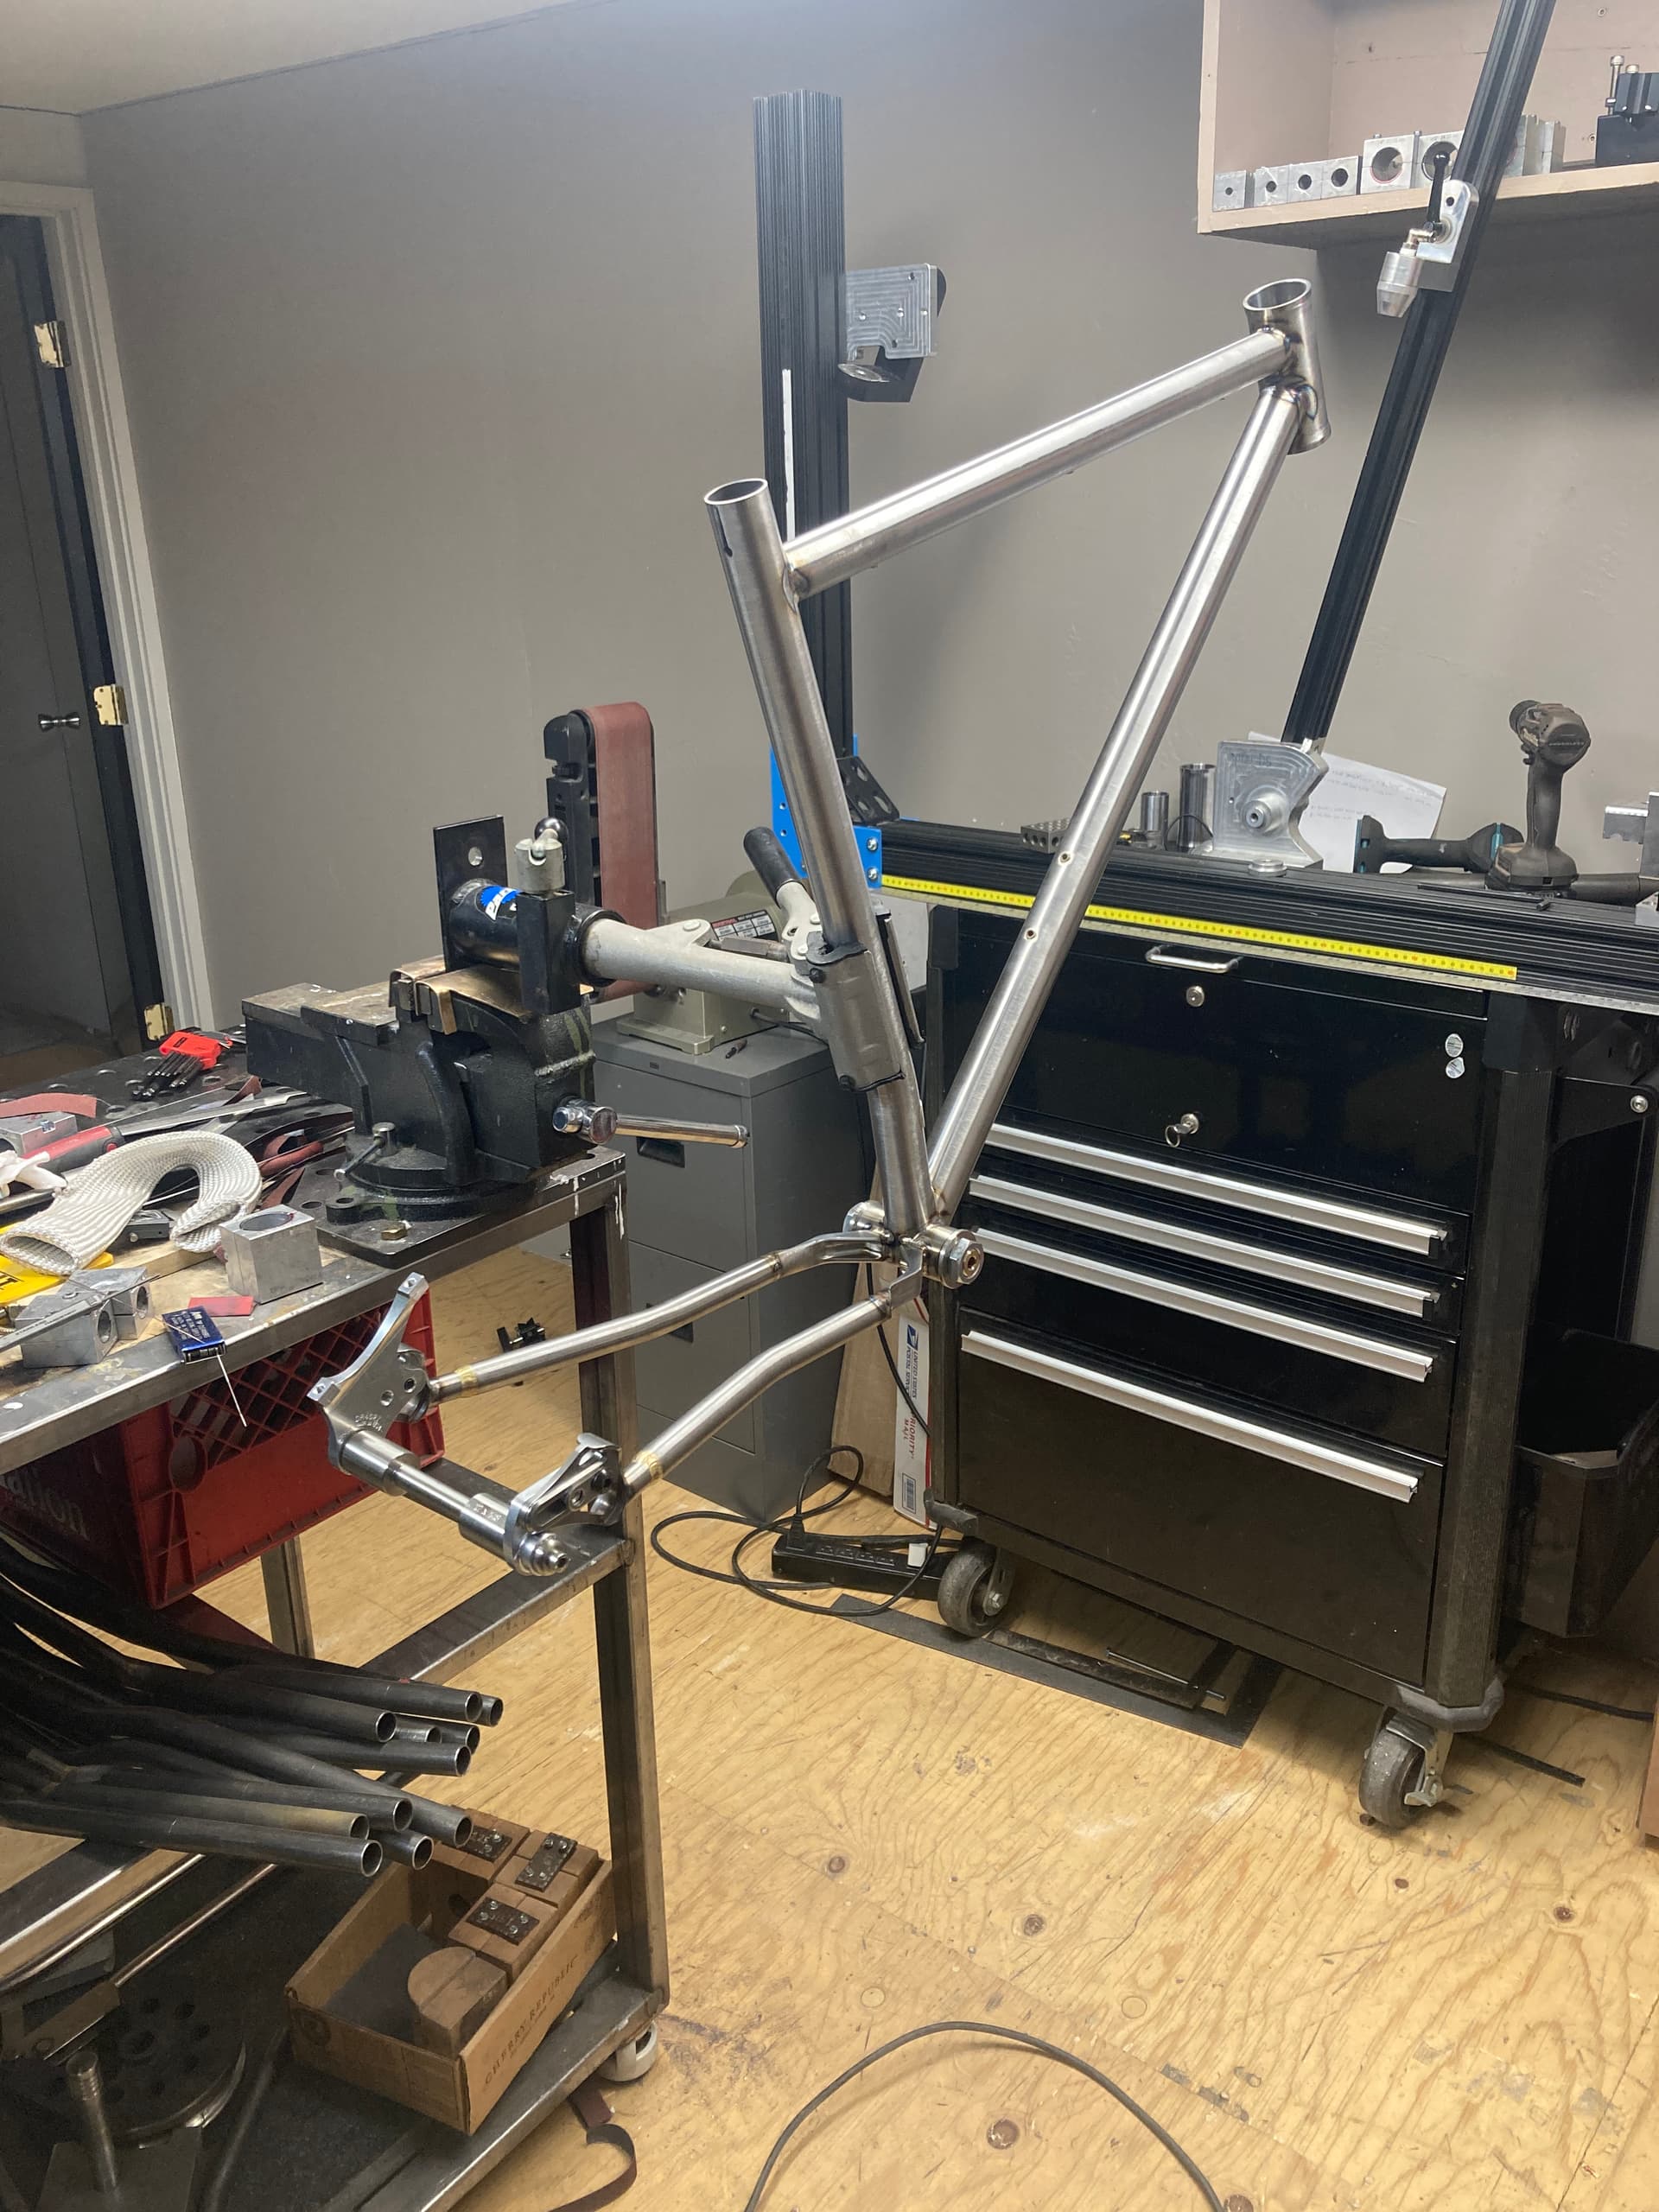
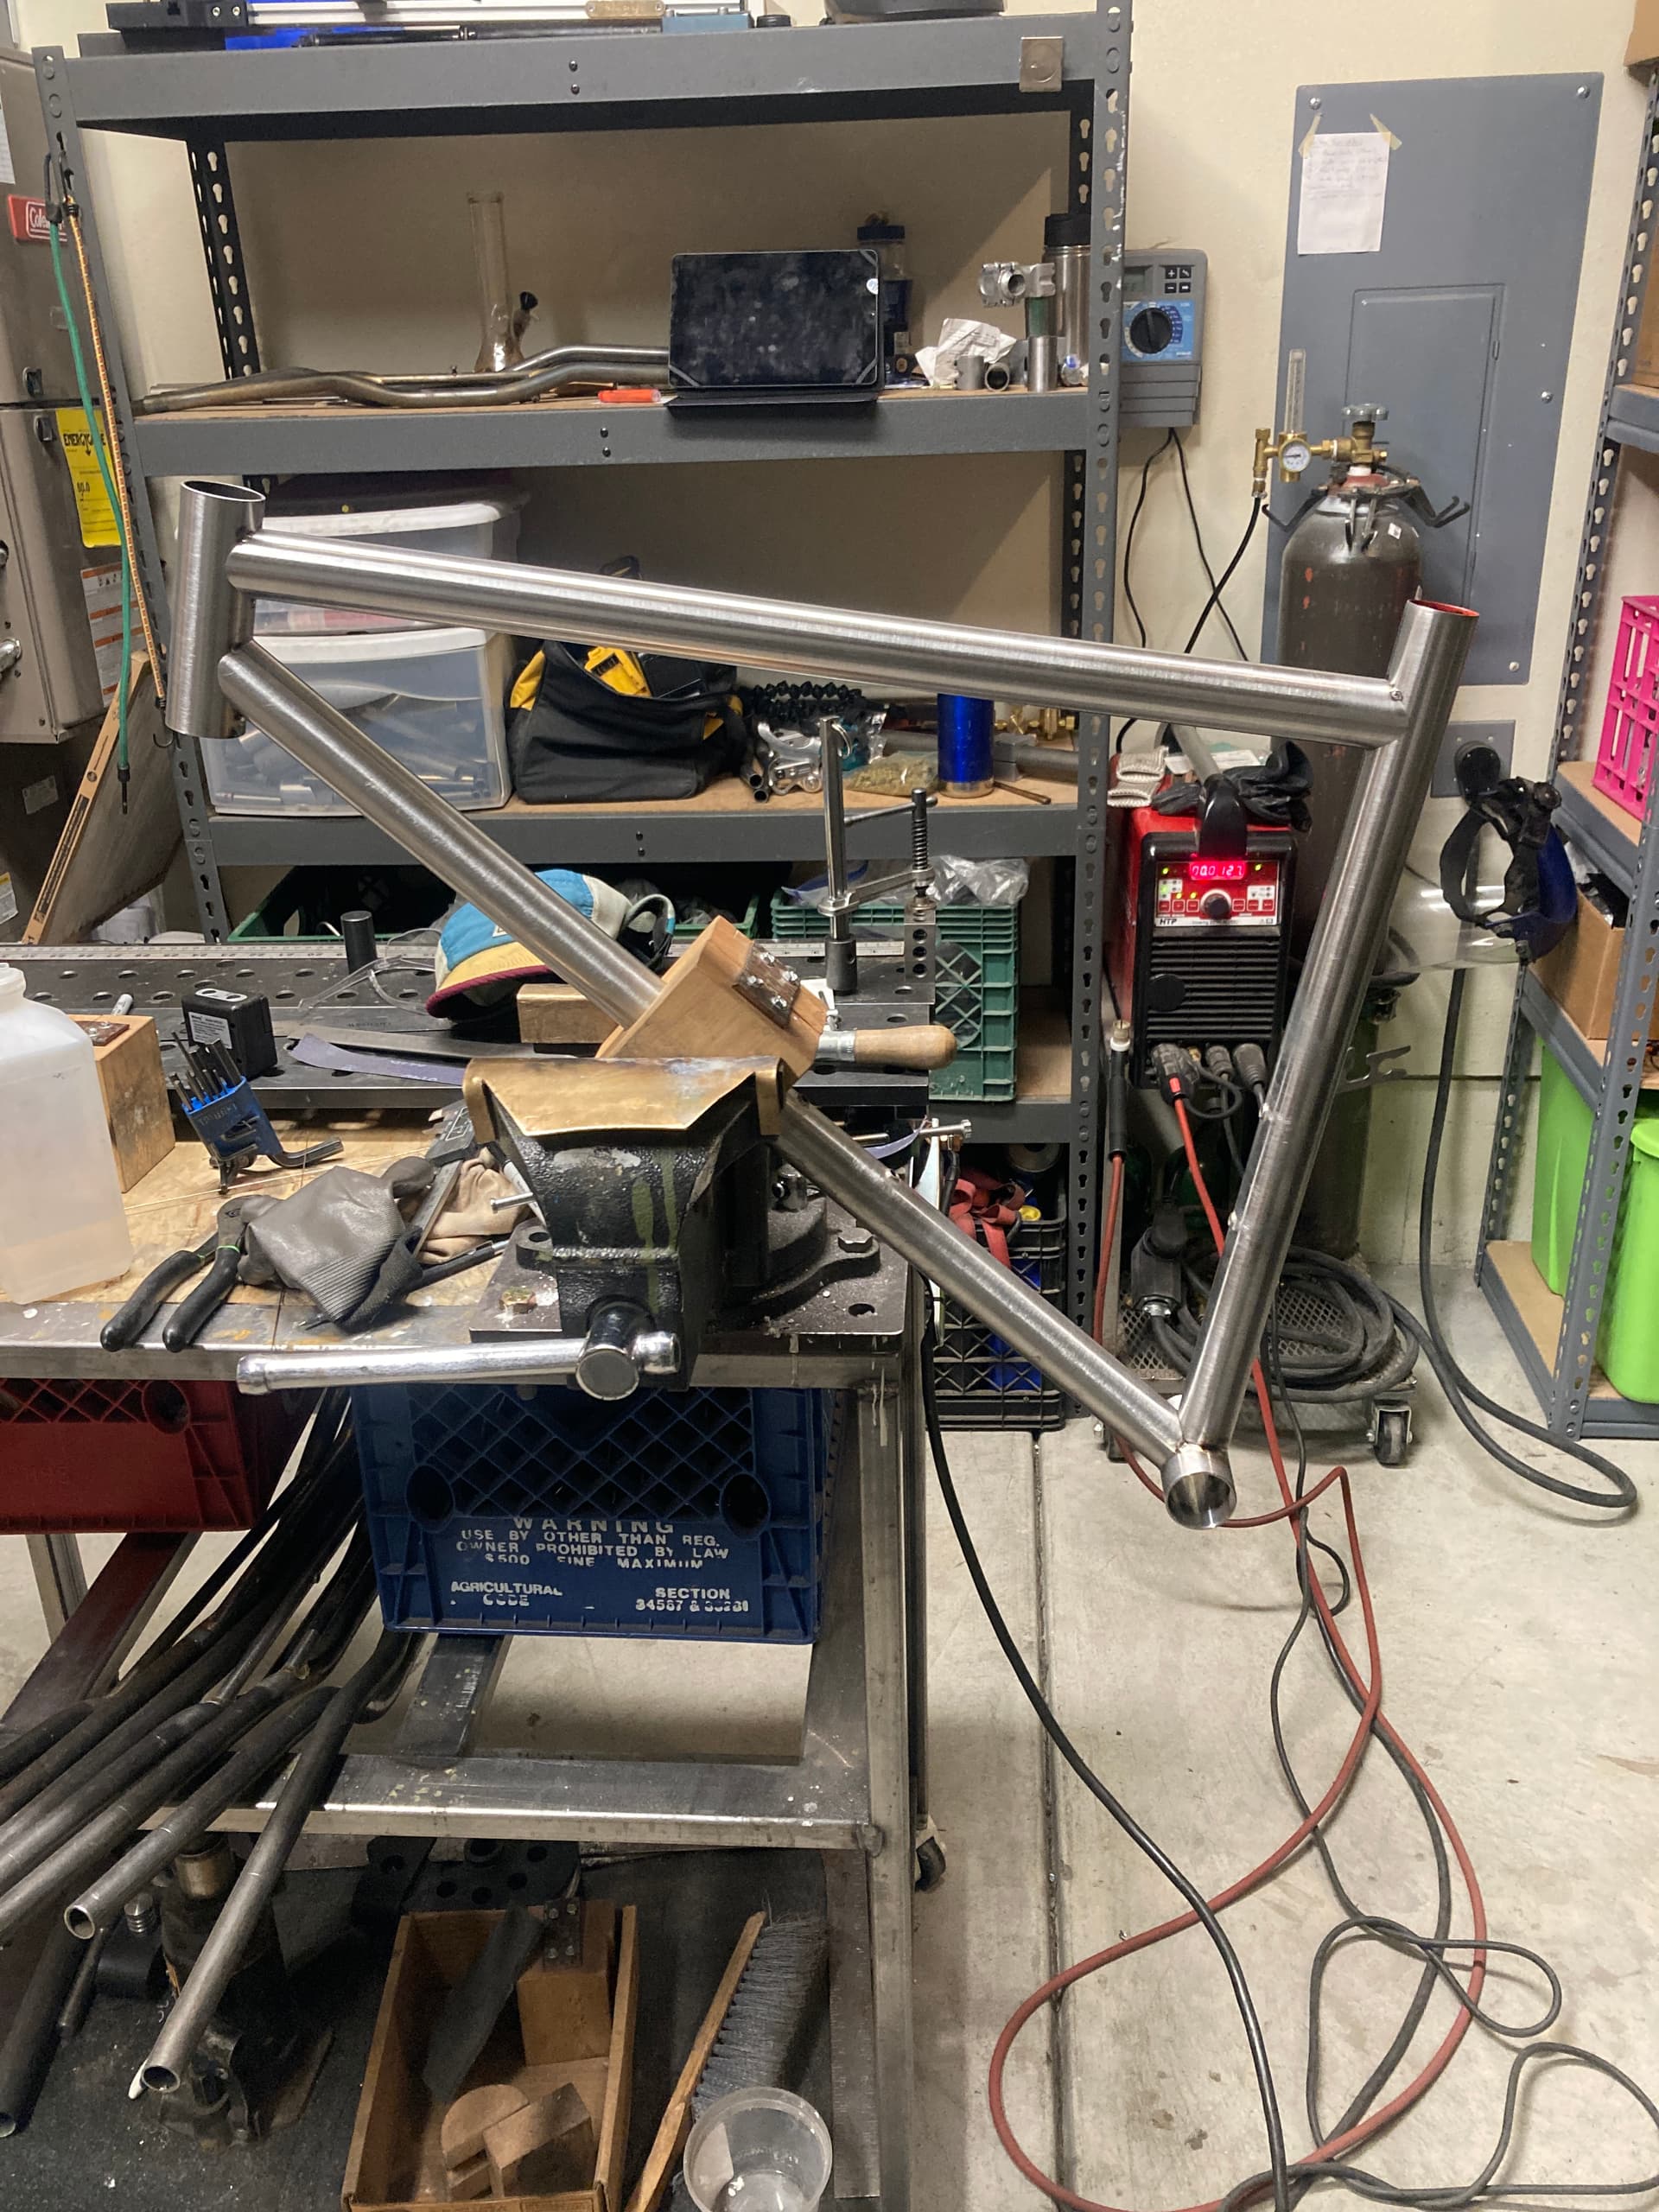
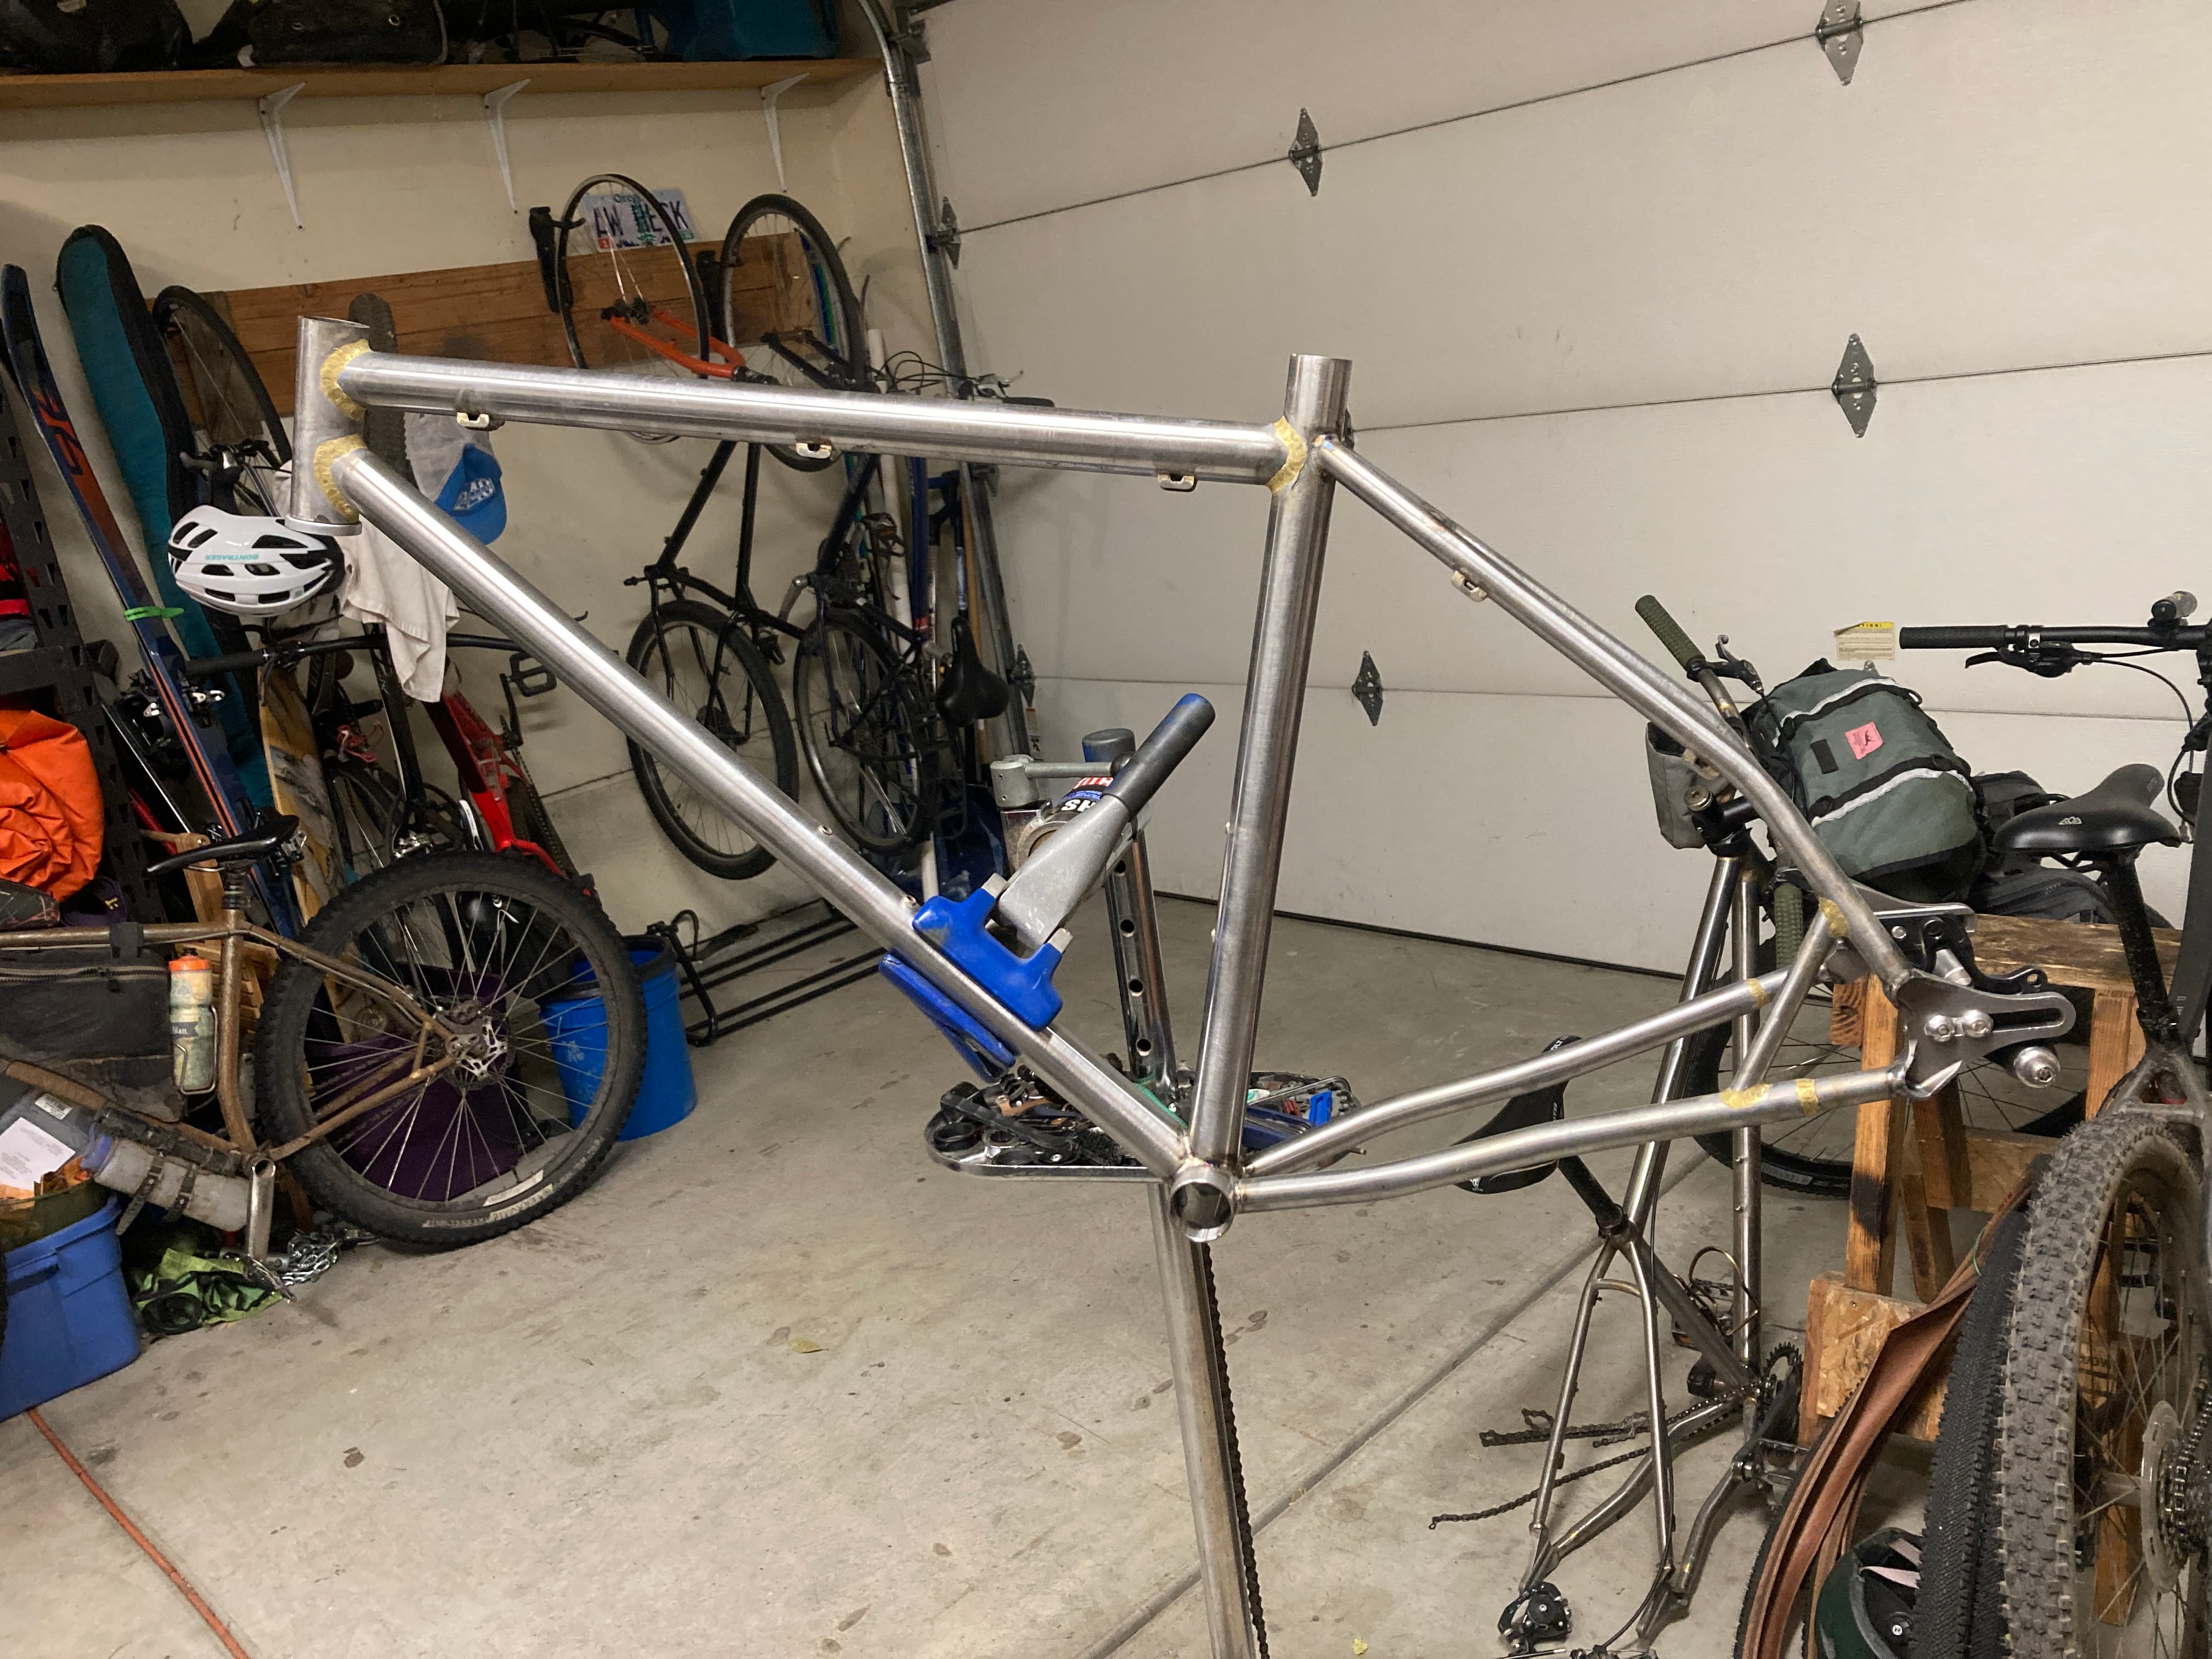
Front triangle tacked
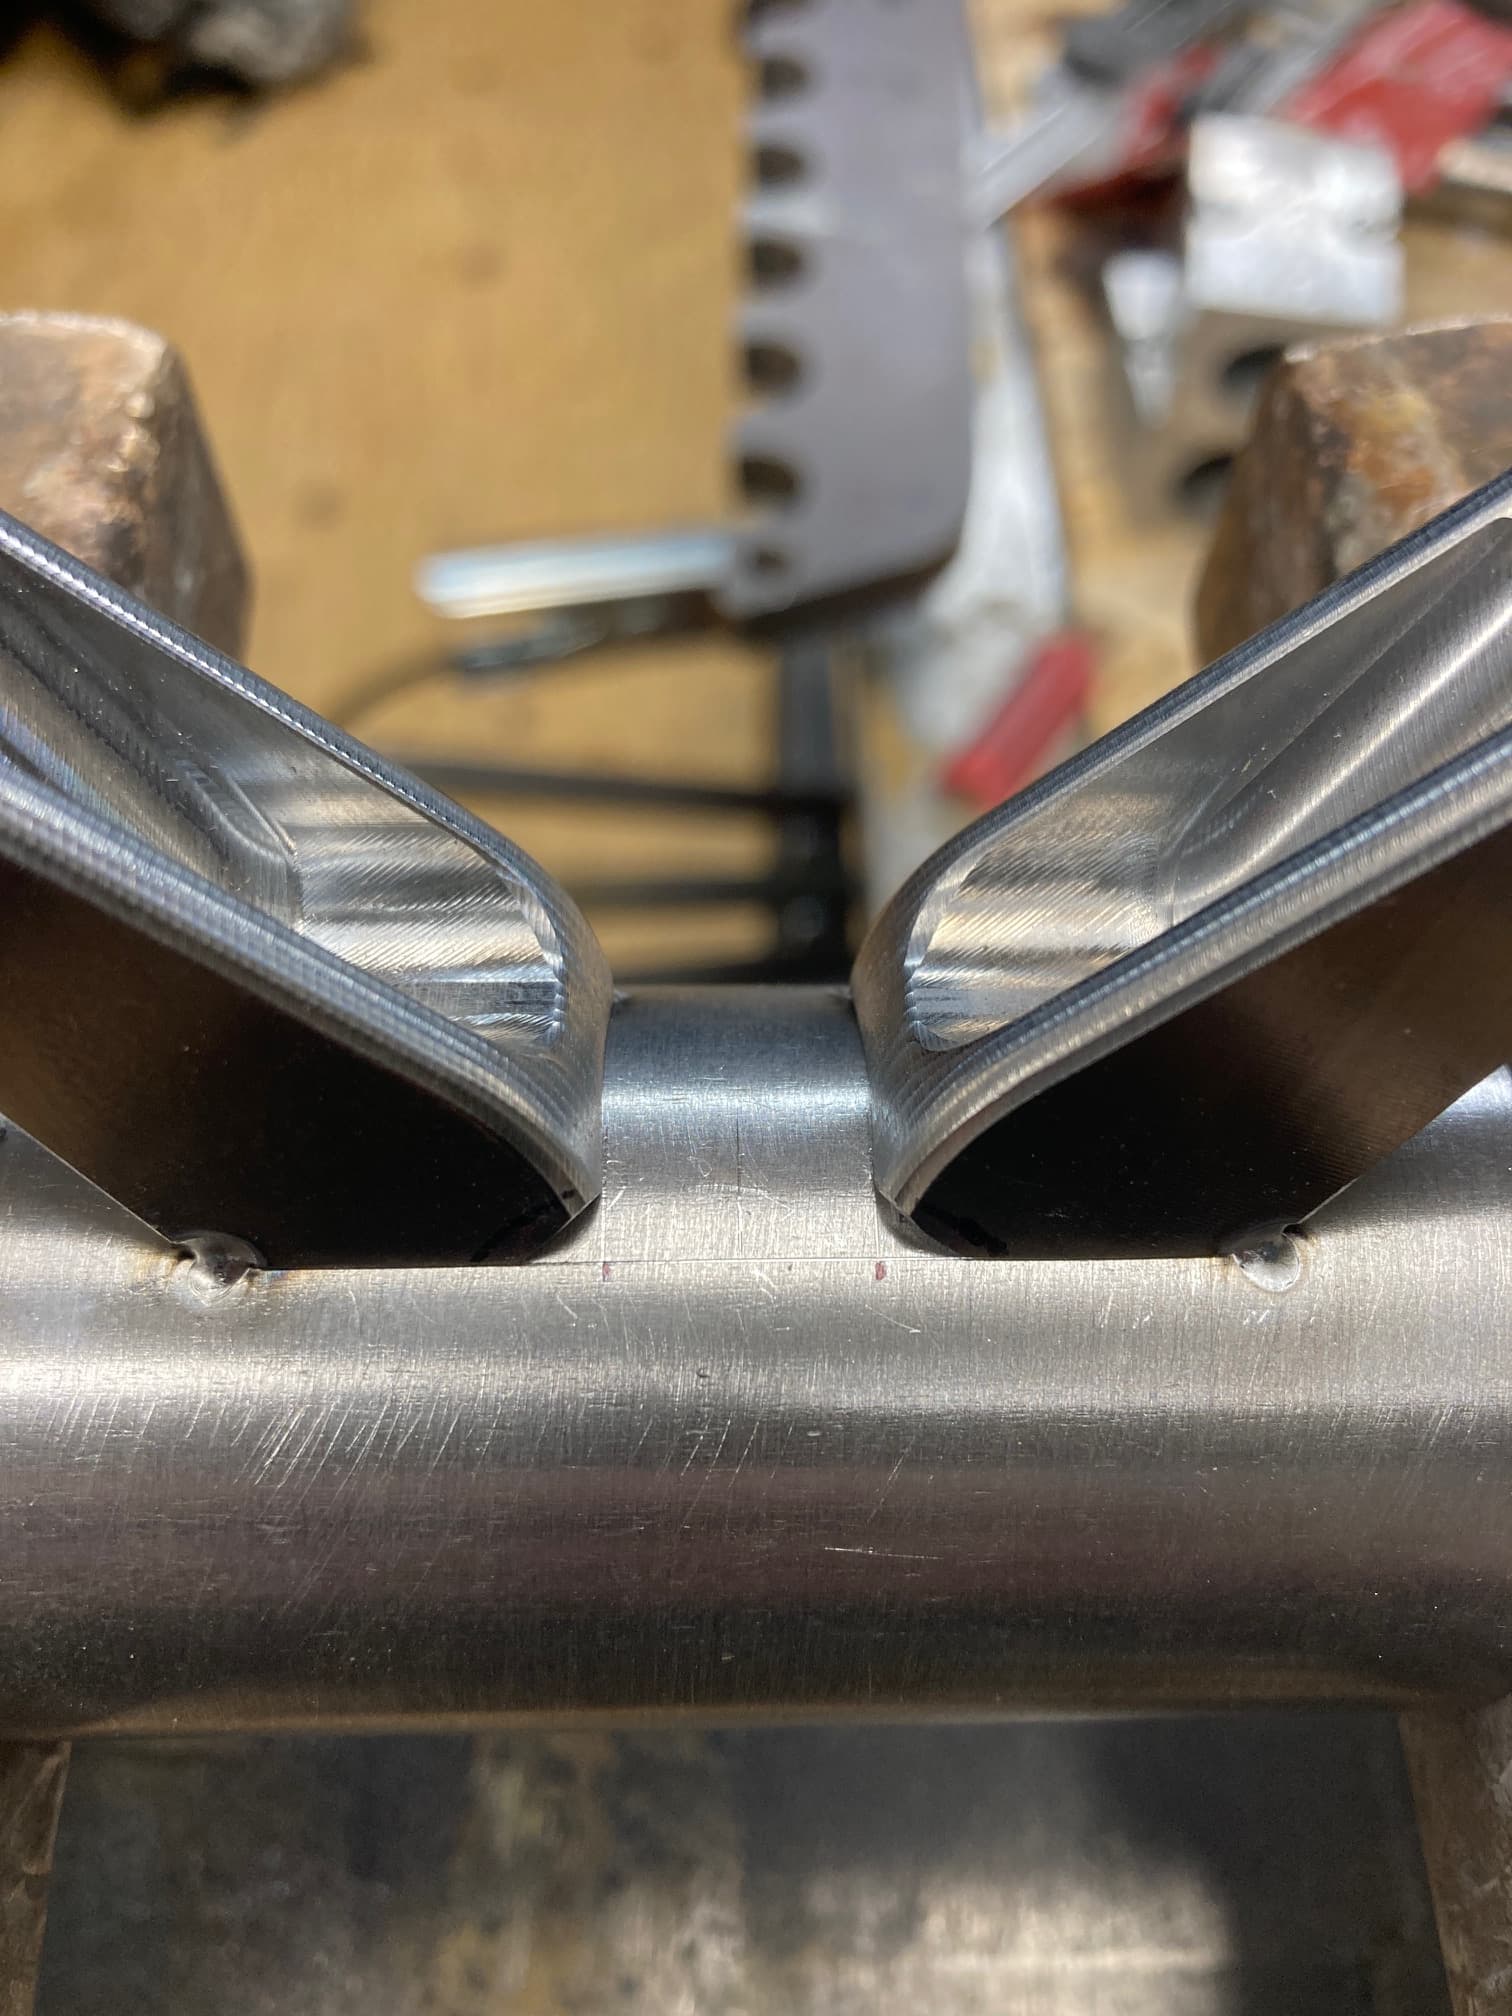
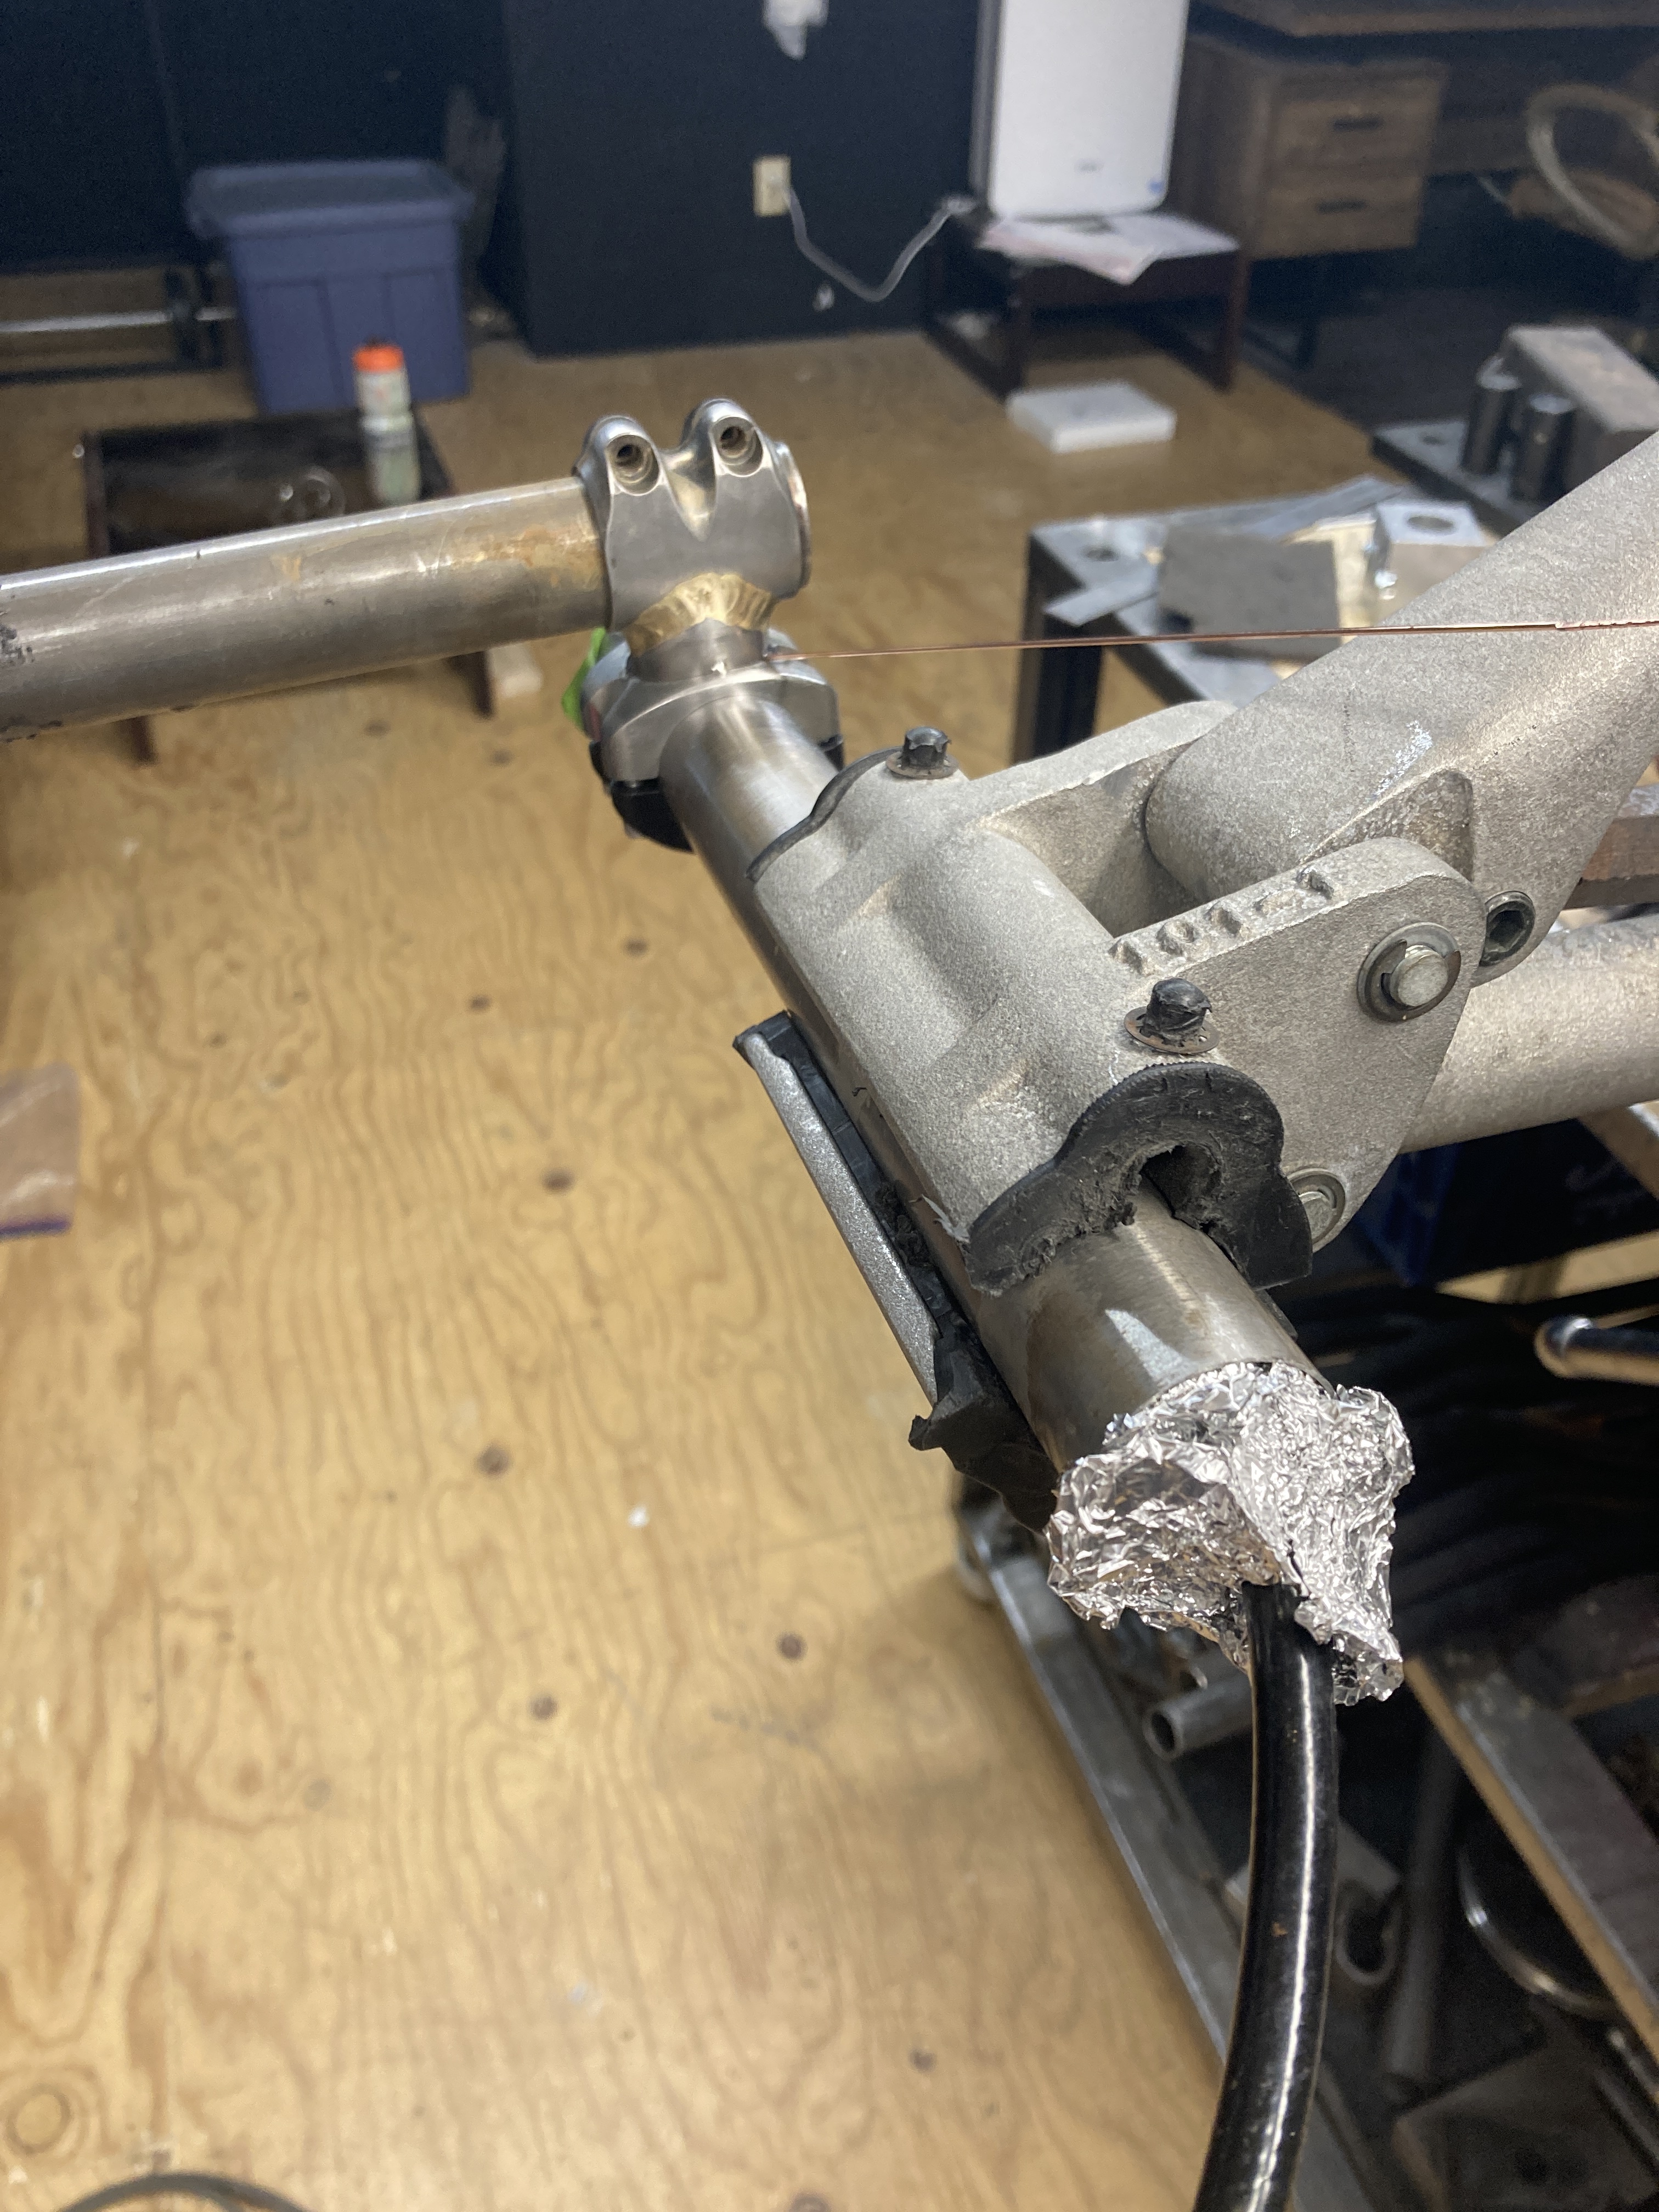
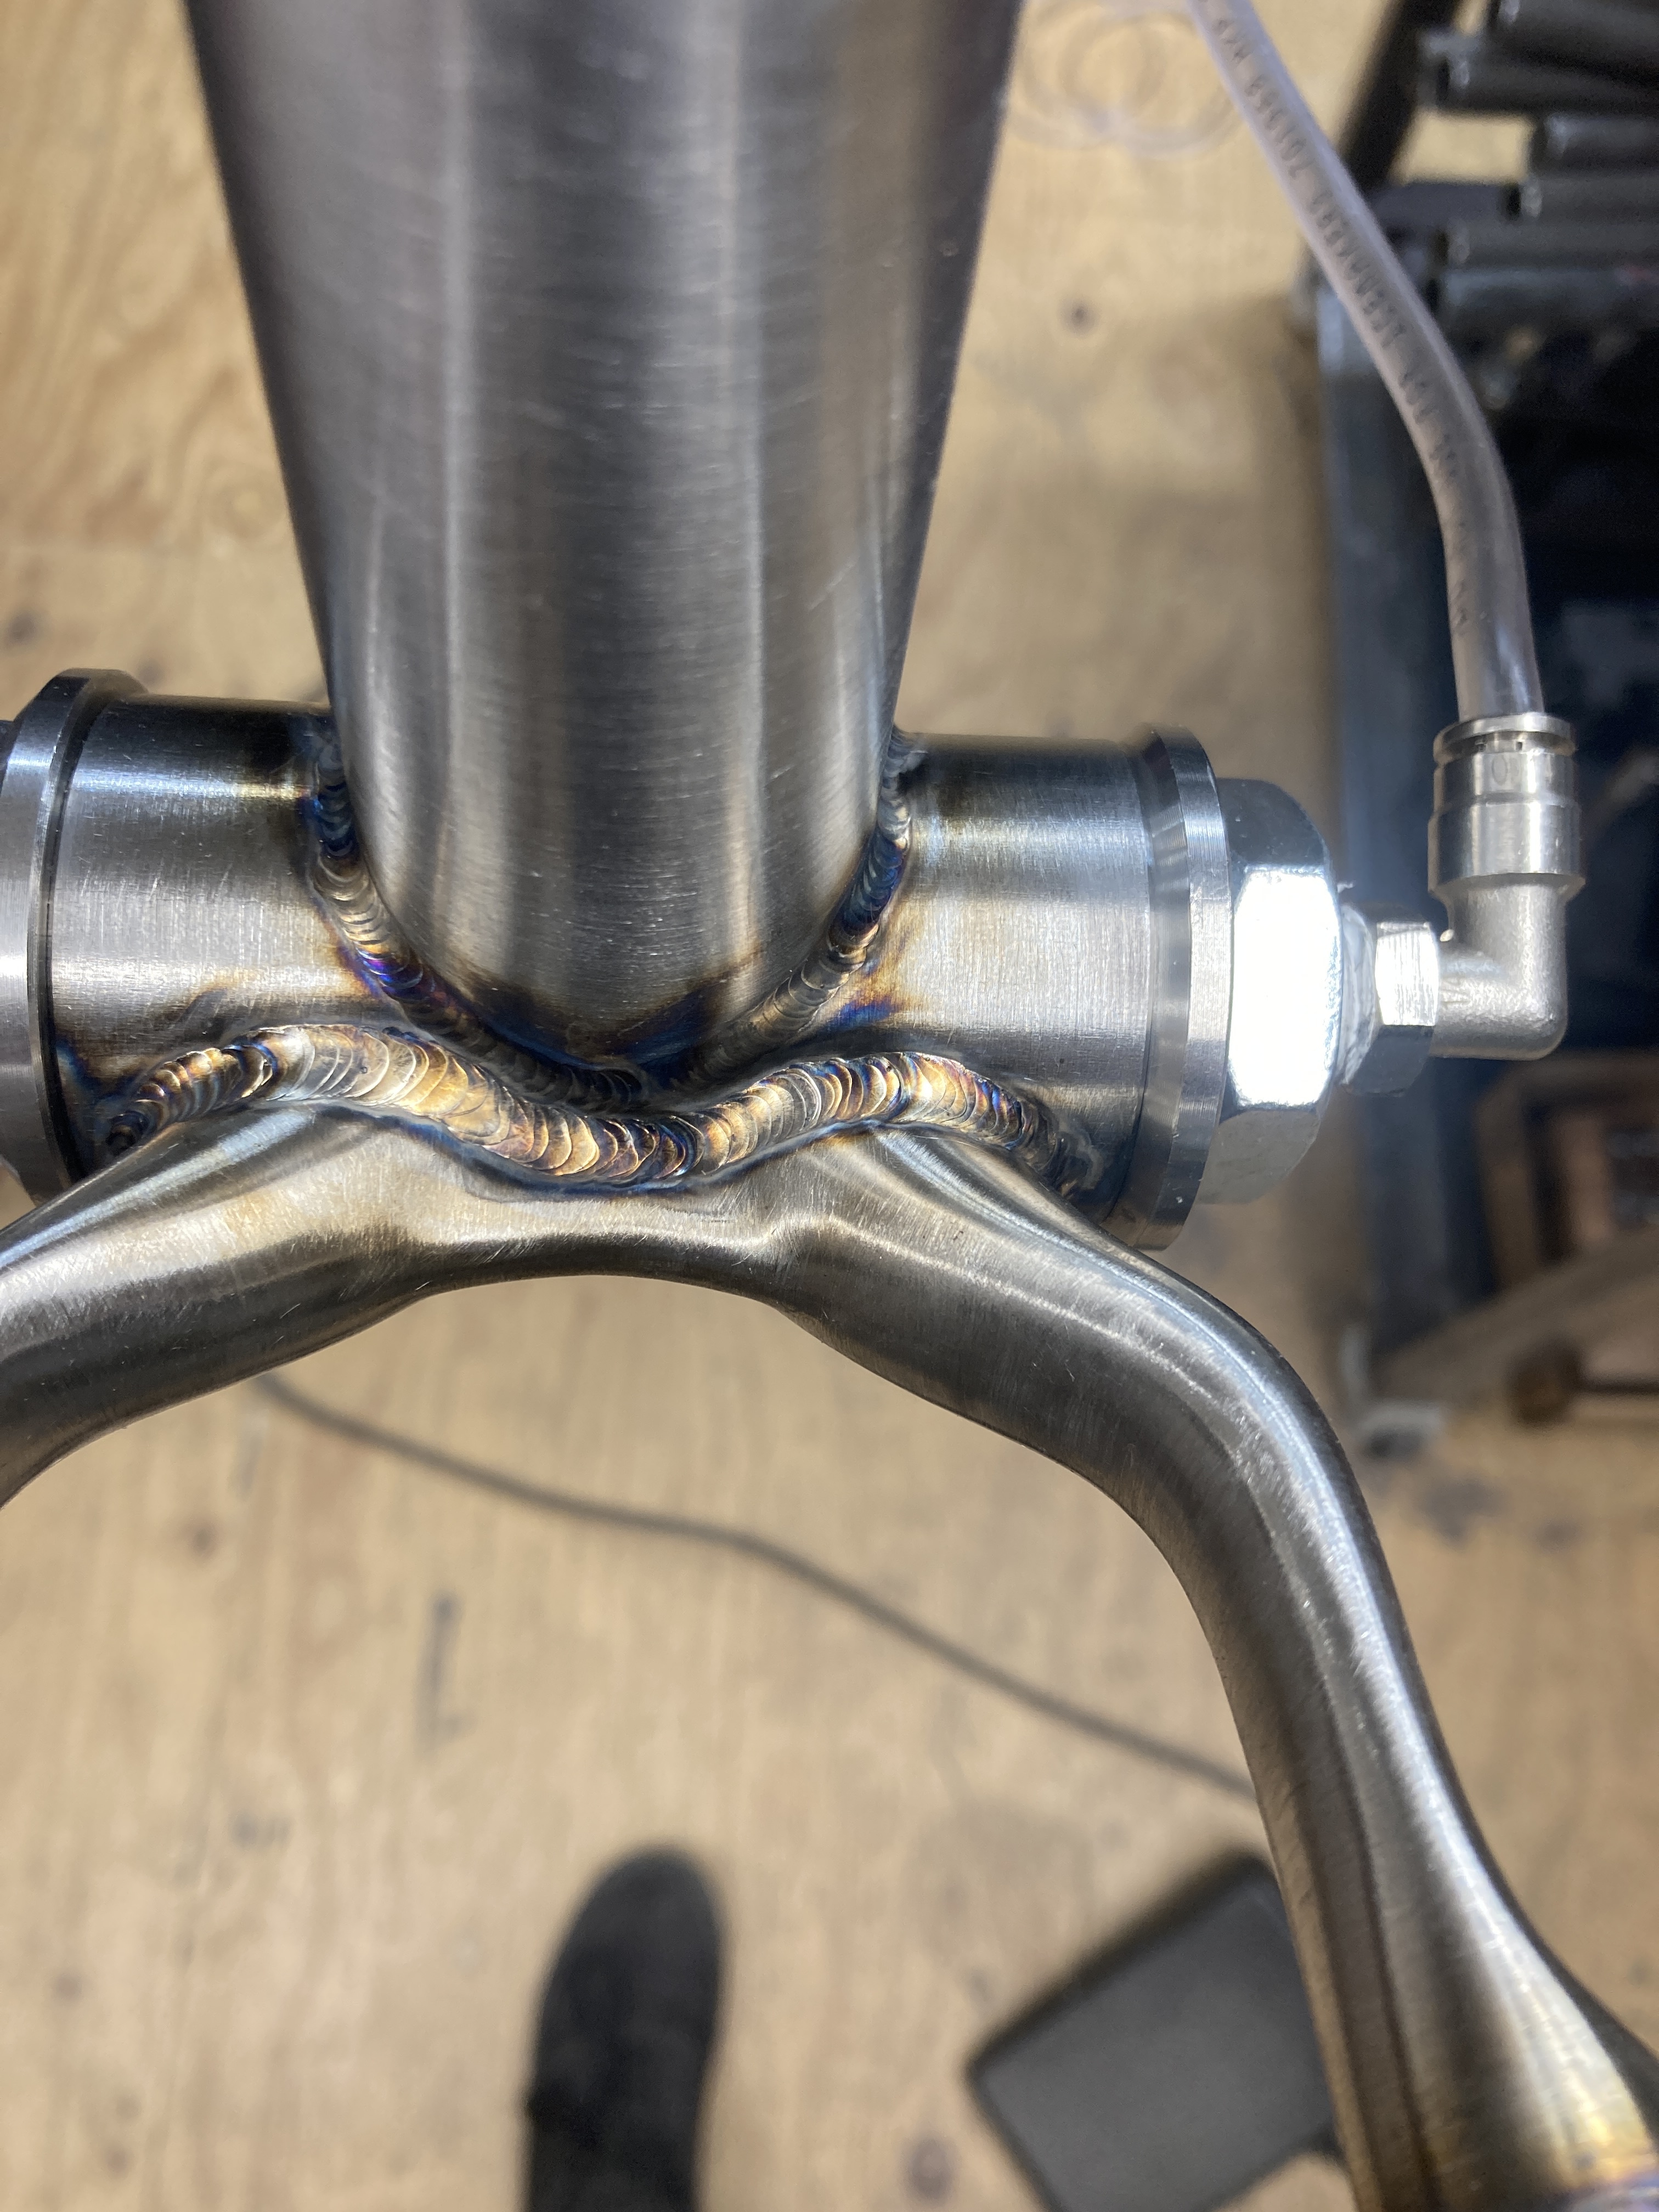
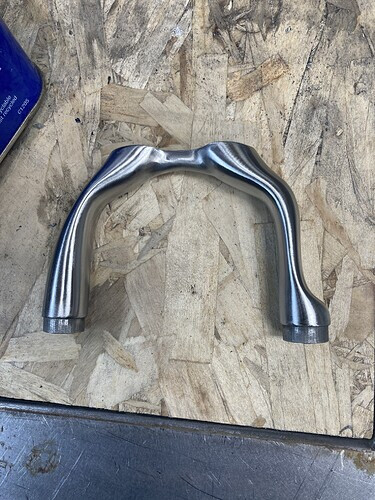
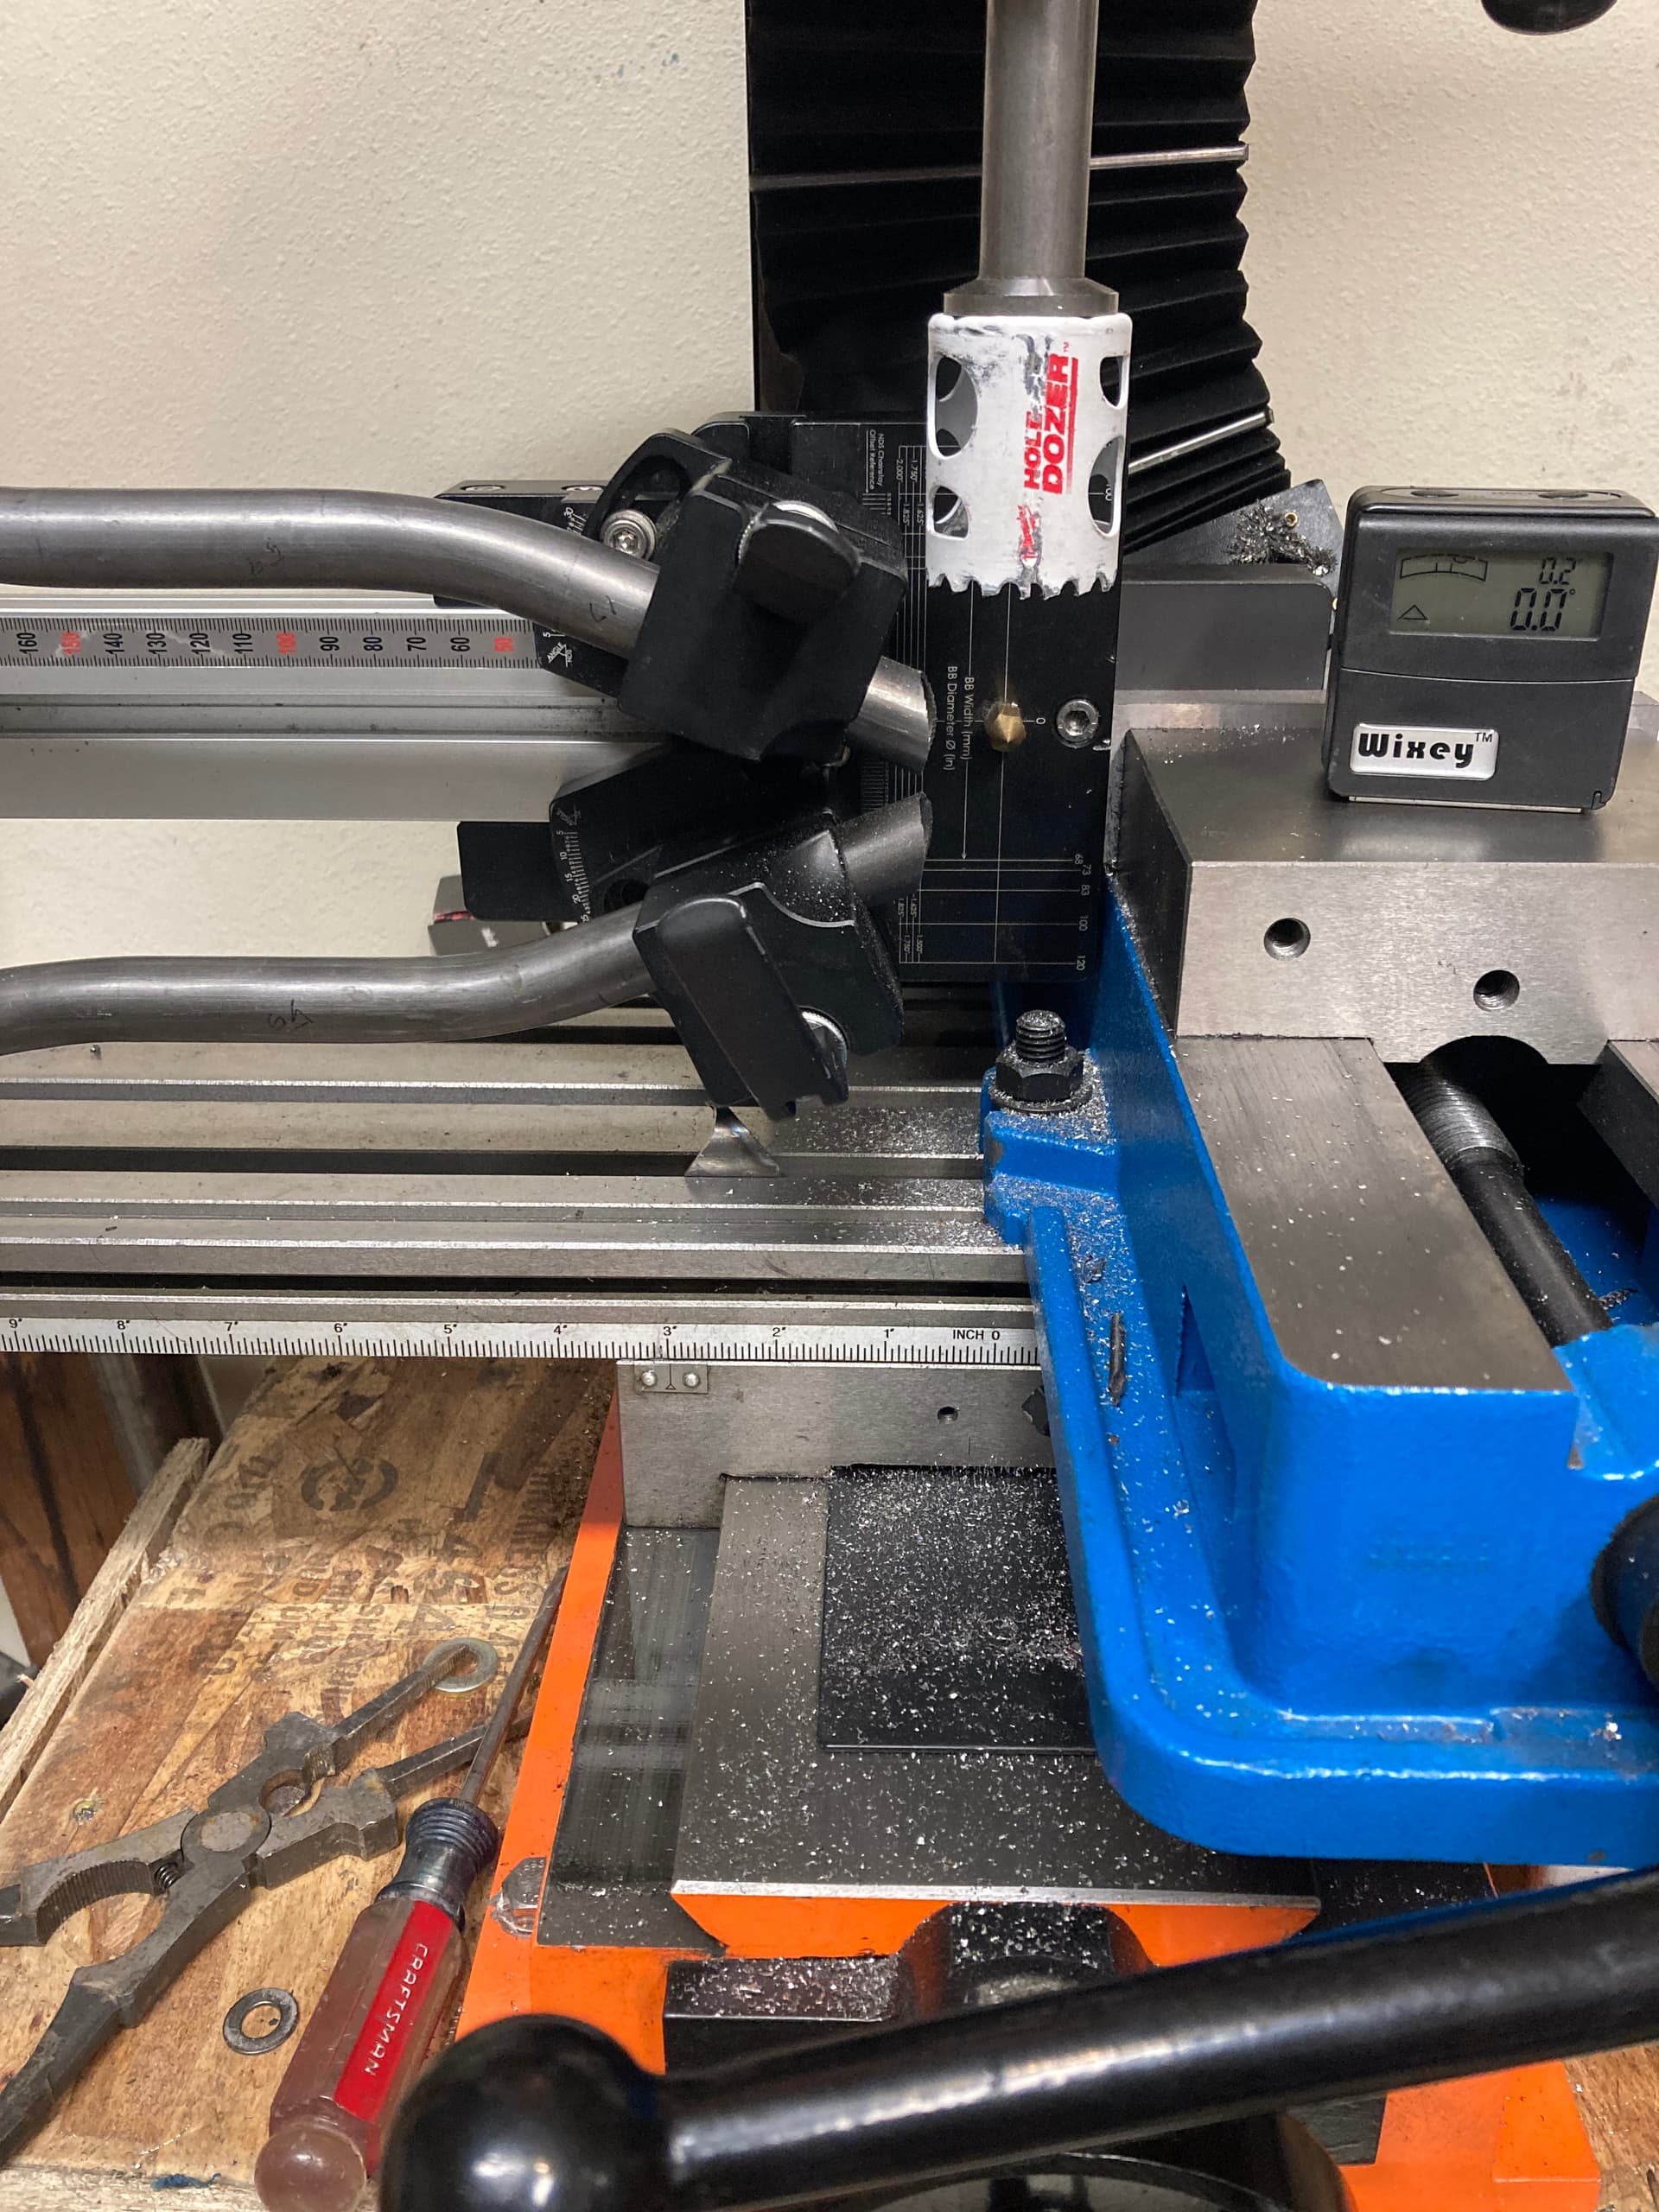
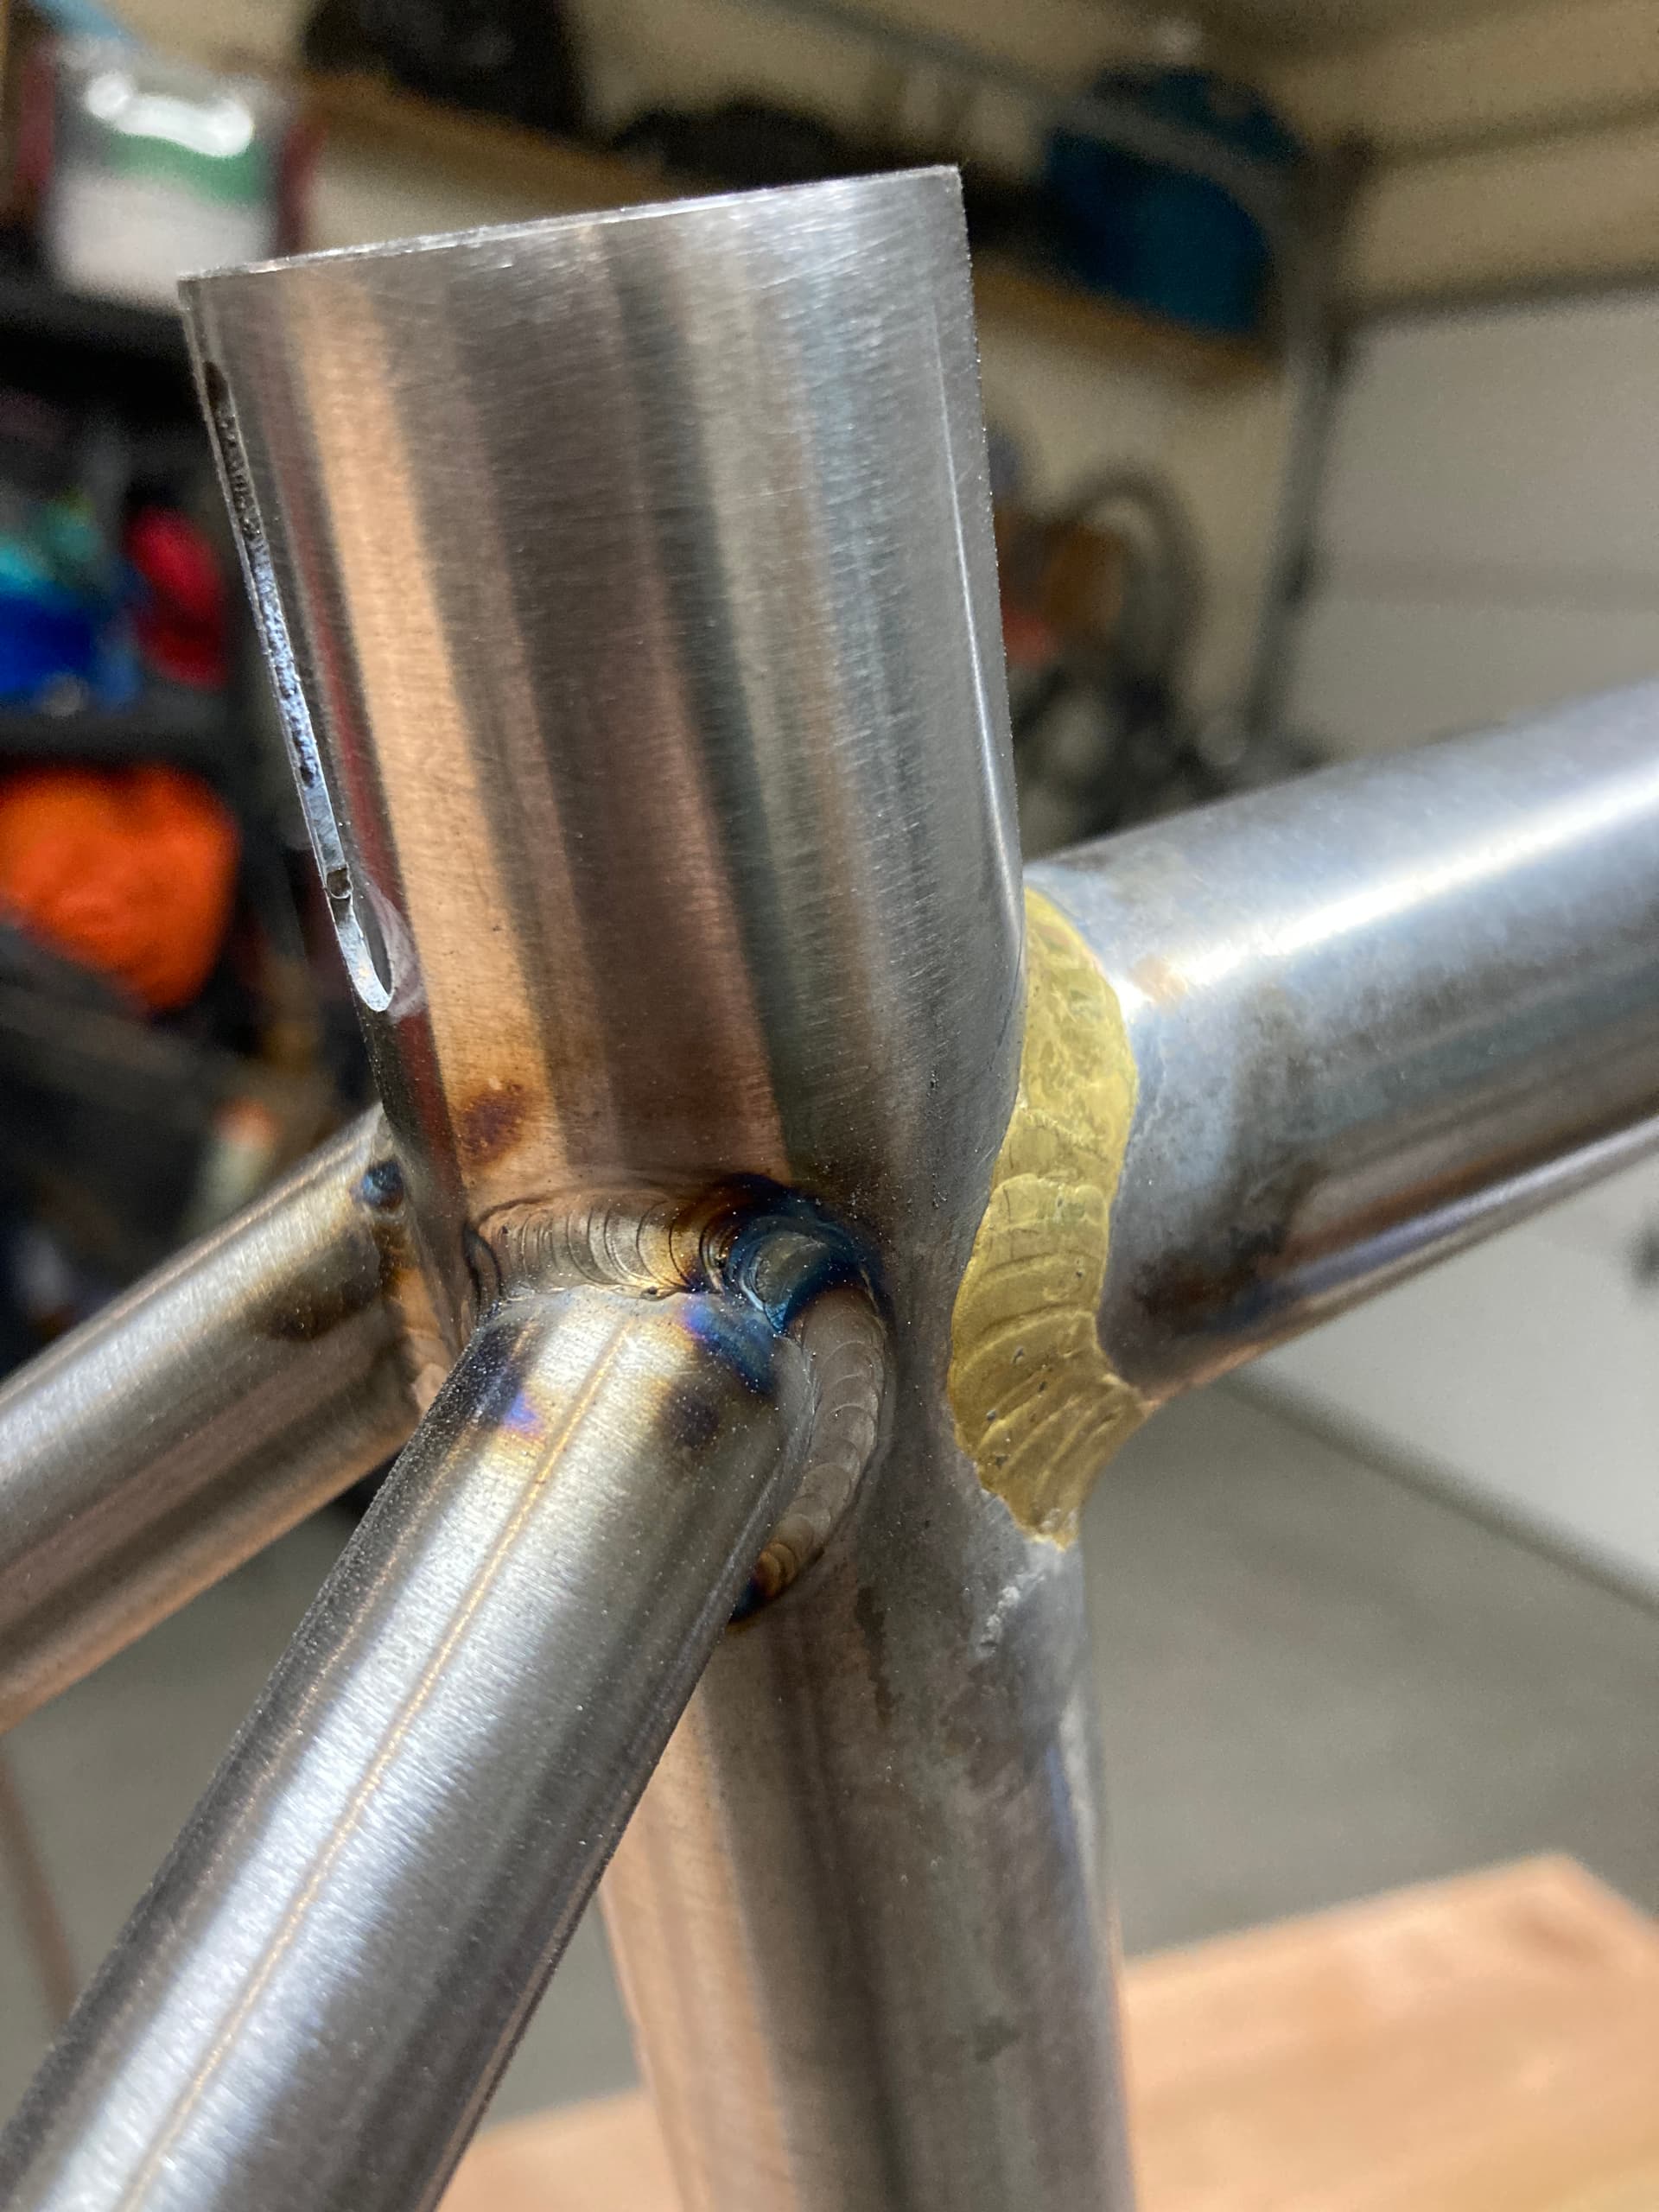
Adding CS

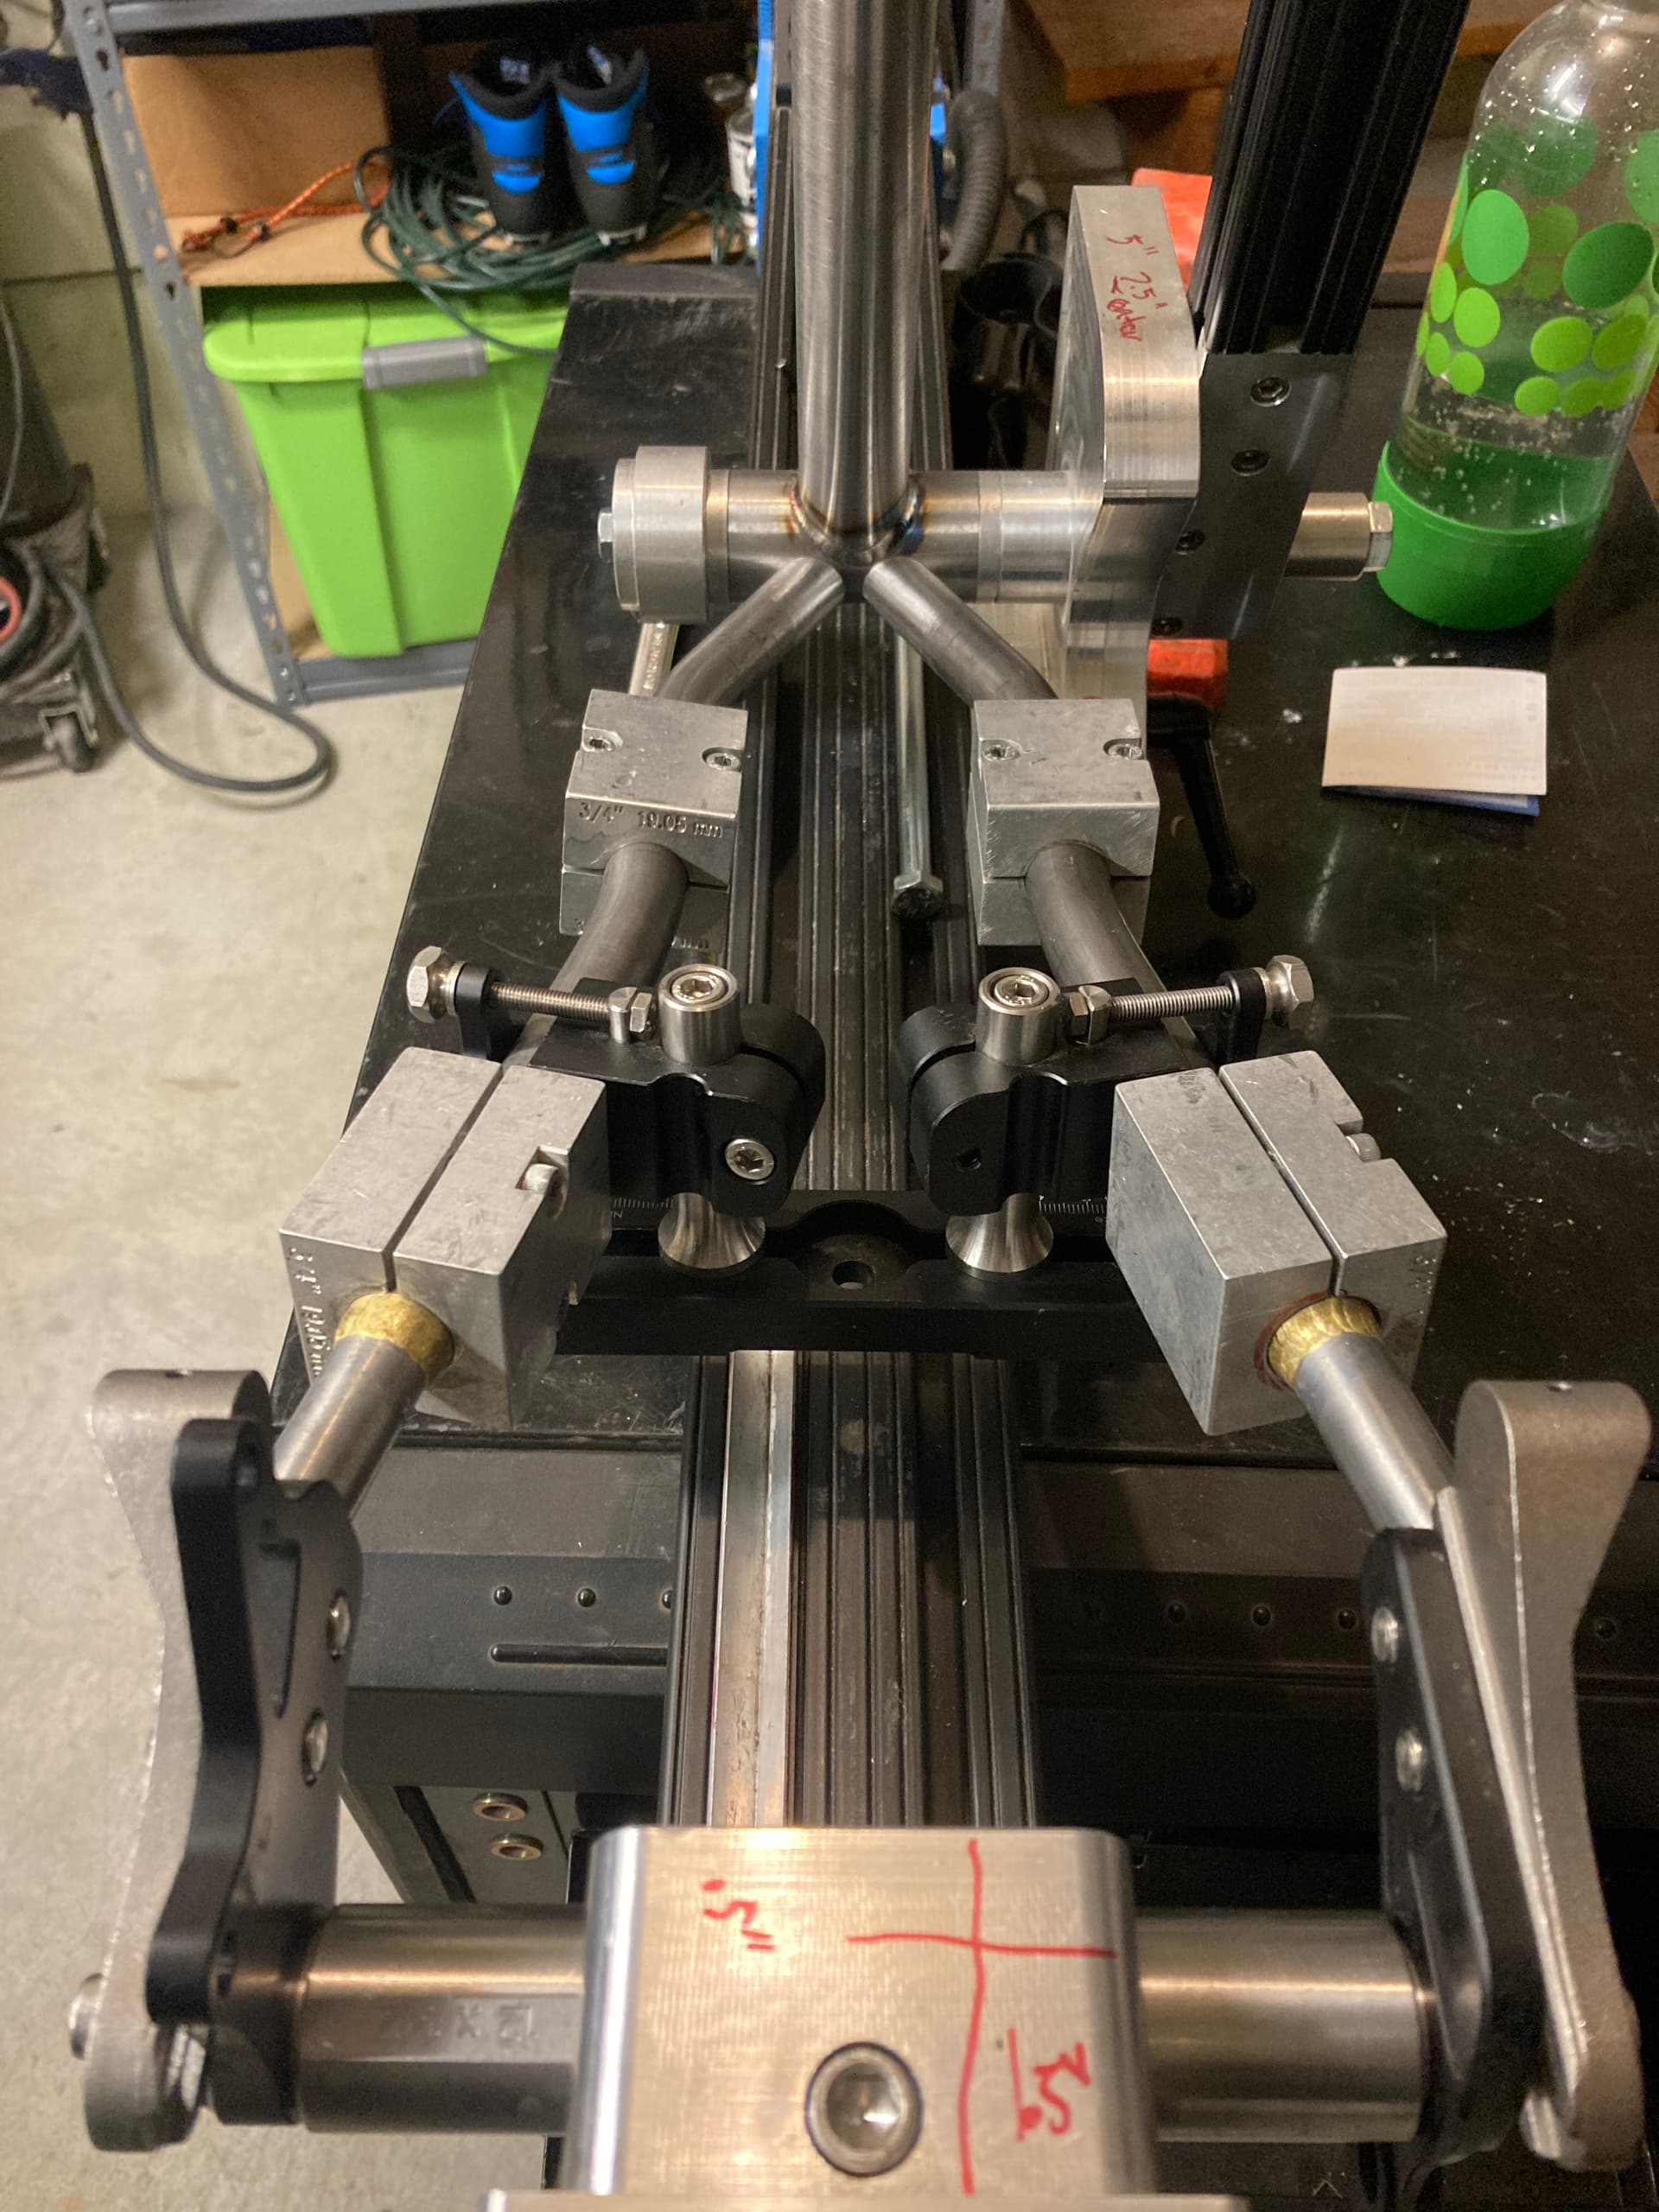
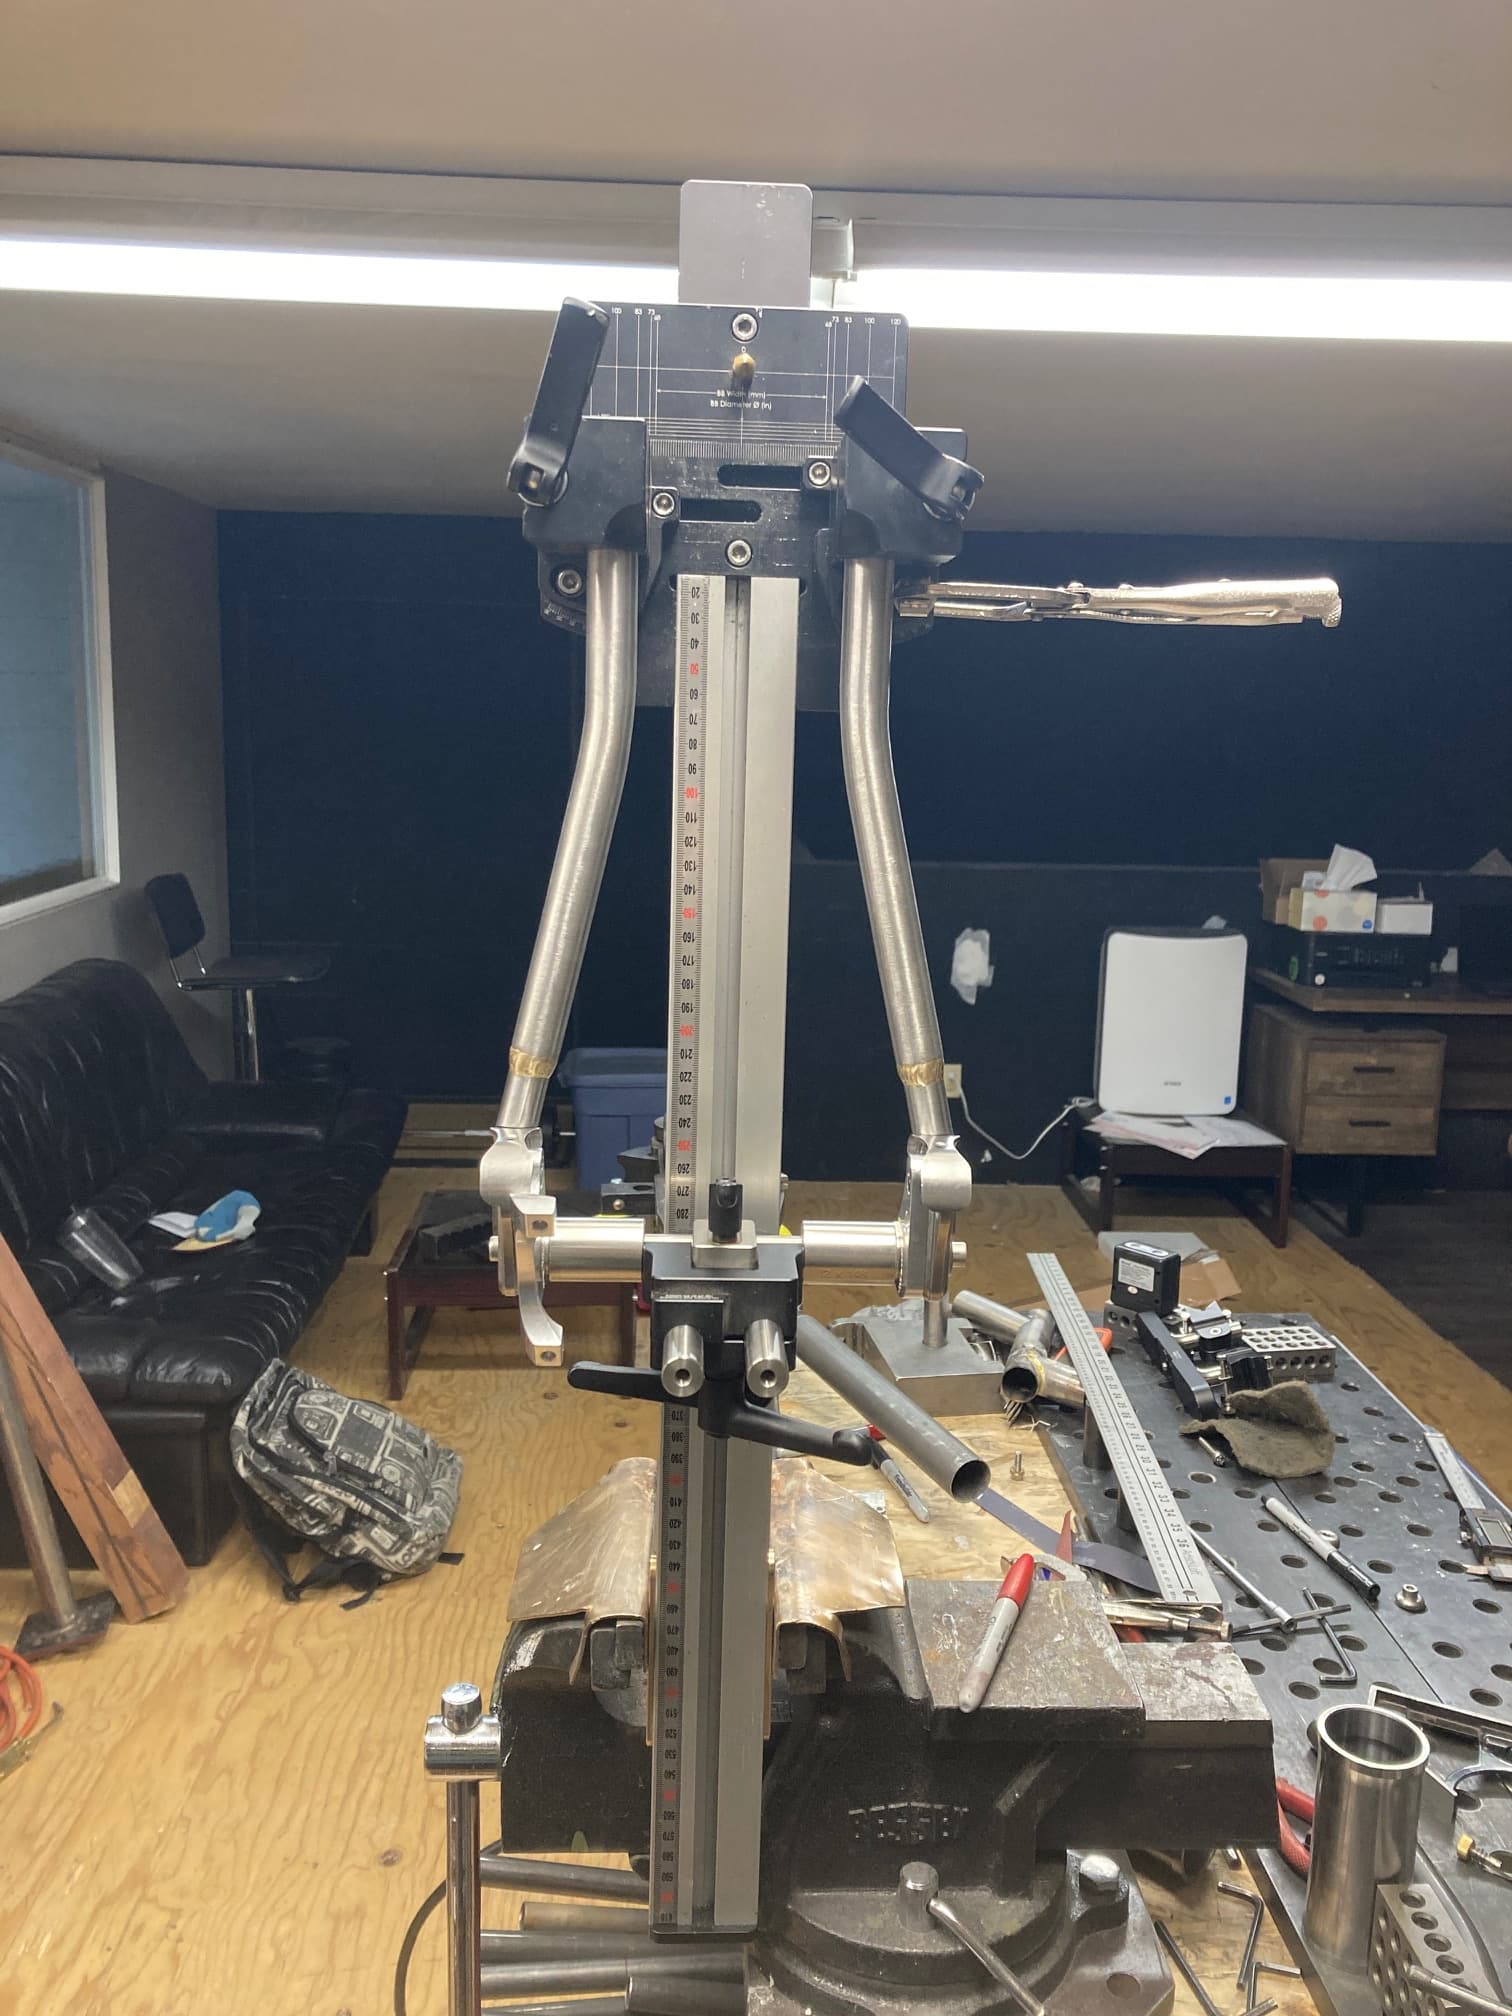
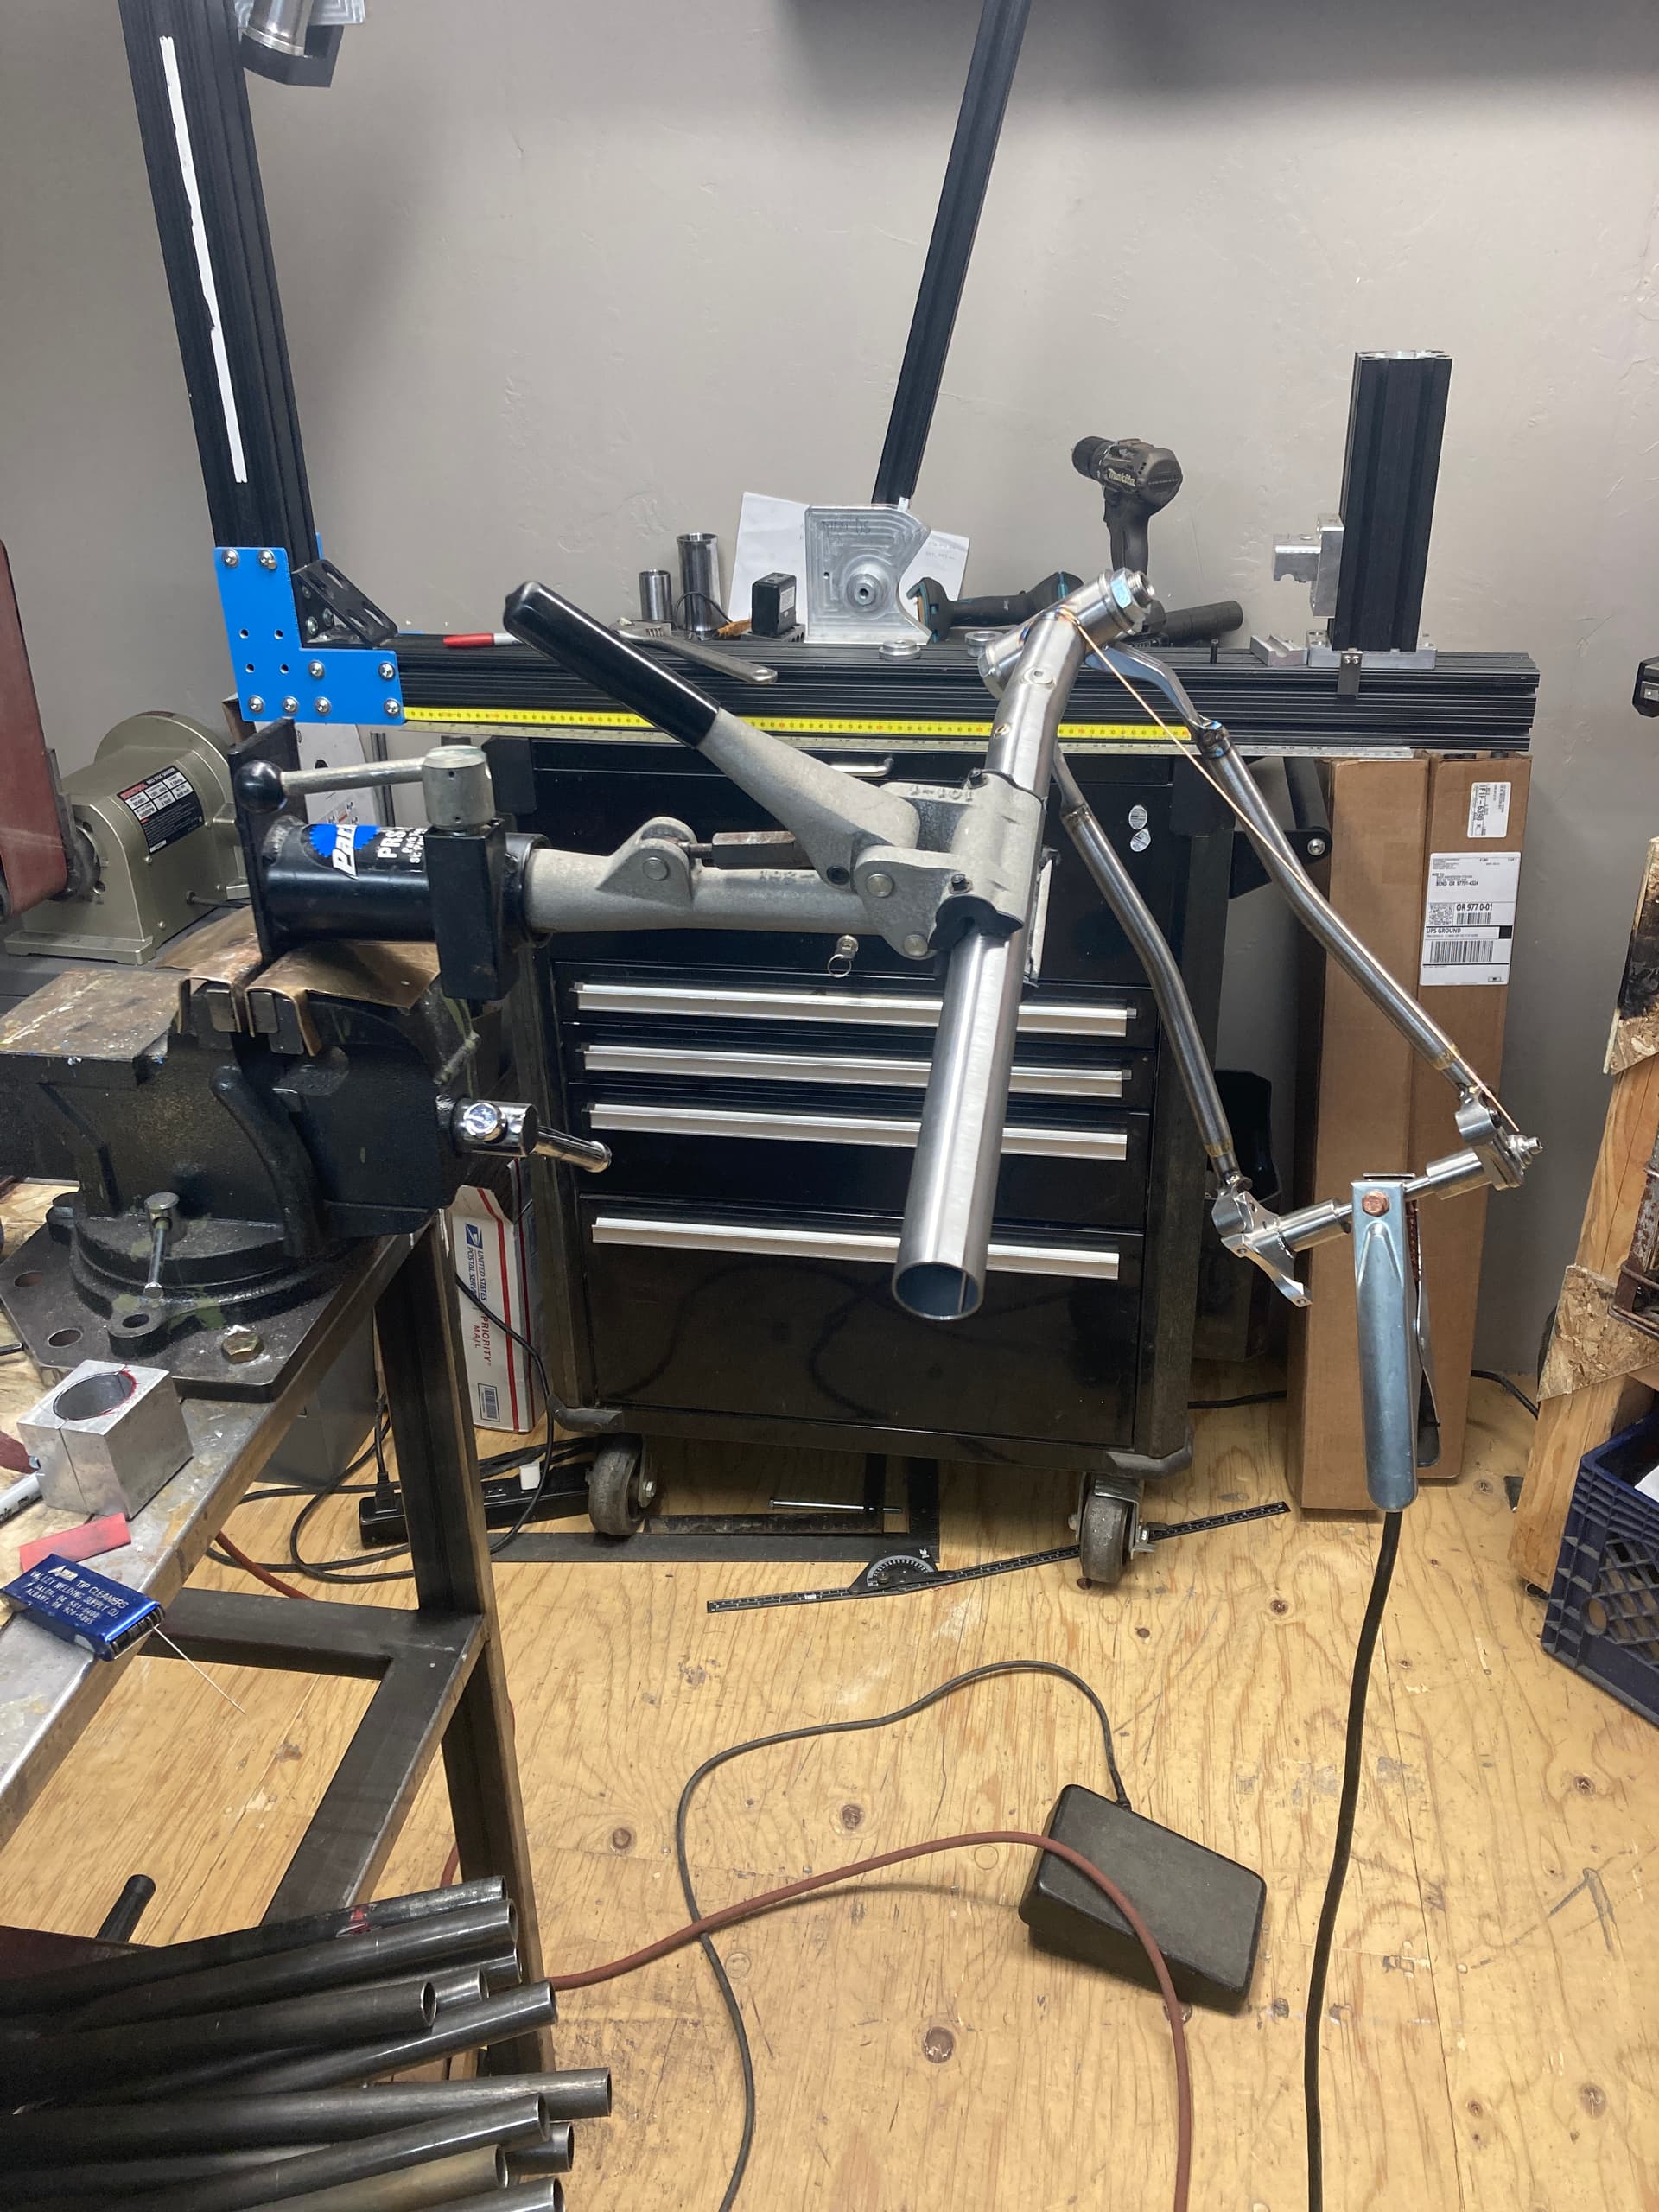
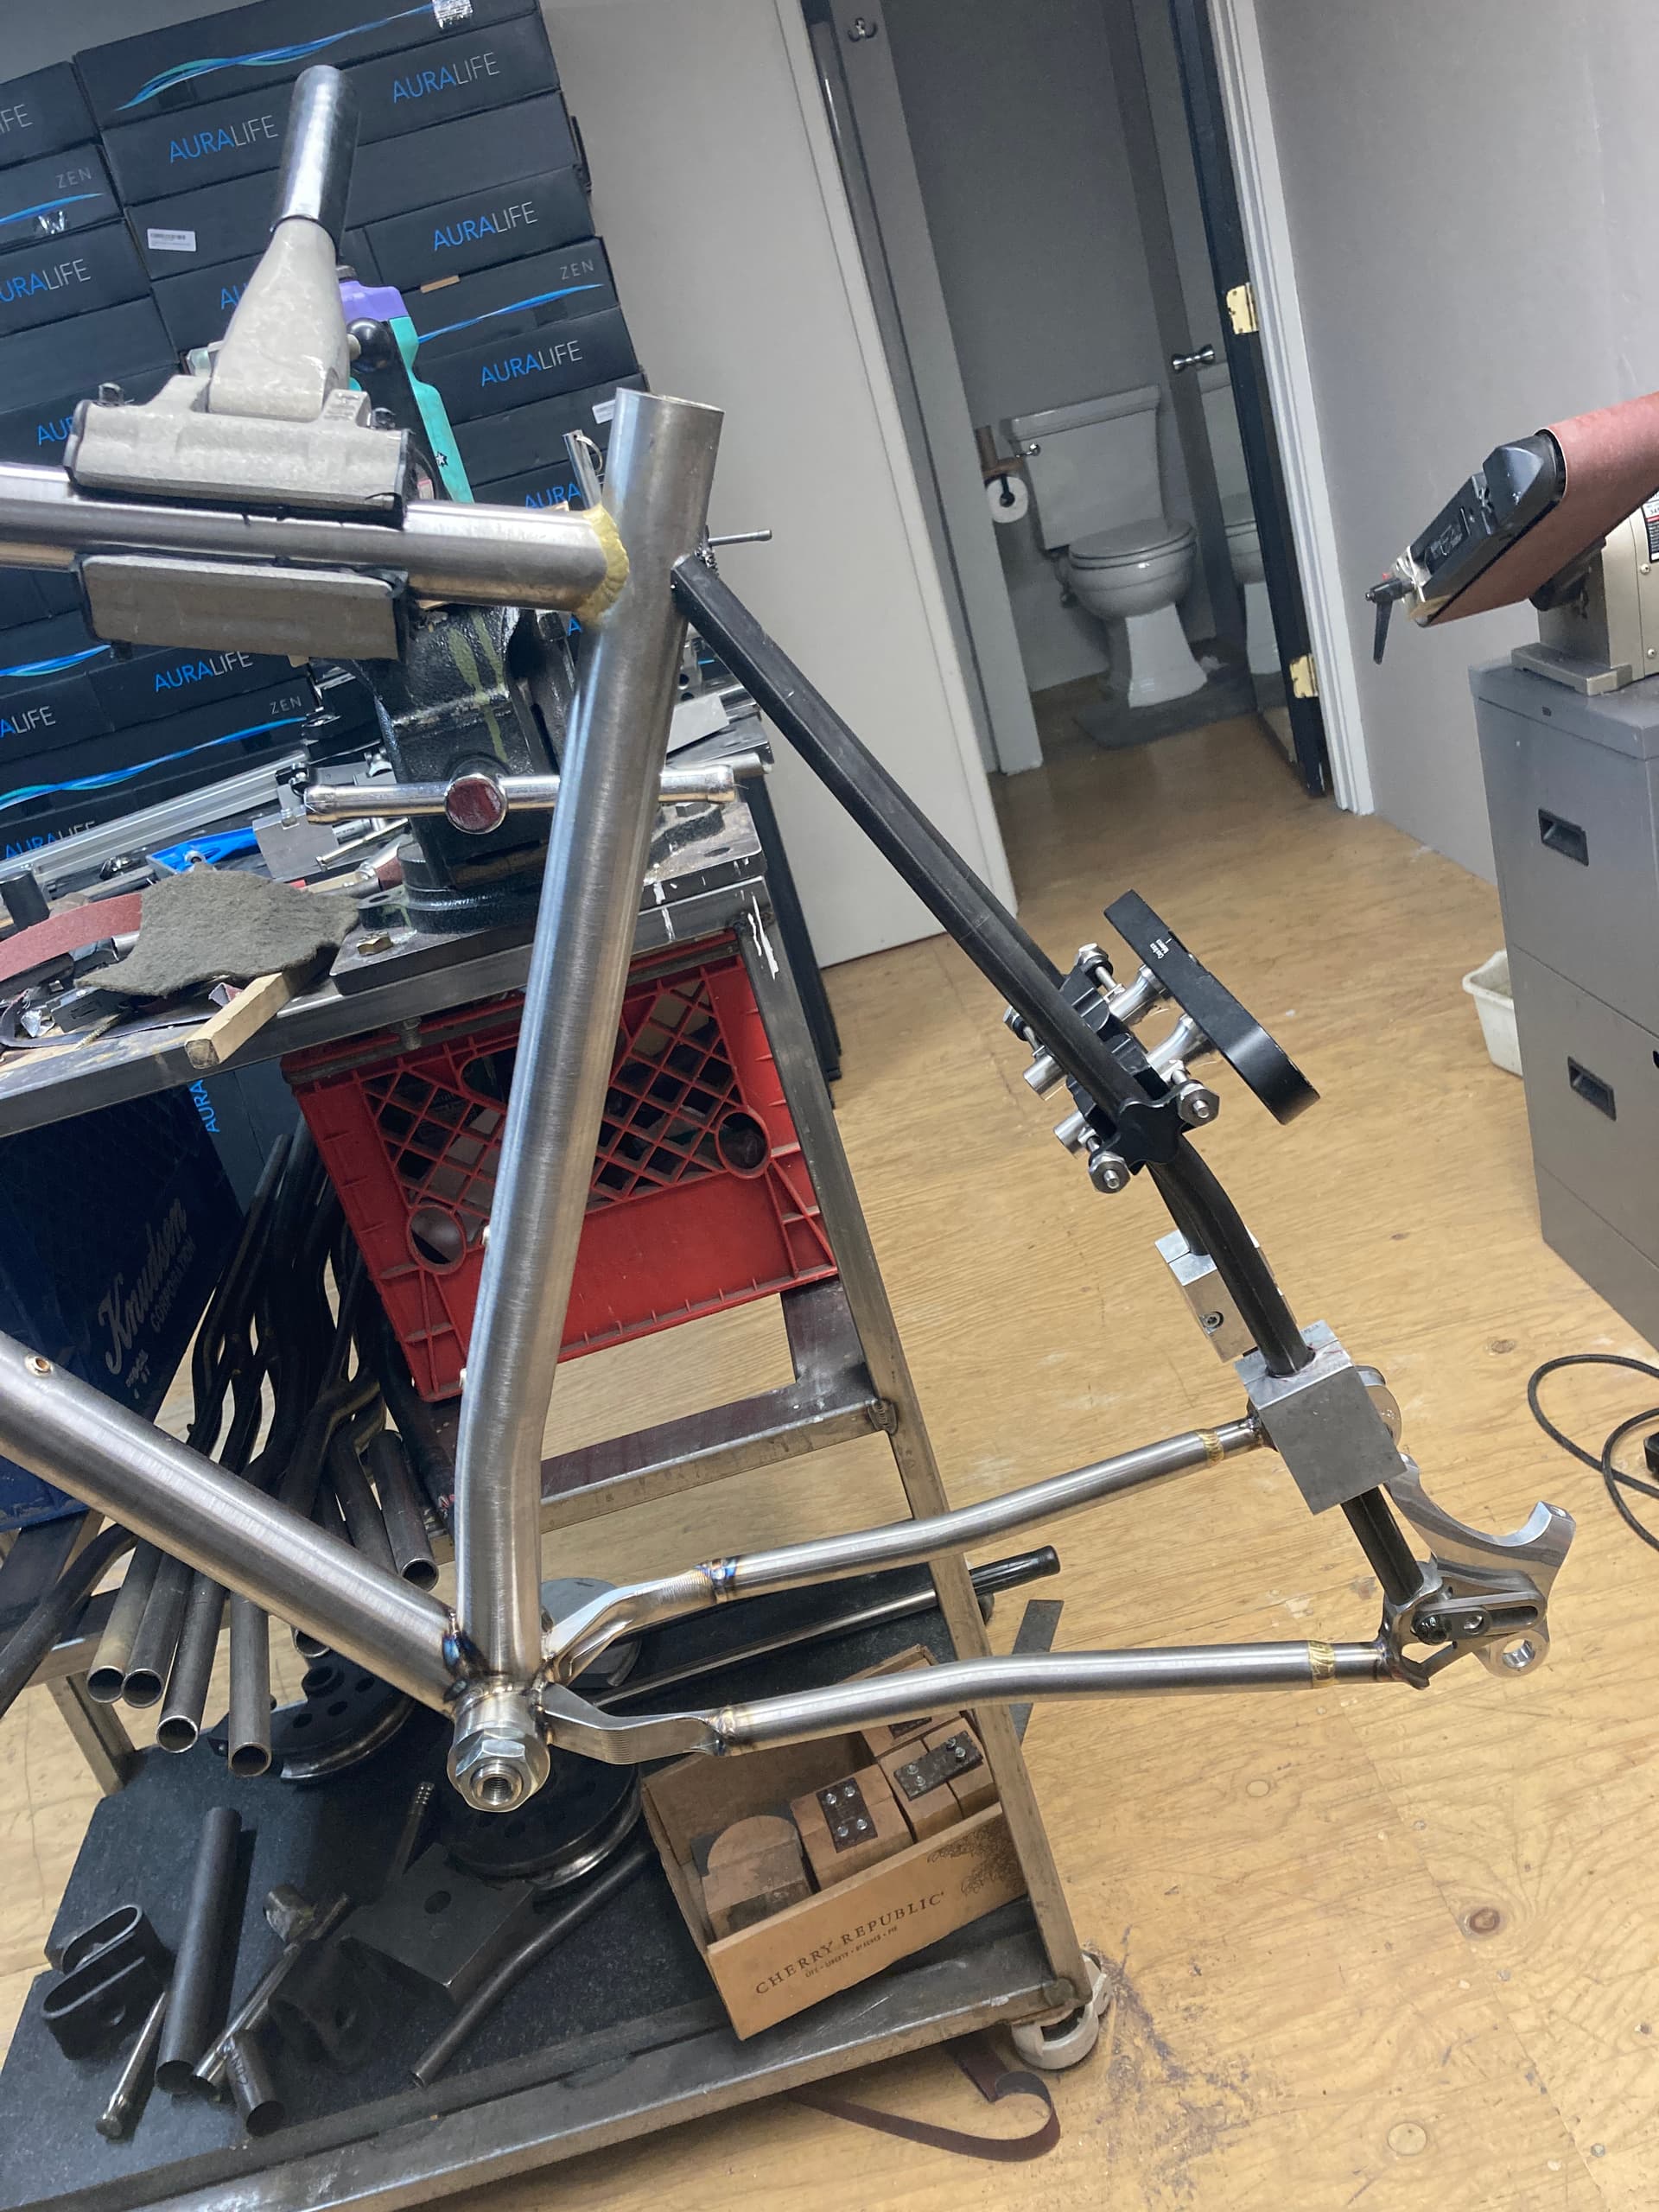
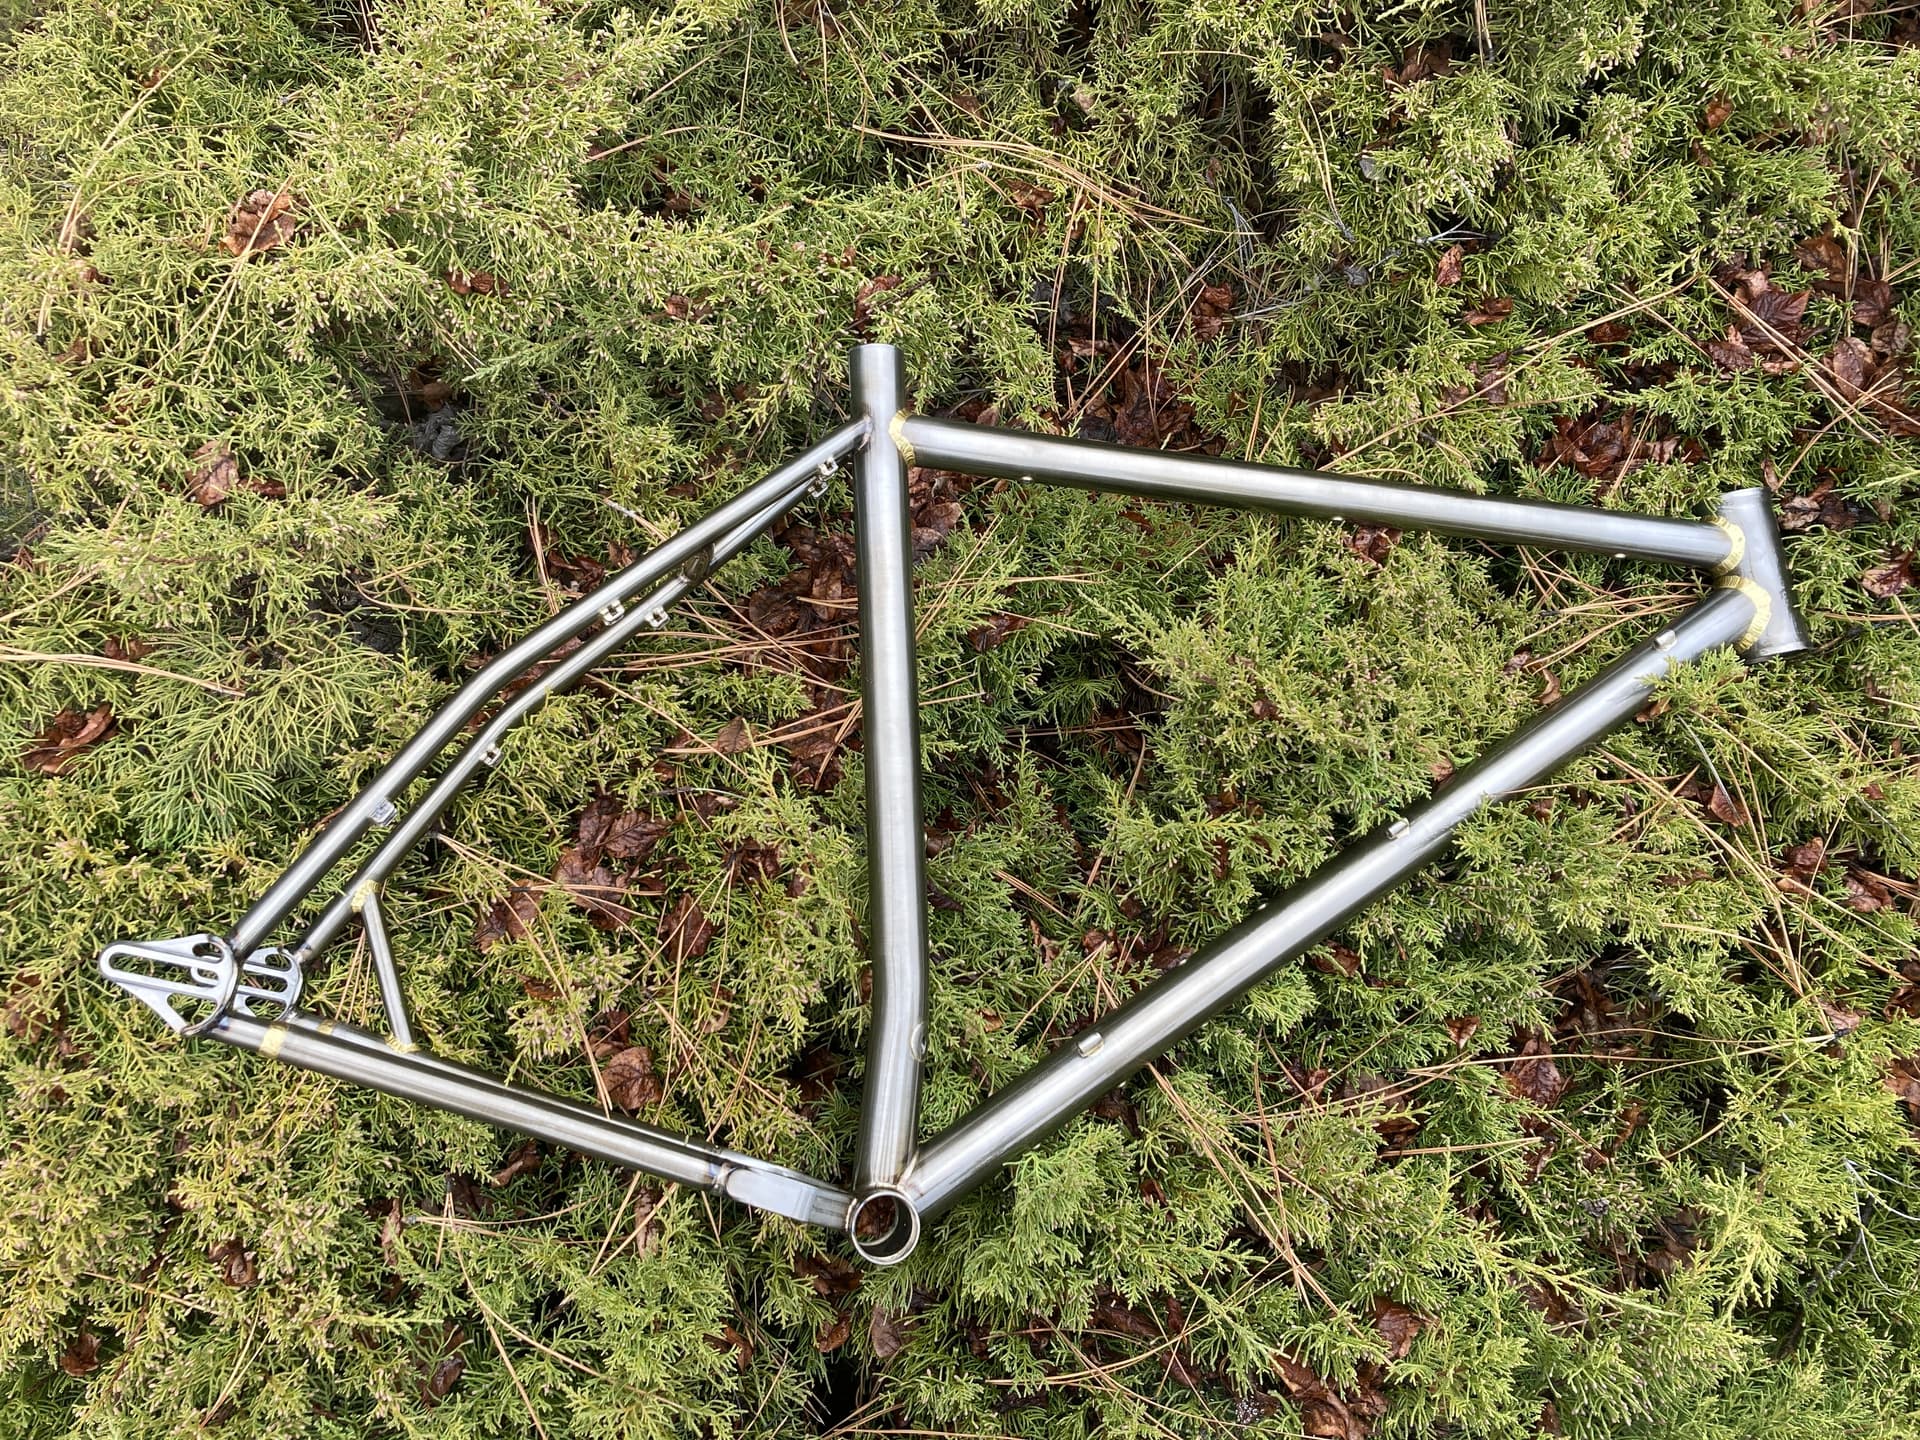
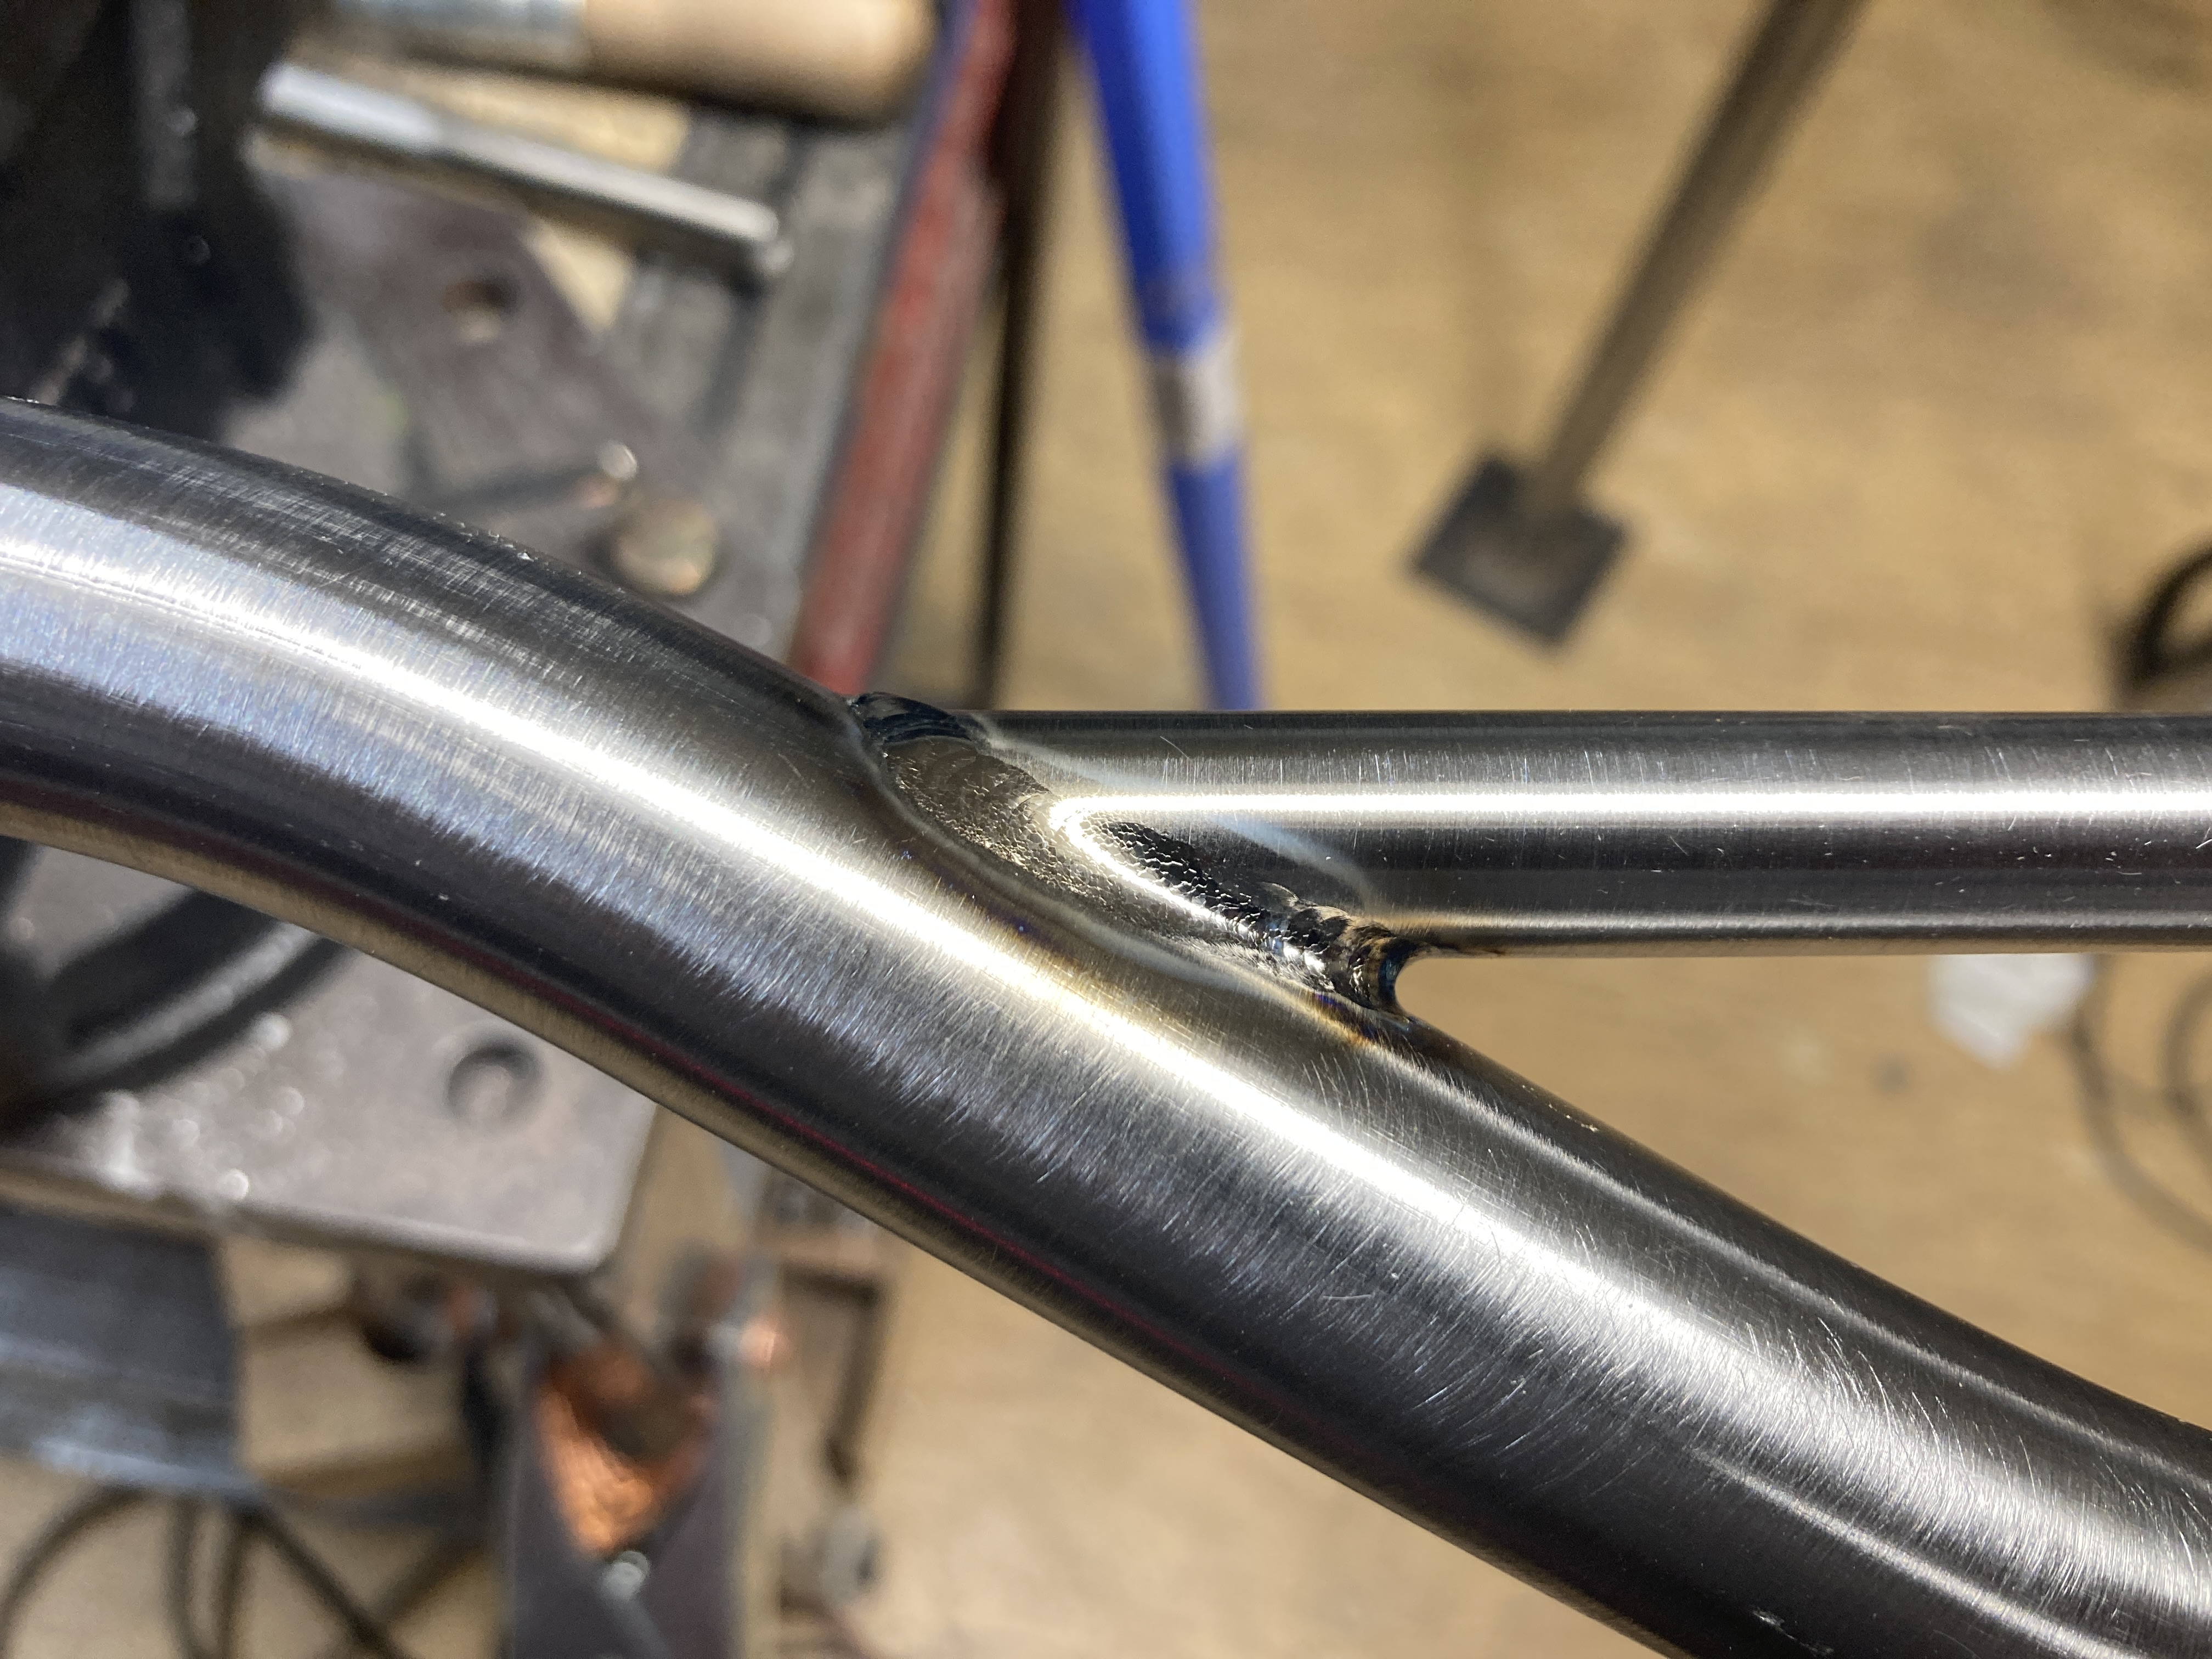
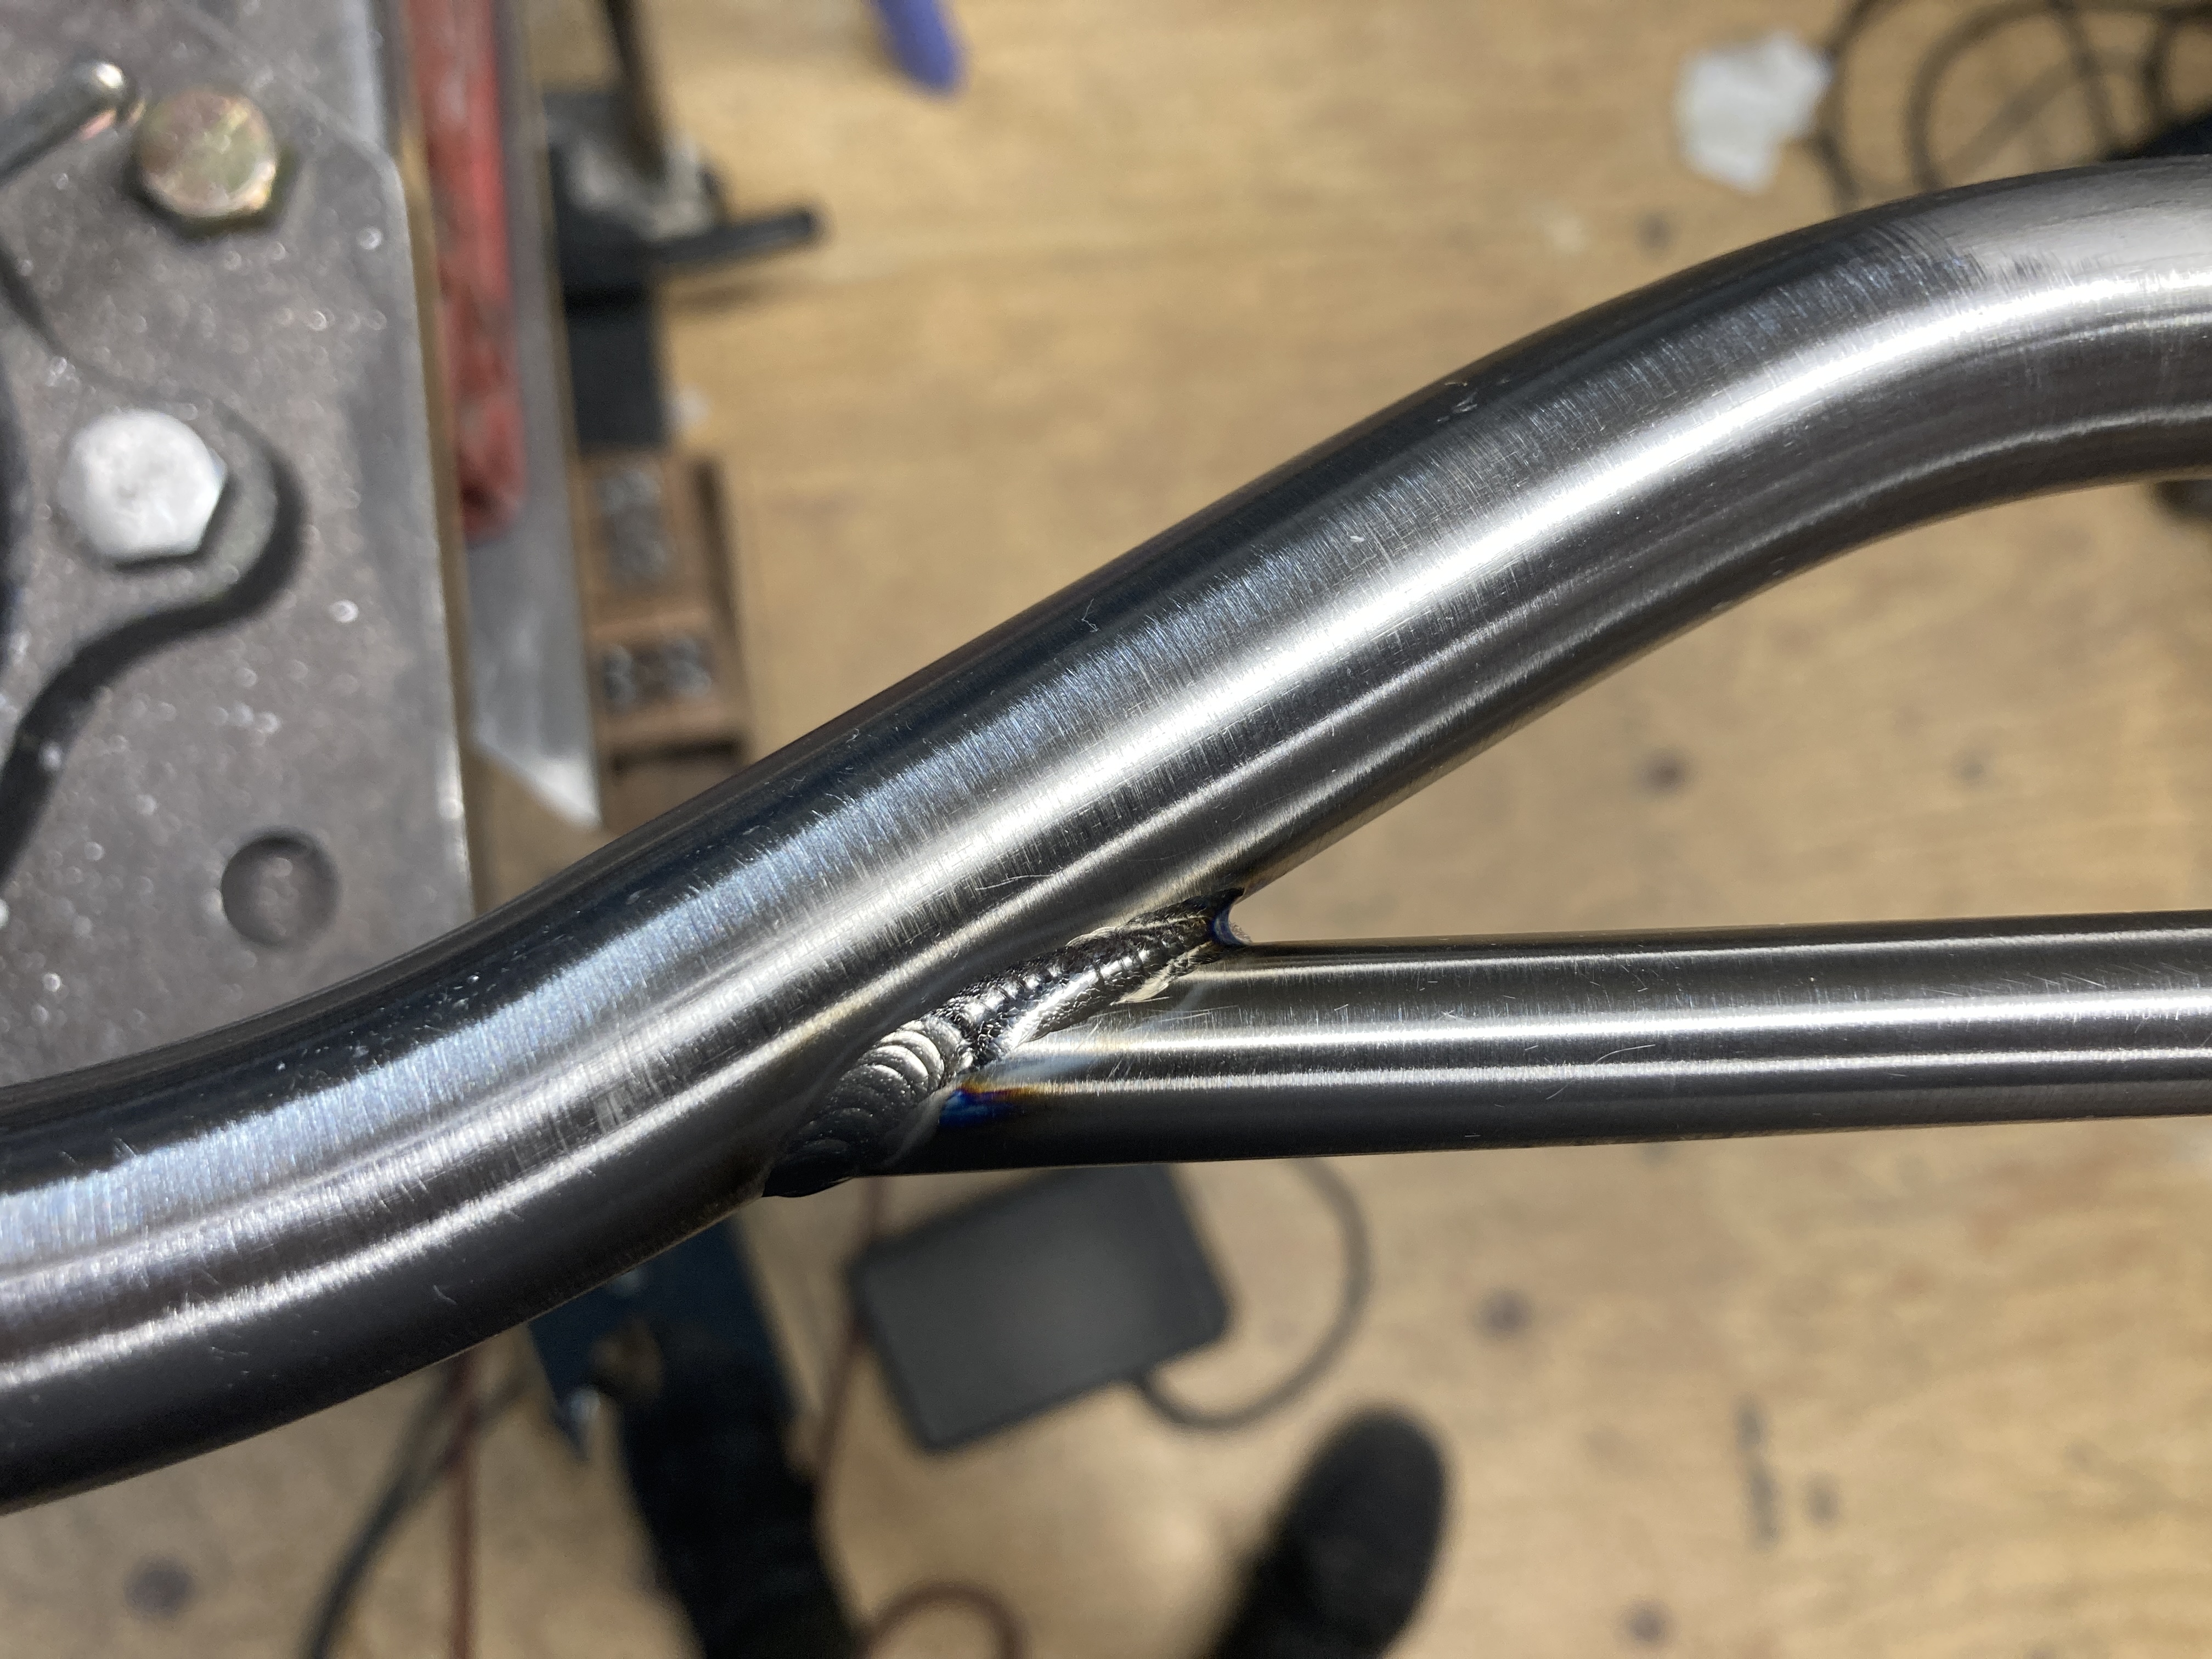
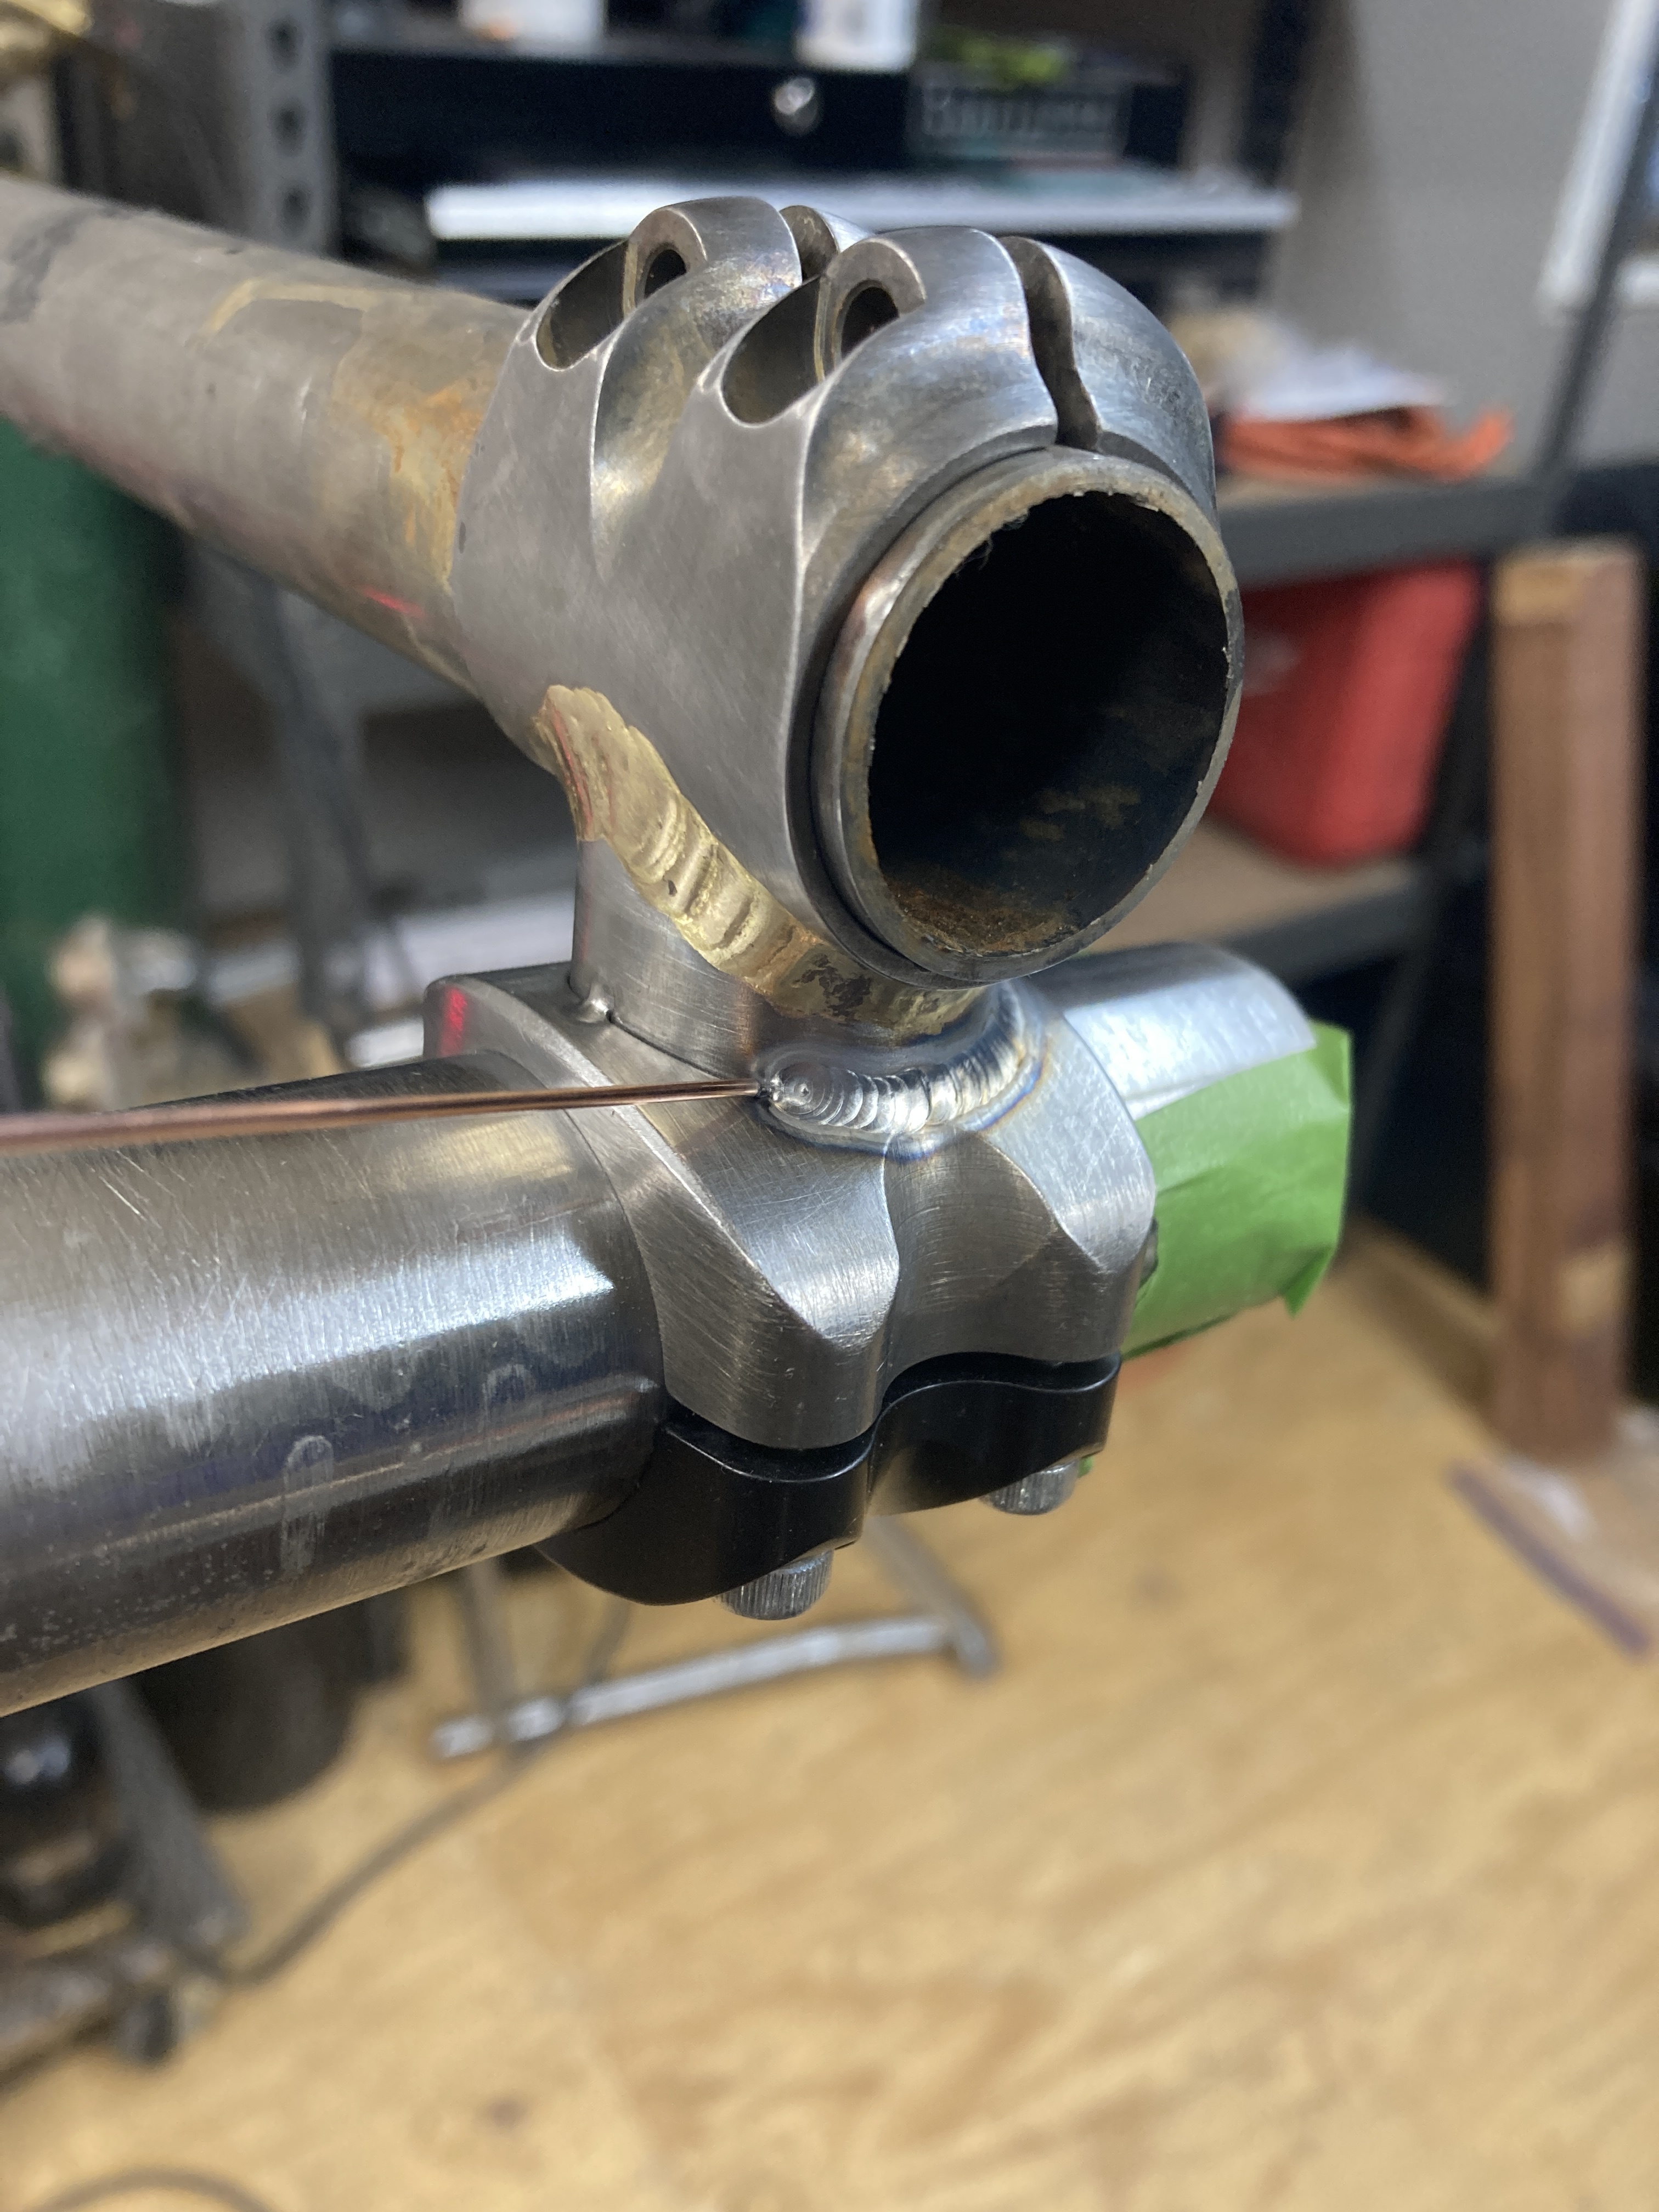
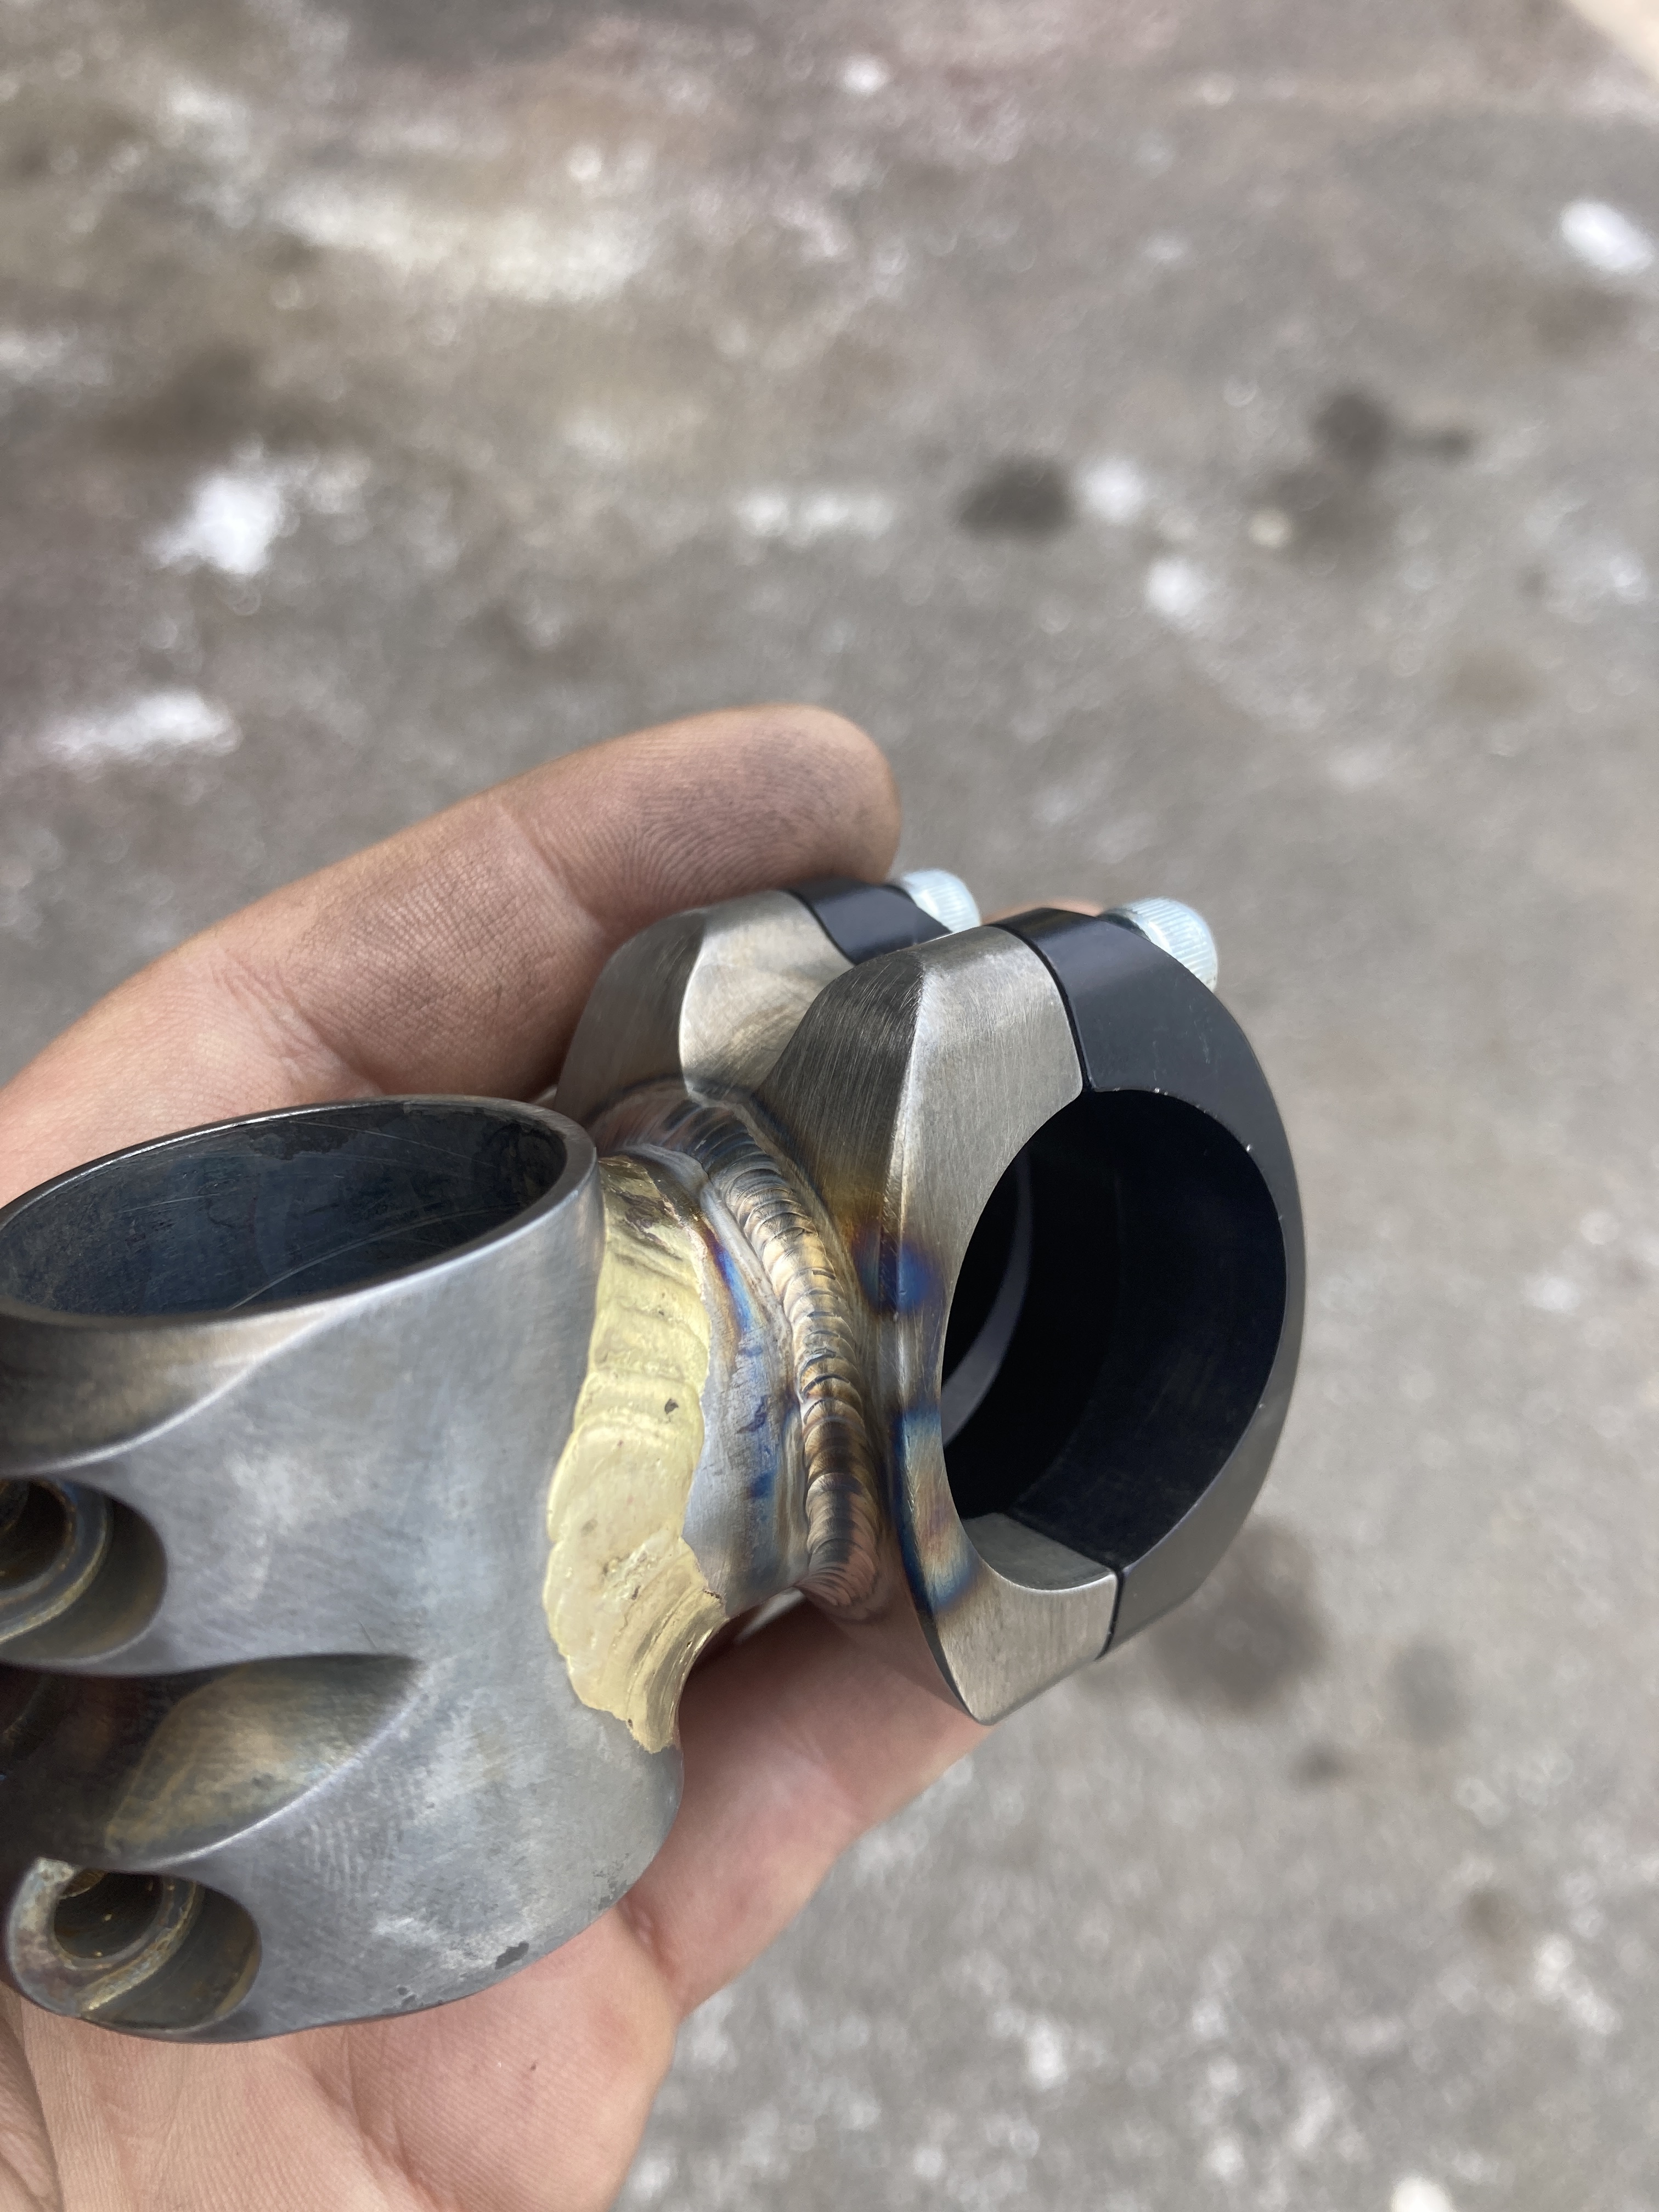
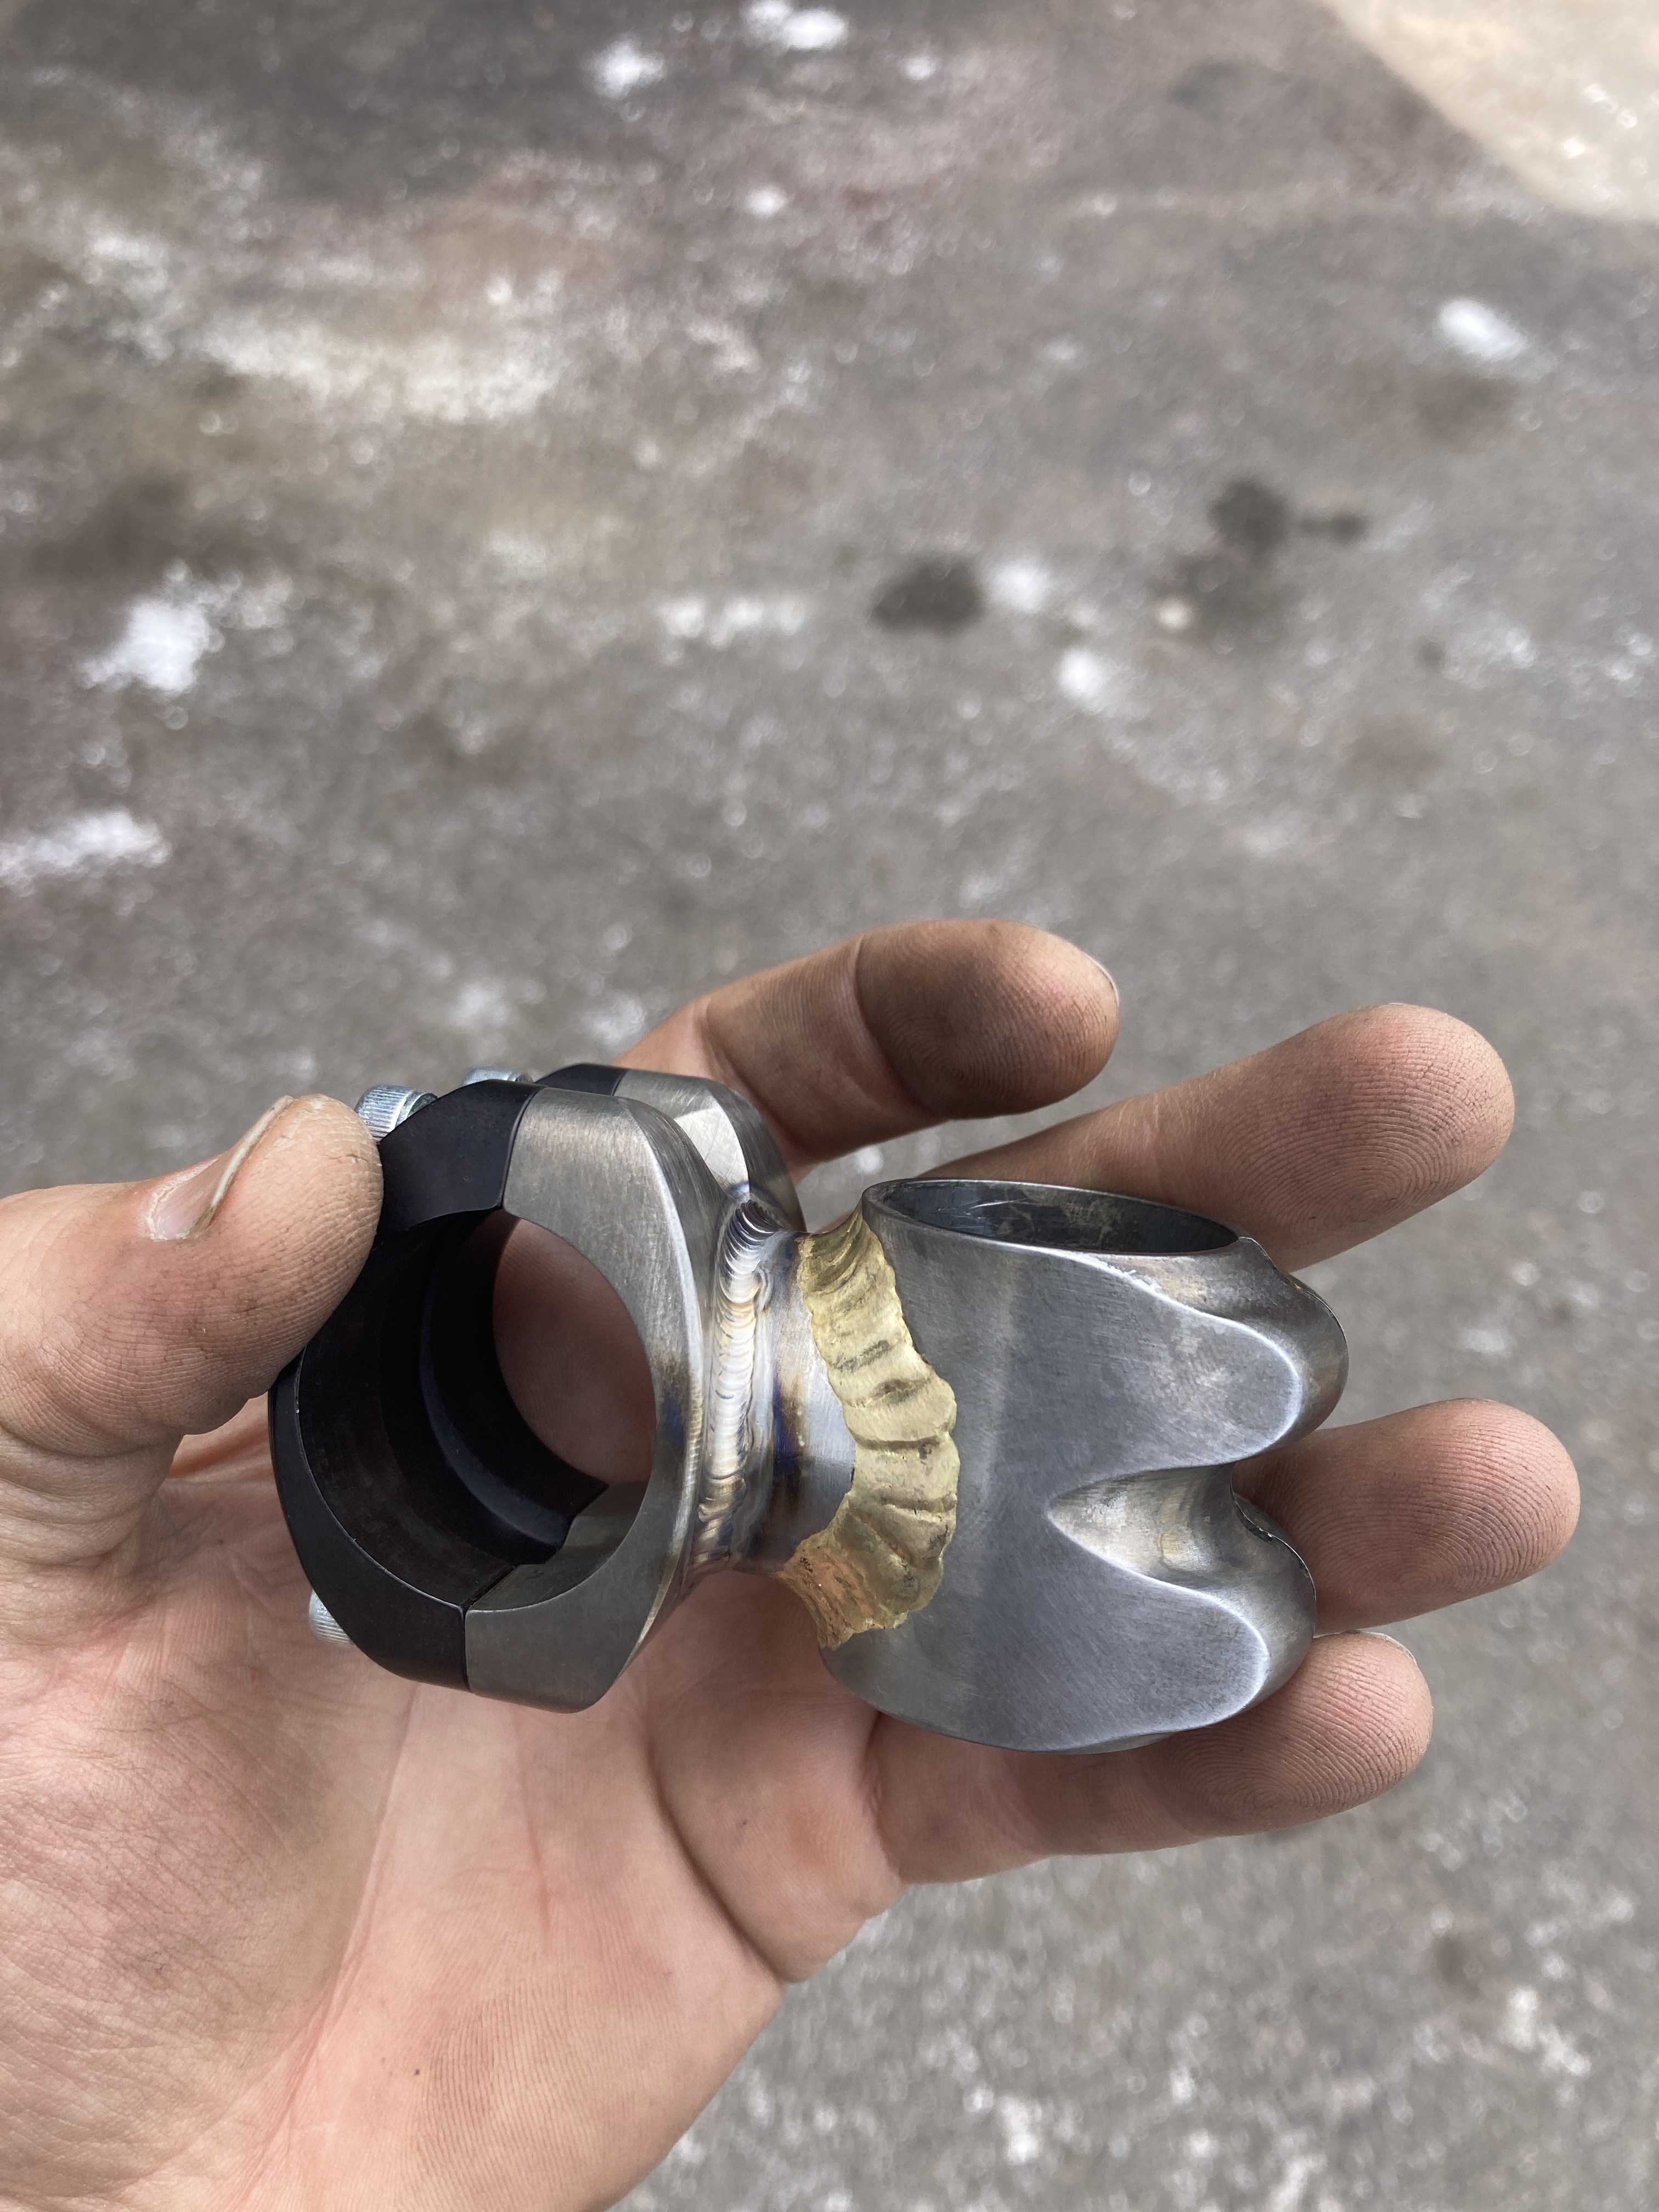
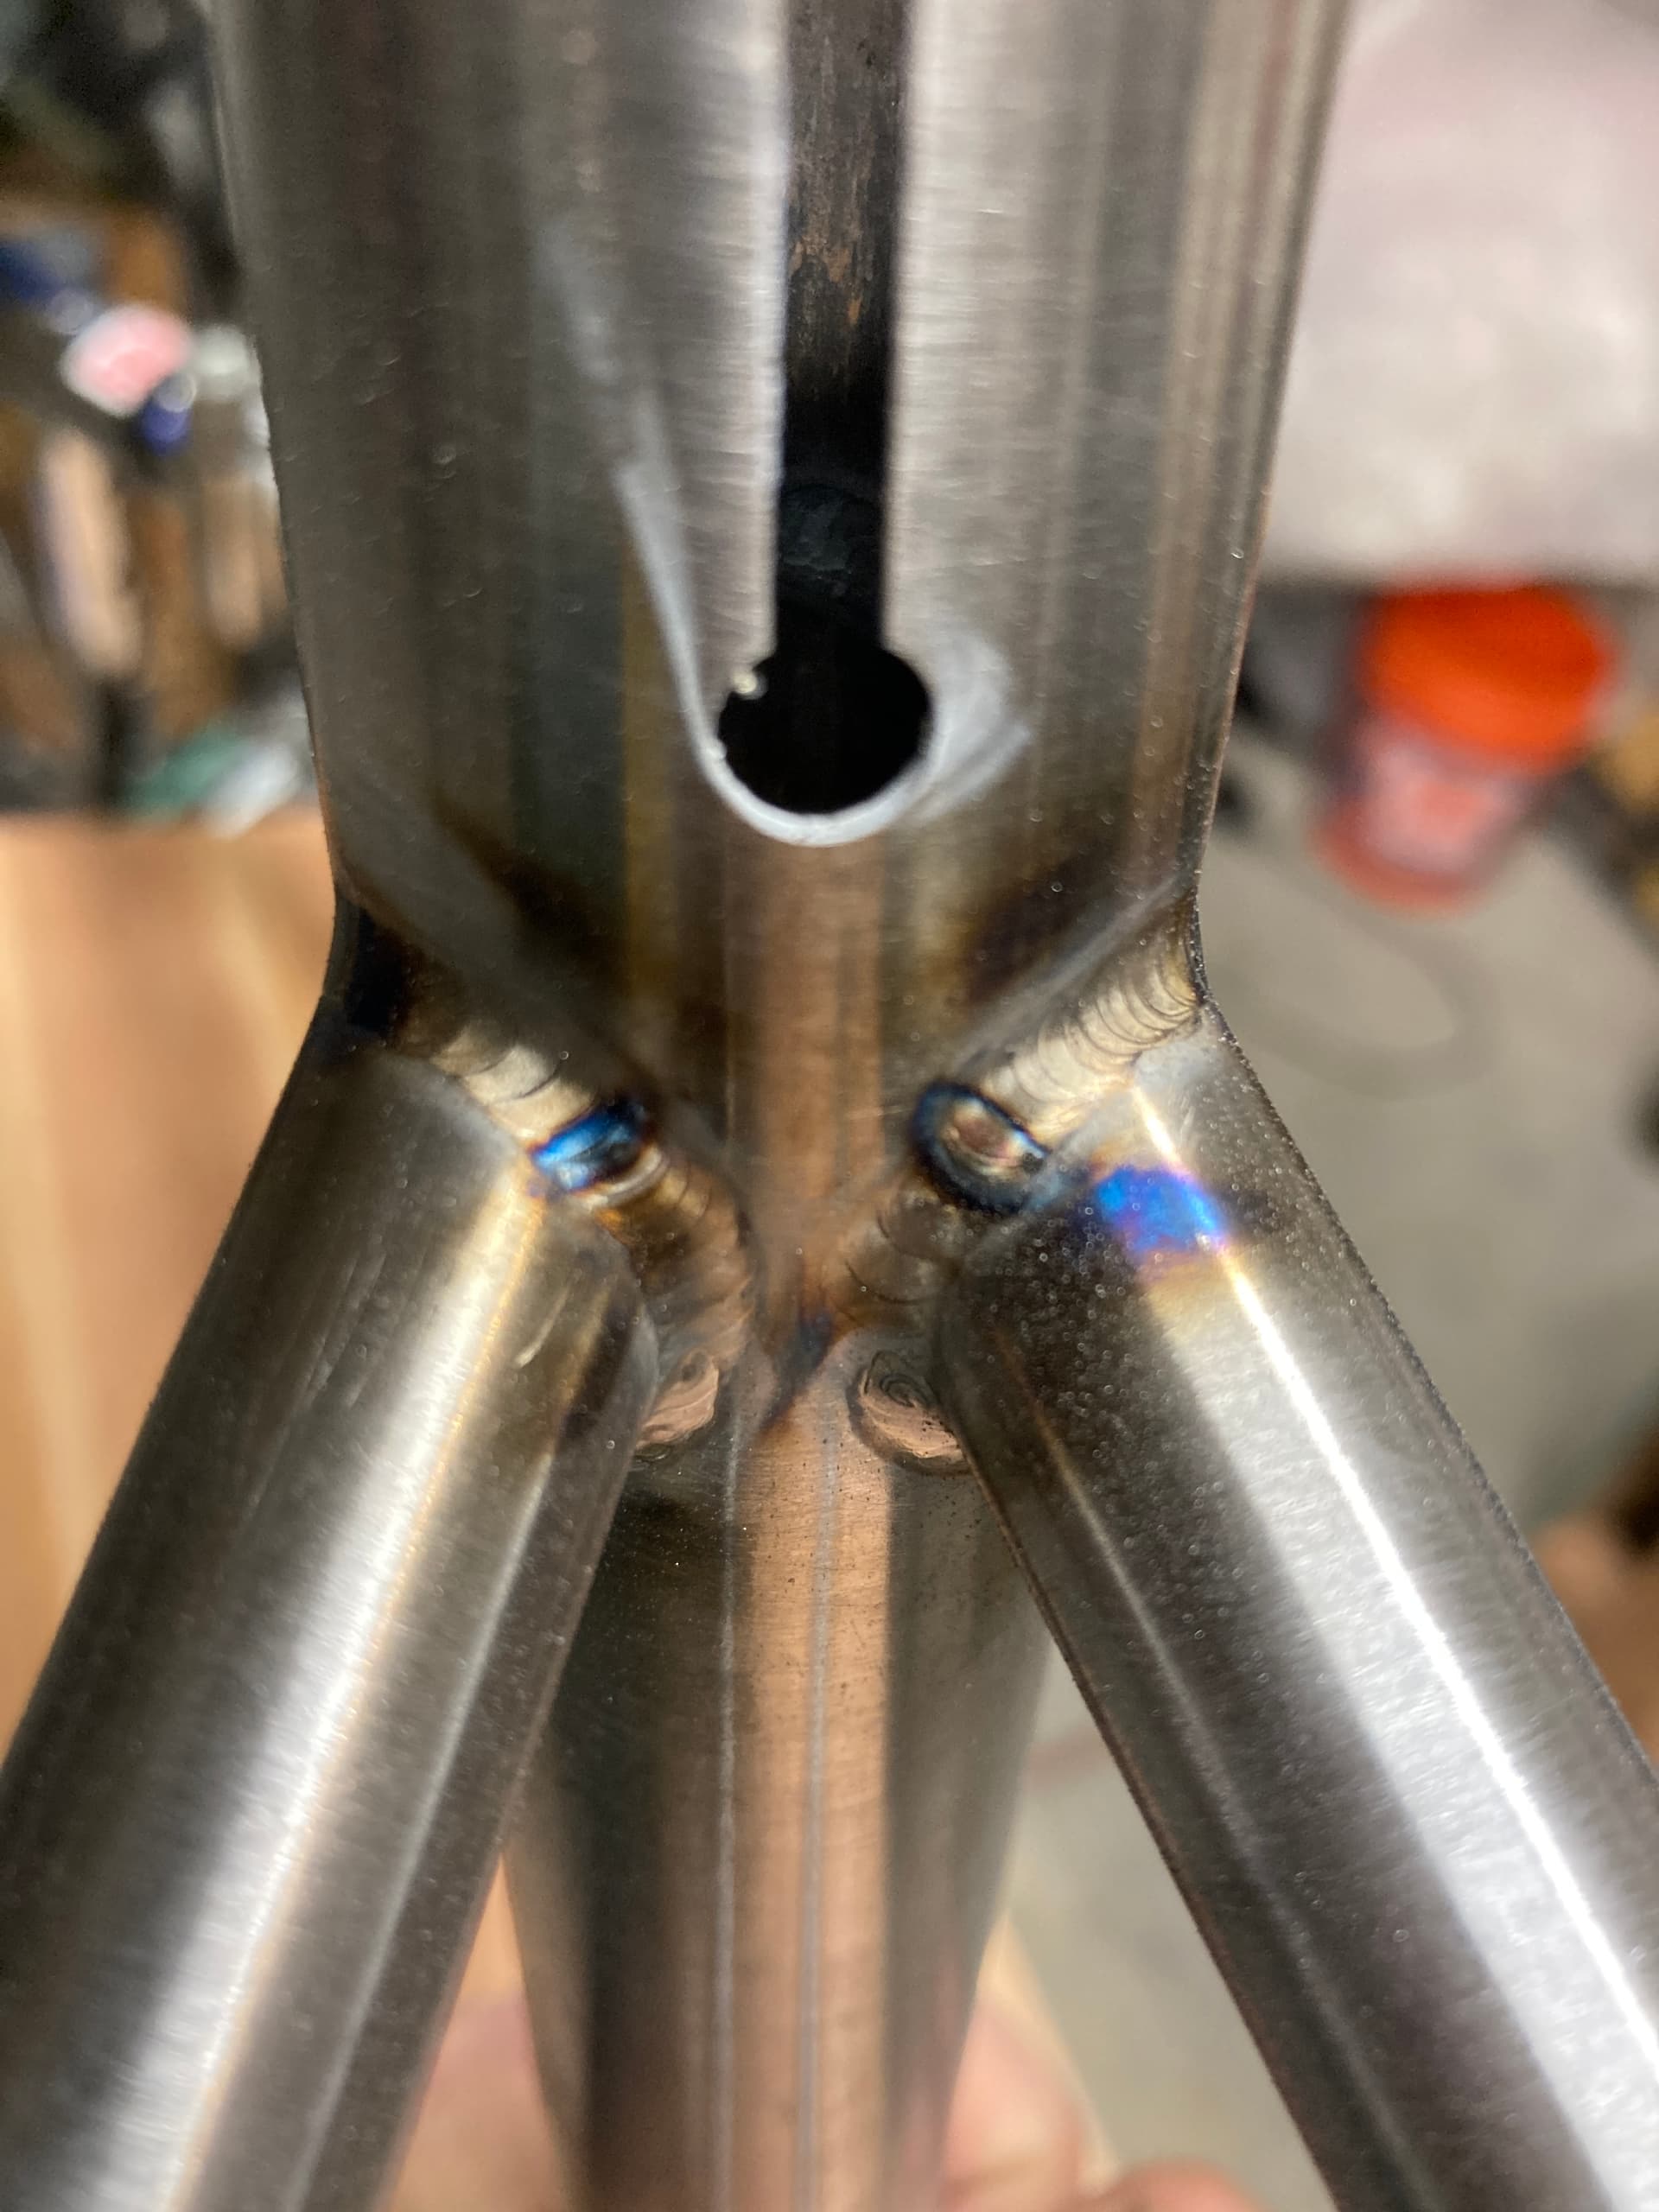
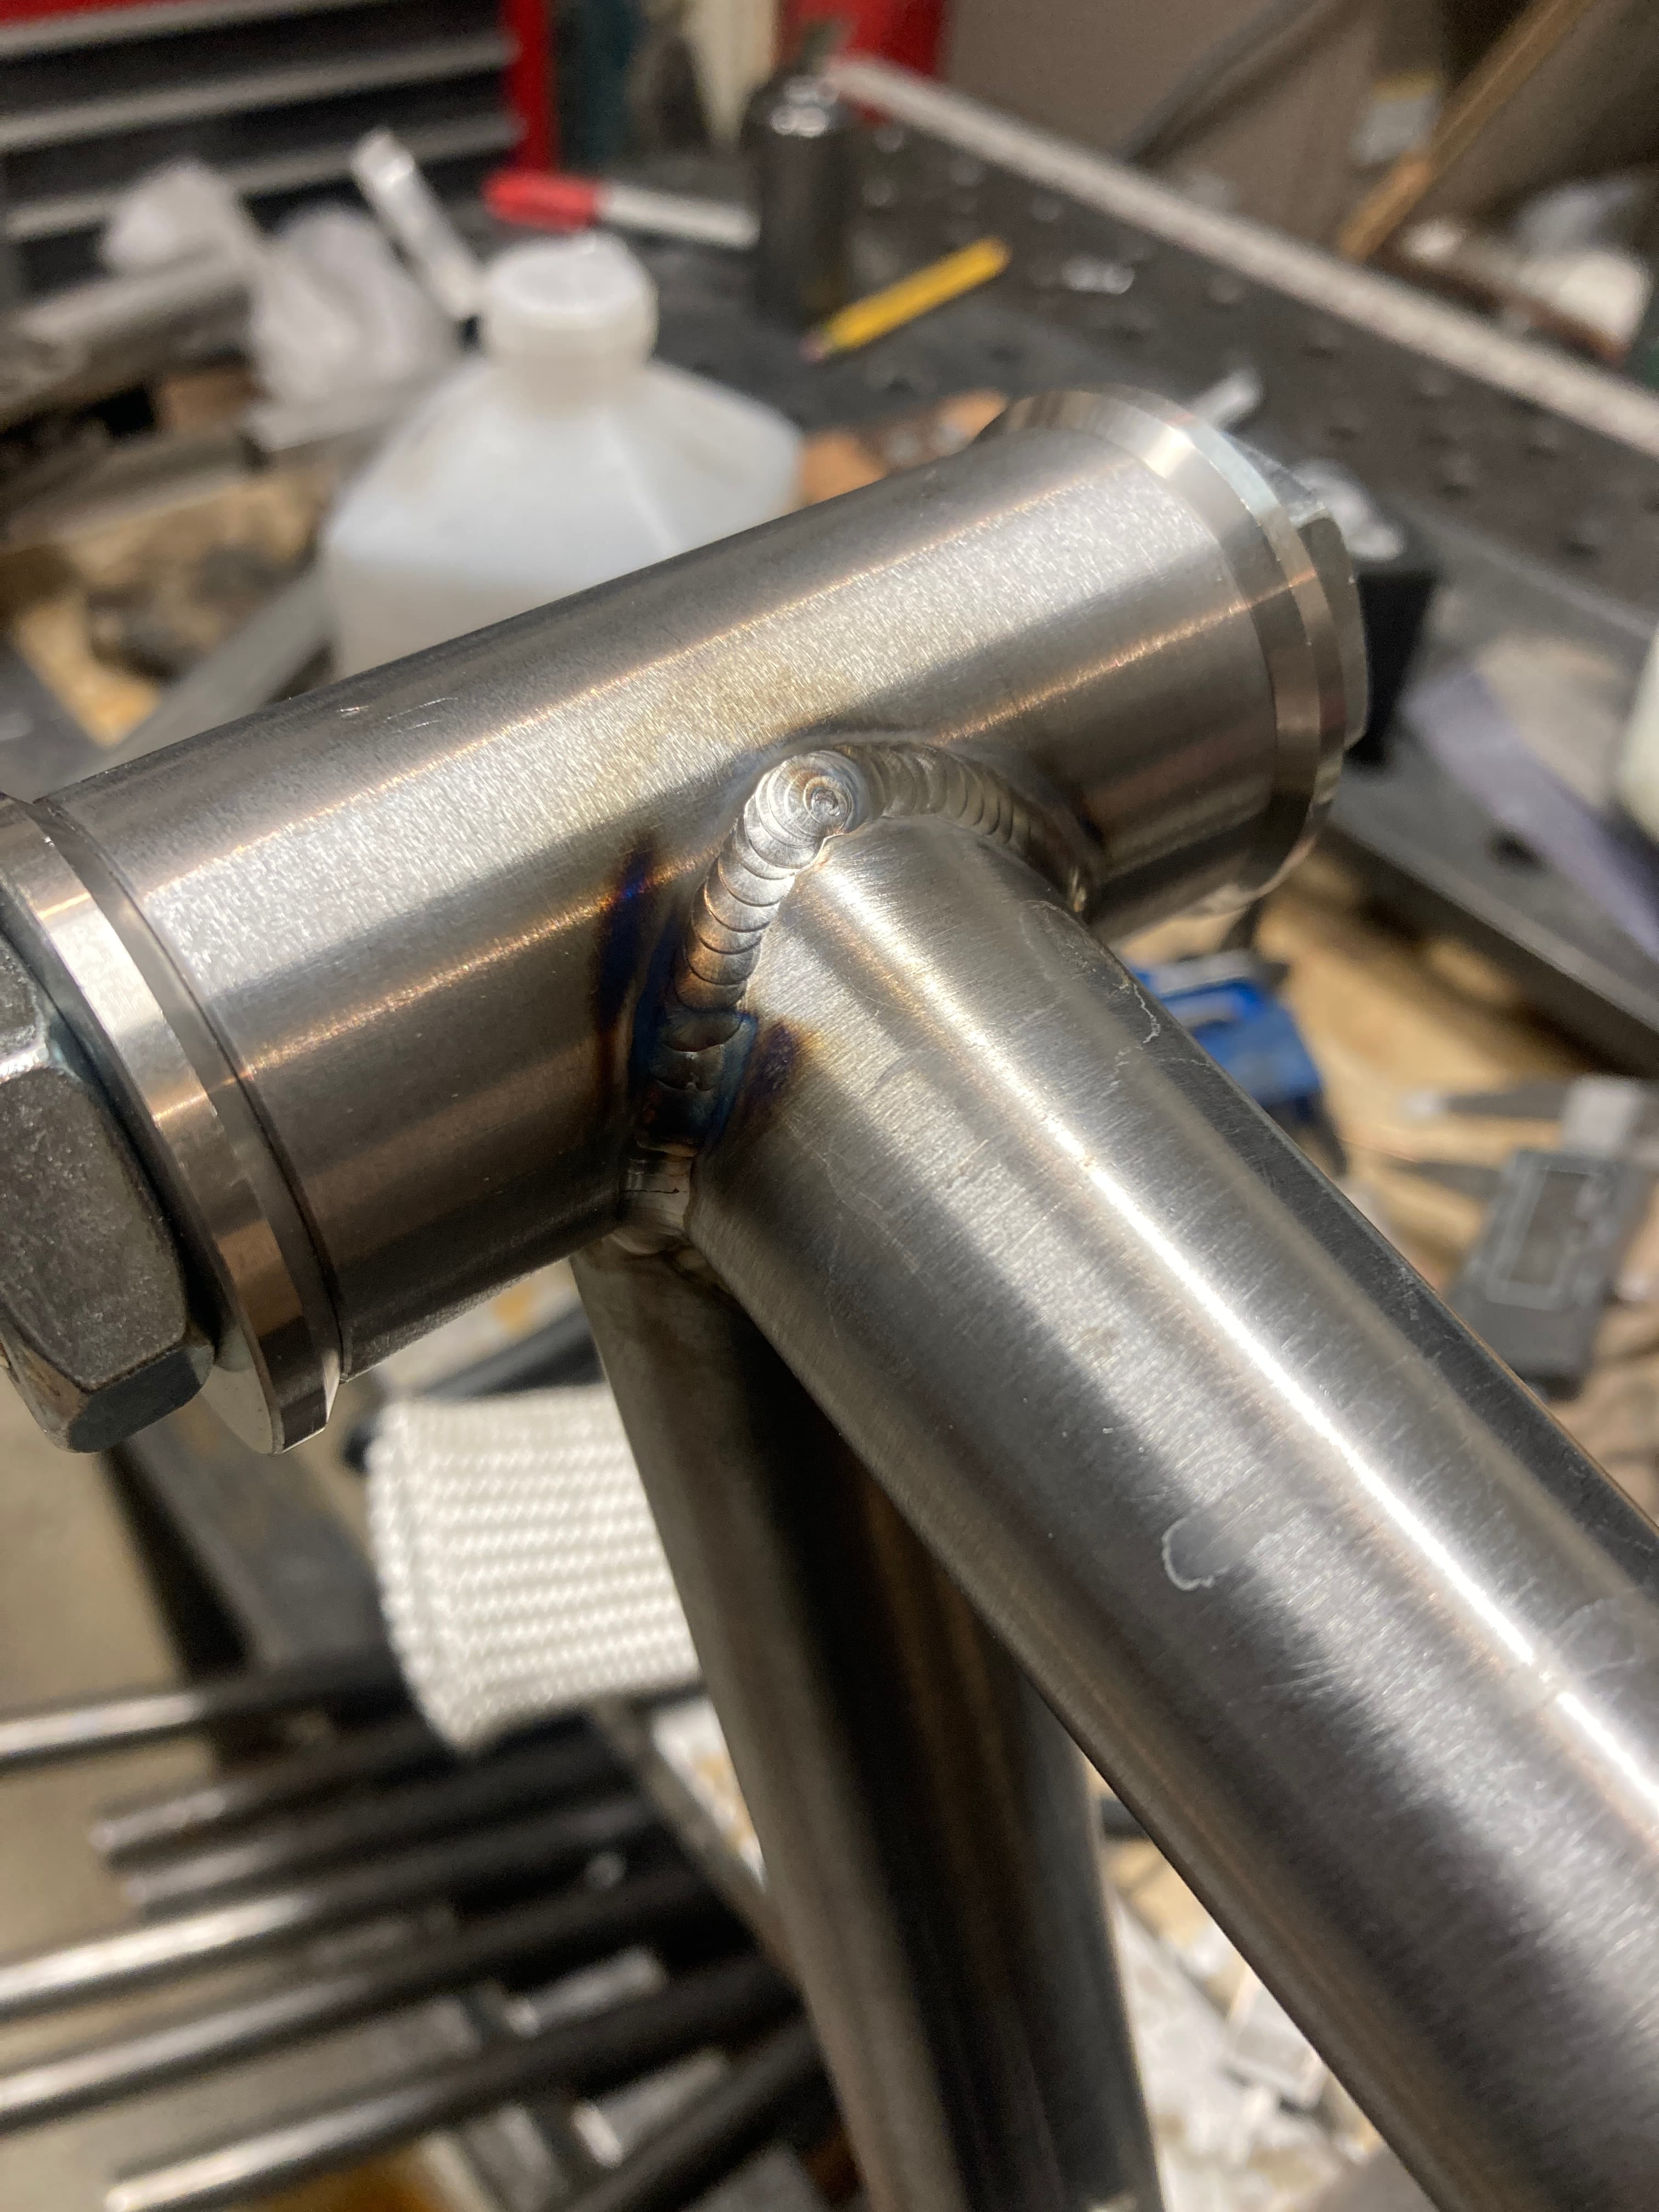
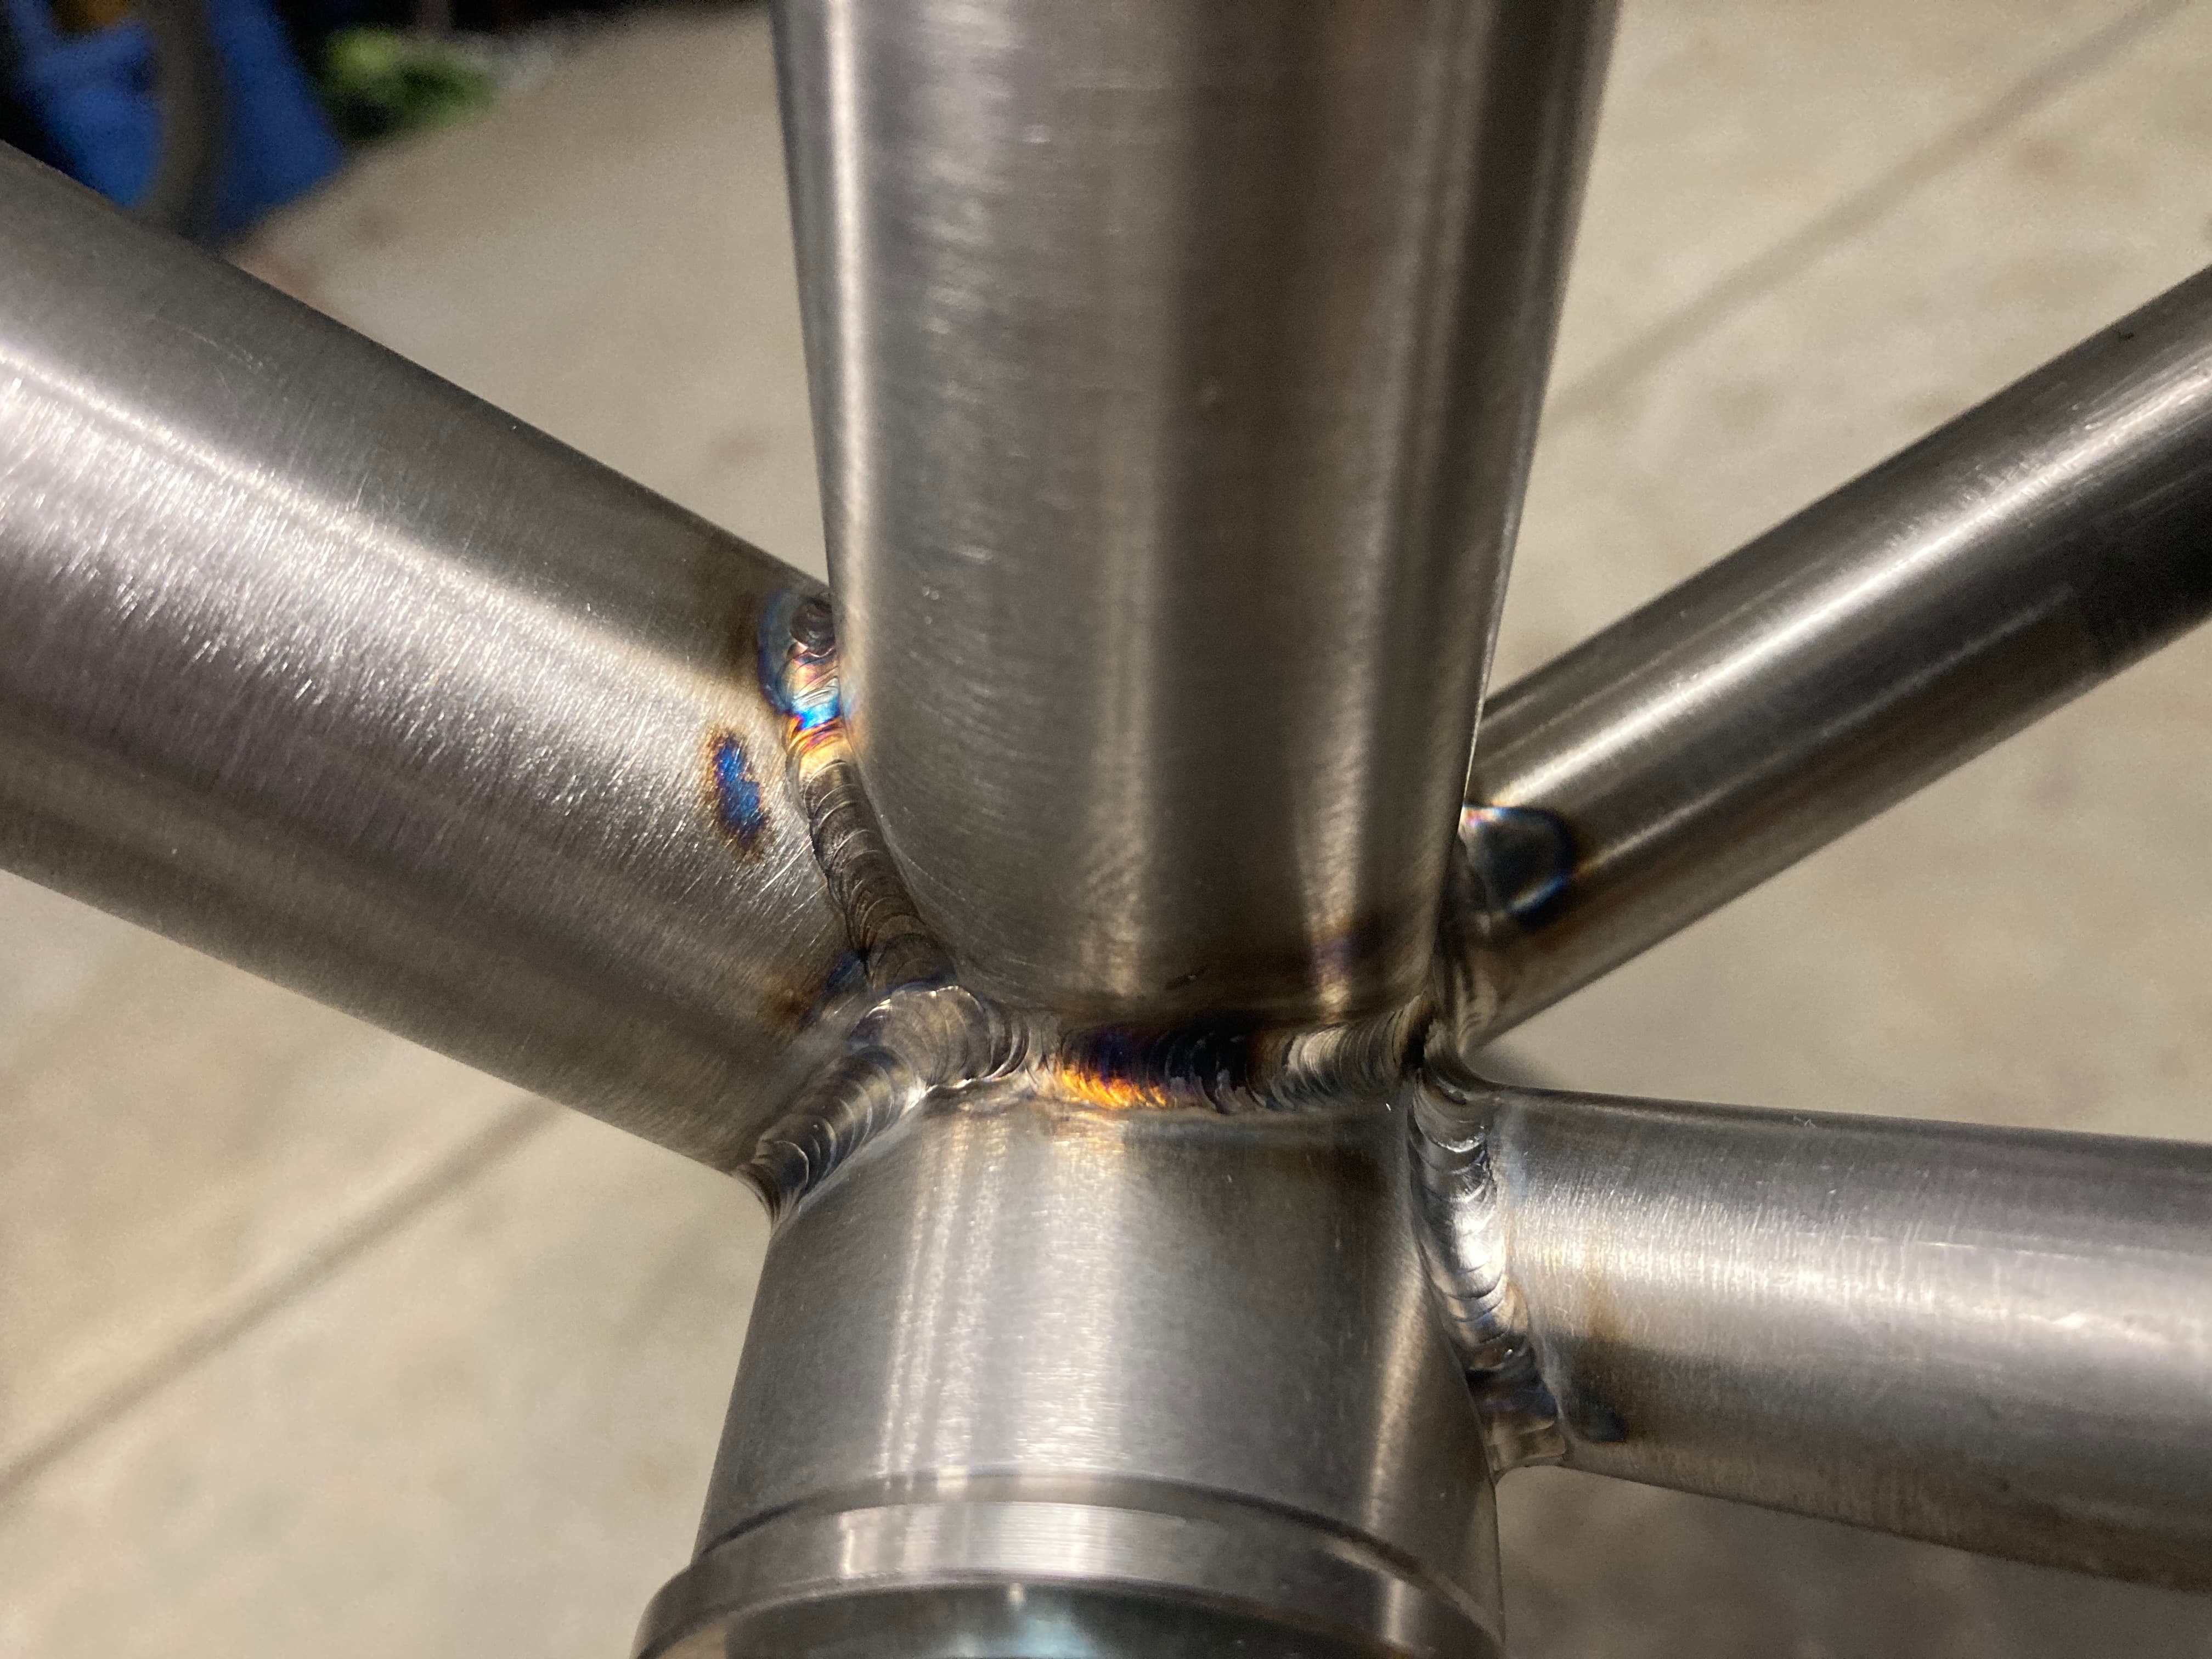
welded and brazed, ready for SS

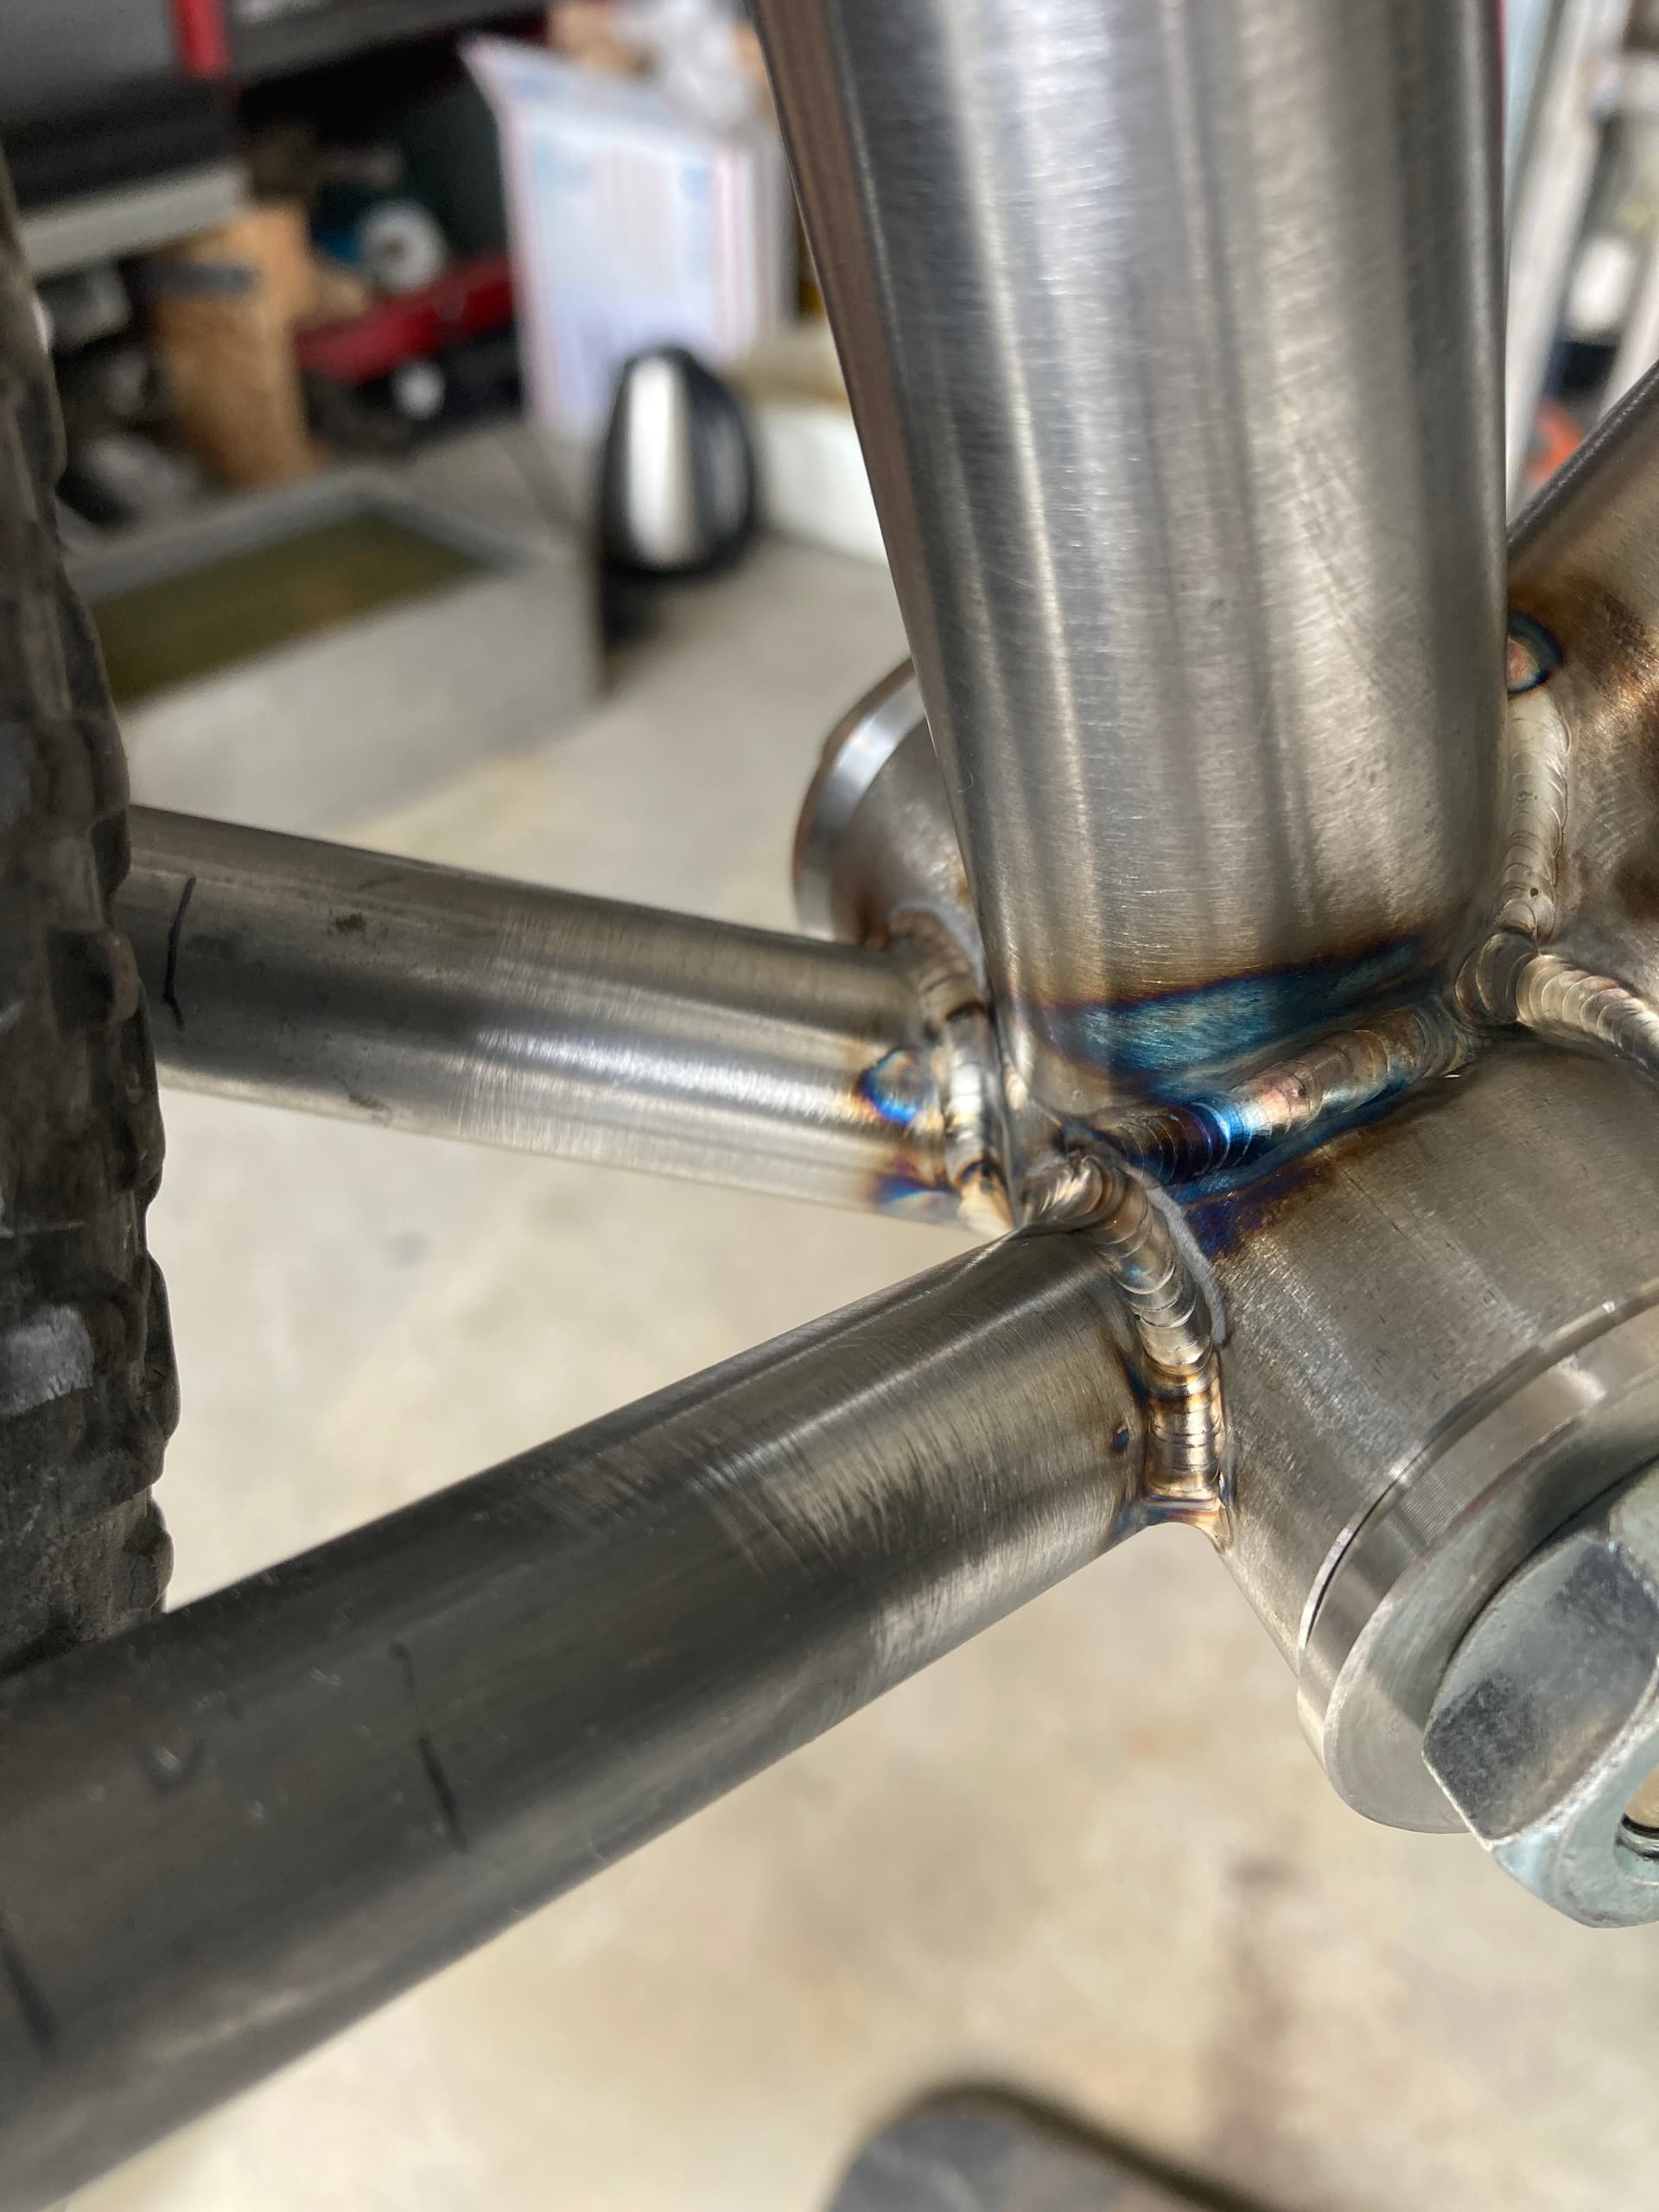
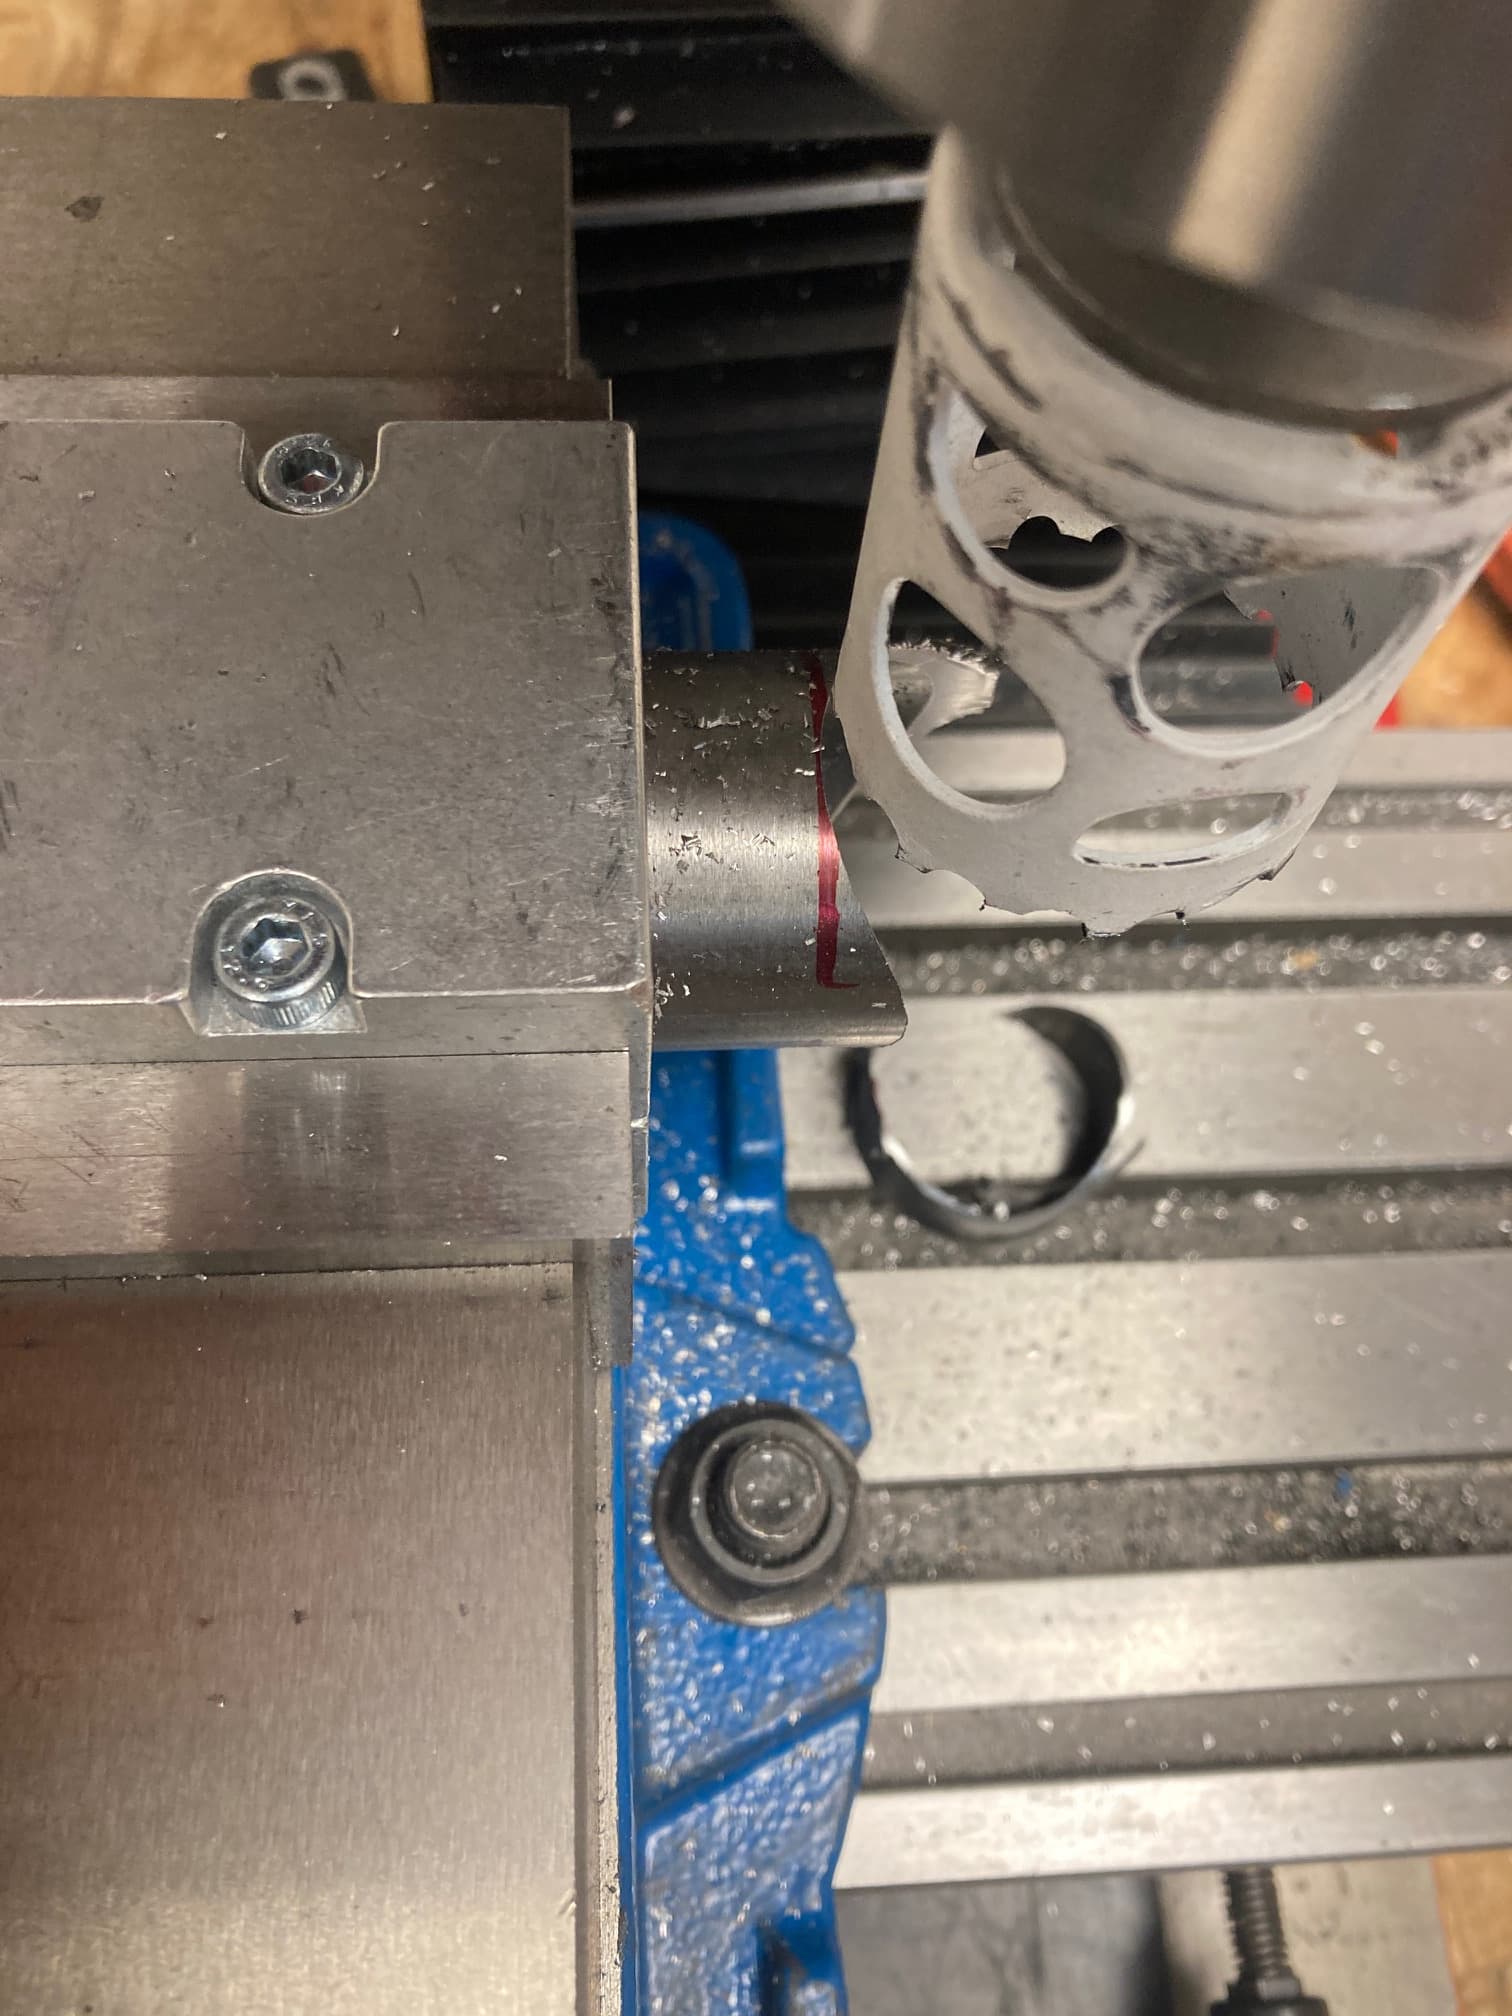
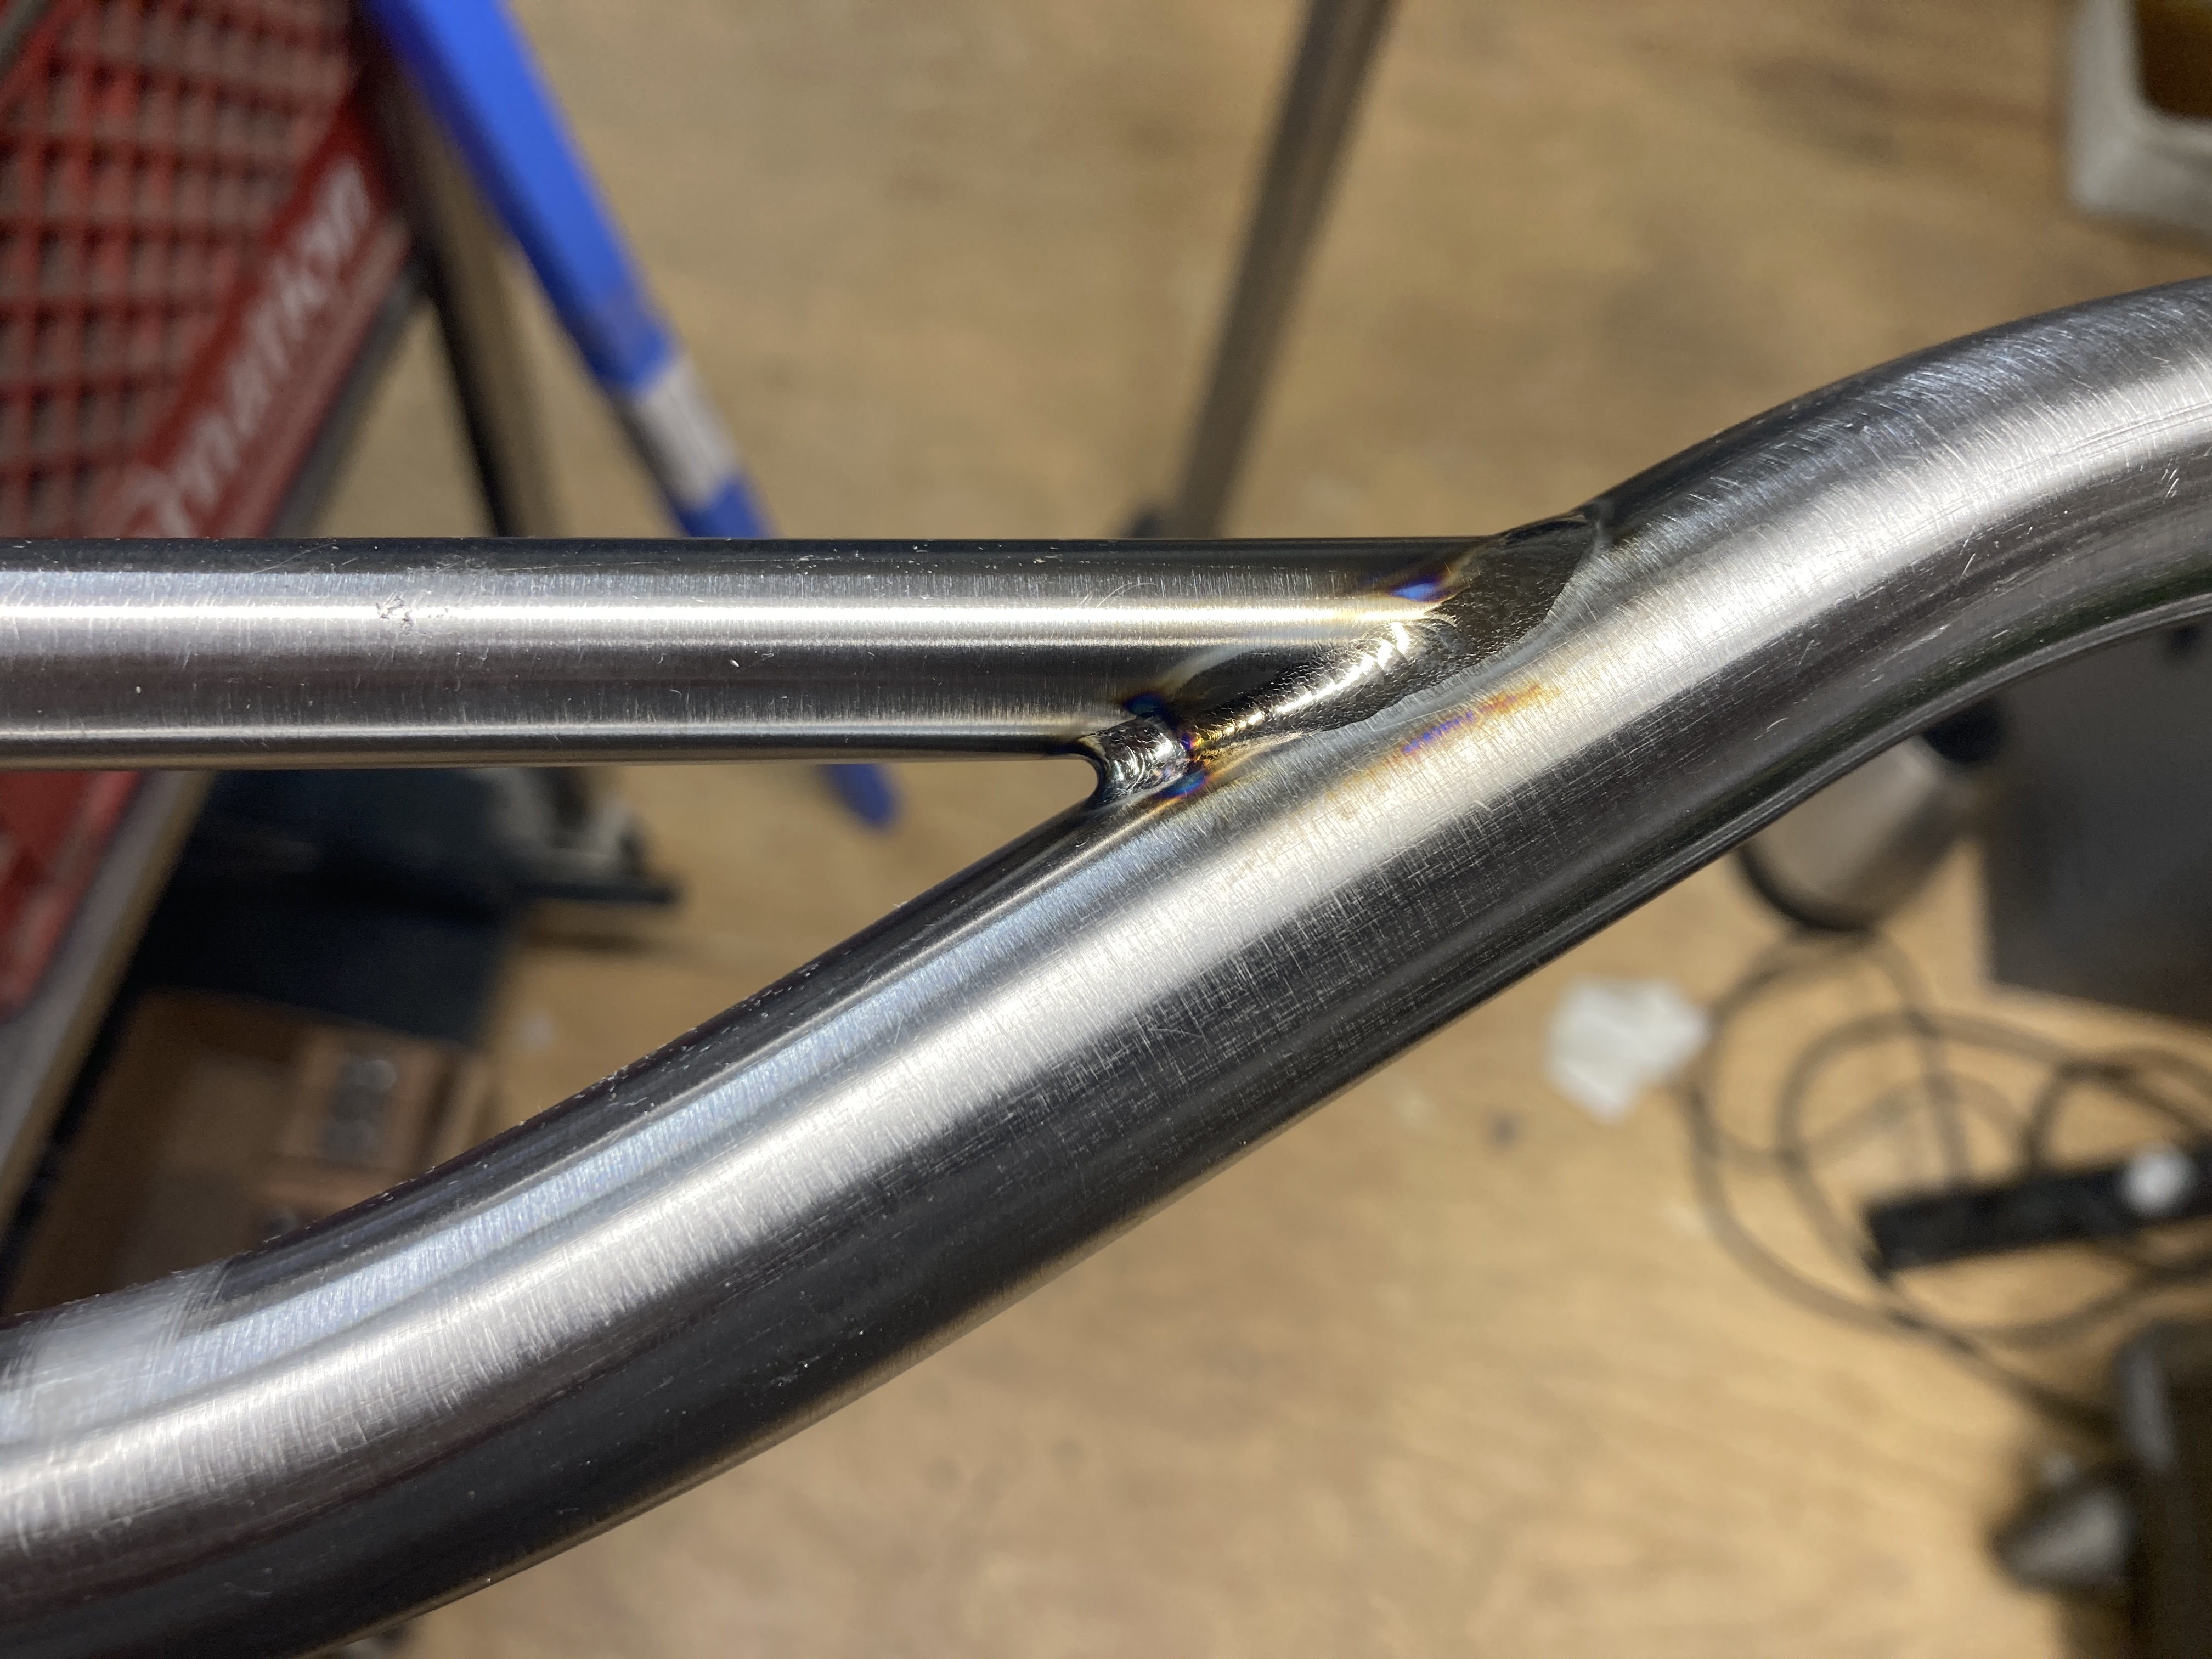
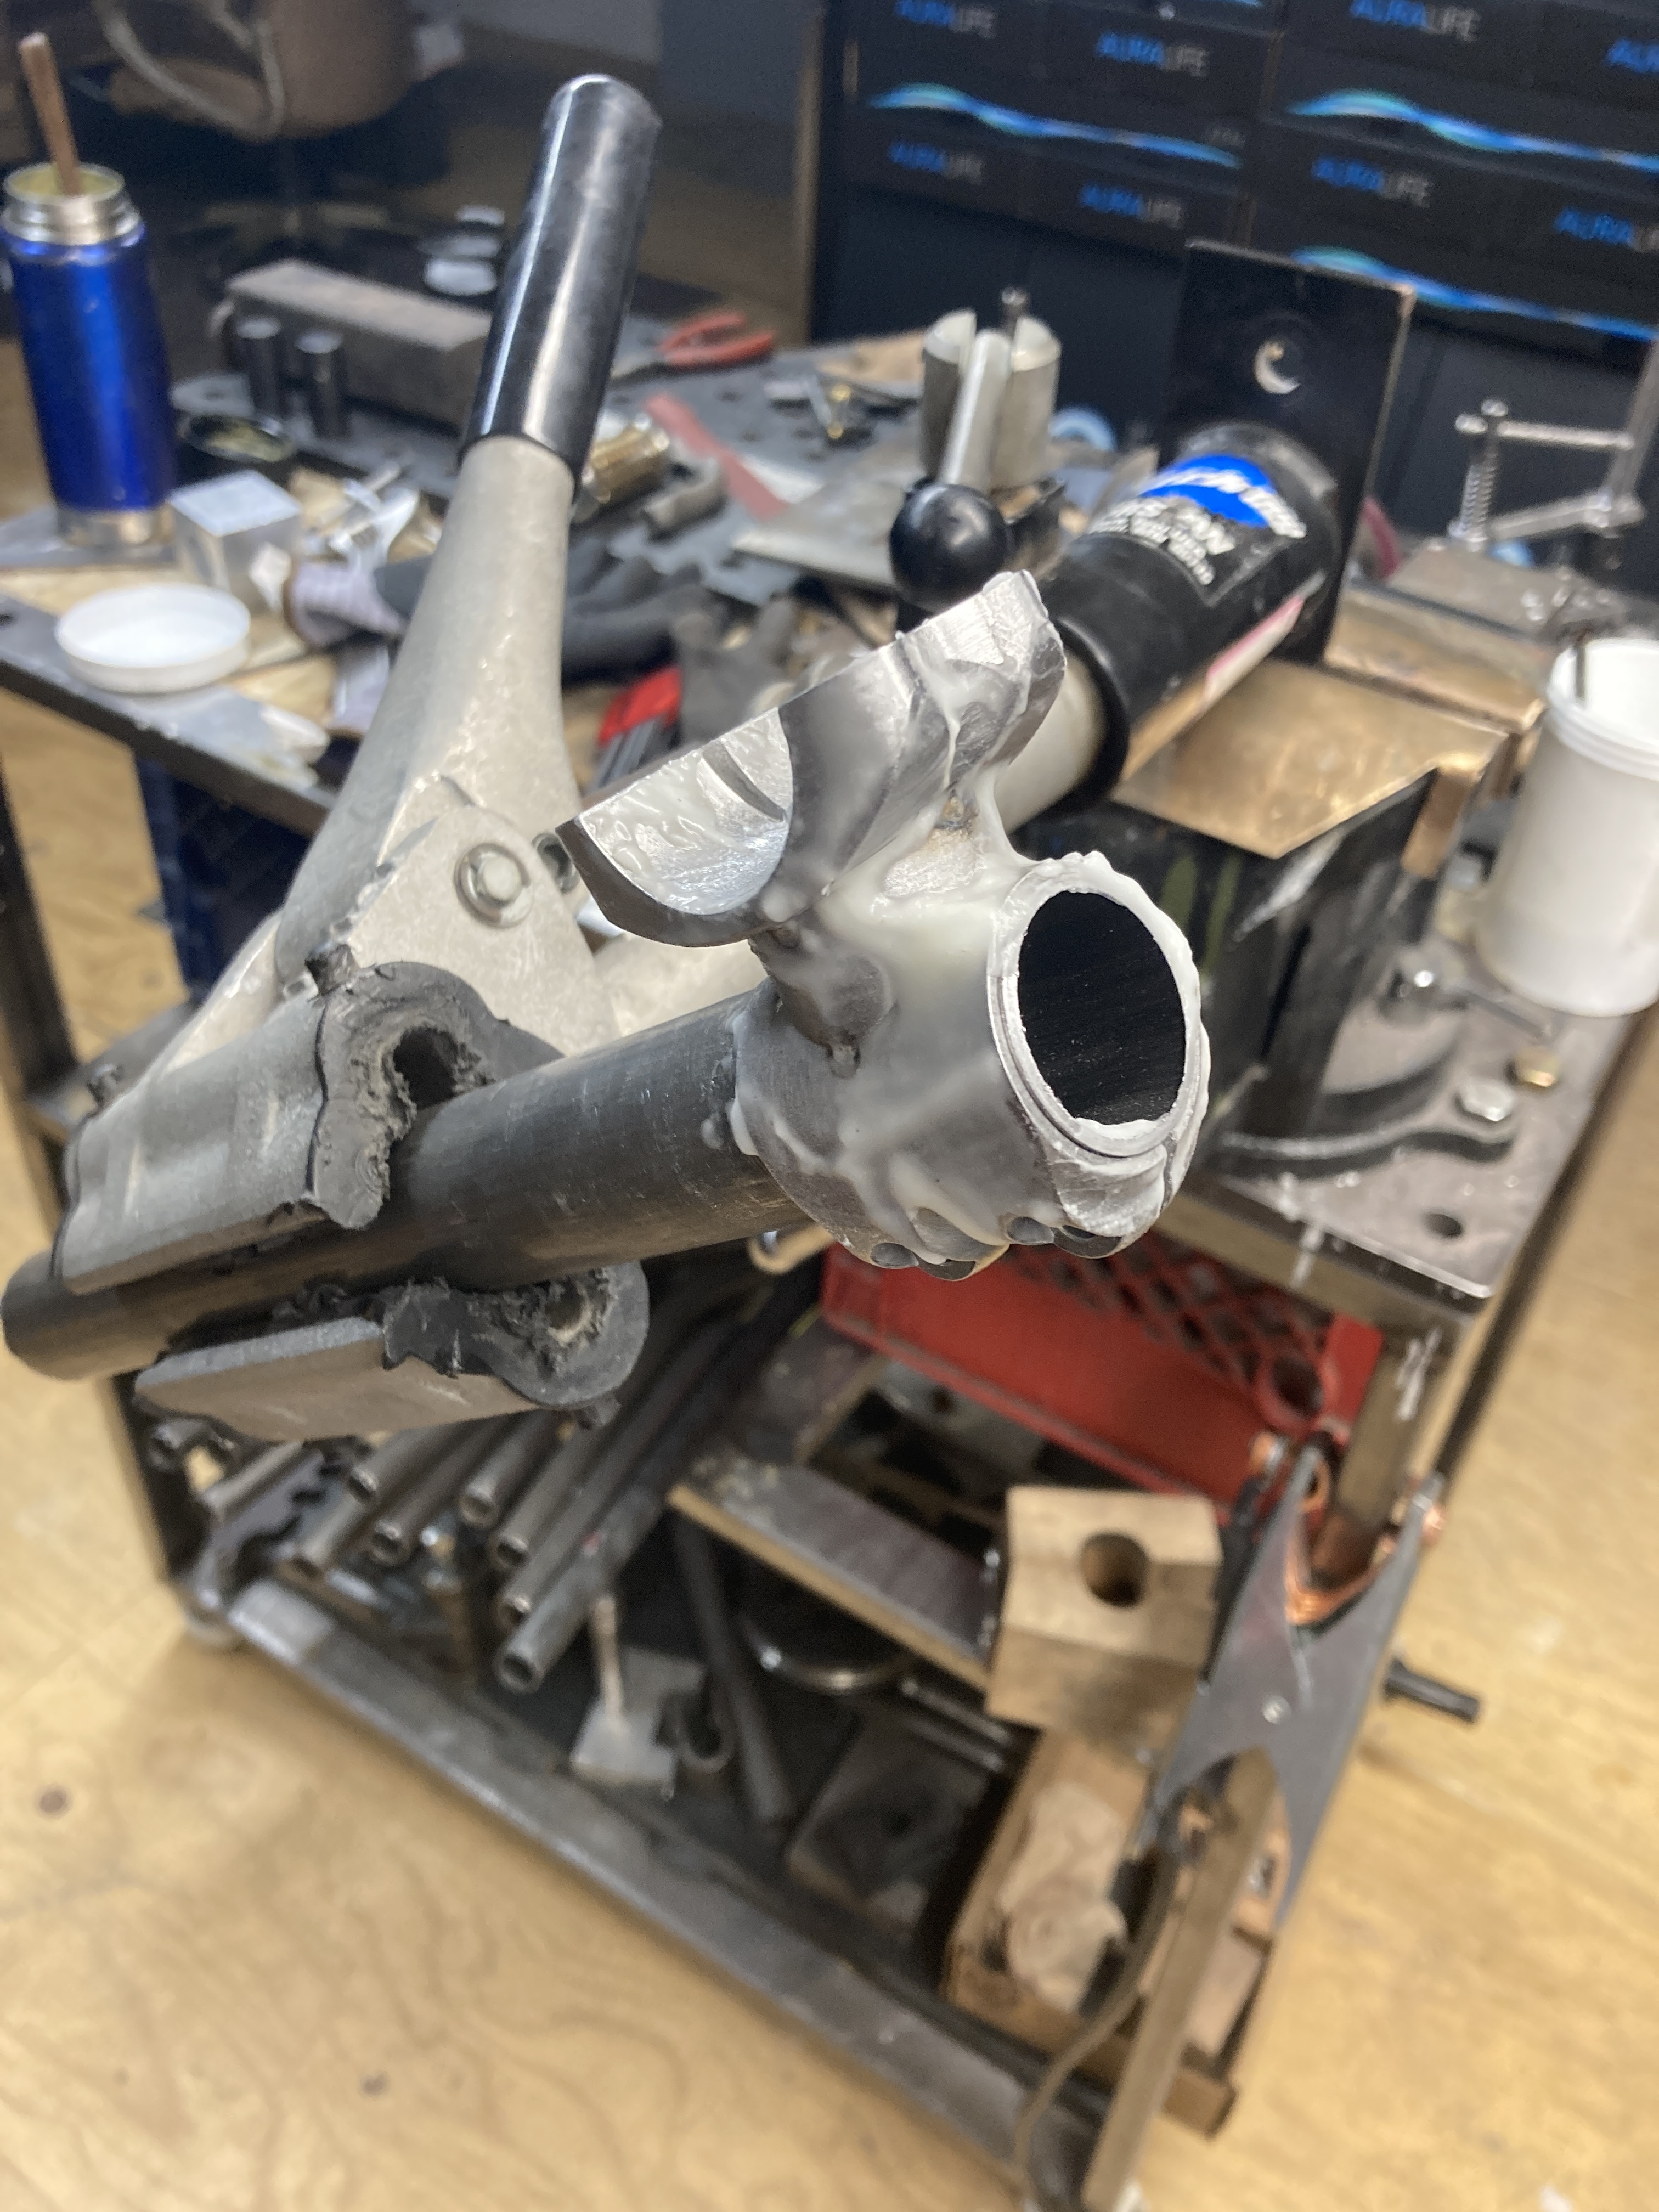
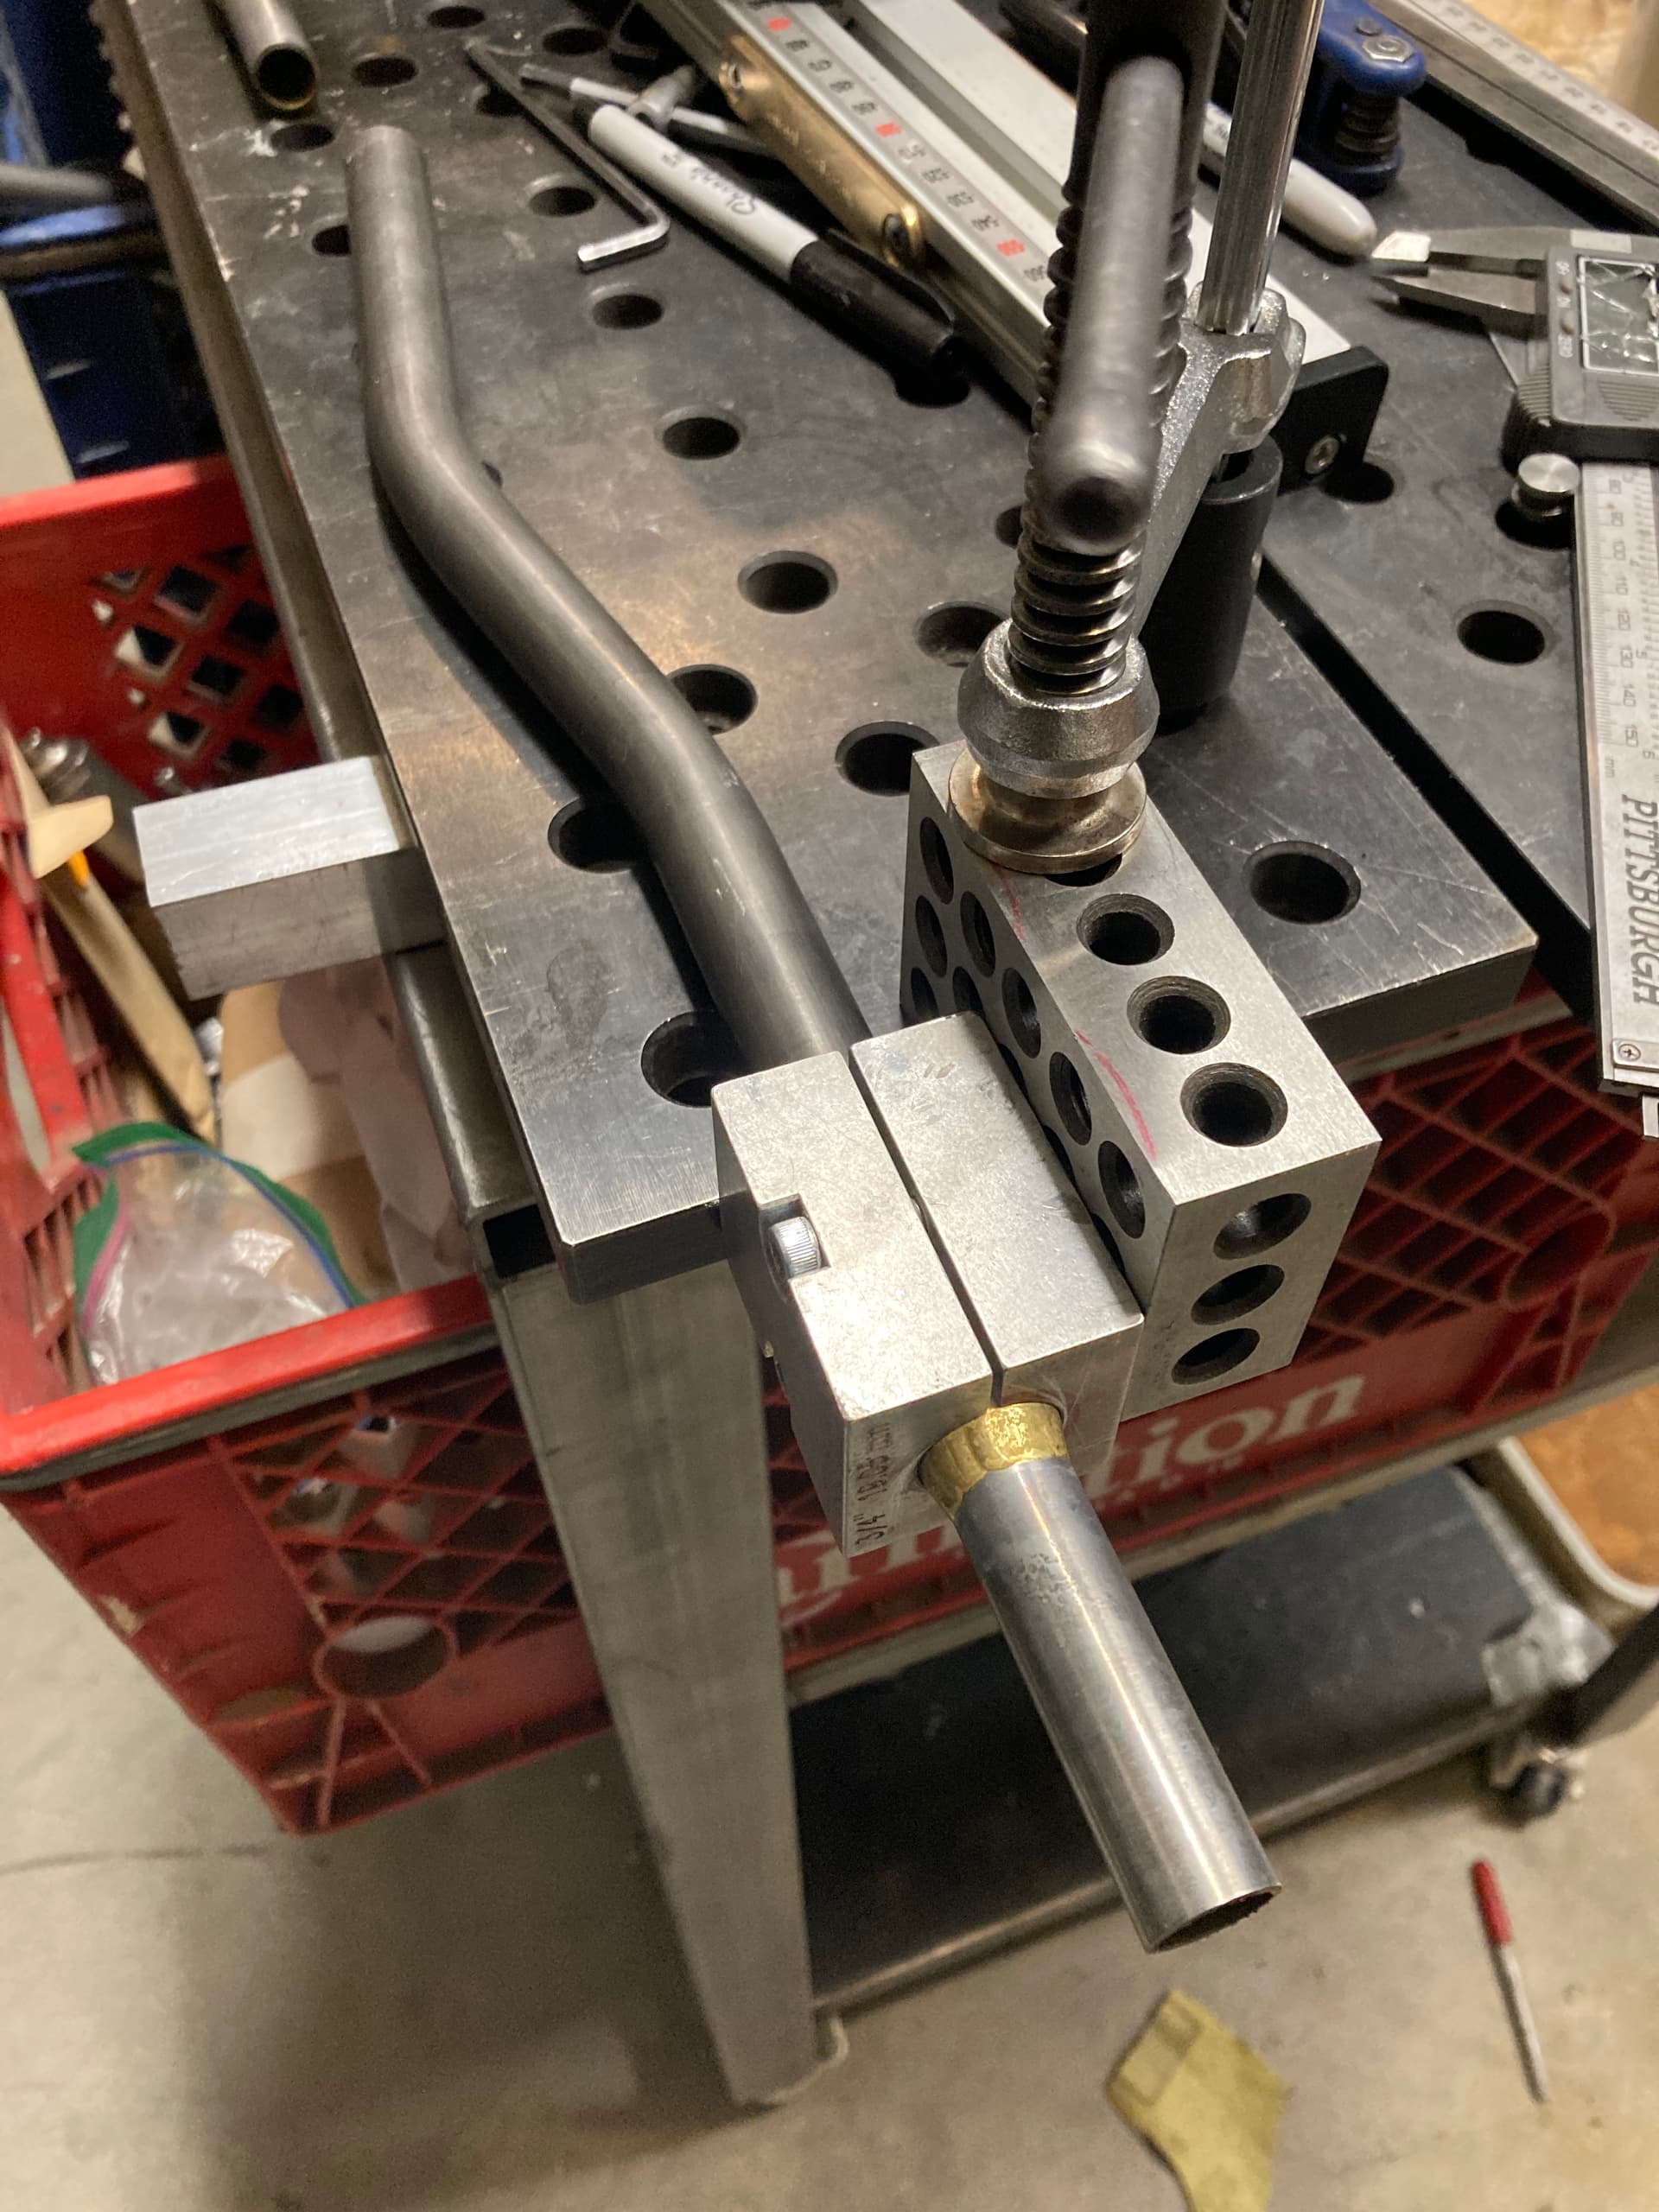
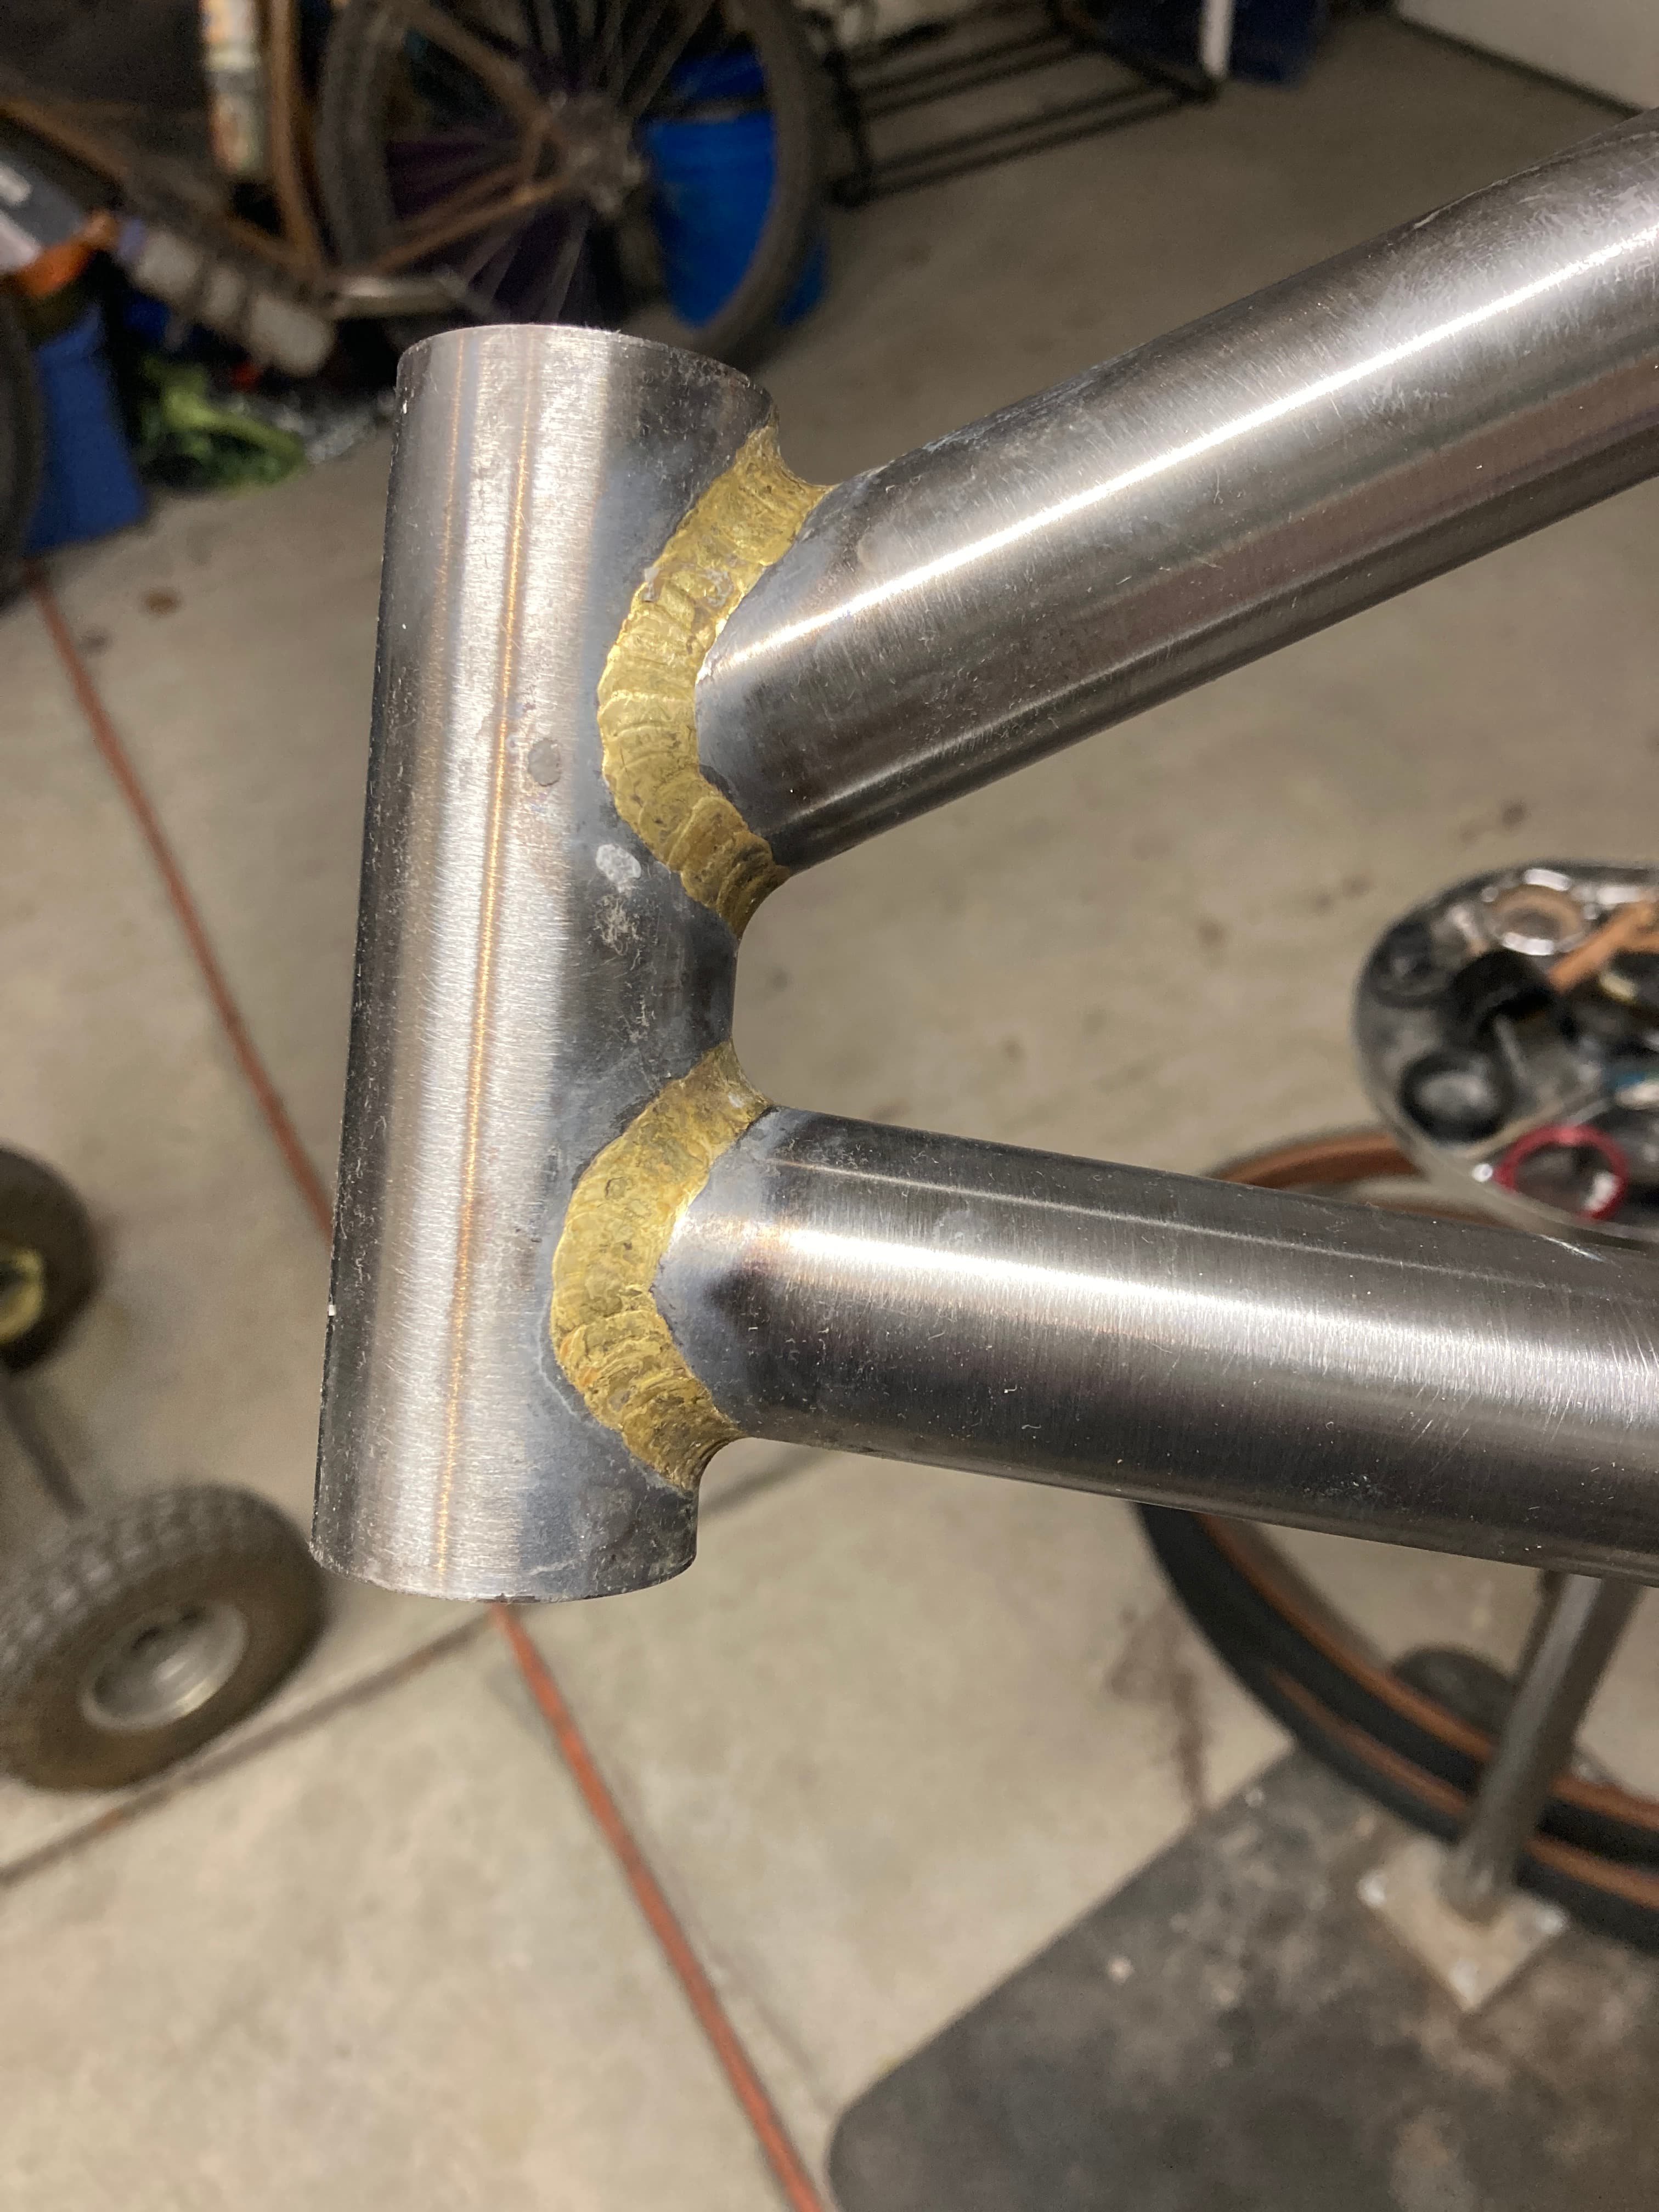
Ive used my far miter fixture for SS but this time I decided to hand file the ST miter

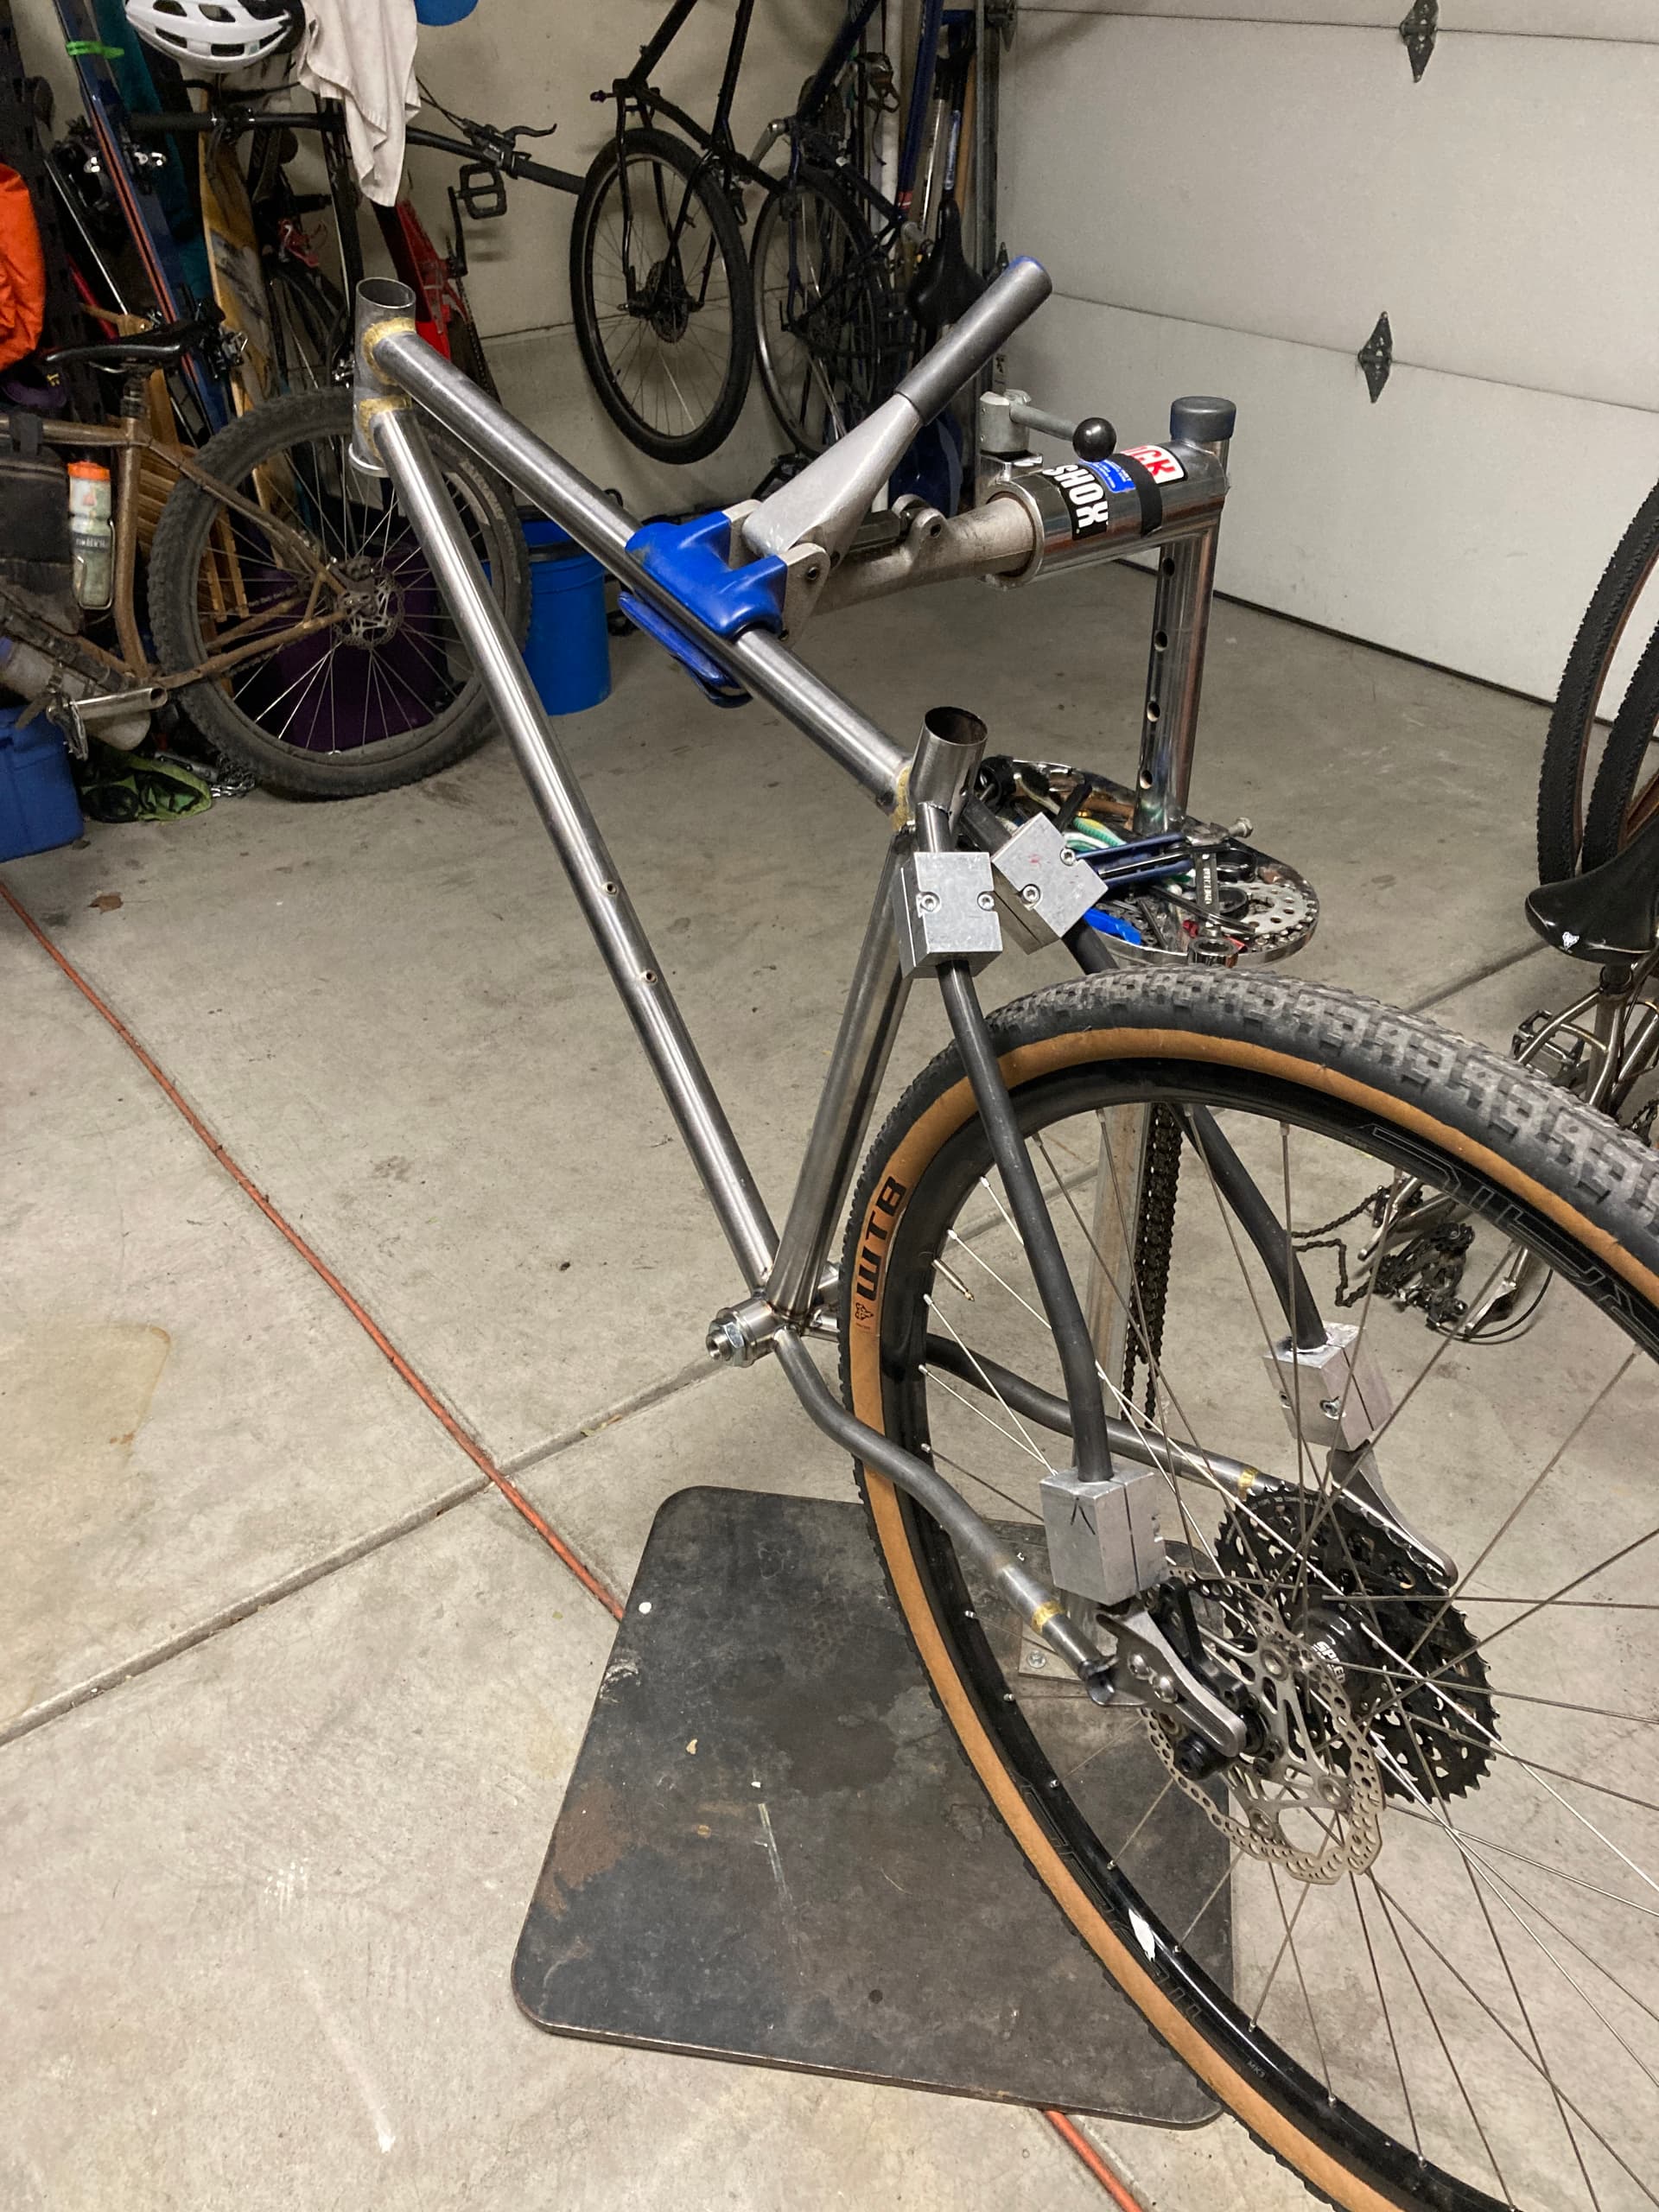
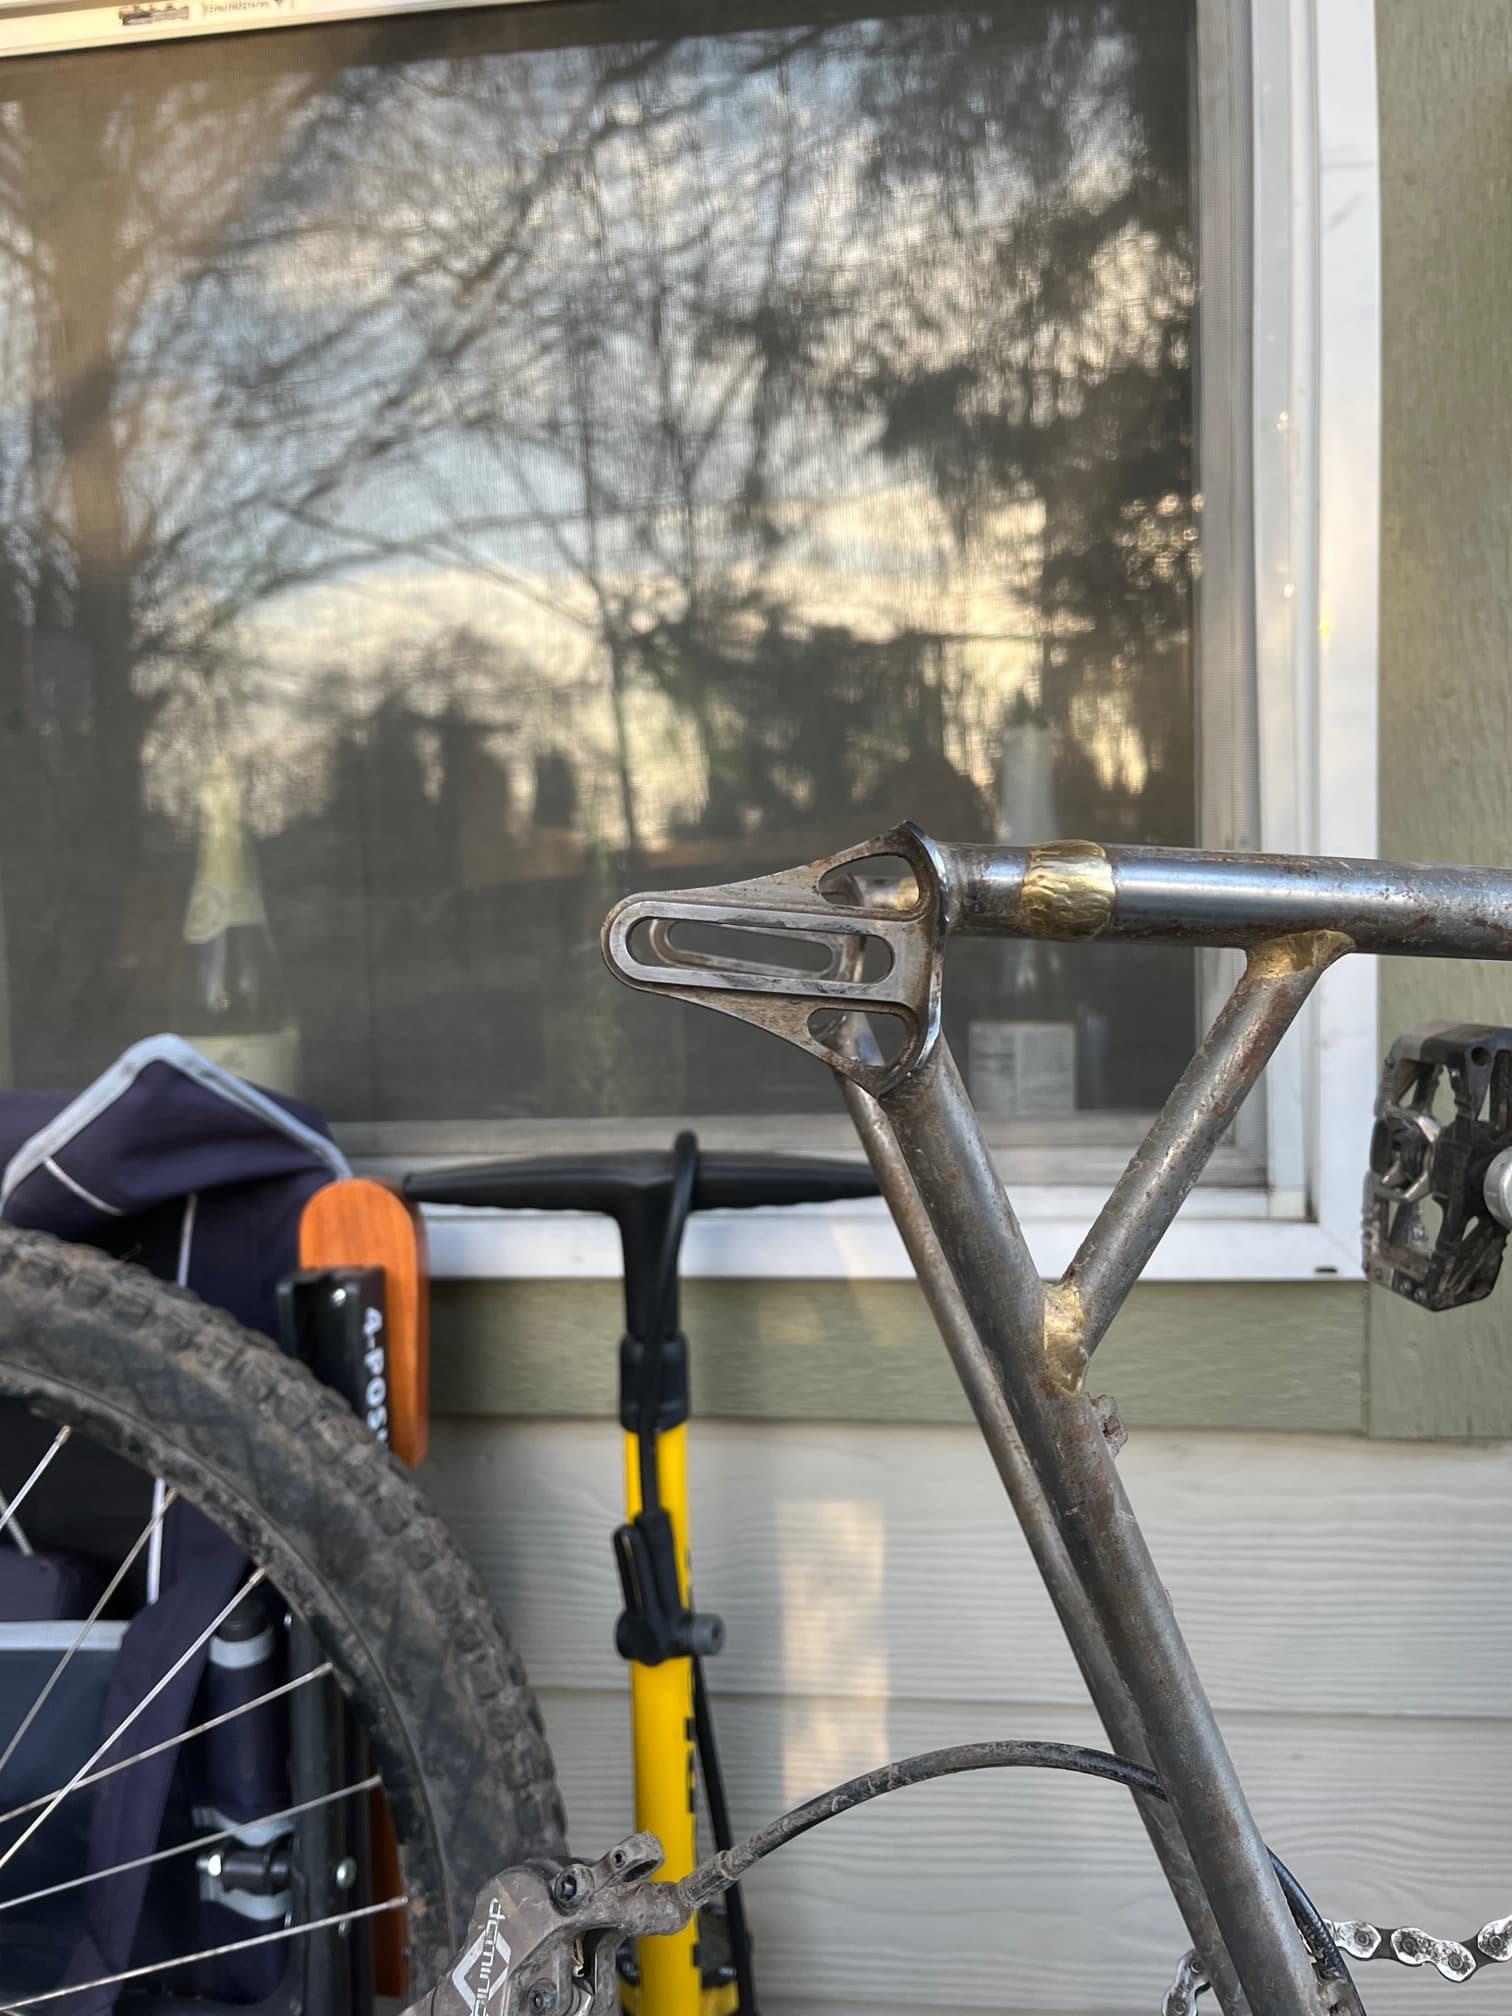
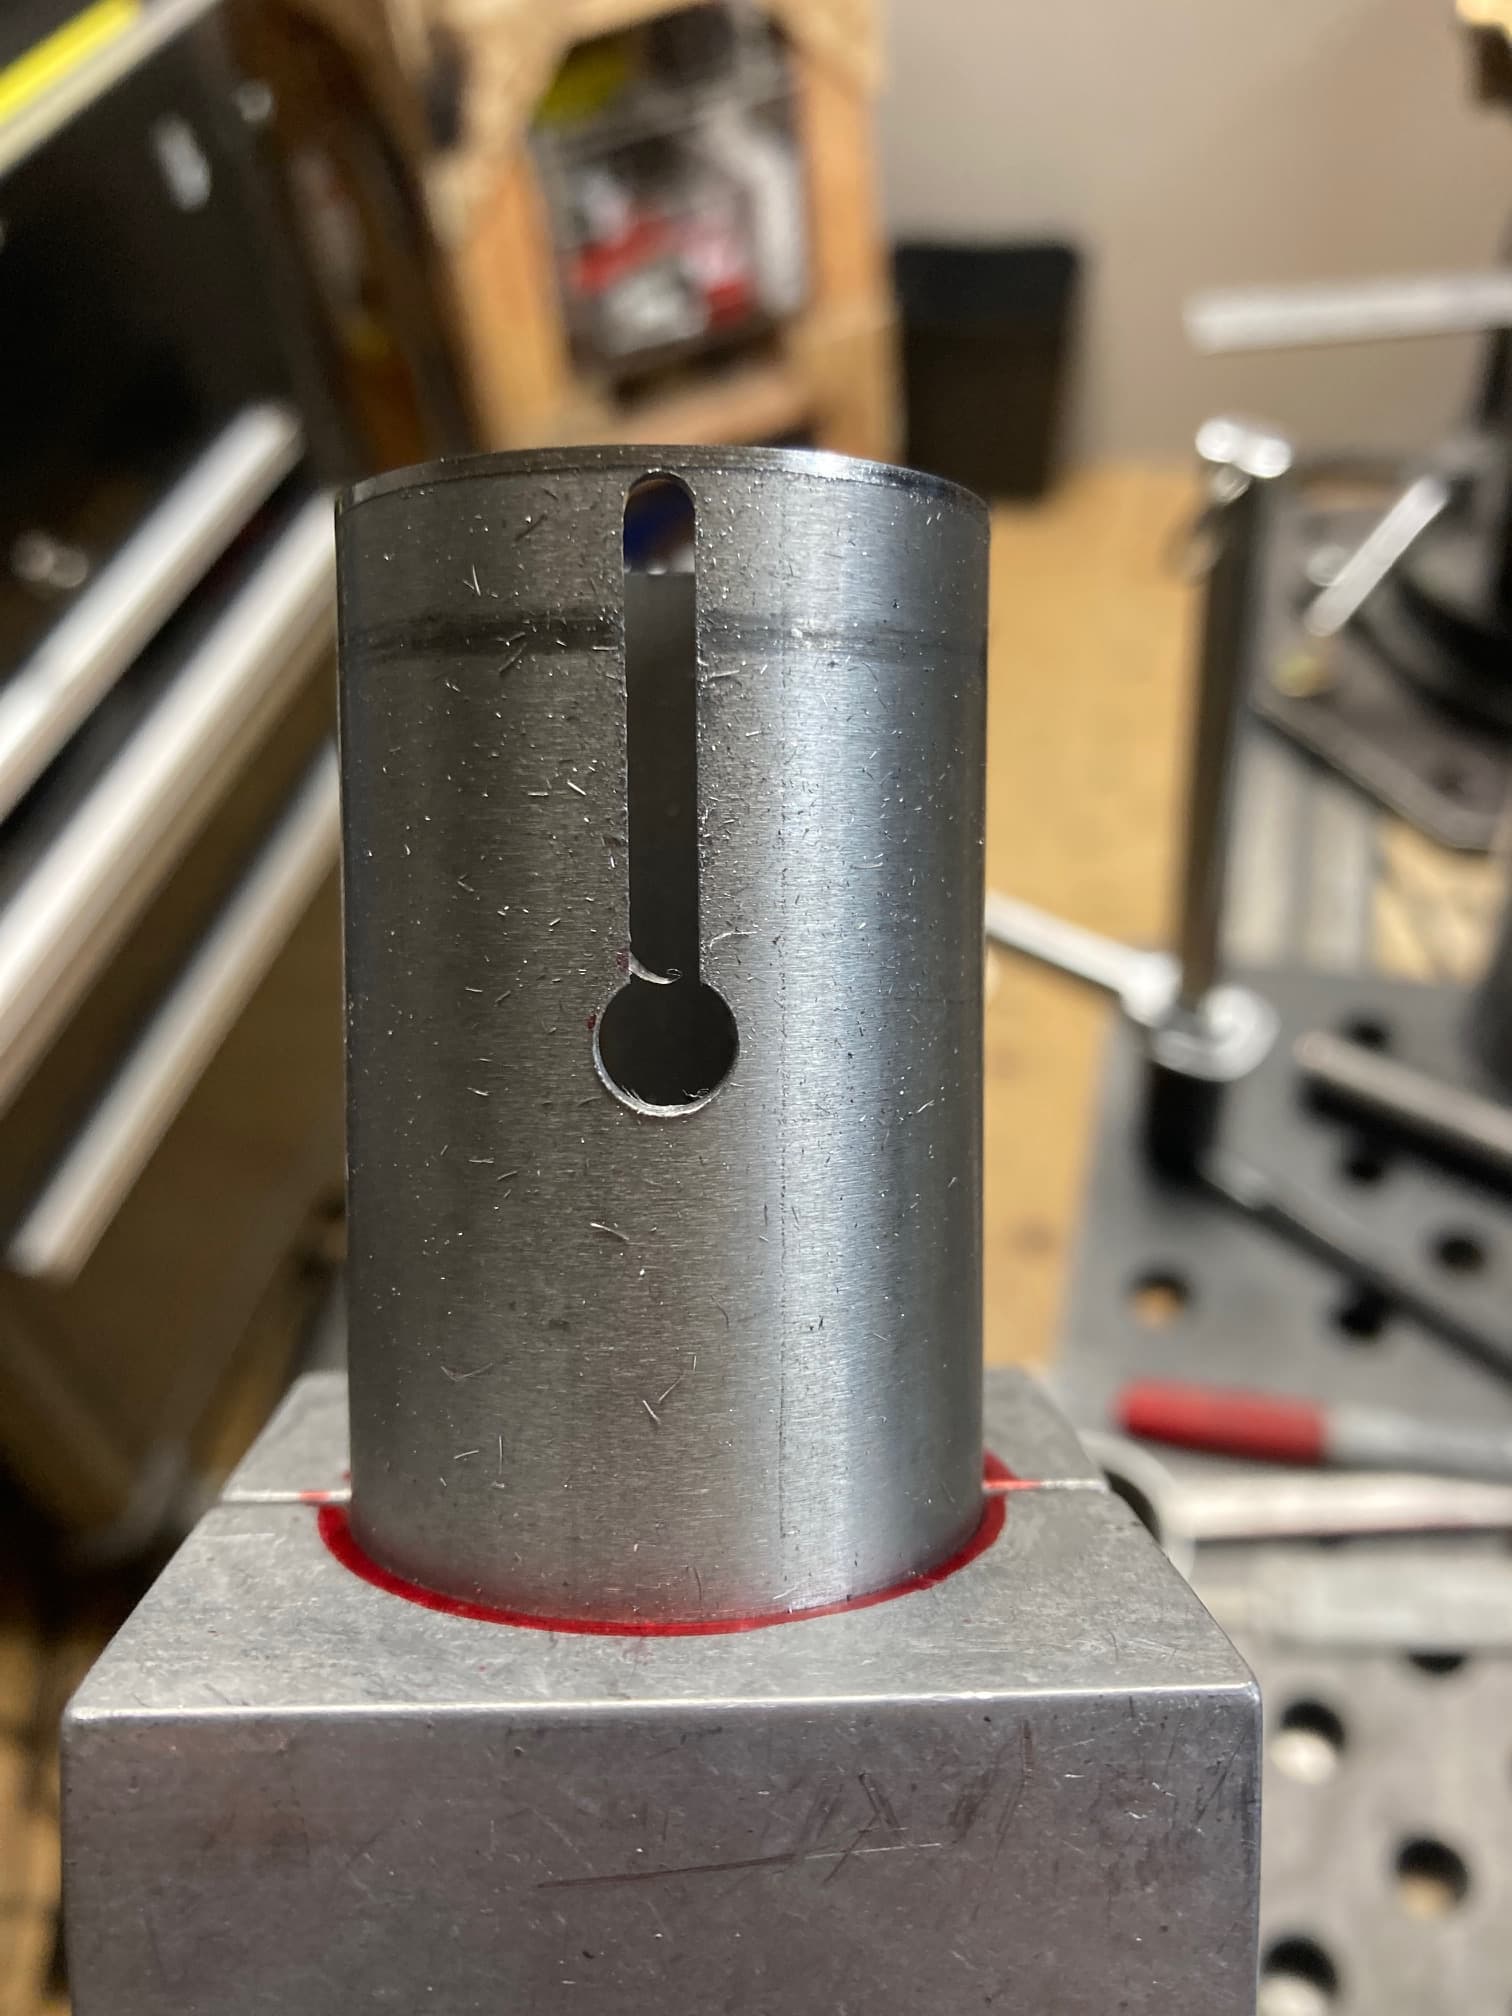
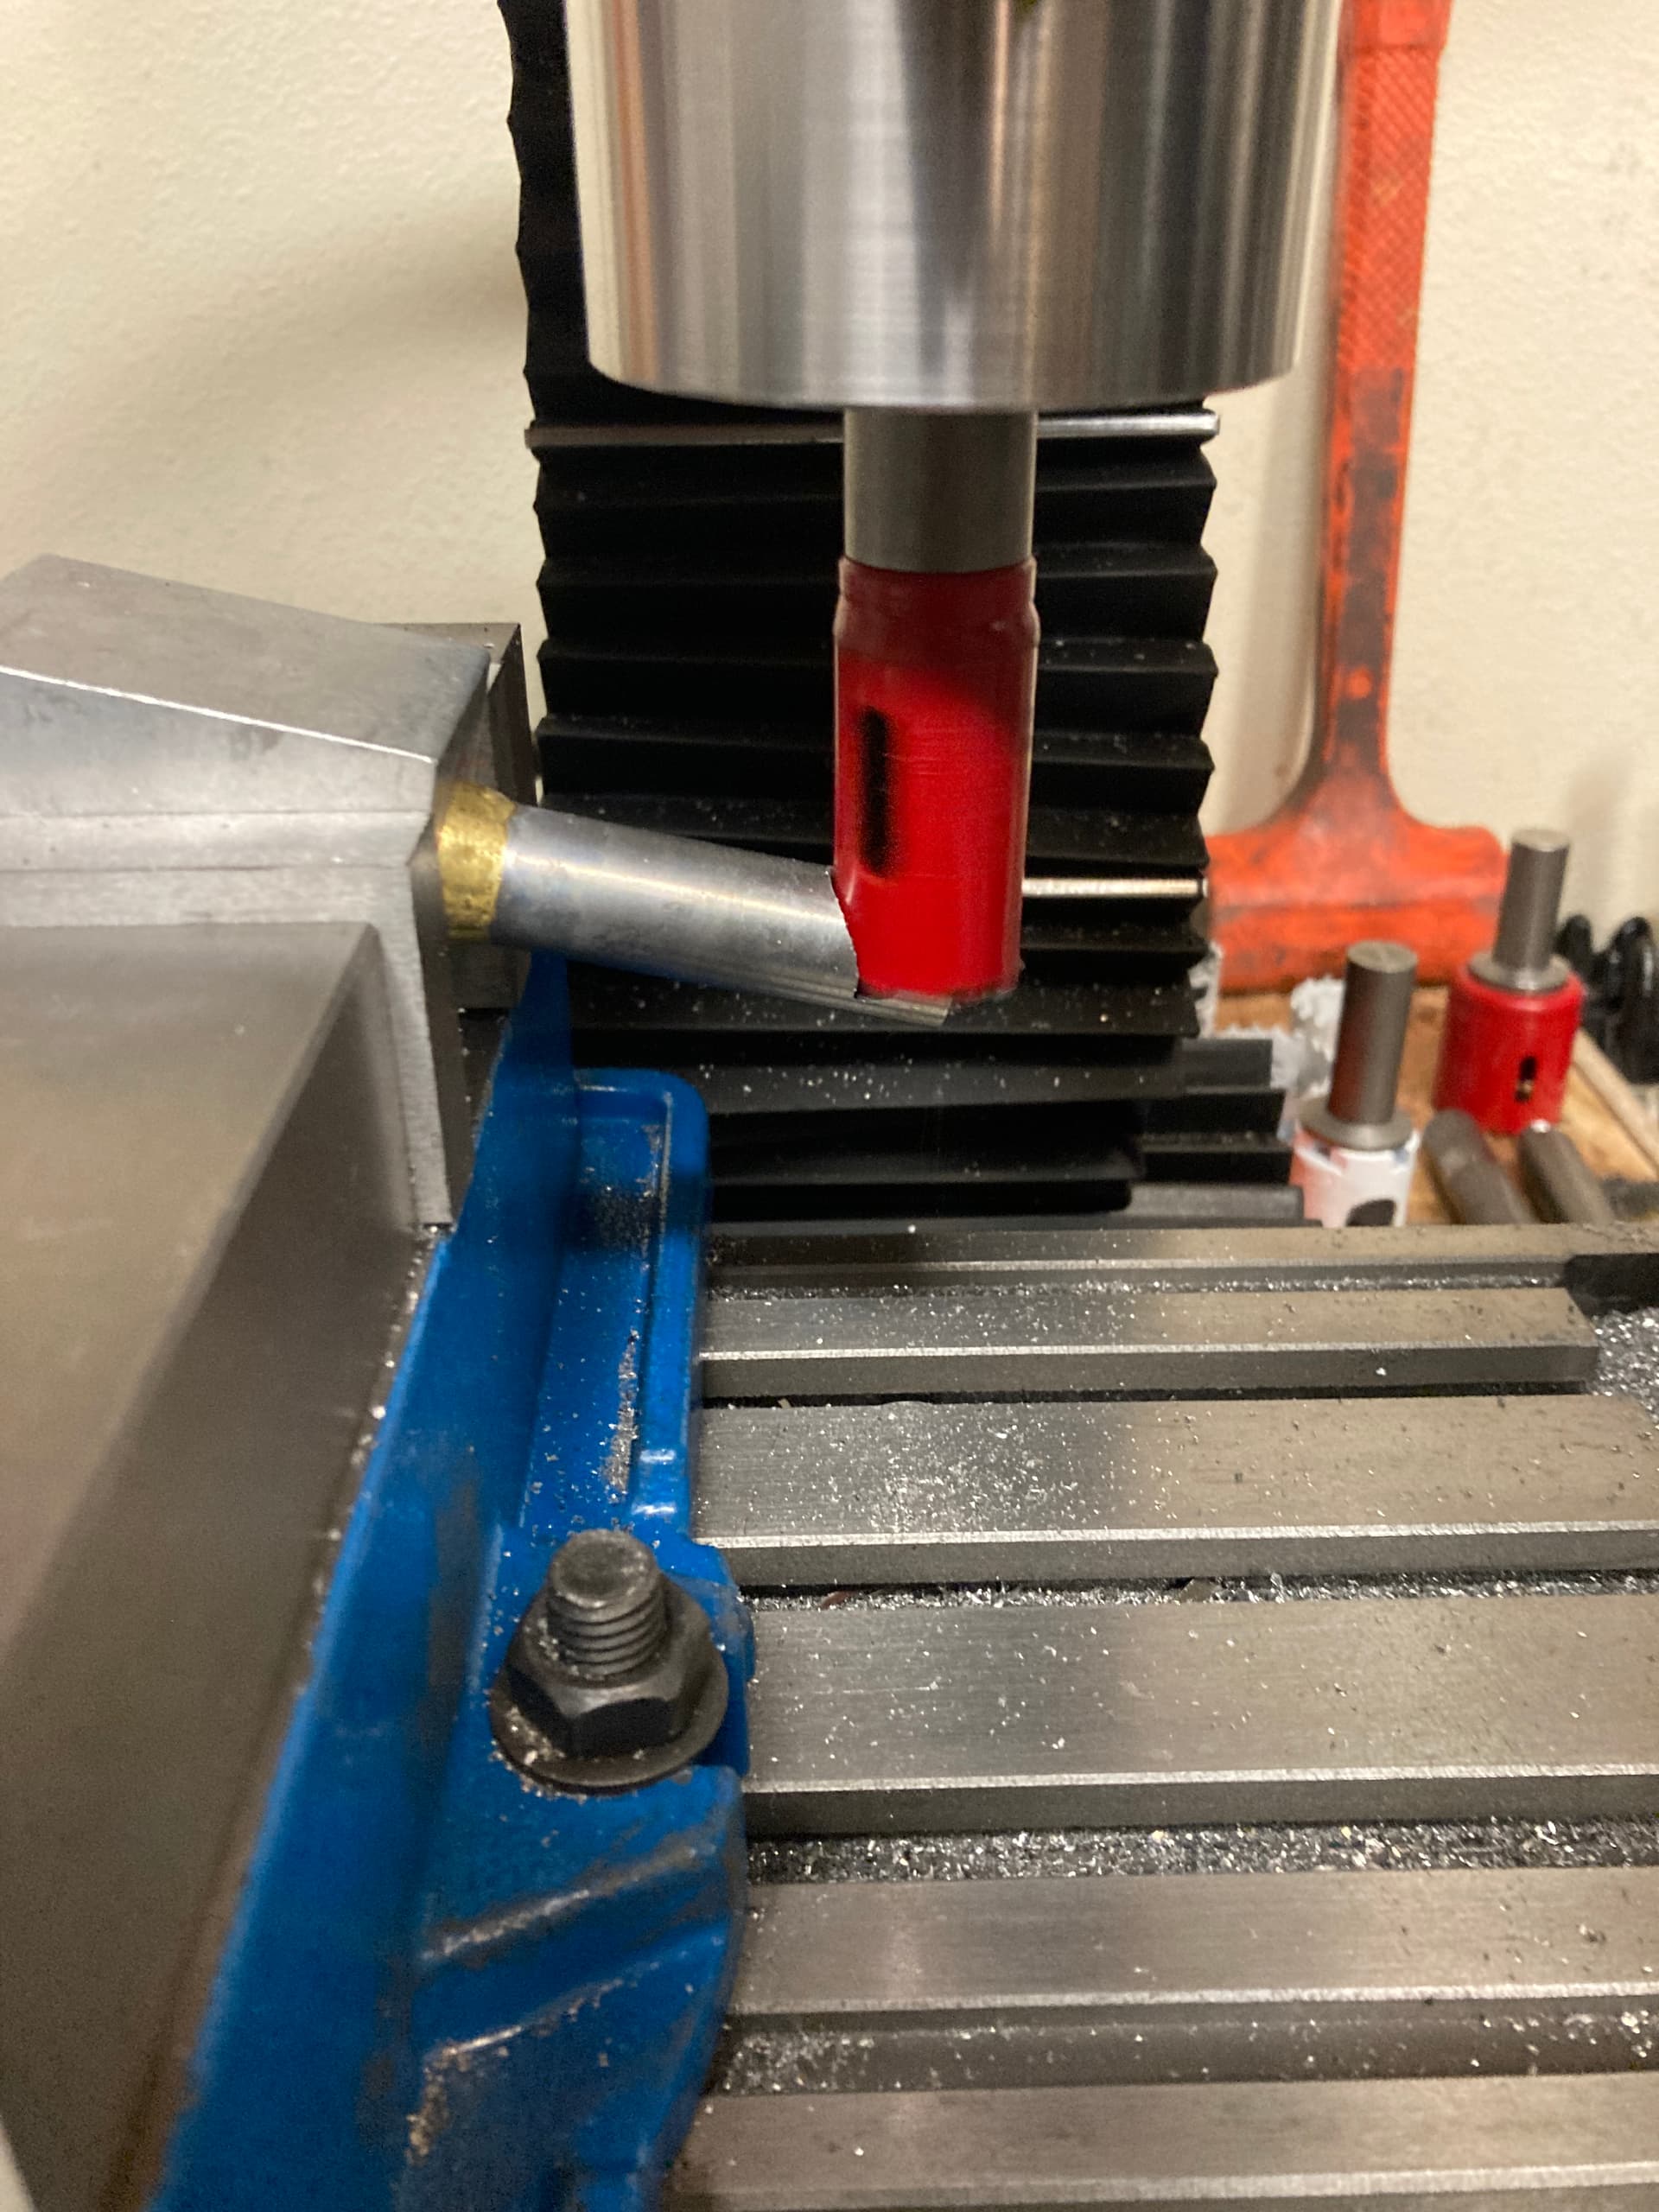
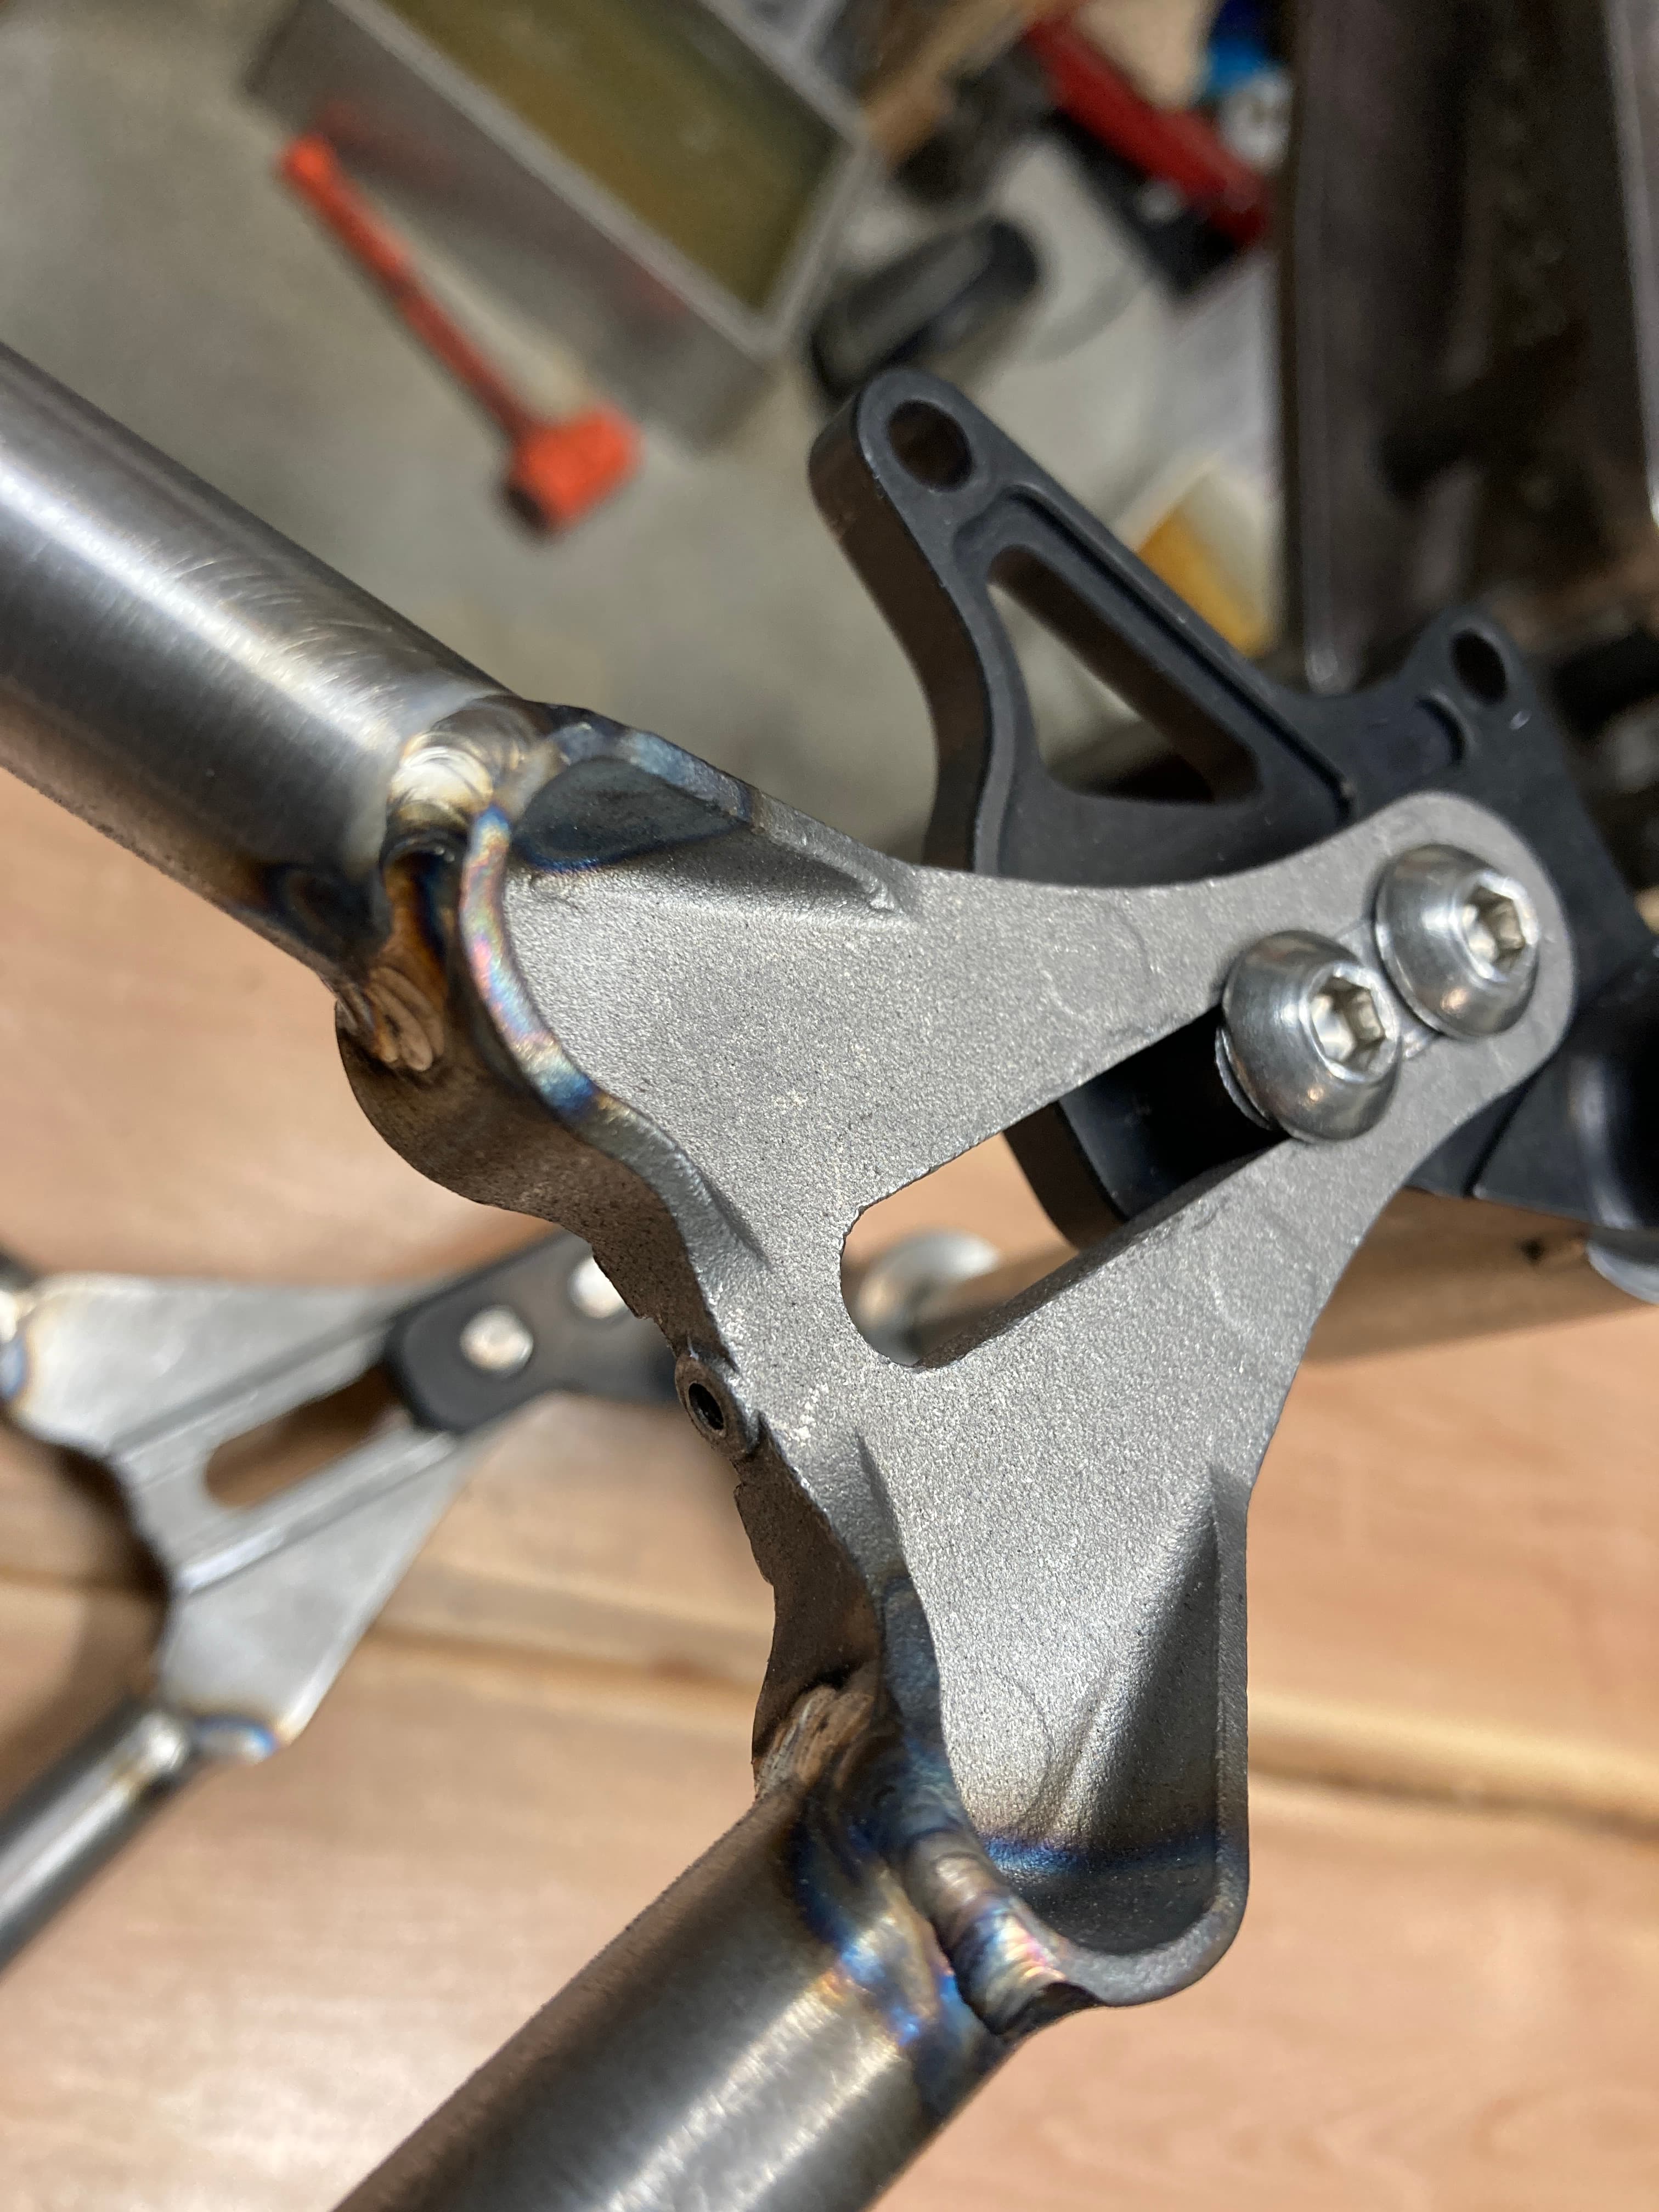
Late request for rear rack mounts, I prefer using bottle bosses but this was easier at this stage
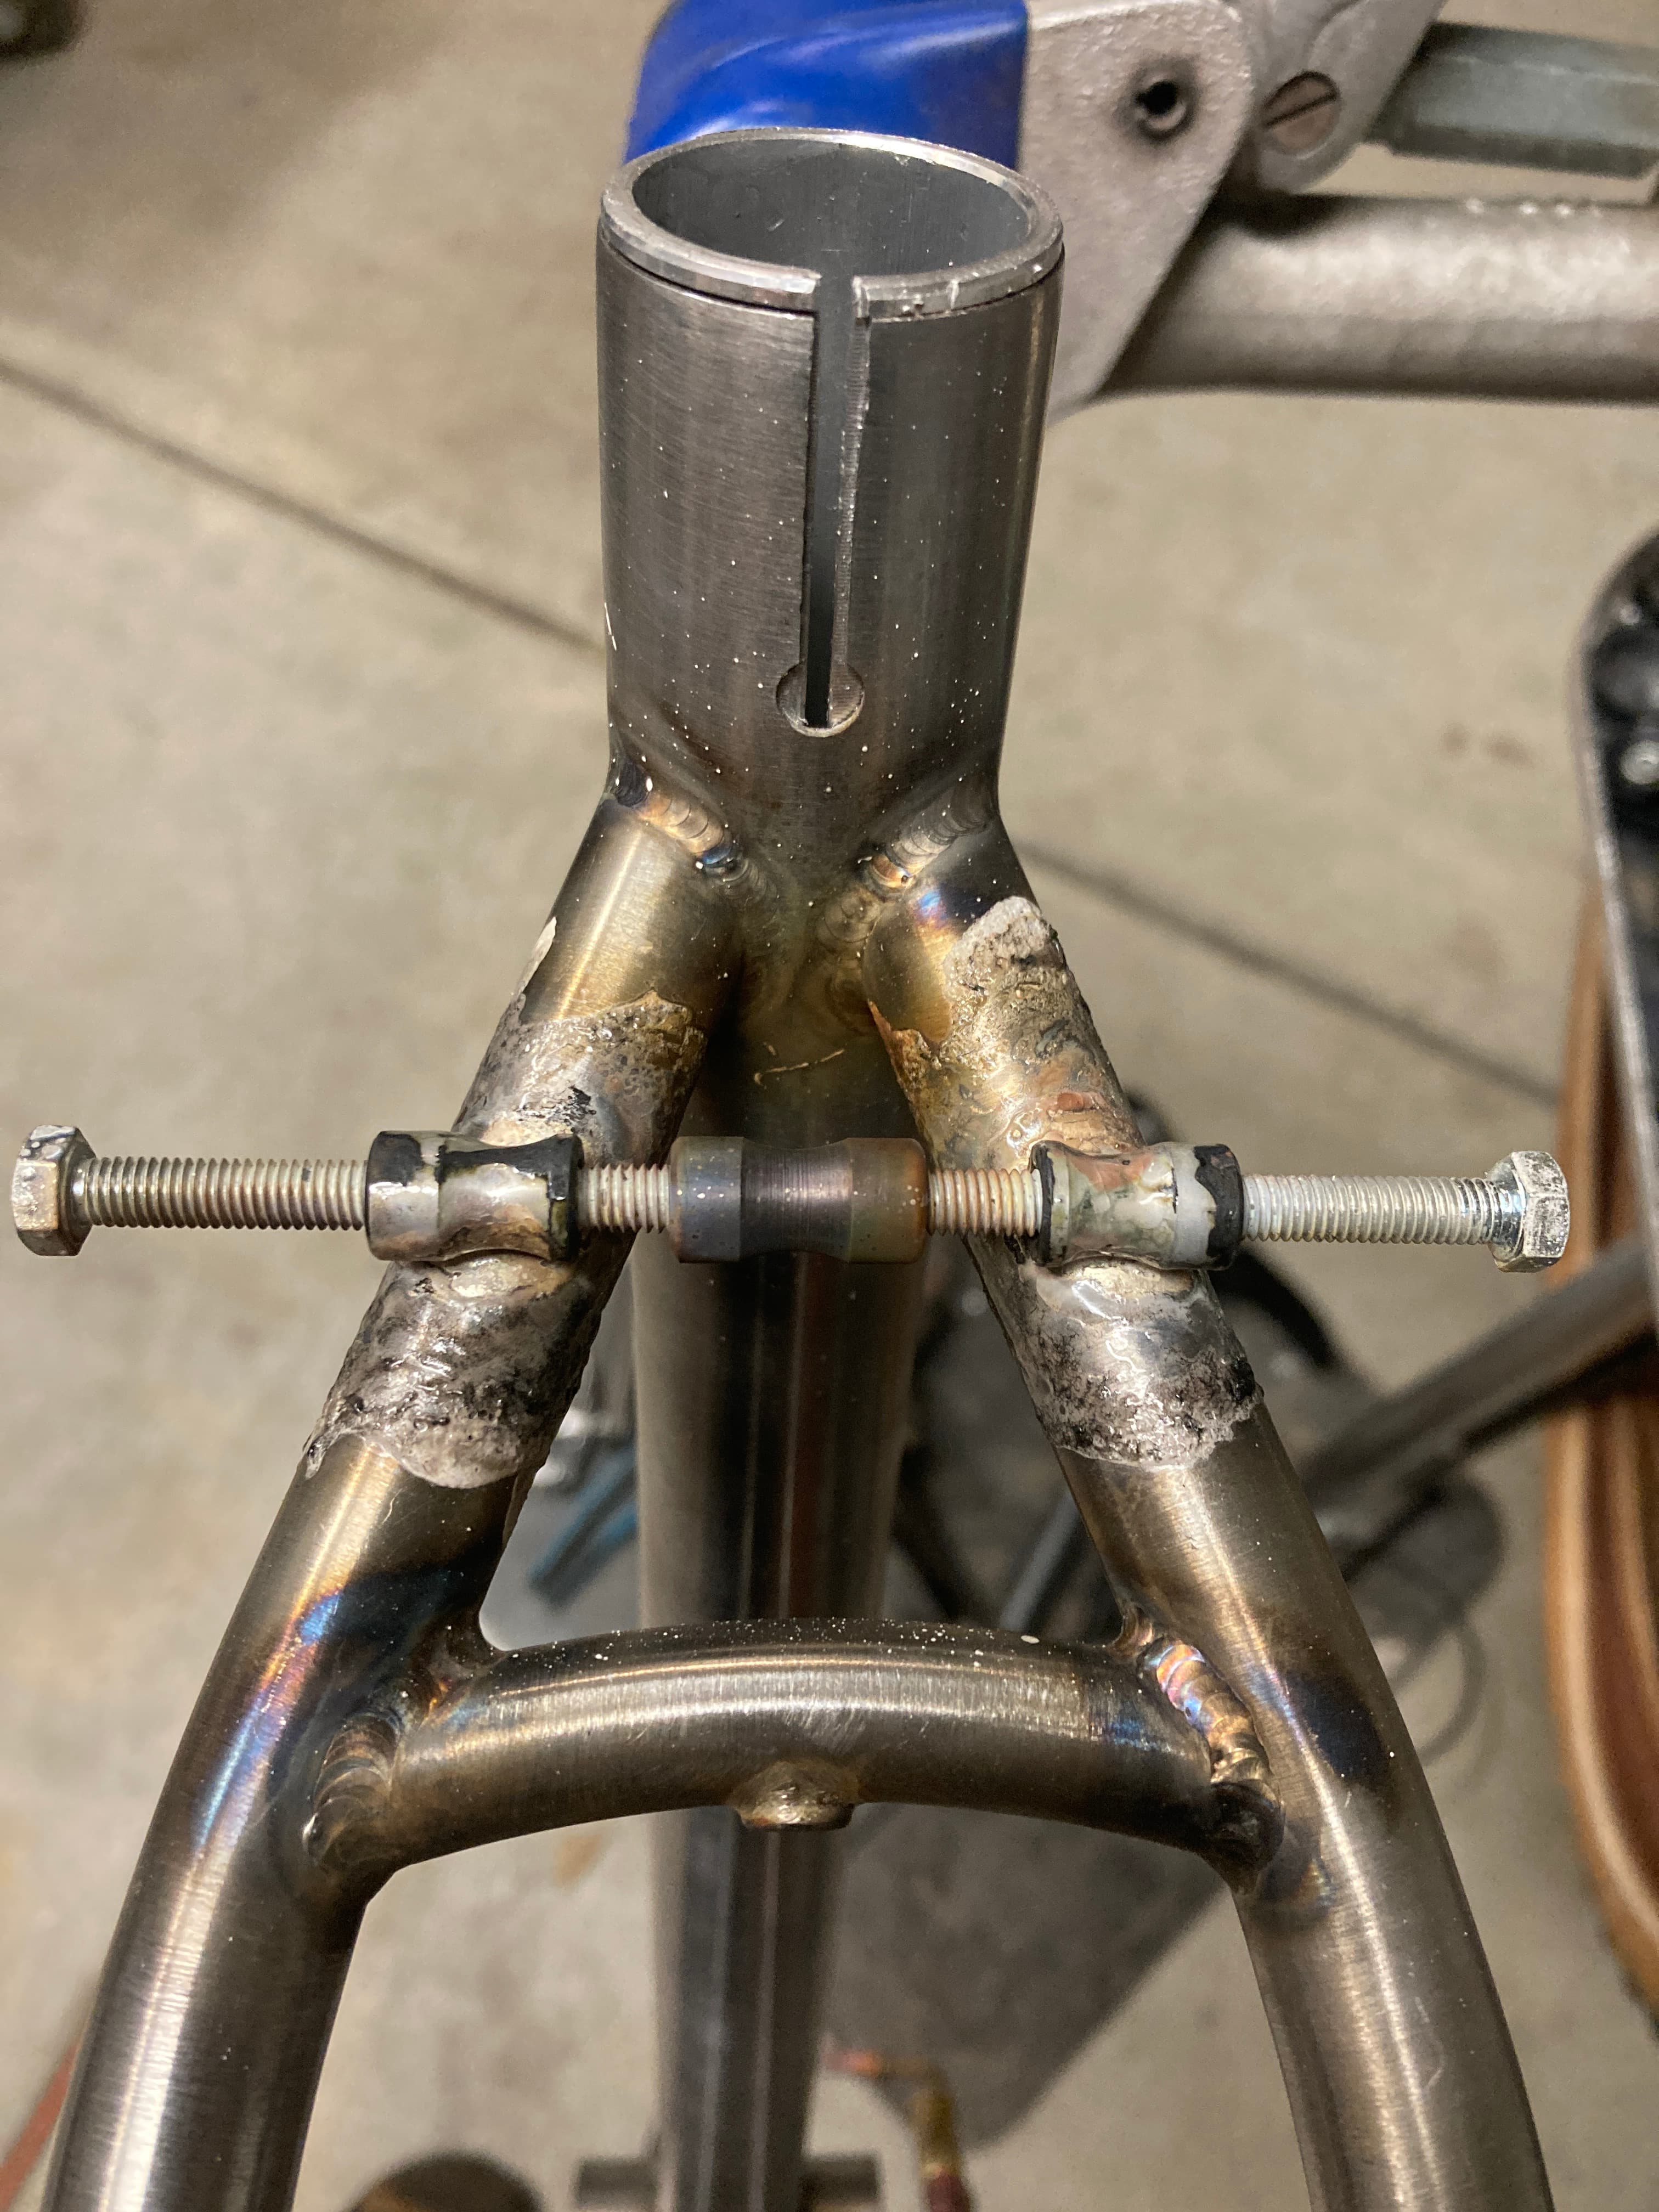
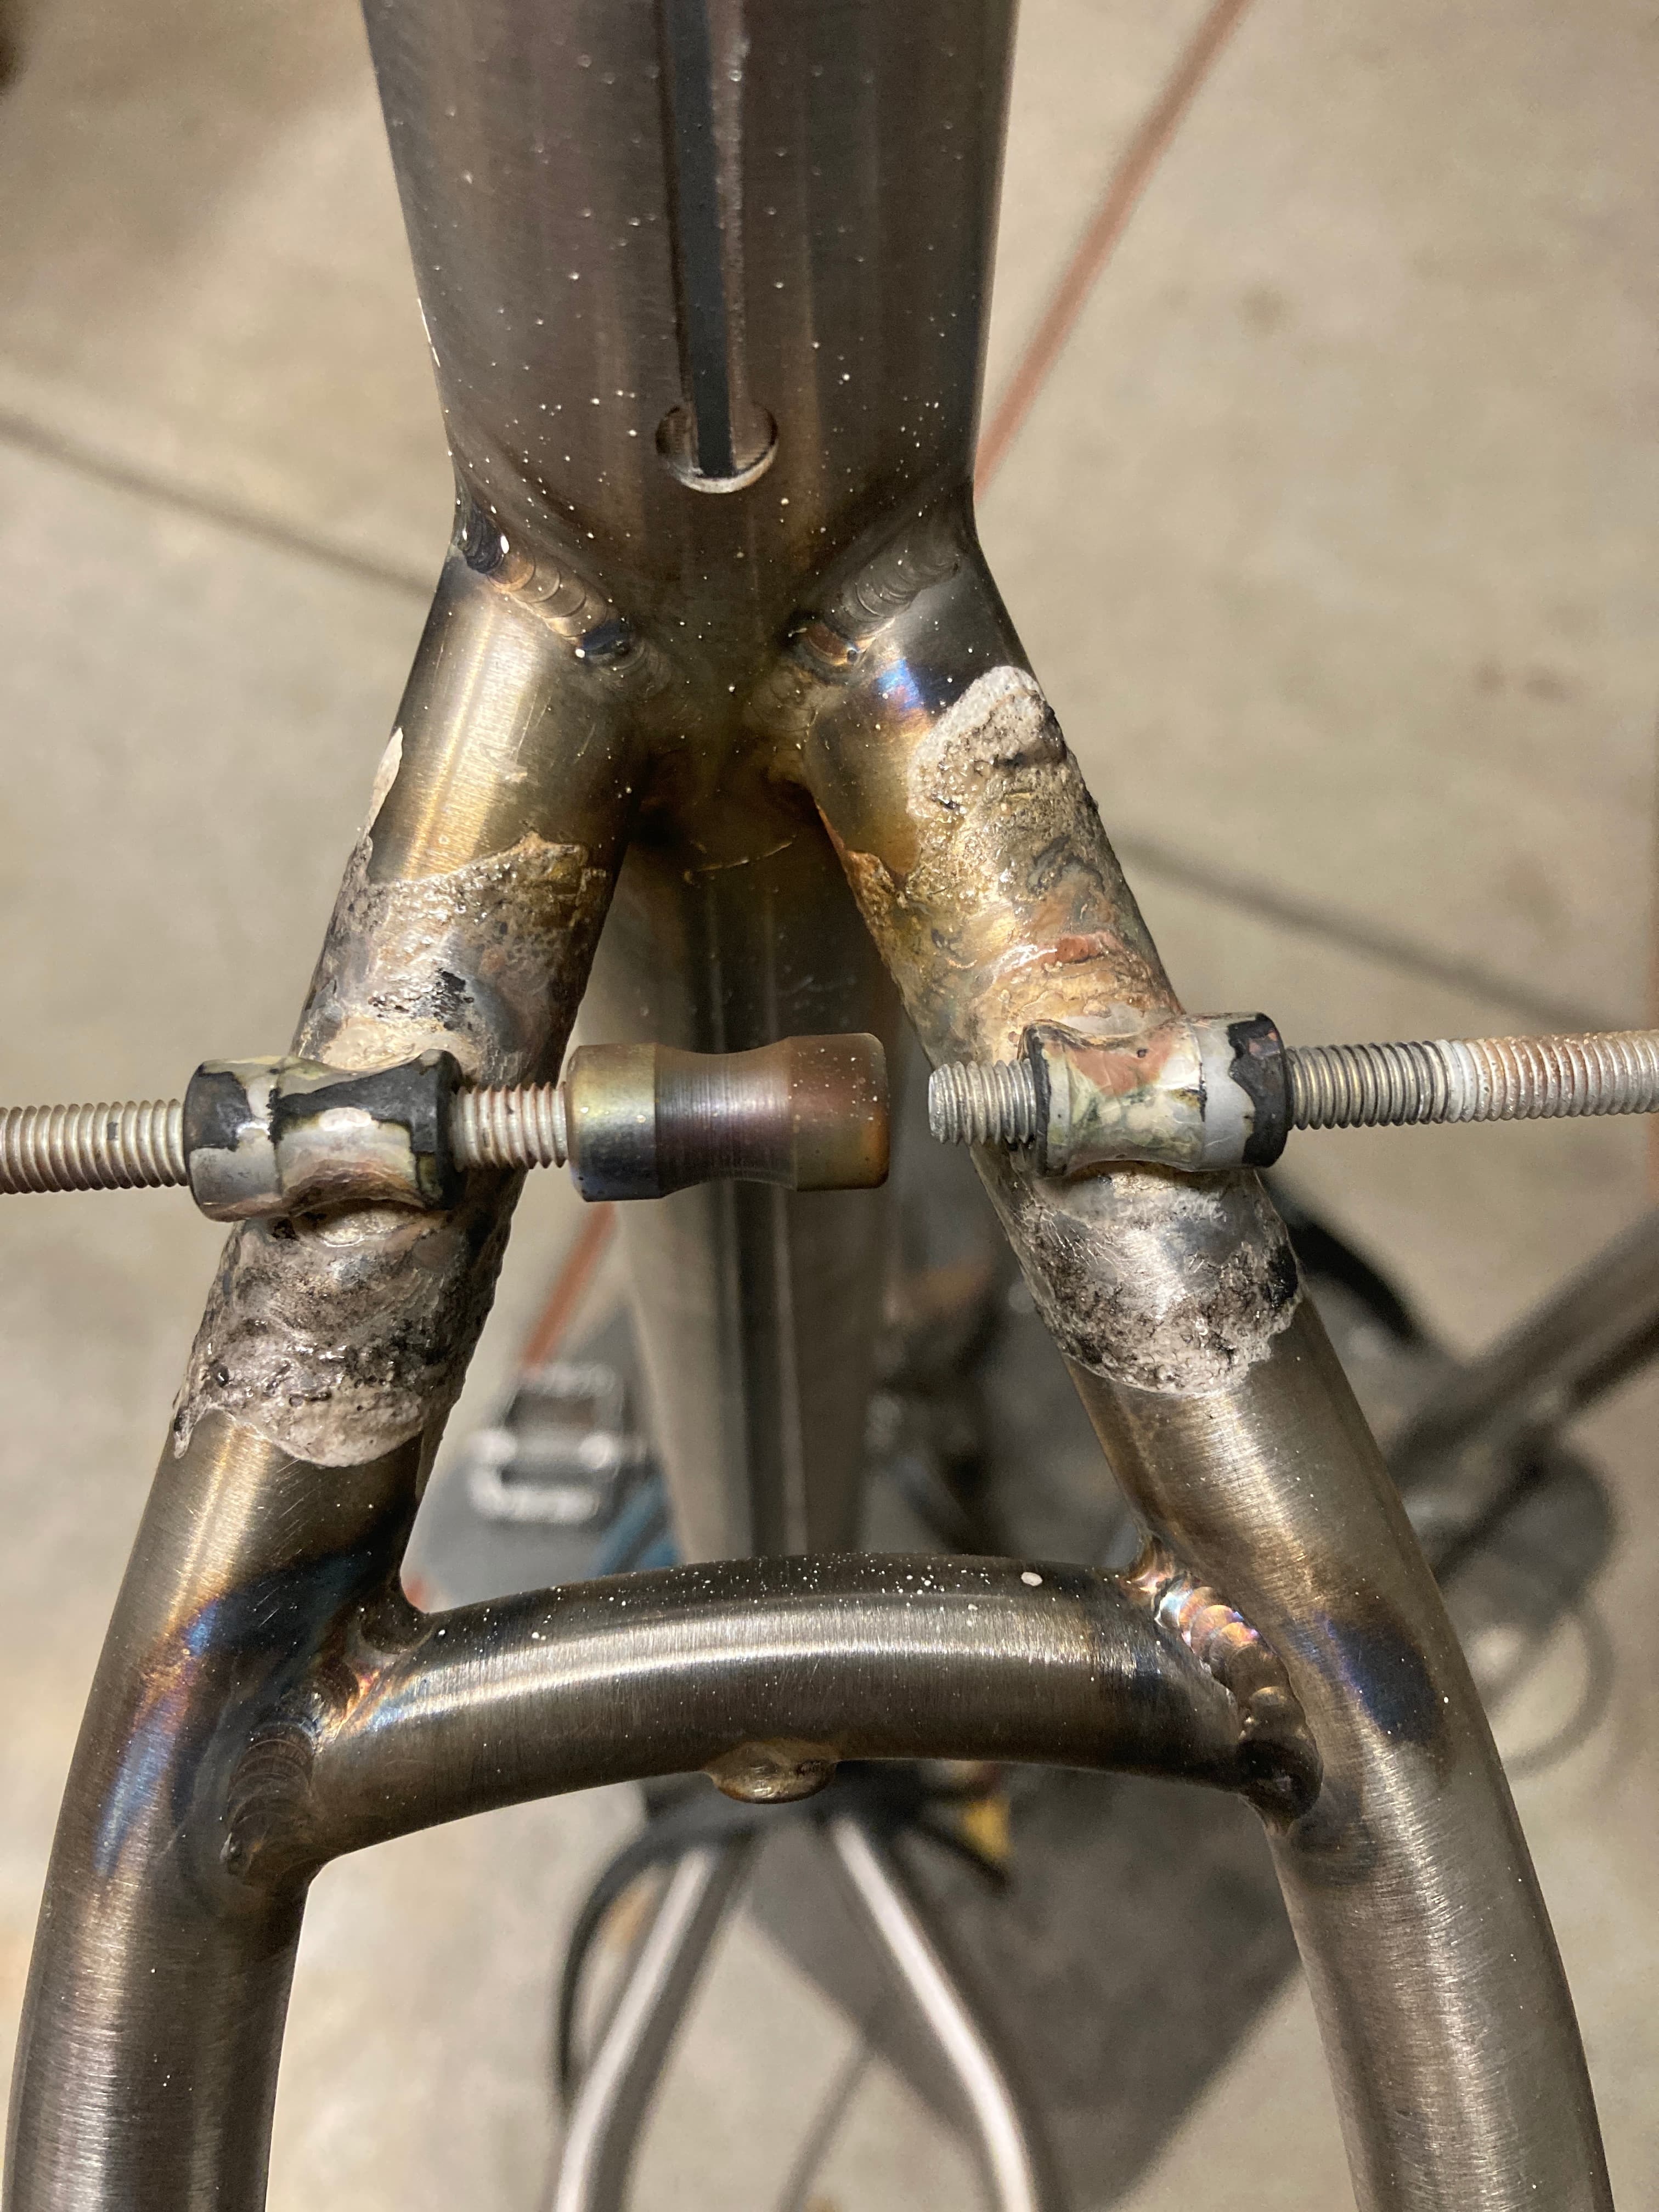
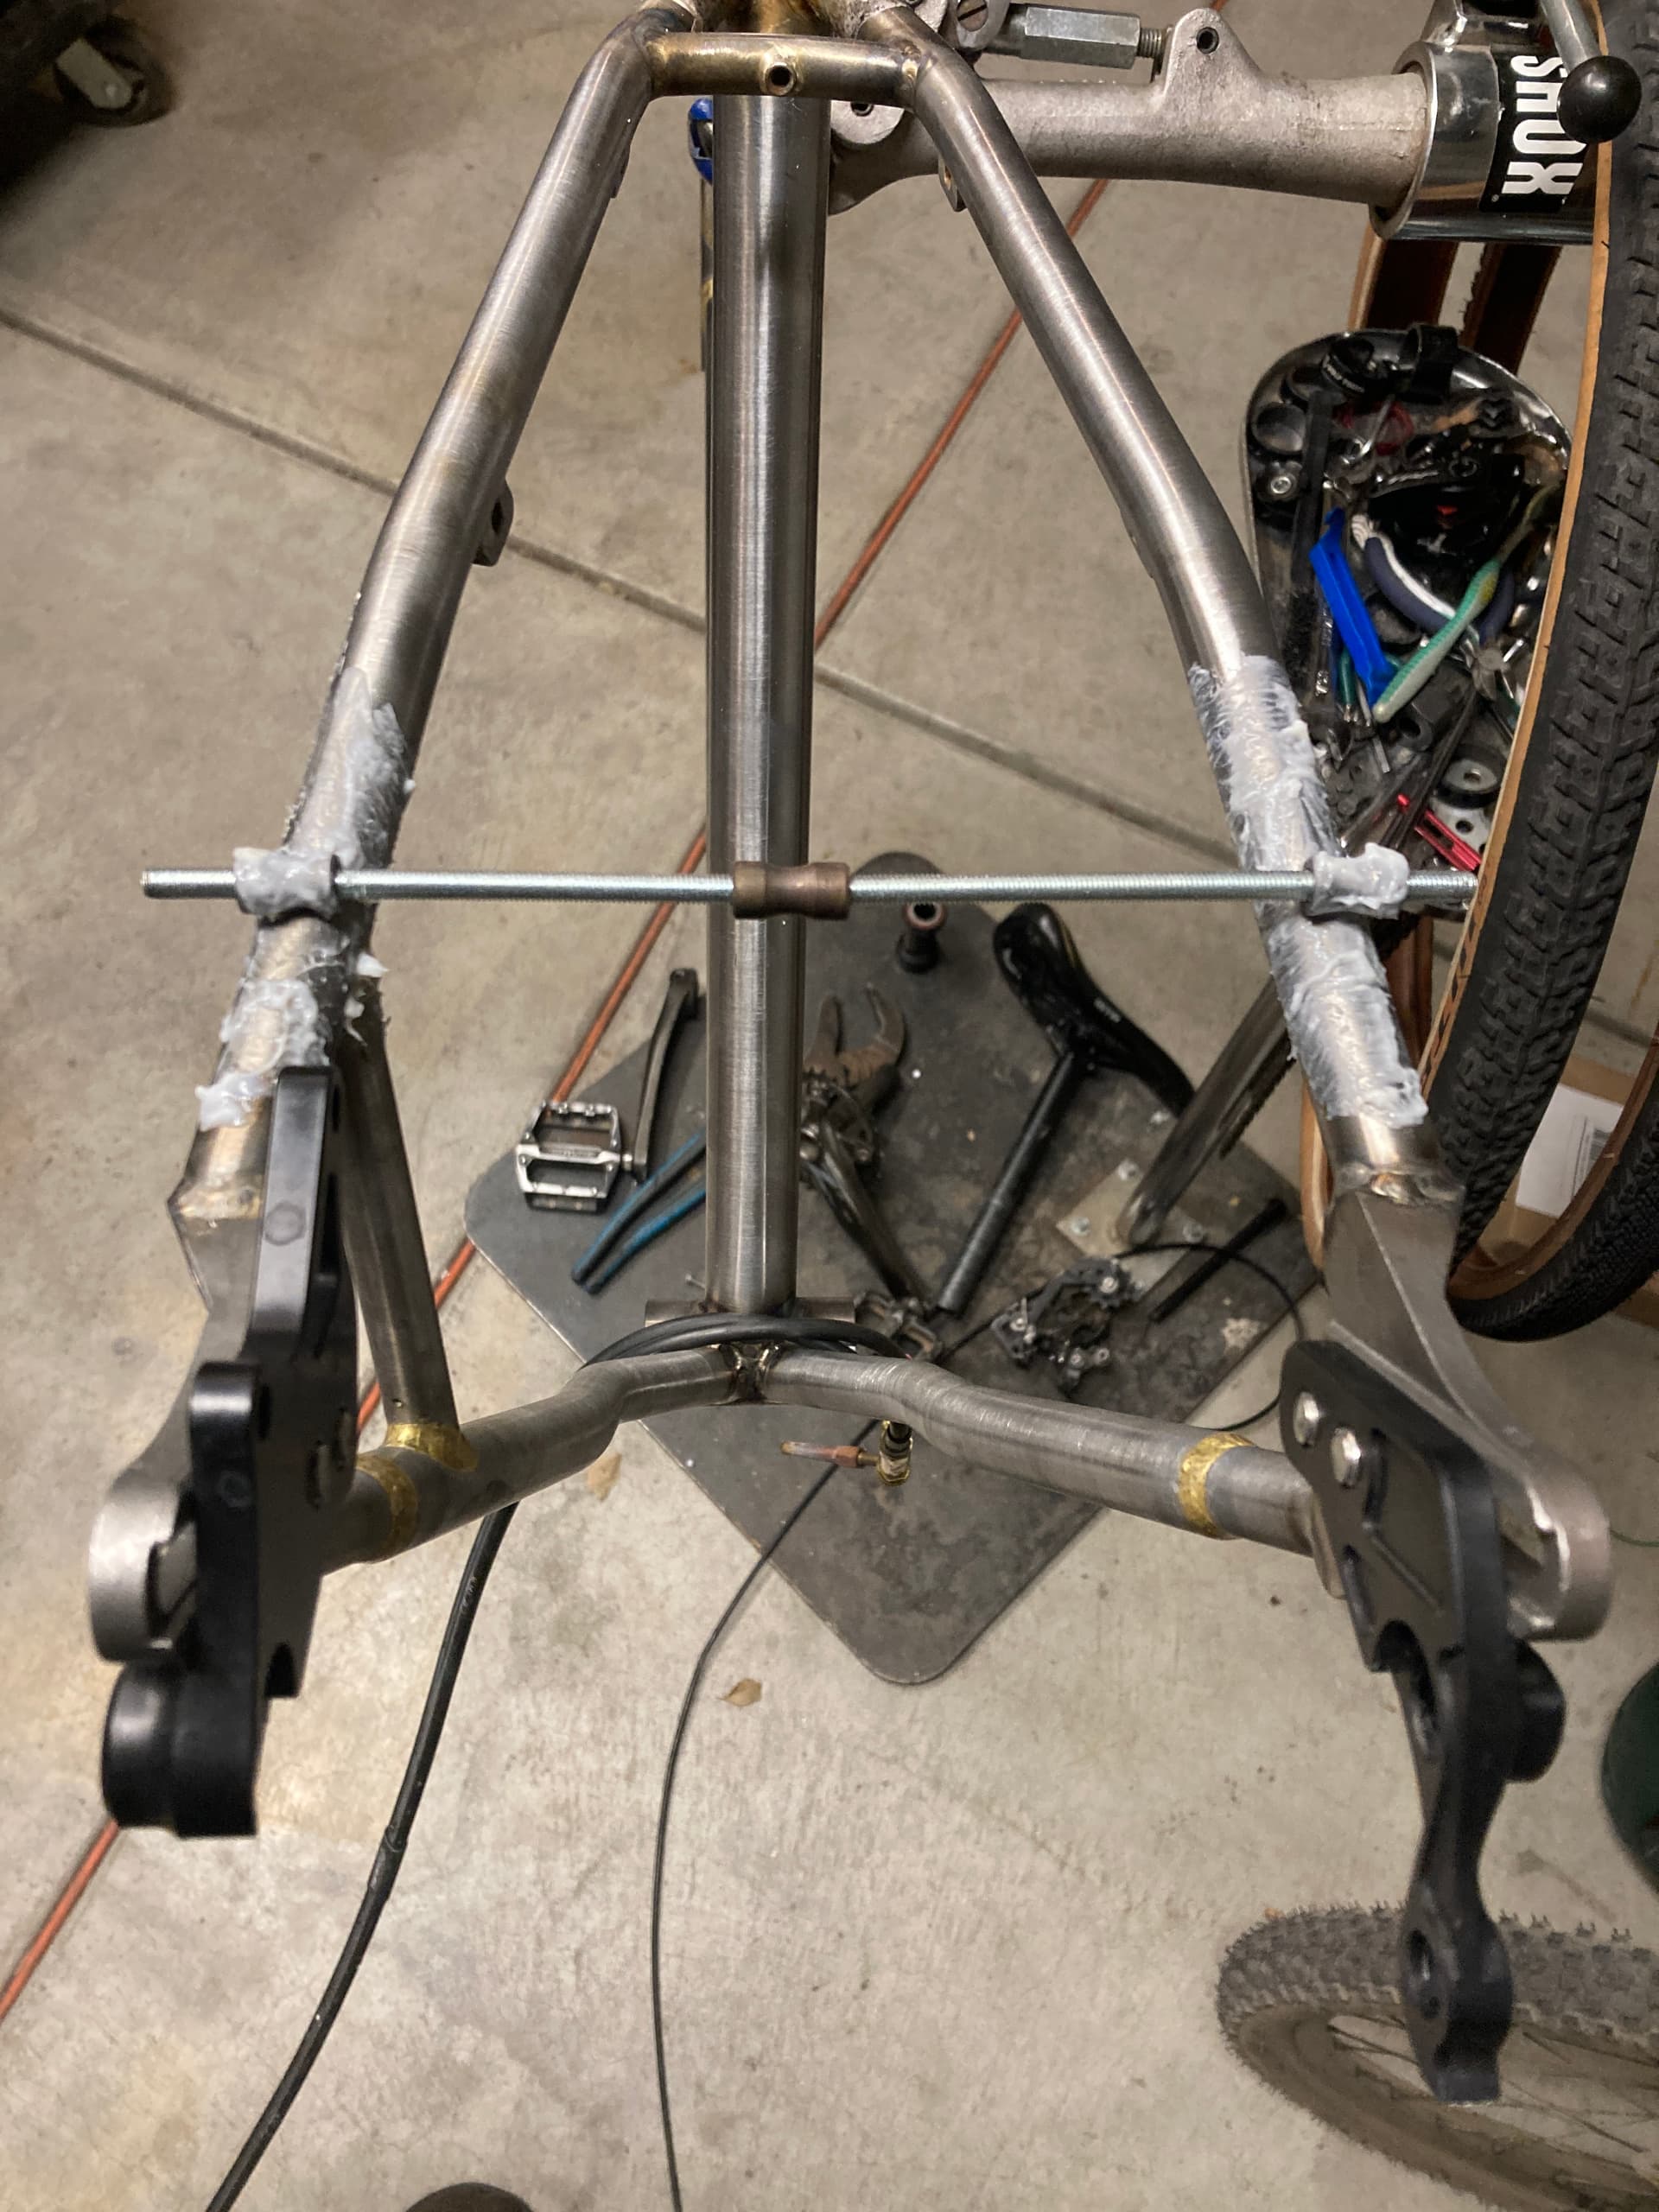
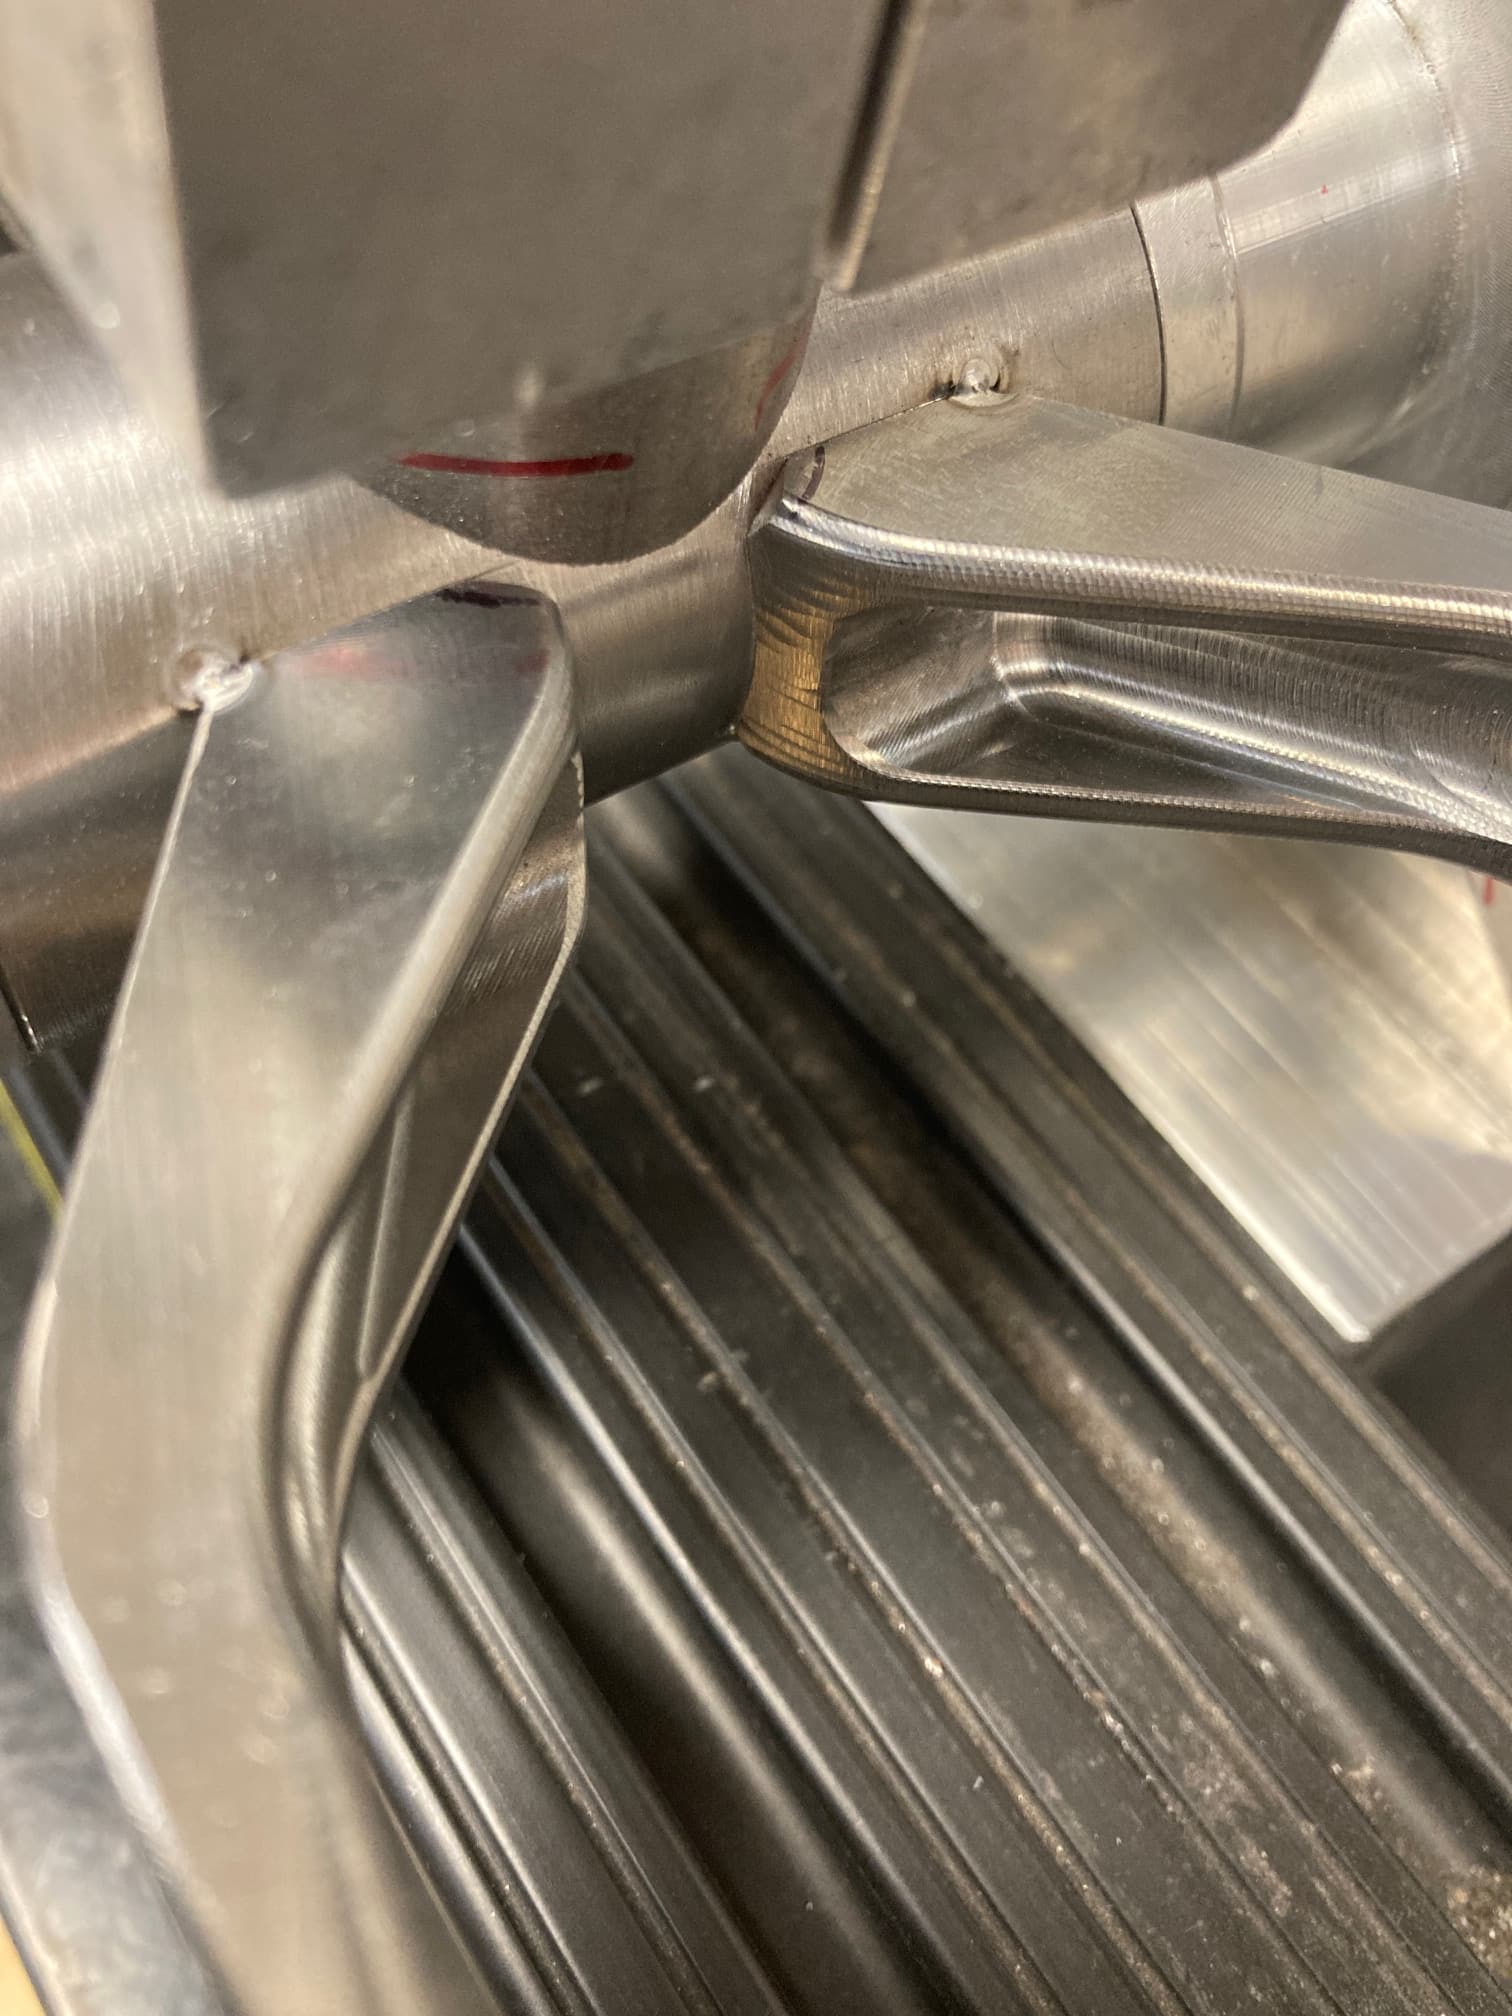
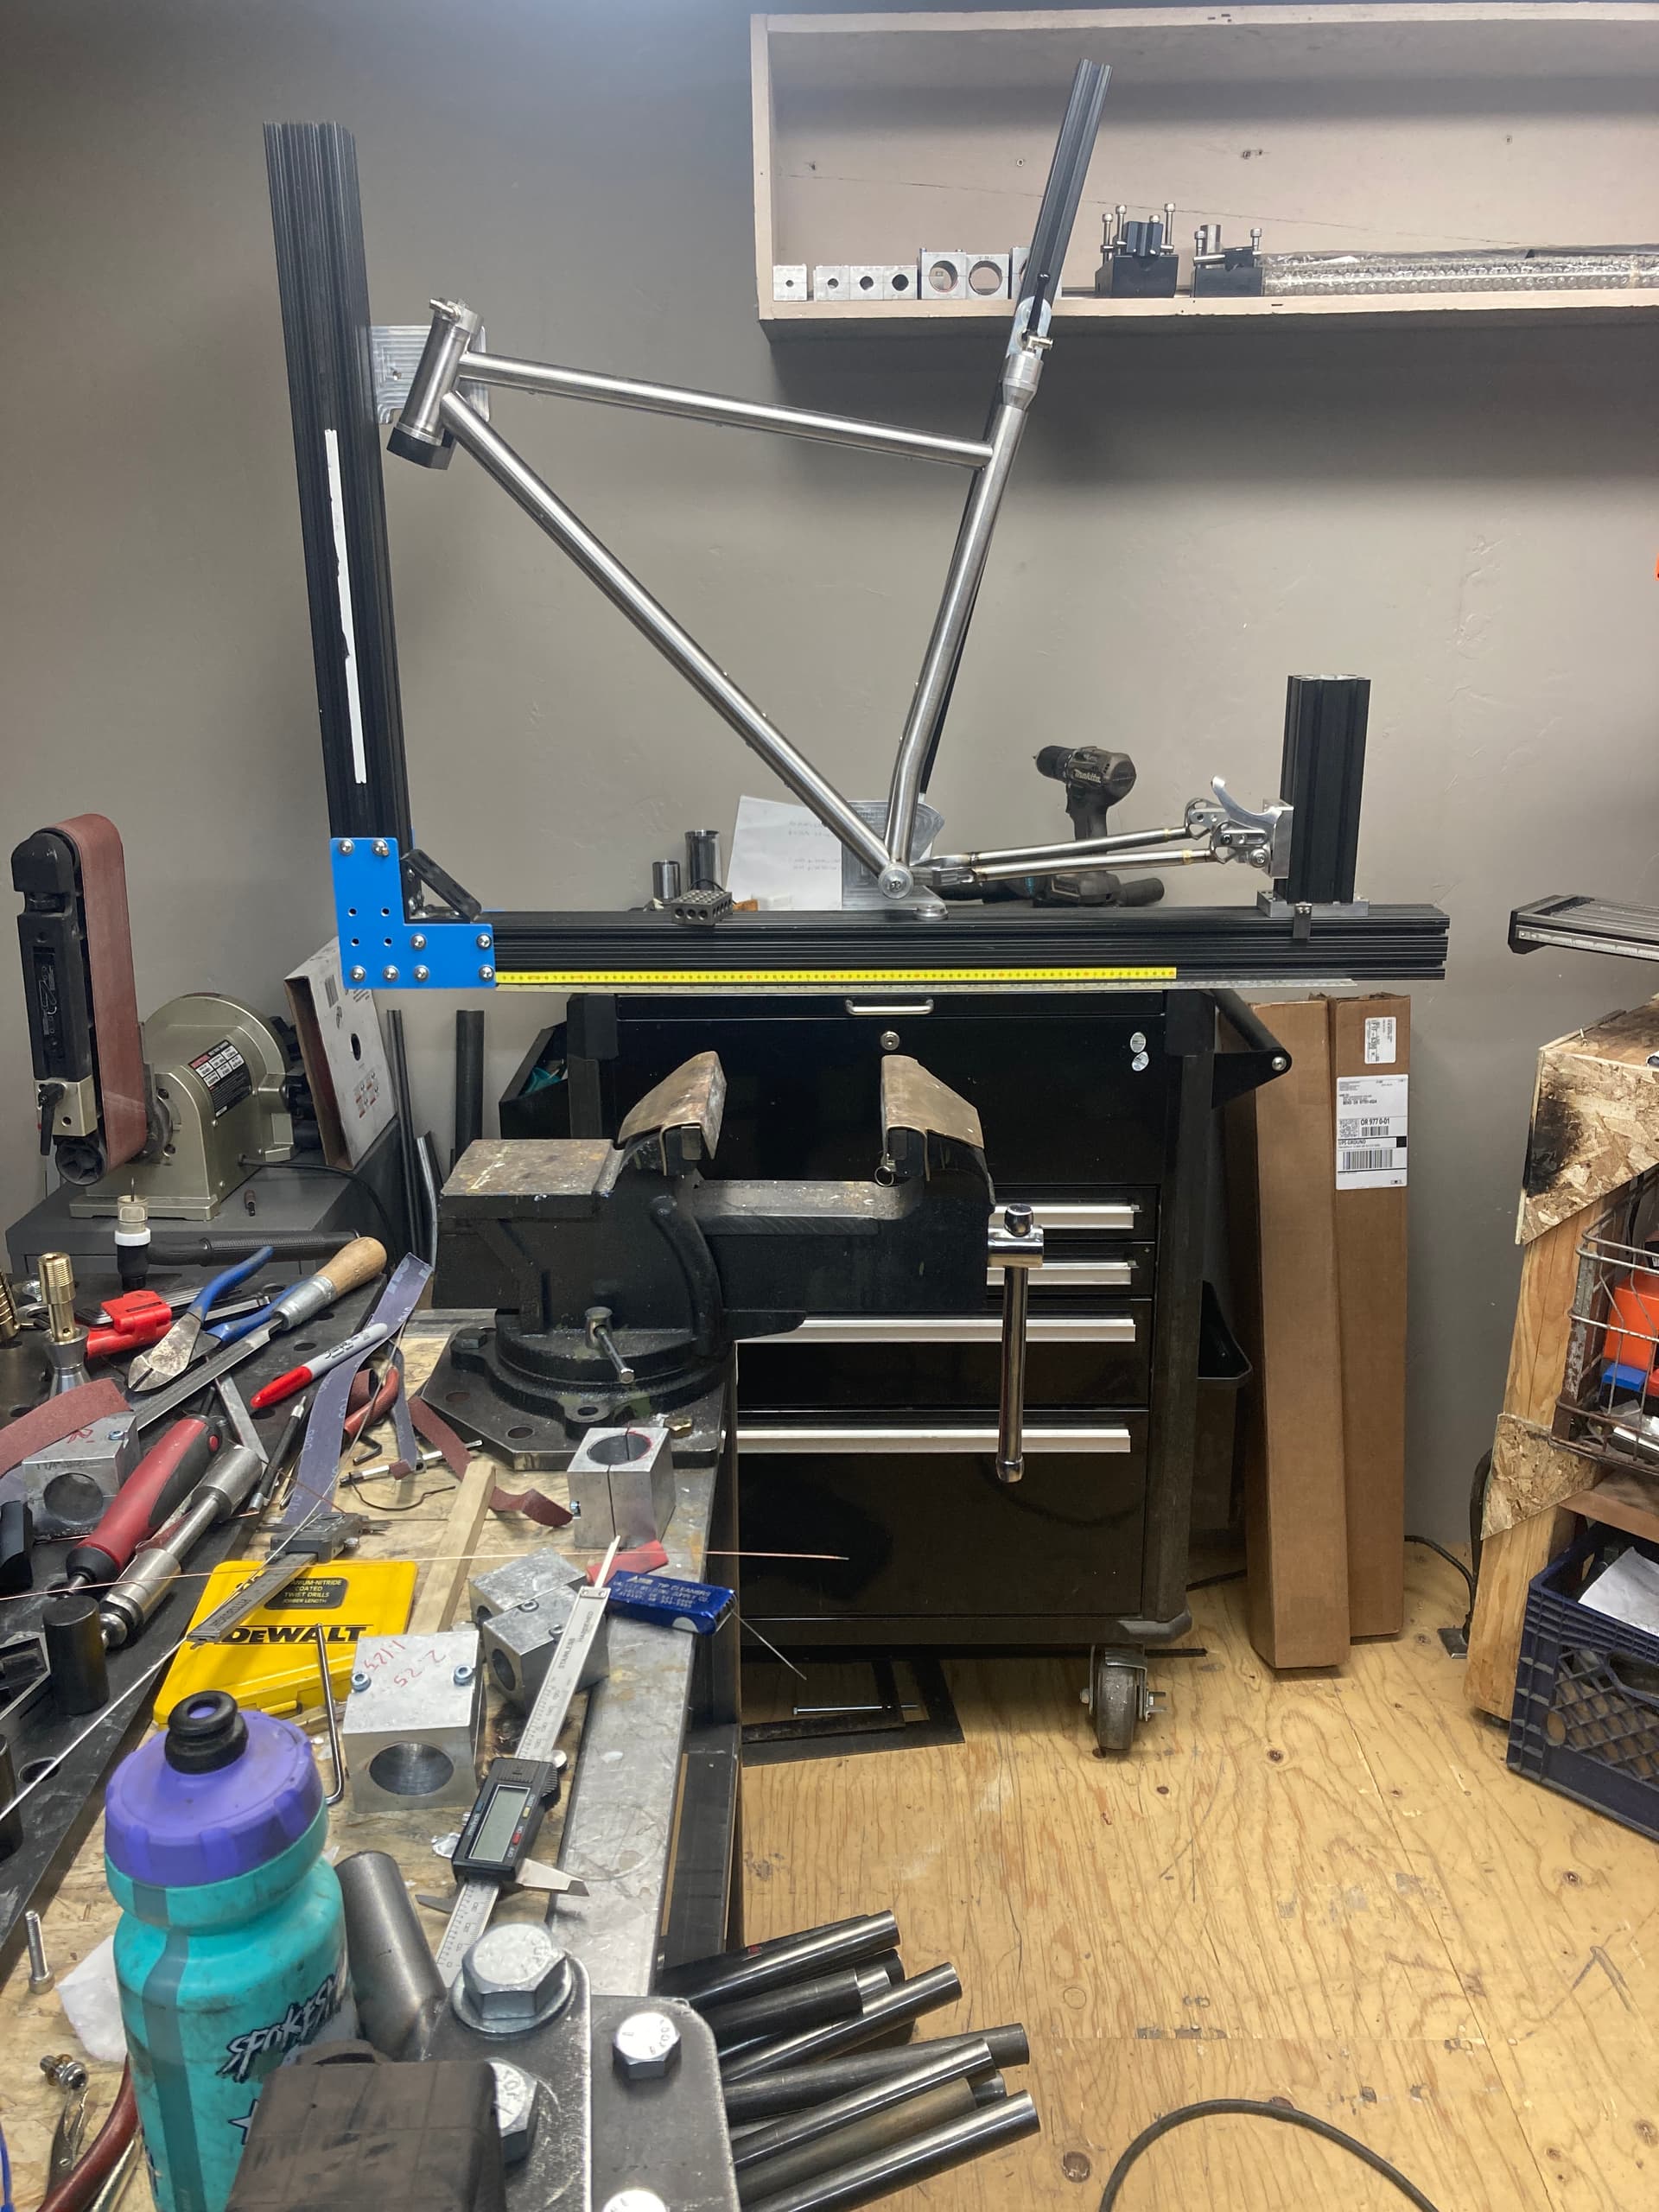
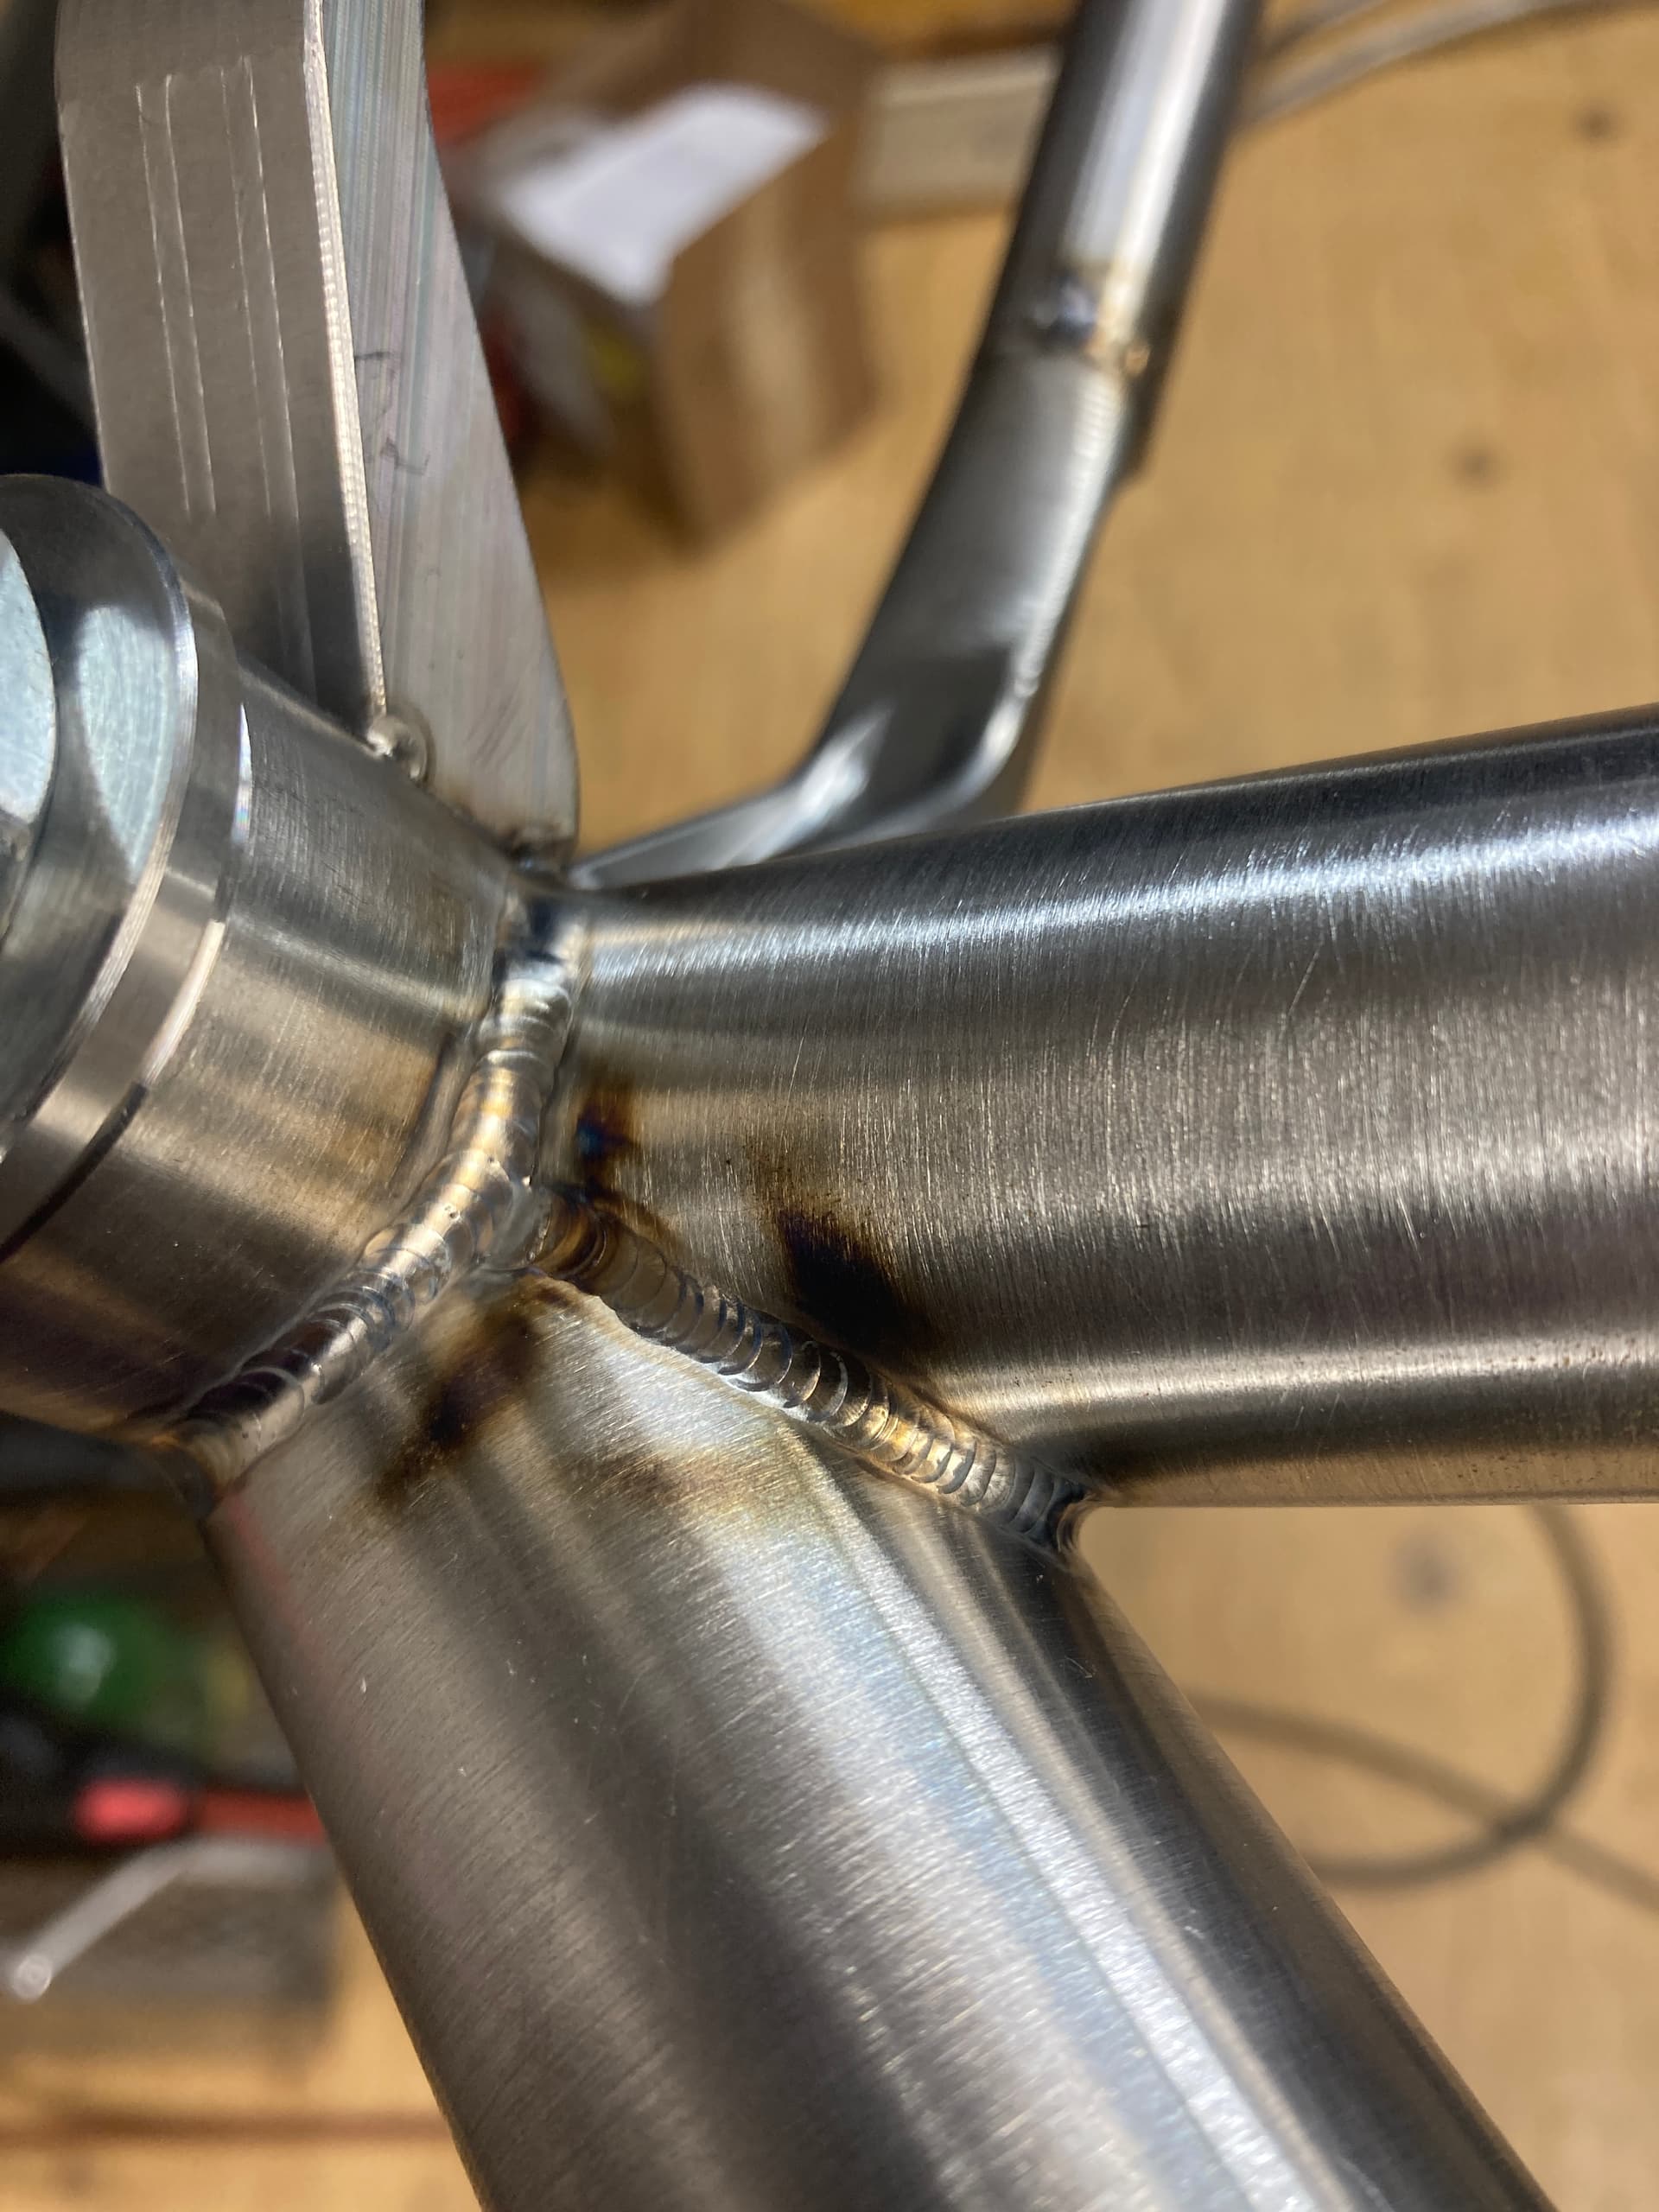
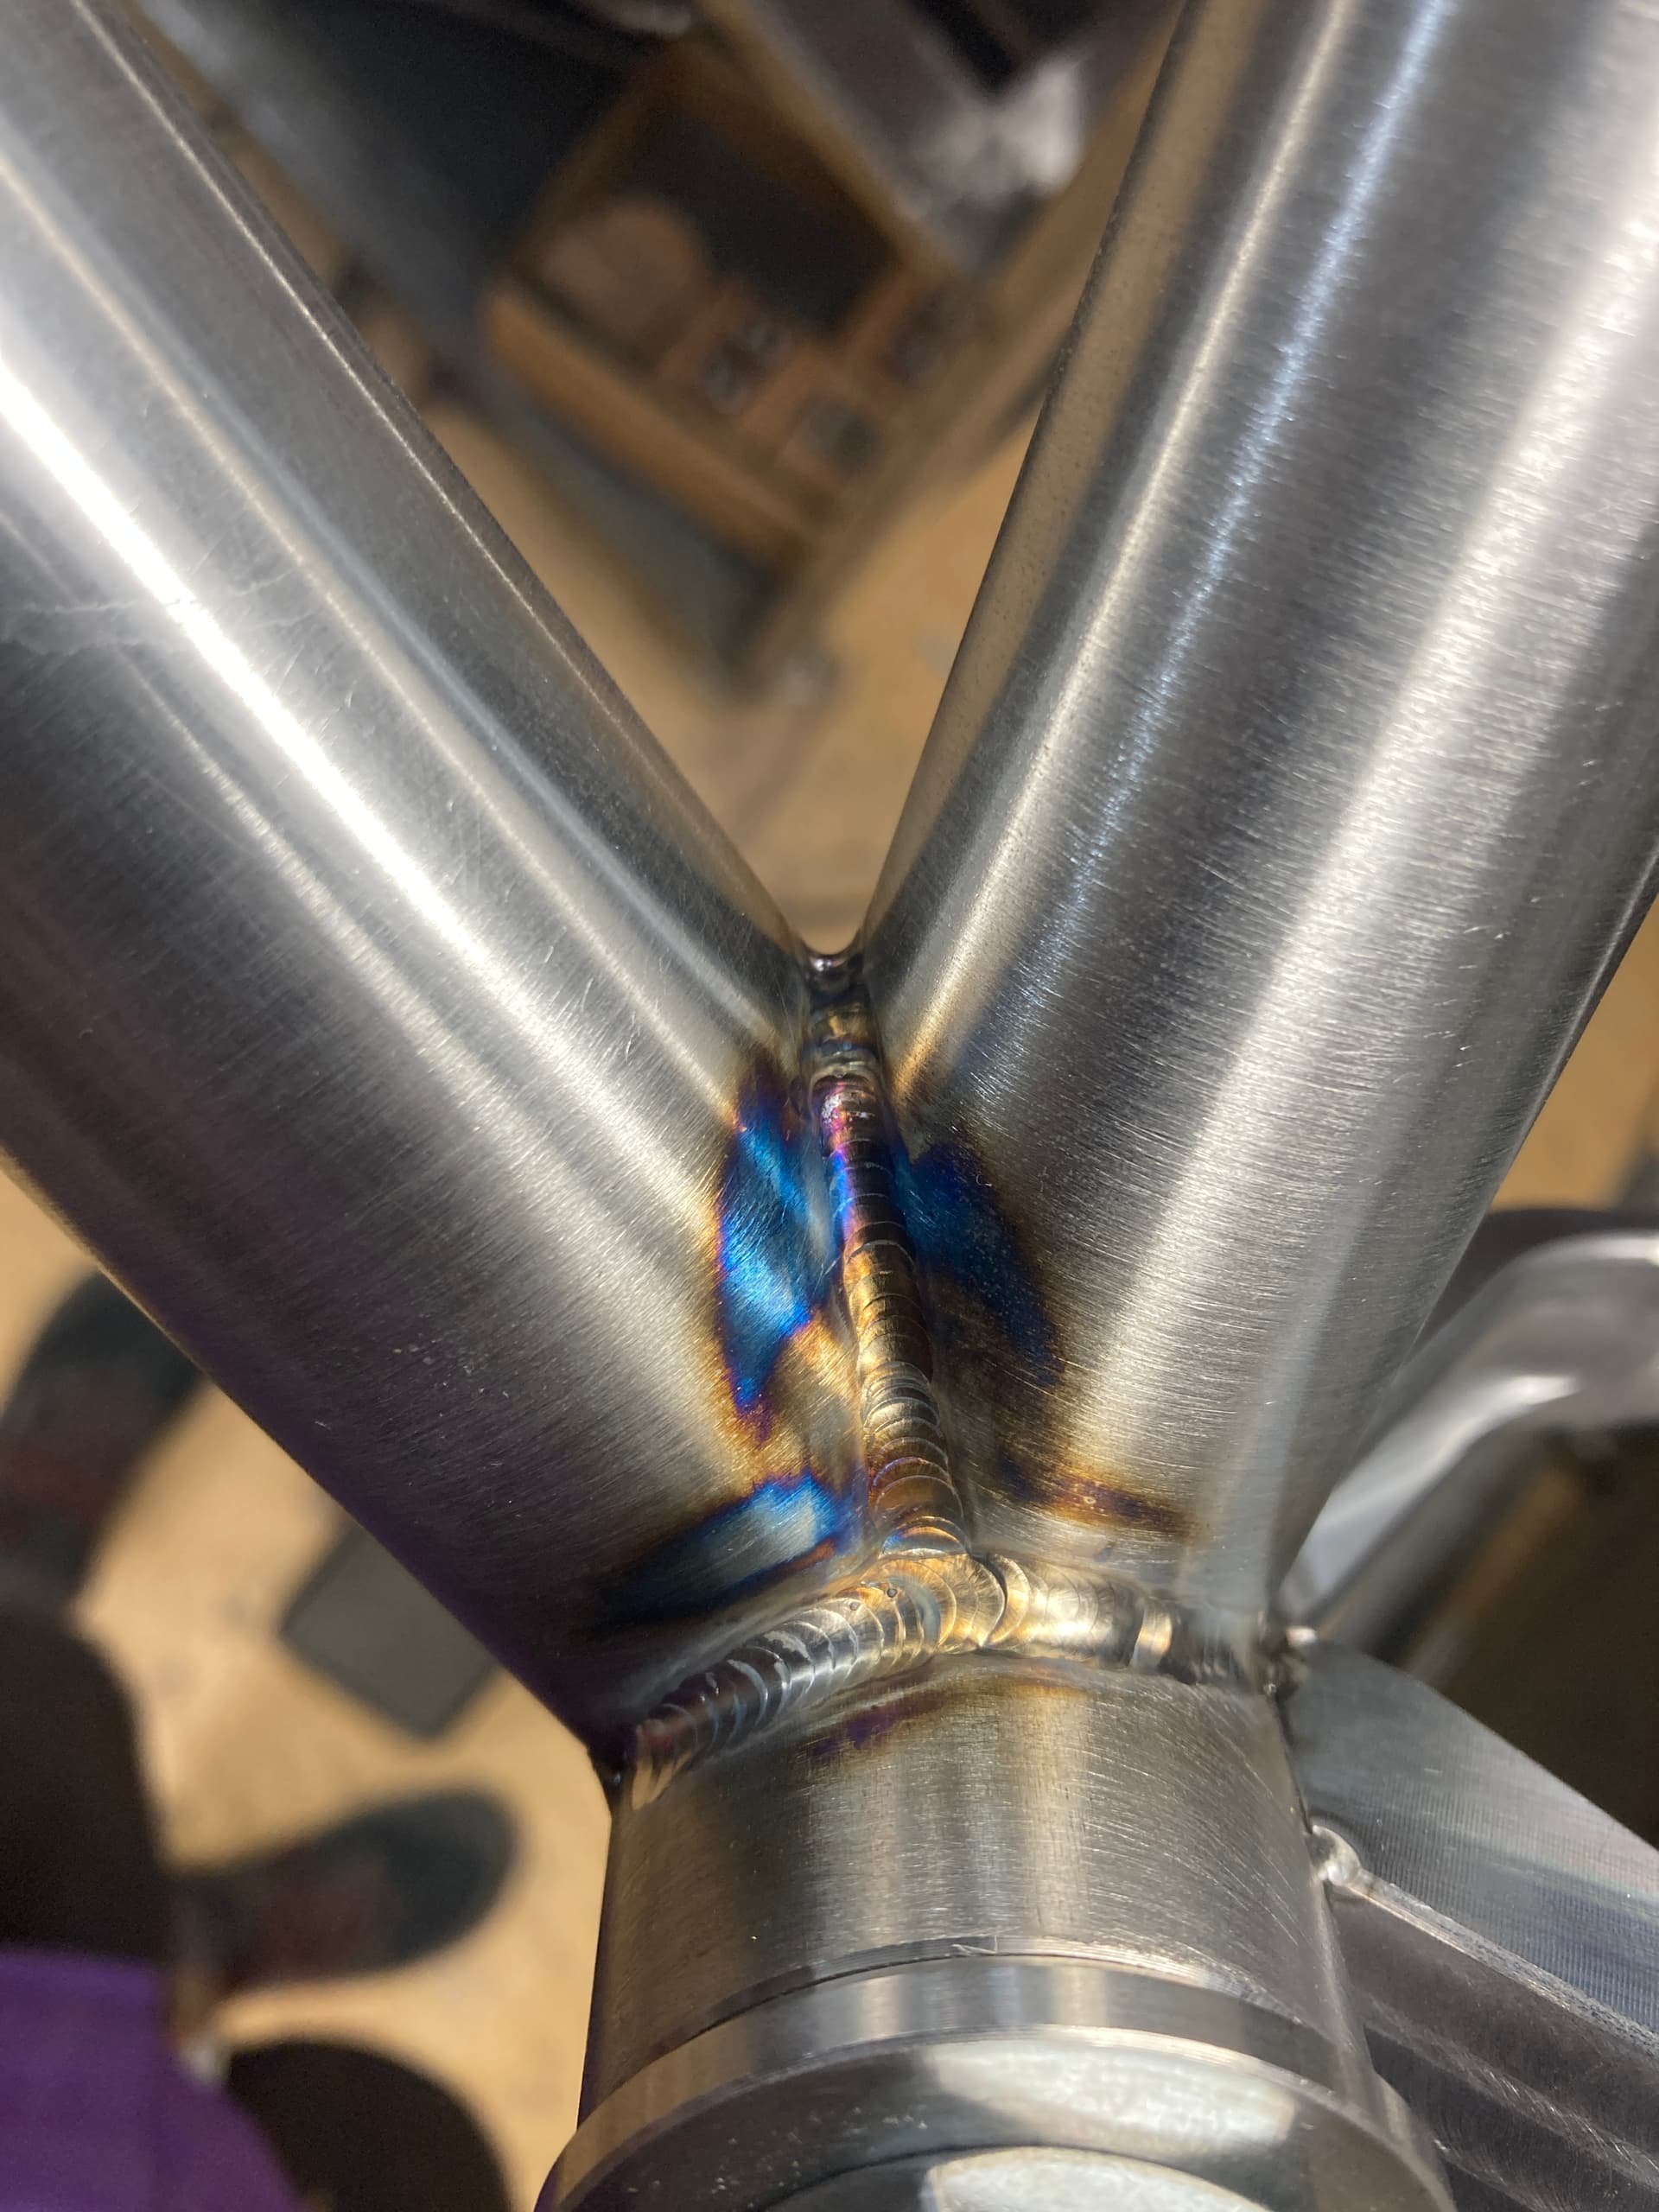
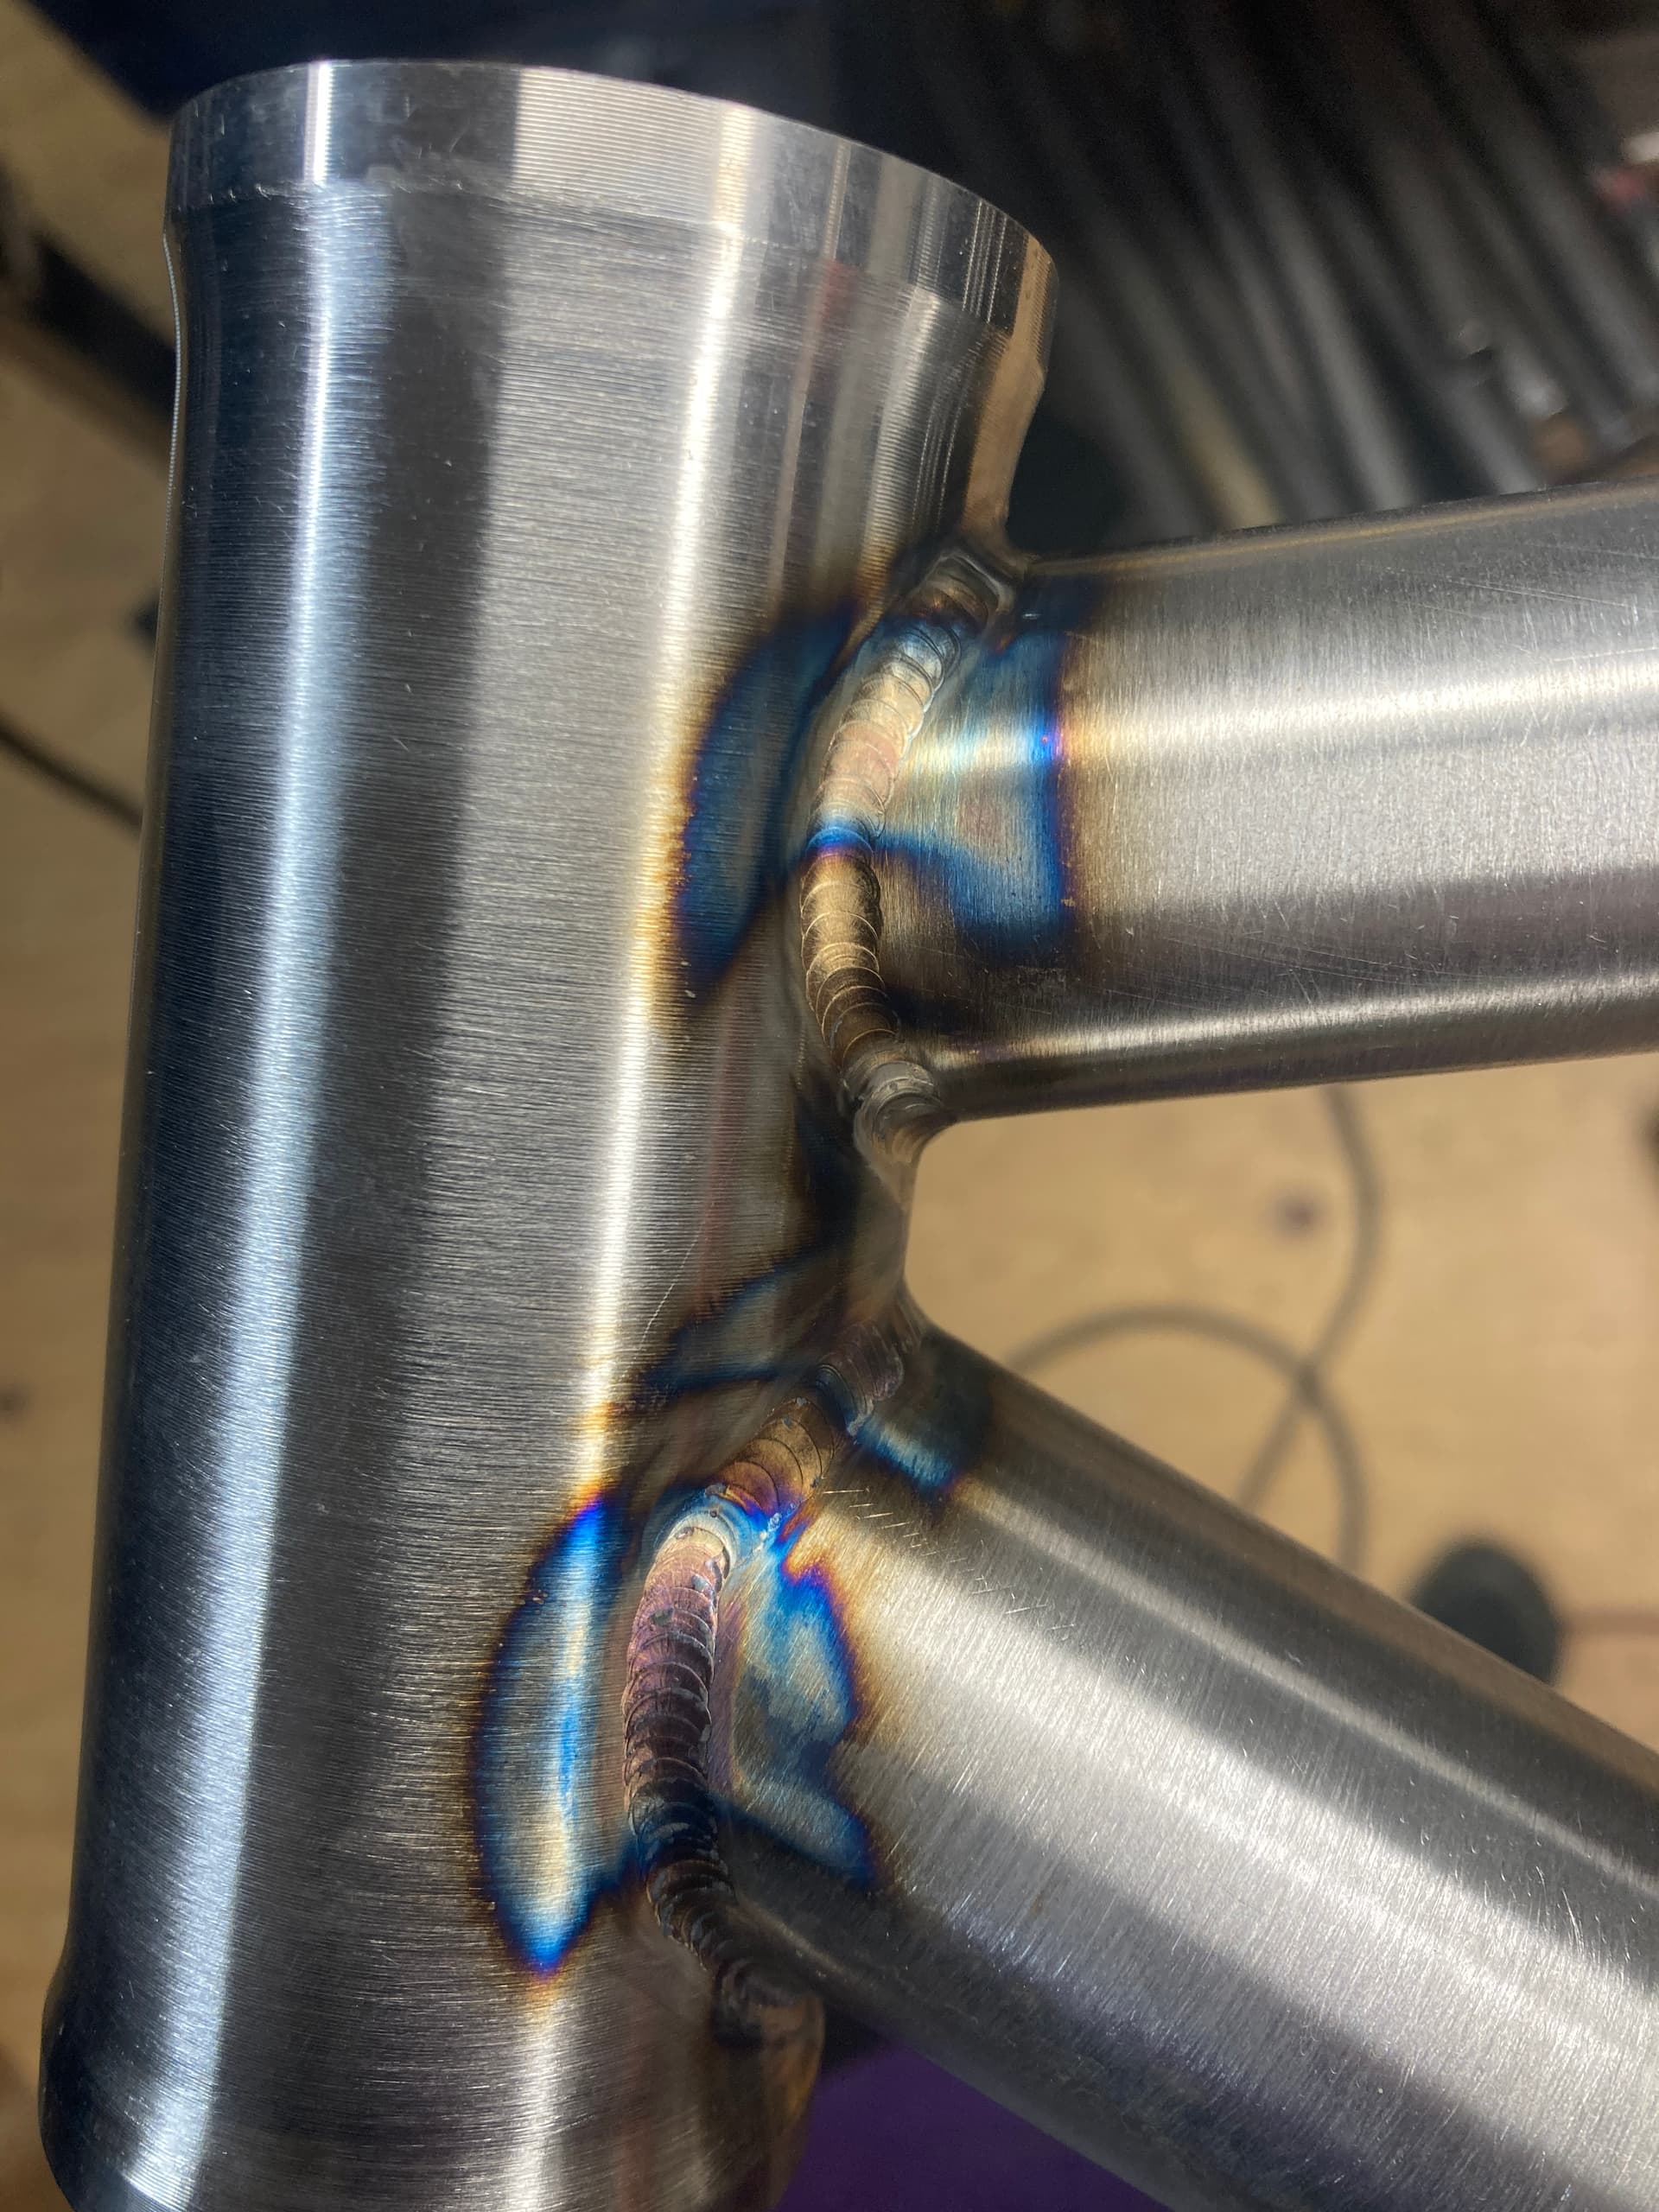
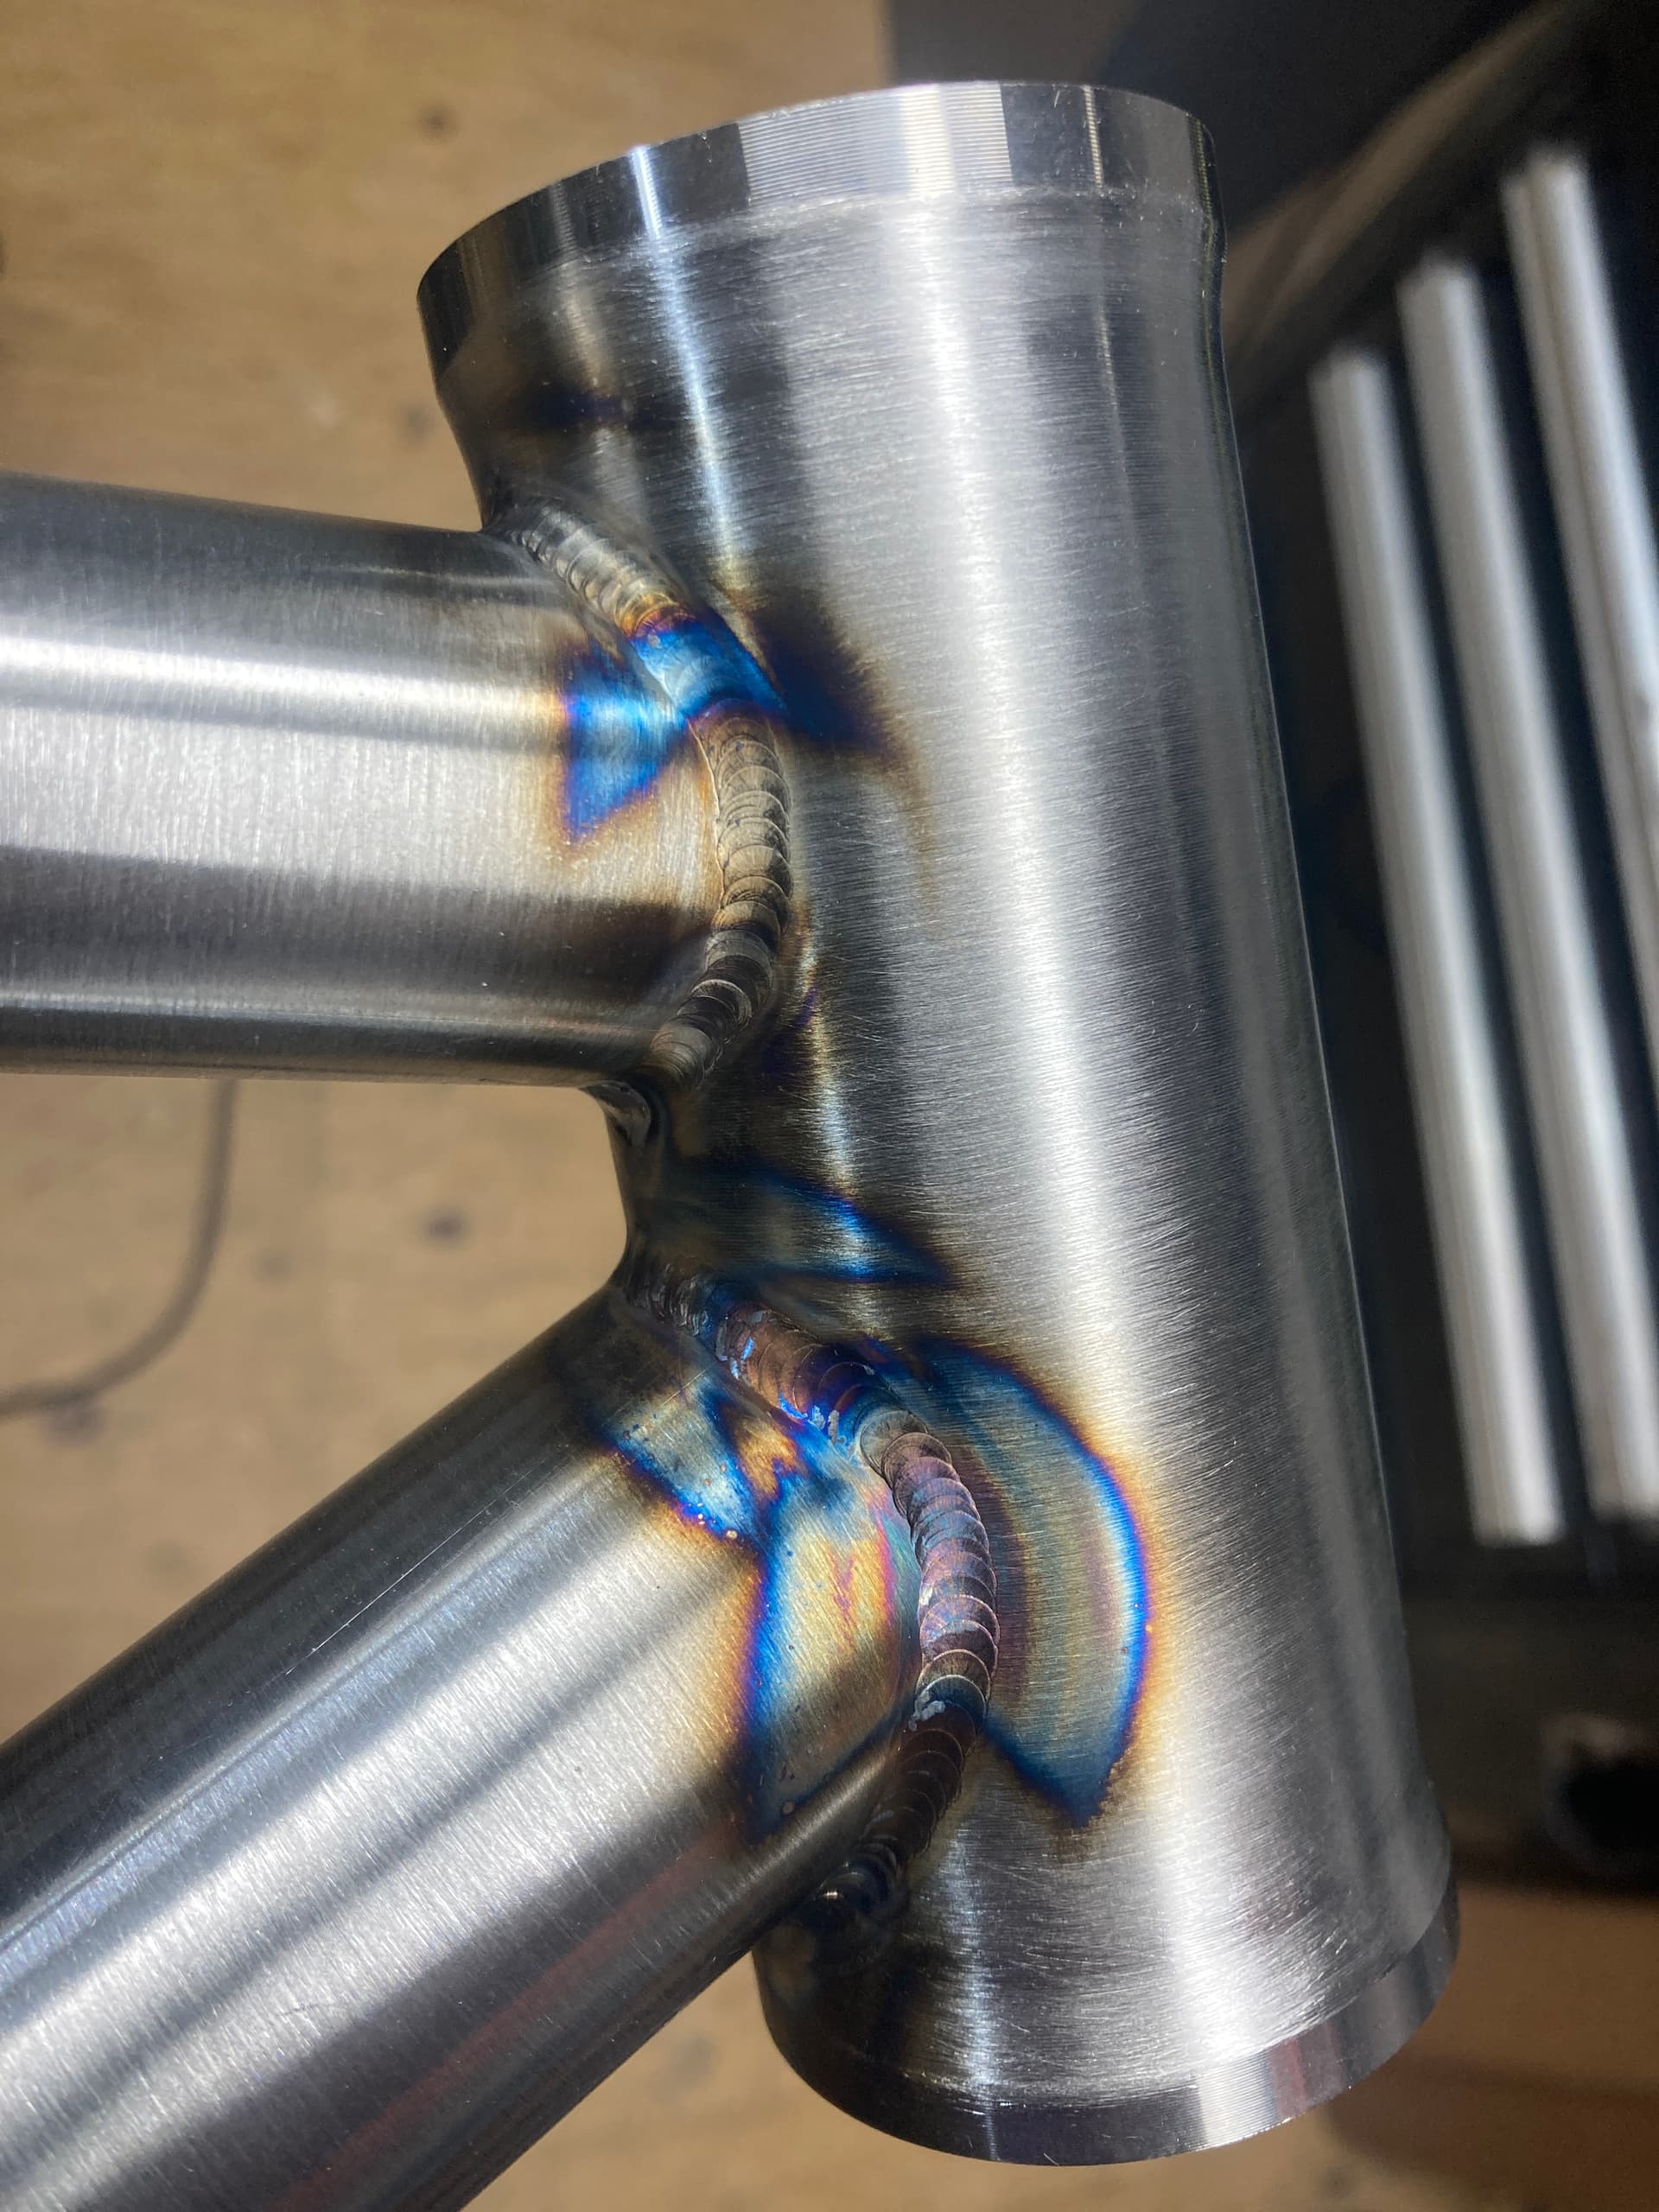
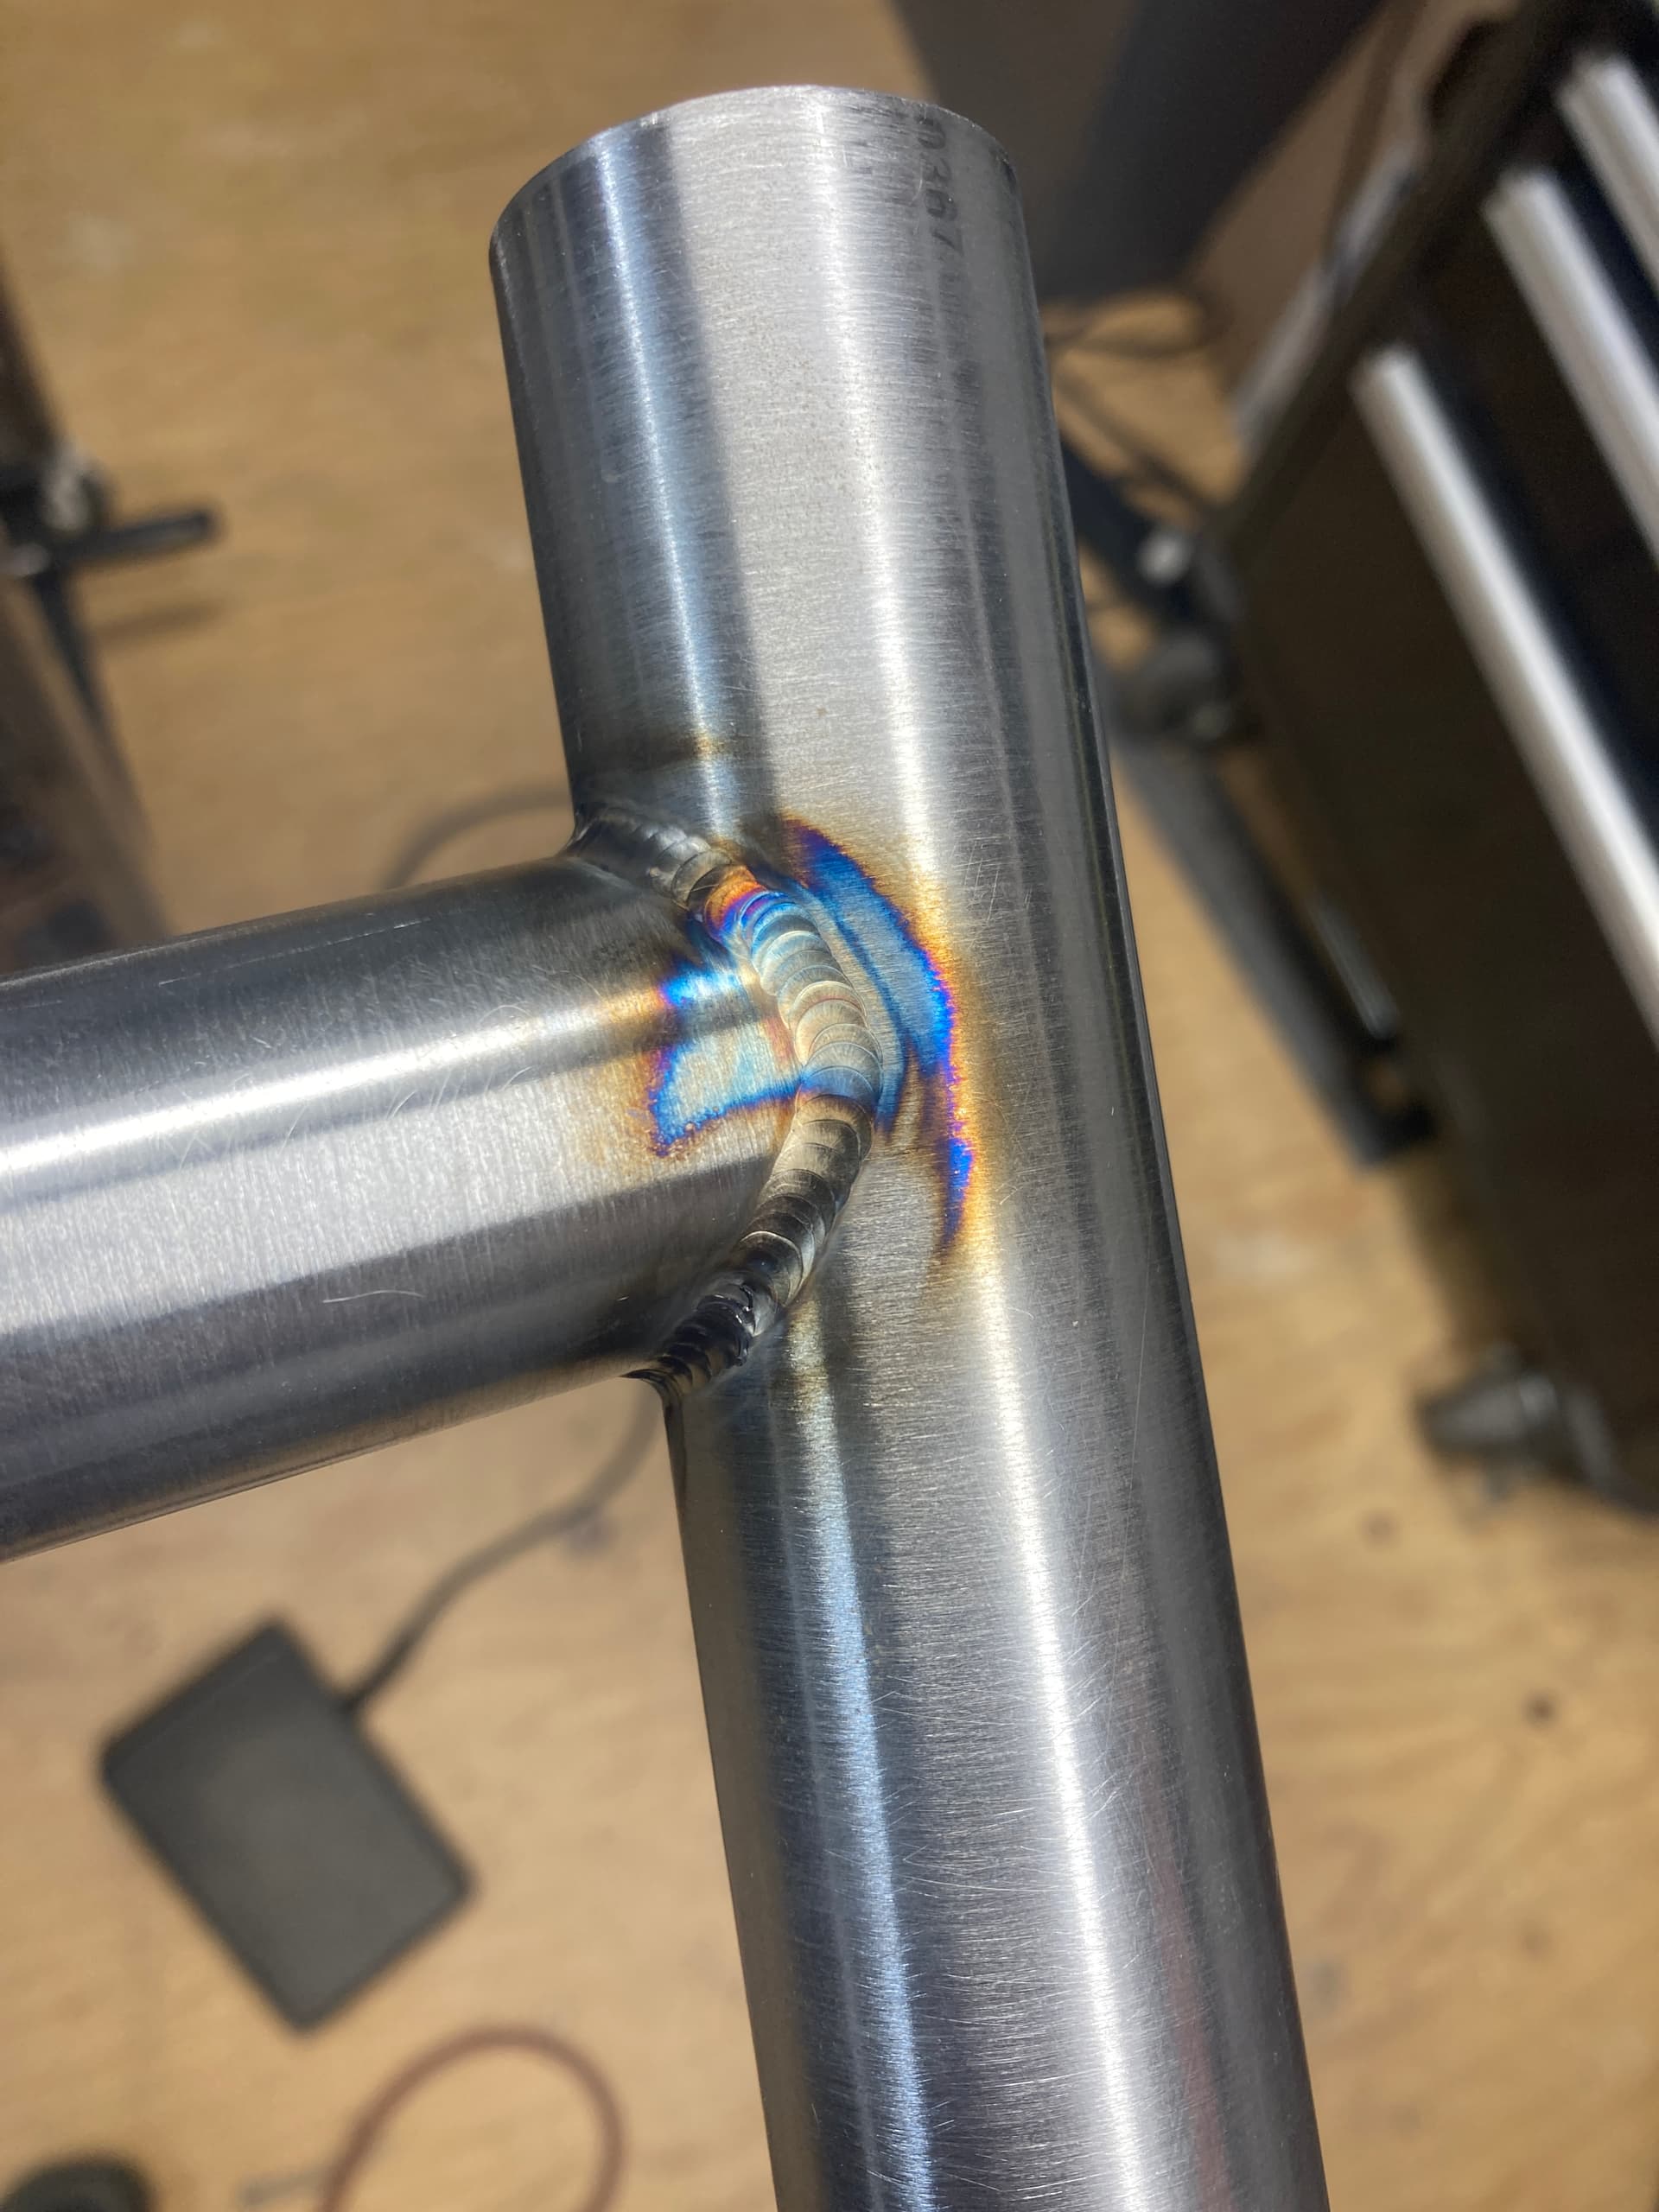
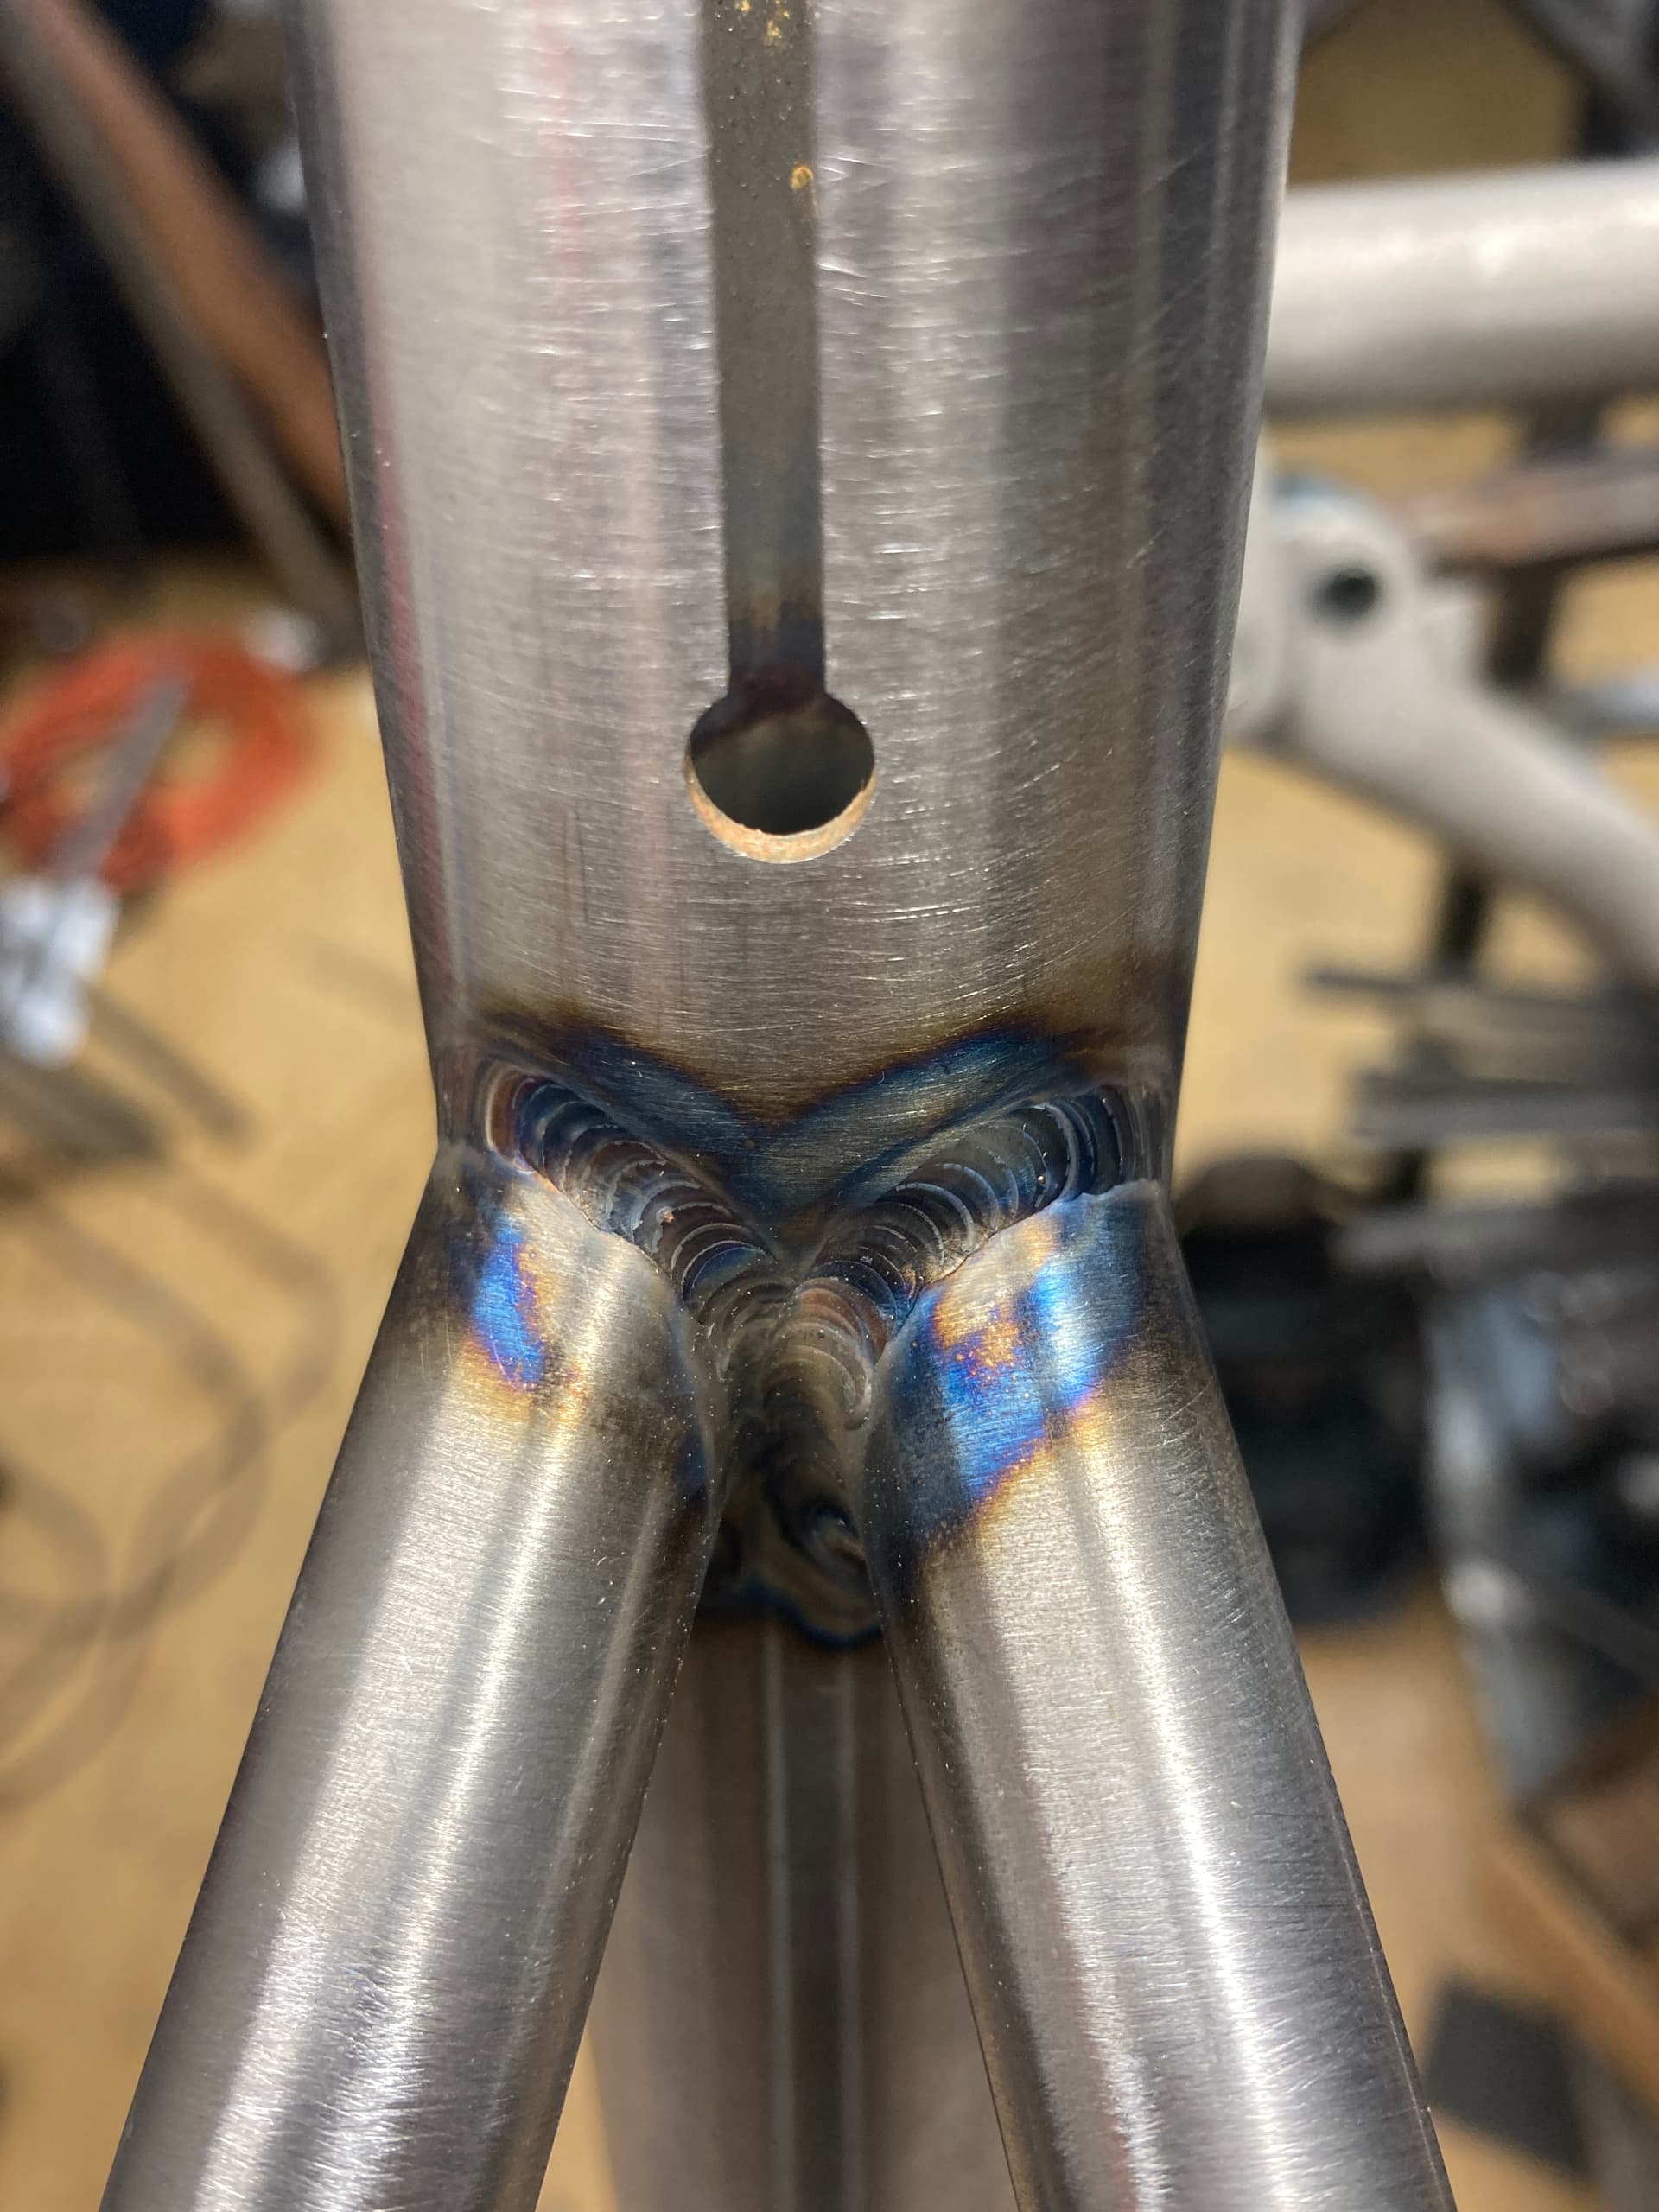
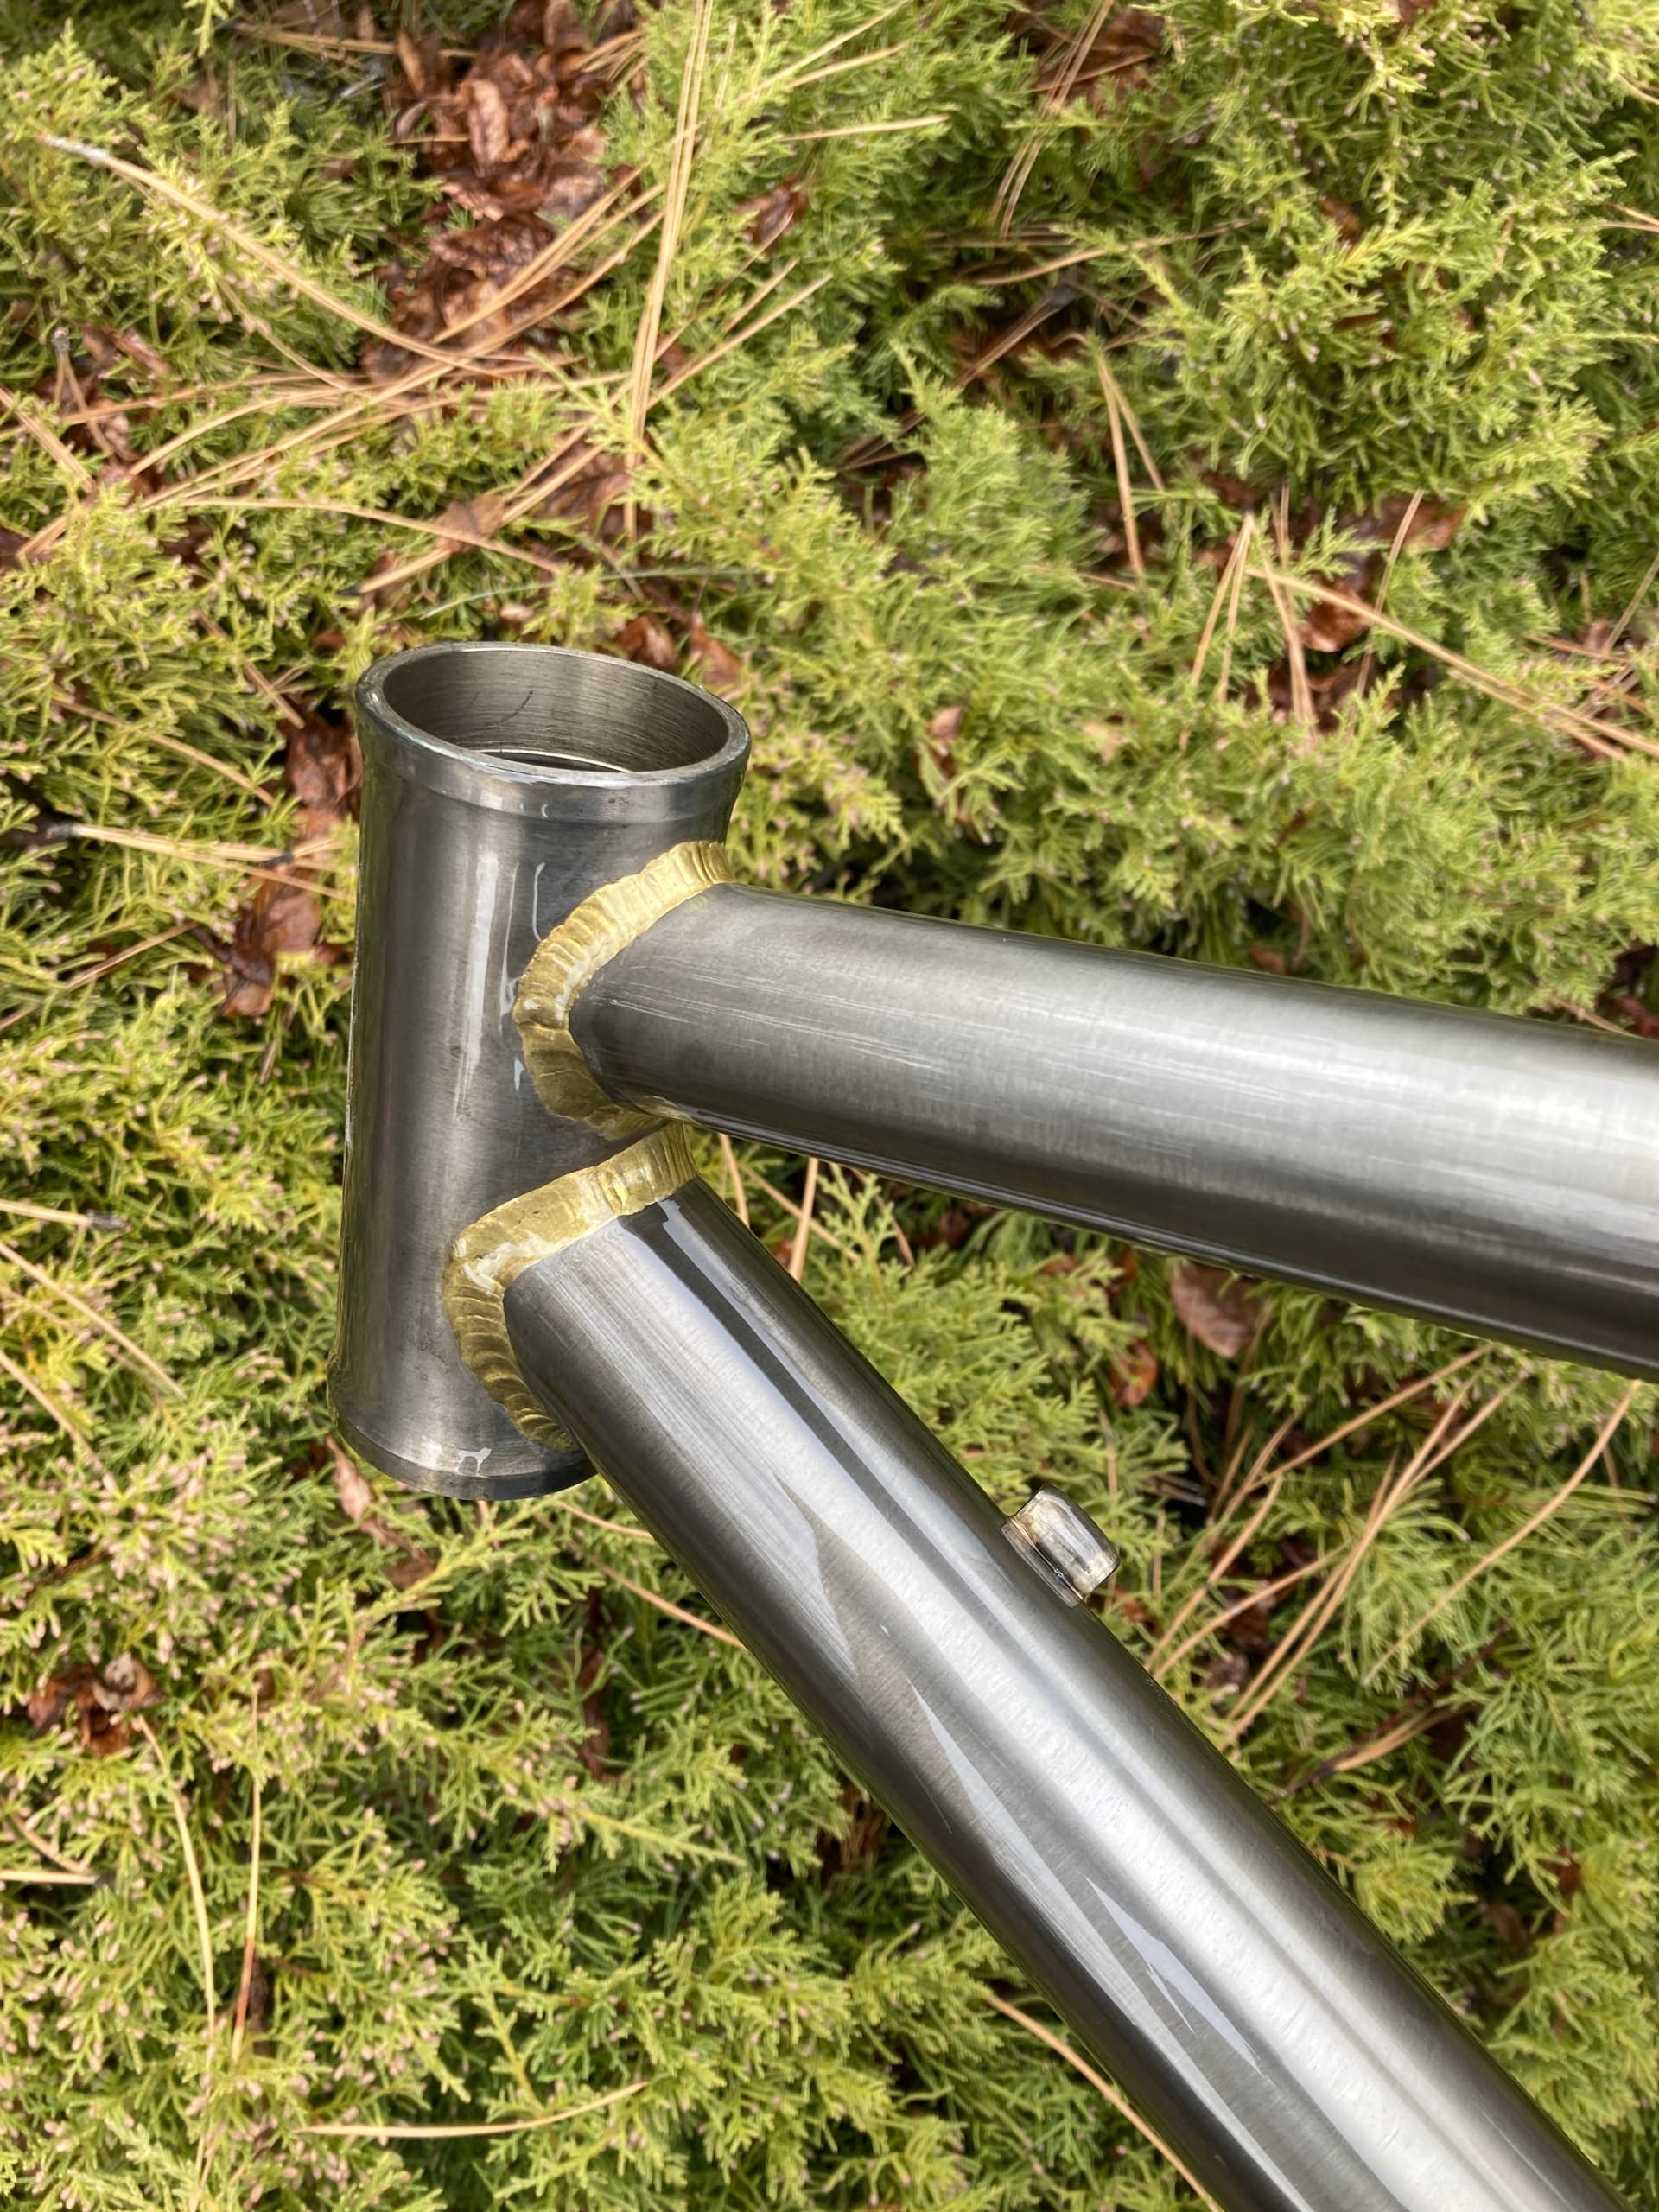
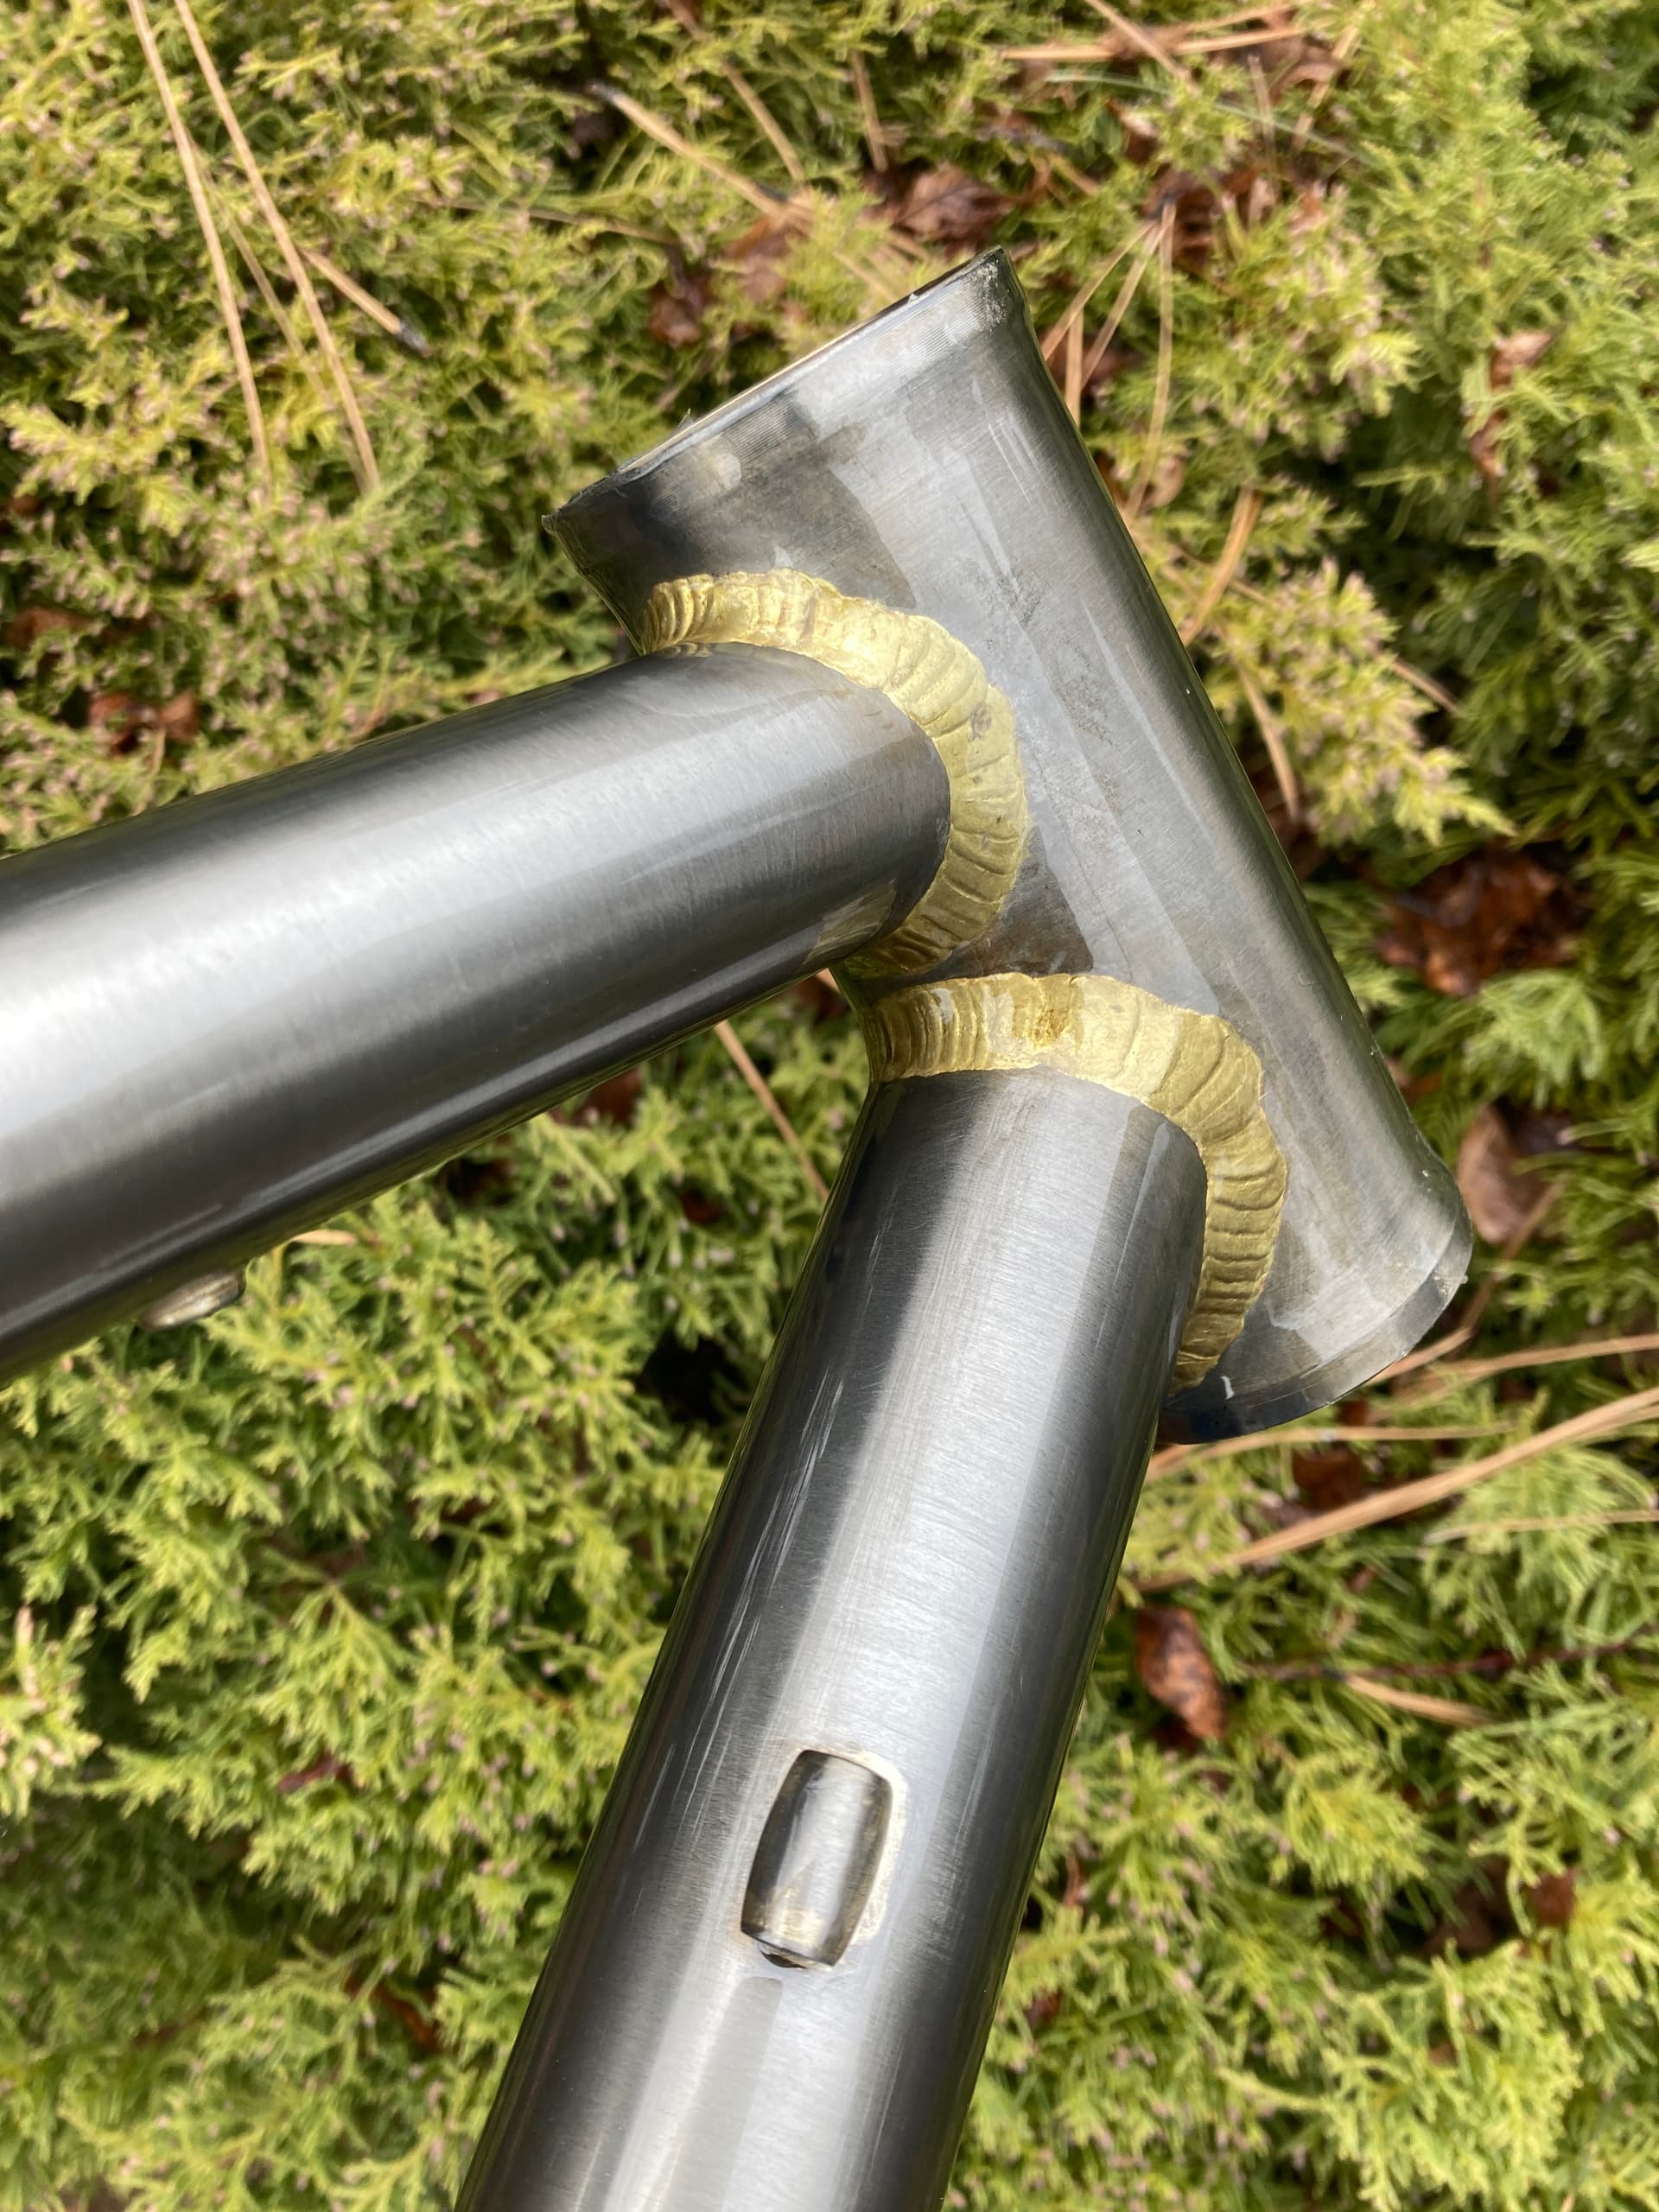
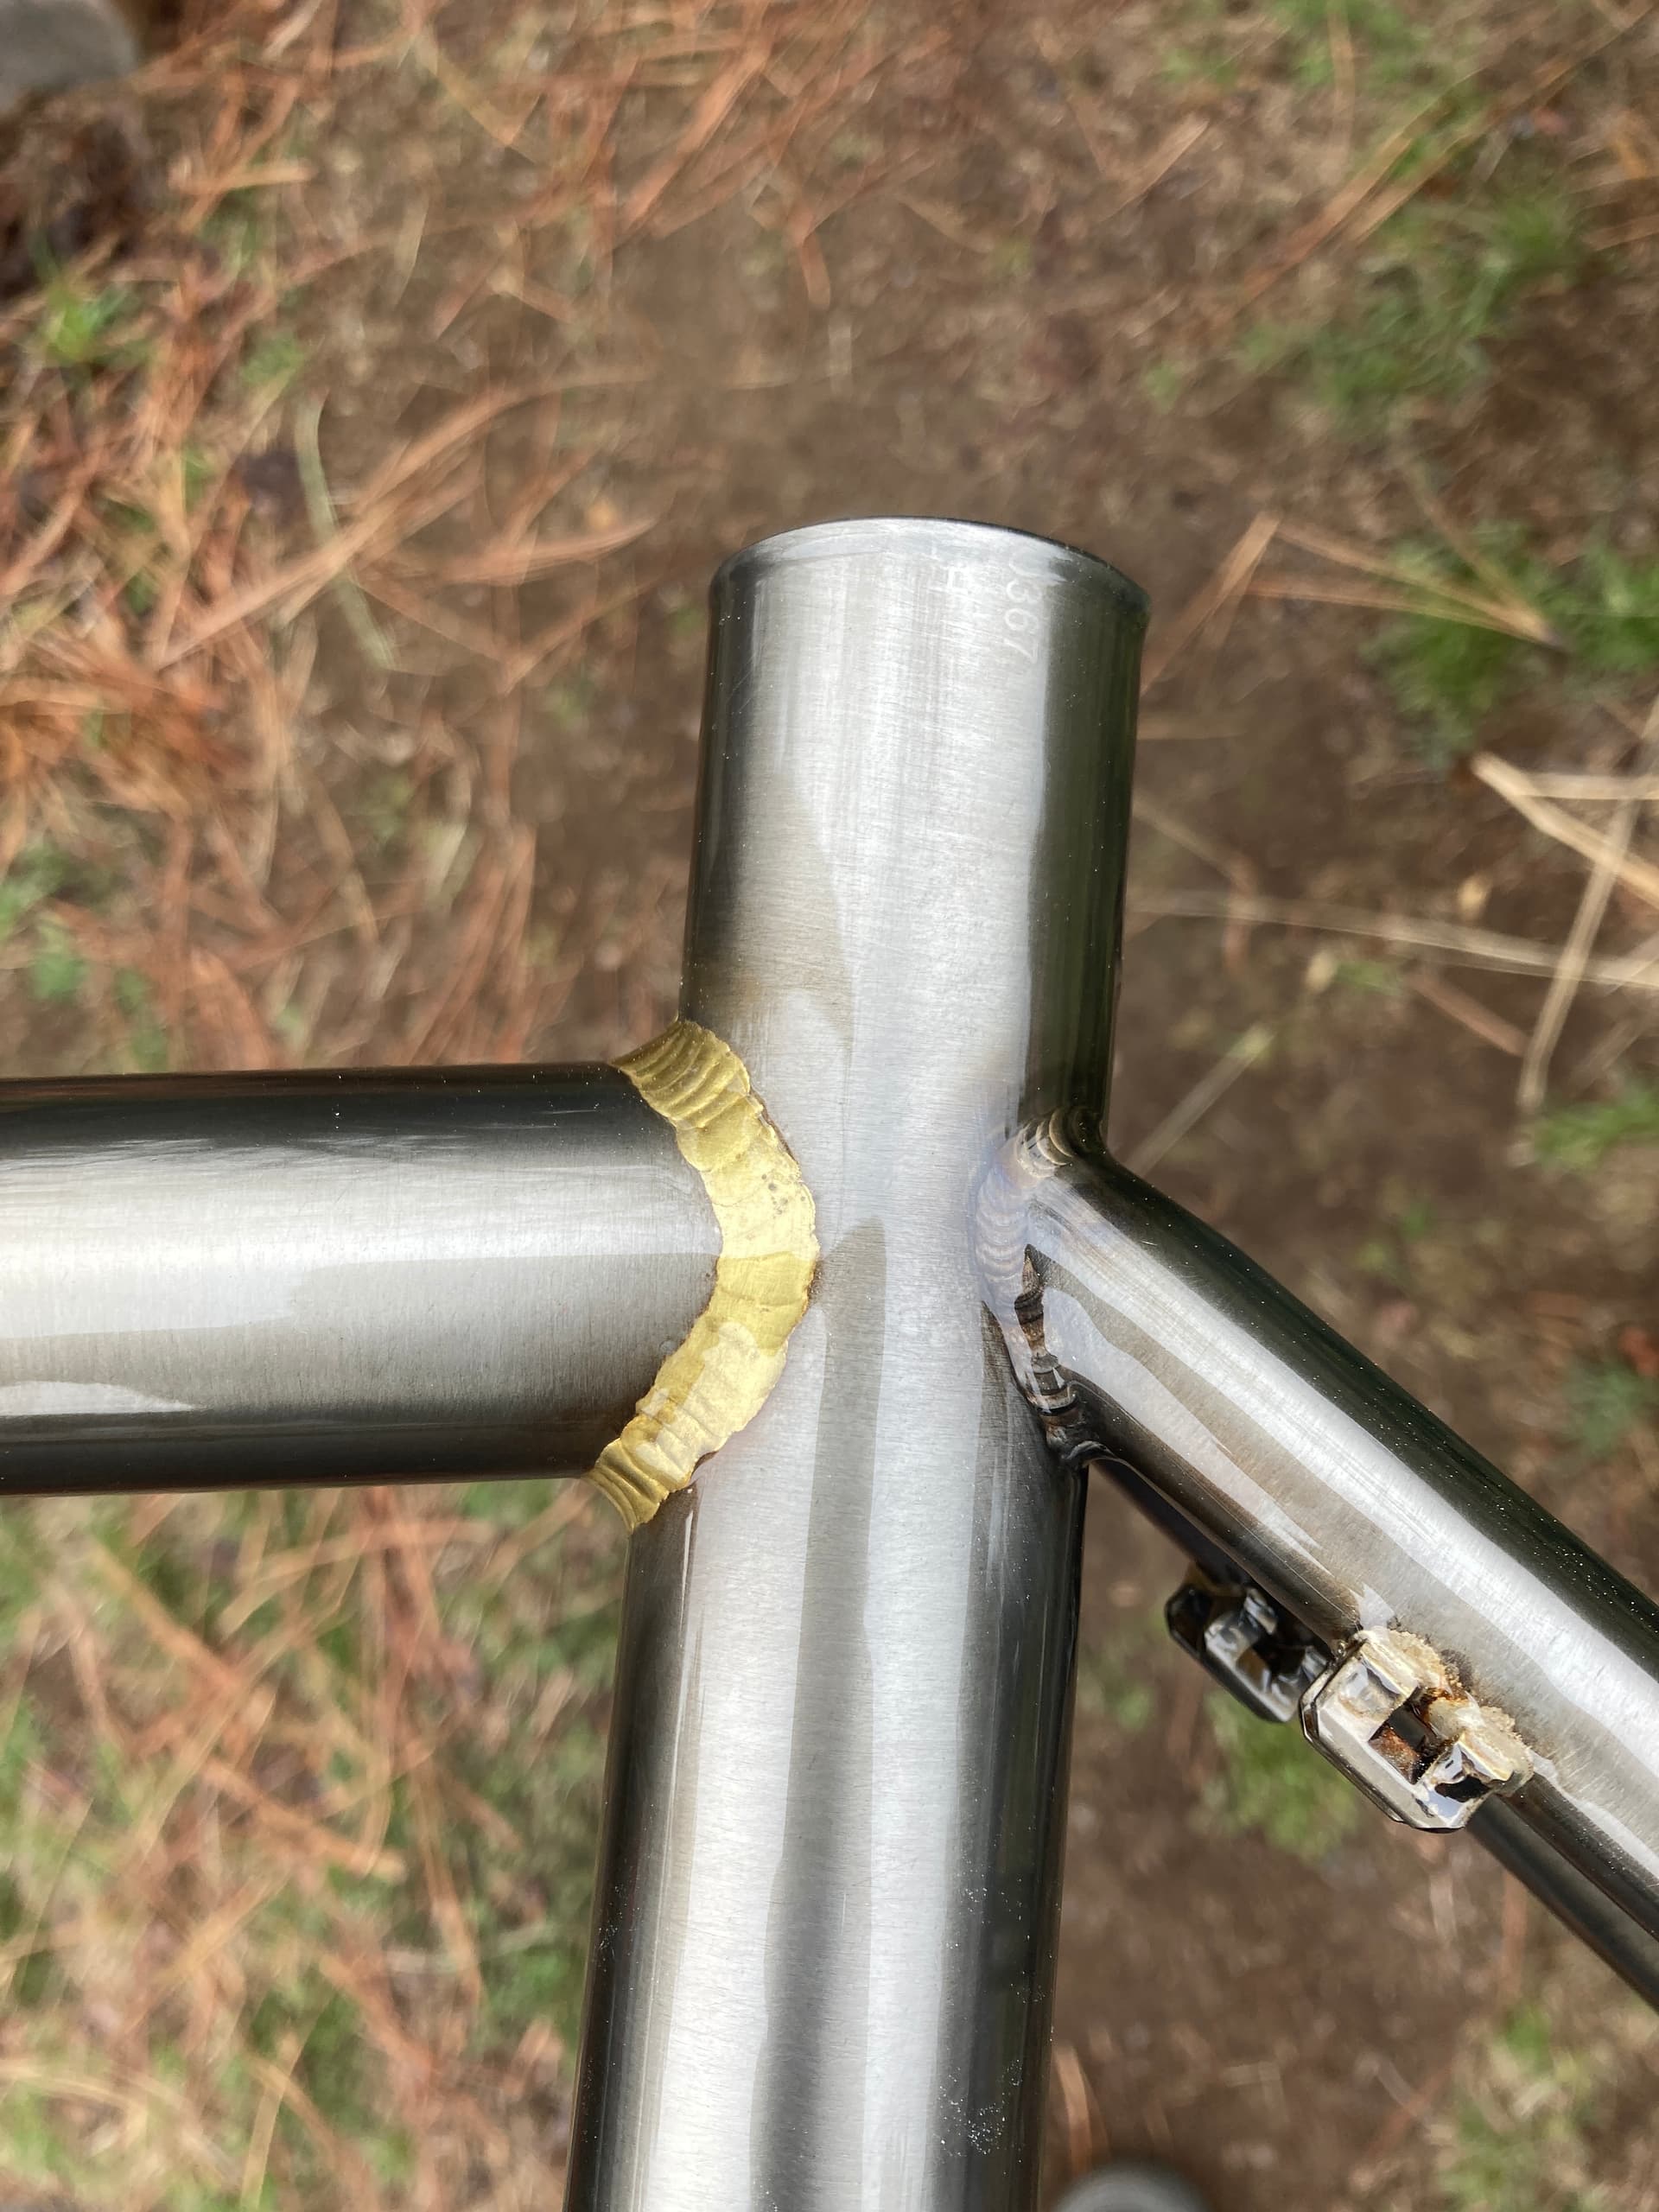
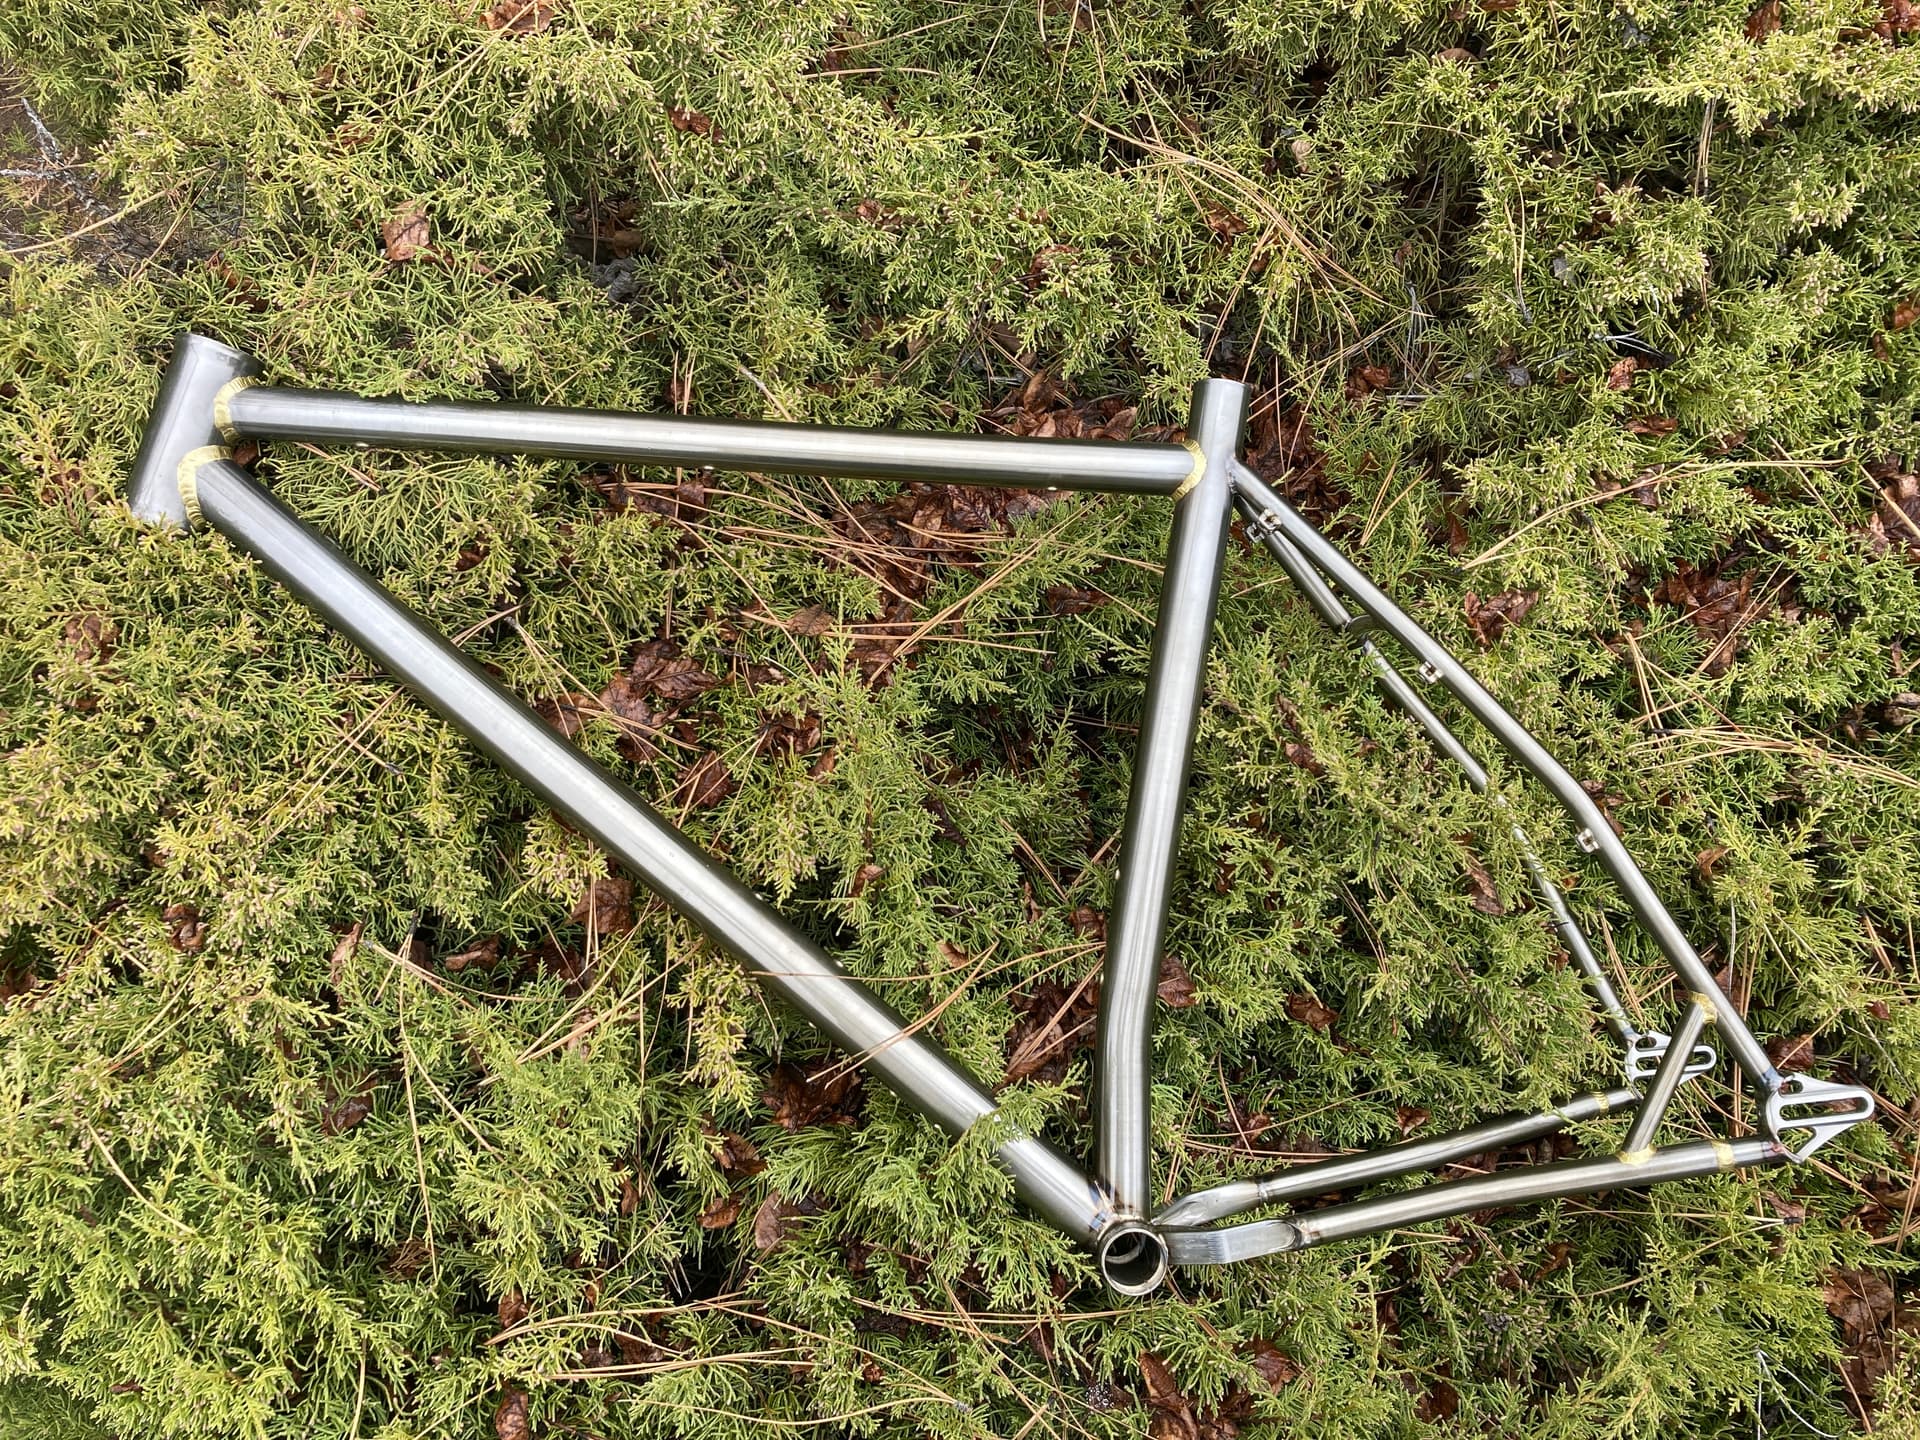
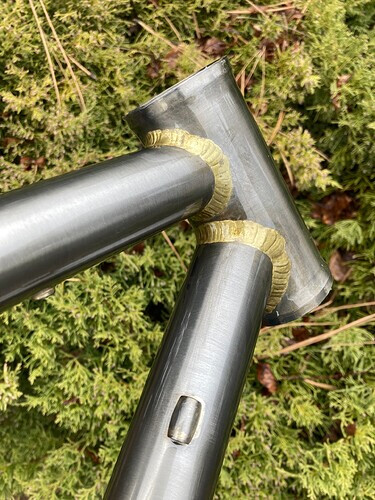
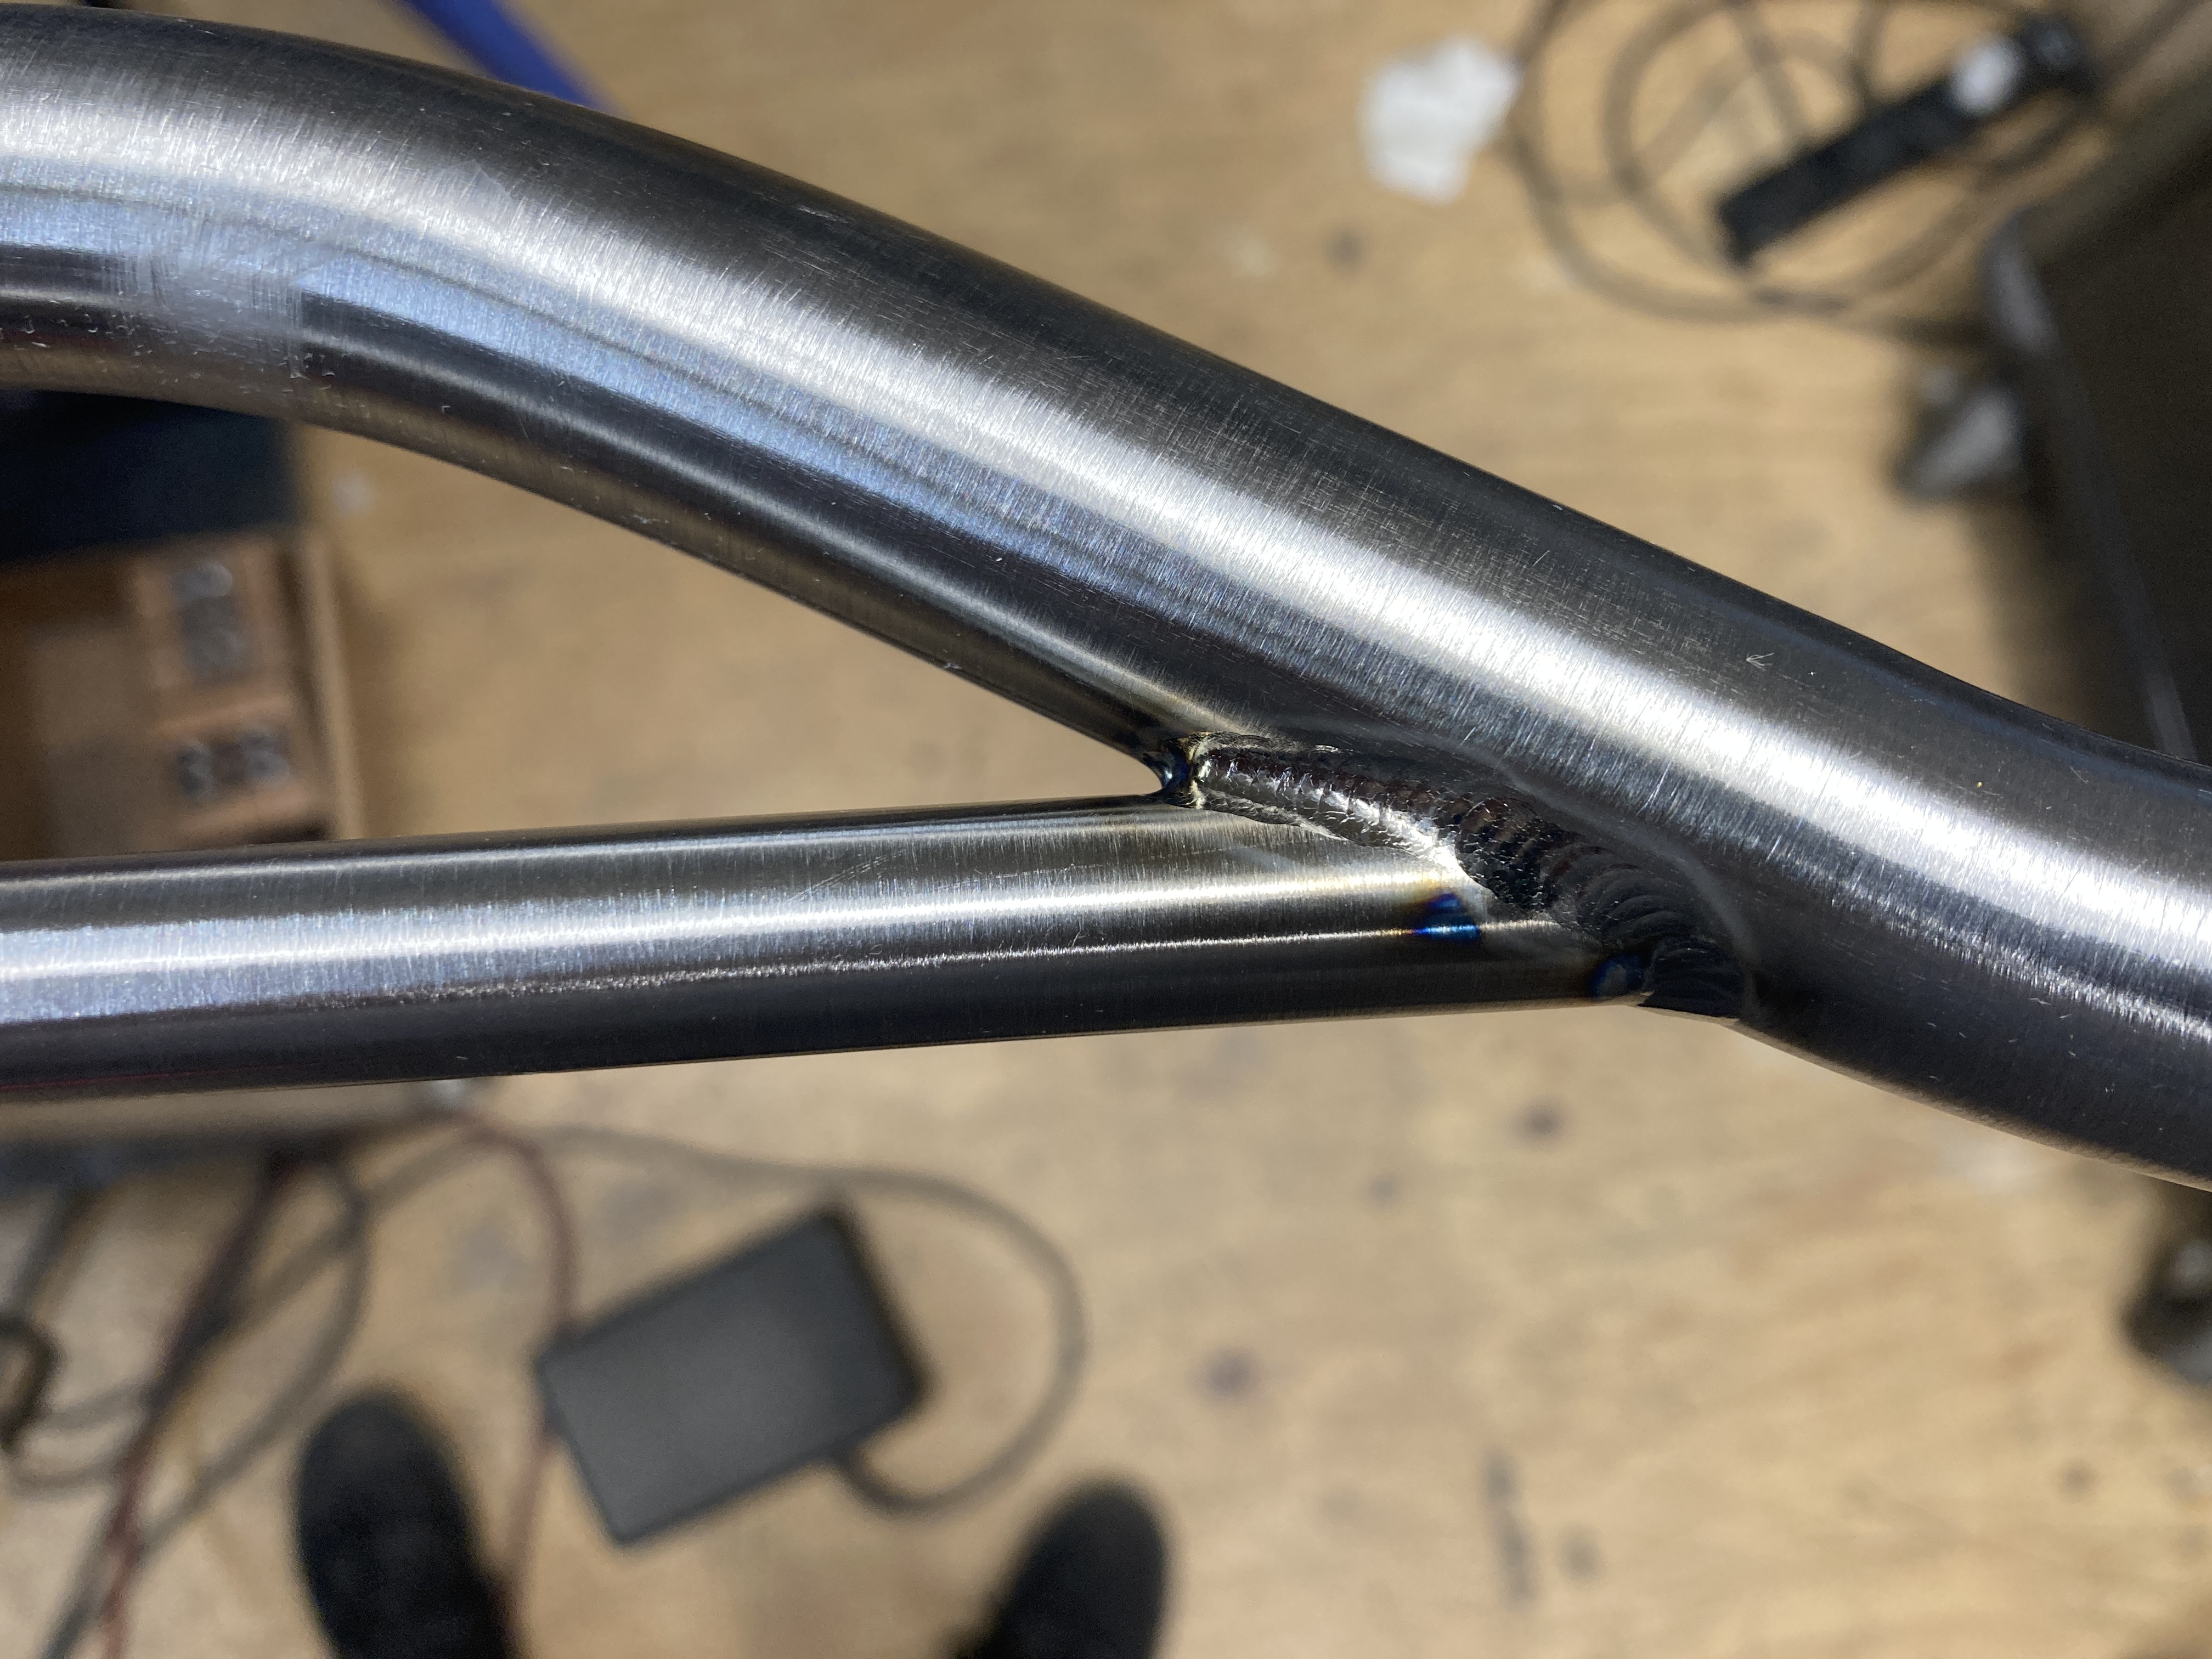
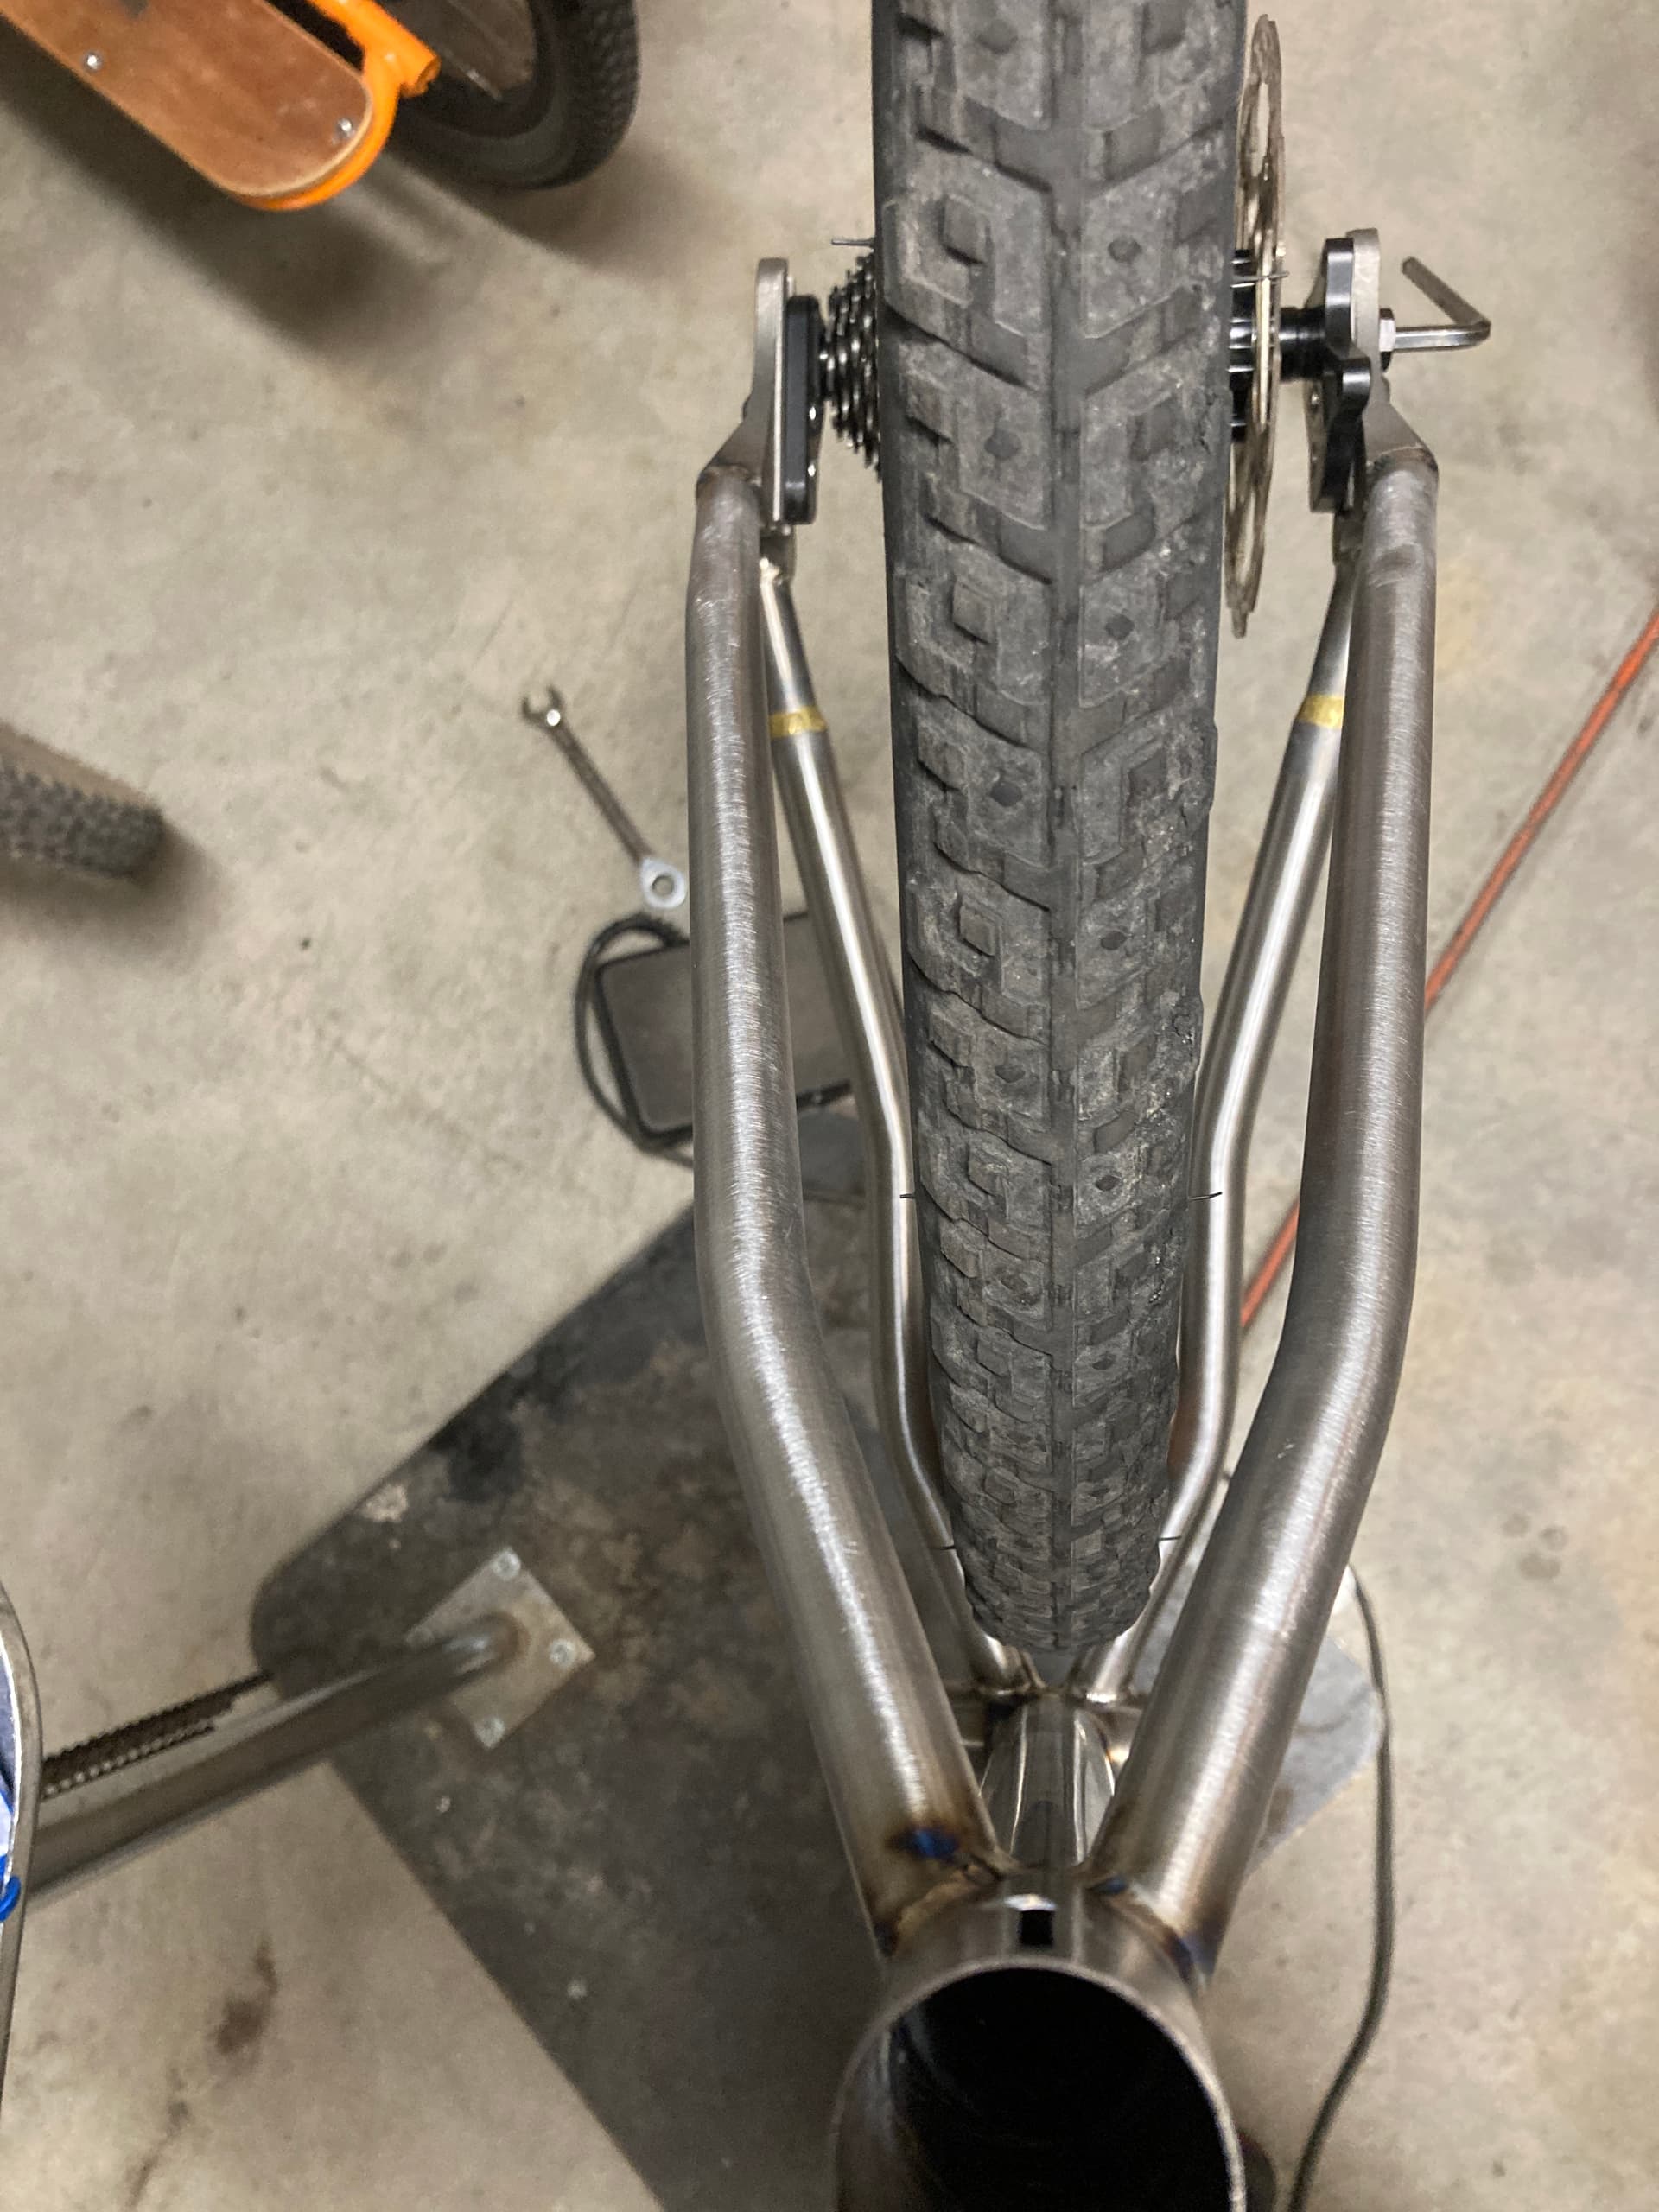
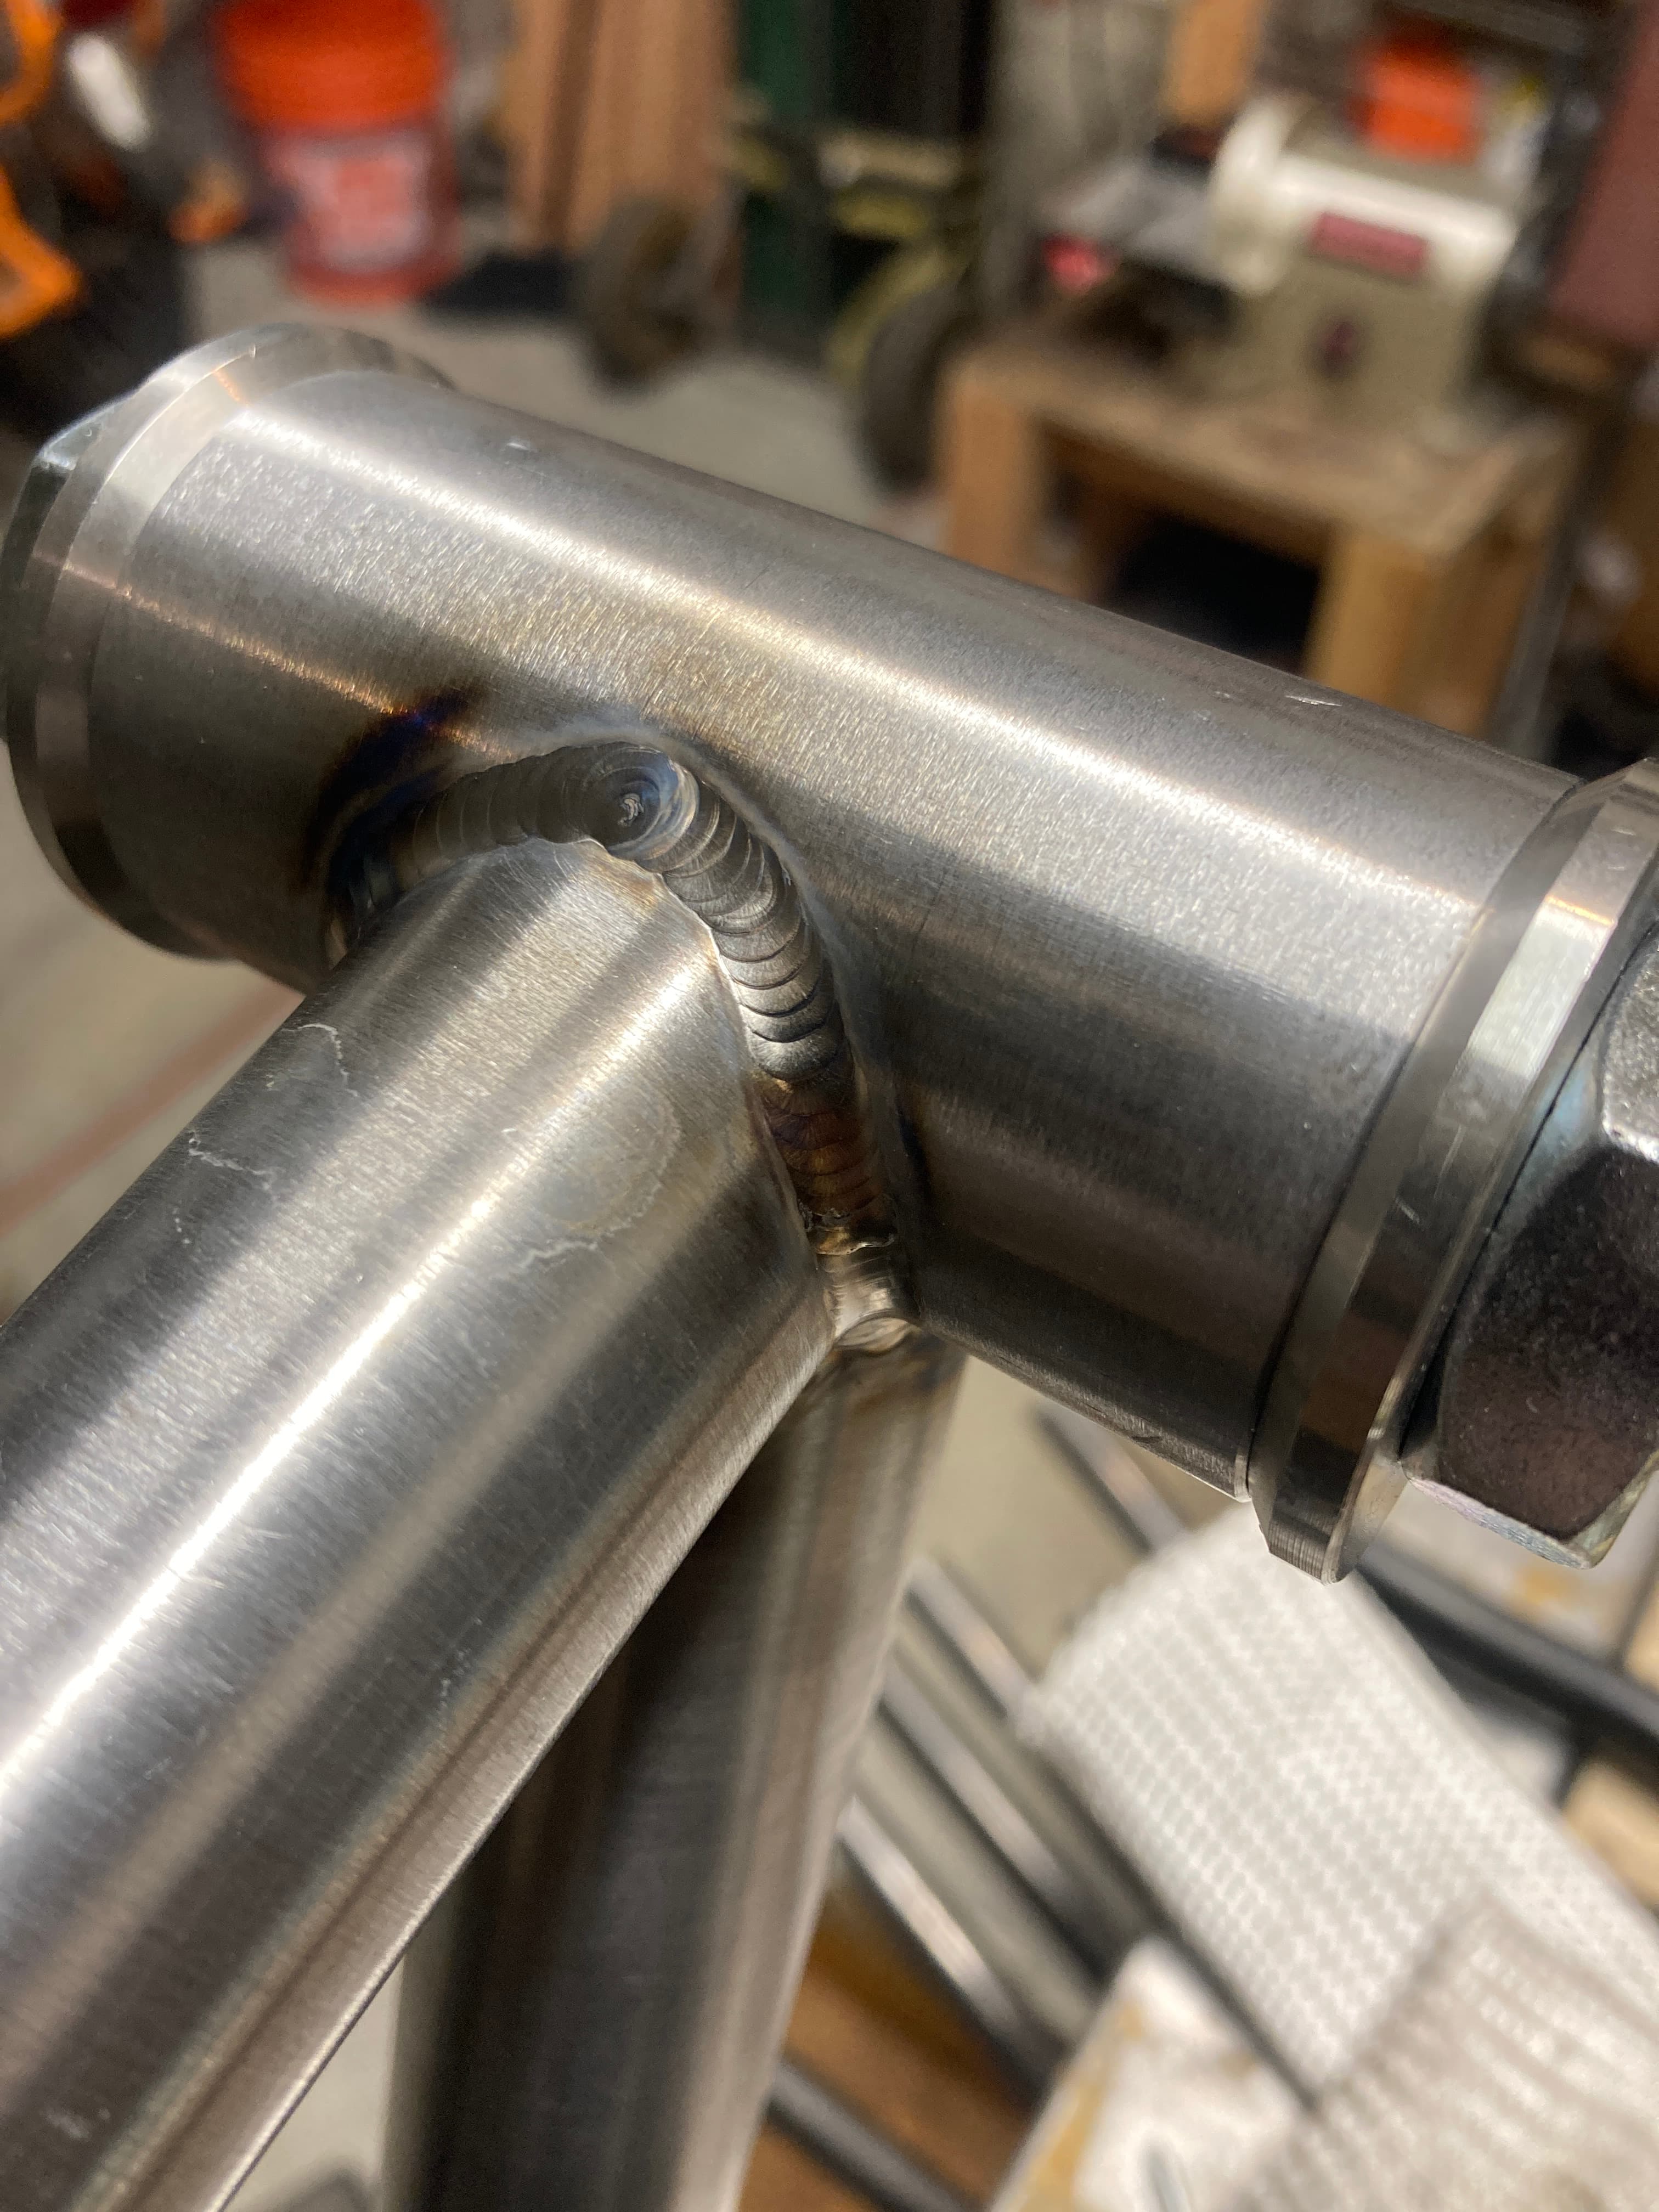
Over view/close ups

I’ll post up a picture once it’s built into a functioning bicycle. I’m excited to get into my new workspace and get started on the frame I’ll be riding for this year!

24 Likes

Sorry, it’s time for me to bail on the forum.

8 Likes

Brazing and welds look real tidy, nice work!

5 Likes

Right??? Absolutely brilliant!

1 Like

The new shop space is mostly operable at this point. Work-flow wise, it’s a large improvement from the garage space I was in. The biggest upgrade is having lots of light, often overlooked but it’s about the best investment one can make.

The hard part is having my tools in two different locations after the move. More often than not the right tool is in the wrong place, this will improve with time. Its also easy to forget to bring things like my computer or food!

Anyhow, I forgot my computer the other day, so, I decided to bend some titanium I’ve had for several months waiting to be bent into handlebars. My follow die needed some clean up, and after that I went for it.


The results were okay, still had some marks from bending, no deep scratches but not the result I was looking for. These will be getting crossbars welded in. But, before I can do that I need to get lines for my dual flow regulator and test my purge set up. Oh, and actually try welding some titanium, as its a material I have never worked with or welded. Thanks to @Neuhaus_Metalworks I have some scrap material to learn on.

I got some work done on a replacement frame I am making for a friend. He bent the rear end on a previous frame I made him. I can report back as I learn more about what happened and get the frame in my possession.

Using a pair of cobra yokes, scribe lines, fusion tacks, and then a 123 block for a self fixturing hack.


Dropouts tacked to stays in the farr fixture

Then transfer both the BB with the yokes tacked on, and the stays with the DOs tacked on over to my frame fixture (id like to upgrade this). With the power of magnets, they self-align and pull themselves into position (not true).


Now that those are tacked in place, I’m ready for a seat tube. I offset my cut ~2mm on the tube to help with clearance for the yoke. As you can see in the picture I also removed some material from the yokes.


This is where it sits at the moment. I take pictures, I may as well share them.

6 Likes

This is so huge! Adding light to my space is 100% the best quality of life improvement I’ve made. Bad light is one of those things our bodies can adapt to, but it’s just so fatiguing.

Those handlebars looks super slick! I’m sure this was mentioned in another thread, but what bender are you using for that?

5 Likes

The fatigue is real, along with compound annoyances (like continually casting a shadow on what you are working on), which simply adds to the fatigue and zaps the fun out of a project.

This is a JMR bender (very similar to a JD2), the follow block pictured is for a Pro Tools 105 bender. I cannot recall why I didn’t buy a JMR die, as the pin sizes are slightly different (Pro Tools are smaller). Another difference is the follow blocks that JMR makes are aluminum whereas the Pro Tools follow blocks are steel (soft steel).

It appears most people who bend TI are using aluminum dies and follow blocks, I’m curious if TI has a preference on what is gliding against it.

@liberationfab Do you grease your TI before bending? You have a cobra bender?

3 Likes

I don’t grease my Ti prior to bending, I try to keep Ti as clean as possible throughout my process. I use the Cobra bender for stays & main tubes, but I eventually want to get my Di-Acro up and running for handlebars. Not the highest priority right now though.

2 Likes

That makes infinite sense.

I’ve got a friend in town with a di-acro with a 7/8" bend set up. I haven’t looked too closely at it, but in my mind, I can’t work out how you would make a riser bar on those (and I know it’s done i.e. forager). I can visualize the first 3 bends, but with my process I rotate the bar towards the ground on the 4th bend. Seemingly the table on the di-acro would prevent that?!? I’d really like to try it out, seems like repeatability would be much easier to attain.

Edit: I’ll bet on the di-acro you bend a bar starting at one end and ending at the other. Different from how I bend starting from the center and working out. Anyone know?

2 Likes

First frame to come out of the new work-space. The clear powder adds a nice finish, while also darkening the tubes slightly, I really like the look.

These are some numbers (requested), I still design in bikecad, but I really should be in fusion getting more familiar! The rider is 6’5" and weighs around 190#

The build went fairly smooth, here are some shots.

I braze over my tig welds on the HT and ST. Its my way of adding gussets and if you listen to the aircraft industry before they adopted tig welding, it is essentially normalizing the tig welds (my contribution to marketing BS?)

Here are some shots after powder coat

Thats all for now…I have started on the frame I will be riding this summer (3d printed yoke testing)

12 Likes

image

Beautiful!

7 Likes

Welded crossbars in the ti bars.


5 Likes

Assembled a stem 45mm reach for 31.8 bars, paragon made all the hard parts


9 Likes

Can you tell me more about the clear power coat? I have always heard that a clear power coat will not hold up very well, and will allow rust to develop underneath the powder coat layer. In your experience, does it hold up OK?

1 Like

I believe the powder coat itself has the same characteristics as powder coat with color (please chime in if this is false).

It is true that eventually there will be visible rust anywhere the powder coat has been scratched or anywhere that was not fully cleaned before powder coat was applied.

The main difference between a color and clear is that you can see the rust taking place. Also, my frames are hand finished and not bead blasted. This has the potential to hinder the adherence of the powder coat (I use 80 grit)

The rust usually spider webs and creates a lived in feel to the bike. Personally I like a new bike to look new and a bike that’s been ridden to look ridden.

I don’t think it affects the longevity of a bike (depending on circumstances/lack of maintenance). If the bike lives in a wet salty environment the rust will be more prevalent. Frames can be stripped and repainted/powder coated (new colors for an old bike, freshen it up!).

Some folks think it looks bad, to each their own

4 Likes

Cleaned up this printed part, originally thought of going to a mirror finish, but I realized all the time I saved using this part was going to be spent on finishing work.


I welded it in using some weld mold 880 filler. That stuff sure is different than er70s-2. One must be much more active when feeding the filler.

I’ve always heard that the 808 “wets out better”, it sure does, not sure I would consider it better. I’d need more time with it to get comfortable, it was difficult to keep the puddle width consistent.


8 Likes

Finished welding out my first batch of titanium bars. The first two tricked me (ti is easy), still a lot to absorb. I’m excited to spend more time learning how to get those impeccable imperfect welds.

Now onto learning about anodizing, I’ve found some good articles and videos. Sounds pretty straightforward, but I welcome any tips n tricks.

Also if anyone on the forum wants a set of bars, happy to offer a discount for forum members!

7 Likes

The puddle reacts differently on printed parts vs non printed. Torch angle has a huge effect on on the shape of the puddle on the printed part. I suspect your puddle inconsistency has more to do with the printed part and less to do with the 880

1 Like

Where do I sign to have that horrible inconsistency on my own welds? :smiley:

6 Likes

image

That polished yoke looks great! nice work!

3 Likes