Good morning everyone,
I have questions for anyone with experience welding aluminum. @Dan_Chambers ?
I’m building a 20" hardtail out of 7005 and want to improve the spacing, flatness and consistency of my welds. I have been having good luck with the puddle wetting out and flowing I’m just struggling to naturally find a flow and consistency to my dabbing.
I wait to dab until I see the need for more filler so to speak, when I see the puddle flatten, stop flowing forward and the edge of the tube start to melt back, that’s when I add filler, rather than just trying to feed the puddle like a metronome regardless of what the puddle is doing.
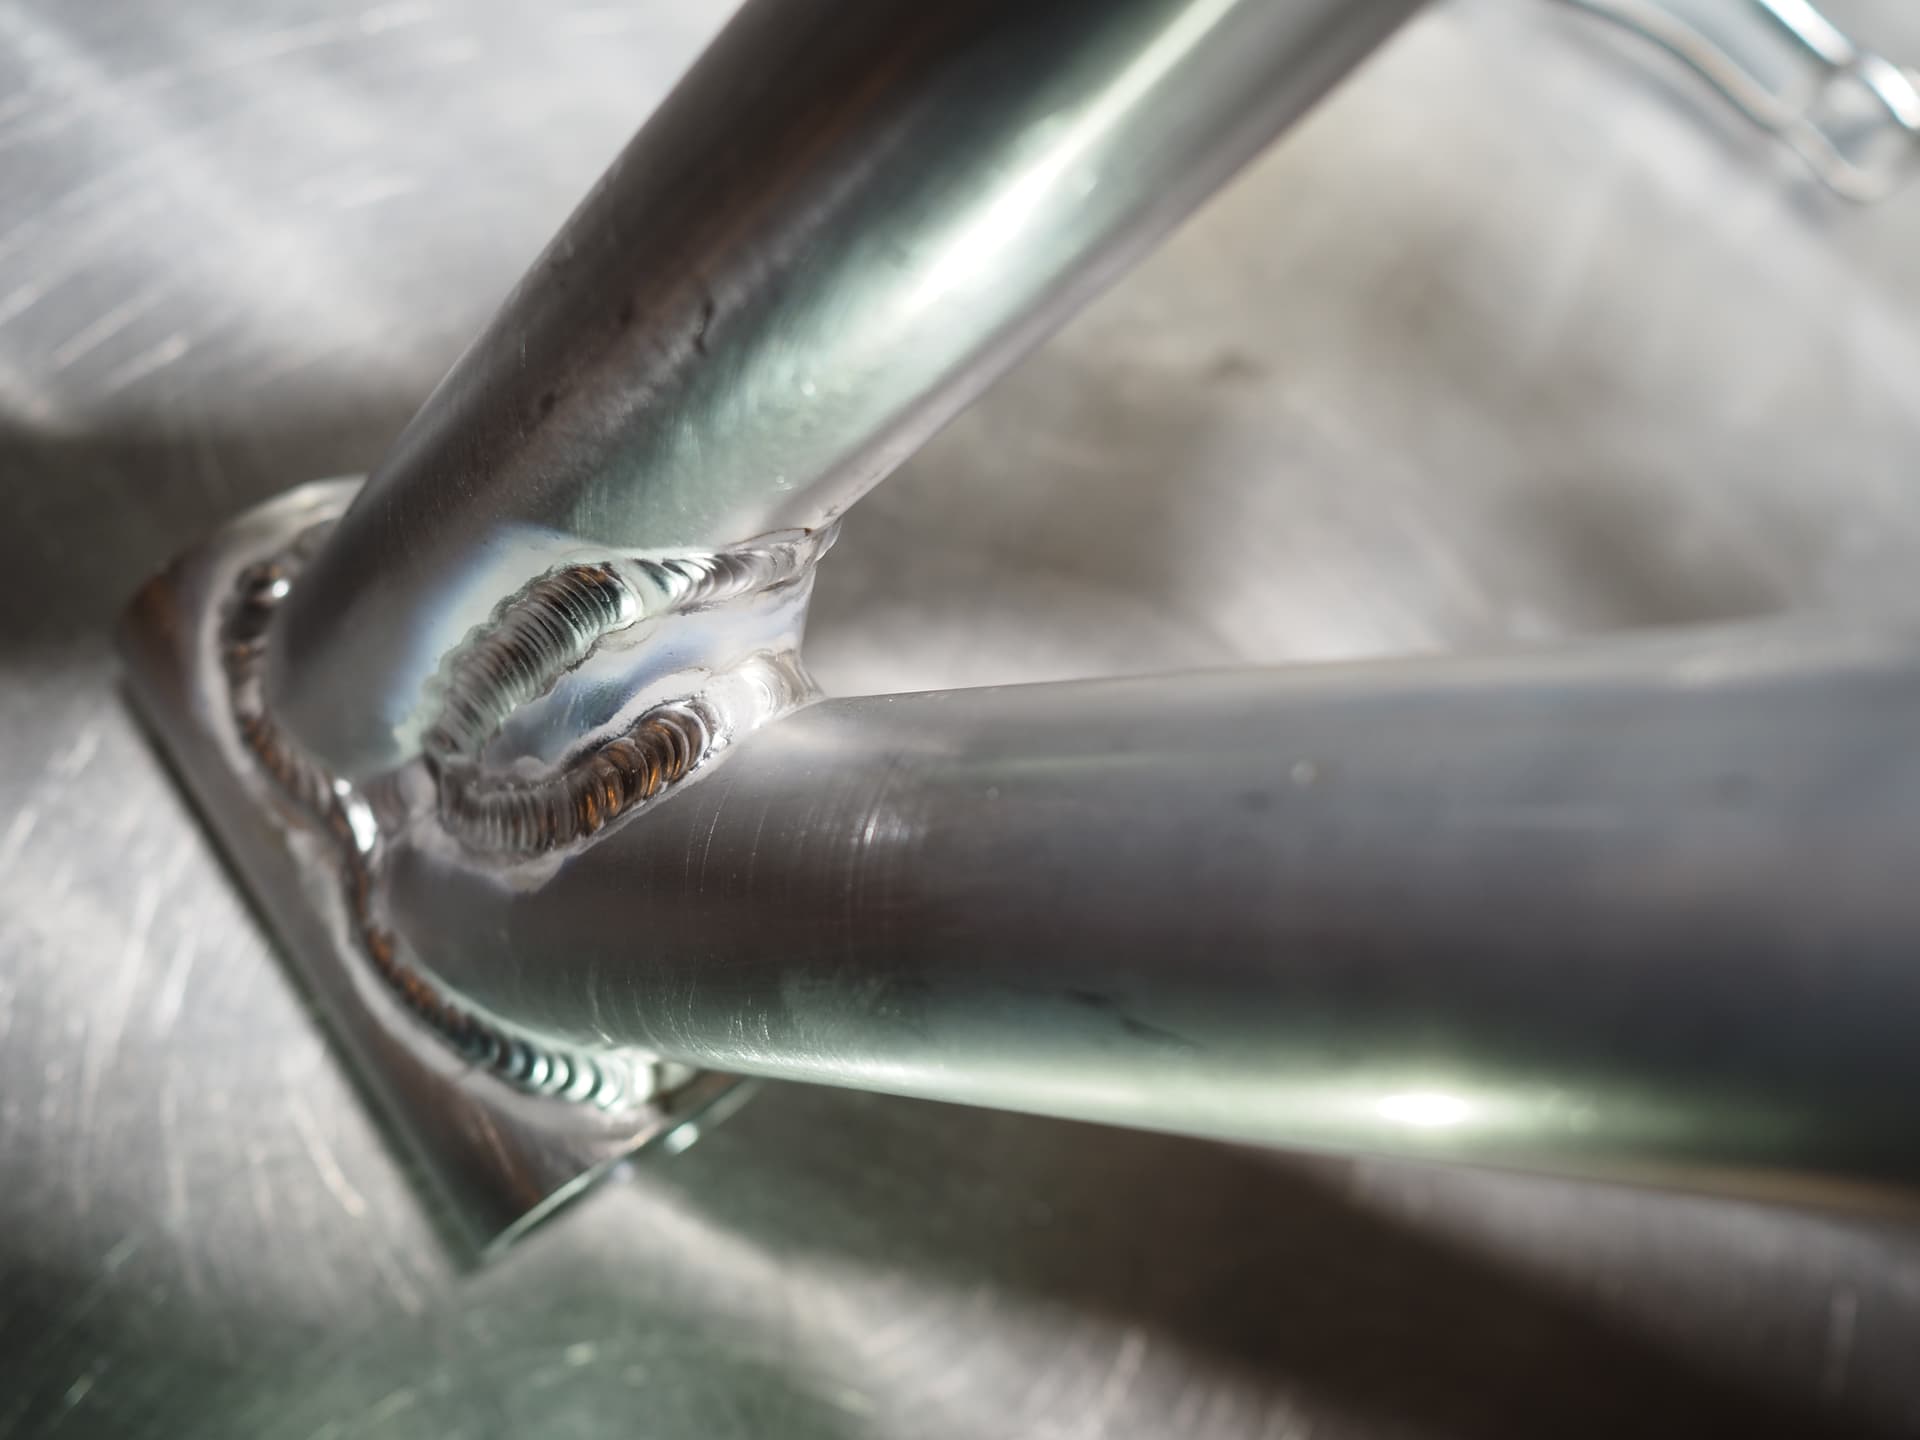
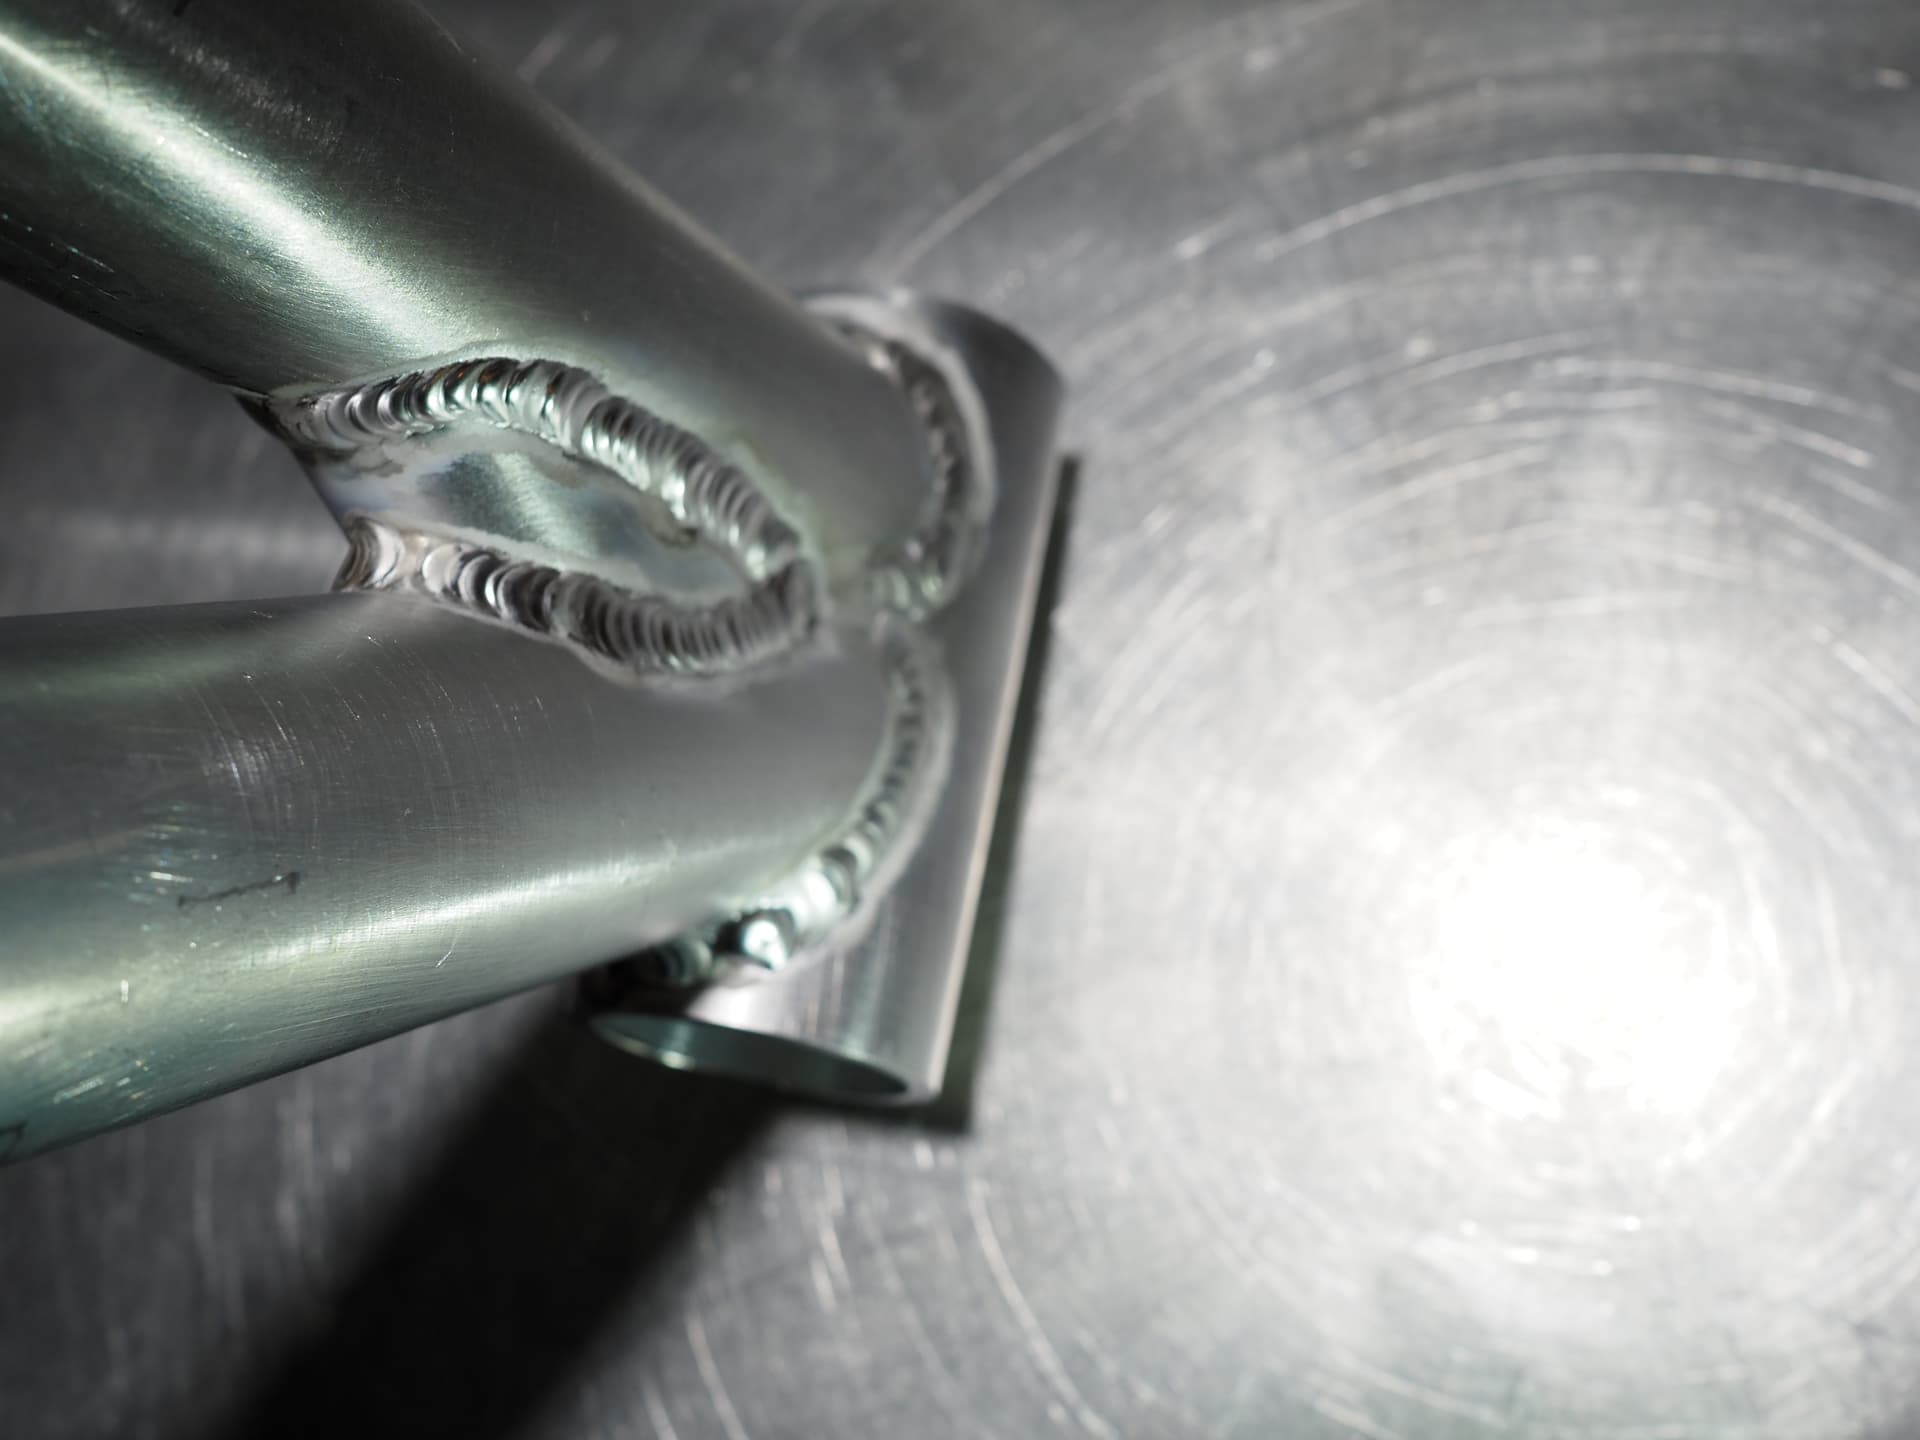
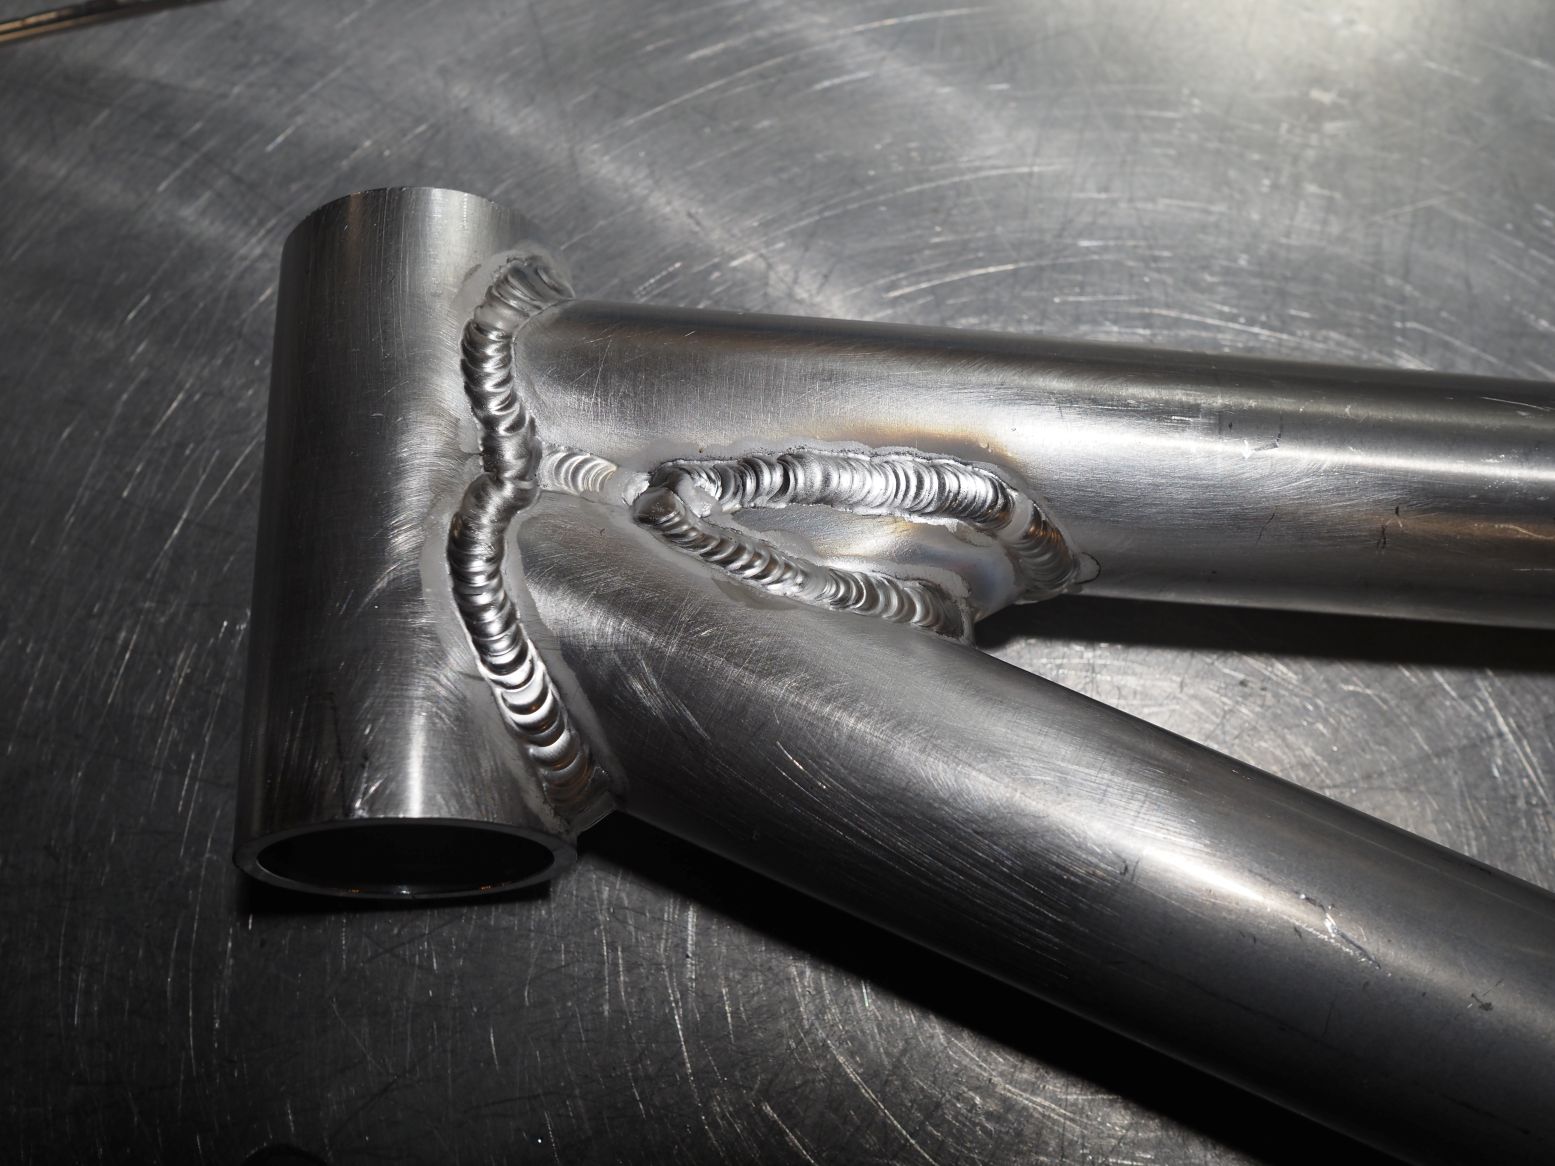
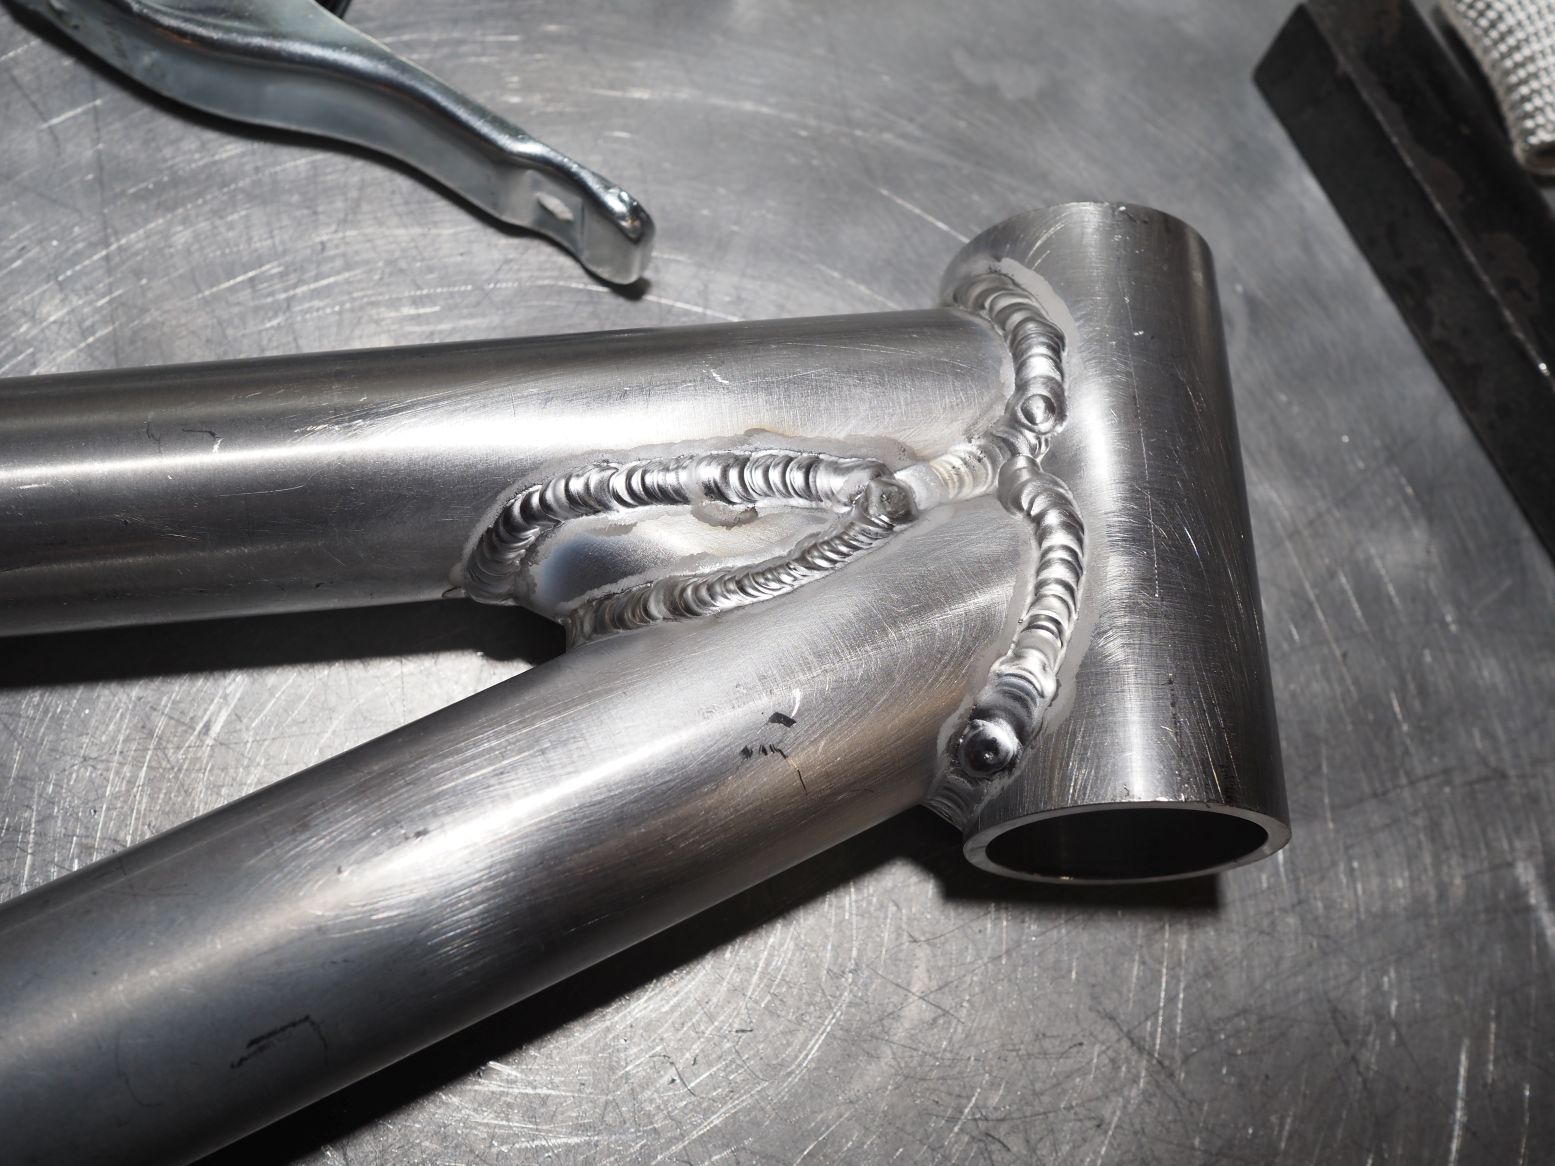
It feels like I’m moving too slow but it could just be because I’m super focused haha! My weld bead also seems like I’m either adding too much filler or not using enough heat as my beads seem pretty convex. Anyway this is where I am welding aluminum and I’m hoping some of you have suggestions for thigs to try to improve my aluminum welds.
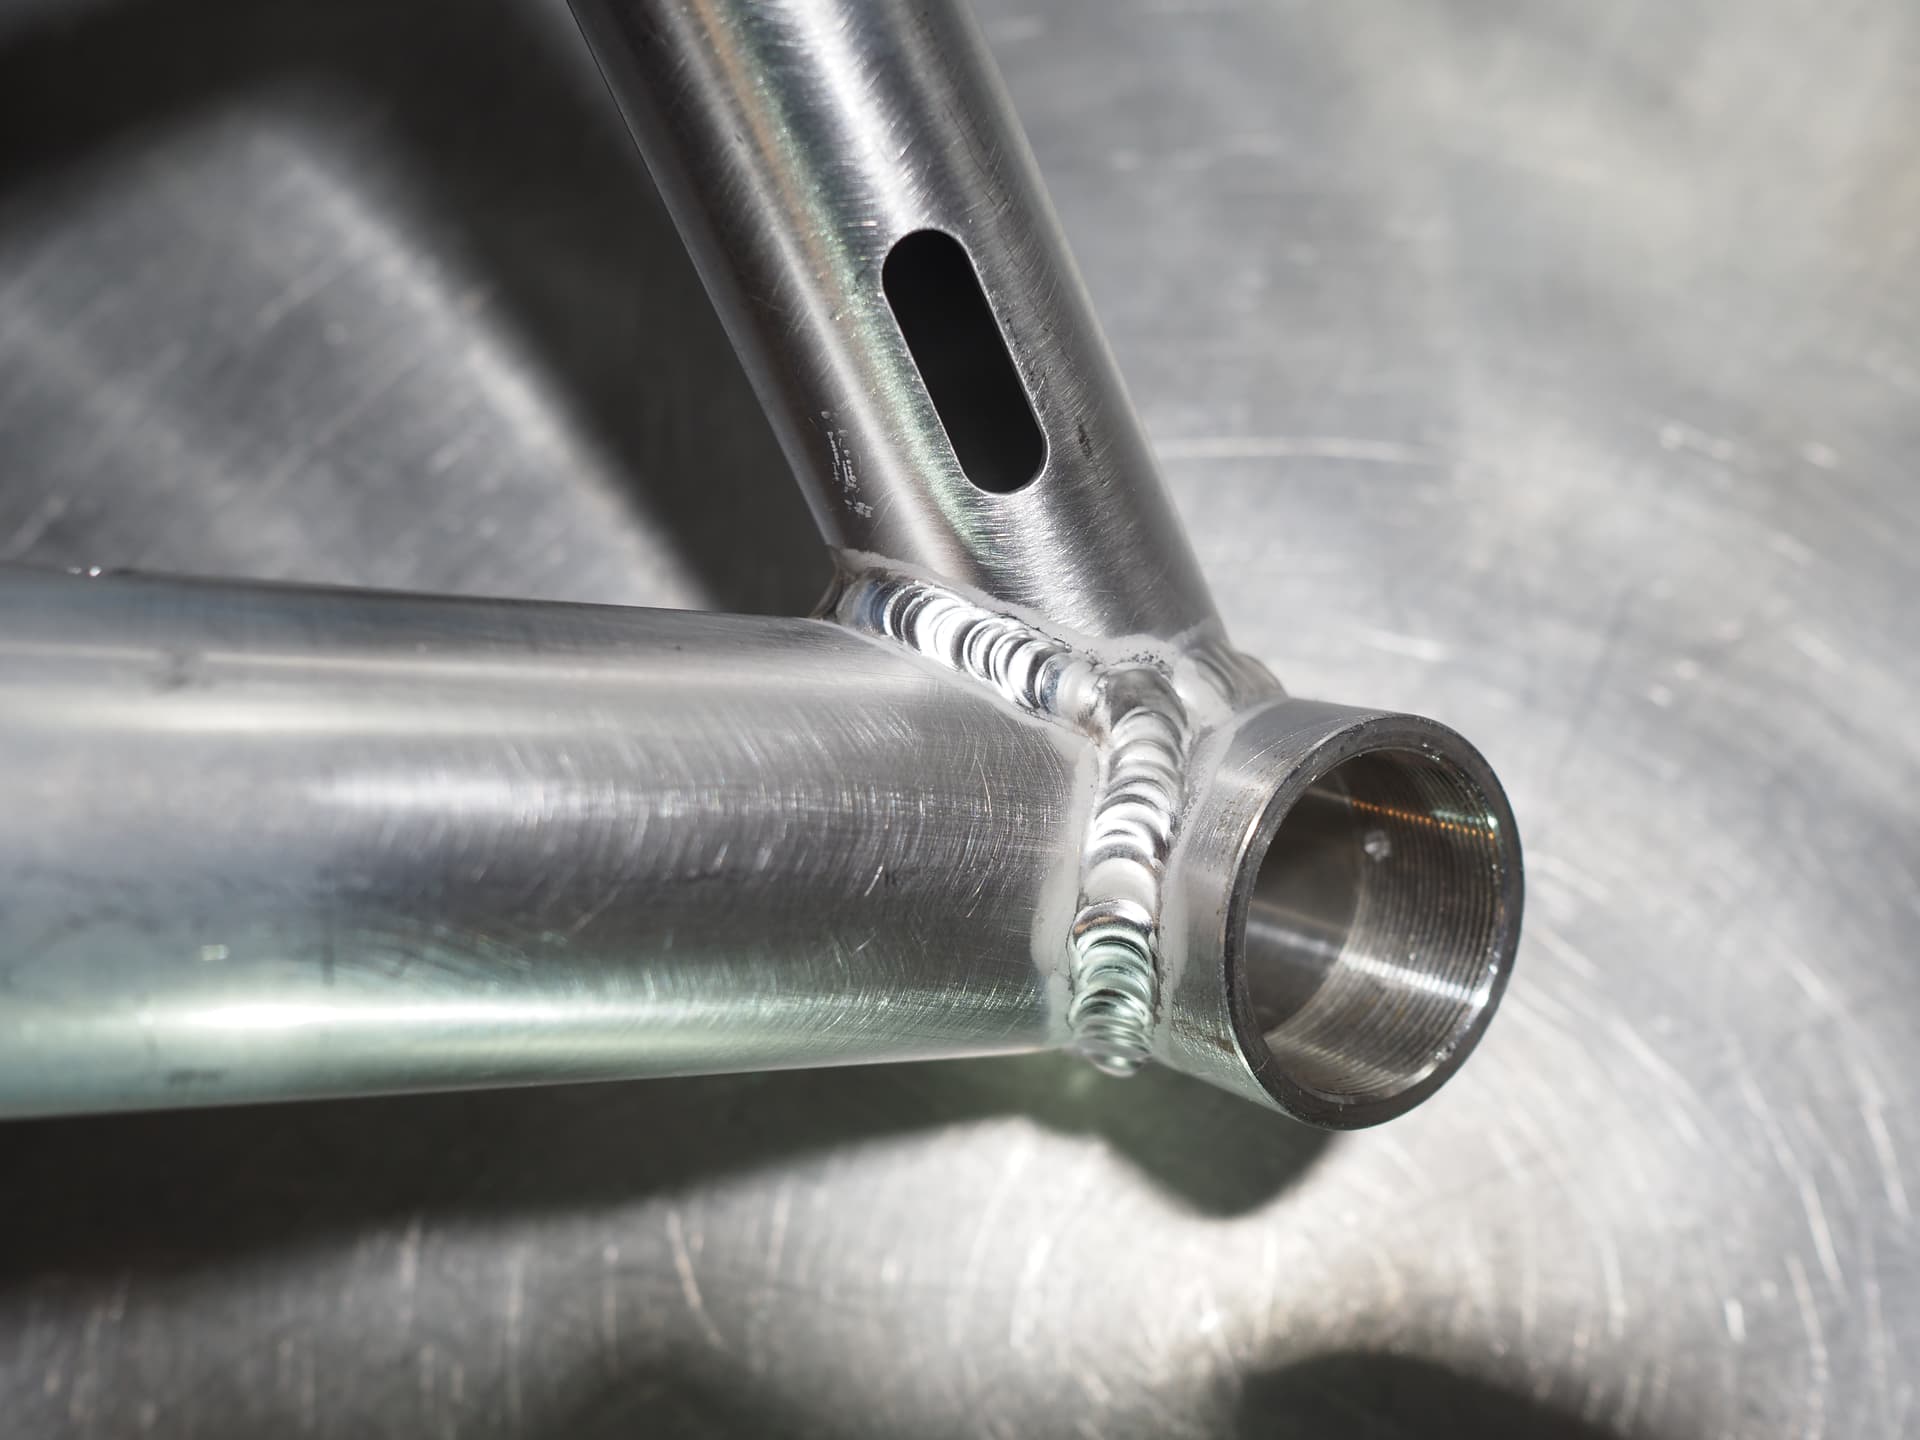
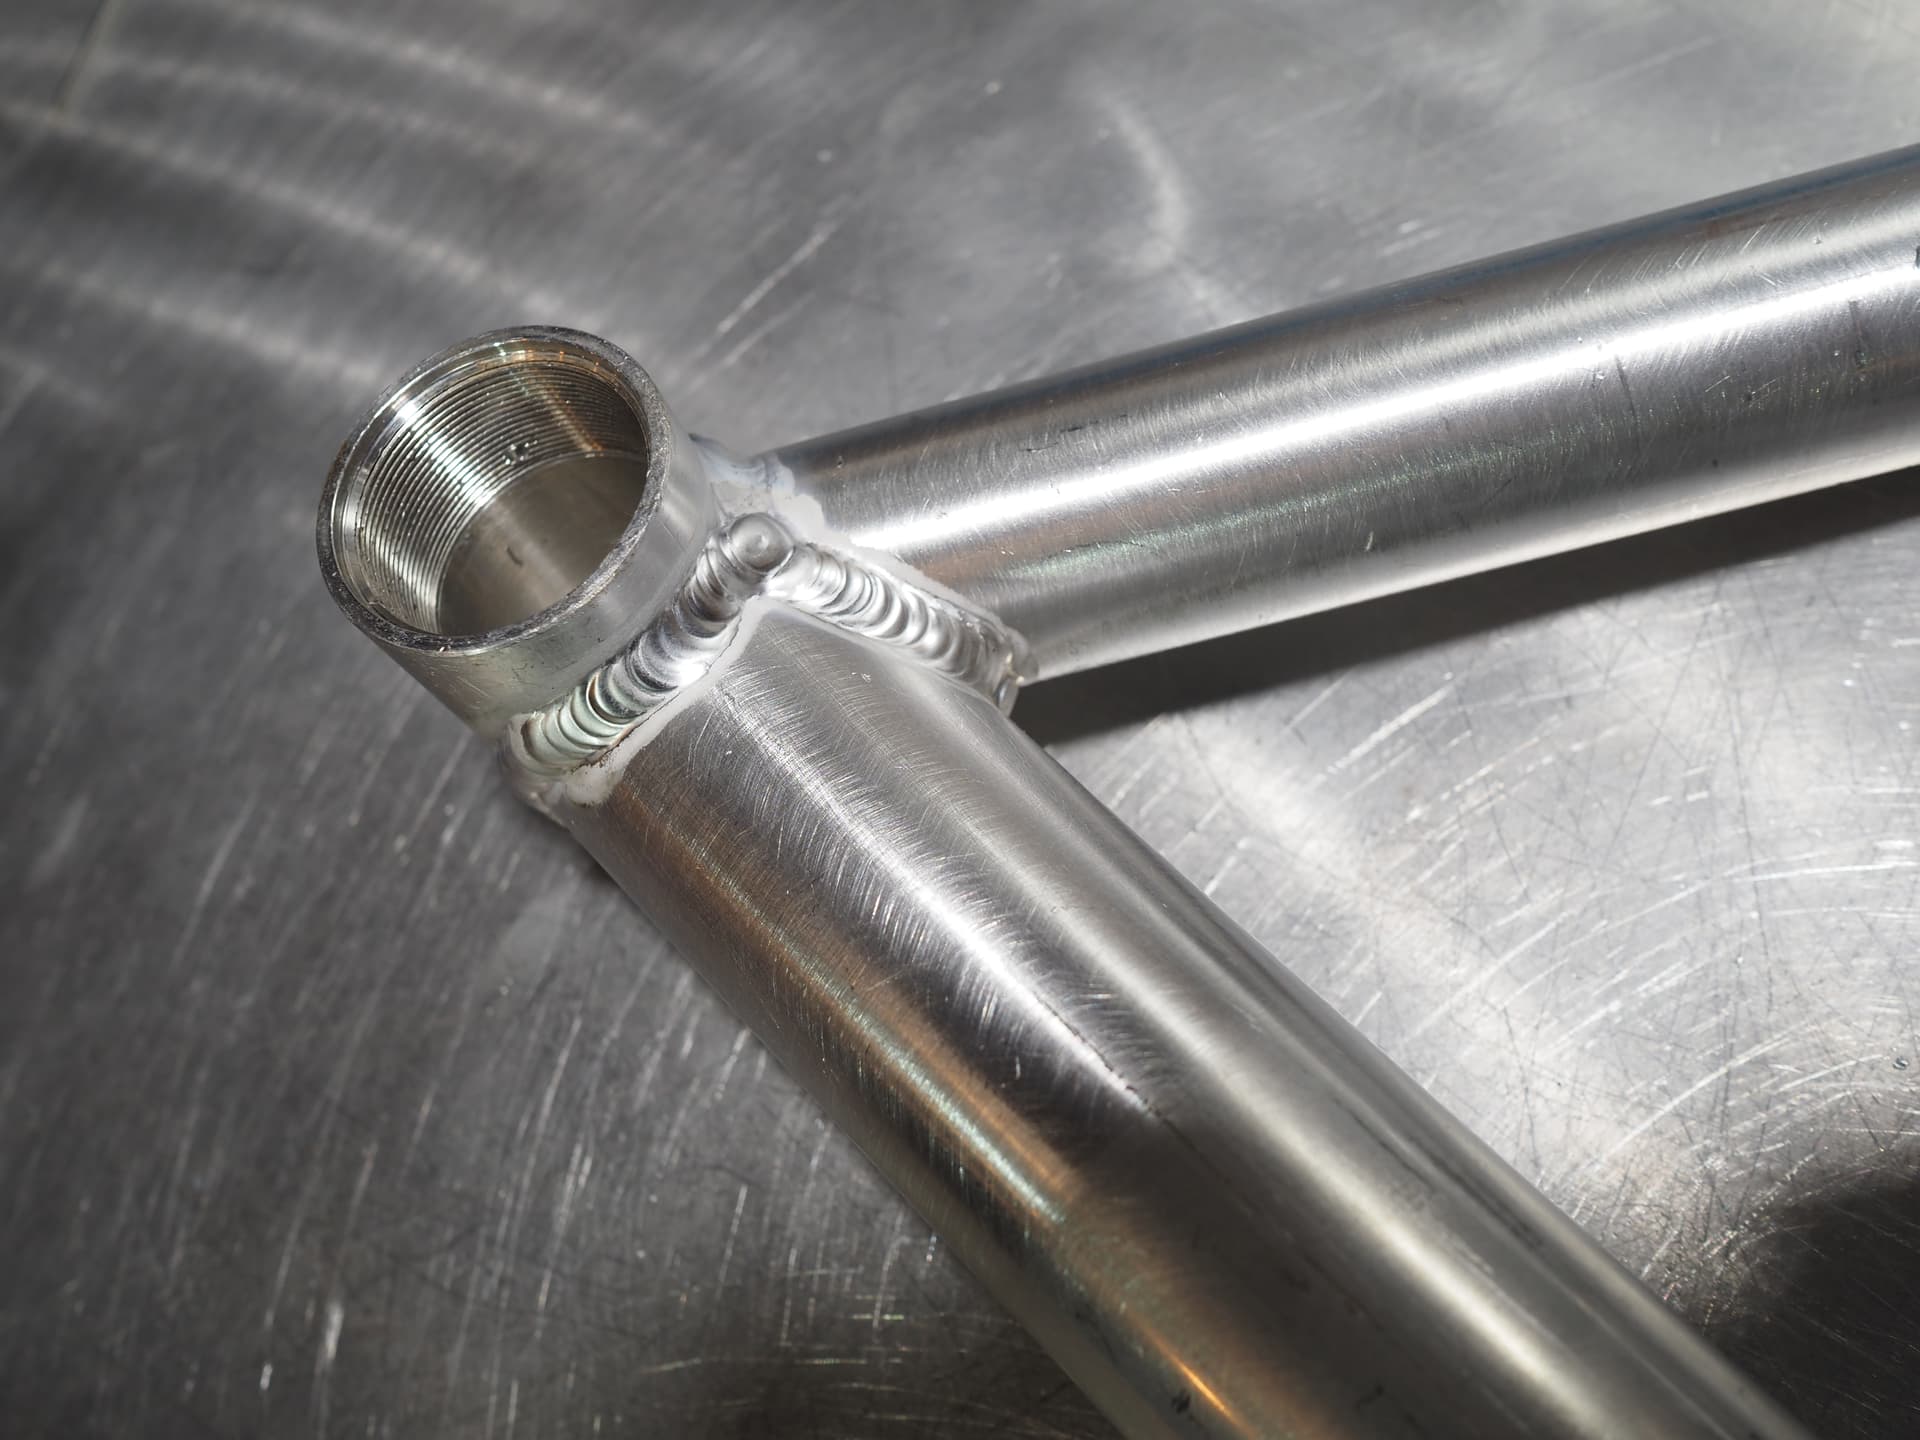
Below are my weld settings and attached are a pictures of the front triangle welds.
Miller Dynasty 210
150 amps
120 hz
75% balance
#6 cup w/ gas lense
3/32 2% lanthanated tungsten
3/32 5356 filler
base metal mechanically cleaned with scotch brite and dedicated SS wire brush and chemically cleaned with acetone.
Thank you!
1 Like
Disclaimer: I only TIG steel, but I will weigh in anyway. It looks like your beads are mainly a bit convex on the sides of the frame where the geometry of the tubes means there isn’t much of a fillet and therefore nowhere for the filler metal to go. This is fairly normal. How thick are the tube walls? It might be that a bit of a bevel on them would help, or you could use a combination of a bit more heat (so it sinks in more) and a bit less rod on those sections. You can also just do another pass with no rod where you just zap it all down a bit flatter (pulse the pedal a bit as you go).
As for the spacing and getting the perfect “stack of dimes” that’s about timing and rhythm. But the priority should always be a strong joint (and these look pretty good as far as I can tell from these pictures). Once you’ve done enough of them they will start to look a bit more regular by themselves.
1 Like
Thanks for your reply!
I definitely need to just keep welding a whole bunch more and can try more heat/less rod on the outside of the tubes where there is no fillet or valley to fill.
I prepped two sets of tubes for two frames so this is a practice frame so to speak so I can figure out what does and doesn’t work for the second frame.
The head tube is 3.5mm, down tube is 1.6mm, top tube is 1.4mm.
1 Like
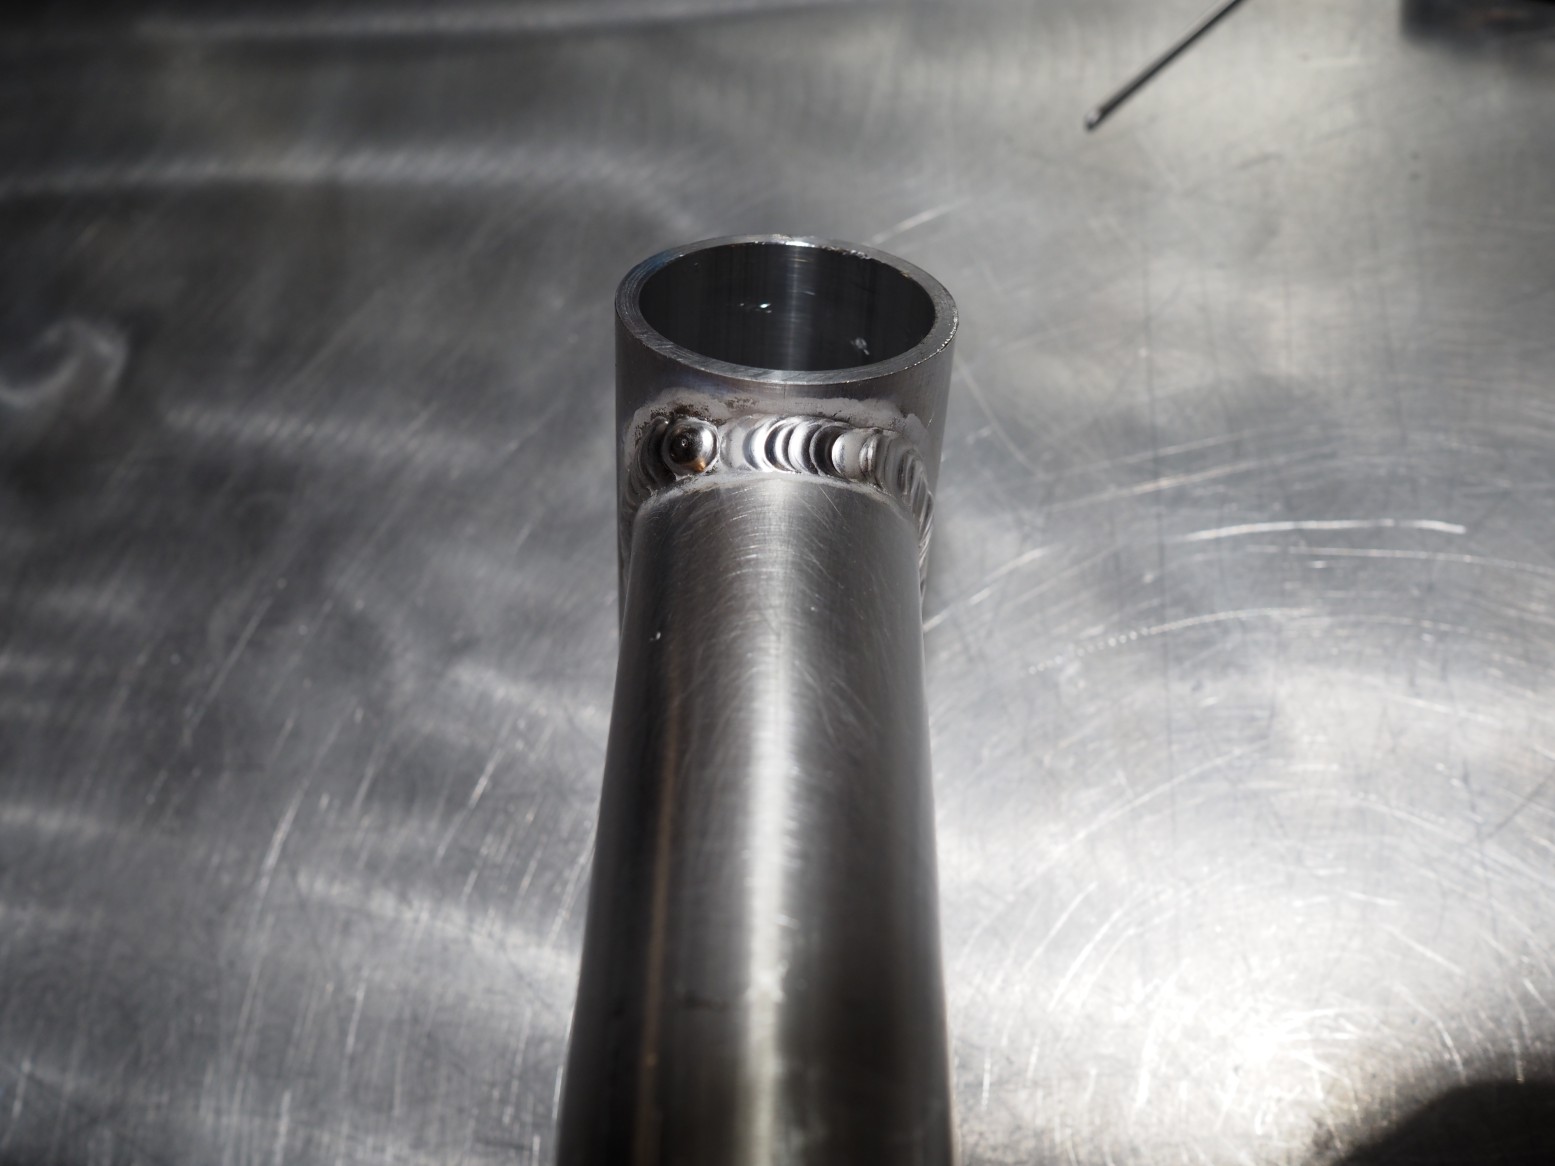
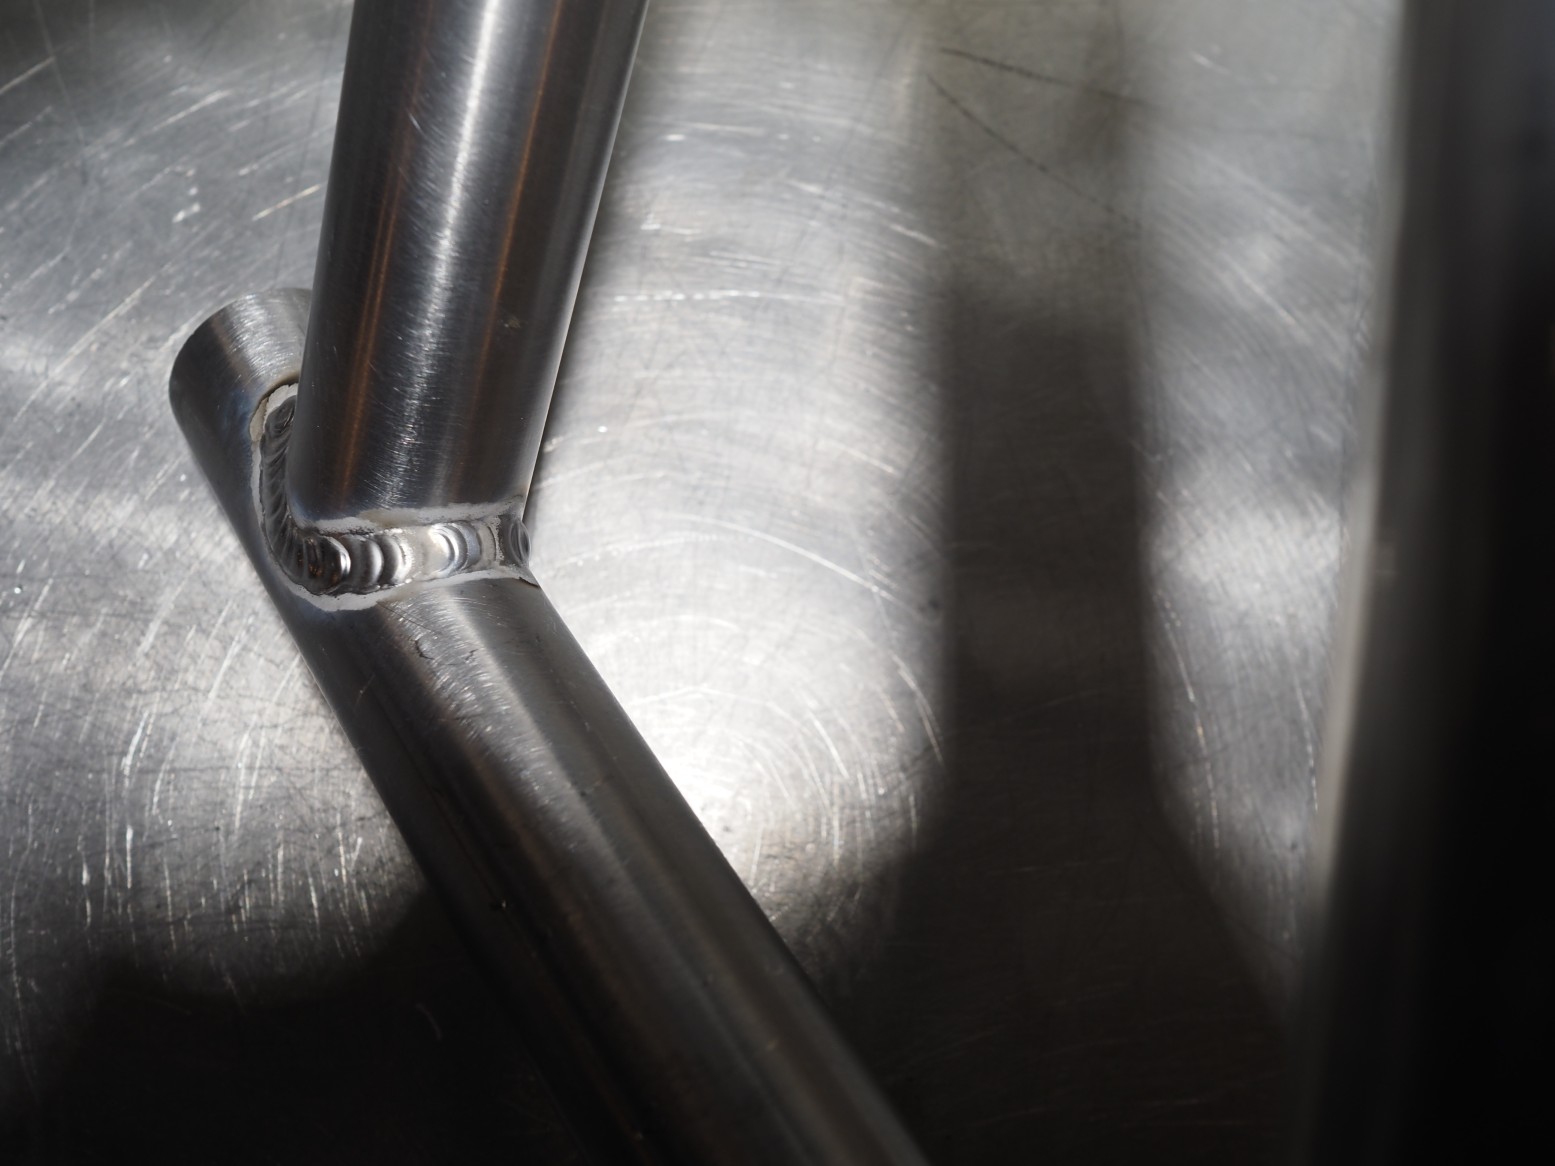
With 1.4mm or 1.6mm wall you probably don’t need a bevel. However, if you’re notching with a hole-saw, that actually gives you a bevel going the wrong way. I definitely think that should be knocked back a bit (with a file or a grinder). Otherwise you can end up with your weld sitting on top of what is a thinned-out piece of metal. If you take the edges back to being like they were cut square you will have a bit of a groove for the weld to drop into and should also have a better root in the joint.
1 Like
I’m glad you brought this up. When I was messing with welding tubes together and trying to simply break them apart in a vise, I found that if I don’t grind the ears perpendicular to the tube axis before welding, the joint will tear just outside the weld in the thin section made by the hole saw.
So now I use a belt sander to flatten out the bevel on the “ears” or sides of the miter and blend it in to the top and bottom of the miter where the miter is closer to perpendicular to the tube axis giving the weld the full thickness of the tube to grab on to.
1 Like
That’s good that you actually tested it. I see some YouTubers who notch with a hole saw and then do “pulse and lay wire” over the top. They get a very neat looking weld, but one that I would be worried about the strength of.
2 Likes
Room for improvement but you’re really close! I’ll suggest, if you don’t have a pedal, get one.
Consistency is mostly about seat time. Getting good at three different limbs doing three different jobs at once is very much like juggling, you just have to put in the hours. Also, test how welds bend or break. Cut them up to look inside. Destroying your welds helps inform your intuition about what’s going on while you’re welding.
Thoughts about flatter welds:
Try playing around with pedal modulation. Aluminum’s runny enough that you can shape it with the pedal. Rolling off the amps between puddles give the AC an extra half second to clean down into the root before the filler goes in. Rolling the amps into each puddle gets you involved in shaping them and really stresses muscle memory. Plus, it’s a super useful skill to build for welding small stuff or close to edges - only cranking up the heat when you need it keeps total heat buildup under control.
A really important pedal modulation skill is crater management. Roll off the amperage, sweeping across the puddle so it freezes from back to front instead of from the outside to the center. Easy to learn and prevents a stress riser.
Definitely, cut back the sharp edges off of miter ears. Makes a space for a bit of filler to go. Makes a more consistent weld root. Prevents swervy welds too! A sharp edge will ball up under the arc and it’s easy to end up following it around with your weld when it does.
1/16 filler is worth trying out, it’ll give you more control over volume of filler added.
It’s not ideal. Maxway does it and at that volume everyone would know if their frames were falling apart. Plenty good enough for moderately sturdy steel, apparently.
I’d worry about aluminum. The junk cleaned off by the AC gets blasted into the root of the joint and stays there, because the laid-in filler is blocking the AC from cleaning the root, which prevents the root from joining the weld, which leaves a bridge weld over unincorporated root containing oxide deposits.
2 Likes