Hey forum, I’ve been asked to replace a BB shell (stripped threads) on a lugged frame and wondered if any one has experience they want to share with this kind of replacement?
Customer said explicitly that he doesn’t care about how it looks he just want it to work and the frame is “just” an old Raleigh.
My initial thought was to rough cut most of the shell with an angle grinder - leaving the lugs on the DT/ST/CS - set it up in the mill to cut out the rest with a hole saw.
Has anyone tried to do this before? I’m wondering if the tubes not fixed in the vise will need to be fixated some how too?
Hi Tore, one time I repaired stripped bb threads by cutting across the bottom of the bb shell with a hacksaw, squeezing the slot closed with the bench vise, and tig welding the closed slot. Then re-tapped the bb threads. Even though the shell won’t go perfectly round, this worked fine nonetheless. Worth a thought, quick and easy.
I have saved much much much time by wetting what remains of the threading with brass; and re-tapping instead of going through all the effort of replacing the whole shell. None of those repairs have ever come back for 2nds.
We used to call that a cut’n’weld, even though we closed it with brass not TIG. Have done it maybe a half-dozen times and it always worked, no returns. Done with enough speed, you don’t even burn the paint on the top of the shell, just underneath where it doesn’t show much… For those too cheap to pay for even a local rattle-can job.
I like brass for the closing, because you can flow a little inside while yer at it to have a bit more metal to make the new threads.
If the damage is worse than the kerf of a single hacksaw blade can fix, I ganged up two blades on my saw.
I always hammered the slot closed rather than squishing in the vise, because I could keep it a tad more round that way, by adjusting the direction and target of the hammer blows.
Did all of my cut’n’welds in the '80s. More recently I have a better way. Slower but less cave-man, perfect results and no paint damage.
Ream and tap to Italian. (Easy for me since I have the reamer and tap. Stop reading here if that would be difficult or impossible for you)
Insert the Italian-to-English thread inserts sold by Ceeway, with Loctite
There is no step 3, you’re done.
Note (maybe obvious), often the damage will be one side only, so only ream and tap the side that needs it.
If you haven’t seen the Ceeway inserts (dunno who makes 'em), prepare to be amazed. Quite the feat of delicate machining. Not as amazing on the Left side of the bike, I could make that one myself, but the one on the right is extra cool, with RH threads on the outside and LH threads on the inside for the English fixed cup. You can see daylight through the part where the RH and LH threads cross each other.
My advice to USA builders (or anyone not in England), order some now so you can be the hero next time you need to do this repair, without waiting for shipping from England. Tell 'em I sent ya. (jk, they don’t know who I am.)
I did that for the cap’n BB on a tandem. Held the keel tube and the DT, with just a machinist jack under the ST, constrained only against moving downward. I could’ve clamped that down too but I wasn’t getting paid much (or at all really) for this repair so I cut corners. The cut was “uneventful” which is to say, it came out perfectly.
It was a cheap Burley tandem, repaired for a friend, so polishing the fillets was all for my own enjoyment. I used to do it for a living but haven’t smoothed any fillets in about 30 years. Sort of masochistically fun!
Ugh, replying to my own post, but after 5 seconds of actually thinking about it, if you have a lathe you can make those inserts yourself without involving shipping from England.
Take a nice 1-1/2" OD lugless shell like from Paragon, and cut Italian threads on the outside of it, part off, done.
Then the Right side, that has the LH threads inside, might even be easier — since the threads crisscross, there’s no ‘clocking’ to worry about. On the Left (RH threads inside and out), I think you need to get them in phase to have any structural integrity. If the valleys (thread roots) line up, I think you’d end up with a coiled wire, like a Helicoil, instead of a cylinder with inside and outside threads. But I think you can start with a cup threaded inside the shell, and index off the threads on the cup to get your threading point in phase.
Note I am not a professional machinist, so please don’t sue me if that doesn’t work.
I bought a set of those Ceeway inserts a decade or more ago, just to have in the shop for just that reason, but never had the need to install a set yet, I do have Italian taps in my shop. As you say, they are pretty amazing, so thin.
The cut and squeeze is a cool option, as is the Italian re-tap.
It’s always good to have more technique’s in the arsenal as circumstances will differ addressing a bike owner’s goals relative to when, when not, or how to be doing frame repairs.
Following that logic.
Let’s also not forget about the easily available cartridge bb’s that thread themselves together inside the shell and require no remaining bb threads. With good prep and appropriate threadlocker. It’s the cheapest, laziest, and least paint destroying solution. They ~can~ be effective long term for many riders. (Assuming we’re talking about common chainline and square taper needs)
Also, I totally get doing a more complicated repair for the experience. Though likely, it’s not often prudent for those running a business.
Fer sure. I’m retired from the bike biz and my main criterion now is doing what I like, no care about profitability. Any bike for me or a friend, I’d want the most excellent repair (within reason), and not one that locks you into one type of bearing. And I just like crisp threads in a bottom bracket, 'cuz that’s how I was raised up. Dogs sniff butts, I look inside bottom brackets. I ain’t ashamed.
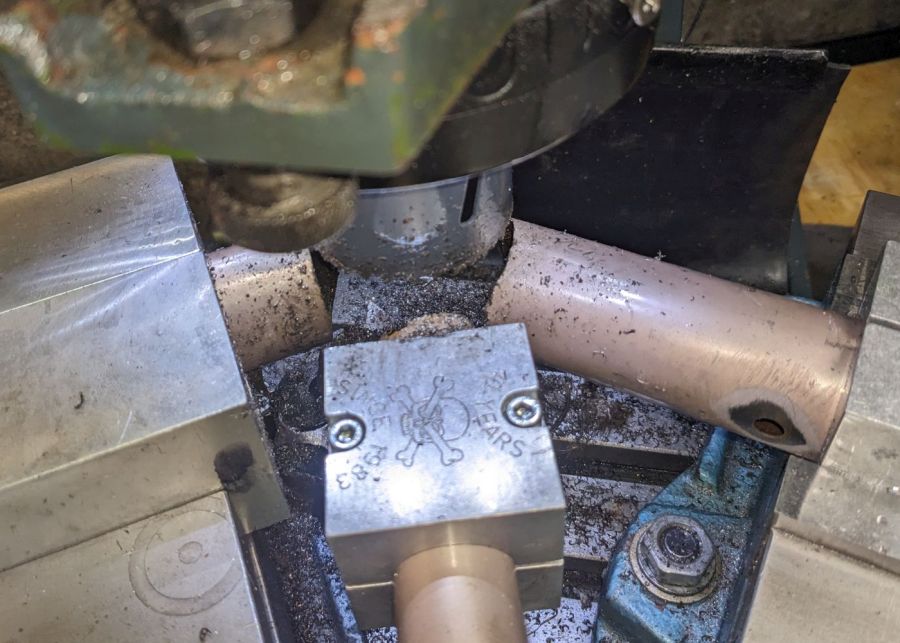
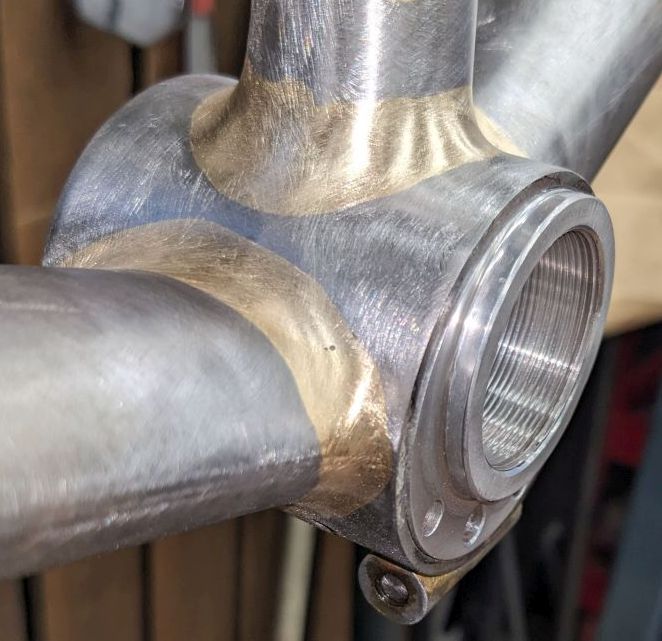
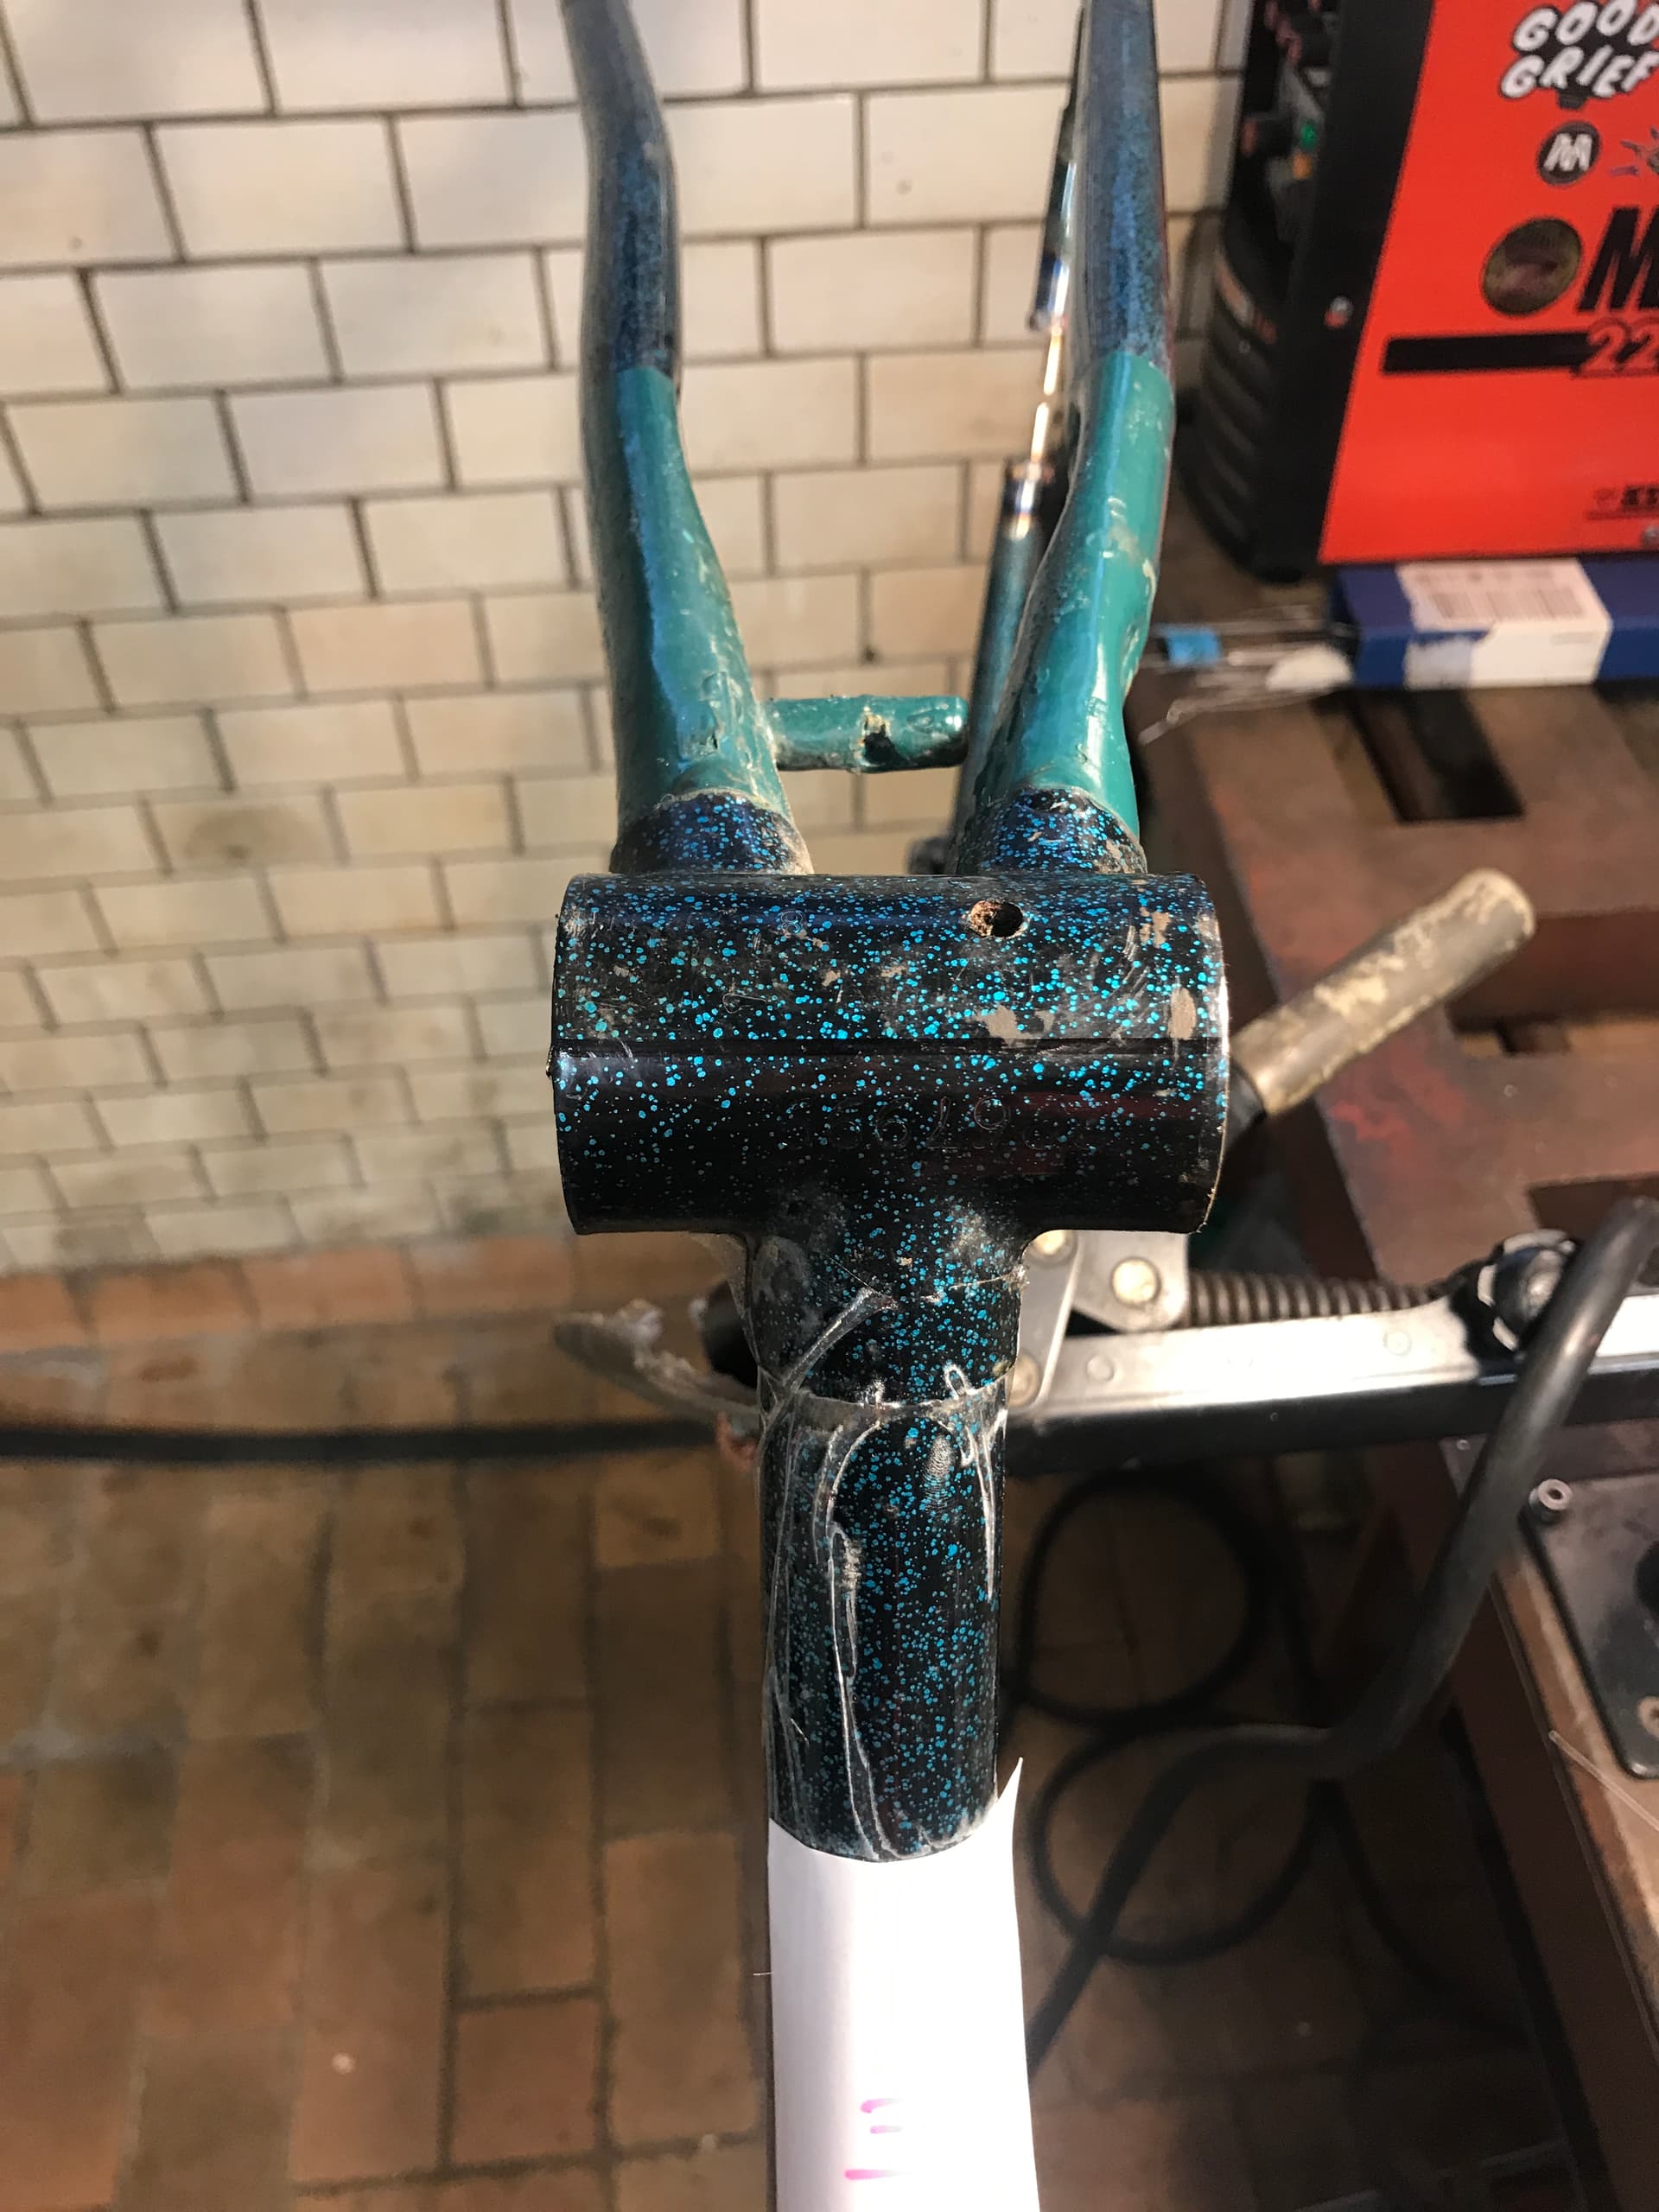
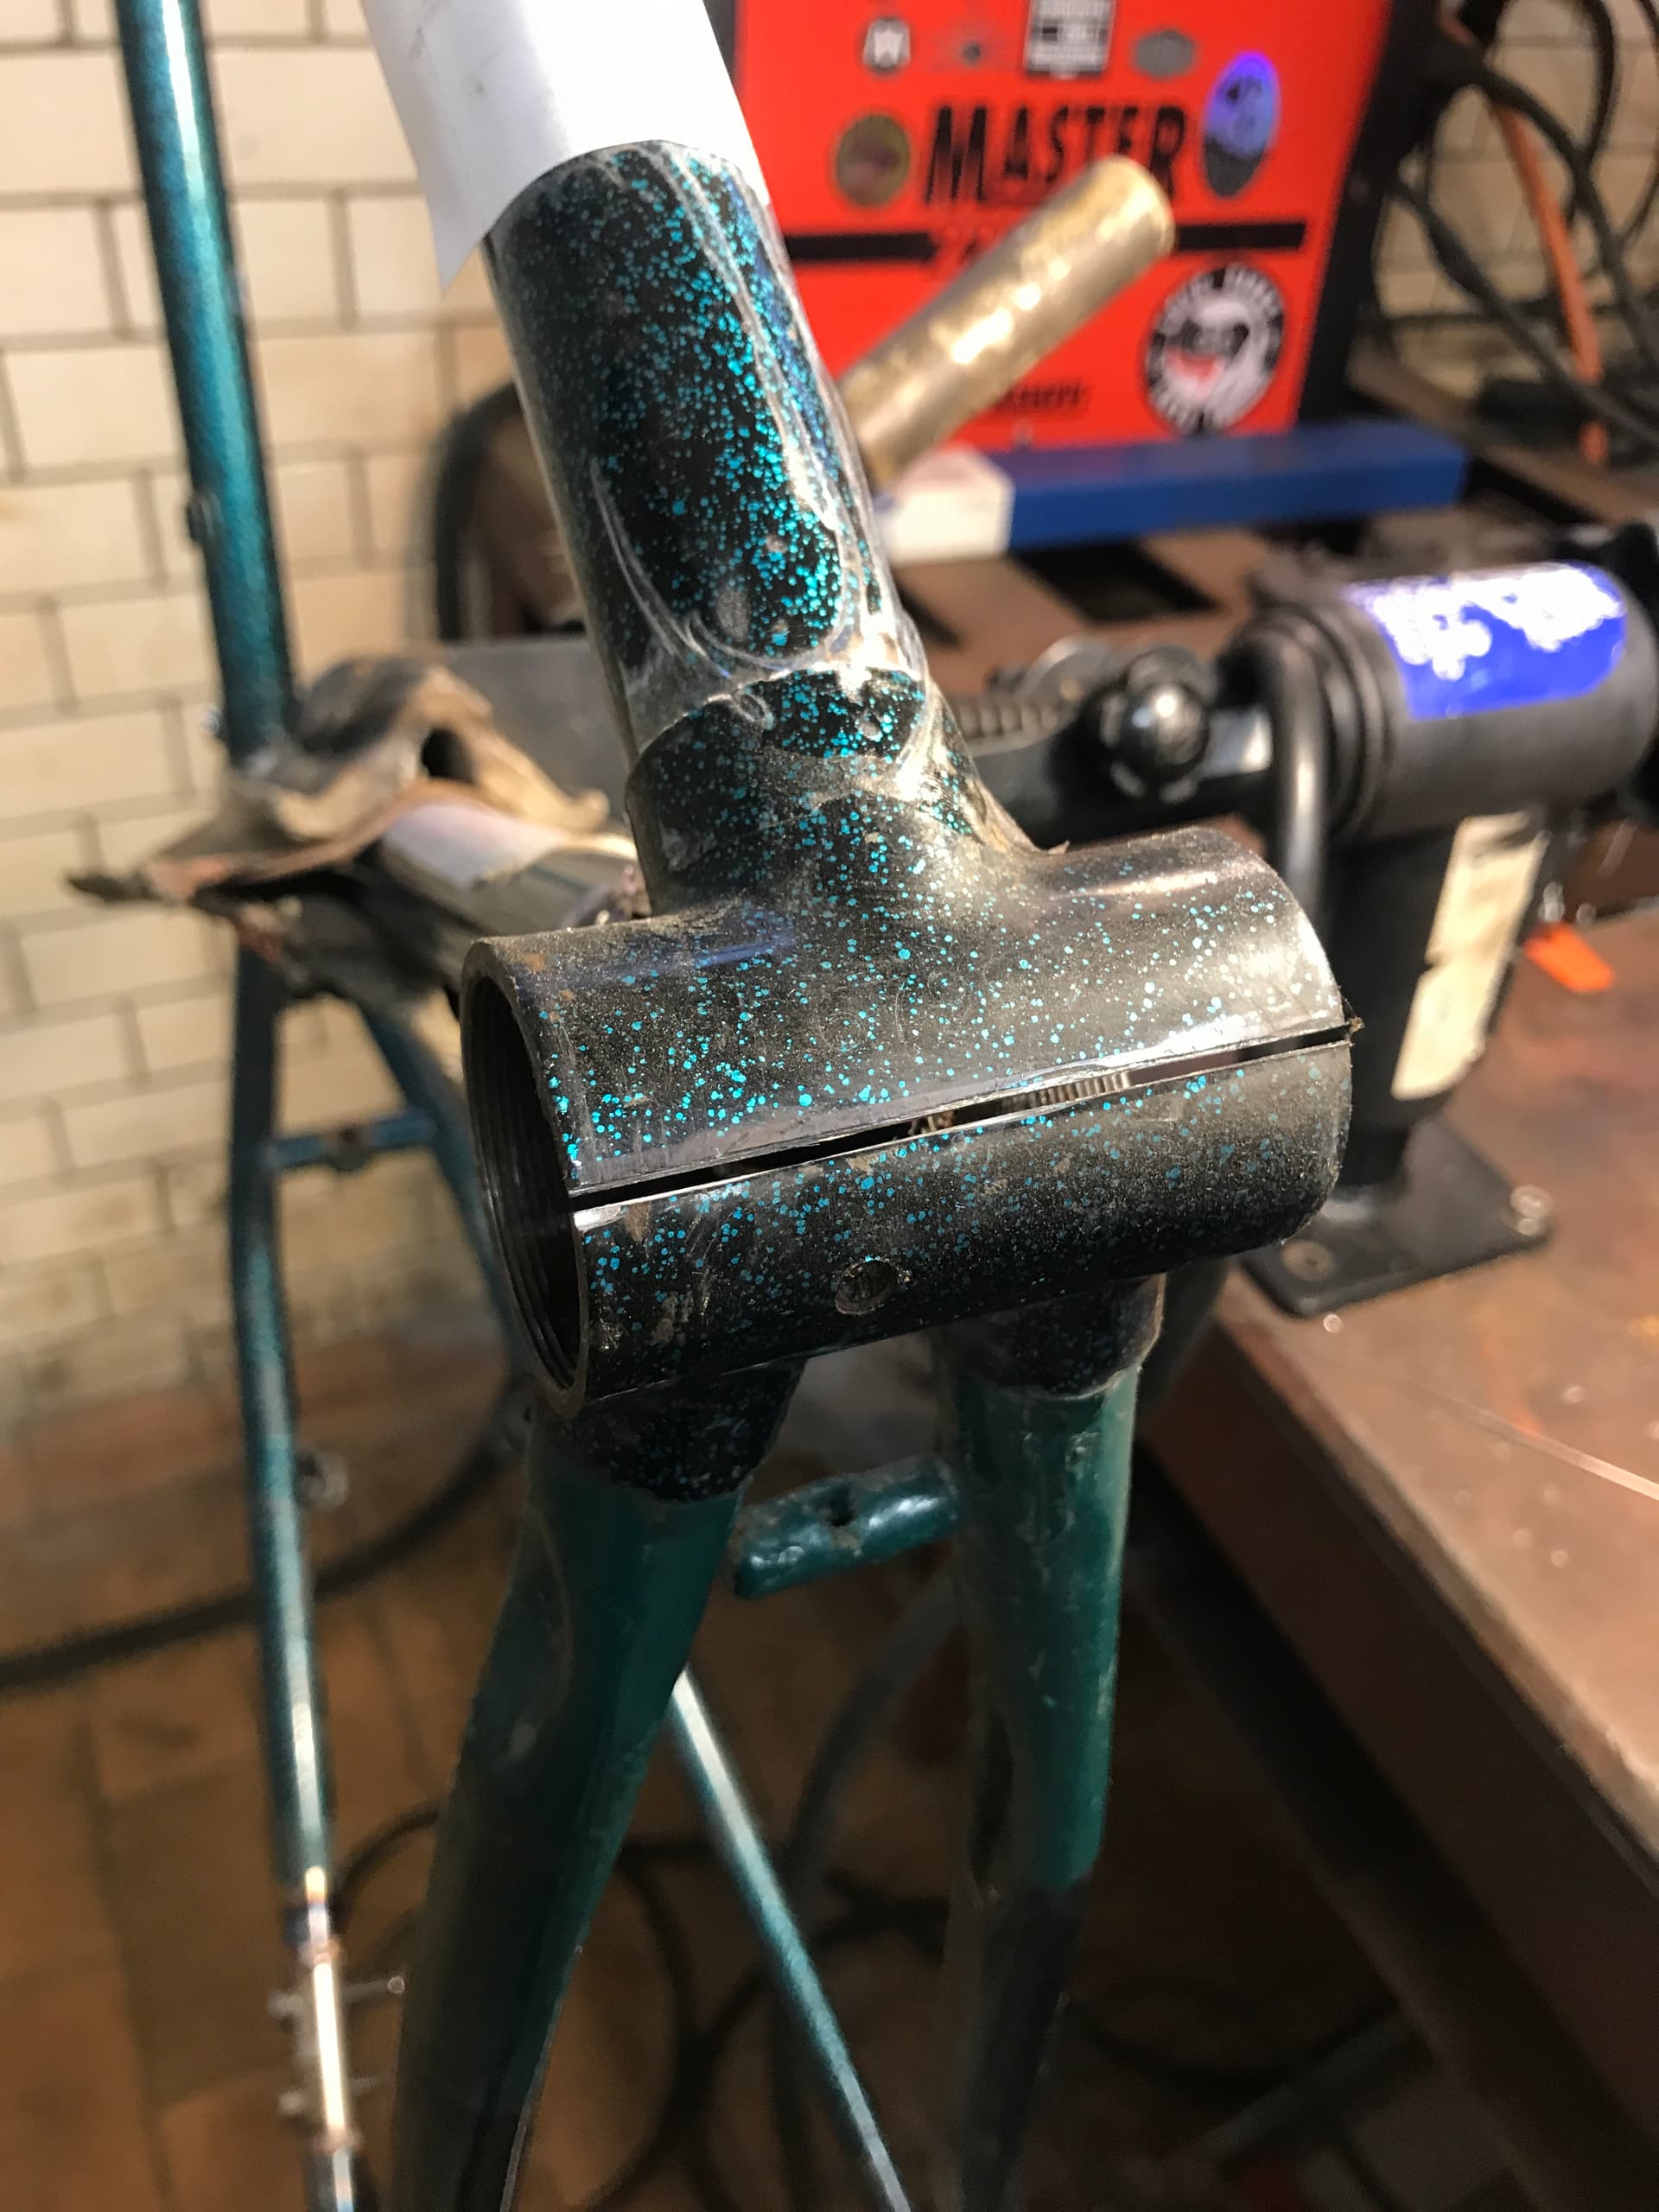
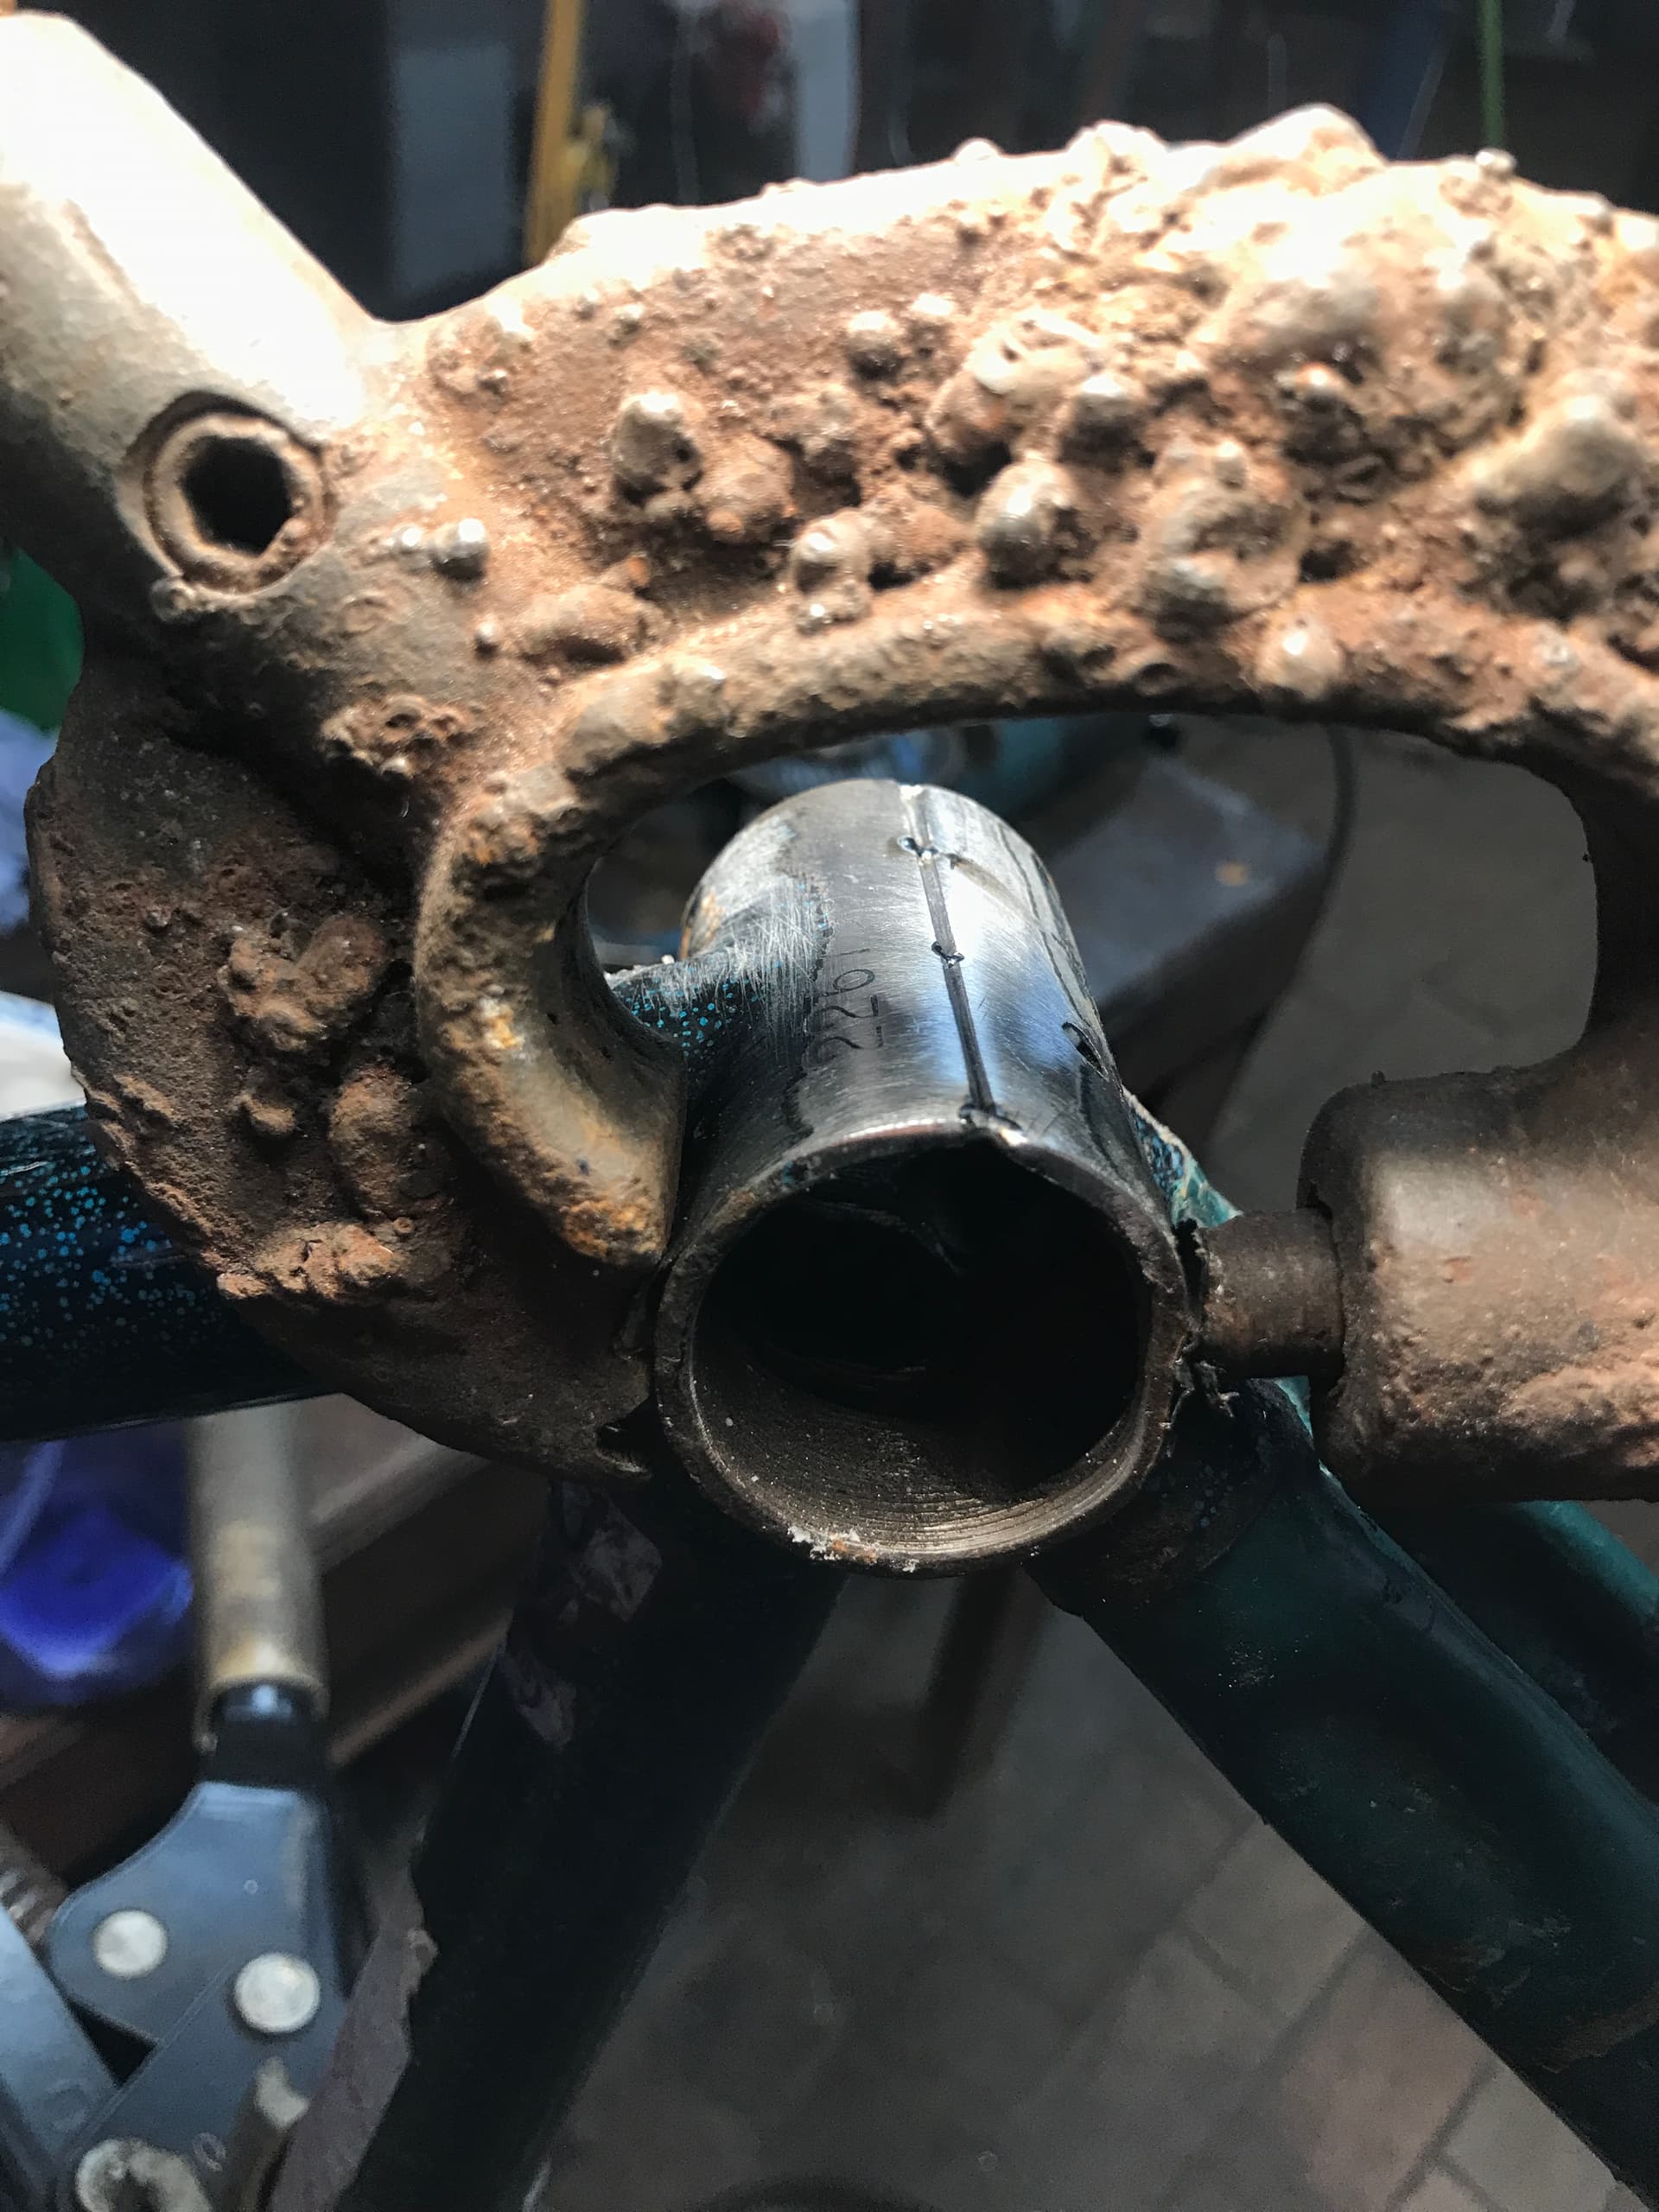
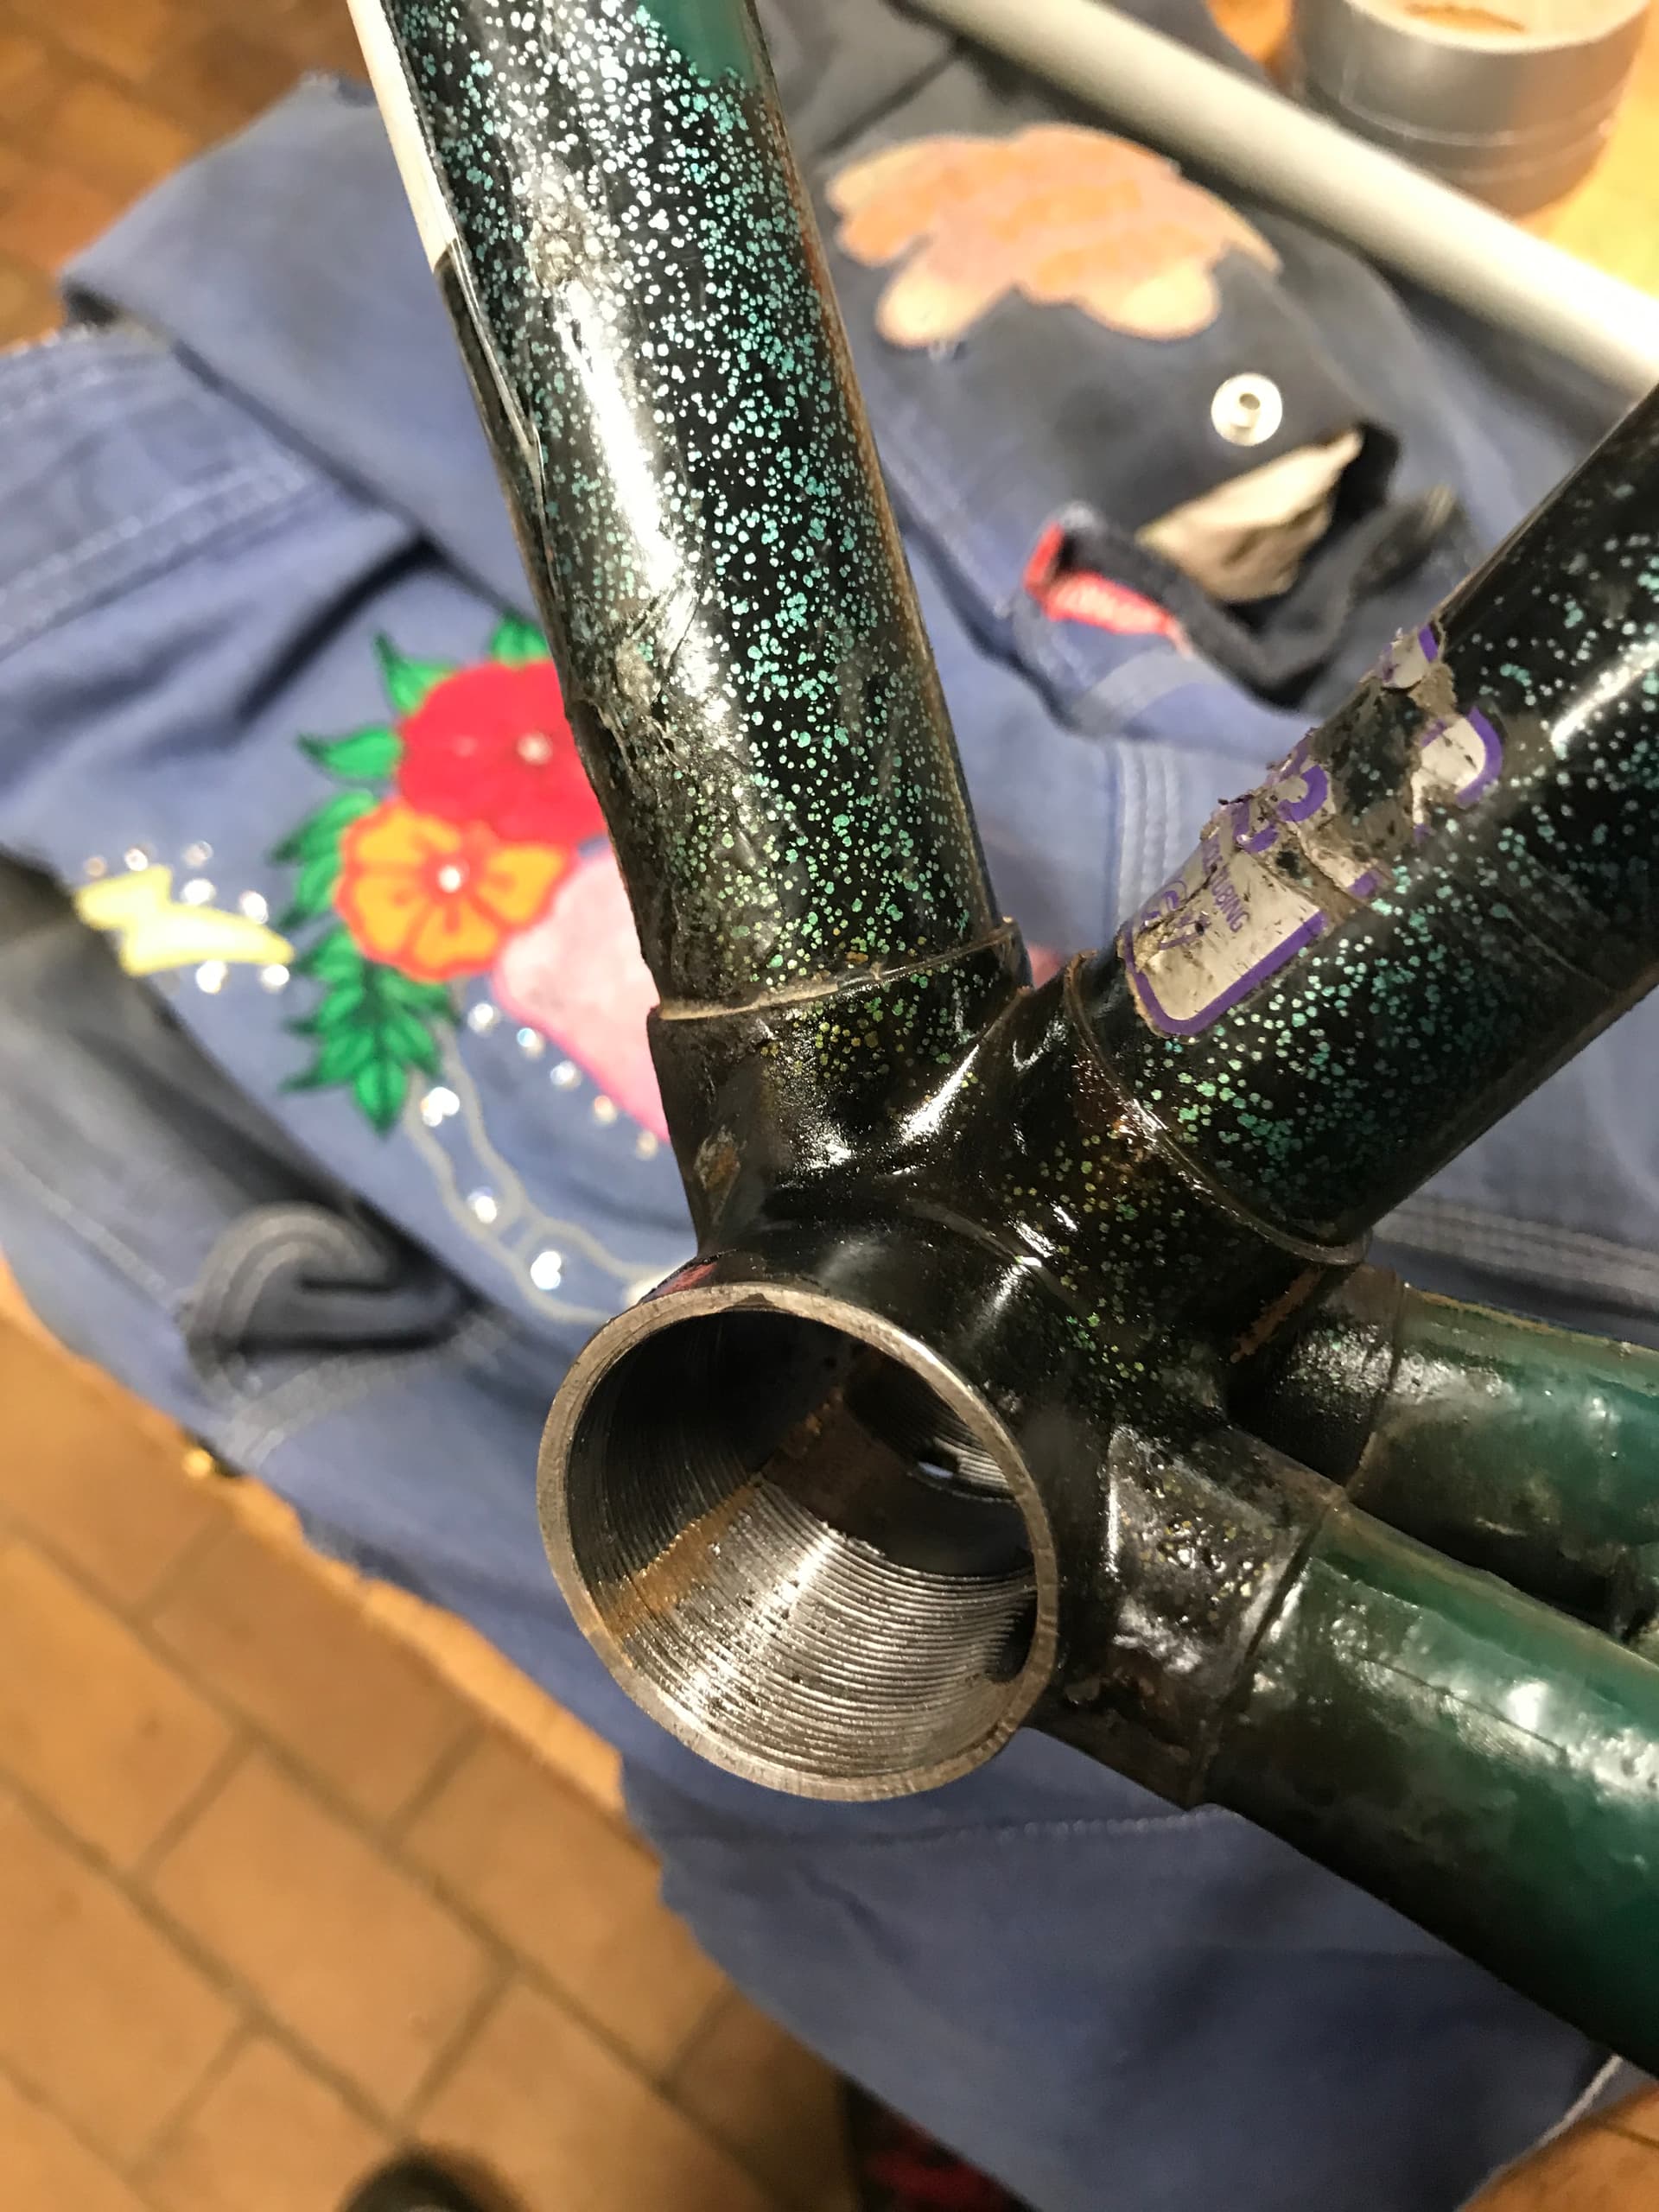
Finally got around to actually fixing the mentioned bike by the cut’n’weld technique proposed by a couple of people in the thread. And it seems to have worked!
Only the NDS threads were ripped and after the process NDS is still slightly loser than DS threads but not enough to be a problem.
Here’s a little photo reportage for anyone interested in the process.