Bicycle photography

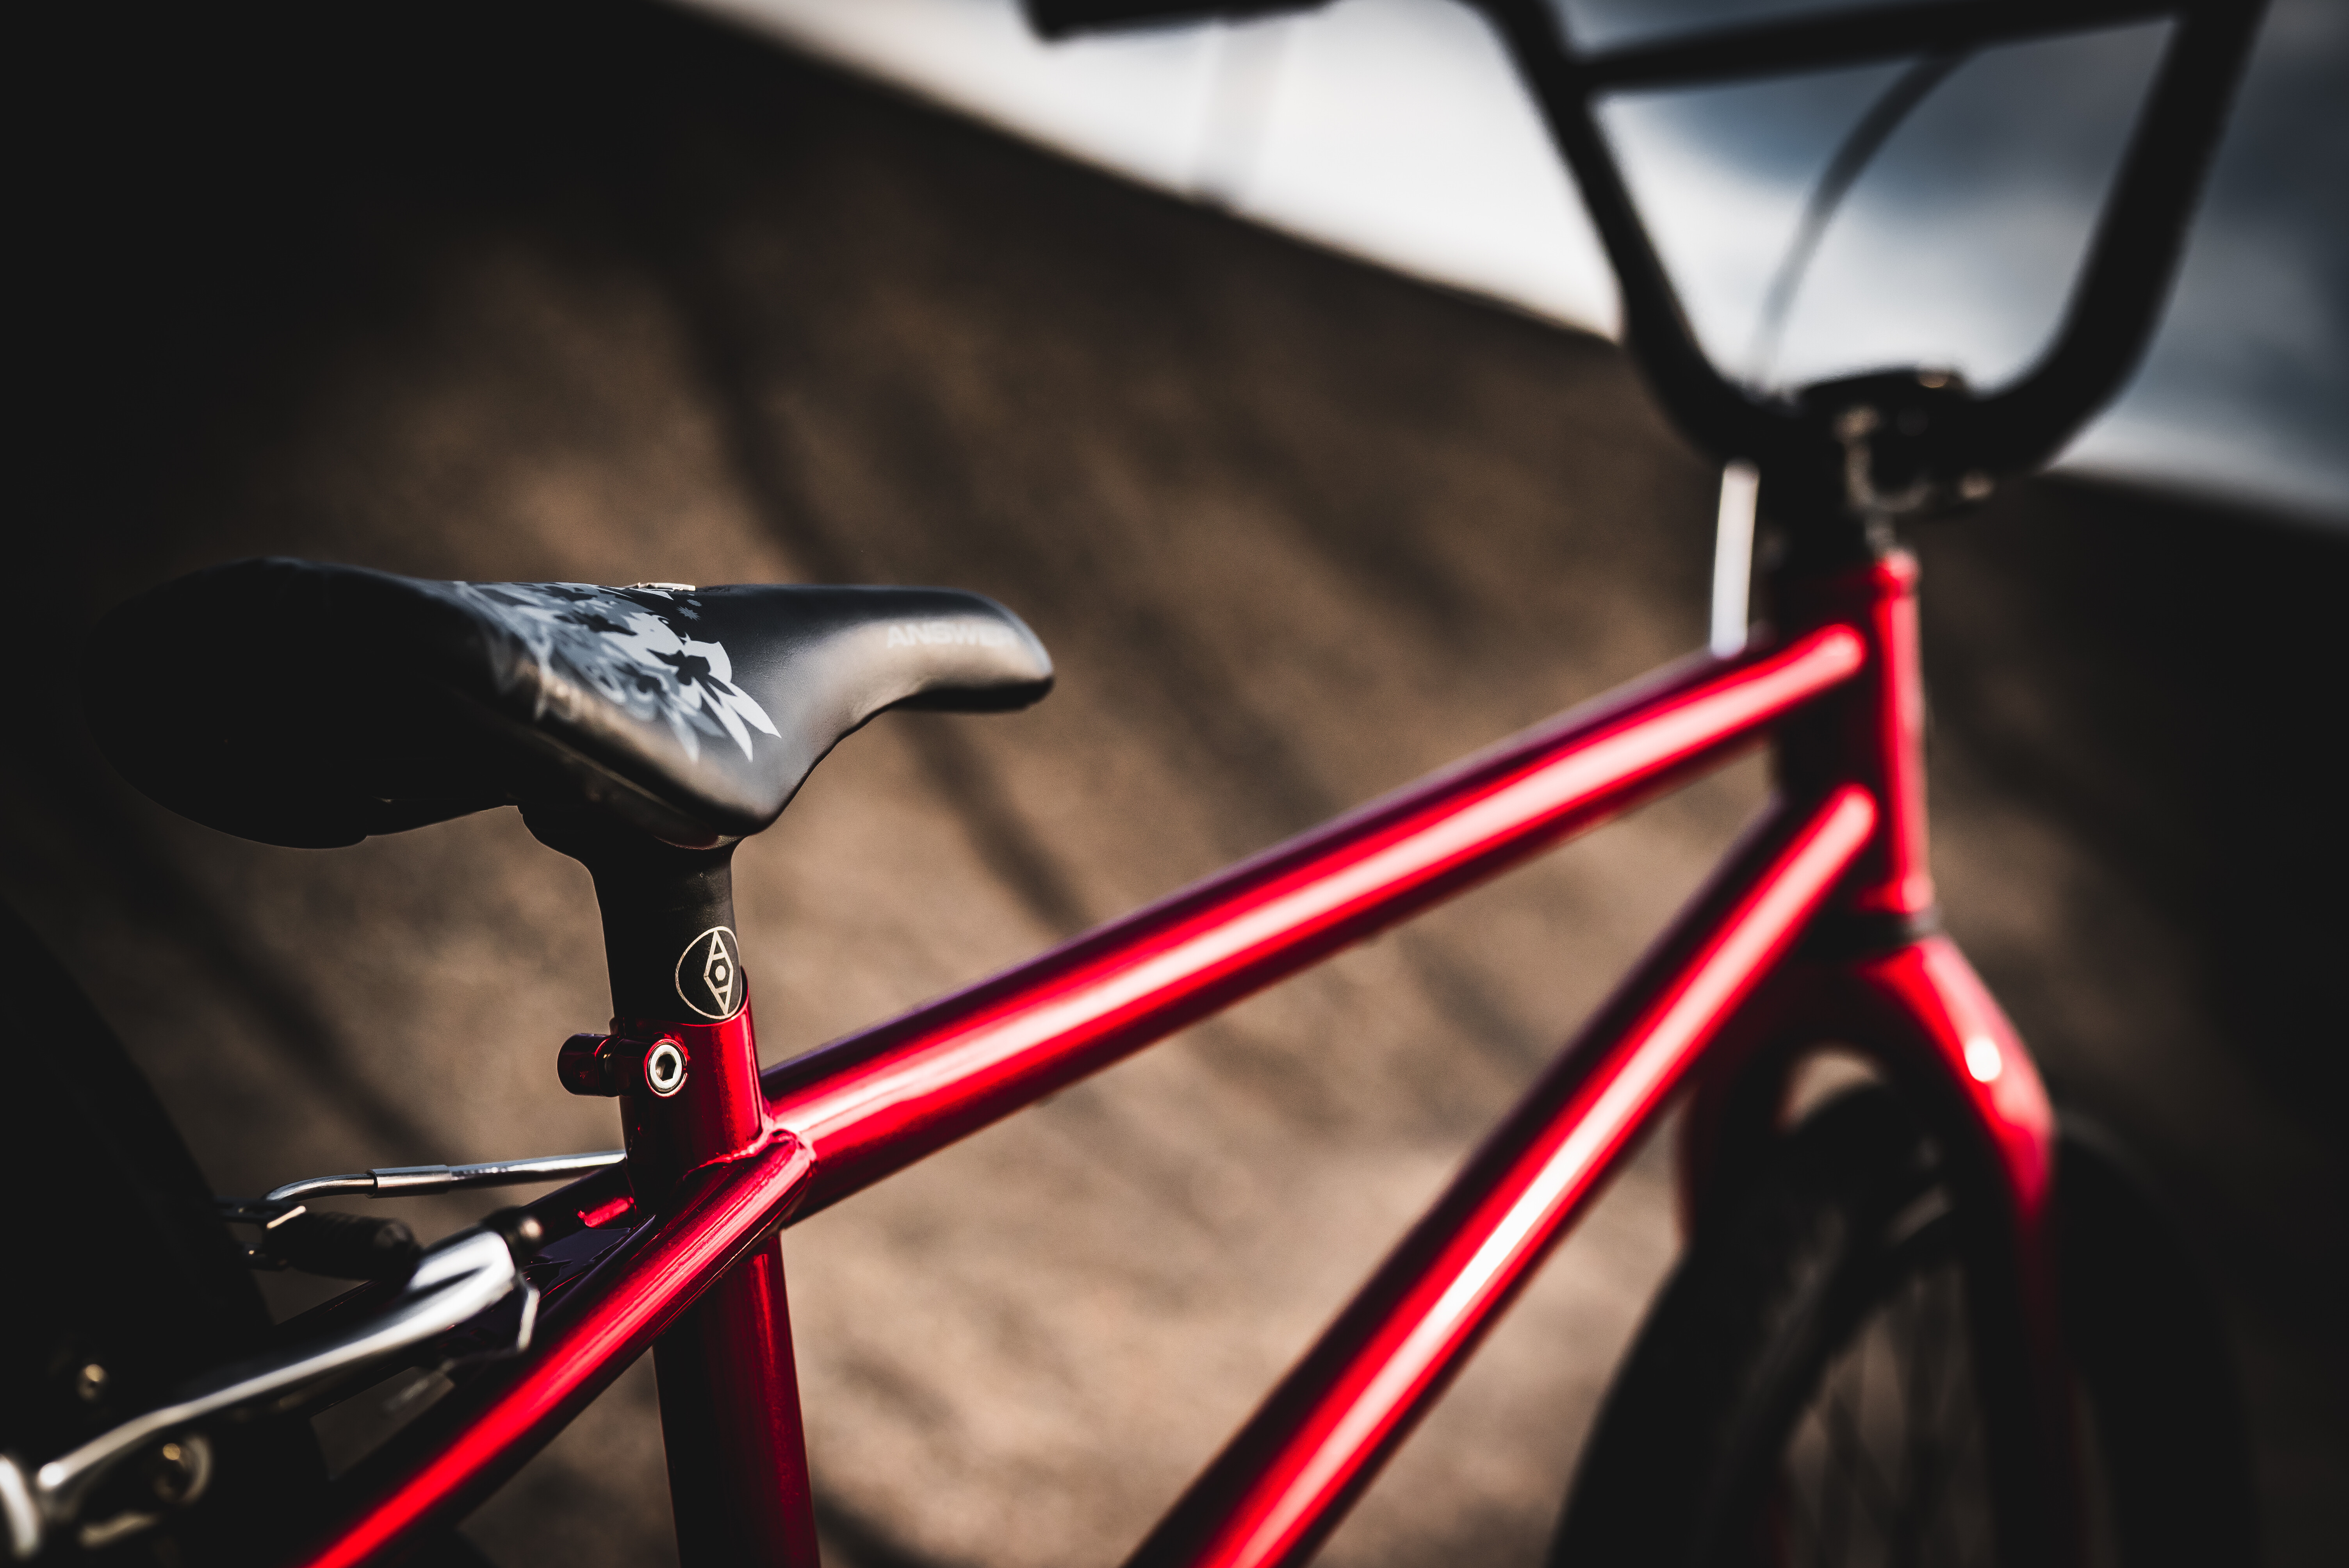
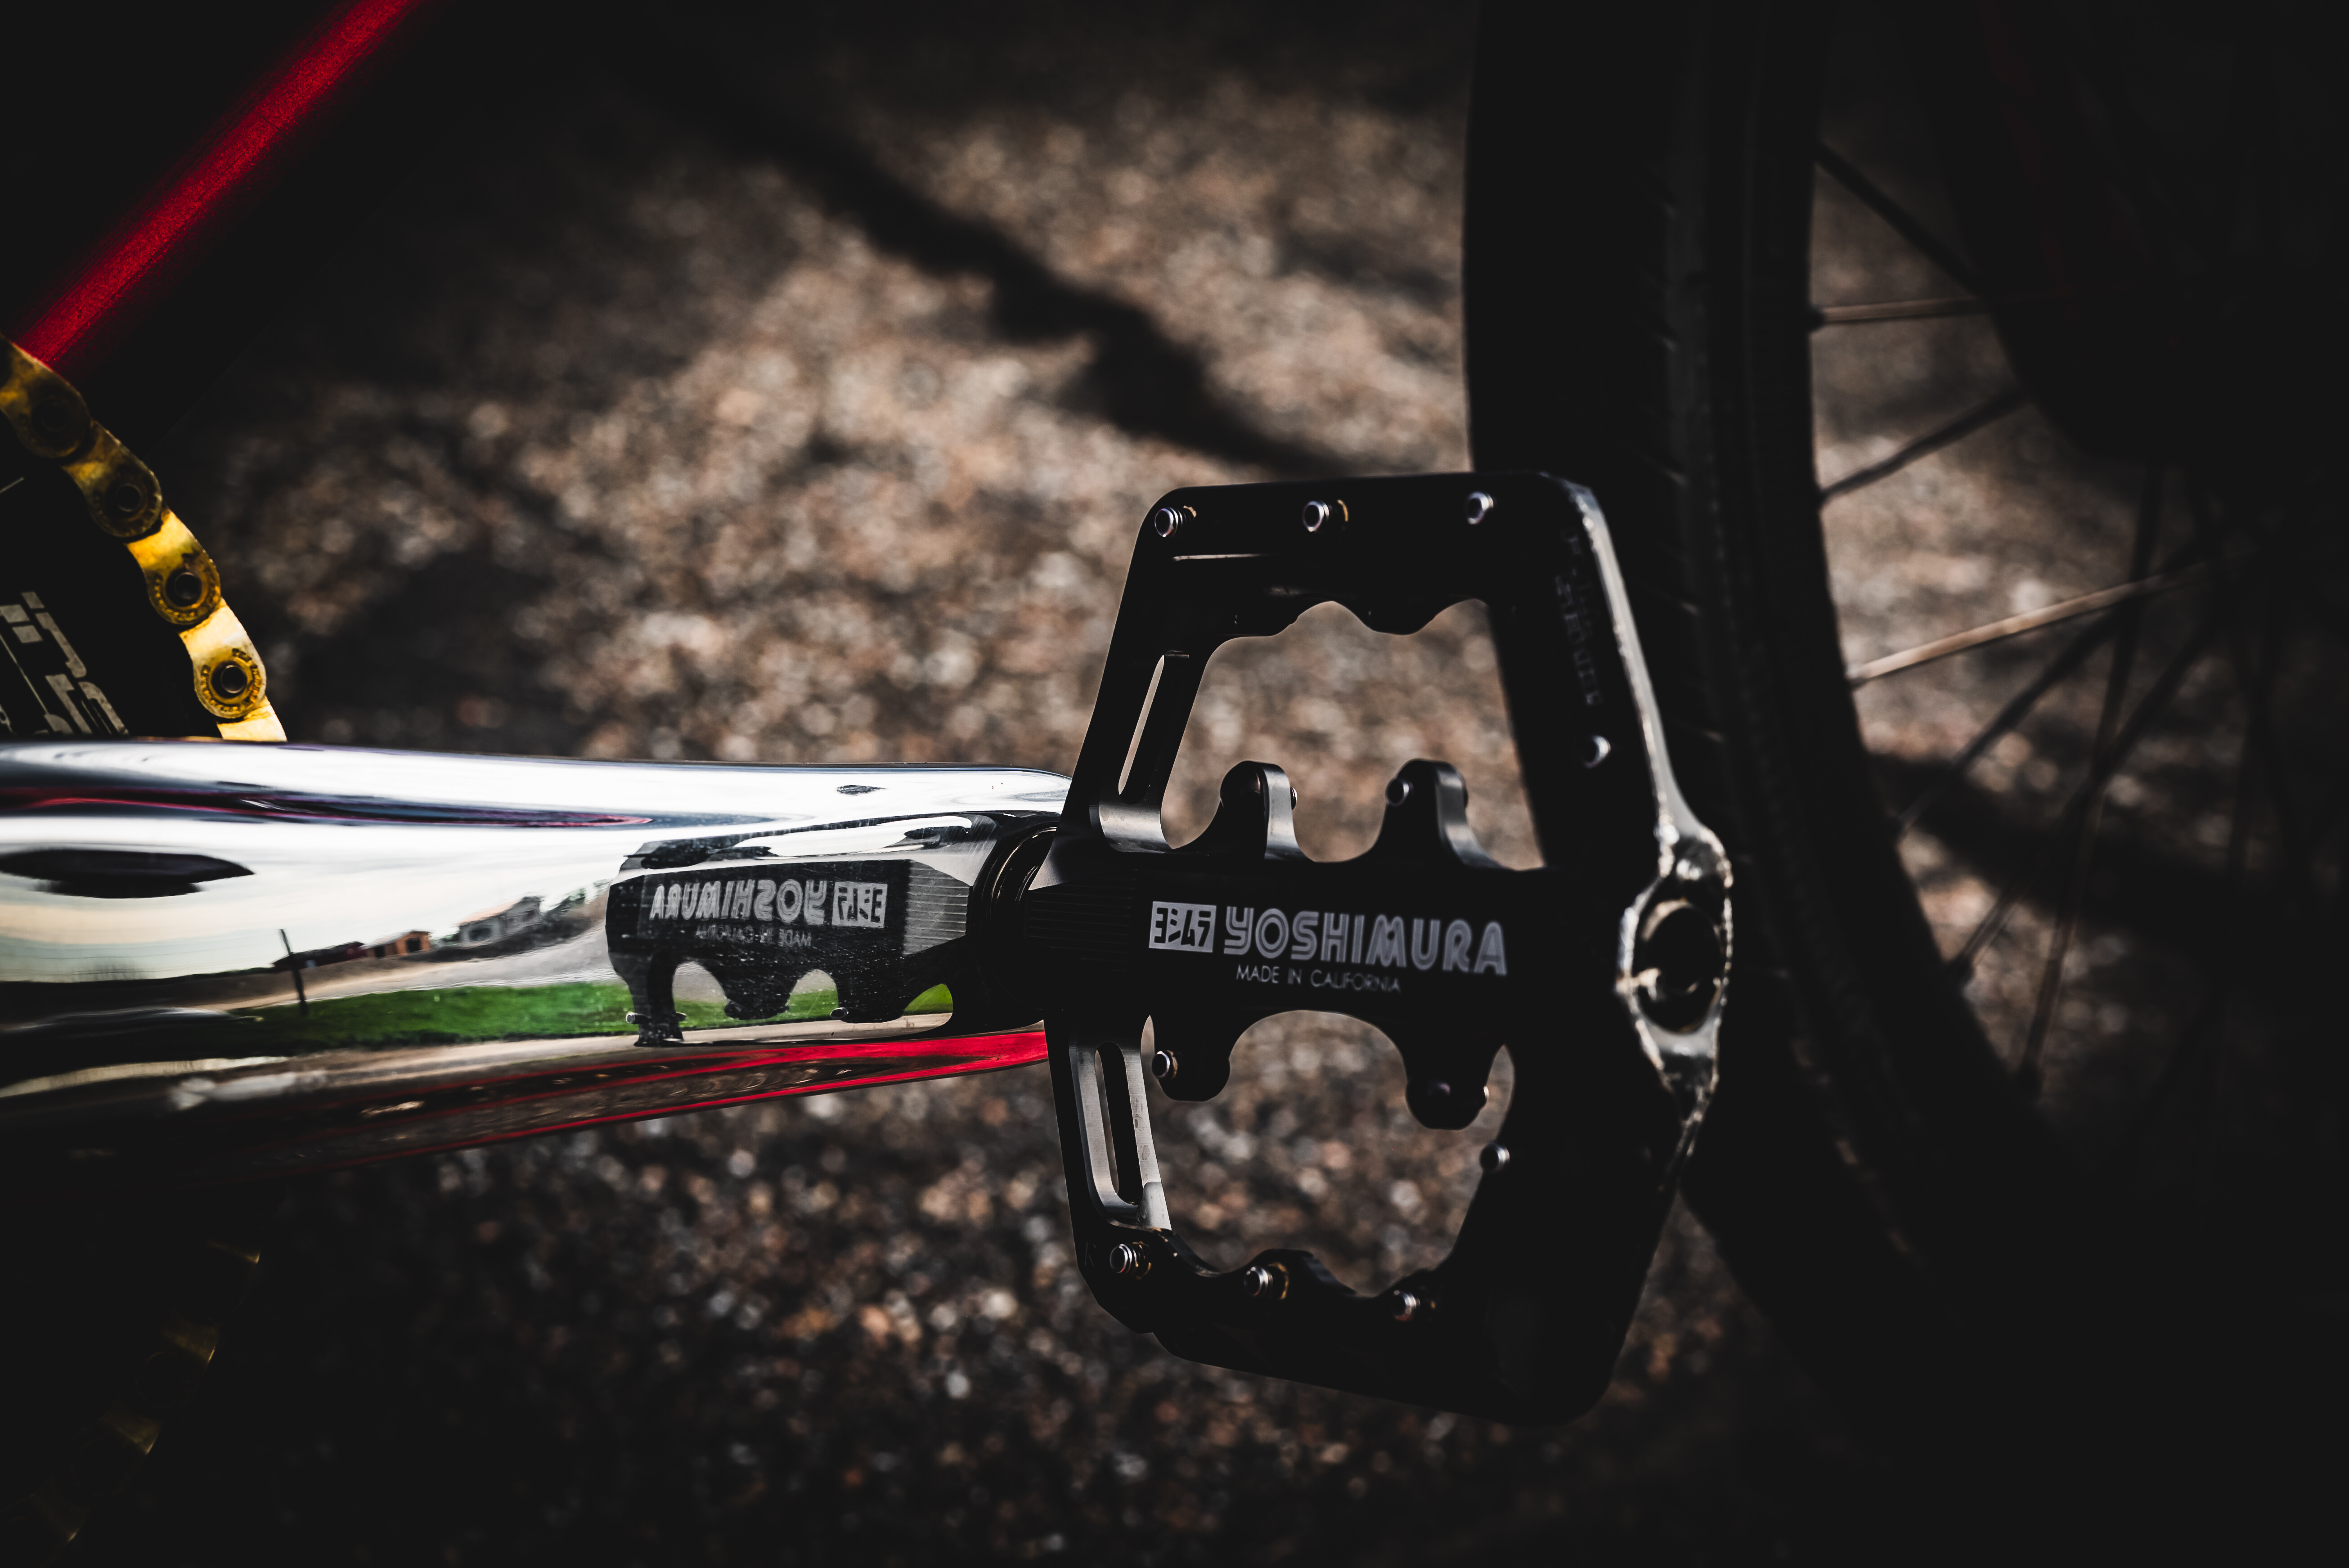
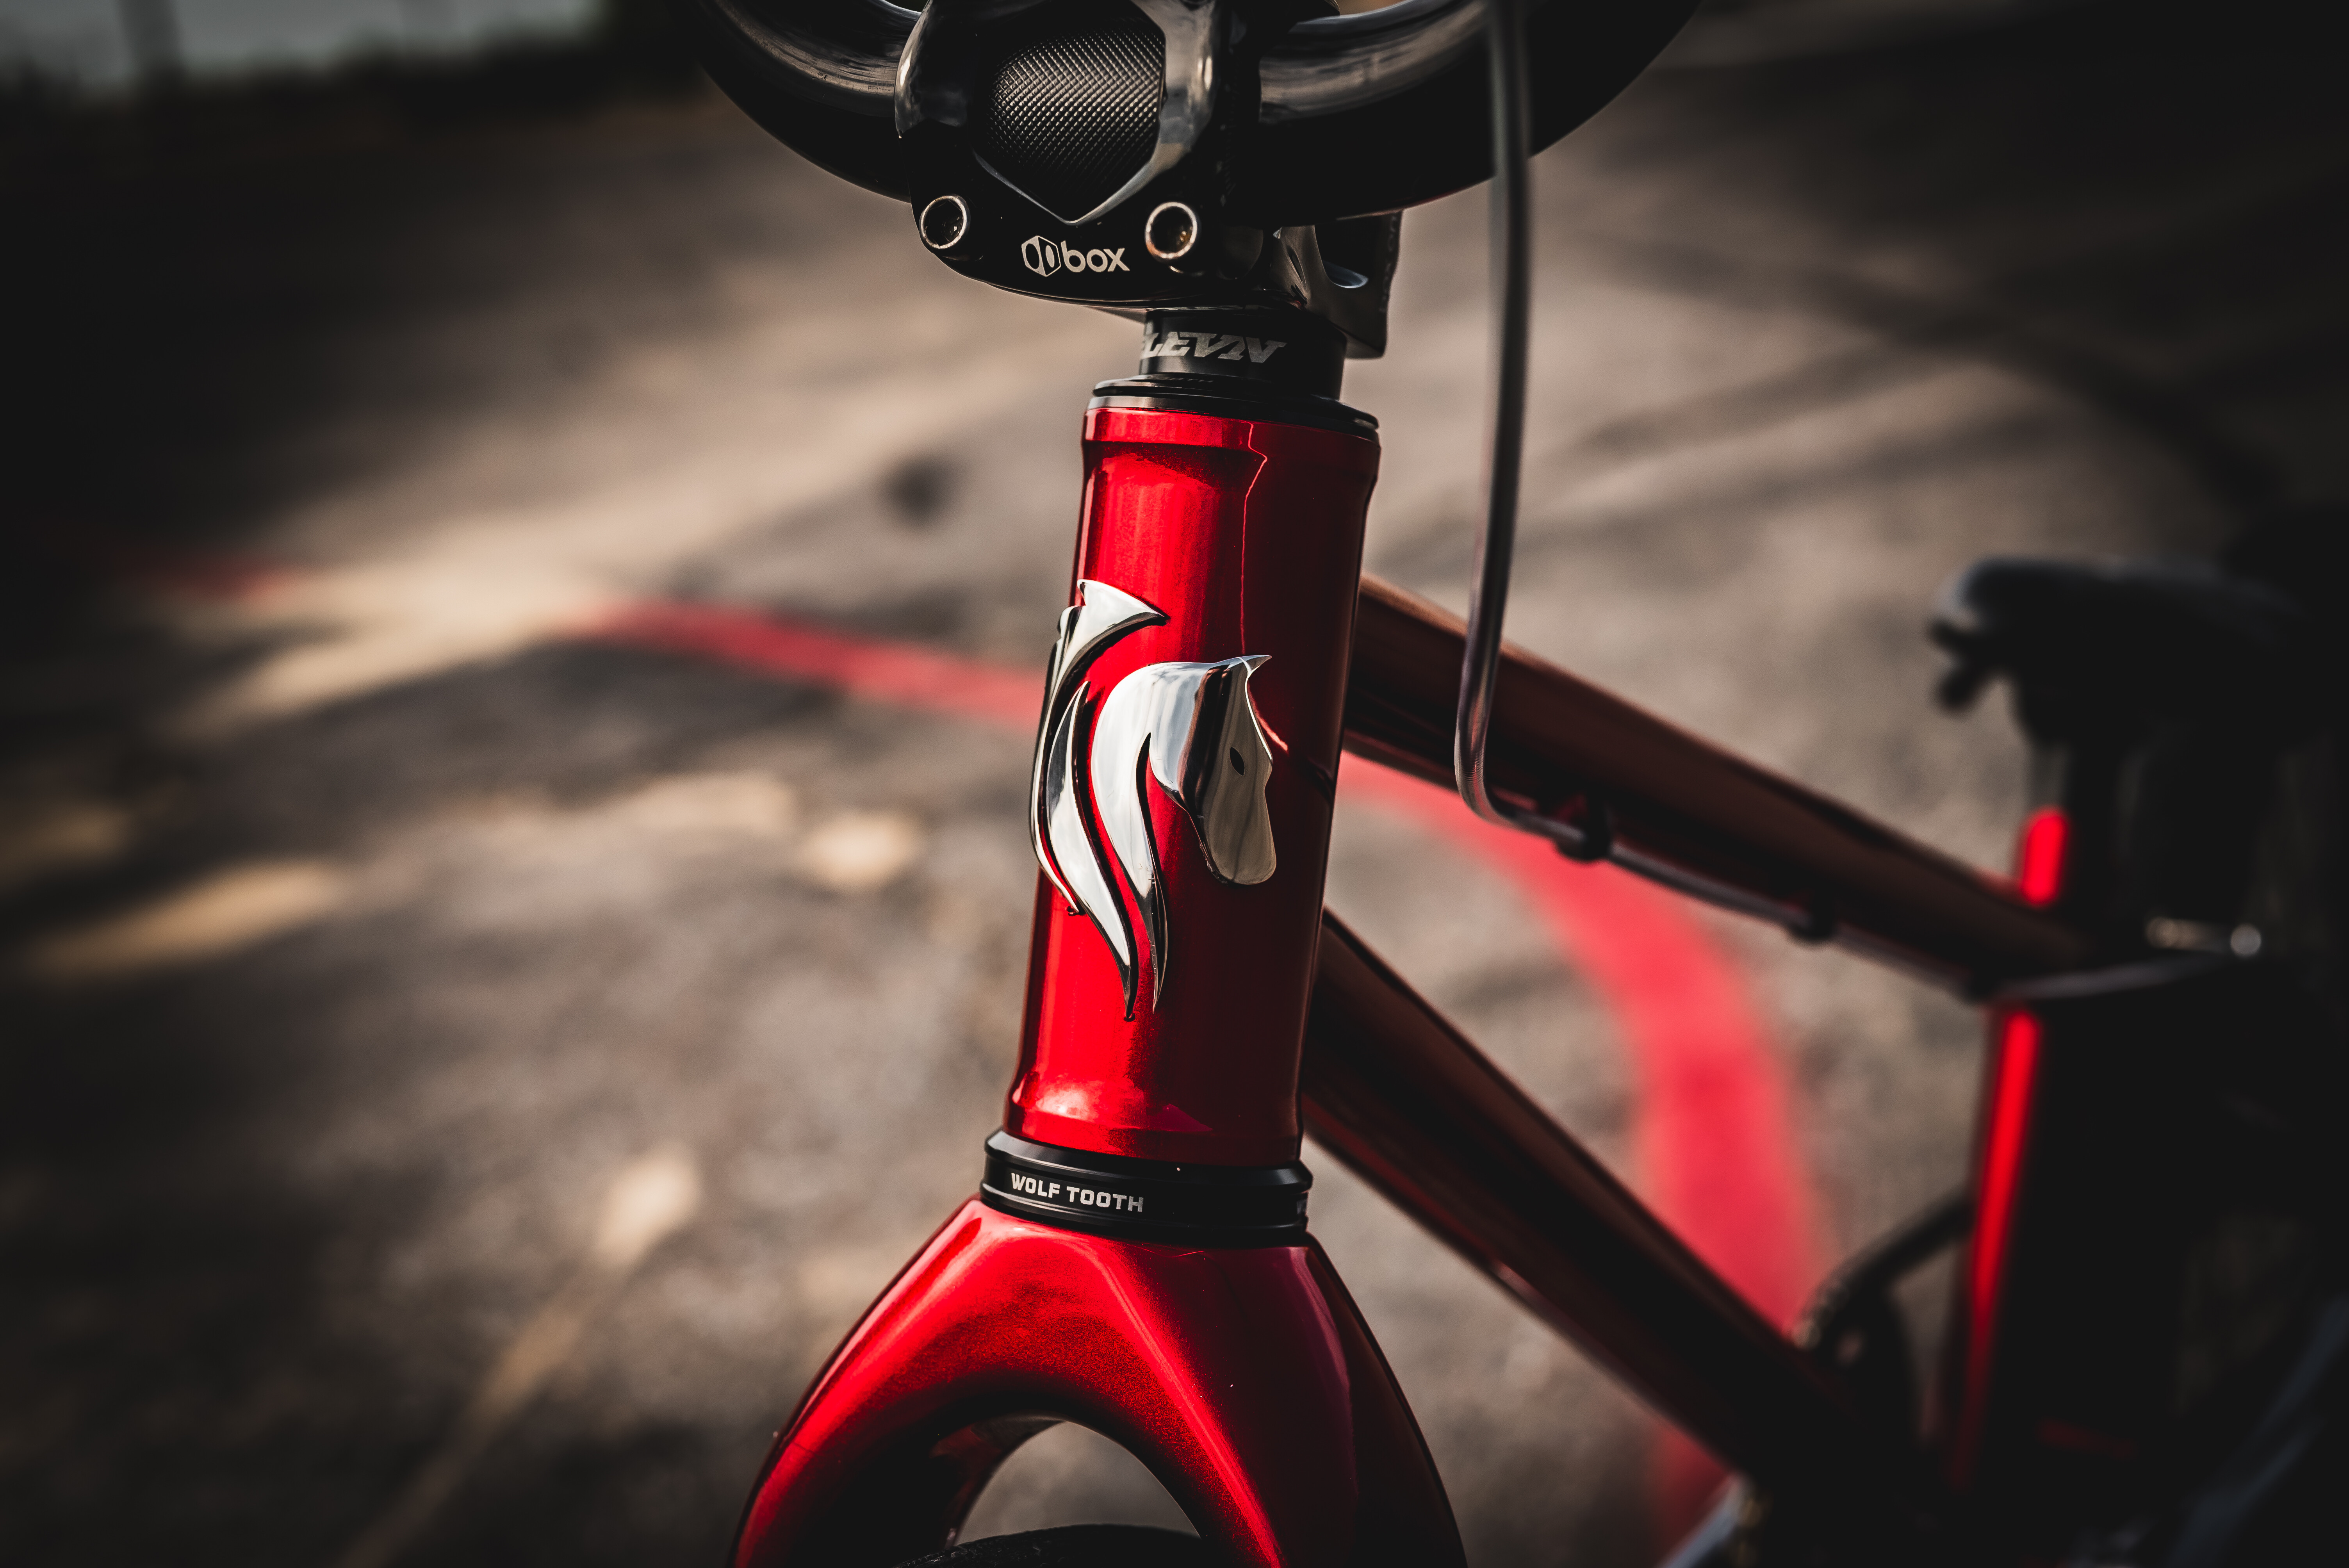
Let’s create a thread where we share tips on bicycle photography!

John Watson has an article on The Radavist with plenty of good tips for positioning bikes and photographing them outdoors.

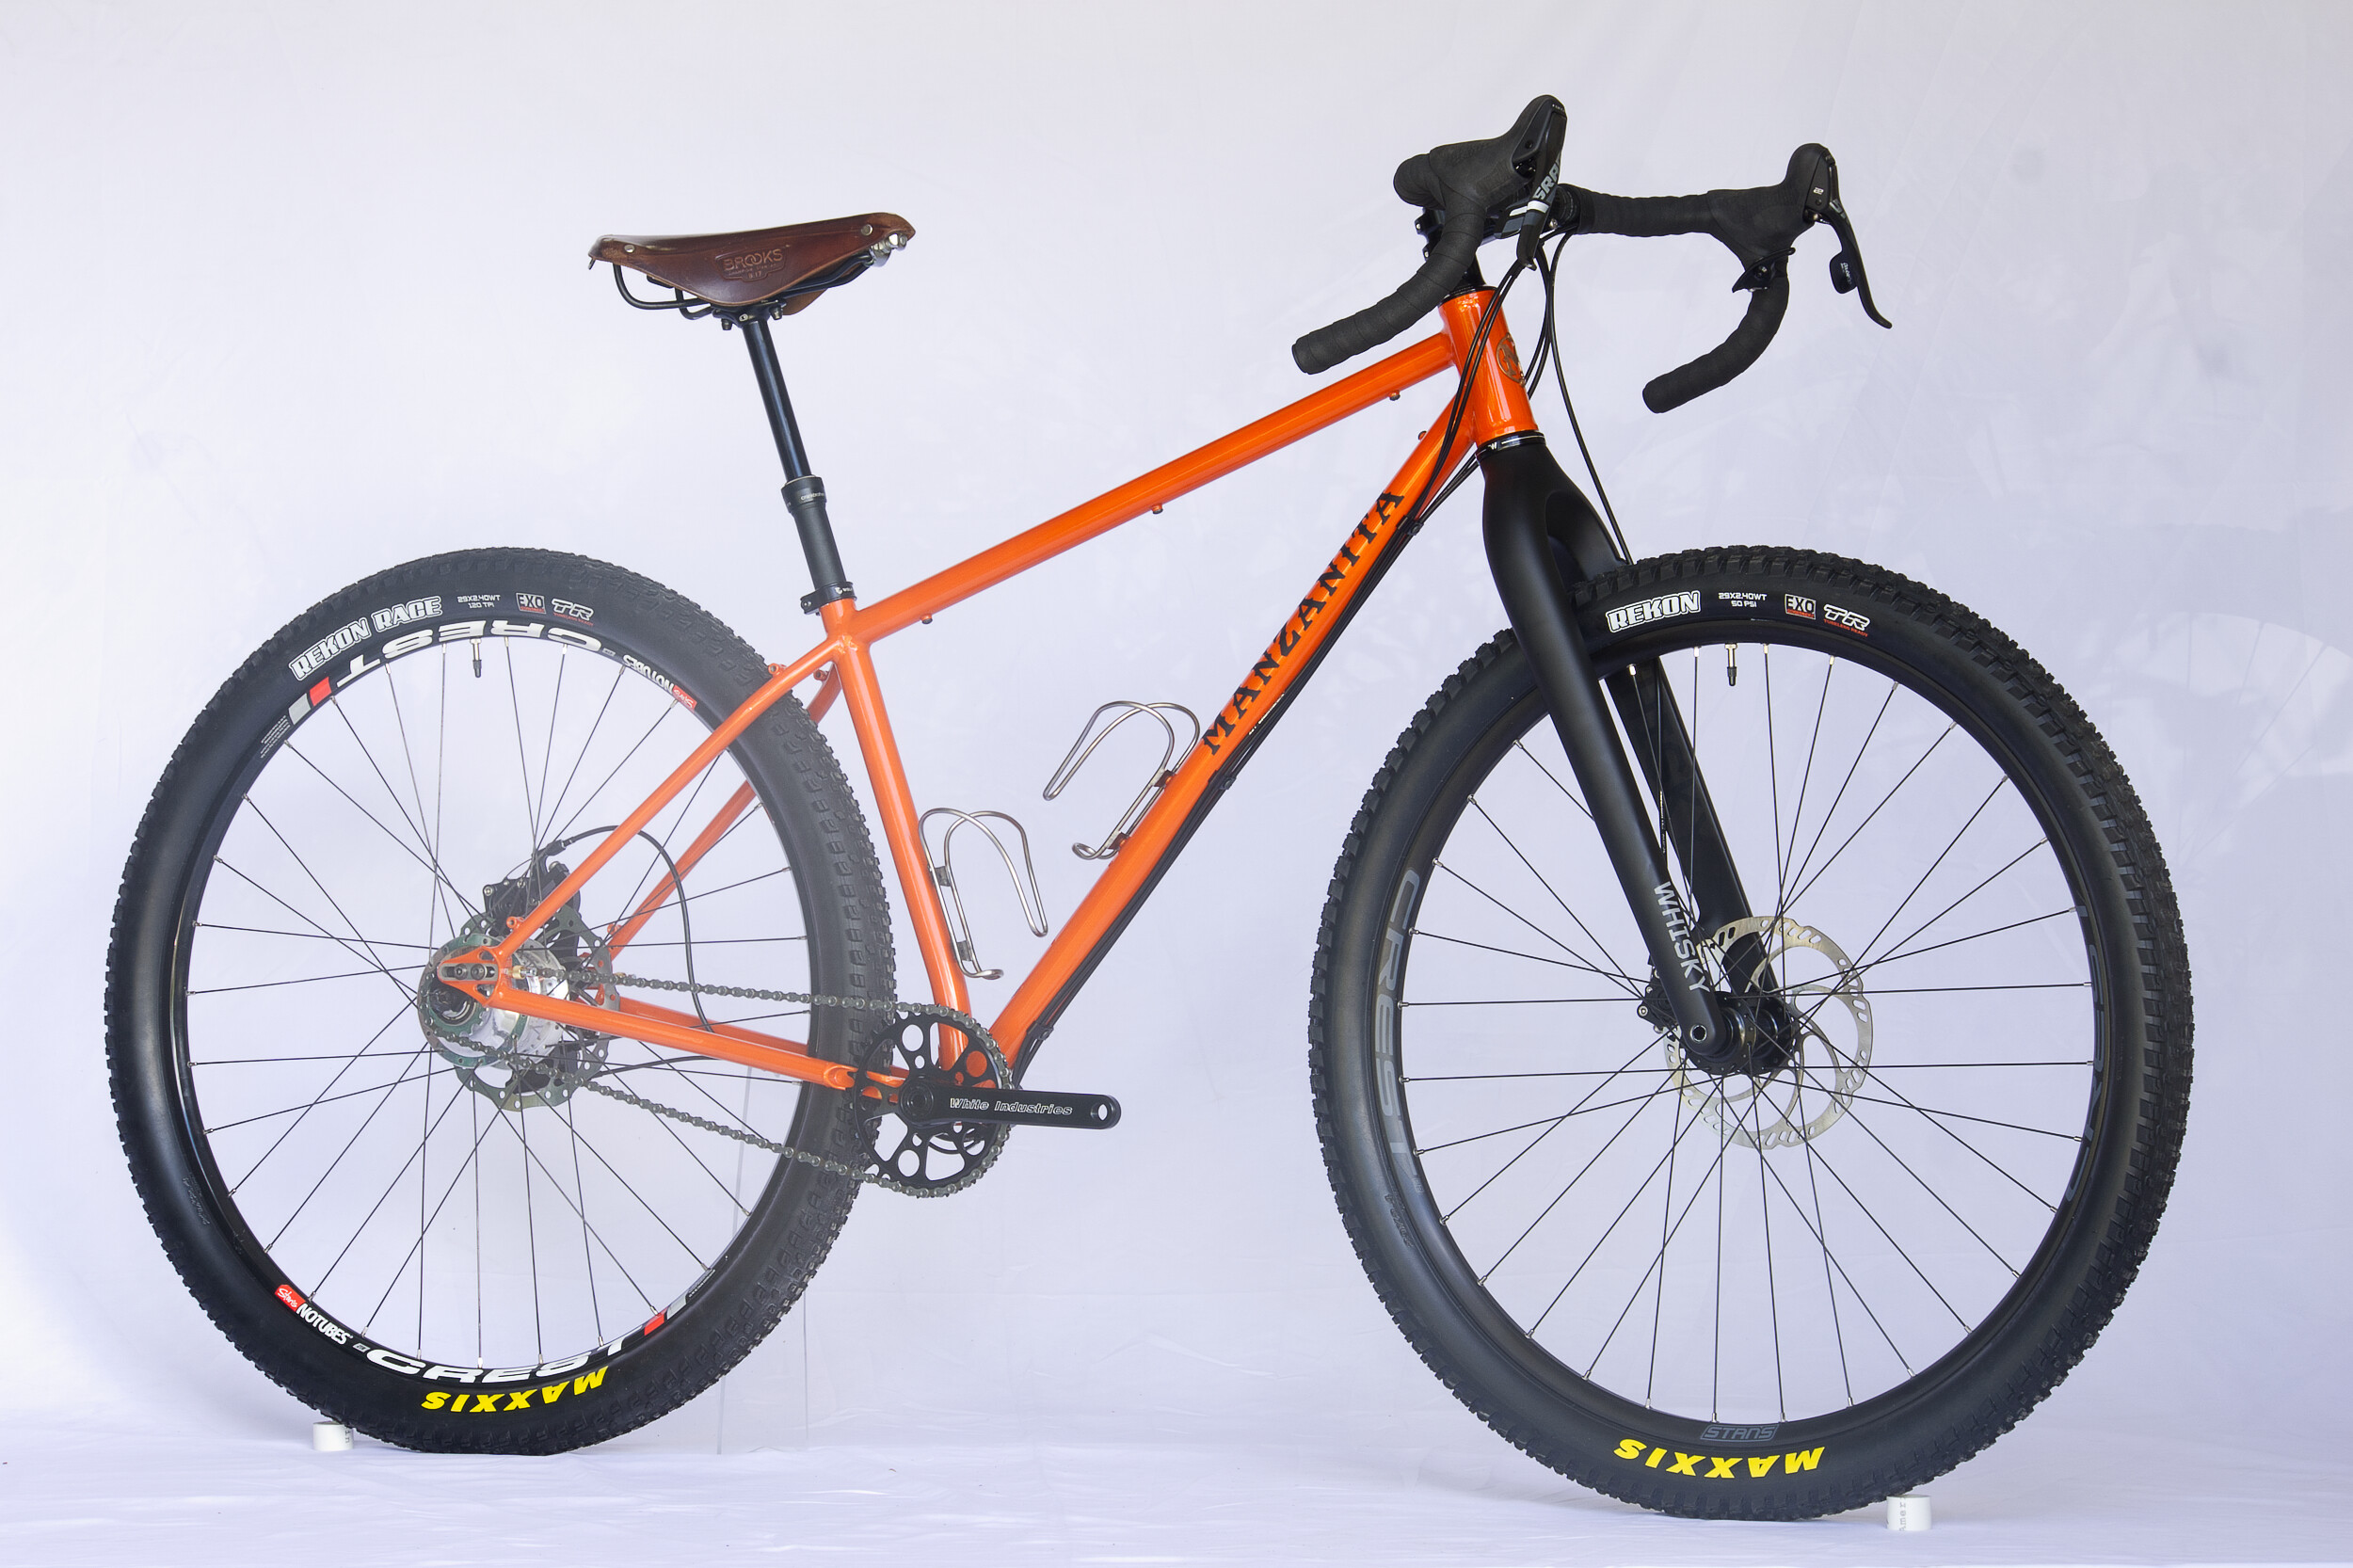
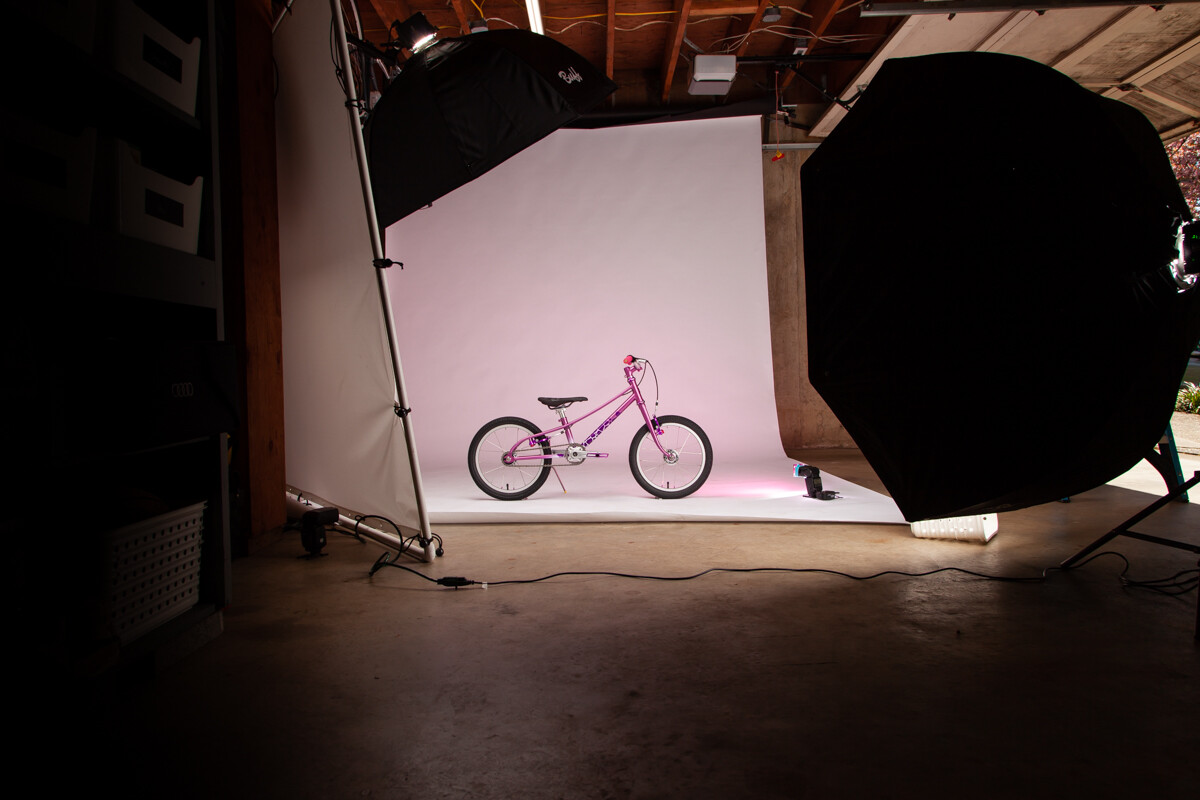
But I don’t always have time to take a customer bike out during the magic hour to get the best light. Instead, I wanted an indoor setup that was cheap to construct, portable, and easy to store.

Here’s what I came up with:

The Backdrop

  1. 10’x20’ white backdrop that I fold in half because it’s kind of transparent
  2. PVC tubes to create the backdrop stands
  3. 4x spring clamps to hold the backdrop in place
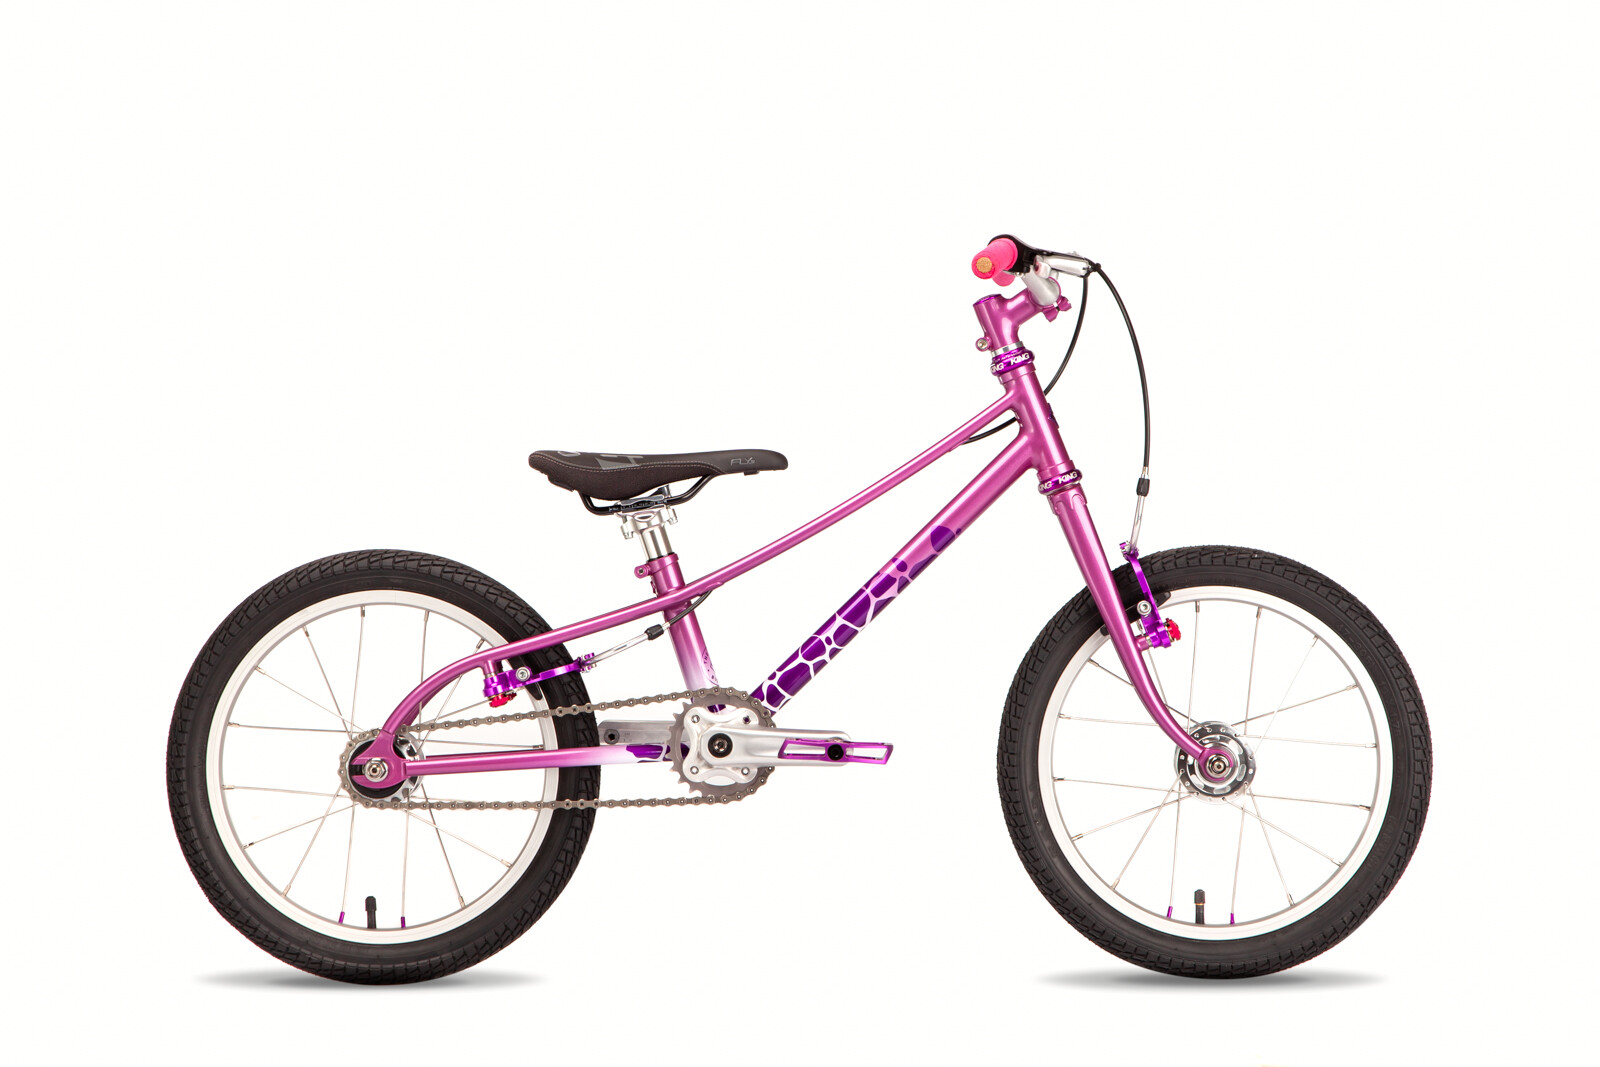
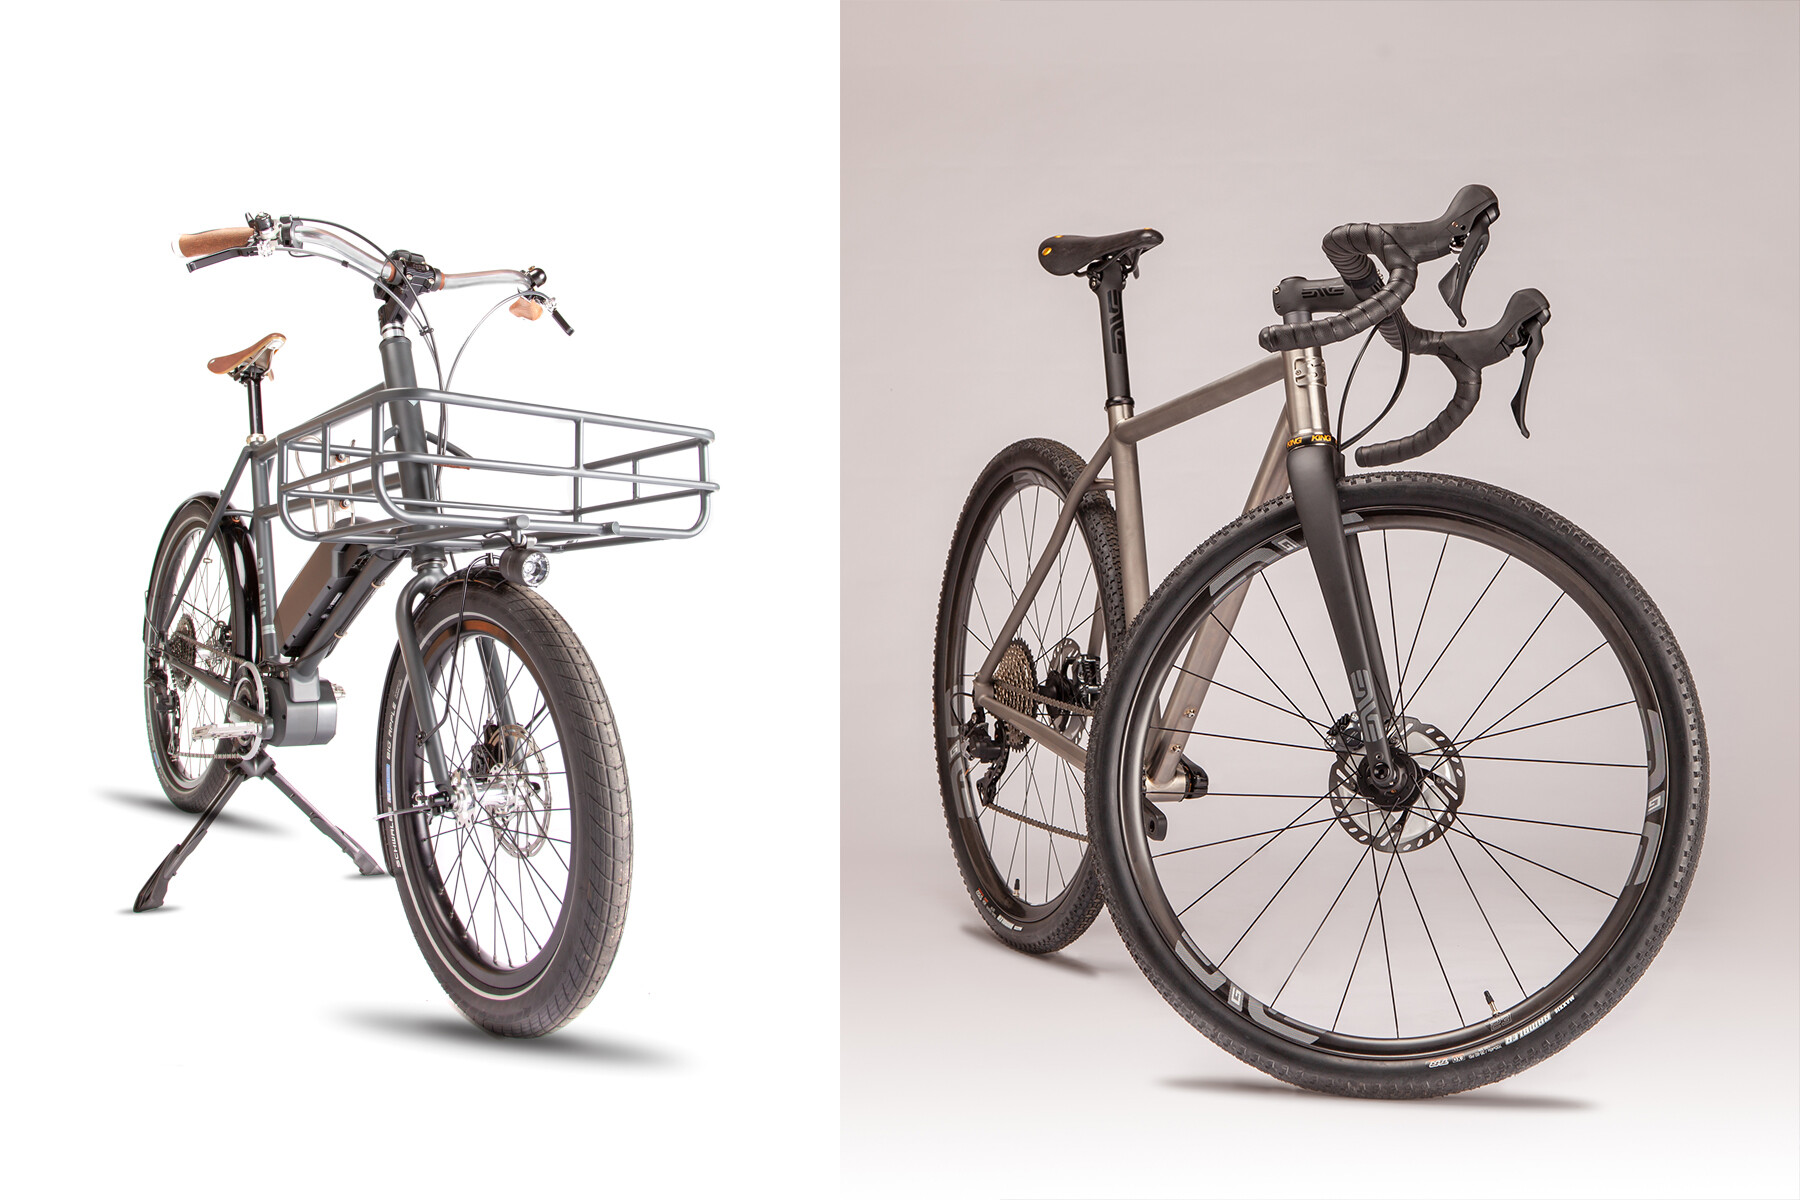
  4. An acrylic stand to avoid extra Photoshop work
  5. Some PVC nubs to keep the bike from rolling

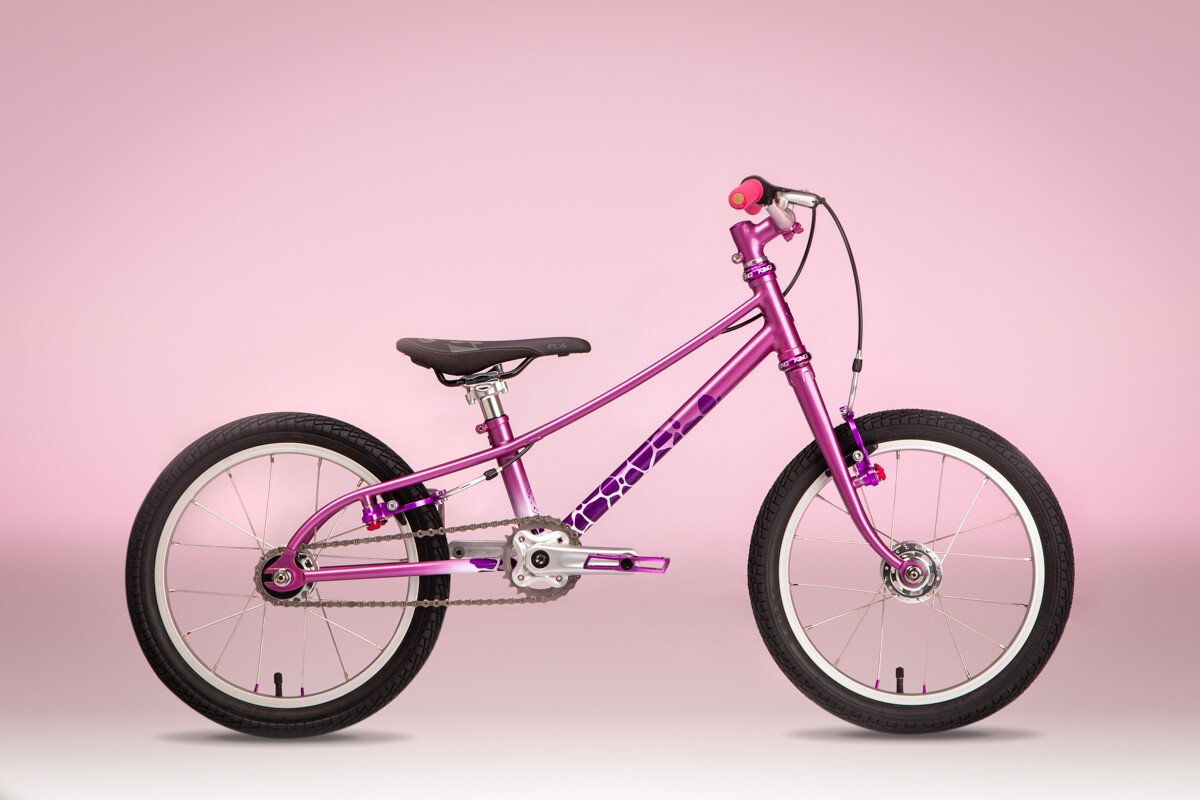
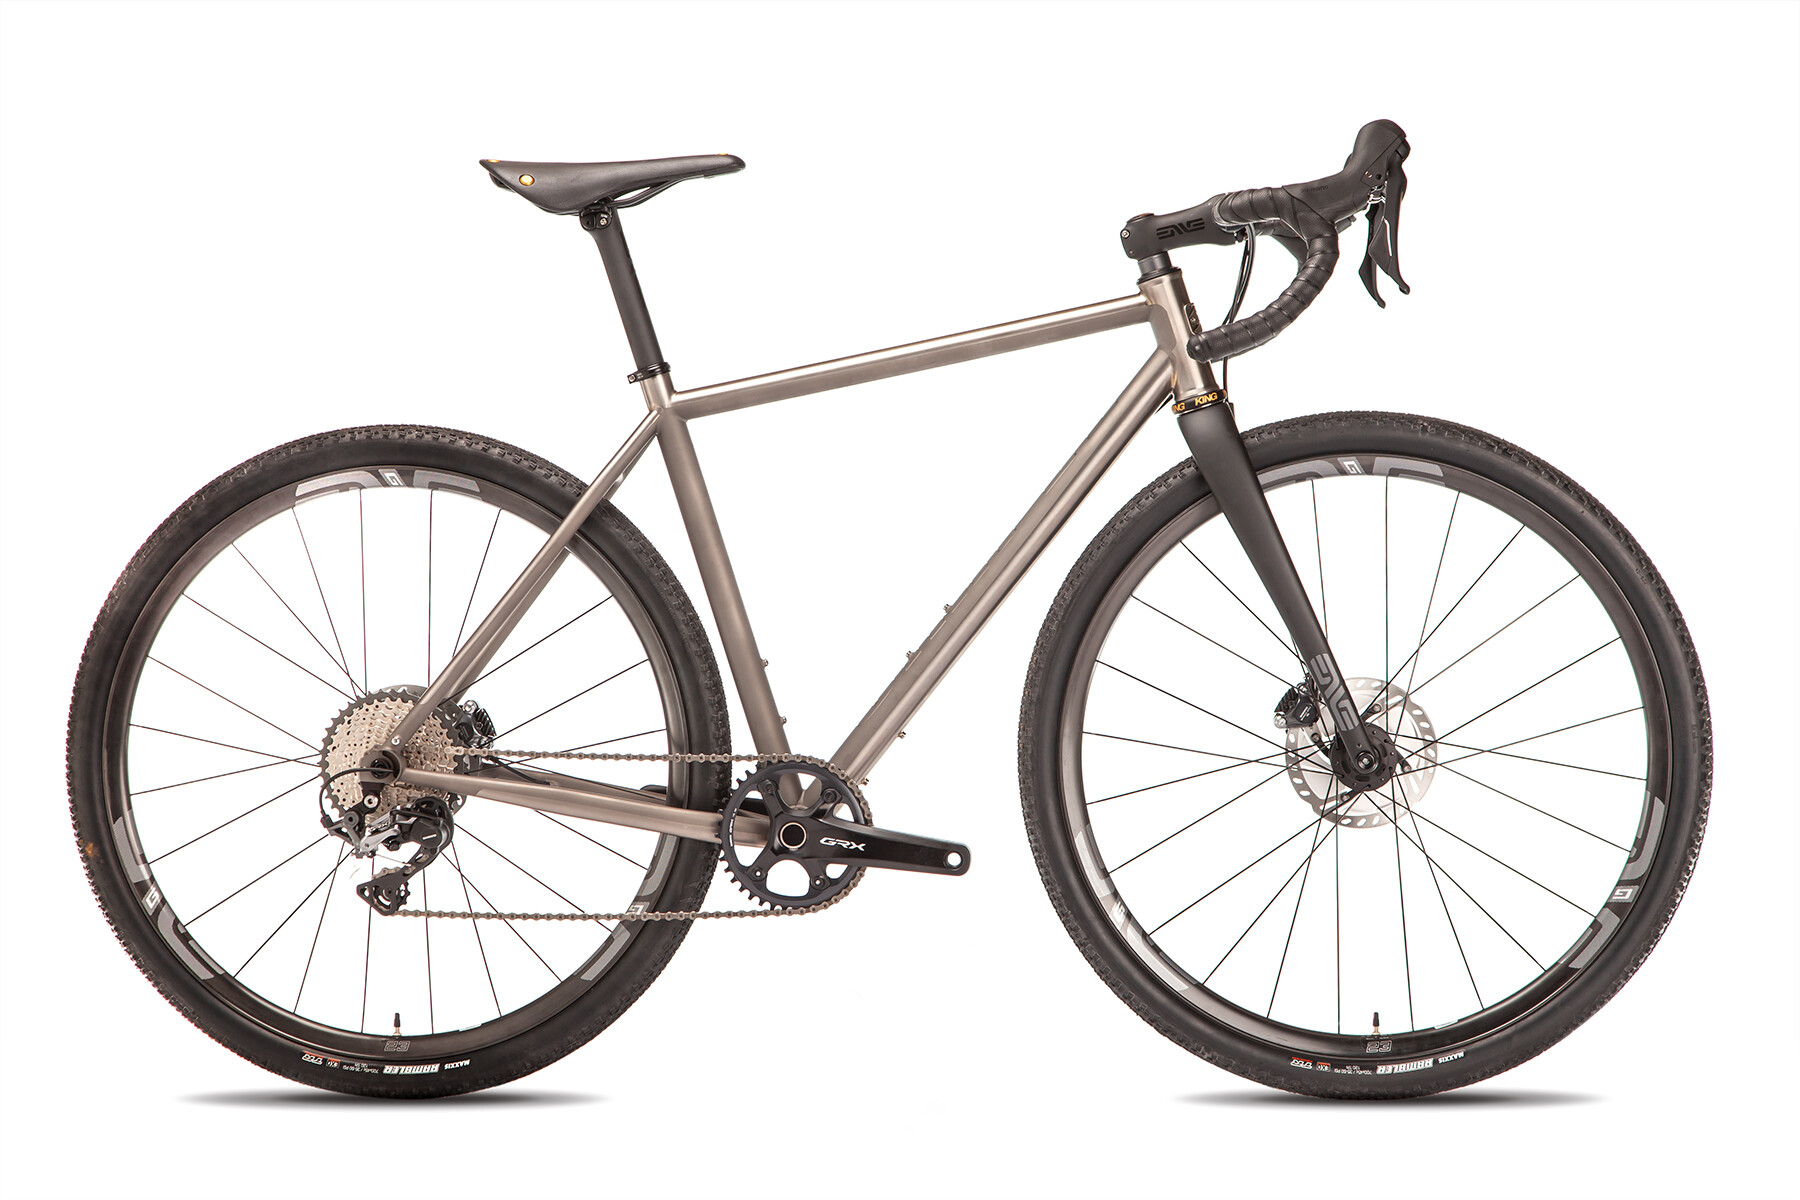
The backdrop stands are about 5.5’ tall. I place the contraption in my garage, which faces north for soft light. You can see in the above photo that the light isn’t perfectly even. I should have moved everything closer to the door threshold.

The Camera

I shoot in raw on my Sony A6000 with an 18-135 lens, which I bought used from KEH Camera. Shooting in raw gives you more exposure latitude with the highlights and shadows in case you don’t nail the exposure while shooting. The raw software also corrects lens distortion and other image imperfections.

I shoot in manual mode usually at f/11. This keeps more stuff in focus. The camera is on a tripod because at f/11 I need to use a slow shutter speed. Without the tripod the photos will be blurry. A tripod guarantees sharp images. I also set a 2 second delay after pressing the shutter release so the camera is dead still when it snaps the pic. Tack sharp images are the goal.

Post Processing

I use Affinity Photo 2 photo editing software. It’s nearly as good as Photoshop without the monthly fees.

I open the raw image and adjust the following:

  1. exposure - adjust to reduce any highlight clipping
  2. white balance - use the backdrop as the white point
  3. clarity - adds sharpness

After the raw processing I do the final work:

  1. cropping - if necessary
  2. high pass filter - adds sharpness
  3. export as jpeg - reduce image size using Lanczos 3 (non-separable) resampling for best quality

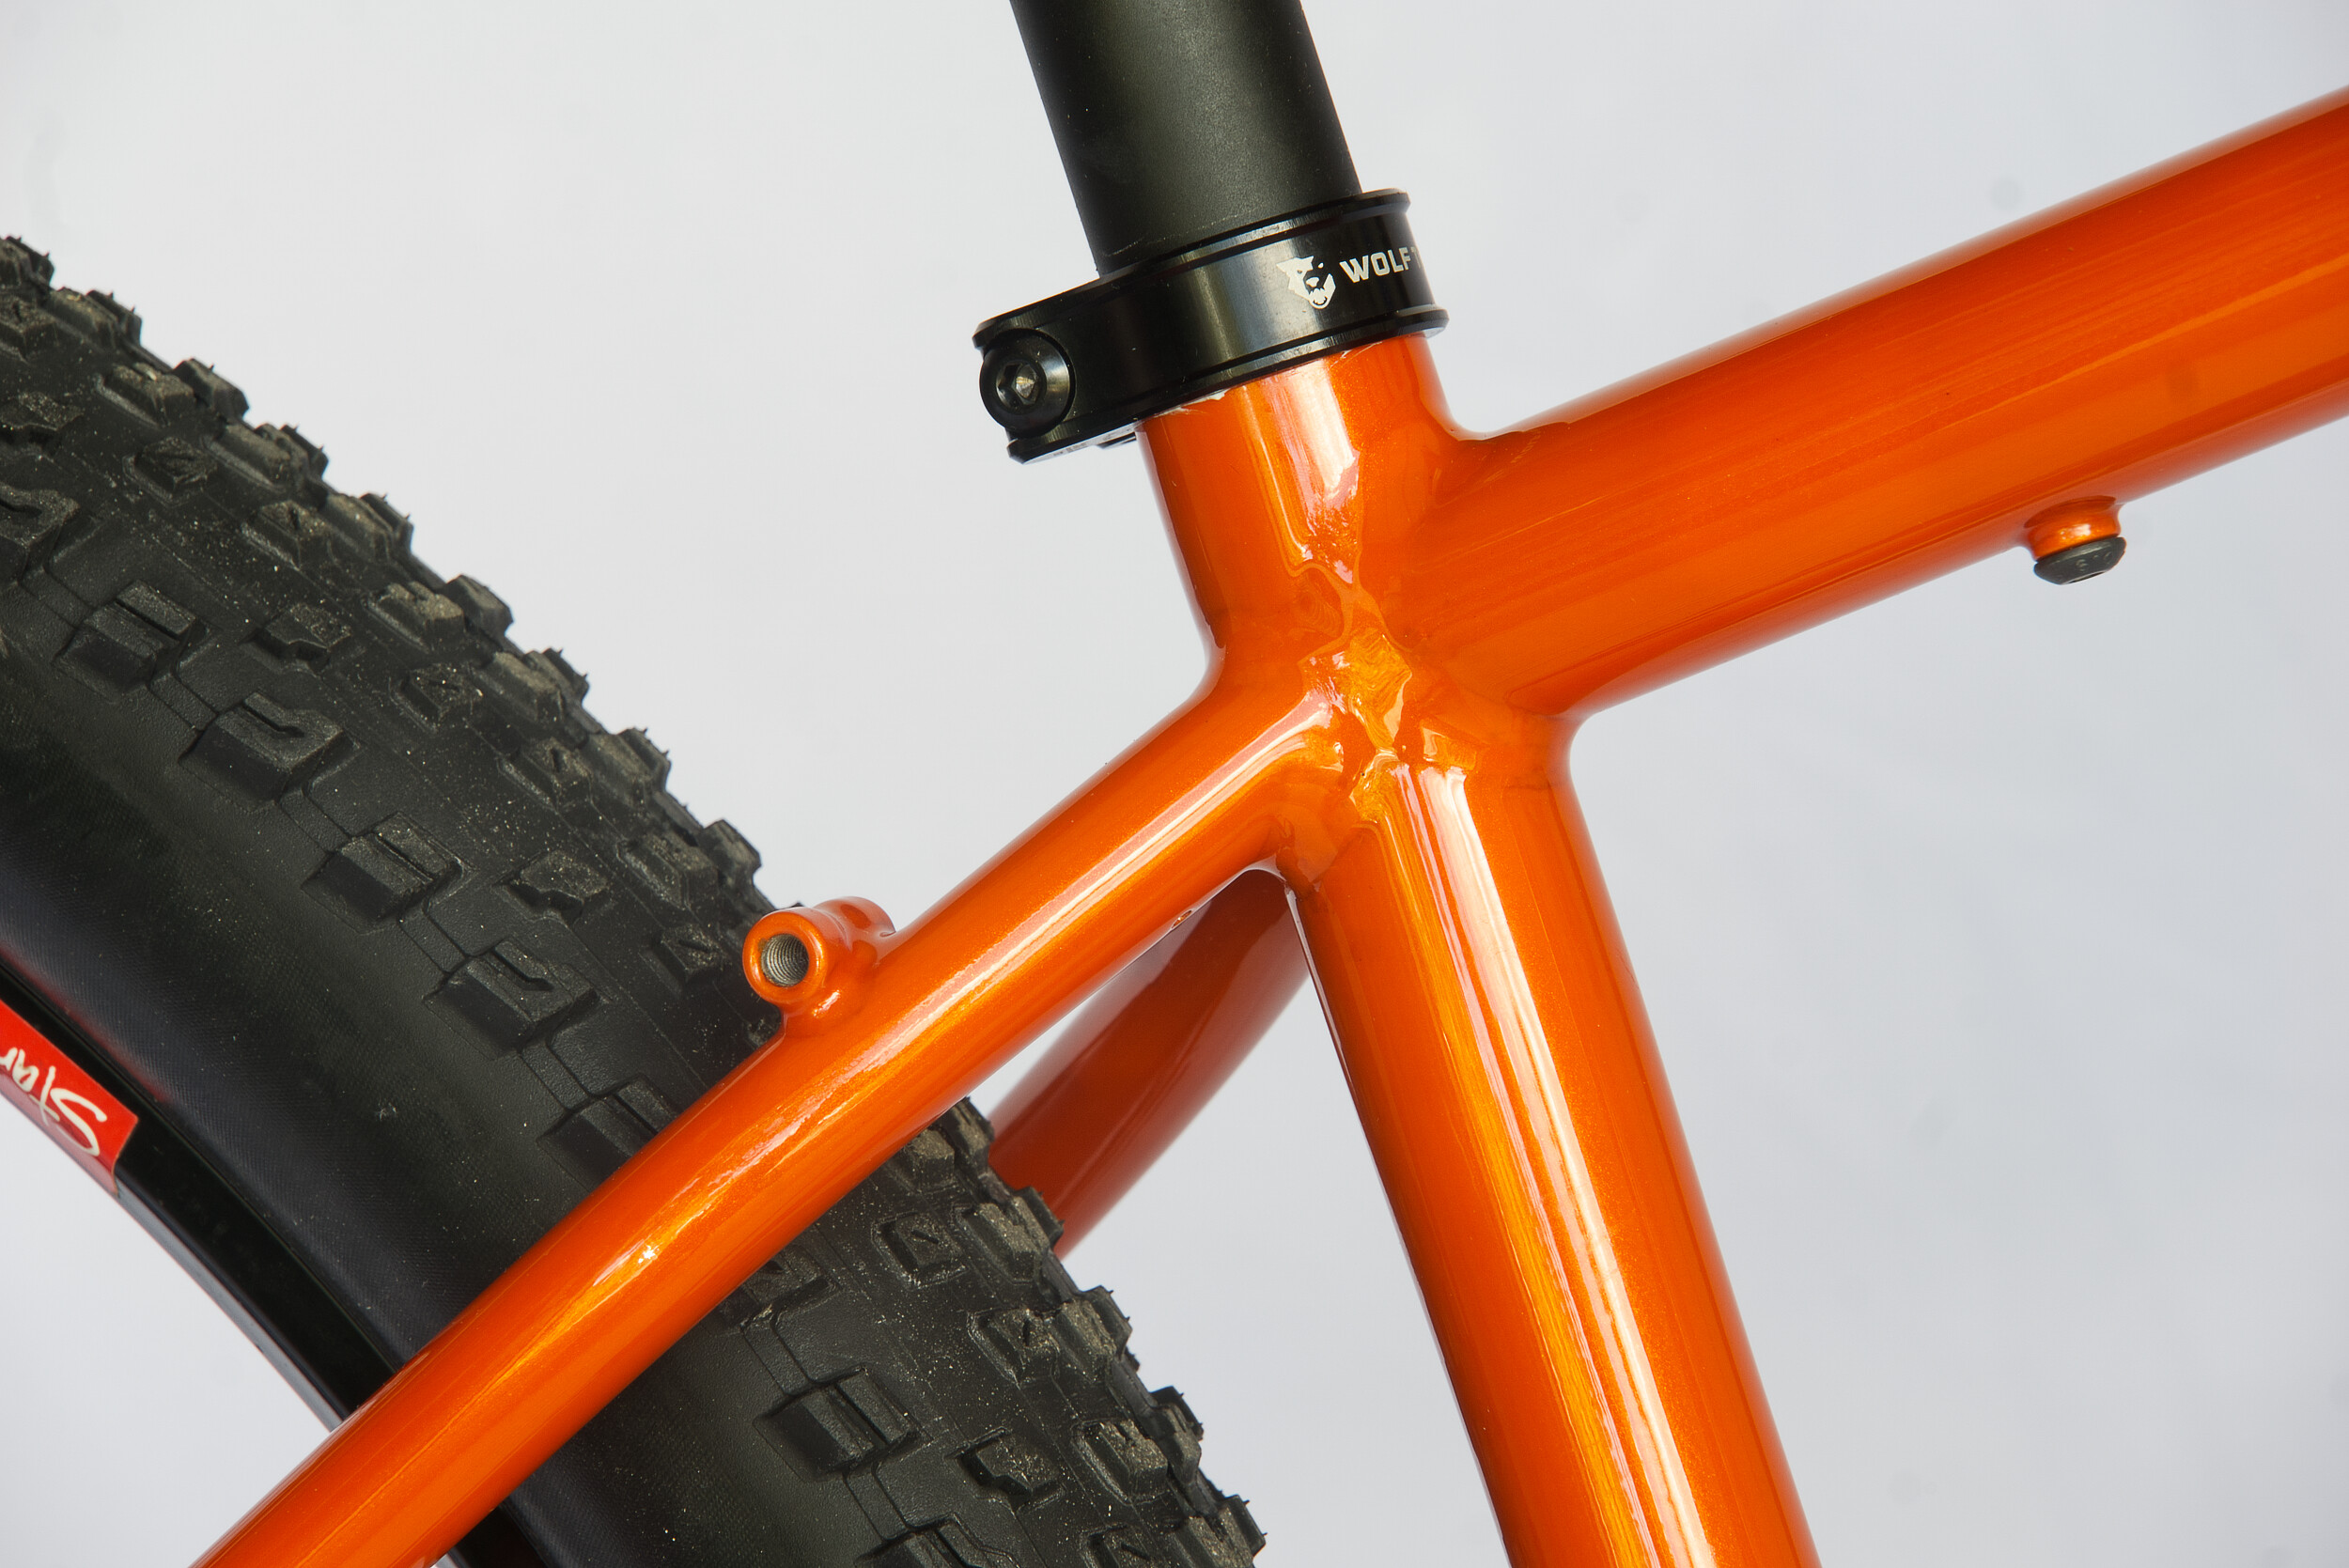
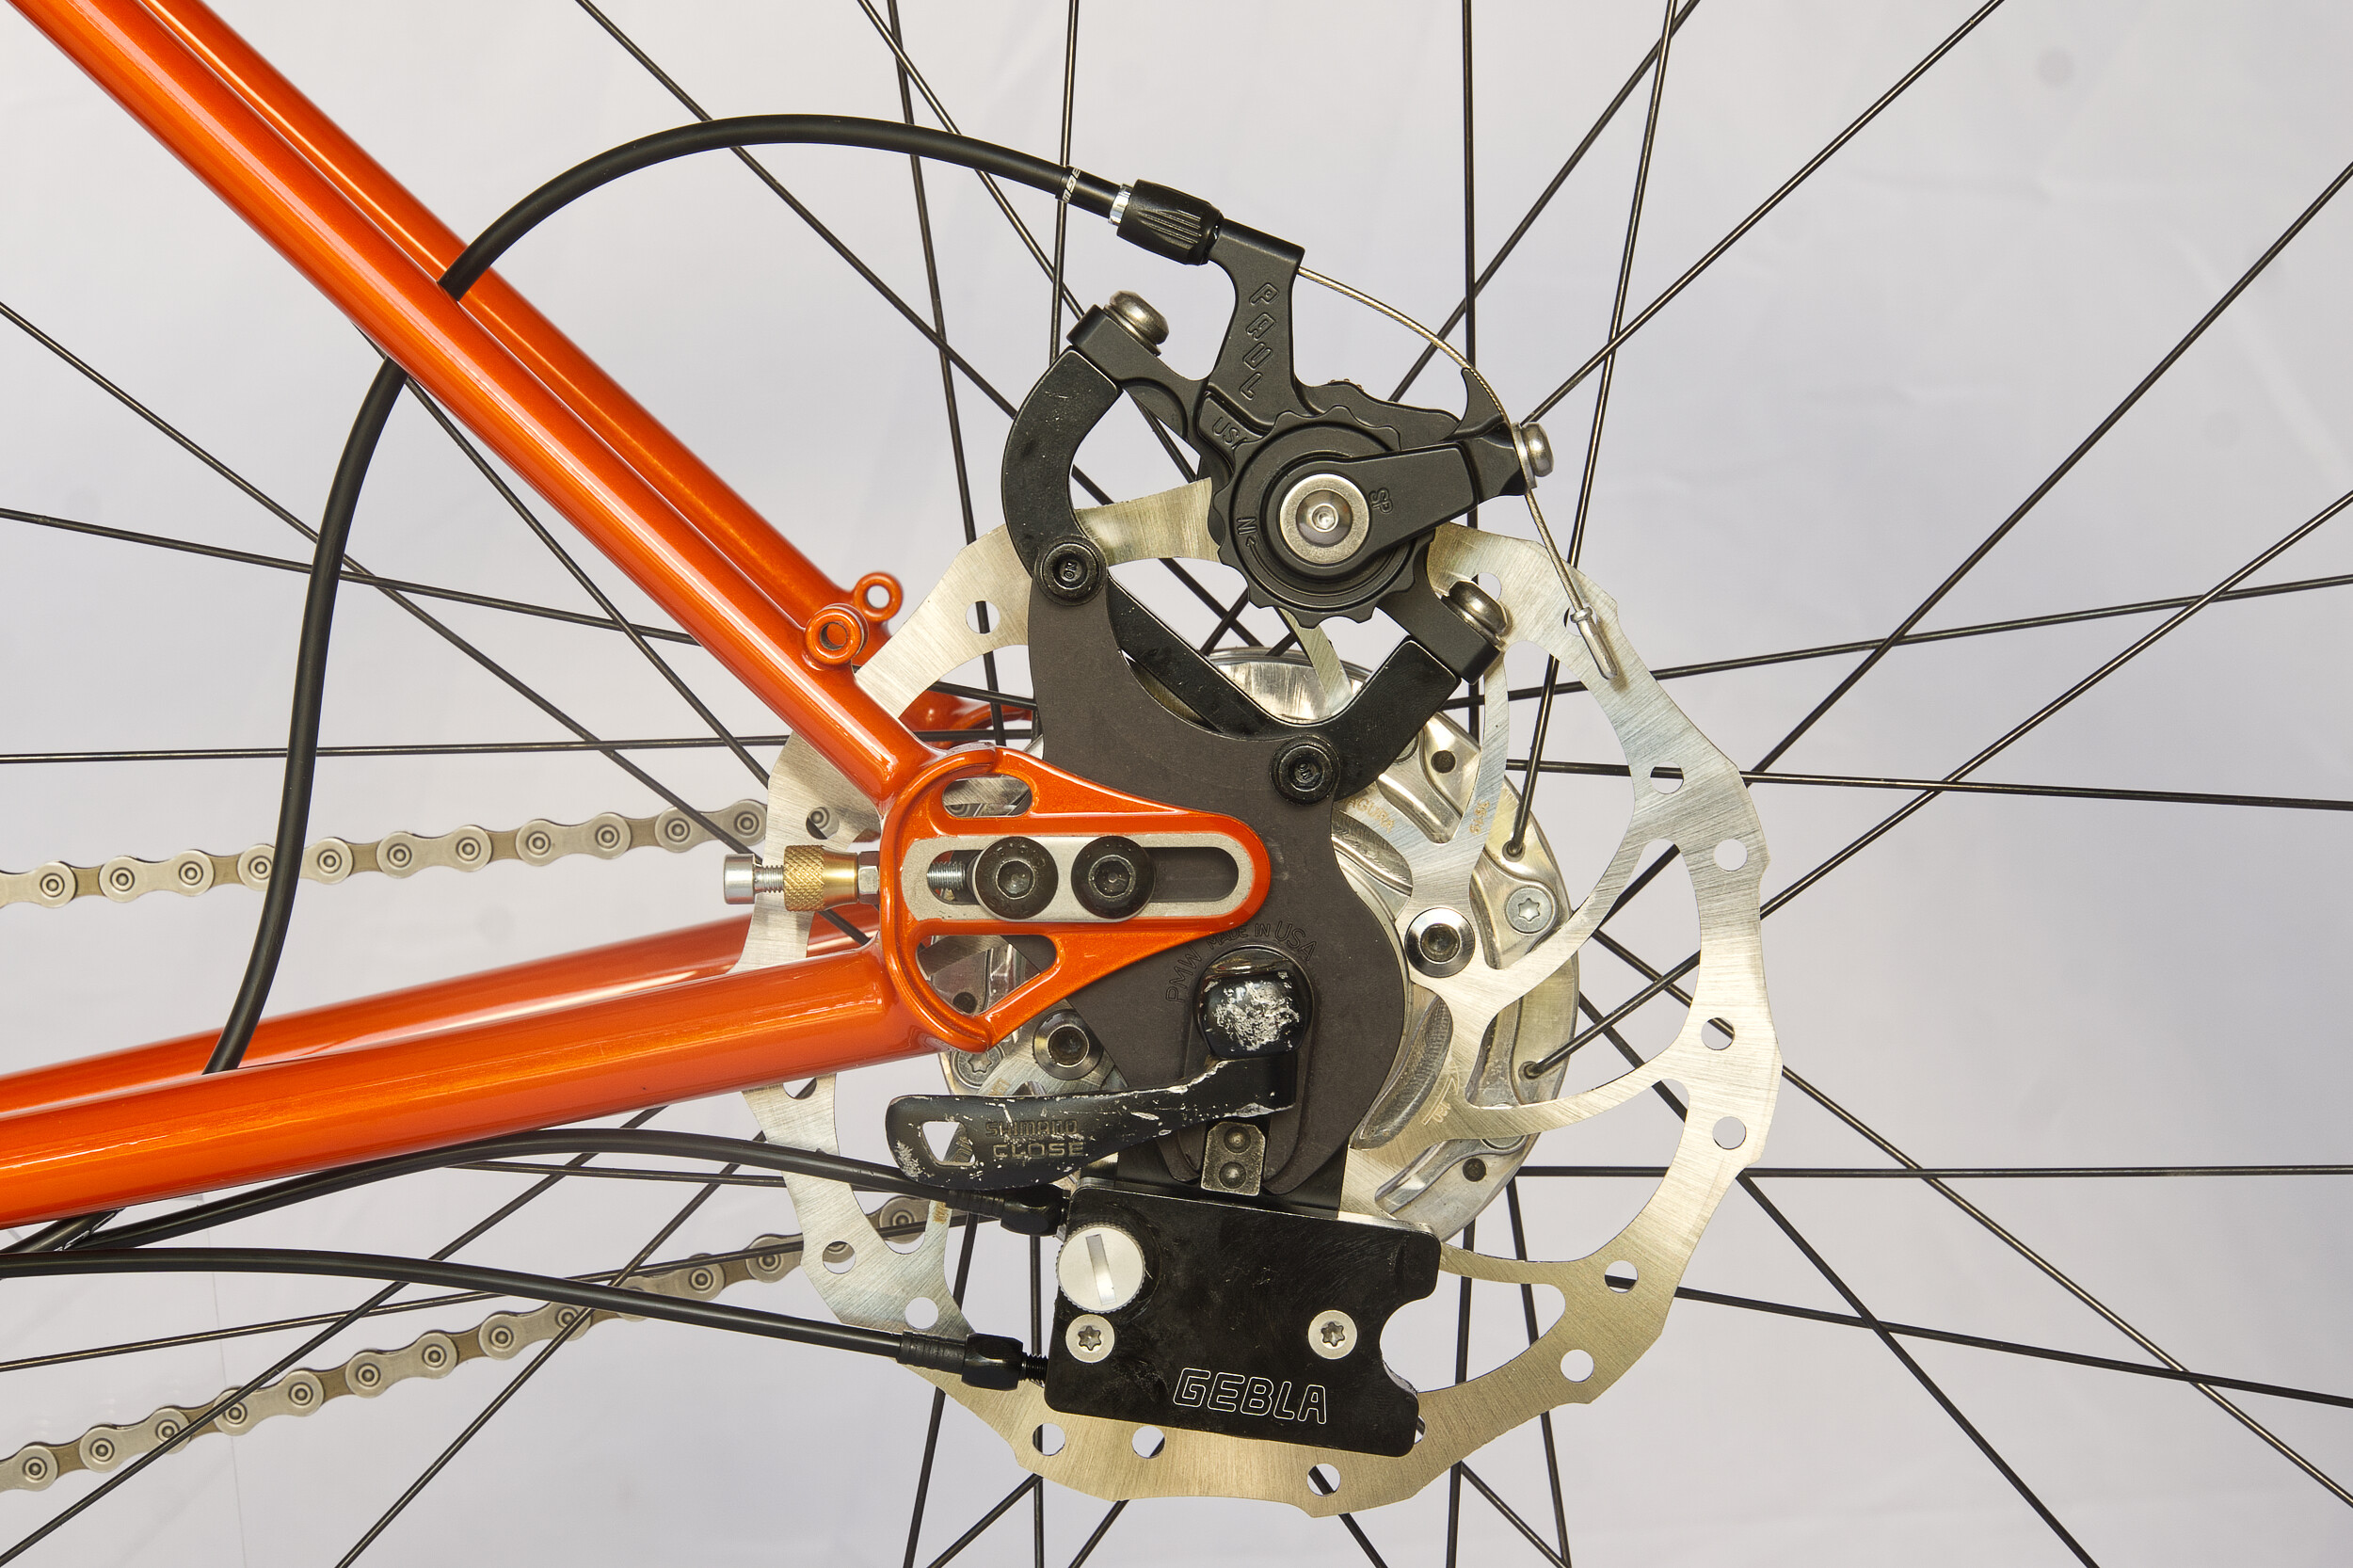
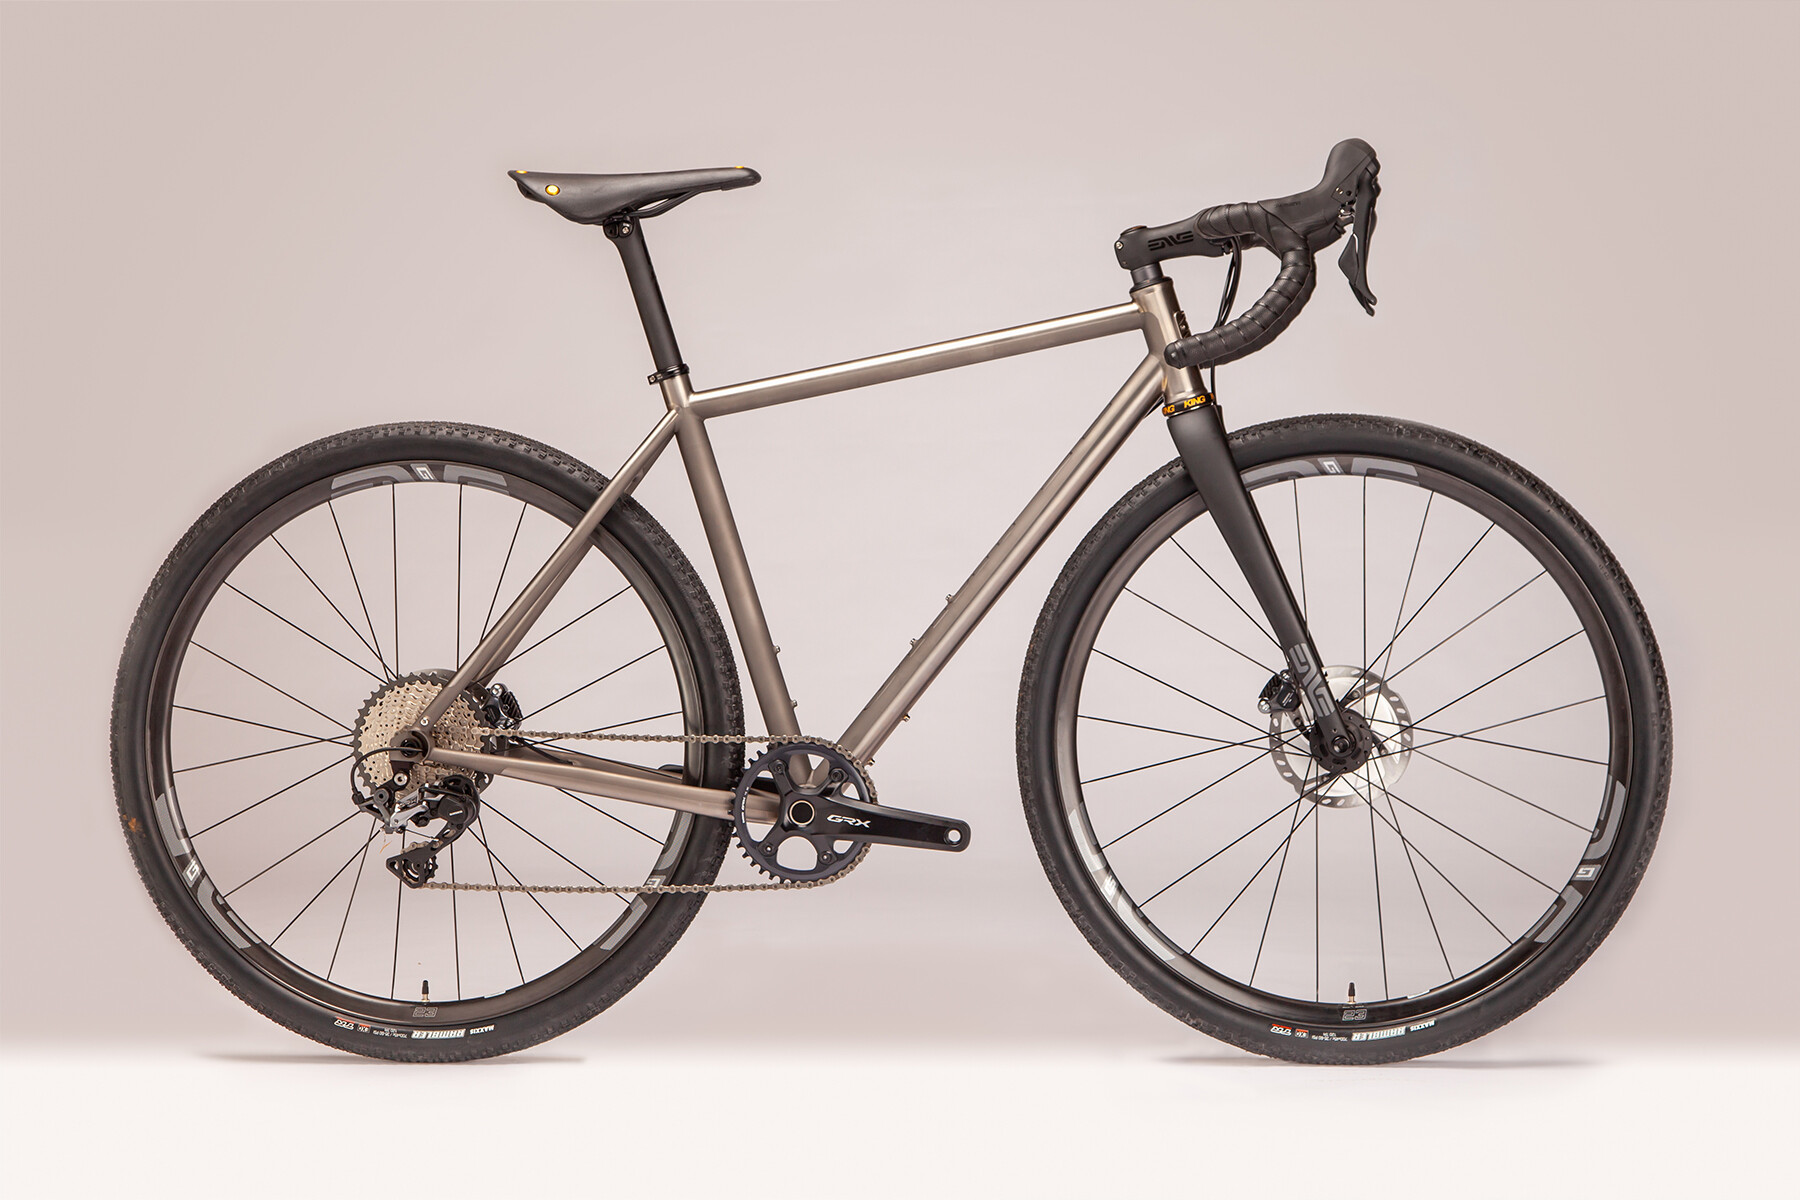
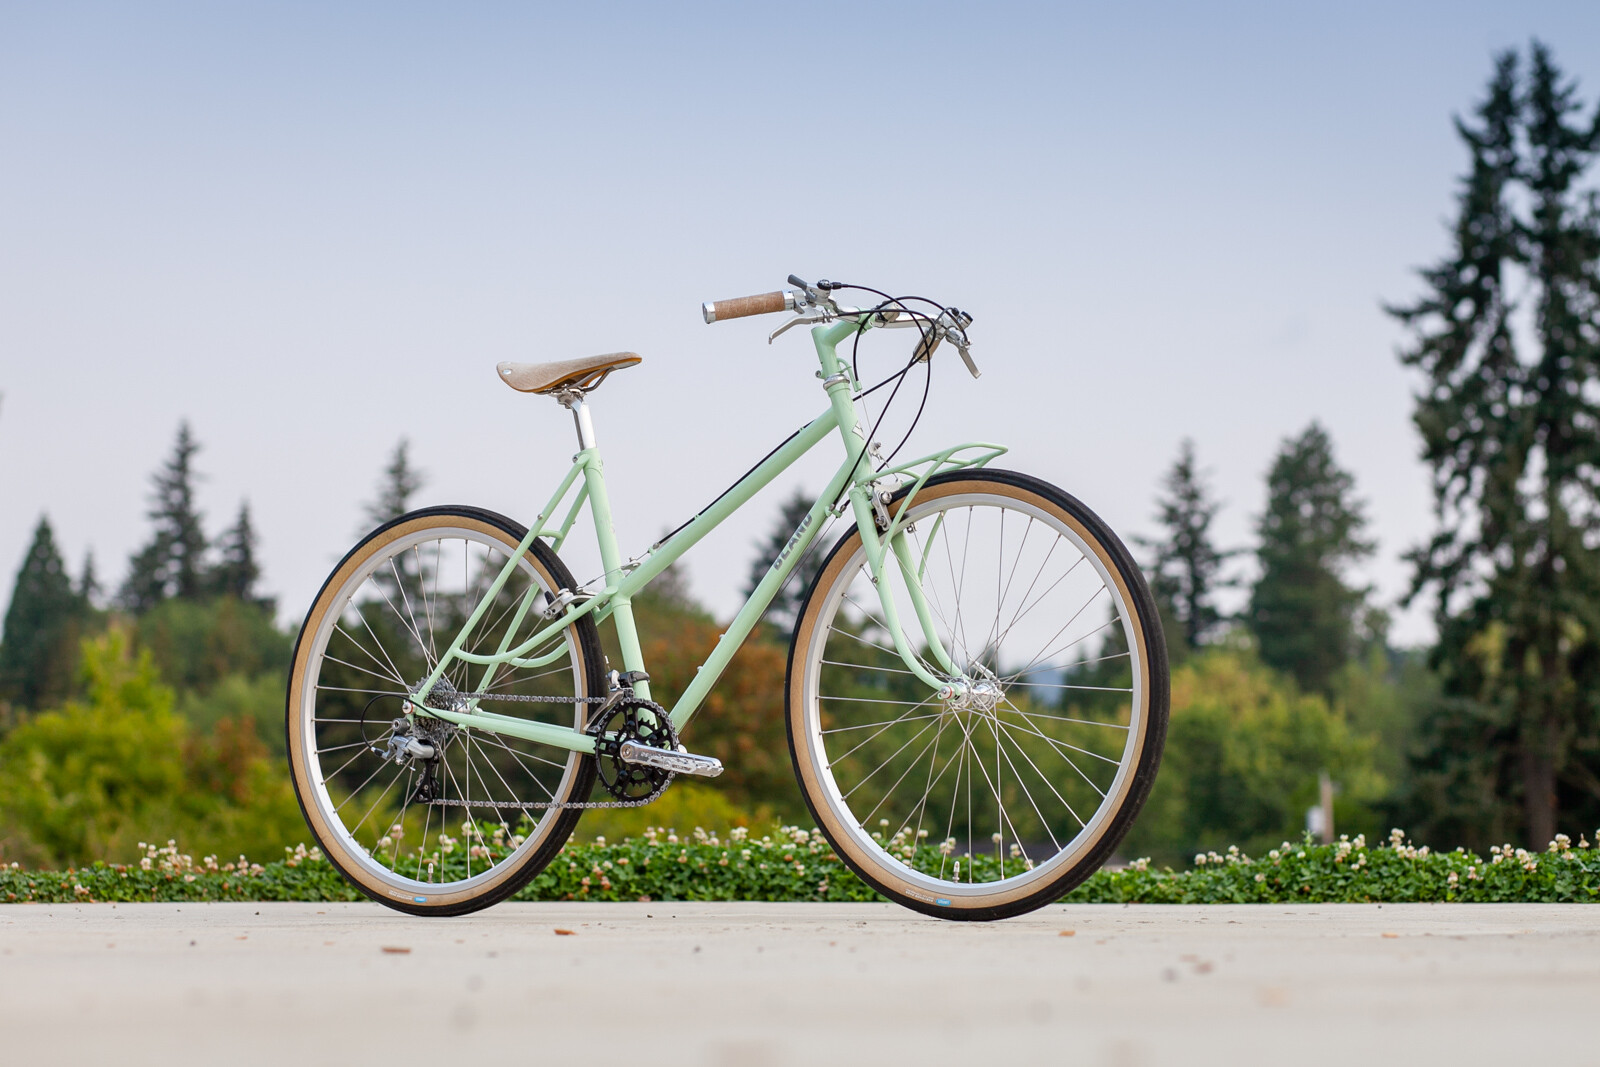
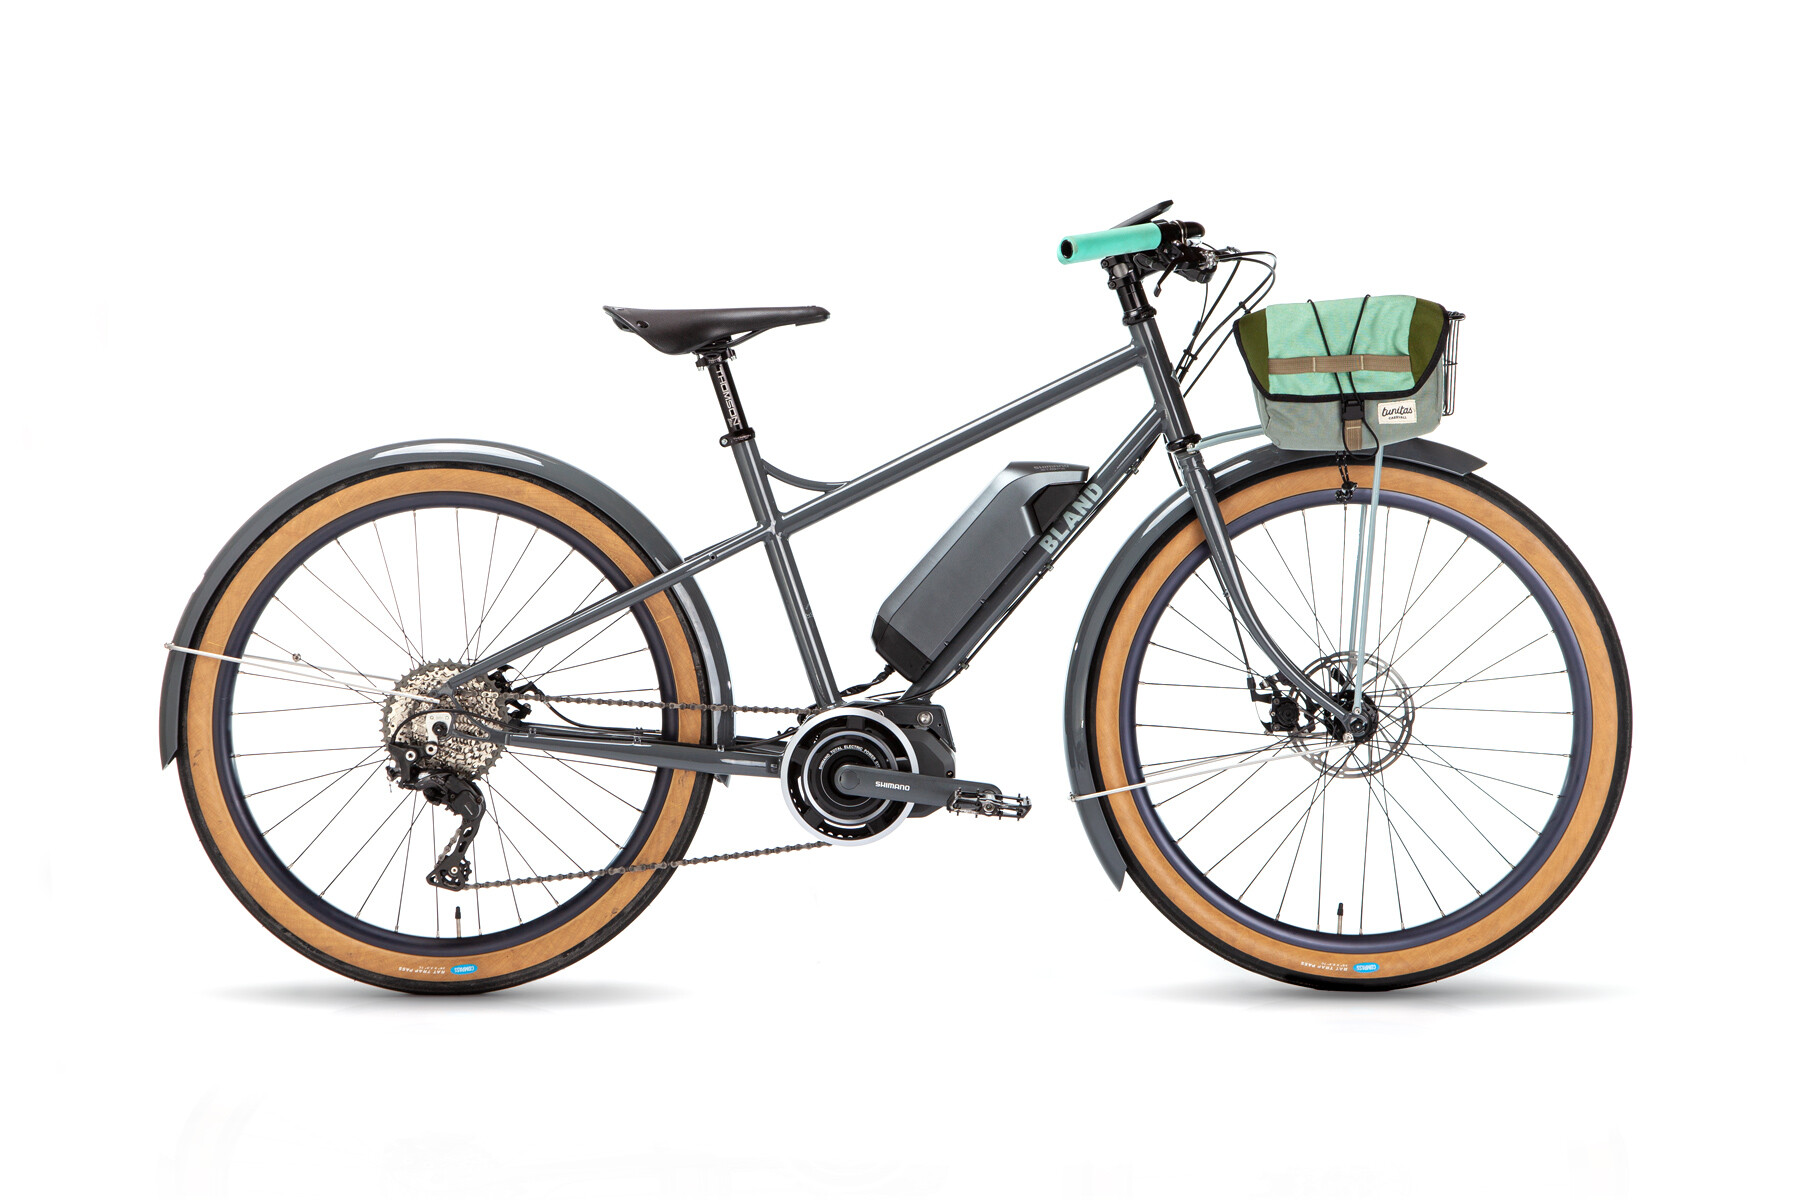
The whole process only takes a couple of minutes per photo. You can see the props that hold up the bike and the backdrop isn’t perfectly white on full bike shots, but quality to effort ratio is great. (Whoops forgot to white balance the first image).


9 Likes

Nice setup! I’ve photographed plenty of bikes over the years, but never tried to do a studio style shoot like this before. That’s so cool! The PVC backdrop stand is a great idea too!

One thing to watch out for is any stray light entering the lens. Notice the loss in contrast around the rear triangle of the full bike shot. This type of setup can be challenging in that regard because you’re working from outside and shooting into a darker area. A lens hood or hand over the lens will usually do the trick if the camera is out in direct sunlight. Sometimes it’s caused by reflective light though, and it might be so subtle that you don’t notice until looking at the pictures later on the computer. Just something to be cognizant of. Also, a circular polarizer filter can help reduce unwanted reflections.

2 Likes

Well done, and I really like that you have the bike showing the left (wrong) side. Conventional bicycle photography always shows the right side, for no reason that I can think of. I feel the right side is cluttered and visually busy, while the left side shows the bike without a lot of mechanical stuff in the way.

5 Likes

The lens hood on that lens isn’t great I think because it has to stay out of the way for the wide angle focal length. Next time I’ll set the timer longer so I can shade the lens before it takes the photo. Good call out.

A circular polarizer is a great idea!

Ha, well I positioned it on the NDS to take a detail shot of the madness happening at the rear brake. But you’re right, the NDS is tidier. Maybe now I’ll include a full NDS shot in the mix.

3 Likes

Very impressive stuff and explained very well. I dabble in photography and that leaks into bikes pretty often. I also admittedly lean for more dramatic editing and pop :woman_shrugging: I’ve procrastinated getting a proper backdrop setup but I think you may have convinced me to pull the trigger; Its difficult to find the time to drag a bike out to a decent spot sometimes. And I’m definitely going to throw a piece of acrylic on my next send cut send order because the helmet is not cutting it, lol.


3 Likes

Great shots! The high contrast and darkened edges (hand of God) works well.

2 Likes

Good idea! I’ll play.

First things first, studio photography–like framebuilding–could be an endless, life-long pursuit. But–also like framebuilding–the basics are really simple. The resources for learning are absurdly available in 2023. Even if you’re brand new to photography, you can be proficient very quickly. No need to explain what type of camera to get (DSLR), what editing software to use (Lightroom), or what type of lighting works best for a big-ish, shiny object like a bicycle (2 giant softboxes)… ten minutes on the Google machine will get you there. If you have even a slightly-above average eye for this type of thing, you can figure all that out easily.

When it comes to marketing-focused, digital photos of bicycles, though, there are some tricks. Here’s my setup, as shown in my old, dingy garage.

And the type of shots that come of it:


Both of the above were shot on the same white, seamless background.

You can get as dramatic as you want in a studio setting:

The biggest “mistake” I see from studio shots is too short a focal length. I try to shoot everything in studio at a minimum of 85mm. That Radavist article linked above explains why. (Although, for what it’s worth, I think 200mm is way too long… Those photos start looking like wildlife shots to my eye.) In this old garage, that put the camera against the opposing wall. I like the look of 100-115mm best. Zoom in (or better yet, buy a prime lens), and back up. If none of this made sense: Google machine.

Again, same background:

And don’t forget the non-standard shots. Get low, get high, play around. Both of these were taken with the camera sitting on the ground. Much shorter focal length here… 35-50mm.

For environmental photos, all the same applies. Plain backgrounds are fine, but I like busy ones too. Finding the right spot is 90% of the task.

Embrace the weather. No need to wait for that perfectly cloudy day. Snow, rain, whatever. (Just no direct sunlight… It’s really hard to photograph anything in direct sunlight, let alone a shiny metallic thing.)

And don’t forget the details. Get a prime macro lens. I’m a self-taught hack, but even I can’t screw up a macro lens. An iPhone will never be able to do what a prime macro lens can:

There are a lot of good photographers out there who have no idea how to shoot bikes. Study the photos you’re attracted to and you’ll figure it out. Snapping the photos is the easy part… Having an eye for how to compose a bike and it’s parts is the tricky bit.

Here’s a simple drive-side photo. Not much to it, right?

Except…

  1. The shot is taken so as to hide the left side of the handlebars. You only see one grip.
  2. The cranks are in line with the chainstays, and facing forward on the drive side.
  3. So are the pedals.
  4. The tires/valves are in the same spot (more or less, whoops) on each tire.
  5. The chain is shifted to the middle of the cassette so that the derailleur looks normal.
  6. The highlight on the rear fender is directly top-down. The highlight on the front fender runs right behind the fork blade so you can see the difference between frame and fender.
  7. The focal length is long enough to flatten out the bike. No weird geometry things happening.
  8. The white balance is correct (the other biggest mistake I notice with other’s photos).
  9. The photo has been edited (levels) so that the background is completely, evenly white.
  10. And on, and on…

Finally…

Like anything, it’s much more straightforward that it seems. Just dive in and don’t be intimidated. If you can learn to build a bike, you can (and should!) absolutely learn to photograph your work. For a bunch of reasons, I think those two things are completely inseparable.

Go for it!

-Chris

15 Likes