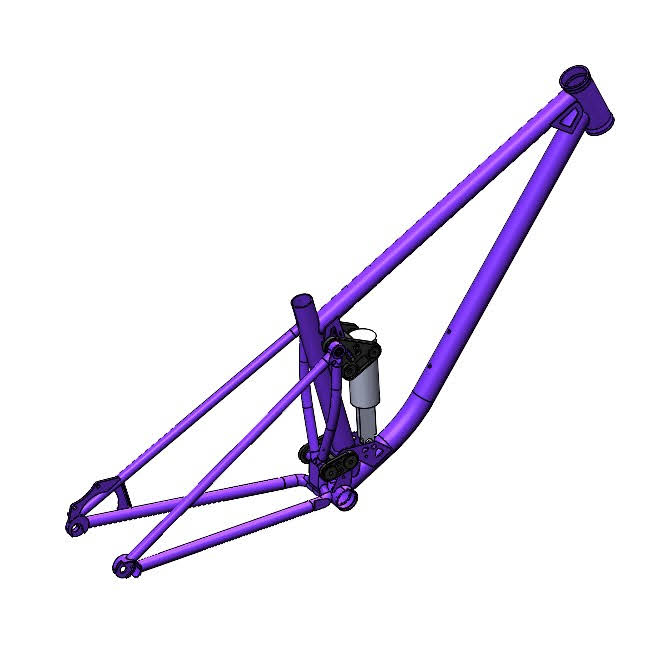
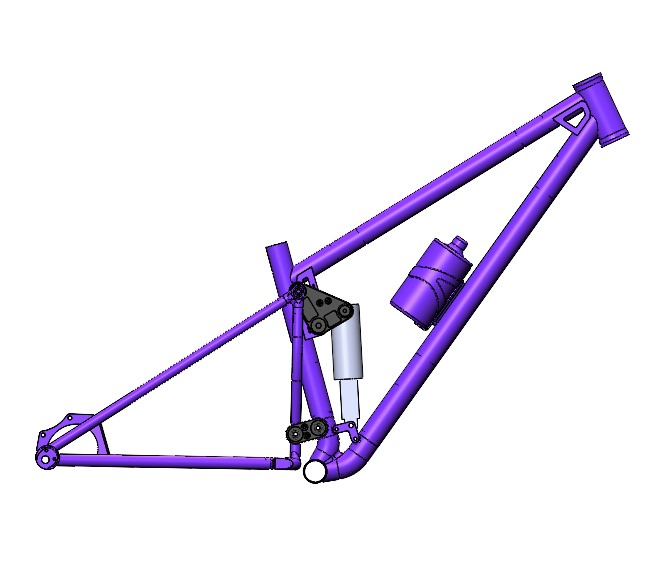
Alright, I am building a bike for my wife since I have been riding my first bike now for several months and haven’t died from my welds coming apart. She currently rides a V4 Bronson and likes how it fits and rides but would like more seatpost drop. So I designed a similar bike with similar geometry but is 140mm/150mm and has a shorter seat tube with full insertion. She has dubbed it the “Medusa” and designed the font and head badge herself. I also am trying what all the cool kids are doing and using 3D printed SS bits. I am about 60% of the way done with welding the bike so I thought I would post my progress up until now.
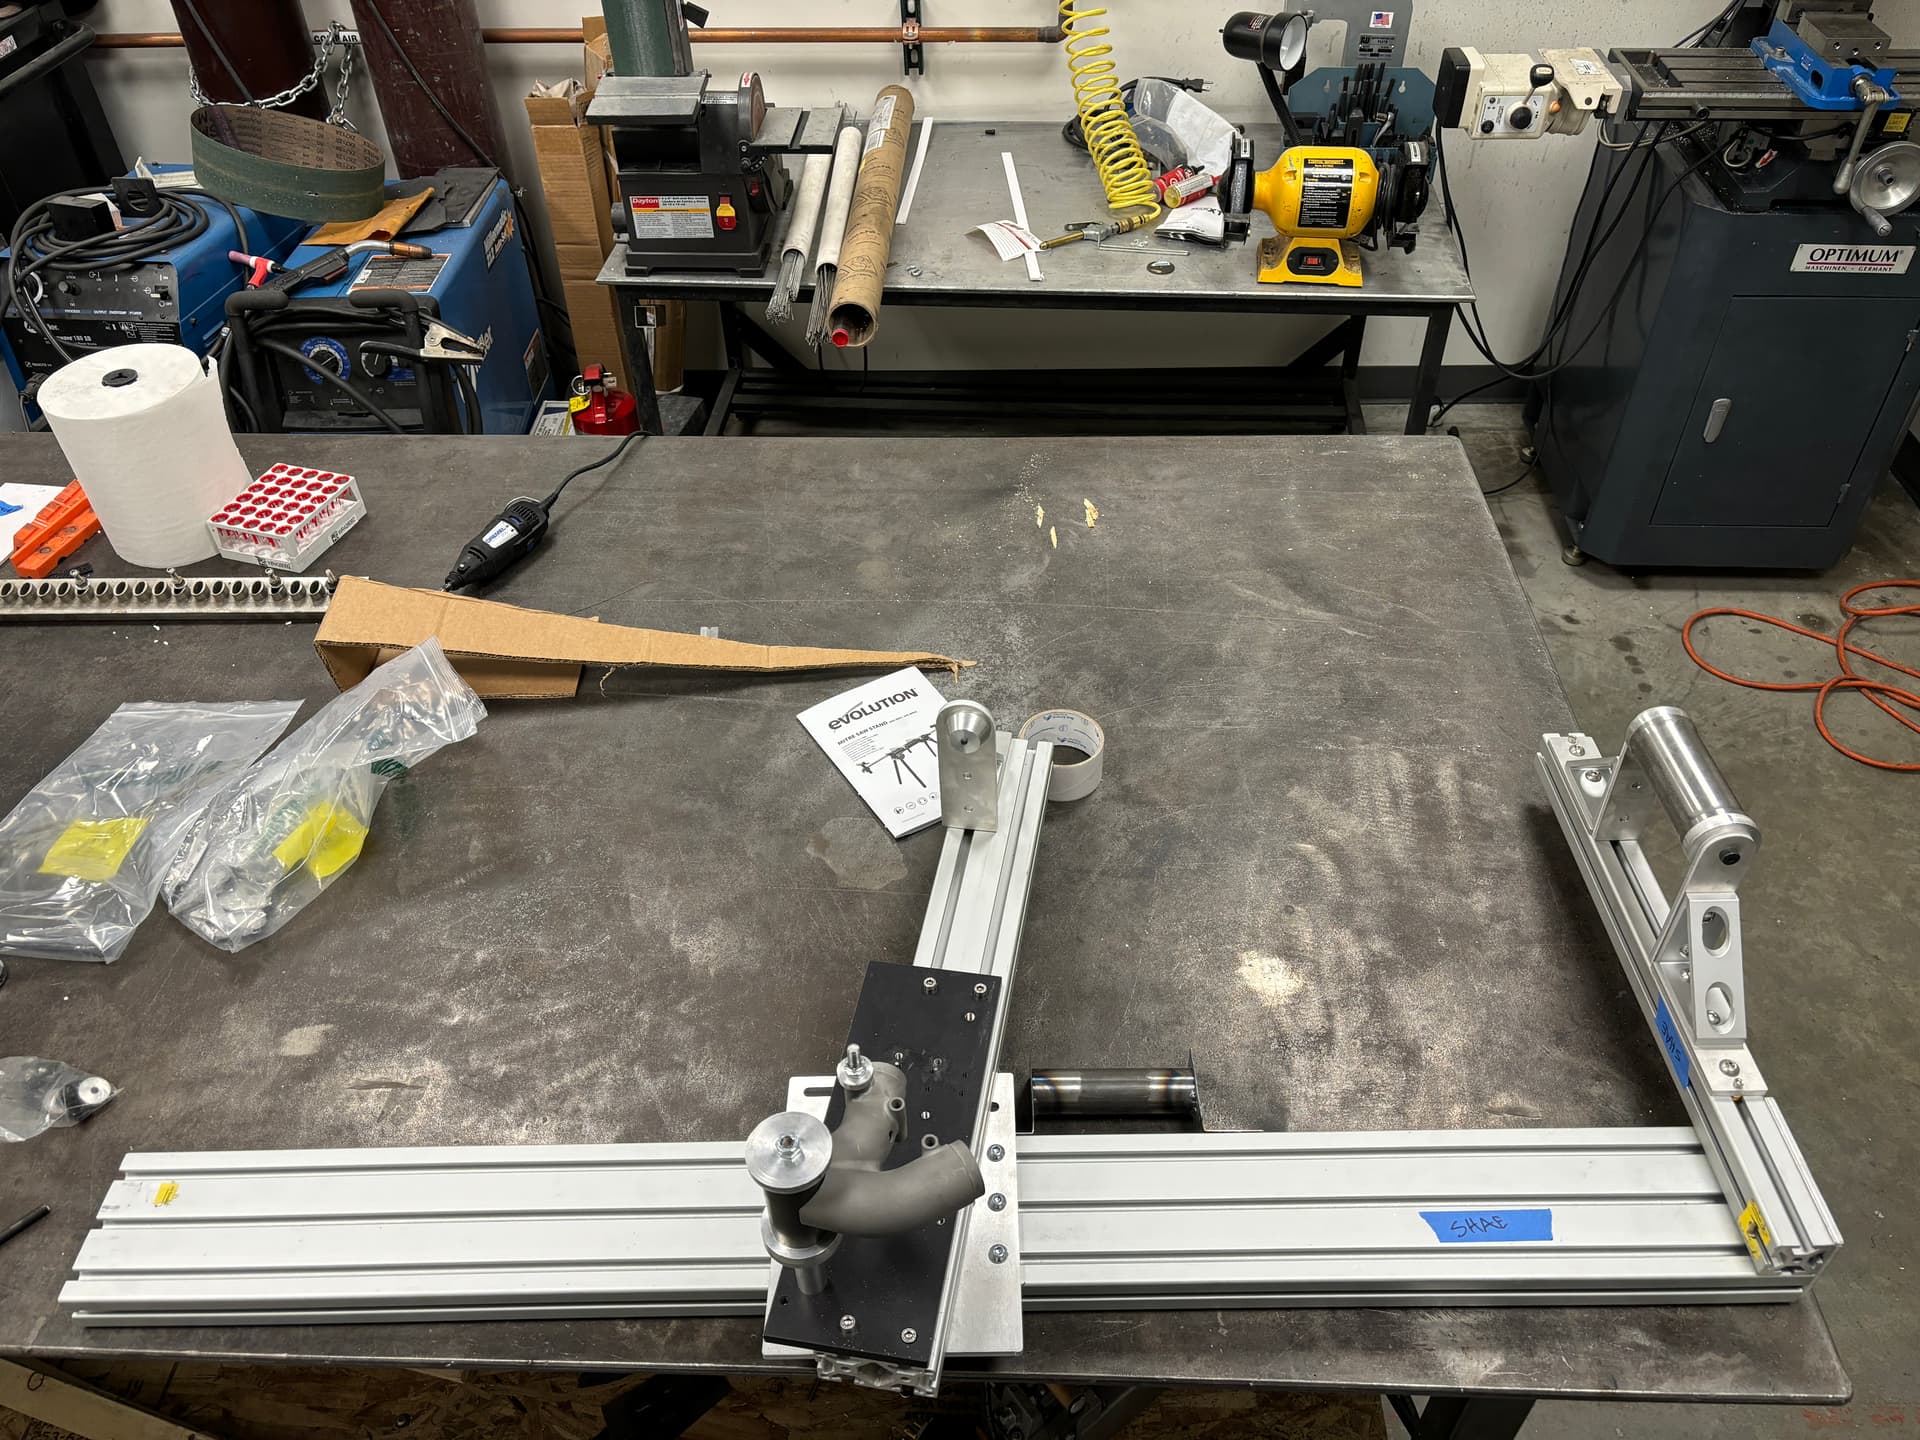
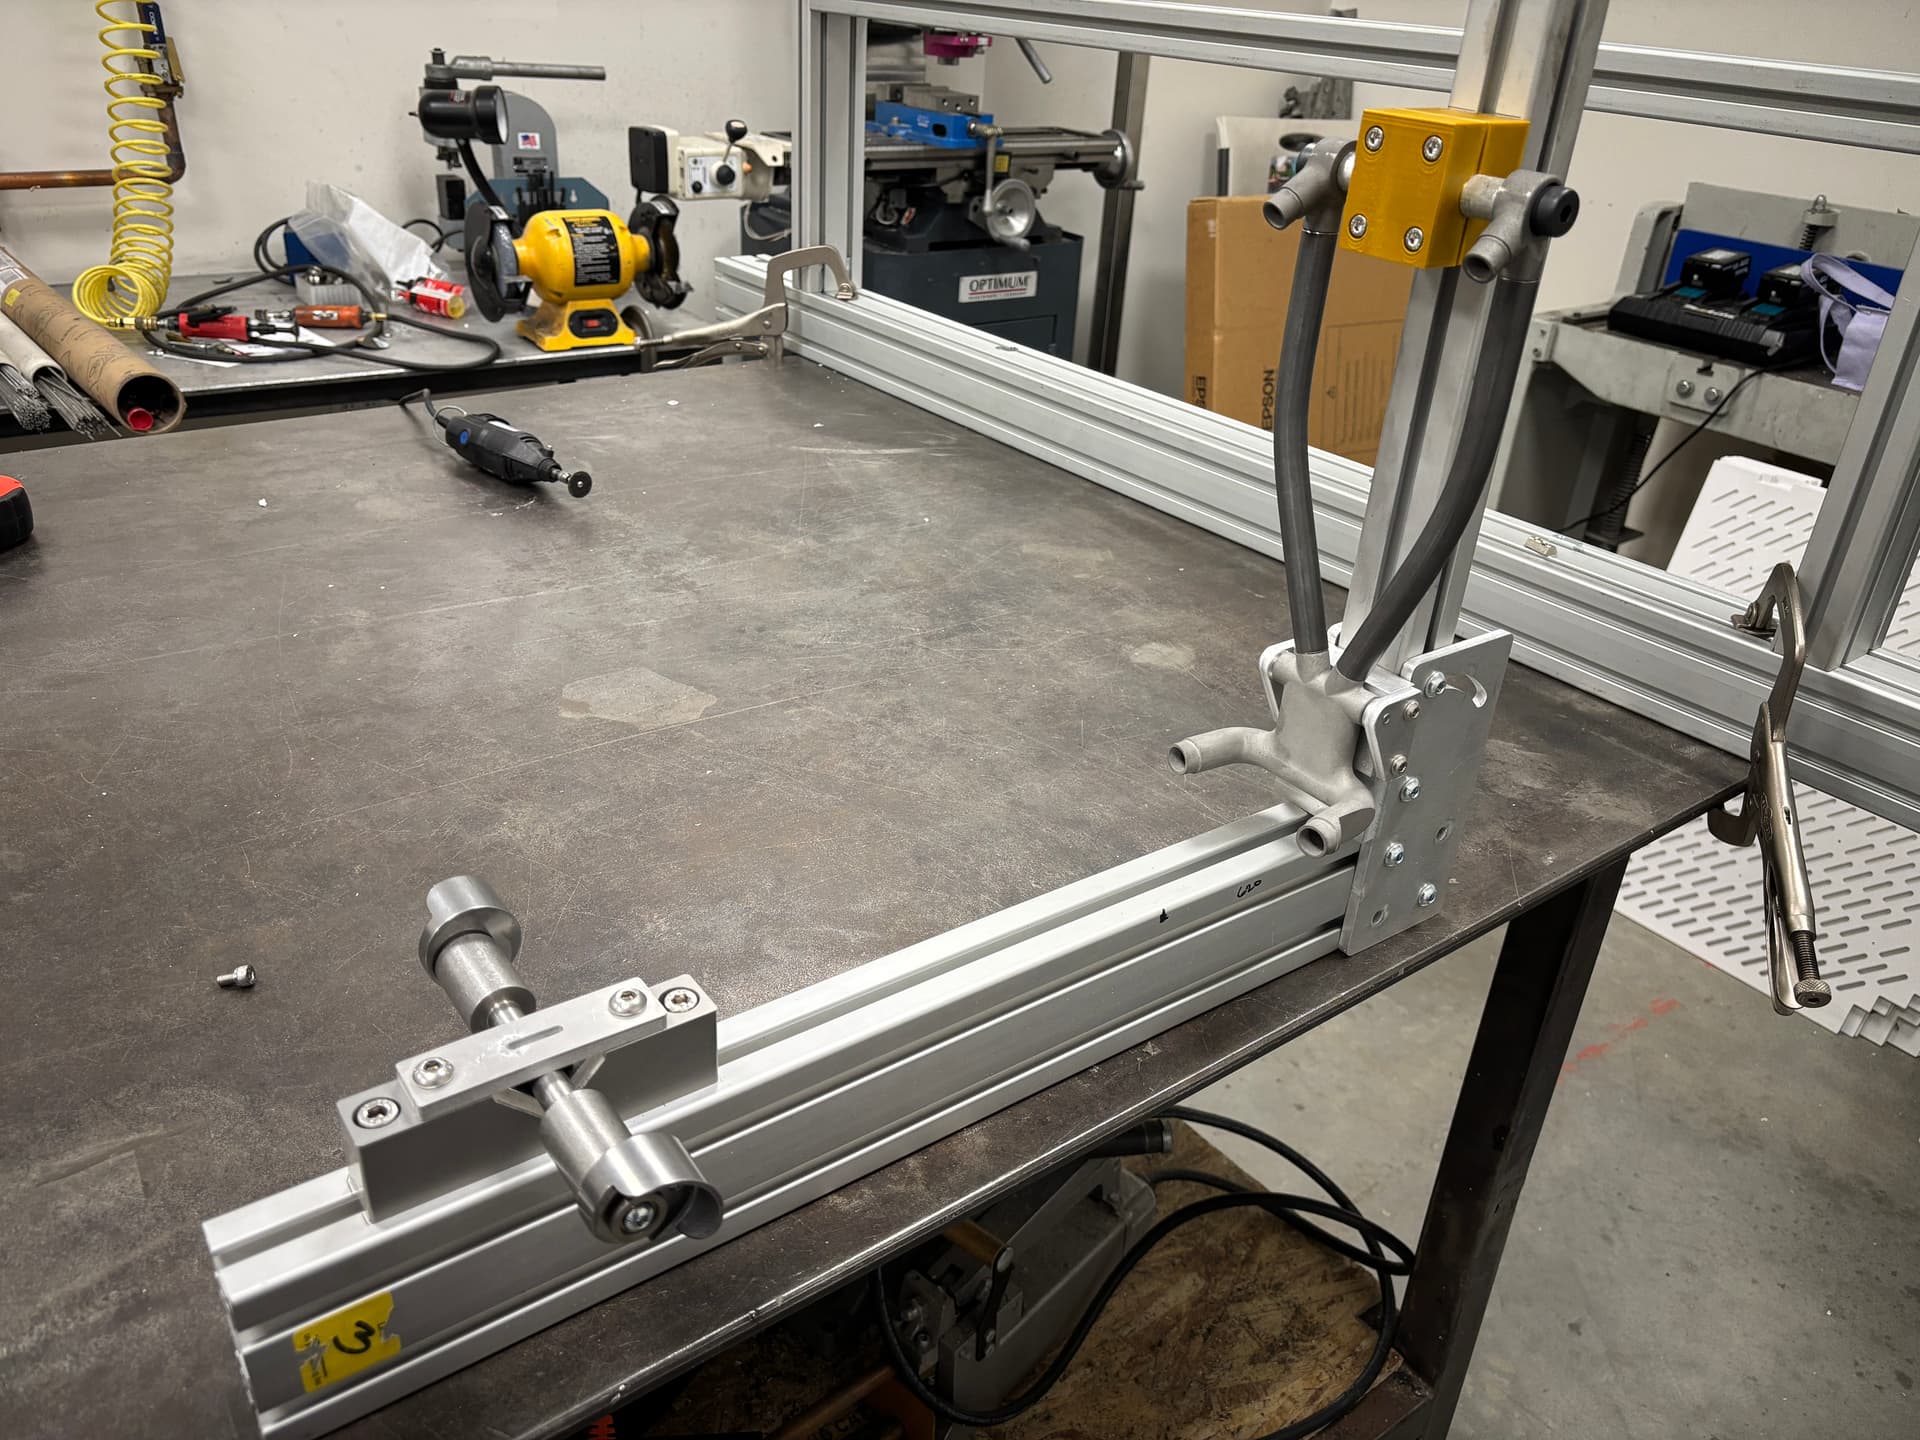
I made new jigs too since my I had to return the material for my old ones to my work. This one is the usual aluminum extrusion kind for front and rear triangle and is much easier to tack than flat plates, but also, much easier to get adjustments wrong. I like it overall though.
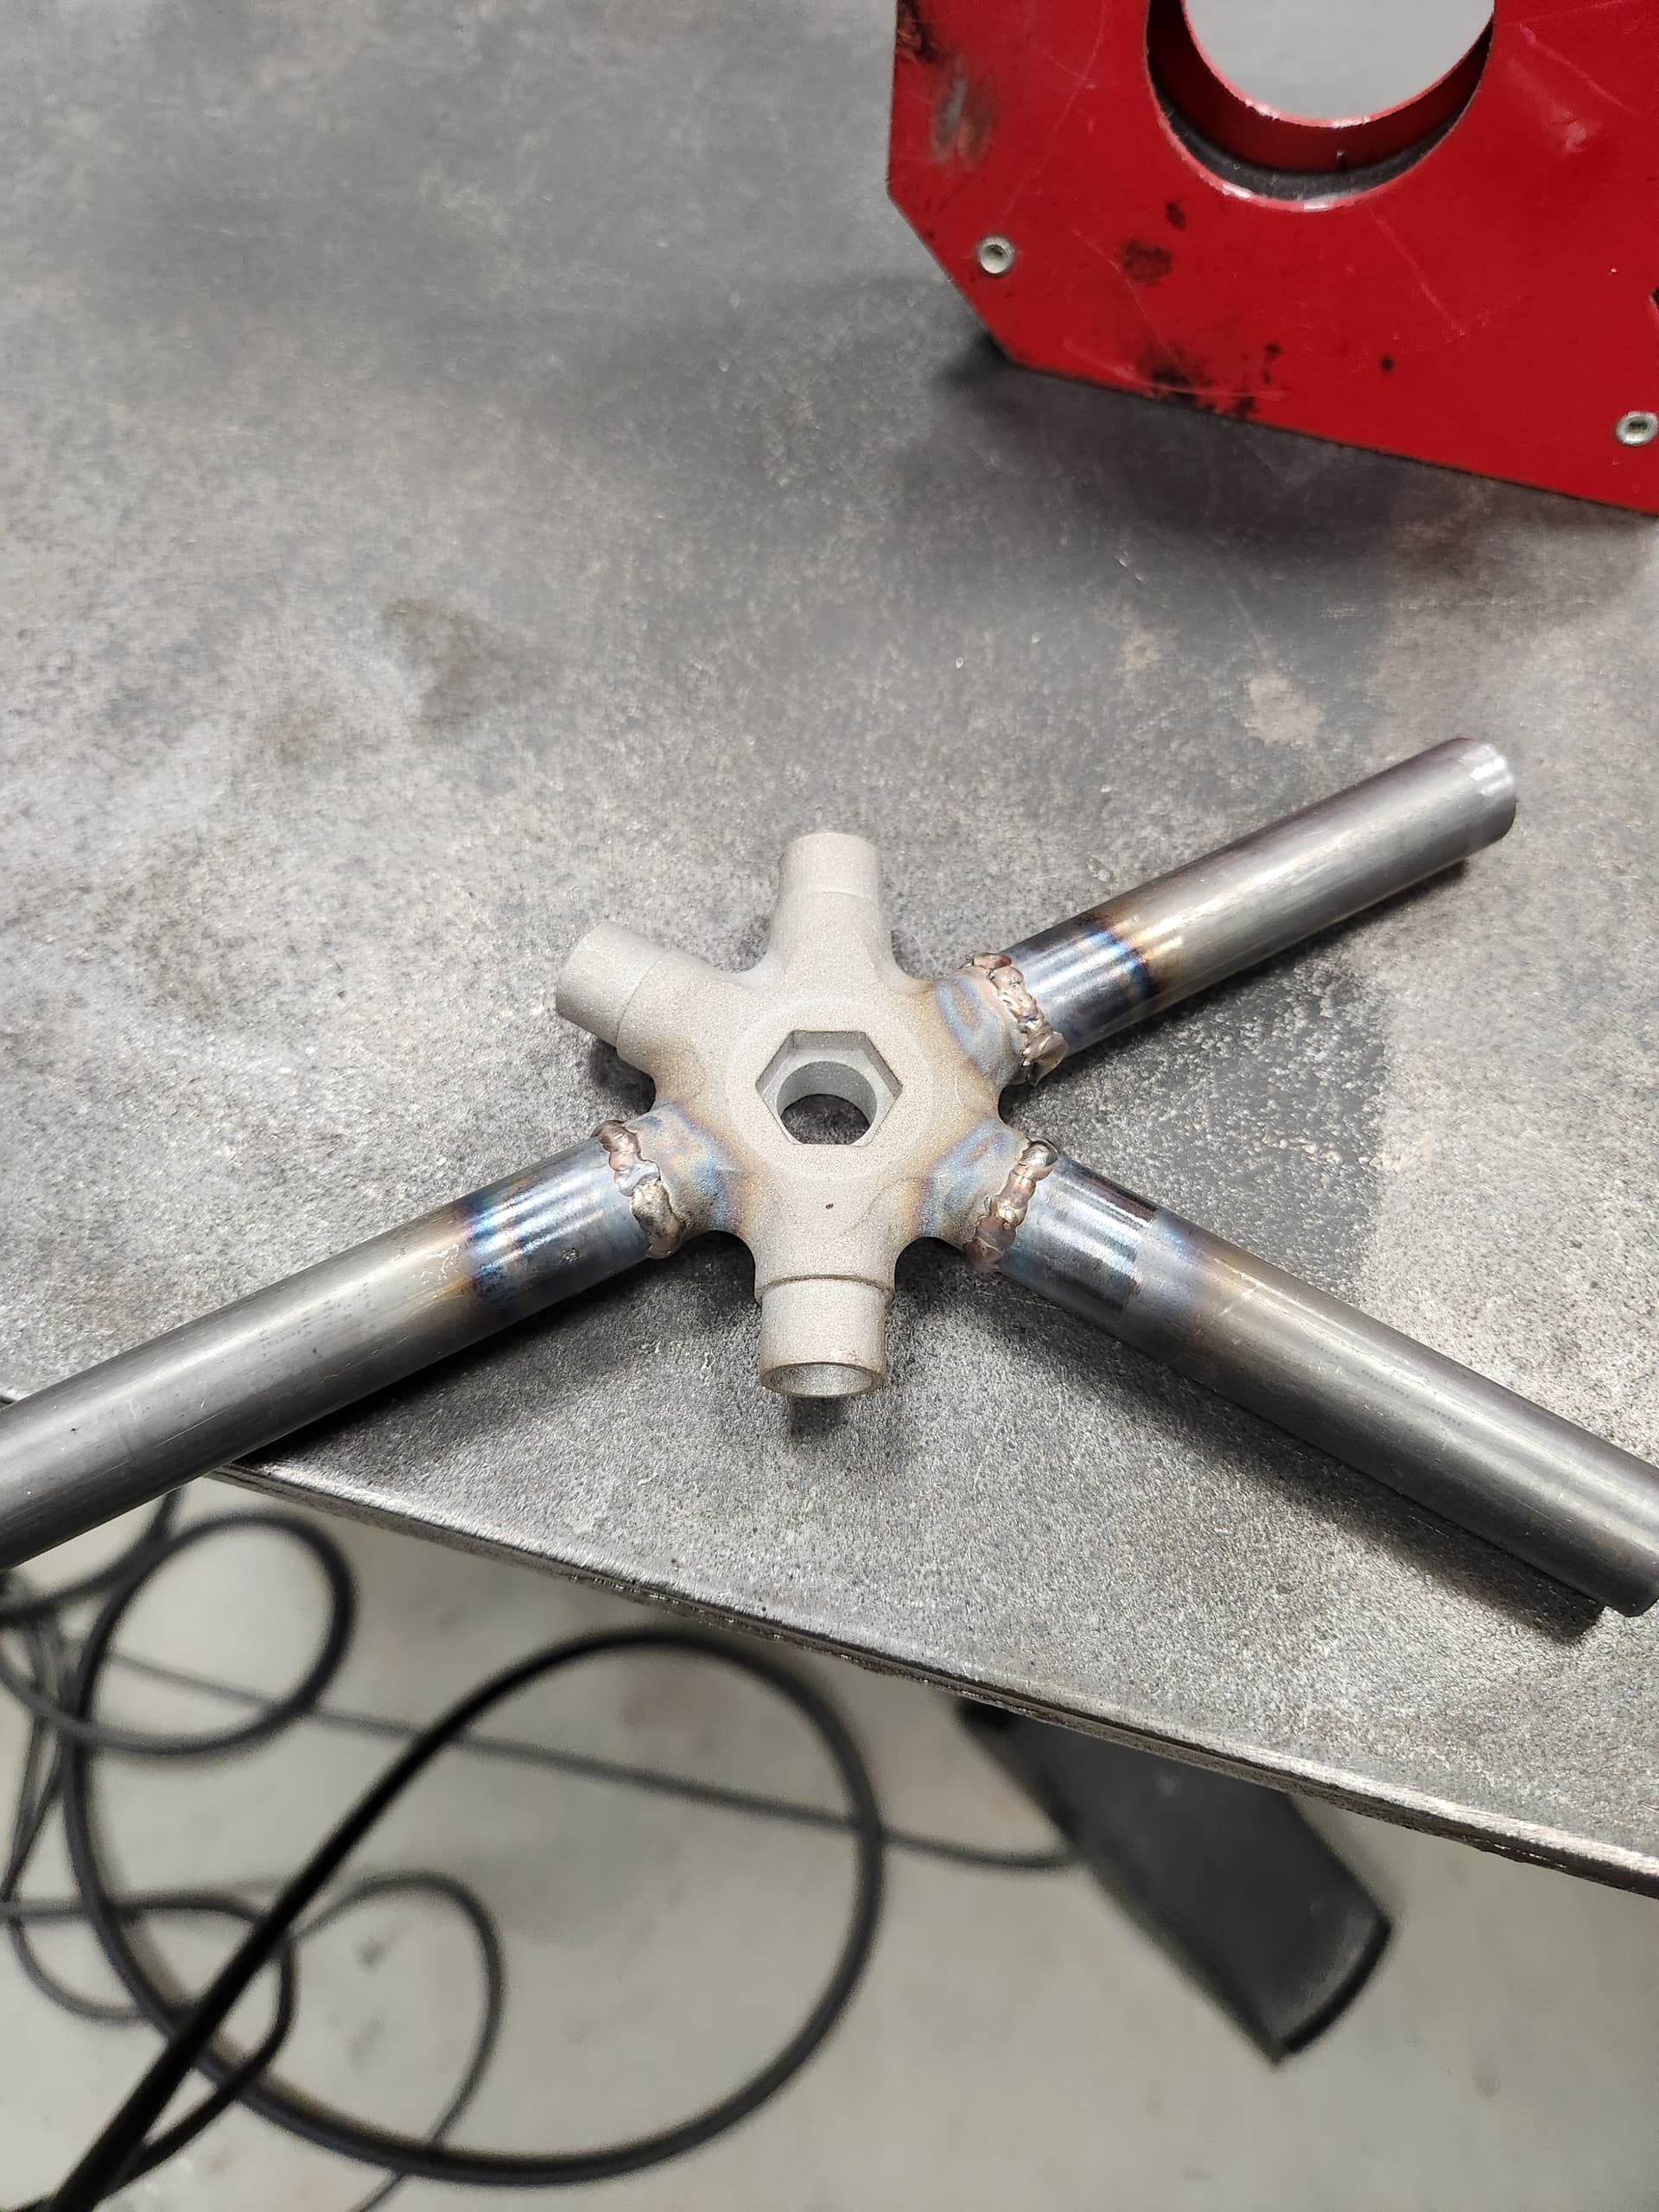
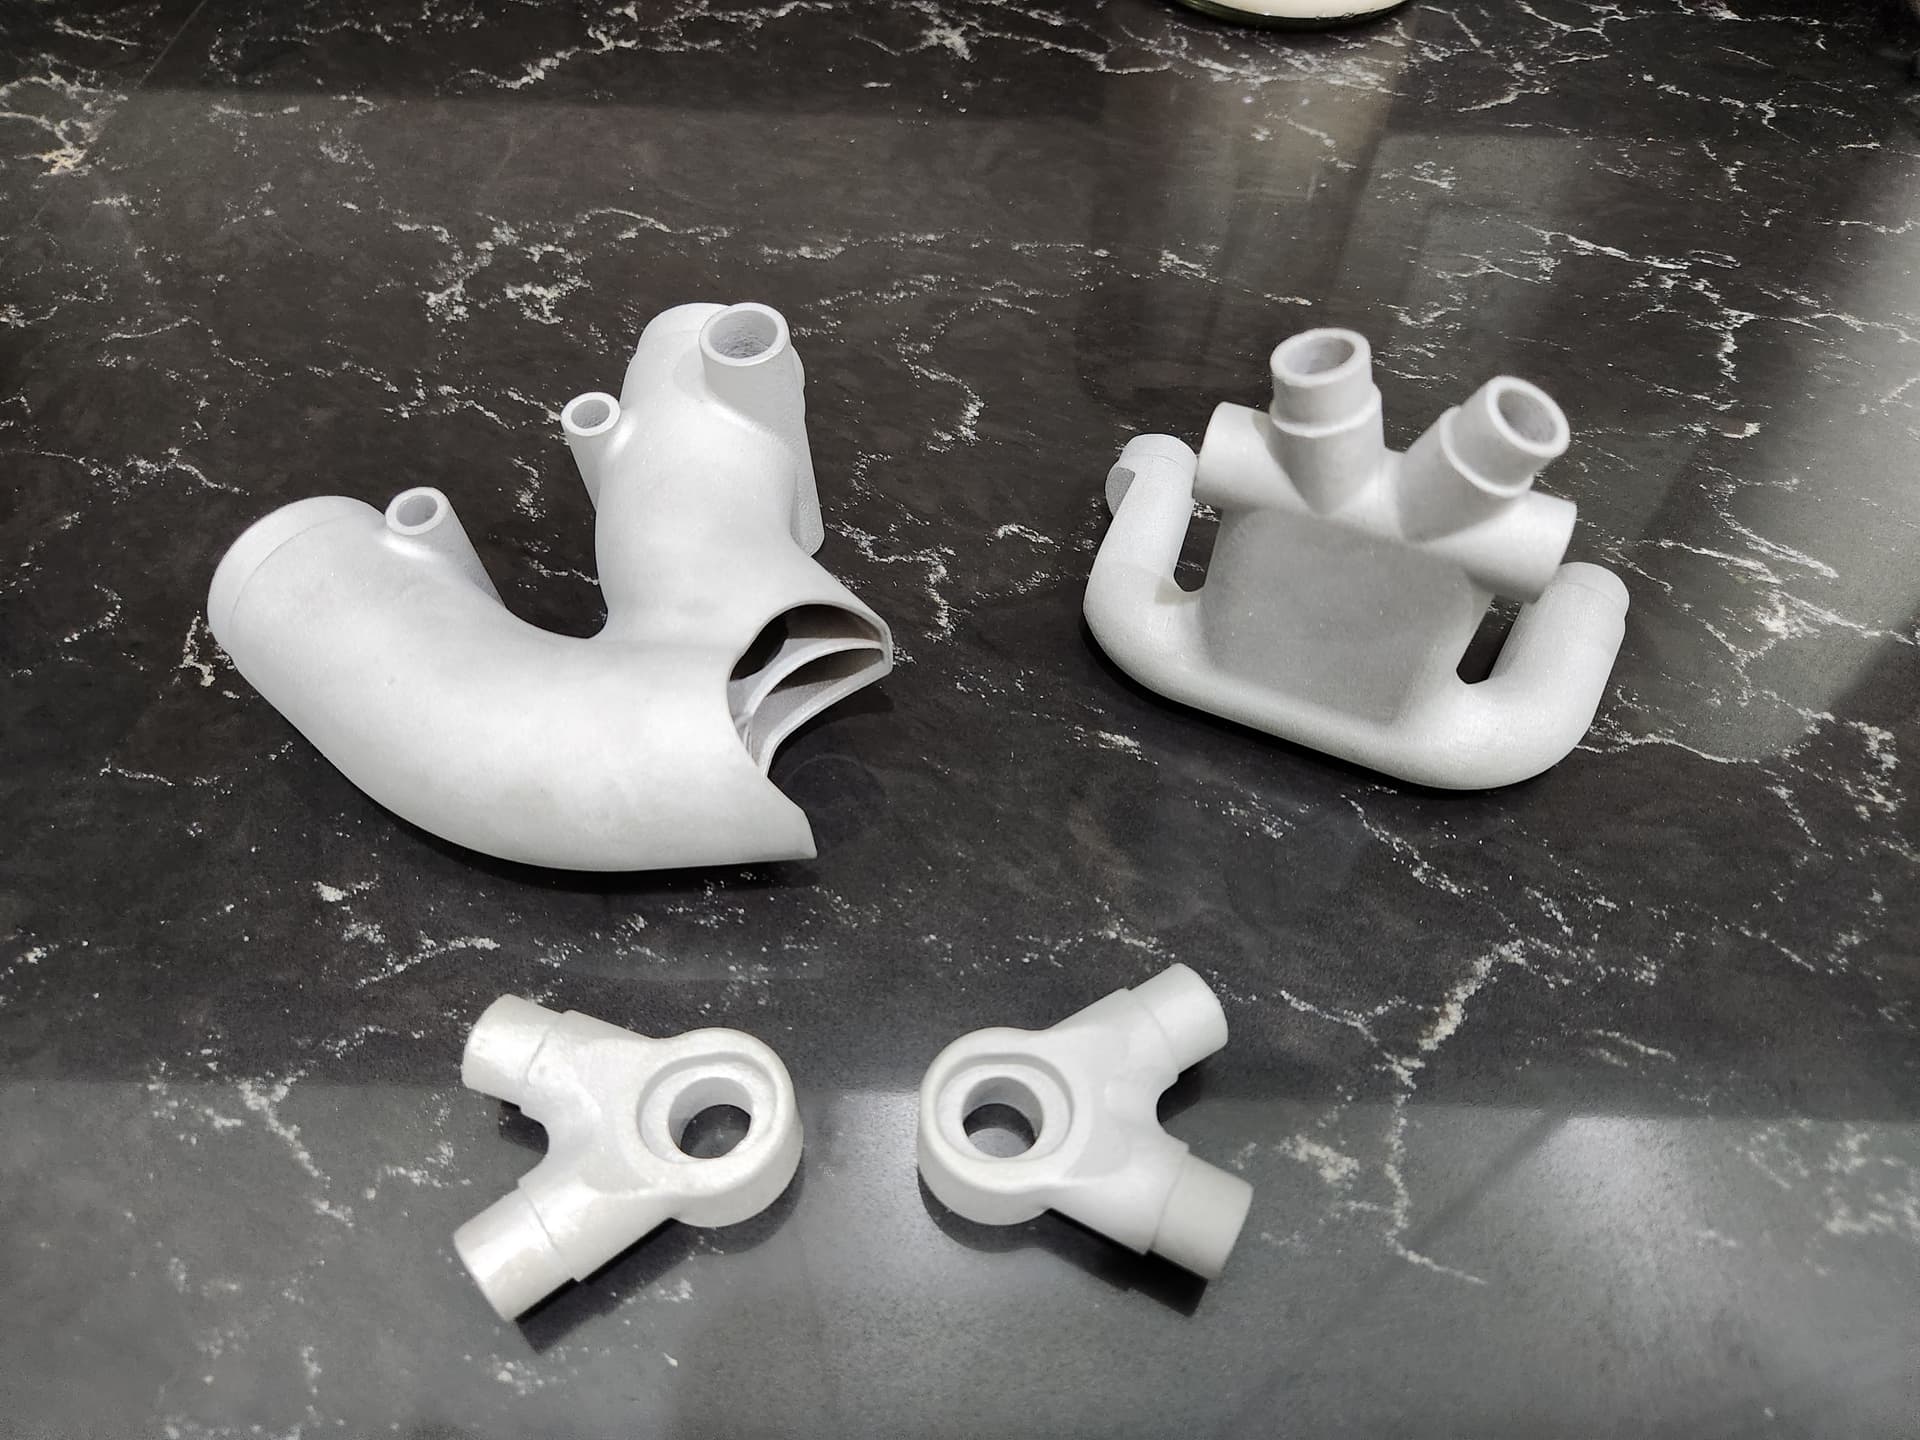
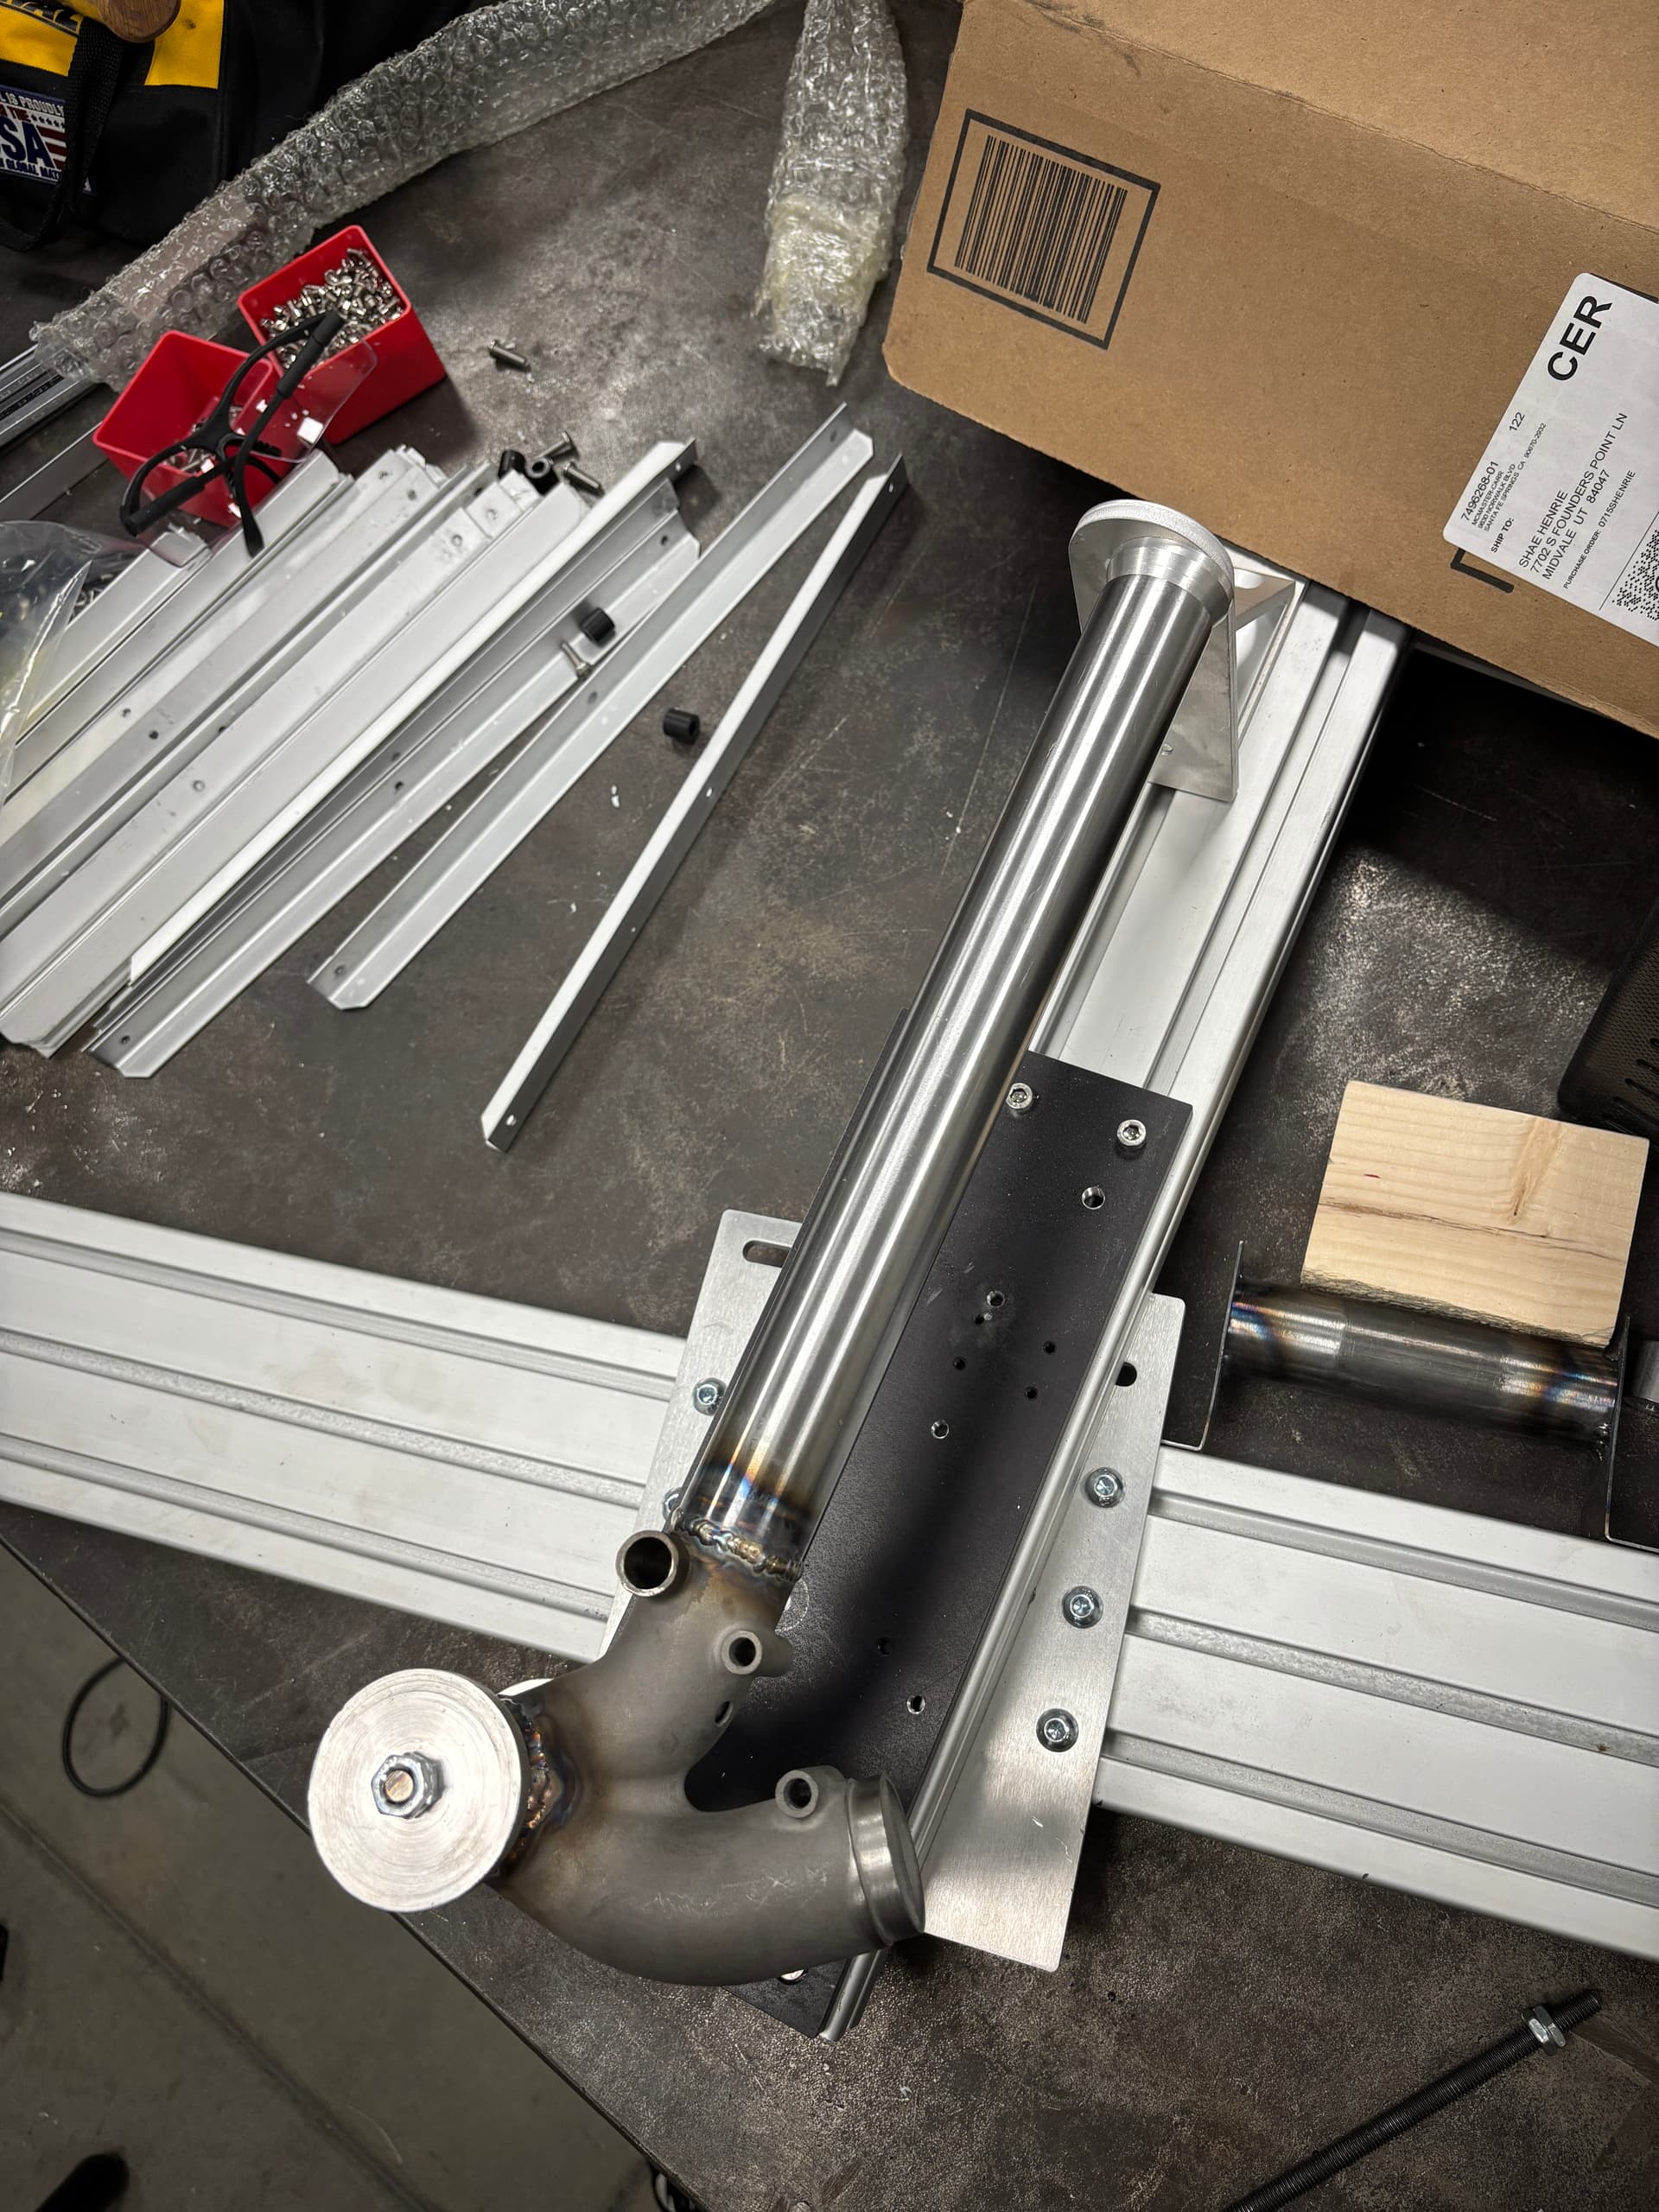
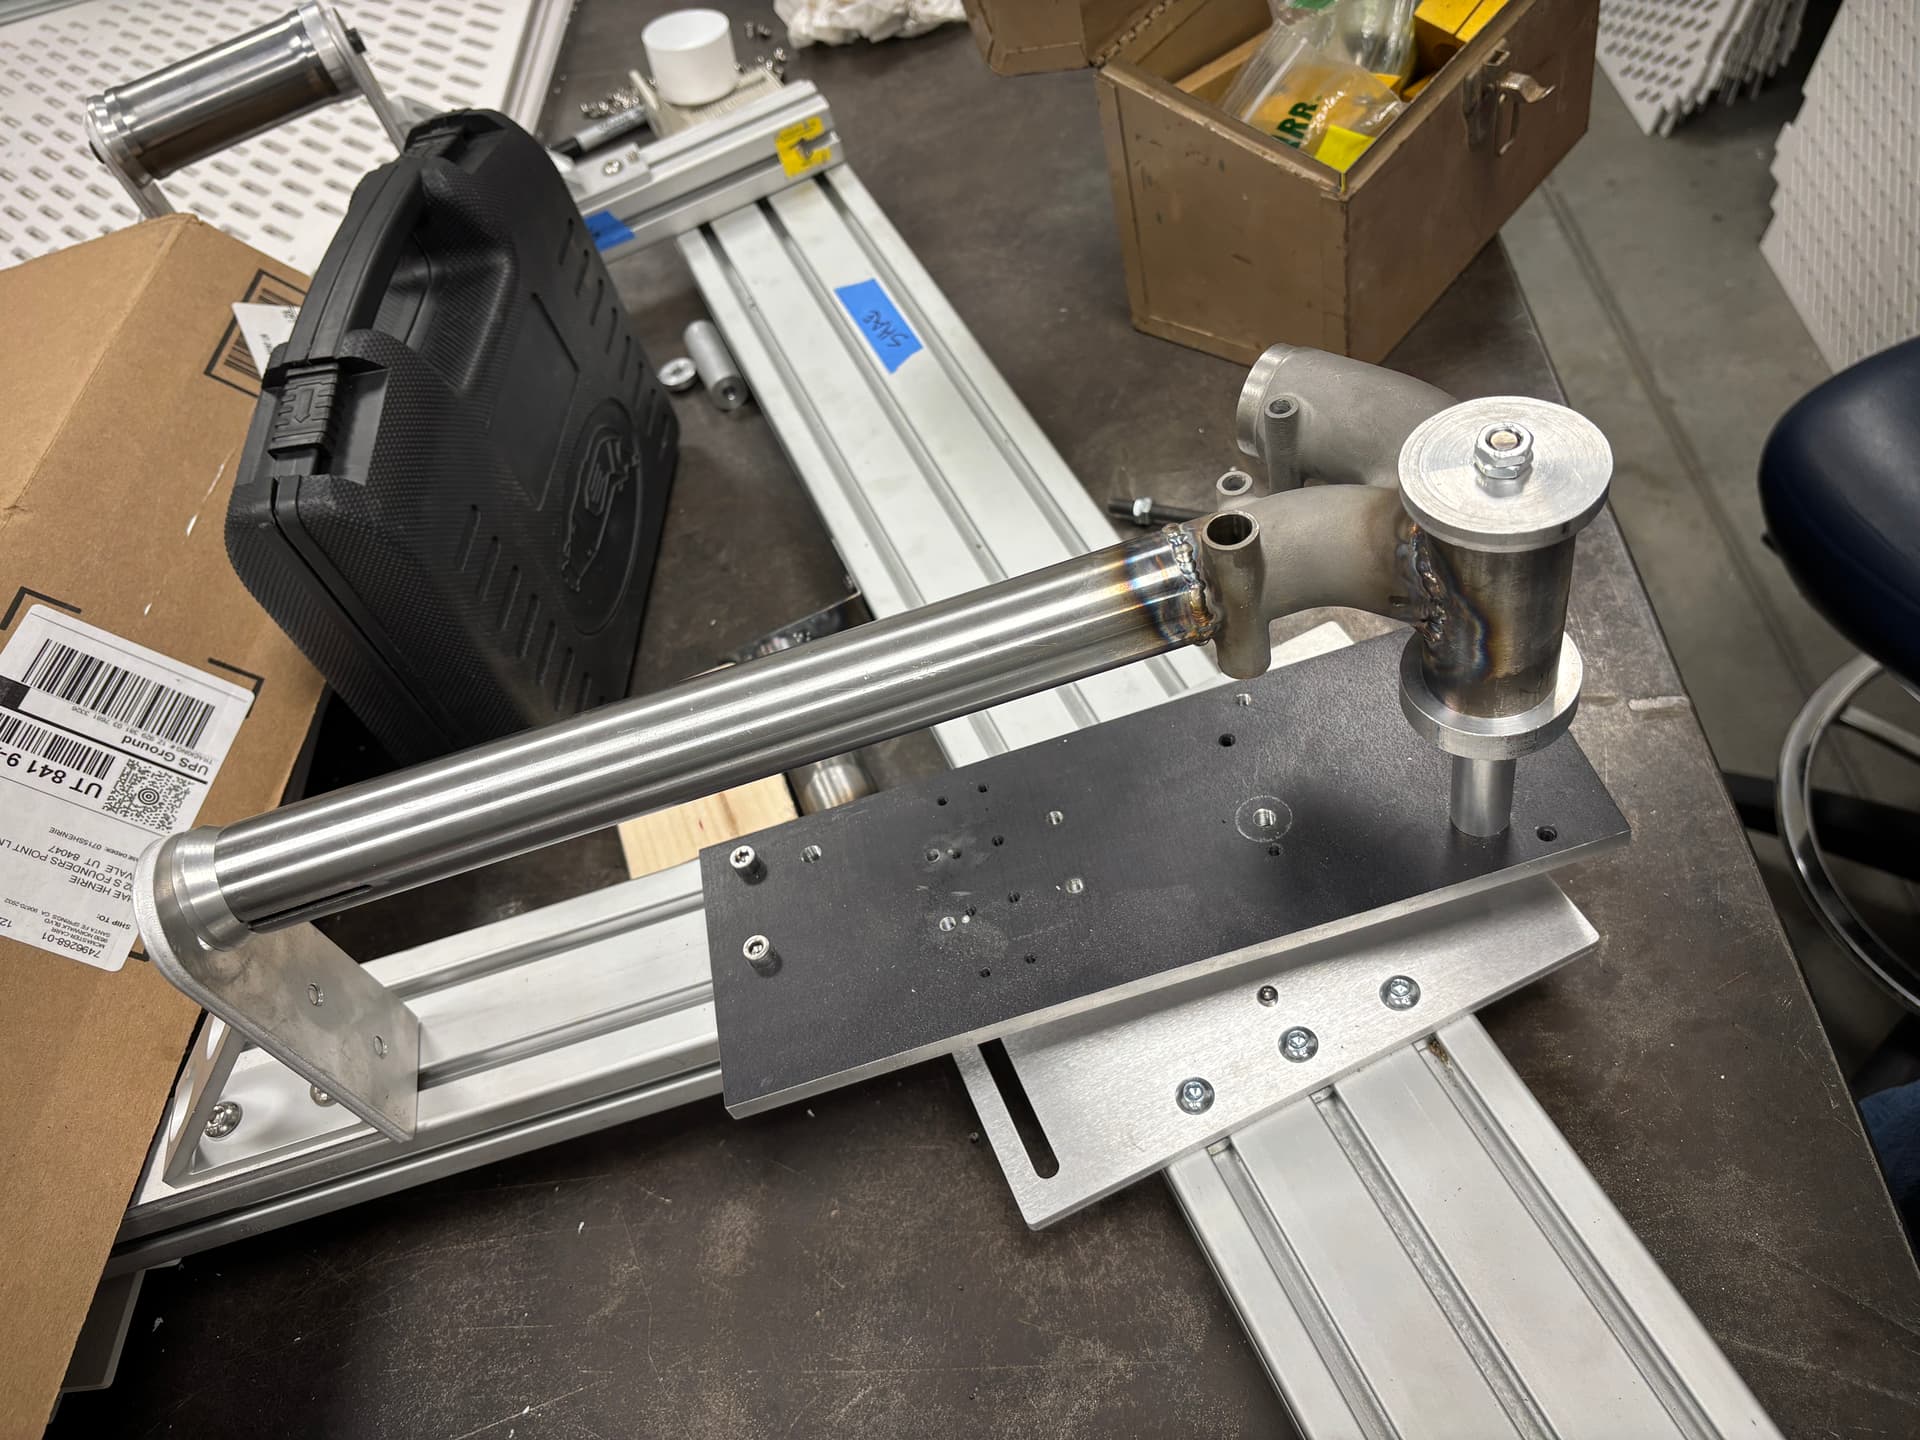
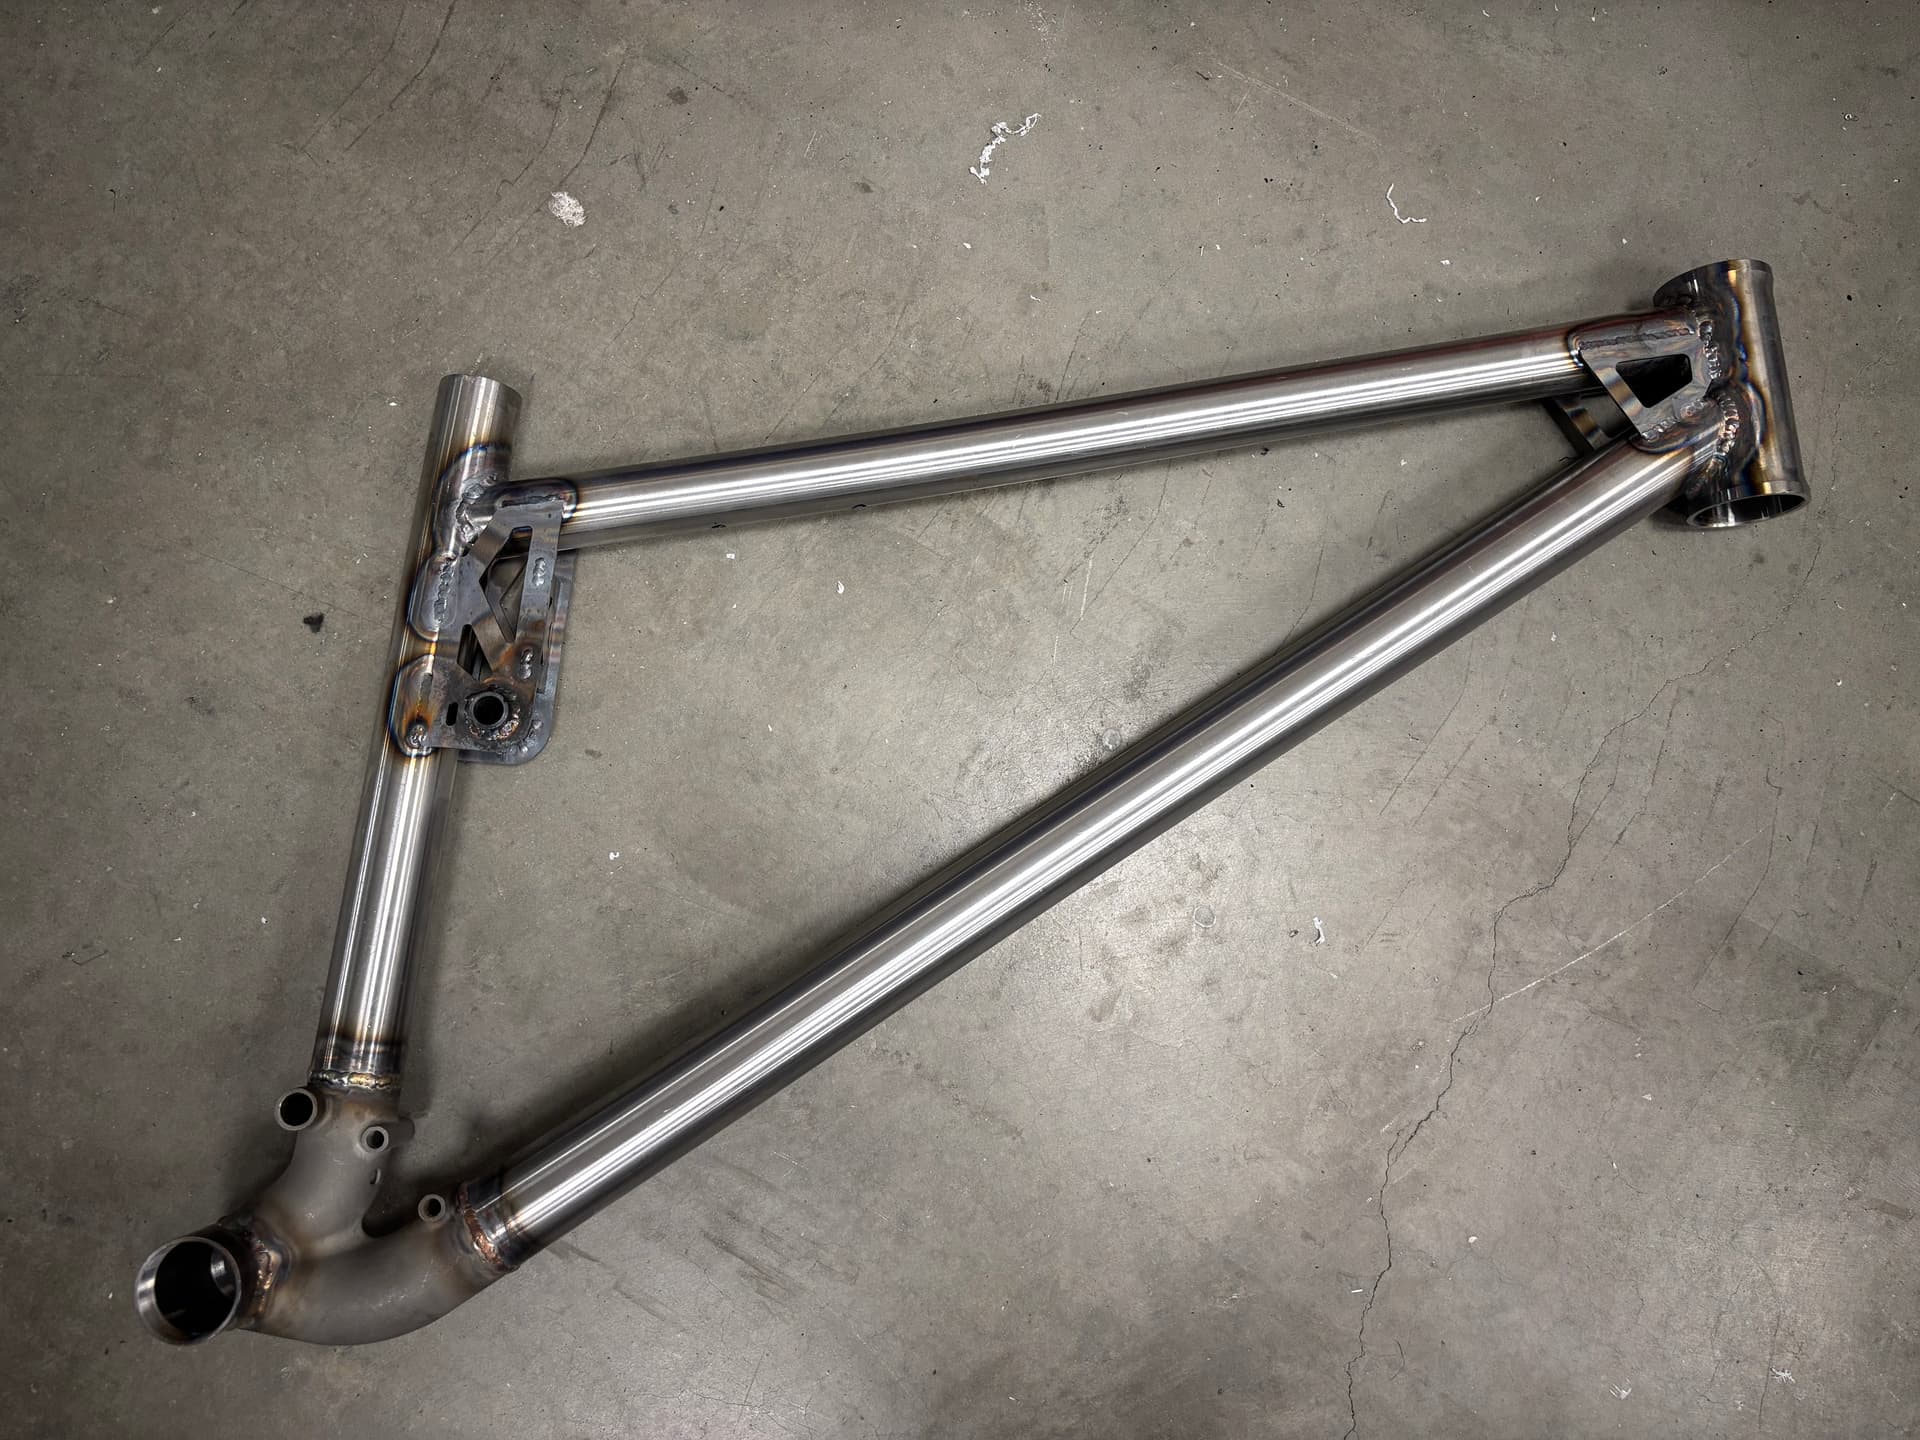
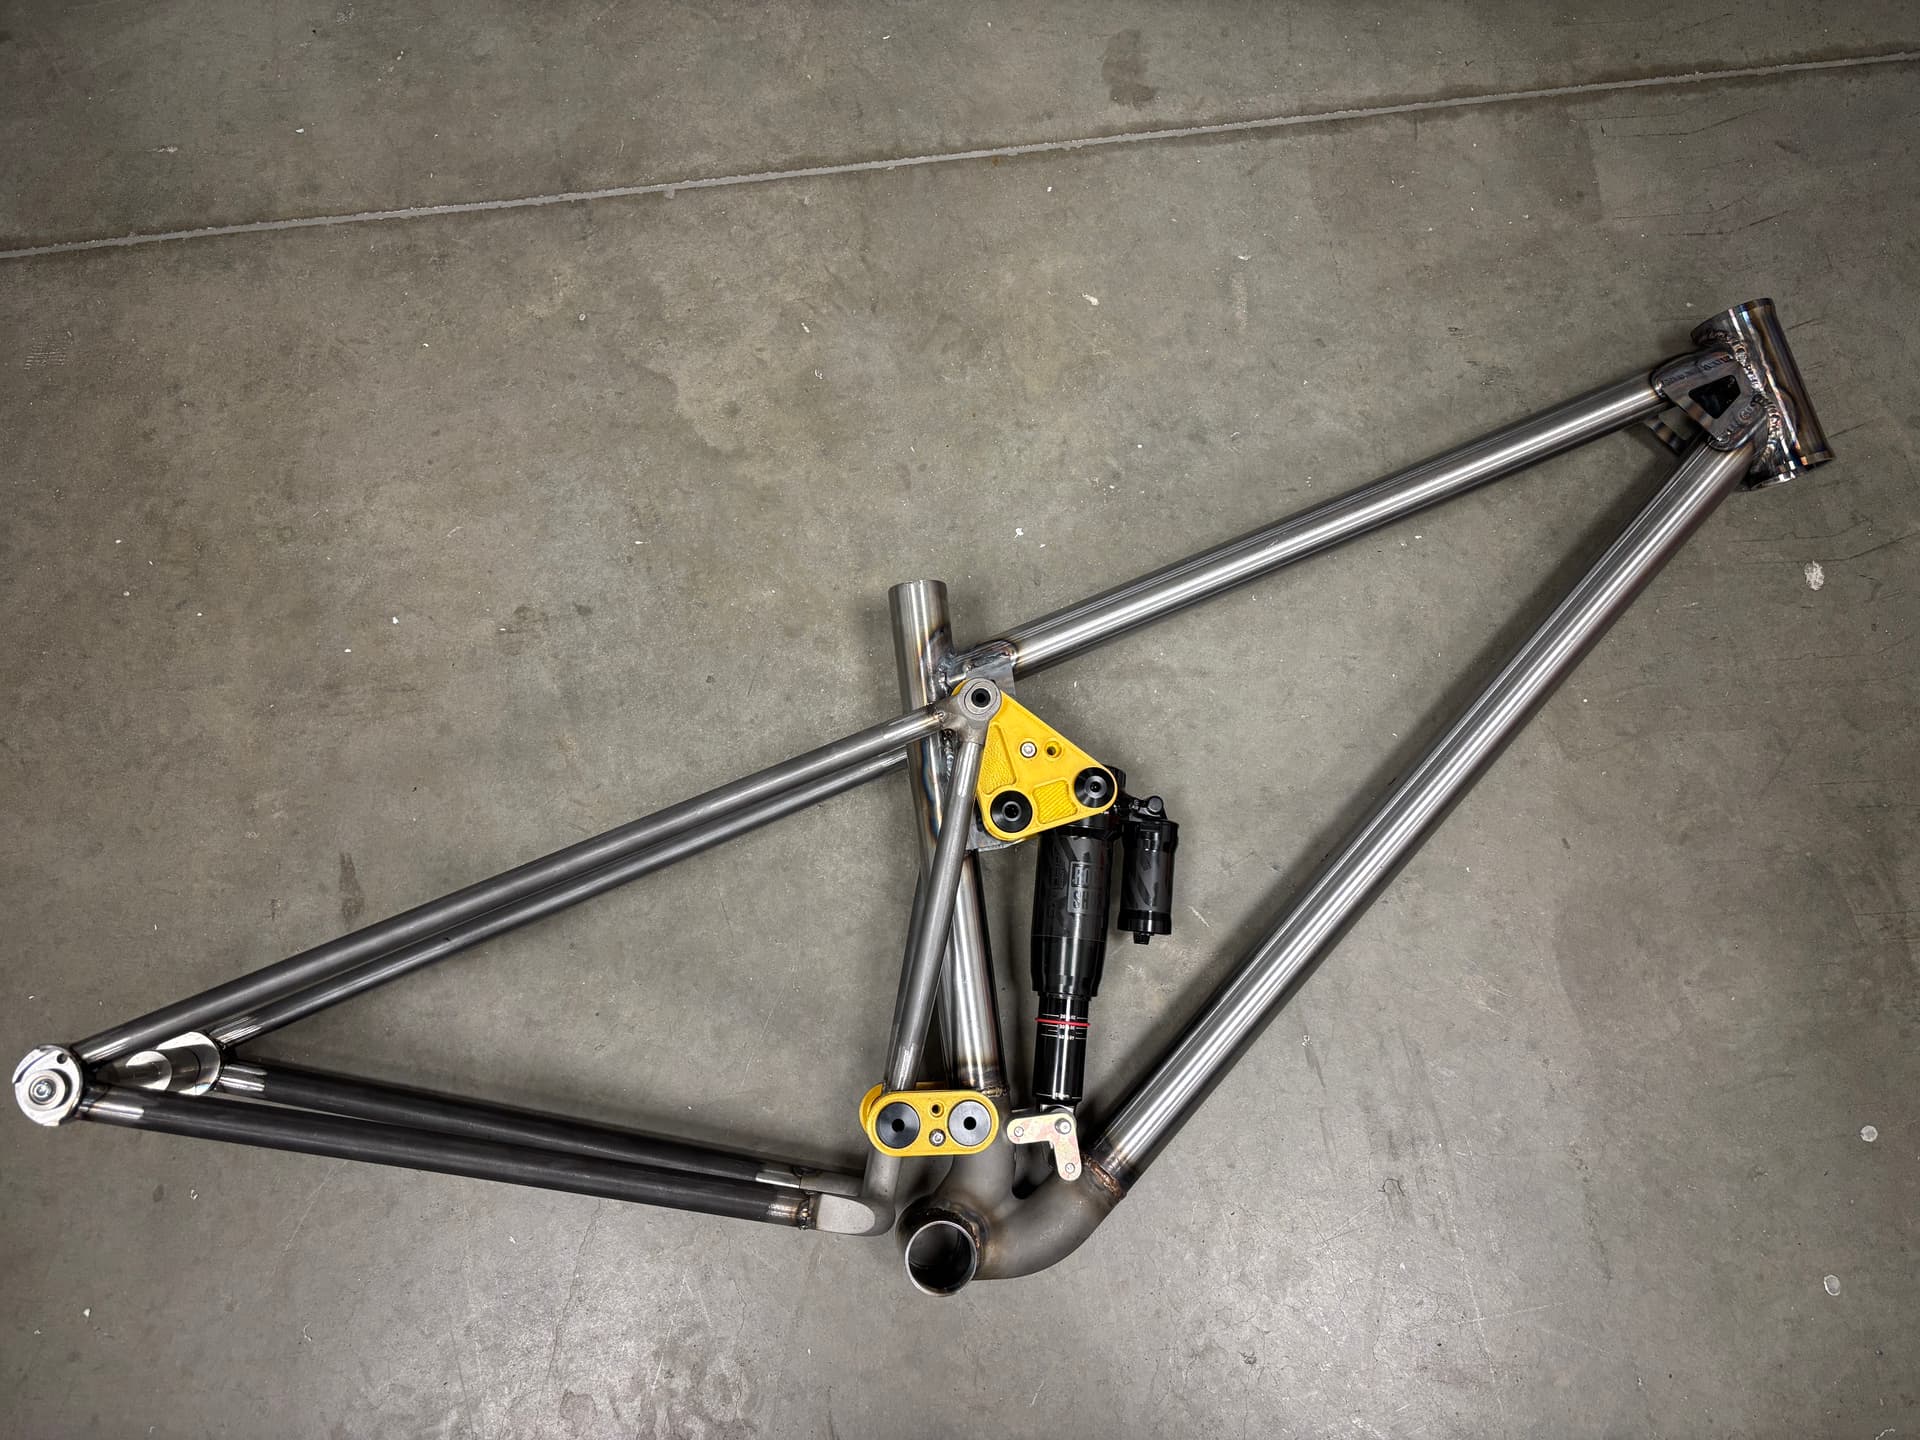
The welds on my first front triangle ranged from biblically awful to barely passable. The welds on my wife’s bike ranged from pretty bad to decent, which is improvement in my book so I will take it. I like the stainless steel junctions, they make difficult welds a little easier. And if you design suspension pivots in them, you don’t have to worry about your welds messing them up which is nice.
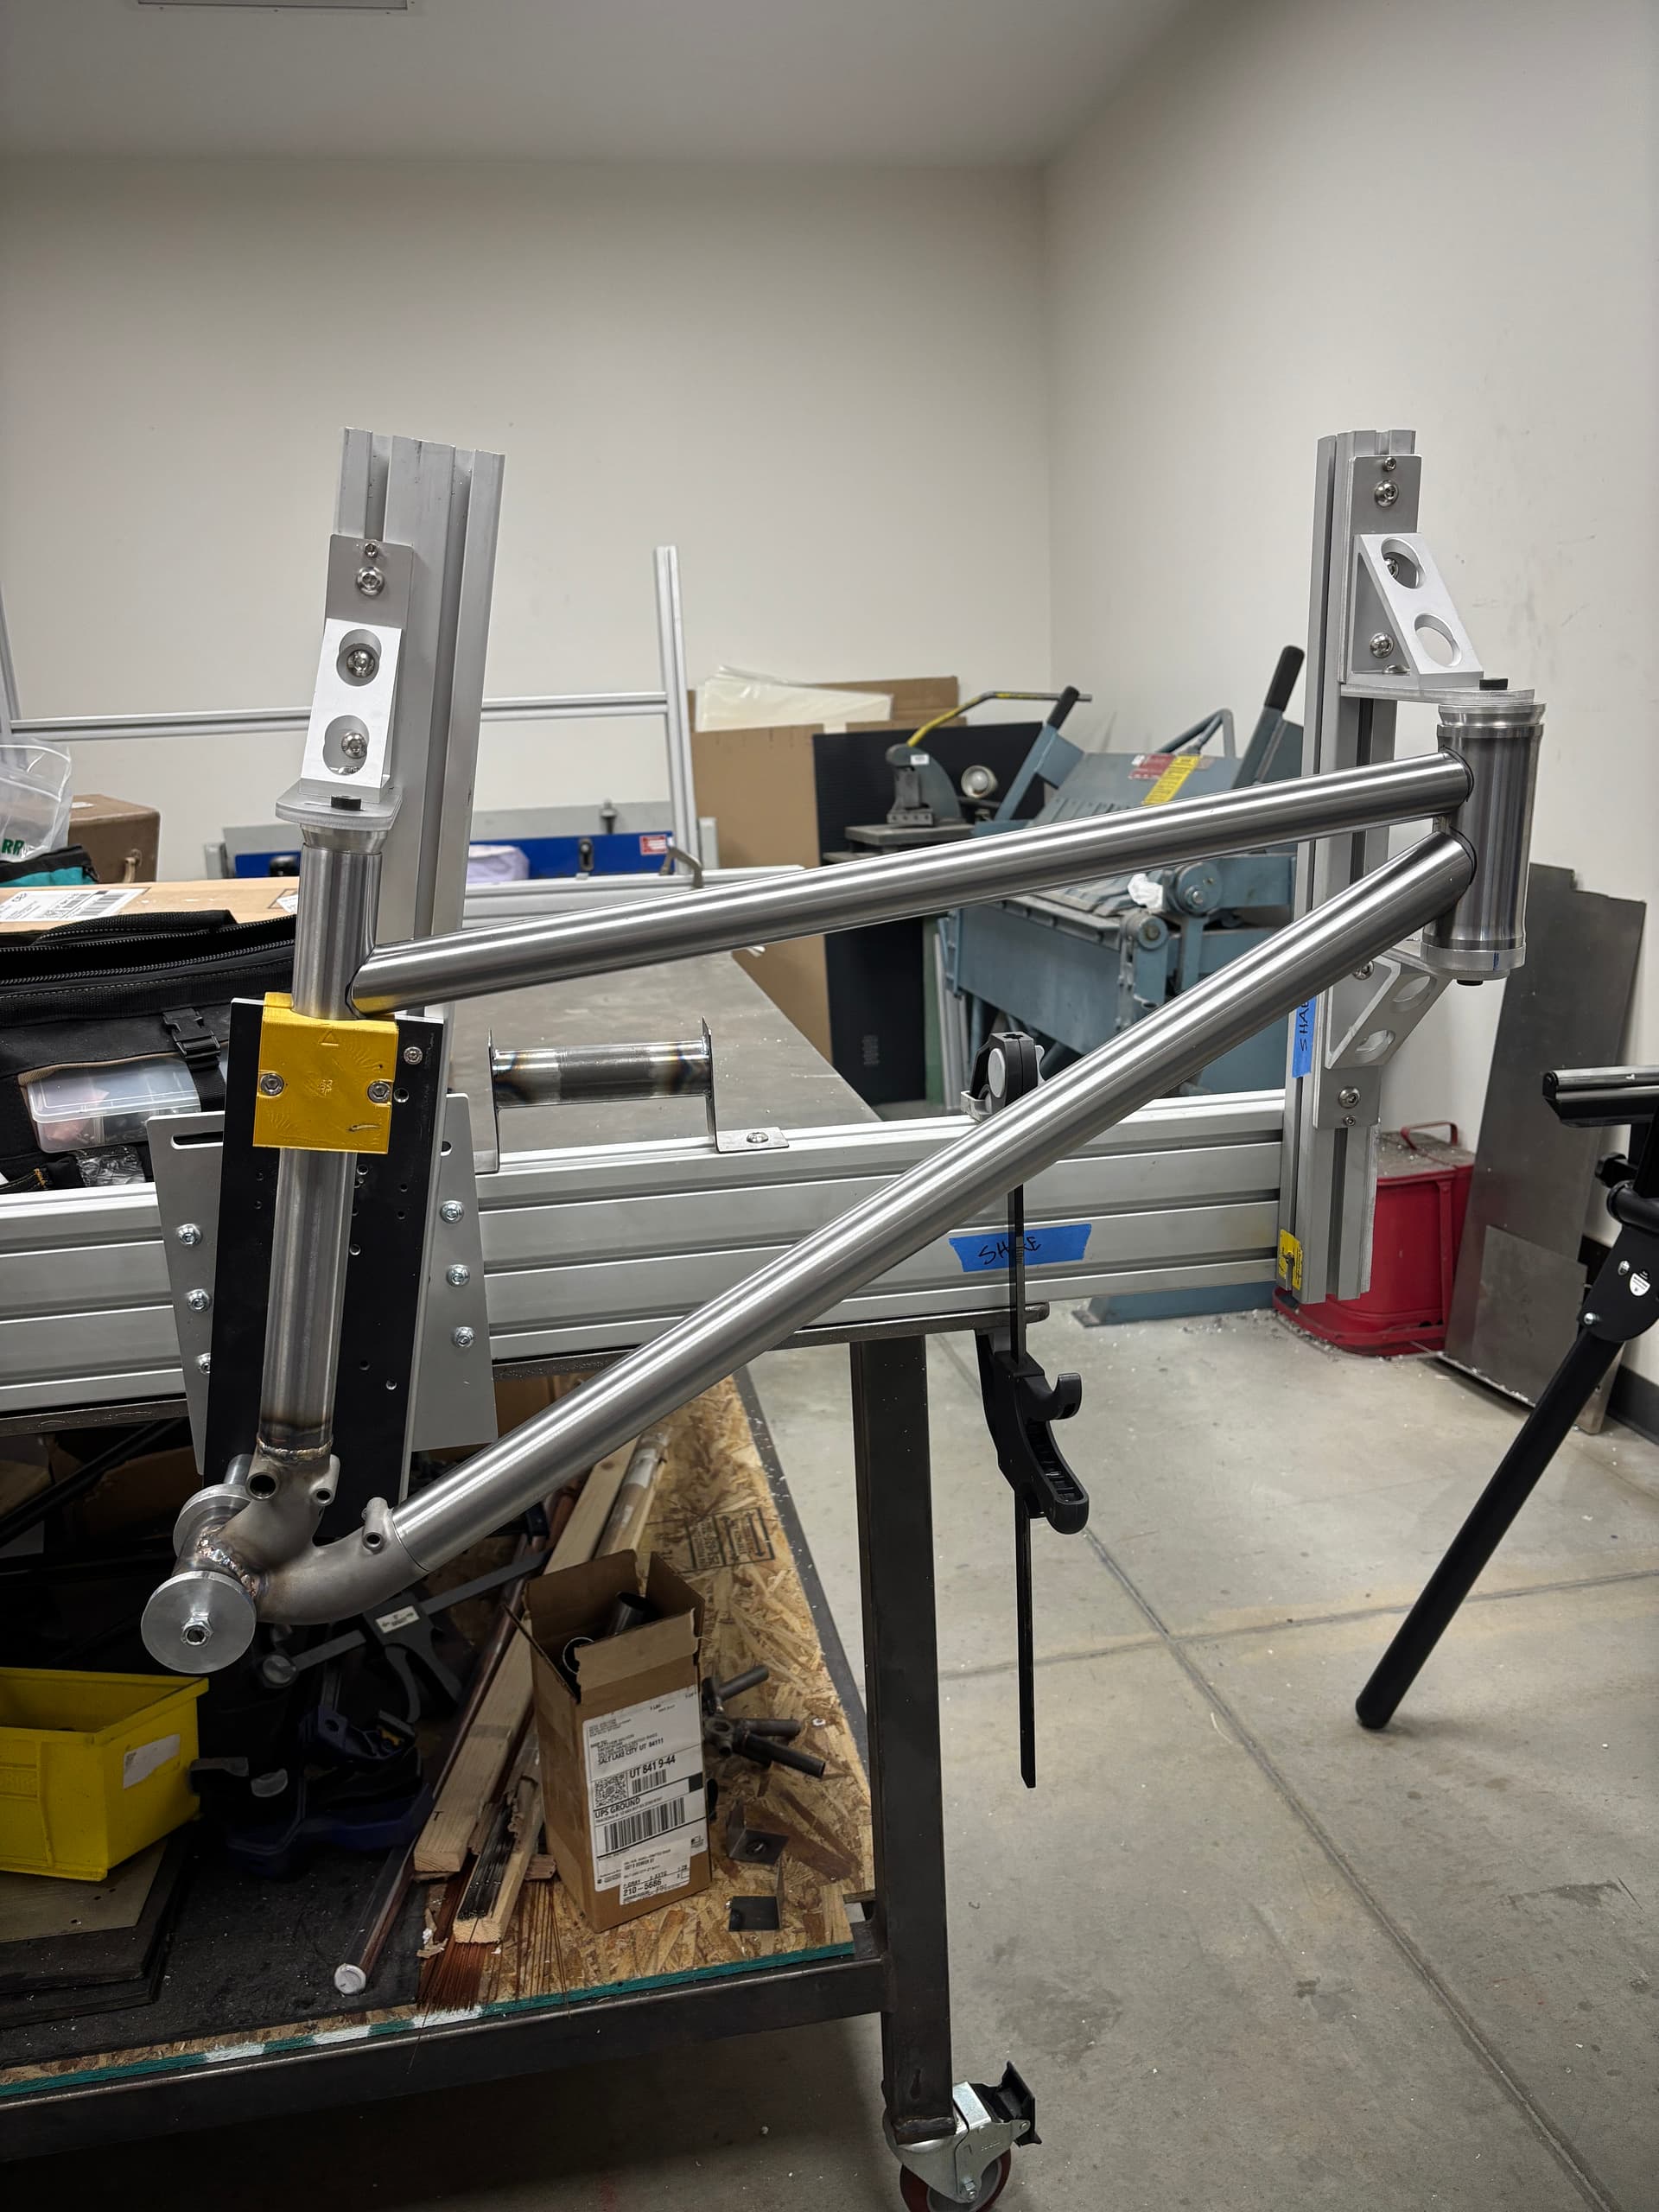
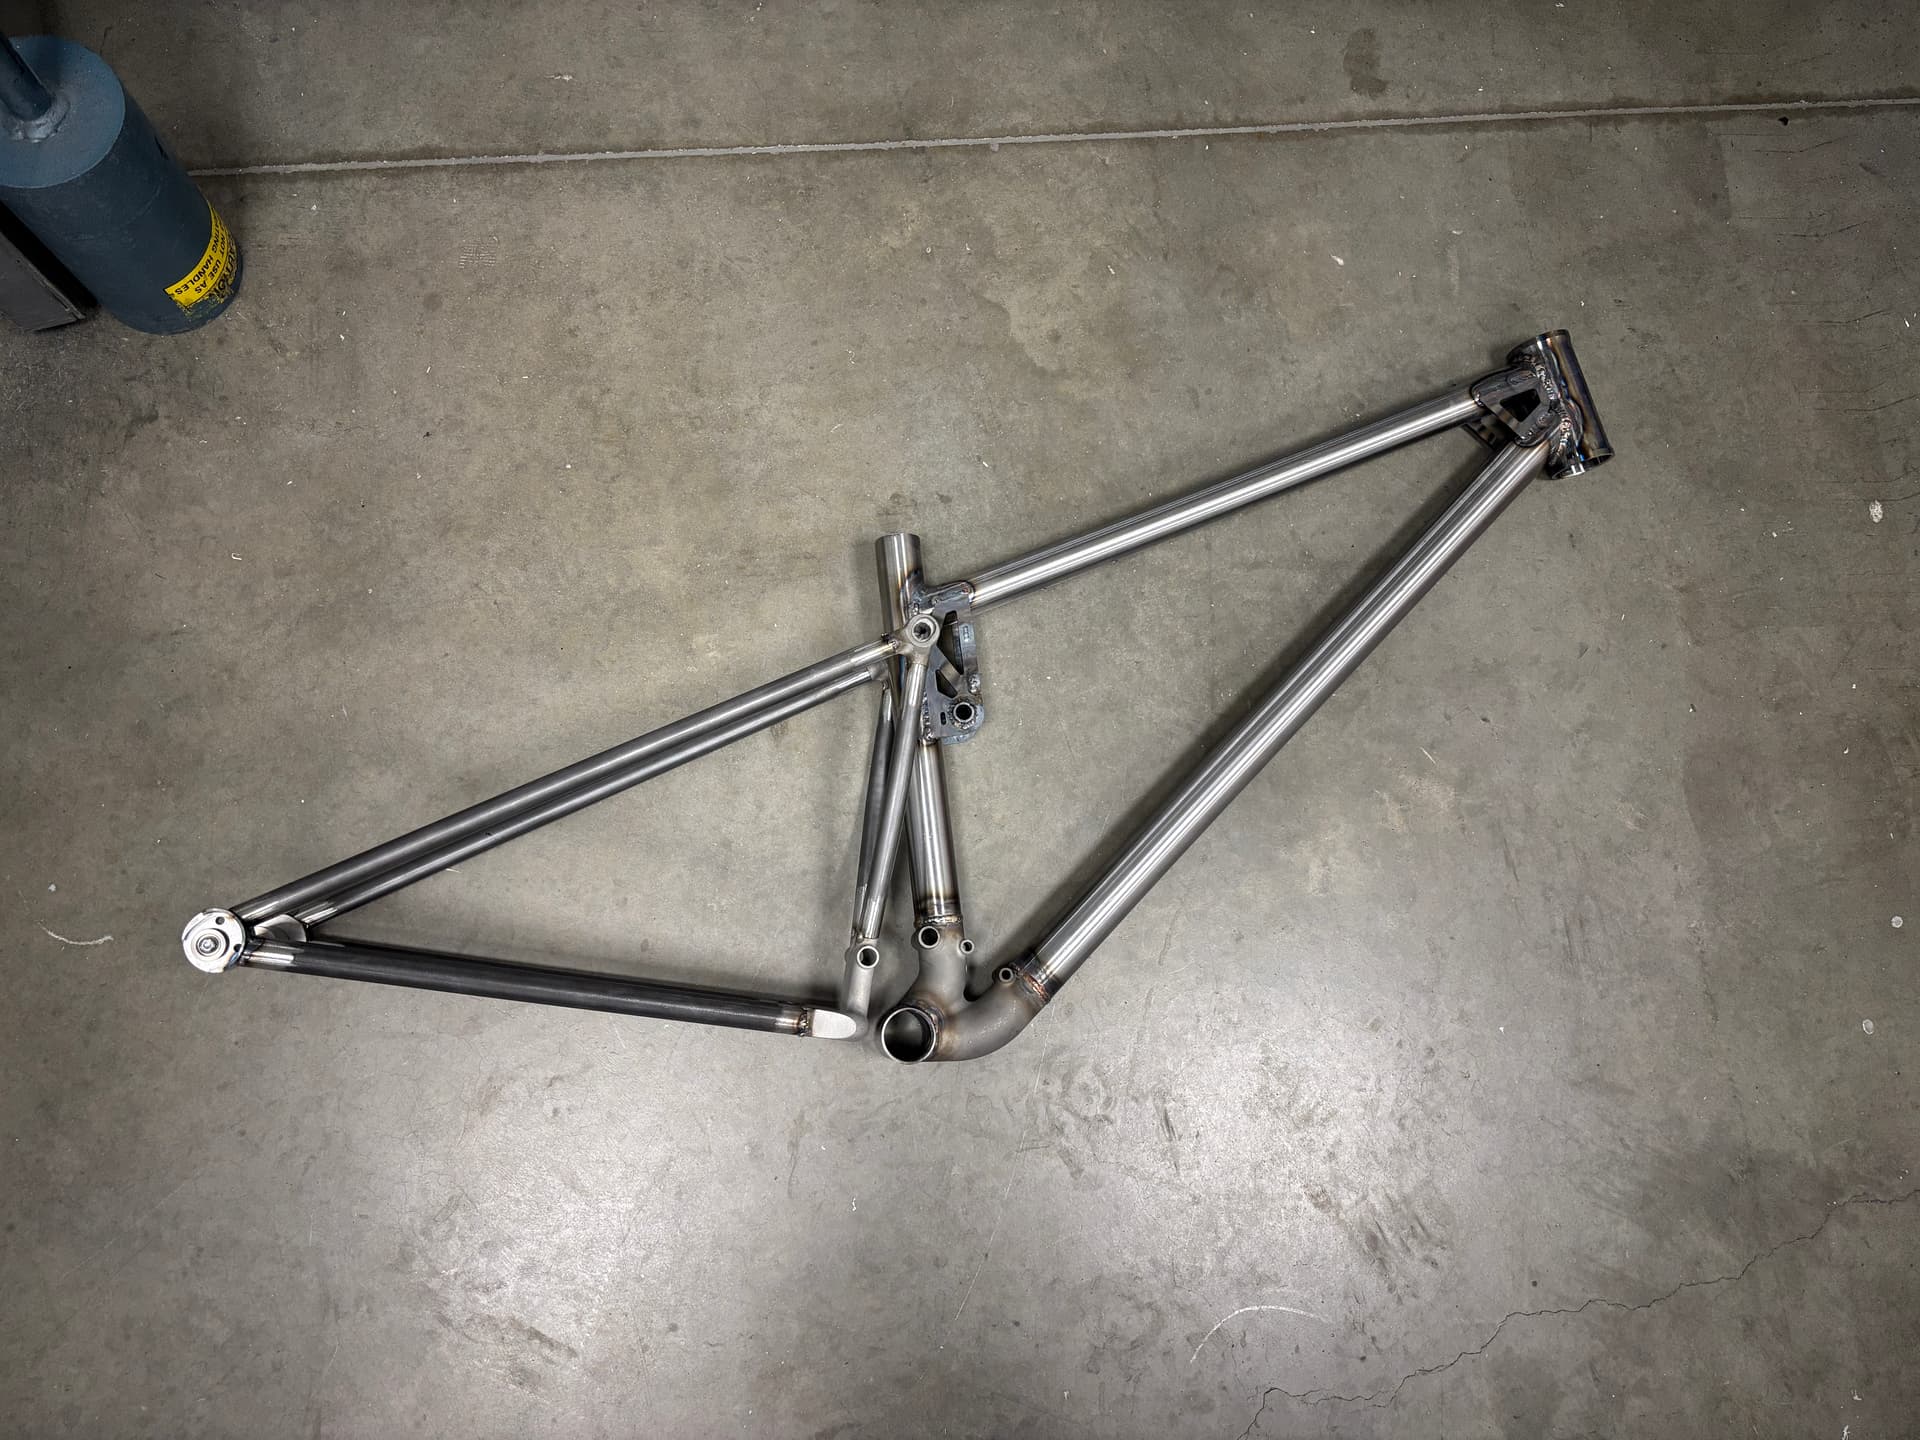
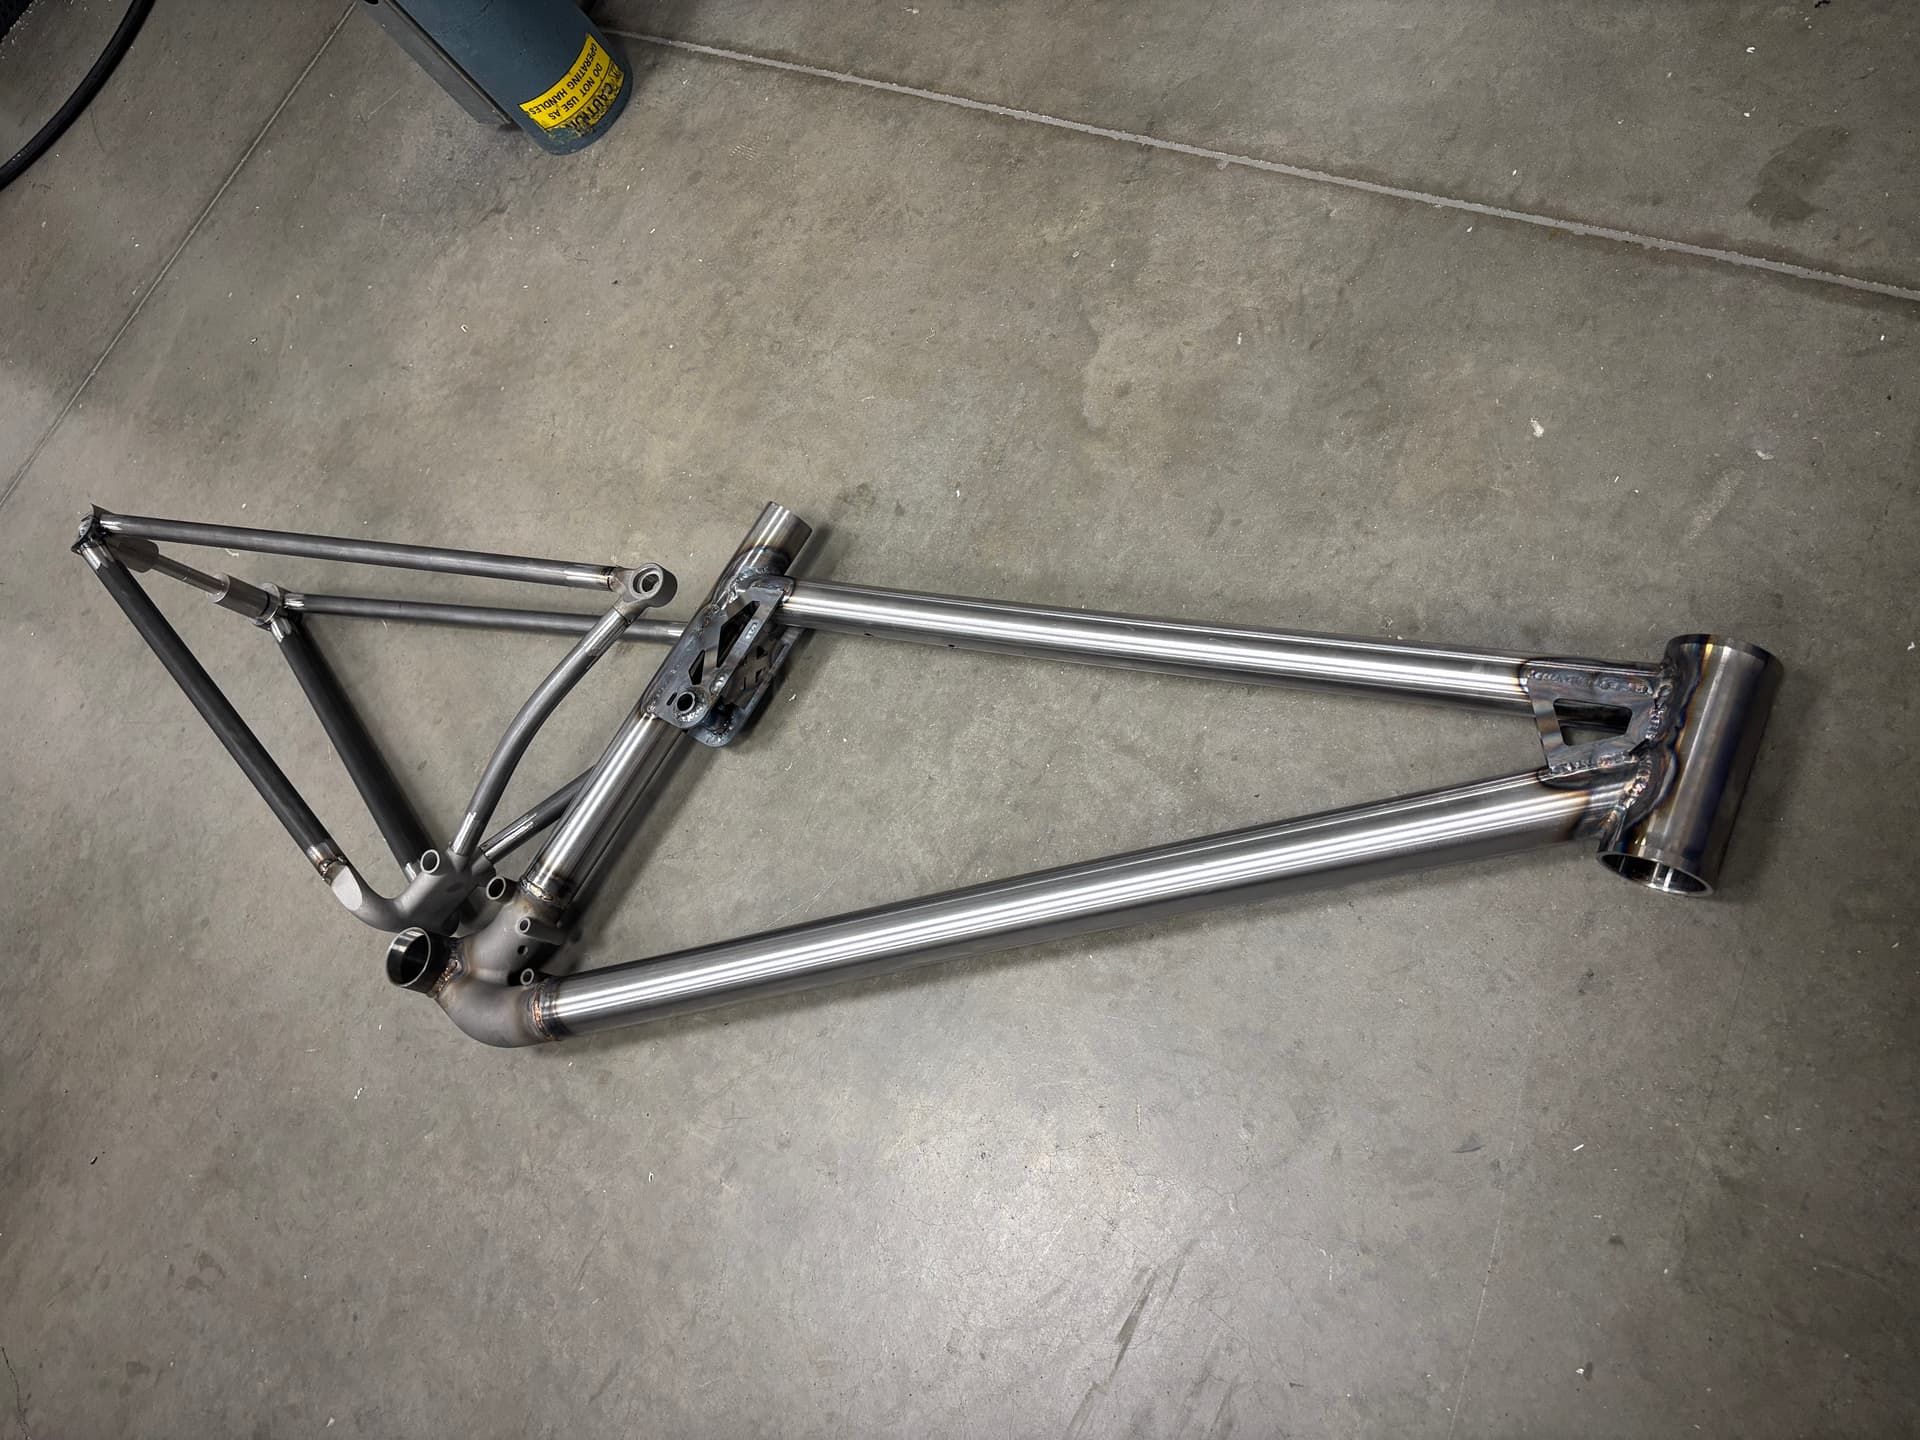
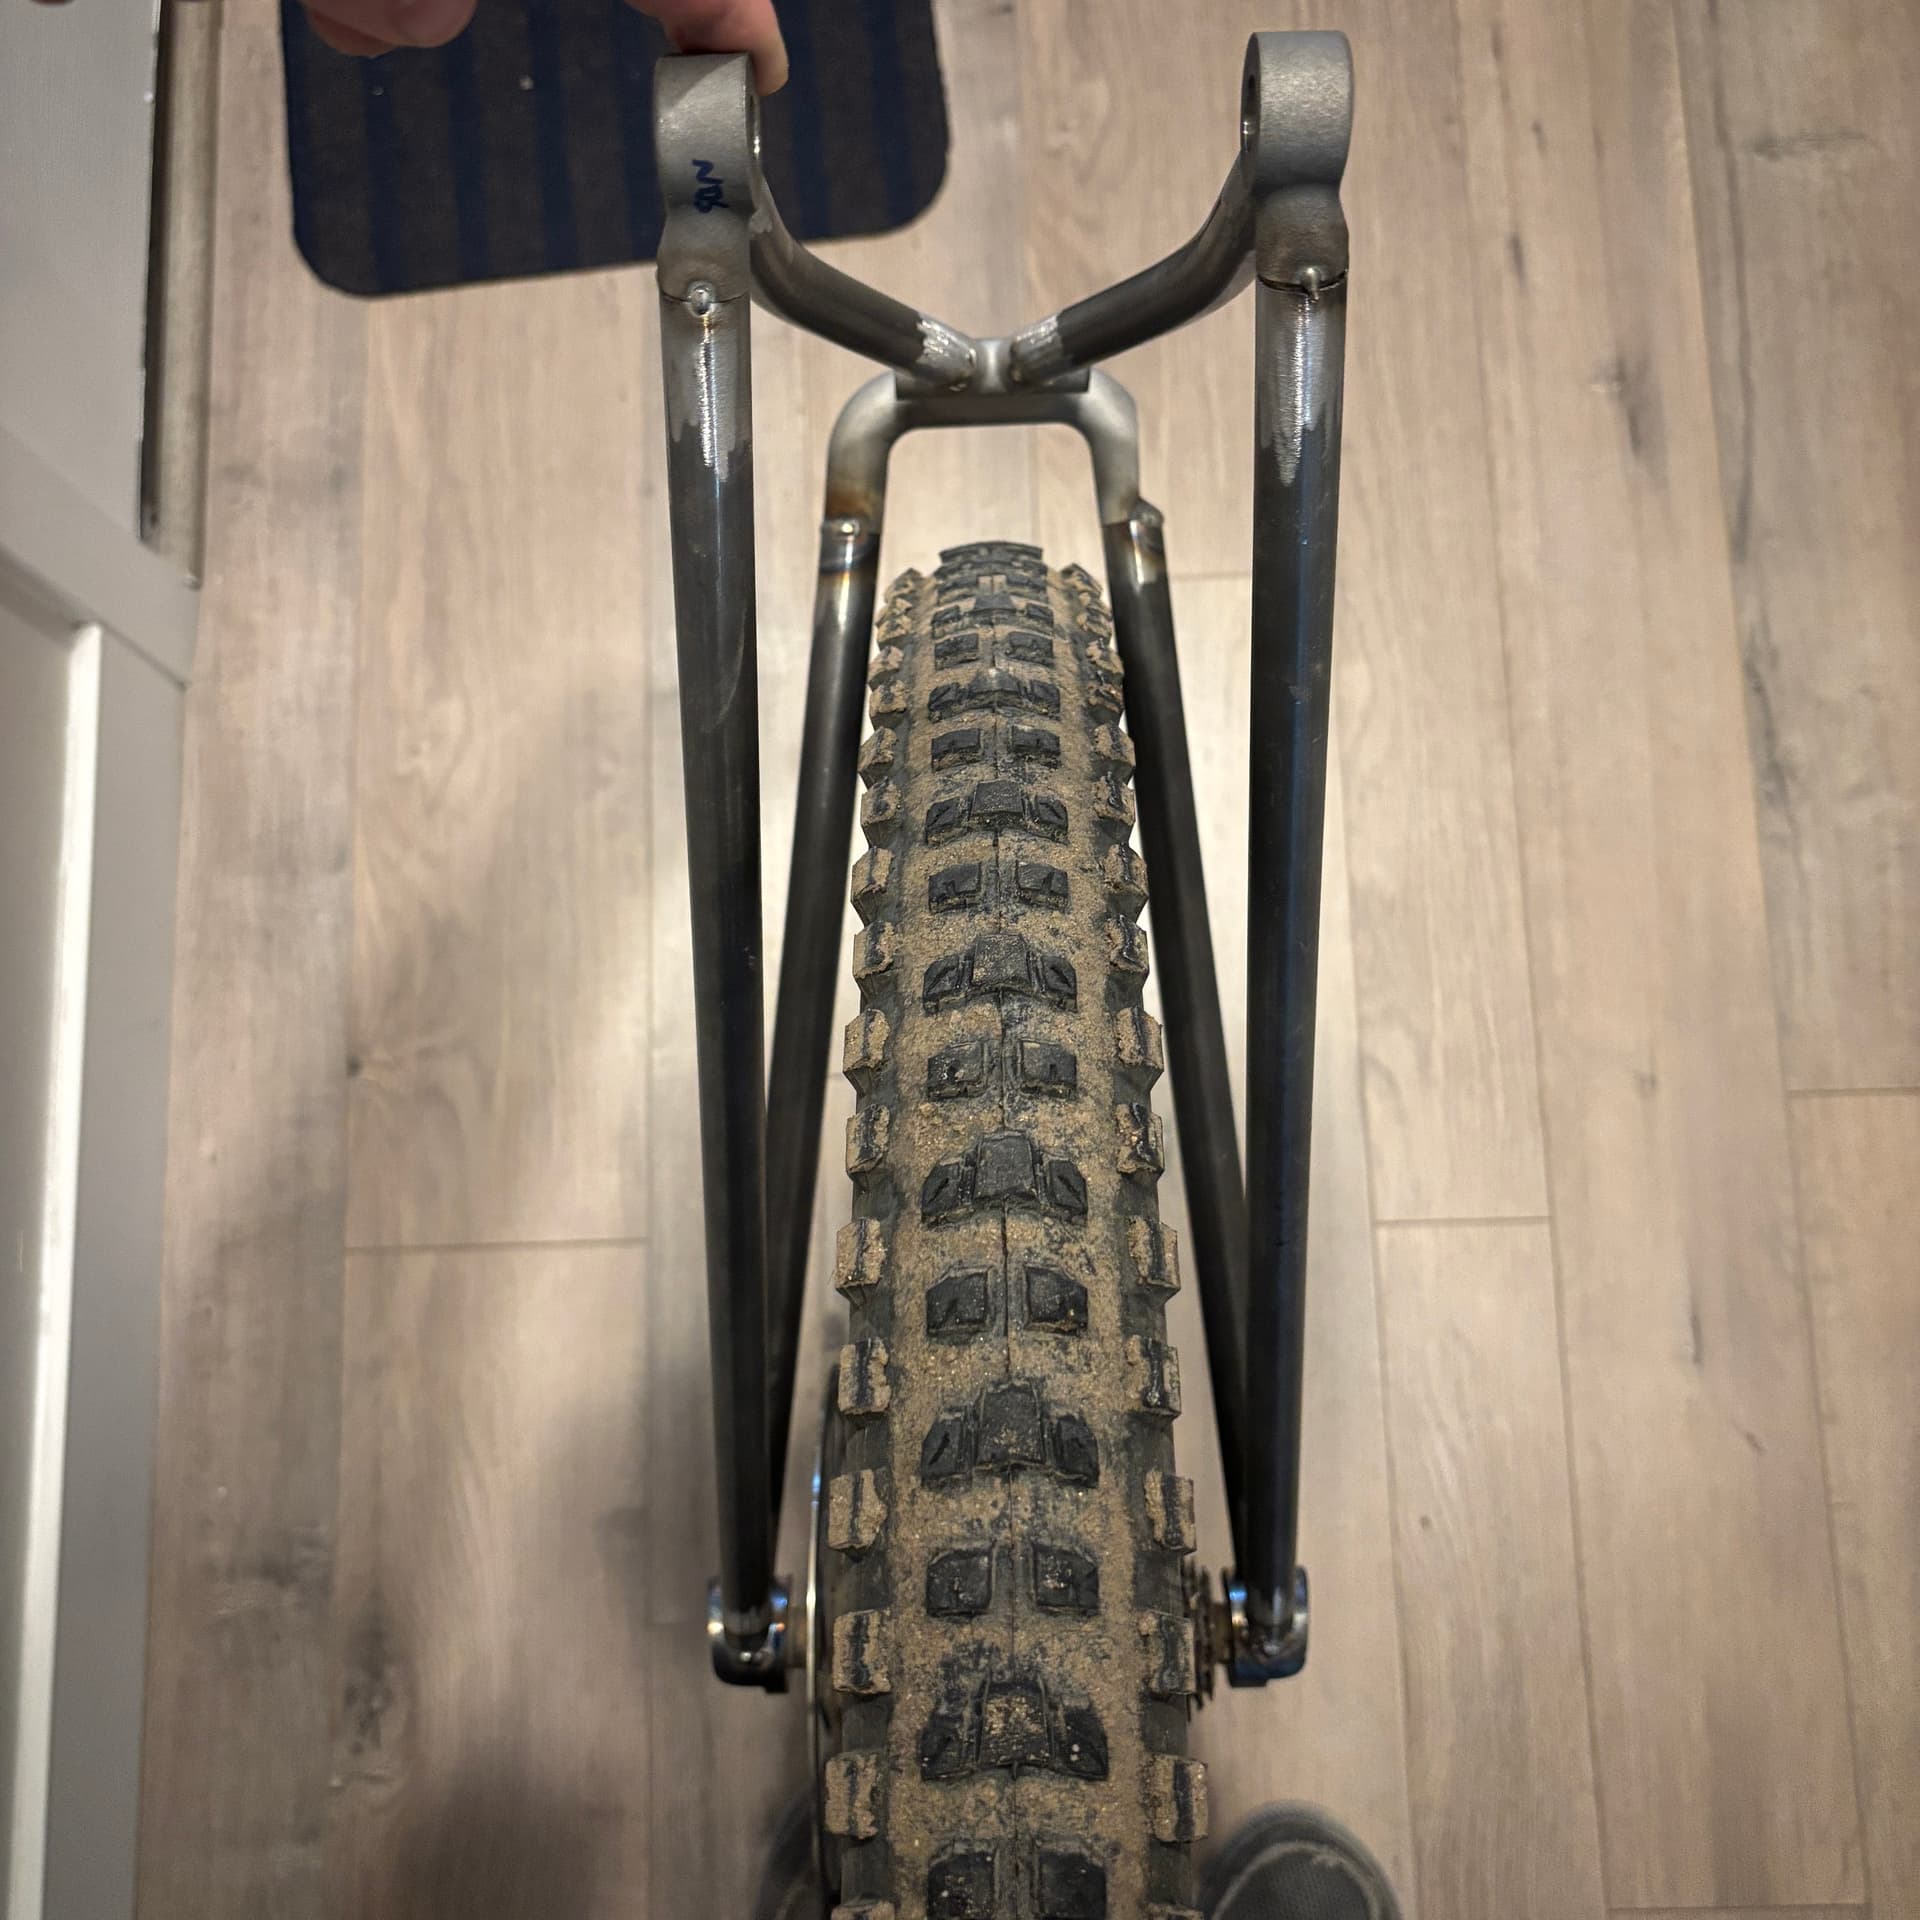
Right now the front triangle has everything welded, just need braze-ons done. The rear triangle is tacked, so I 3D printed some plastic links to make sure all of my hardware fit and the links lined up and the rear tire cleared before fully welding the rear and ordering machined links. I don’t know how most of you handle pivot hardware, but I have just been mining Norco’s excellent archive of exploded drawings because they describe their pivot hardware in great detail in there. Then I can just order really nice hardware ready from my local Norco dealer to go, instead of making it. It worked well on my first bike and seems to work so far on the Medusa.
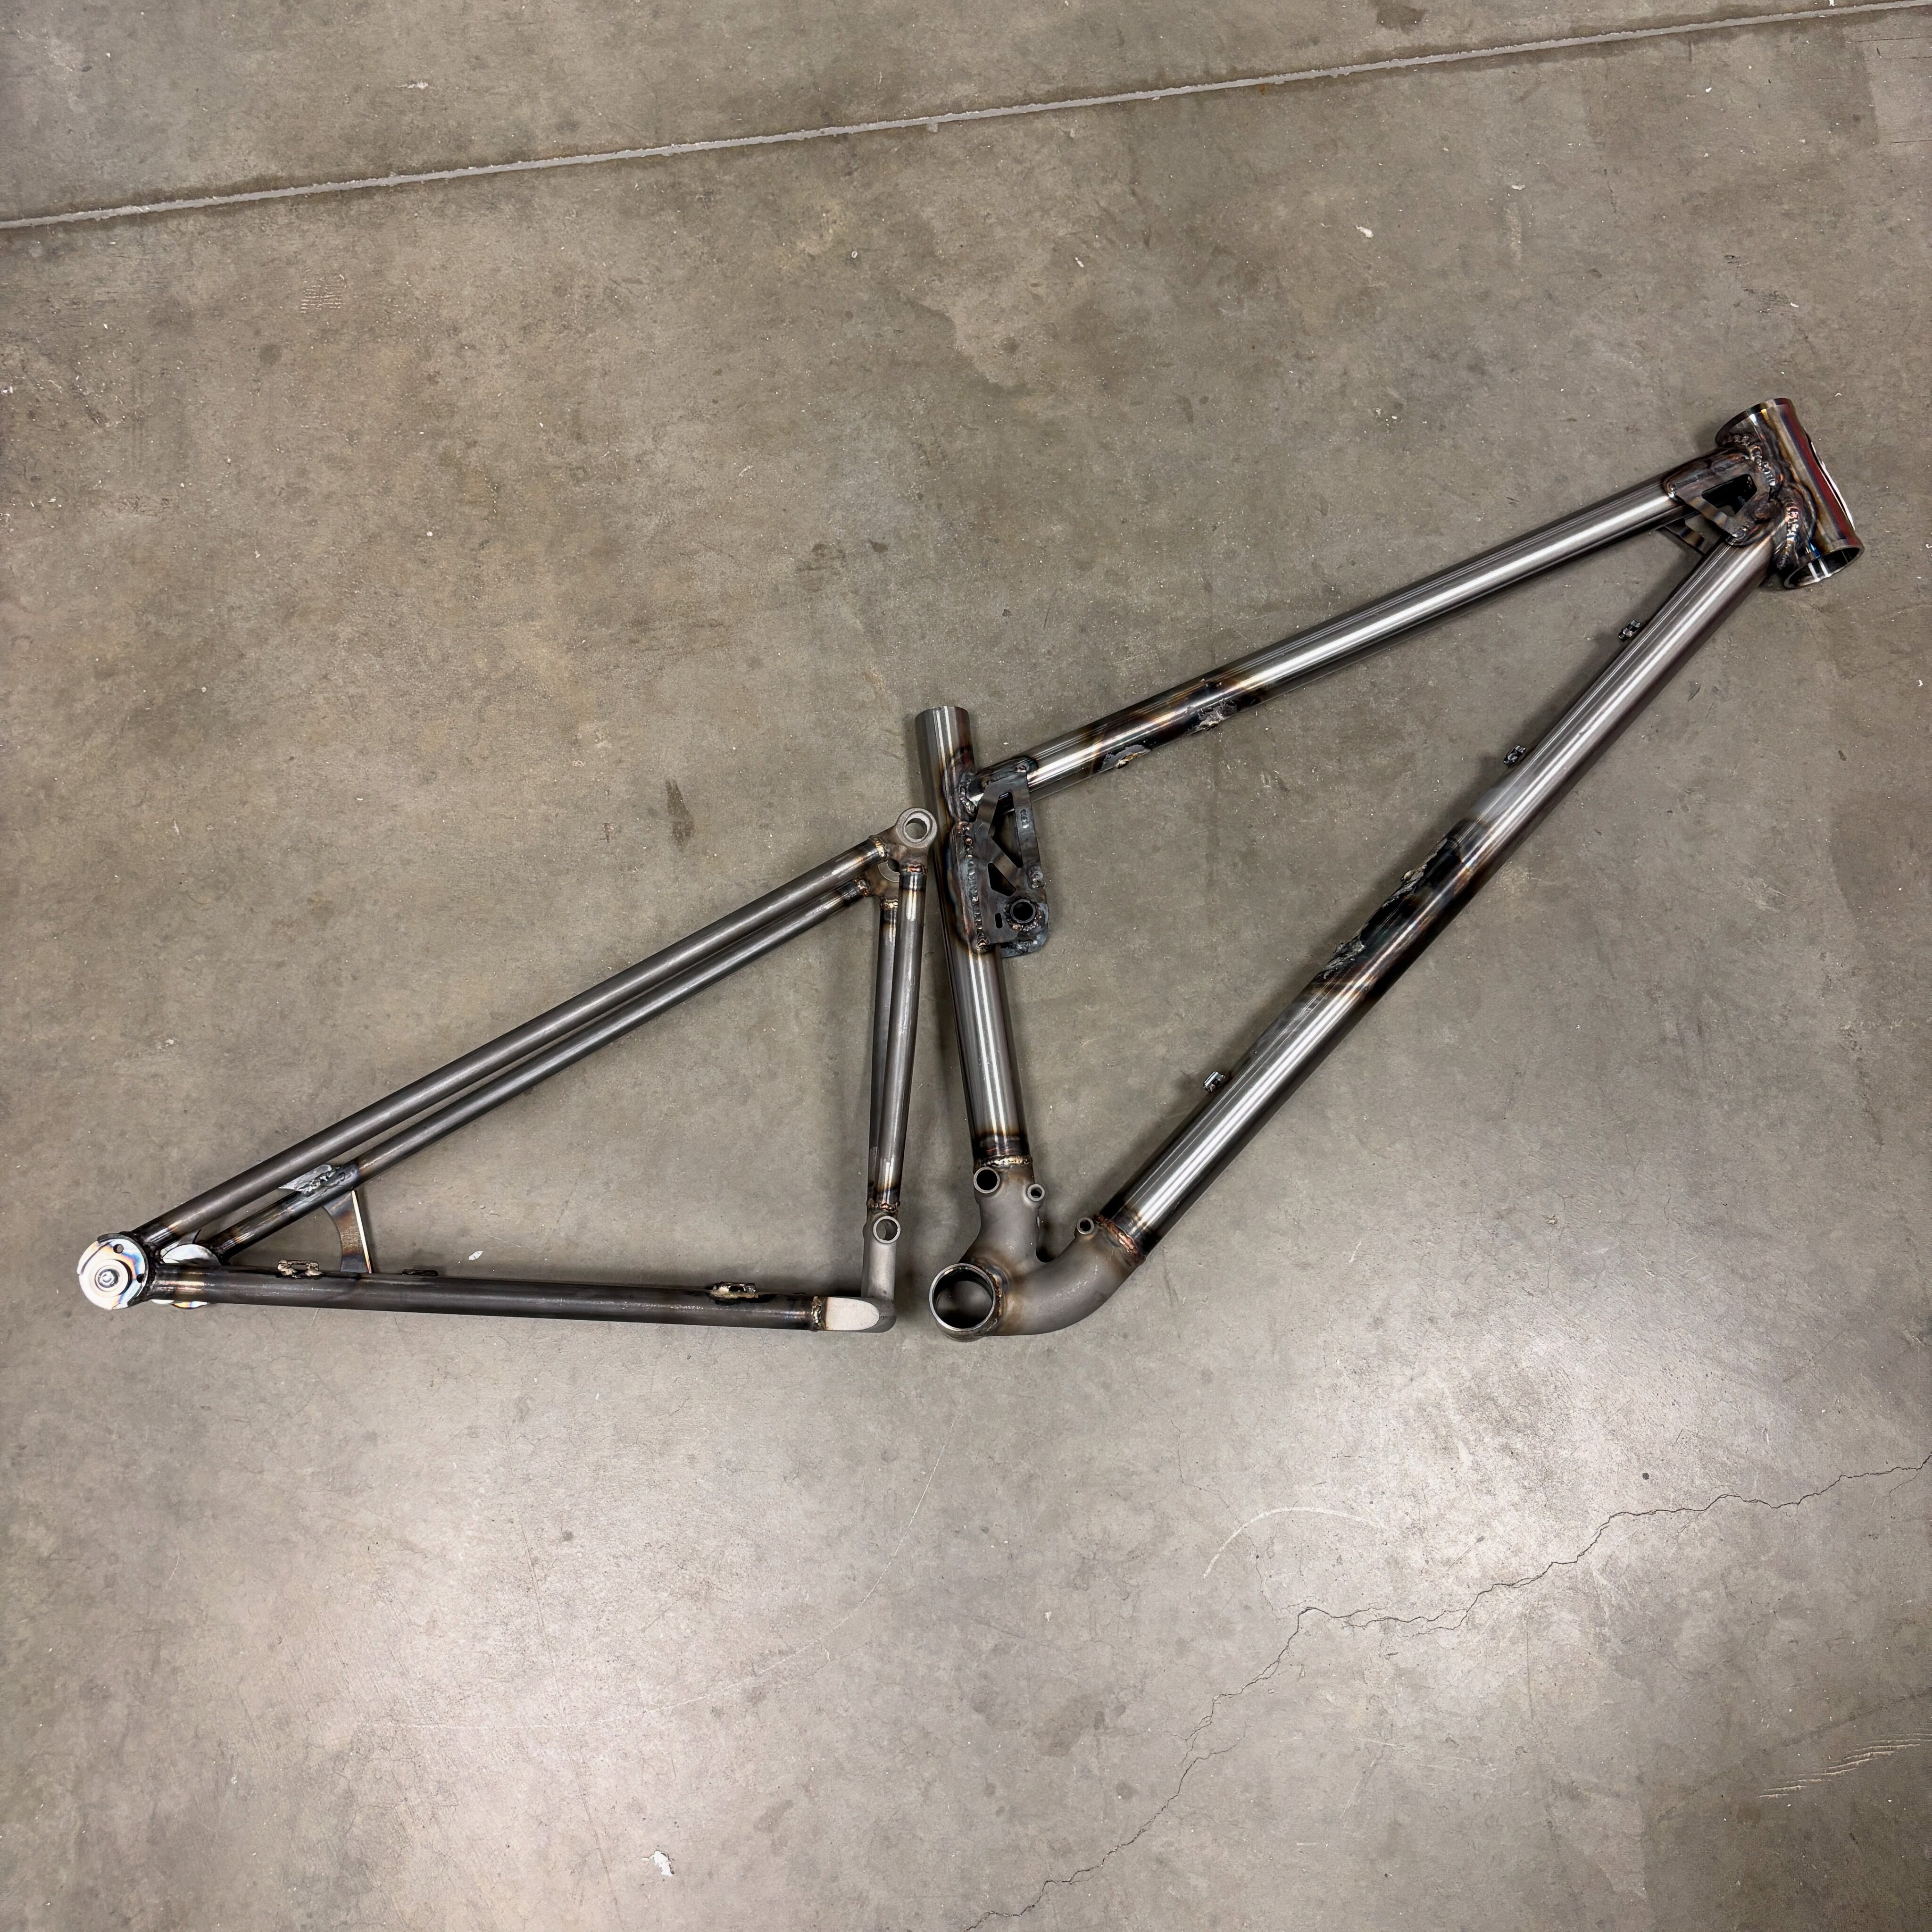
It’s ready for powder coat. I have only done one bike before this one but this thoroughly reminded of how hard dropouts are. Respect to all of you builders out there that make it easy. The thickness differences and the close proximity of all the joints make it hard to do a nice weld. But if it were easy, it wouldn’t be rewarding! I should have done some practice brazes too, it took me a while to get my sea legs back with water bottle bosses and cable guides.
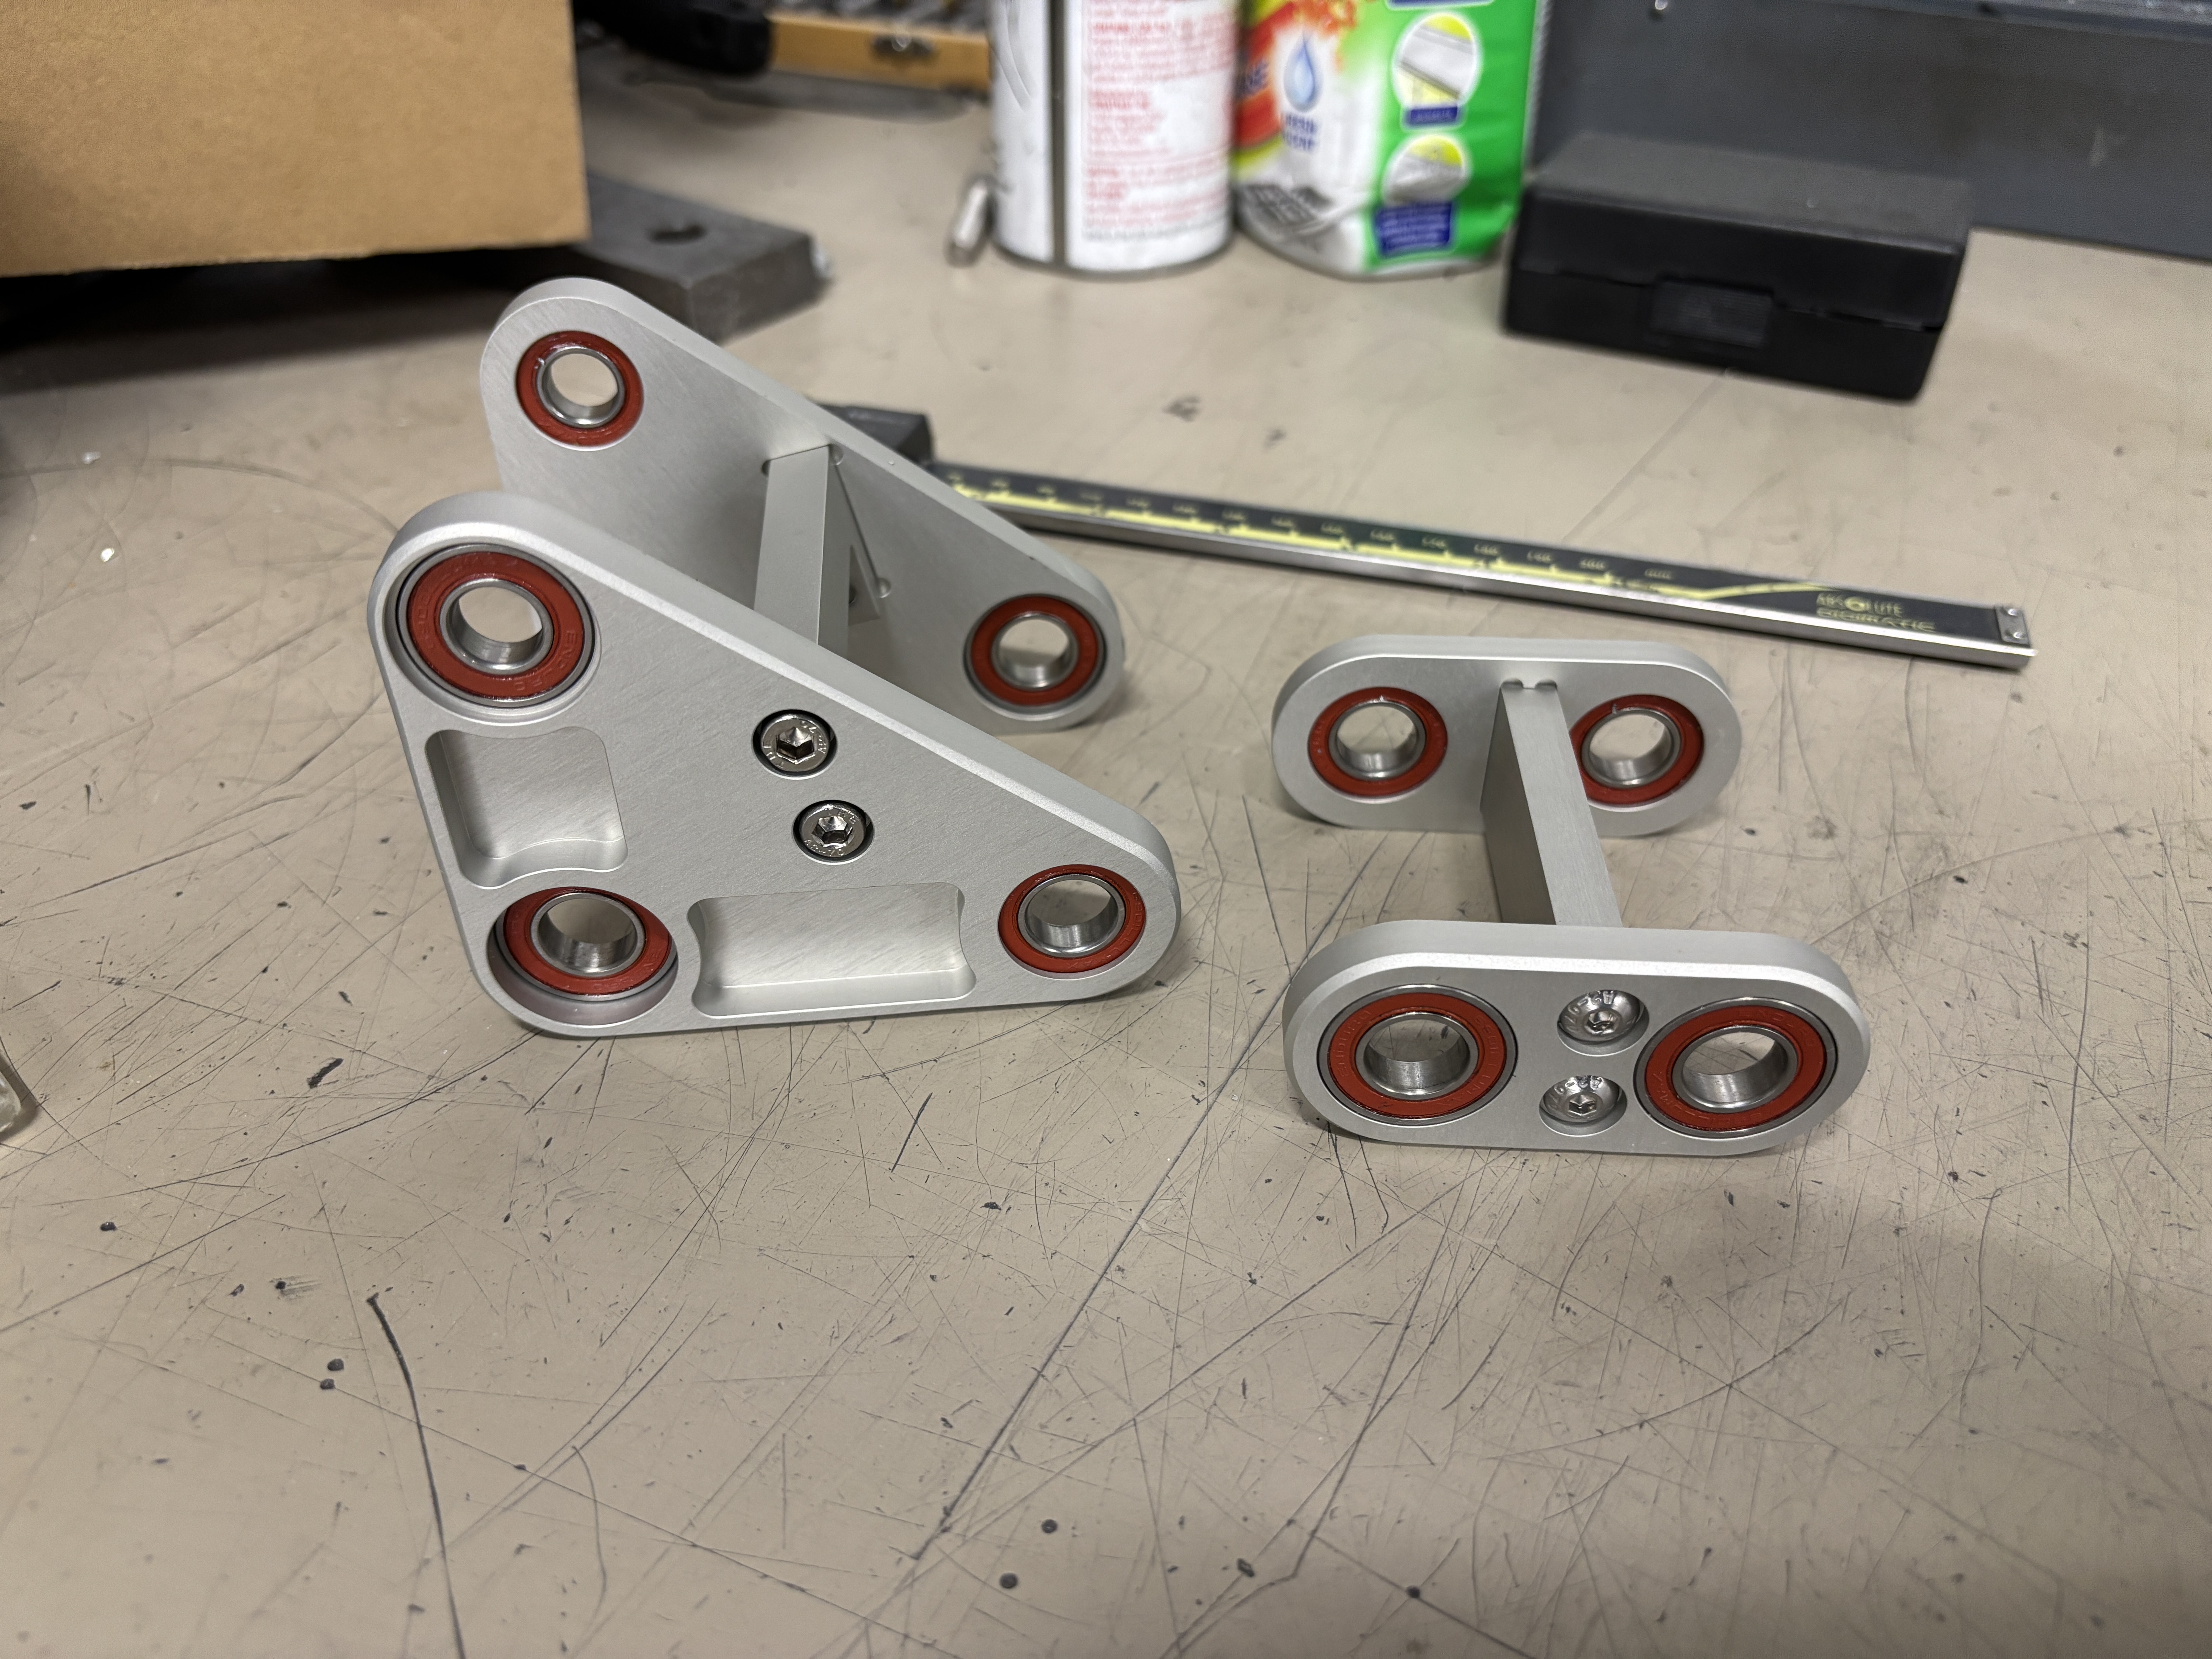
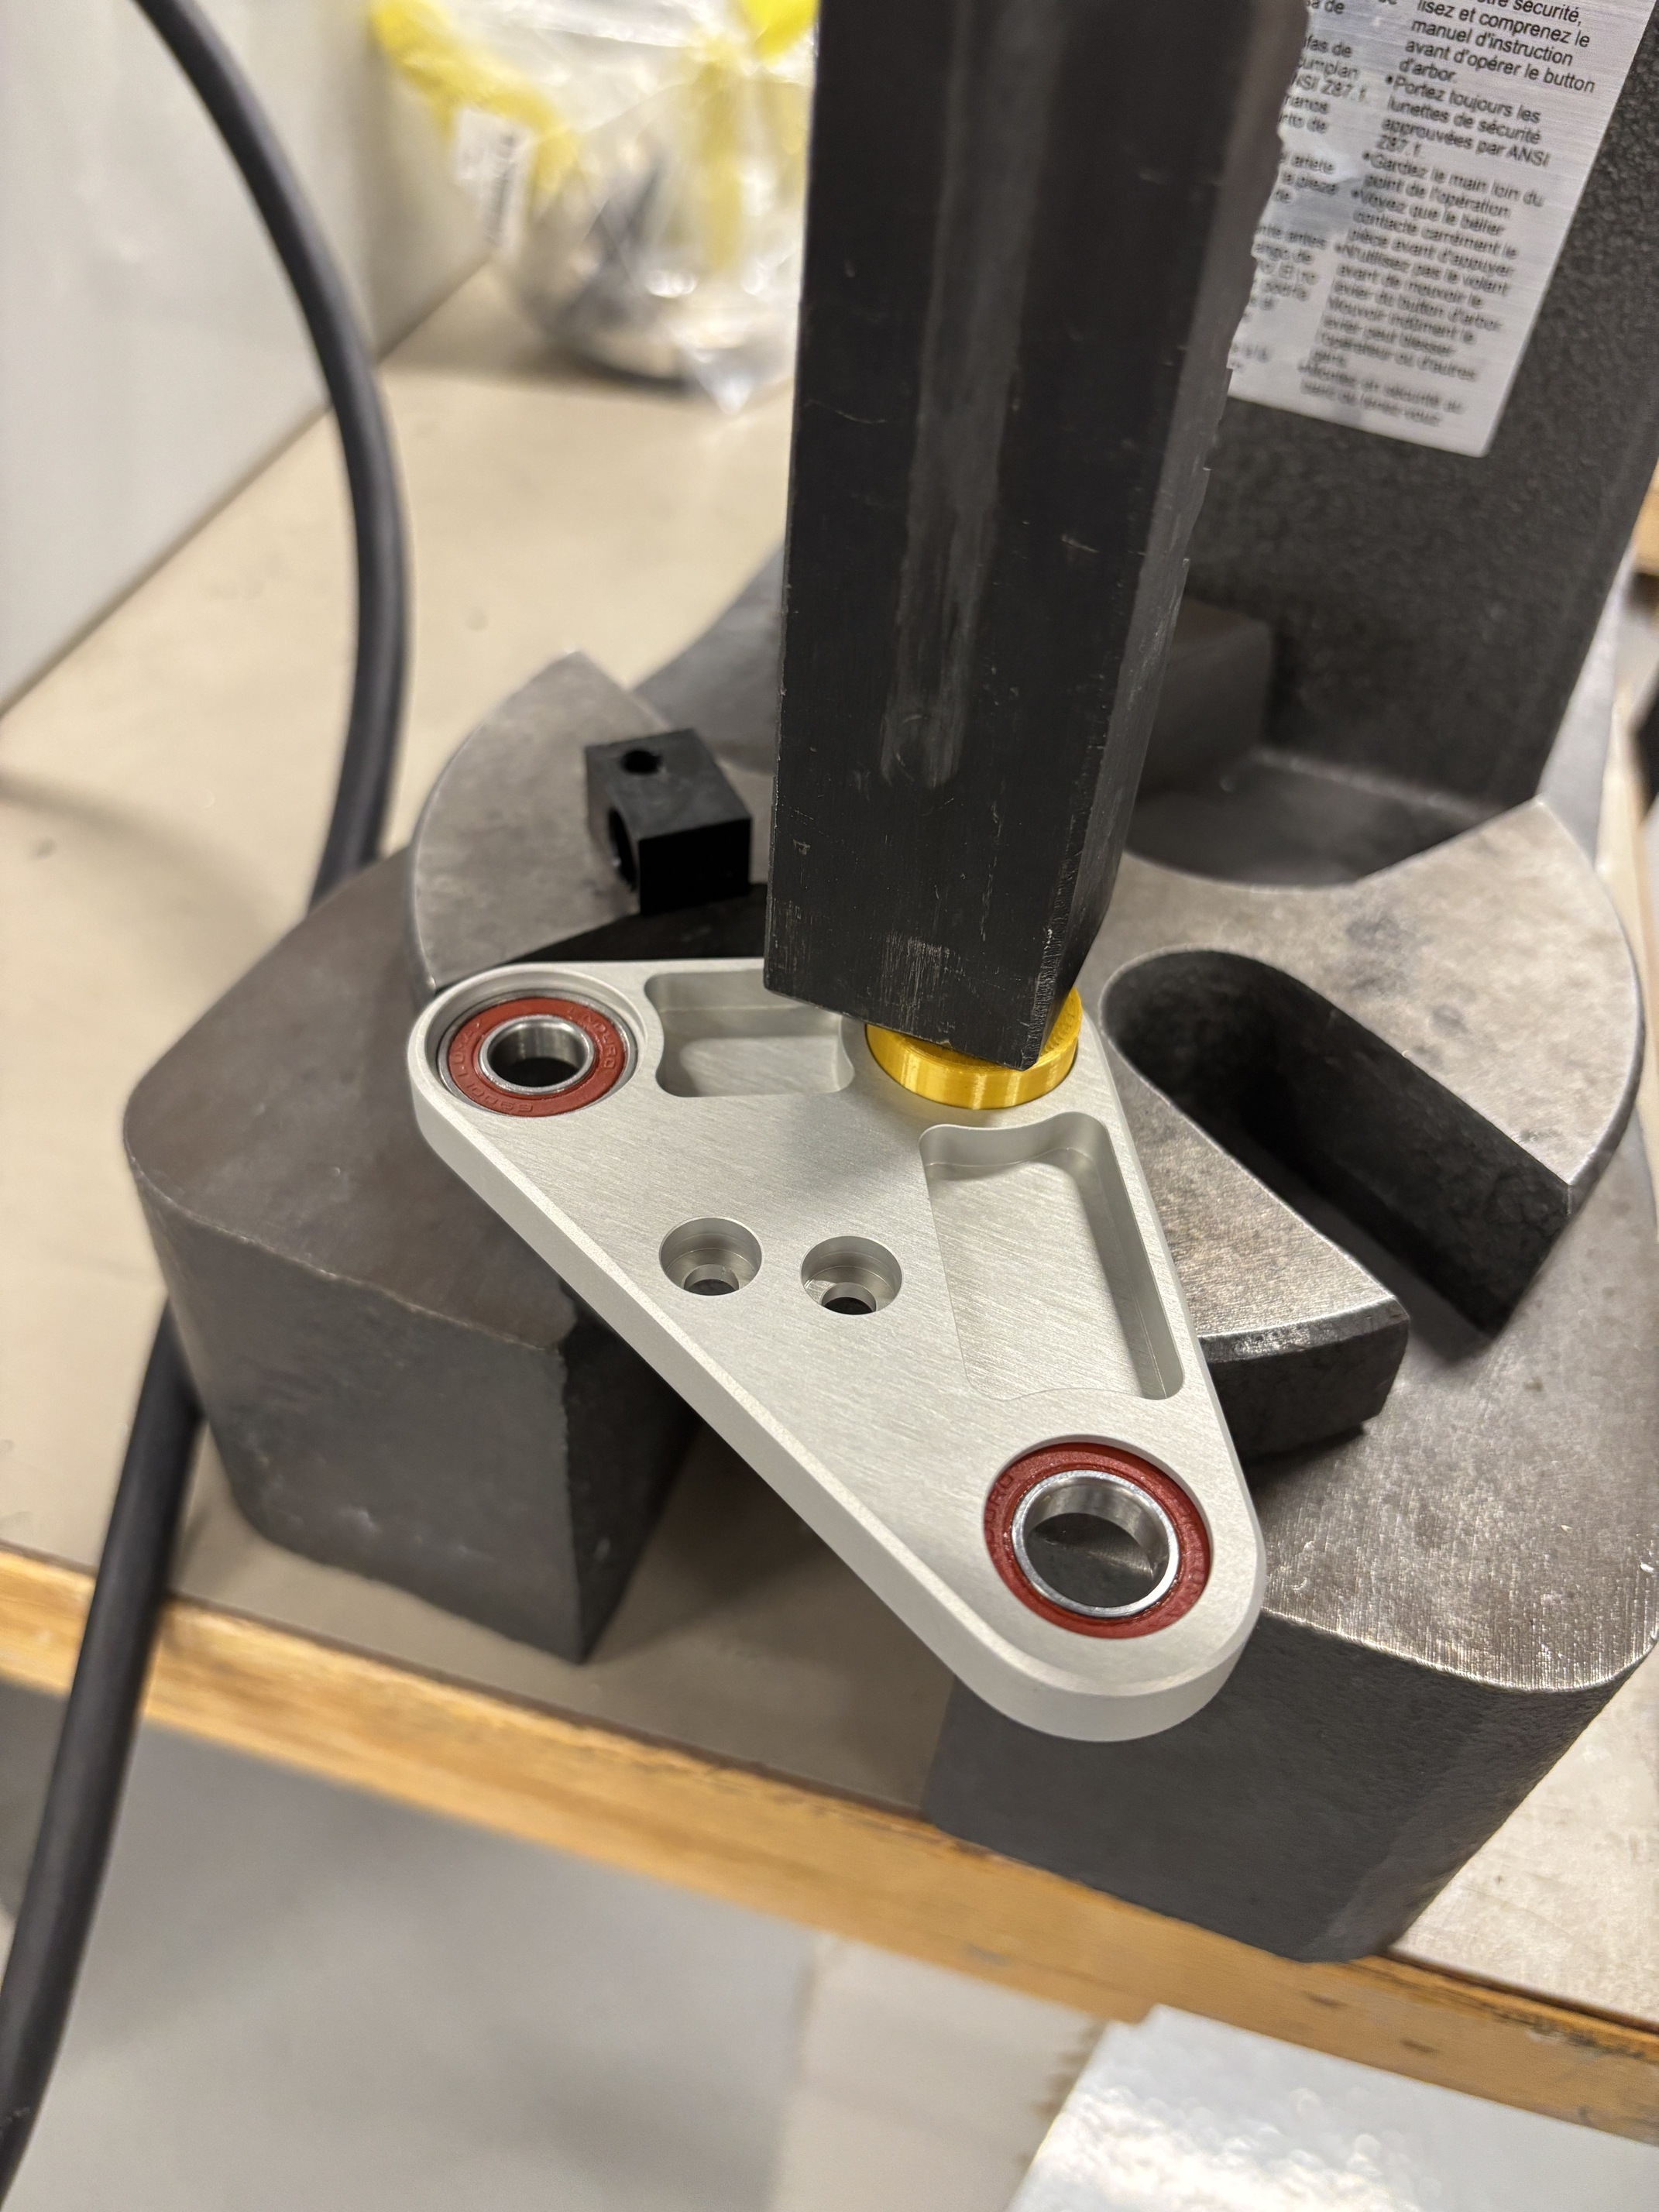
I got the links back from JLCCNC and they turned out great! I undersized my bearings last time and machined the bearing bores myself but this time I rolled the dice and had them do it and they pressed in great. I 3D printed some bearing press dies and those also worked so I am pretty pumped. Looking forward to getting the frame back from the powder coaters!
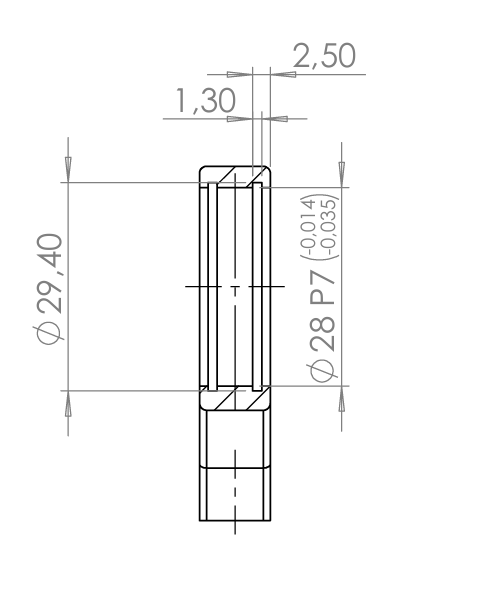
@Loose_Levin Thanks! I called out 23.95-24mm (0.05mm was their stated tightest tolerance). I would have liked to call out tighter like @Luniz82 mentions but ten out of ten bearings pressed in nicely.
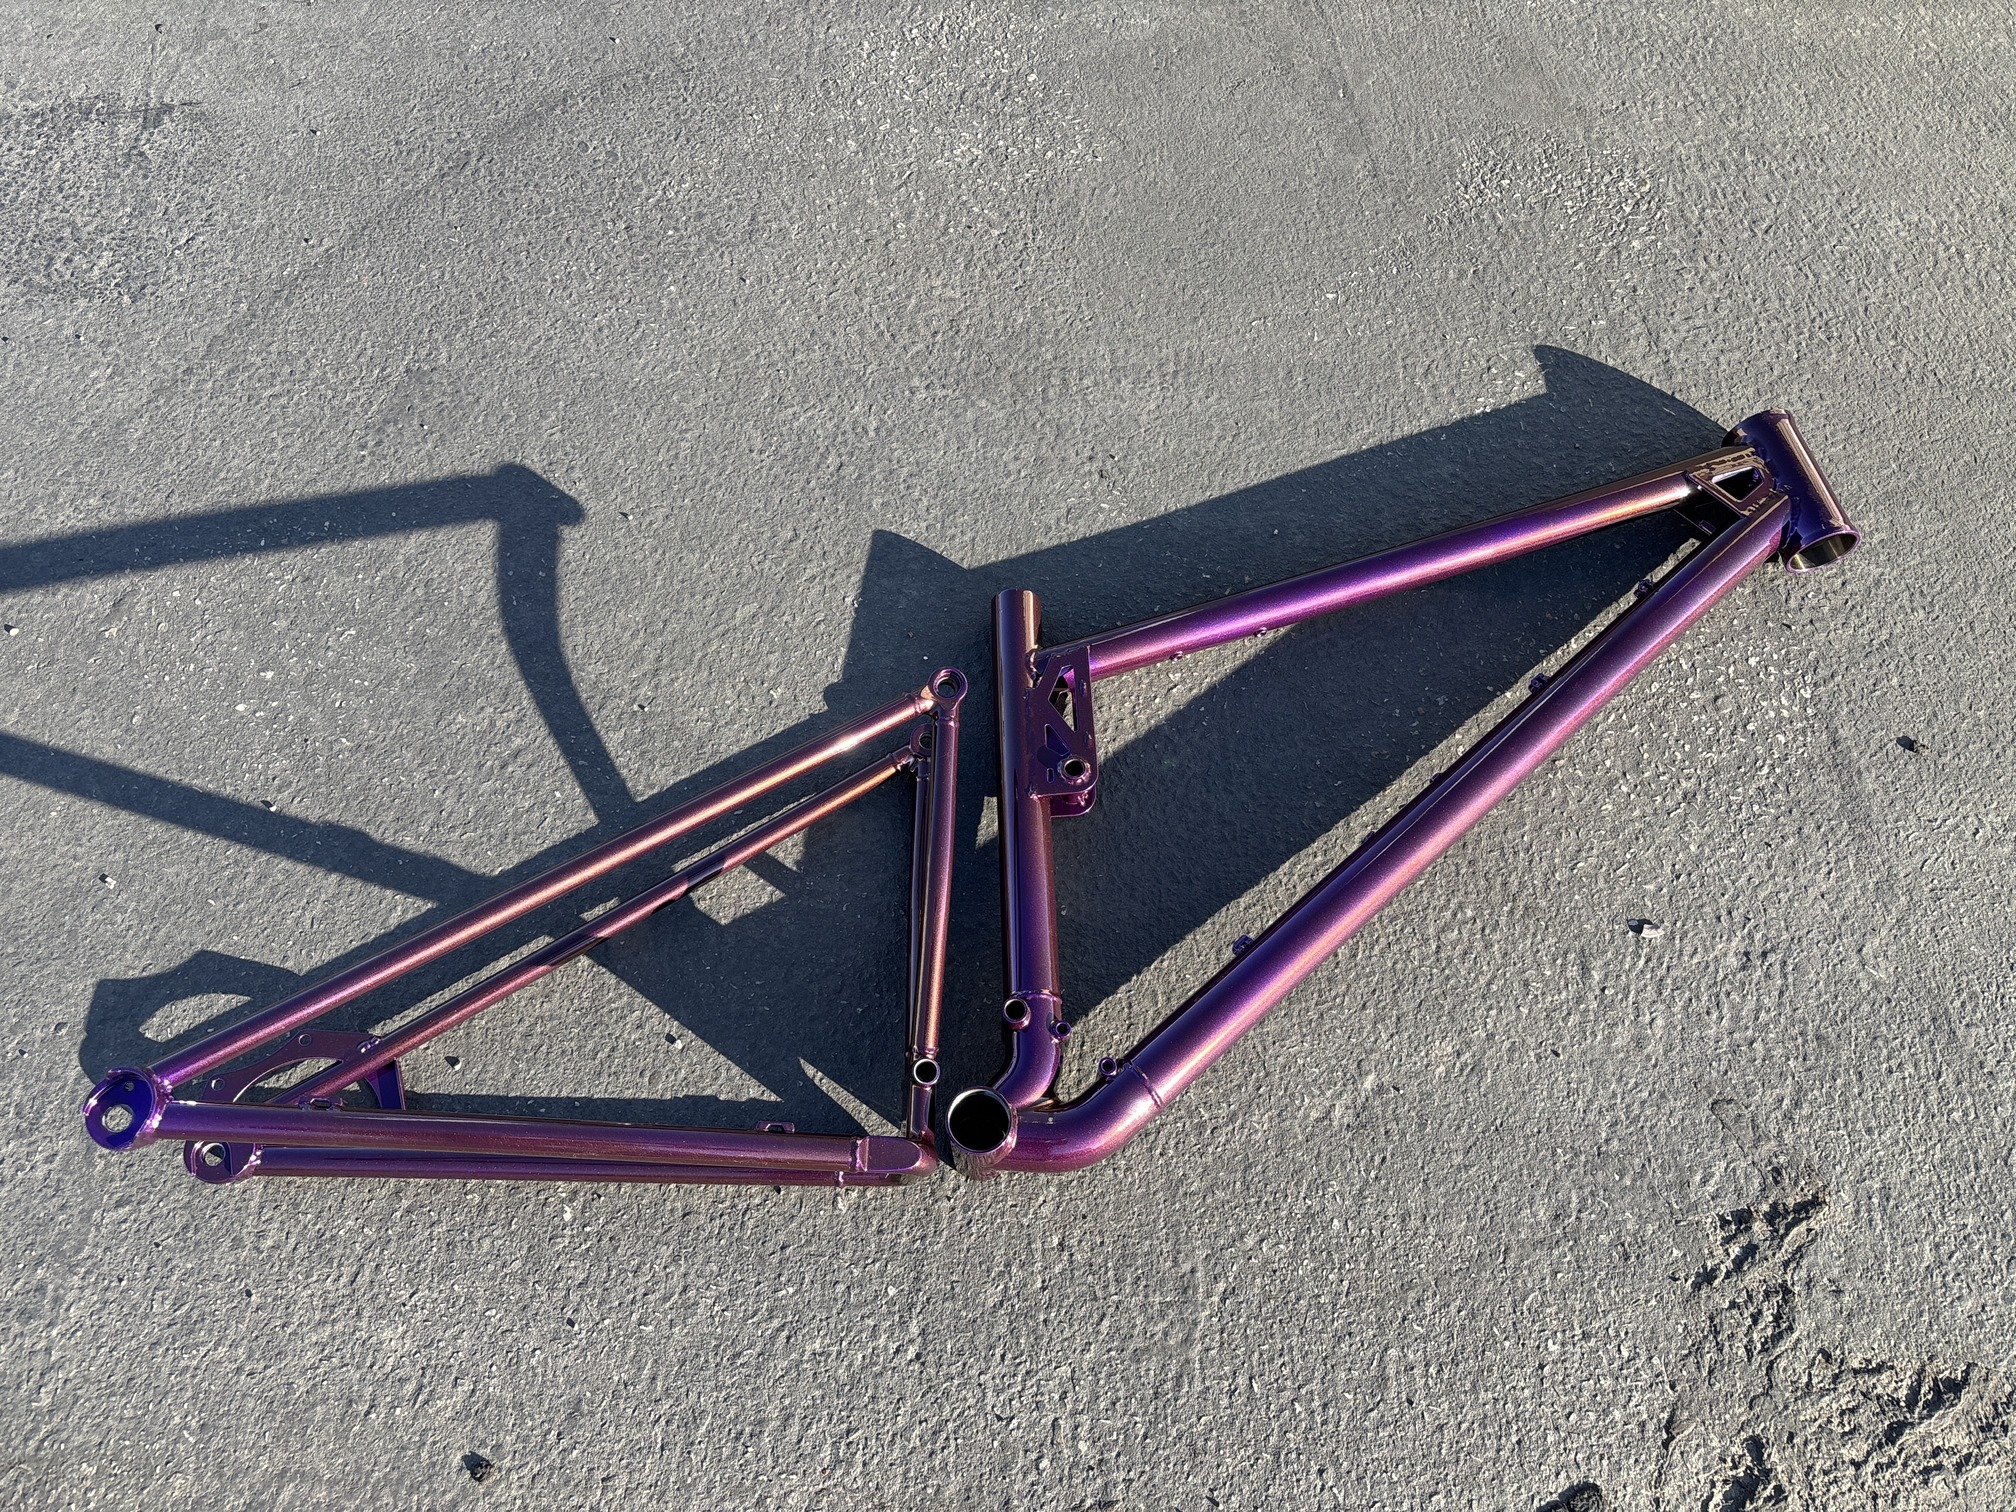
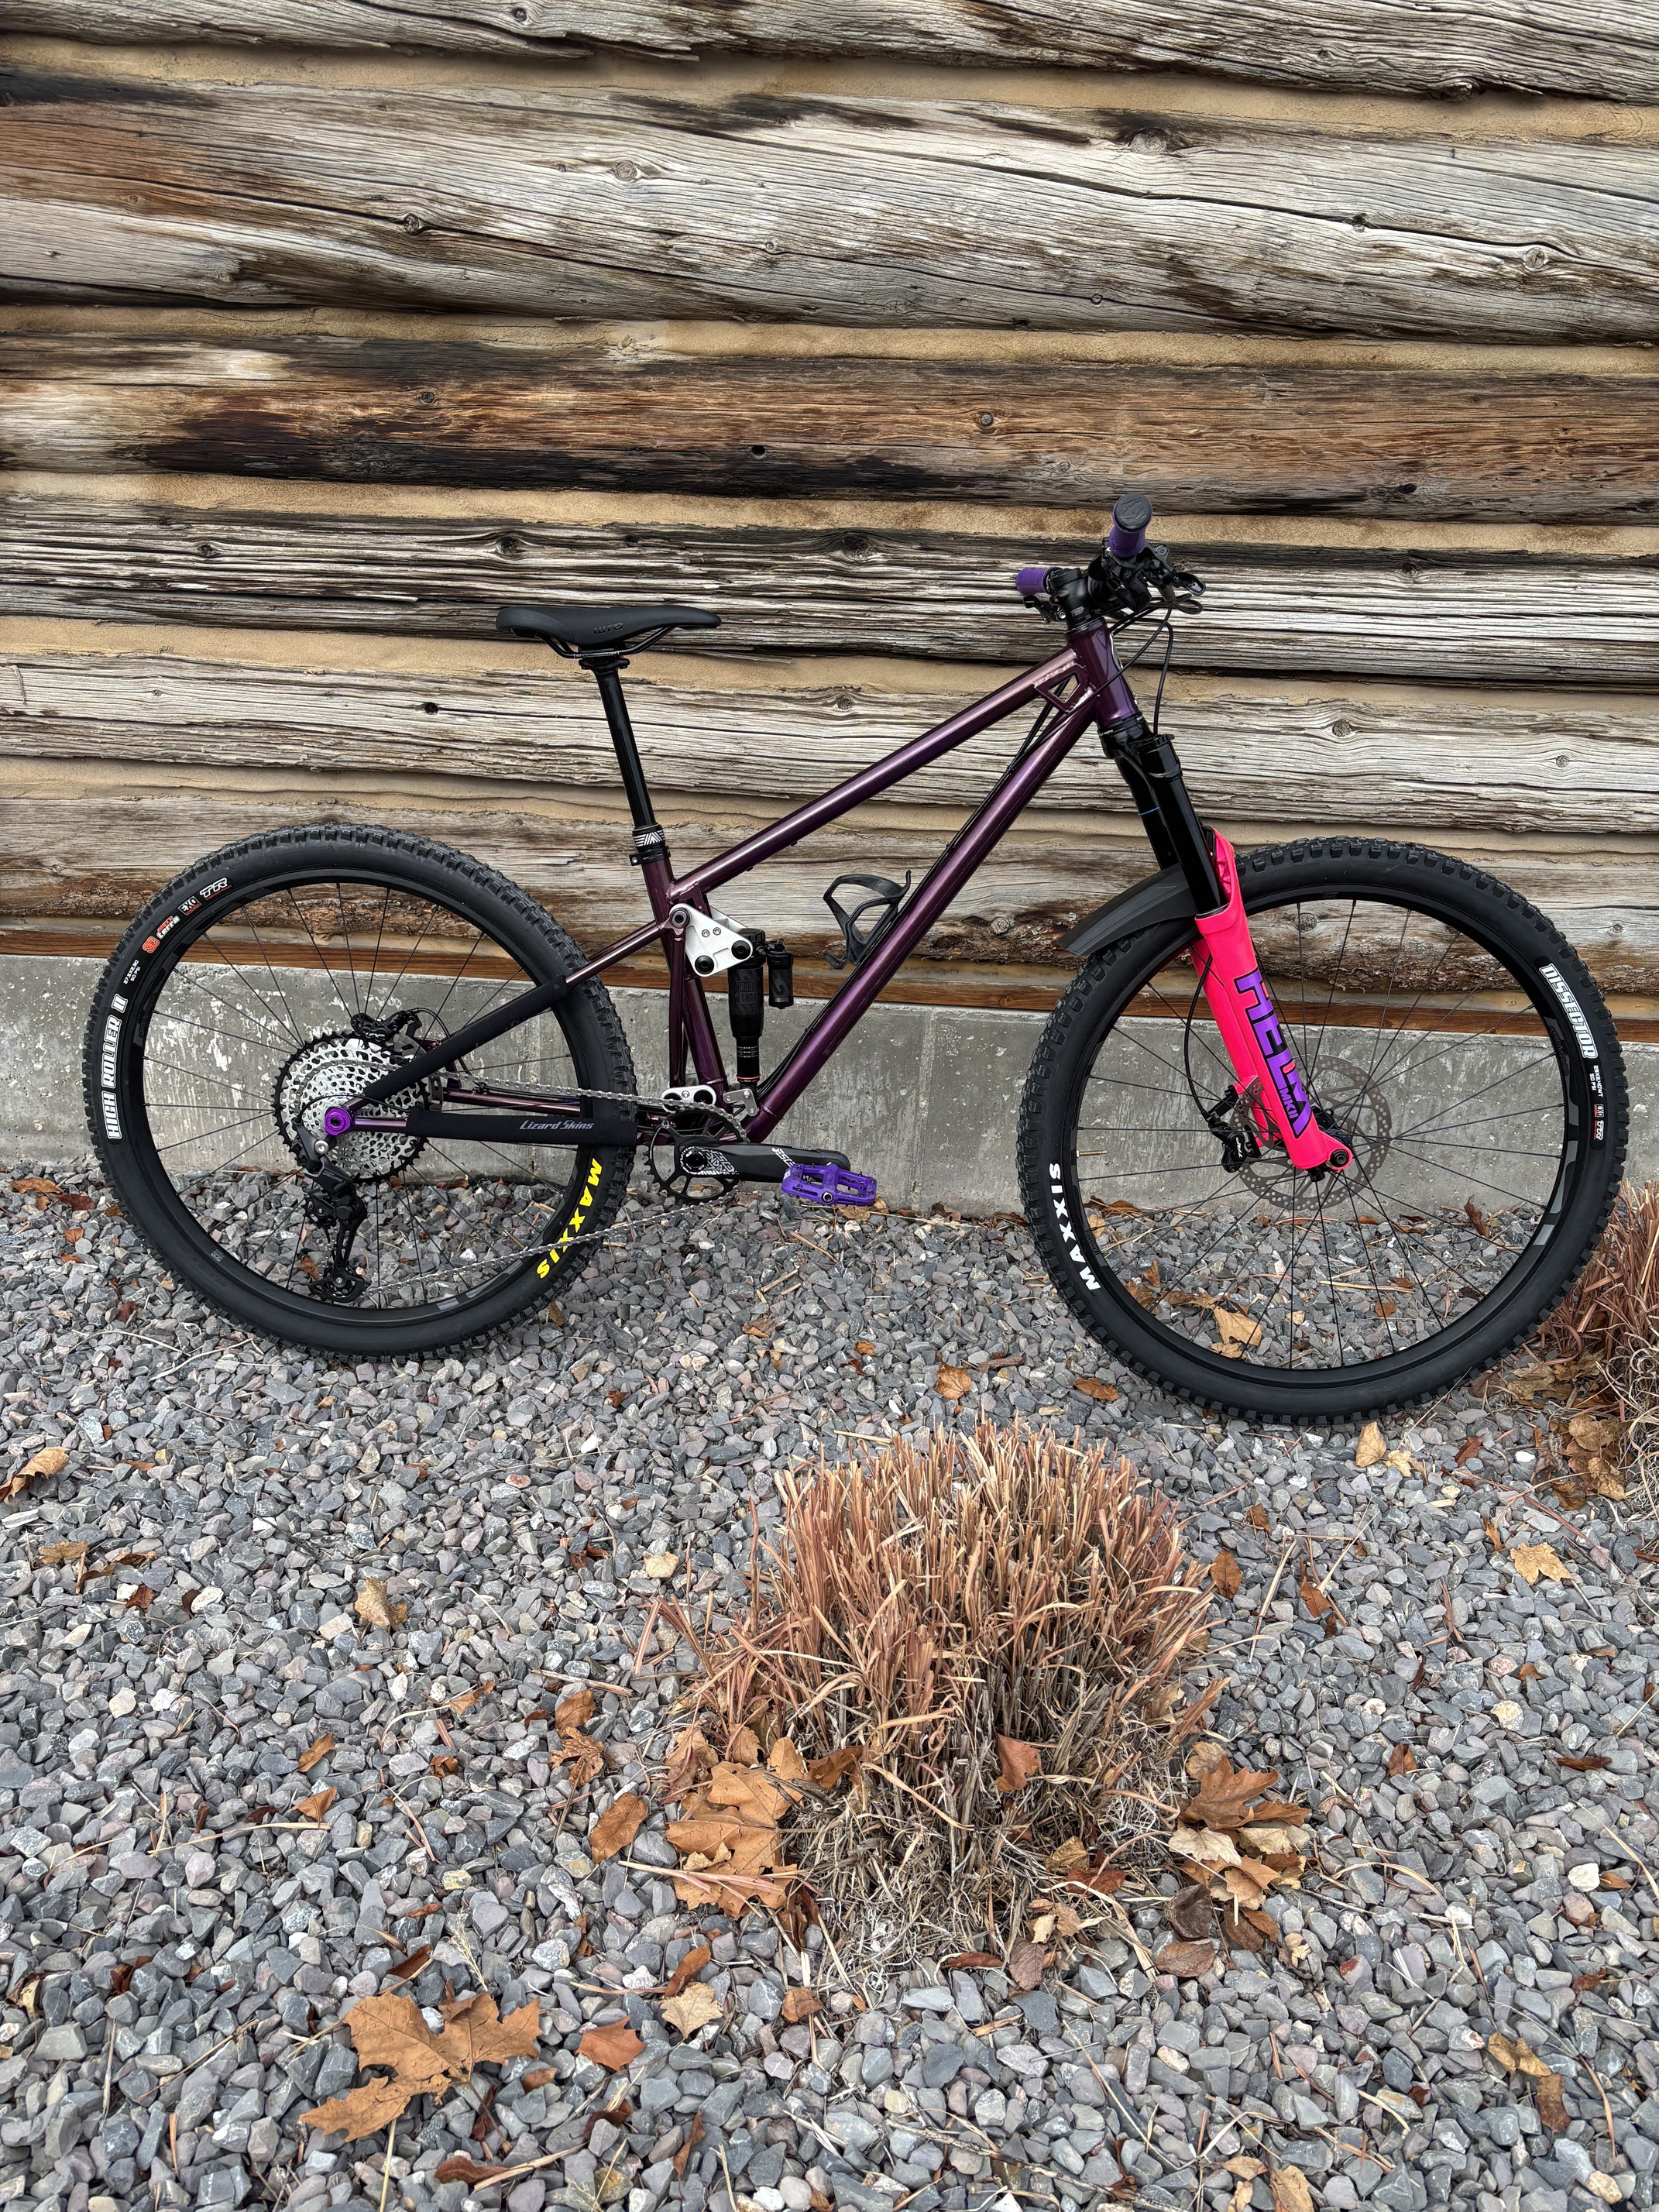
Just got the frame back from powder coat and I think it looks really good. Makes my welds look better anyway I’m really excited to put this together. Powder is Gummi Berry Juice from Prismatic
Not sure if this is the case for JLCCNC as well, but had that case where the specified selectable tolerances do not apply for hole diameters which can be broached. So you could probably/maybe have called out a P7 or K5 tolerance on the bearing seat.
Either way, frame looks super cool! Love the color!
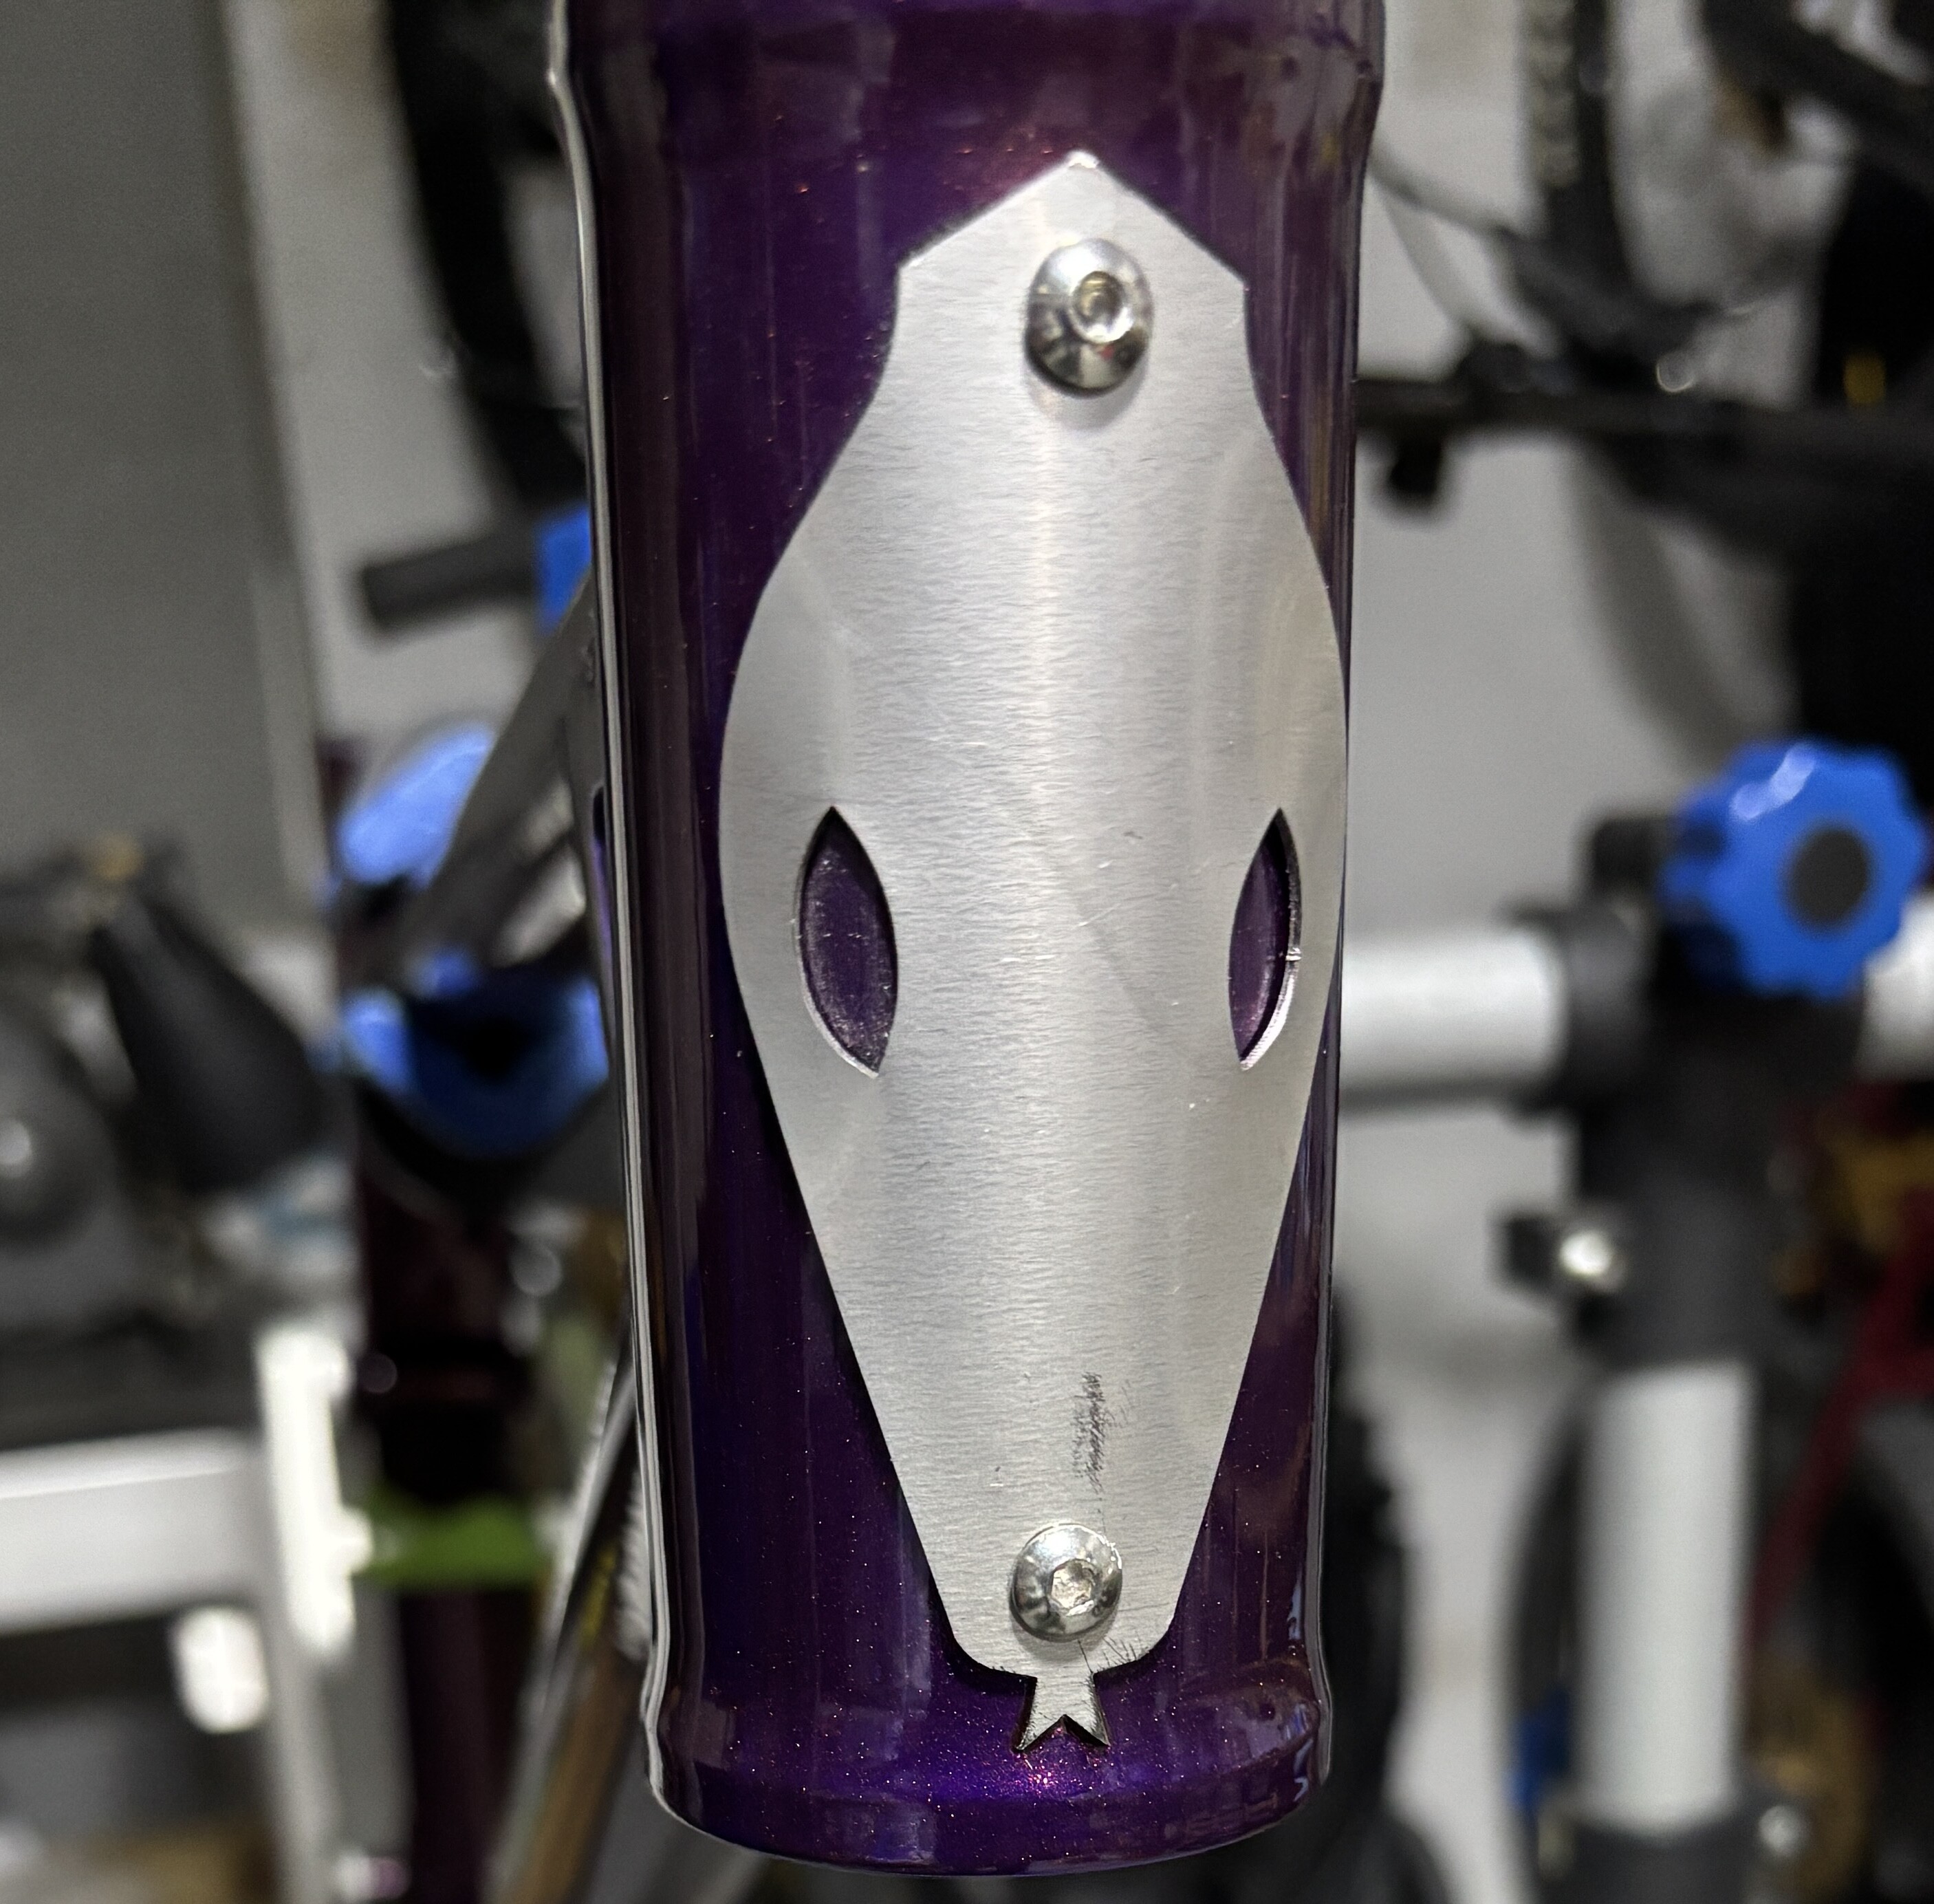
Got the frame back from getting the head tube reamed. Most important thing first: head badge my wife designed. I’ll polish it up a little later but I think it looks good with the paint. Excited to get this thing built!
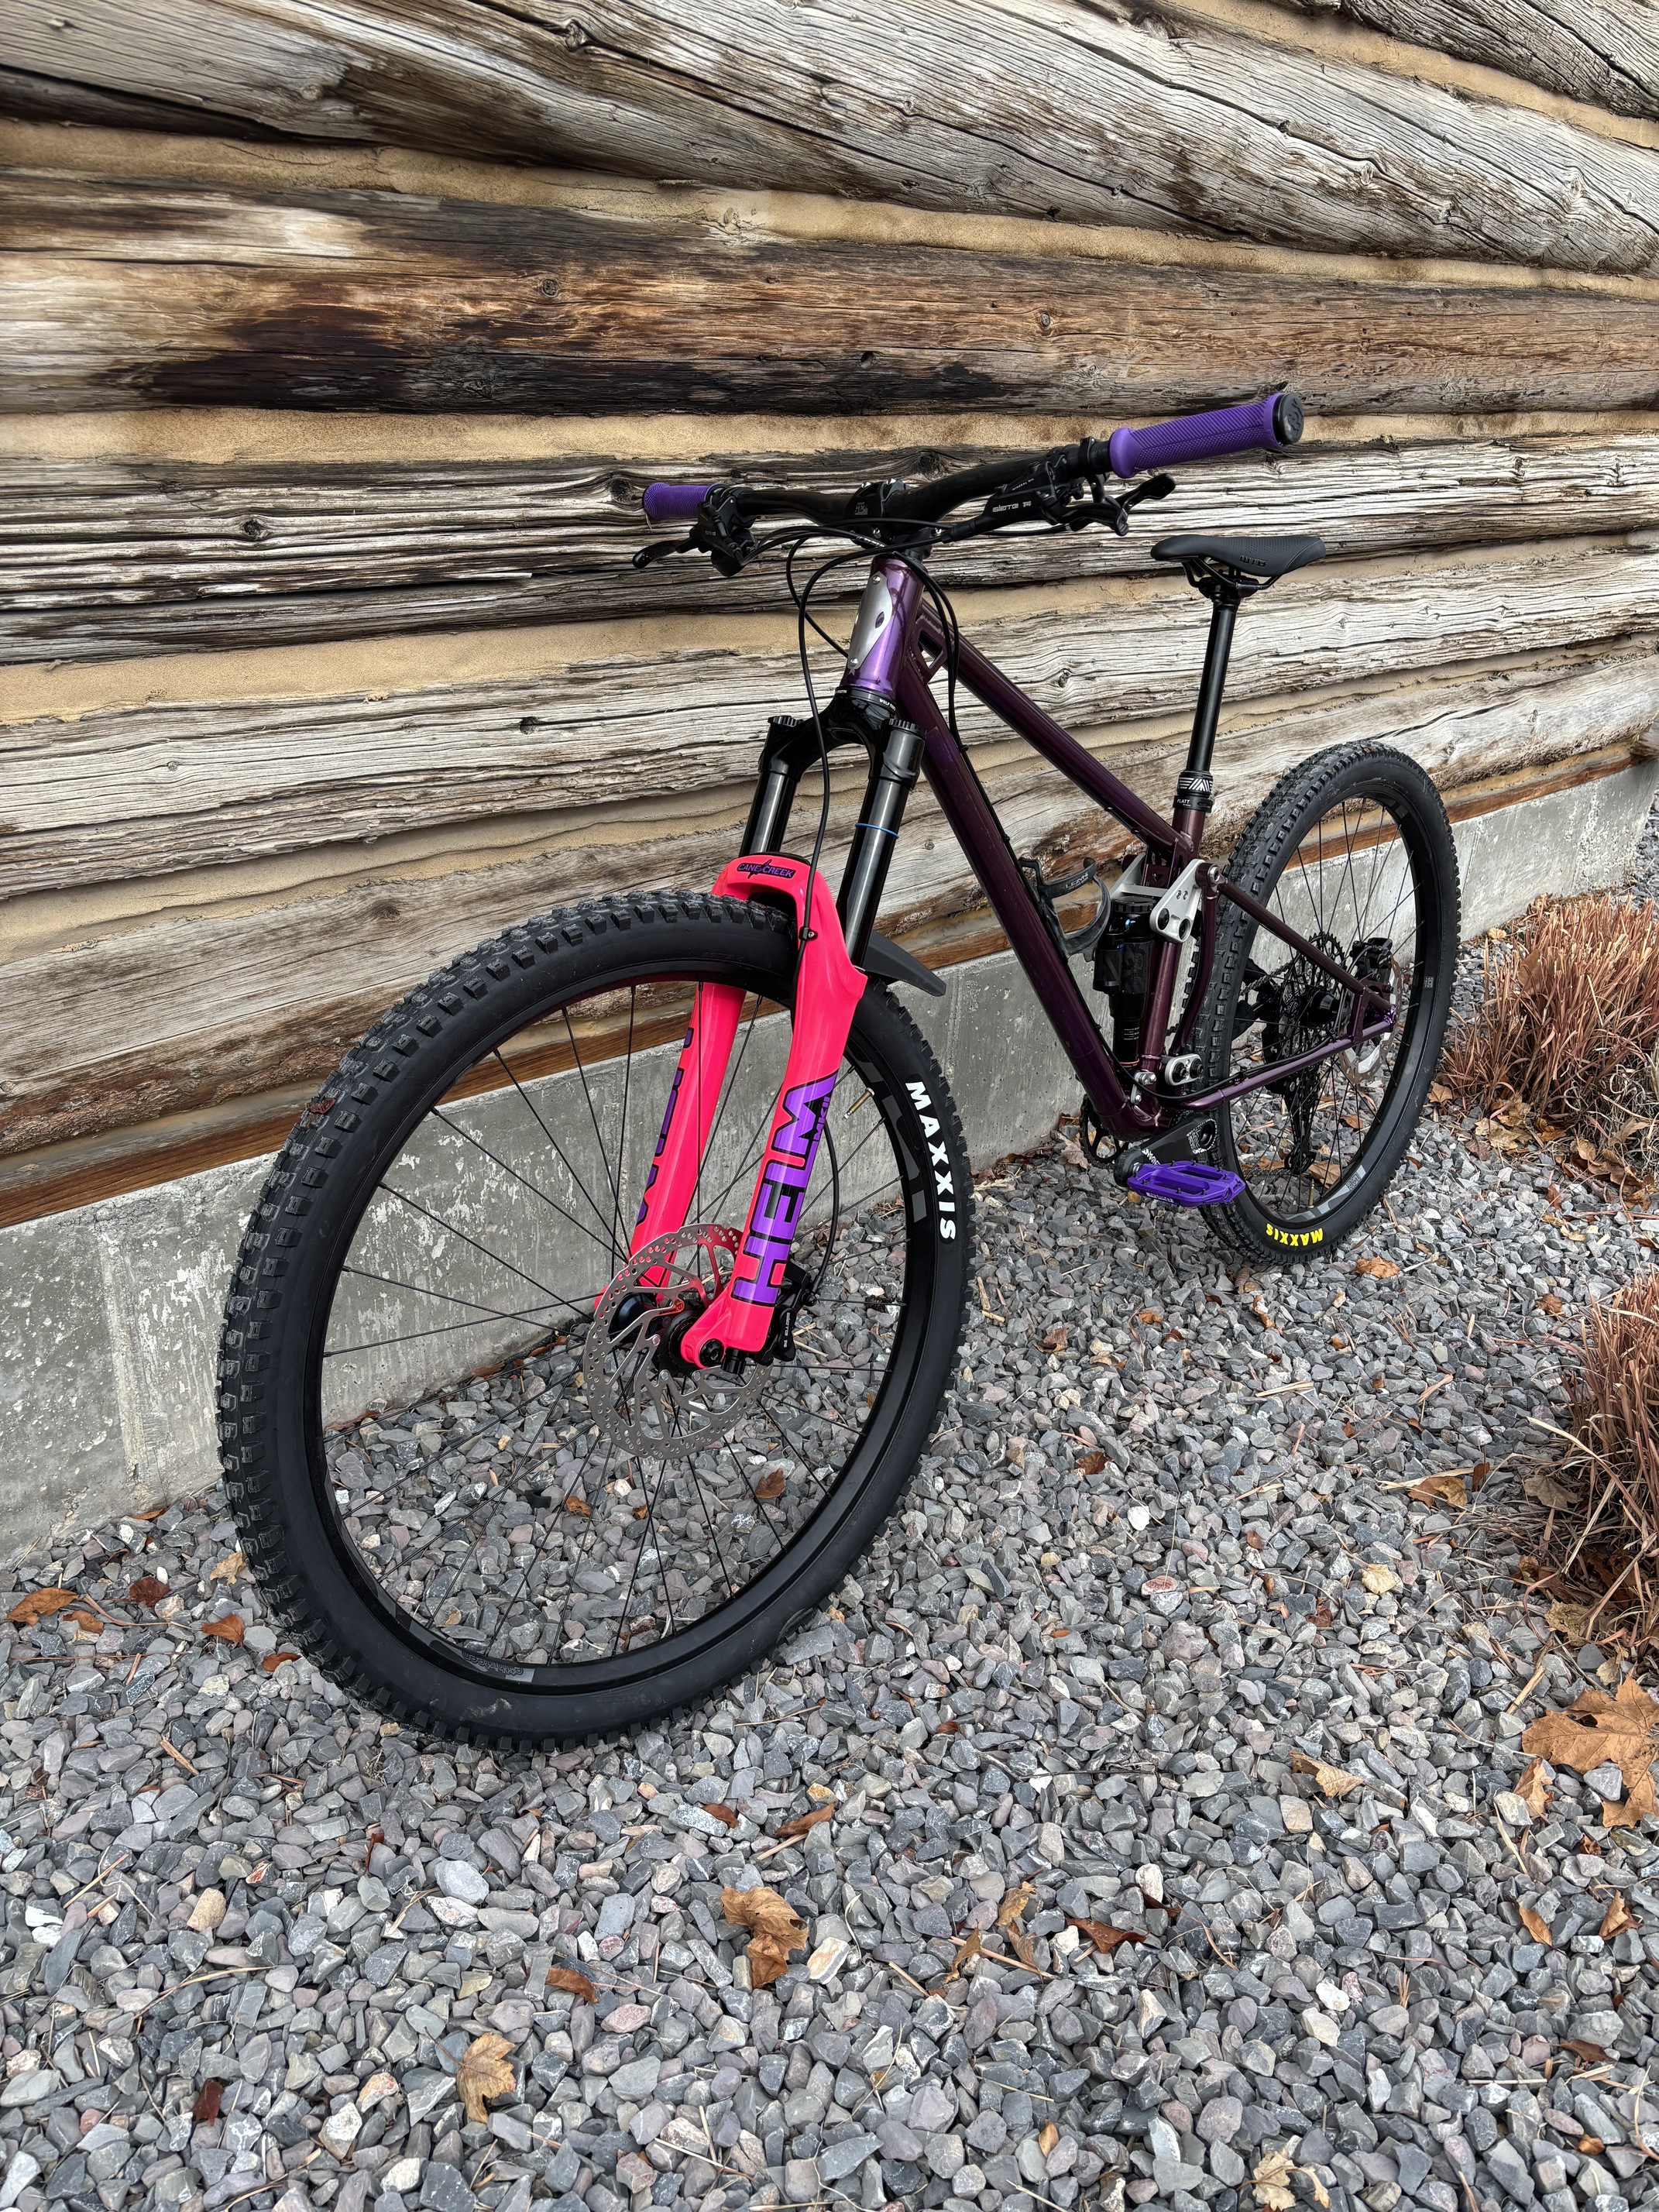
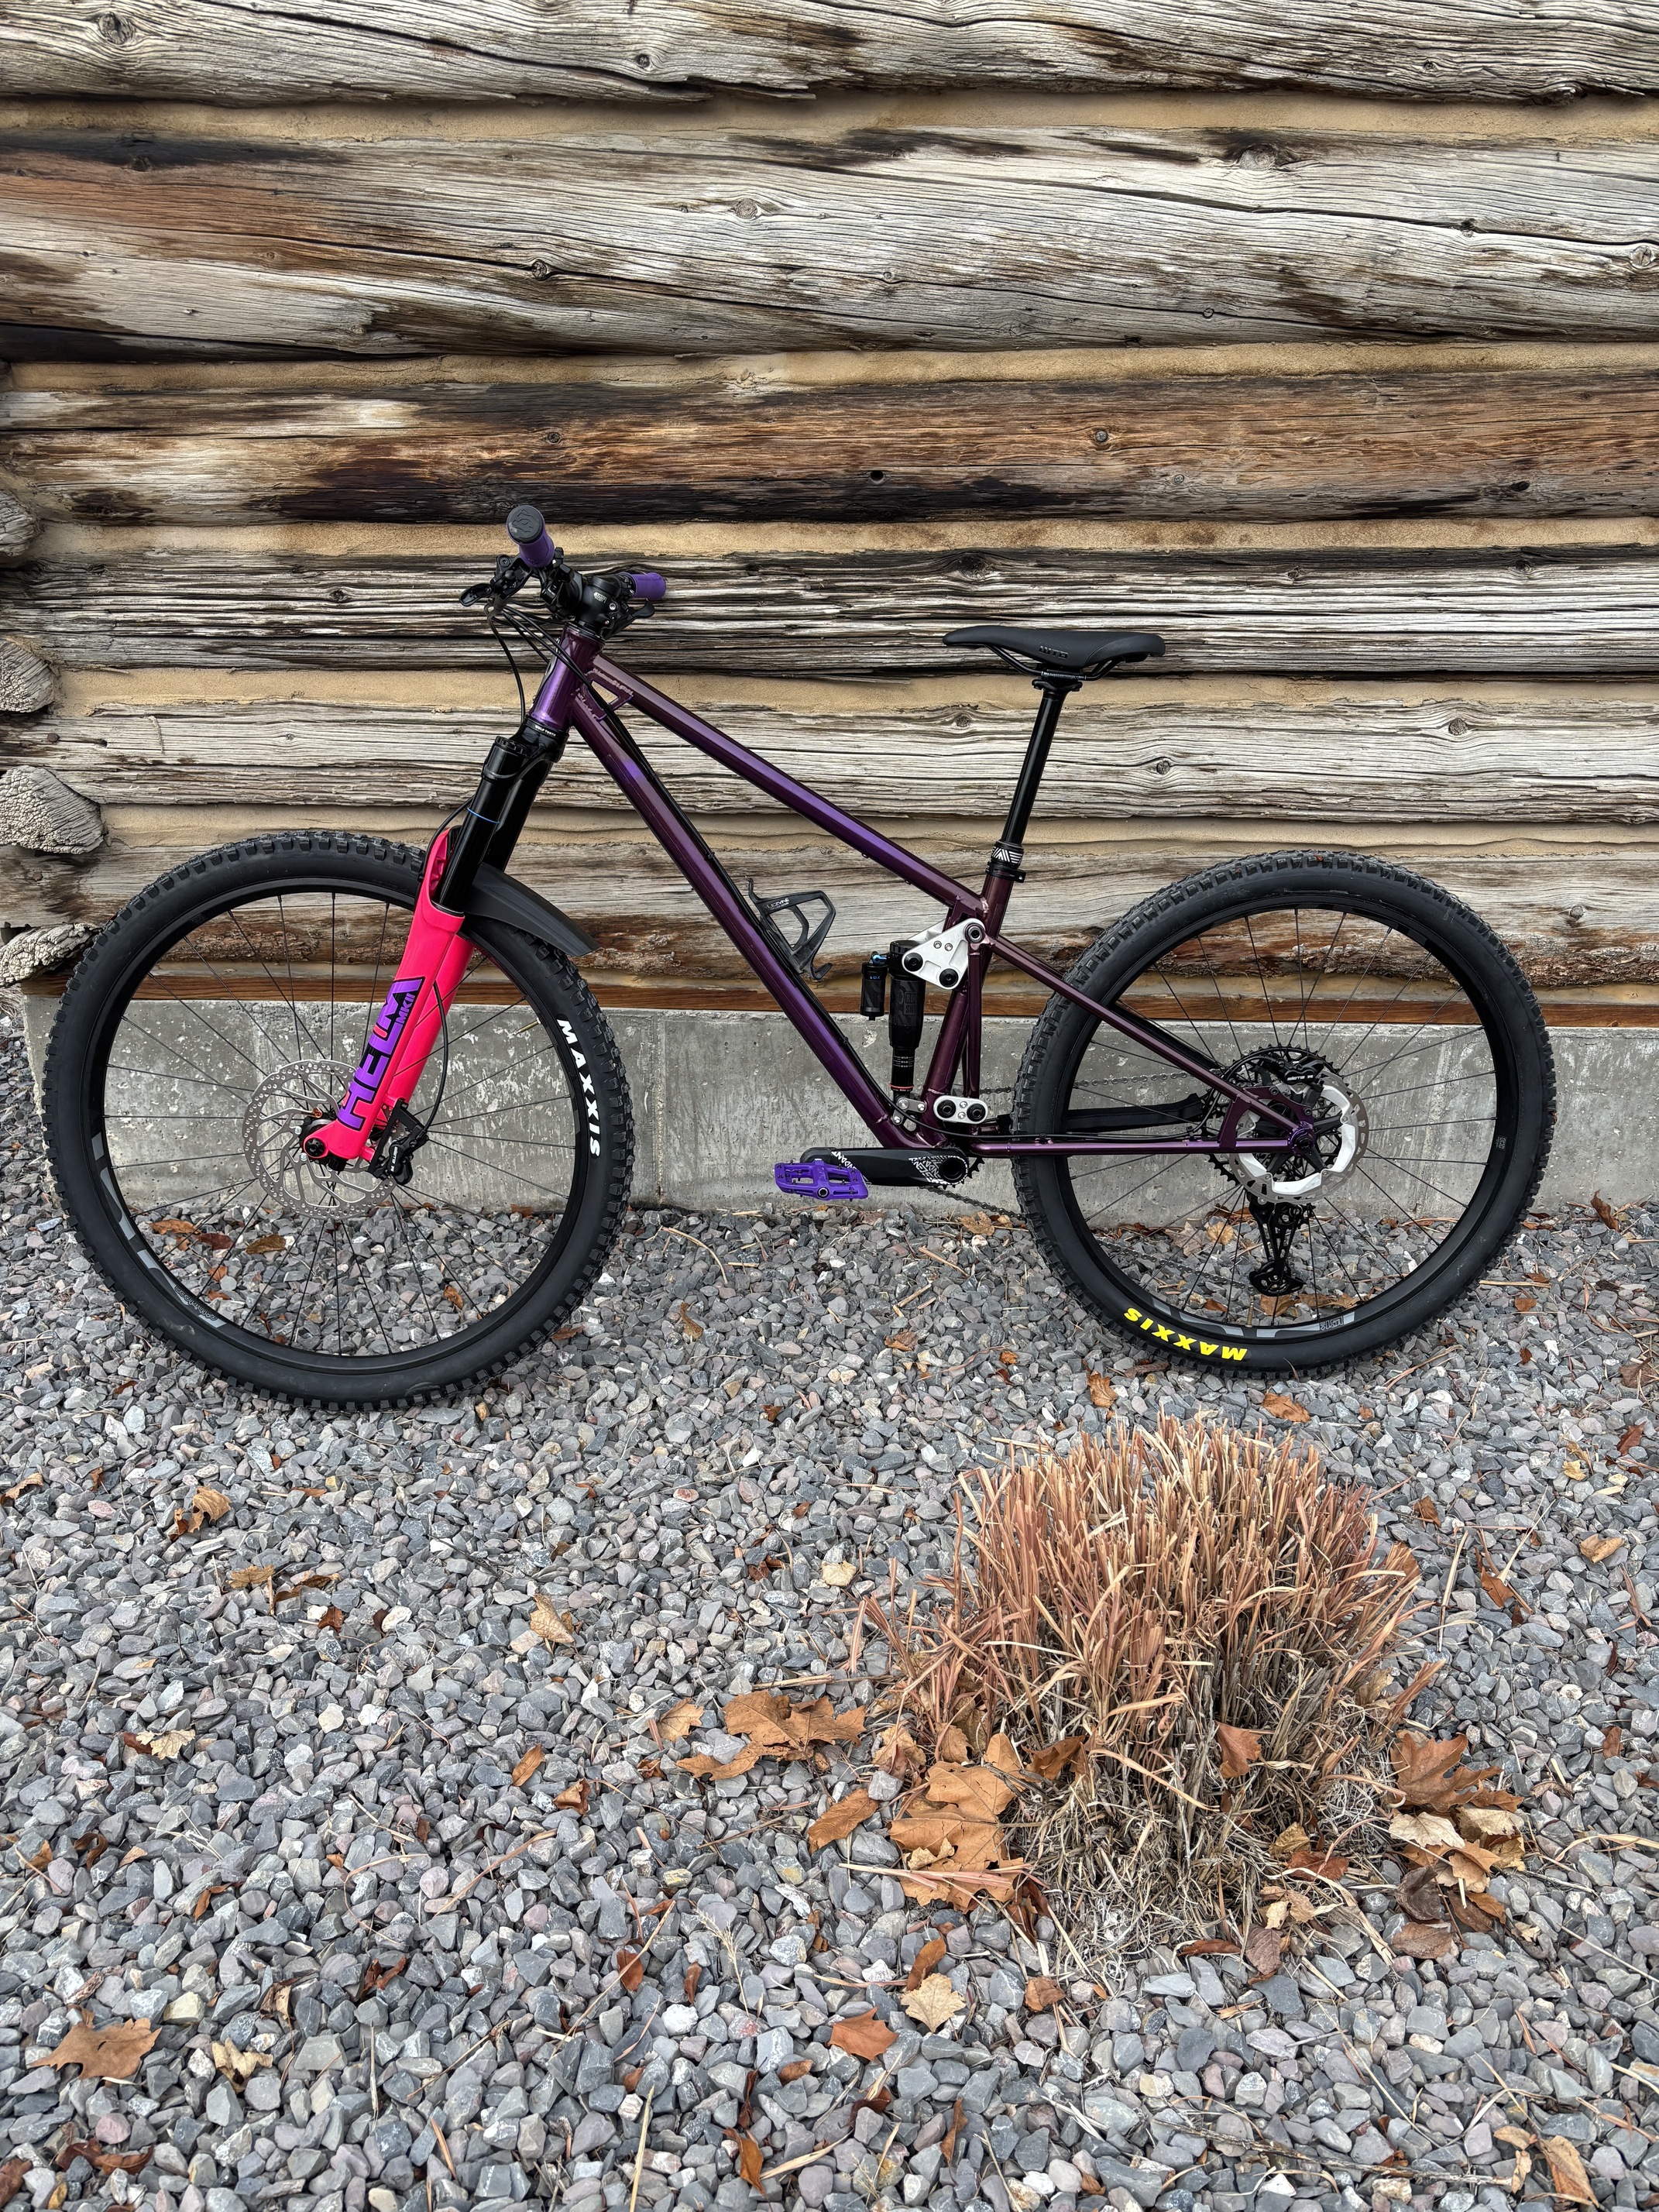
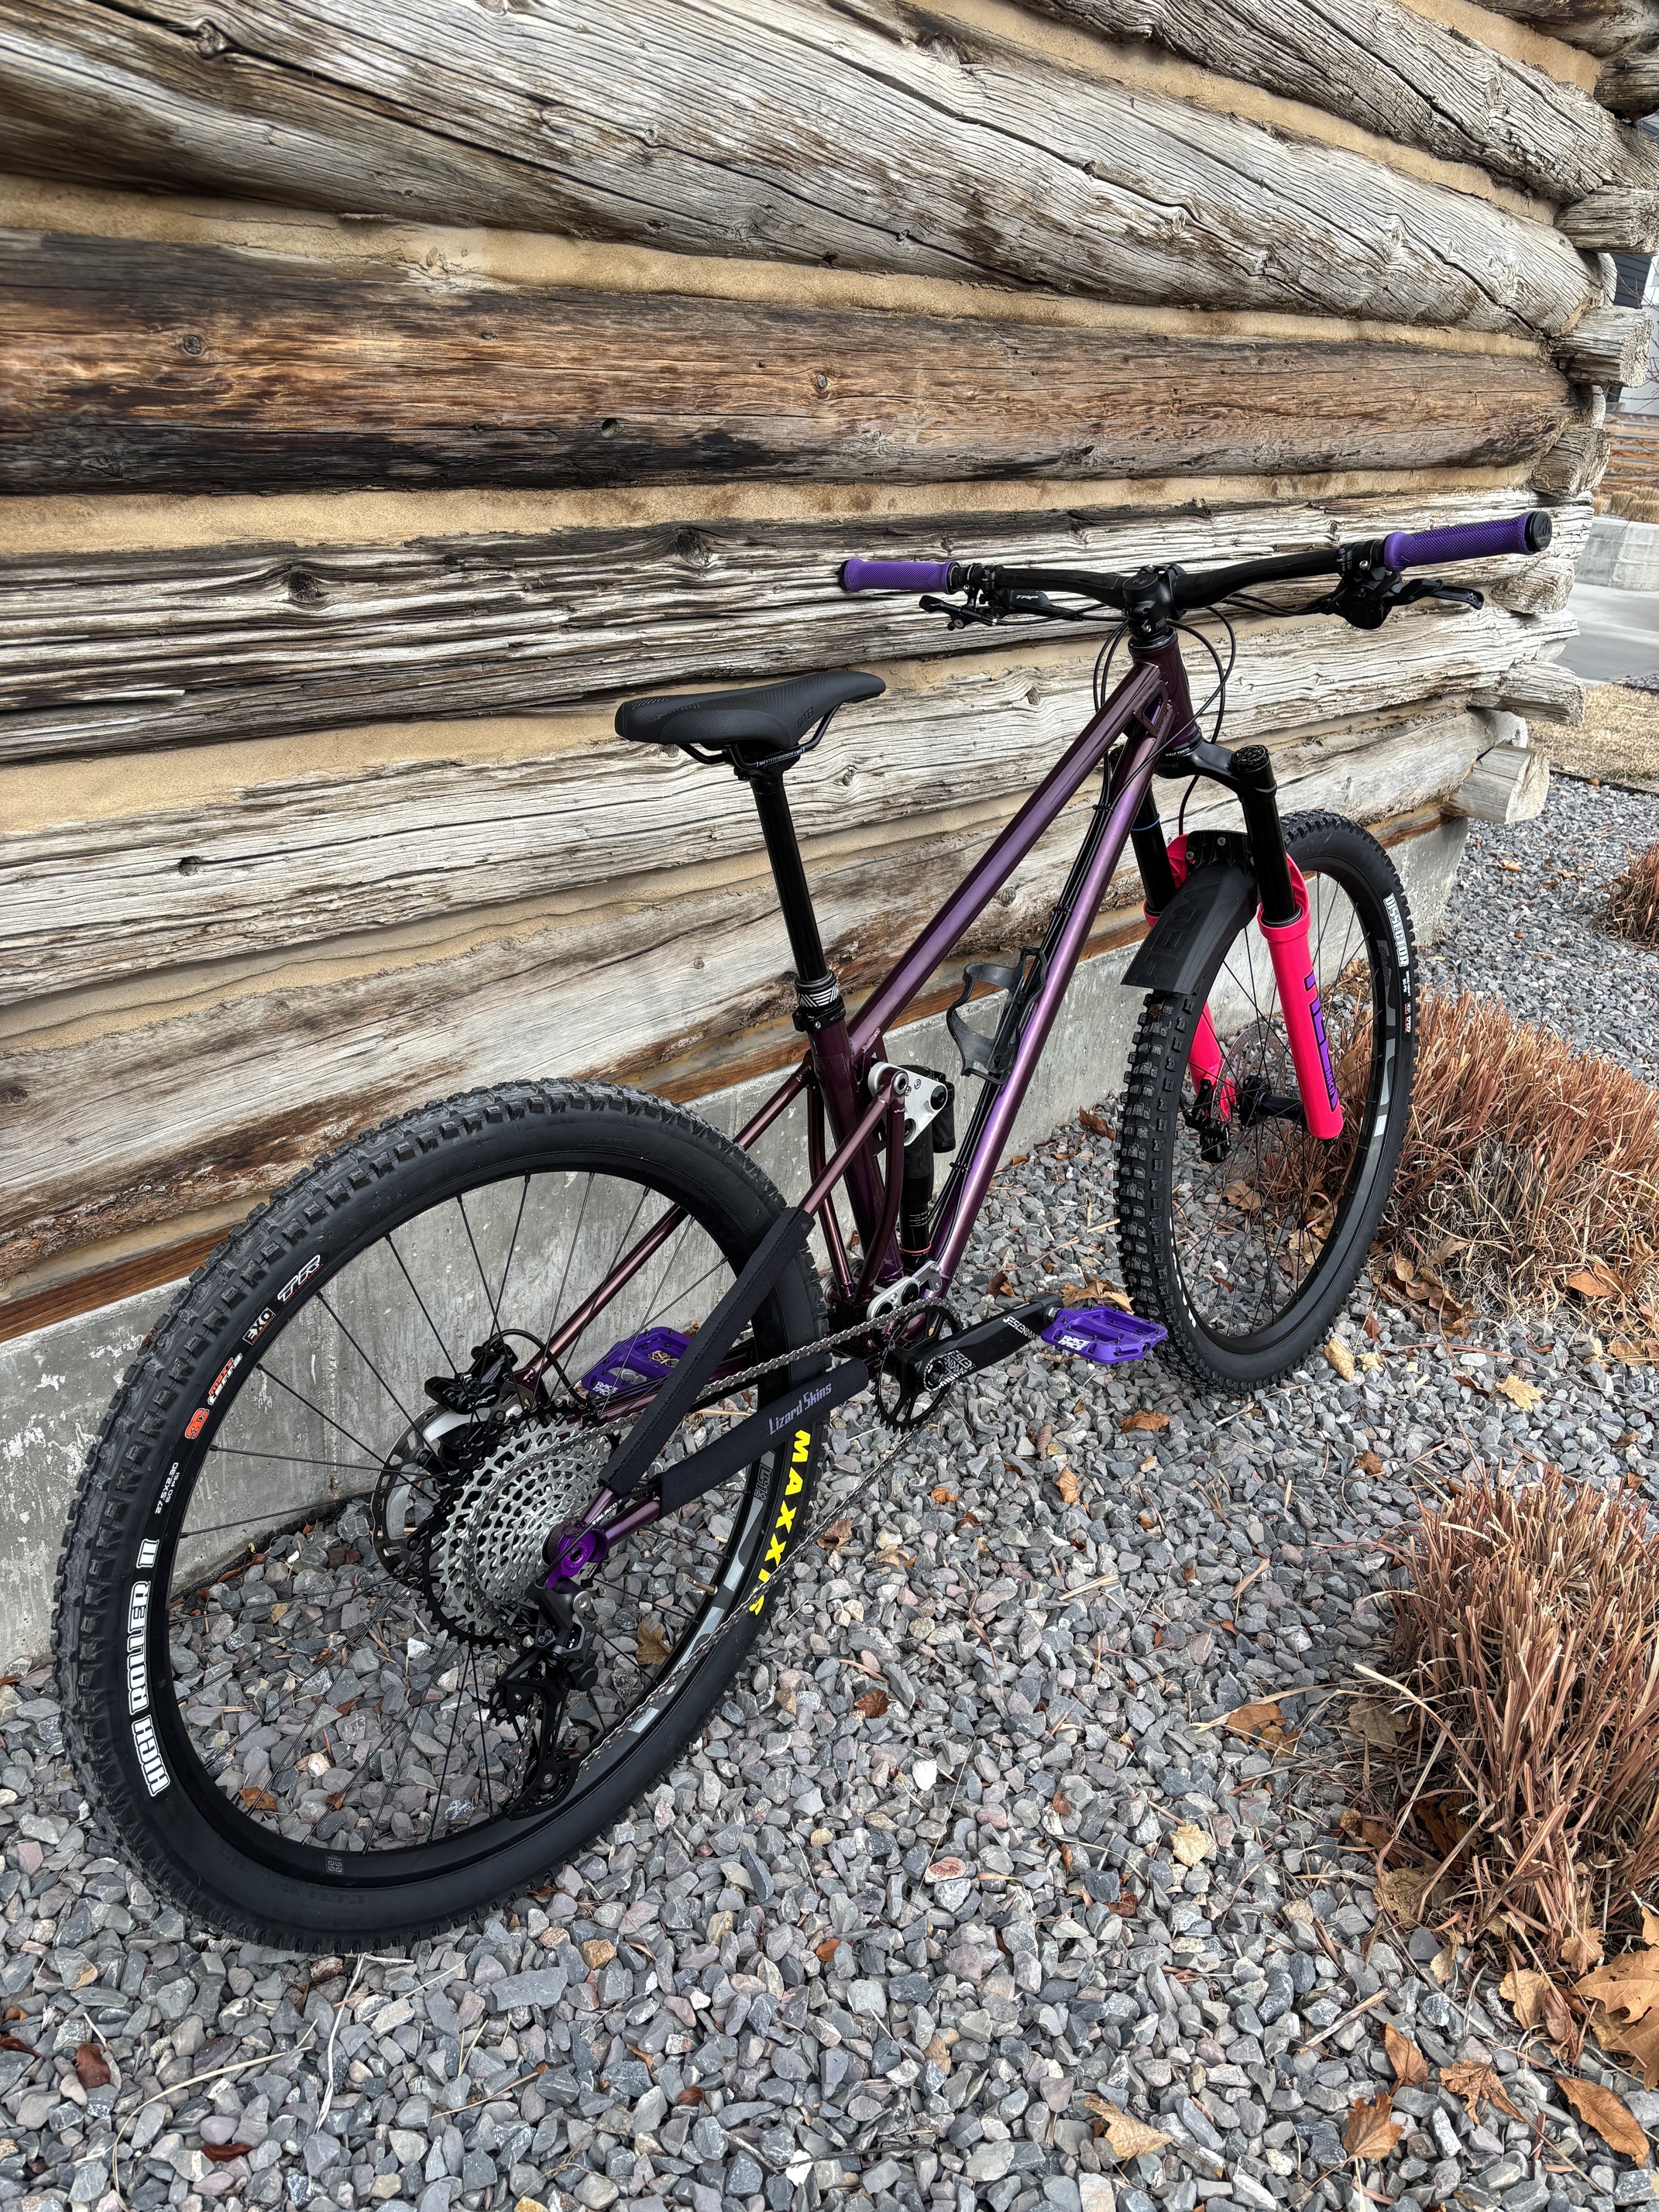
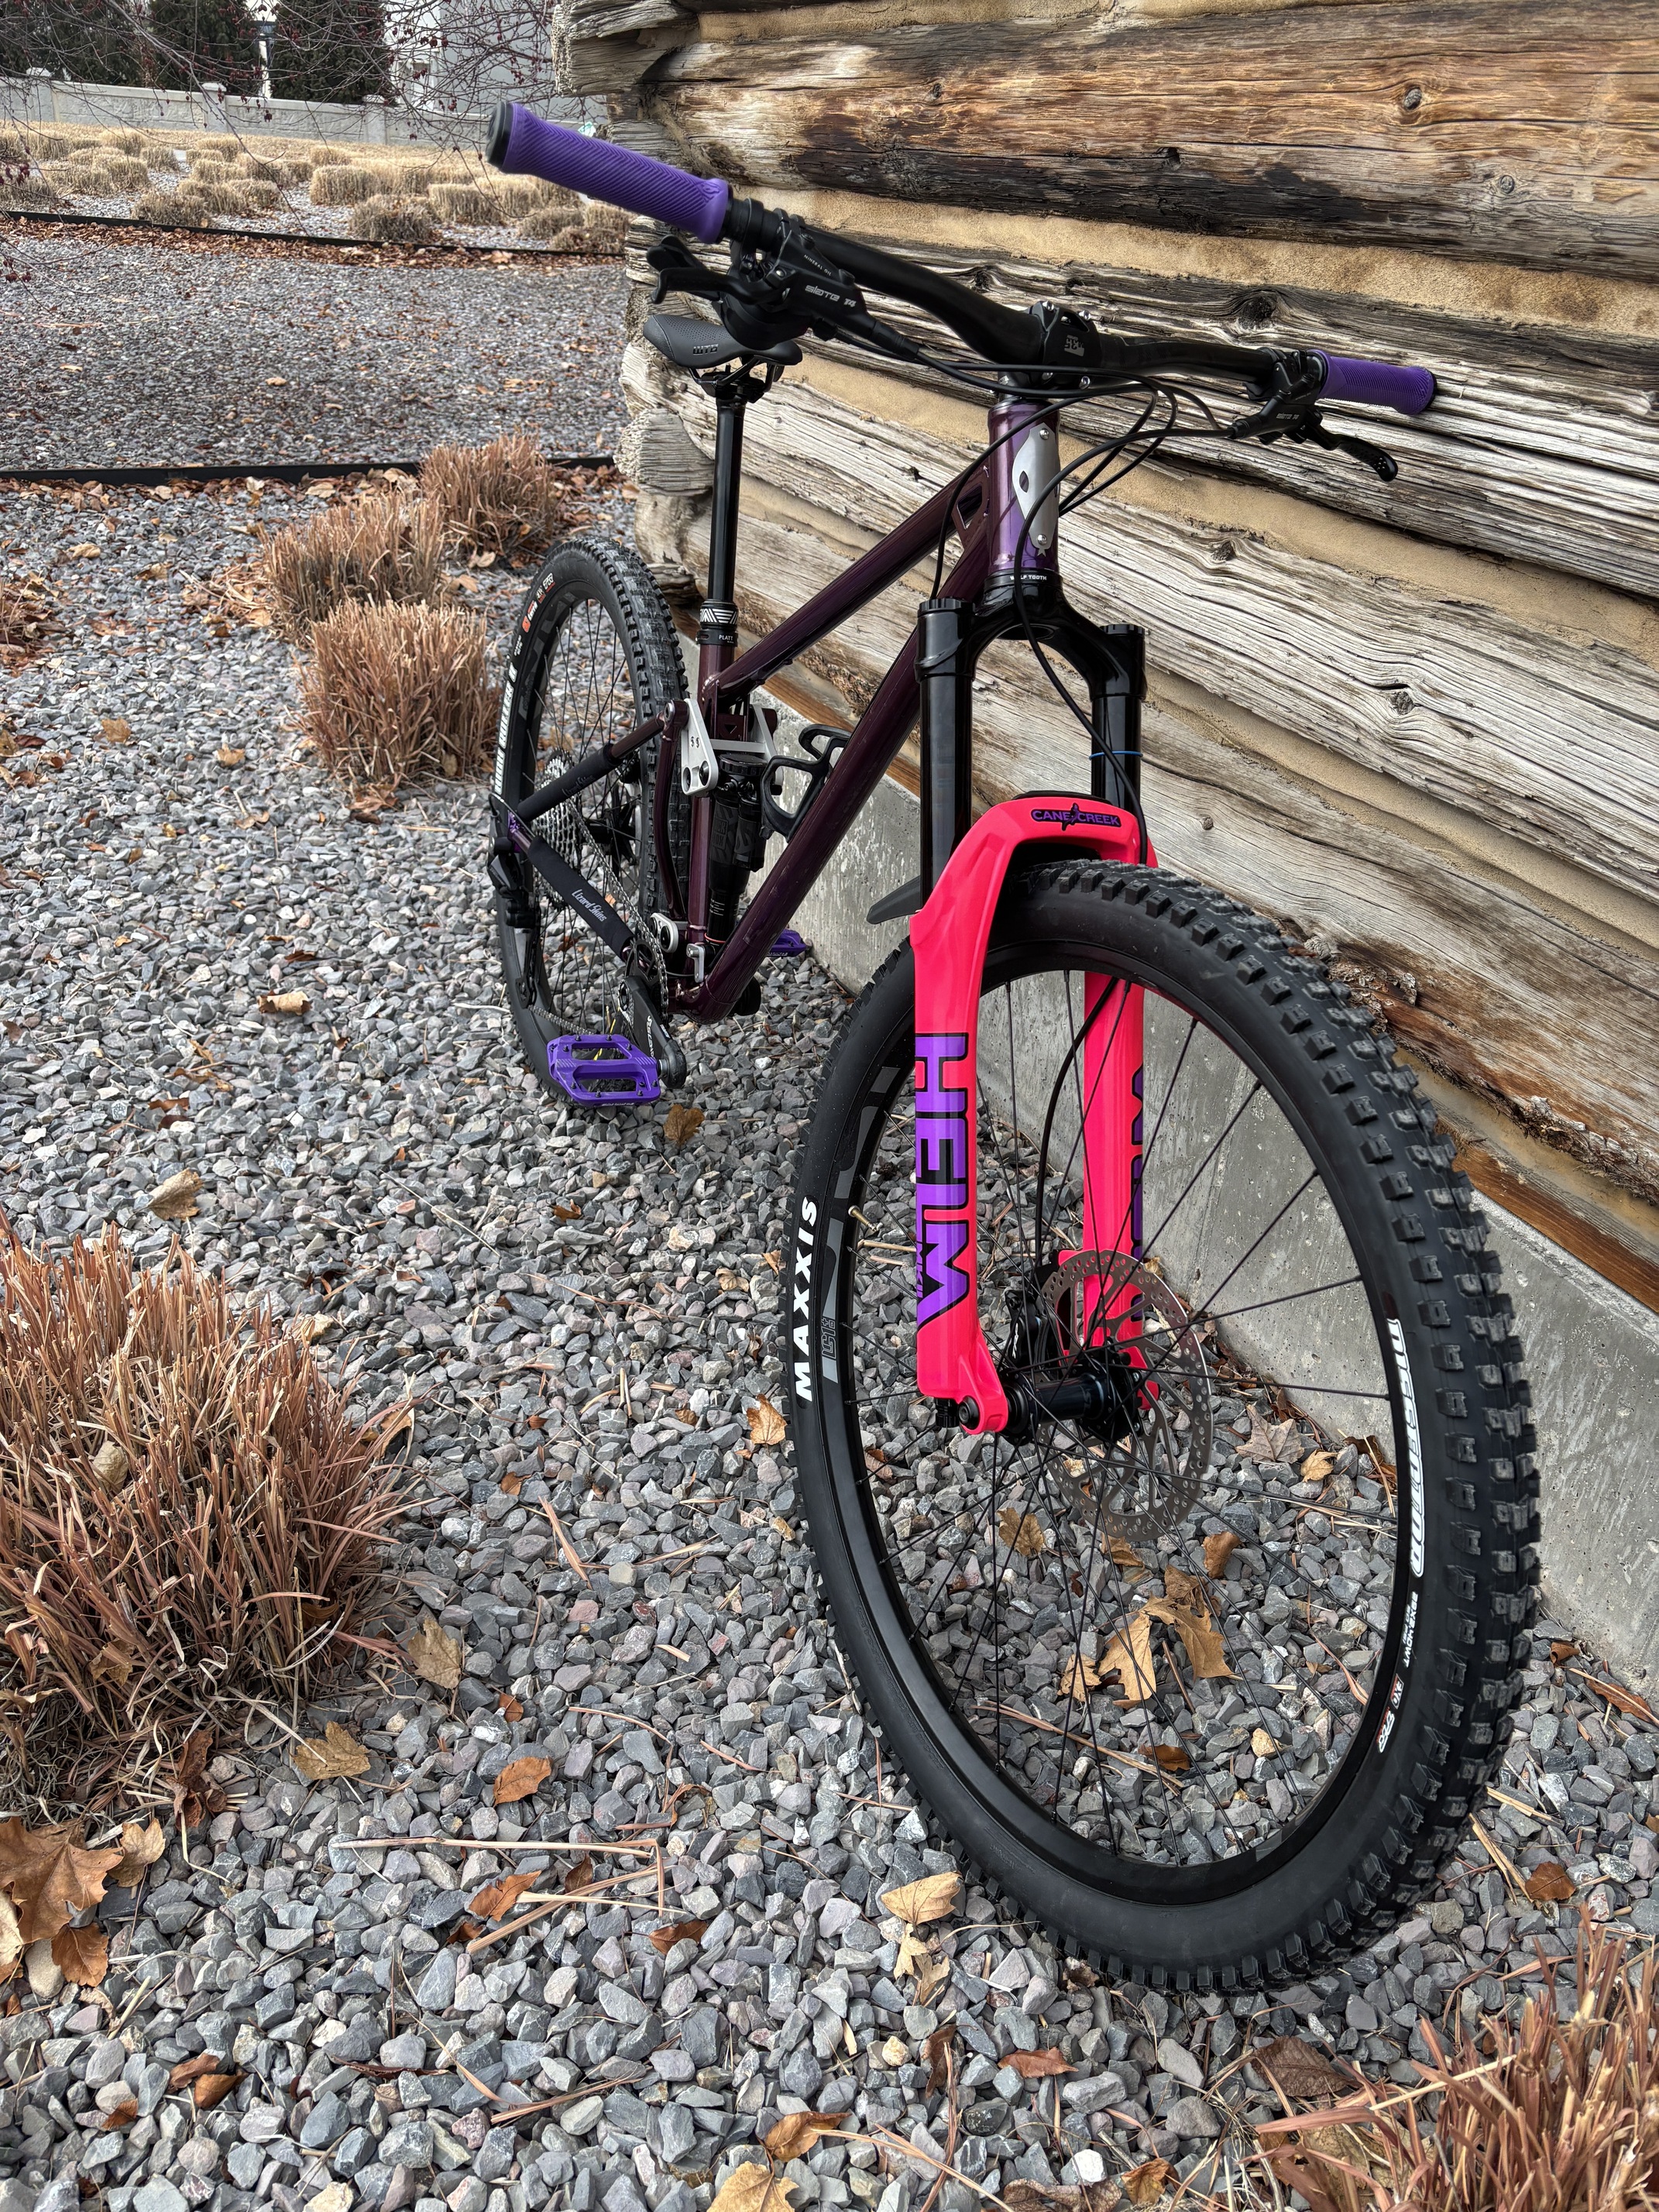
Well it’s all together and ready to ride. Need to sort a few little things but it’s pretty much done. 34.3 lbs/15.6 kgs as pictured. Parking lot rides don’t tell very much on a mountain bike, especially on one made for someone else but at least it’s quiet and nothing rubs
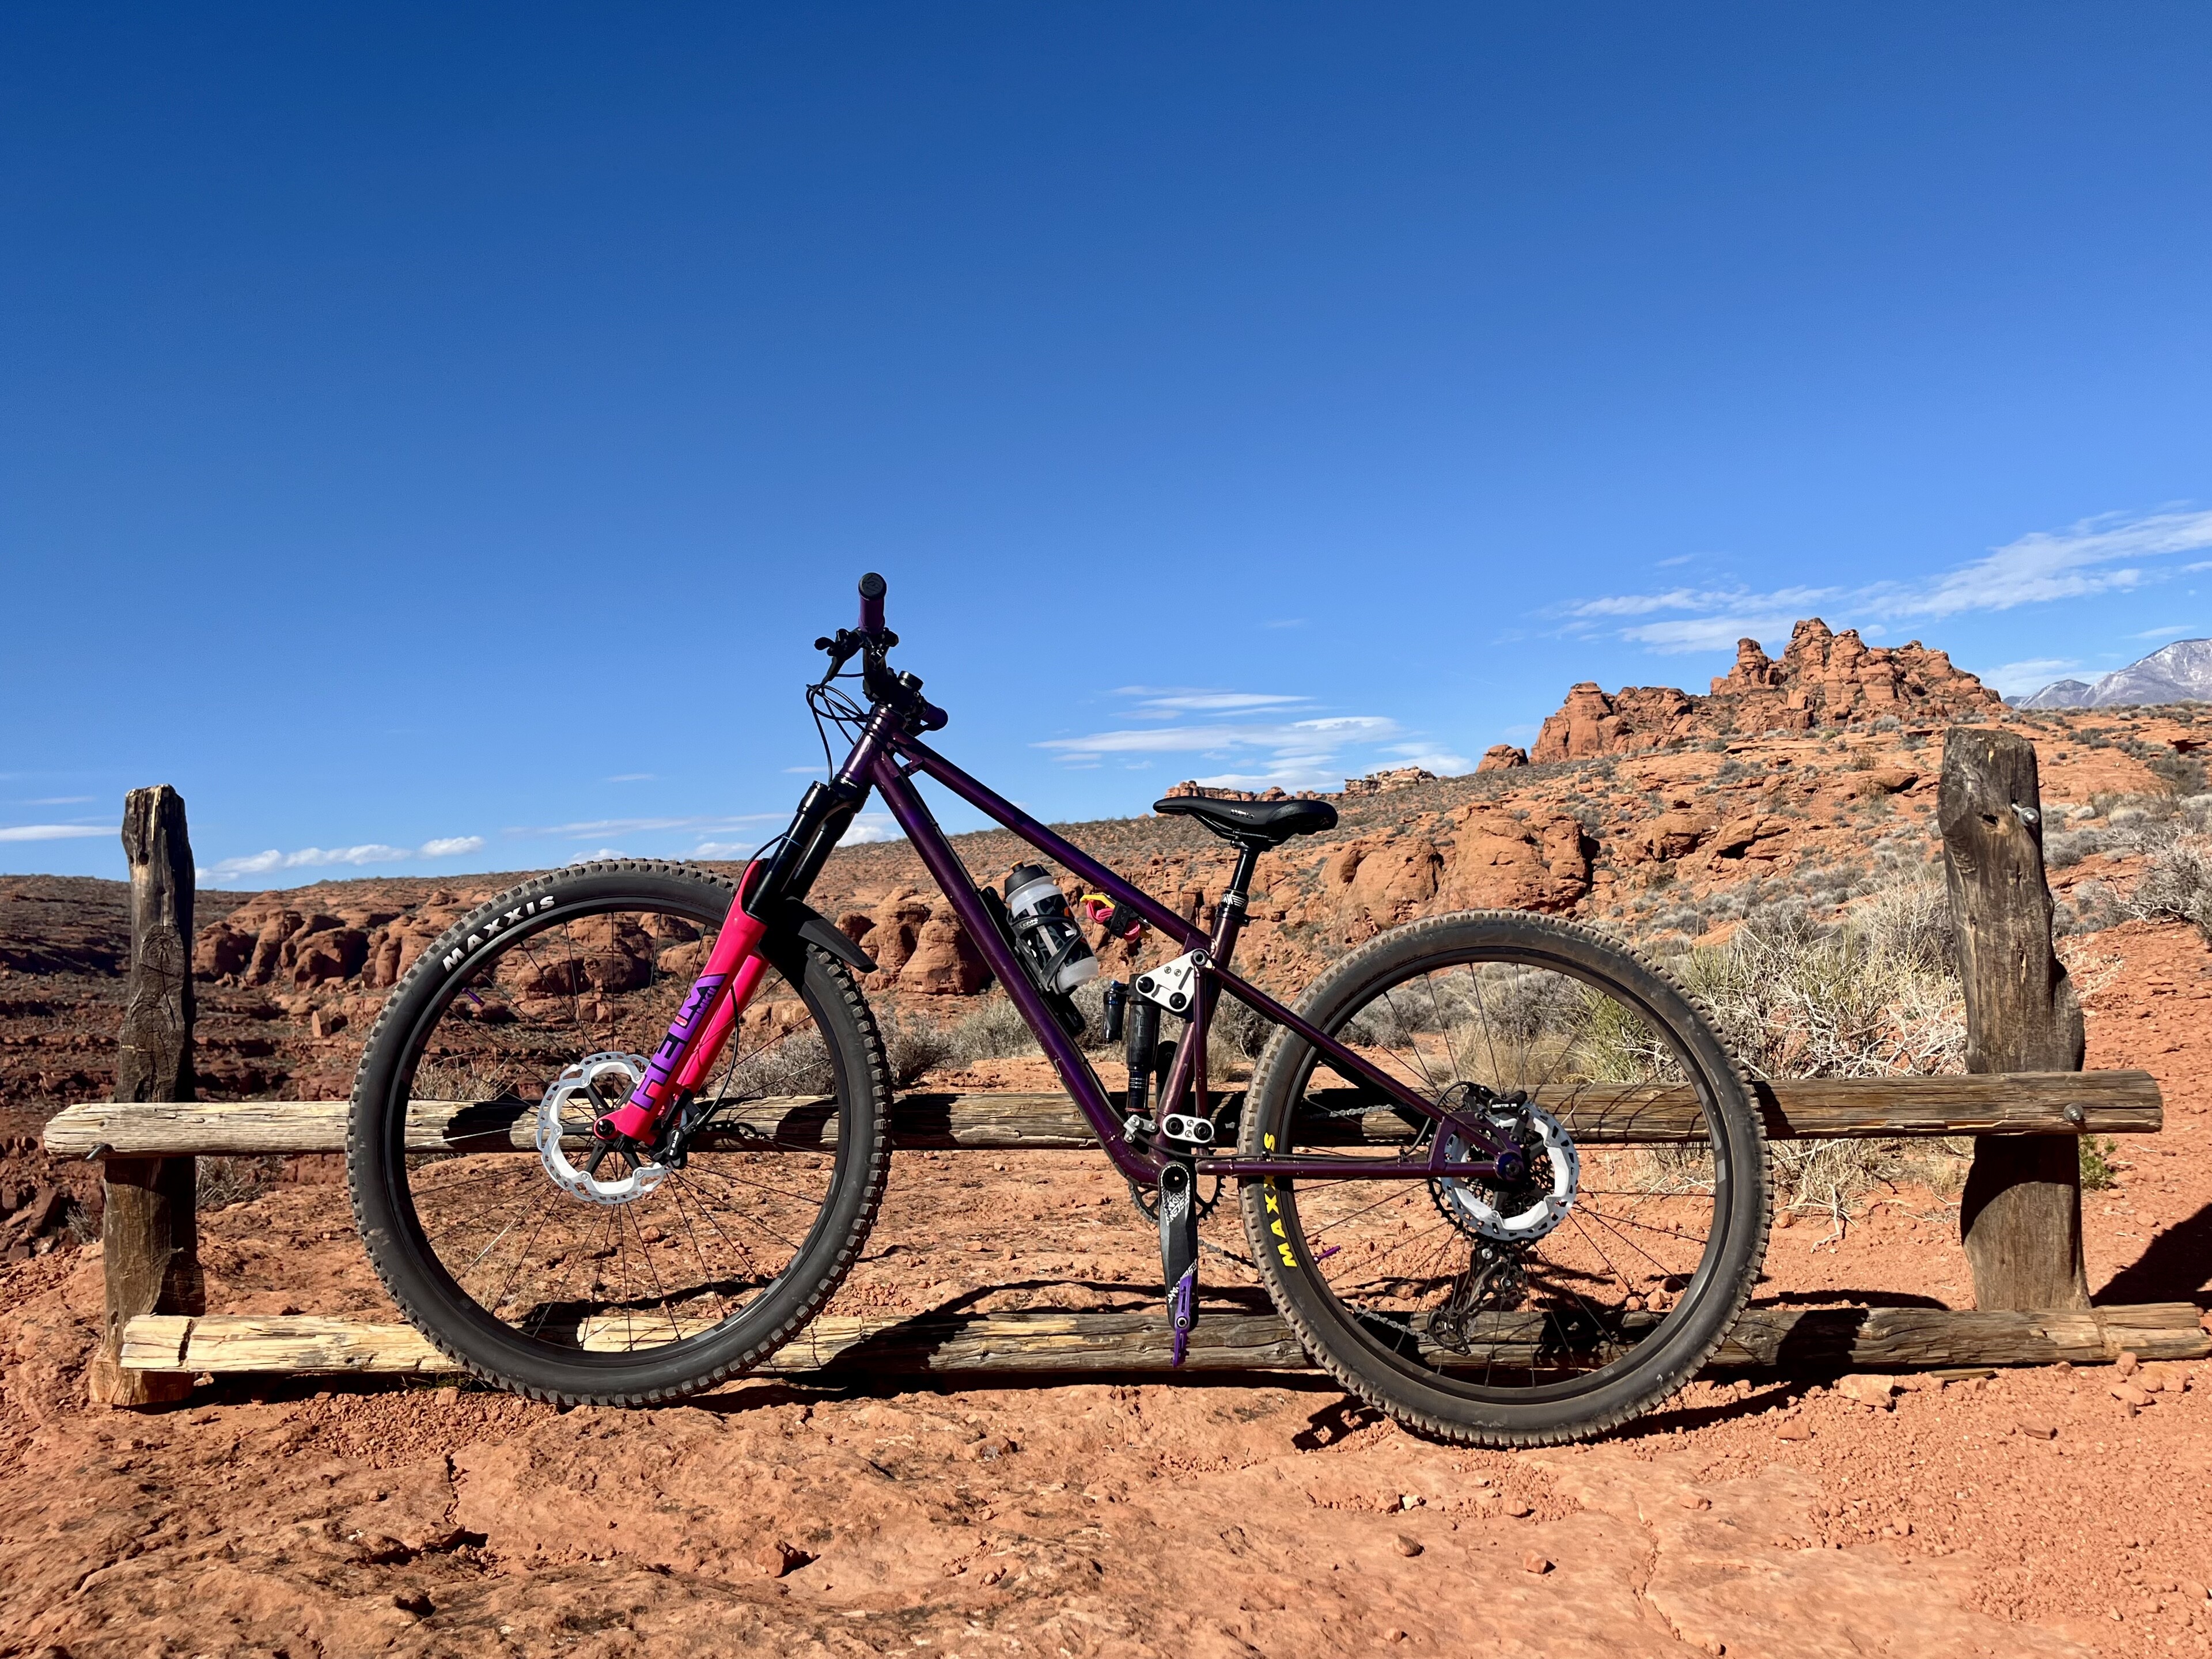
My wife’s had several rides on it now and it’s held together! She likes it so far. She especially likes the move from a 120mm dropper to a 170mm. I love the look of it, she picked some great colors and the fork just is a fun cherry on top.