I’m creating this topic in hope that I’ll find time and energy to post some updates from my what’s going on in my workshop.
I’ve recently had to get some time off of social medias becuase it took way more energy than it gave. also fuck Meta.
Will propably still do some posts now and then on my Instagram to keep the buisness alive…
Anyway I often feel quite lonely being all alone in a dark and cold workshop all day so I thought this could be a nice way to share some work in progress and get to talk to other people about it 
Currently my main project is to make tools and processes for a small batch production rack. Will share photos and more info about it in my next update!
Best, Tore 
18 Likes
Totally can relate. SM is so draining, both to post and to view. I spend 3hrs to do a bike photoshoot knowing it will occupy someone’s feed for less than a second.
Also, I hope you (and everyone else) do not feel the pressure to update the forum. It’s here for fun and for community! Weekly, monthly, and yearly check-ins are all appreciated. 
6 Likes
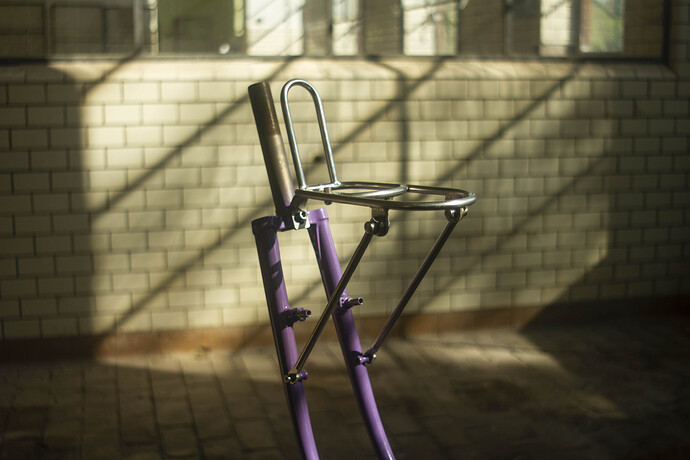
I finally started producing the first batch of my Silver Heron front rack!
More photos
here
I’m very happy to be in production mode after months of preperation. However the prep is really paying off!
I’m naturally seeking towards a “just do it” kinda work process so it’s felt like a lot of work to go through all the little steps and trying to describe it all in a short way so when I’m producing the racks and am in doubt of anything I can refer to my production plan and it will tell me excatly the measurement or method I’m unsure of. Although I’ve tried to workout a detailed description before staring the production I’ve made a lote of useful notes so next batch will hopefully be even more smooth.
It’s been massively helpful and also quite confidence boosting to go through this process.
First batch will be 10 racks. They’re made from Ø8x1 4307 / 304L stainless steel tube.
The design is inspired by the old TA 270 racks.
Below I’ll post some of the tools I made to streamline and speed up production time.
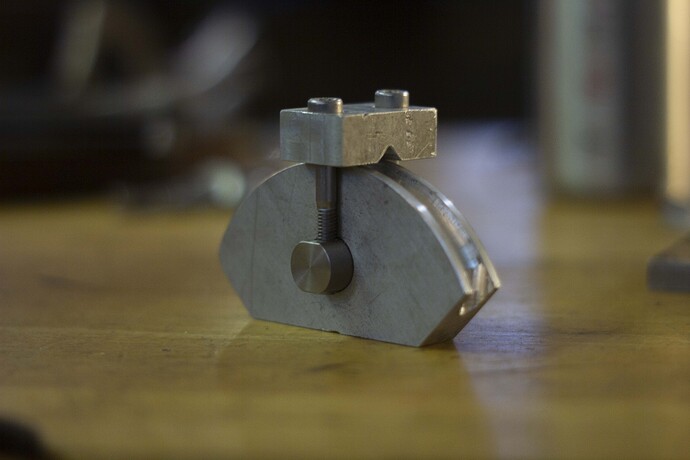
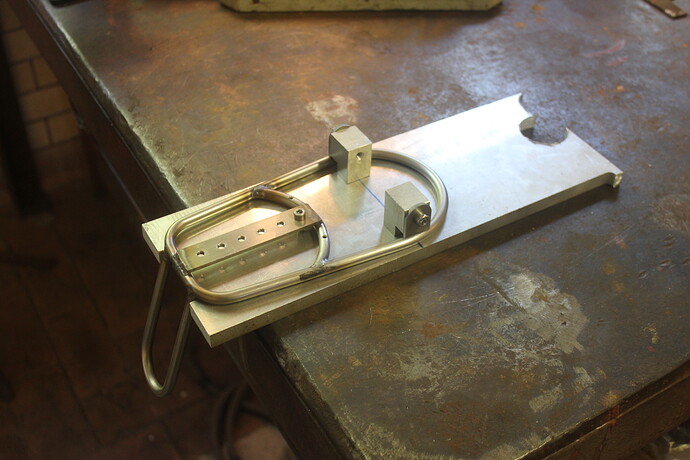
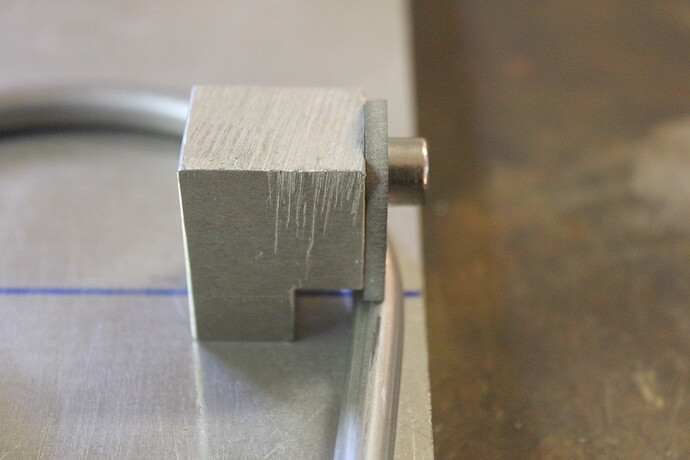
This is the tool I use to miter the platform support tube.
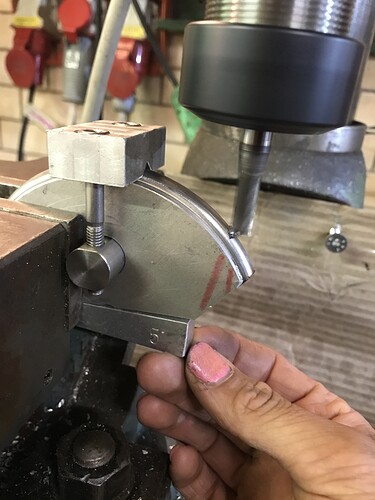
Here it is in action. I use a 5° wedge to match the angle of the platform. Also made a distance tool (a plate piece of steel) to set the distance between the vise and the milling tool without measuring anything.
Might redo the clamping if/when I do another production run so it has two clamps. This way pushes the ends if the tube a liittle up from the fixture making them a little bit wobbly, so I had to scrap a few of them…
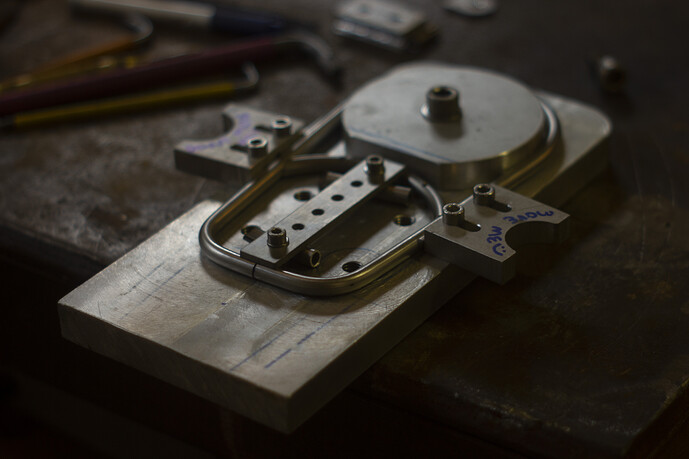
Welding fixture. Not so much to say here. clamp down. tack. repeat.
The tabs, rack arm ends and struts are watercut from 3mm plate.
I have a 16 hour part time job at a fab shop with a watercutter that I can sometimes use after hours very cheap.
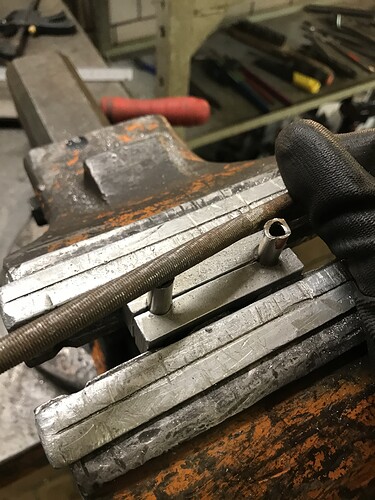
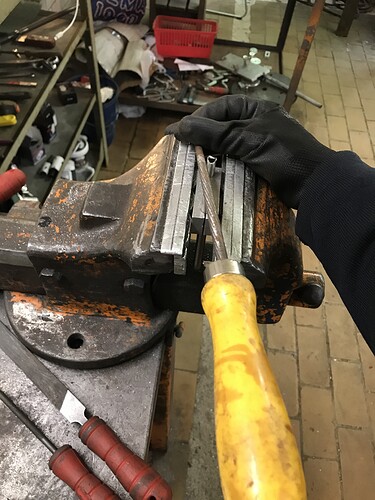
The only miter I make by hand is the tombstone. Since it meets the platform at an akward angle this was the best way I figured out to do it. Made a custom clamping tool to make sure I can hold it tight without leaving any marks in the tube.
I rough files all of them in about the angle and then went through the pile again to correct the miter and make sure they’re all square with the platform.
Thanks for reading this far! 

xoxo, Tore
11 Likes
Slowly getting back in the workshop after some lovely days off of work!
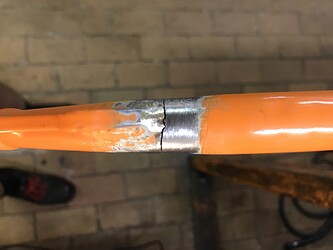
Just before leaving for a car/bike trip to the UK my commuter/touring bike’s fork snapped, which sort of lowered the bar for how much biking would be involved in my holidays…
It’s the first fork I build and the rake was not done ideally and fork blades are not speced for disc brakes, as well as I know (Reynolds 631 blades). And it’s been ridden rough on a daily basis for 1,5 years! No wonder it would brake at some point.
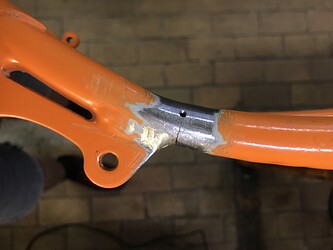
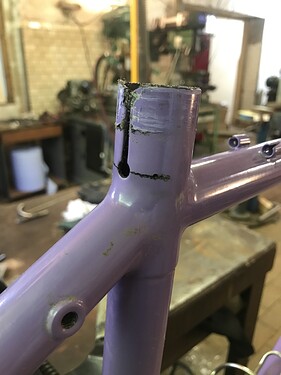
Also my first broken frame came in within the same week! I build the frame for a close friend at a very low price as my 3rd frame. A part of the deal was that I was not sure what I was doing haha.
Not sure what was in the coffee I drank that day, but if I remember correctly I made the sleeve out of mild steel and looking at the inside of the tube I can see that the seat tube is still intact - only the sleeve is broken.
It’s been a little rough emotionally to have things I’ve build fail, but I’m really happy that no one was hurt and looking back I know why they failed and learned a lot !
Now I just need to get them fixed! Any good ideas for both are welcome 
On the a exciting note: I’ve started planing bikes for Bespoked in Dresden in October and I’m really excited at what I’ll be bringing! Will share a bit when I get started 
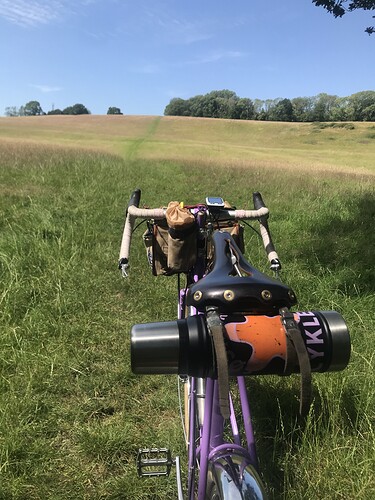
A little bit of summer vacation vibes <3
4 Likes
Was that hole drilled in the end of the existing crack or was it there from when you made the fork? Either way, as you mentioned, using lightweight blades with a disc tab that stops abruptly will always end up in a crack. Any attachement needs to taper out gradually to spread the stress over a bigger area and blend the volume of the material. Good learning experience for you.
2 Likes
![]()
![]()
