I built one frame with S&S couplers. There are two basic ways that people build with them: install first or last (meaning you make the whole bike then cut it and add in the couplers). I installed them into my tubing first and then built the rest of the bike using my normal process.
They are very easy to work with, I just had to clean them up (my couplers were used) and silver brazed them into the tubes. The only other extra step over a normal bike was being even more careful in measuring butts to try and get them in the thicker area. I was using 9/6/9 Columbus SL tubing, so it wasn’t anything super thin. The couplers have a really precise fit and silver brazing them went very smoothly.
I’m a hobbyist so I can’t buy S&S couplers. The hardest part of the build was acquiring them. A few times in my life I’ve seen a crashed bike listed with couplers that could be extracted.
The Z-couplers look nice, but I don’t think they have enough surface area for brazing and I don’t TIG weld (though I really should learn).
For road frames (or just frames that don’t need dropper posts) the Ritchey breakaway system is super simple, inexpensive, and lightweight. It’s limited to 31.8 or 34.9mm downtubes, though.
Just thought I’d mention it. S&S are super cool too and great if you’re doing something that won’t work/fit with the Ritchey system.
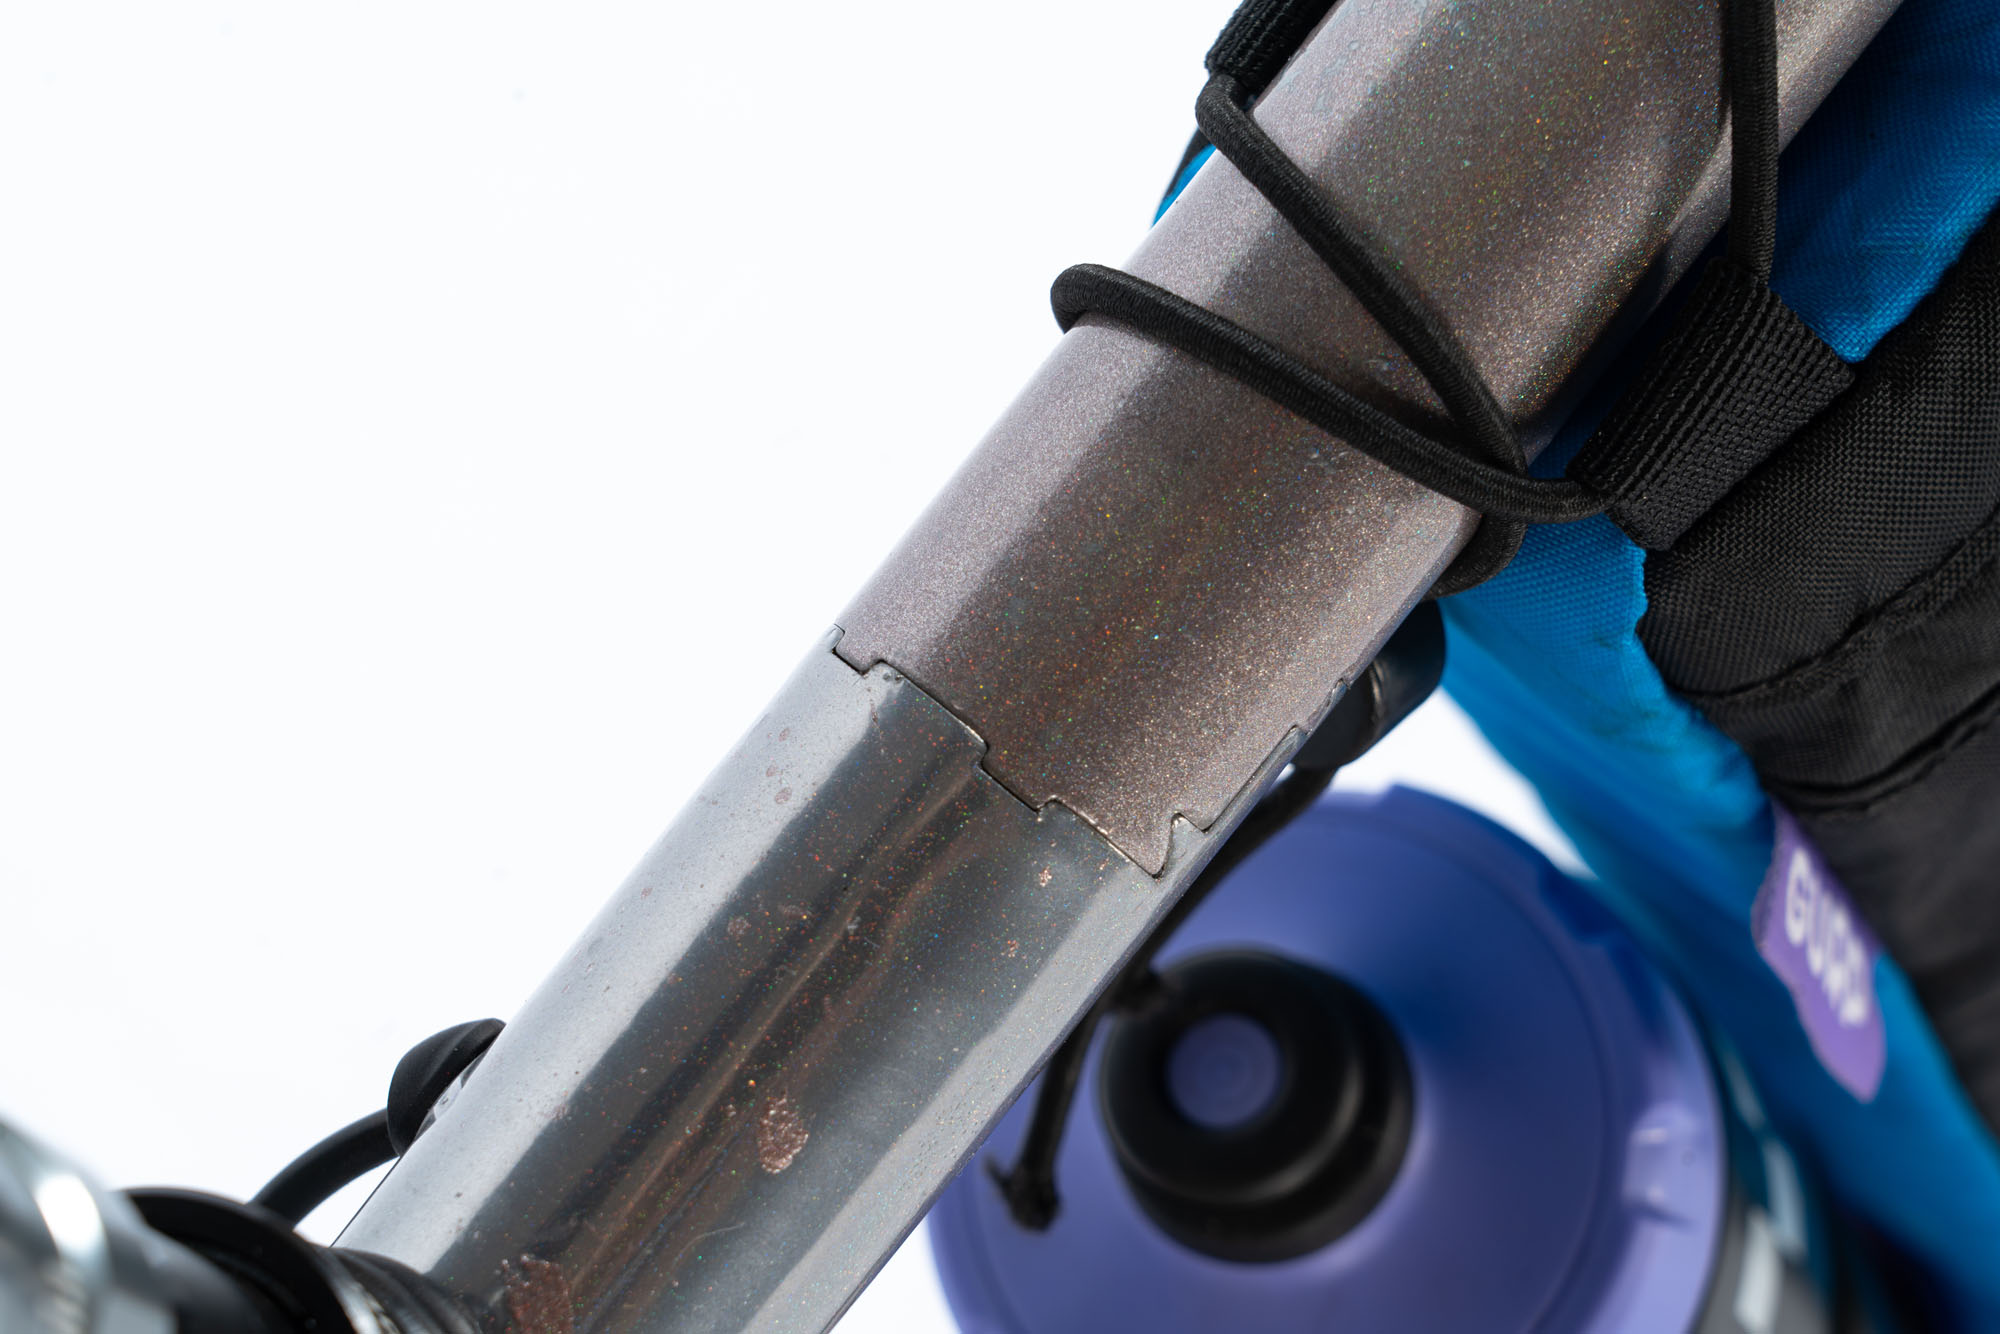
FWIW, I have always made sure the couplers are in the thick section of tubing but I know lots of retrofits have been done (including by me) where nobody knows where the butts are and I’ve never heard of an S&S frame failing at the couplers - so it probably doesn’t matter.
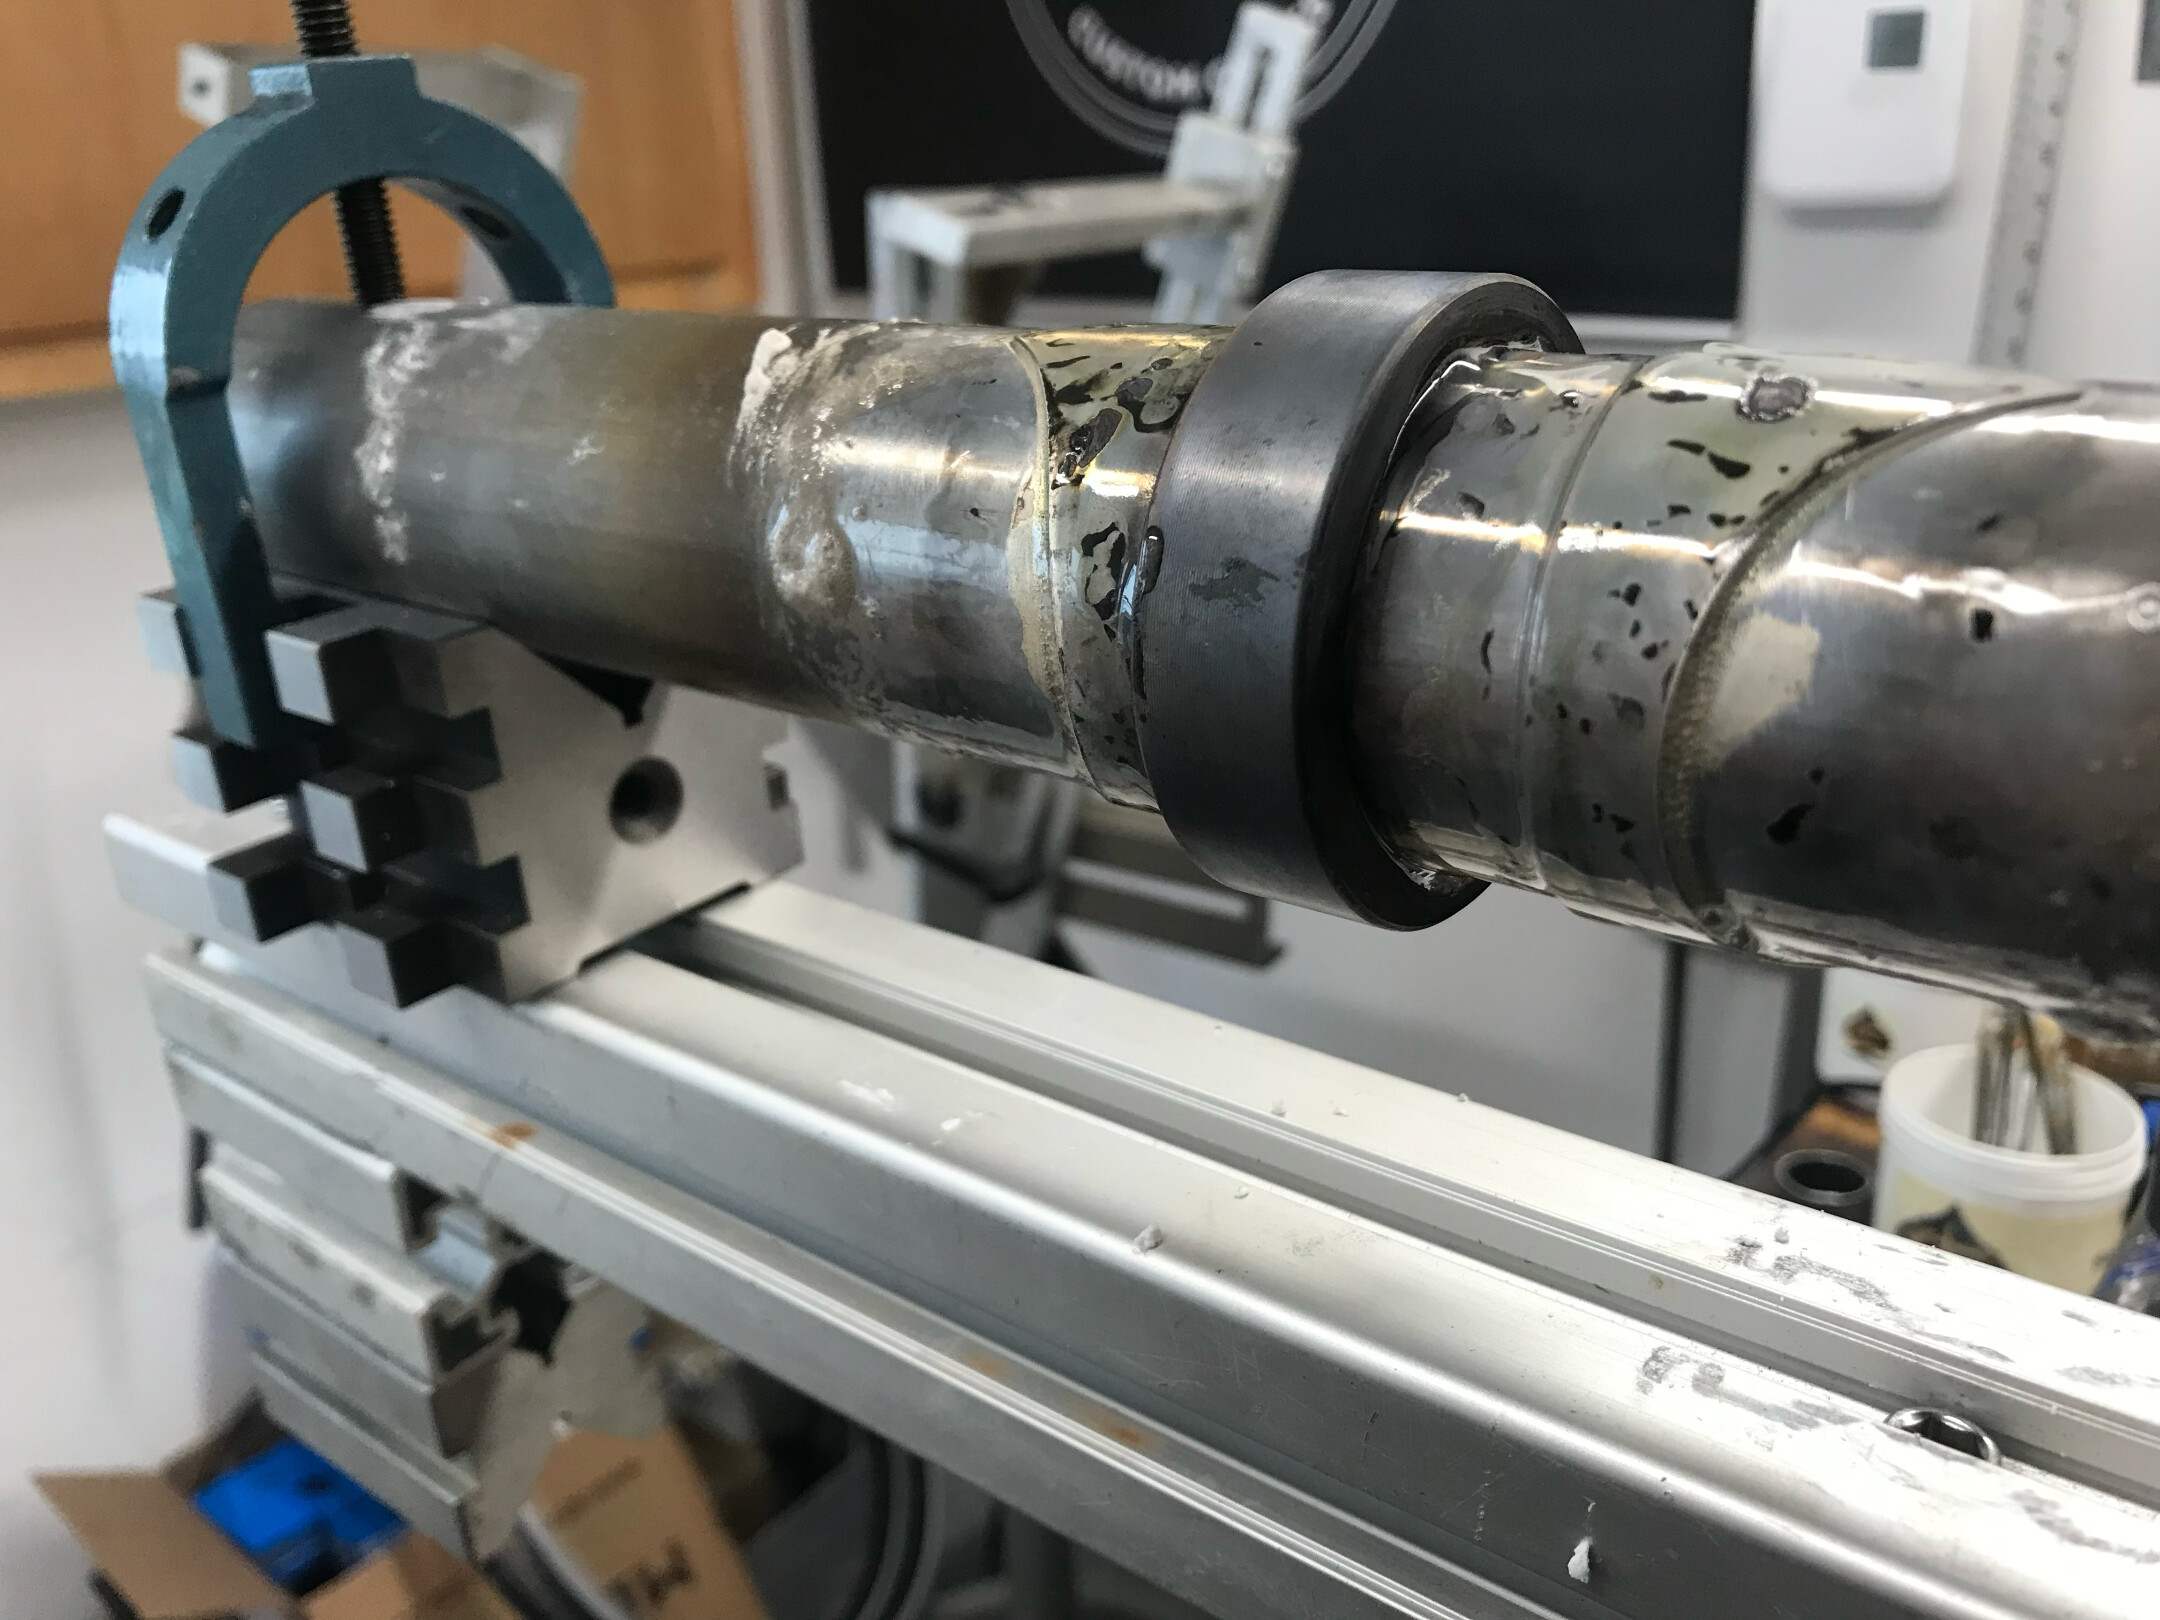
Drill some small holes radially in your frame tubes where the step is for the Z-Coupler. Use these holes to flow silver into the joint, and for visual confirmation that the silver is actually where it should be. If this is done well, the tube will fail before the joint does.
I’ve done over a dozen S&S bikes, half retrofit, half new builds. My retrofits have worked well, with a properly fitted jig. For new builds, I made up a tube jig with some 80-20 extrusion to hold everything in alignment, it’s been fine. Once installed, the tubes are built into a frame as usual. I do put the couplers in the thick butted zone, selecting tubing with a shorter thin zone to accommodate.
I’ve only done one Breakaway frame so far, this one was for me, I rode it in PBP ‘19 to good success. A pretty unconventional build, using lugs and a lugged bb, made the seat lug with bilaminate construction, here’s my gallery of its build. Tamarack Breakaway | Flickr
It’s easier/less stressful to build from scratch with couplers than retrofit, but if you can confidently build with lugs neither is terribly difficult - just finicky.
Building from scratch is easier because as @liberationfab mentioned you can face the tubes after cutting to keep everything proper. In retrofitting, you have to get your cuts bang on and at a critical length to not mess up the geo and if your hacksaw cuts are real wonky, it will affect the coupler alignment. Any retrofits I “face” the tubes with a flat file, but you gotta be real careful not to go over.
Good stuff! How do you like them? What tubing did you use? I’m thinking about a pair eventually. I like how it’s only a single bolt as opposed to the S&S.
I like them! I’ve never built with S&S so I don’t have much to compare them to but the build process was easy enough. I don’t recall the exact tubing I used but it was almost certainly 8/5/8 not-fancy, something like Zona.
You can also put a tube block on, and use it to scribe a square line, or use the block as a guide for your cut and file facing. Heck, put two tube blocks on that are spaced one hacksaw blade apart as a double guide!
Was it for a customer or personal? I haven’t seen or talked to many with the couplers. I wonder how they hold up over time. The one screw looks nice but makes me worry slightly about messing up threads. S&S just look more reassuring to me.
I guess it was a personal build - it was made specifically for PBE. I’d personally rather have threads that I can repair versus the S&S which is much more proprietary.
could anyone comment on packing a coupled bike into an airline compliant case when the bike has "modern standards’ ie 29x2.6/148mm rear/boost front?
im travelling next year and have used a 26" s+s in the past and have an s+s hard case. im thinking given the length of frames to have 2 sets z couplers at head tube and seat tube end a la tandem style as my preferred reach is around 500mm.
my concern is packing the width of the bike. one way around might be to locate non boost hubs and use an offset rear triangle if absolutely necessary but it would be a pain.
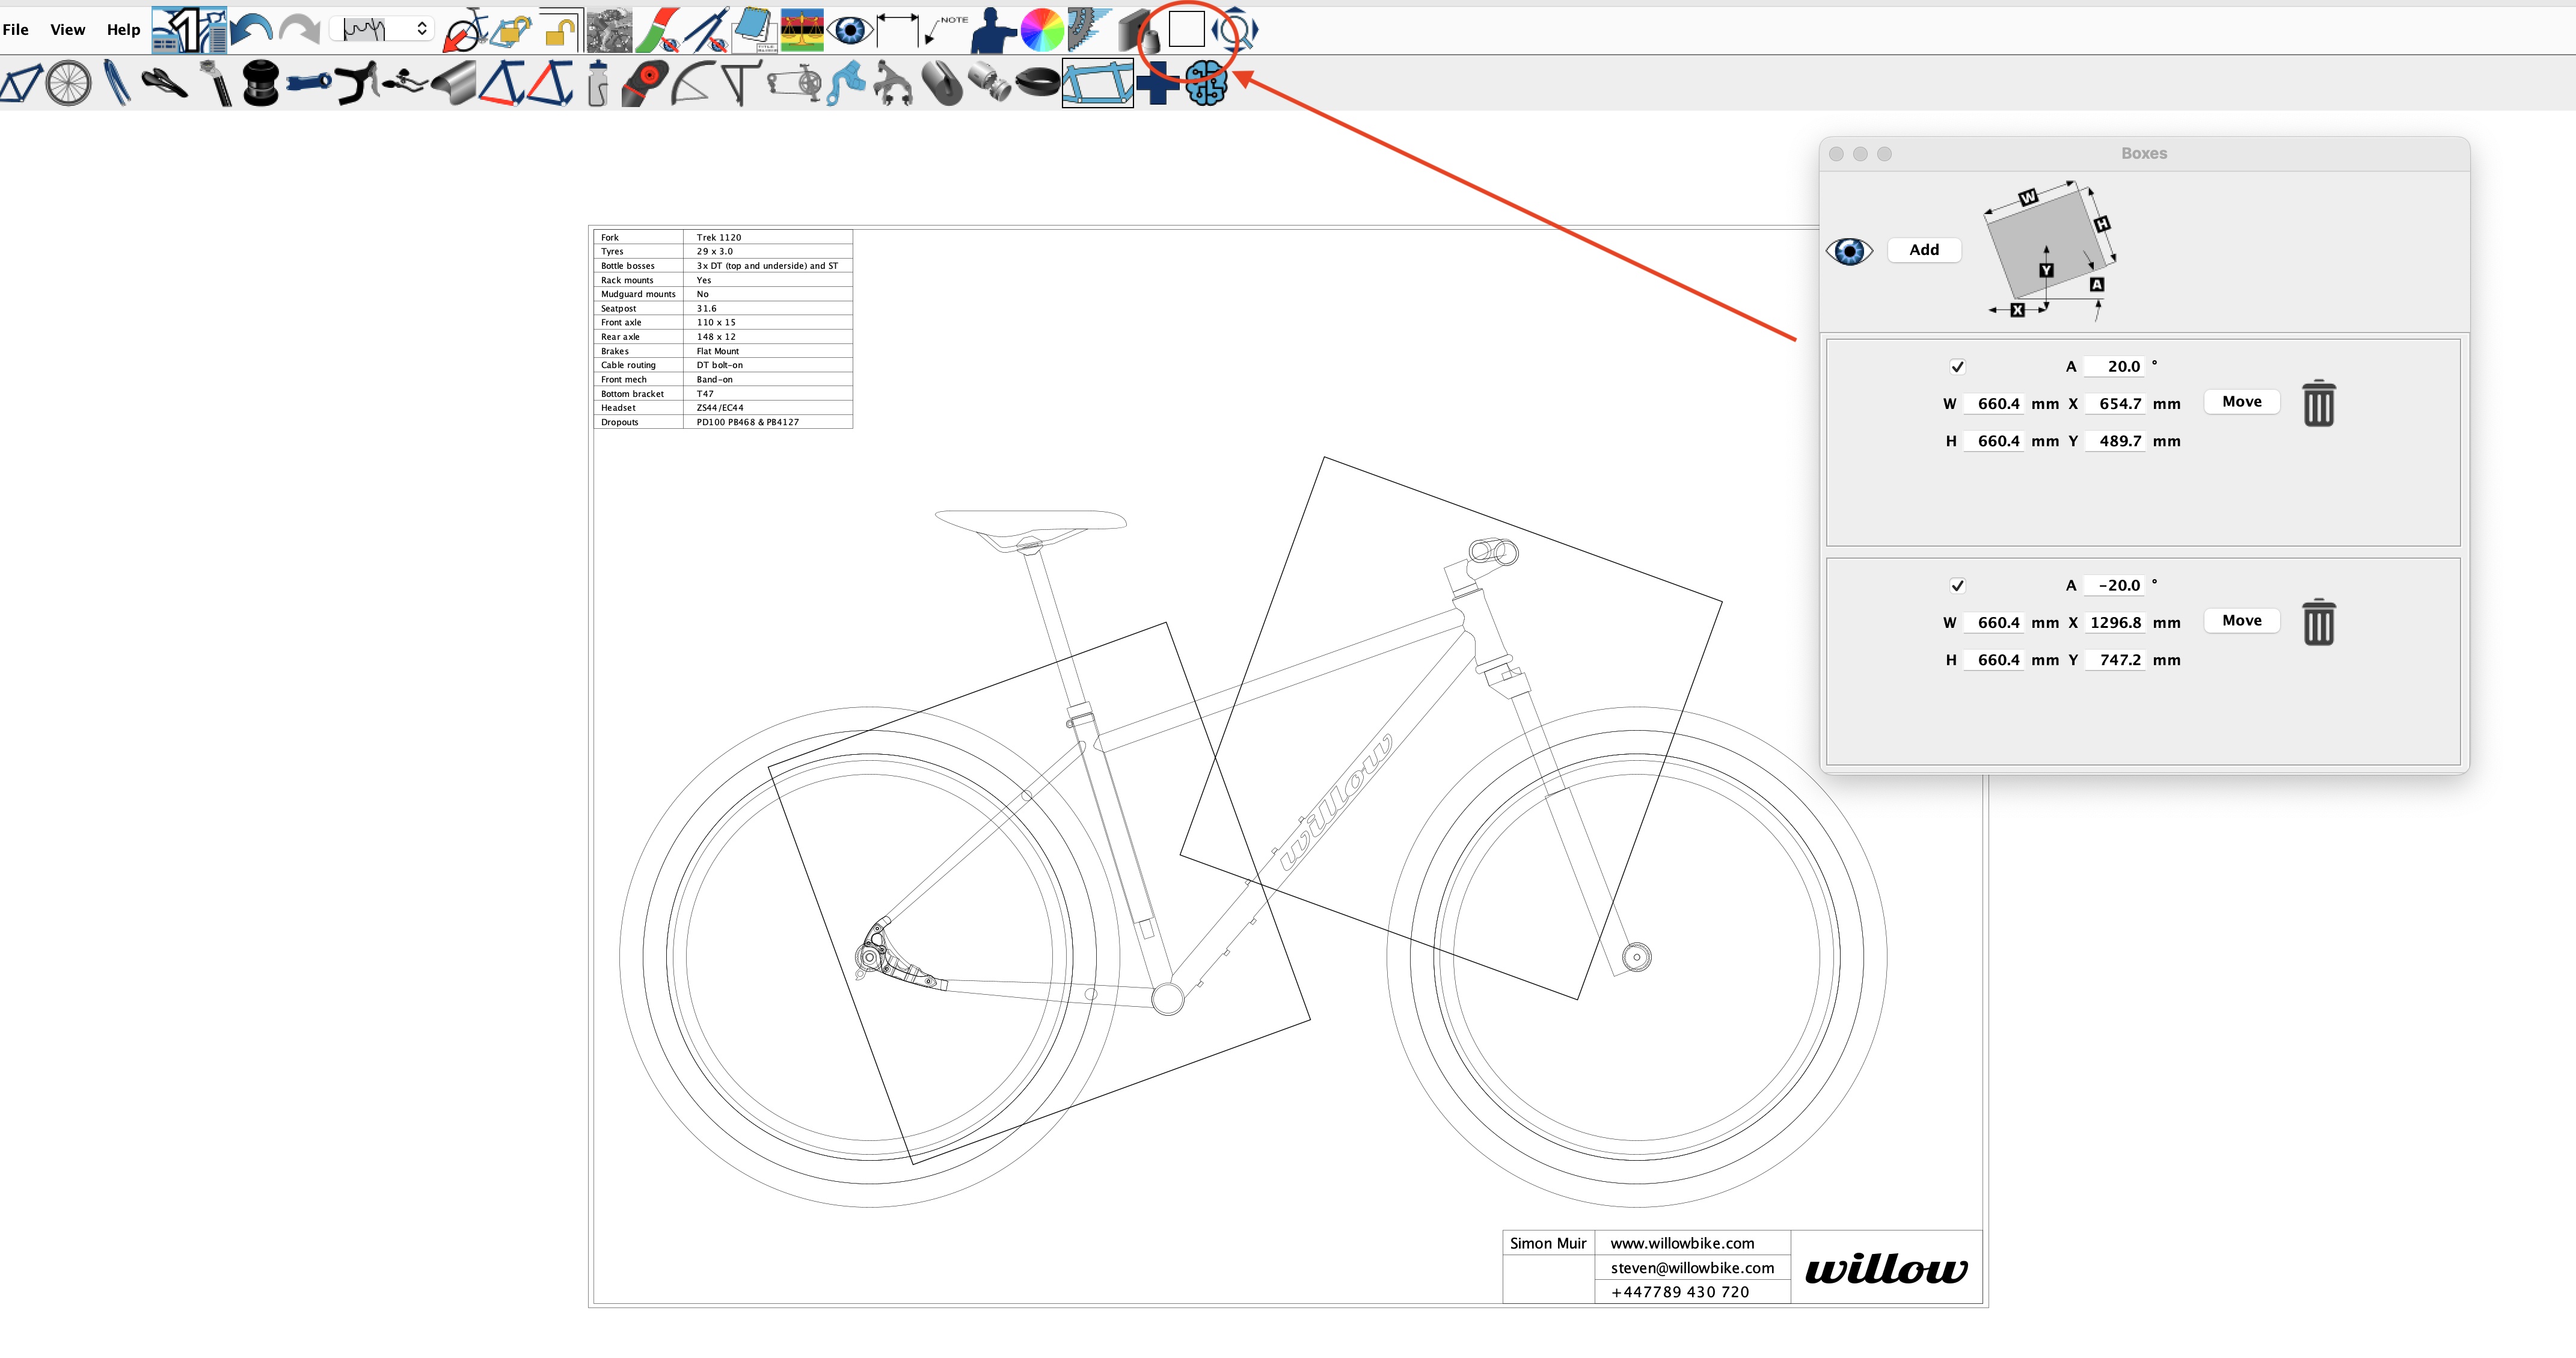
Yo Jon. If you’ve got a copy of BikeCAD, you can overlay ‘boxes’ on your drawing. It’s not perfect and doesn’t help with the width aspect but I find it really useful to help with where the optimum place for the couplers are. I don’t know if that feature is in the free version if you don’t have paid-for version.