Charlie's Build Log

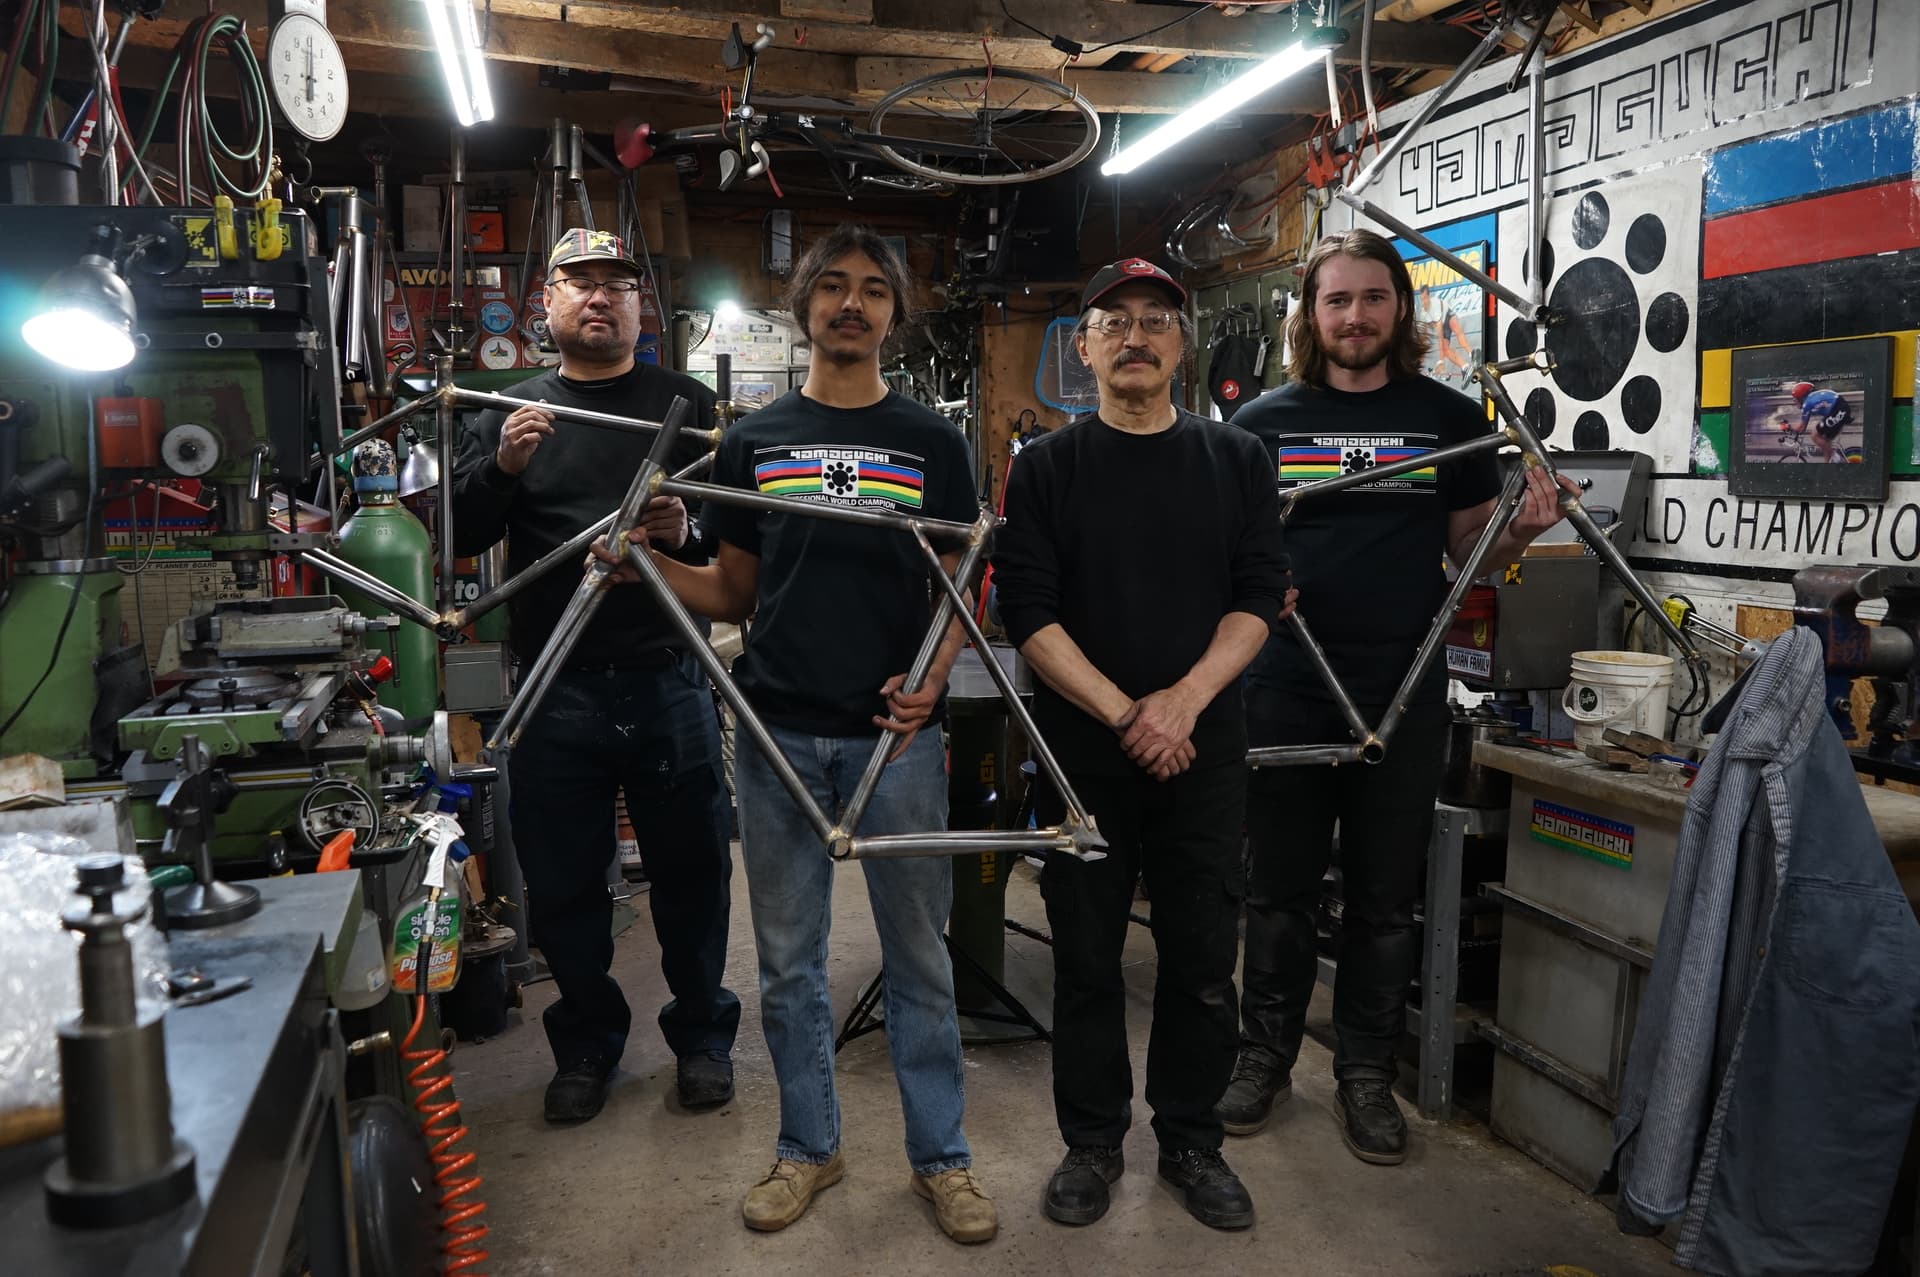
Digging through the archives for the pics of my first frame! This was circa 2018, I was 20 at the time. Frame was made at the first Susitna Bicycle Institute HQ, a separate 700ish sq ft garage next to the house me and my friends lived at. Made use of an old Nortac frame jig that was passed down to us from Jon Evingson, a retired local frame builder who was responsible for many of the first fat bikes.


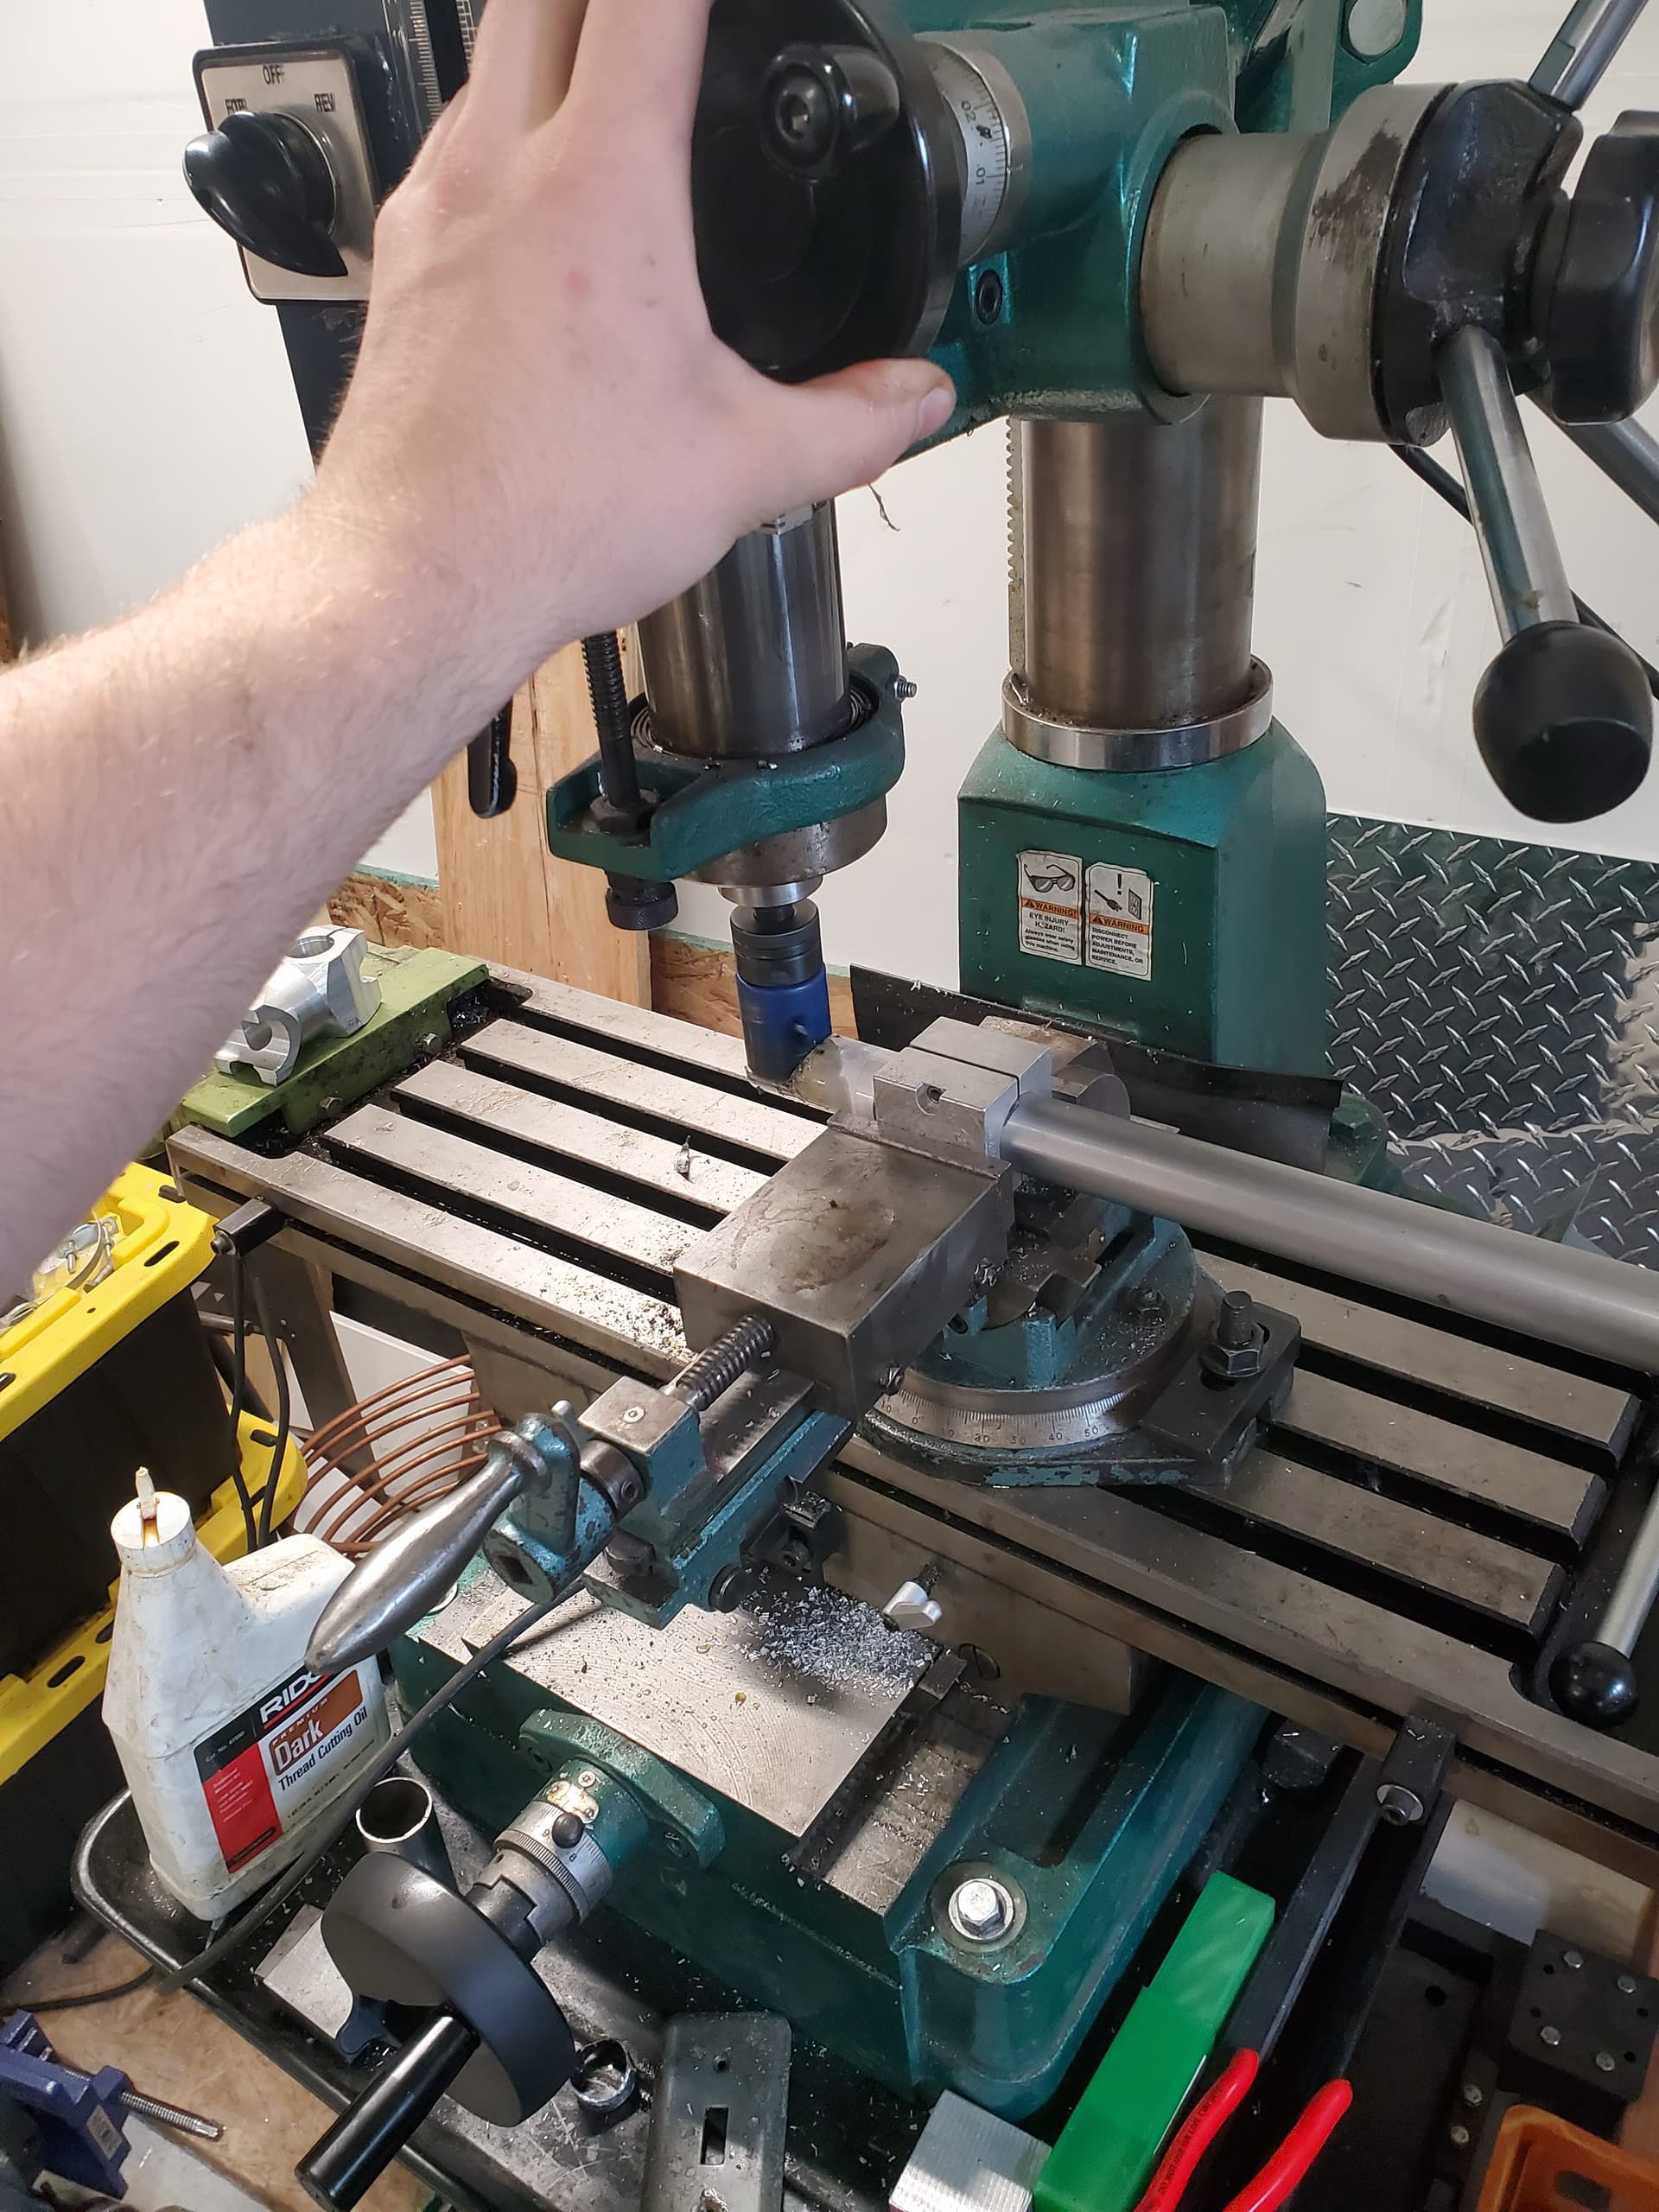
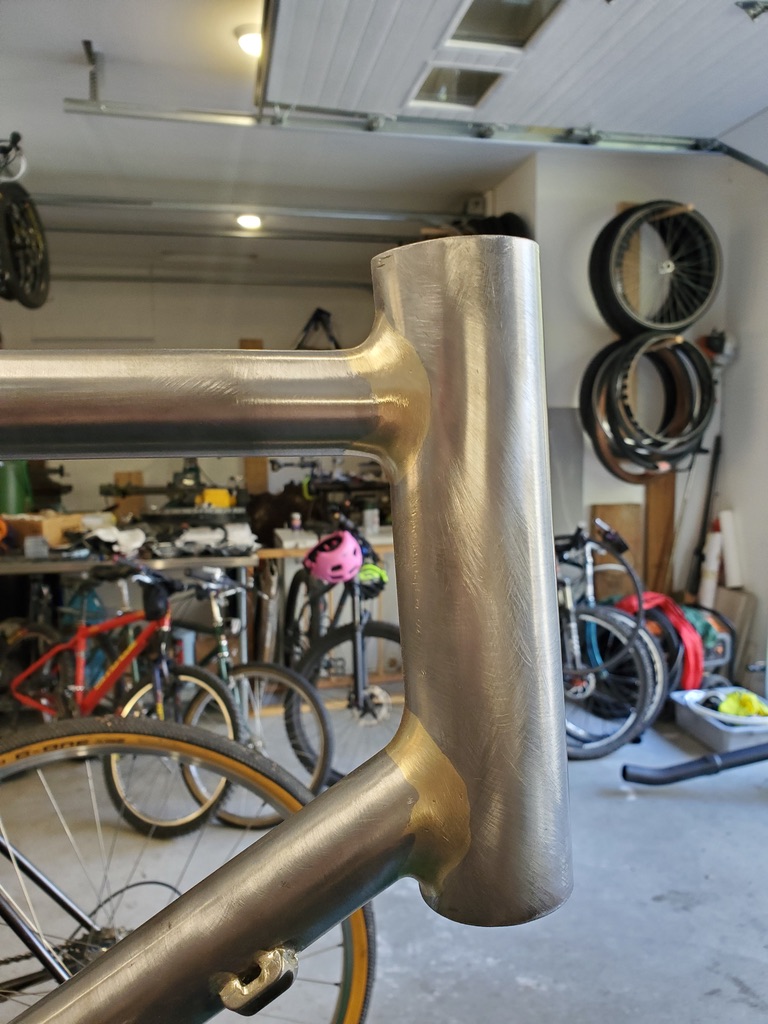
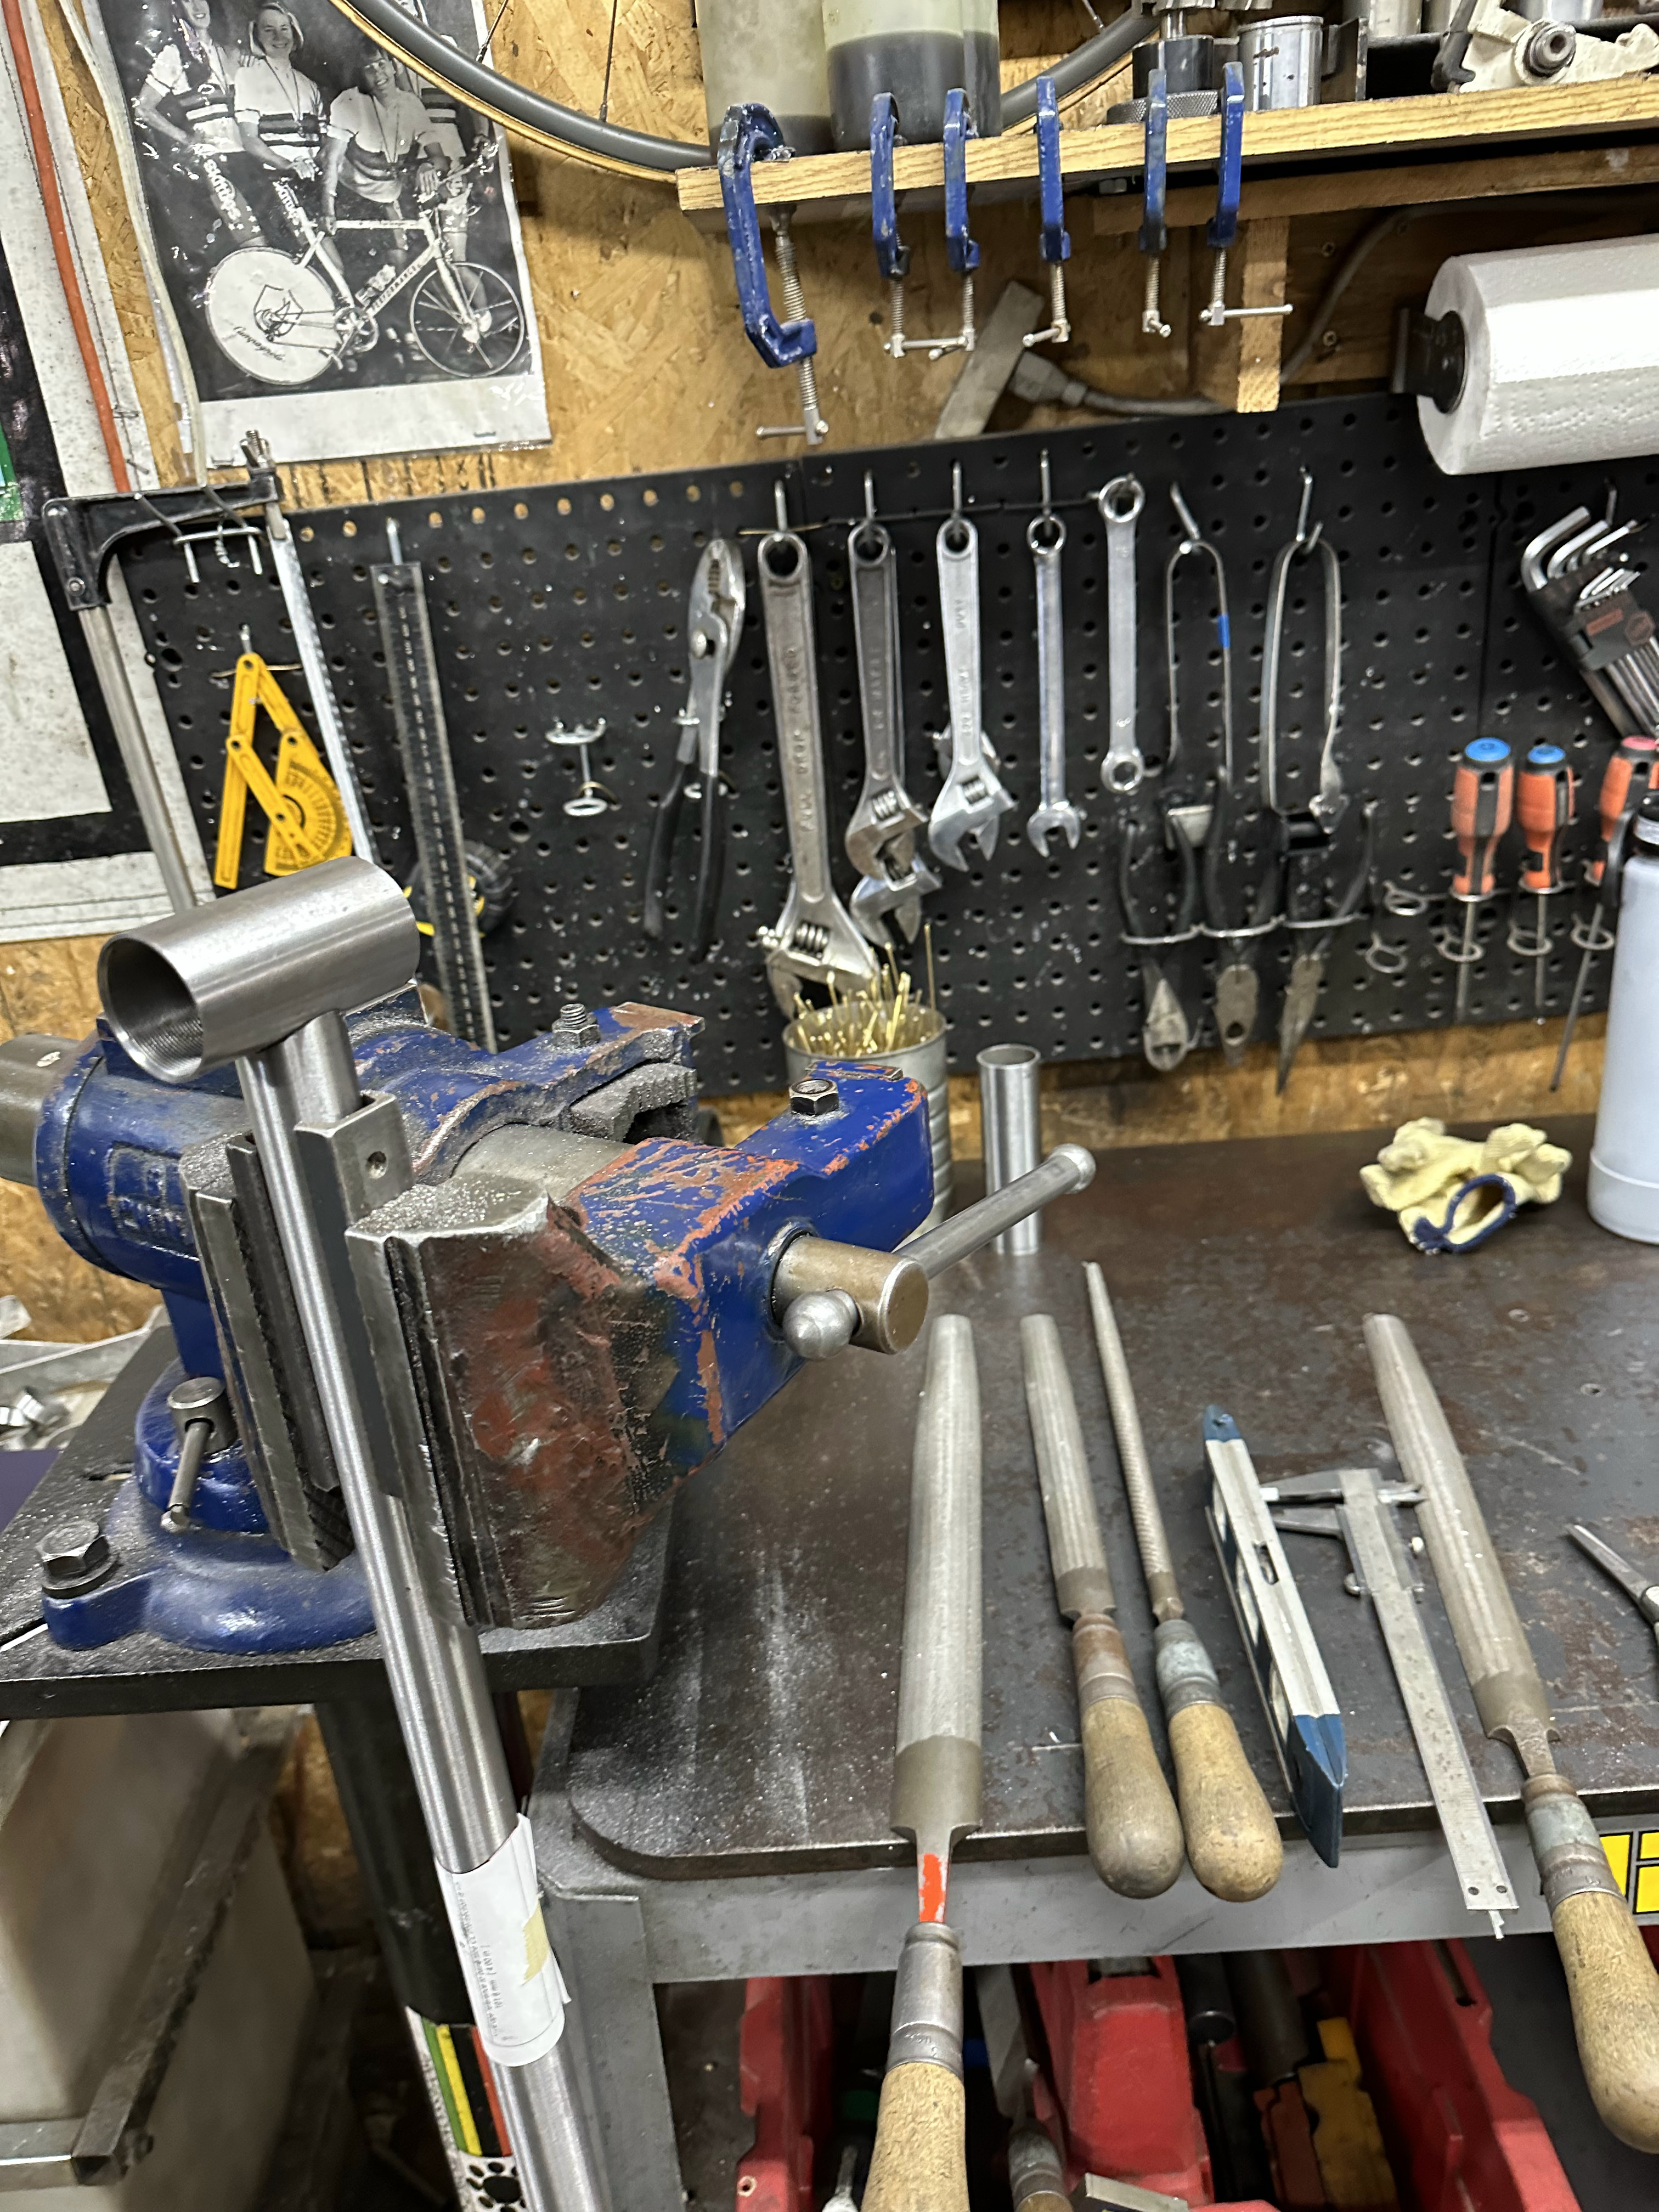
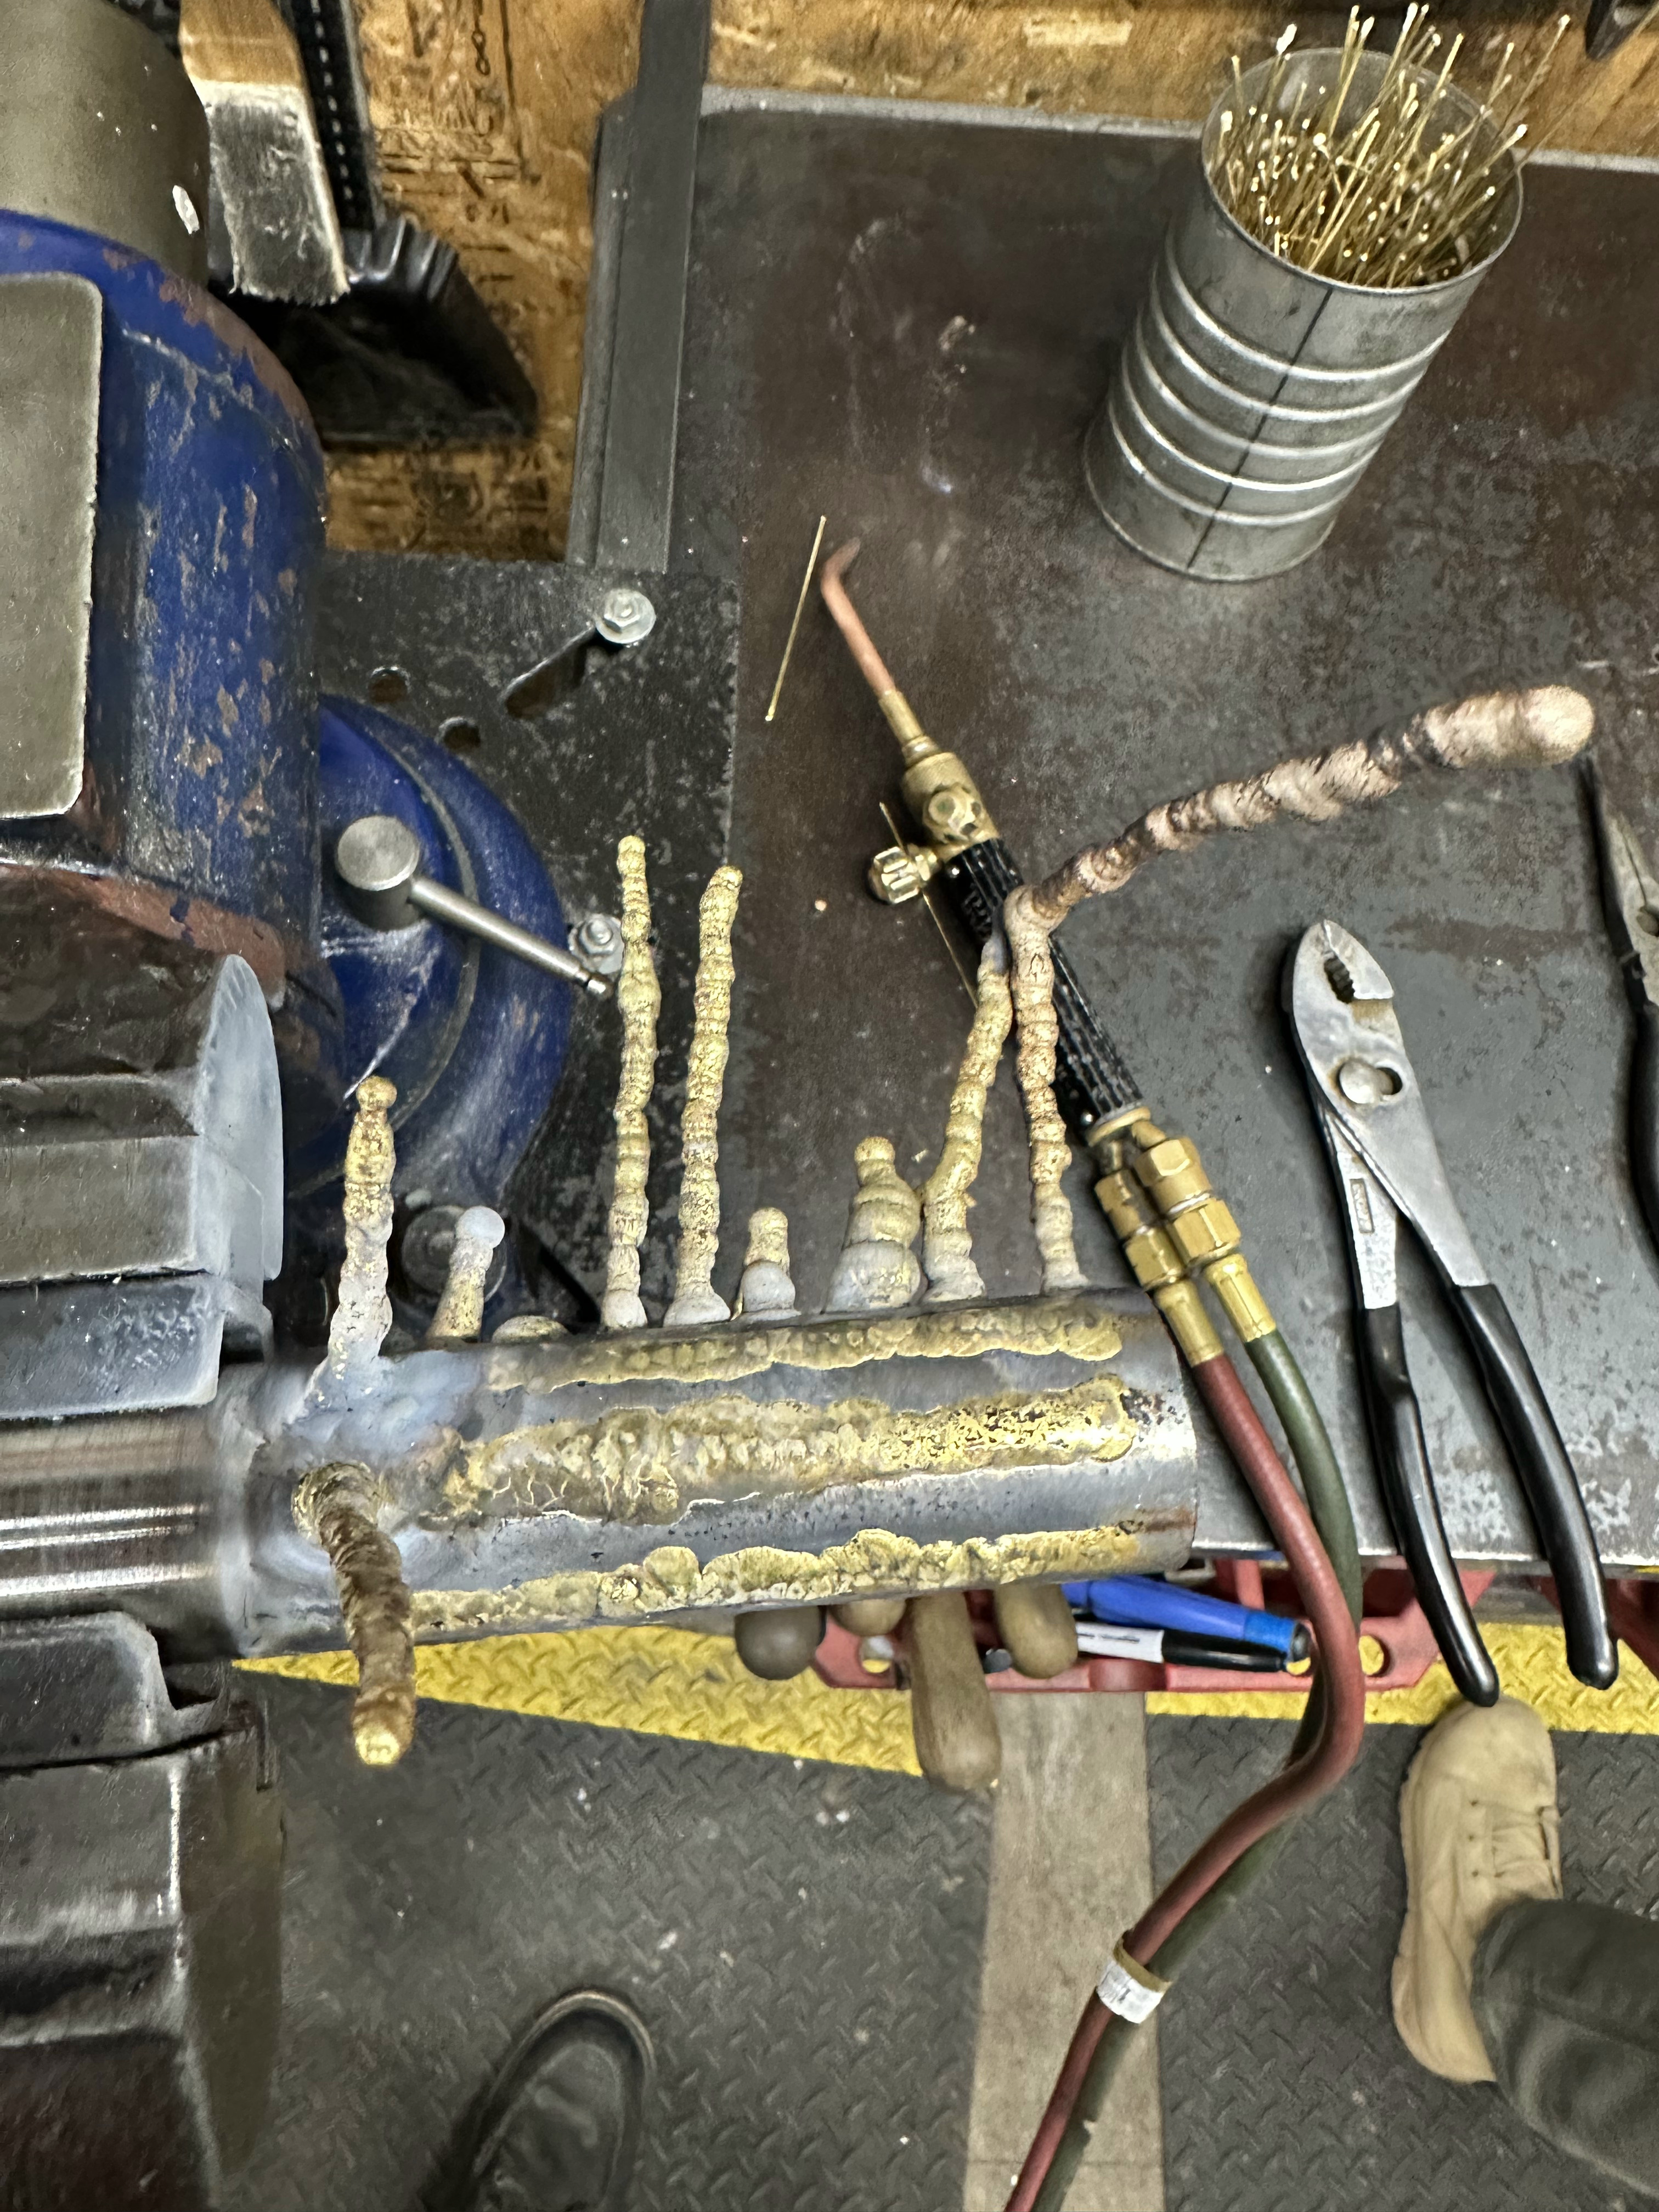
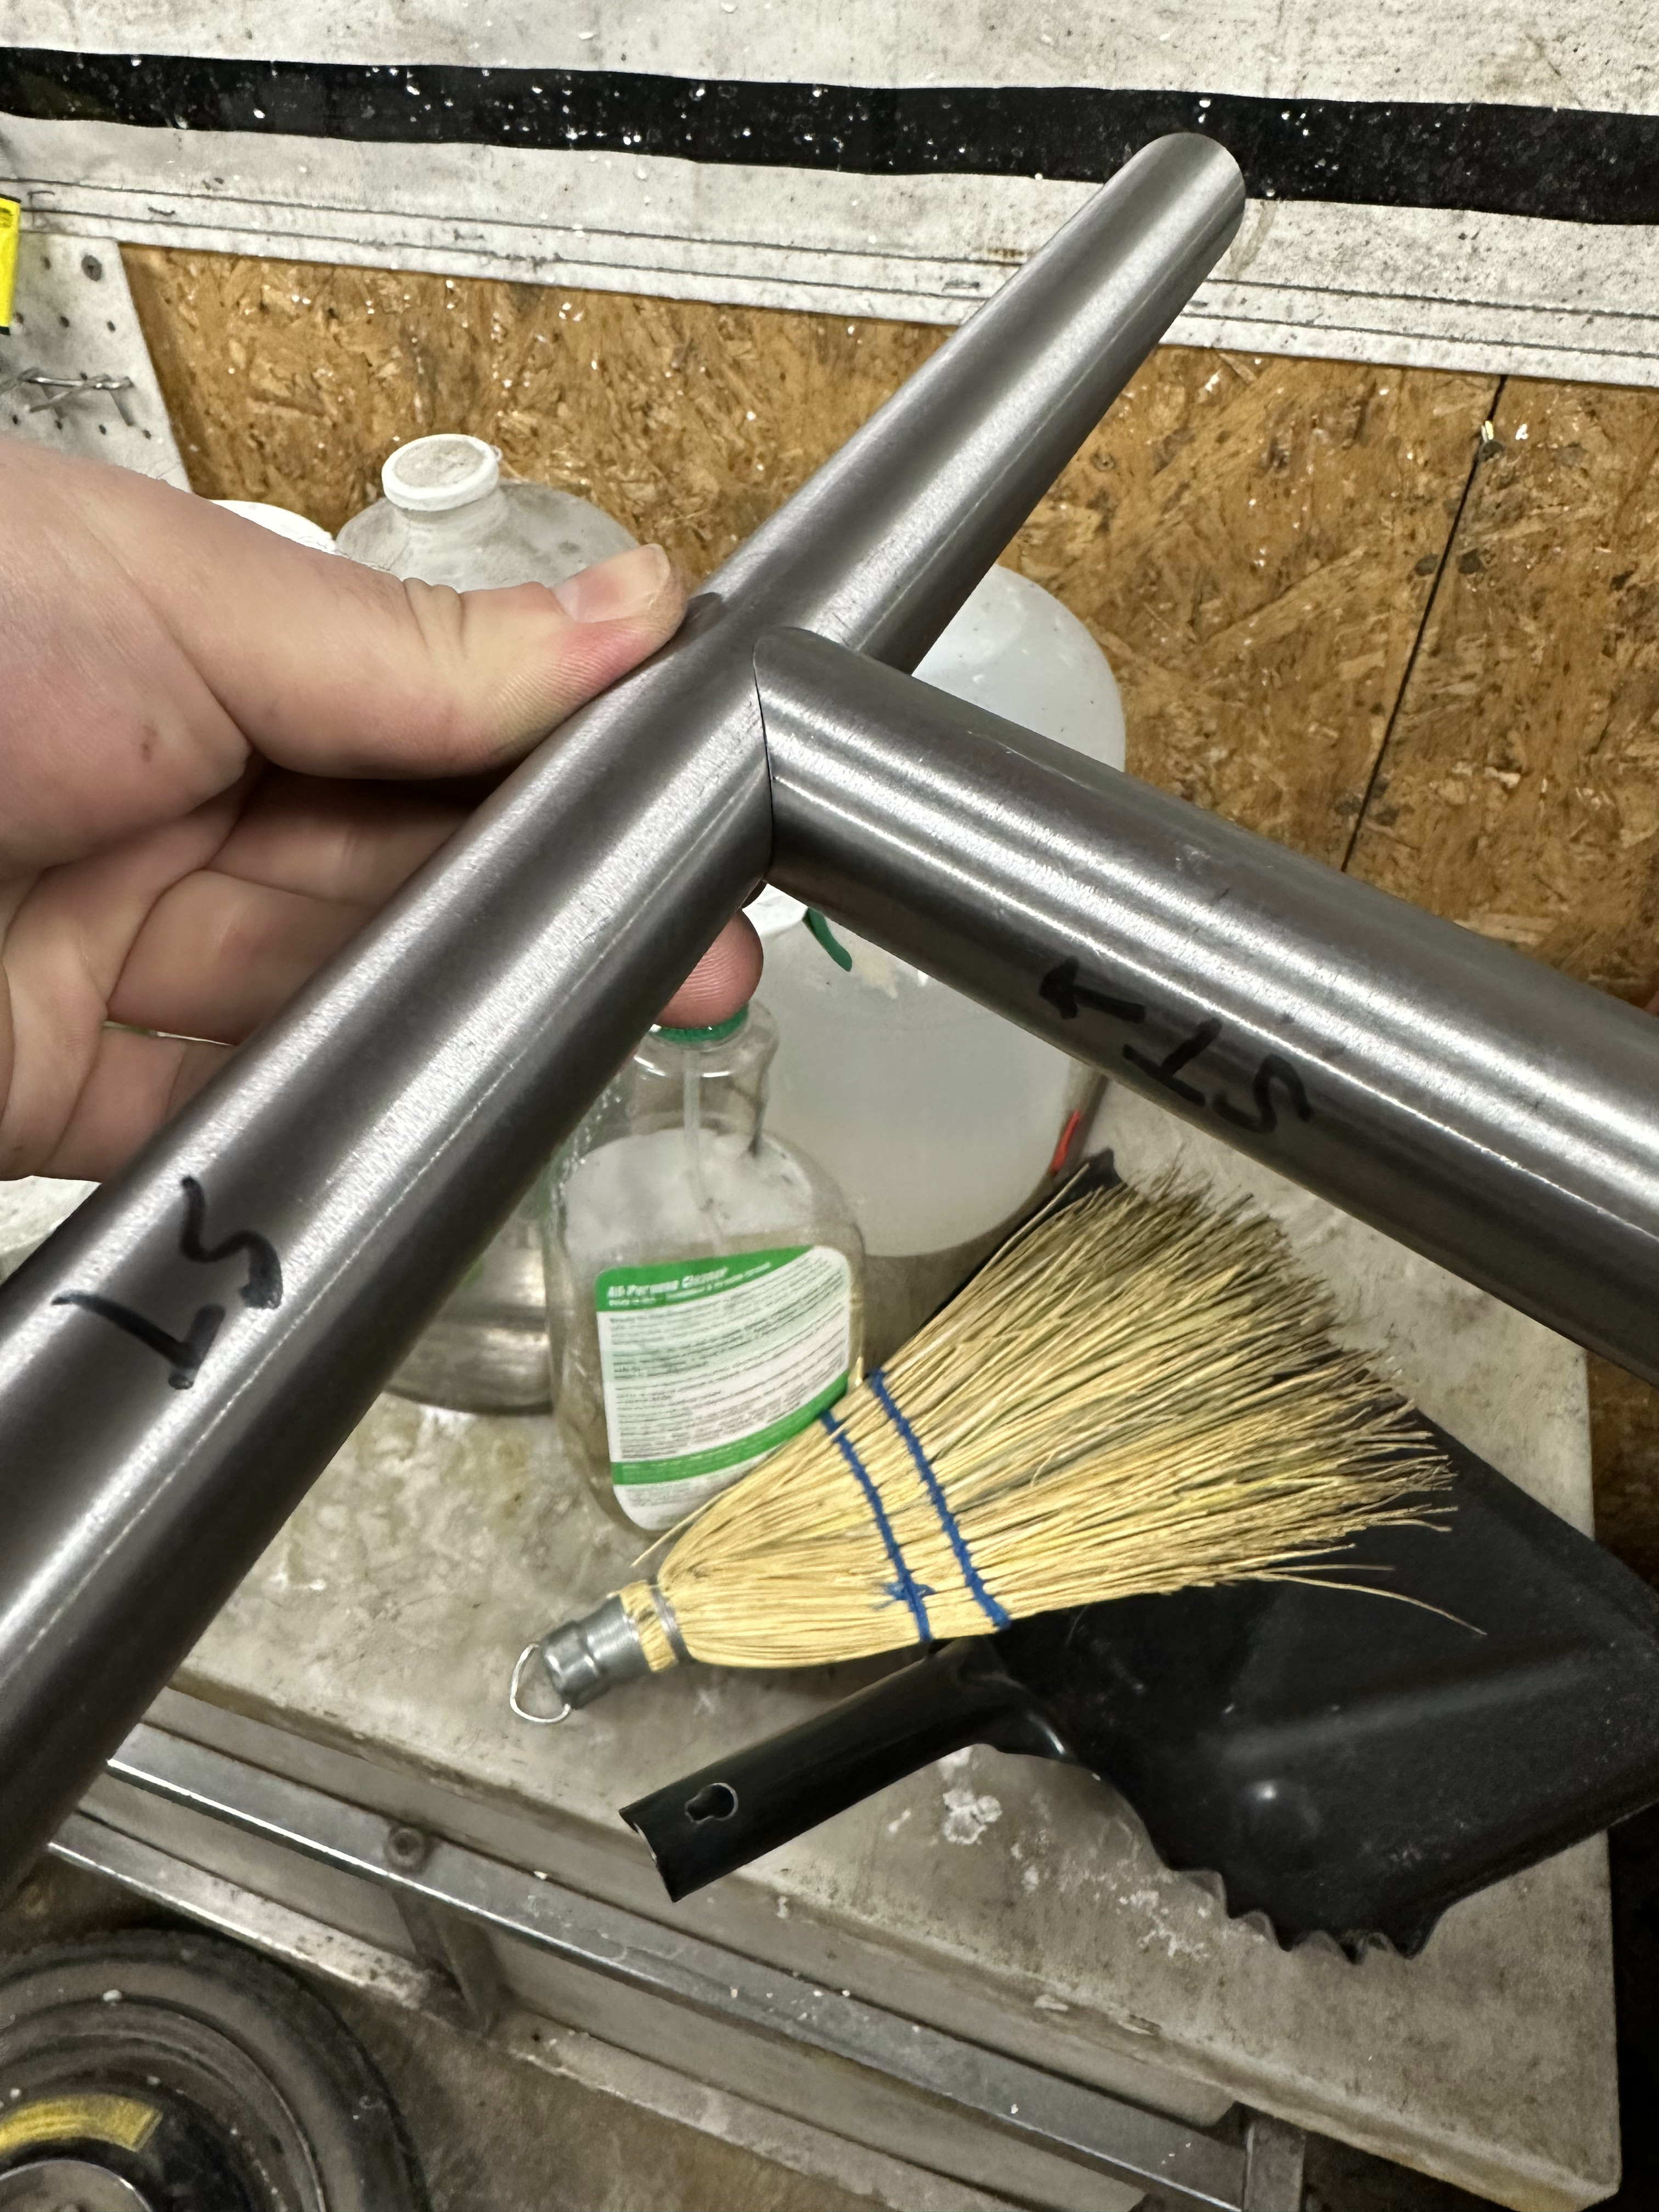
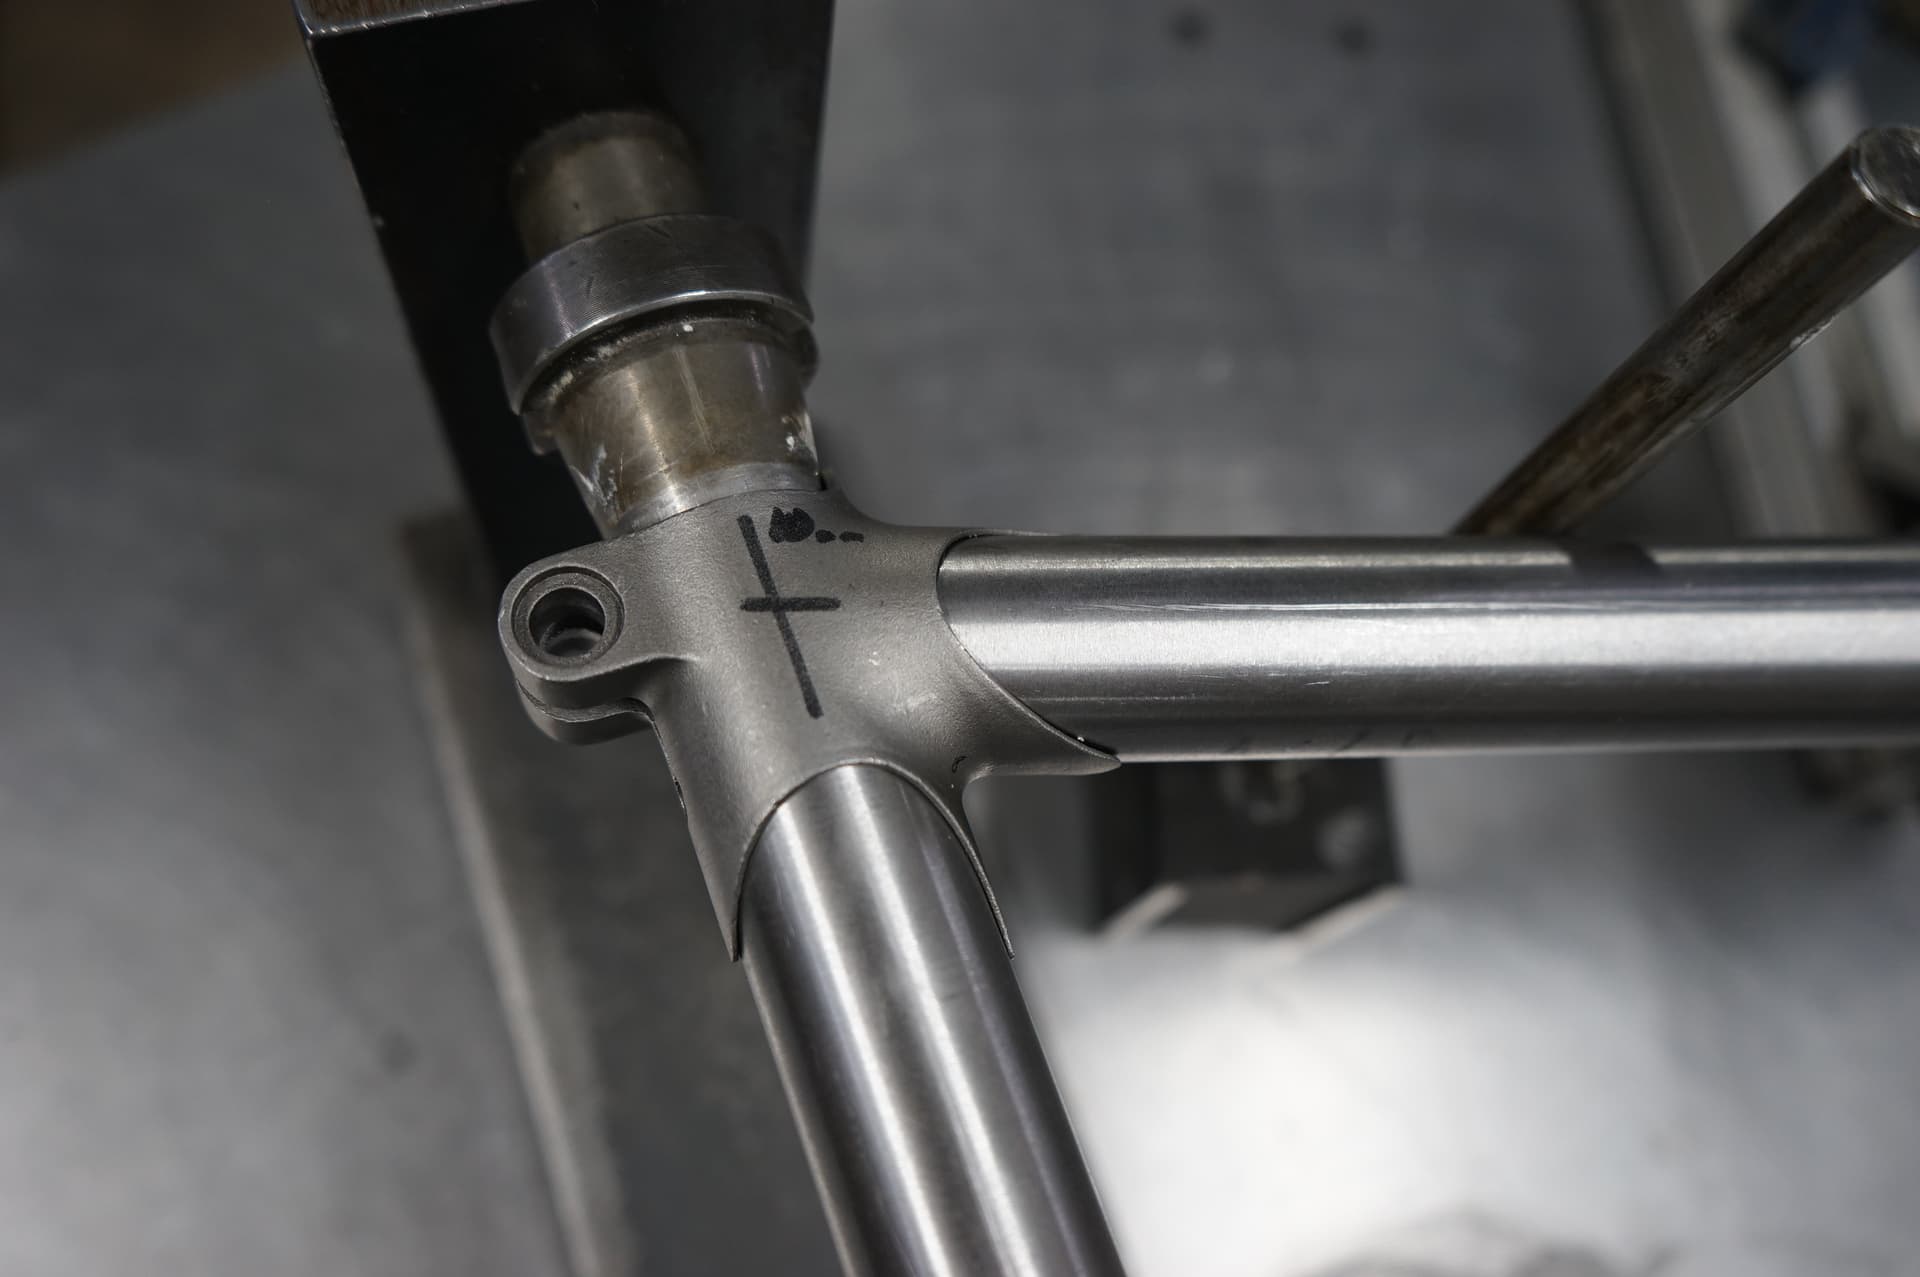
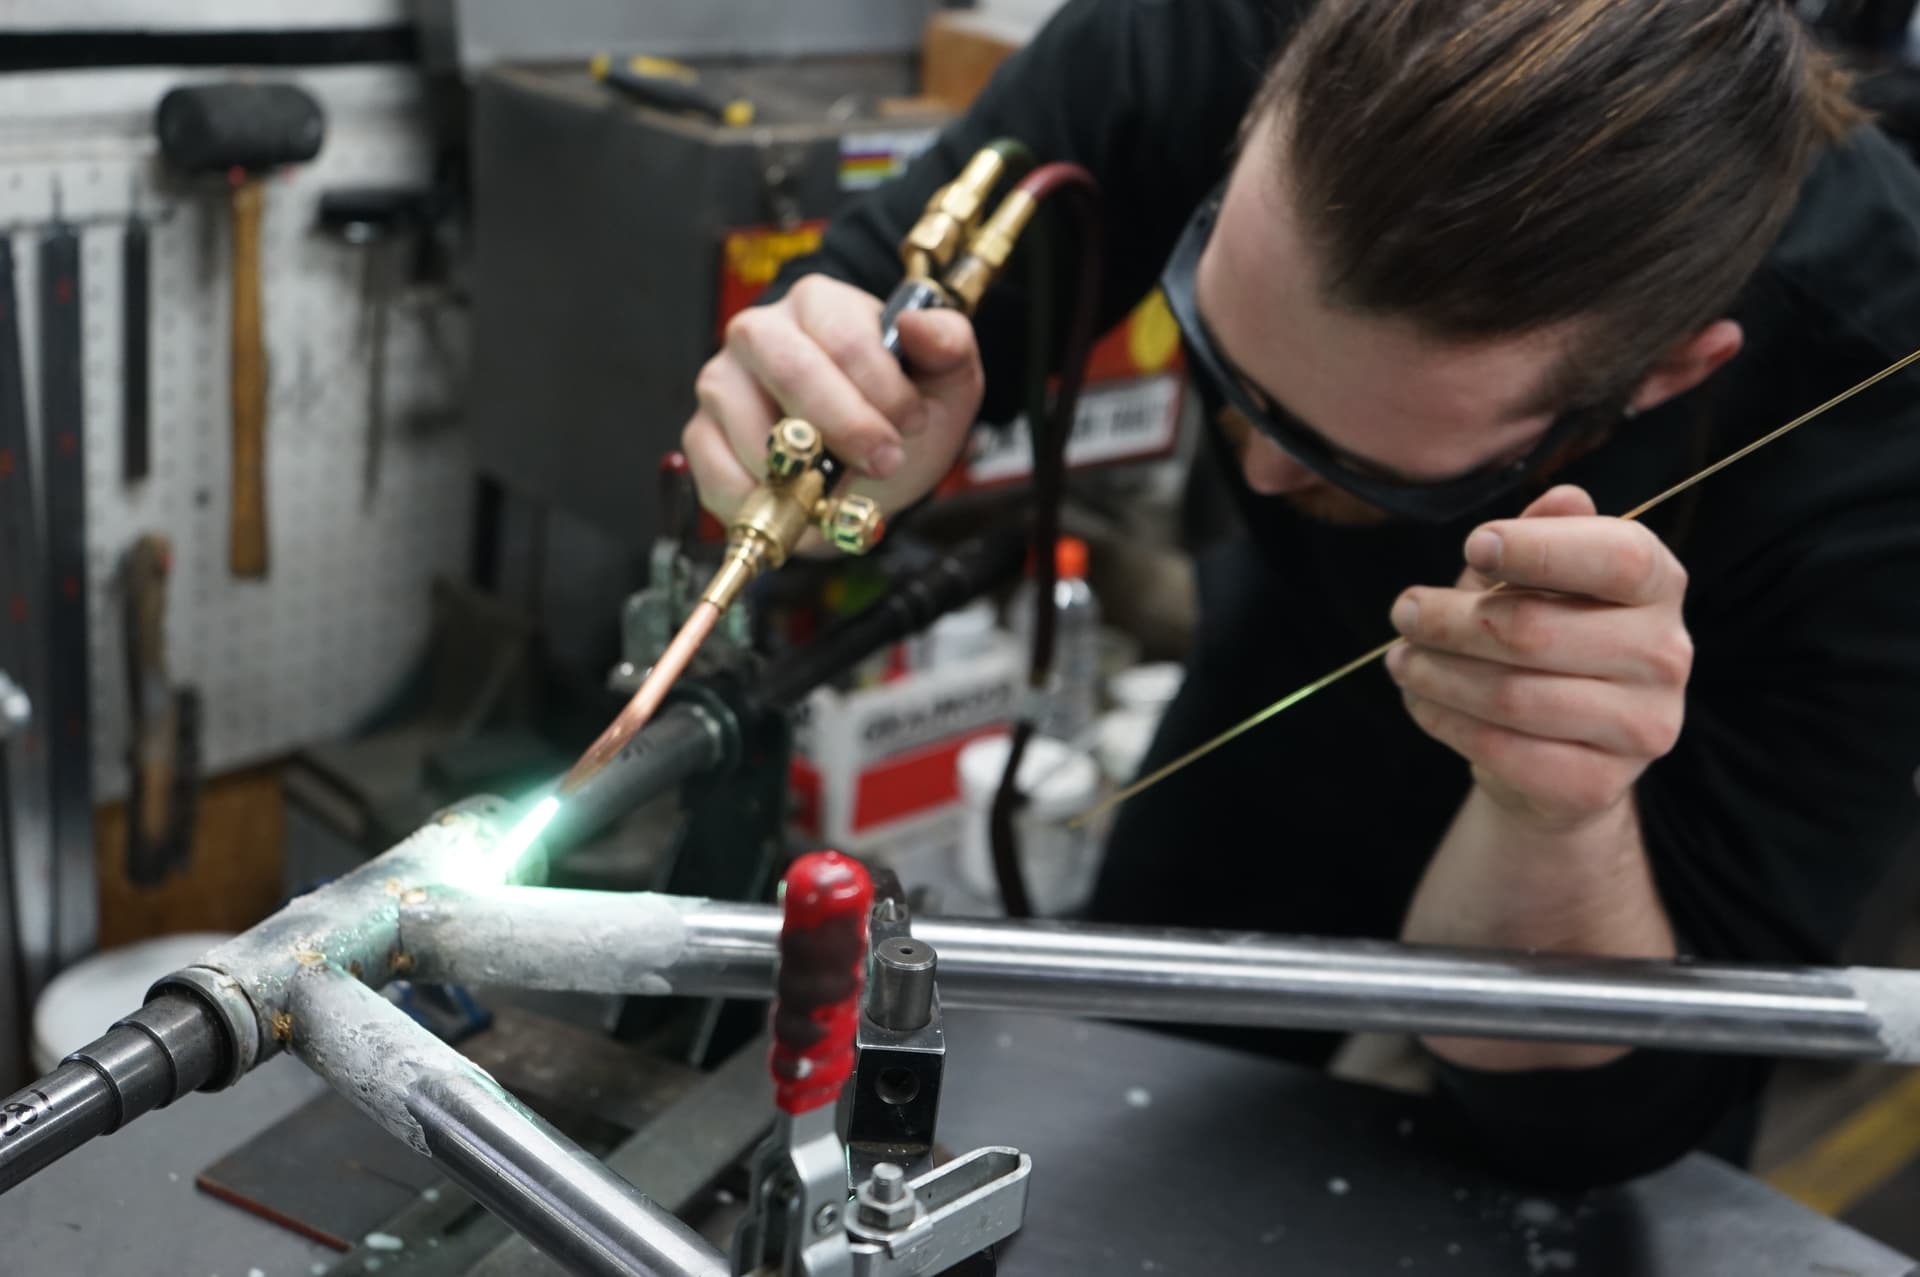
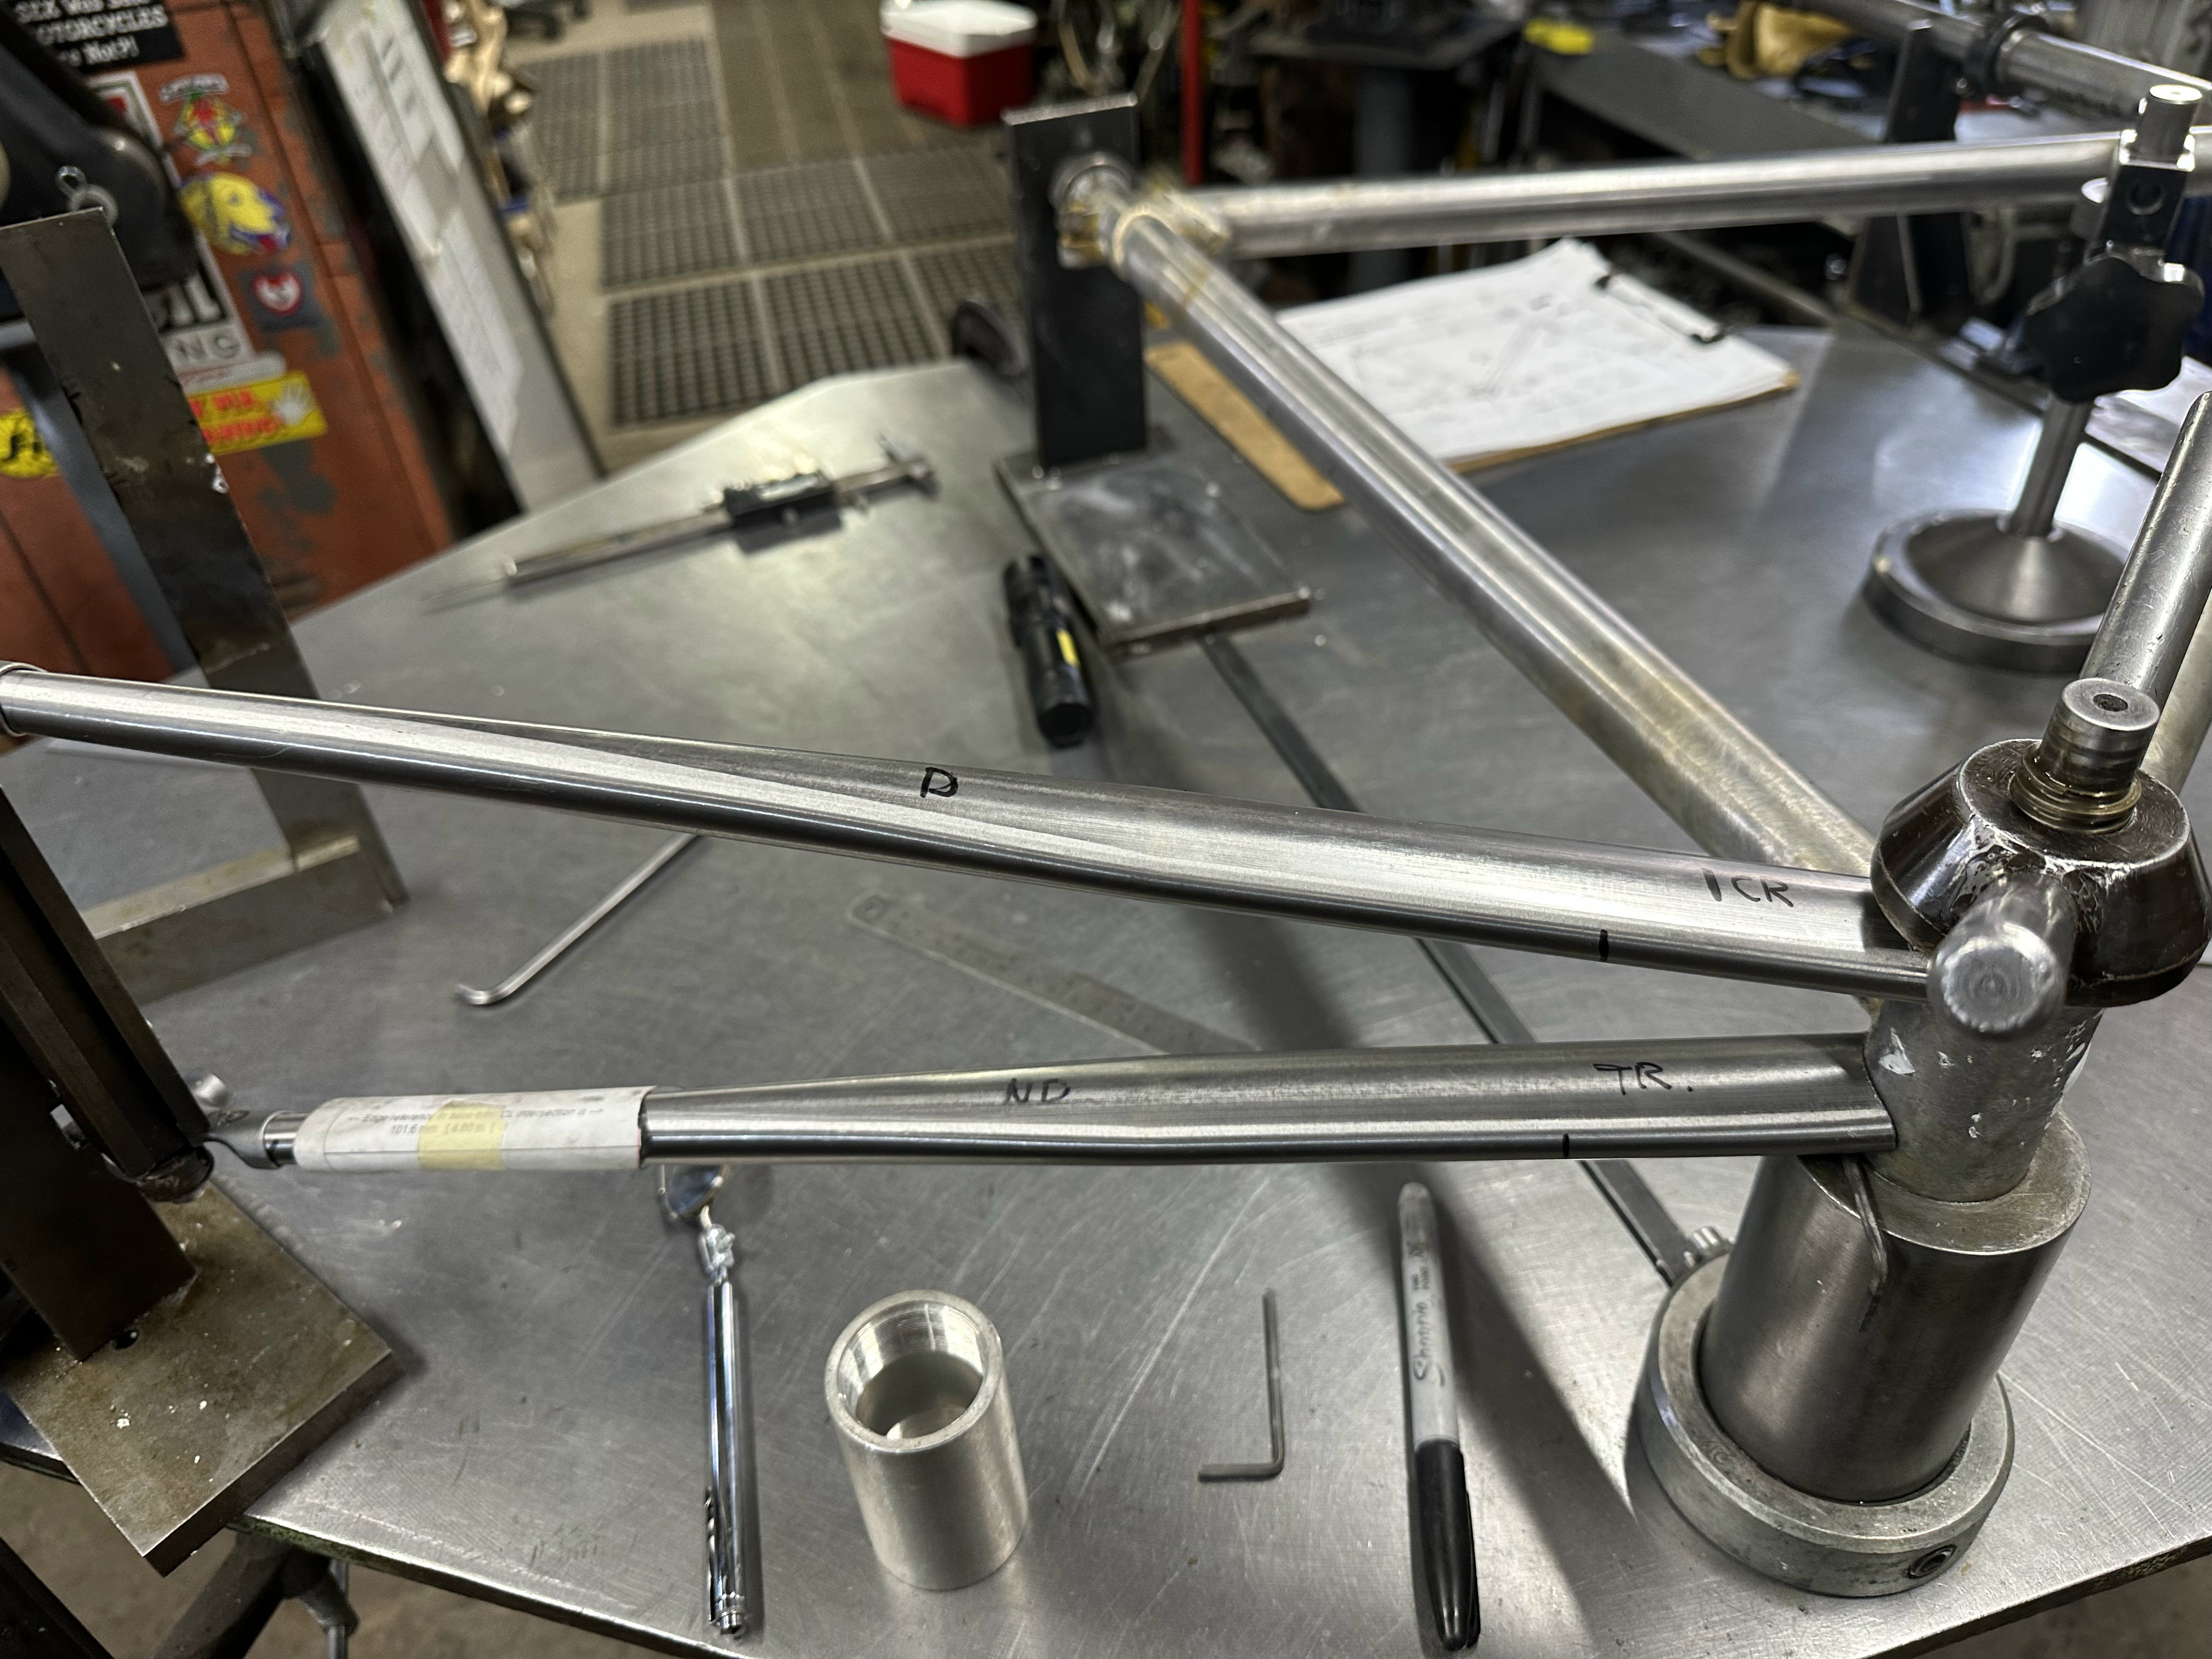
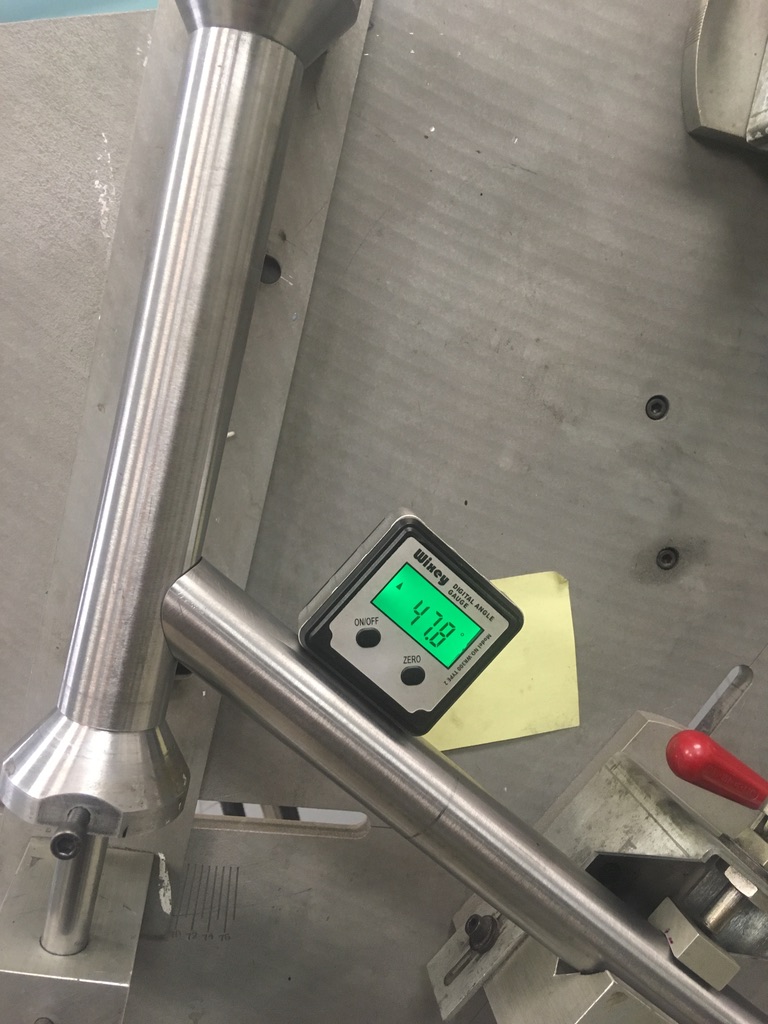
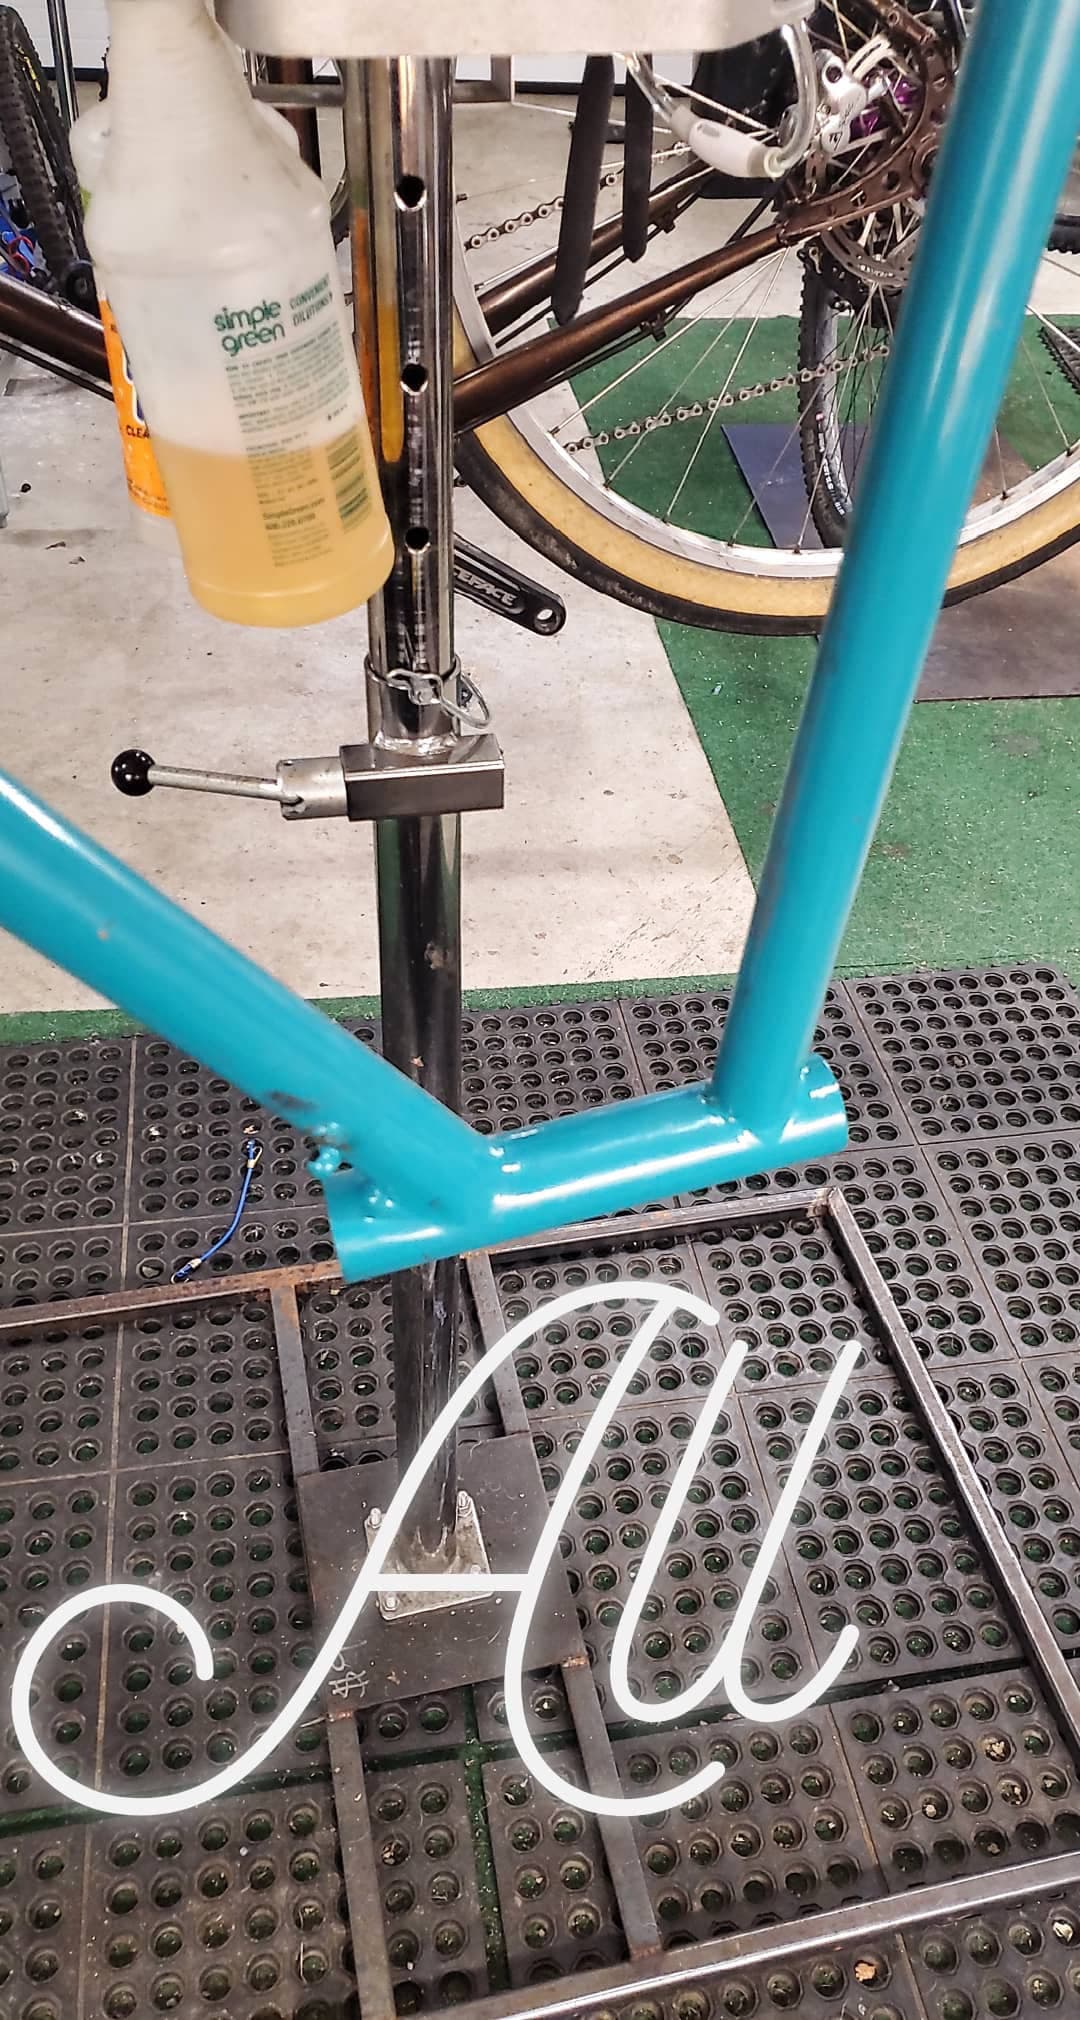
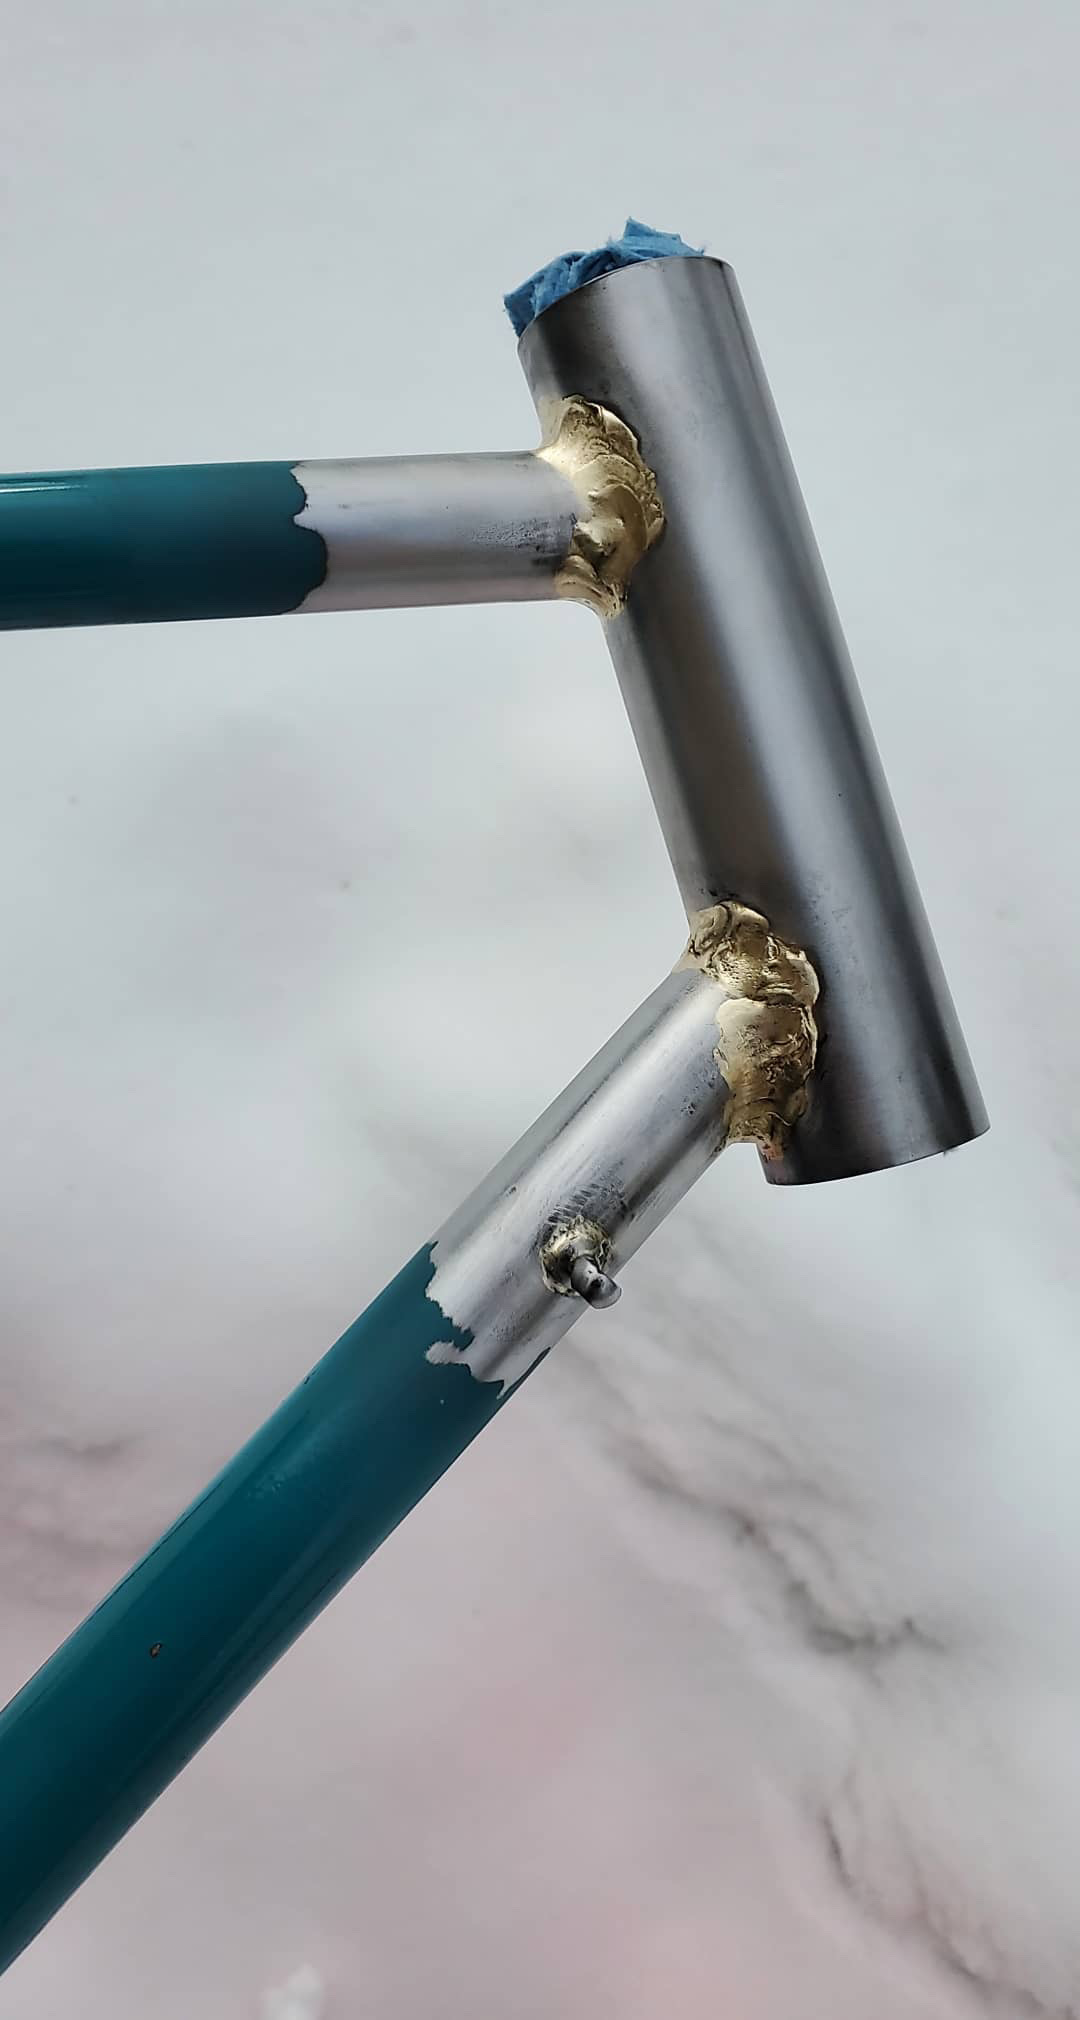
Here is the DT-HT miter. My friend Scott was showing me how to make a bike, and very wisely had me hand file everything. I didn’t use a miter template, or any specific sized files, or even a hacksaw to rough out the shape. Just filing with the round end, using a digital angle gauge, and checking the fit.


It was tedious, and the Nortac jig was difficult to use, but I was and am still so lucky to have access to these tools and skills.


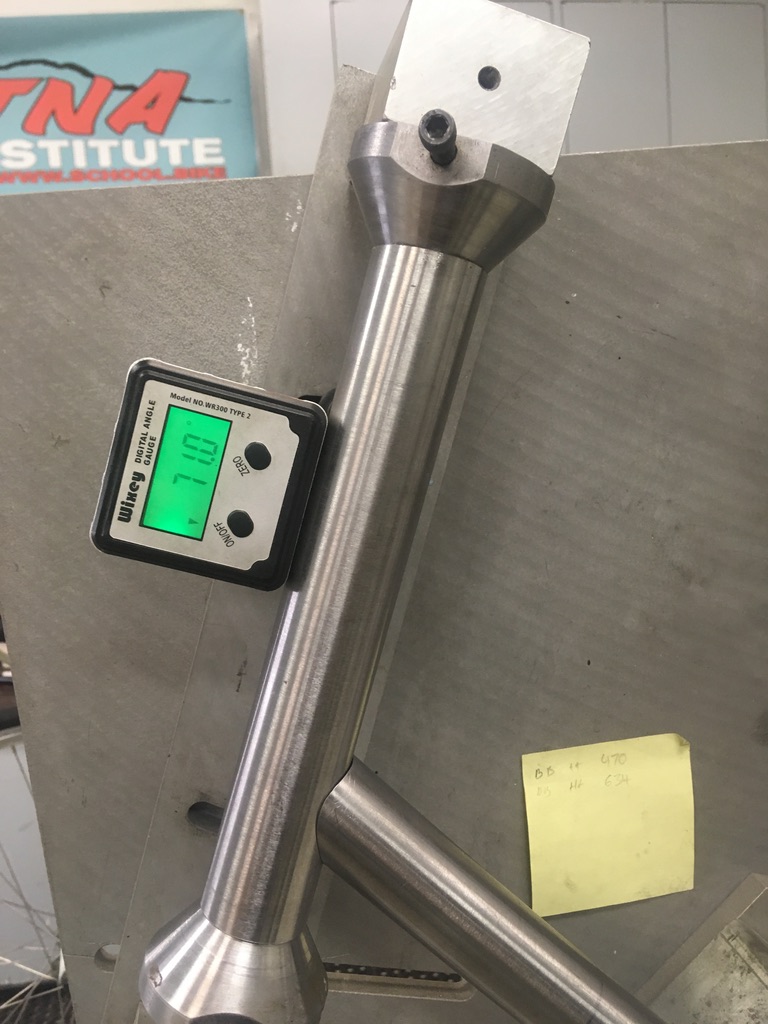
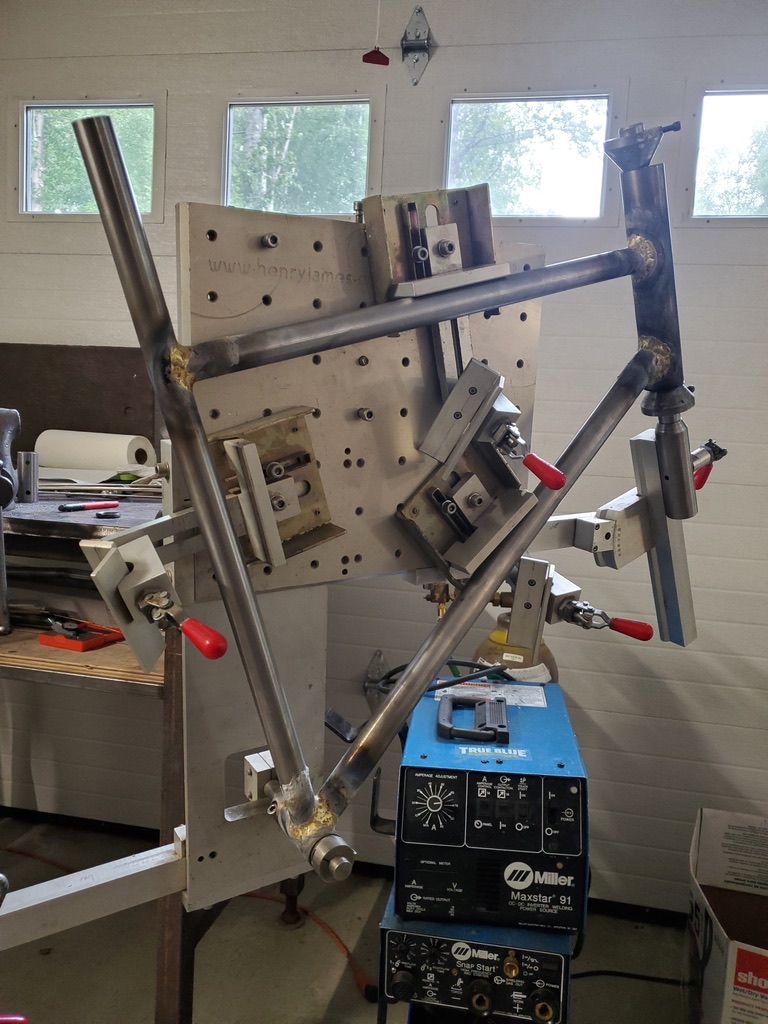
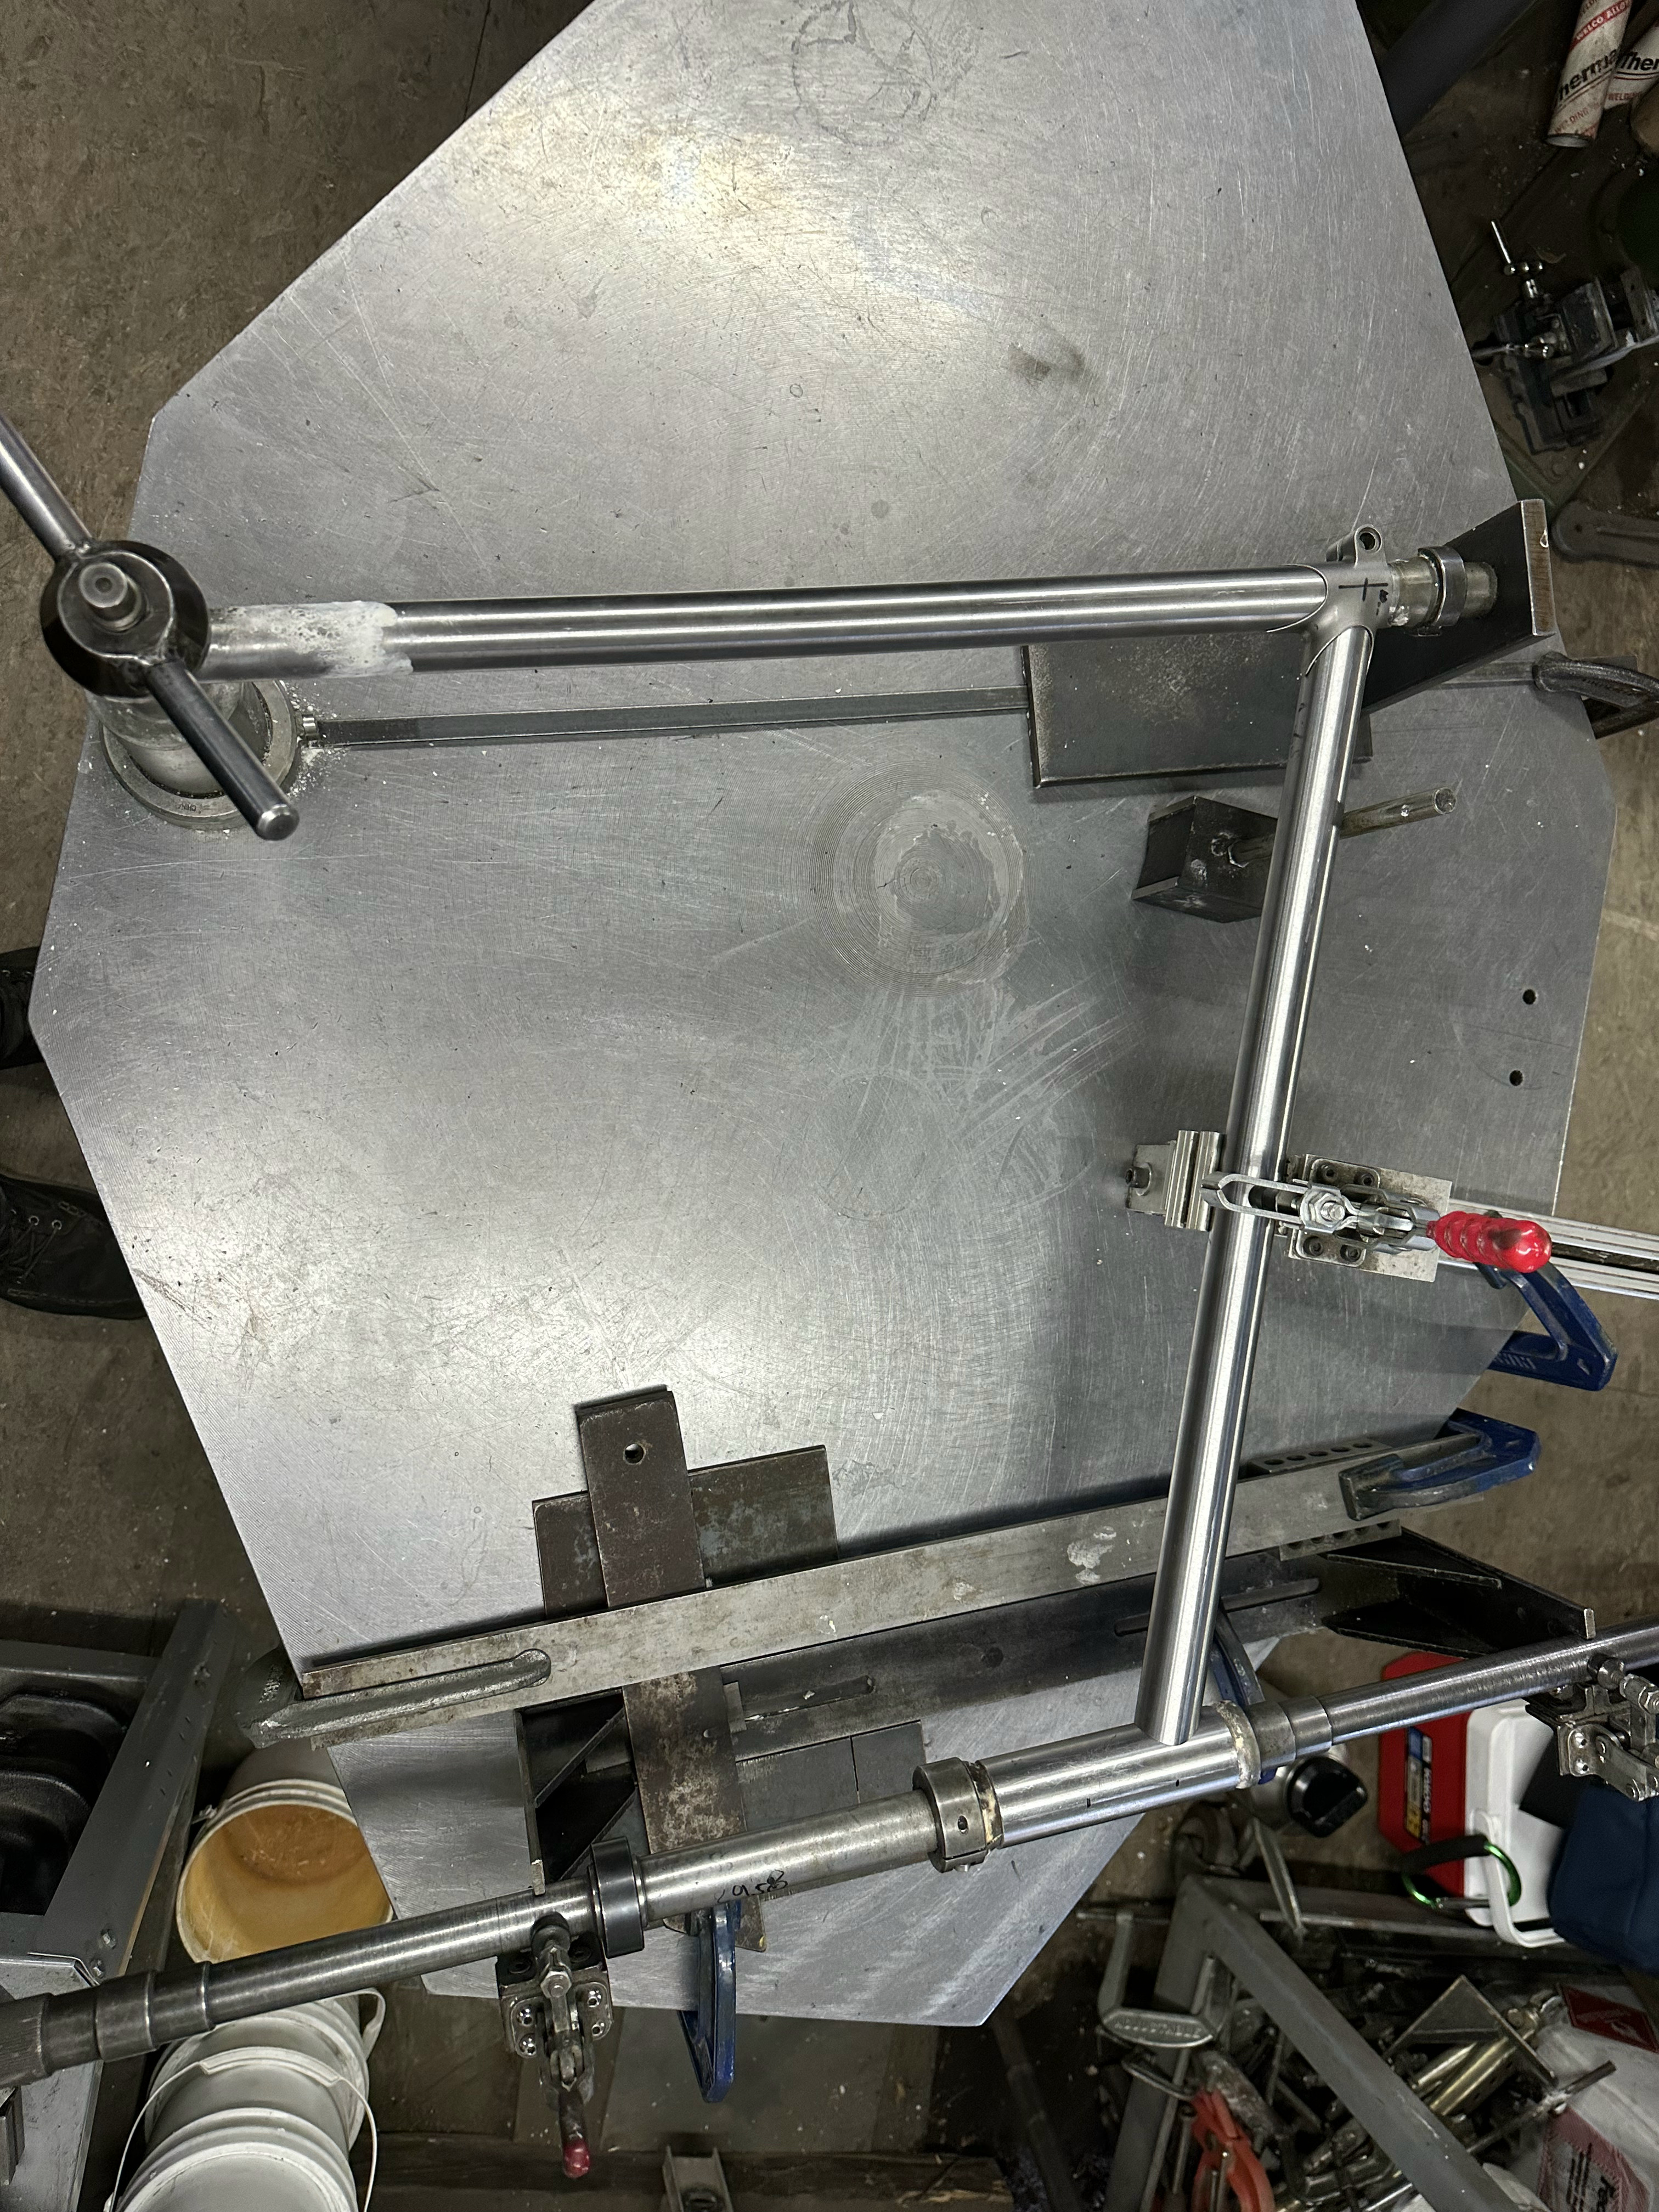
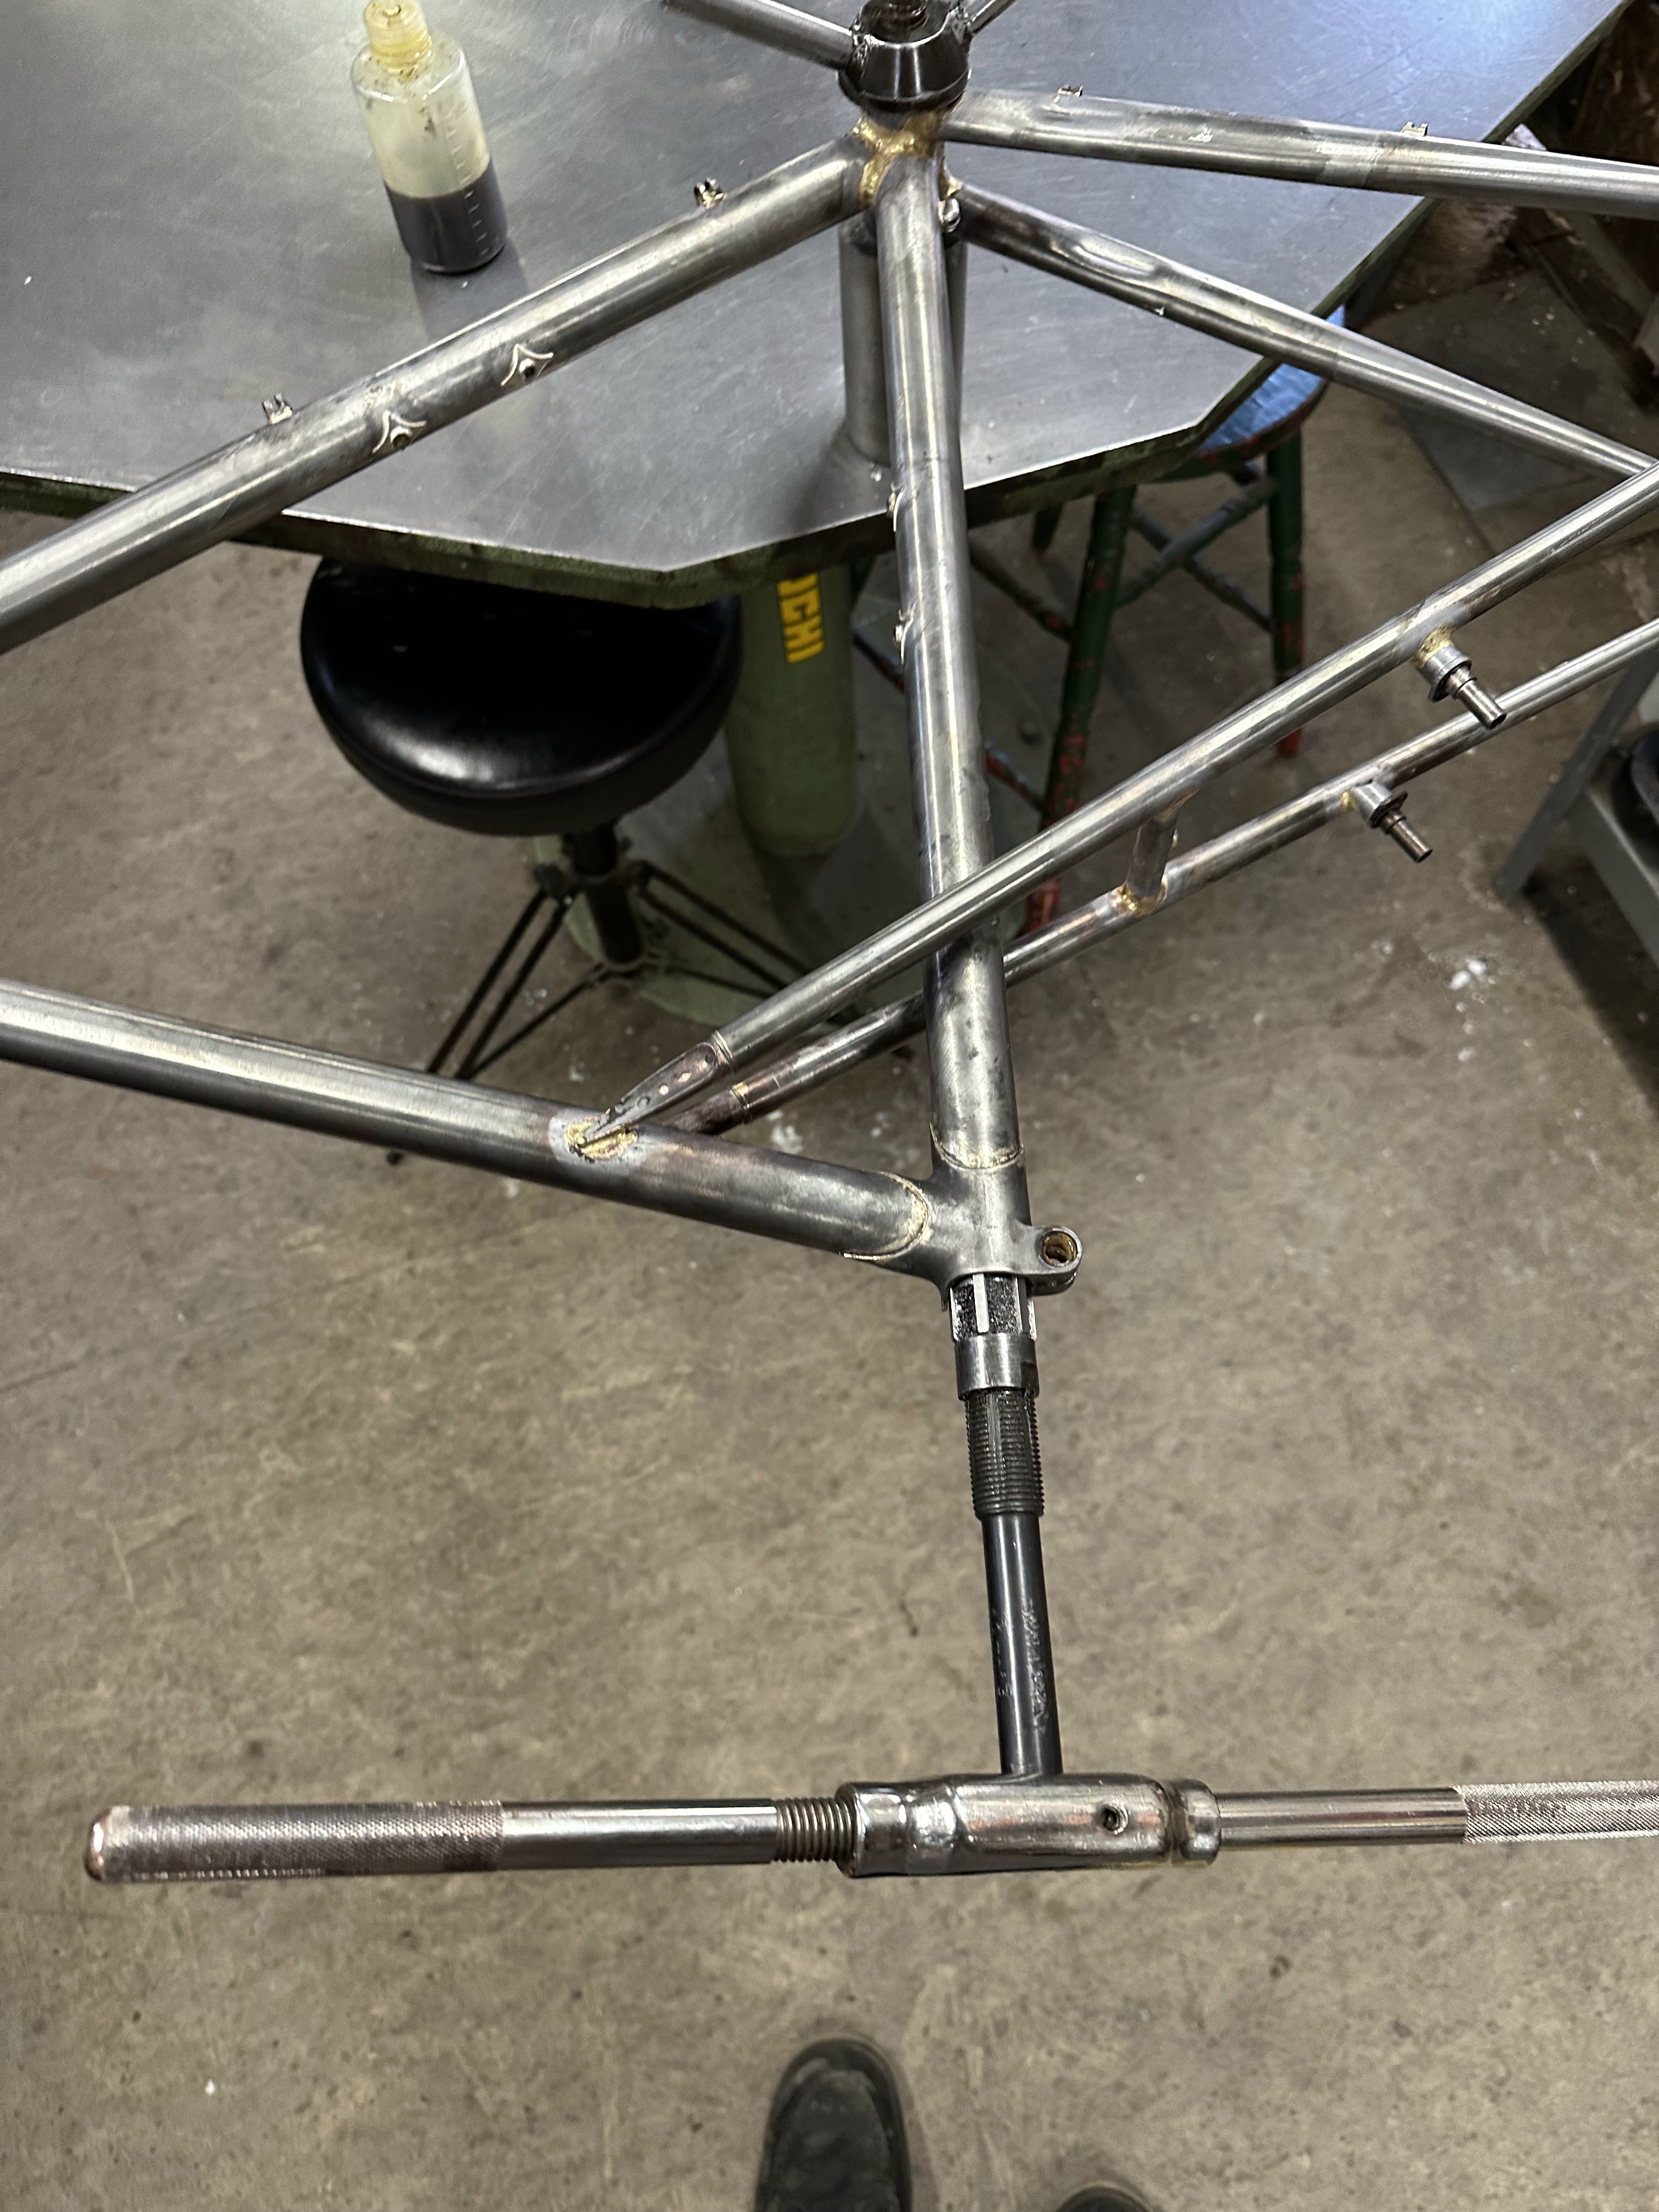
Referencing the head tube angle to figure everything else out. Not pictured is the bikecad diagram, and the 1:1 size printout used to reference.


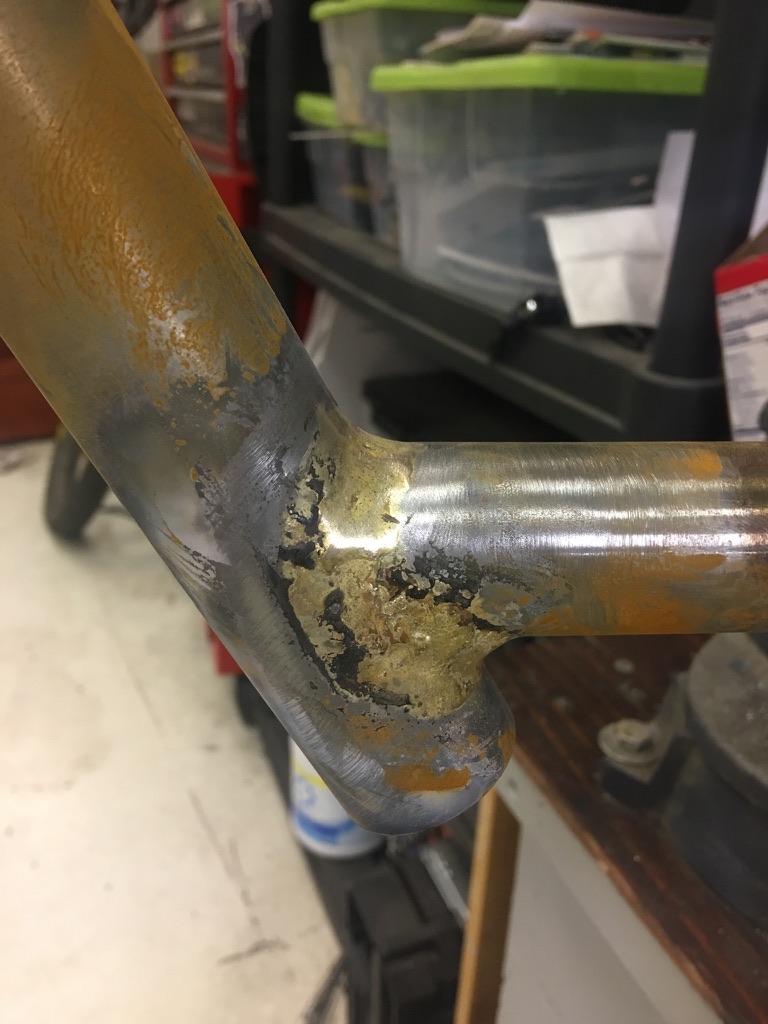
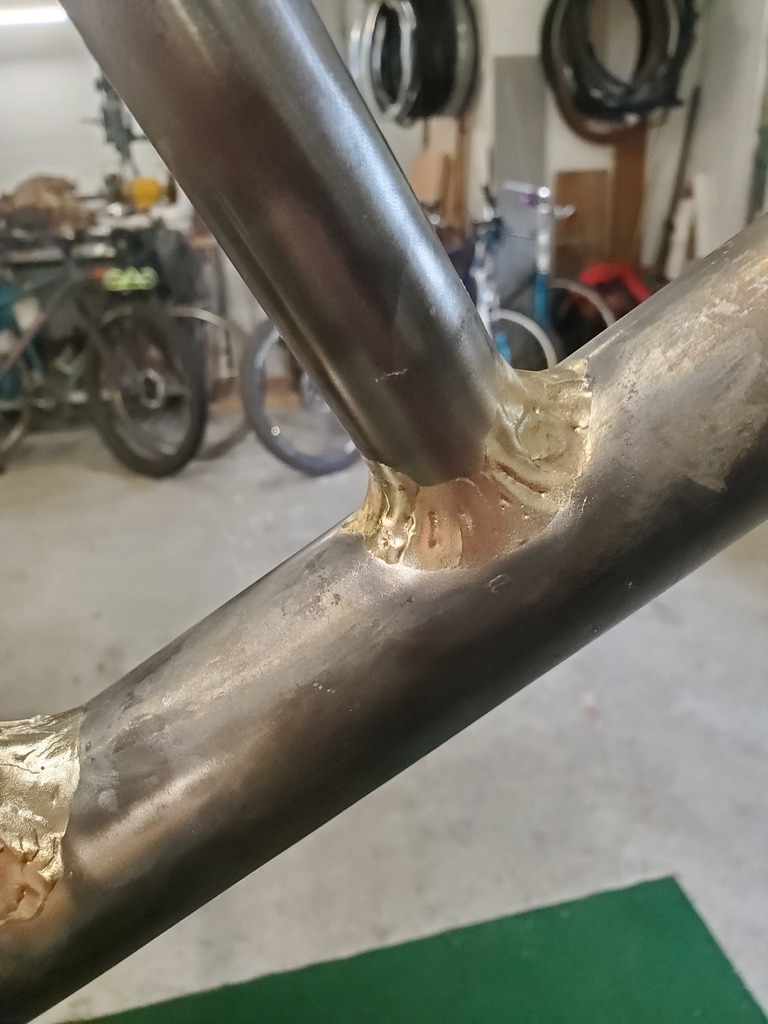
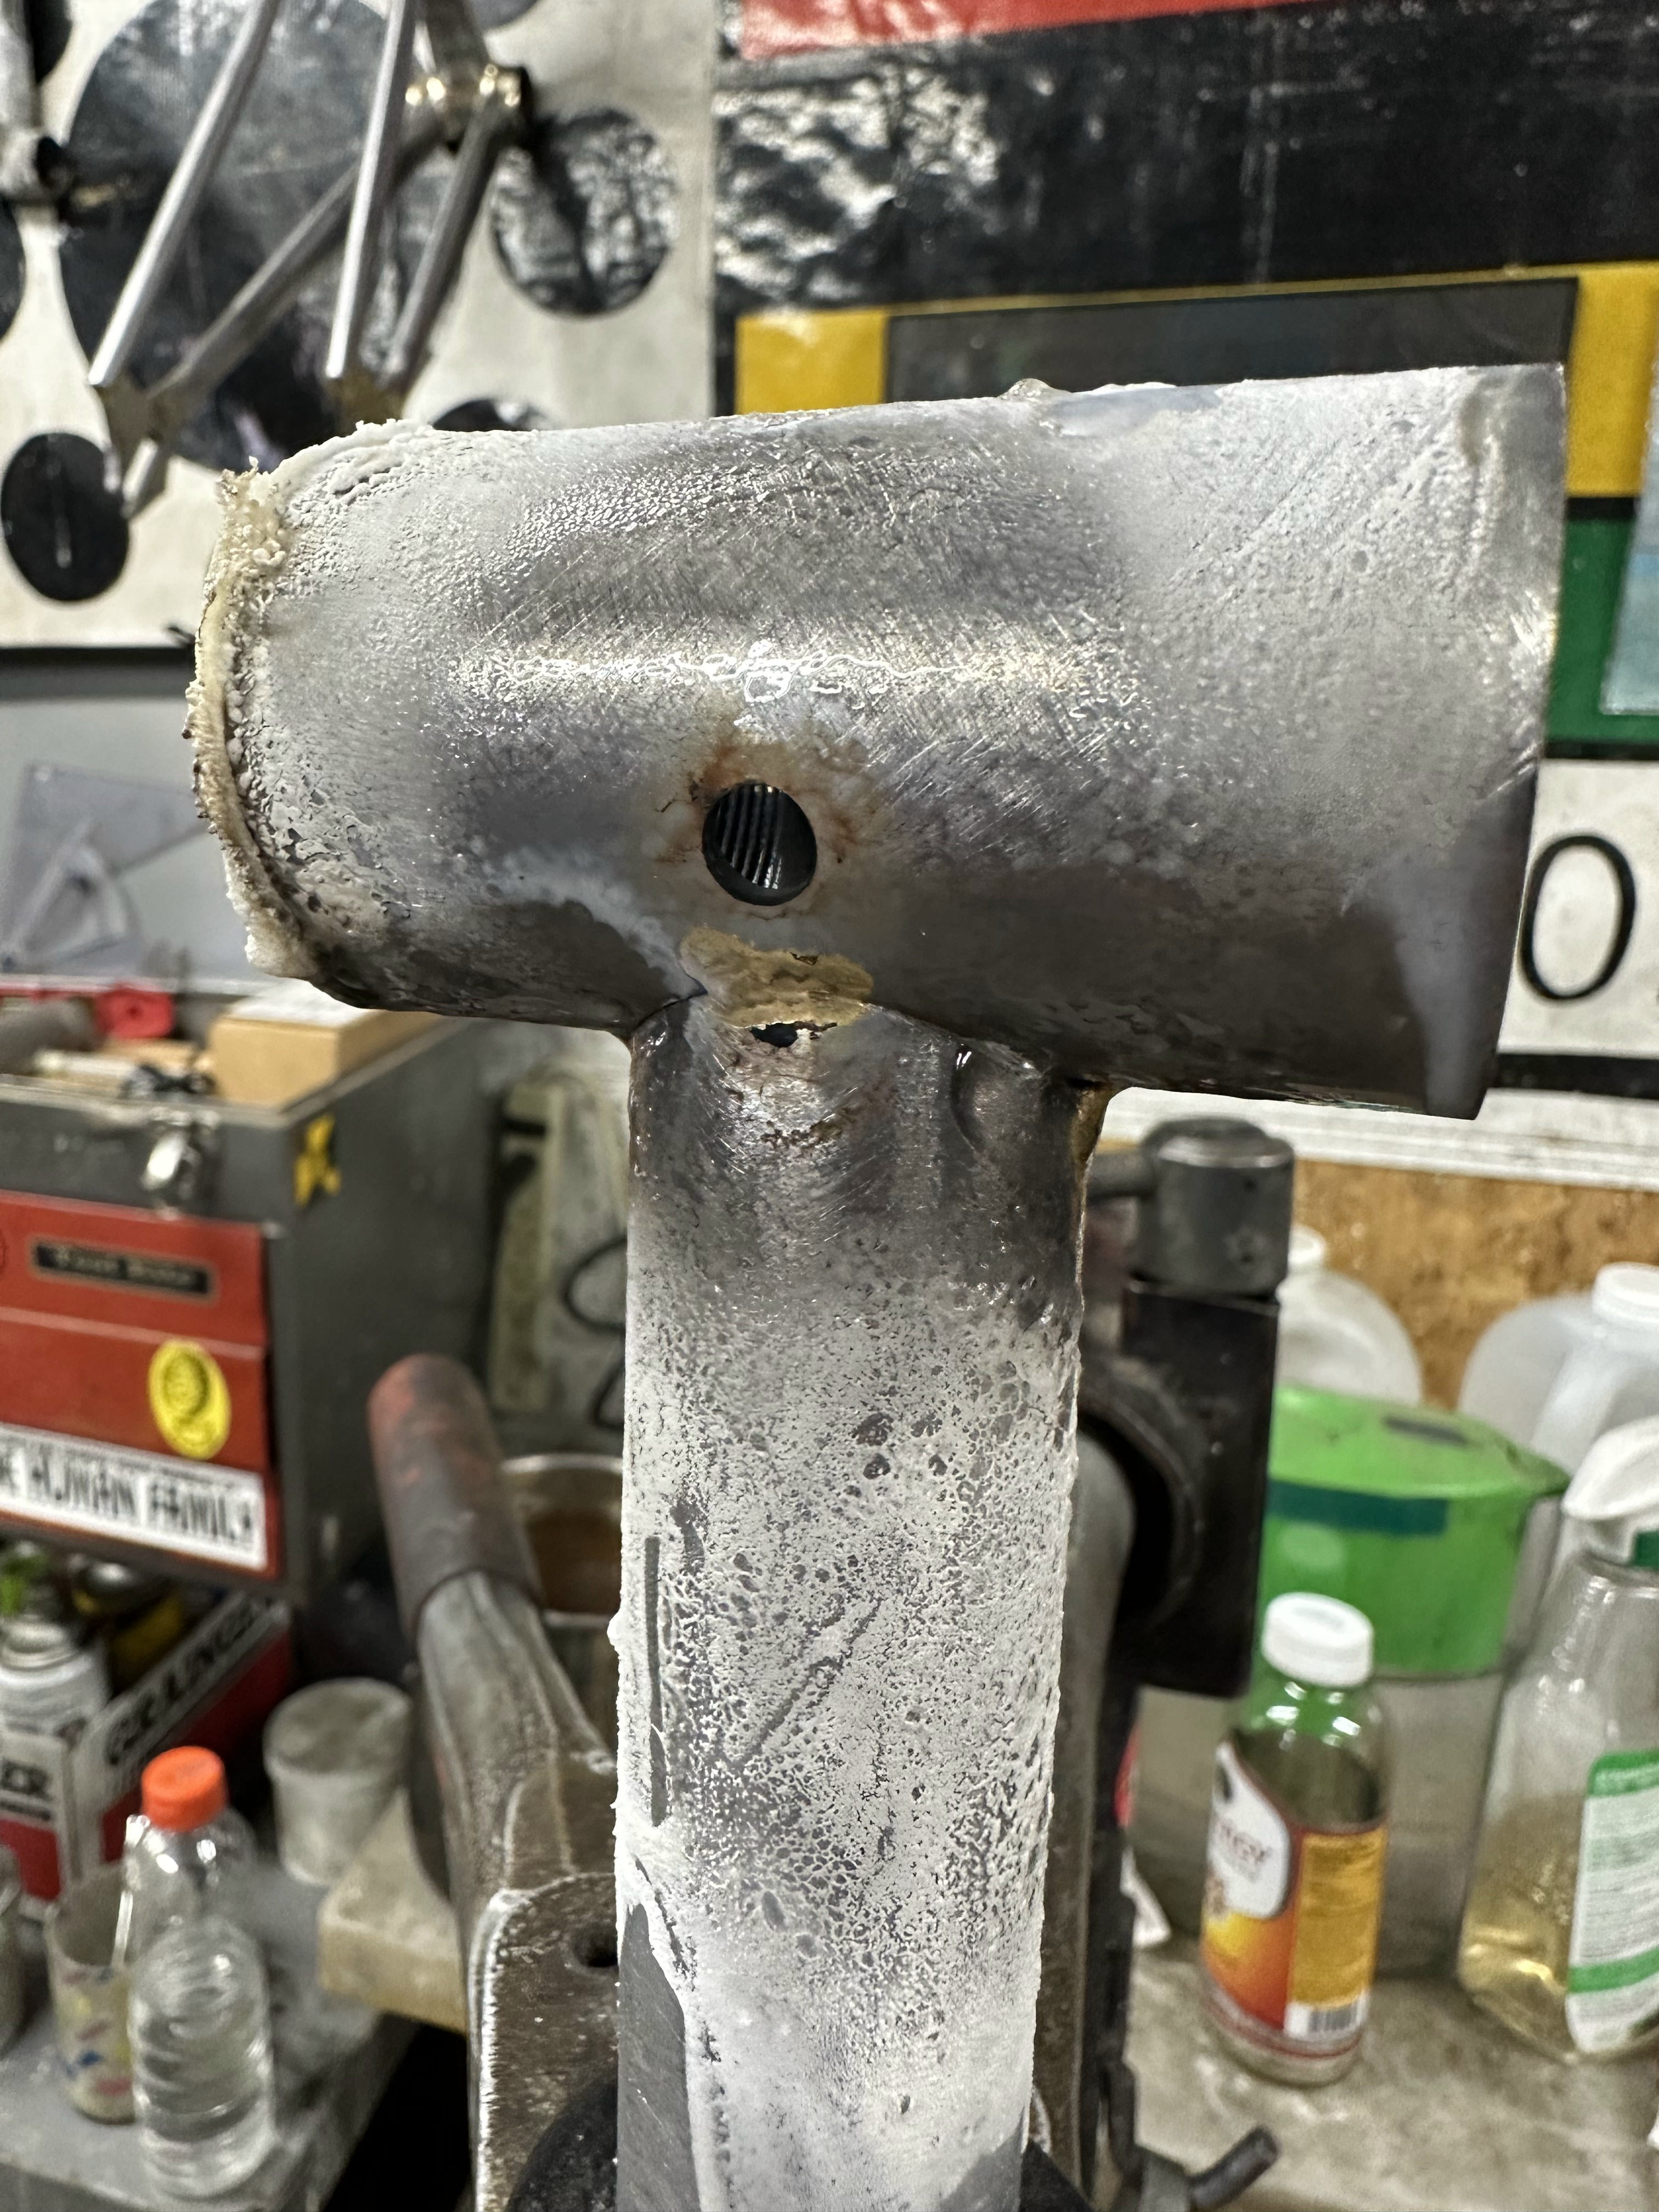
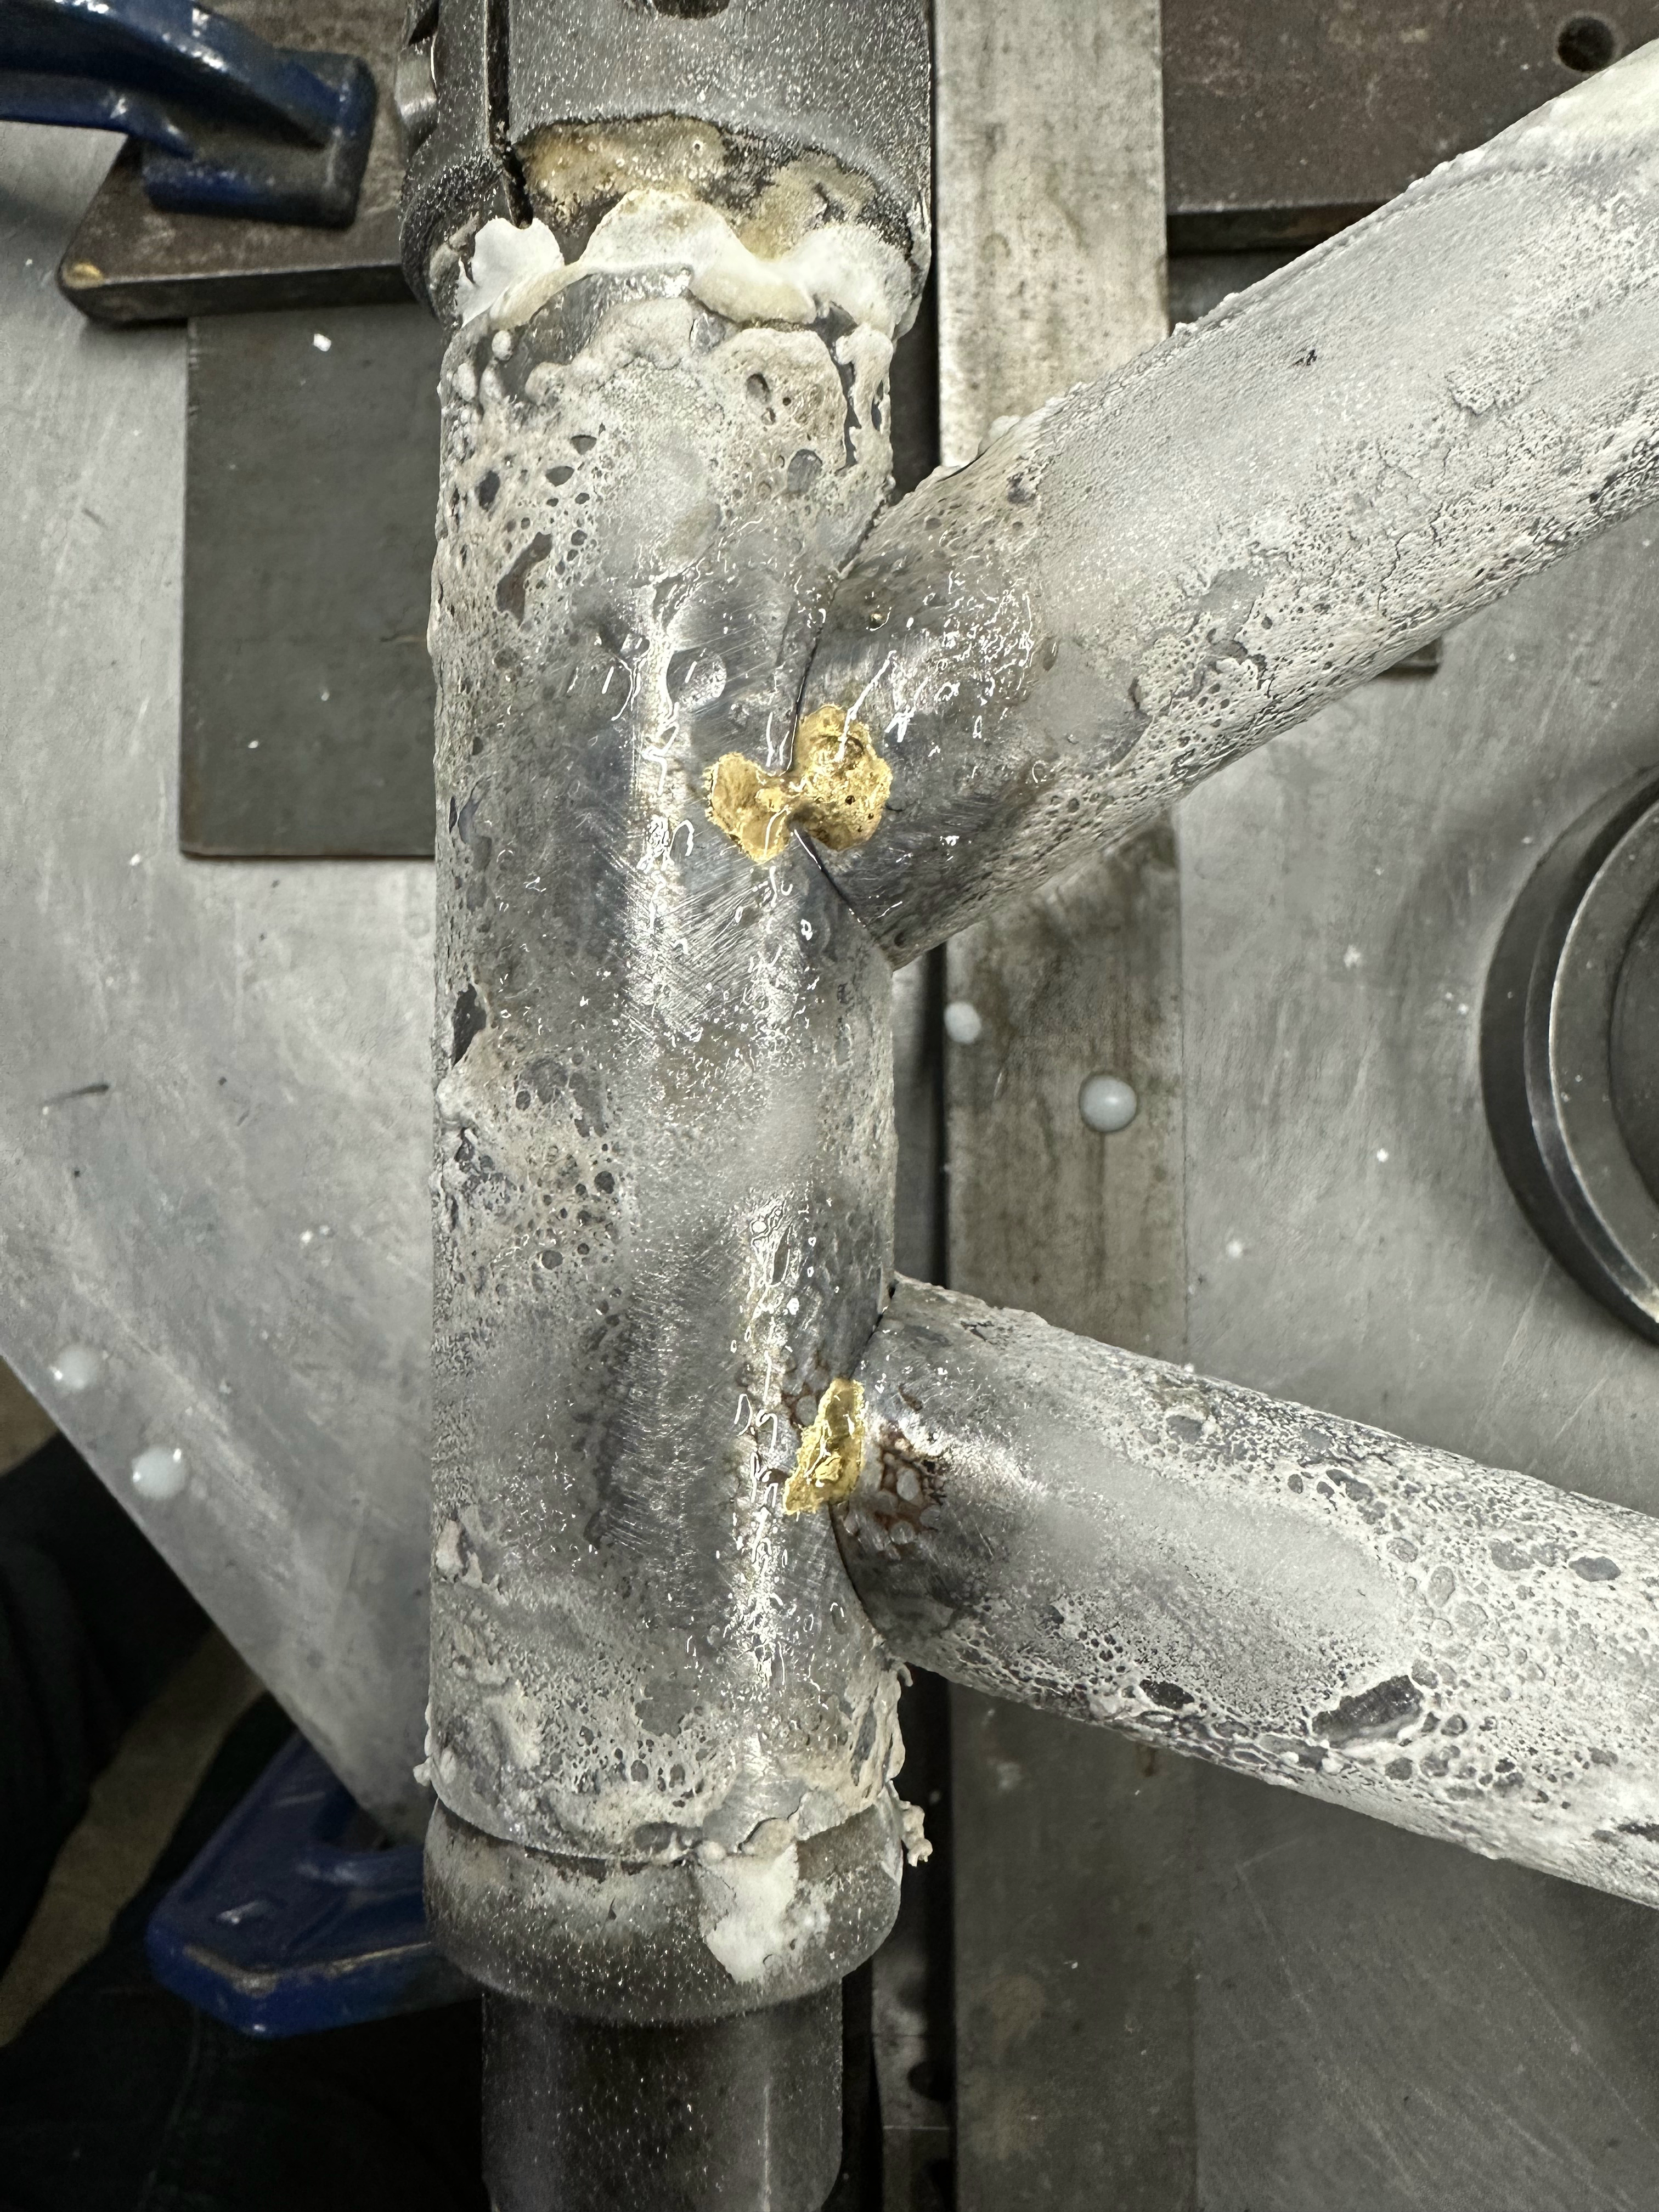
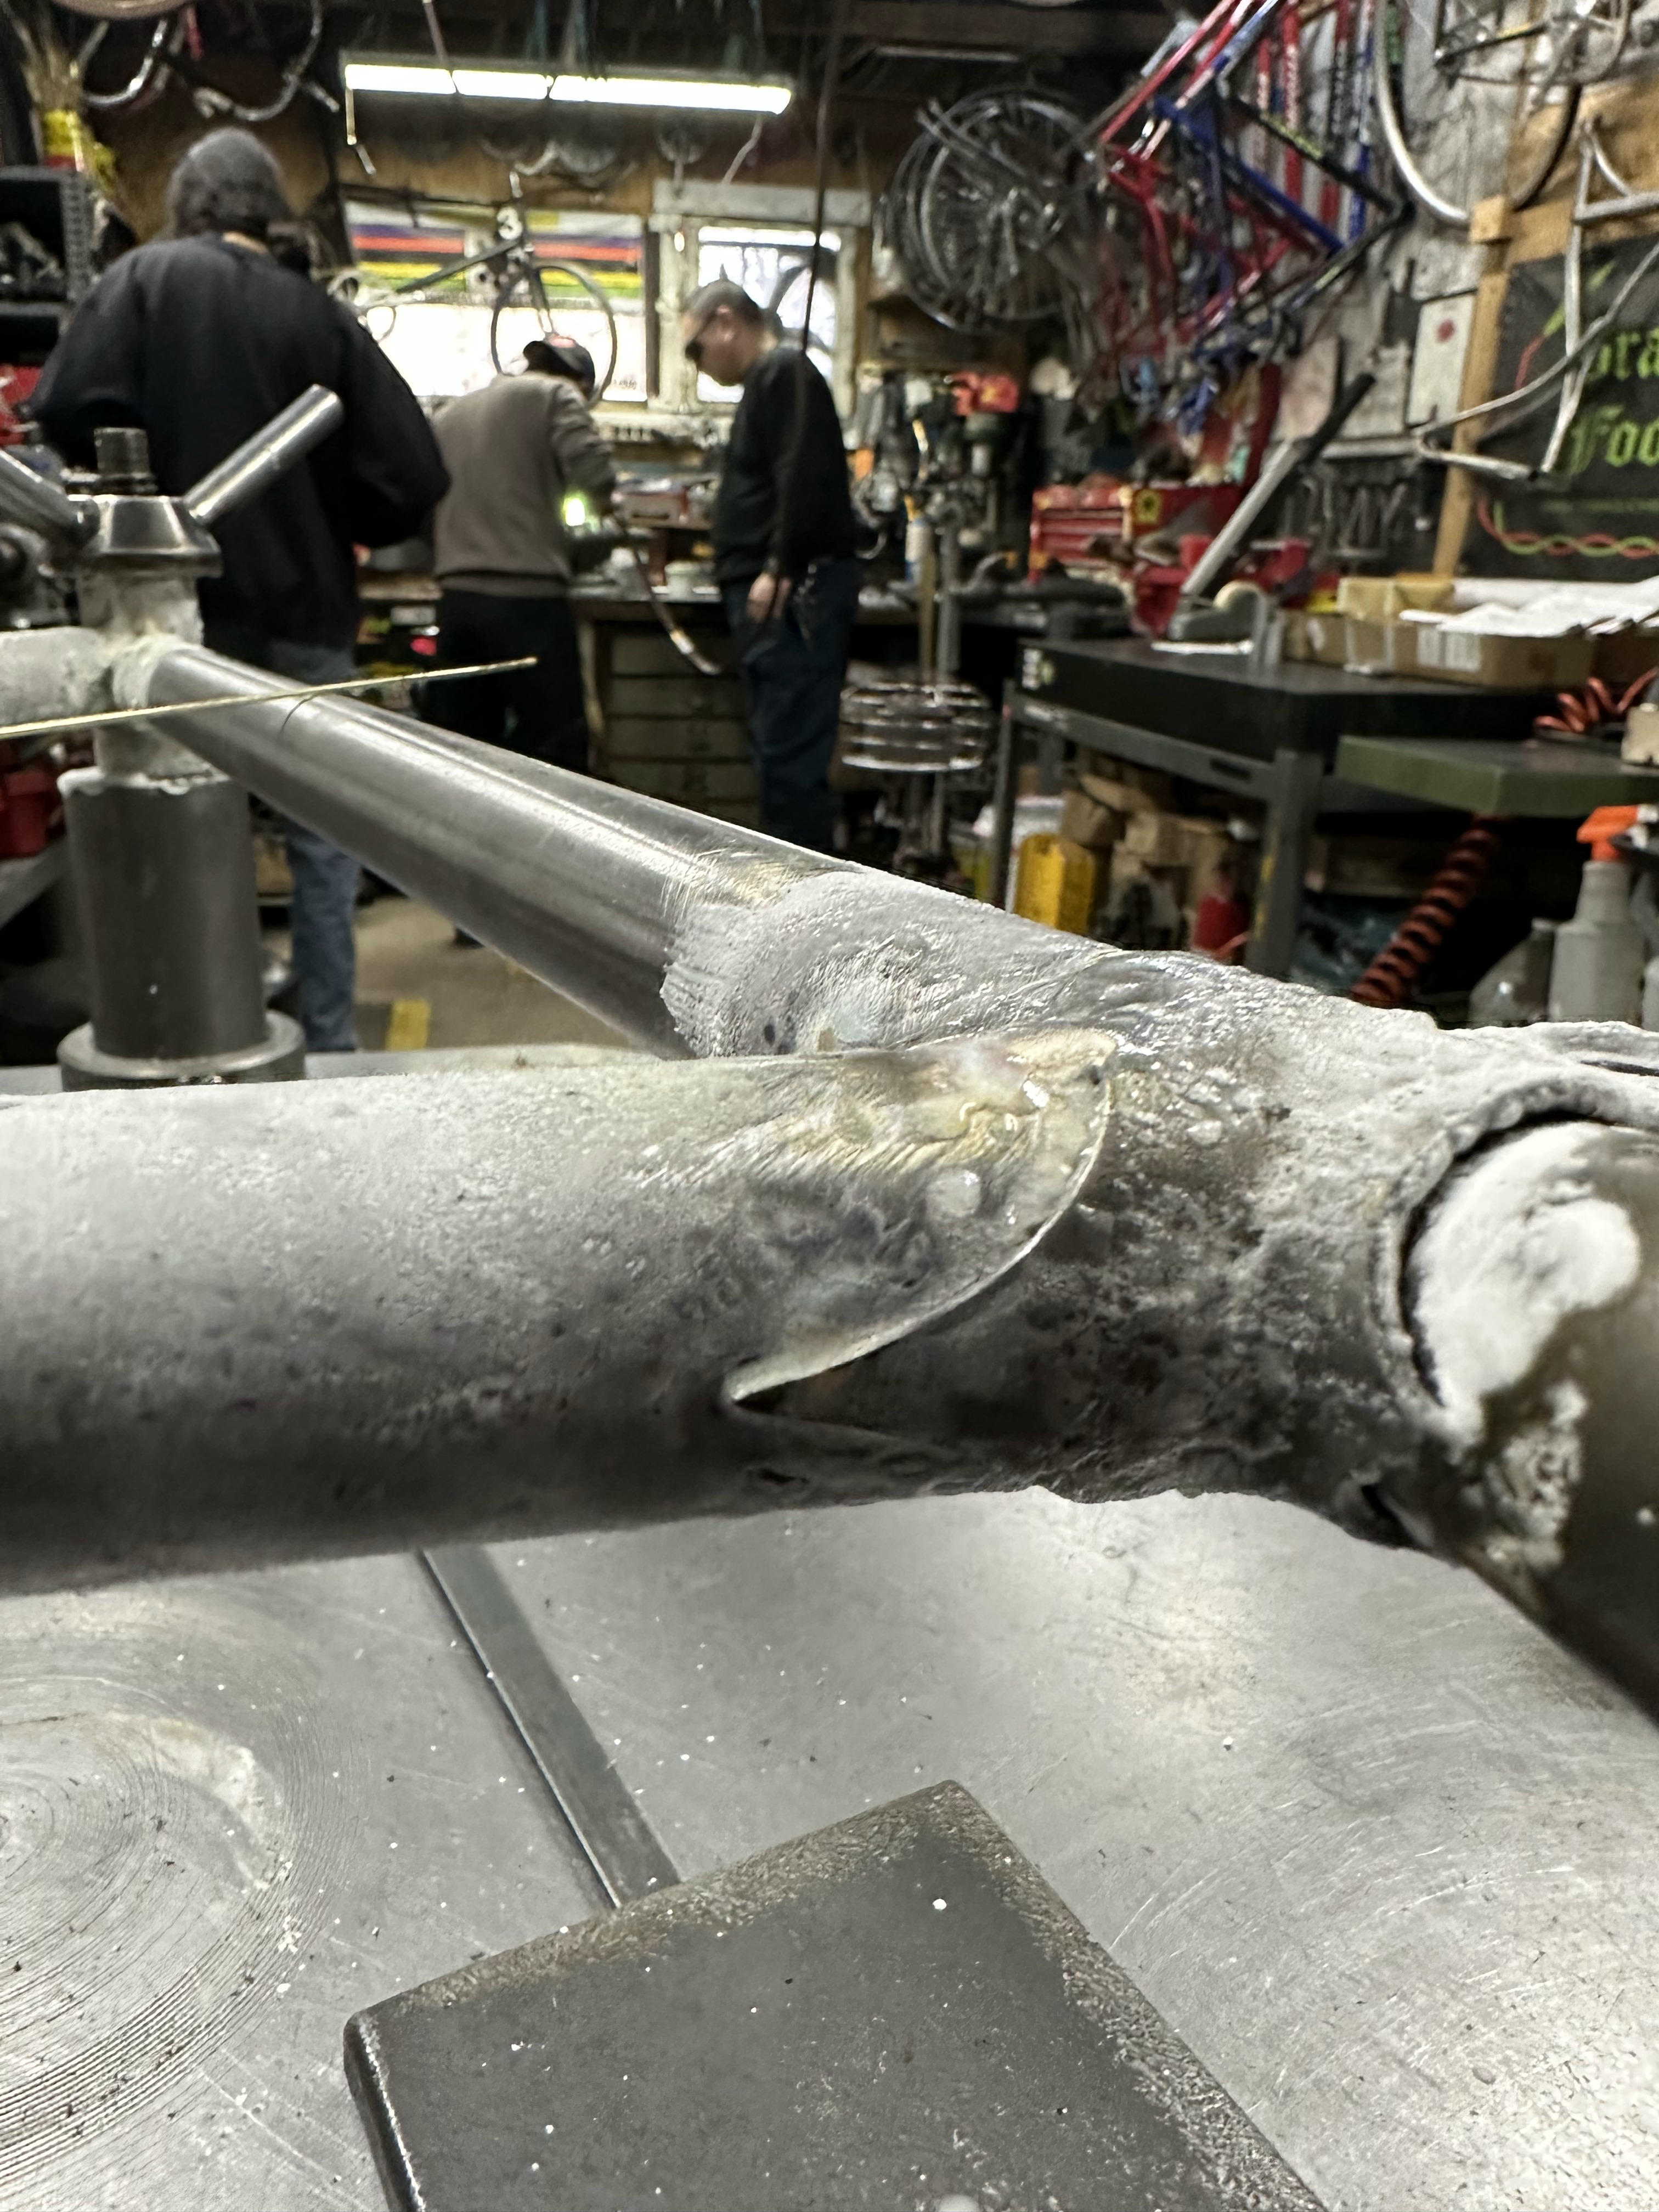
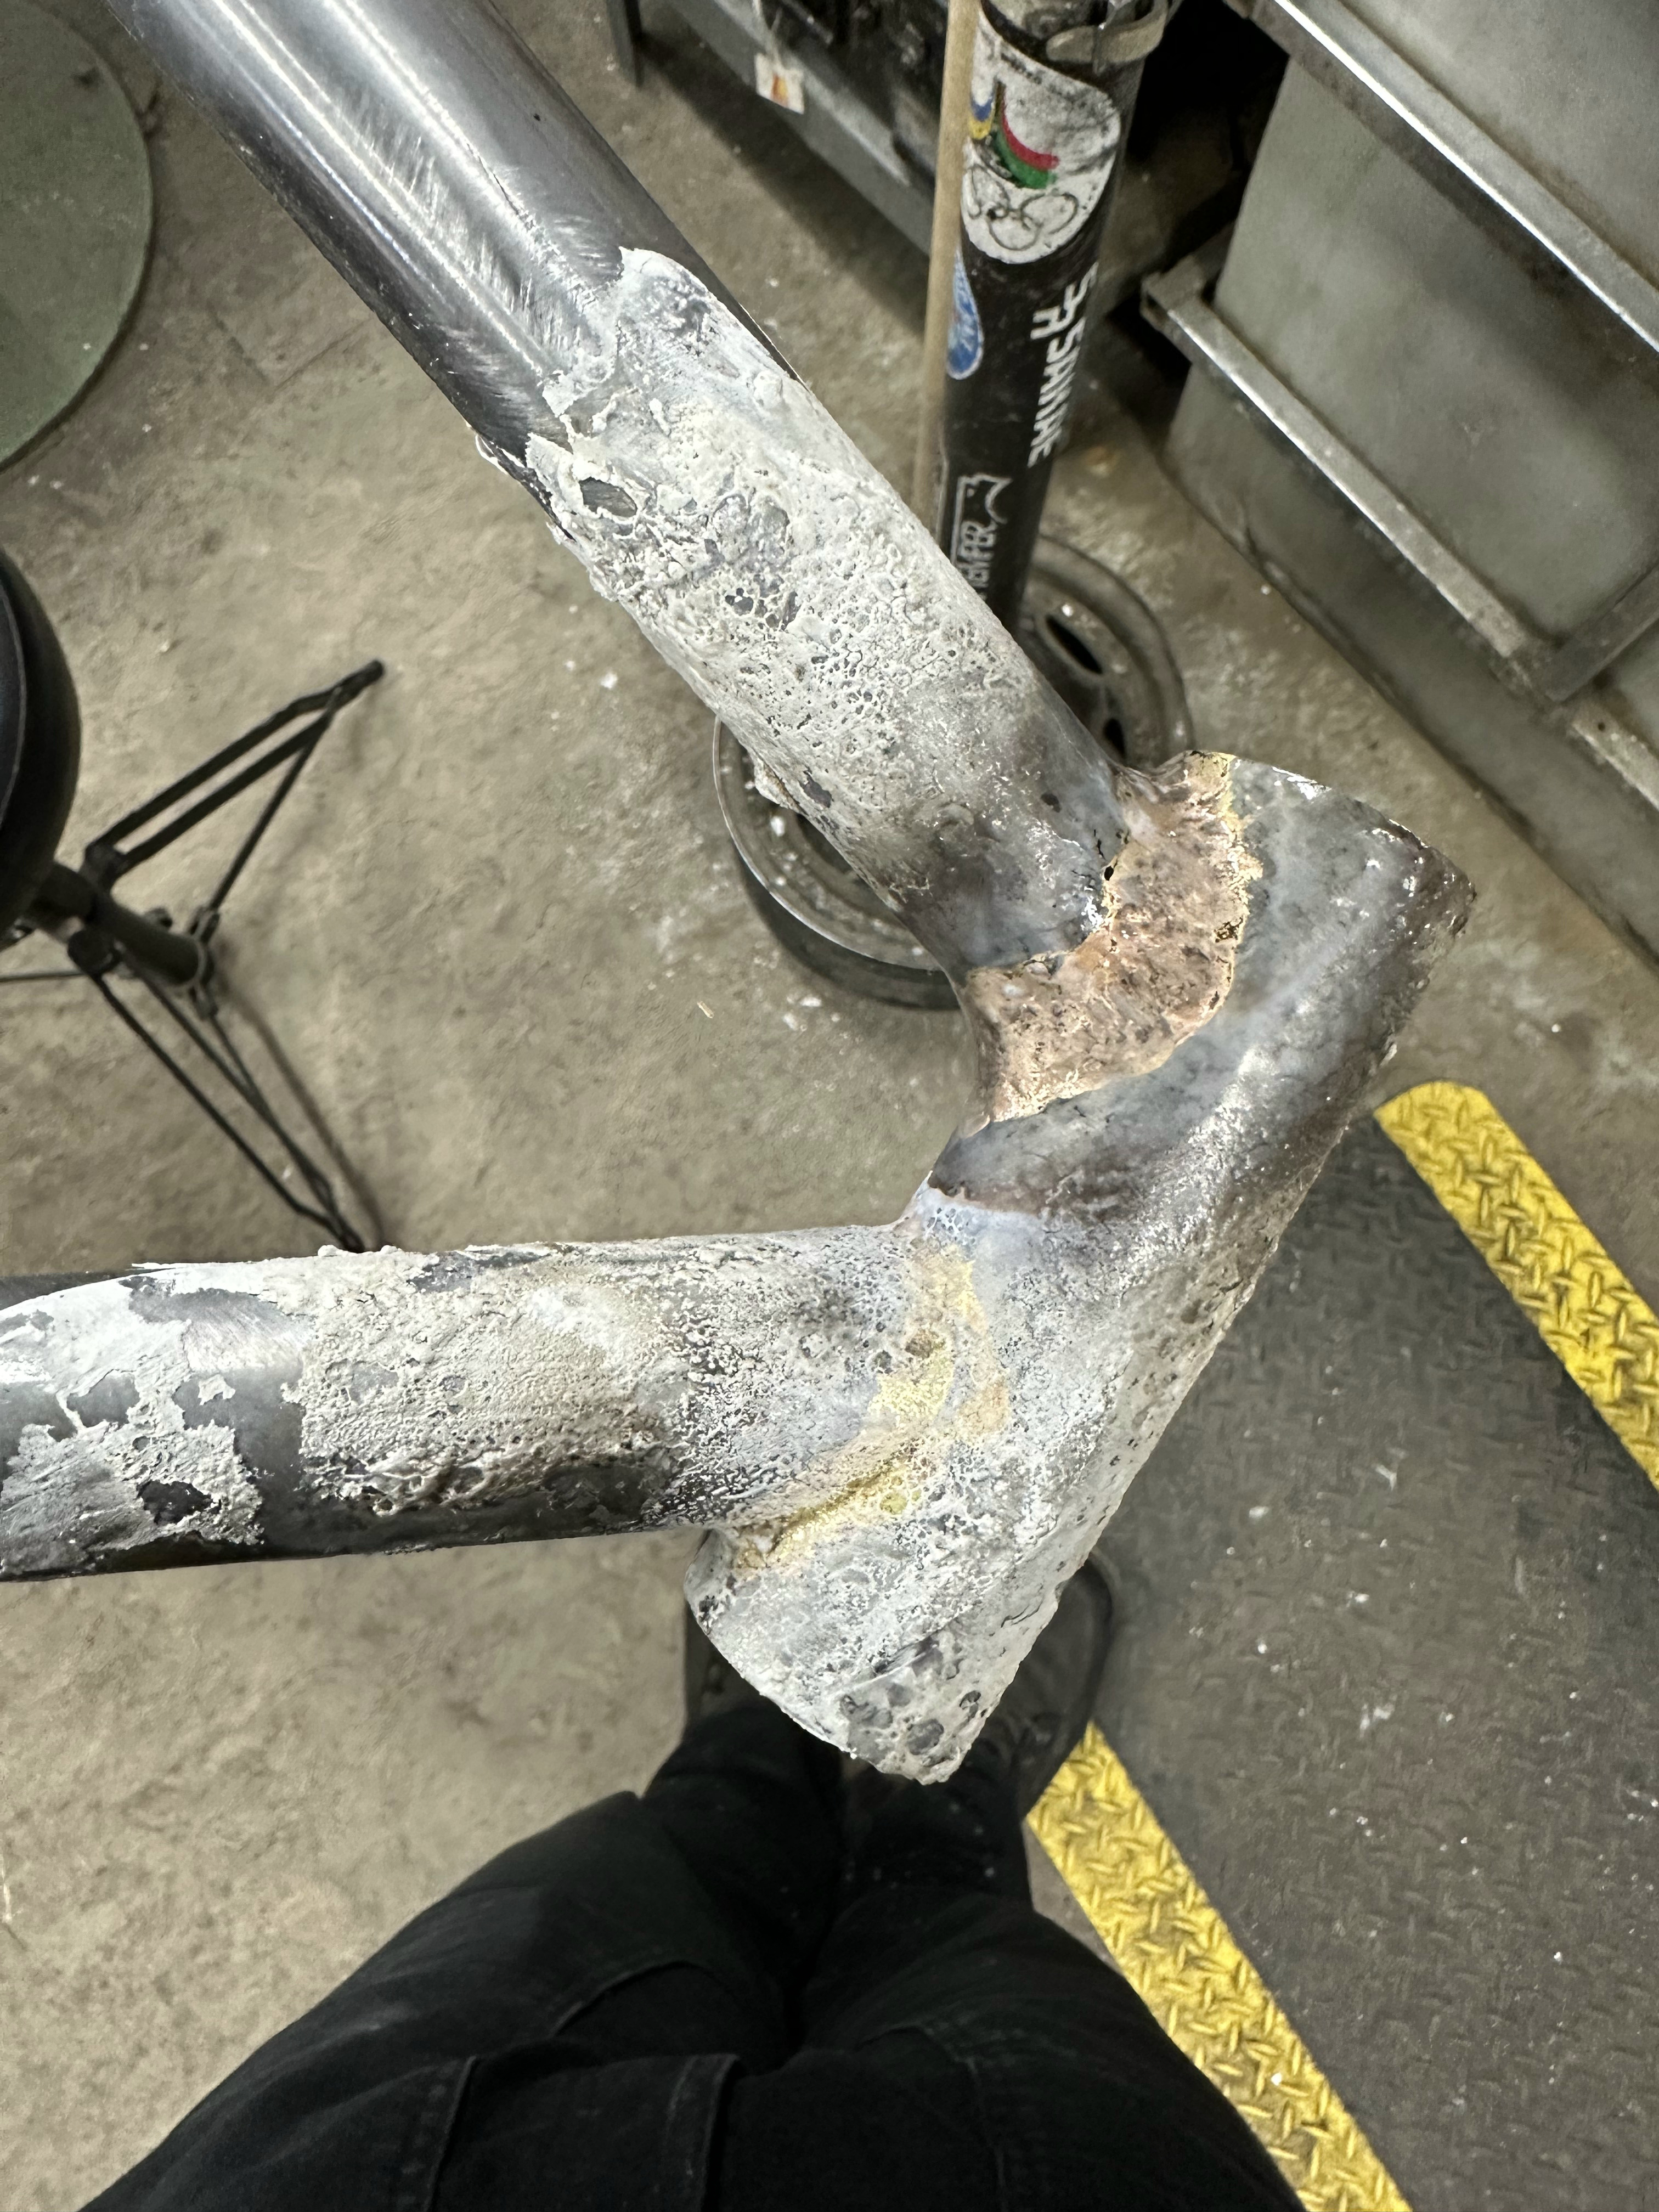
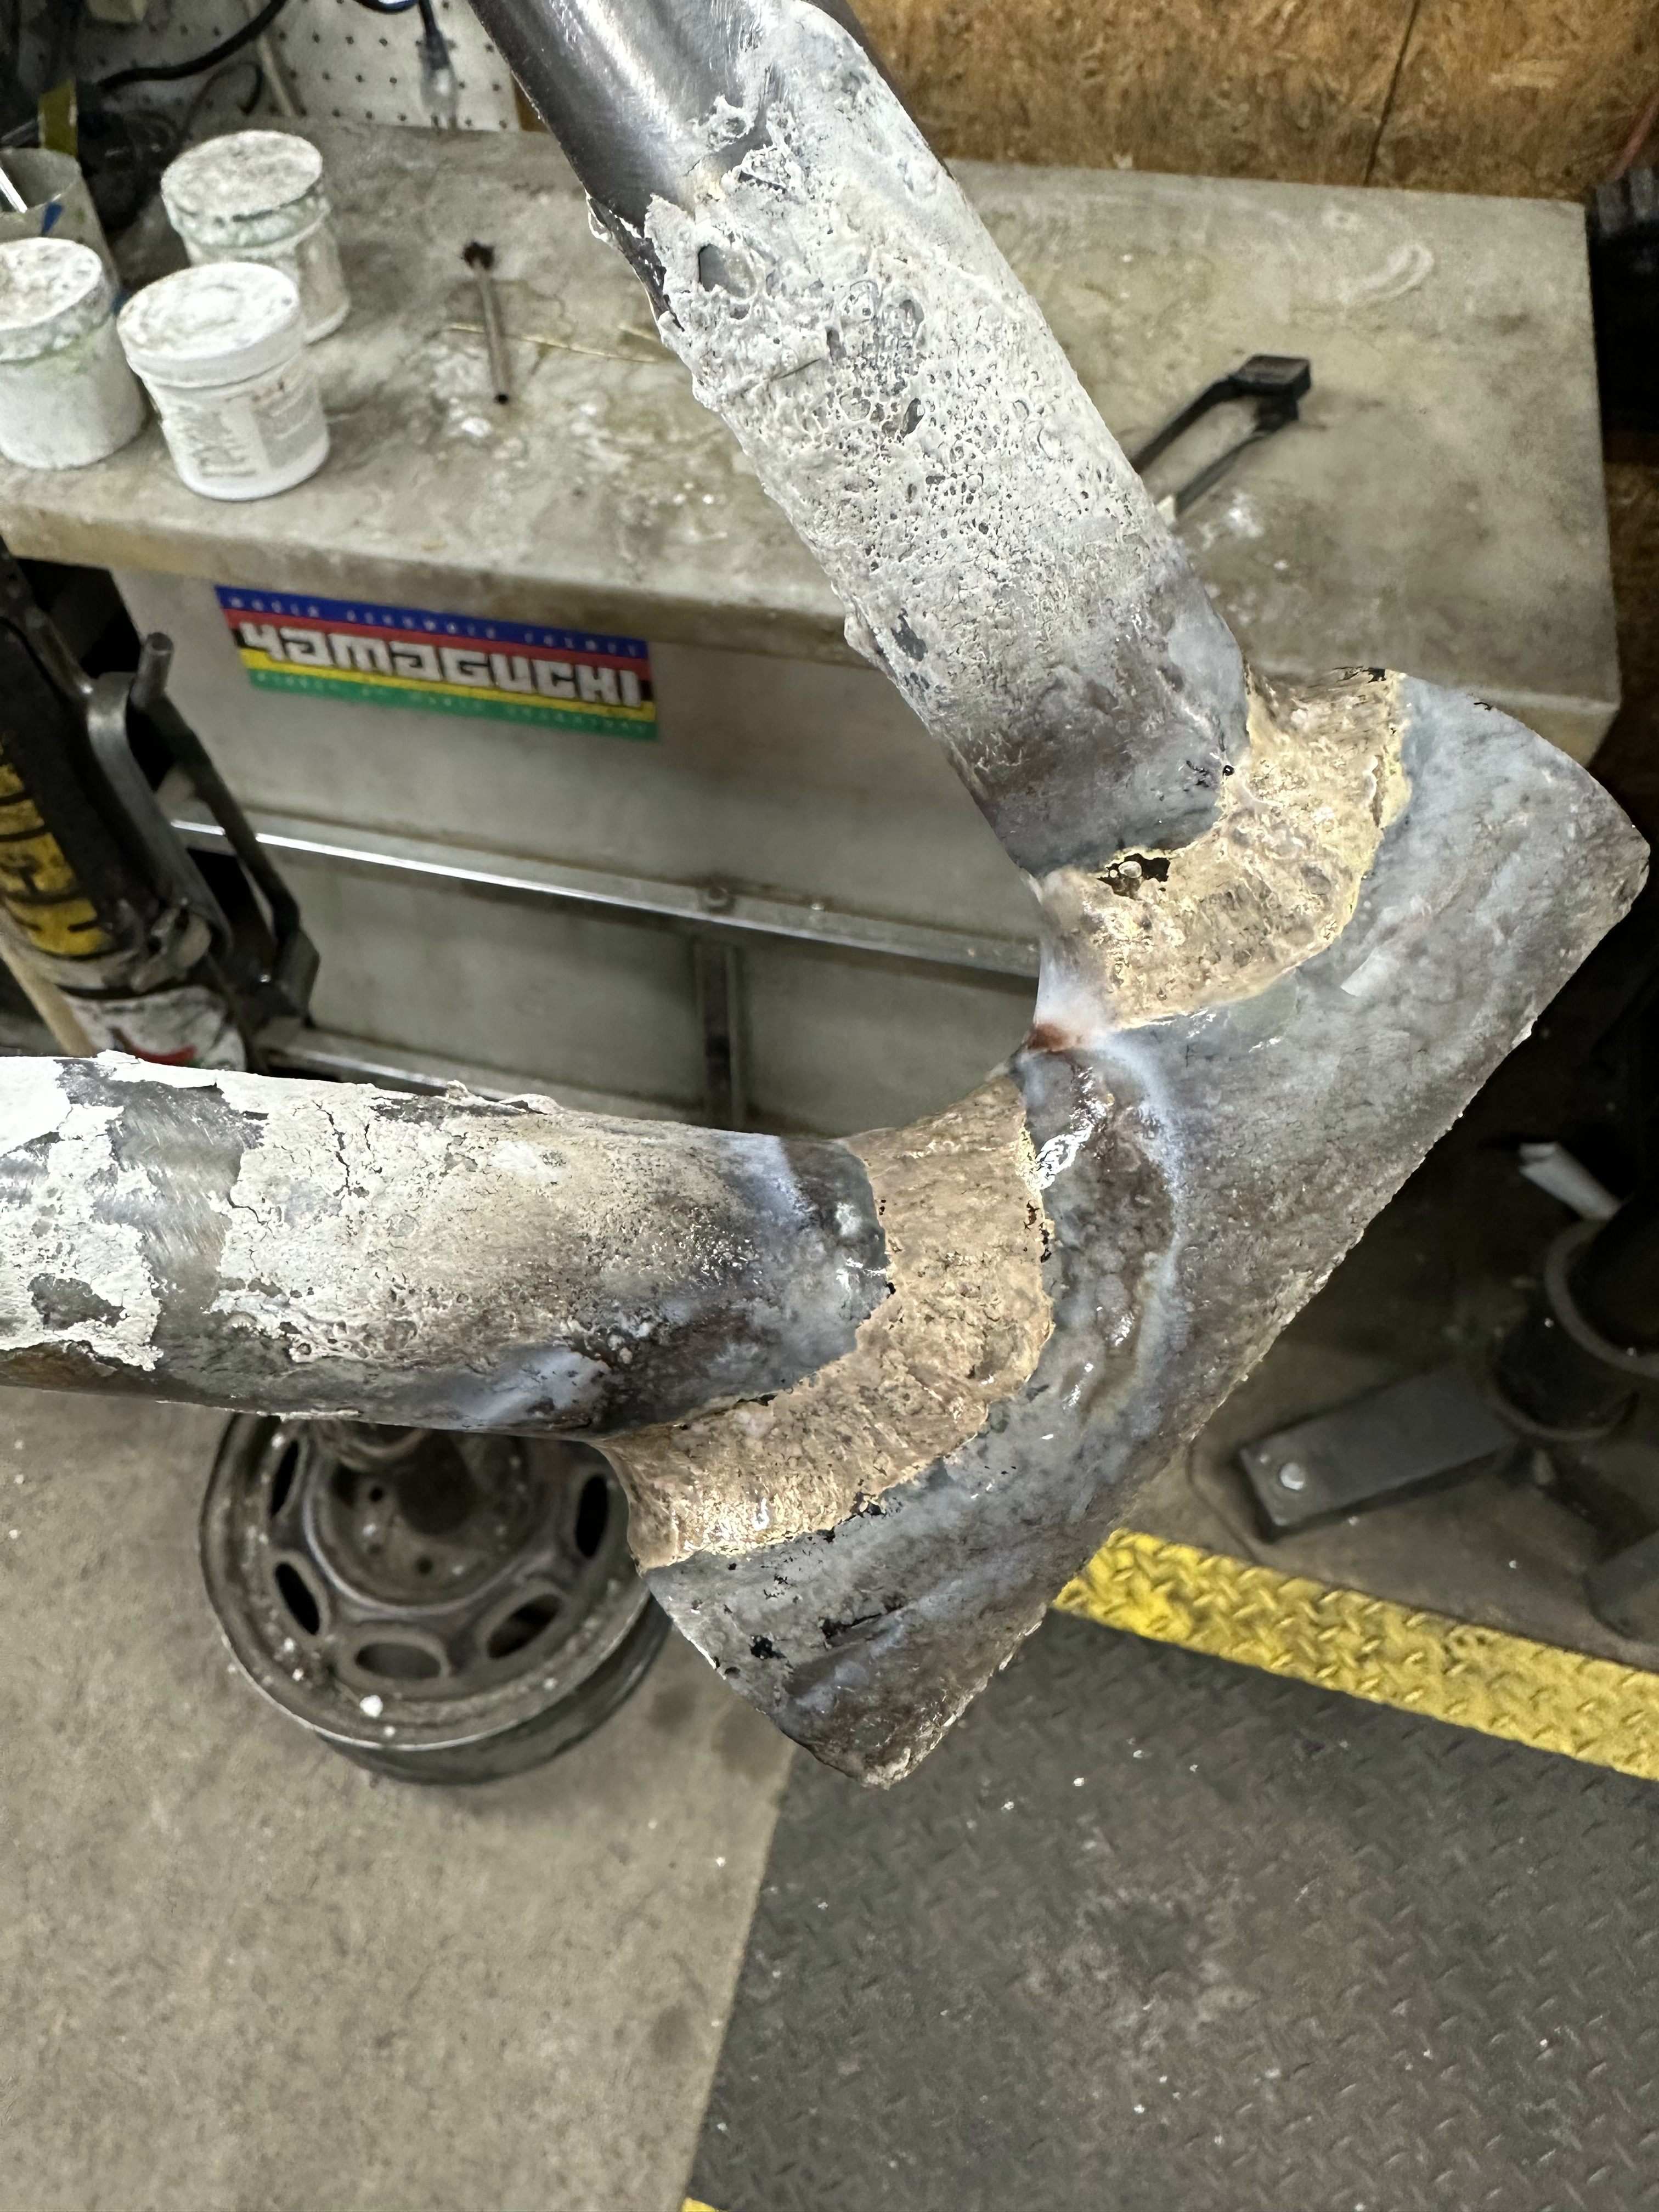
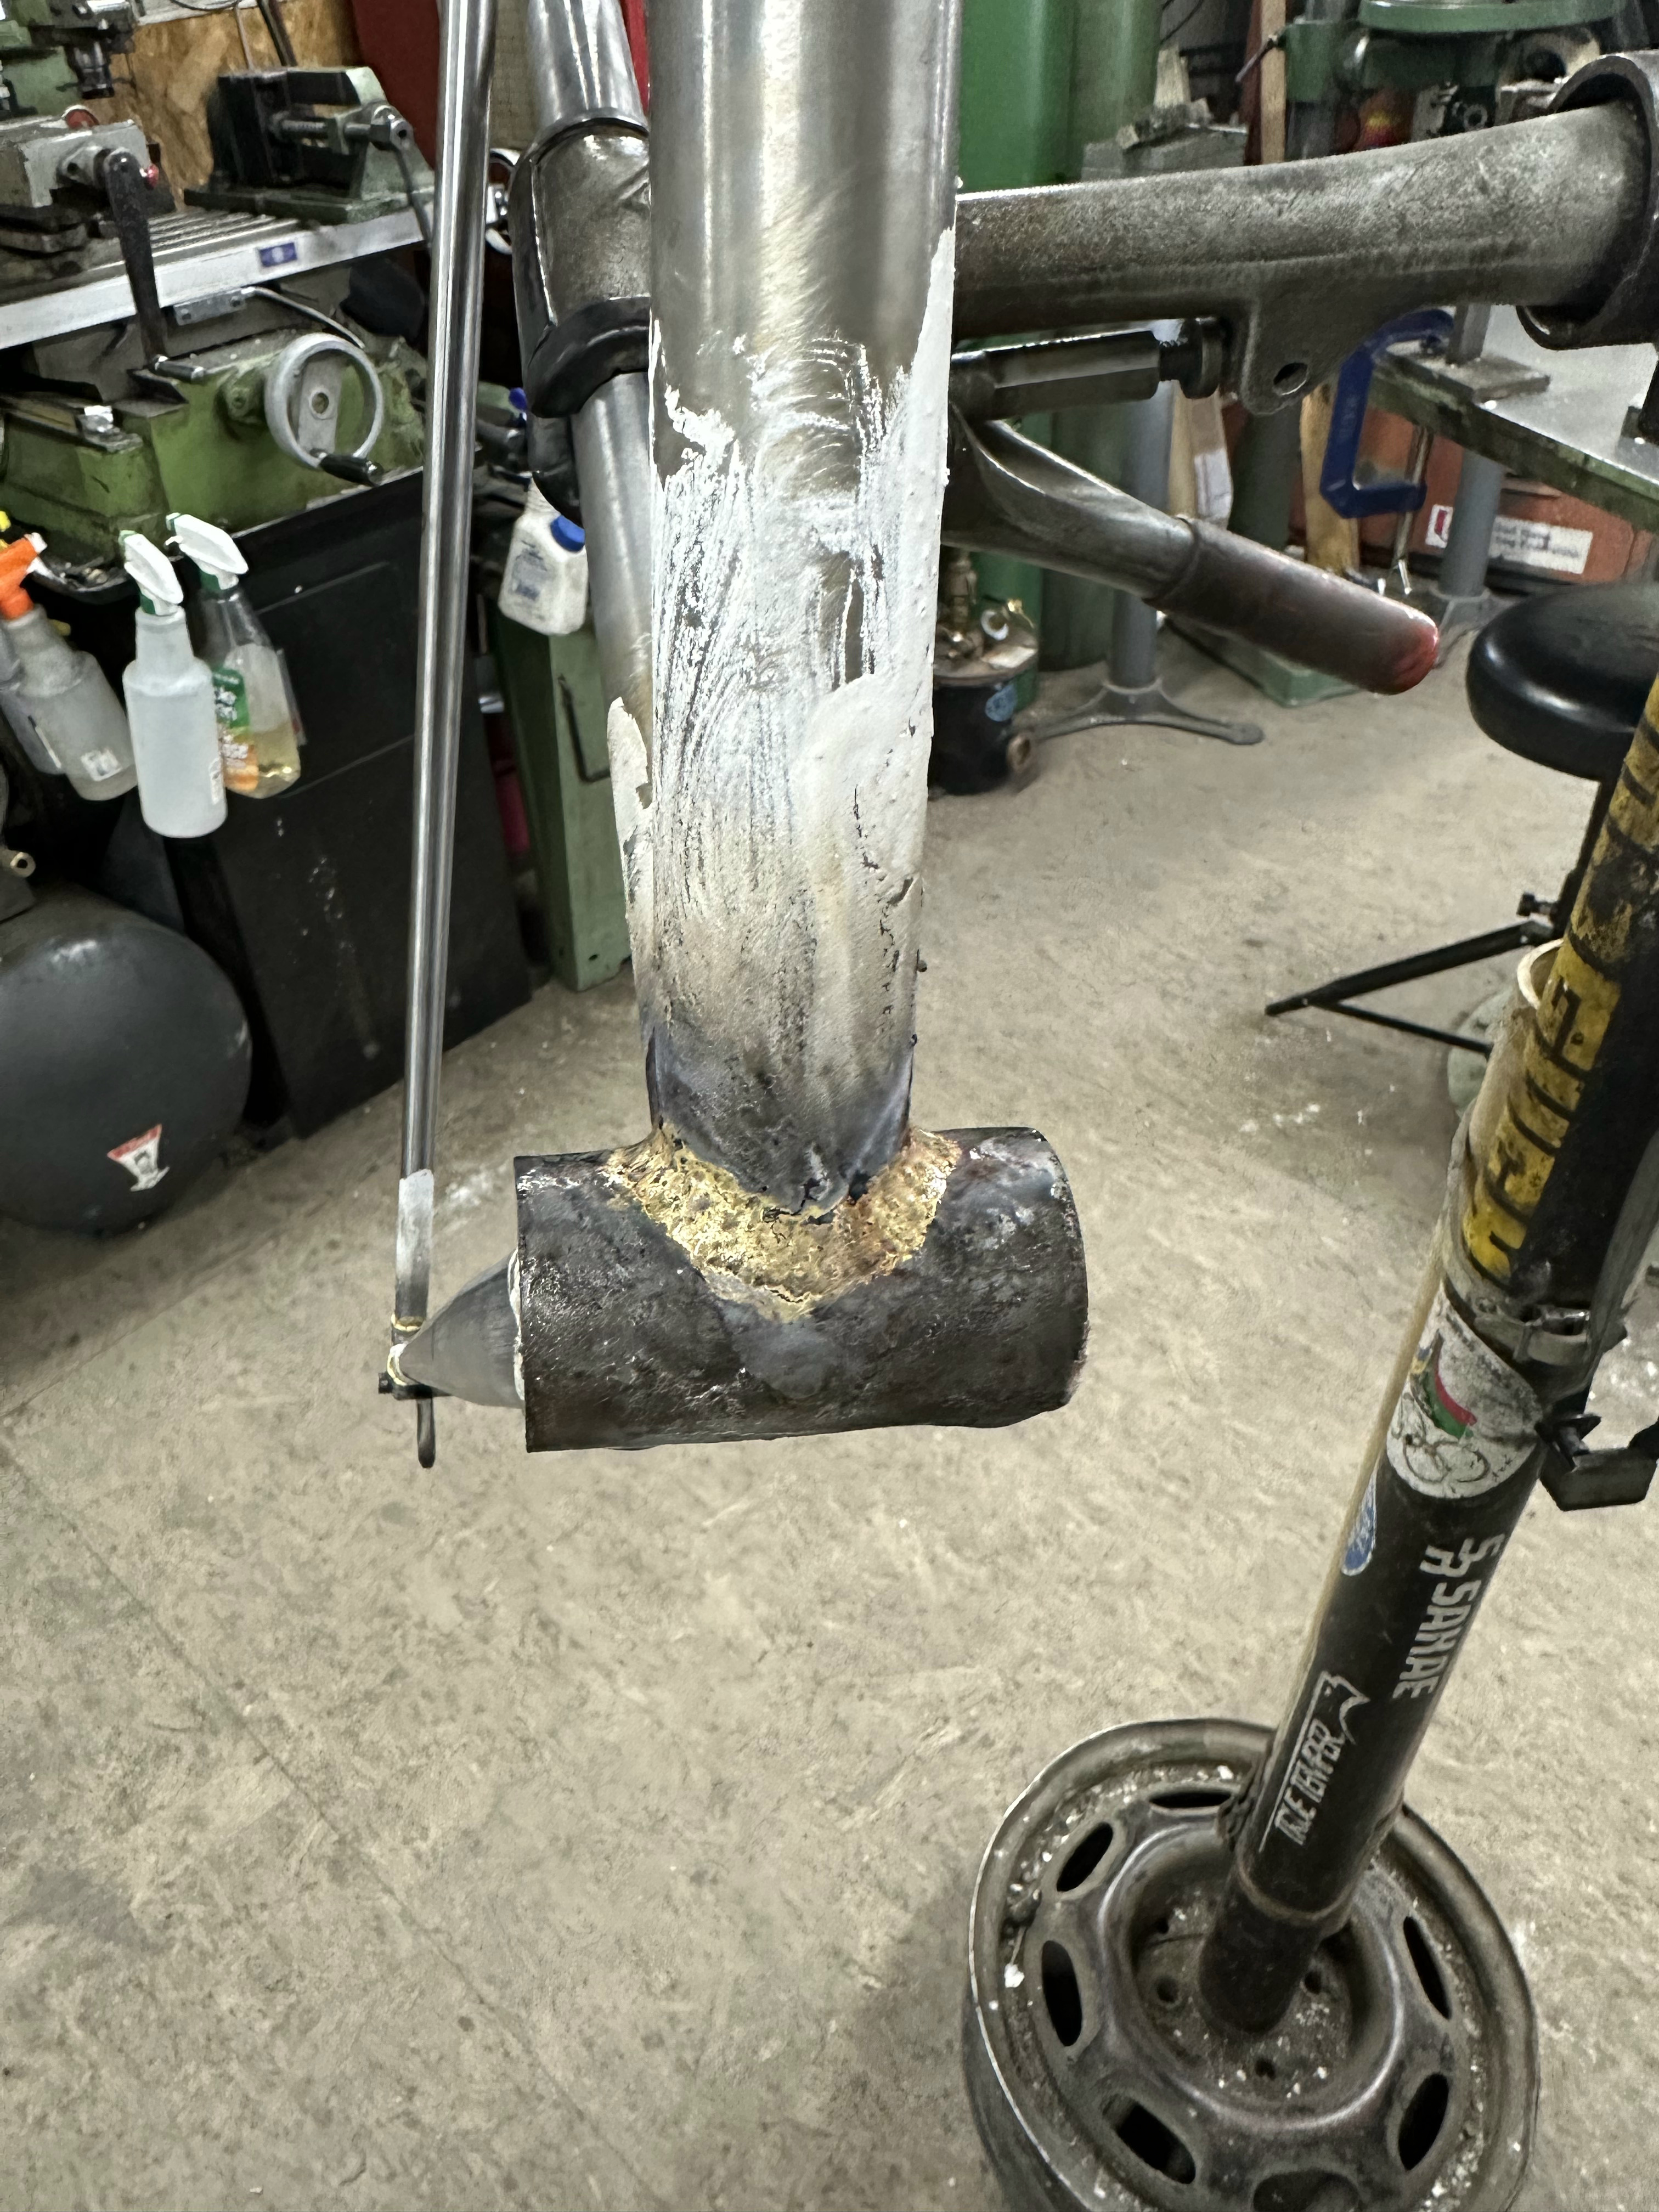
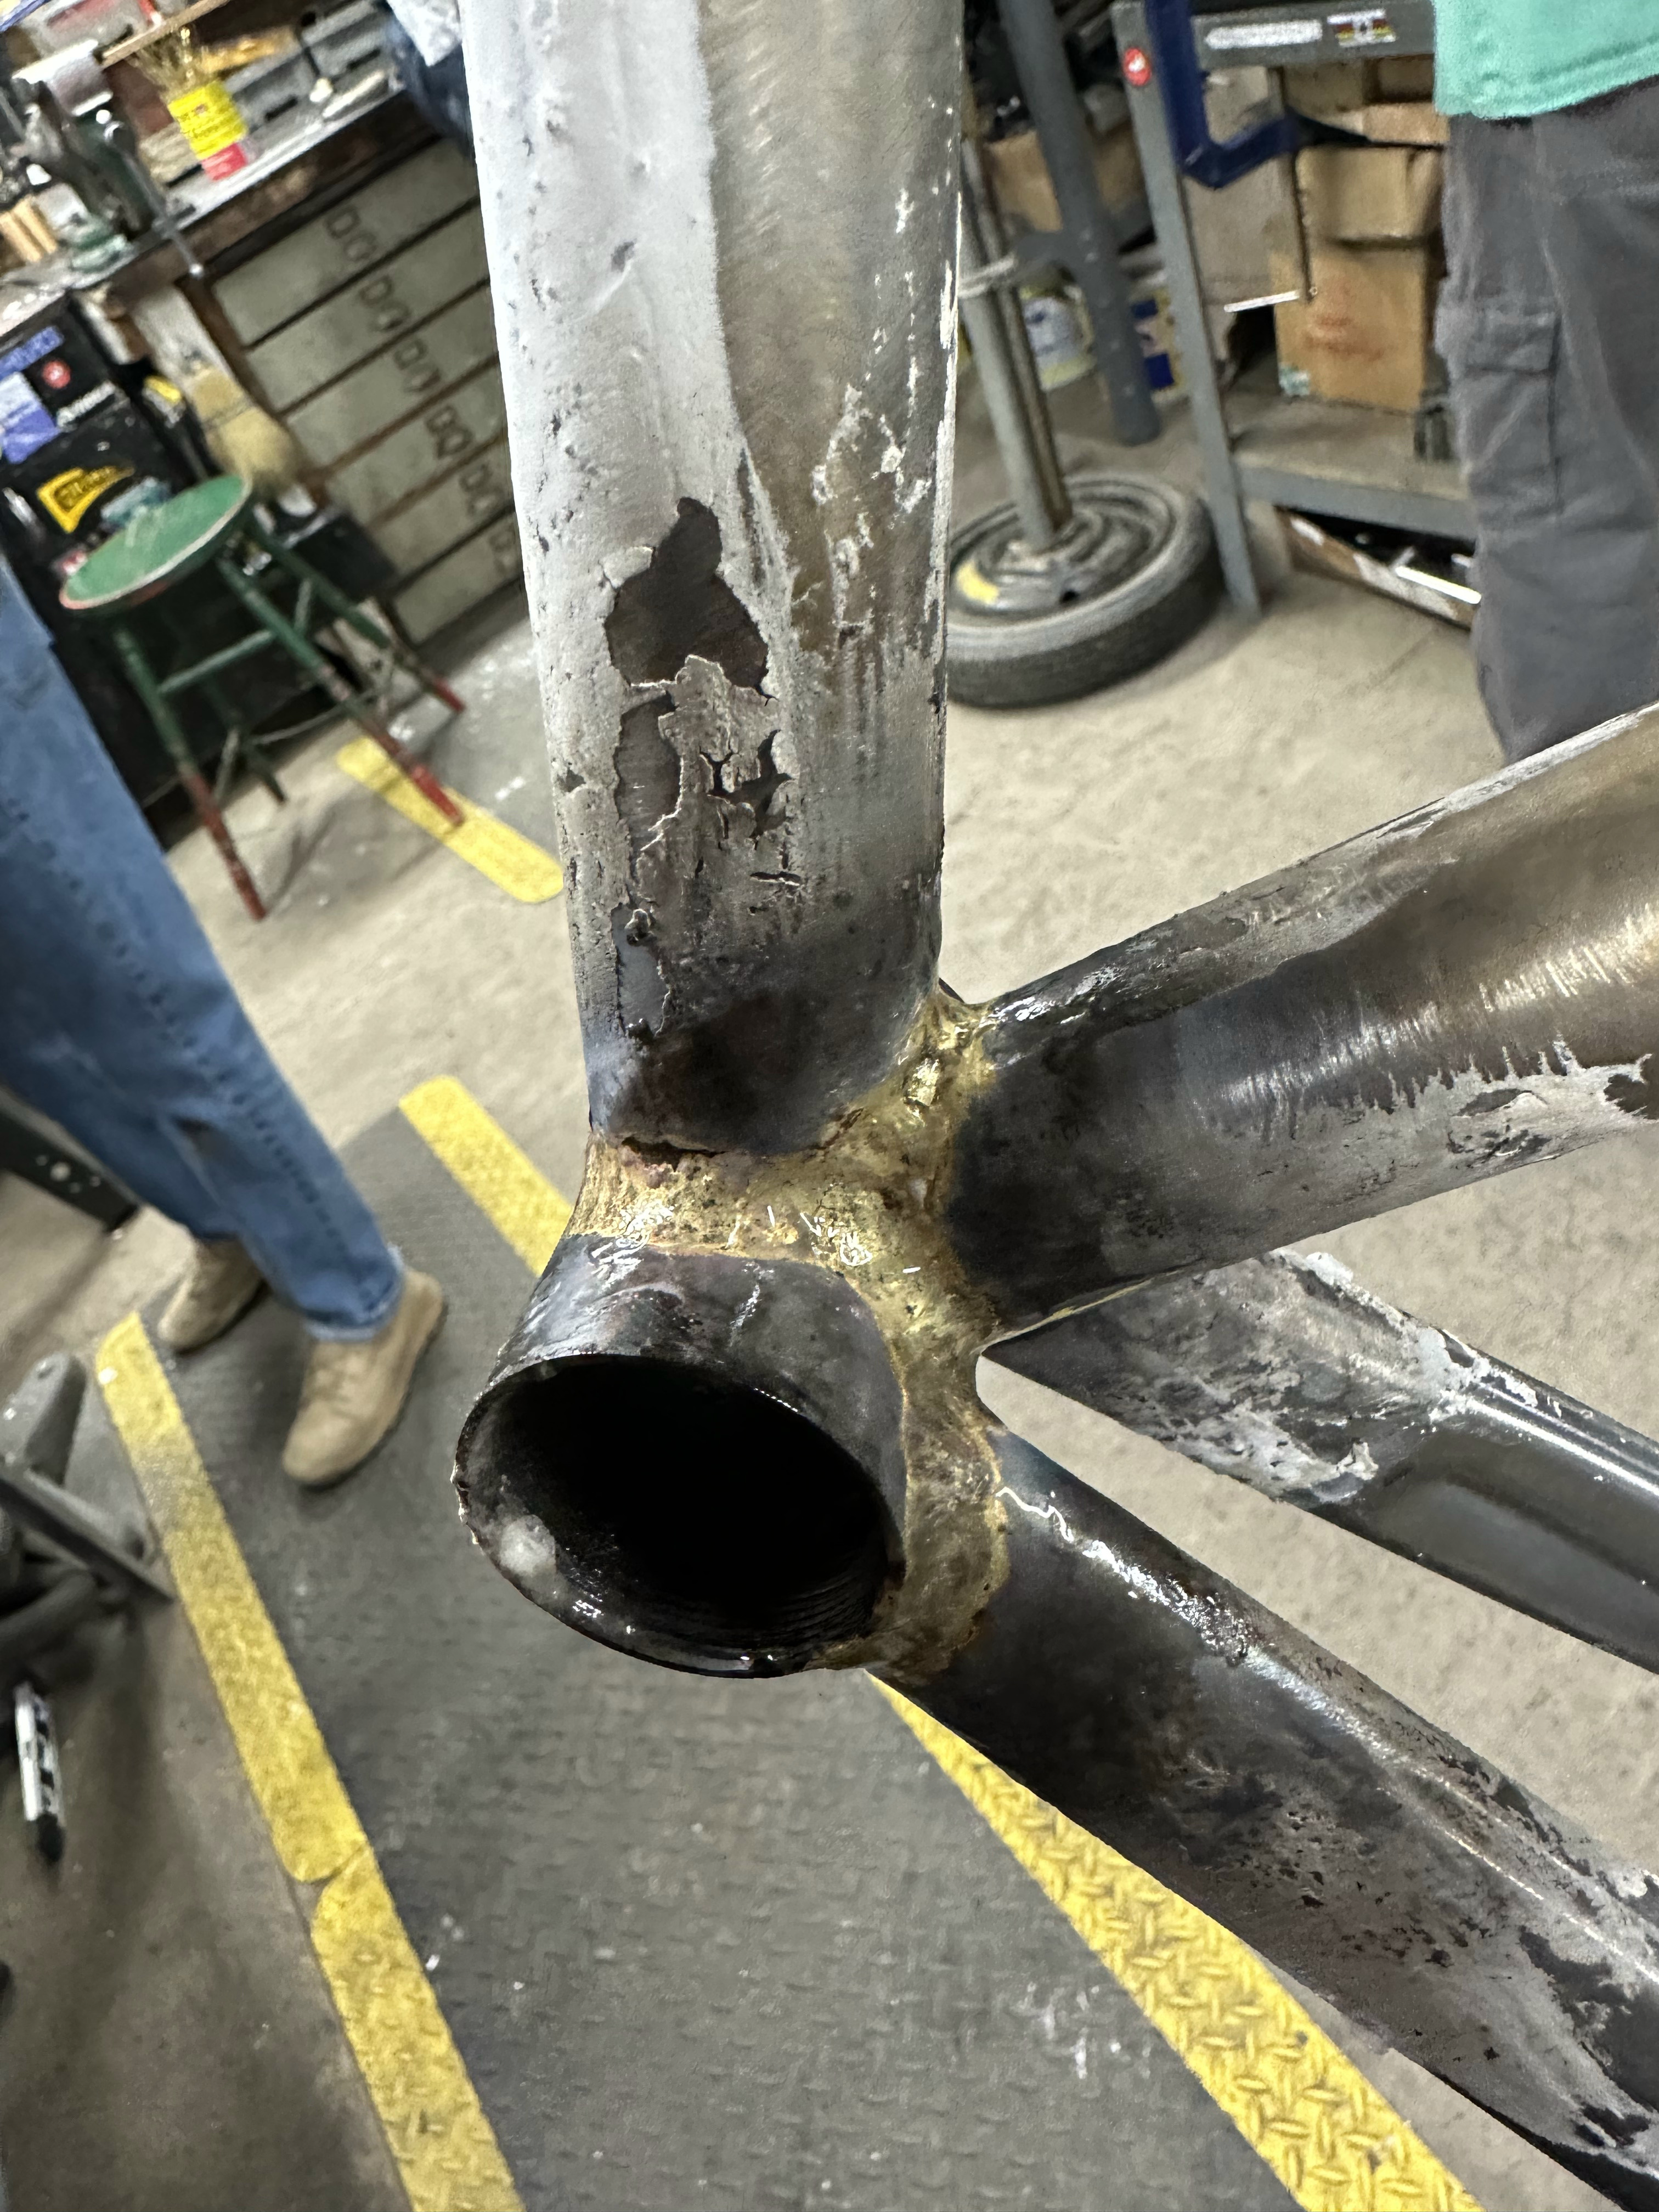
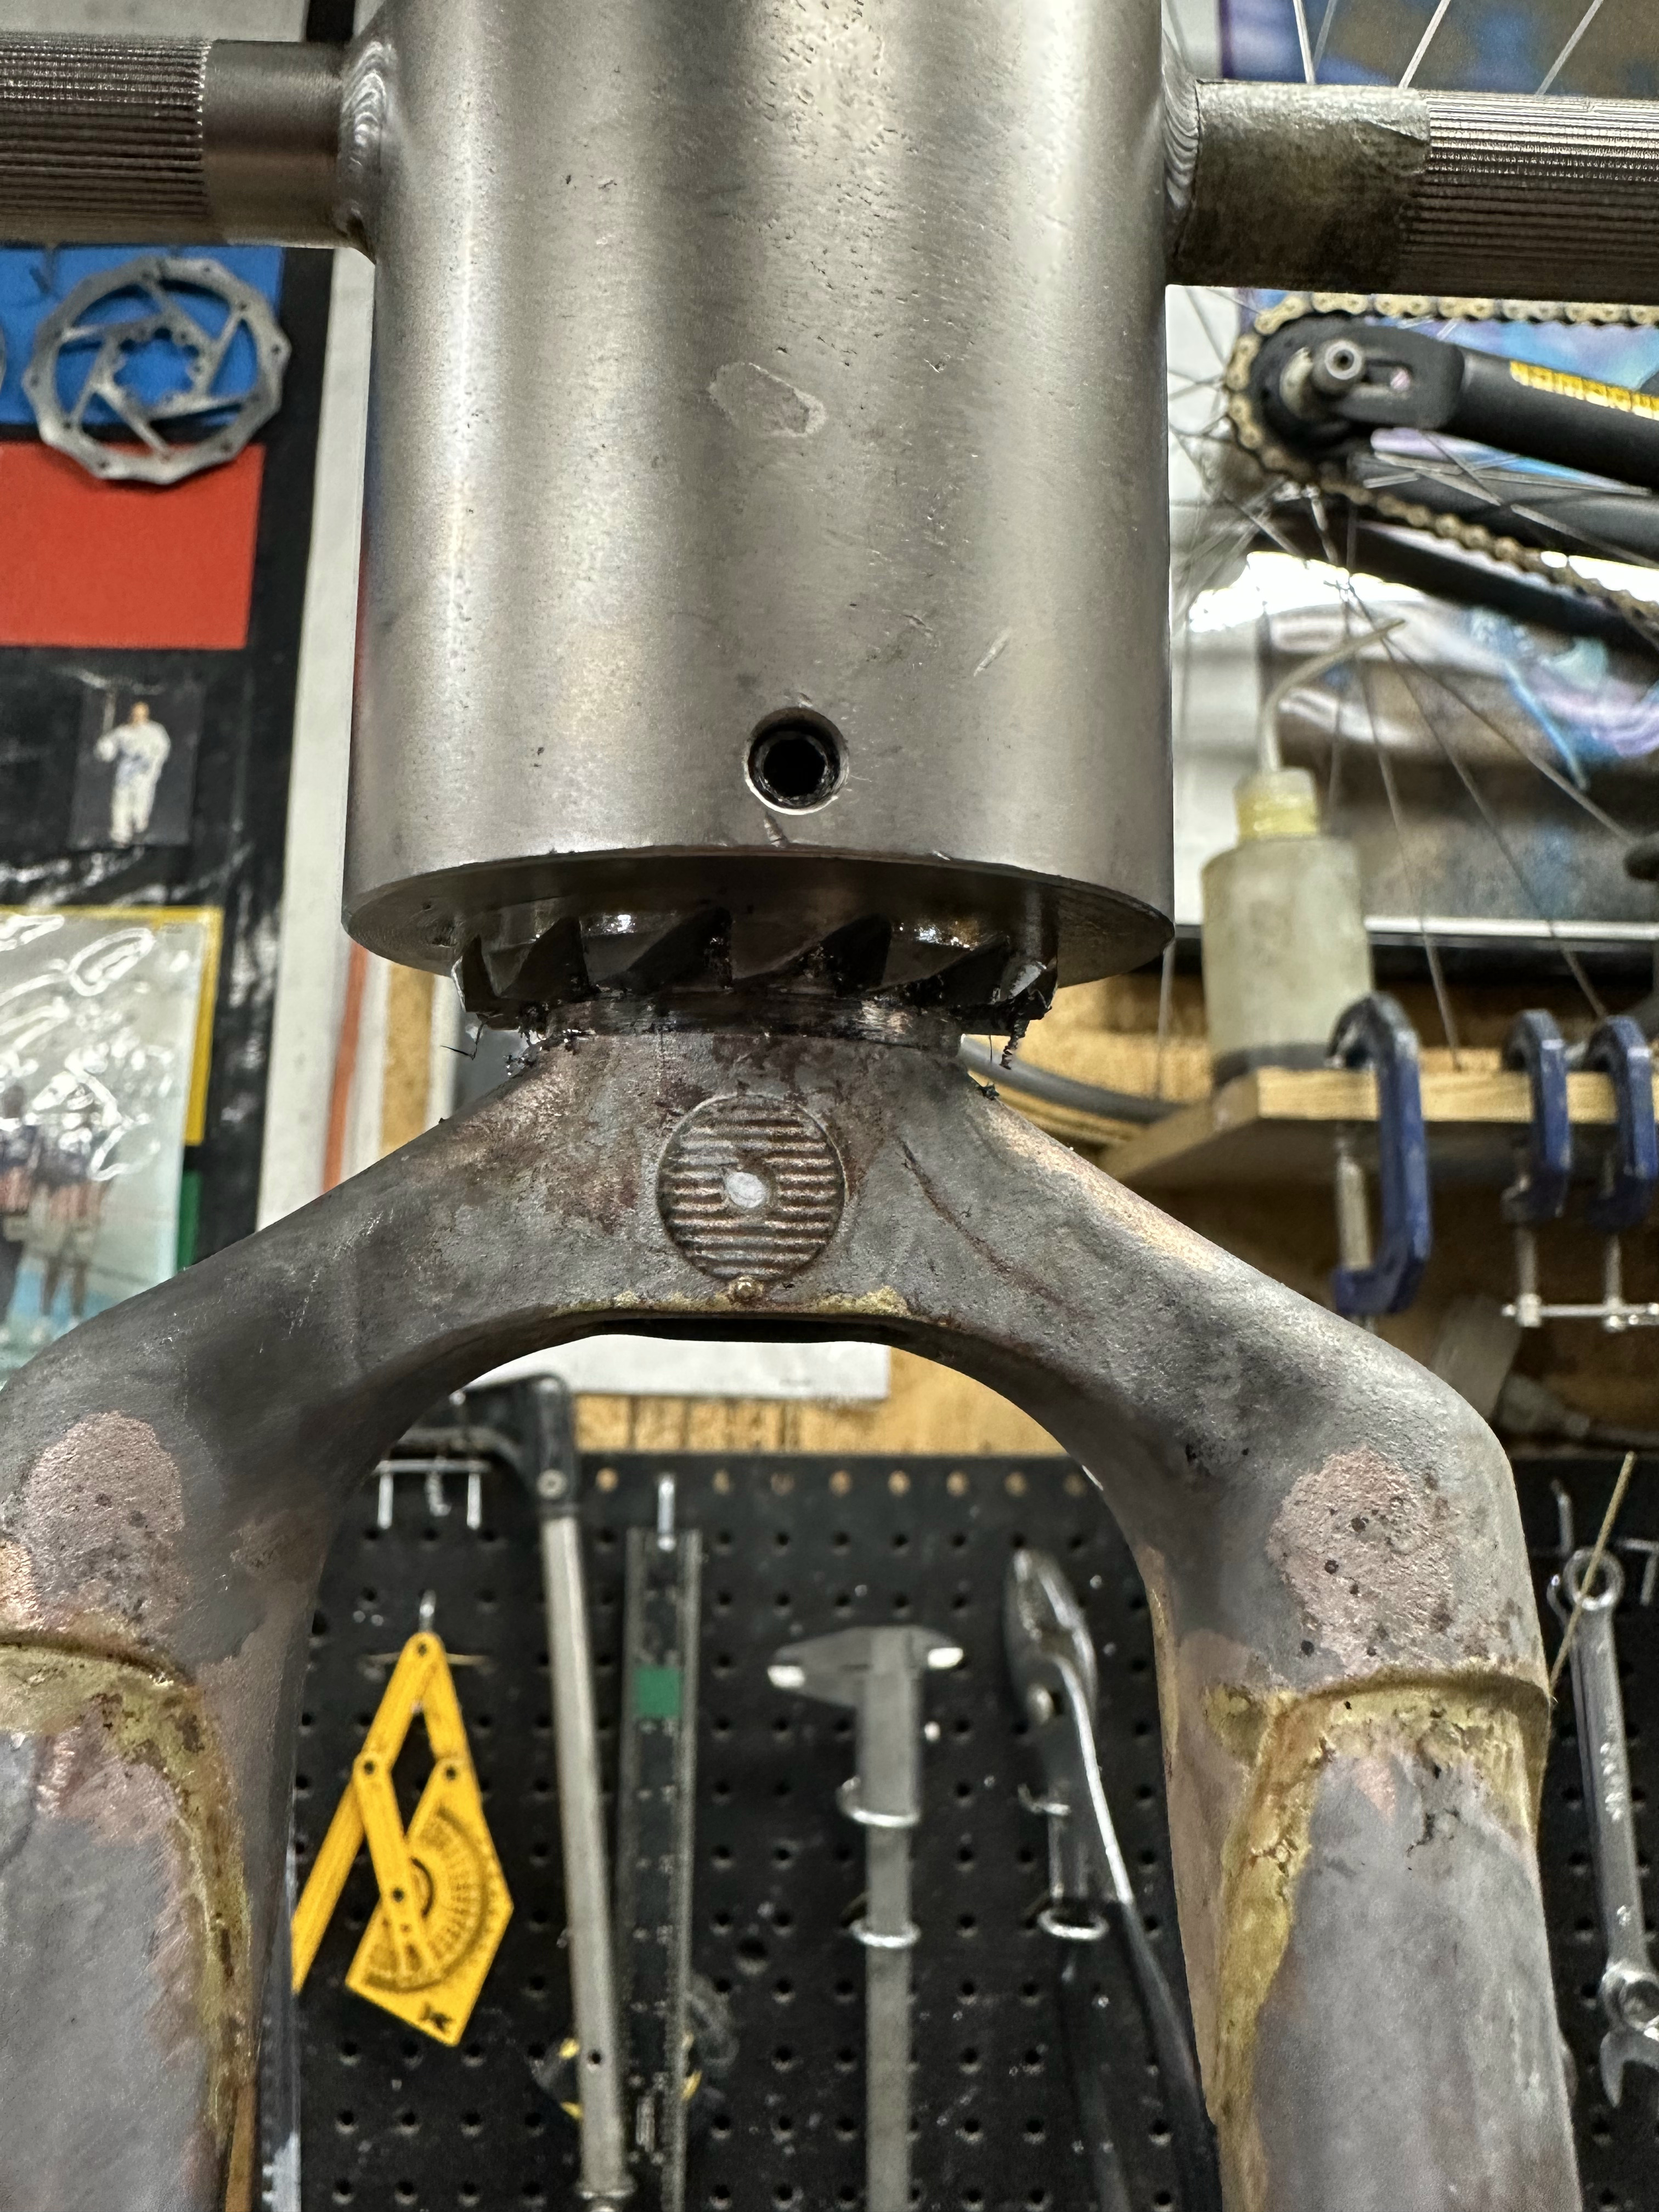
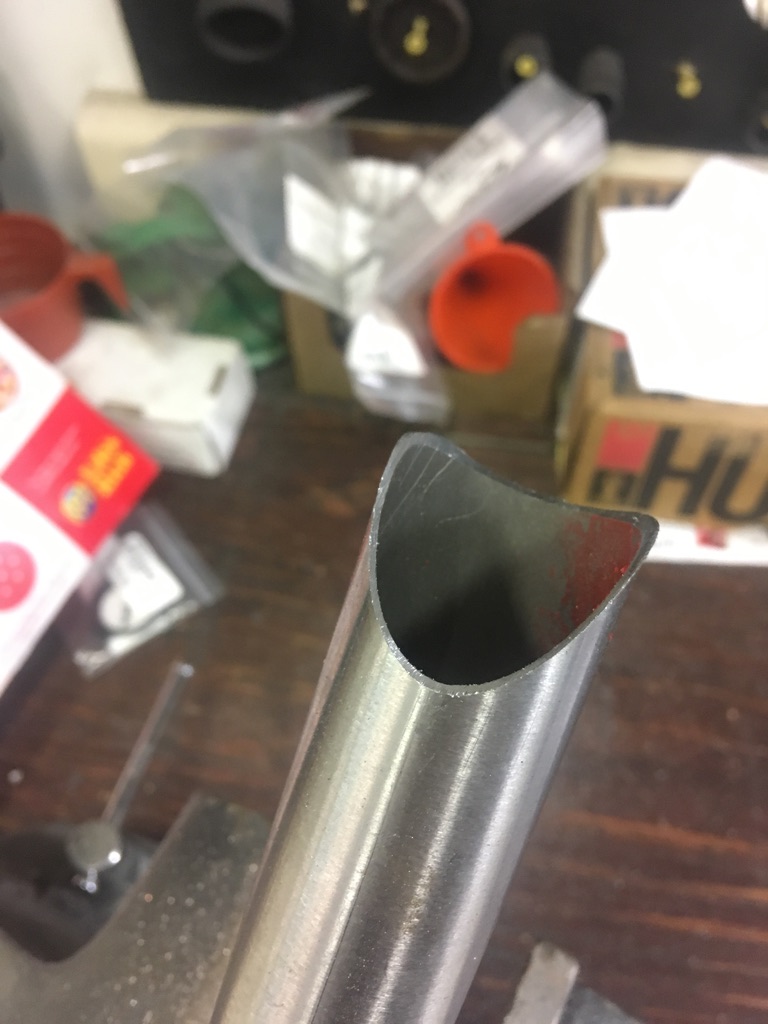
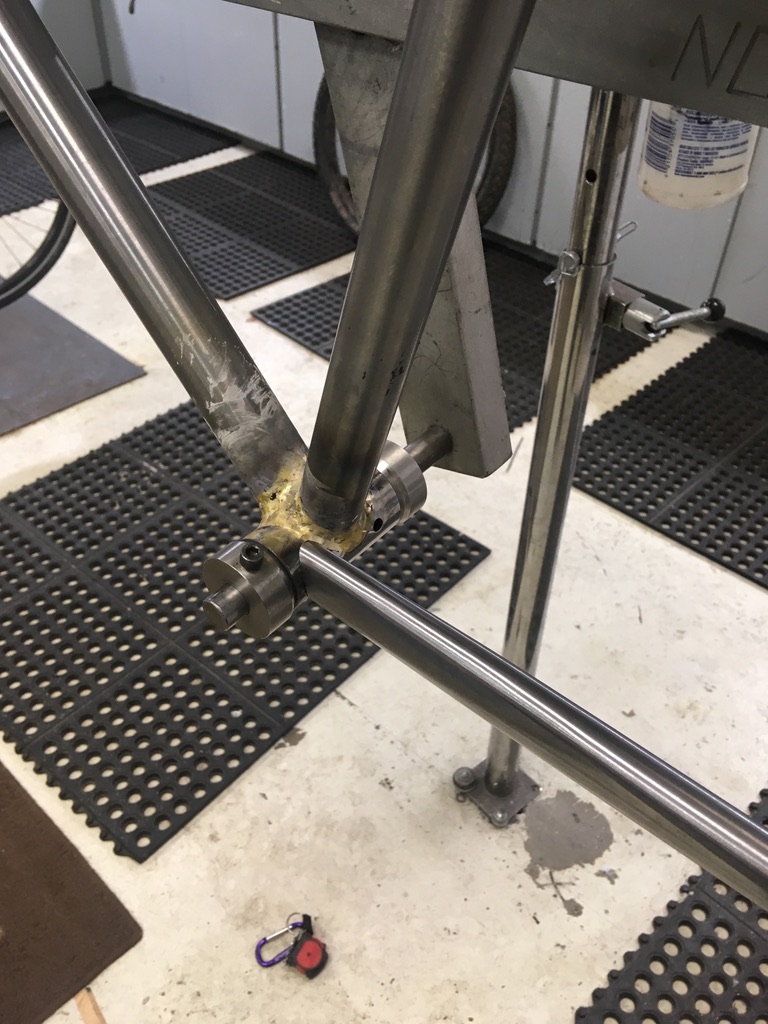
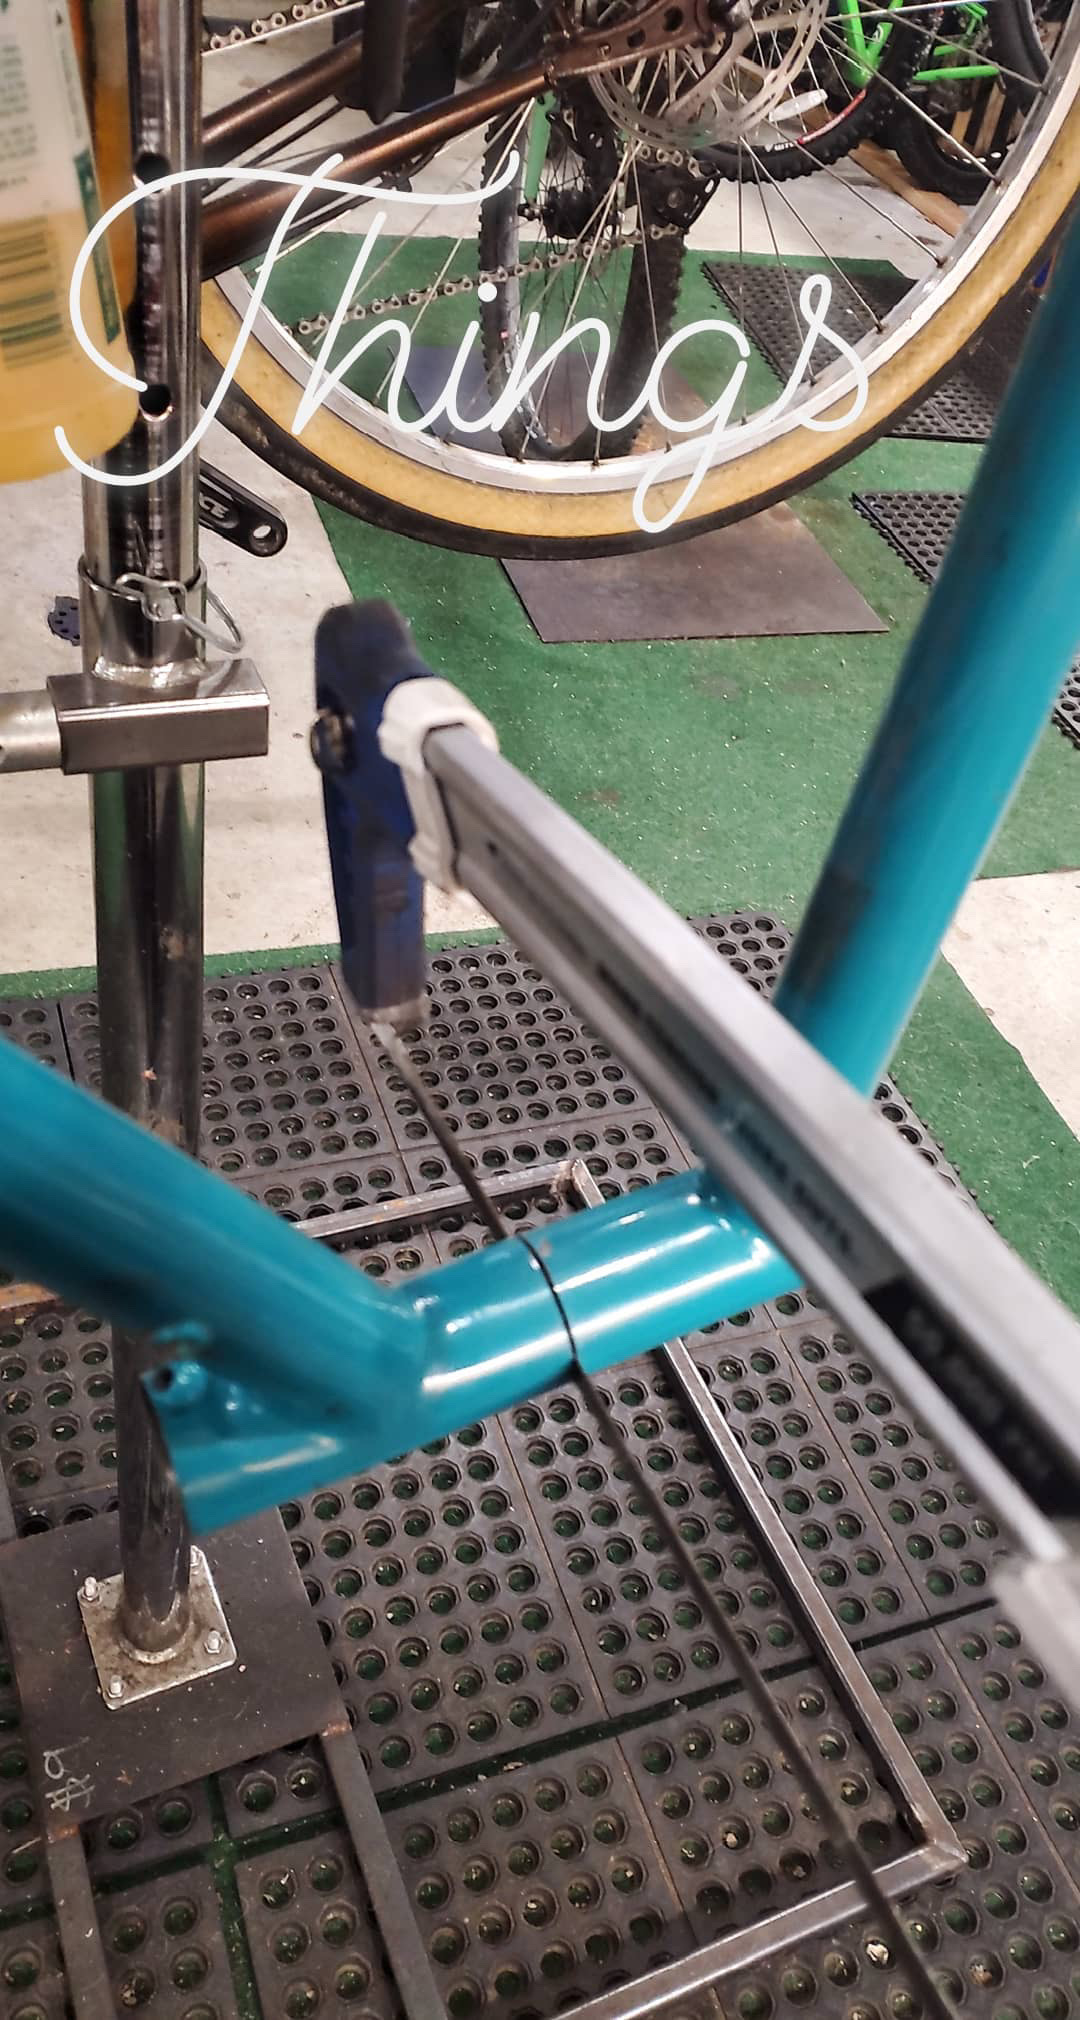
DT-HT joint. Not pictured is the ST-BB, which I brazed first. I remember spending lots of time in the puddle, smoothing out lumps, and adding lots of filler. The beginning of some trouble. I believe the HT was 1.1mm thick.


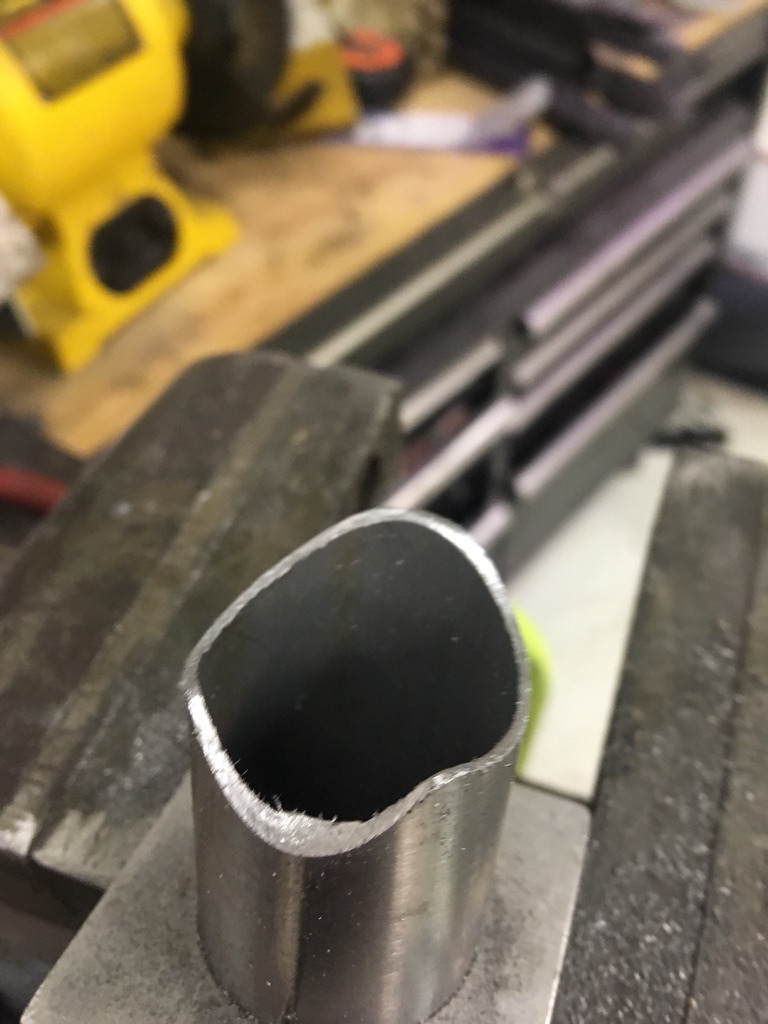
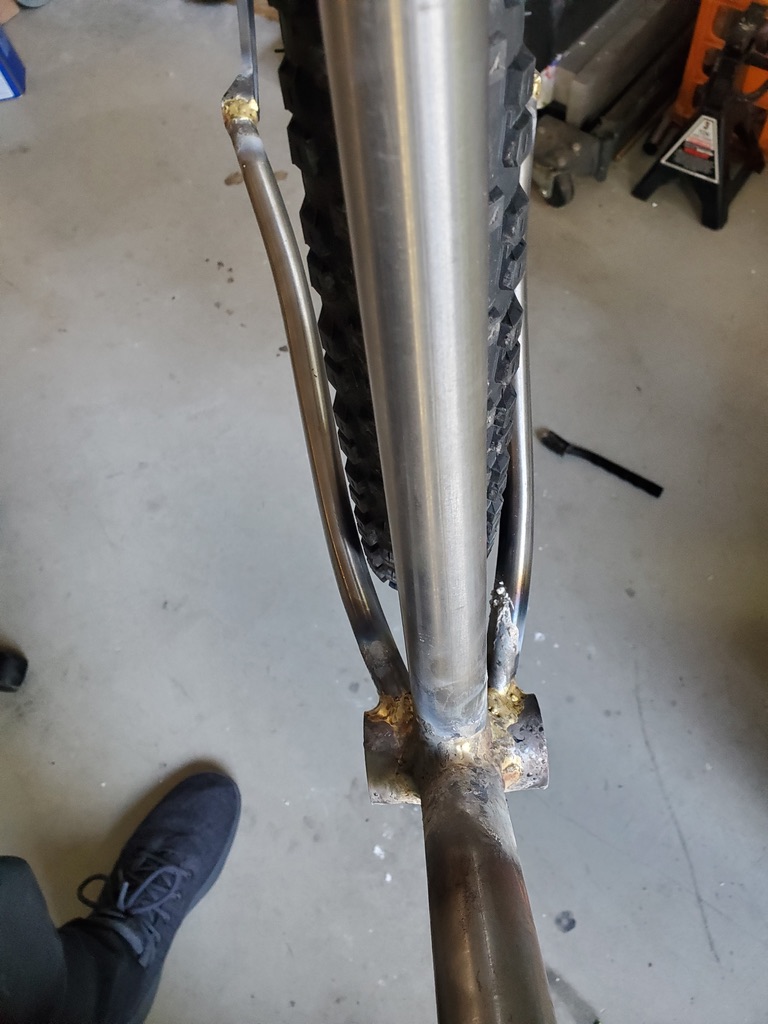
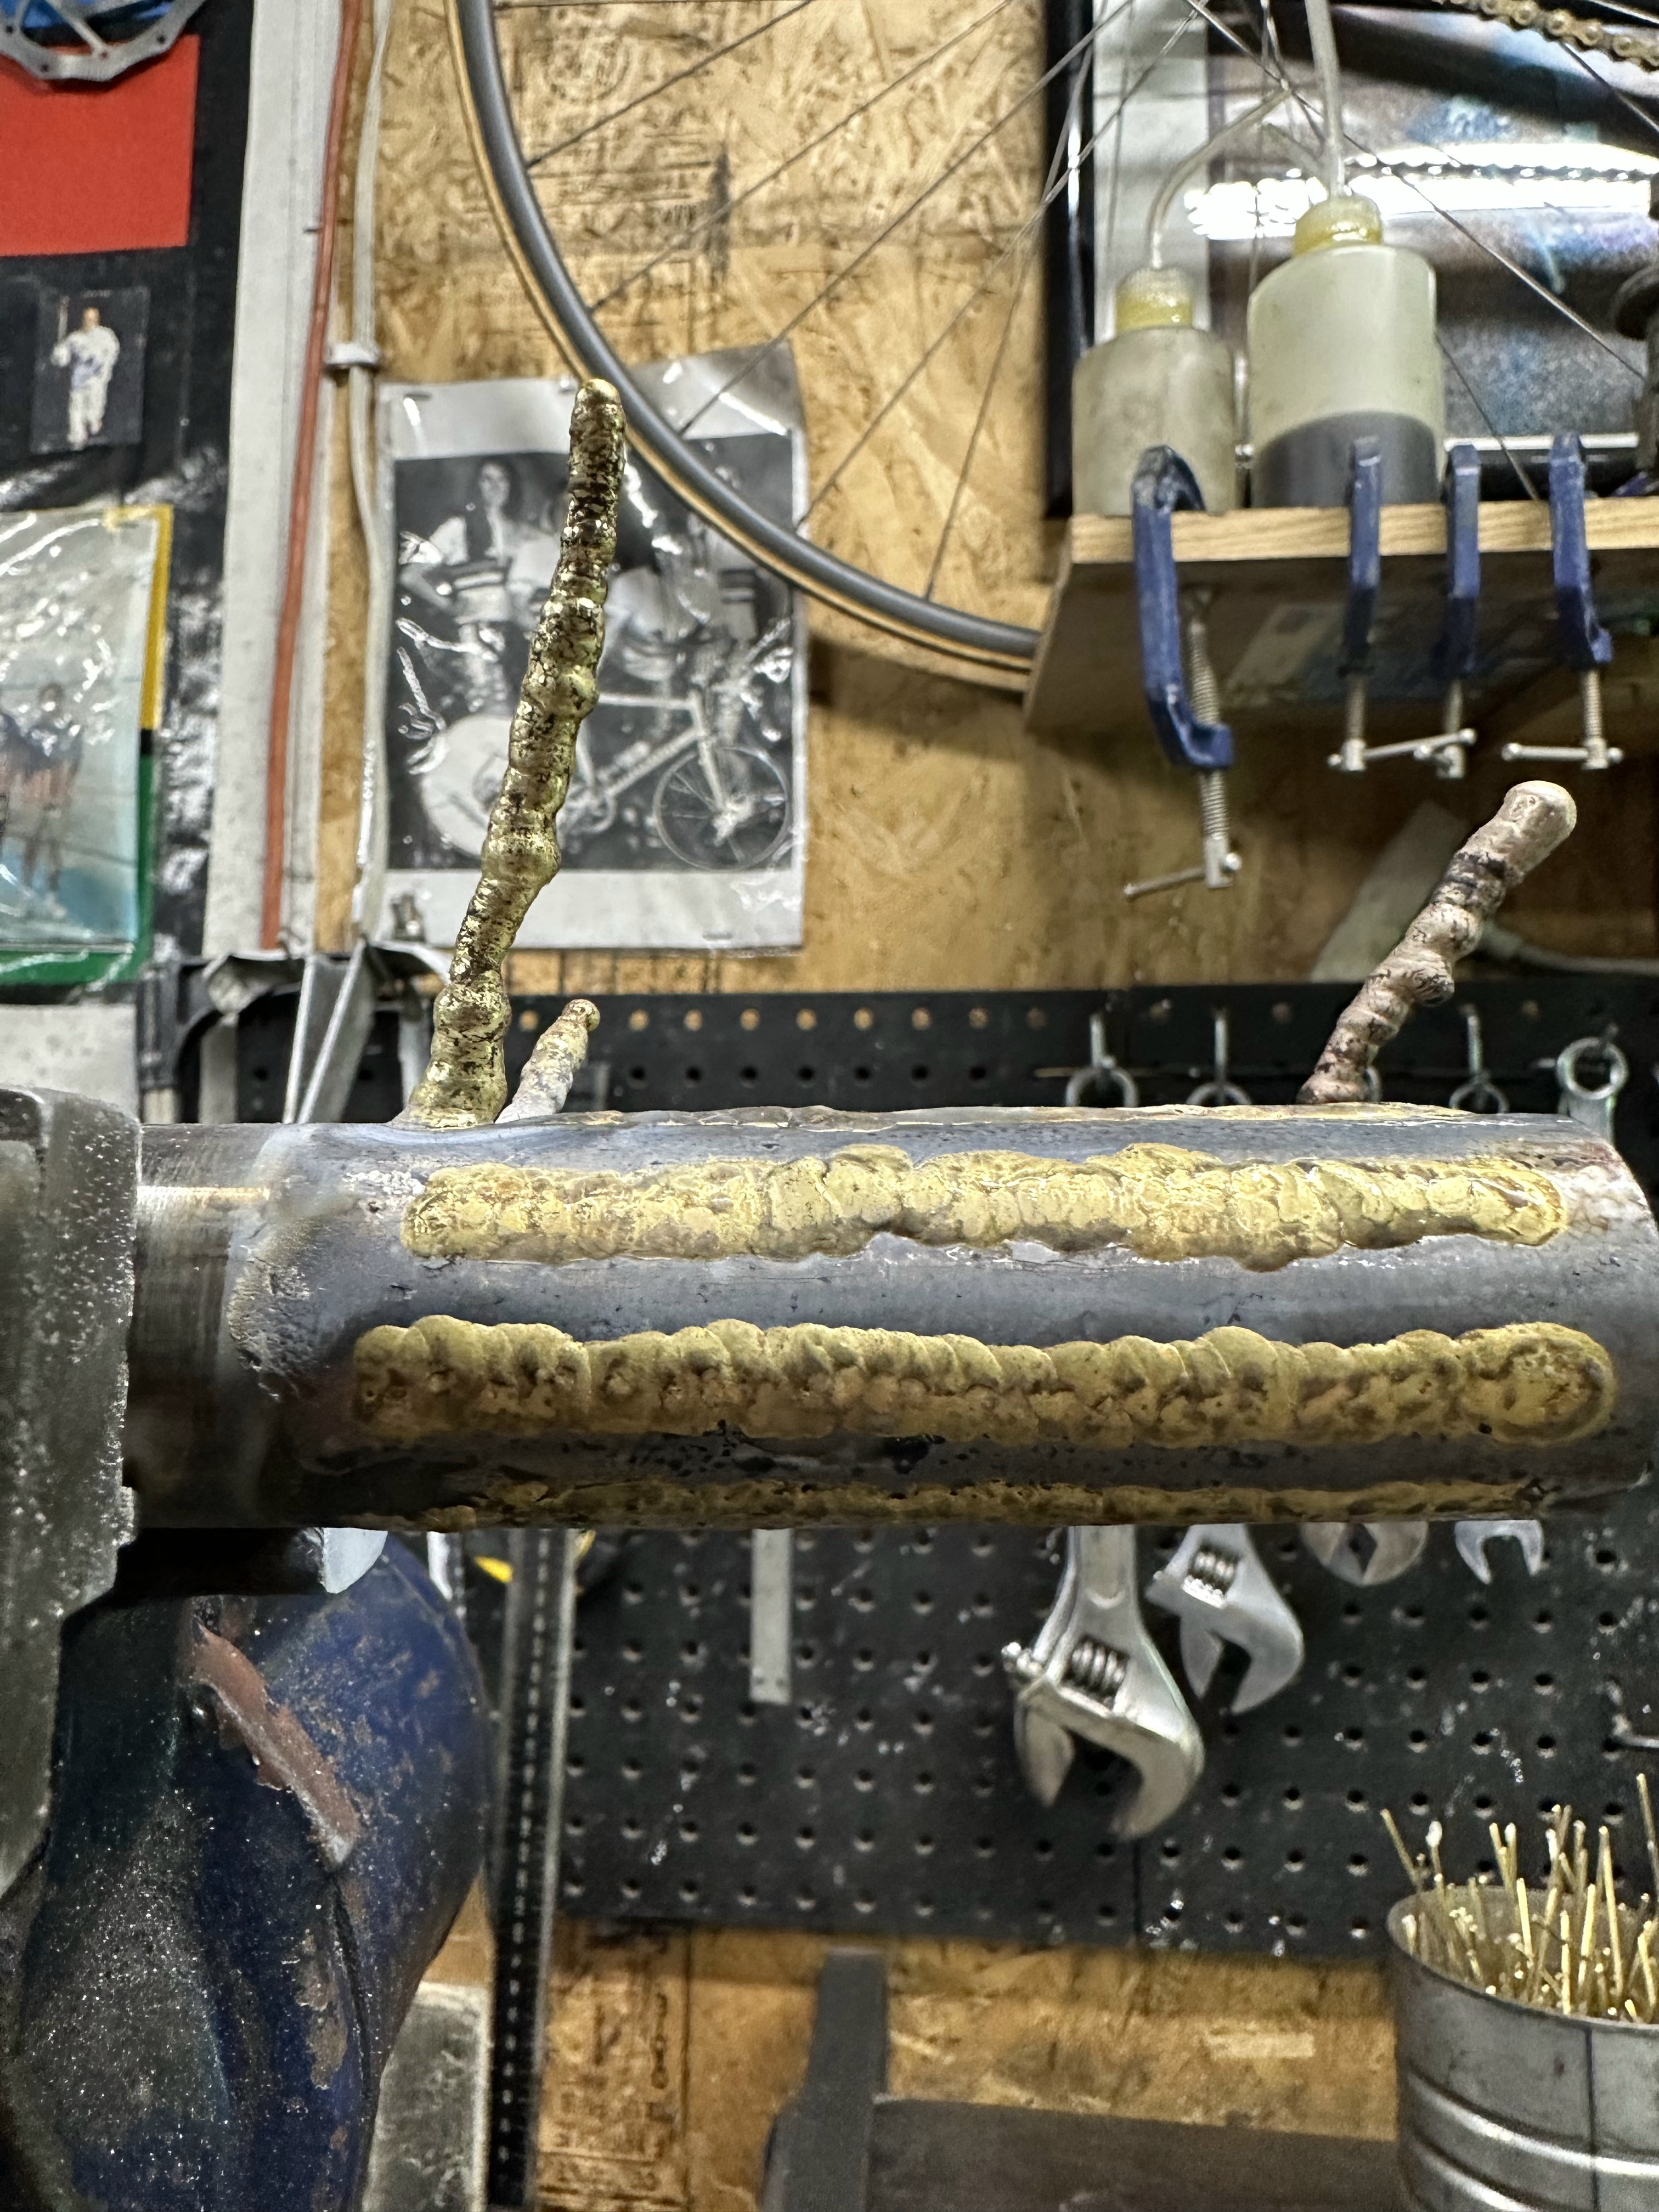
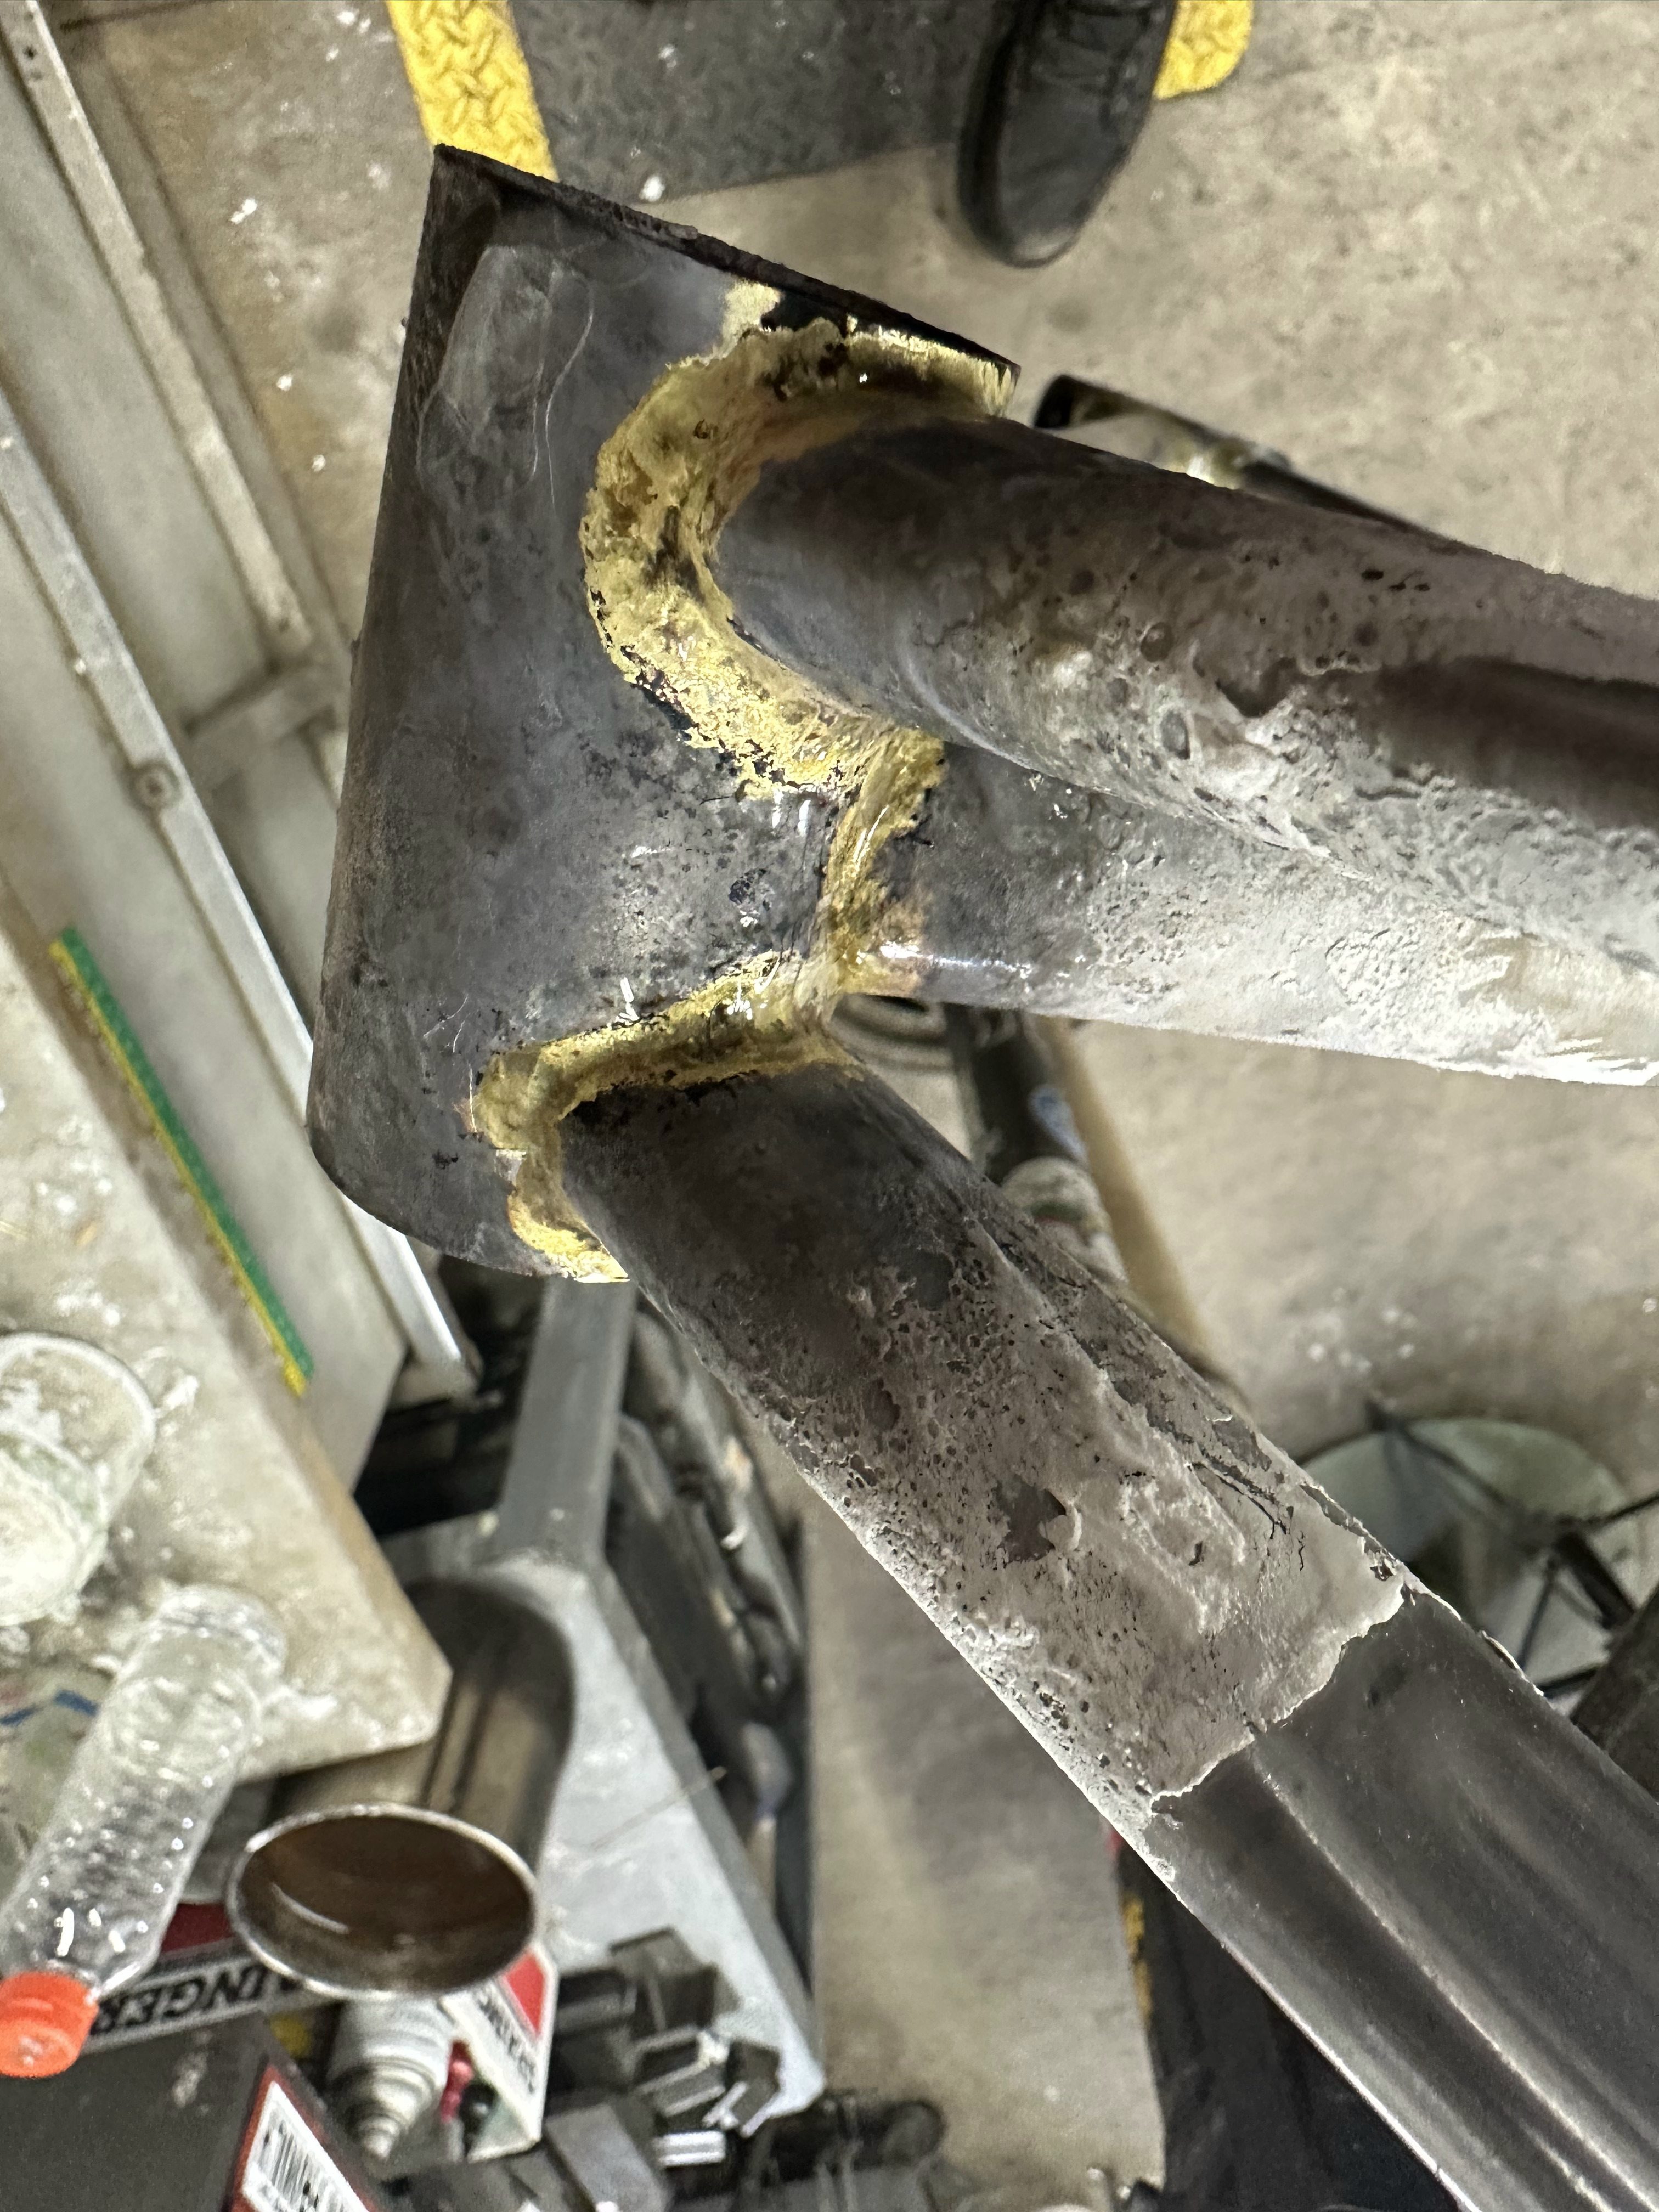
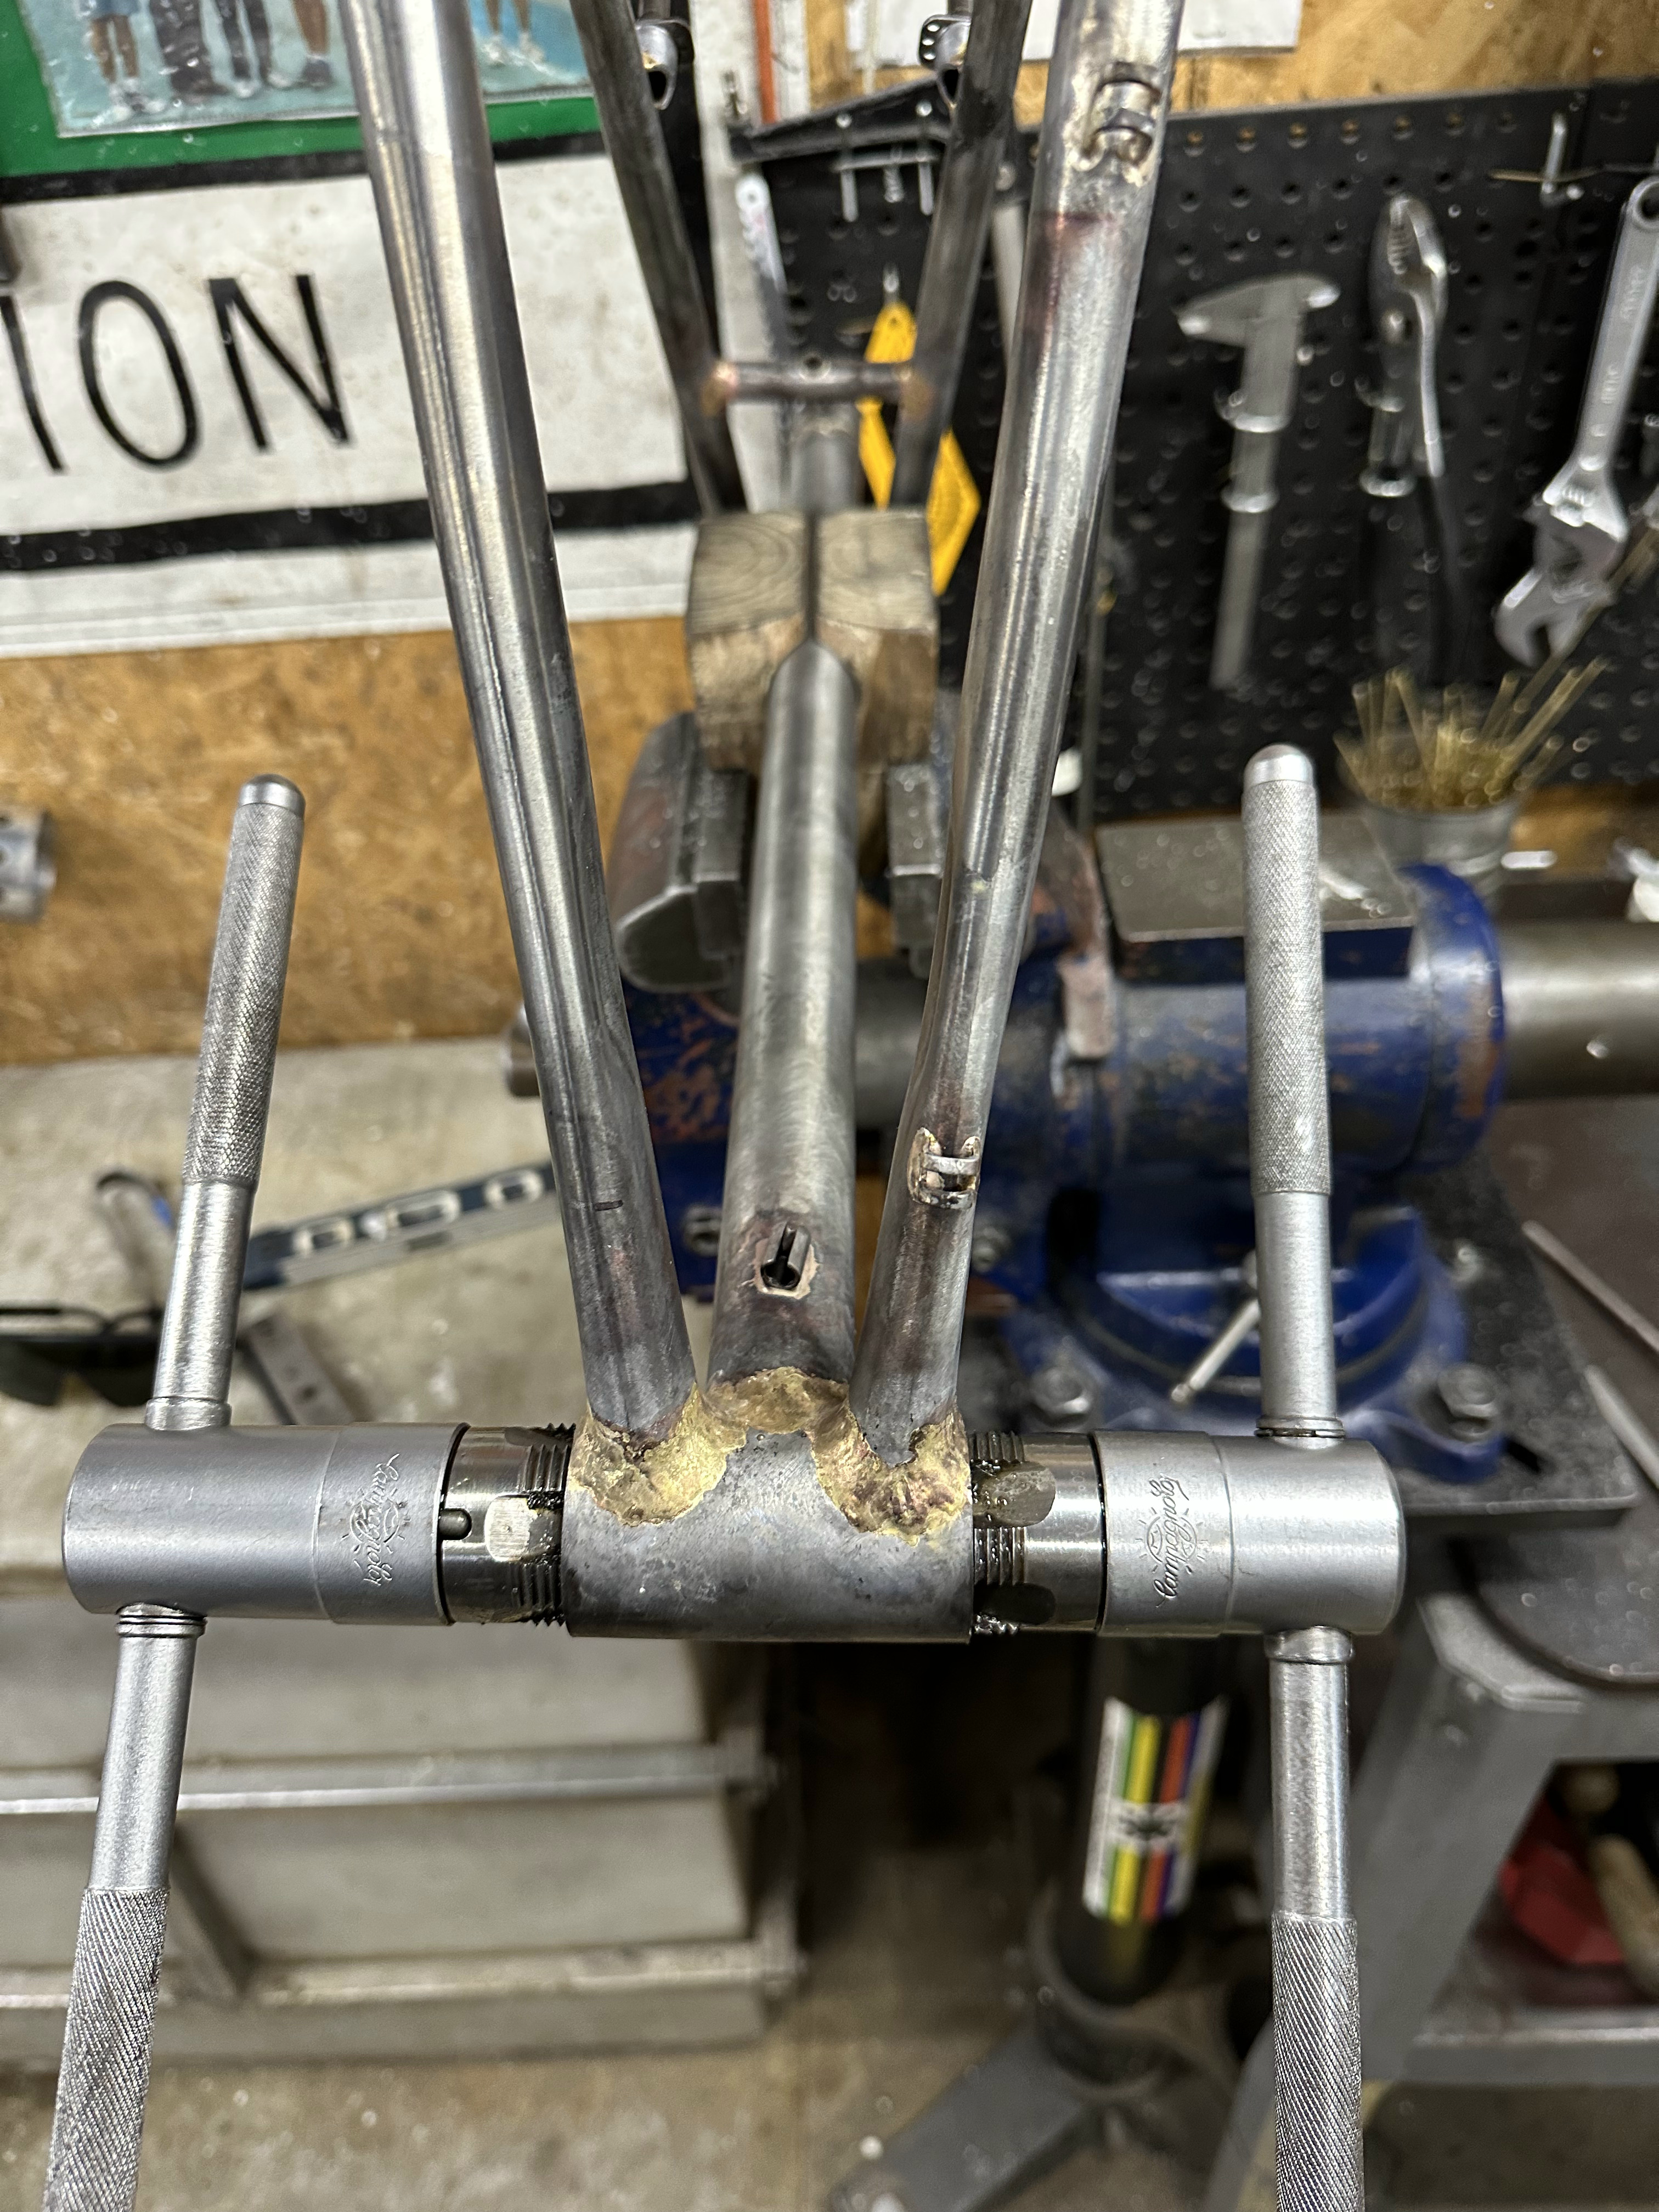
This is the BB end of the DT. I had fully fillet brazed the ST to the BB, so I had to really round off the ears of the compound miter to get it to fit right. I’m sure this made it more flexy, and I wouldn’t do it this way again.


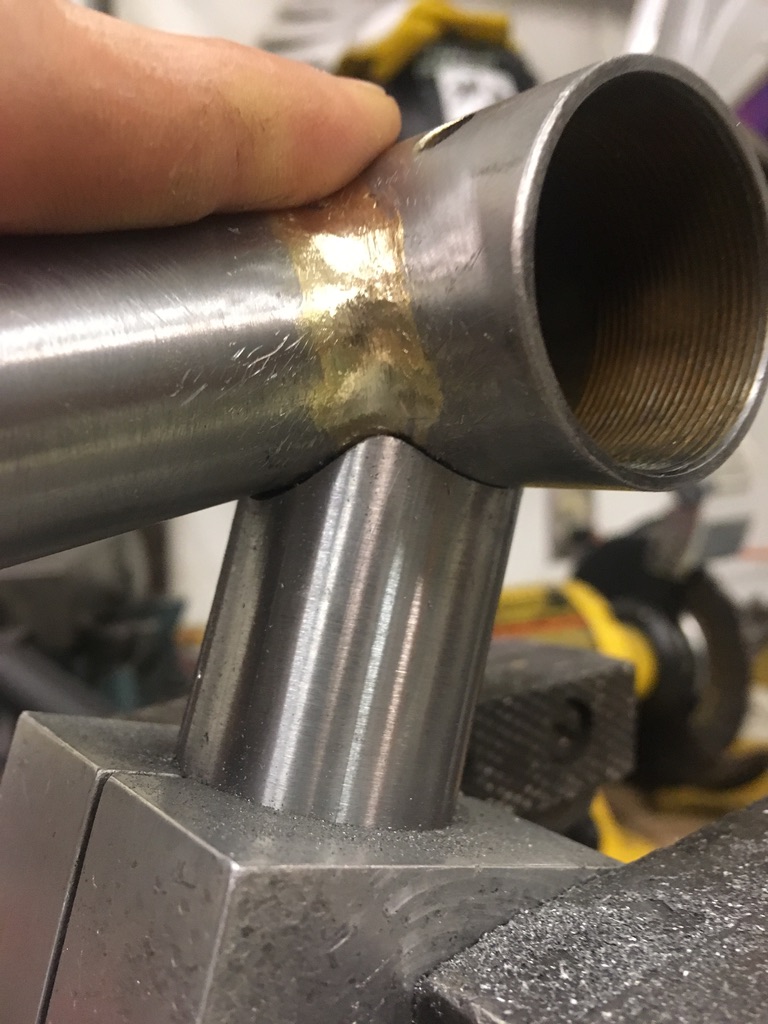
More detail of the miter. Also a good shot of the rough jaws marring my tube blocks :roll_eyes:

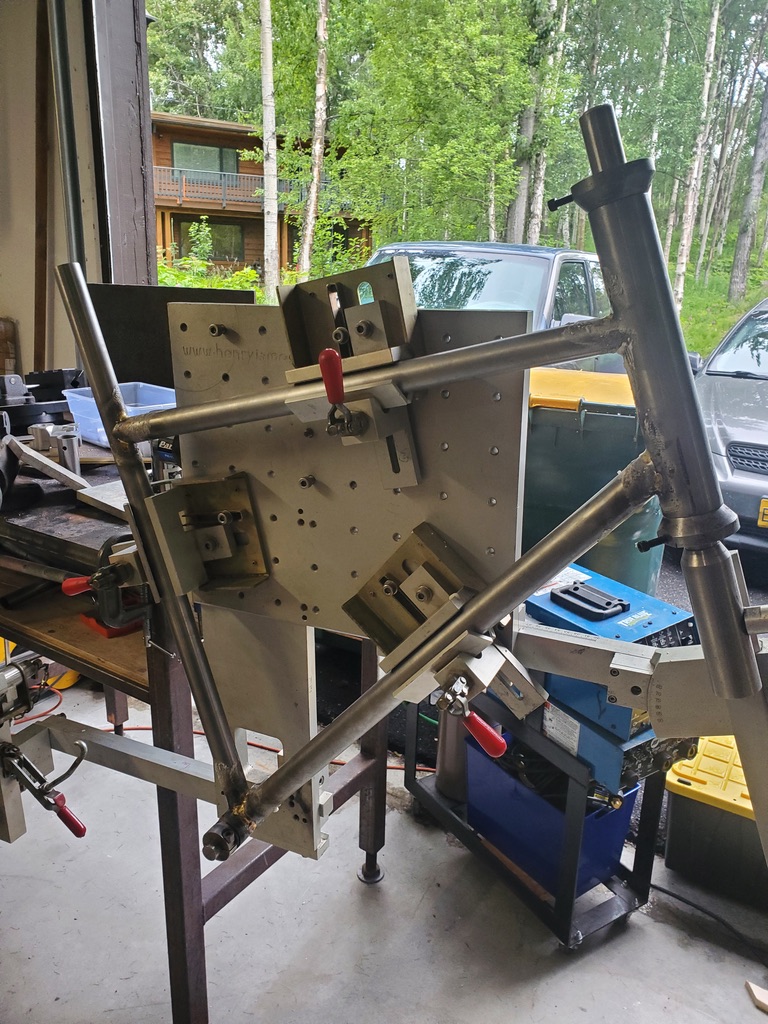
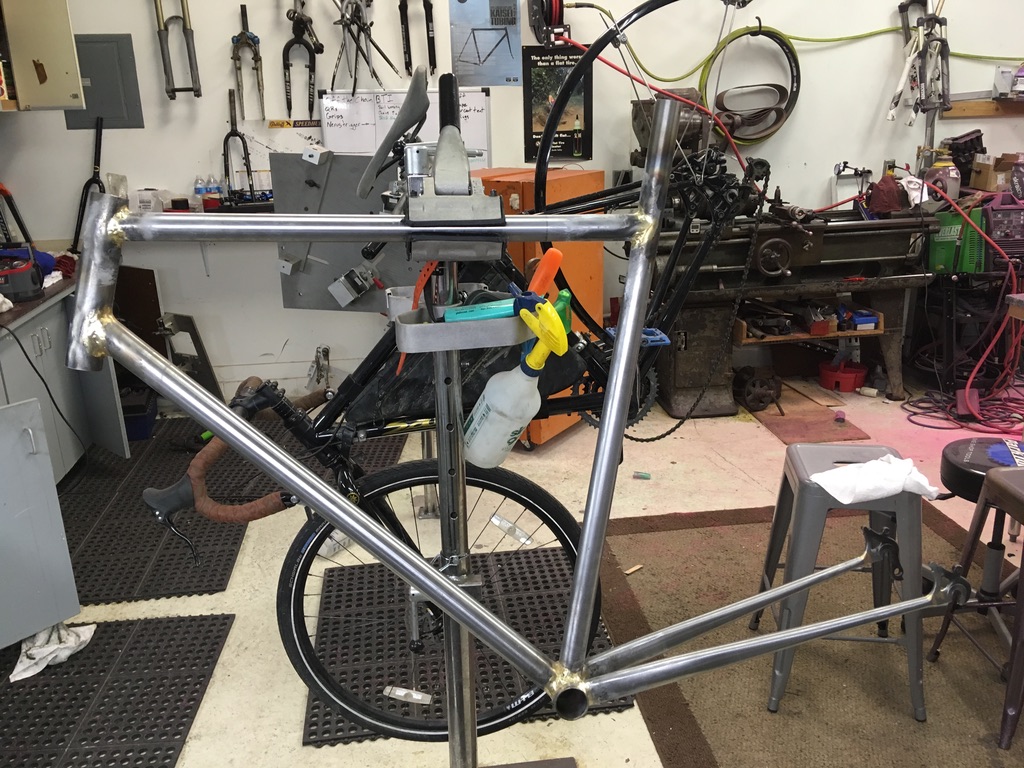
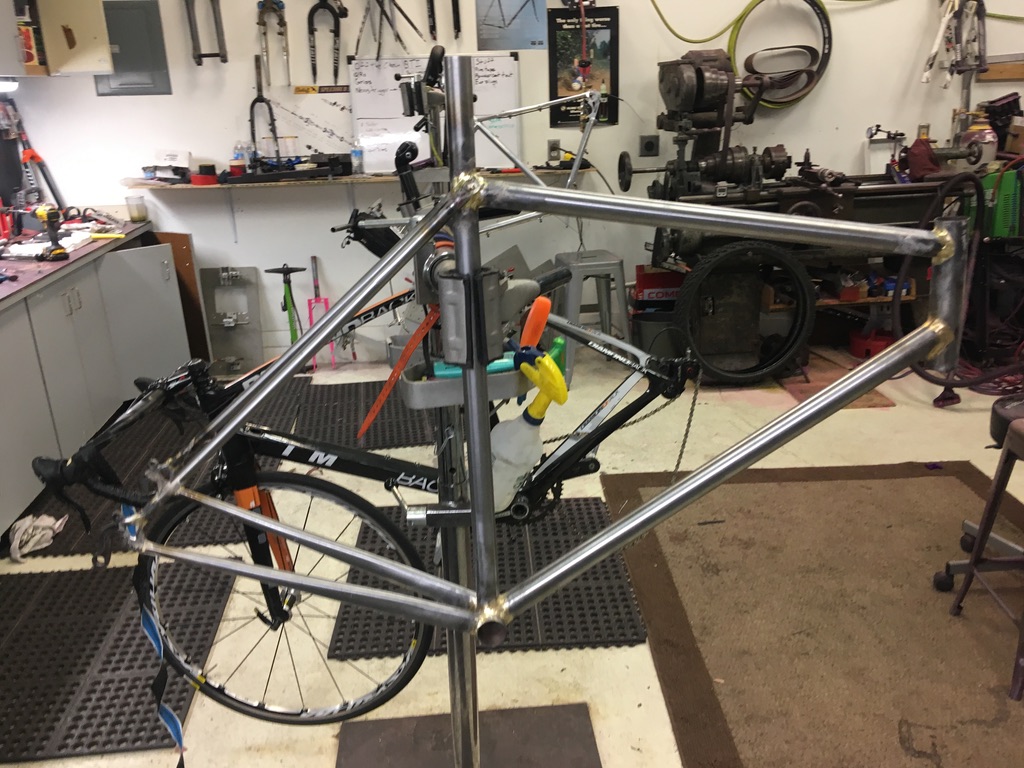
I brazed ST-BB, HT-DT, and then brazed those two tubes together. I’m not entirely sure, but I vaguely remember checking for twist once HT-DT-BB-ST were connected. Then mitered the TT to fit off of the top of the HT, and then kind of to wherever it fit on the seat tube.


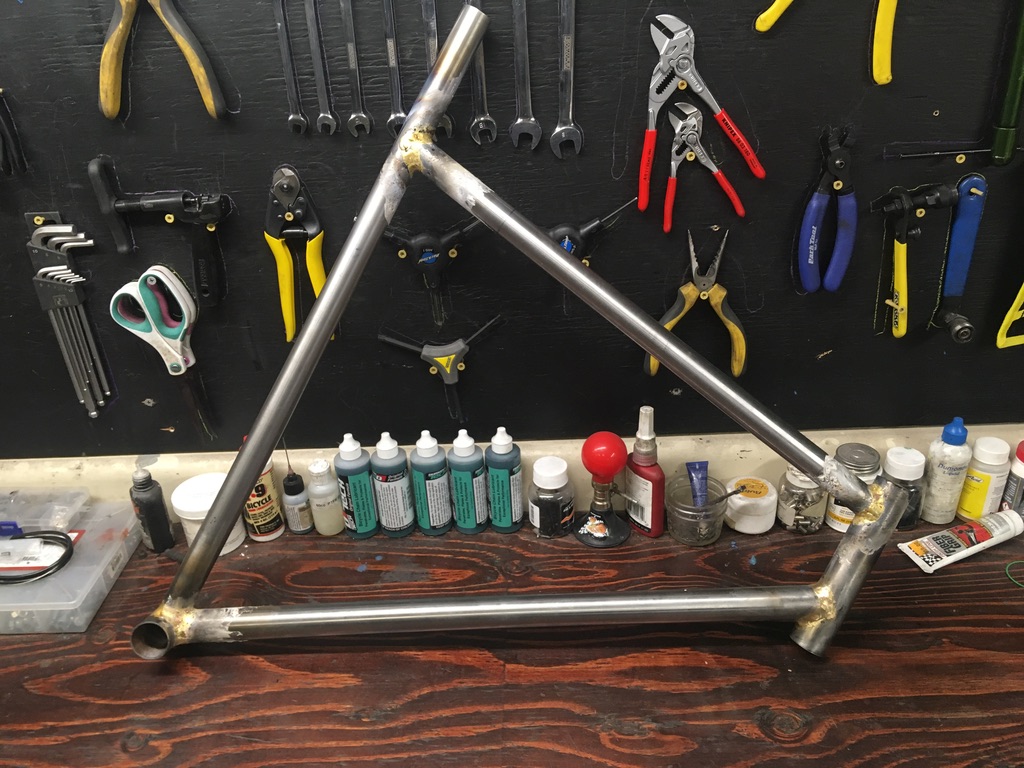
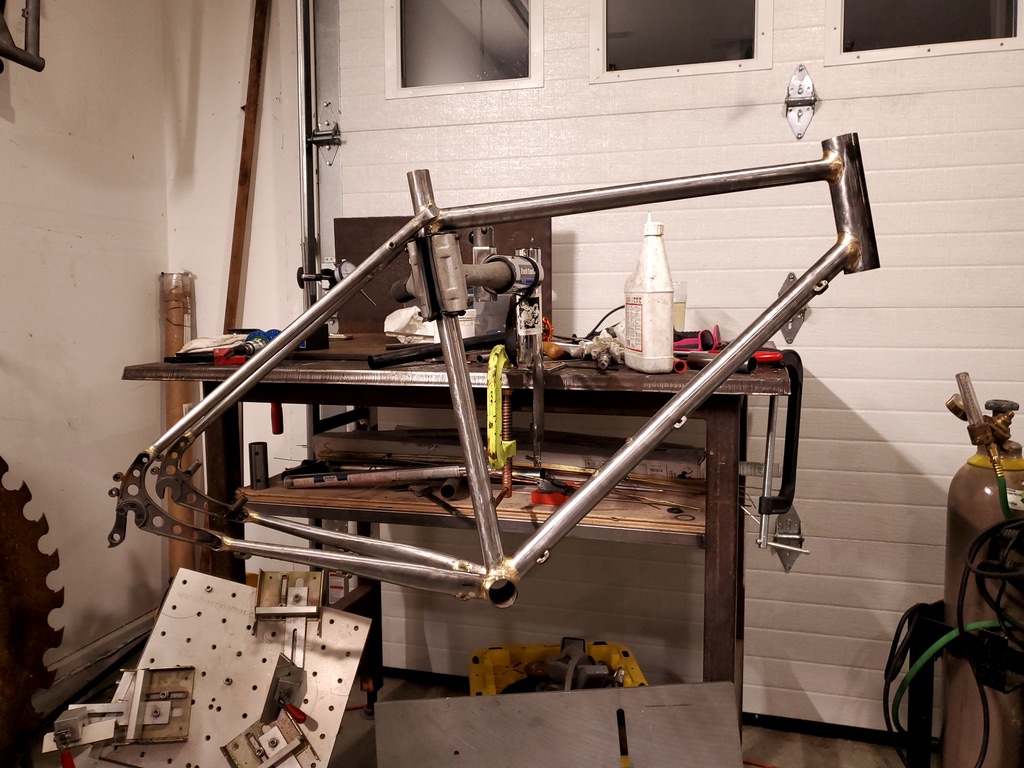
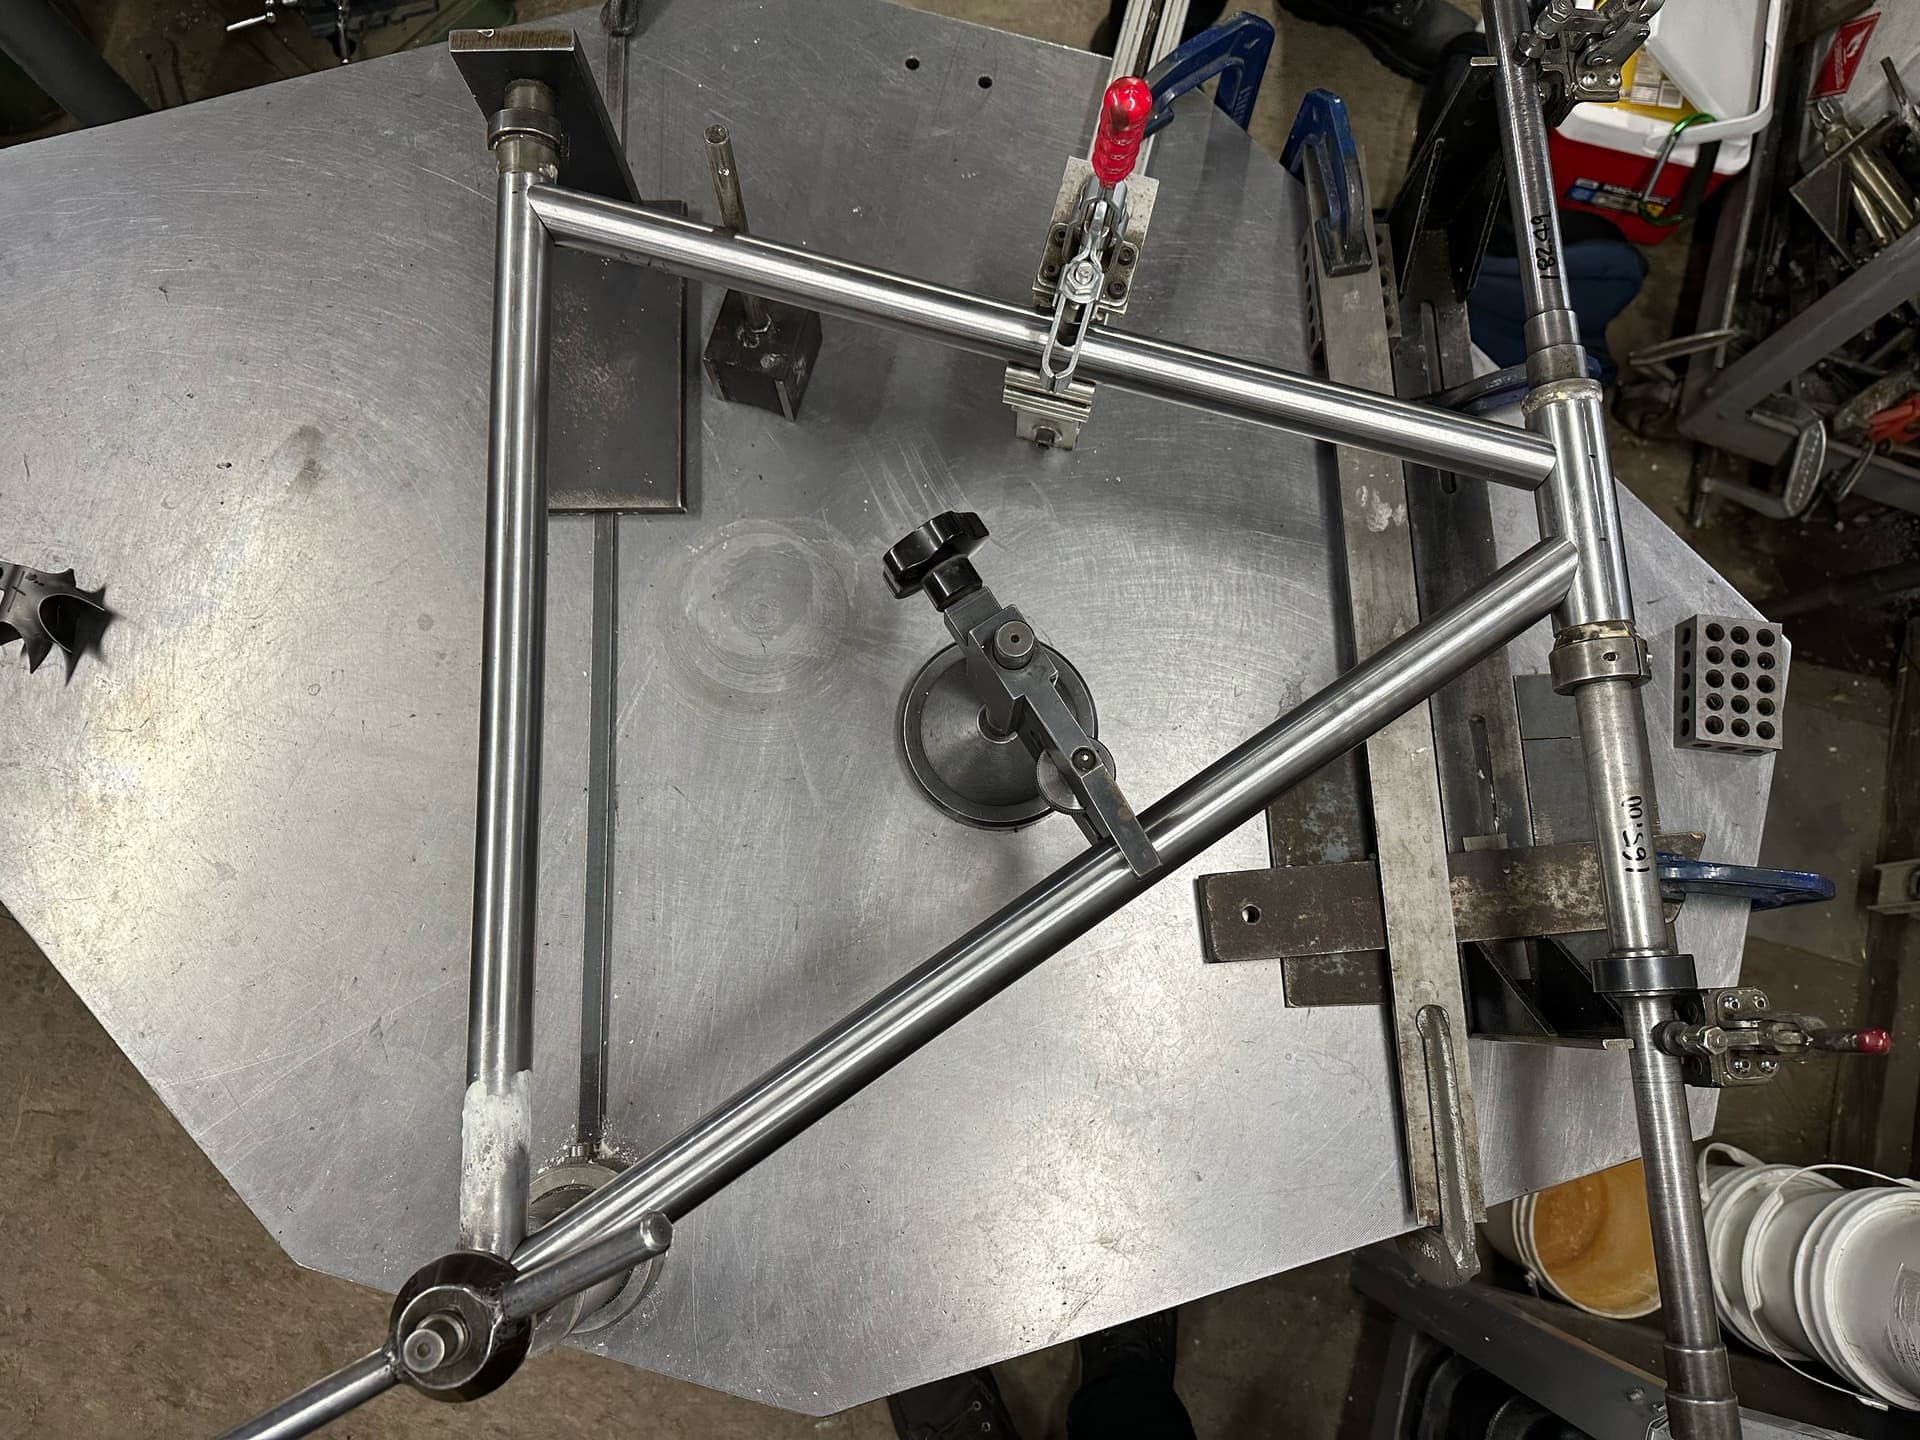
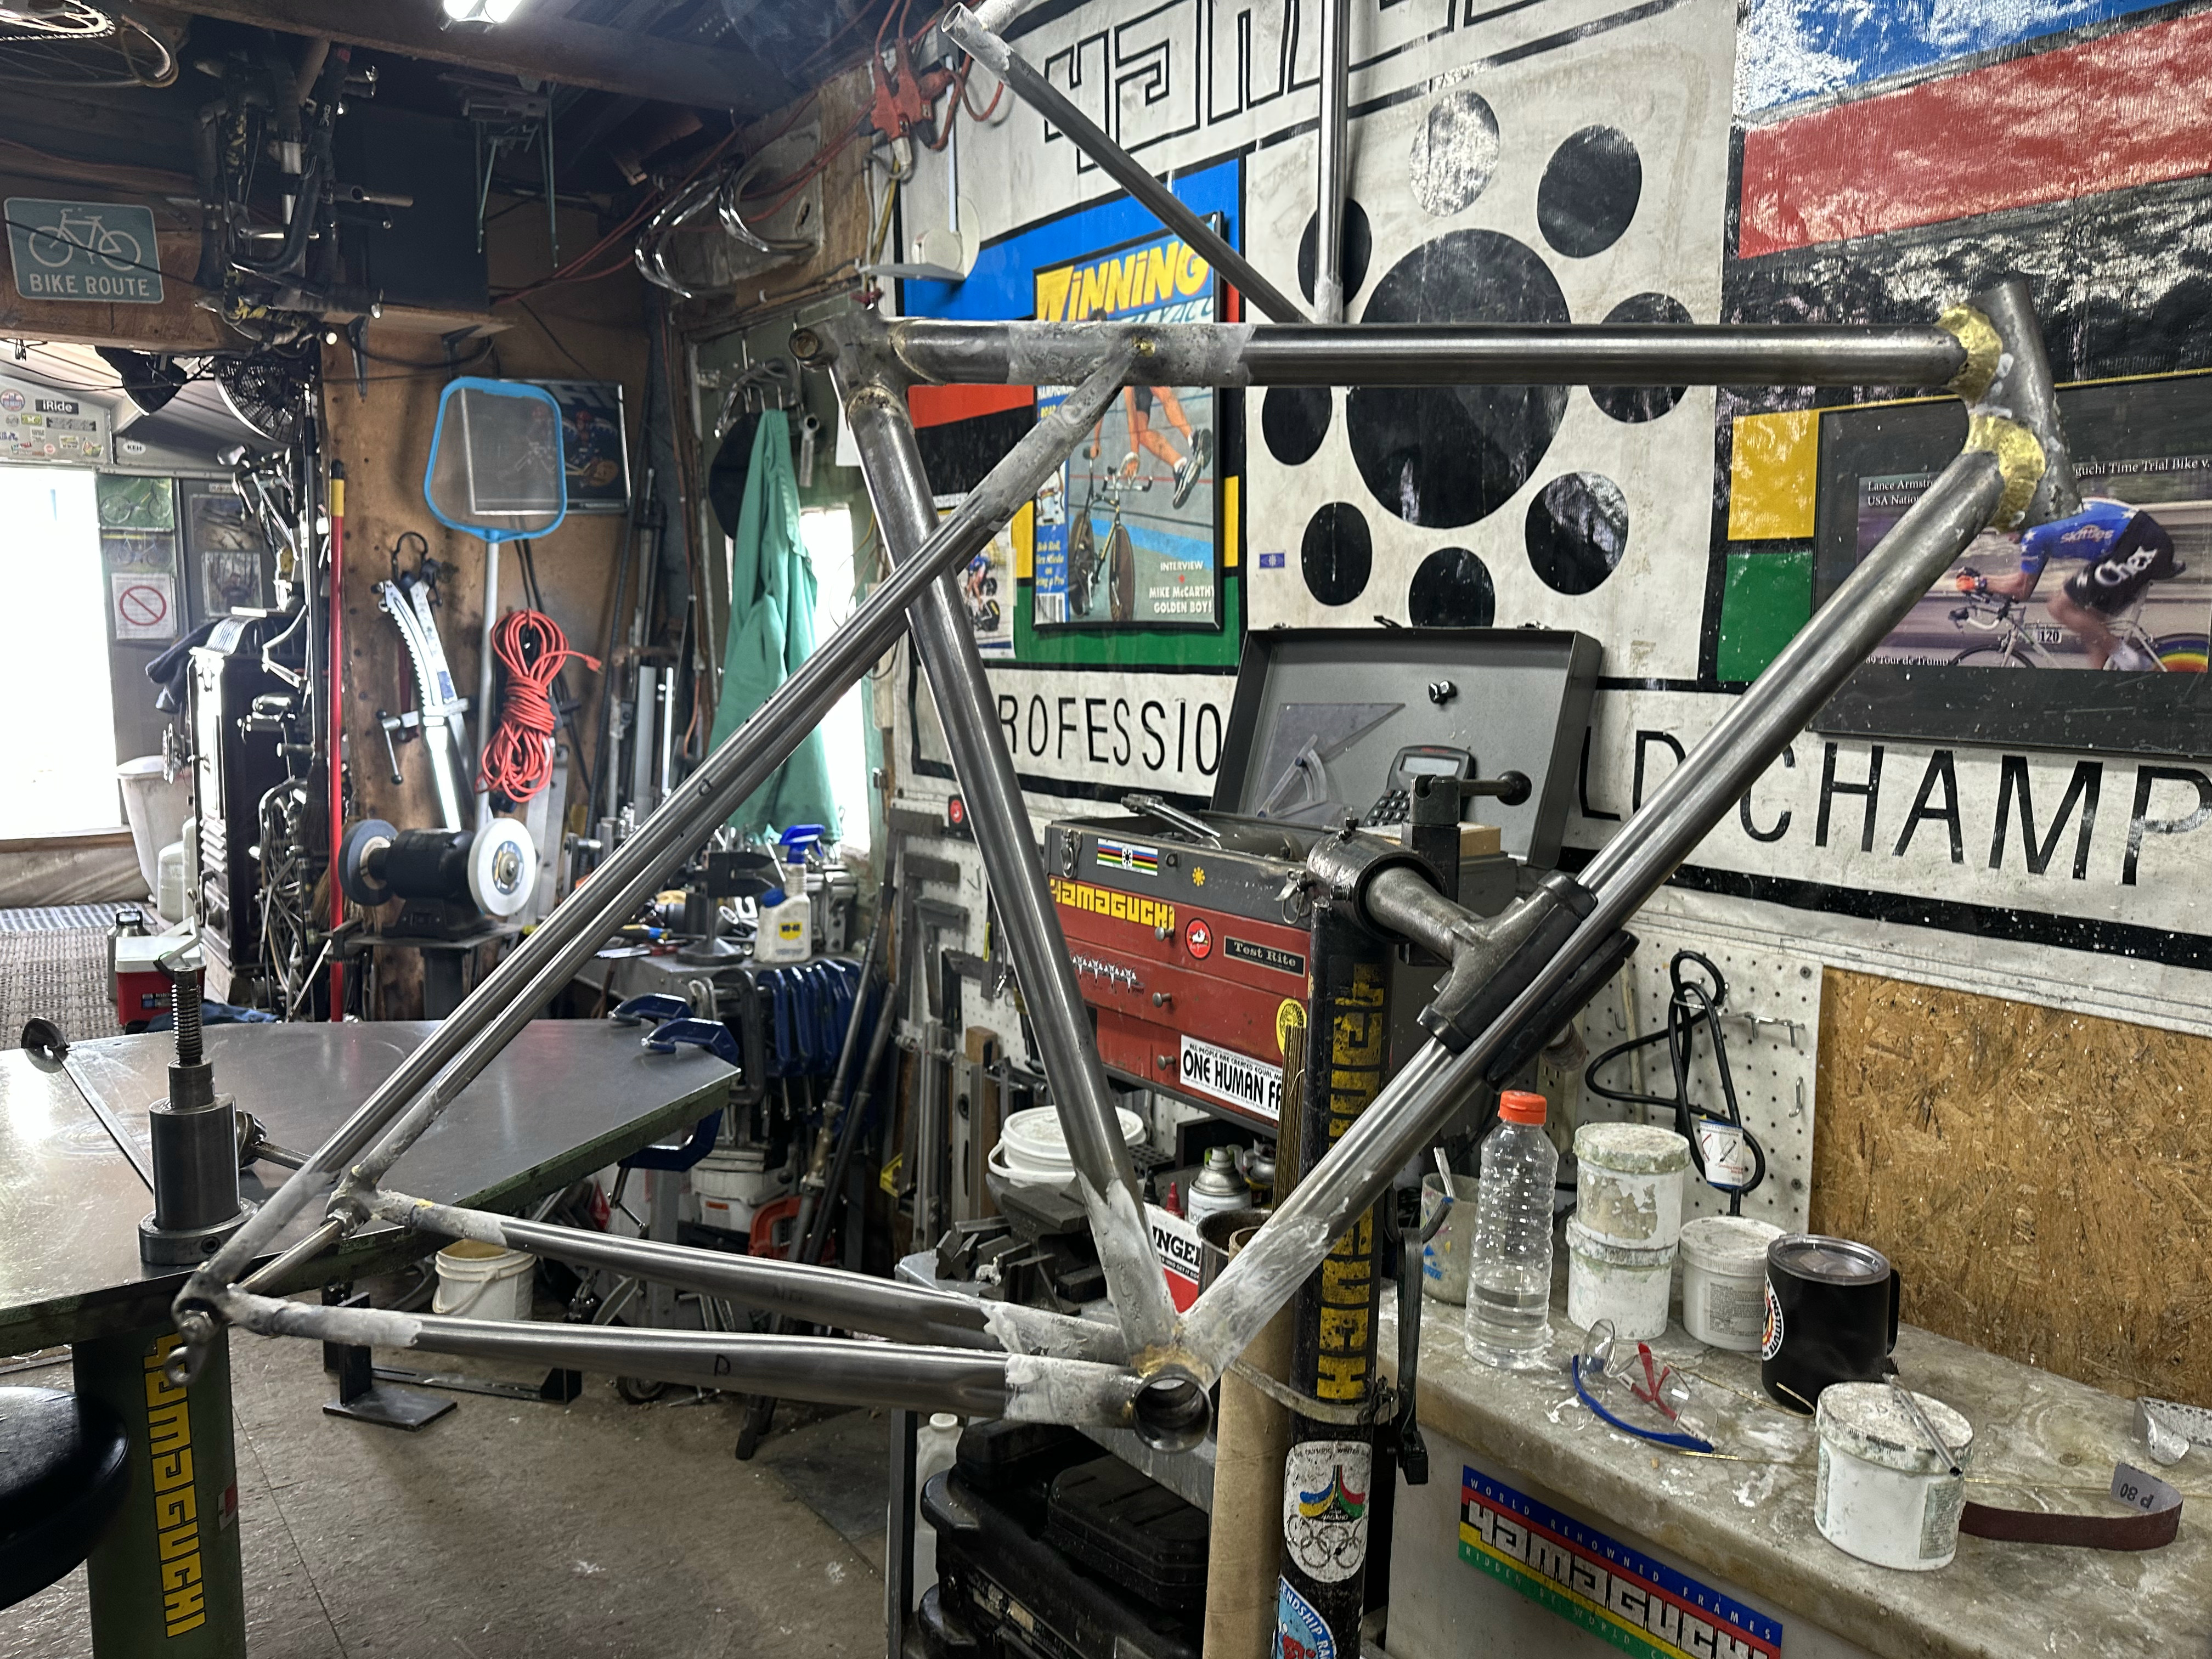
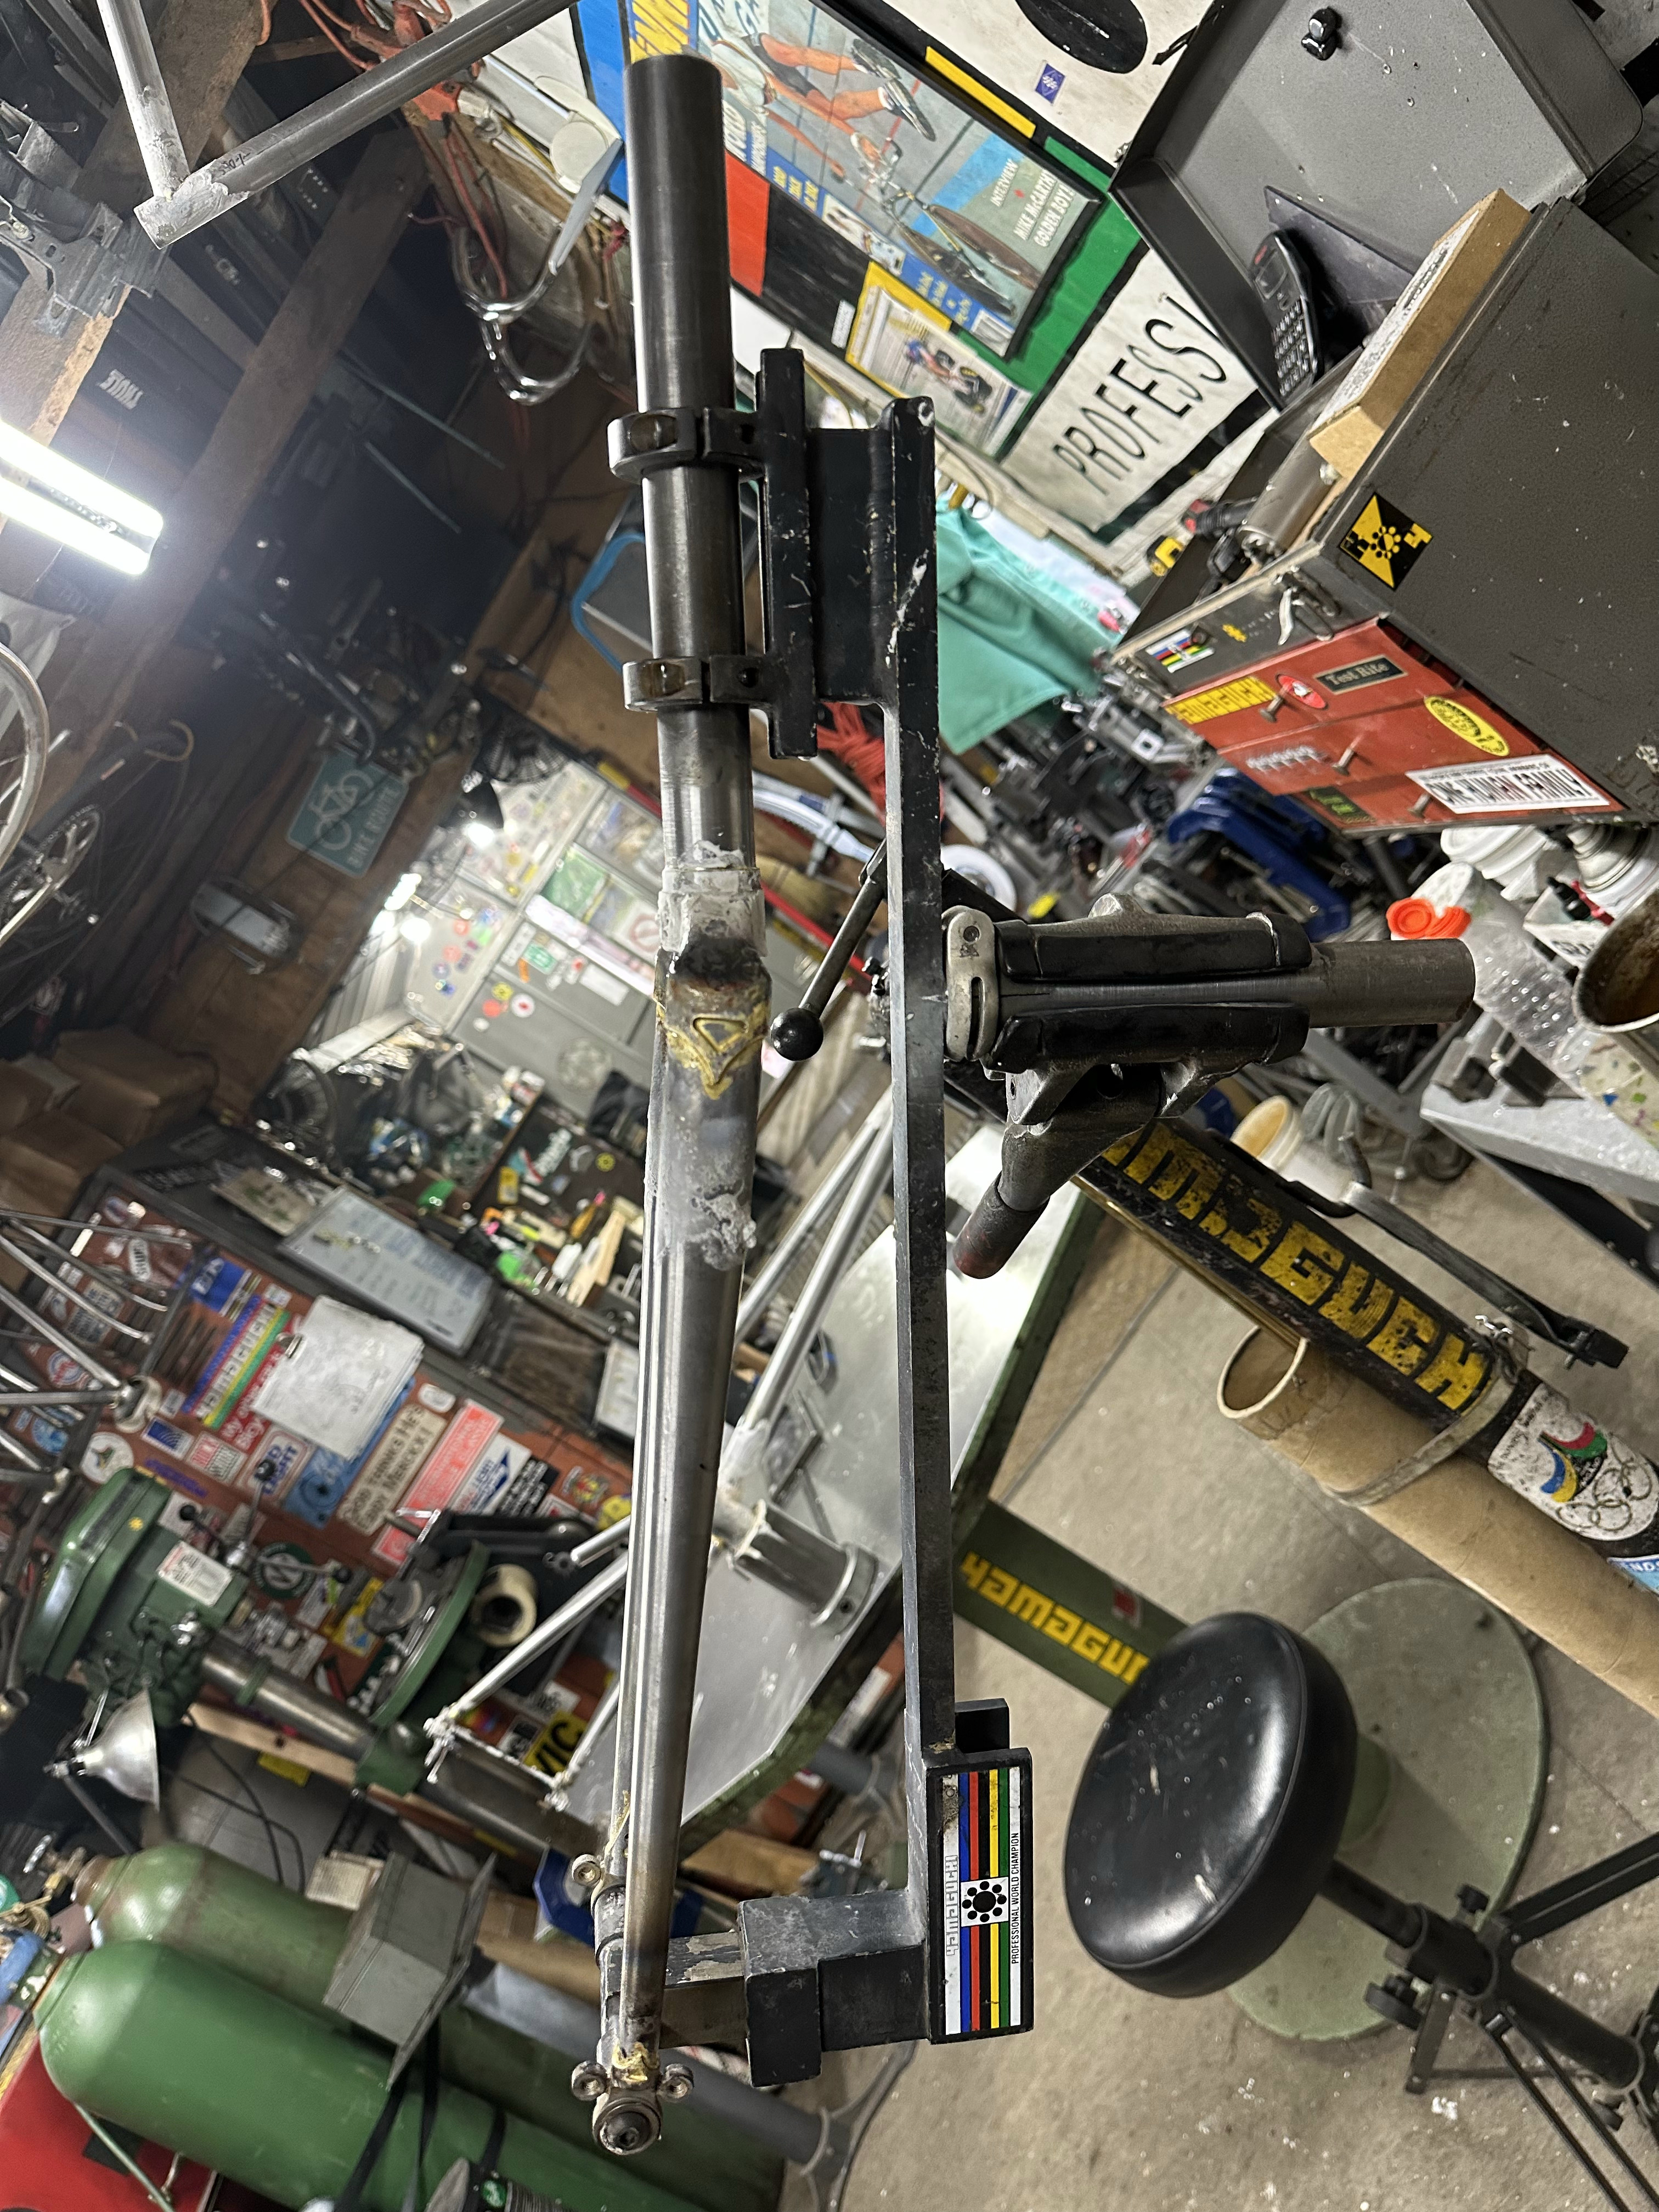
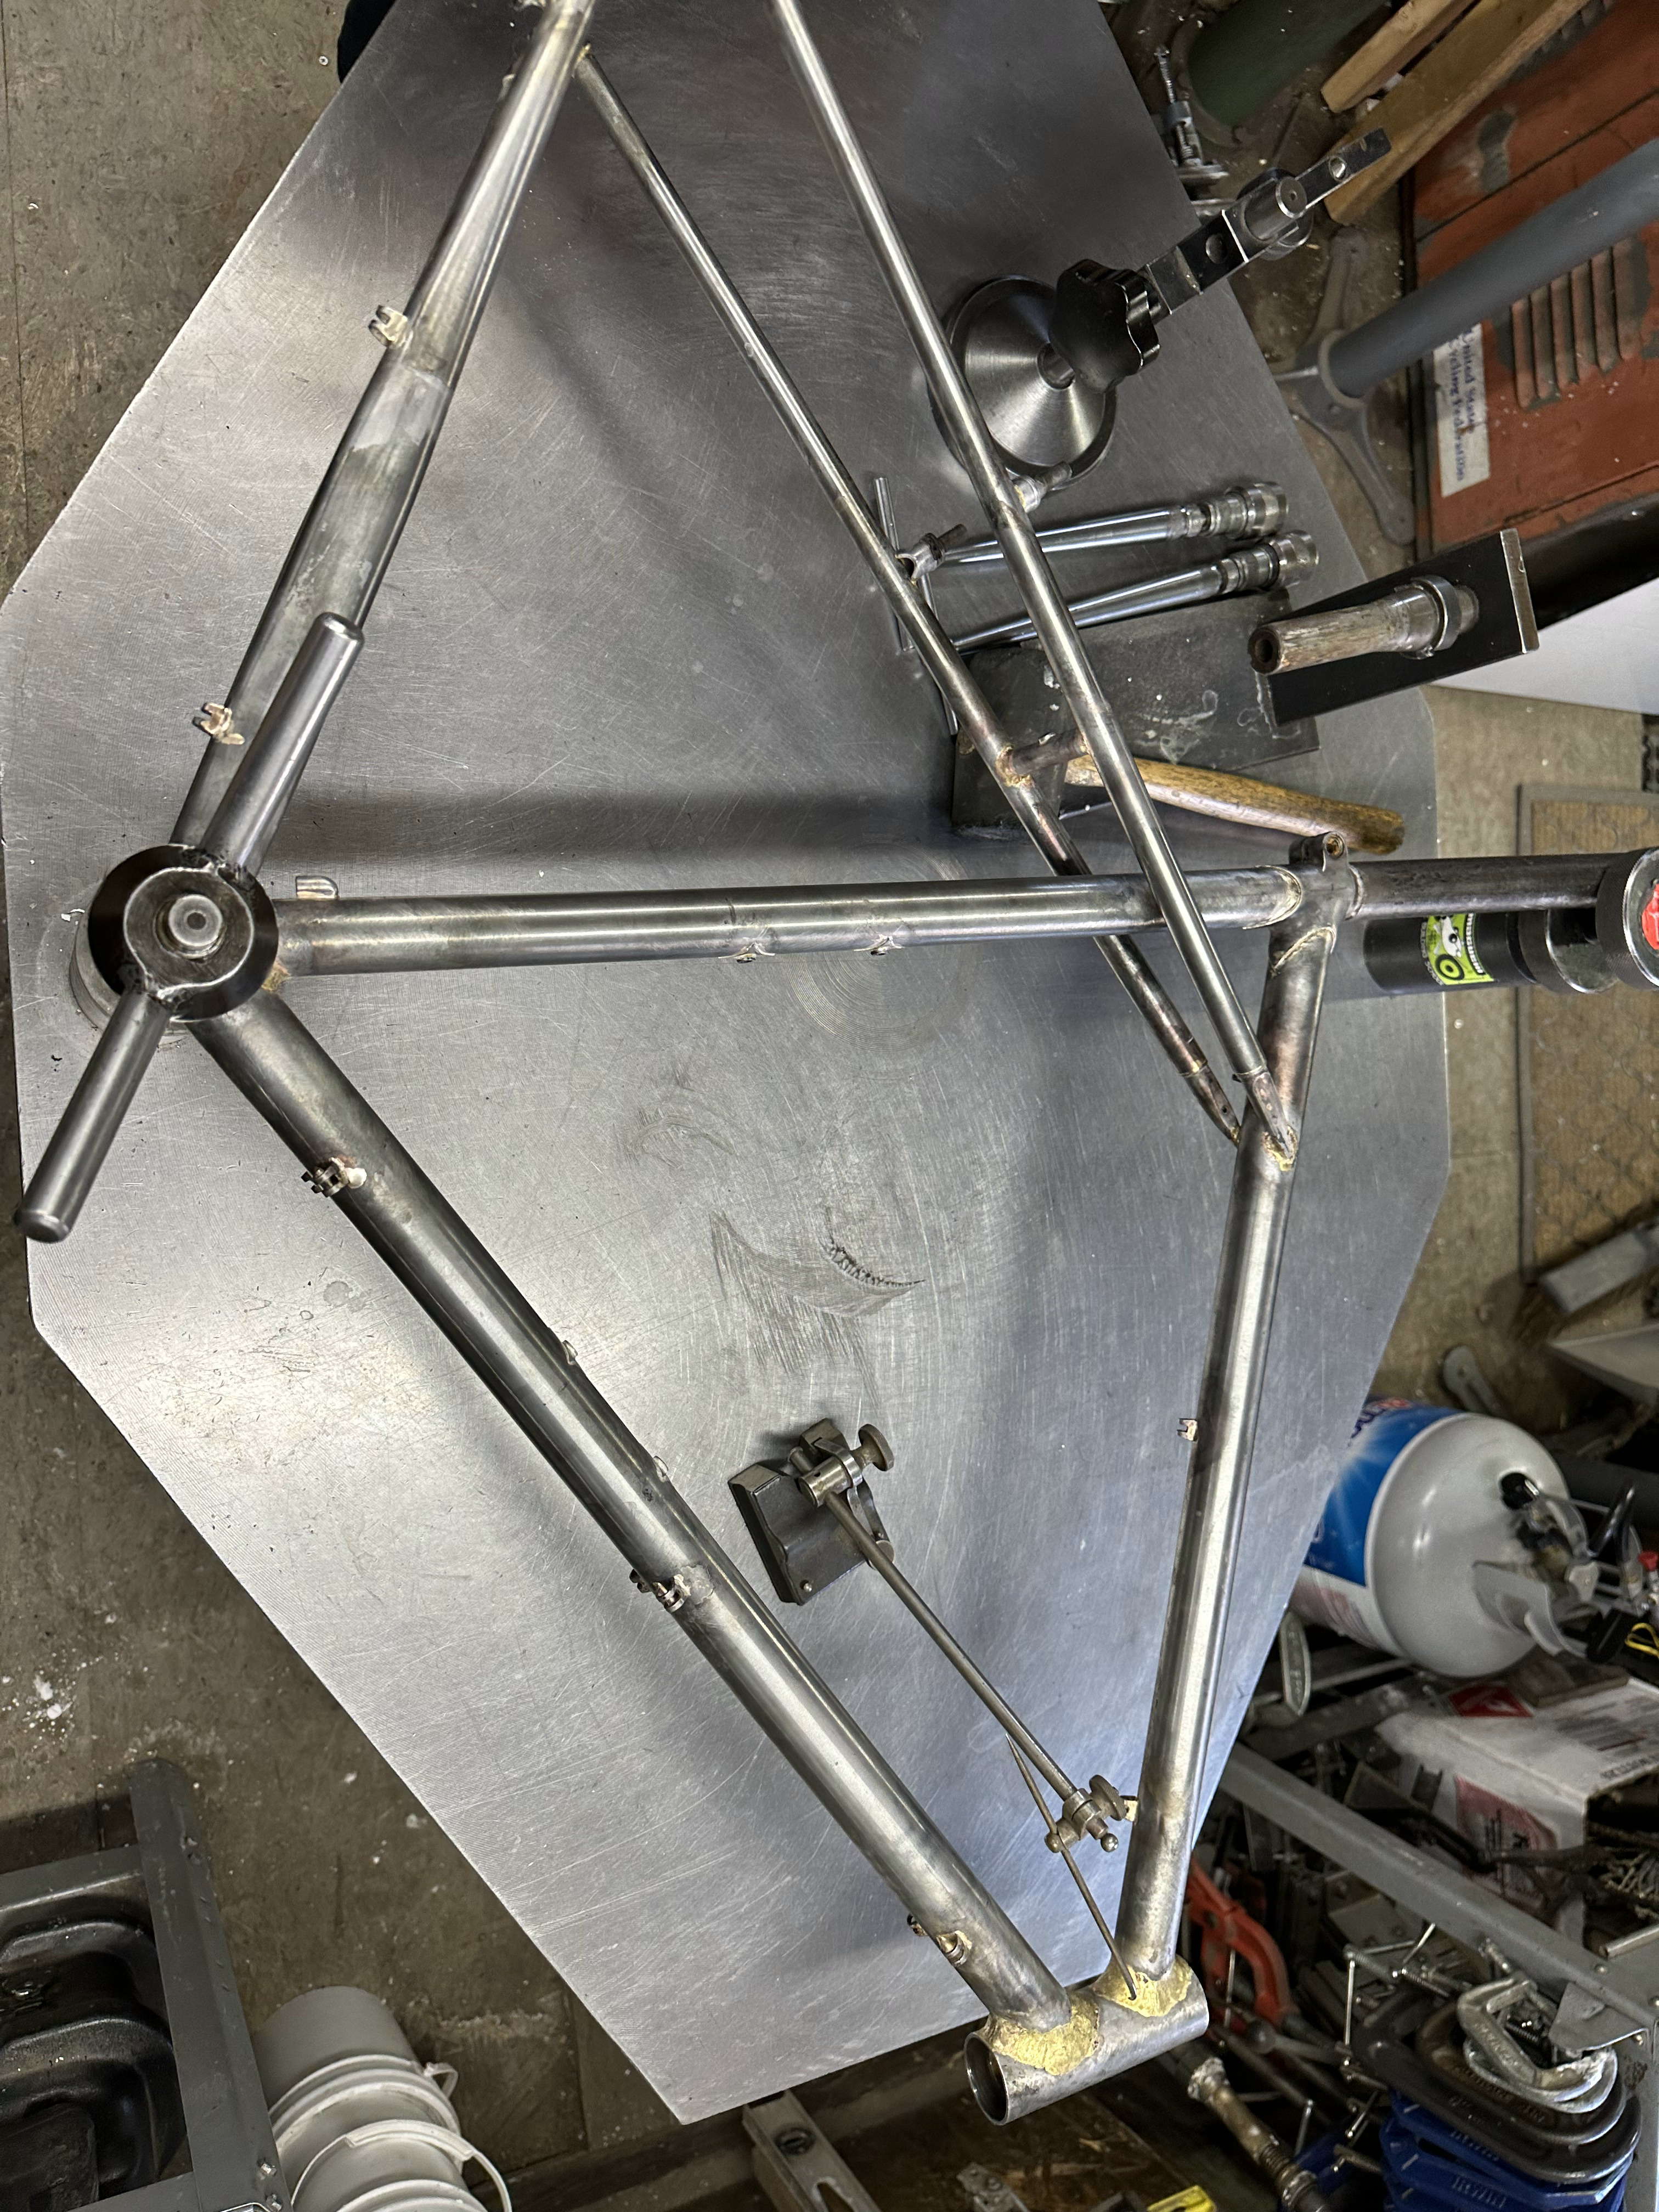
Front triangle all mitered, with lots of extra seat tube


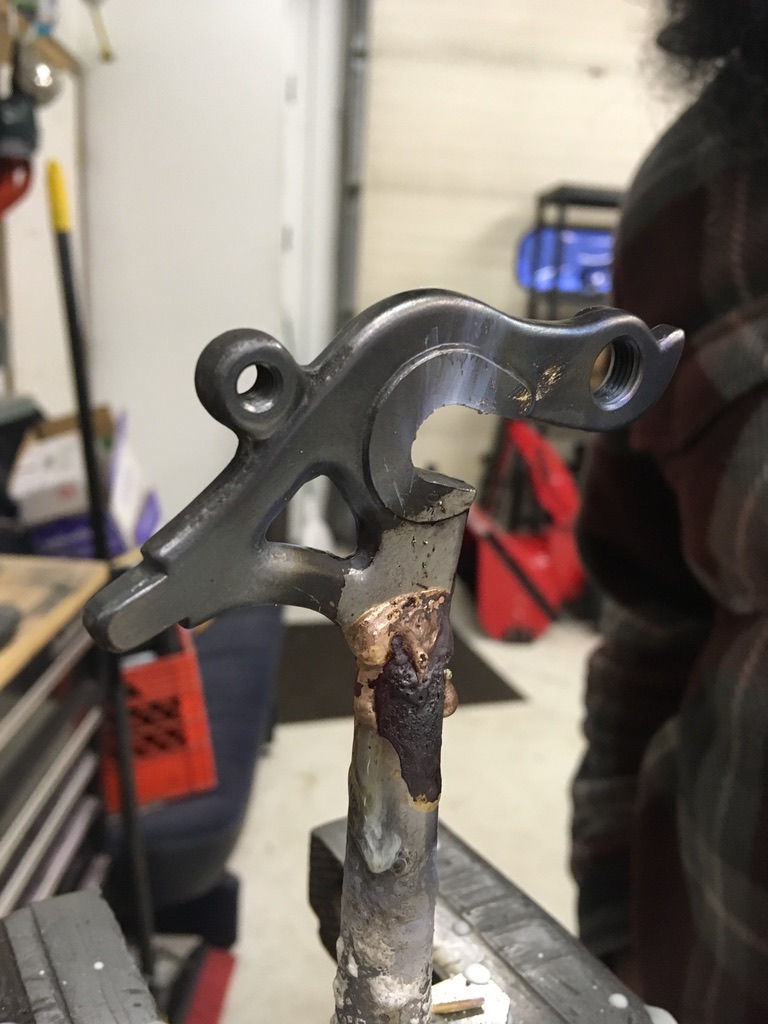
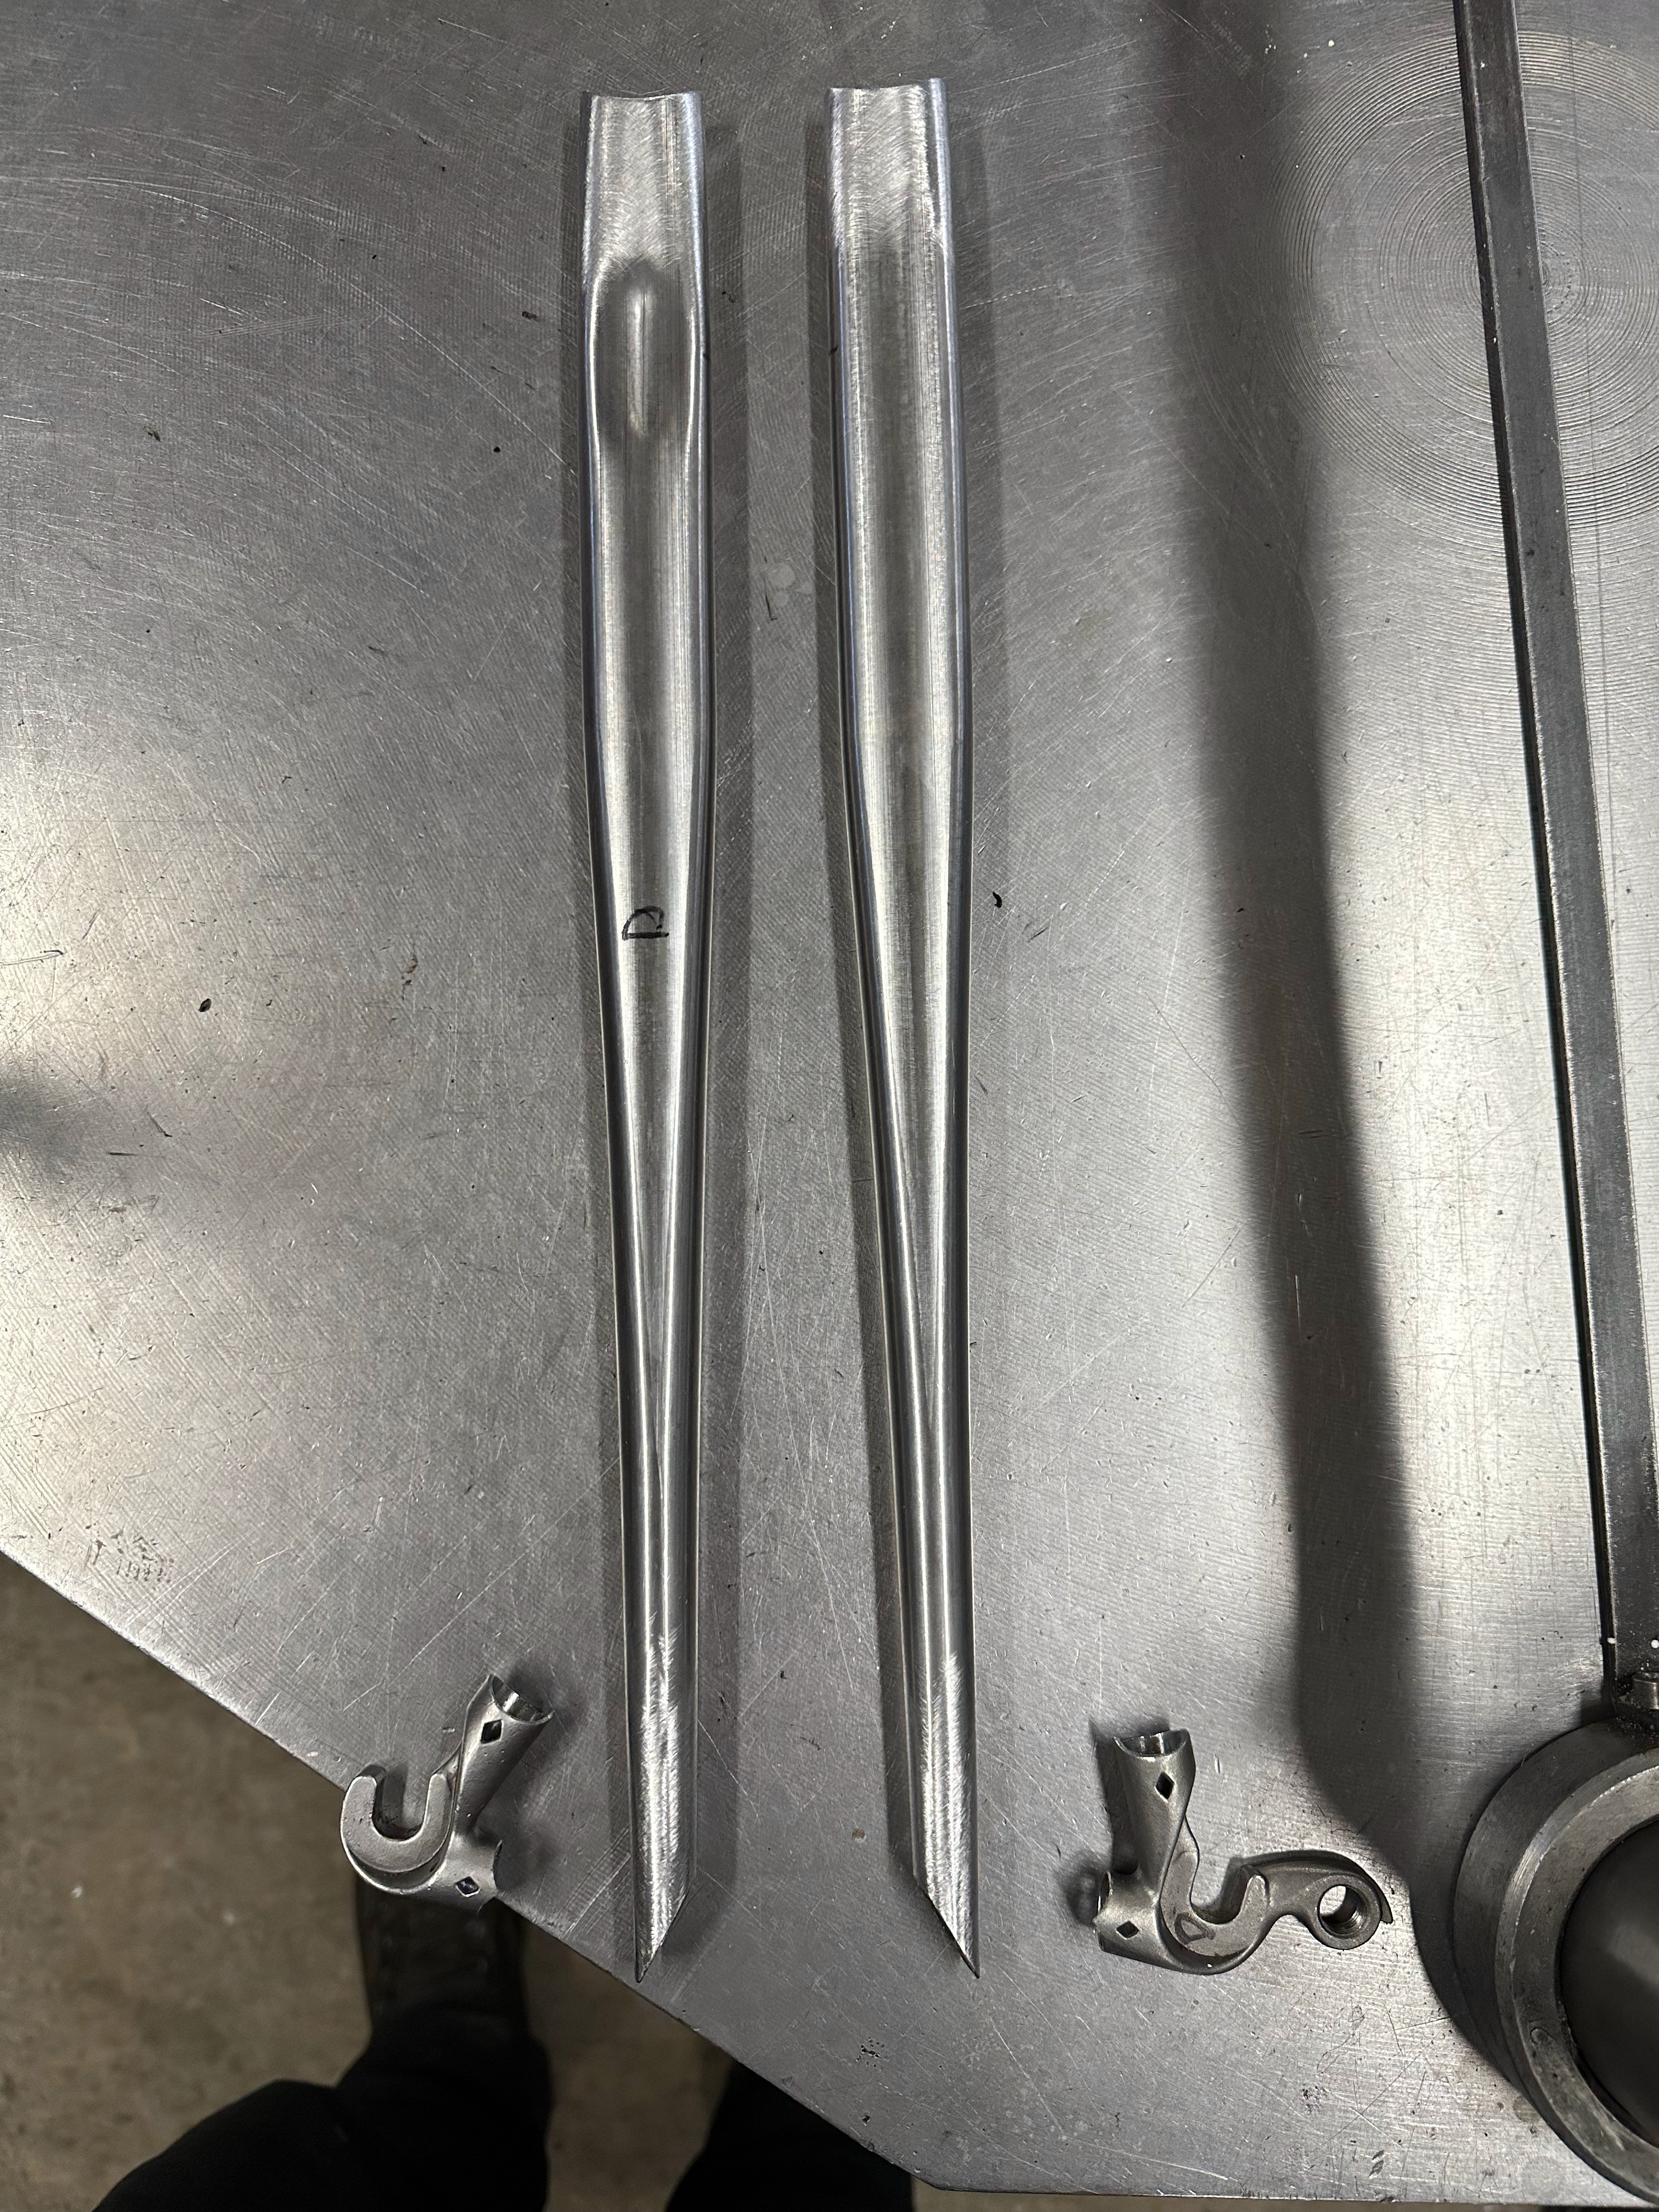
Then hacksawed and filed slots into the straight oval chainstays. Obviously really charred this up. Poor shimano dropouts.


DS stay mockup


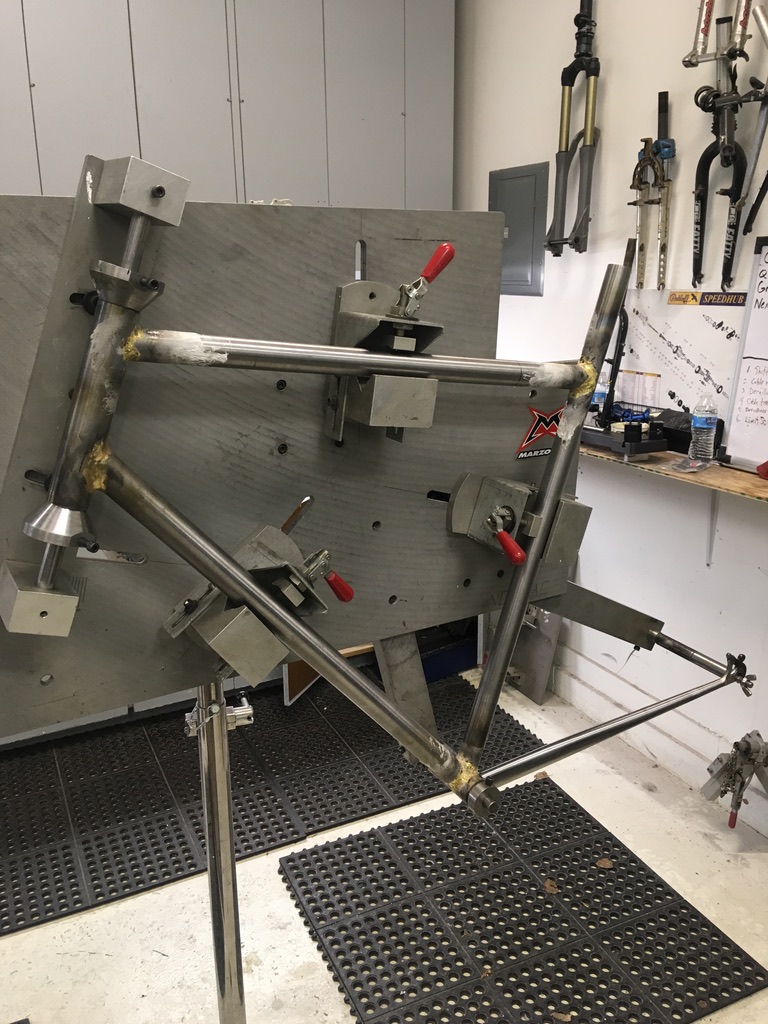
Chainstays brazed on for sanity check, aligned them at this point. I remember struggling to get the chain stays the same fit/angle, which contributed to misalignment of the rear end.


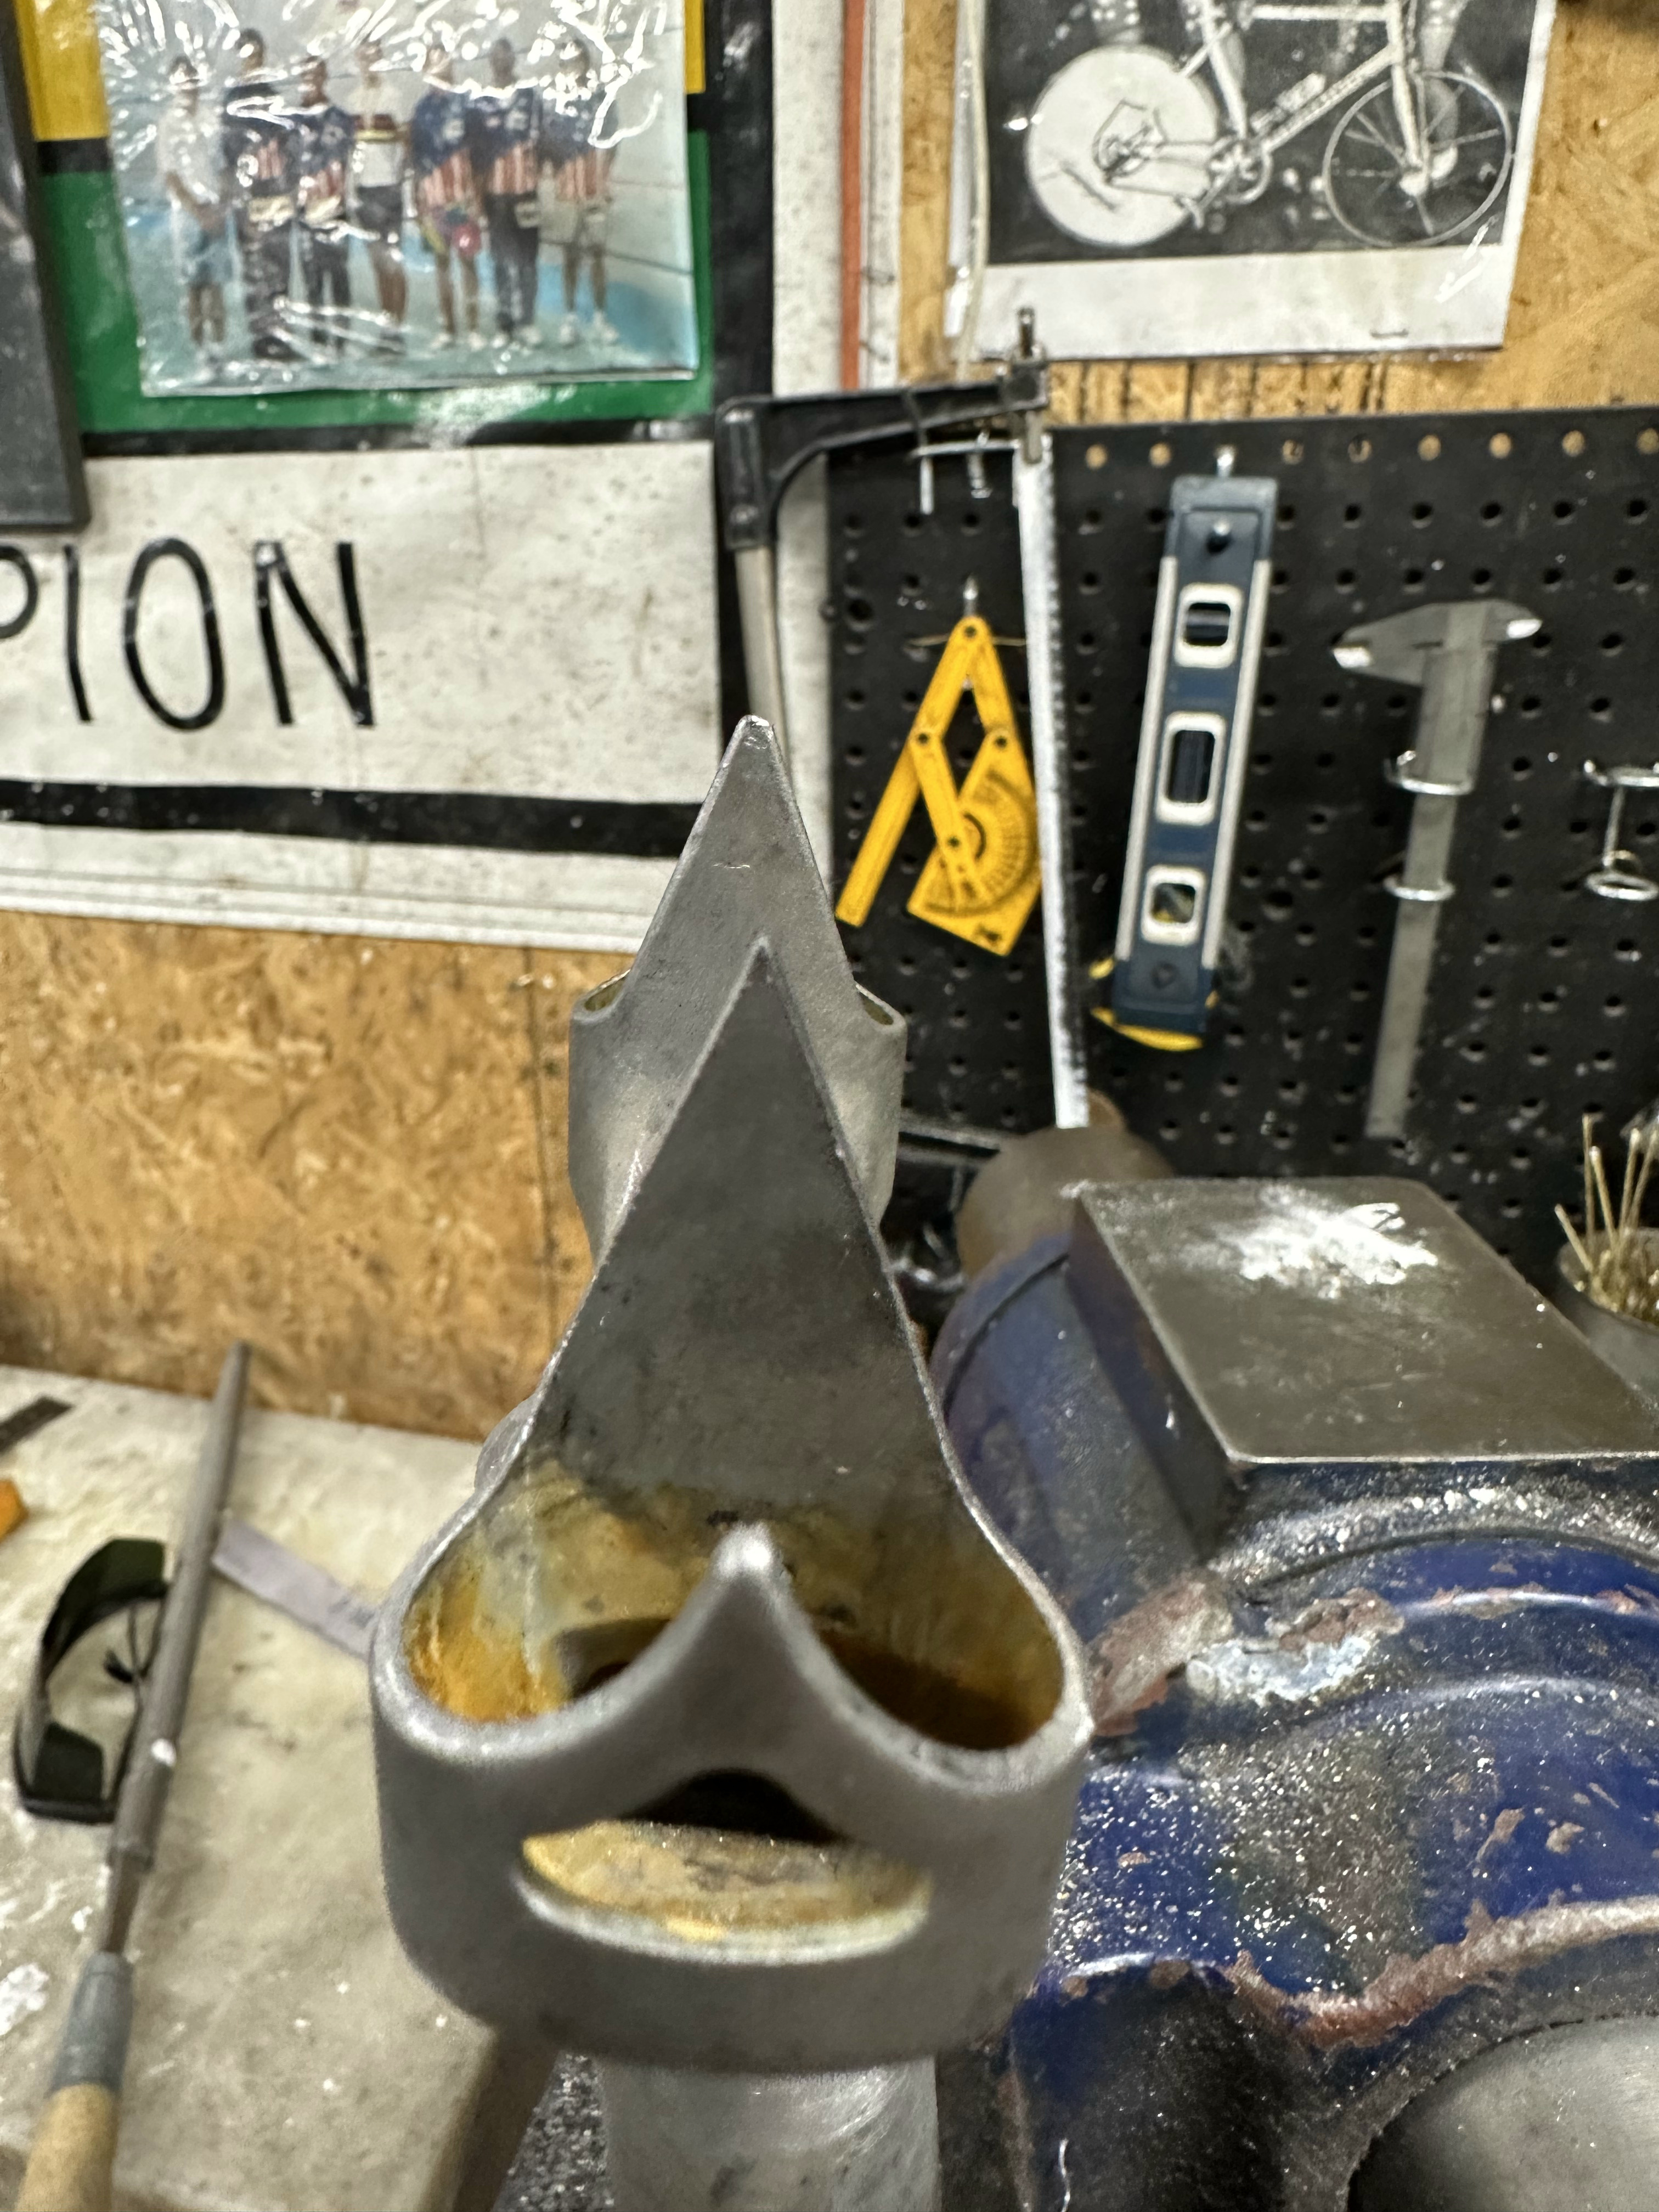
Seat stays brazed on. I used some nice seatstay caps, and was very very generous with the filler at the ST juncture. I did have to file one of the dropouts to get the wheel to sit straight in the frame.


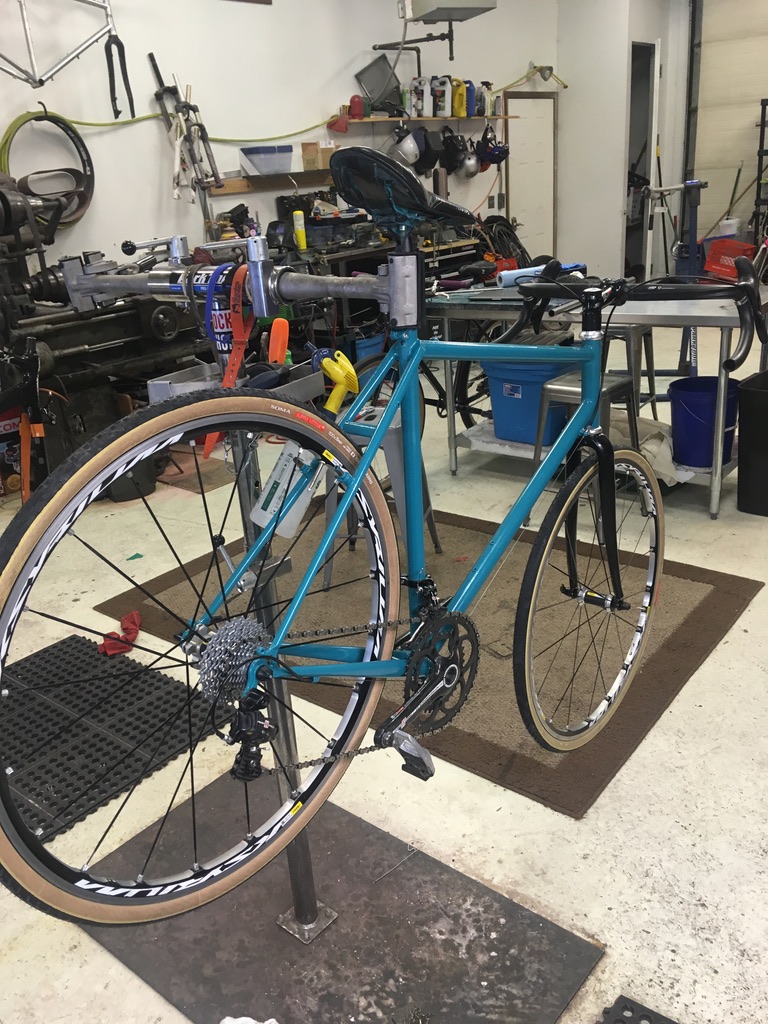
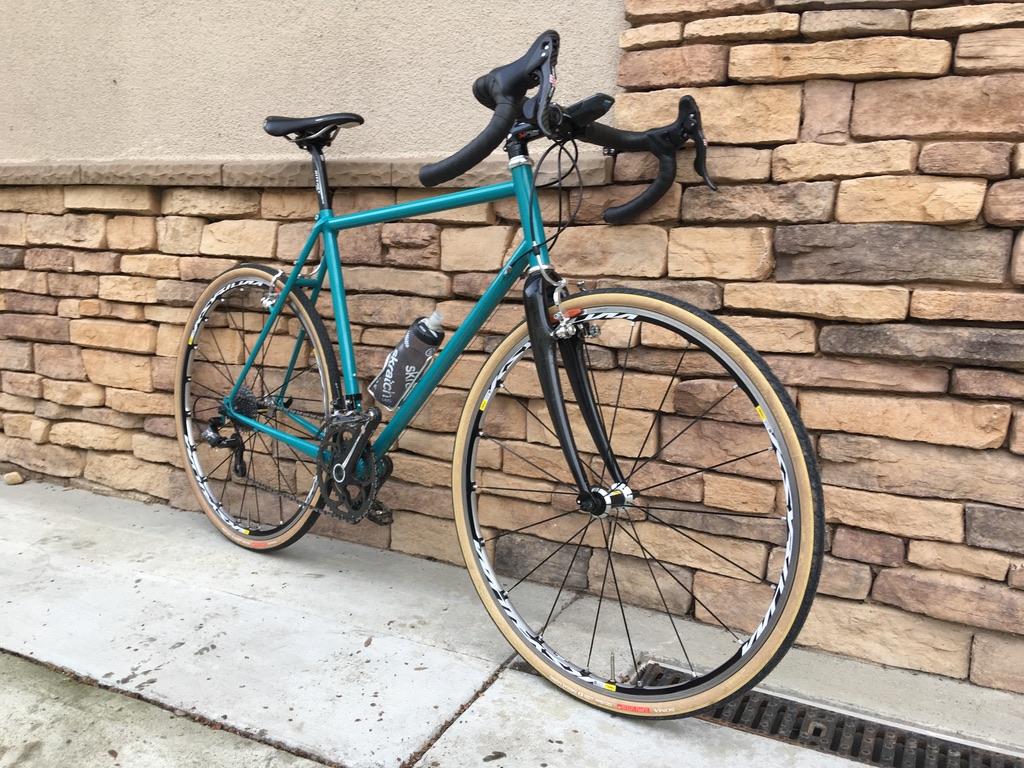
We had a homemade powdercoater and had done a few frames at this point. I was and am still very impressed with the quality of the paint job. Used a cutoff of some tange aero seatstay for the bridge. I miraculously clears a 40mm tire, but I didn’t add a braze on or make room for fenders unfortunately.

The bike got the Campy Record group and Ksyrium wheels off of my race bike, some stock carbon fork, and some fresh polished Paul Mini Moto brakes. Finished building it up in January 2019, and flew with it to San Diego for CABDA.


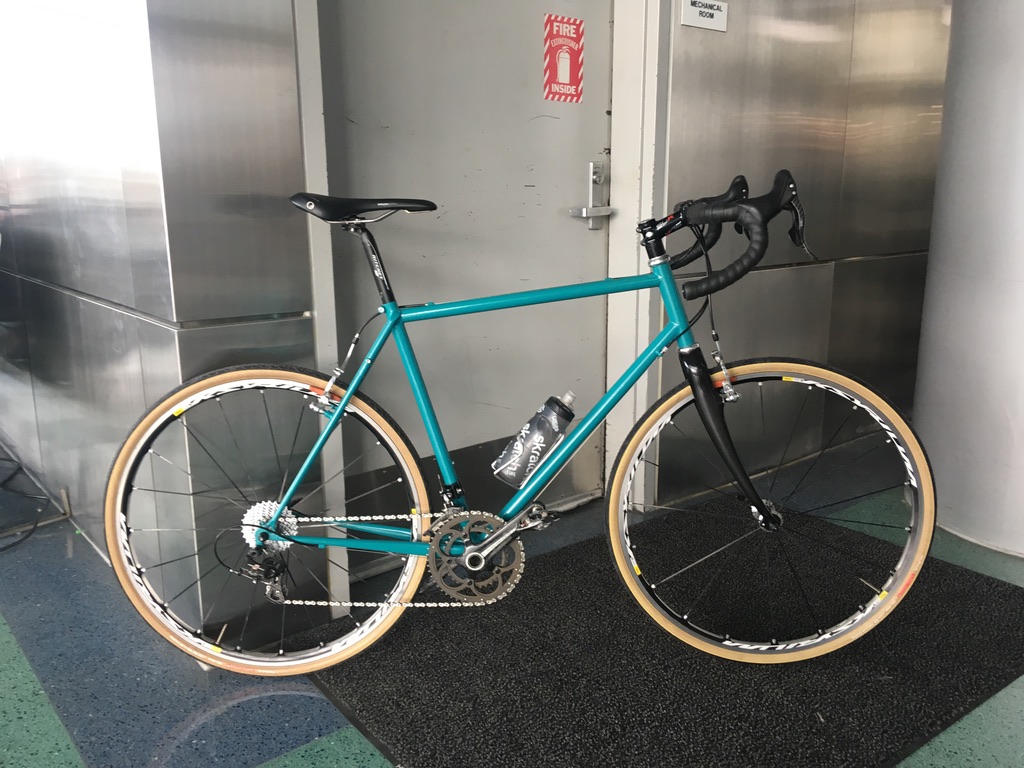
Built it up in the airport, and rode off.

I remember being so incredibly elated as I was riding it from the airport. I couldn’t believe that I made a bike, and it was riding straight. It was 60ish miles to where I was staying, and was an incredible ride. Seriously a trial by fire. I met up with my old college road racing team for their winter training camp, and had no problem keeping up.


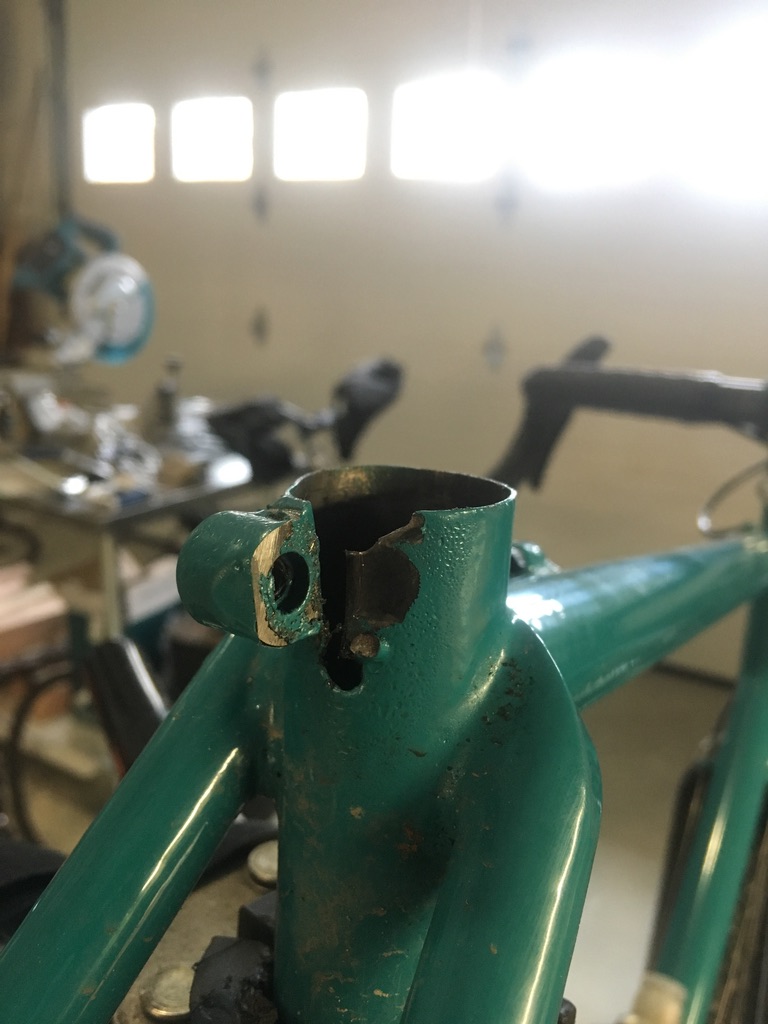
This was an early oopsie, my friend gave me the adjustable reamer, told me to ream my seat tube, and left. I had no idea how it worked, and just went to town on the diameter it was set to. I really terribly thinned out the back wall of the ST where the binder bold was brazed, and it ended up snapping off in the driveway once I got back. Obviously my braze wasn’t very good either. Thankfully I was able to chop the other part off and use a regular seat clamp, which is still on it.


Pulled from insta stories


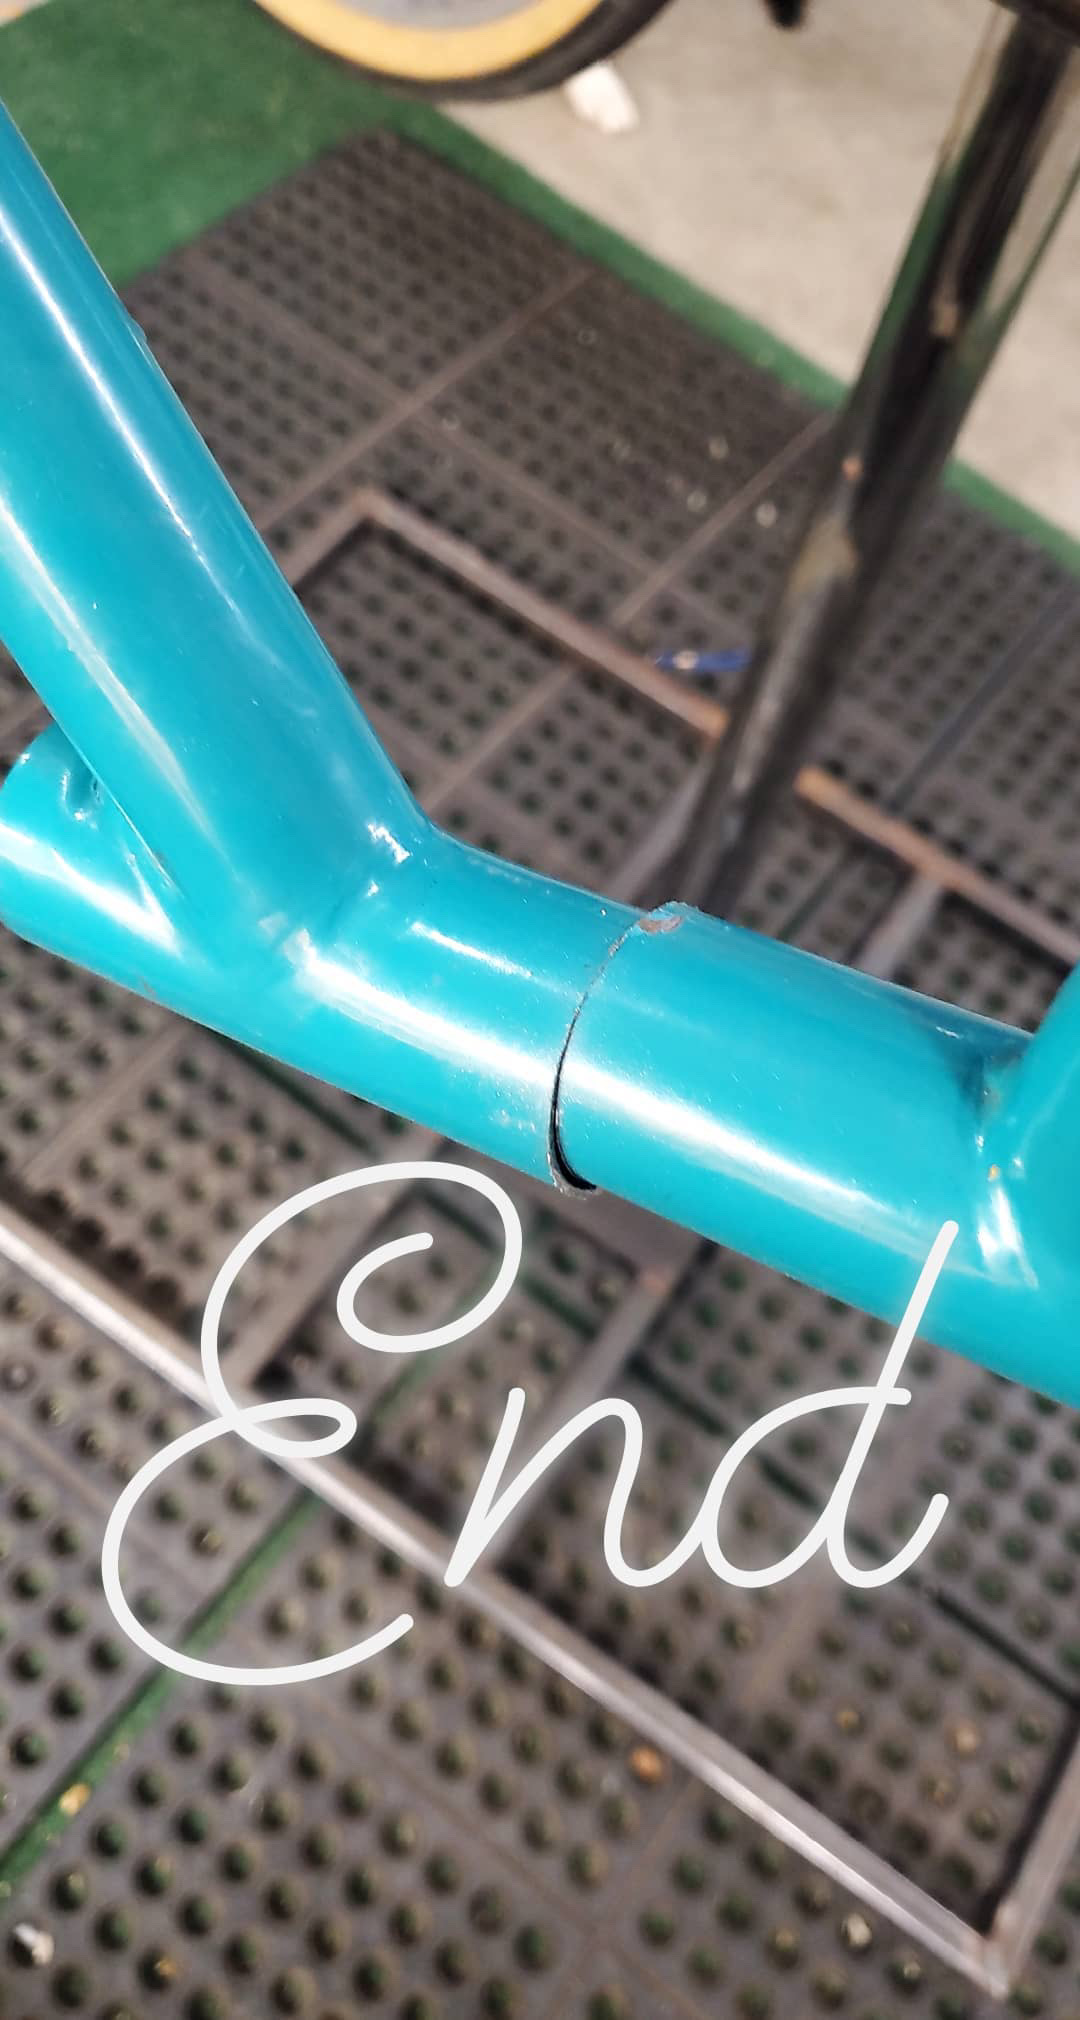
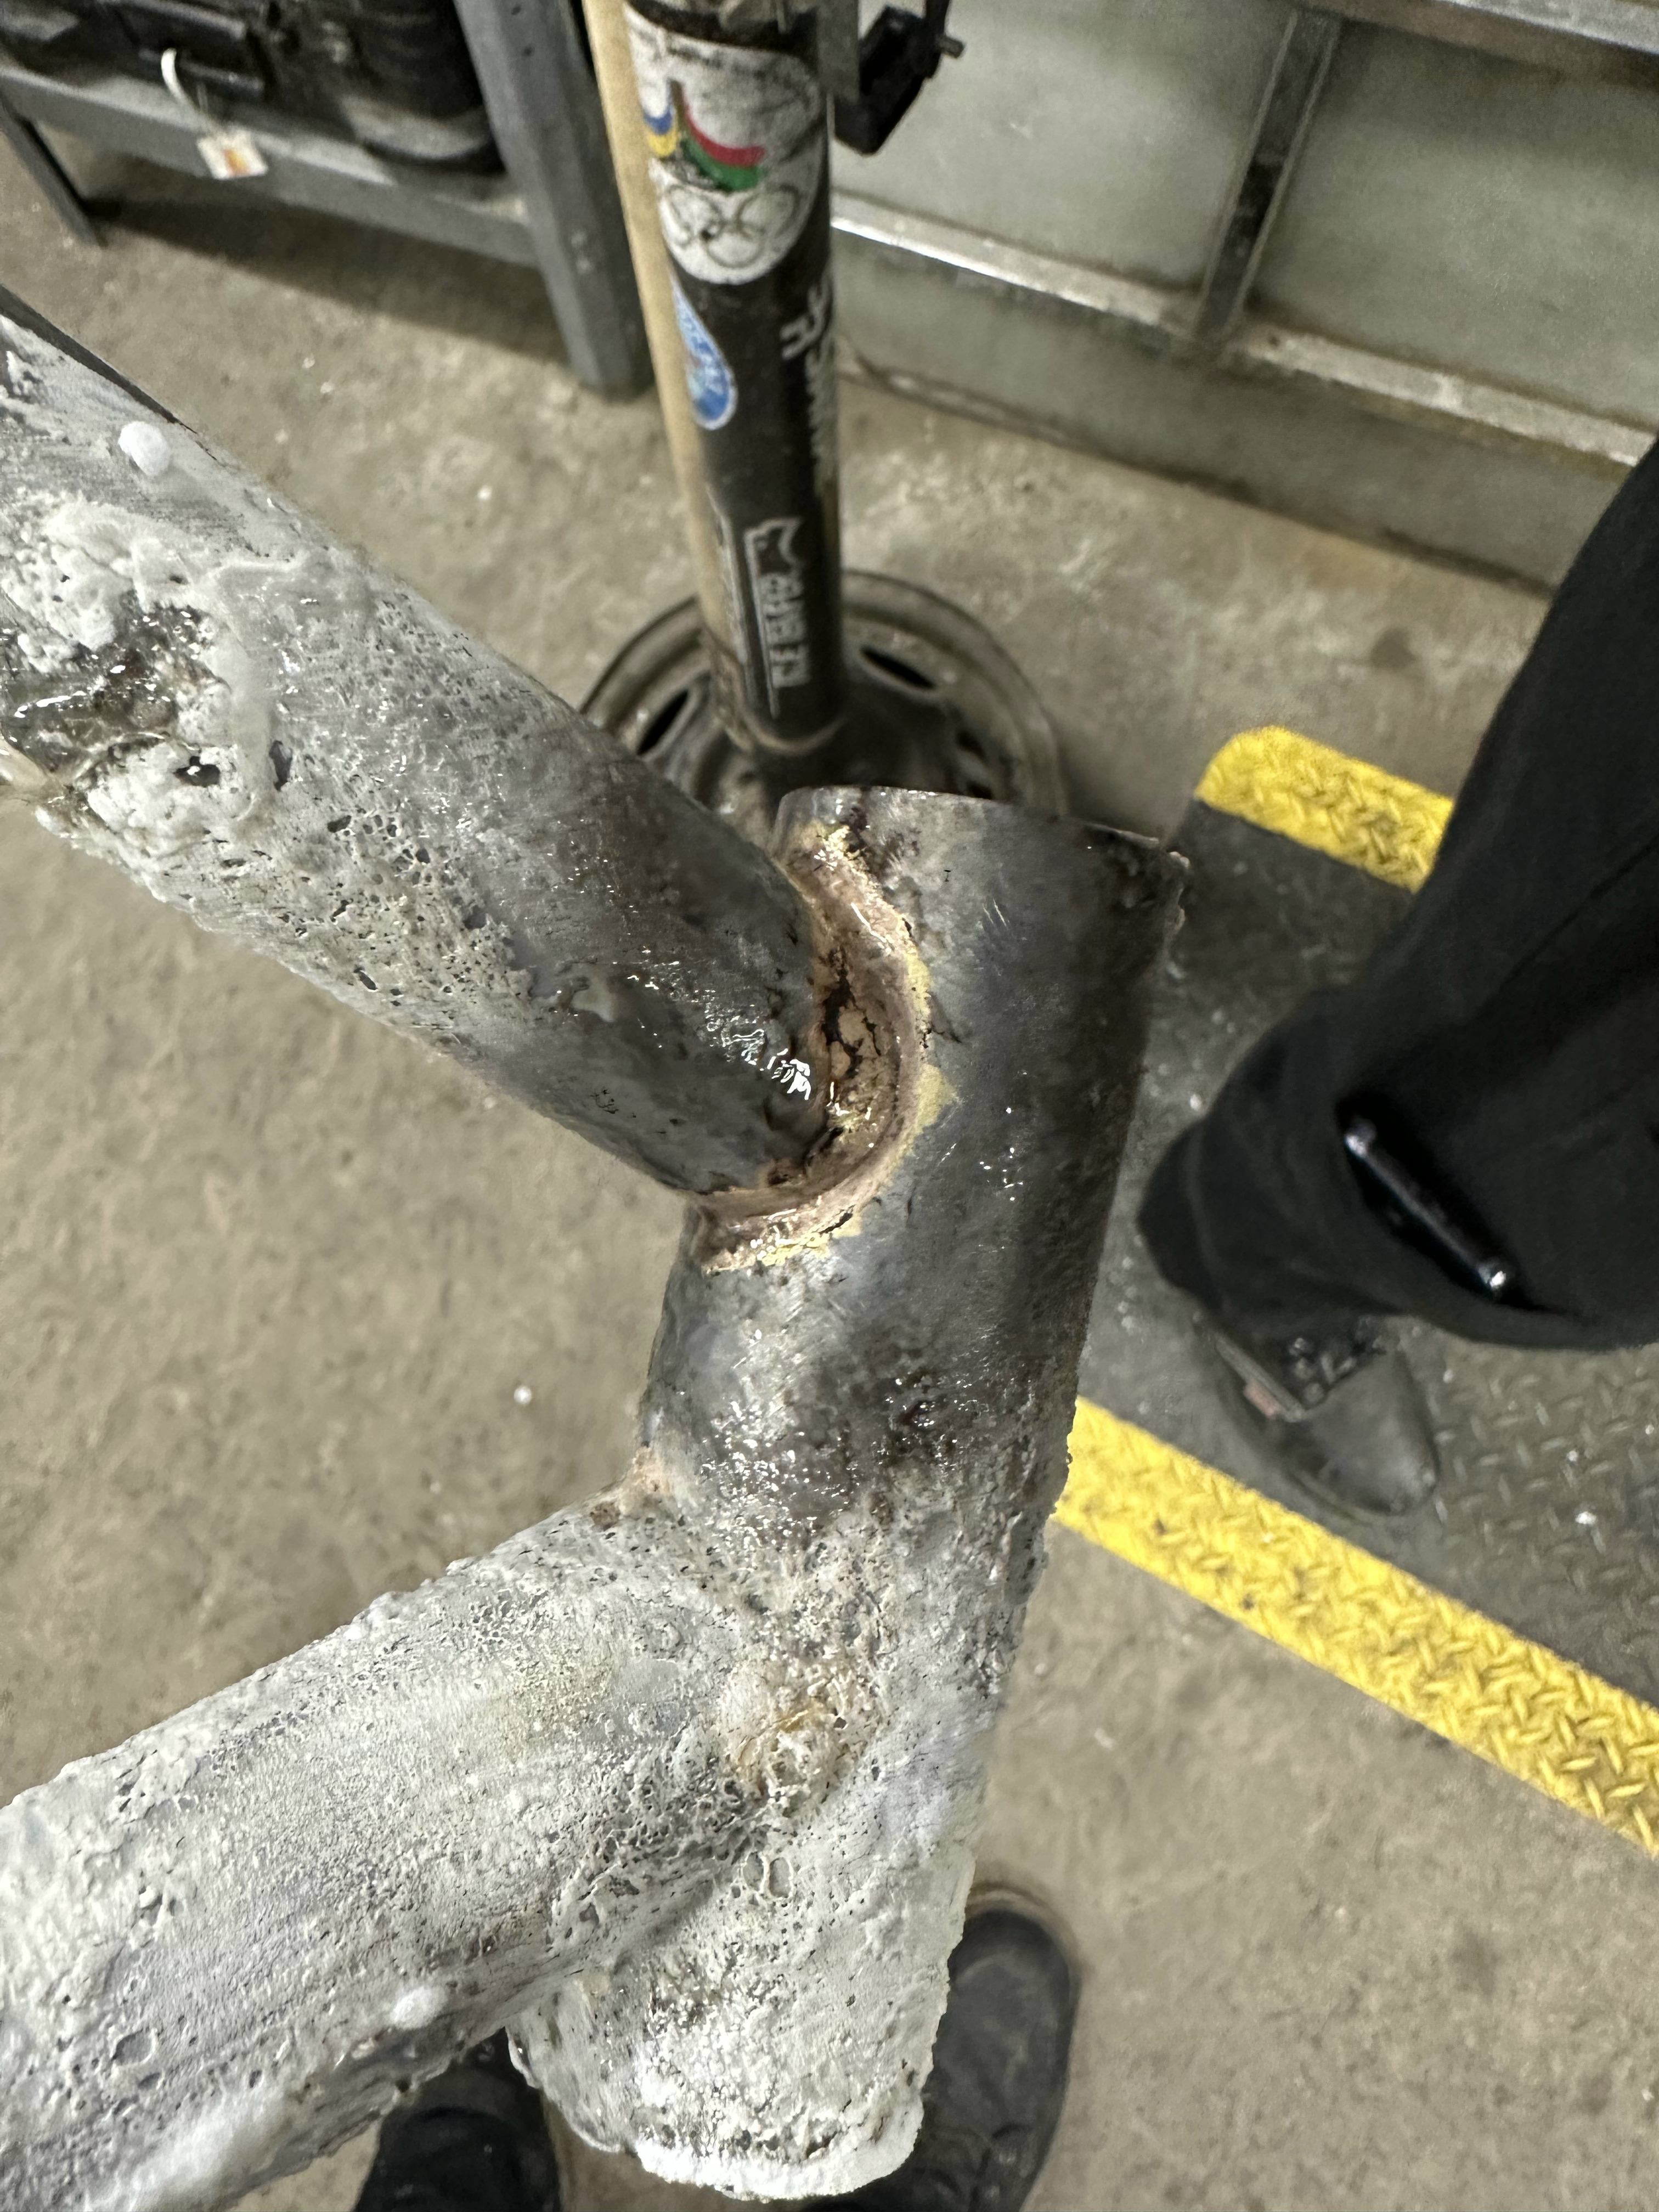
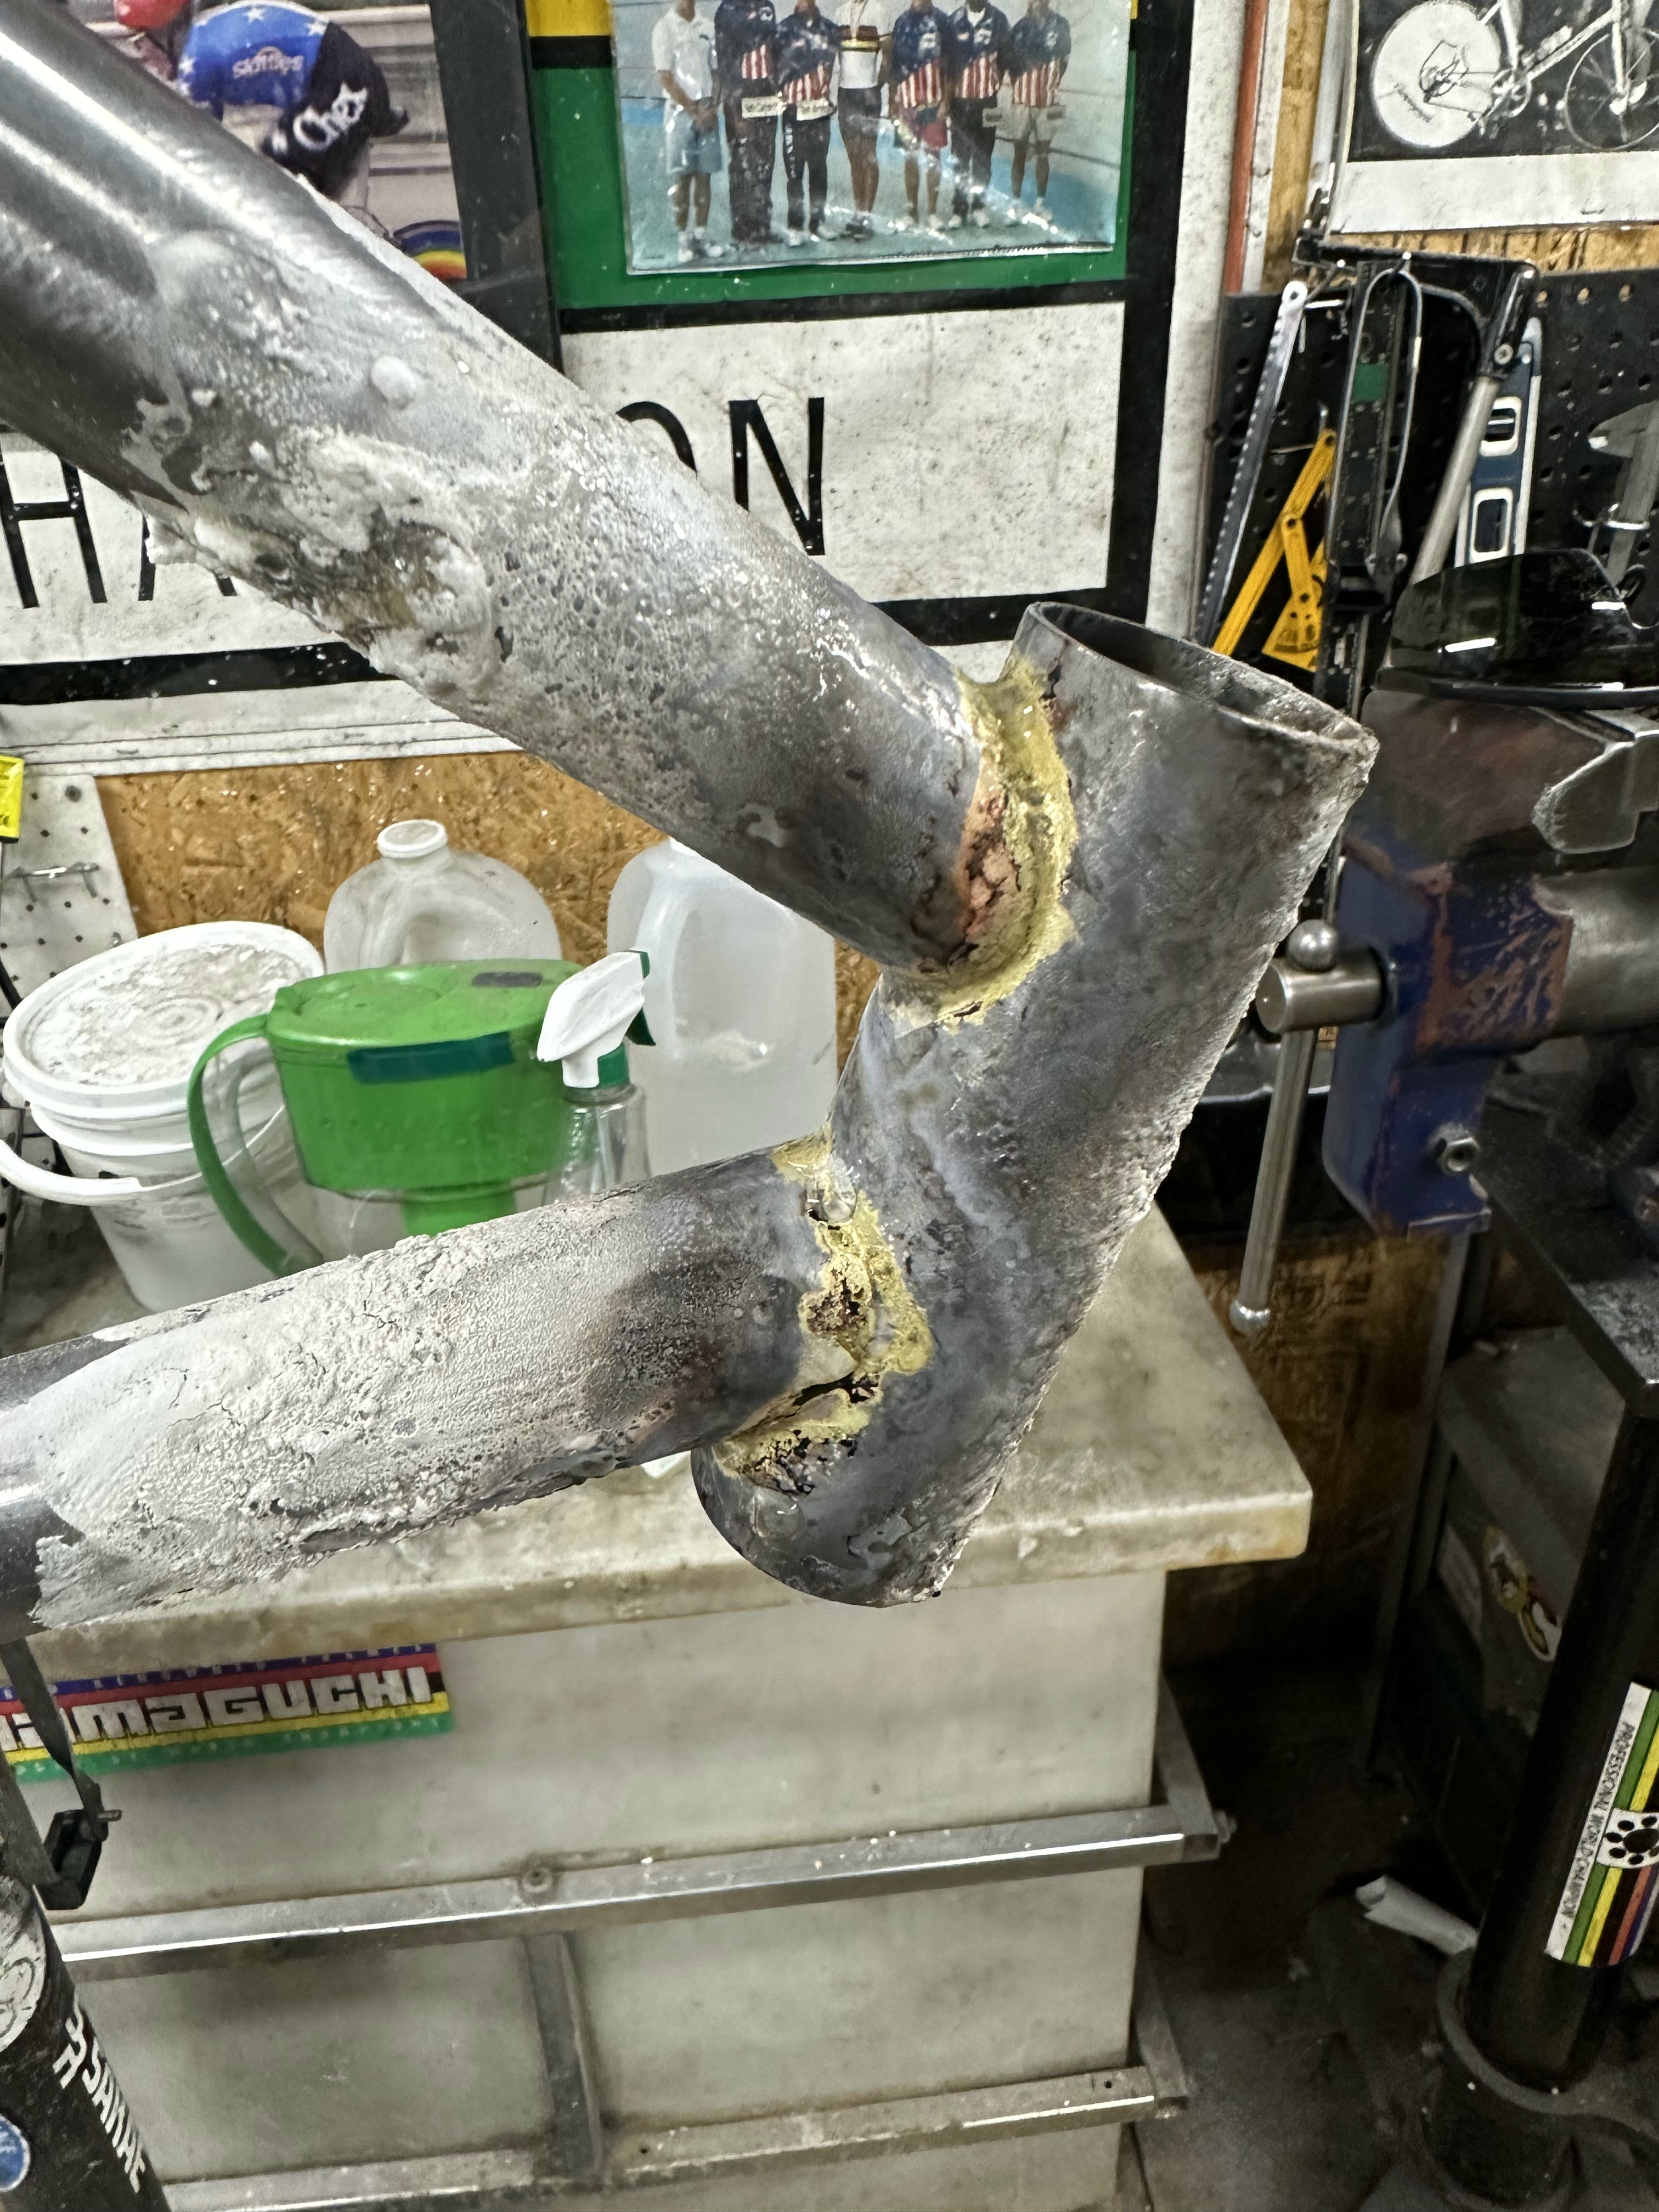
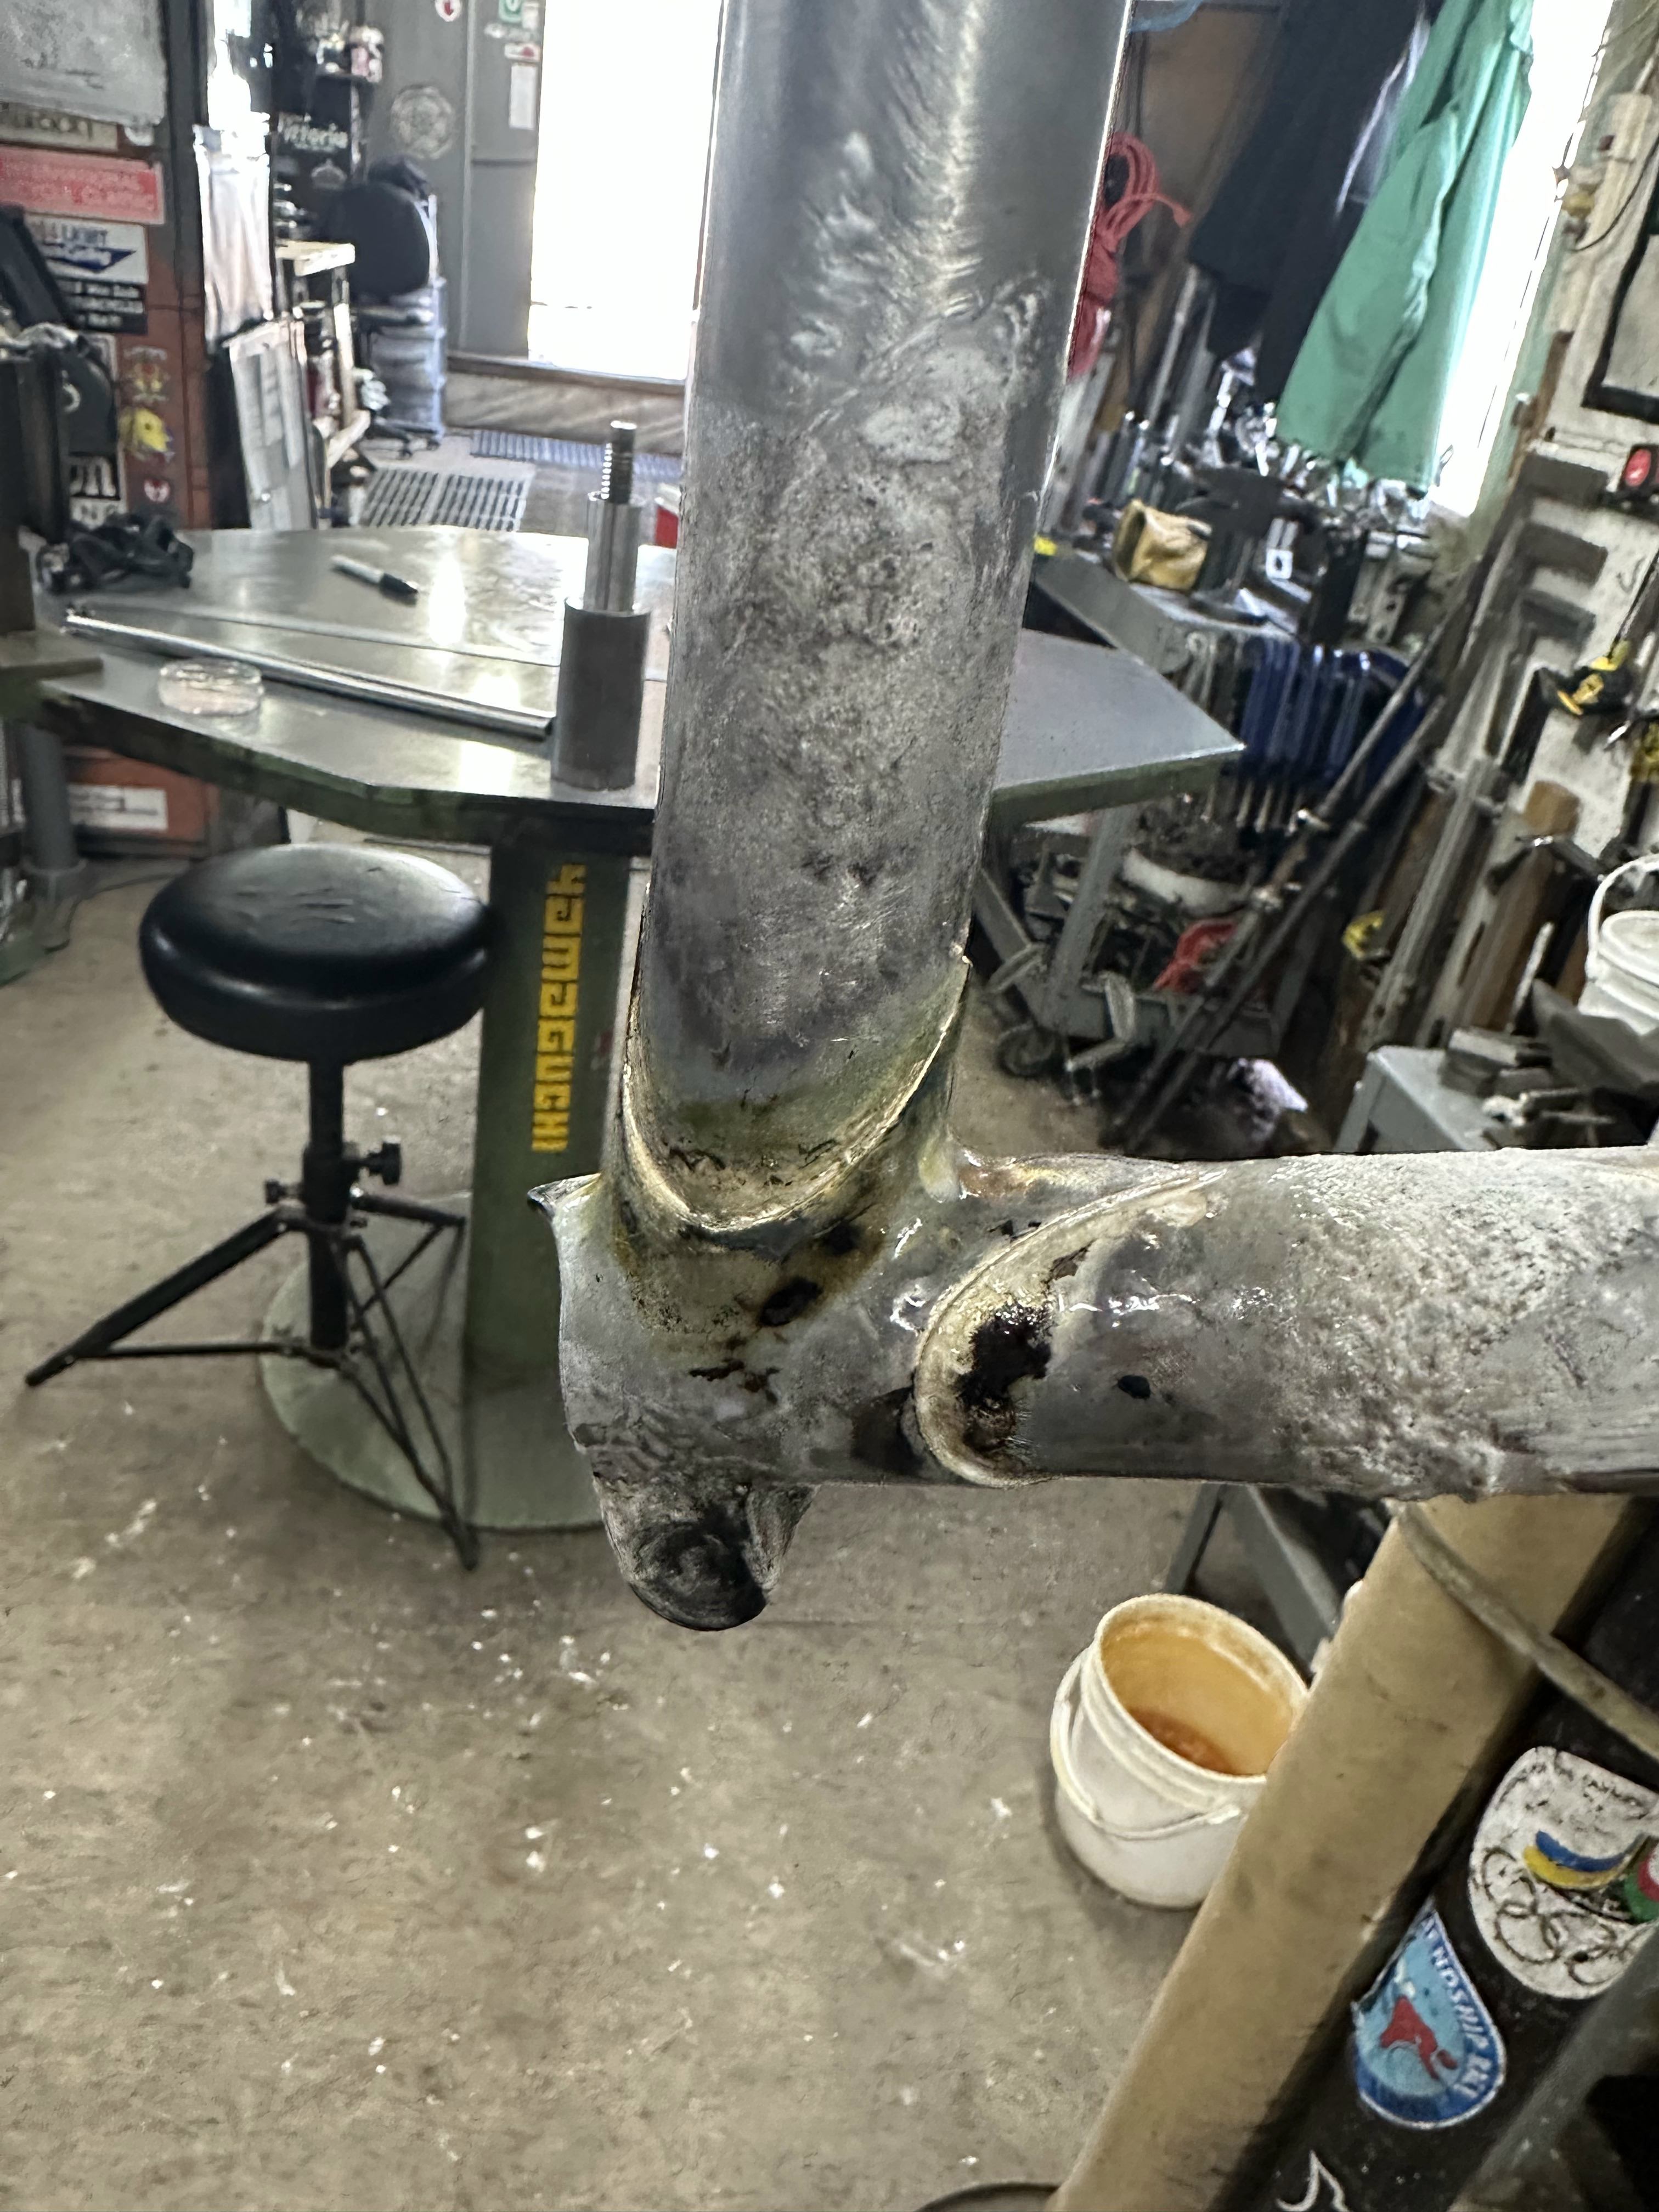
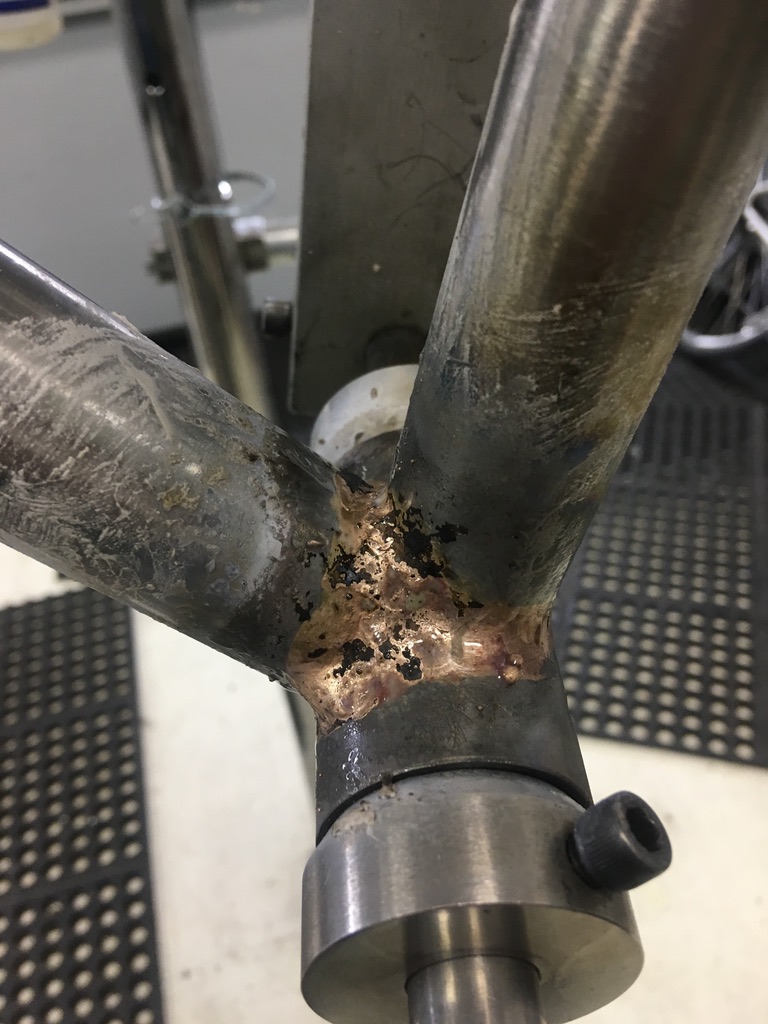
You can kind of see what went wrong in this picture. When I brazed the DT-HT joint, I really heated it up and warped the bottom of the HT quite a bit. With the thickness of the tube along with my first-time brazing skills, it didn’t stand a chance. It was super ovalized, and I hoped that reaming it out would set it right. Unfortunately it just thinned the back side of the HT out until it was paper thin. I was able to press the headset in, although it made a noticeable bulge and I had to hammer my fork in due to the misalignment.

I knew it was an issue though, and was able to keep tabs on it. It lasted all summer, and never catastrophically failed. I remember riding down some steep, offroad footpath to the beach and nearly endoing, hanging in a sketchy stoppie and saving myself. I figure that’s where things finally crumpled.

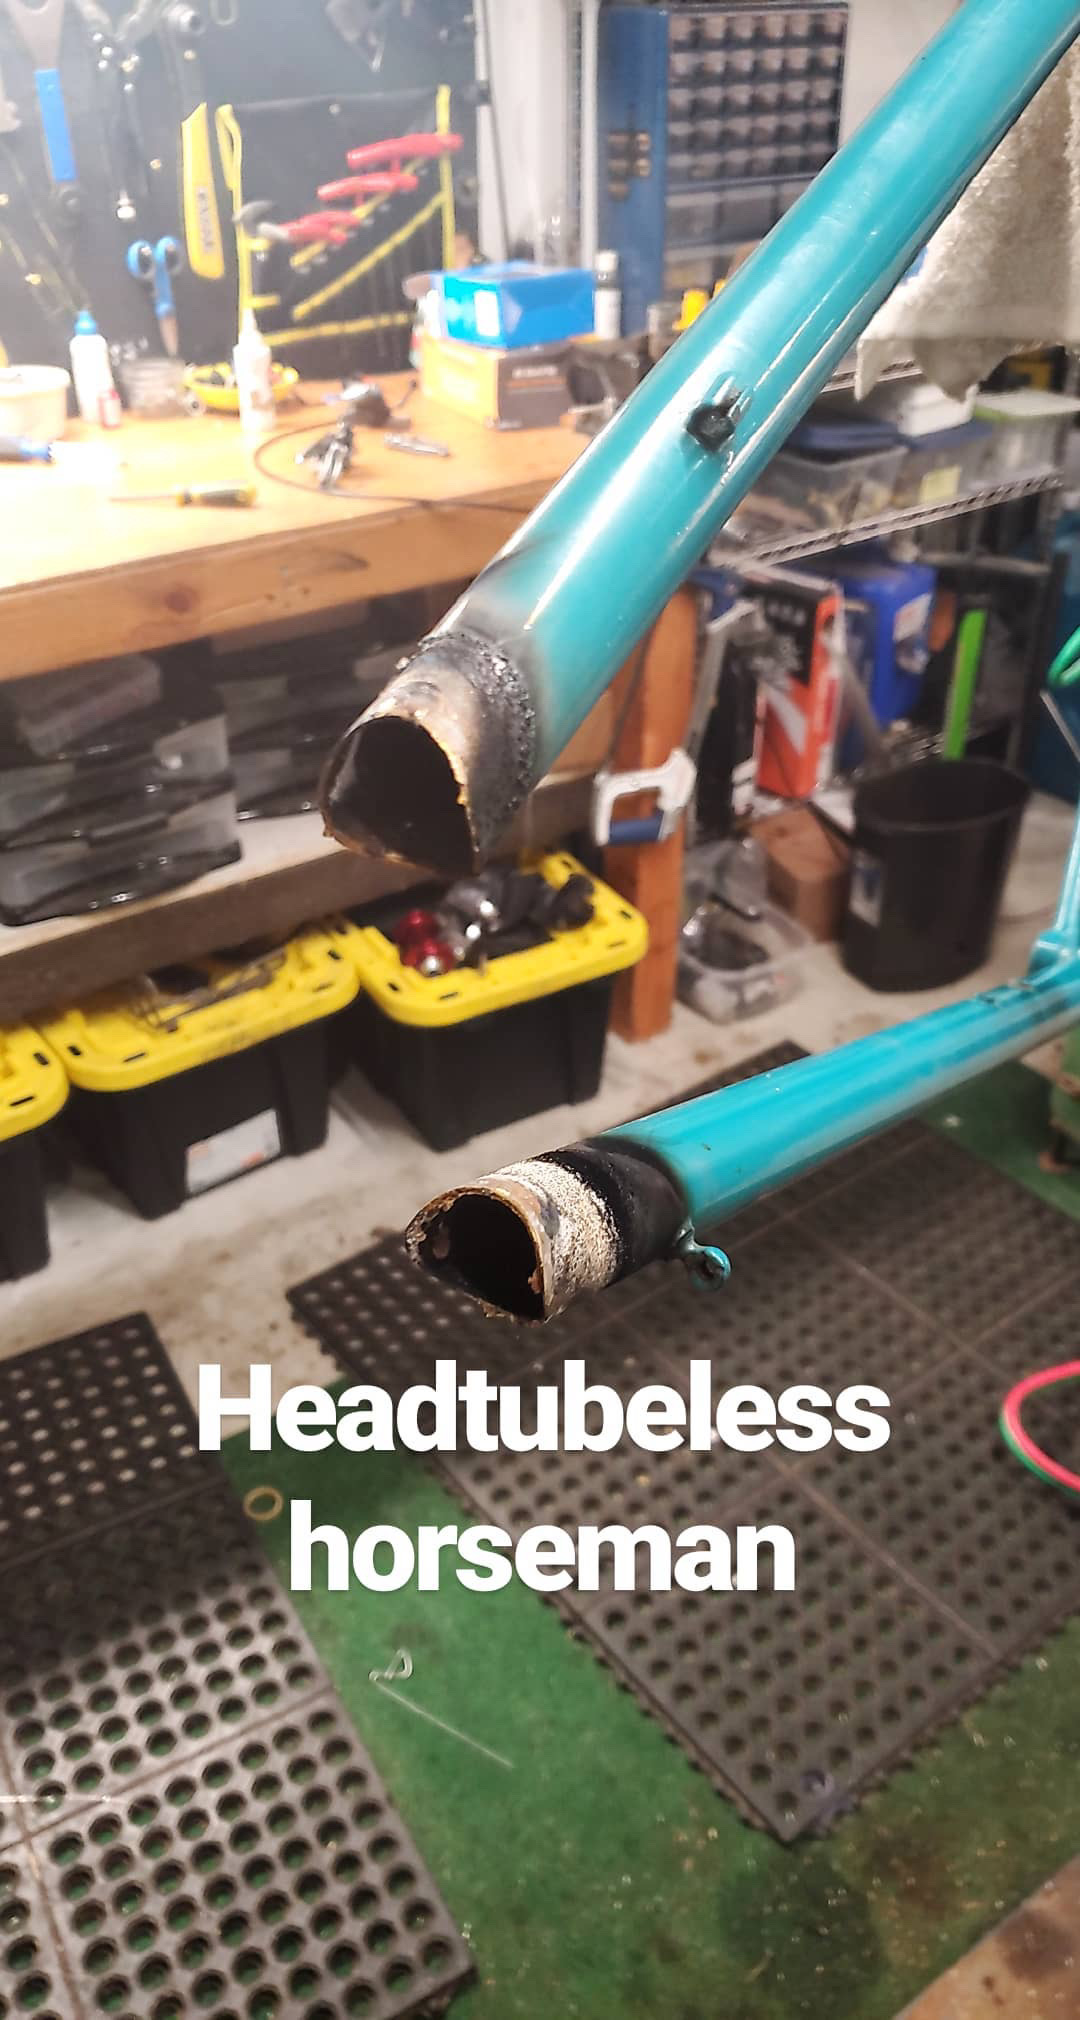
Also, it was cool to see the stresses in the frame and how they showed once the HT was cut.


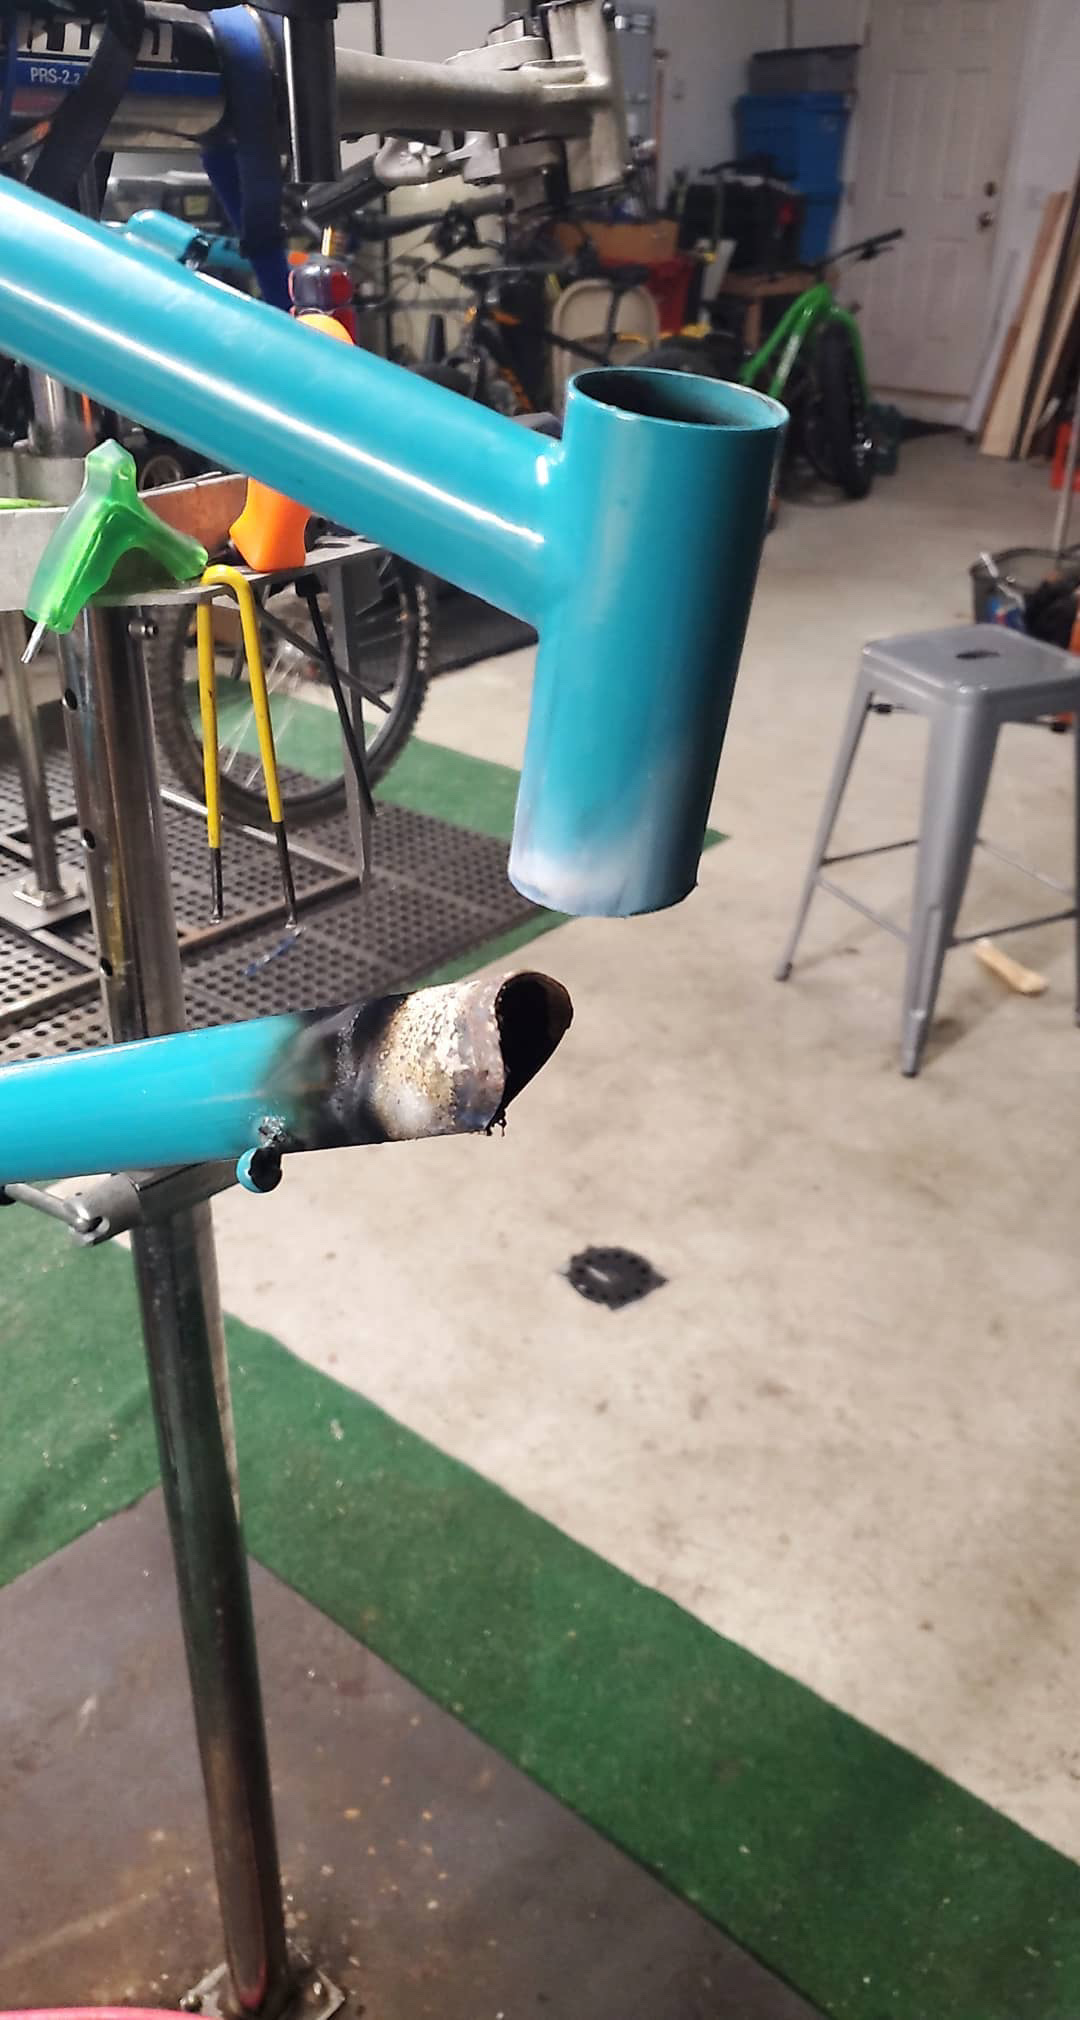
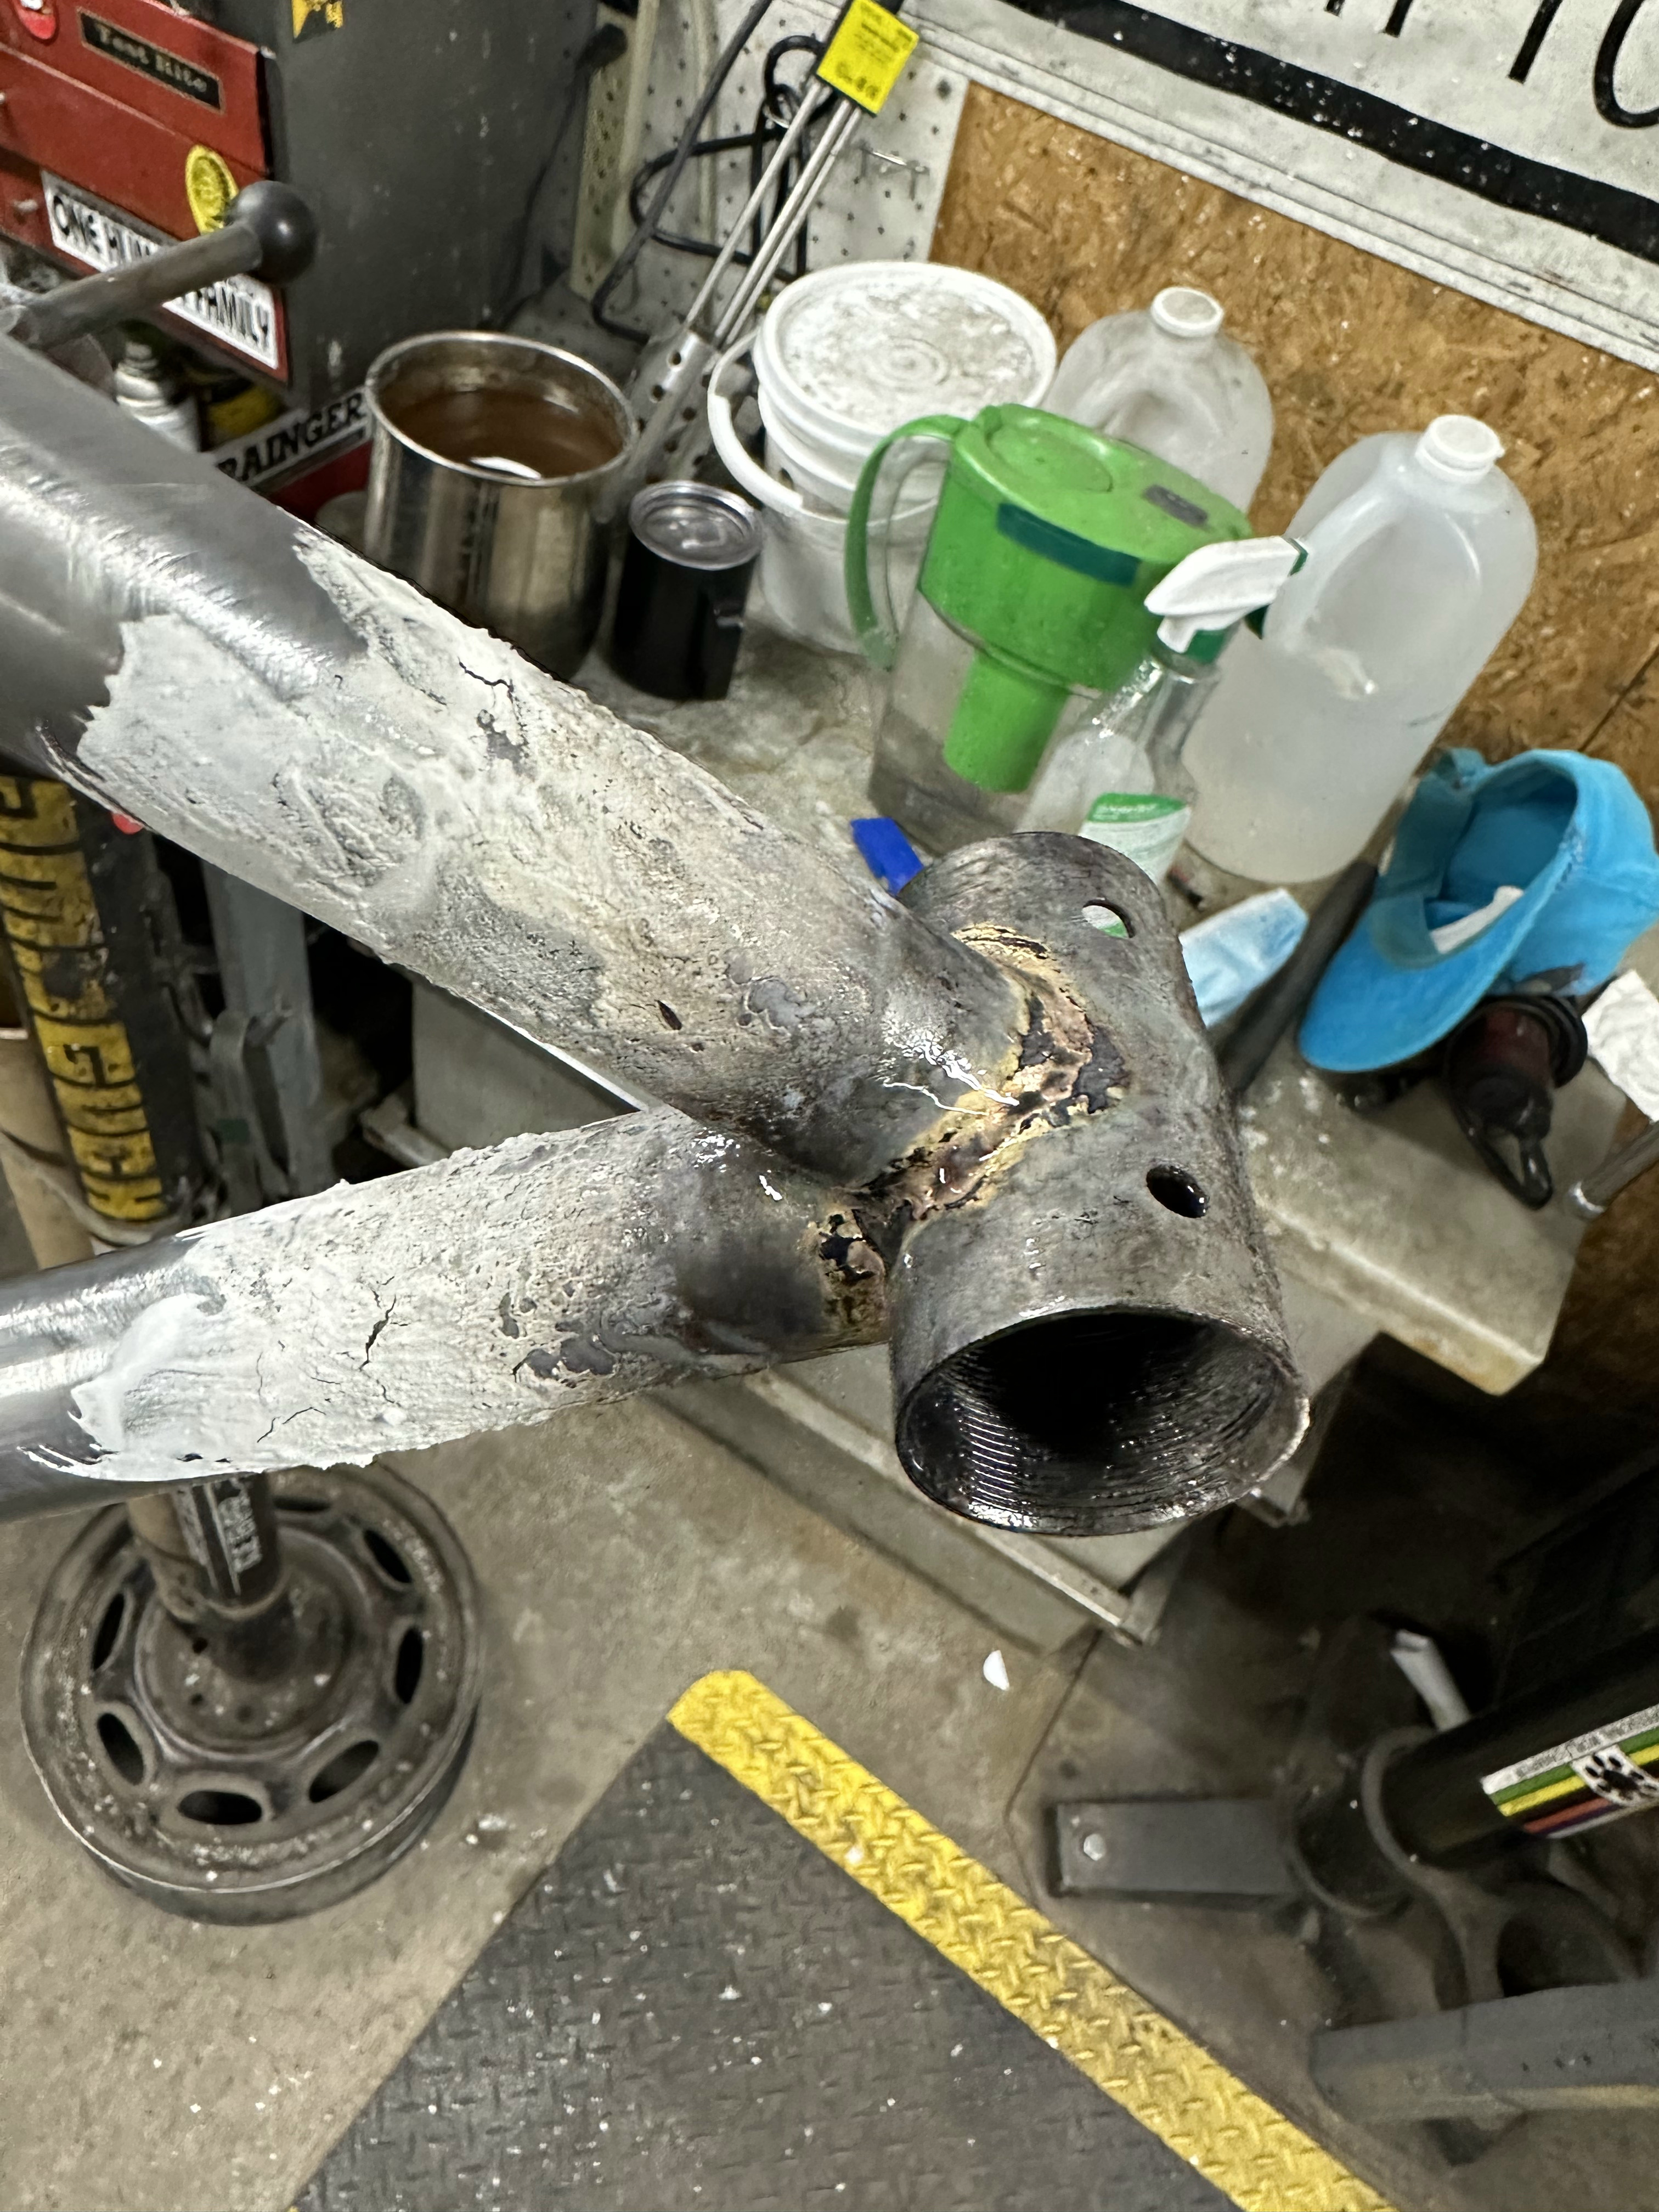
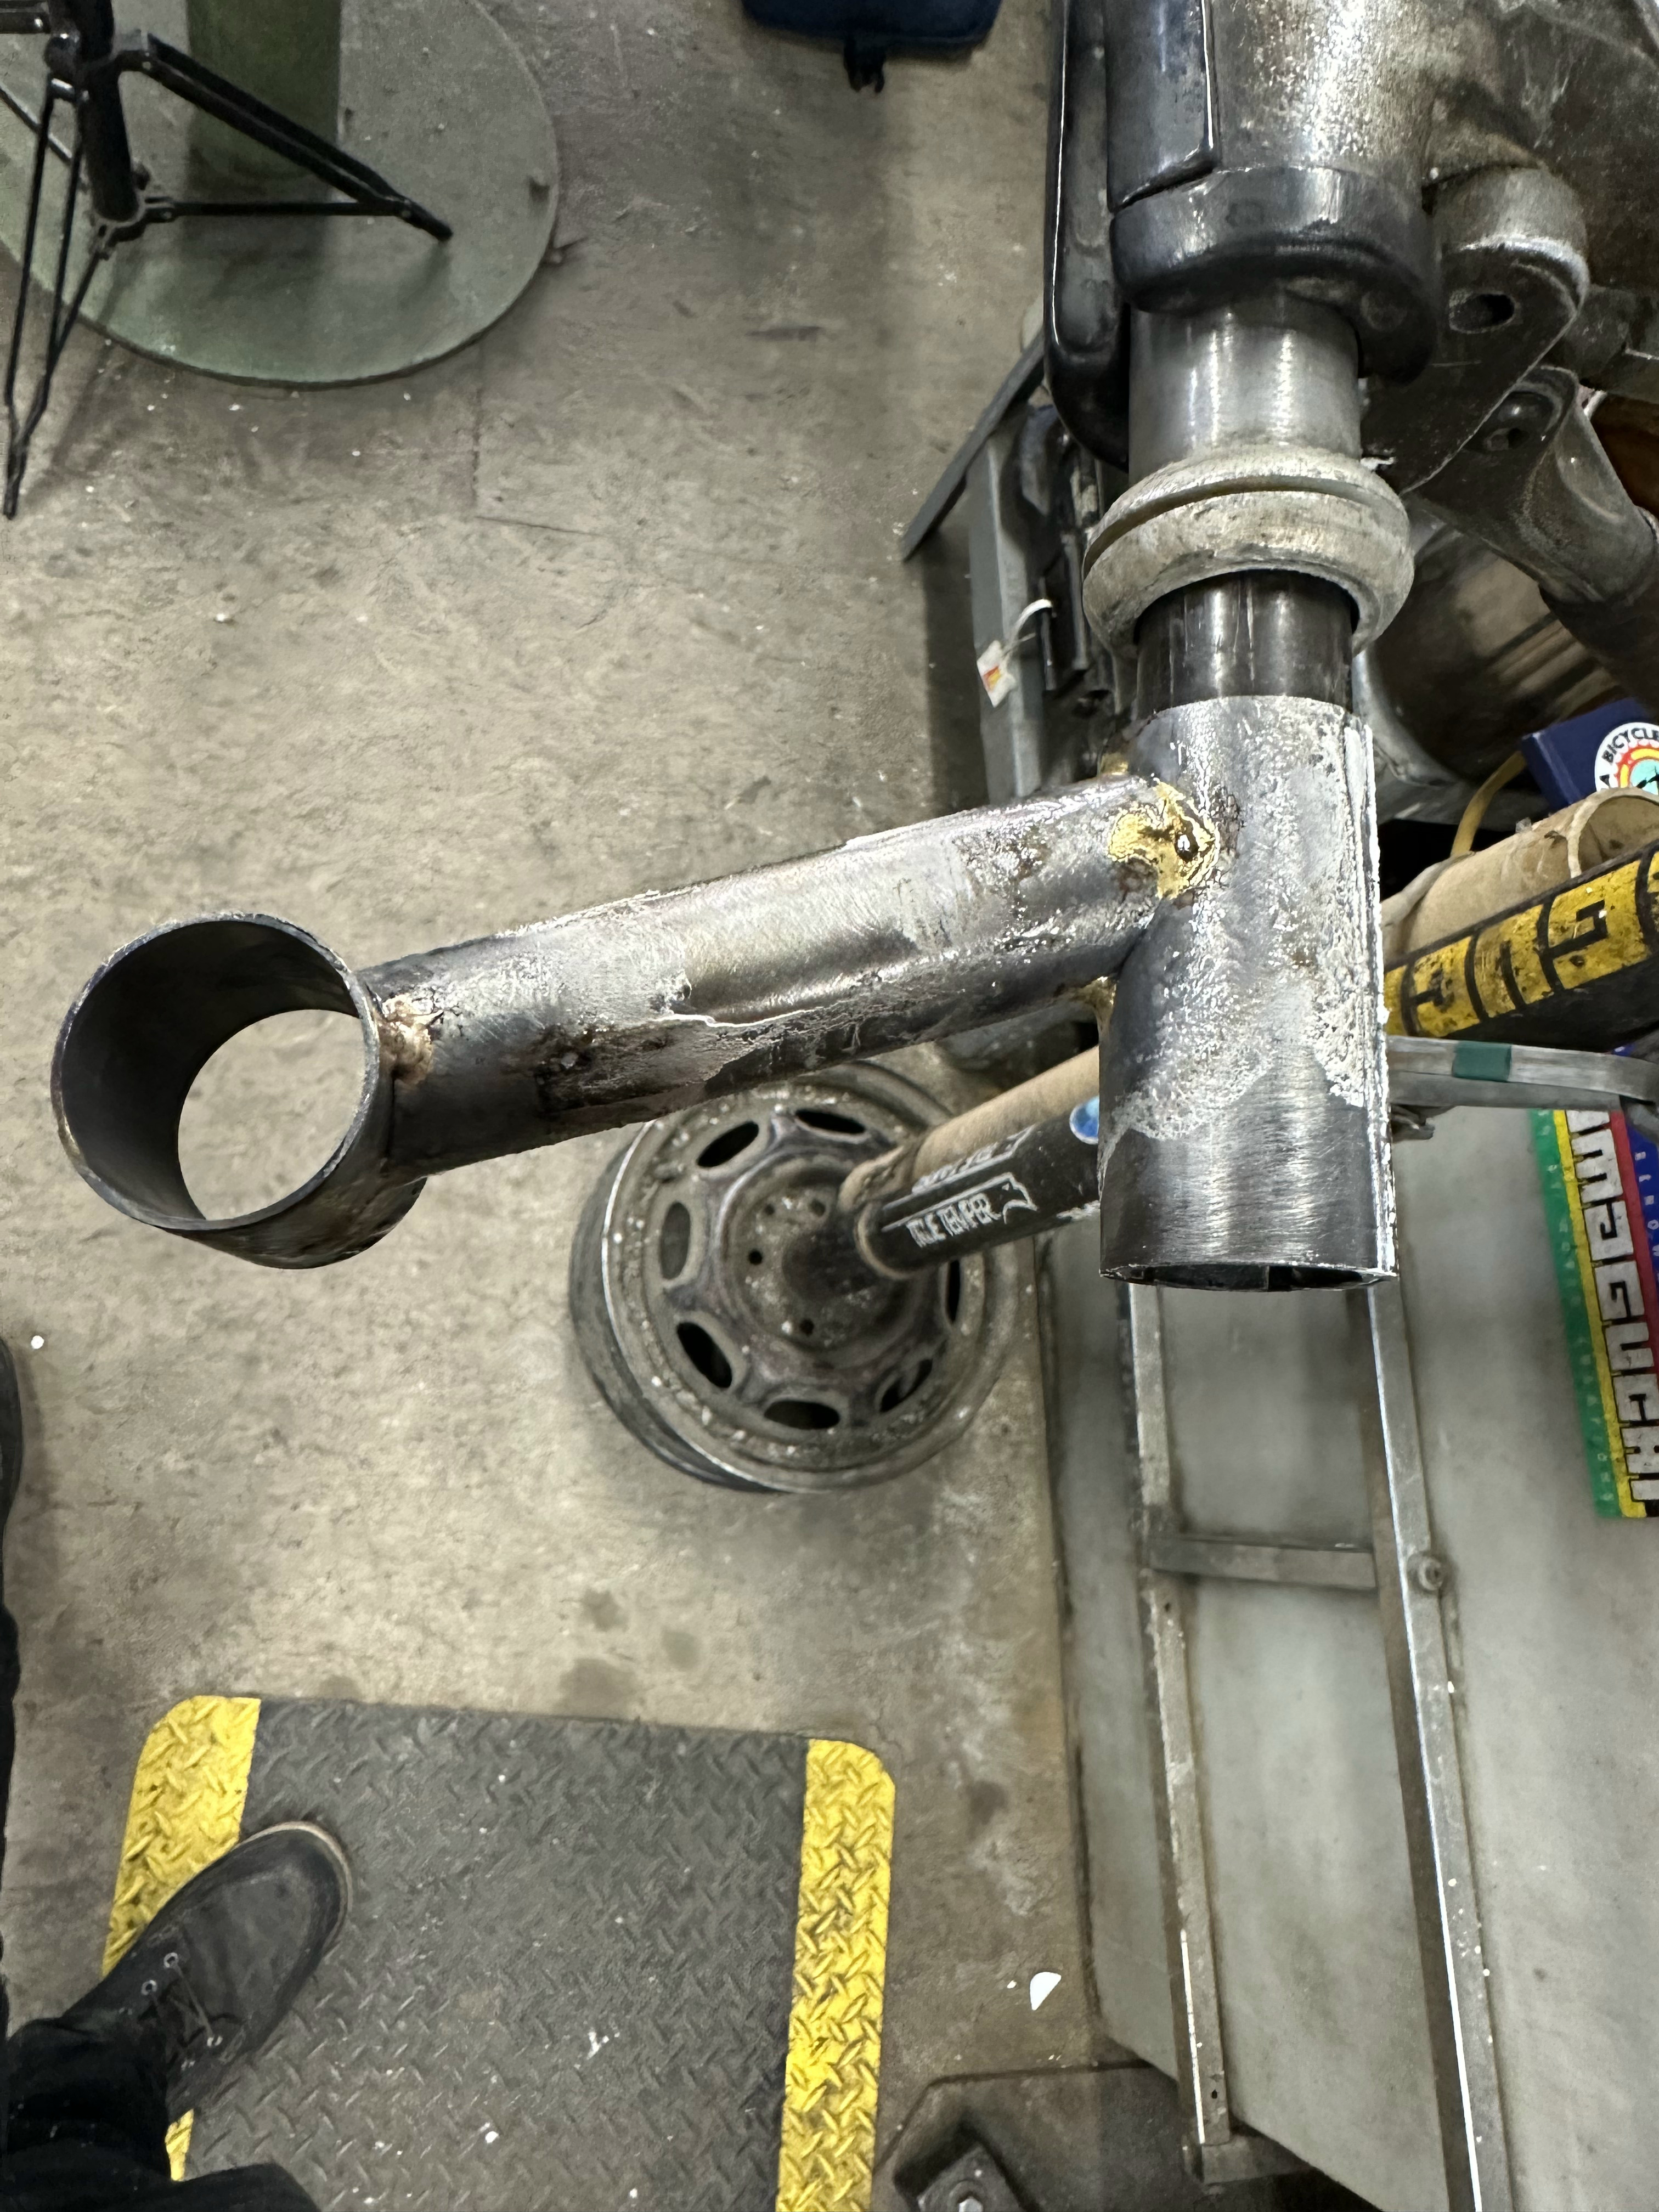
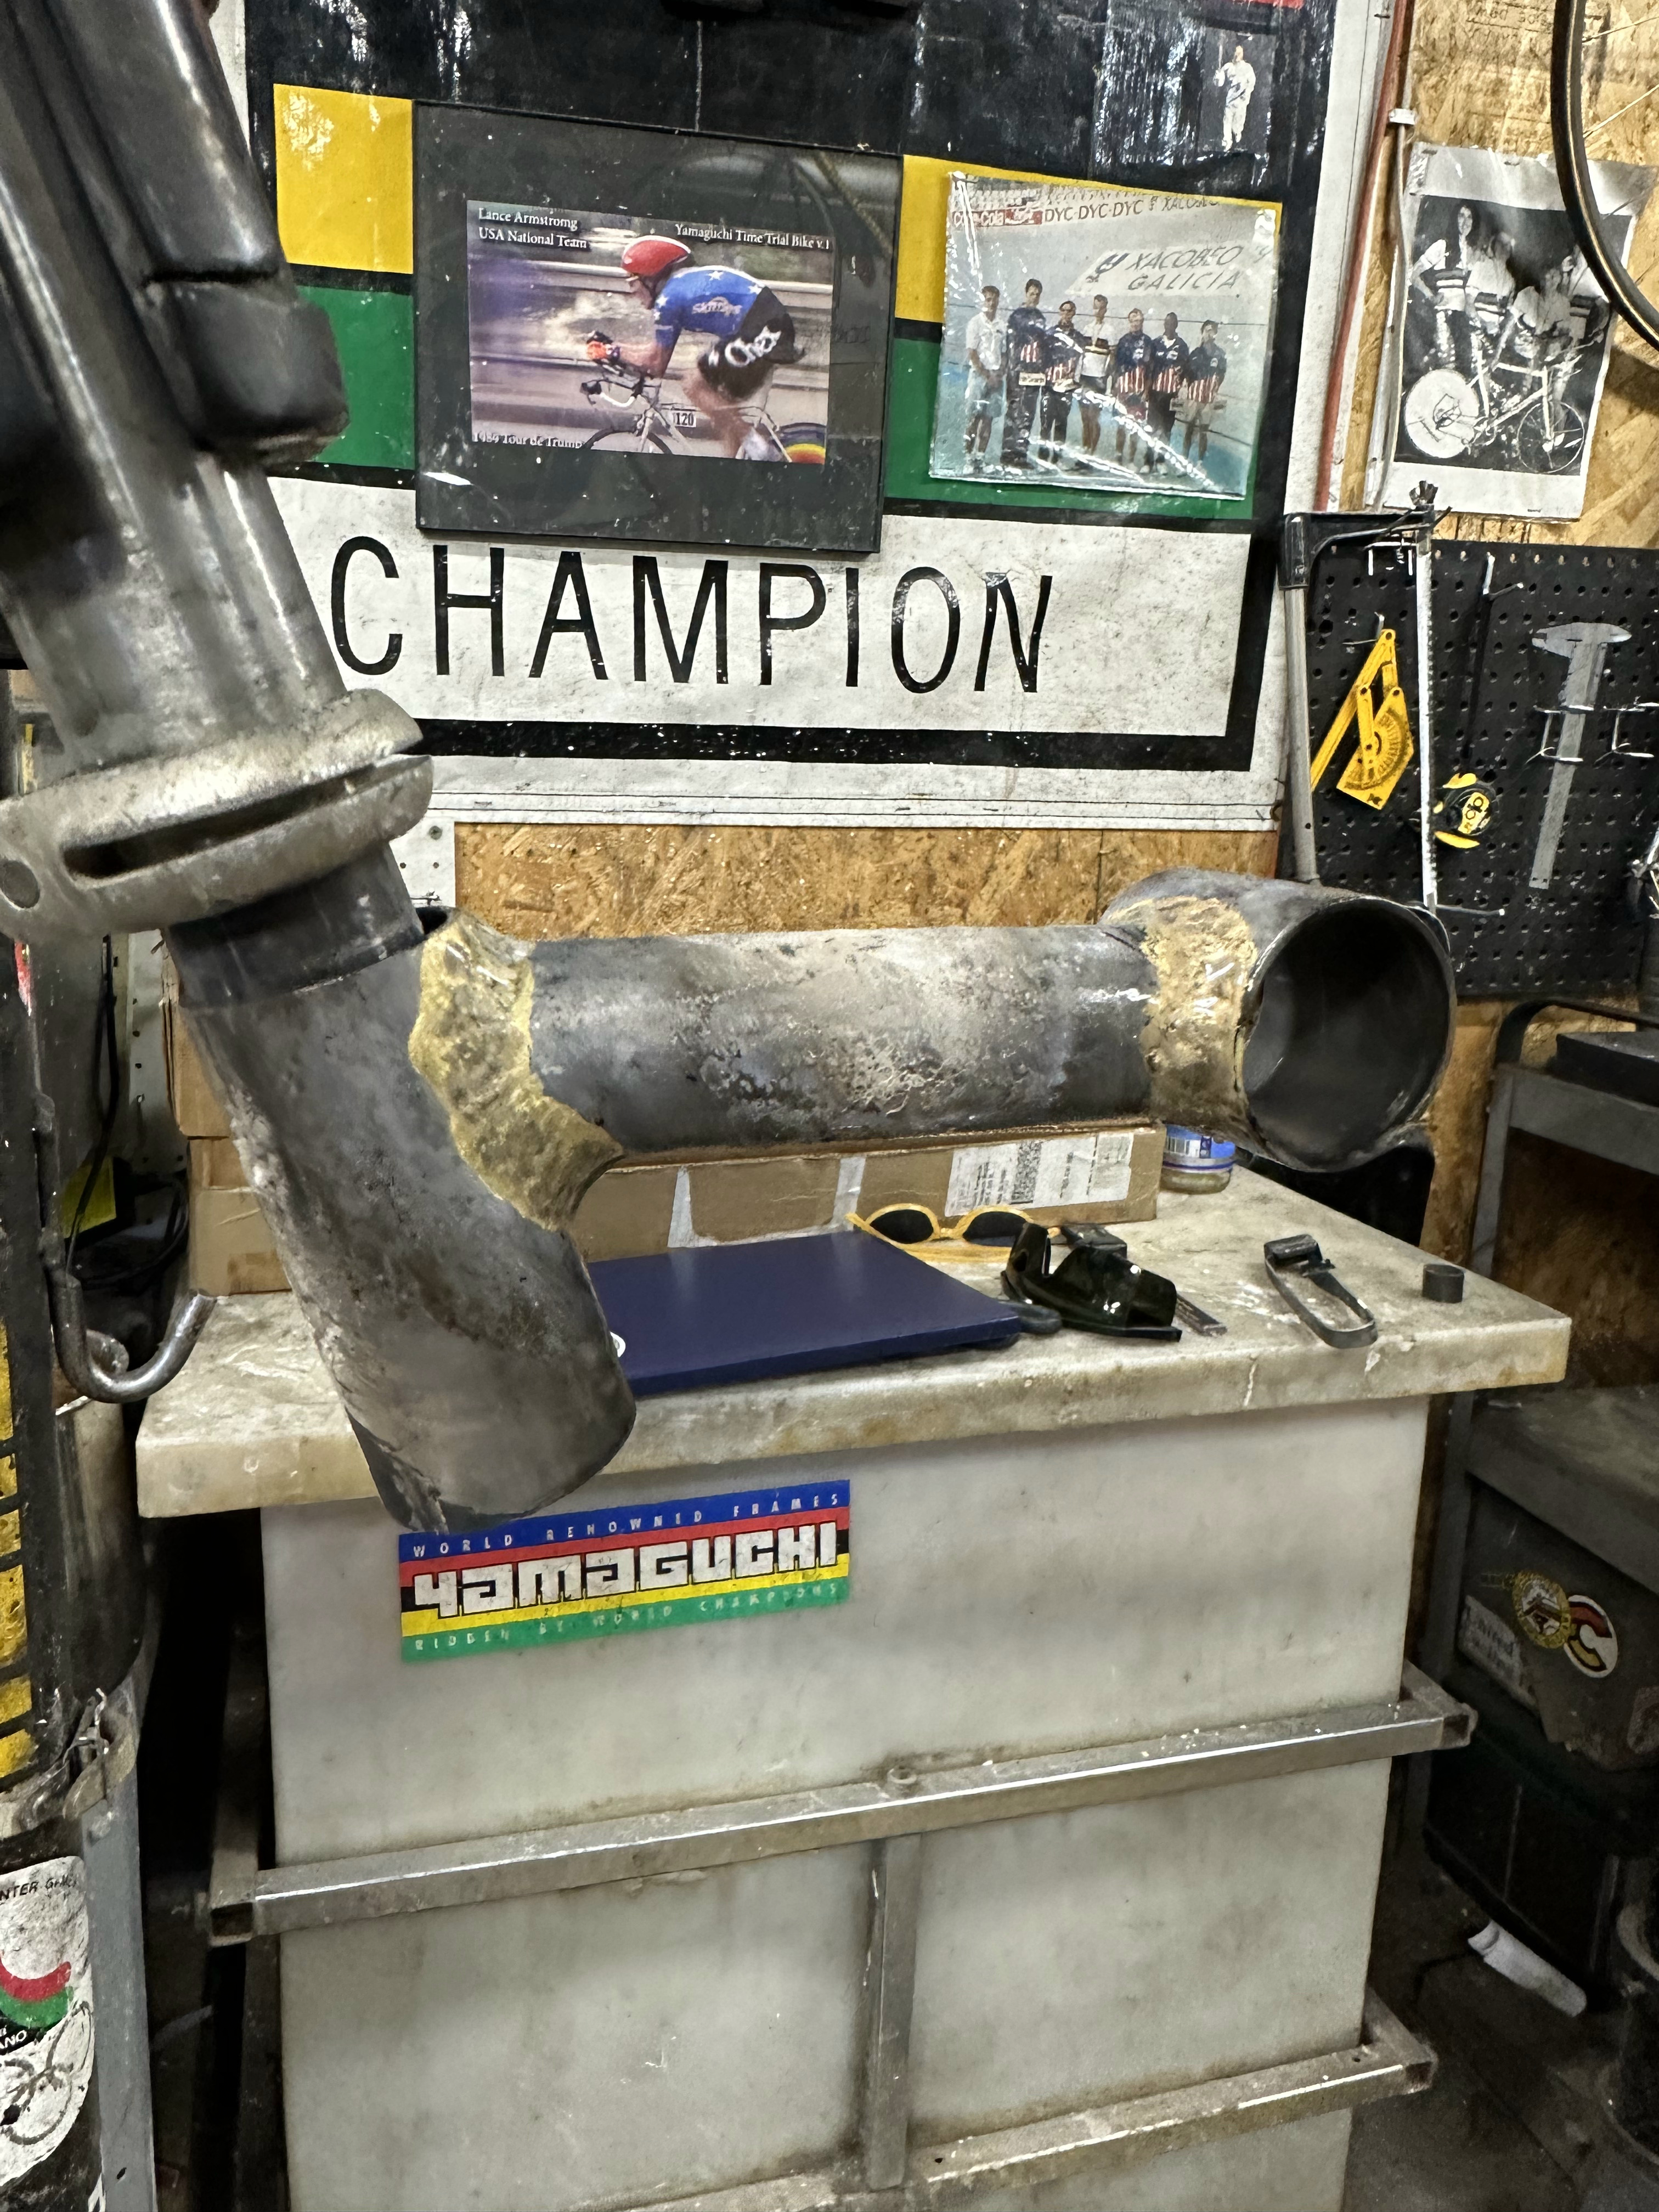
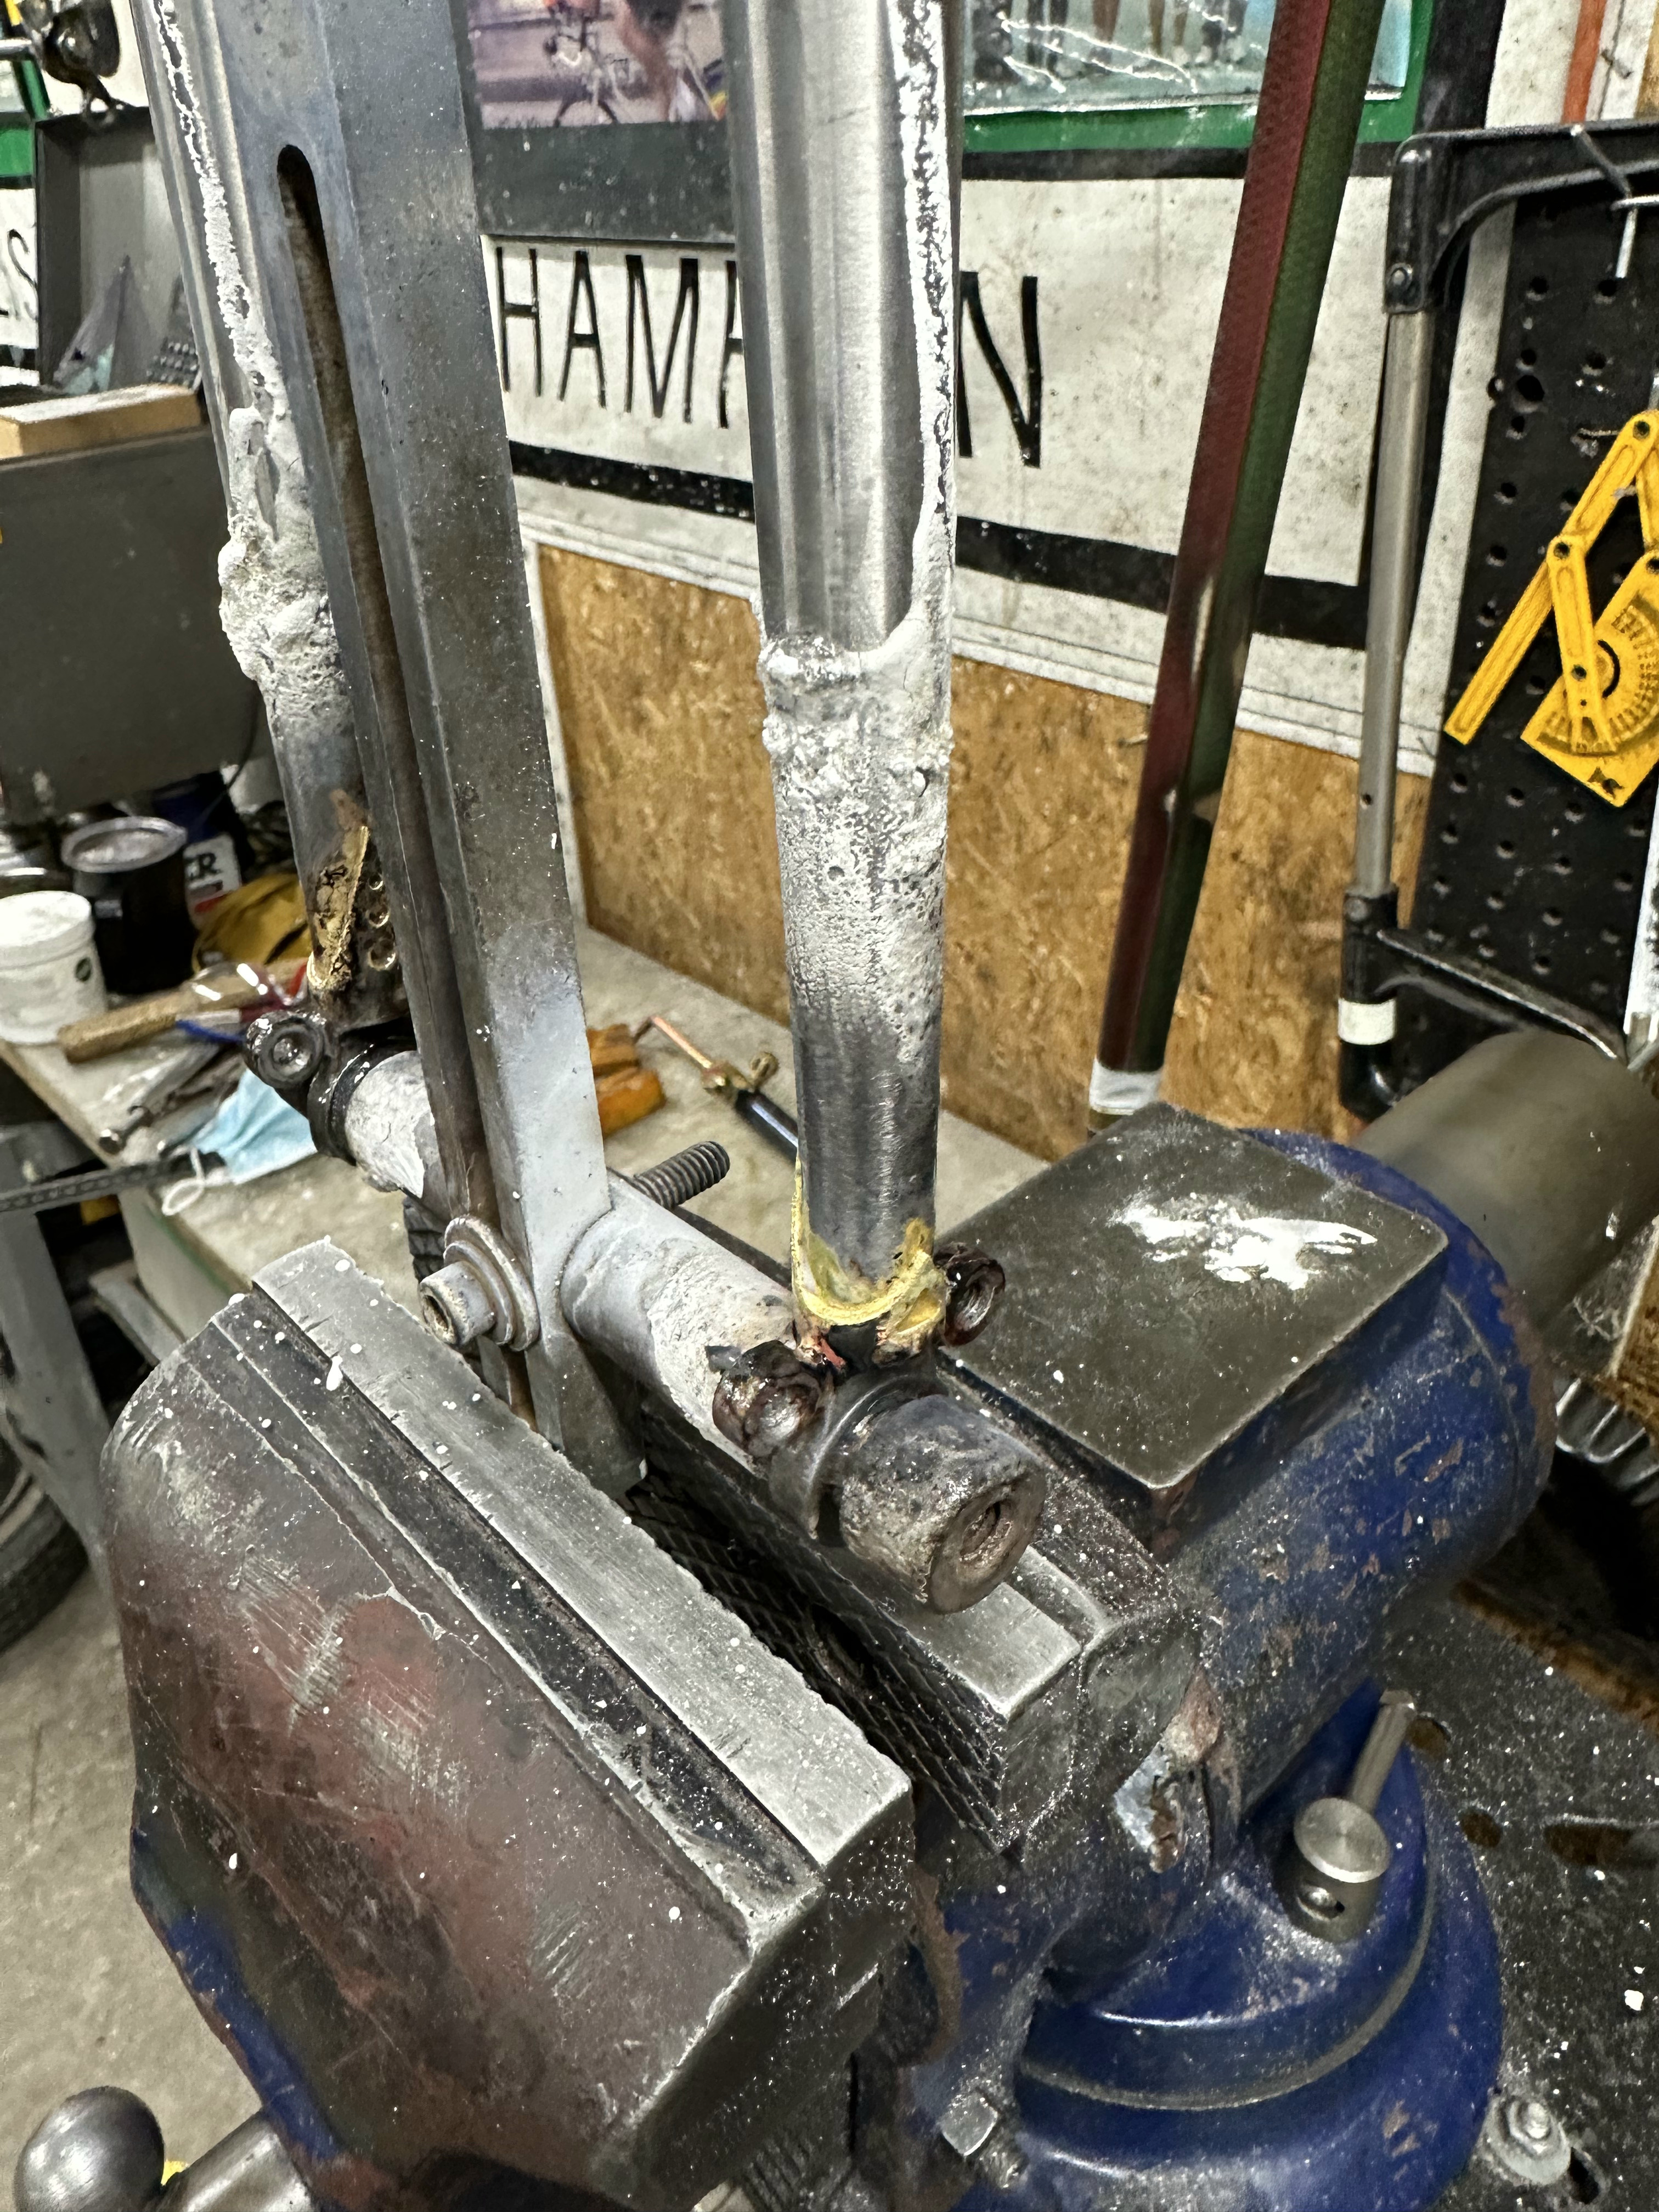
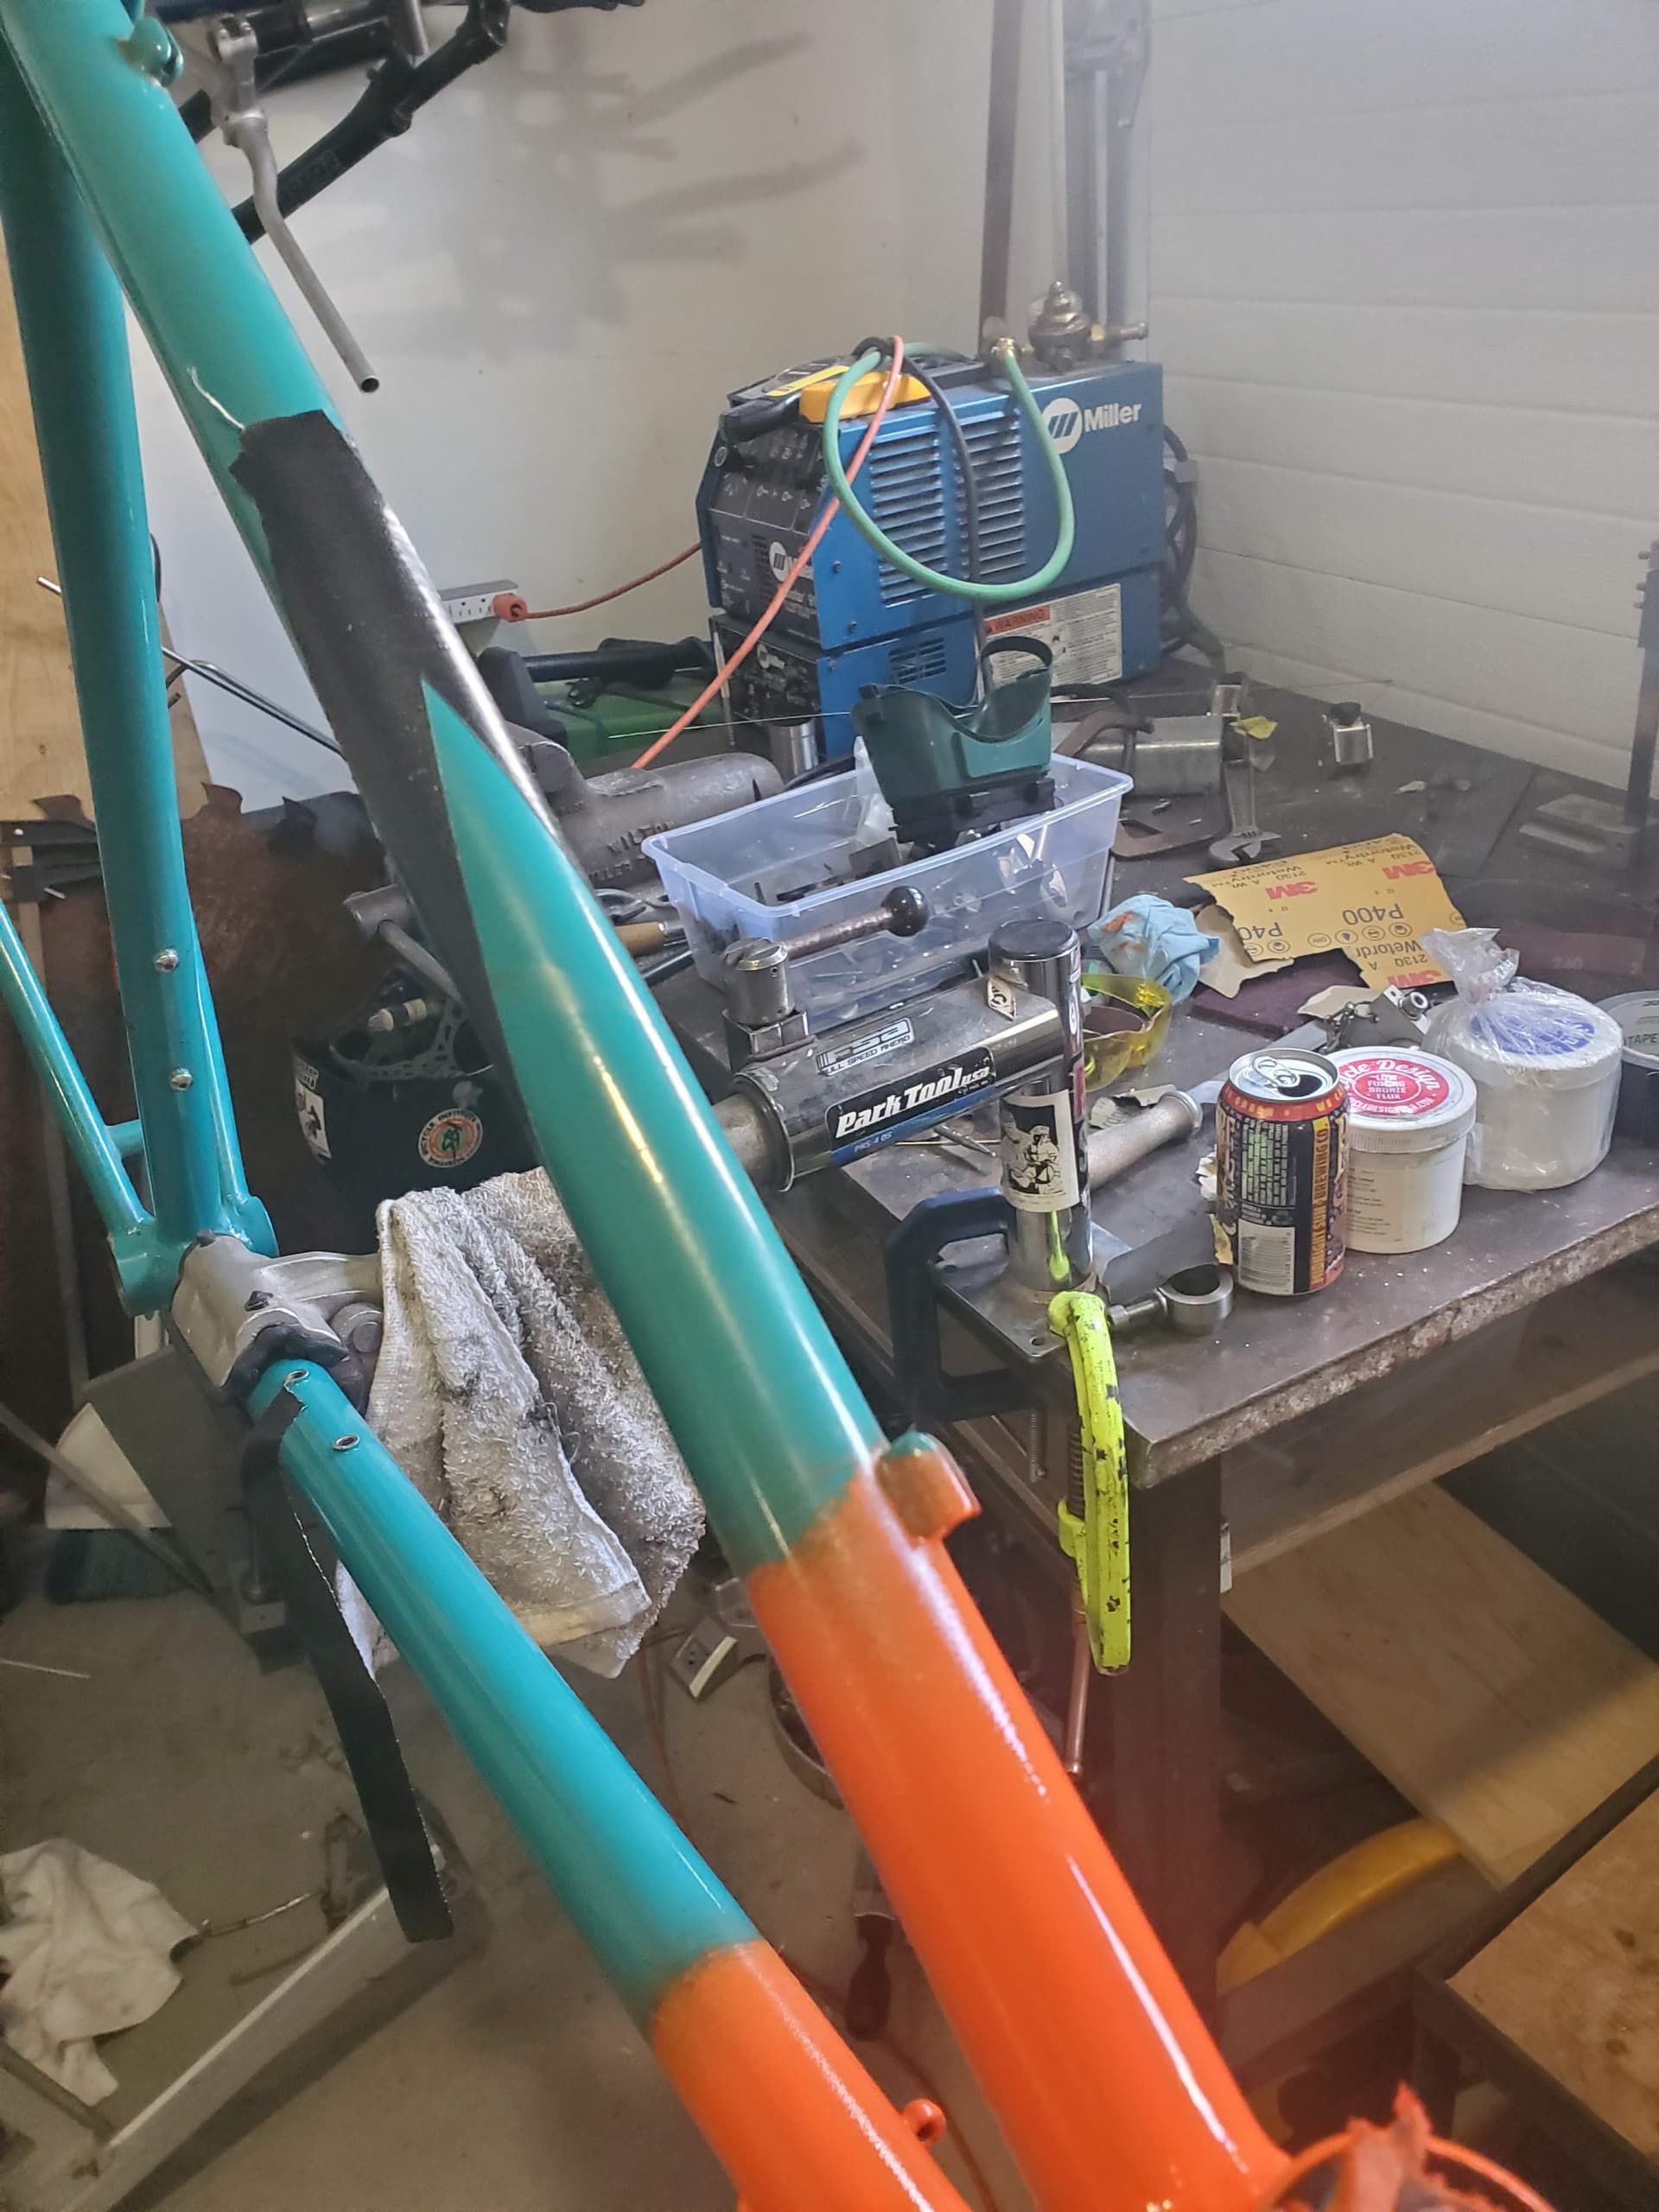
Melted the tubes off


Sorry powdercoat


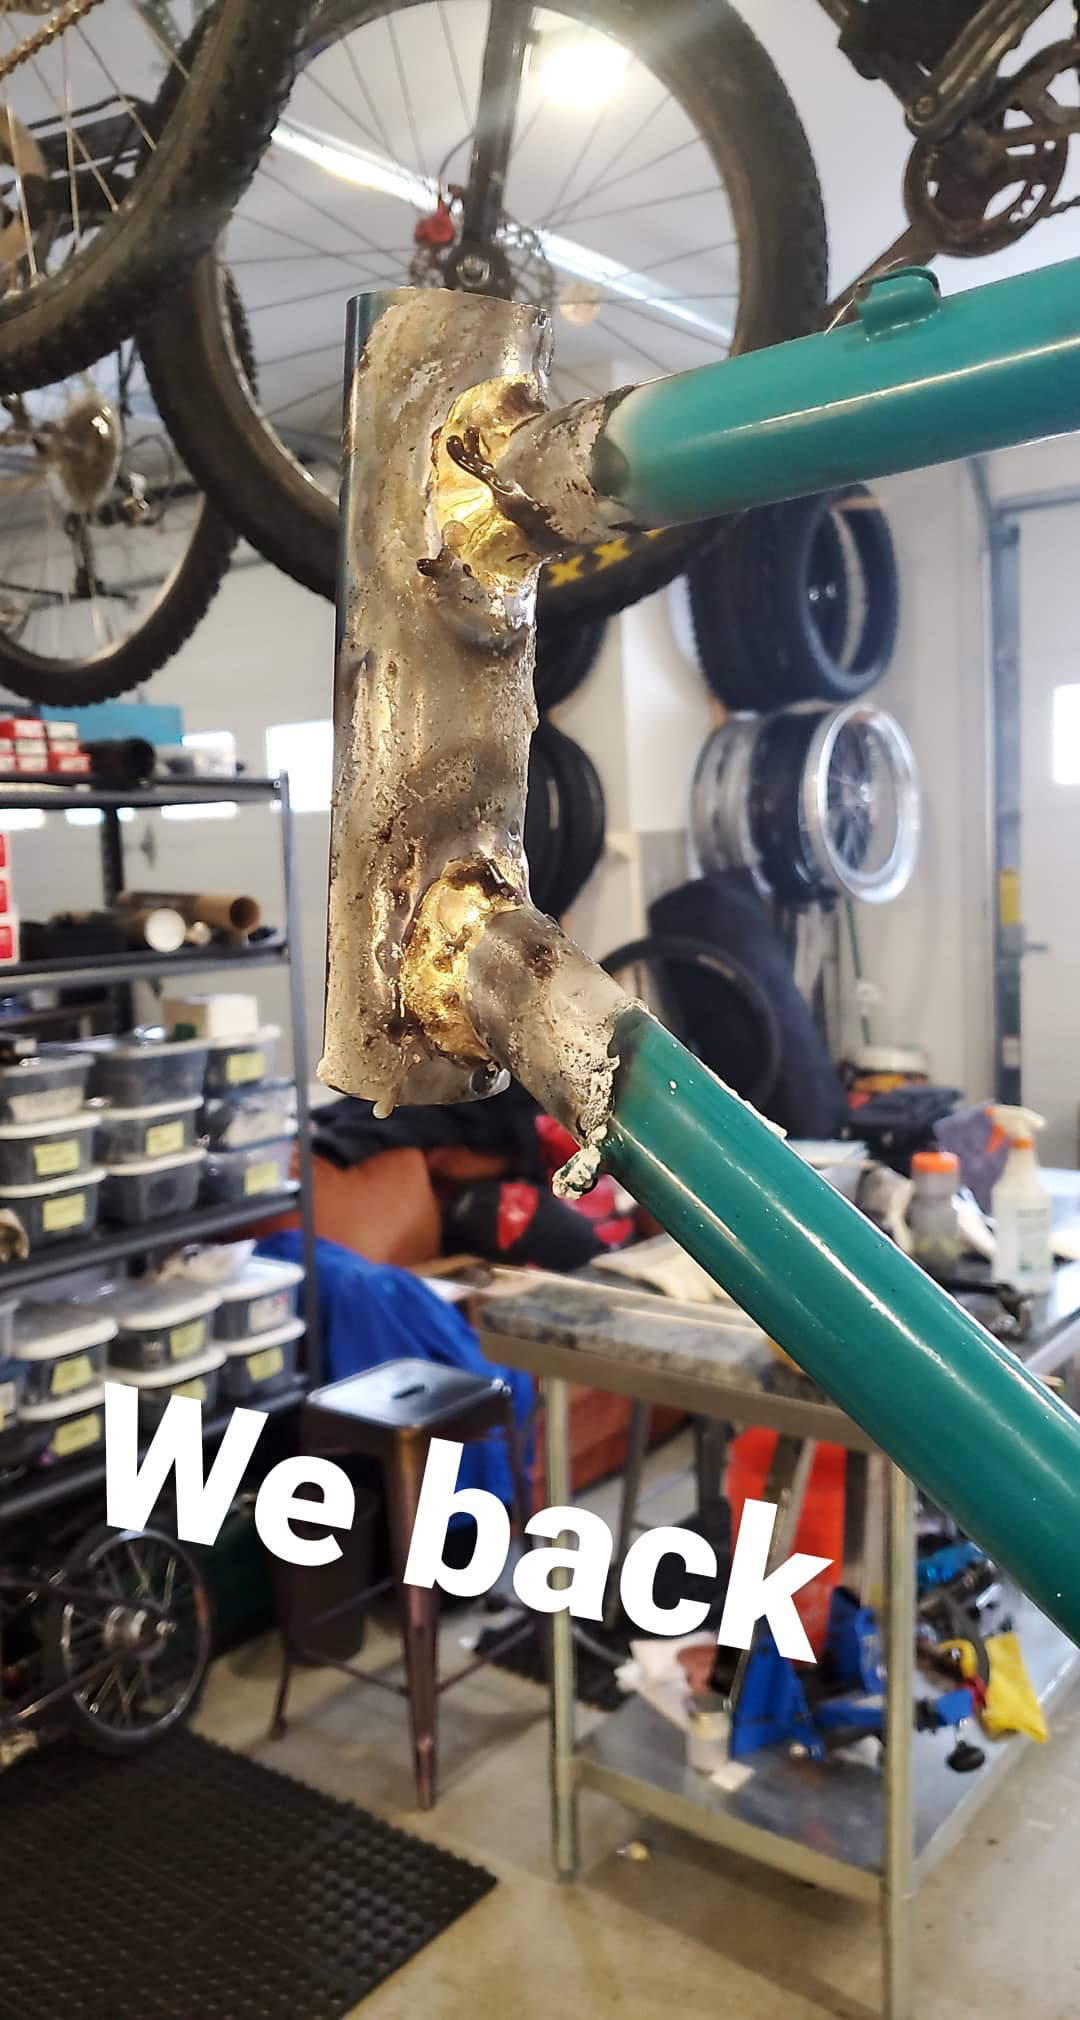
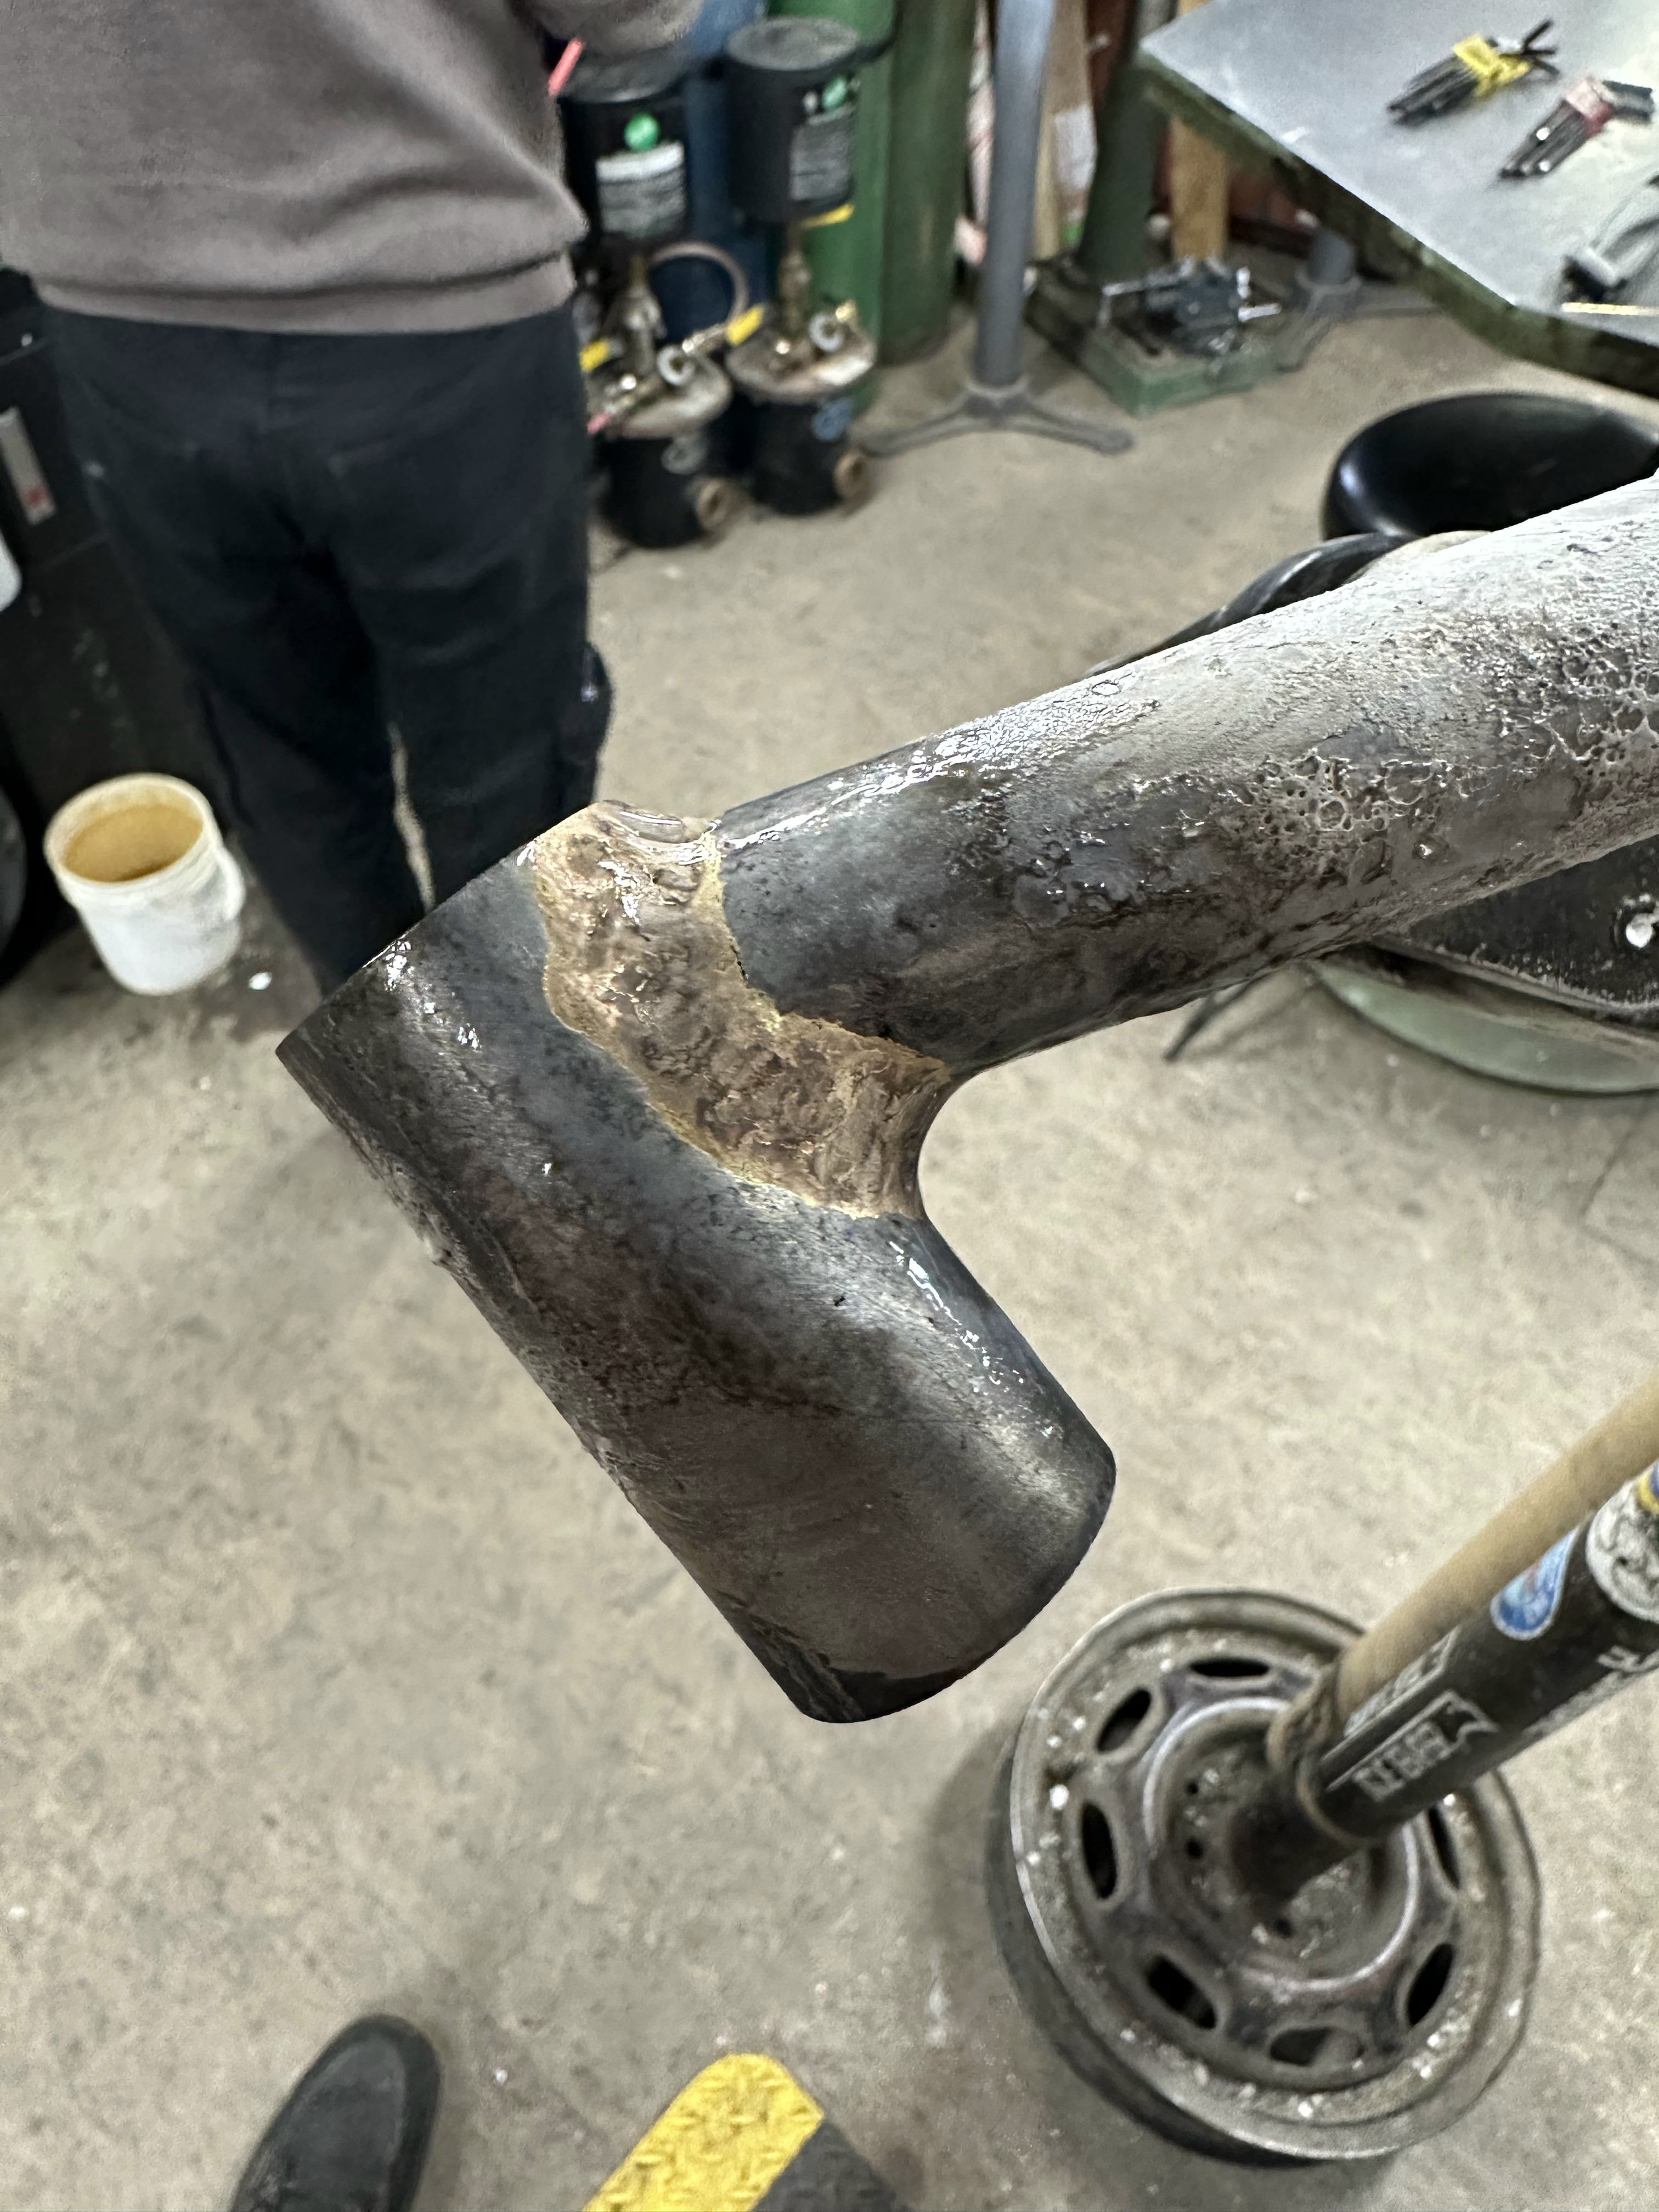
Did an ass job of rebrazing it. I went up a size in headtube, and ended up slacking the HT angle out to 71 from 72 I believe. 72 was a hair twitchy. I definitely rushed this process, and was scared of overheating the DT-HT joint again. I am super not proud of those joints, and was in such a hurry I didn’t even file them. Sigh. You live and learn I suppose.


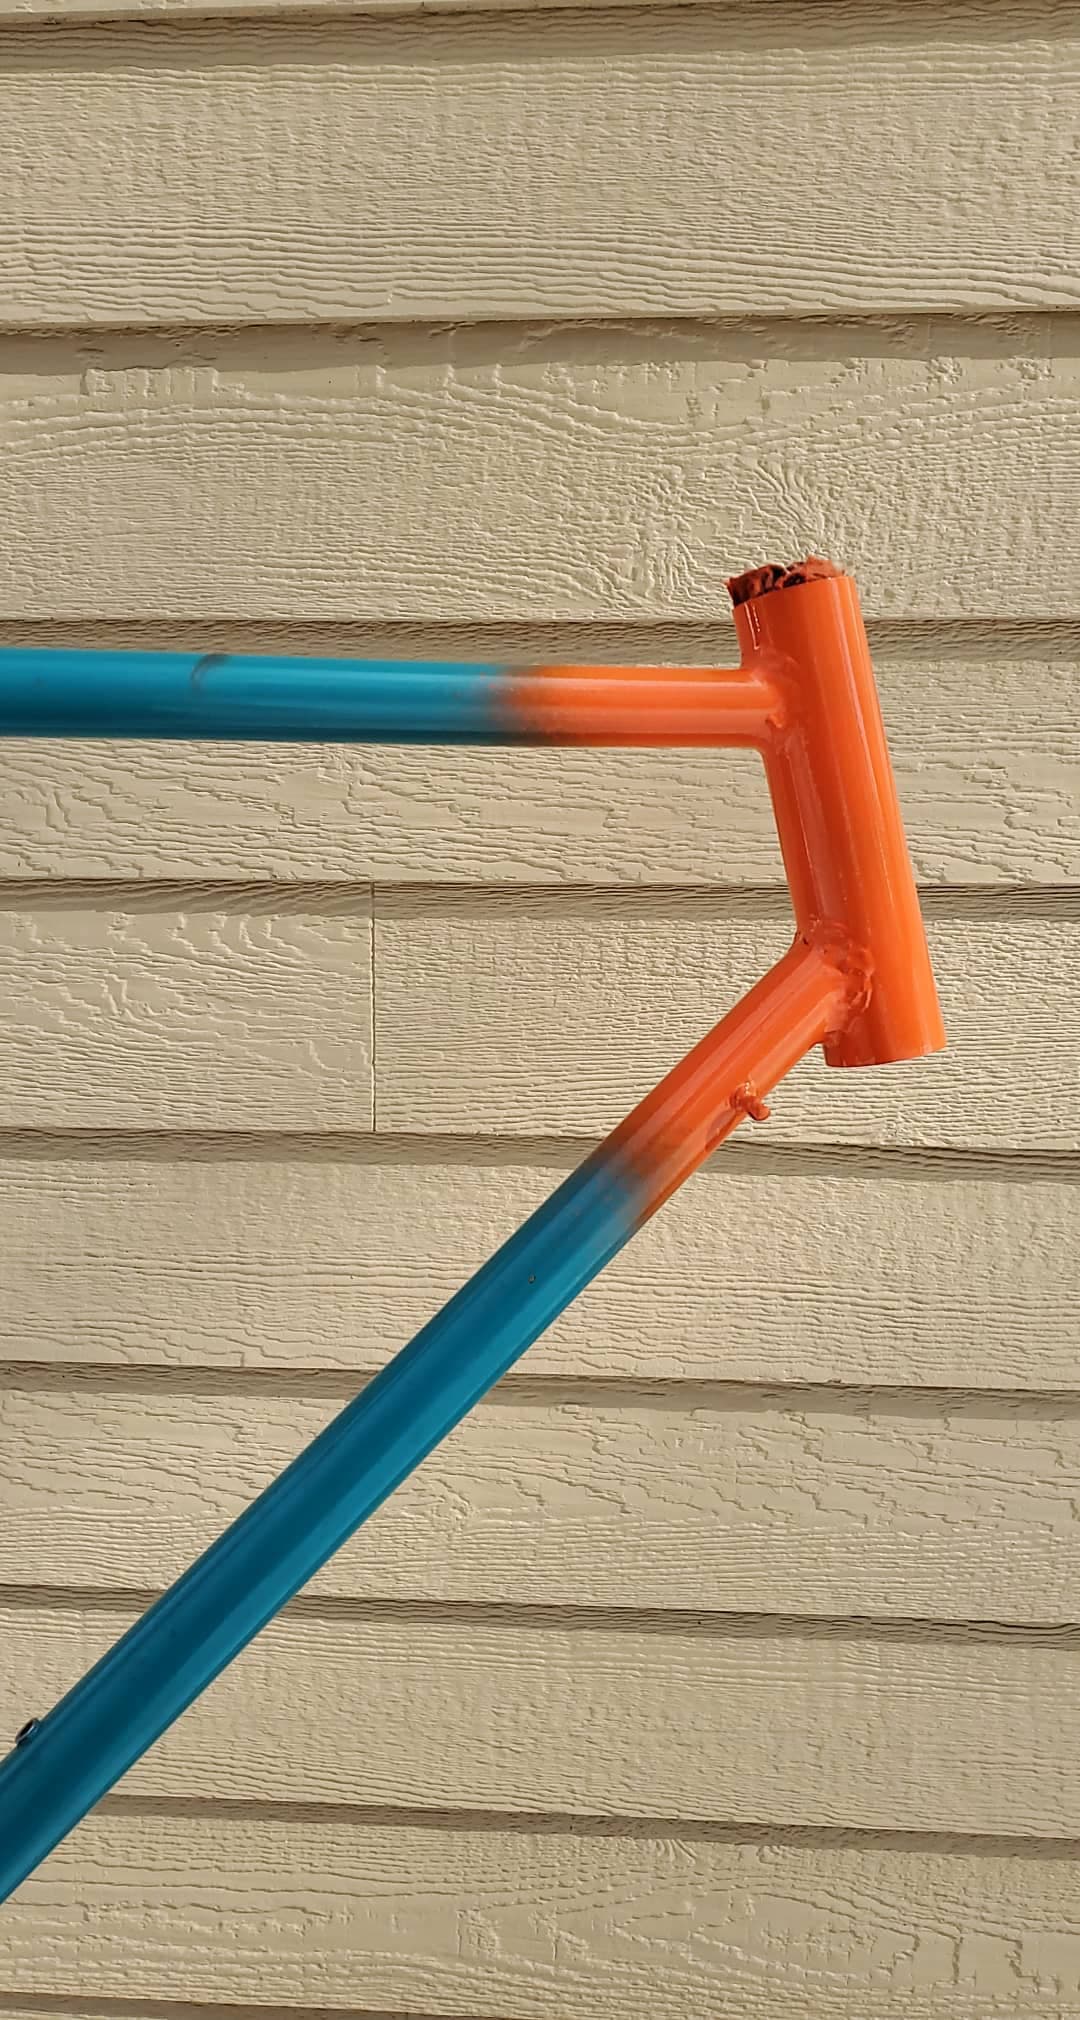
This one got a rattlecan job


masked some chevrons


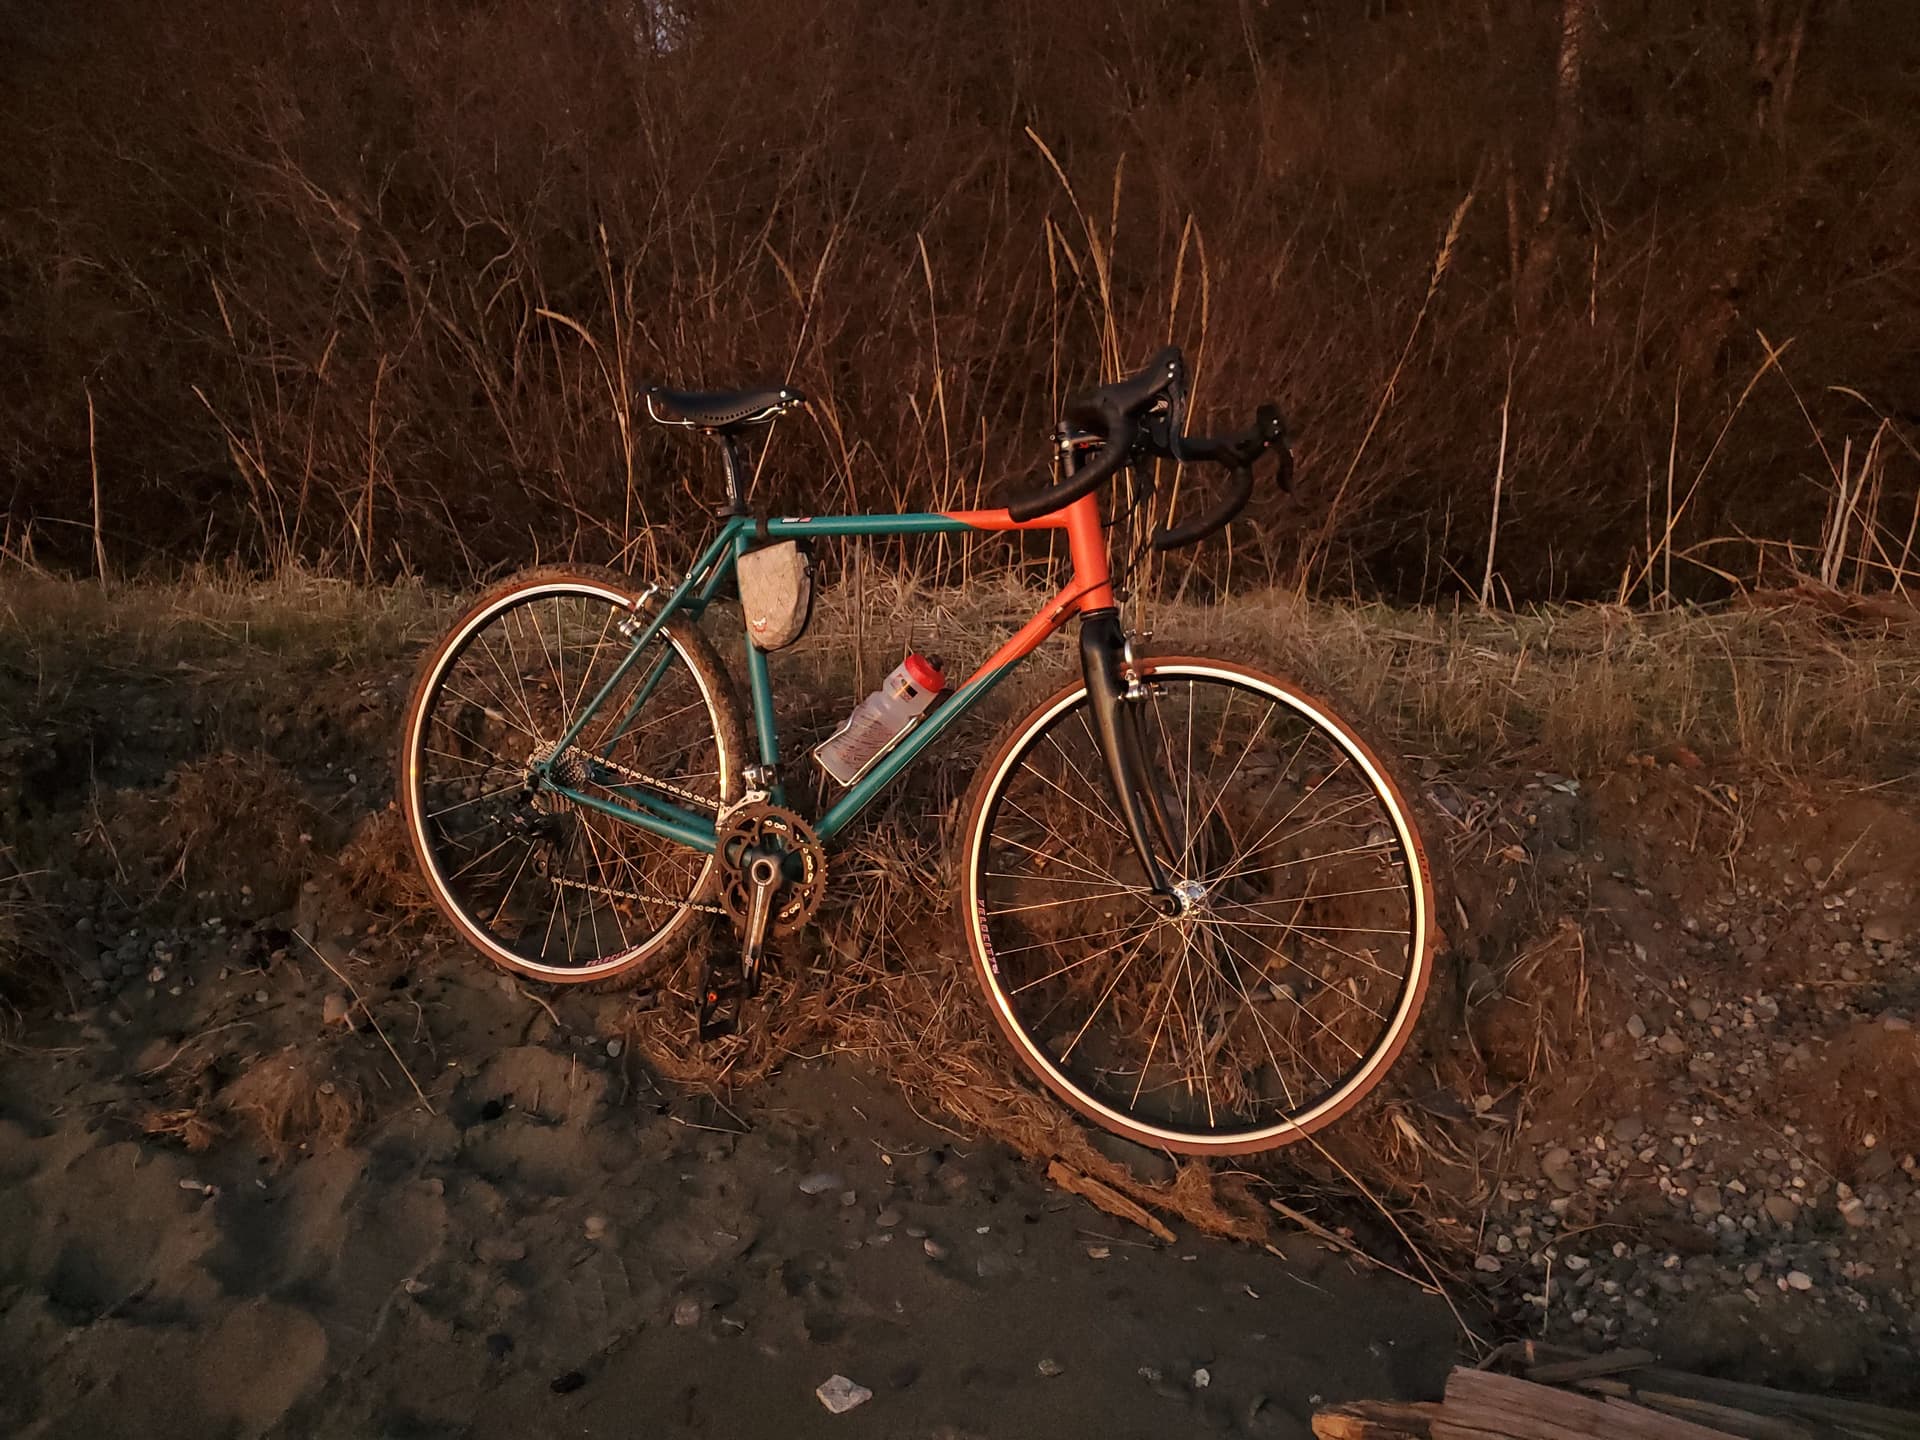
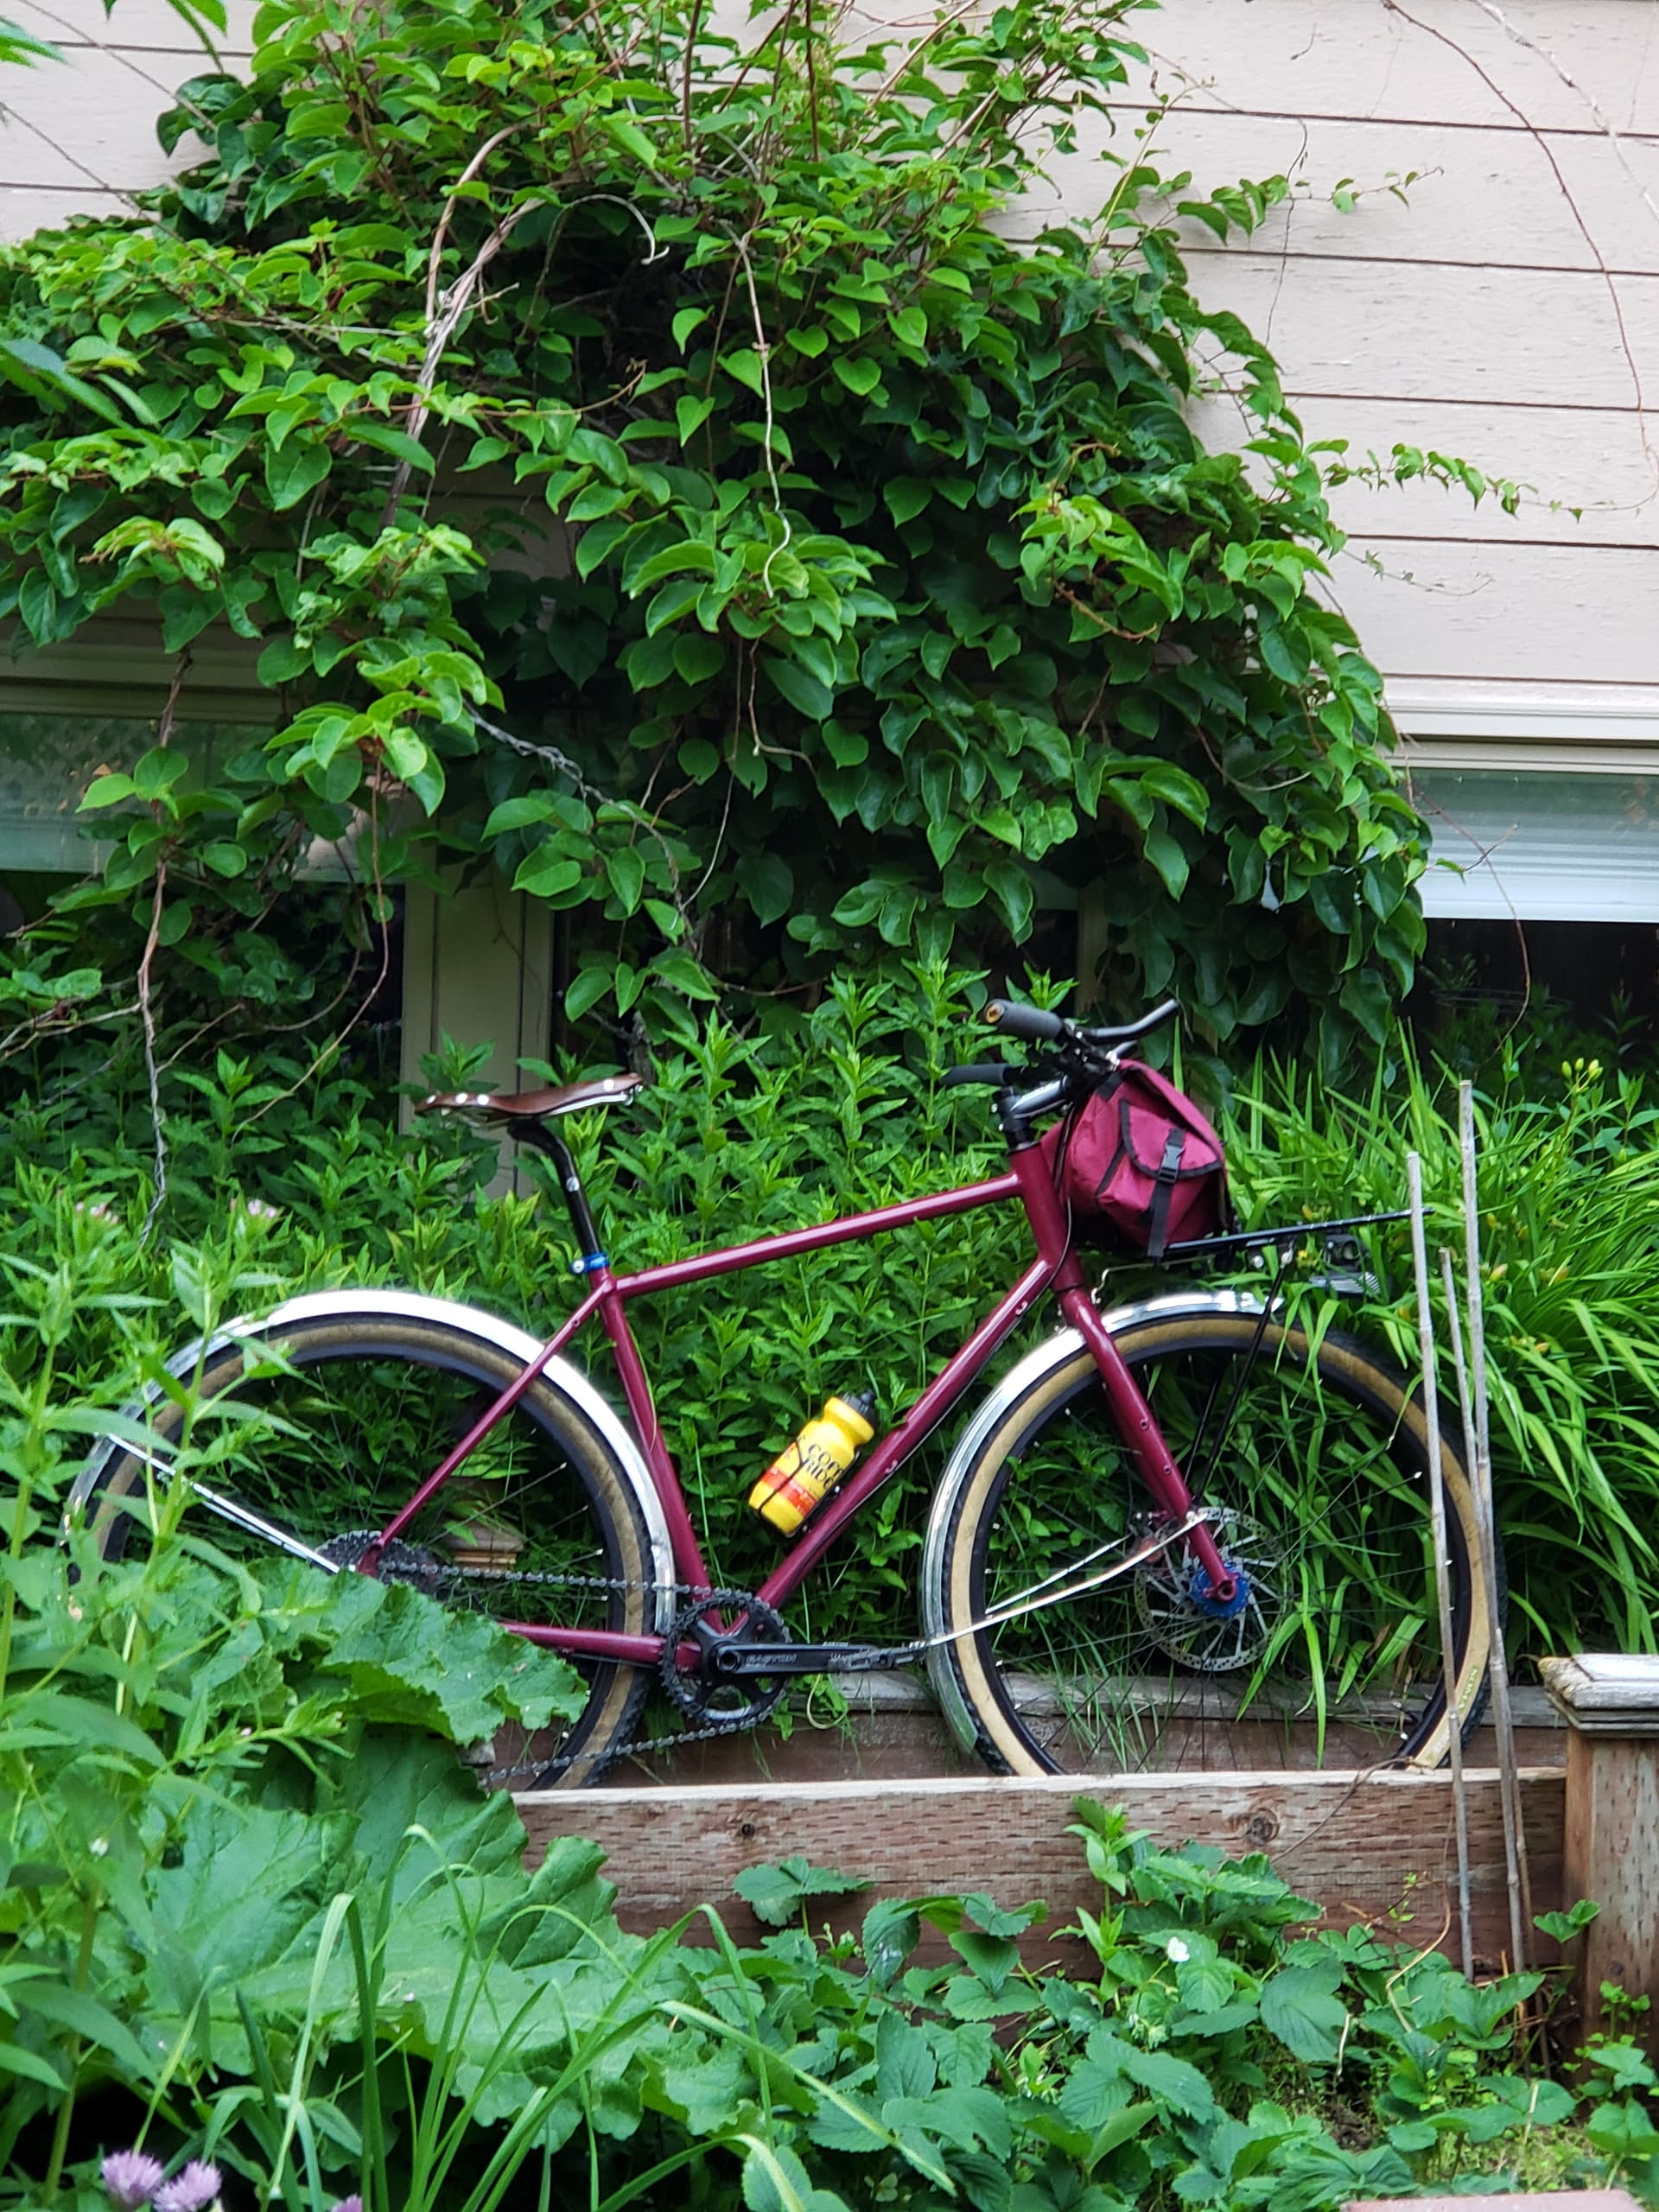
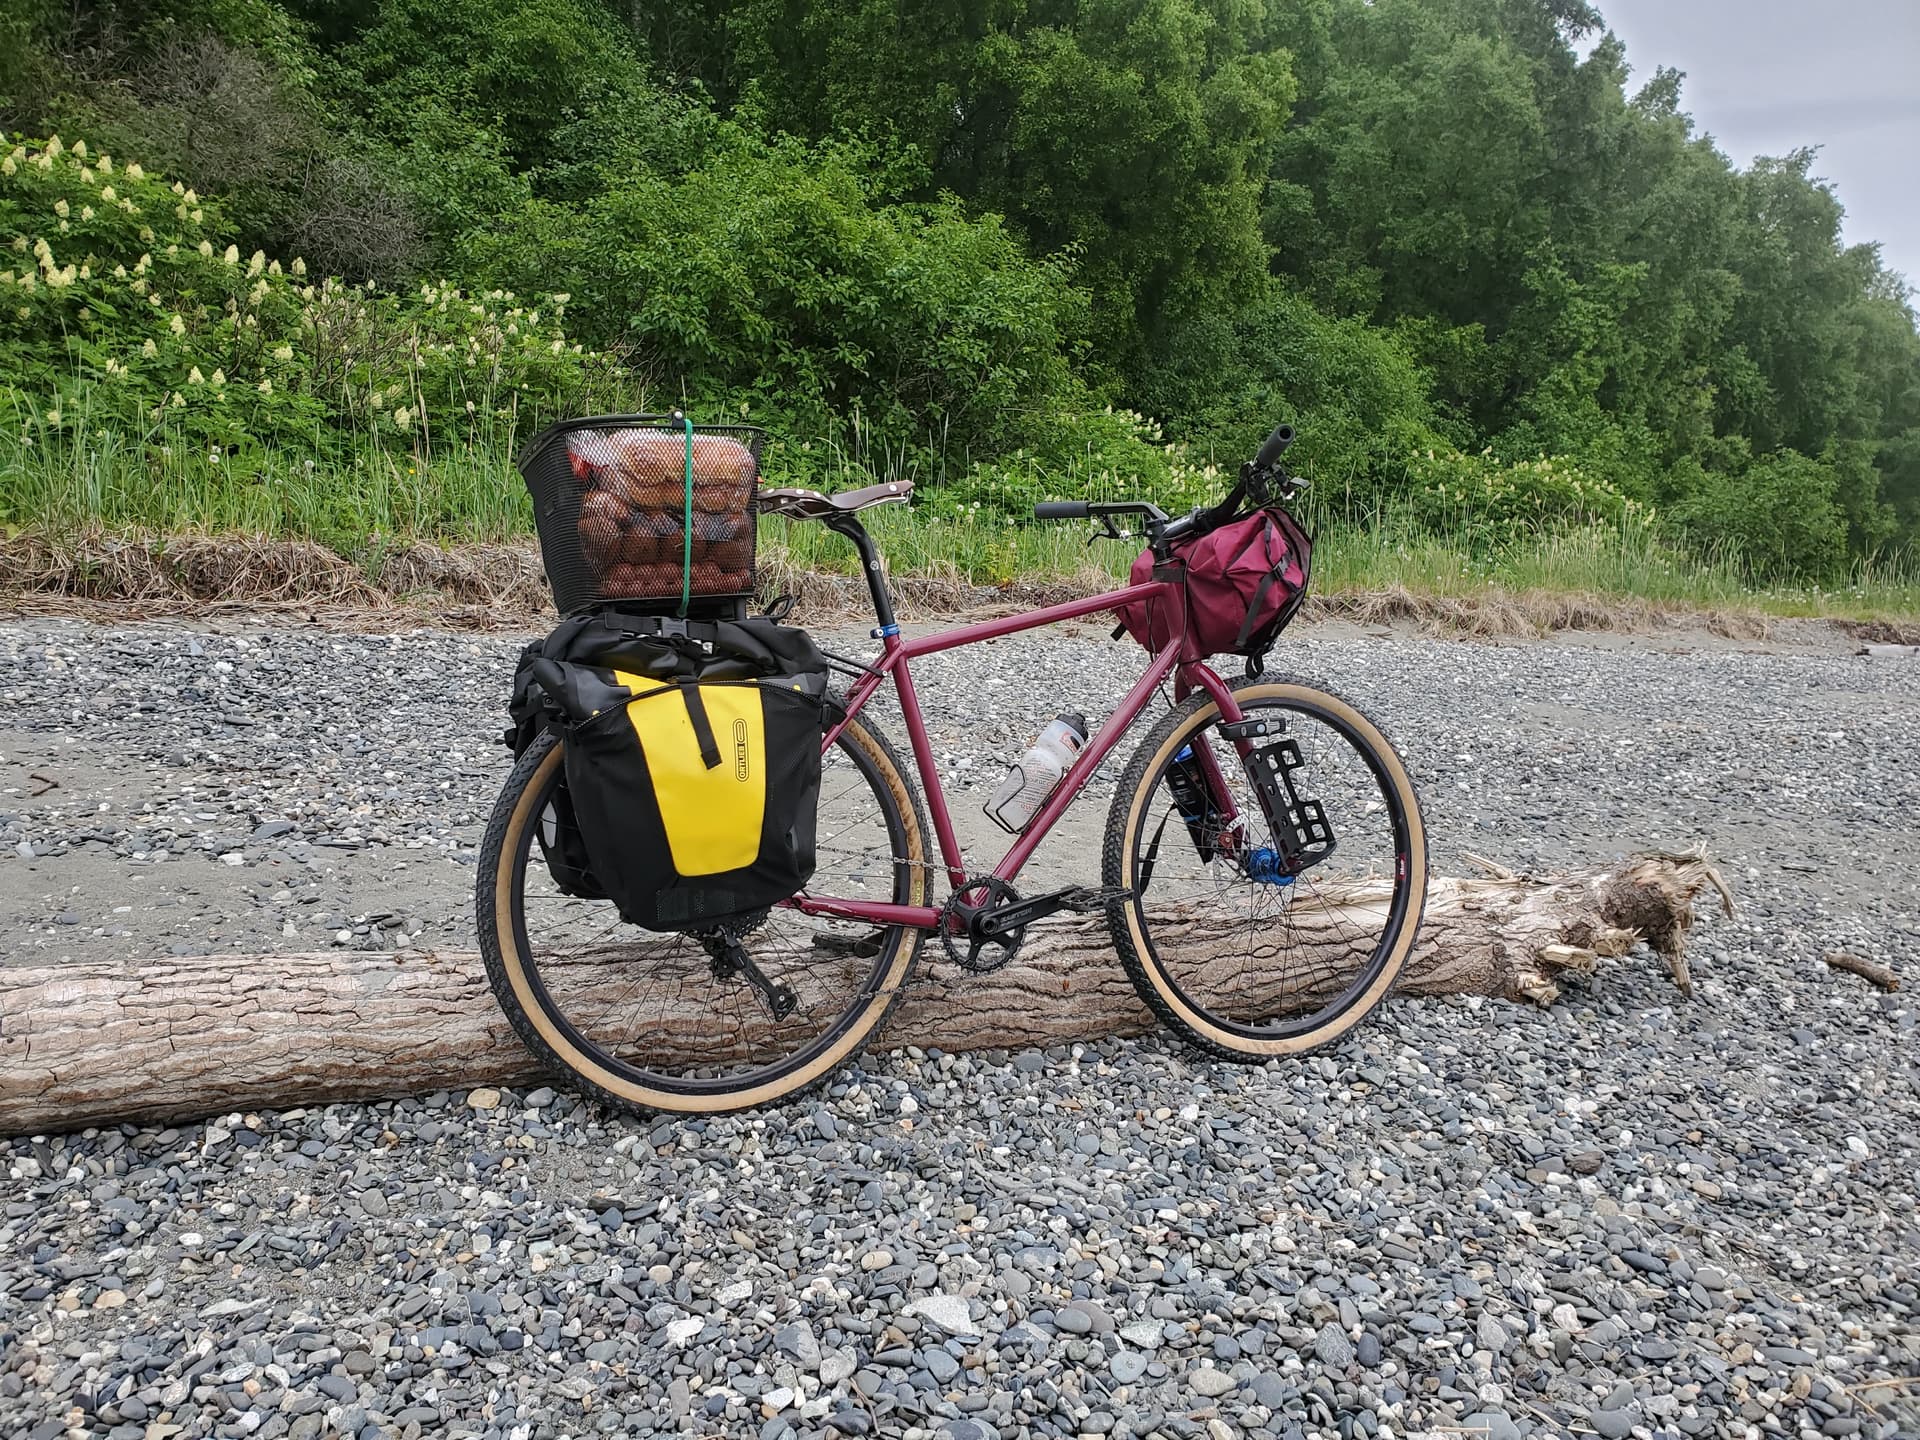
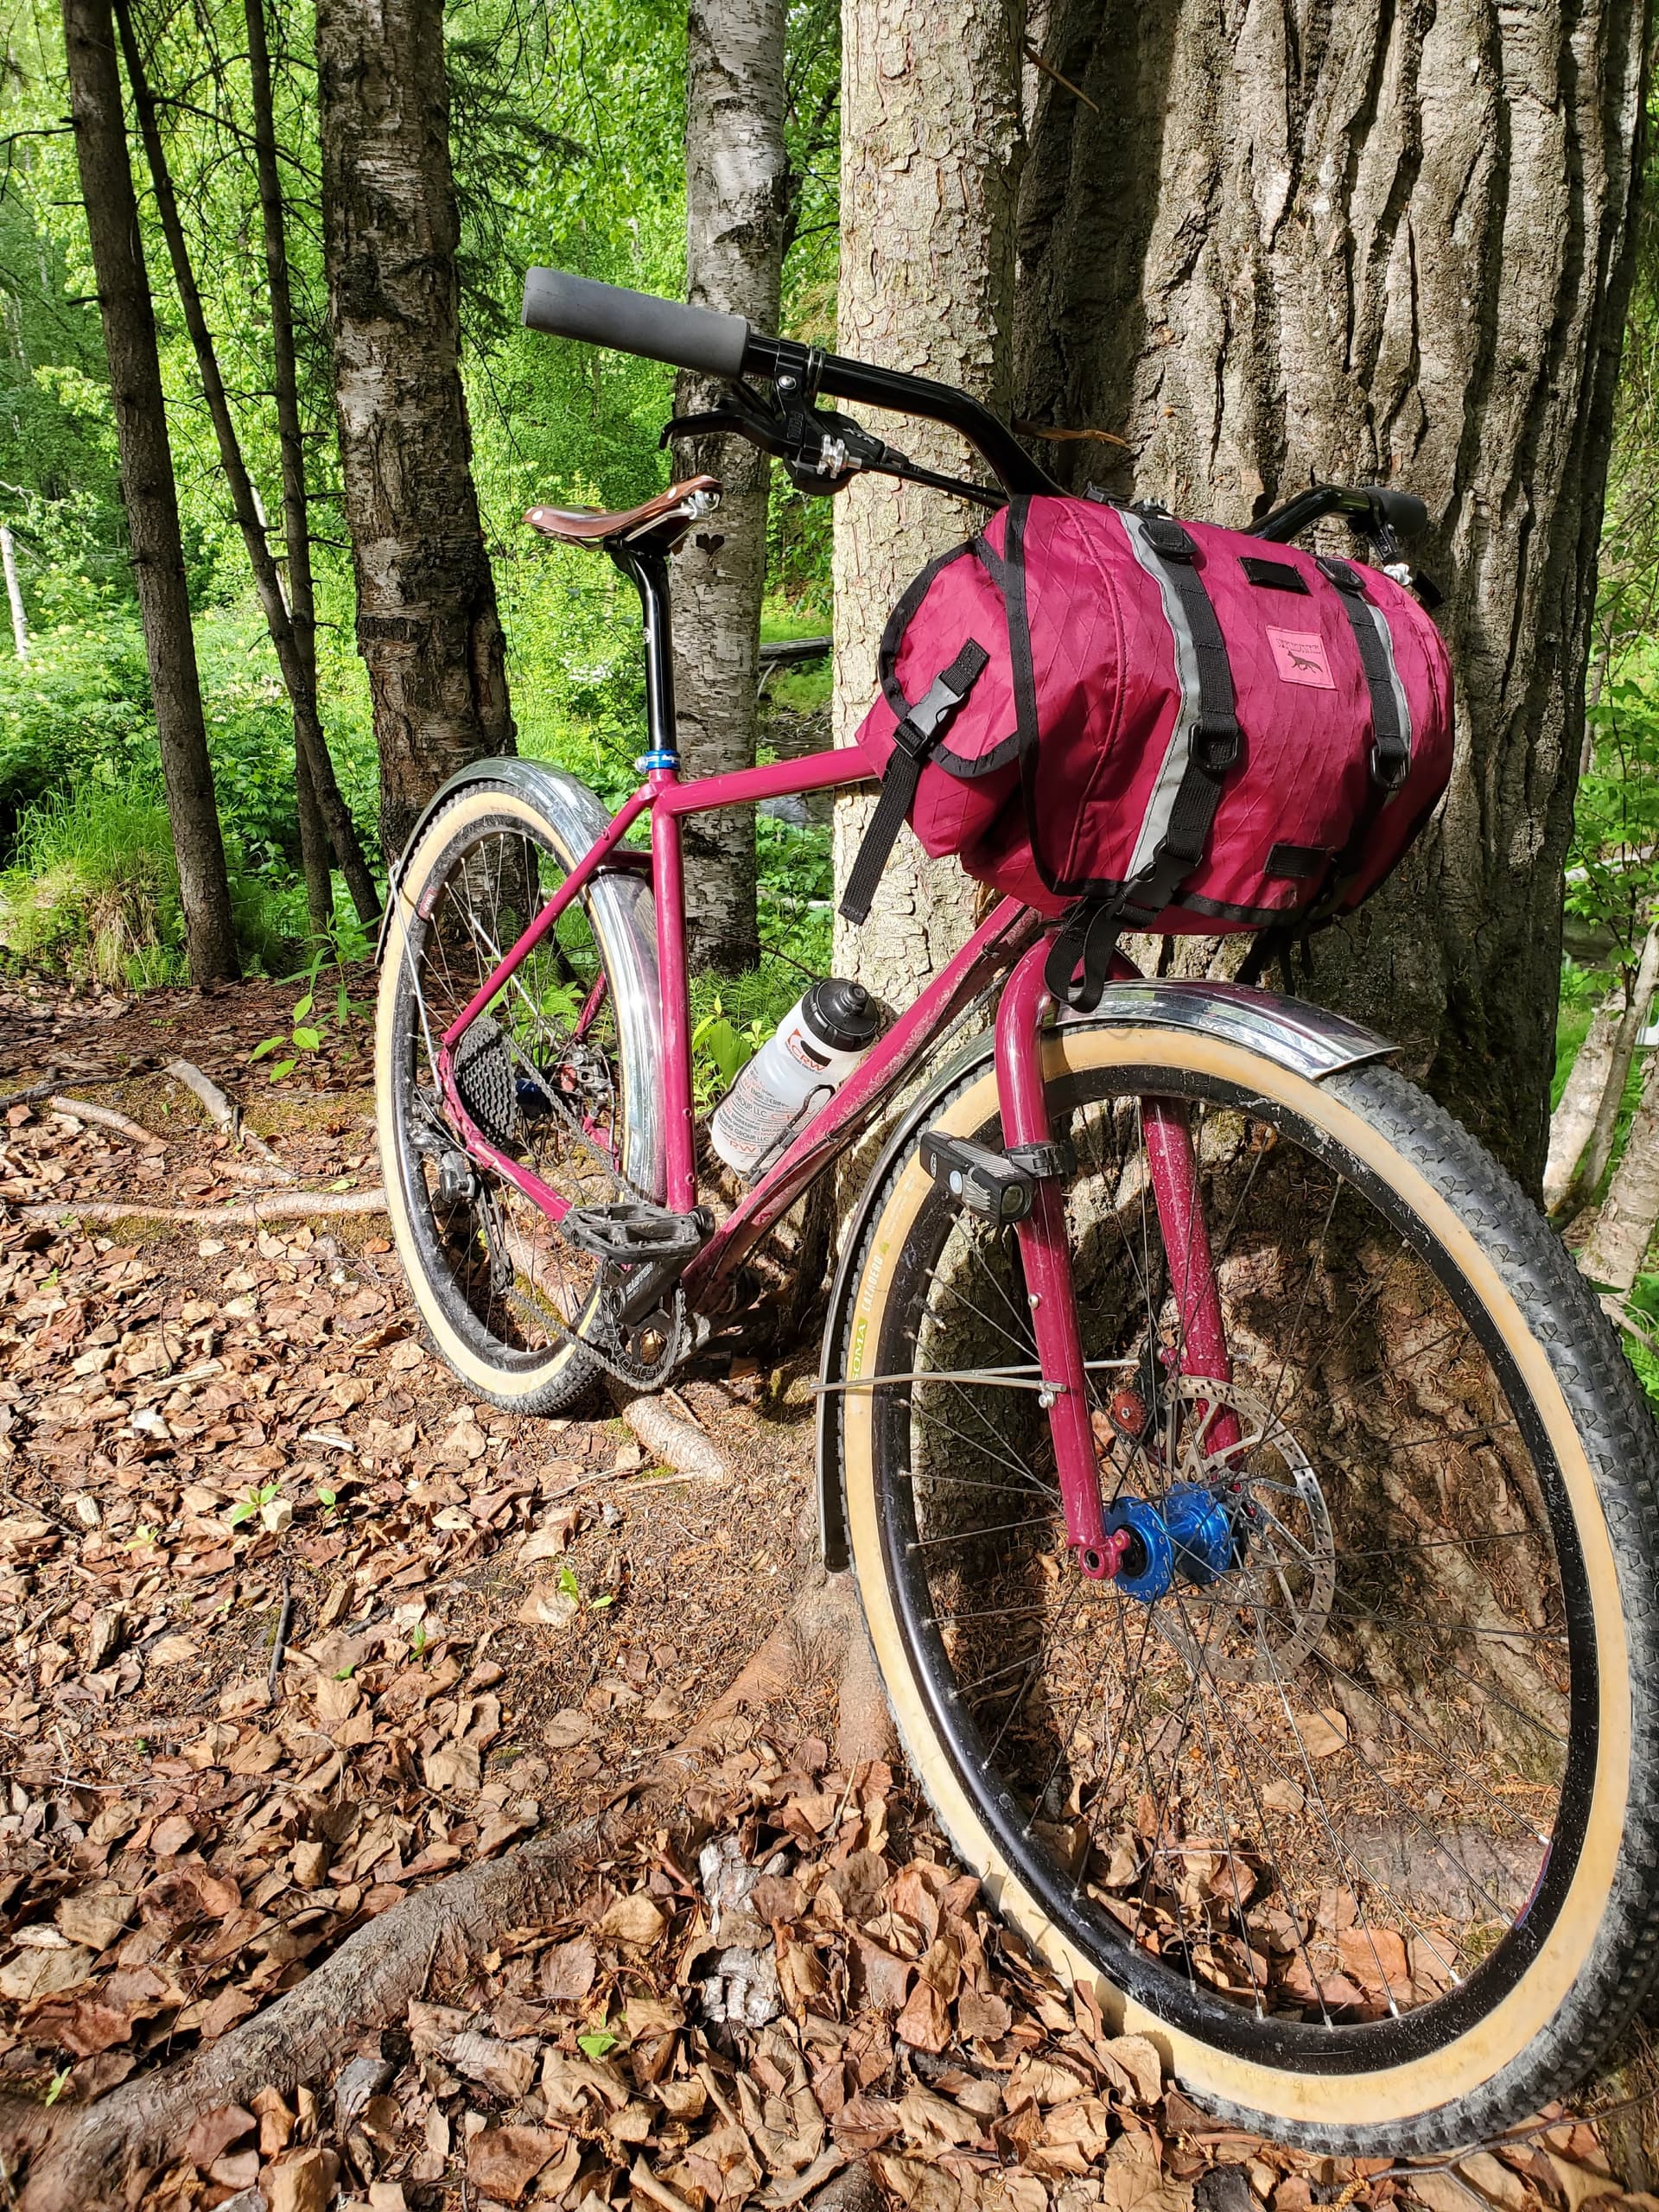
Redemption glamour shot on the aforementioned beach


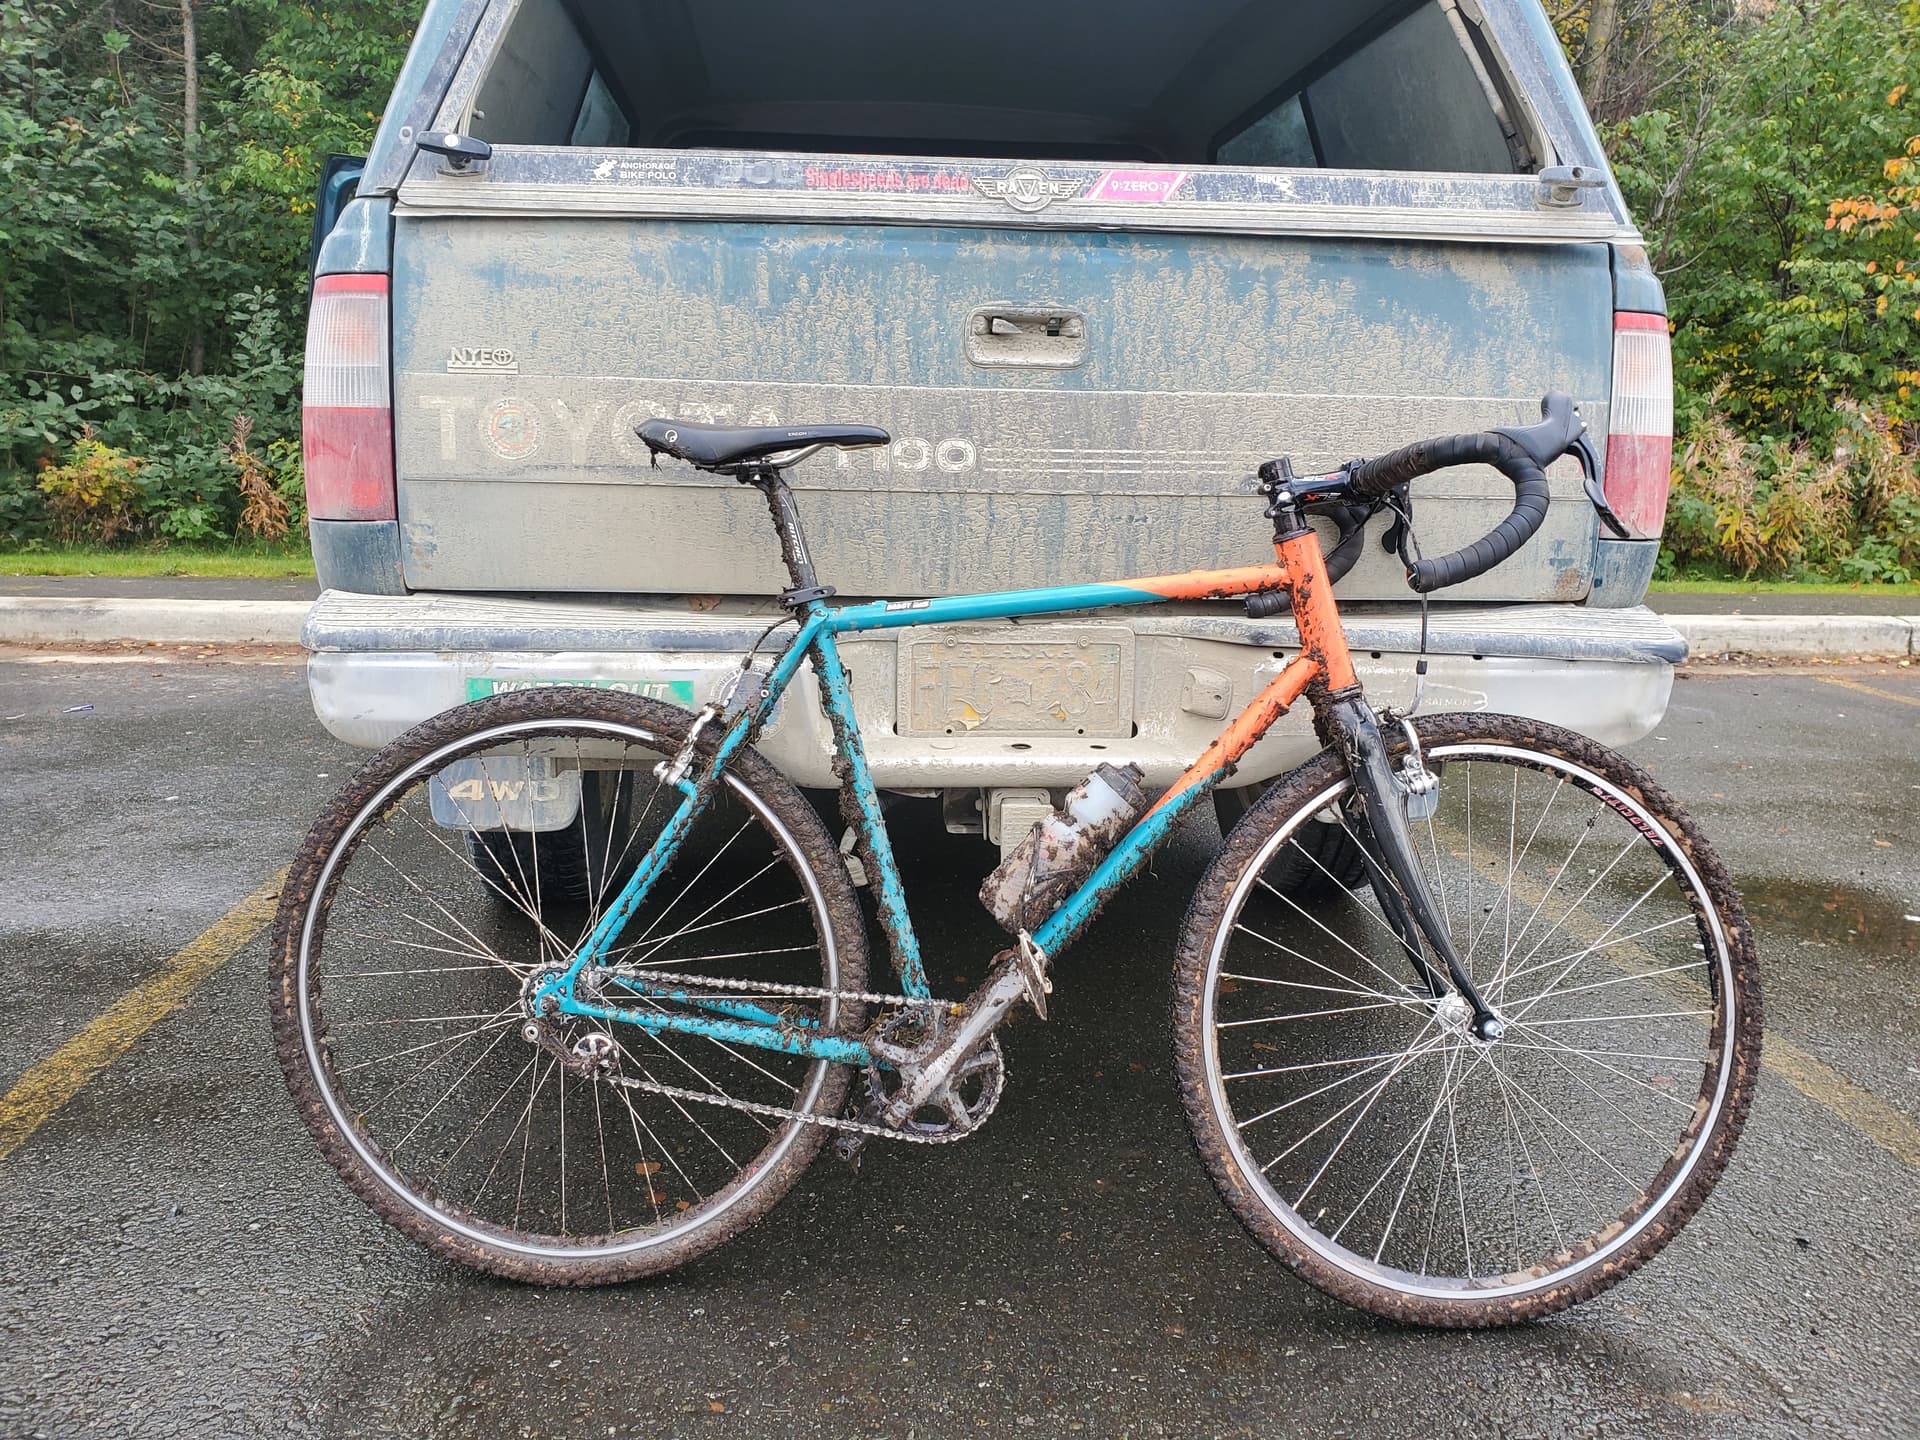
Raced two seasons of cross on it since, and plenty of long rides too. Interestingly enough, the rear shifter teeth wore out, so that when I would really put power into the pedals, the derailleur would shift into harder gears. My standing theory is that the frame flexed enough (while I was riding mtb traisl) with the interrupted housing, that it put undue tension on the shifter and eventually wore down the steel ratchet. That’s why it makes an appearance as a Shimagnolo singlespeed here,


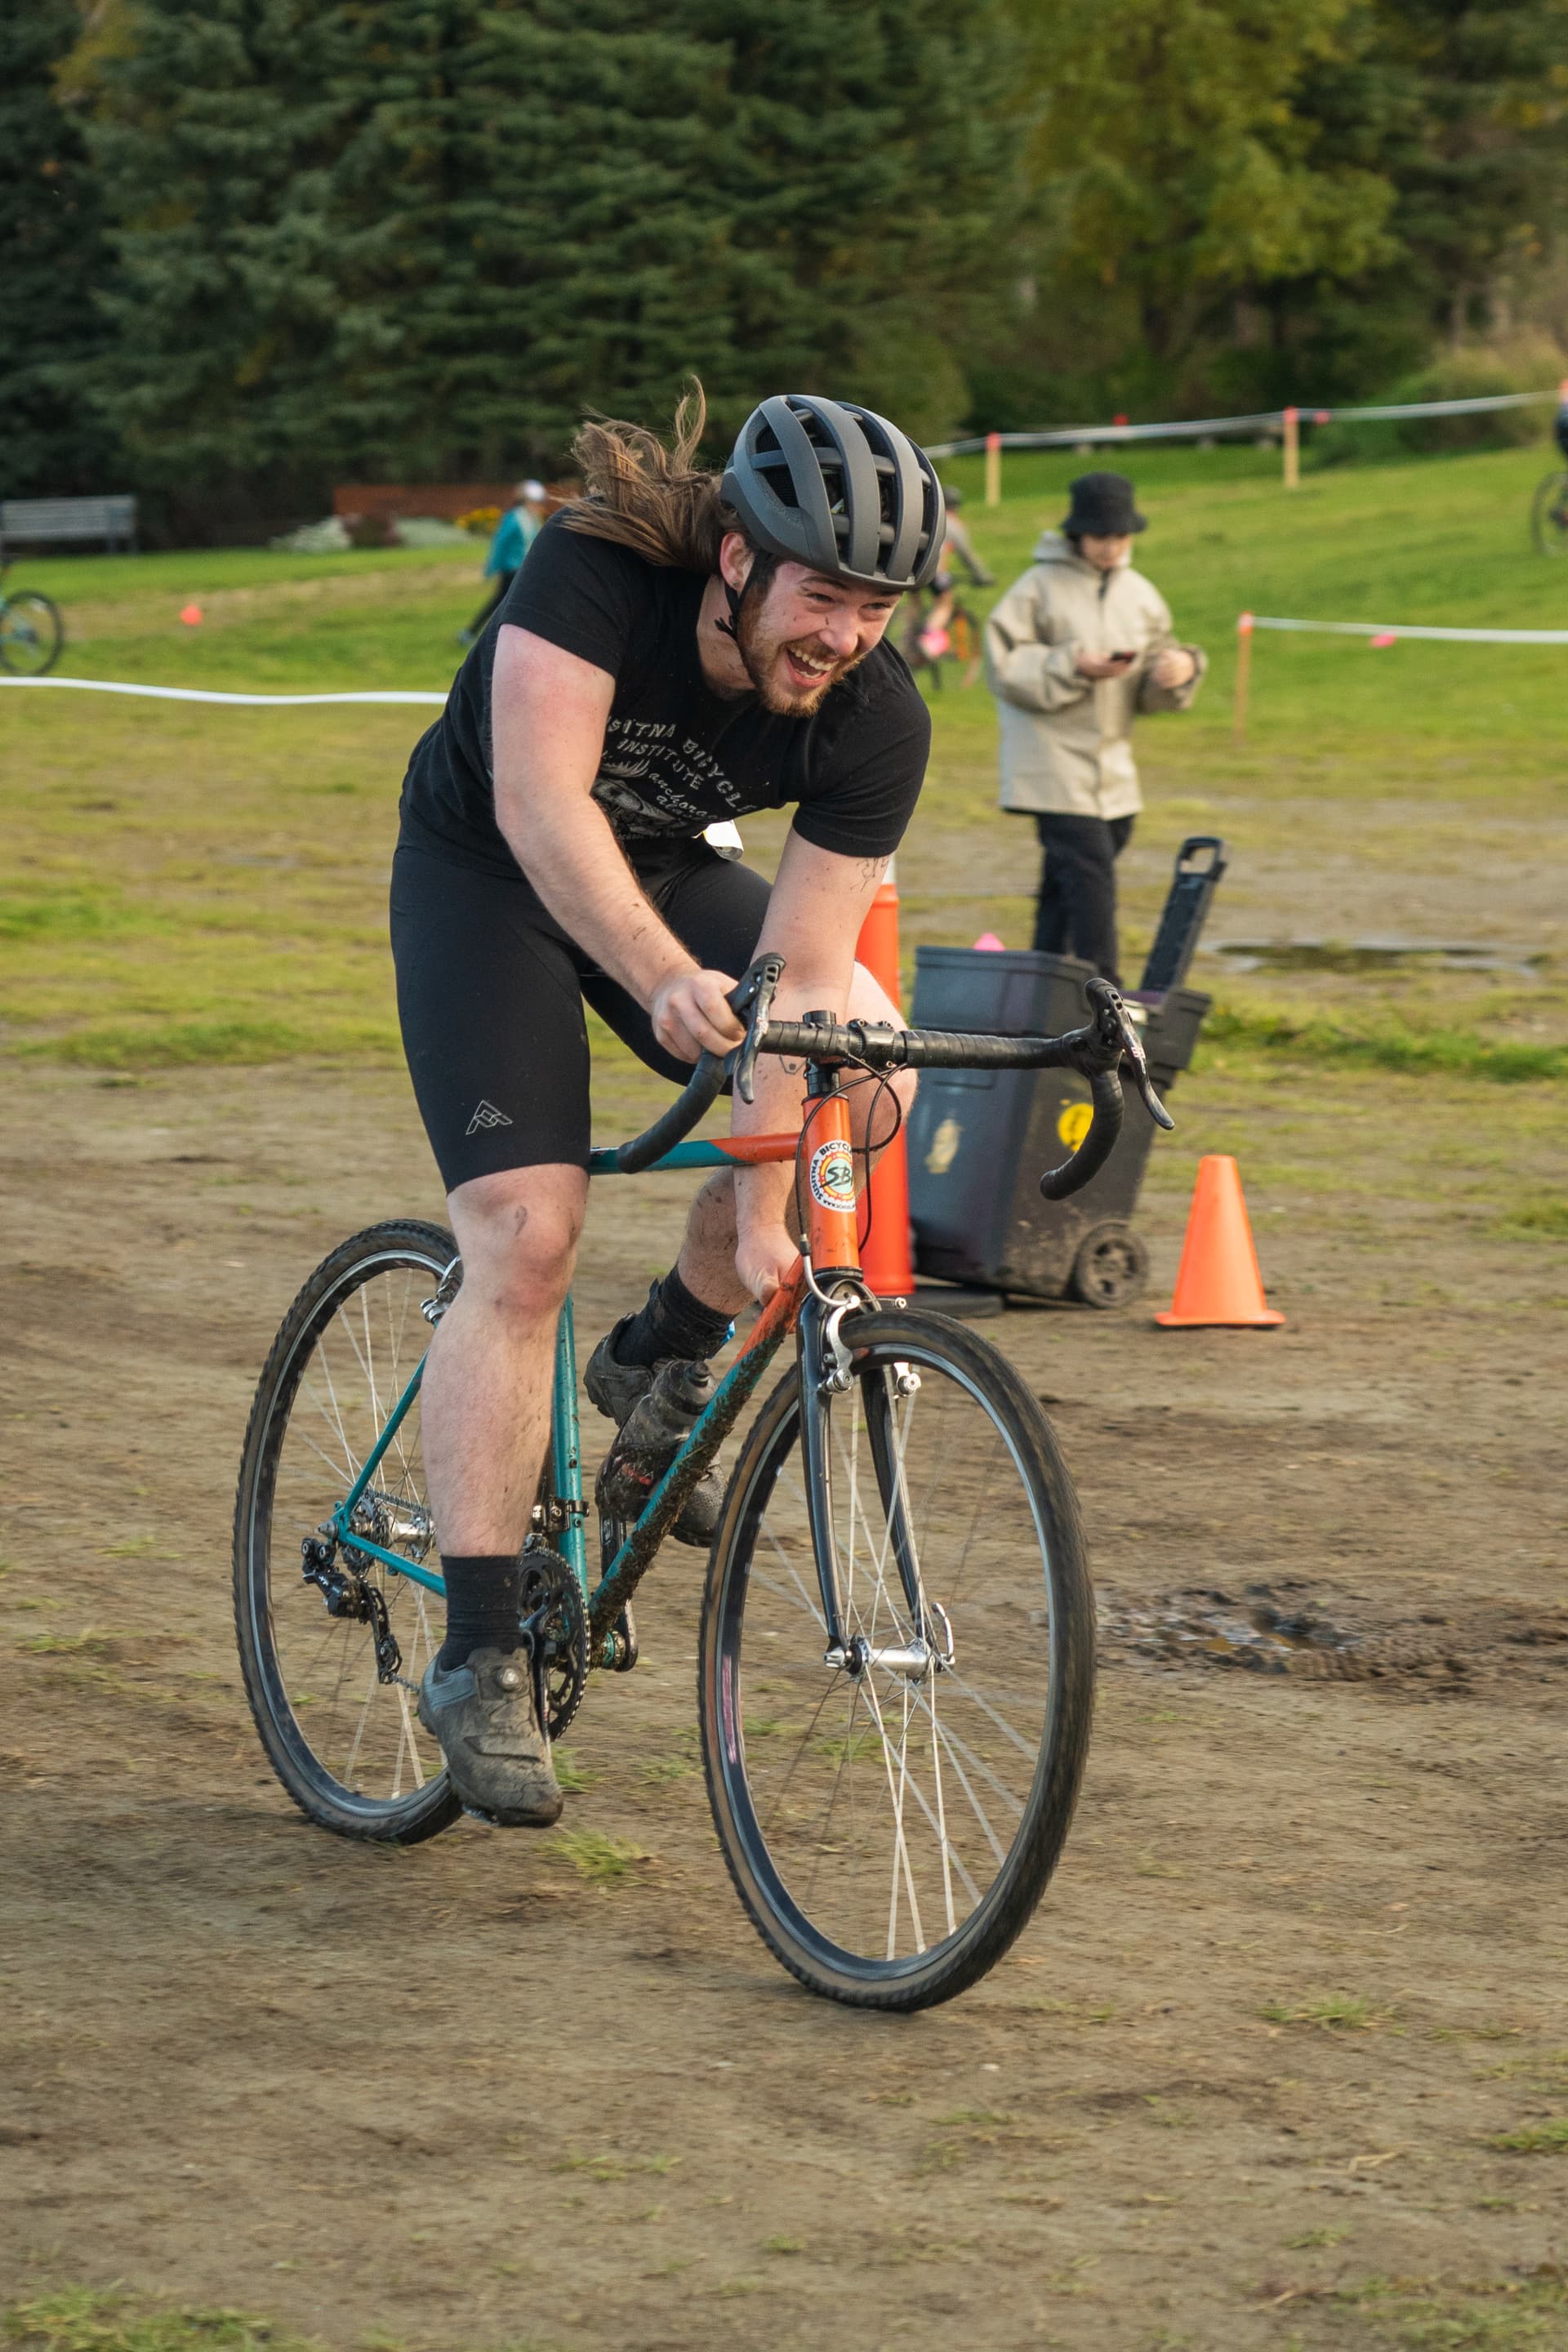
and as a dinglespeed abomination here so I didn’t have to race the lonely singlespeed category. The front derailleur cable slipped so I had to yank on it to keep it in the big dog as I crossed the finish.

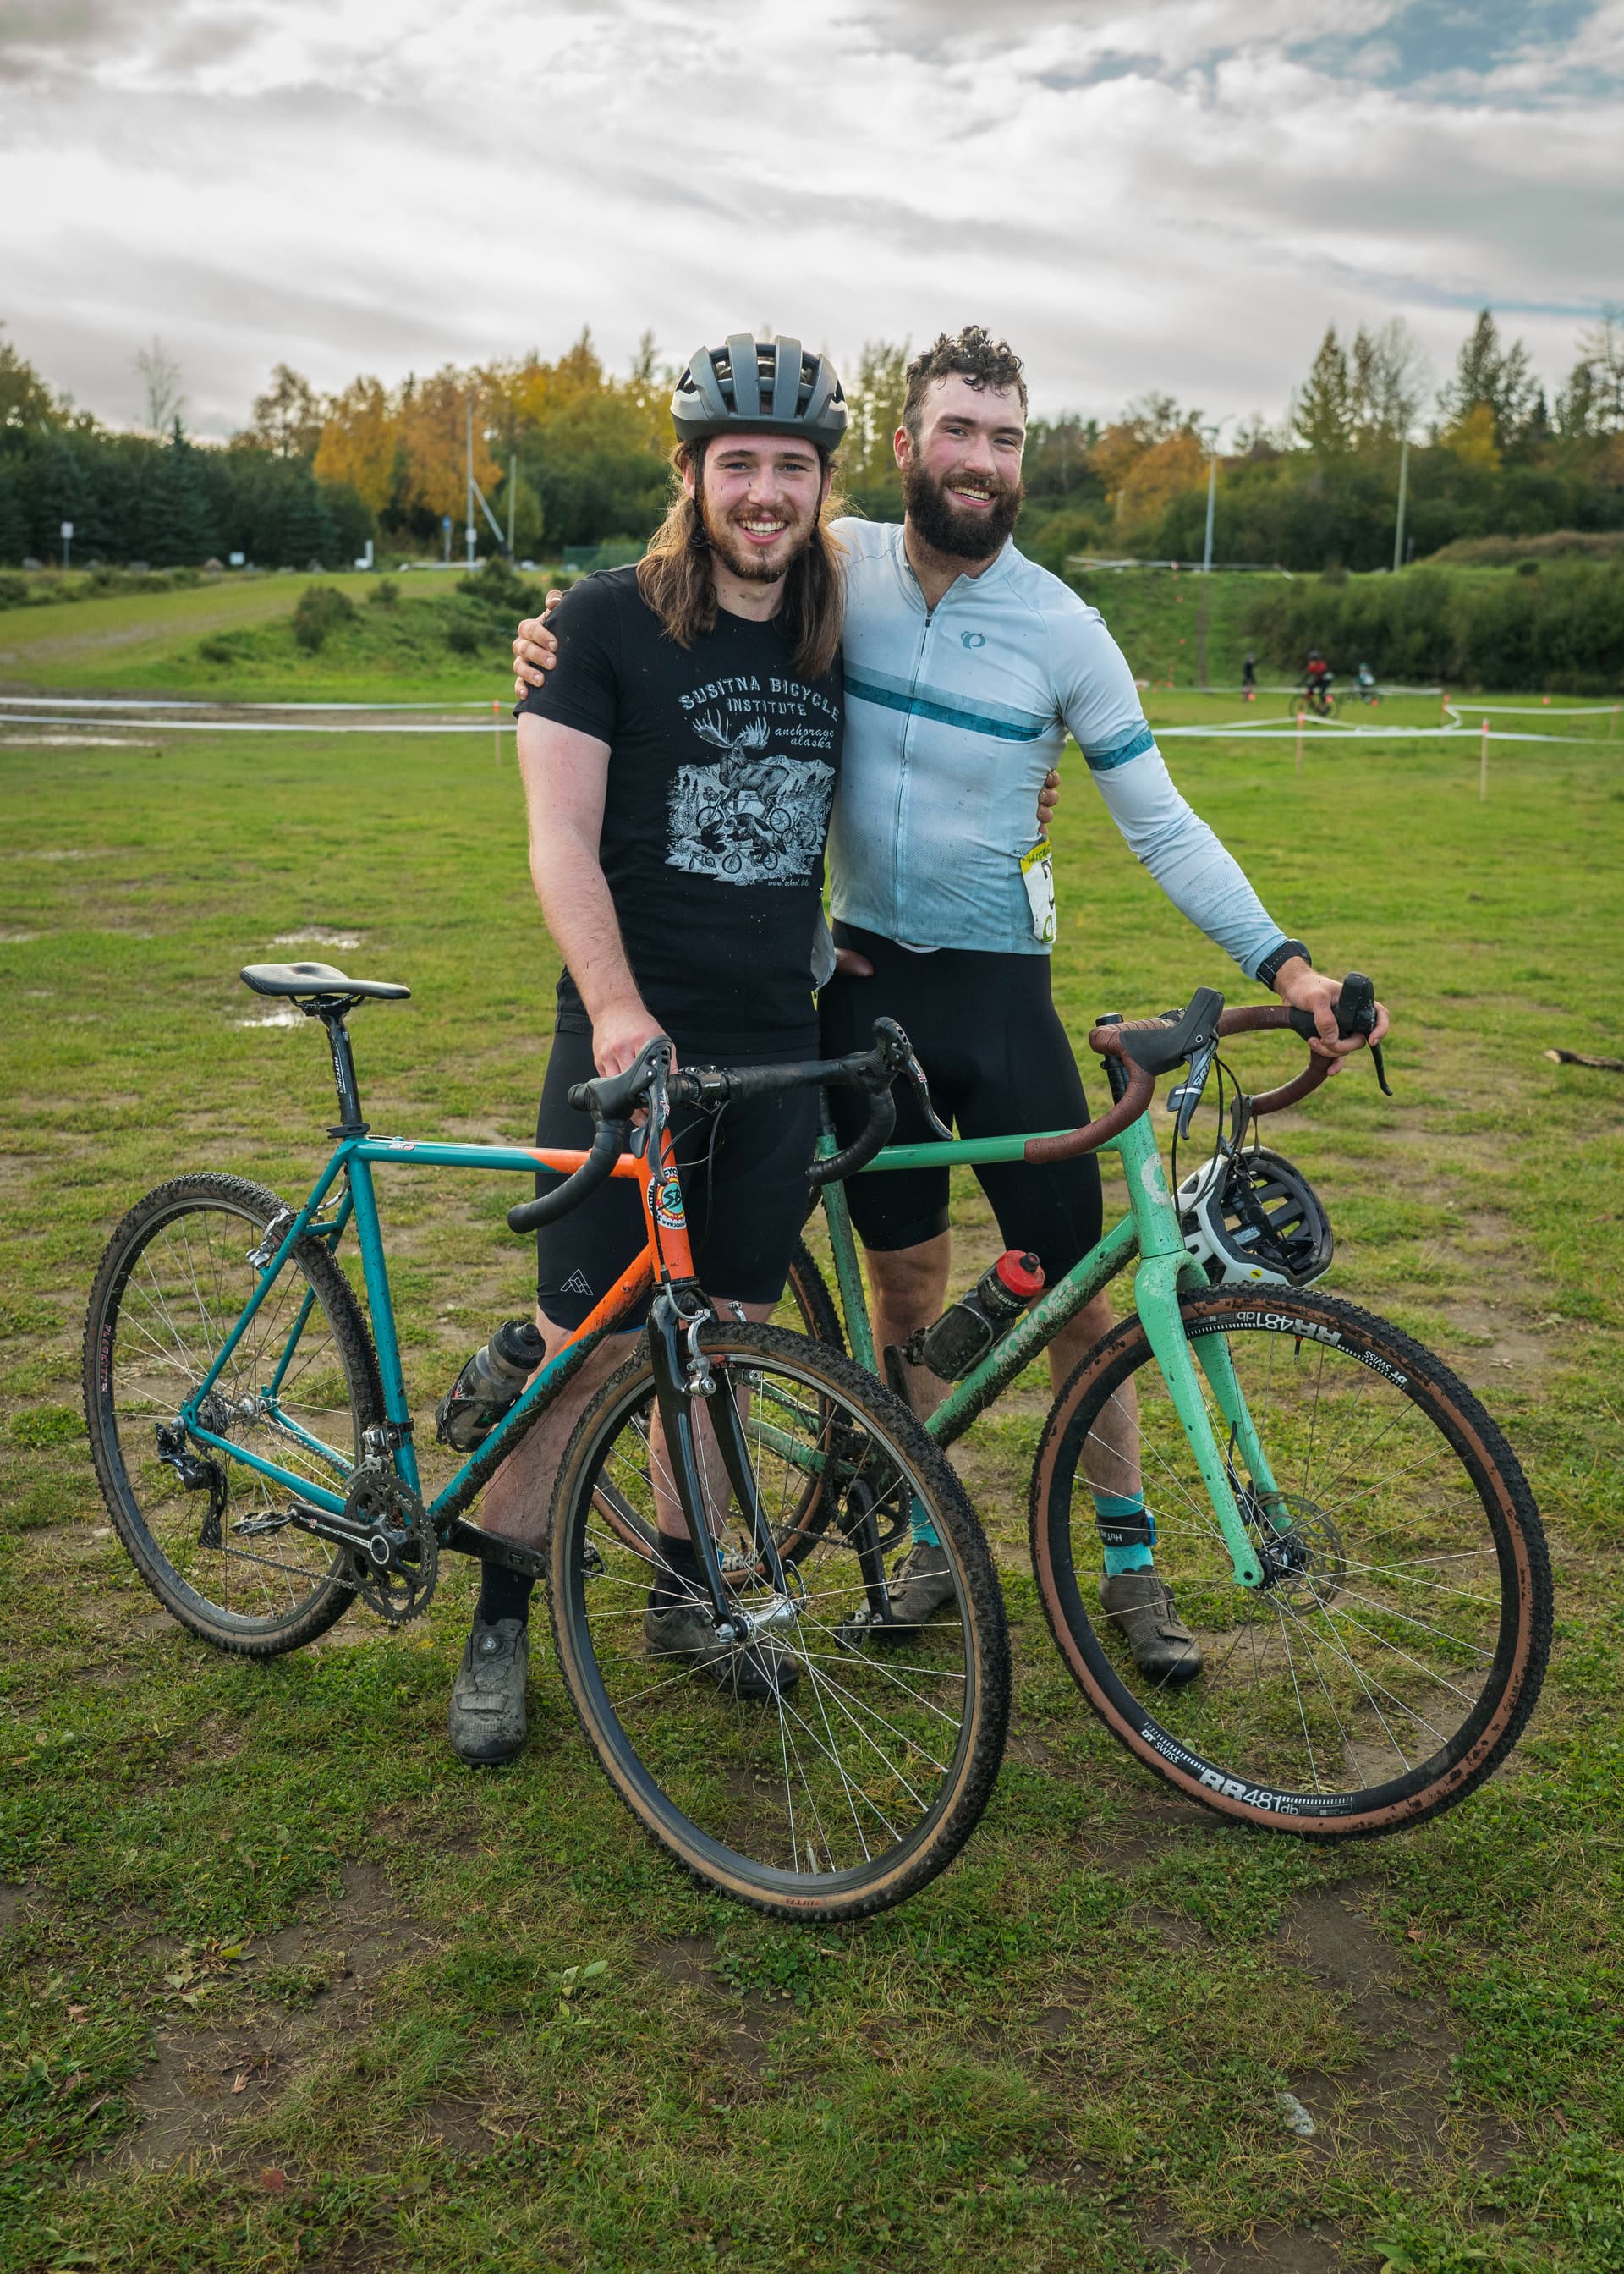
I learned tons while making this frame, and over the past four years of riding it. I really wish I had done some cleanup on the repaired headtube, but I’m otherwise really proud of the build and subsequent repair. It’s still in regular rotation, and will be for a while!

4 Likes

Frame number 2: The Wine Bike aka the Schlong Haul Trucker aka the Beach Weenie Machine


Living up to its name

I made this bike because only having a racy bike made me sad and my neck hurt. I designed this to relax, cruise around with some beers and weenies with some buddies, and be a bike that I could pick up and ride to wherever with whatever I was wearing. Chamois not allowed. Build is Shimano XT 11s rear der with XTR shifter, Paul brake levers with BB7s, Easton aluminum gravel cranks, Velo Orange seatpost with Selle Anatomica saddle, ritchey stem, and ended up with VO crazy bars v2, although I rode the Soma Dream riser for a while and loved them. For is a Comotion tandem fork with 15x110 spacing and a 200mm brake mount. Wheels are 32H Hope Pro 4s laced to Velocity Cliffhangers with Soma Cazaderos.


Since my first frame, we had adopted a small Grizzly mill, and I was excited to take a break from hand filing tubes.

I don’t have a bunch of process pics, but for this one I think I discovered printable miter templates to help guide and line up miters. I drew centerlines on the tubes with a piece of angle iron, which helped phase the single paragon tube block we had for each size.

I tried cutting the seat tub to the down tube on this frame just to mix it up.

I used my roommate’s Henry James jig for this one, which was super cool. It was neat to be able to set the jig up off the BikeCad settings, rather than squish everything together until it fit like on the Nortac.

Left the ST and HT long to cut later for some reason.


Best view I have of the dropouts, I used the Nova post mount qr dropouts, which I liked quite a bit. Knowing what I know know, I would have put a ring of braze rod inside the stays to build up a better internal fillet

Felt so much better about these fillets. I also tried my absolute hardest to avoid overheating the DT-HT joint.

ST and HT cut to normal size. I still ended up distorting the bottom of the HT, so had to cut off a few extra mm off the bottom. After some recent framebuilding, I’m thinking the culprit is the thin HT stock I have access to.

smoooth


This bike is the hauling-est. Toted a ton of gear out to a remote cabin music festival we played at and it did just fine.

Really lucked out finding a Swift bag in the exact same color after I had it painted.

We gave up on powdercoating, I had this done professionally in town which I was super happy with.

I didn’t really design this bike around a fork, the Comotion fork was a bit of an afterthought so the final geometry ended up being a bit different than the original design. I get a good bit of toe overlap with the fender on which is a bit of a bummer.

A big drawback of this frame is how wiggly it is laterally when I have the rear moderately loaded down. While it’s a little unnerving, it has held up to mega bike hauling and aggressive singletrack so far. After getting learned at the Yamaguchi framebuilding school, I realized that my lack of internal fillets is likely to blame.

This frame, as with my first used regular .9/.6/.9 Nova tubing.

Overall, I am super happy with this bike. It does exactly what I designed it do, it looks really swank, and is an absolute crusher of a gravel/utility/commuter bike.

3 Likes

Frame number 3: The Triple Triangling

Last year I moved SBI into our first commercial home, with the intention of building frames, hosting a framebuilding club, and eventually teaching classes once my skills are up. I signed up for the Yamaguchi framebuilding course, and it paid off big time.


All hand filed mitering, but I got some really helpful guidance about what size file is the approximate radius for which tube which was super cool. Heavy use of the bubble level, and I loved the c channel for holding tubes. The swivel vise was also a game changer.


Brazing practice. First time with a Gasfluxxer.


Felt a lot more comfortable filing tubes this time around. We used miter templates, and rough cut with the flat side of the file which was way quicker. Made a lot less over-filing mistakes.


Tacked ST-BB


On the alignment table. Very cool to see how to do all this horizontally.


I wanted to get some instruction on brazing with lugs, and due to fork crown/tire clearance, and wanting extra fillet practice on the BB cluster, was left with a ST-TT lug, which made the TT parallel.


Front triangle all tacked.


Building internal fillets! This was super cool, we learned how to intentionally build bronze up on the inside of the tube by laying a puddle on the joint, and then heating up from the inside (of the HT in this case) to pull the bronze in. We also measured how much filler we used to make it even which I thought was a super pro move.


Internal fillet on the BB. We tacked the whole front triangle together, and then did all the internal fillets. This pulled bronze into the ST-DT compound miter area without having to file weird miters like on my first frame.


Tacking


More internal fillets. Was great to have some guidance about what was an acceptable amount of heat.

Stem interlude!


Same process, this was the first external fillet we did at class.


TT fillet. Finished that at the end of the day, waited til I was fresh to do the DT fillet because I was scared.


This went super well! The headtubes we used were 1.8mm thick which was a lot more robust.


First silver brazed lug! I definitely have some practice to do with silver brazing, I keep cooking the joint. It was very nerve wracking to not be able to see where the filler was until it was coming out the other side. Also learned how to clean up the lug line by heating the edge up and swiping a piece of bronze rod along the line.


Mocking up and measuring chainstays


First time using lugged dropouts, very satisfying to file and fit. I ended up filing the DS stay a hair short, but by tacking at the BB first, it pulled that joint close with the DO fixed in place, so I imagine there’s a very slight bit more gap on that stay.


Brazed seatstay caps in with a ring of bronze on the inside! I was super stoked to get to try that method. Opted for a Triple Triangle because Koichi is the Triple Triangle master, and when in Rome…


Internal fillets on CS


External fillets on DT-BB! Was super pleased with how even this one came out.


More BB cluster detail. This took freaking forever to braze, especially as I was finishing with how much bronze was there. The torch got nice and hot but I didn’t want to put it down and lose the heat I had already built up.


Lugged dropout on the fork as well


Filing the fork crown for some crispy lug lines


Fork all brazed up! I was very eager to learn how to braze the steer tube in and the whole shebang, I have some forks to make in the queue. It was cool to get some experience bronze brazing lugs as well as silver.


California Reaming


Facing the crown. I hadn’t ever done that before so that was also cool to do.


Using the beautiful Campy BB tool.


Final alignment. I think it was pulled a little toward the NDS, but no twist at the HT!


This was by far the fastest I’ve ever made a frame, let alone fork and stem. My first two bikes happened over the course of months. It was really cool to get the frame exactly the same dimensions as the drawing. I’m usually lazy and will let a few extra mms fly.

We used Columbus Cromor tubing, which was my first time with nicer tubing. It totally made a difference when filing and cutting.

8 Likes

Thanks for sharing the Yamaguchi detailed photos. It’s cool to see all the little bits of information that make frame building an art form.

Make sure you share the finished build!

What was the breakdown of the course? Like… how many days, how many hours of work time, etc… It looked like it was a group class? How was that dynamic?

3 Likes

I will for sure! still have some finish work to do, then to choose paint :scream:

The course was 11 days total, 9-5 with about 1.5 hrs of lunch/breaks. The group dynamic was cool! We all chose different styles of bikes so I feel like I got a lot more knowledge out of it than if it was just me, different dropouts, geo, joints etc. There’s so much time where you’re just filing the thing or brazing the joint that we all had time to ask questions and get help. We eventually stratified into different paces too. Koichi had us work on different stuff based on where we were at vs what jigs were available. Two of us would be ready to do the front triangle on the two jigs he had, so the other guy would start working on the fork. It worked out really well.

It was super cool to be making bikes with 3 other people at the same time, and nice to meet people who share a common interest.

5 Likes