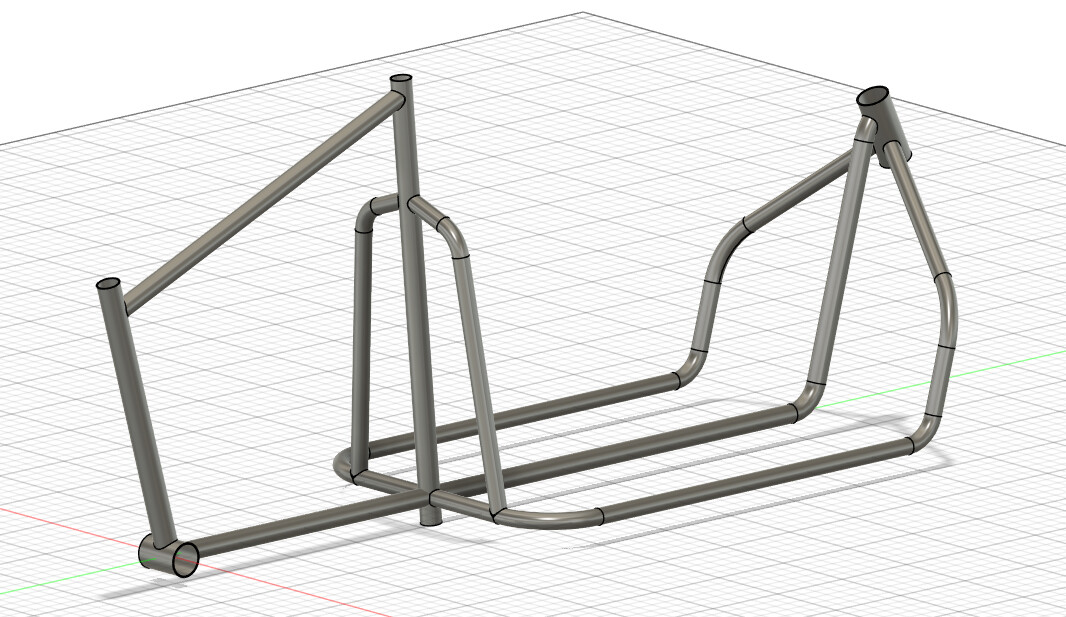
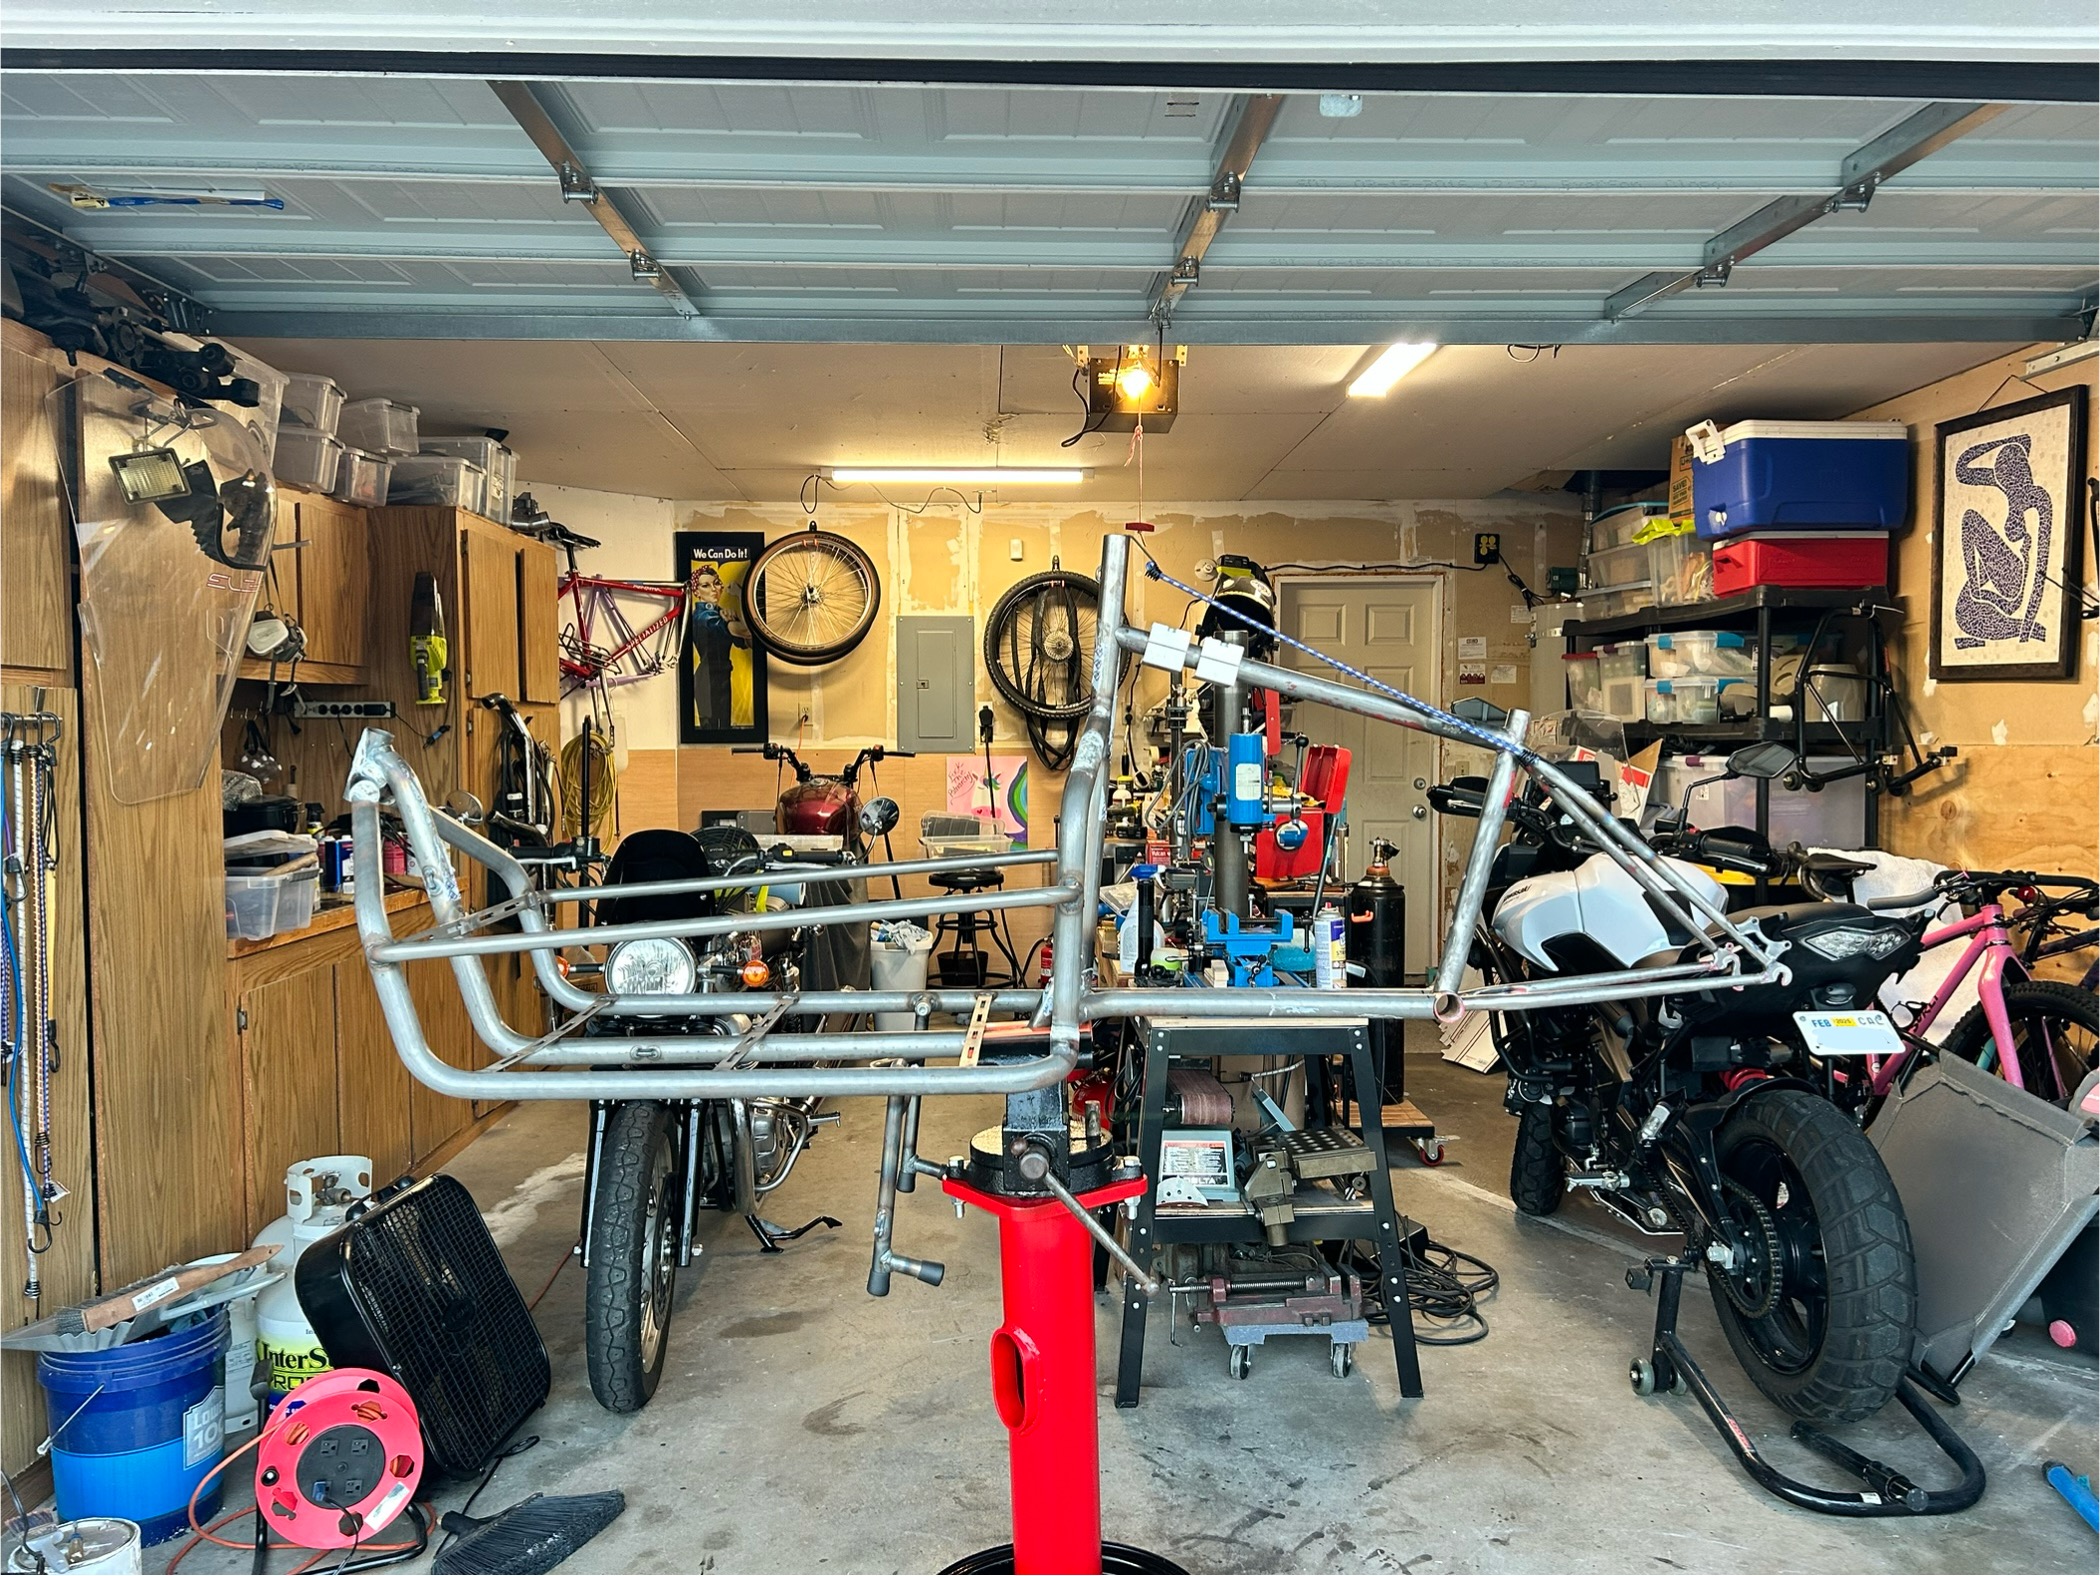
It seems a good time now to share what would be my first ever “full” build, I am still deciding on the direction I want to take, but the gist is that it will be a Cargo bike.
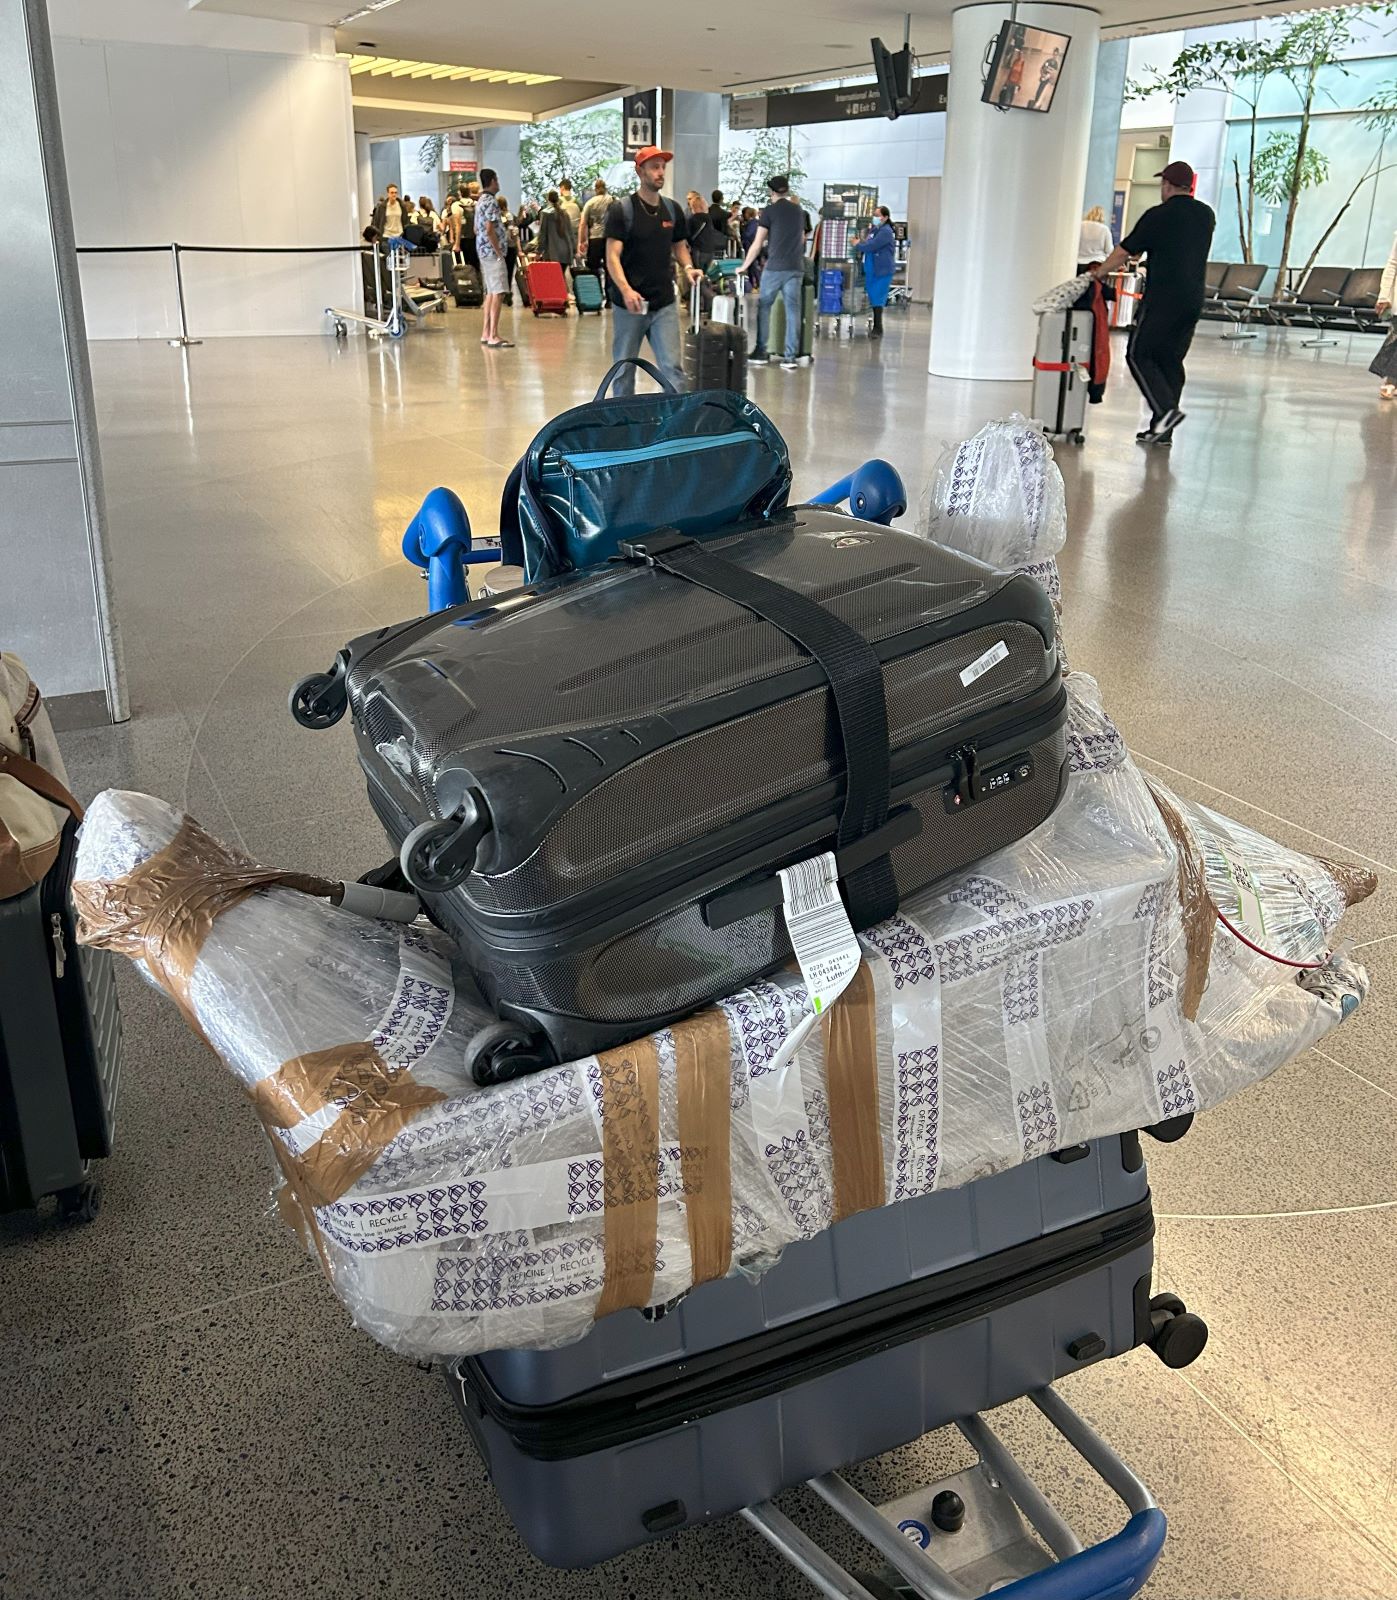
Backstory: I spent the last 30 days in Italy during which I visited some of my favorite bike places and one of those is Officine Recycle, I was following them since some time and while talking business Marco mentioned that he was able to take their DIY kit in a plane as checked luggage… … Well, I ended up buying their kit and taking it home with me!
Turns out the jig I have can take a cargo bike with some minor adjustments, pretty stoked about that.
What I am now trying to decide is how to build the rear part of it, I was collecting some parts for a gravel bike, I am tempted to repurpose those but I am not sure it would be a good move.
What OR usually suggest is to repurpose an old bike, cut it up and weld it back, that would be the cheapest and fastest way to get on the road but so far I wasn’t happy with the choices in FB Marketplace or CL and sure as hell I do not want to cut up some of my good frames Unless any of you has a good steel option to propose? Maybe a broken frame hanging in your shop since too long?
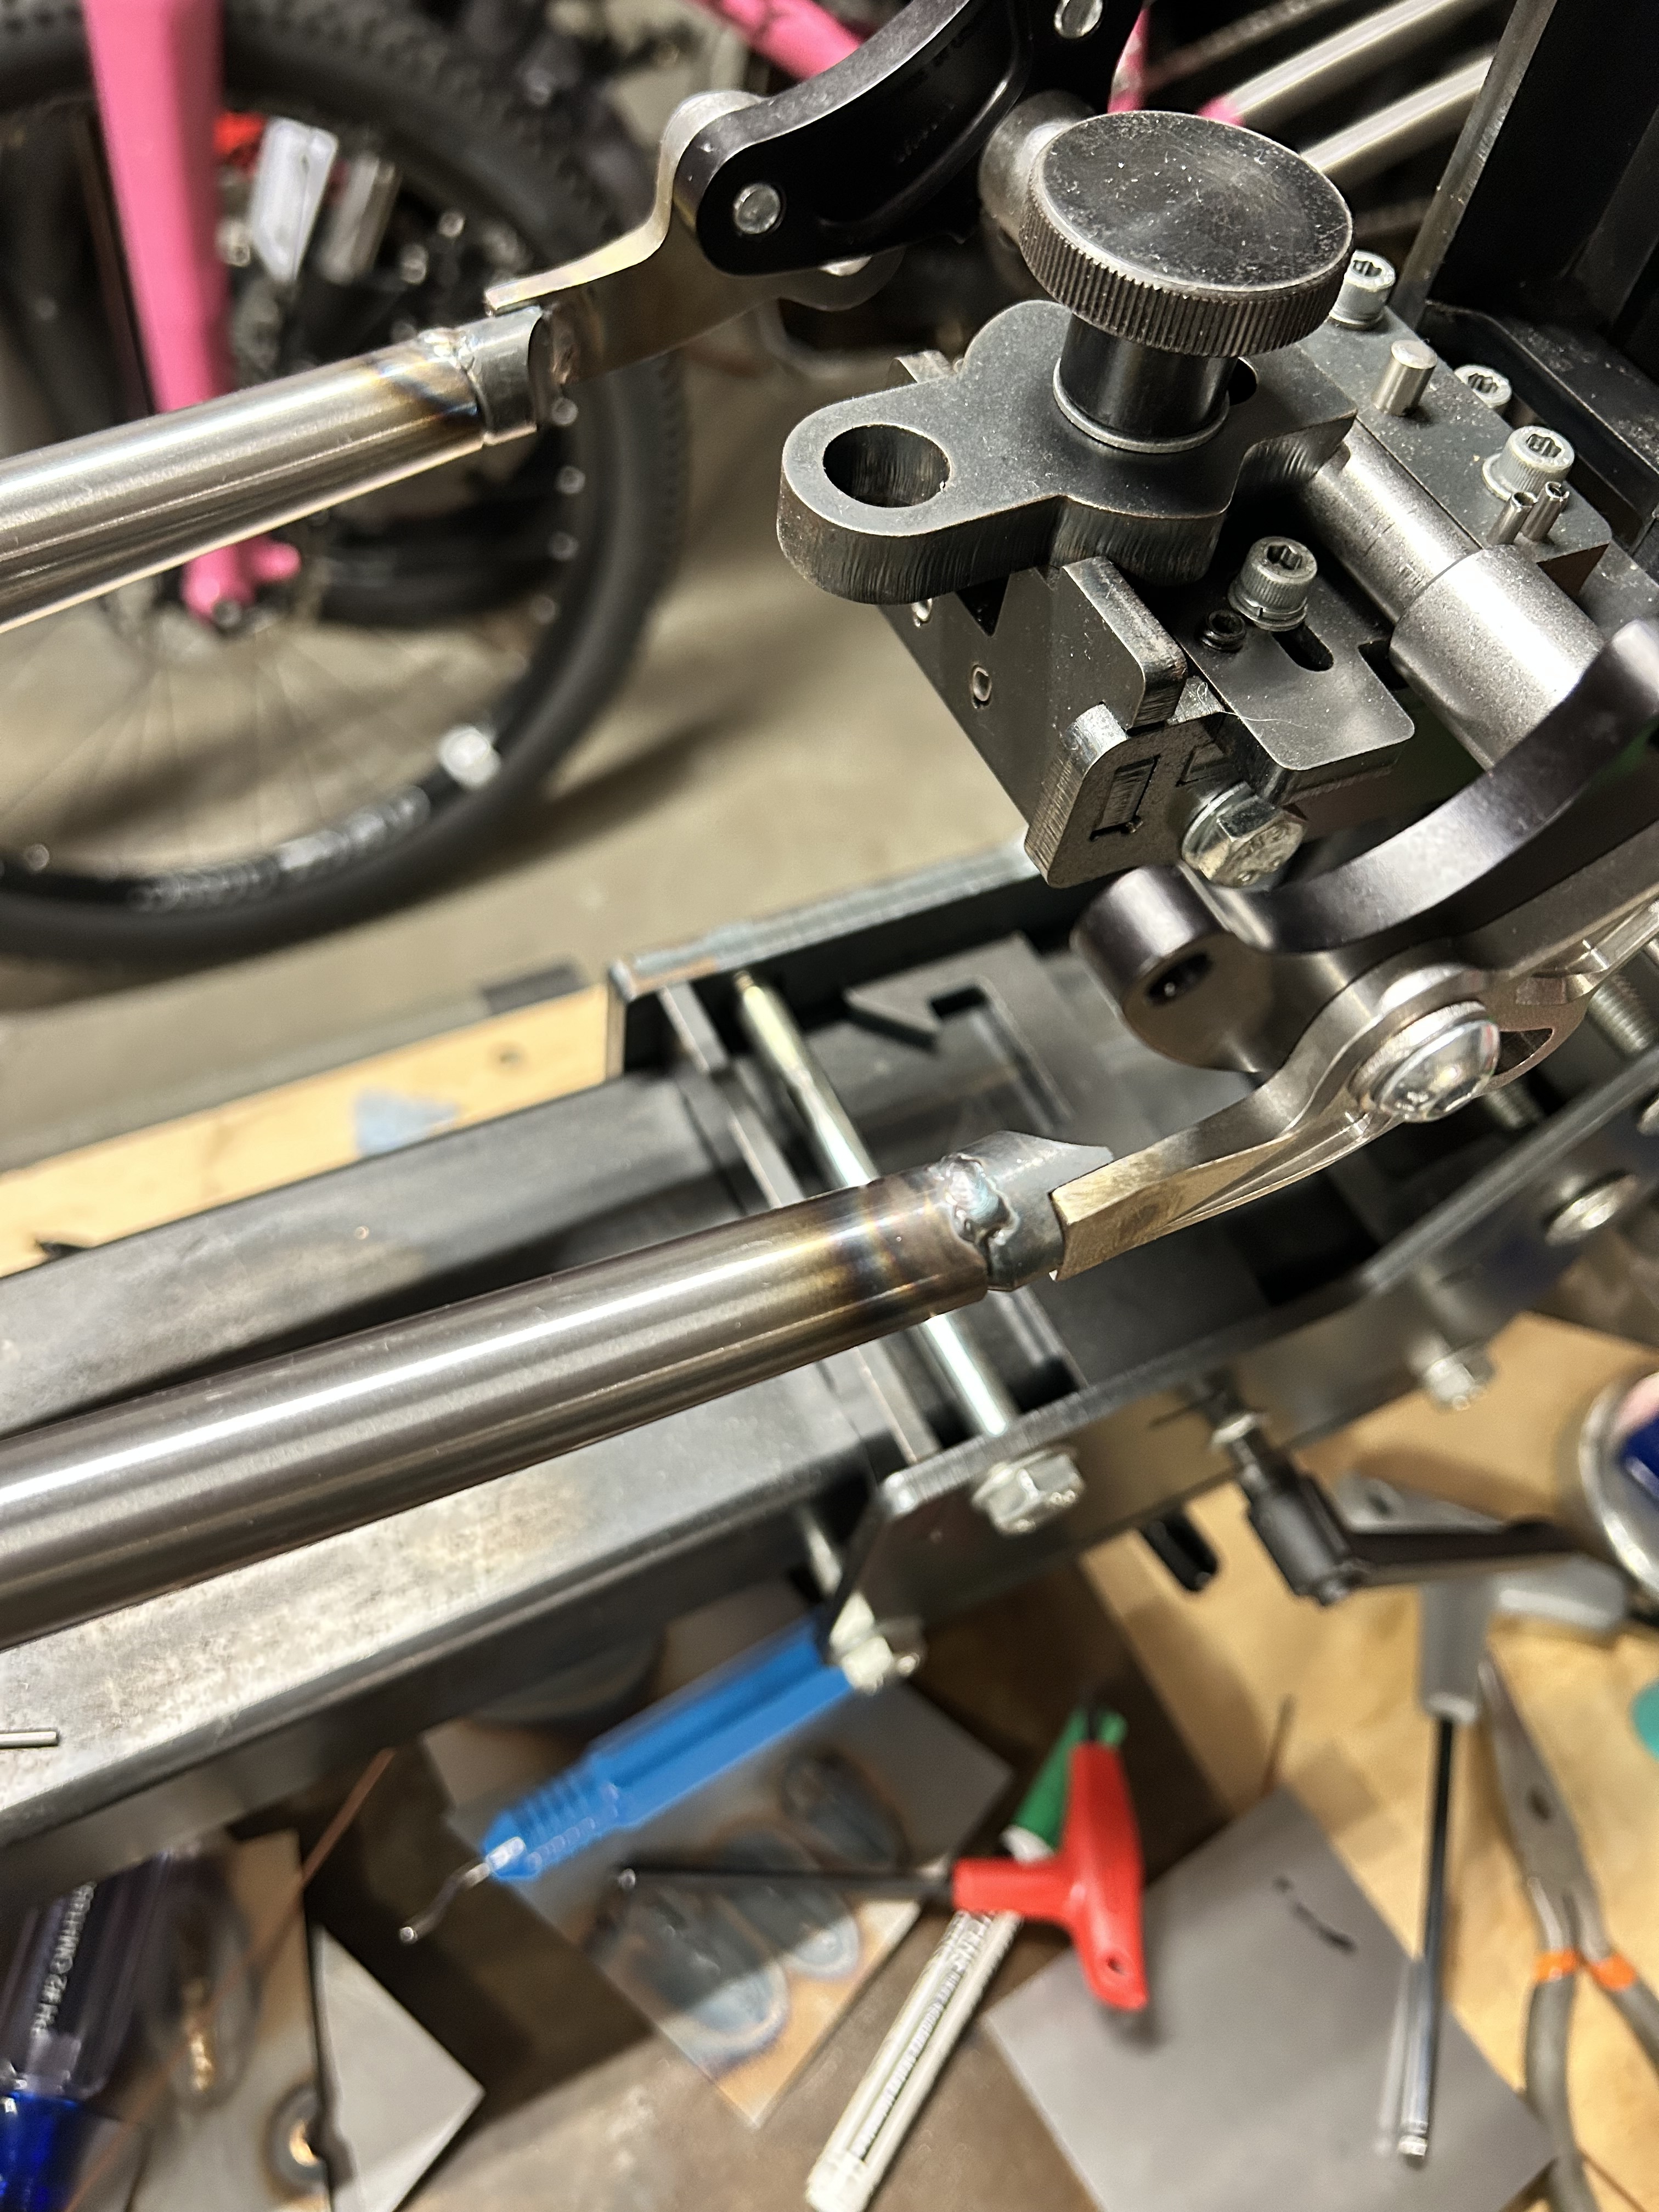
I will also need to put this in a jig as the measurements that Officine Recycle gives are leaving out some important details (or maybe I have read them wrong)
I have got lots of thoughts to unload, trying to orderly put them out, more to come.
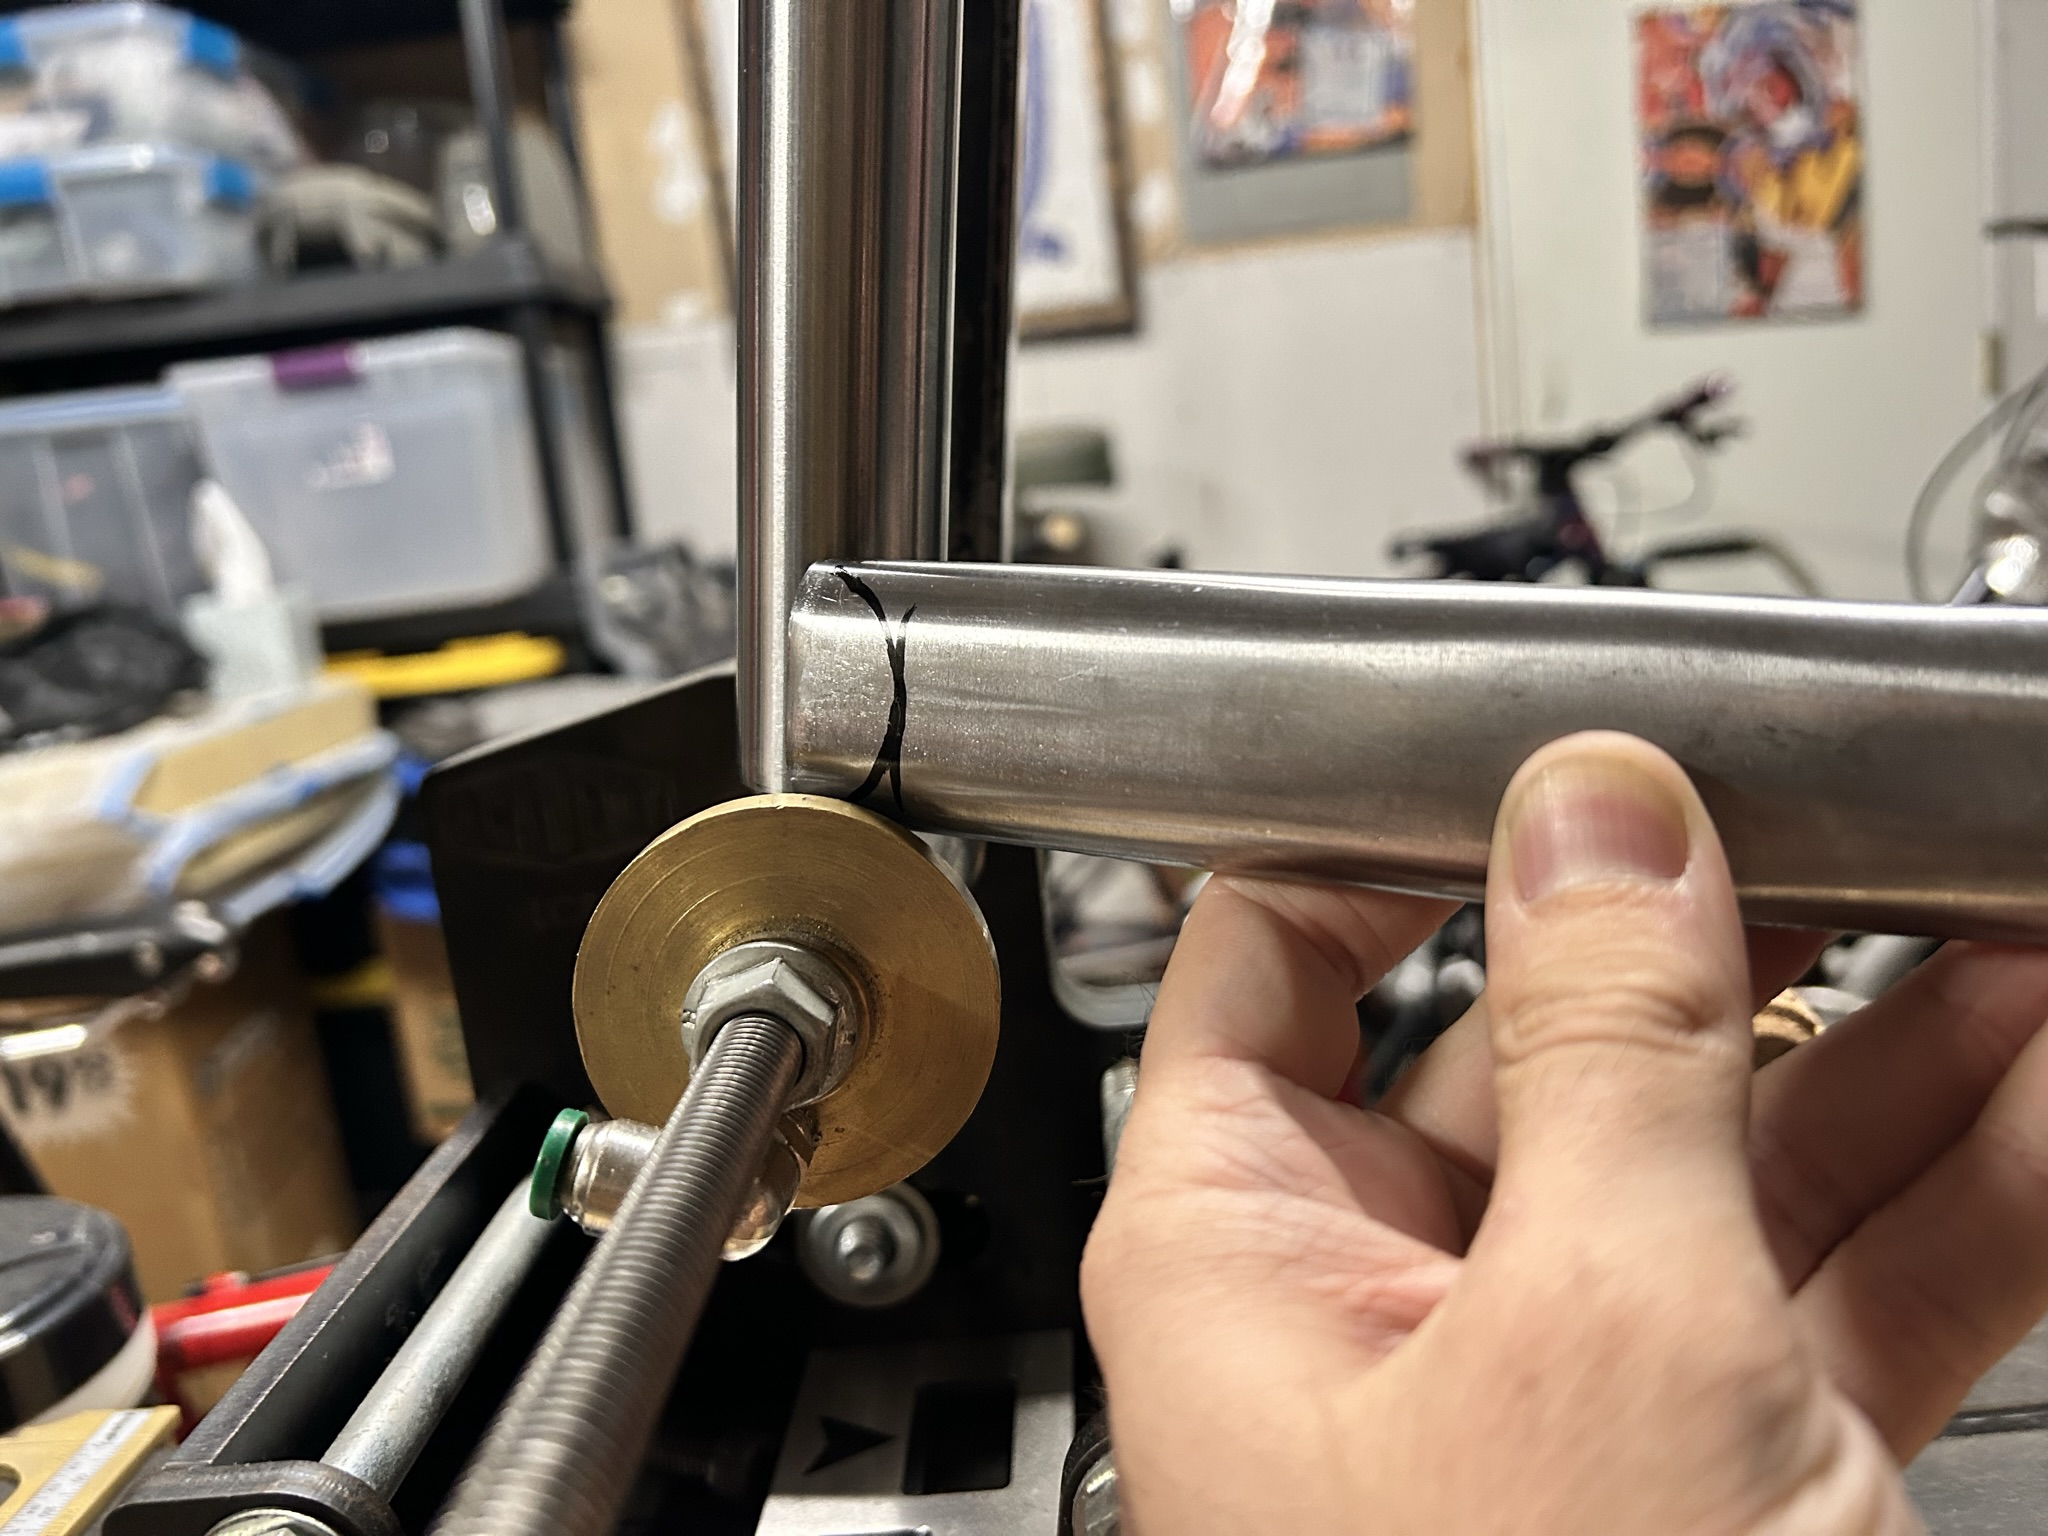
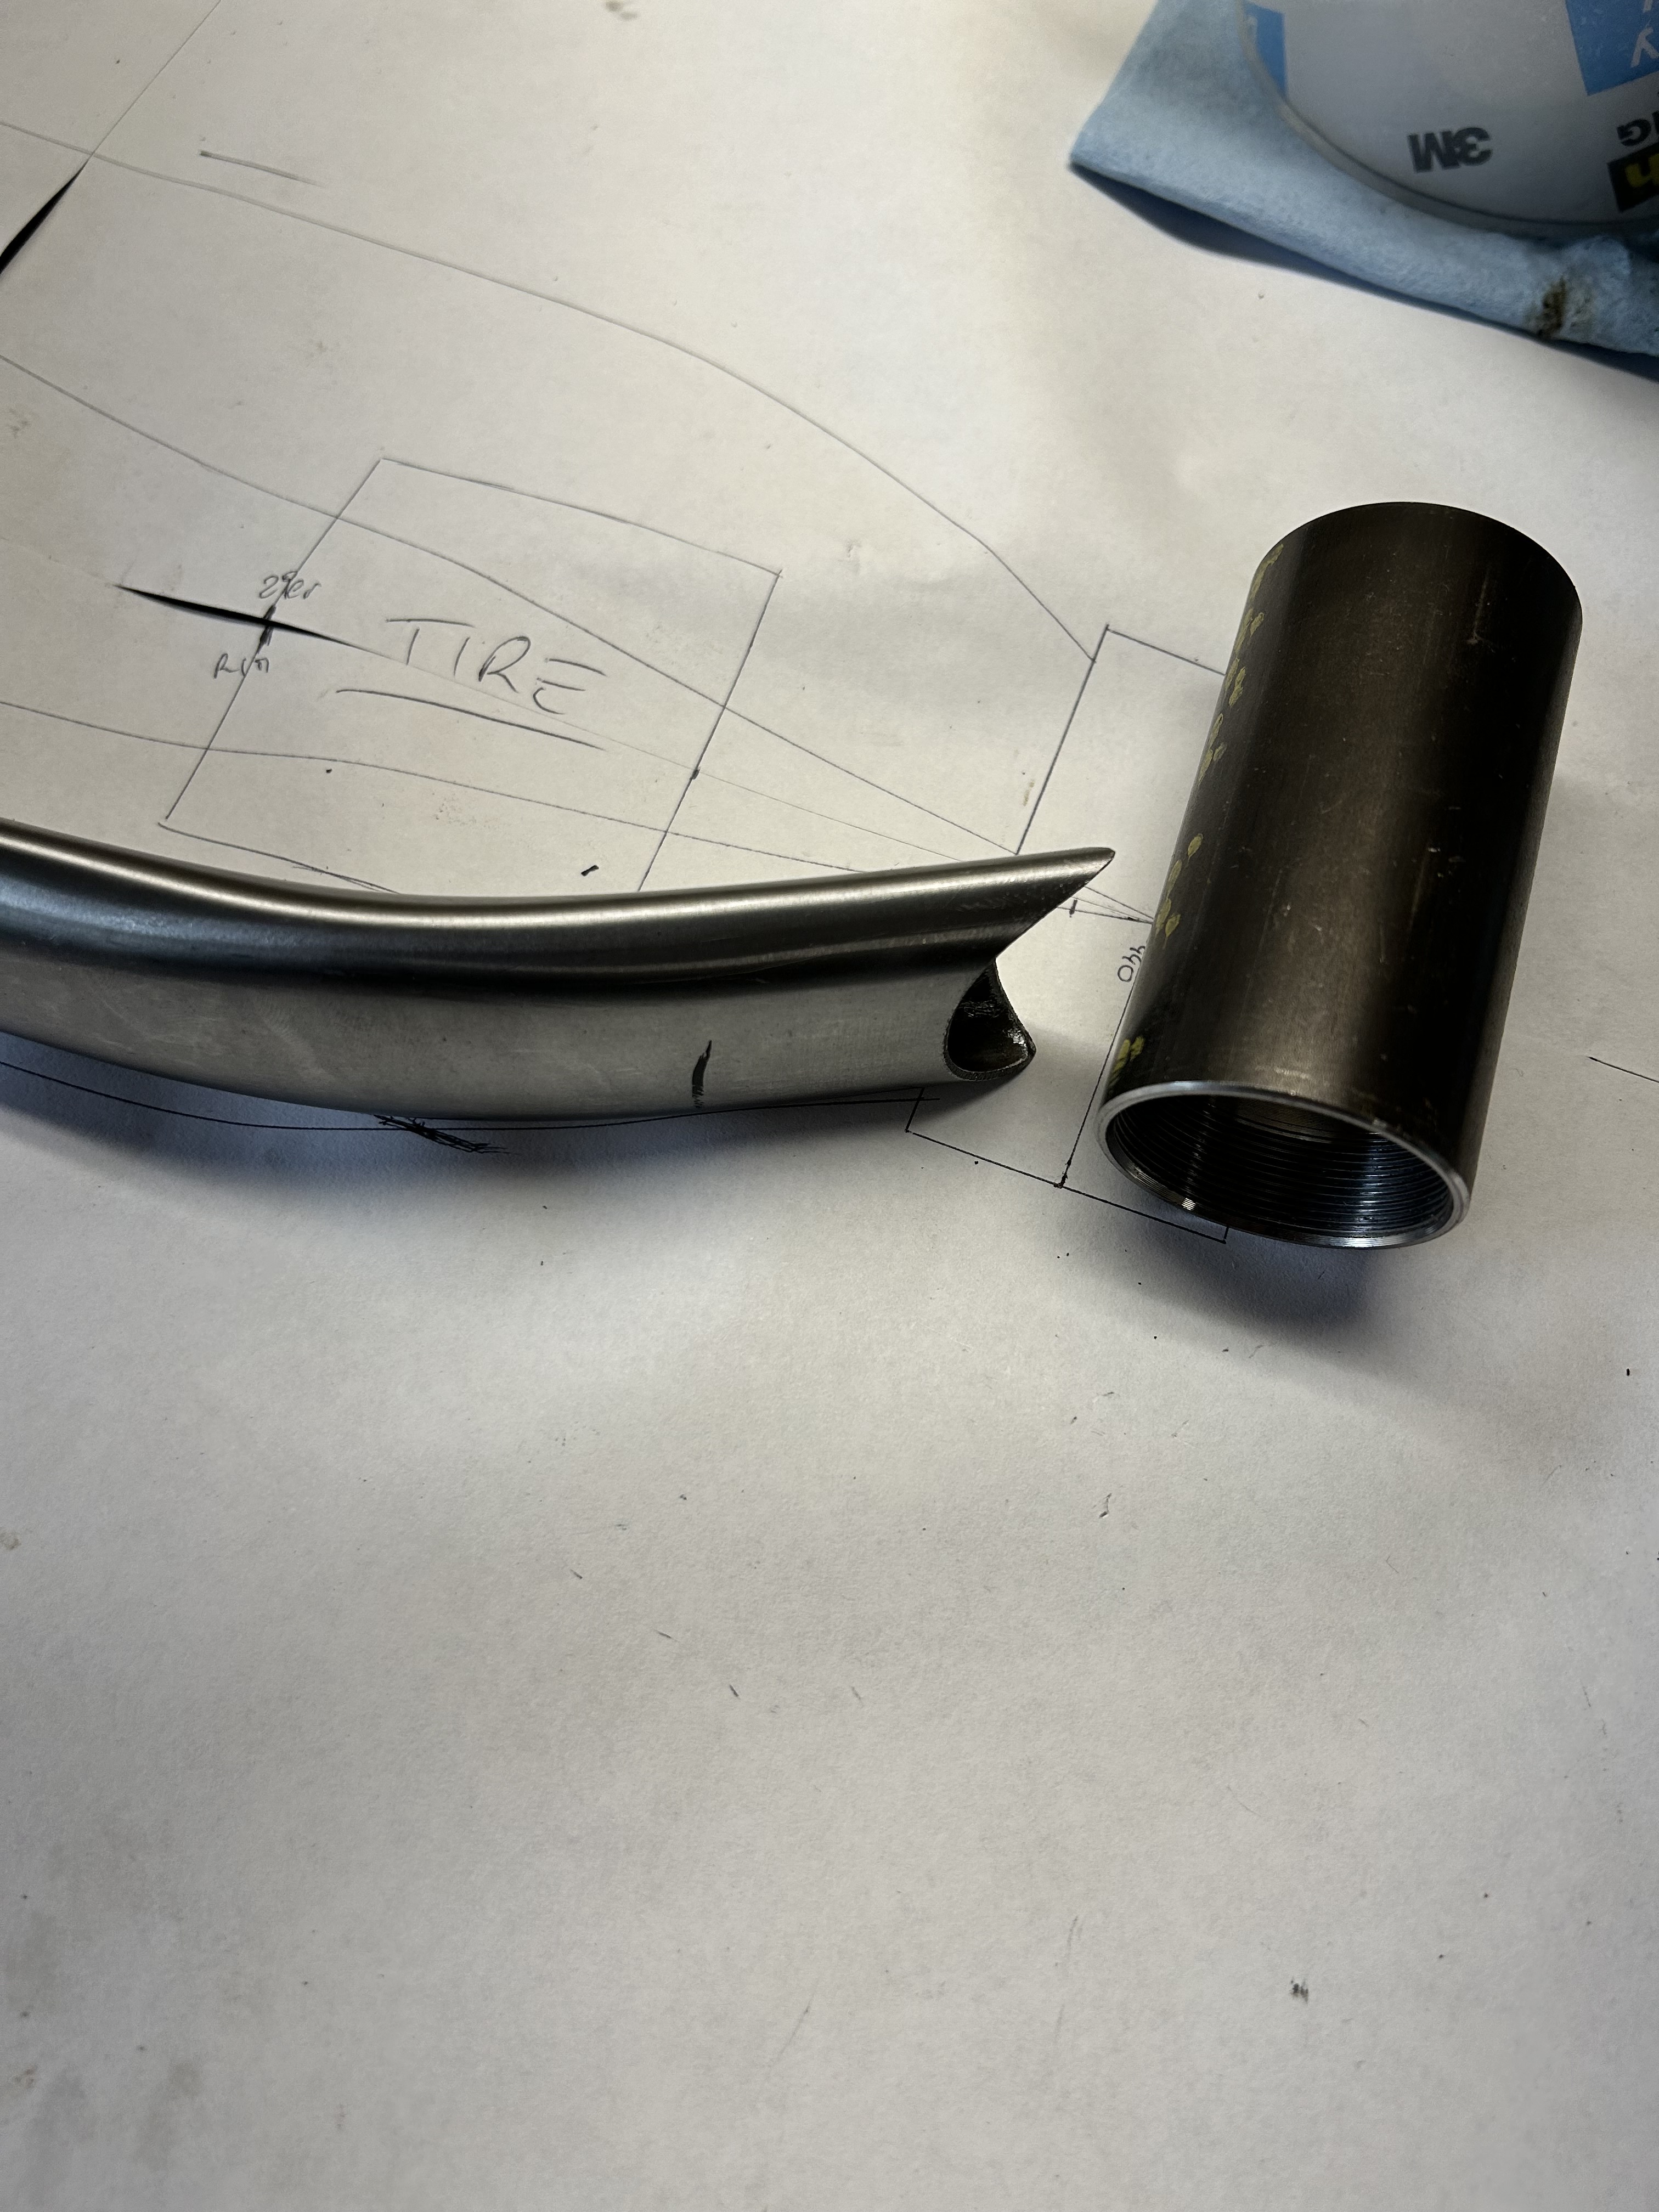
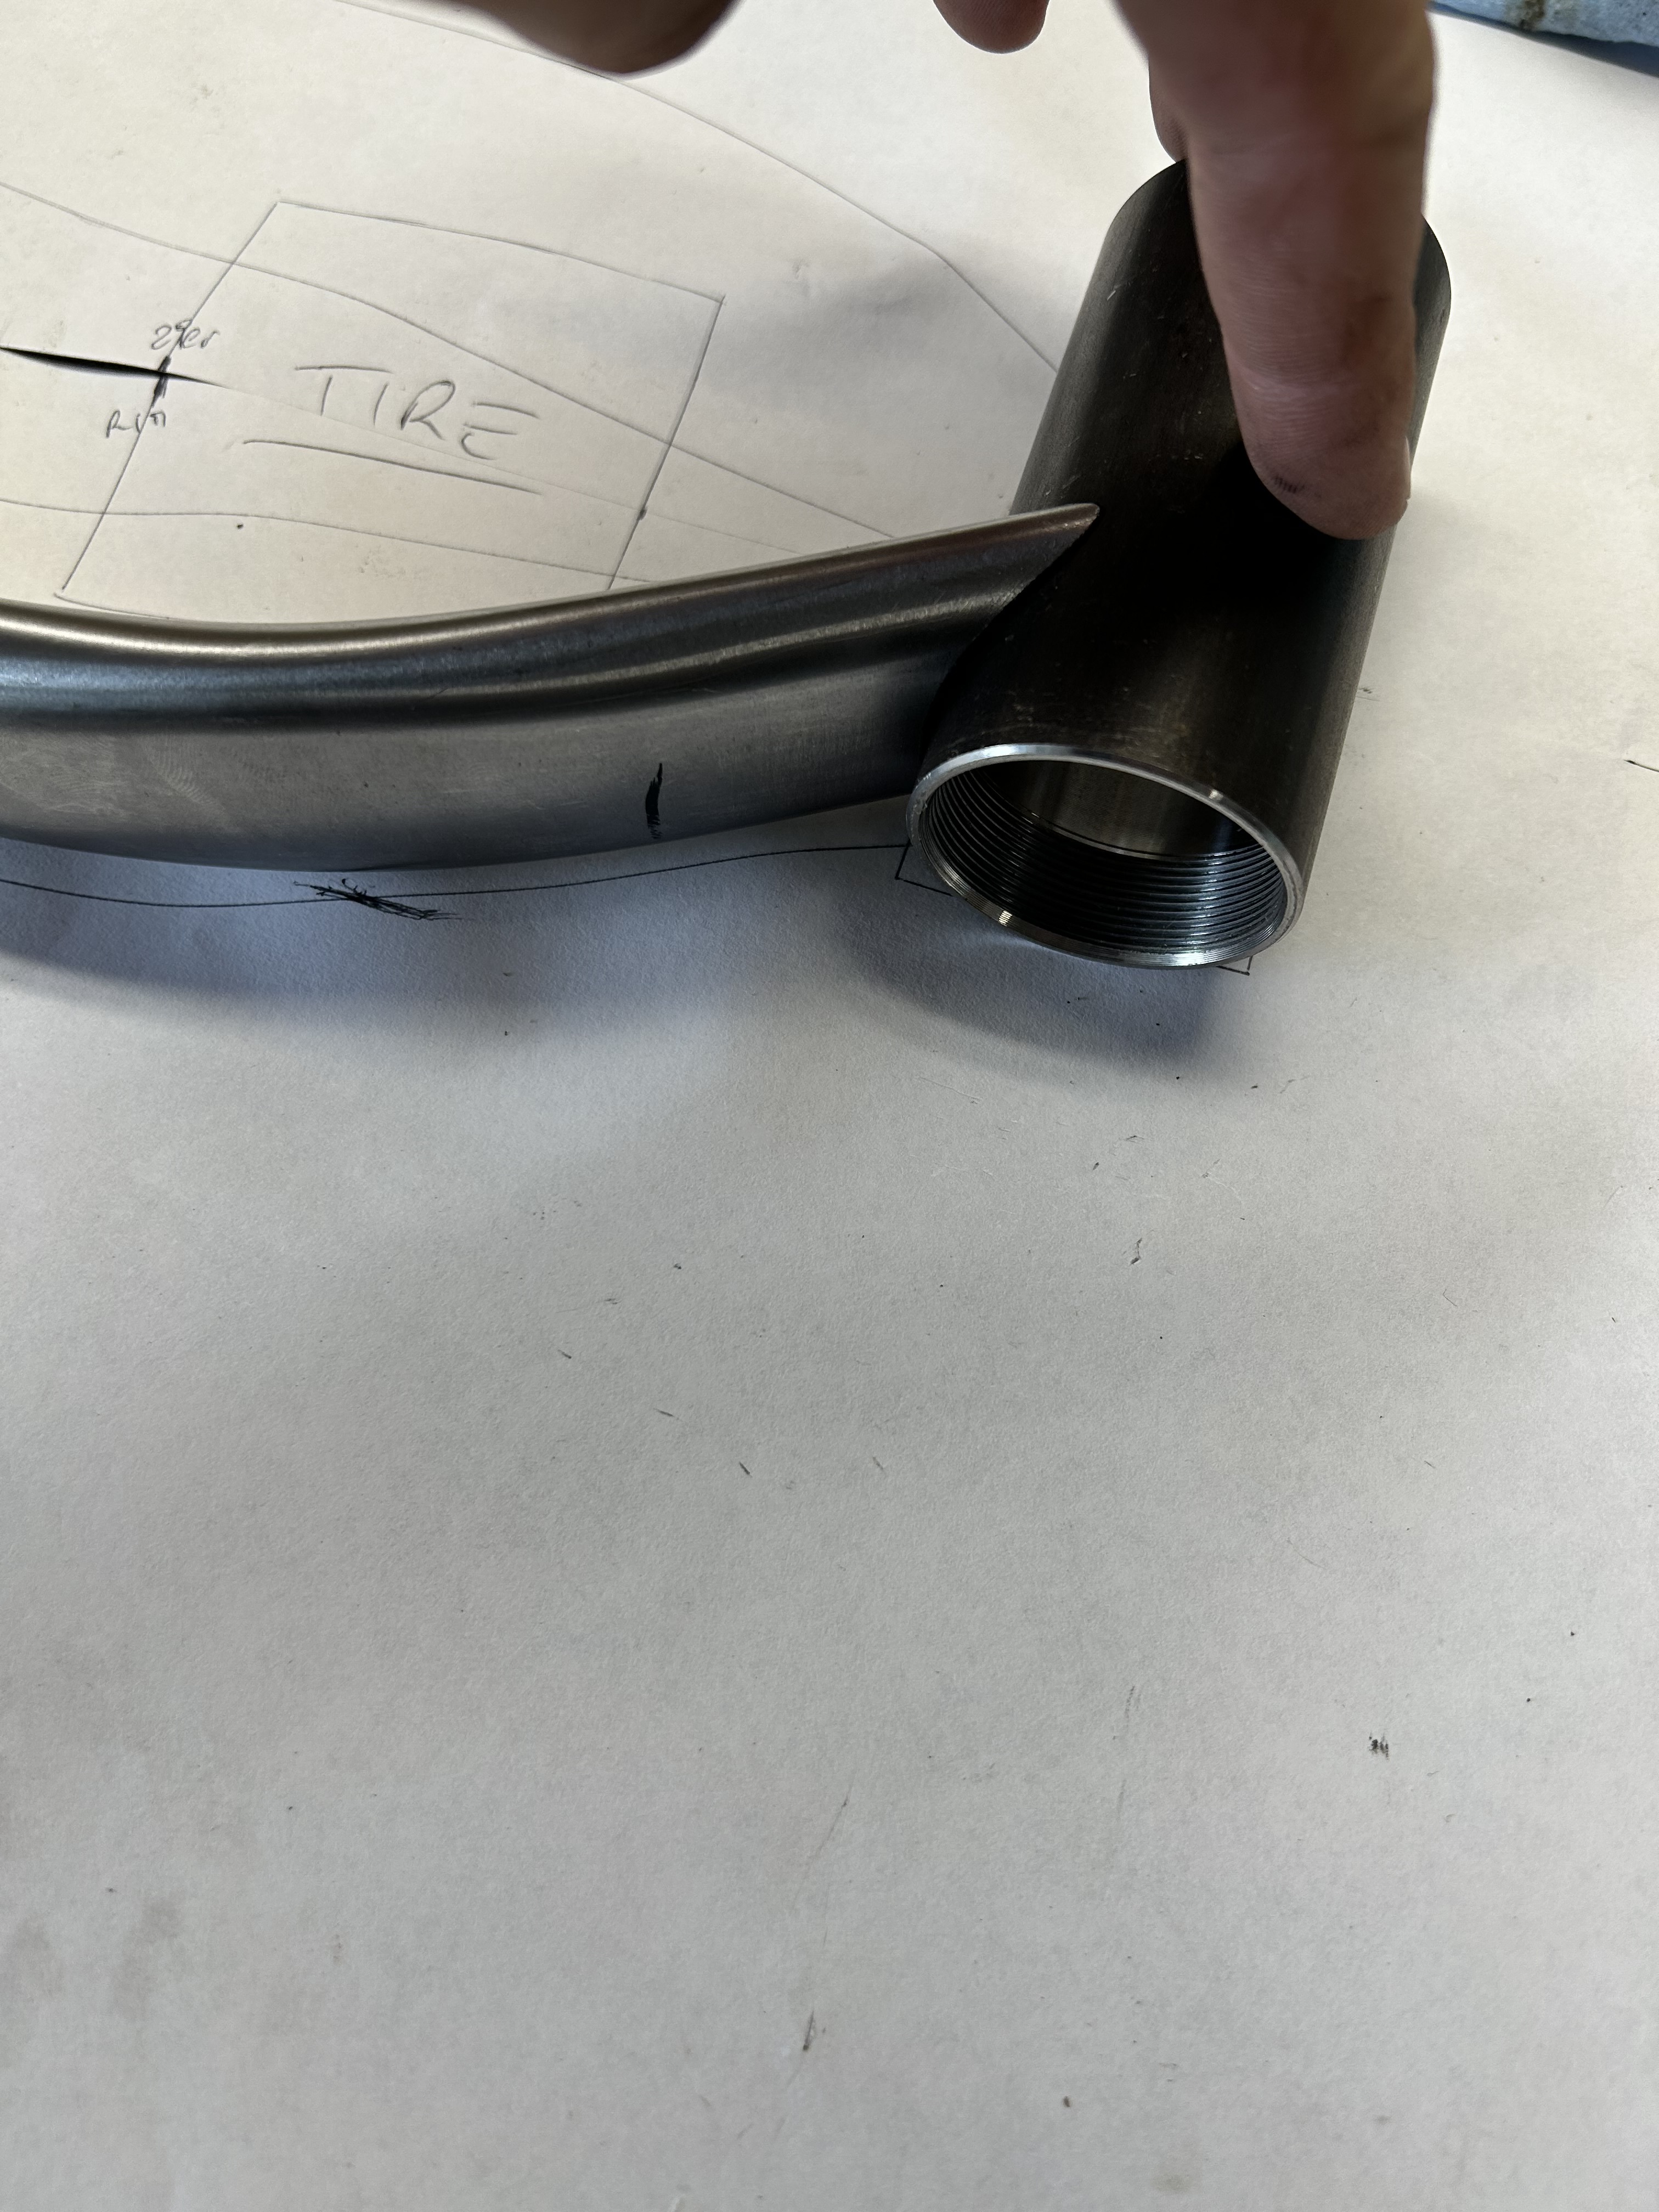
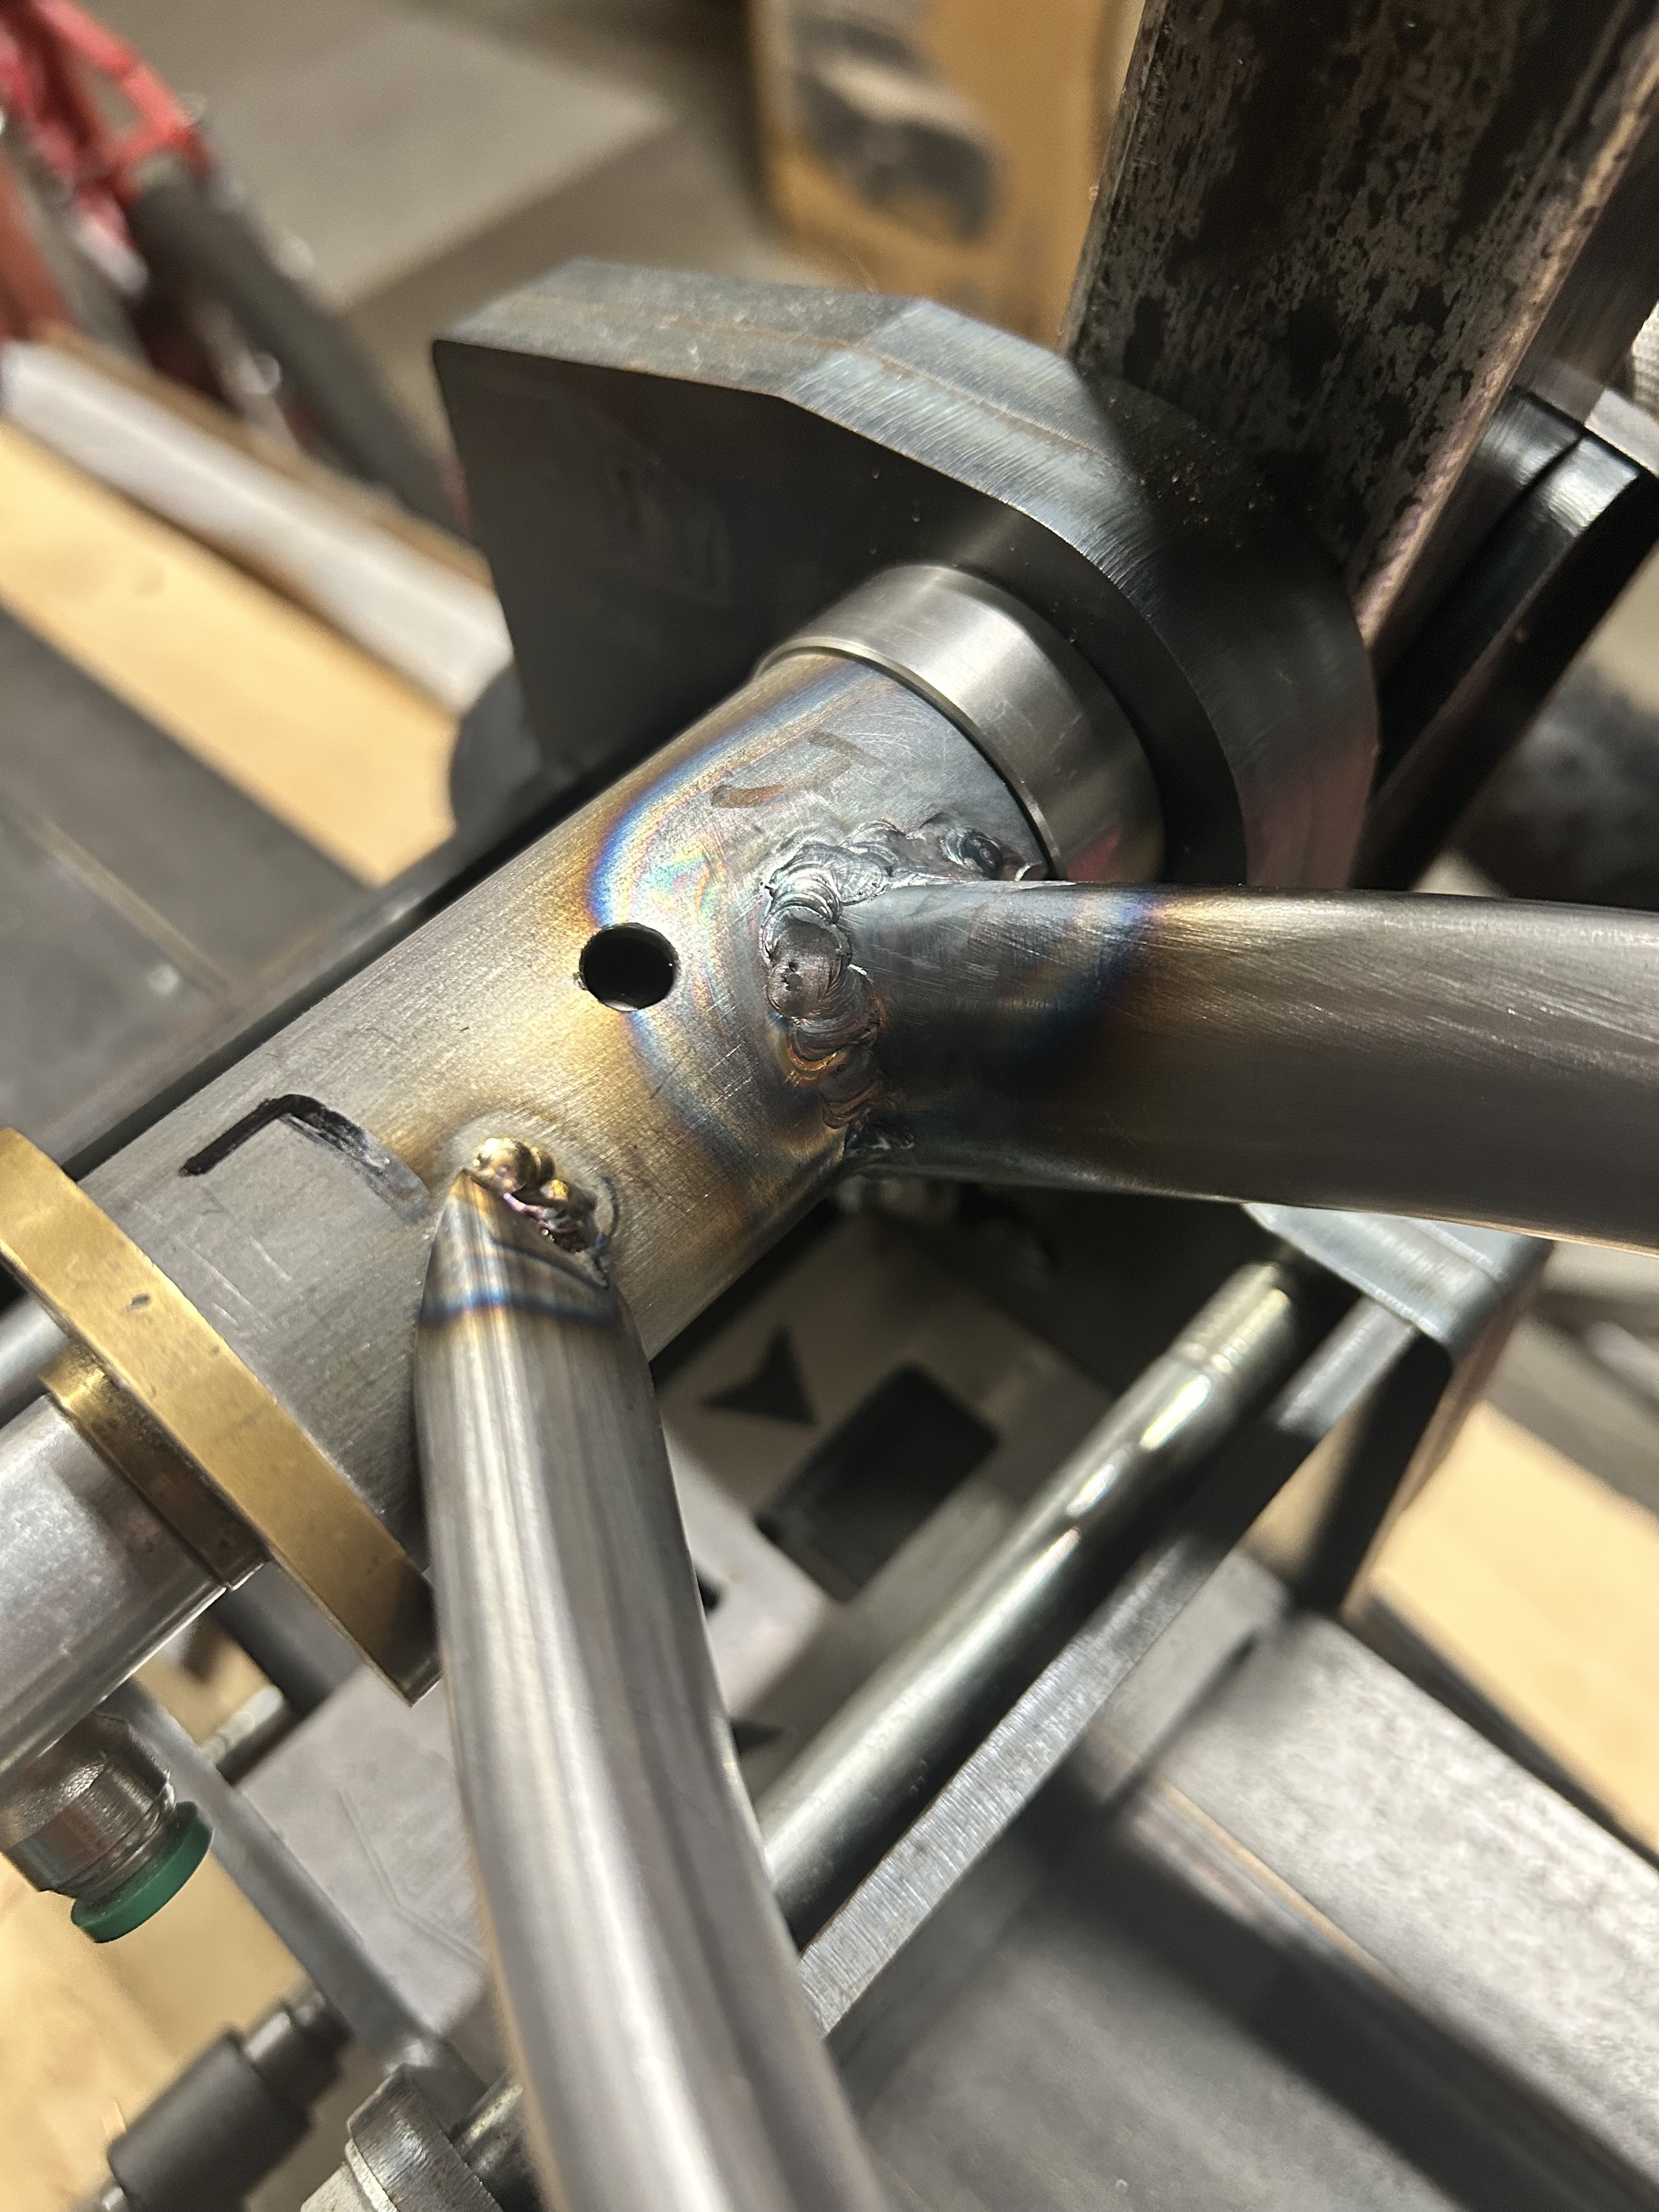
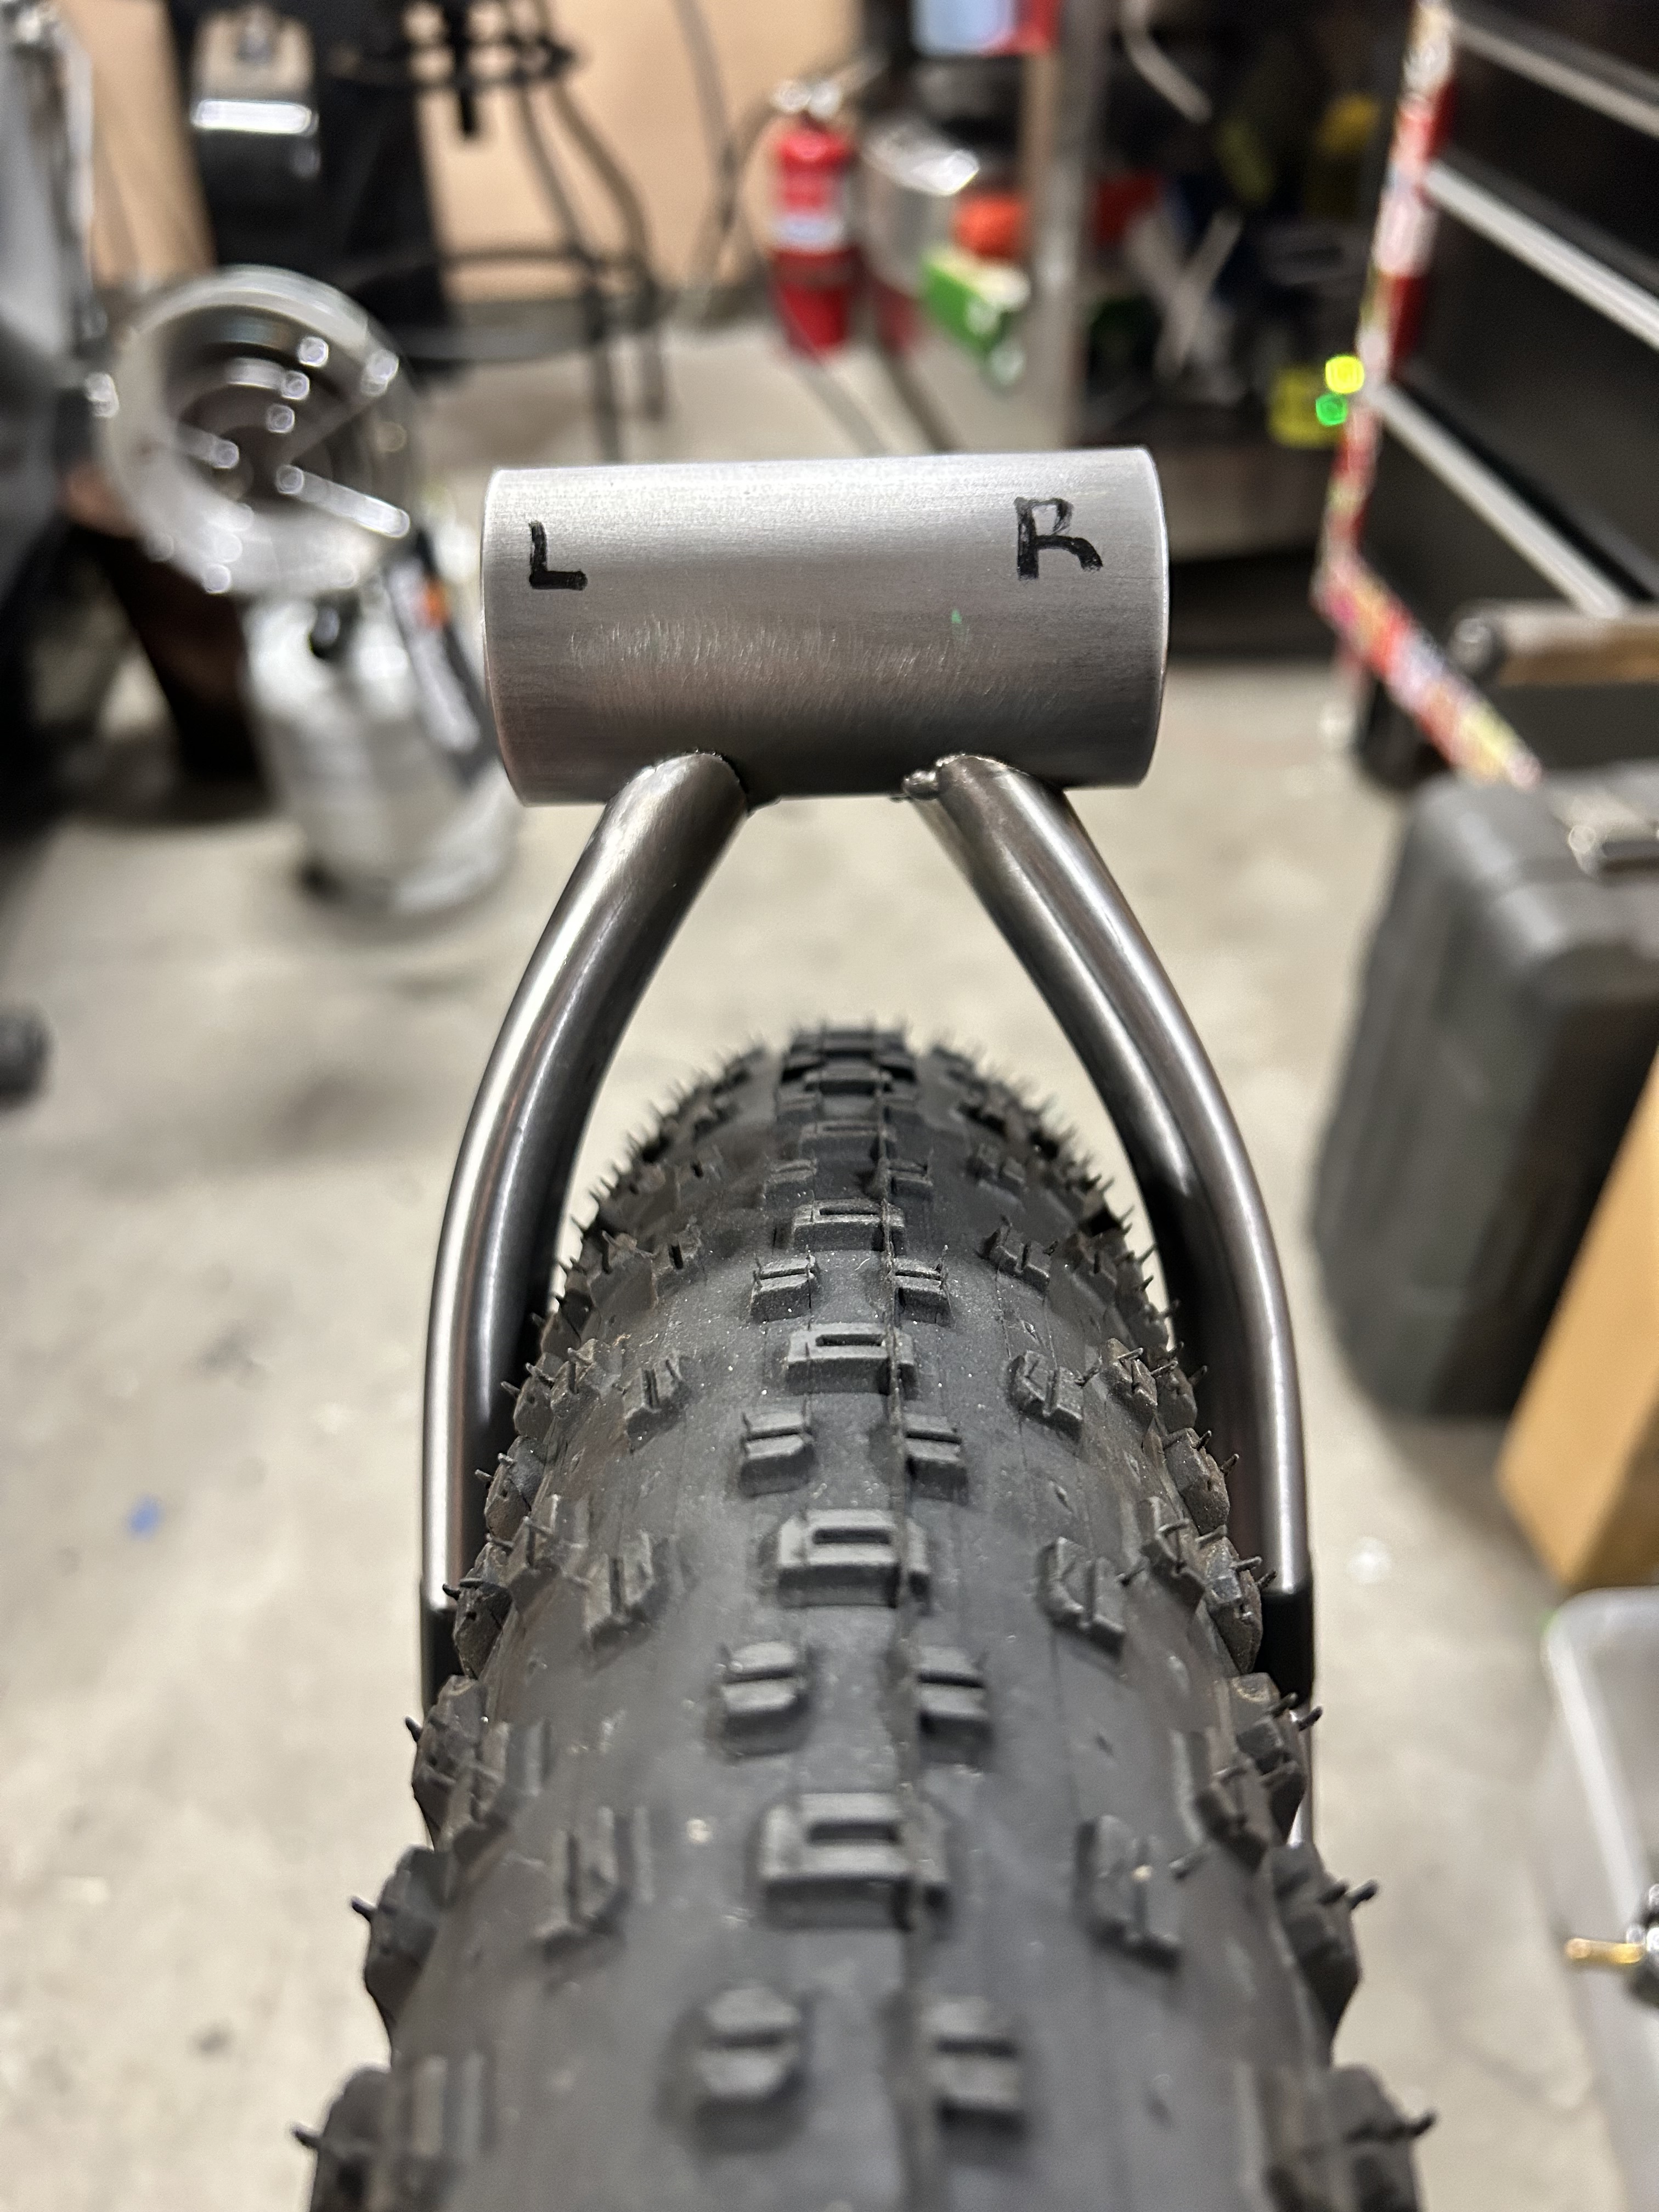
Hello, sorry for the long wait, I am getting ready to prepare the chainstays and I am having some doubts, I have got some Nova S-bend chainstays that I wanted to use, I have mocked up some drawings and all seems good except that I have very long dropouts and I am not sure if those chainstays can be cut where they need to be cut, I am planning for a 440mm long rearend but I could go 450 if needed.
My question is: how do I know if in the place where I need to shorten the chainstay I will have enough metal to then be safely welded to the dropout? Nova doesn’t really give or have specs.
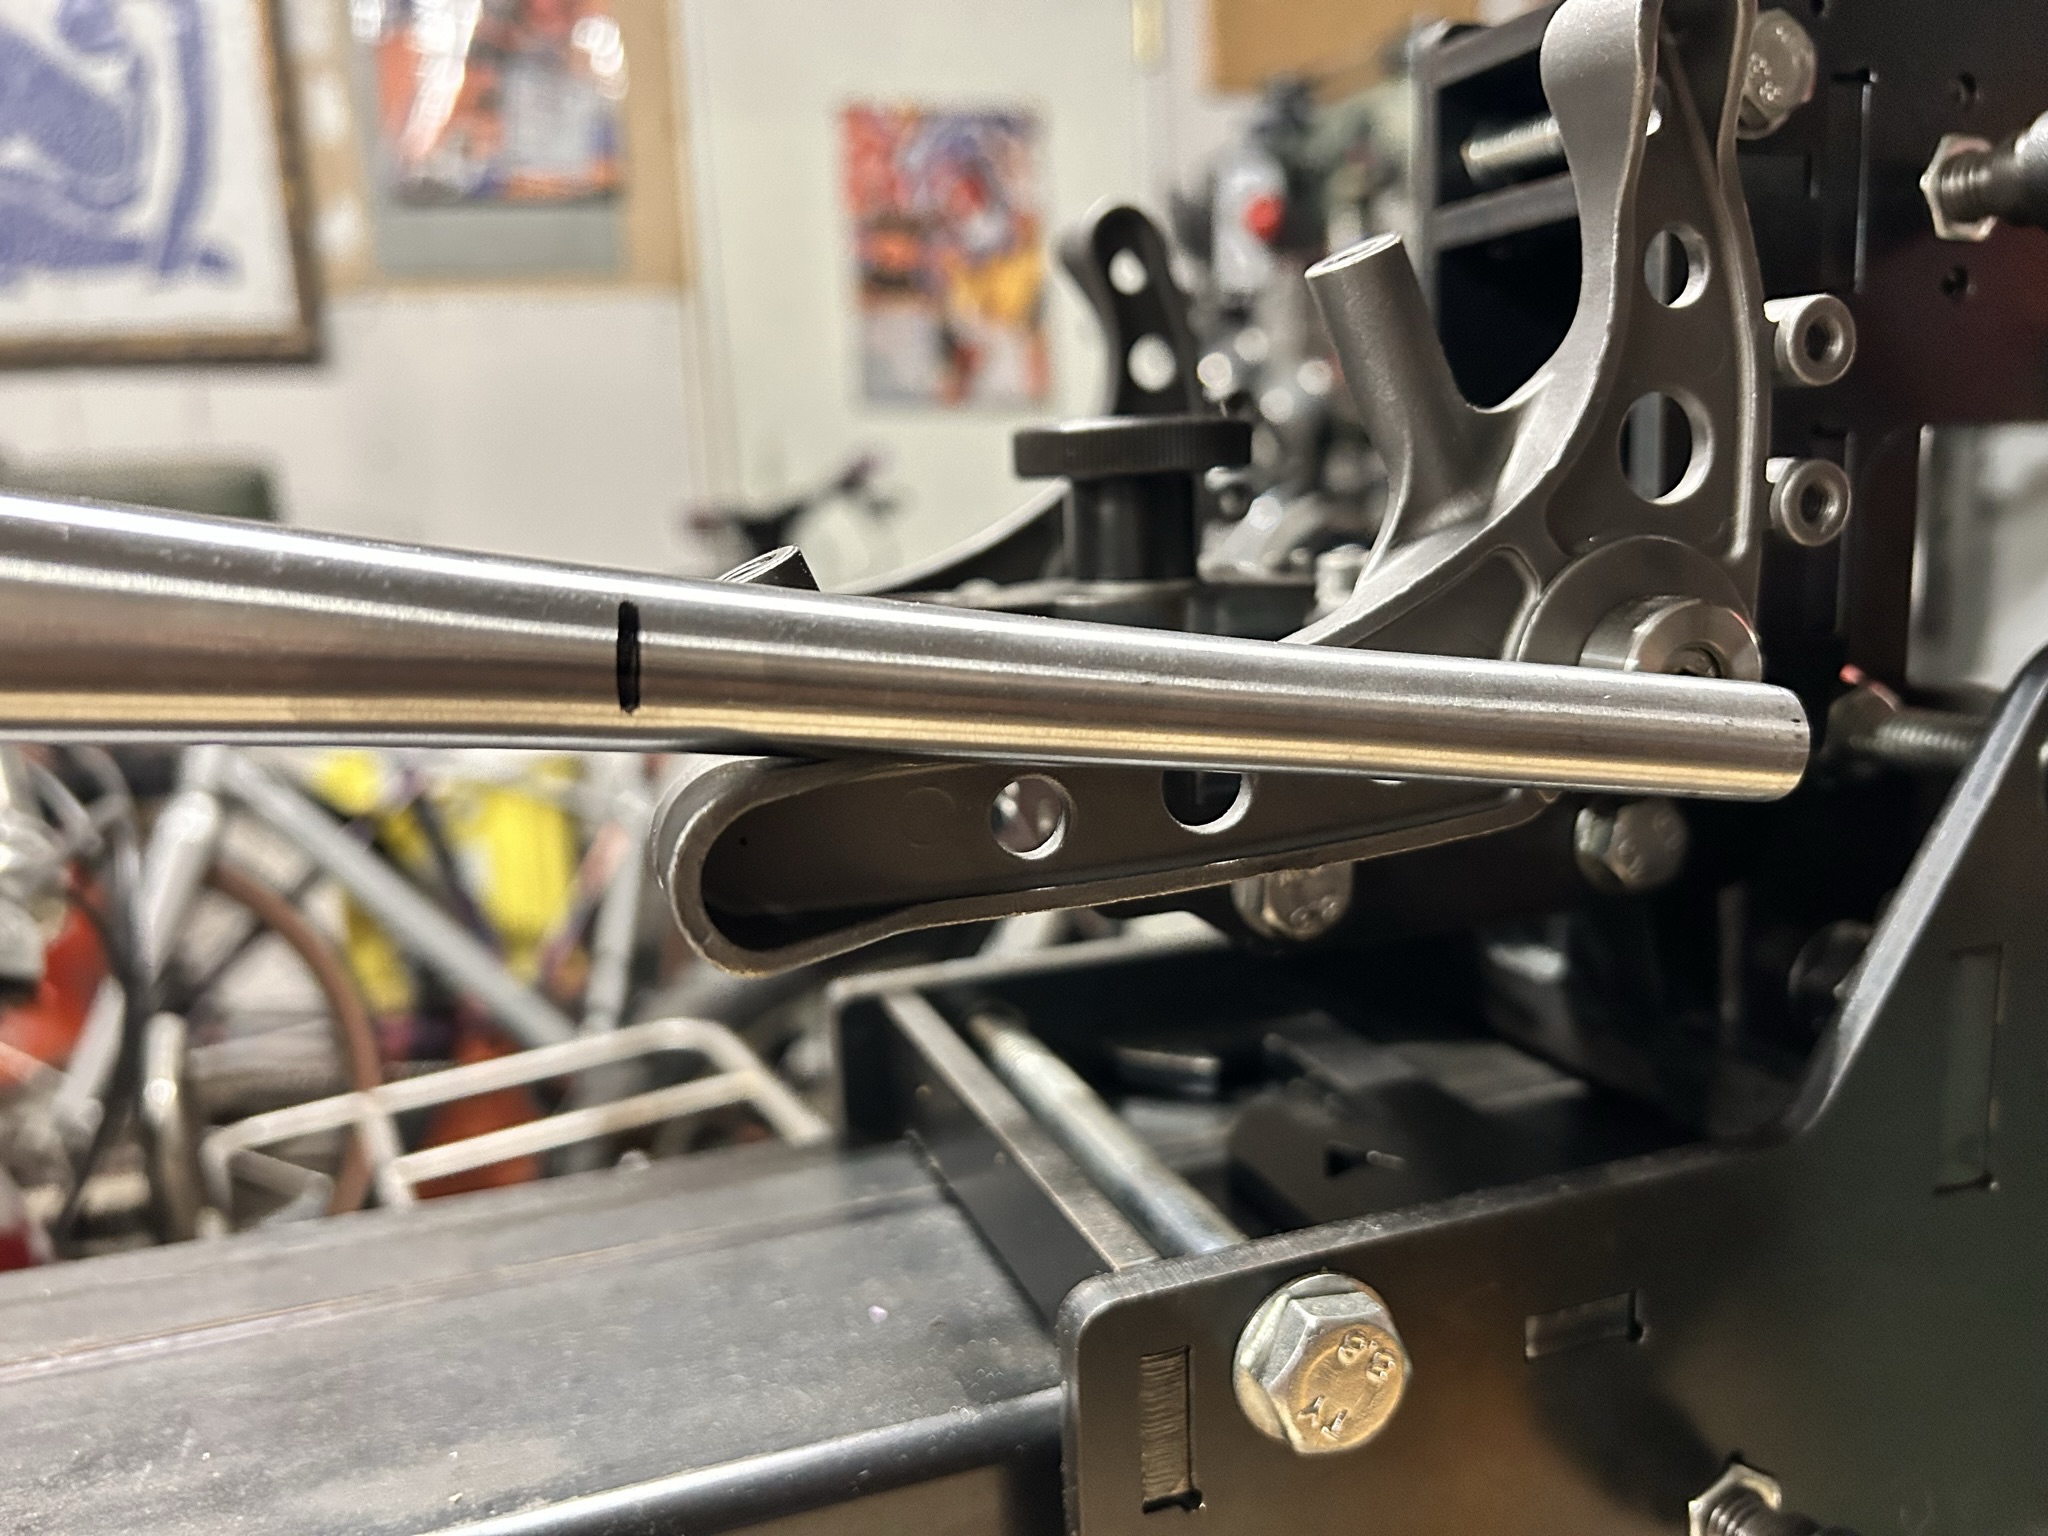
Ideally you’ll have the chainstay positioned so that there is room for the chainring as well as the tire and so that the cranks don’t hit the chainstay either. You might want to mock this up with a full scale drawing on paper (or cardboard) to see where everything sits. That will help inform how much to cut off each end.
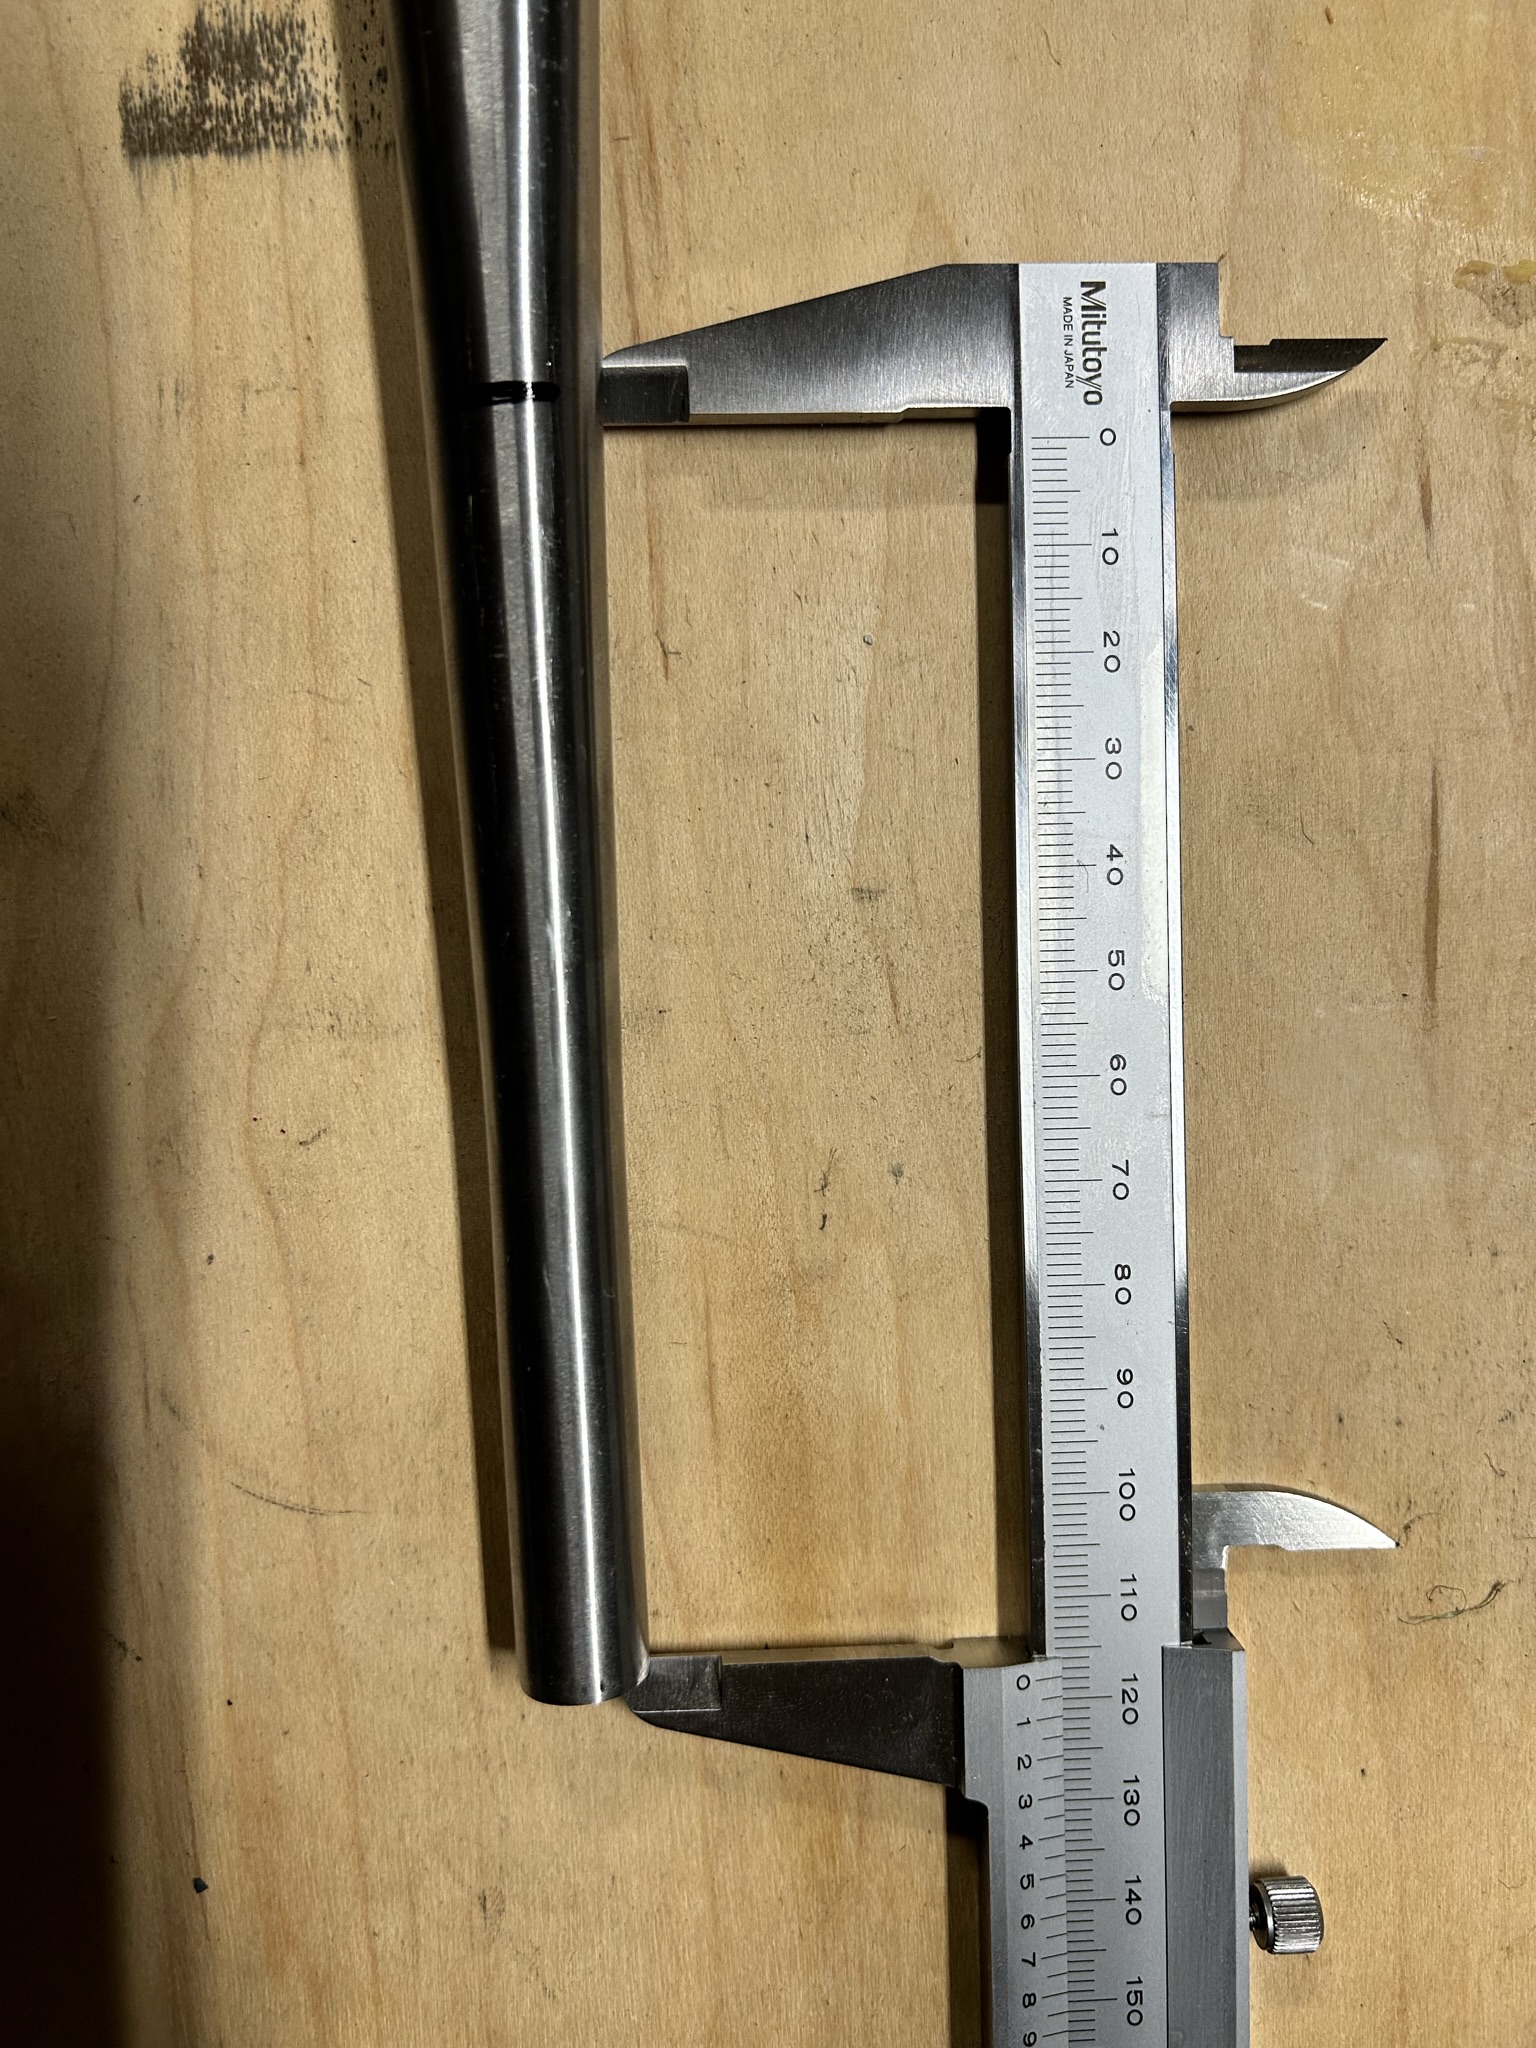
Yep, that is what I did but still, I will have to cut the chainstay where the black mark is and I am not sure if there the metal will be thick enough - is there any way to know short of checking butts? Because of the shape of this it’s impossible for me to use a butt-checker or something like that.
Is there wall thinckness info on these anywhere? Like what are you getting down too if you do cut into the thinner middle section?
Also, based on what otheres have said on this forum that seatube should be ok as it without a sleeve but it’s probably as thin as you’d wanna go on a cargo bike. That’s assuming you don’t have to ream out too much material after welding/brazing too…
It seems like next time you mighy be better using a MTB seattube next time. That way you can get a beefy enough top section without a topper. I’ve also found dropper posts on cargo bikes to be really handy and a 31.6 seatpost diameter would open up option there.
The Nova S-bend chain stays are called “Hyperlight” and should be “25.4 0.8/0.6” - that is as detailed as they get.
It seems except for the diameter, this seems to be the same, now, I know they are not but maybe with some luck the specs are identical at least for the butting of the tube
For the seat tube, I could order a different one, I also wanted a dropper but I had this one on hand, it seems it has a 1.2m thick end but I guess that goes BB side right?
All those parts were for a gravel bike or bought out of chance, just trying to recycle as much as possible here, within reason
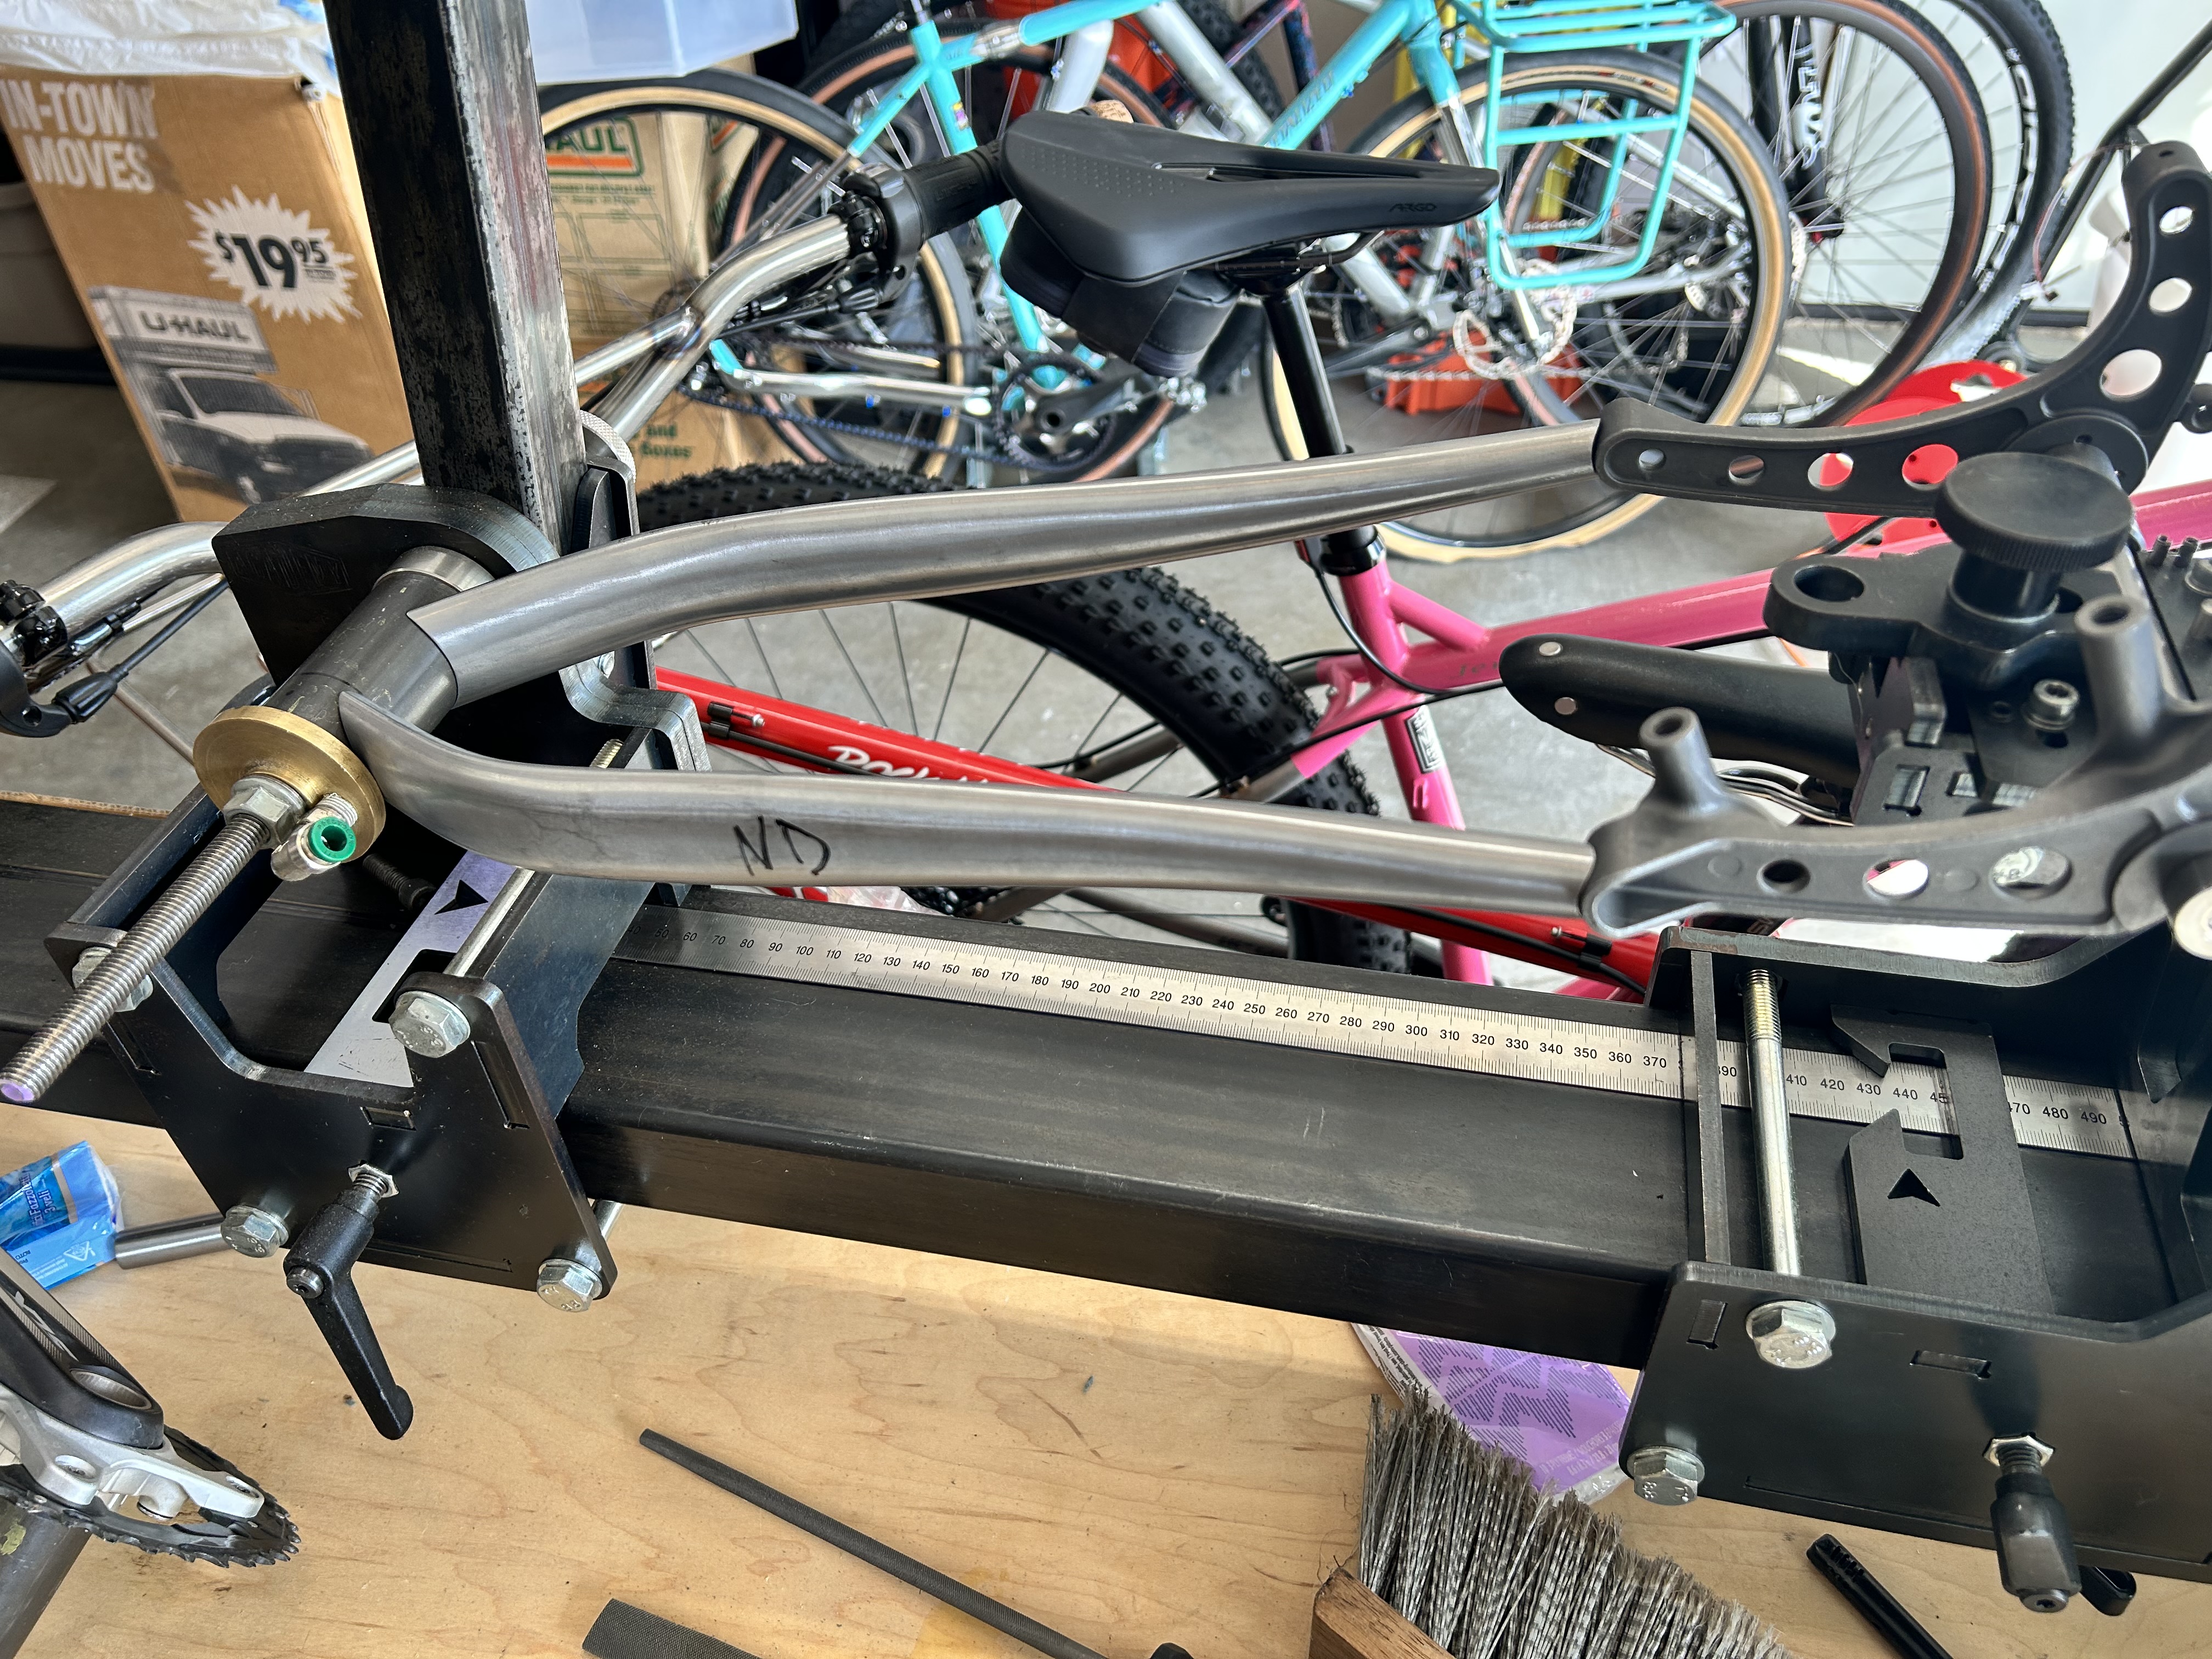
This weekend i should be able to weld the chain-stays, most of the design is eyeballing (no cad) and measuring my other bikes or using the actual wheel and crank to check clearances
I doubt those chainstays are butted, most likely straight gauge.
Have you checked your chainring clearance? Those chainstays look great giving you lots of tire clearance but looking awfully cramped for the crank’s chainring. Check your chain line again before you weld them on.
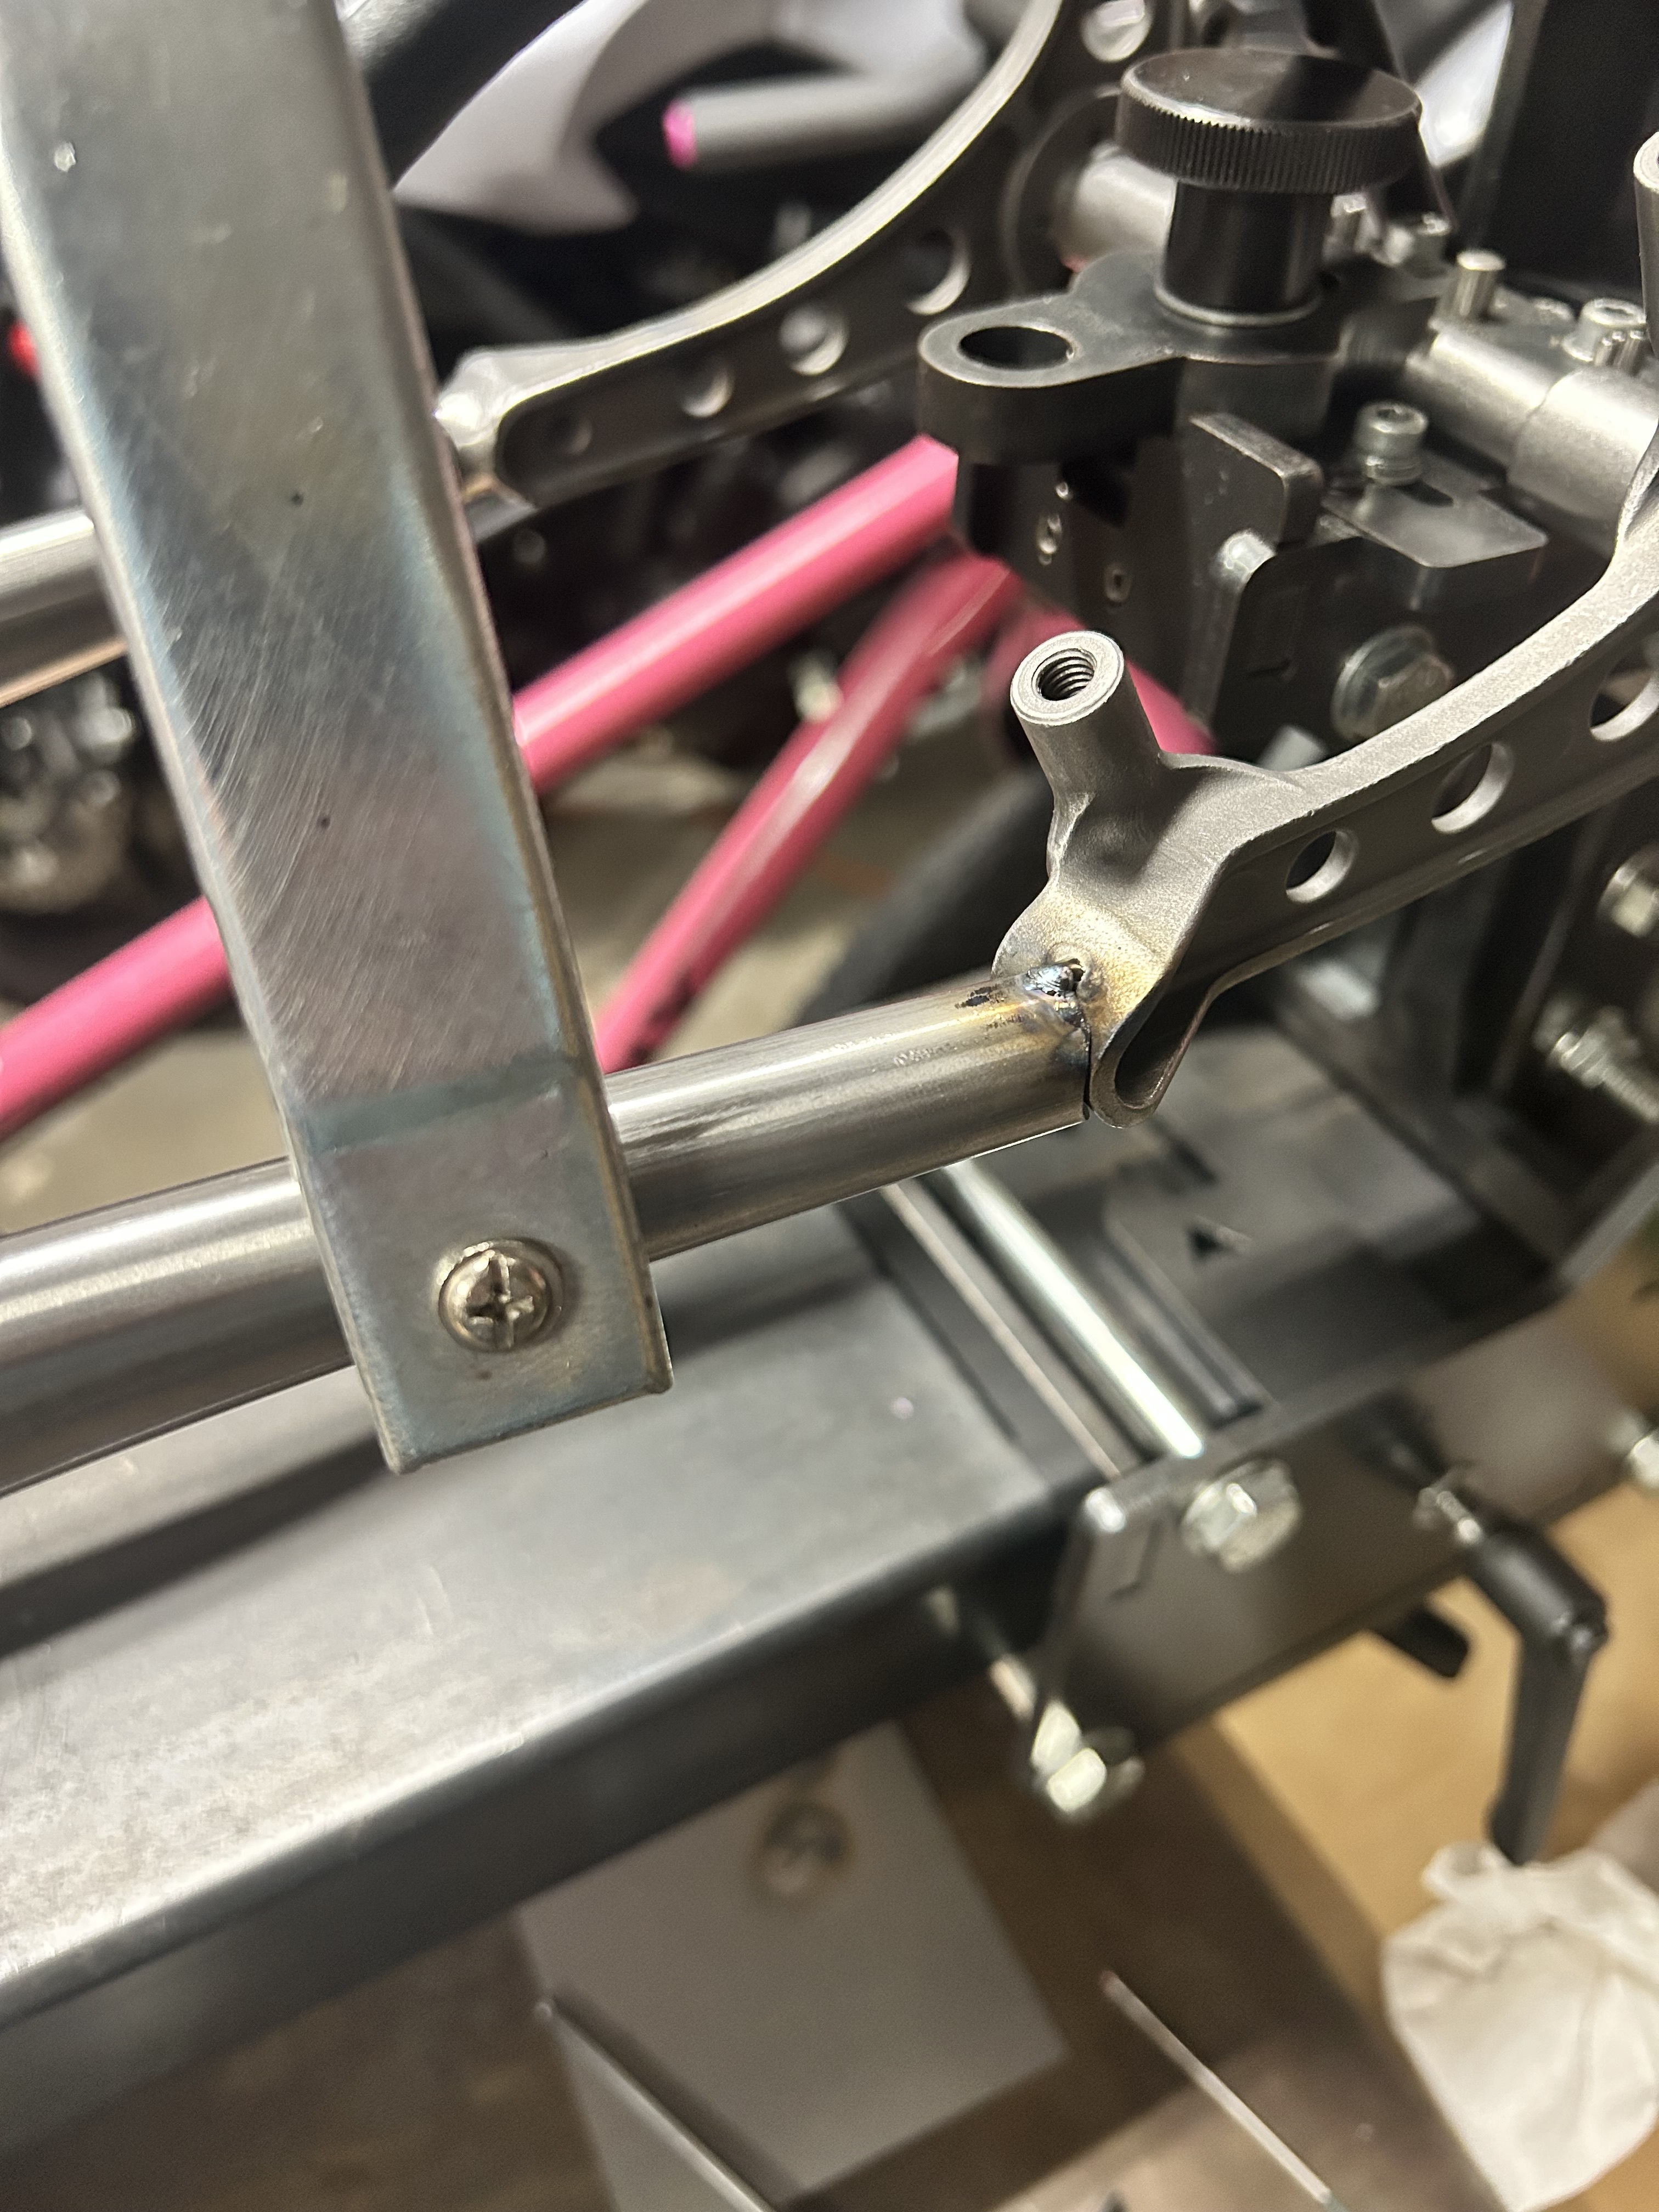
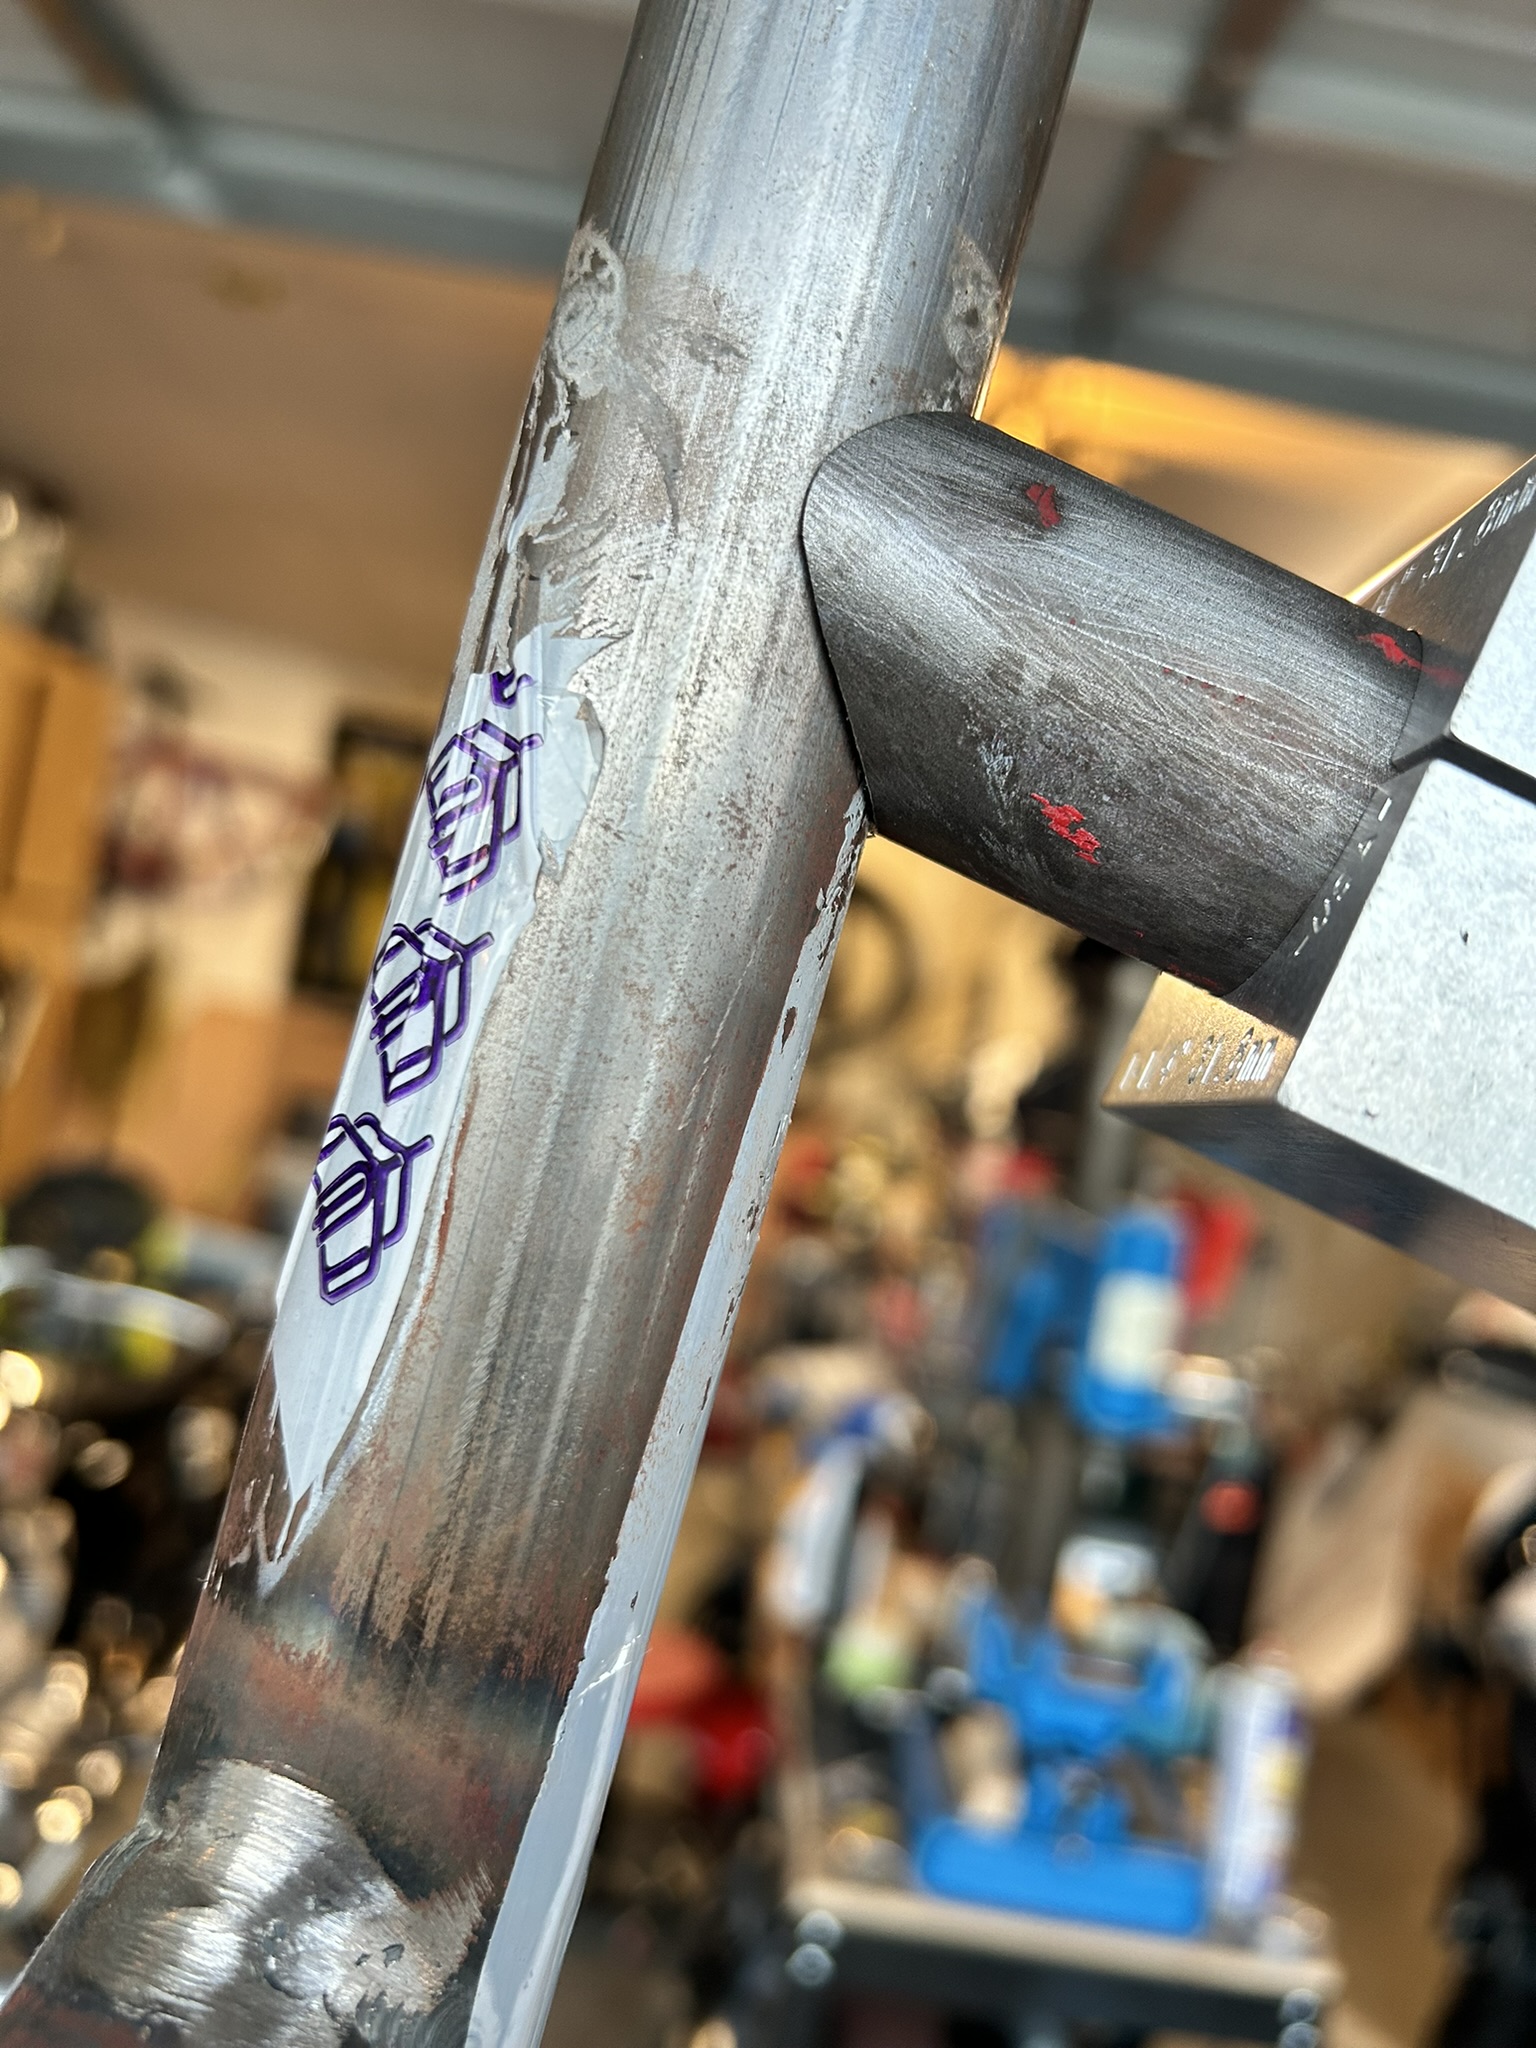
Sooo yes, a couple of issues, my SLX cranks with a 38t don’t fit, i plan to cut away a small piece and weld it reversed, like a notch.
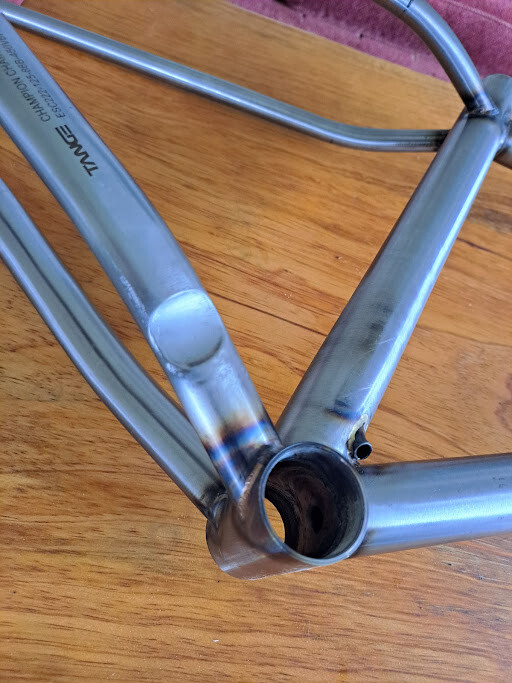
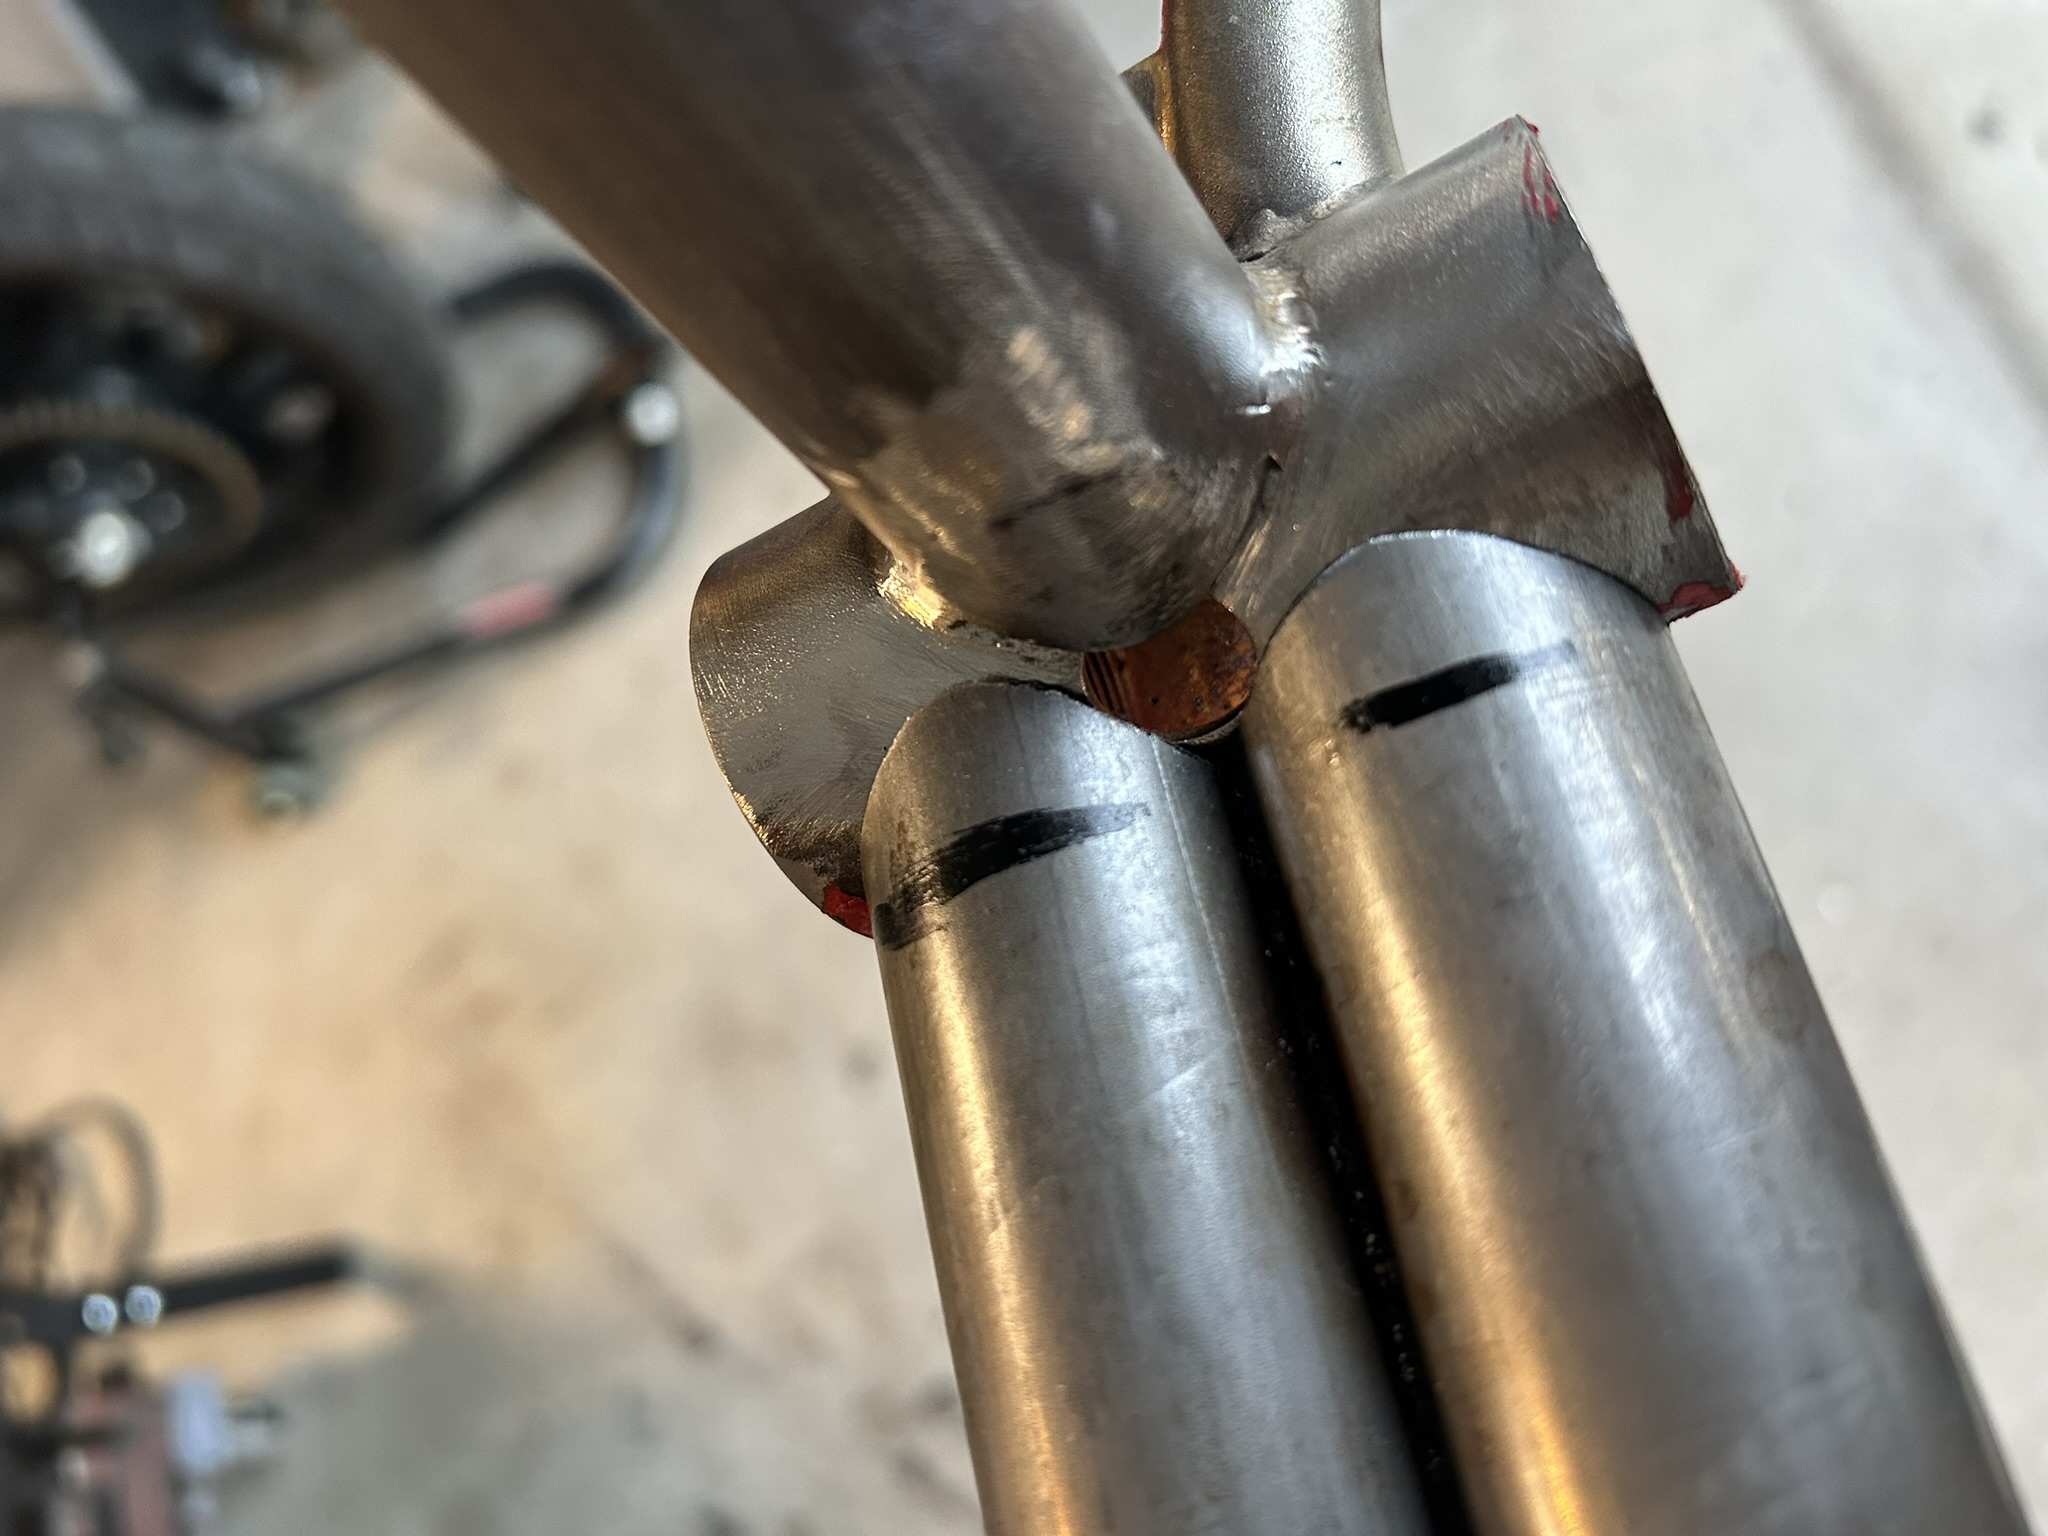
The #1 issue right now is that i have blown a hole in the BB…
What are my options? i can replace the BB or can i fill the hole with my tig and then re-thread it?
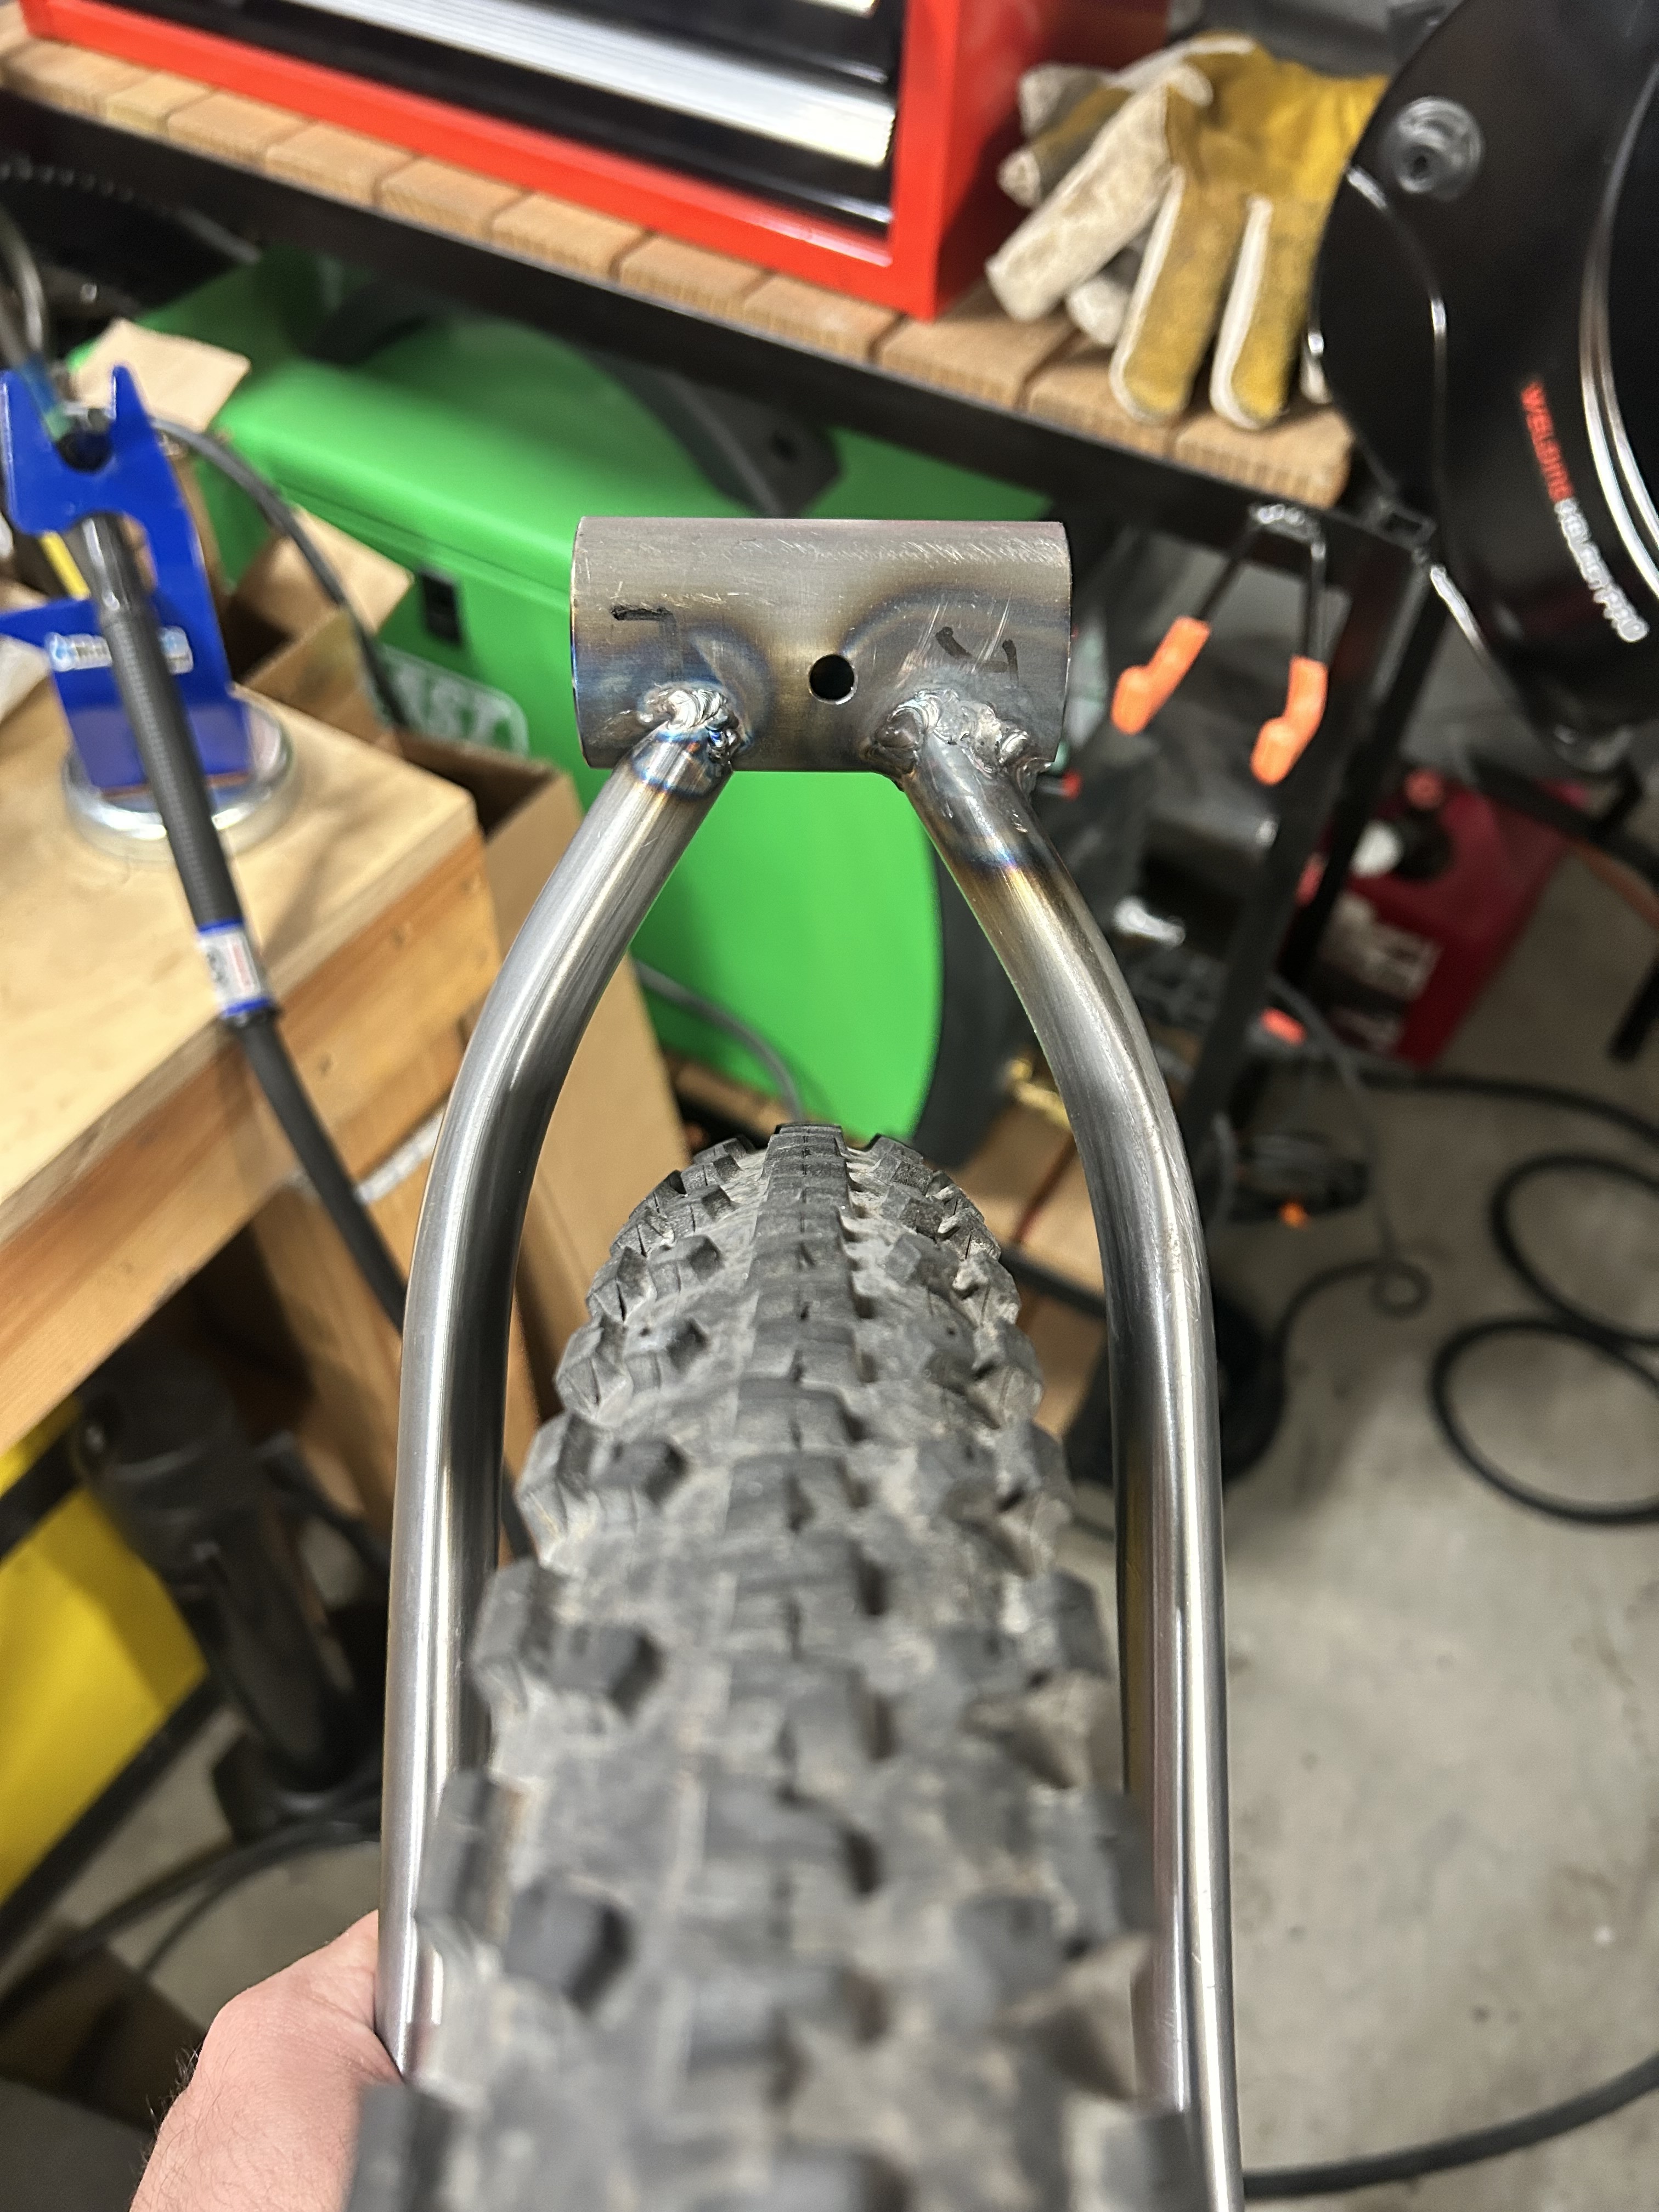
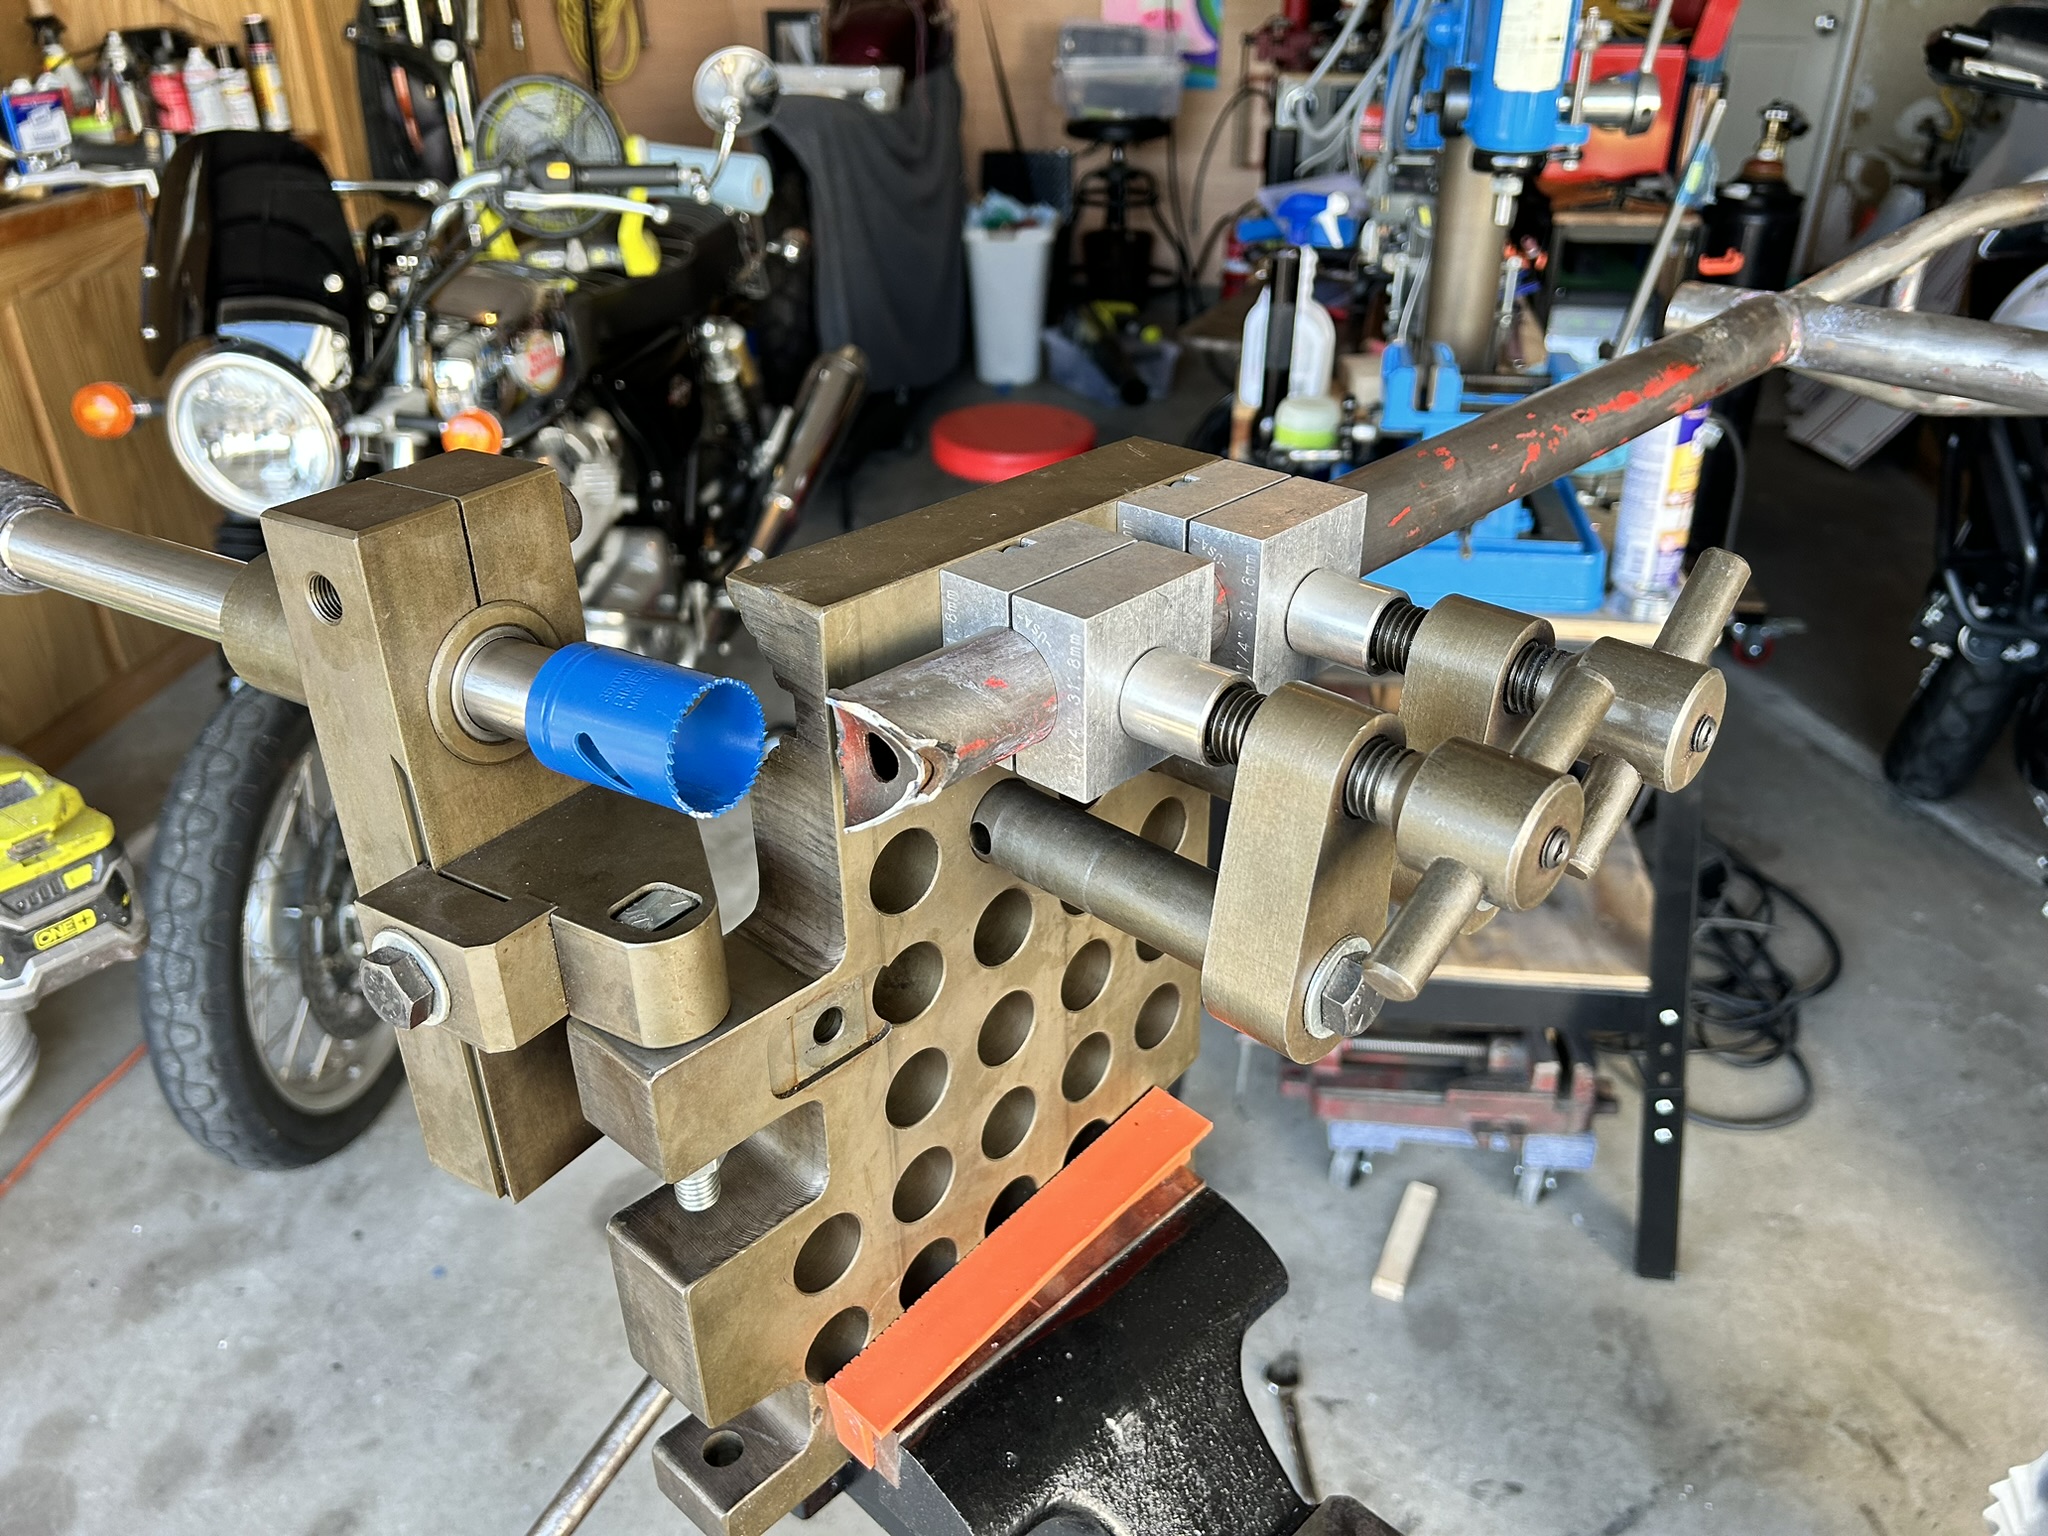
Here’s a clearance notch I did on a HT for my wife. I used a 31.8 holesaw to take the notch out. Then cut a patch piece out of a section of 31.8 straight gauge tube and welded it it and filed it all smooth.
Not sure what to do about the BB sorry, I haven’t had to cross that bridge yet. Not sure how well the taps will hold up to heat cycled 4130, I blunted my head tube reamer when I overheated a head tube weld and it must have left a hard spot on the inside of the headtube. Fortunately it was far enough in that I had already cut enough to get the headset cup fully seated.
Replaced the BB shell, did a better job but put too much heat in certain parts and it melted the threads in some spots, I think I can continue and I will either re-thread the BB or ground down those spots…
I may have exaggerated with the tyre clearance, that is a 2.25in, i could have taken the chainstays closer to the center and have less chainring clearance issues and less of a chance to mess the bb threads… Live and learn i guess!
EDIT:
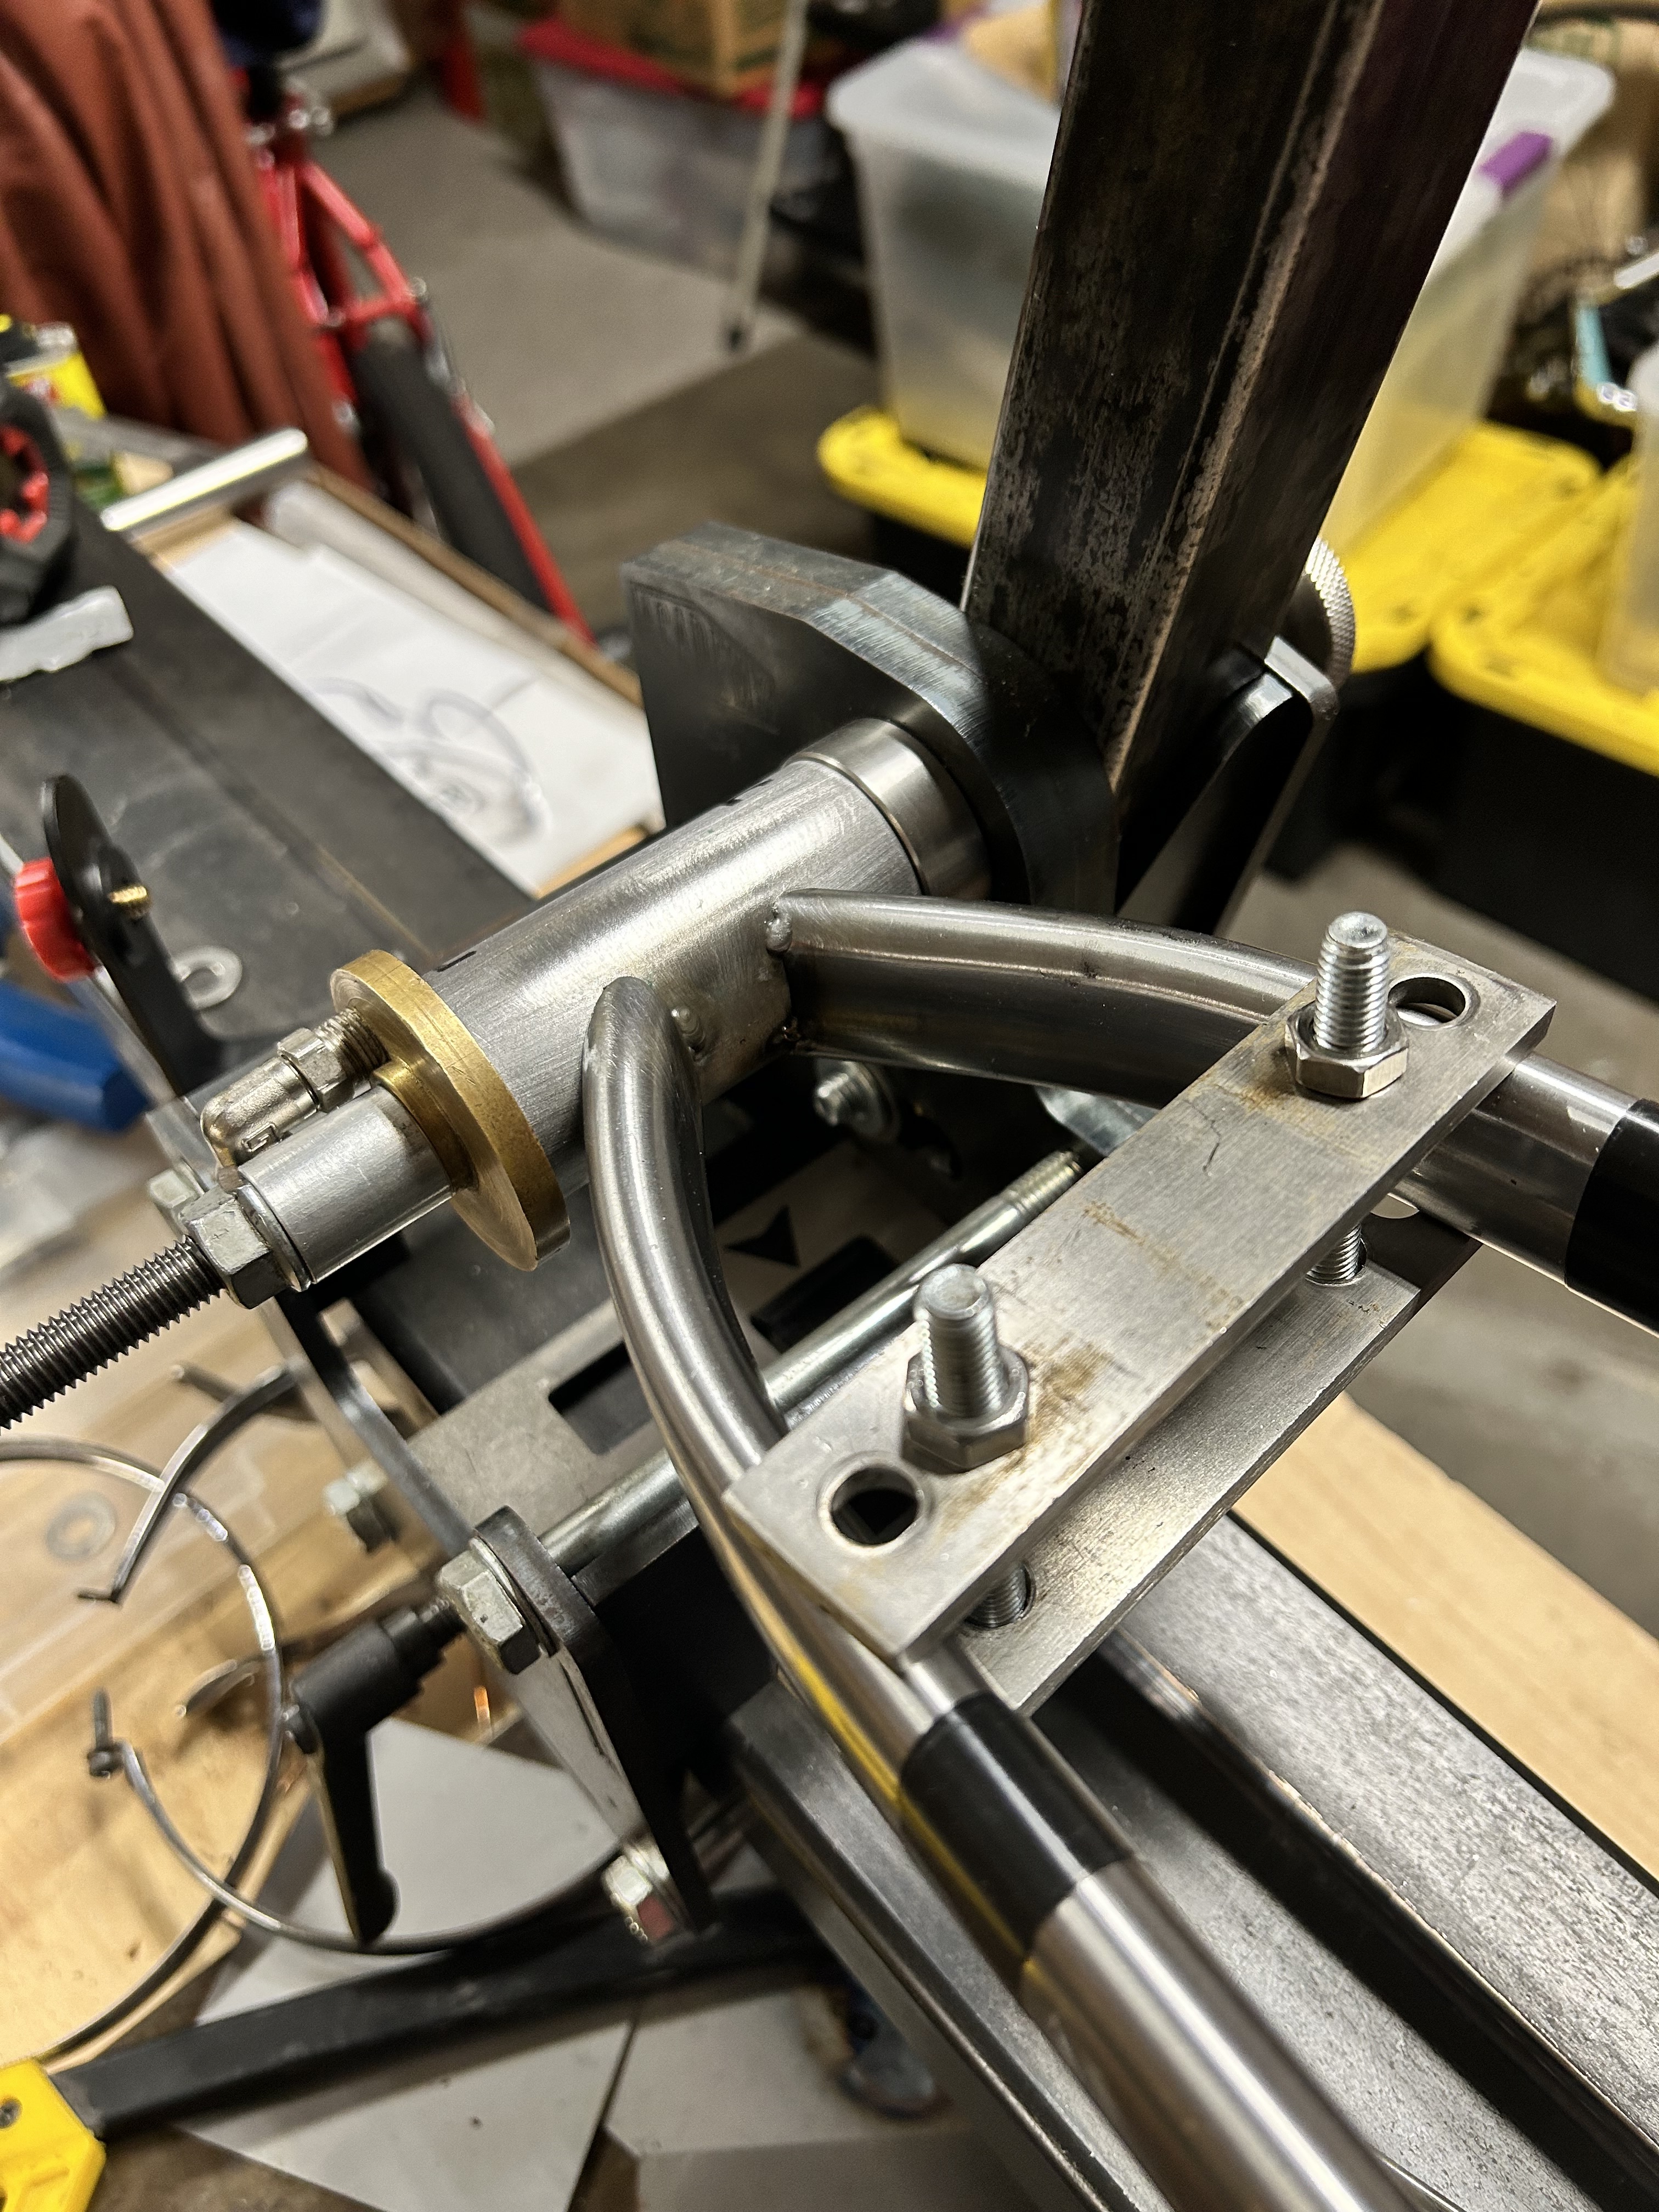
I blew a hole in the chainstay near the BB on my last weld…
I guess someone will need to start from scratch, I’ll hang this one somewhere in the garage maybe one day I’ll do some art out of it.
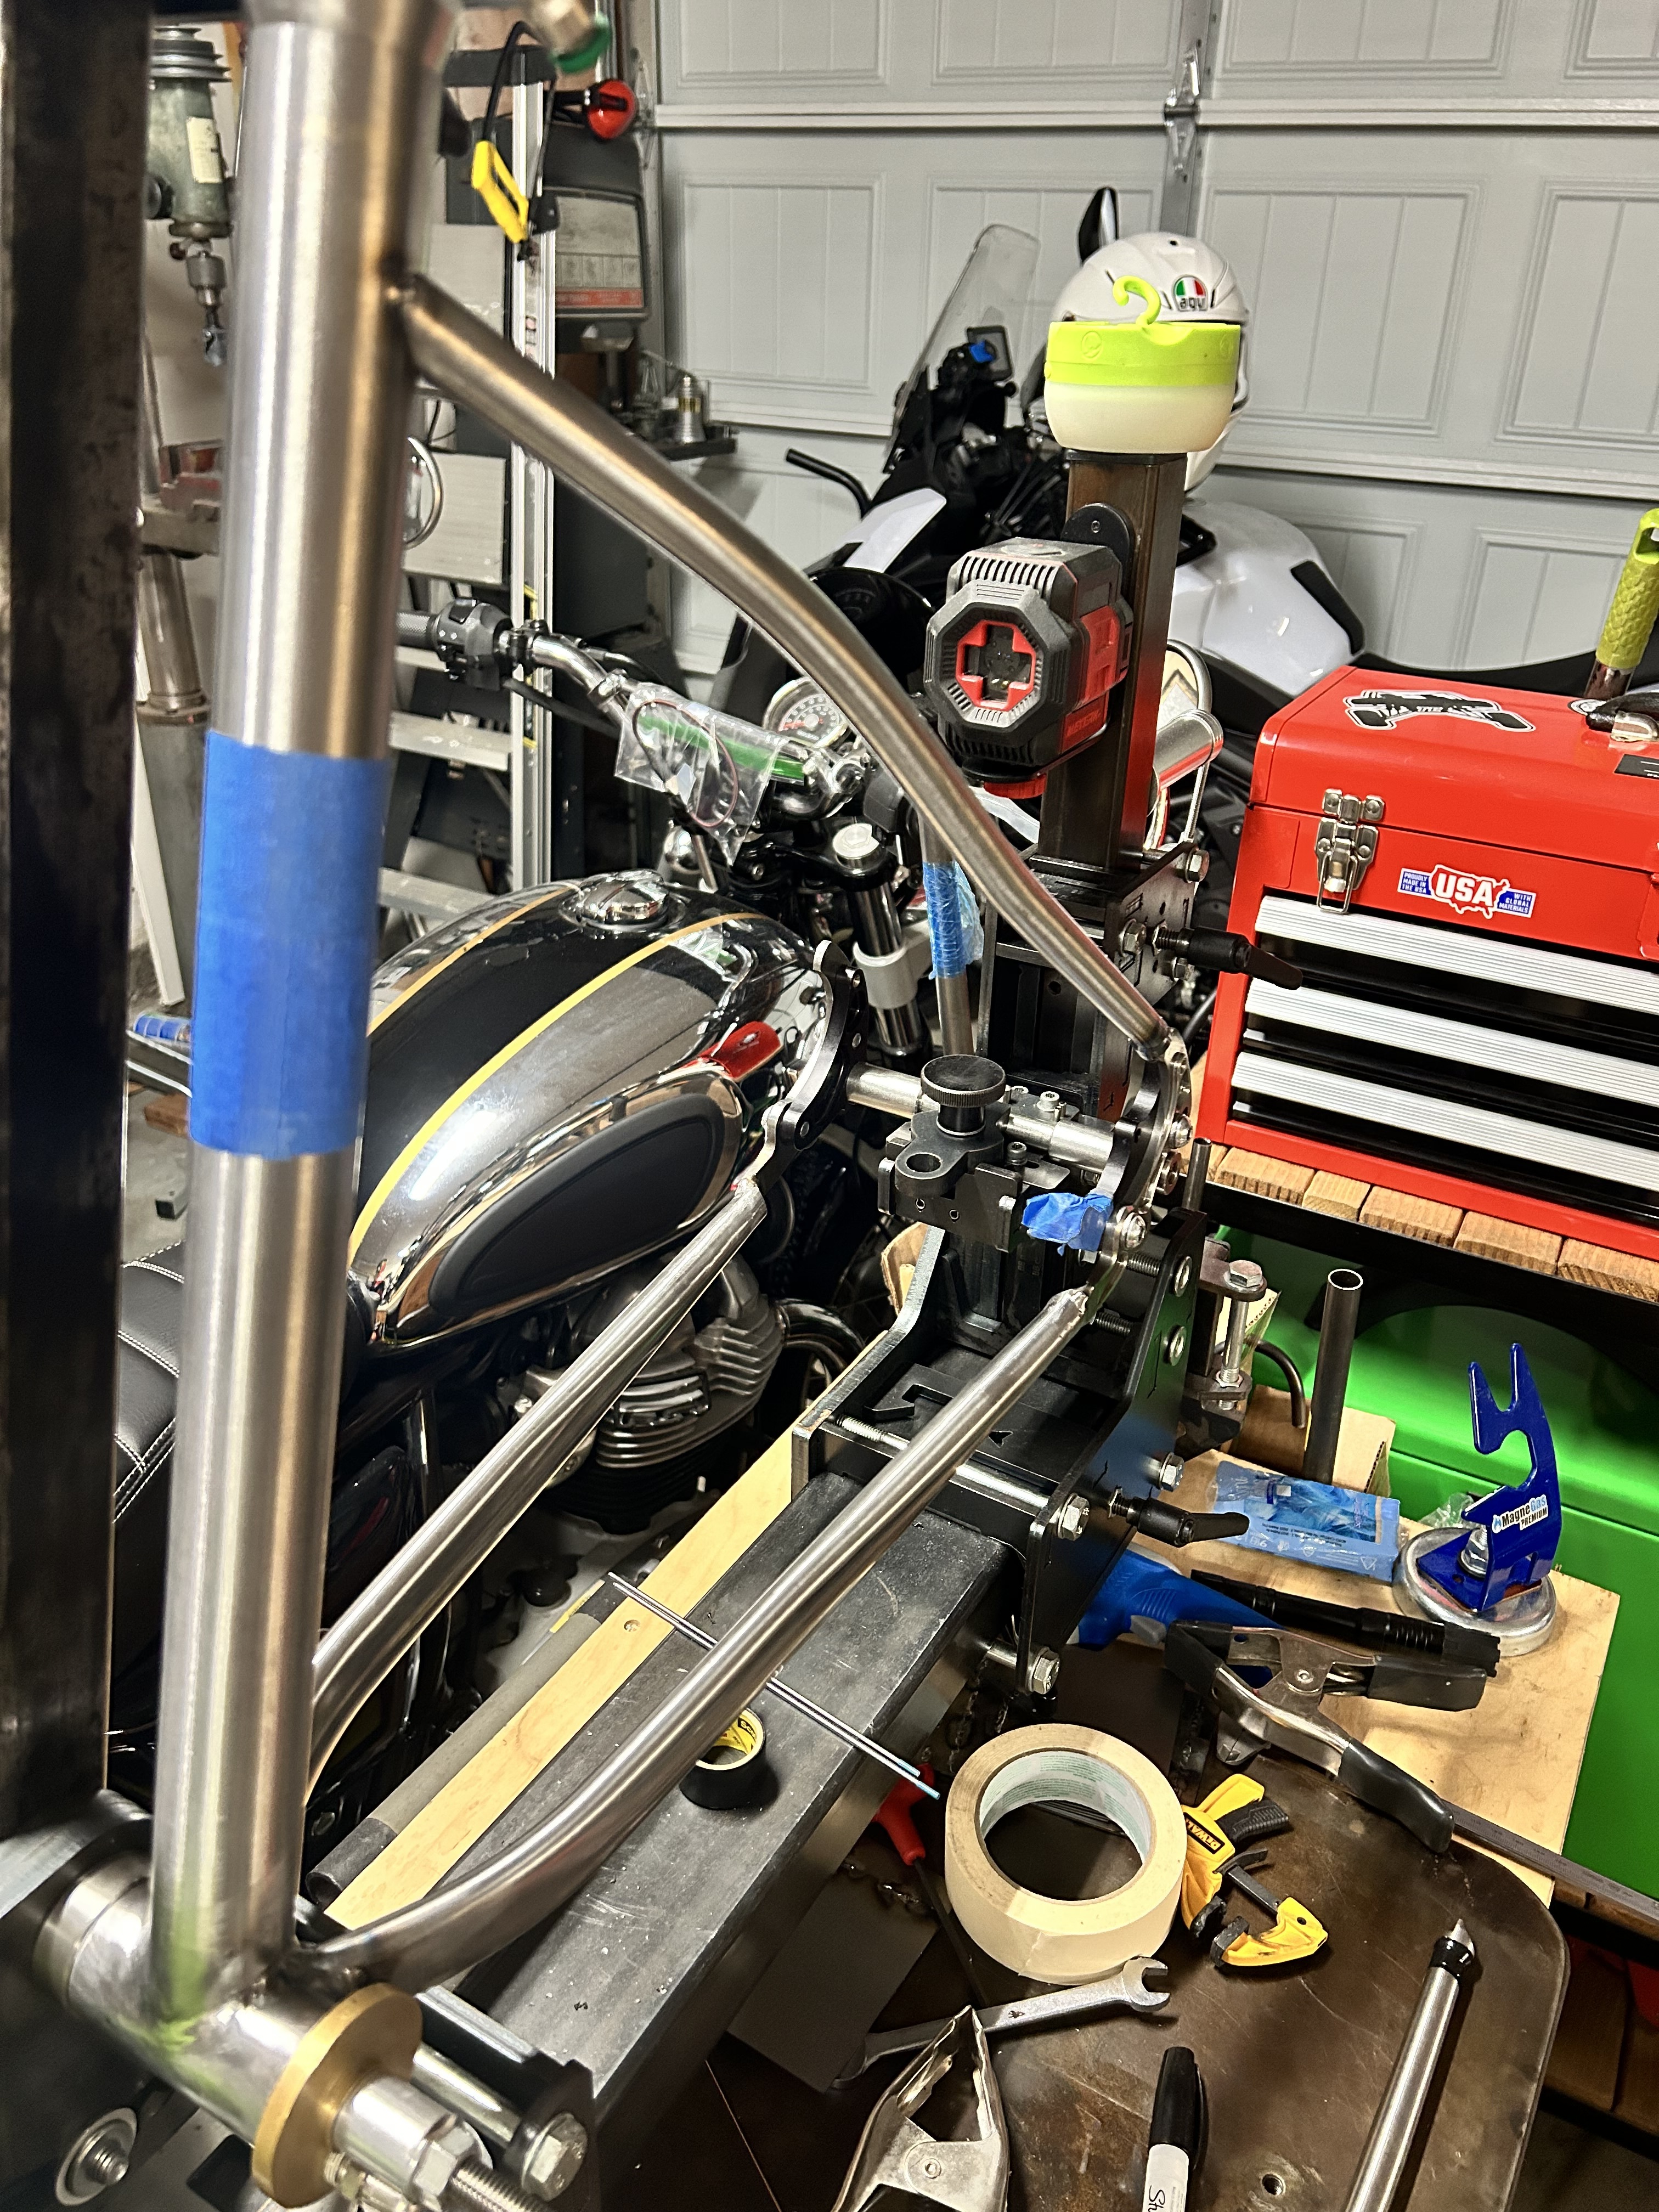
Update, I am getting some new tooling to actually notch the huge downtube on the front rack and I am having some doubts:
I have build a 29+ rear triangle with sliding dropouts and a 31.6in seat tube (17in C-T) but I was doing some calculation and I wonder if it’s better to use a 26in wheel instead… On that regard I have found an 1999 Gary Fisher mtb frame with the Genesis geo, it very closely matches the 2015 geo of the Surly 1x1 as angles go but that’s not the point, the main issue is that the seat tube is 15.75in (C-T) and I feel it’s a little too small for me (5-9), that per-se would not be a problem as I like to have a long seat post but the doubt I have is that it will be not rigid enough given the very short ST and that I may crack the tube. With that frame my seatpost extends 8.5 in after the end of the ST.
Anyhow, it’s done, close enough for who it’s for… I always thought that the donor frame I am using was a little too short and now that I see it propped up… I wonder if I should cut up my other donor frame, I hate to waste this one thought…