Designing a bike for tall people

Hi everyone,

since there are quite a few (other) tall poeple here, I hope I’m in a good place for this question.

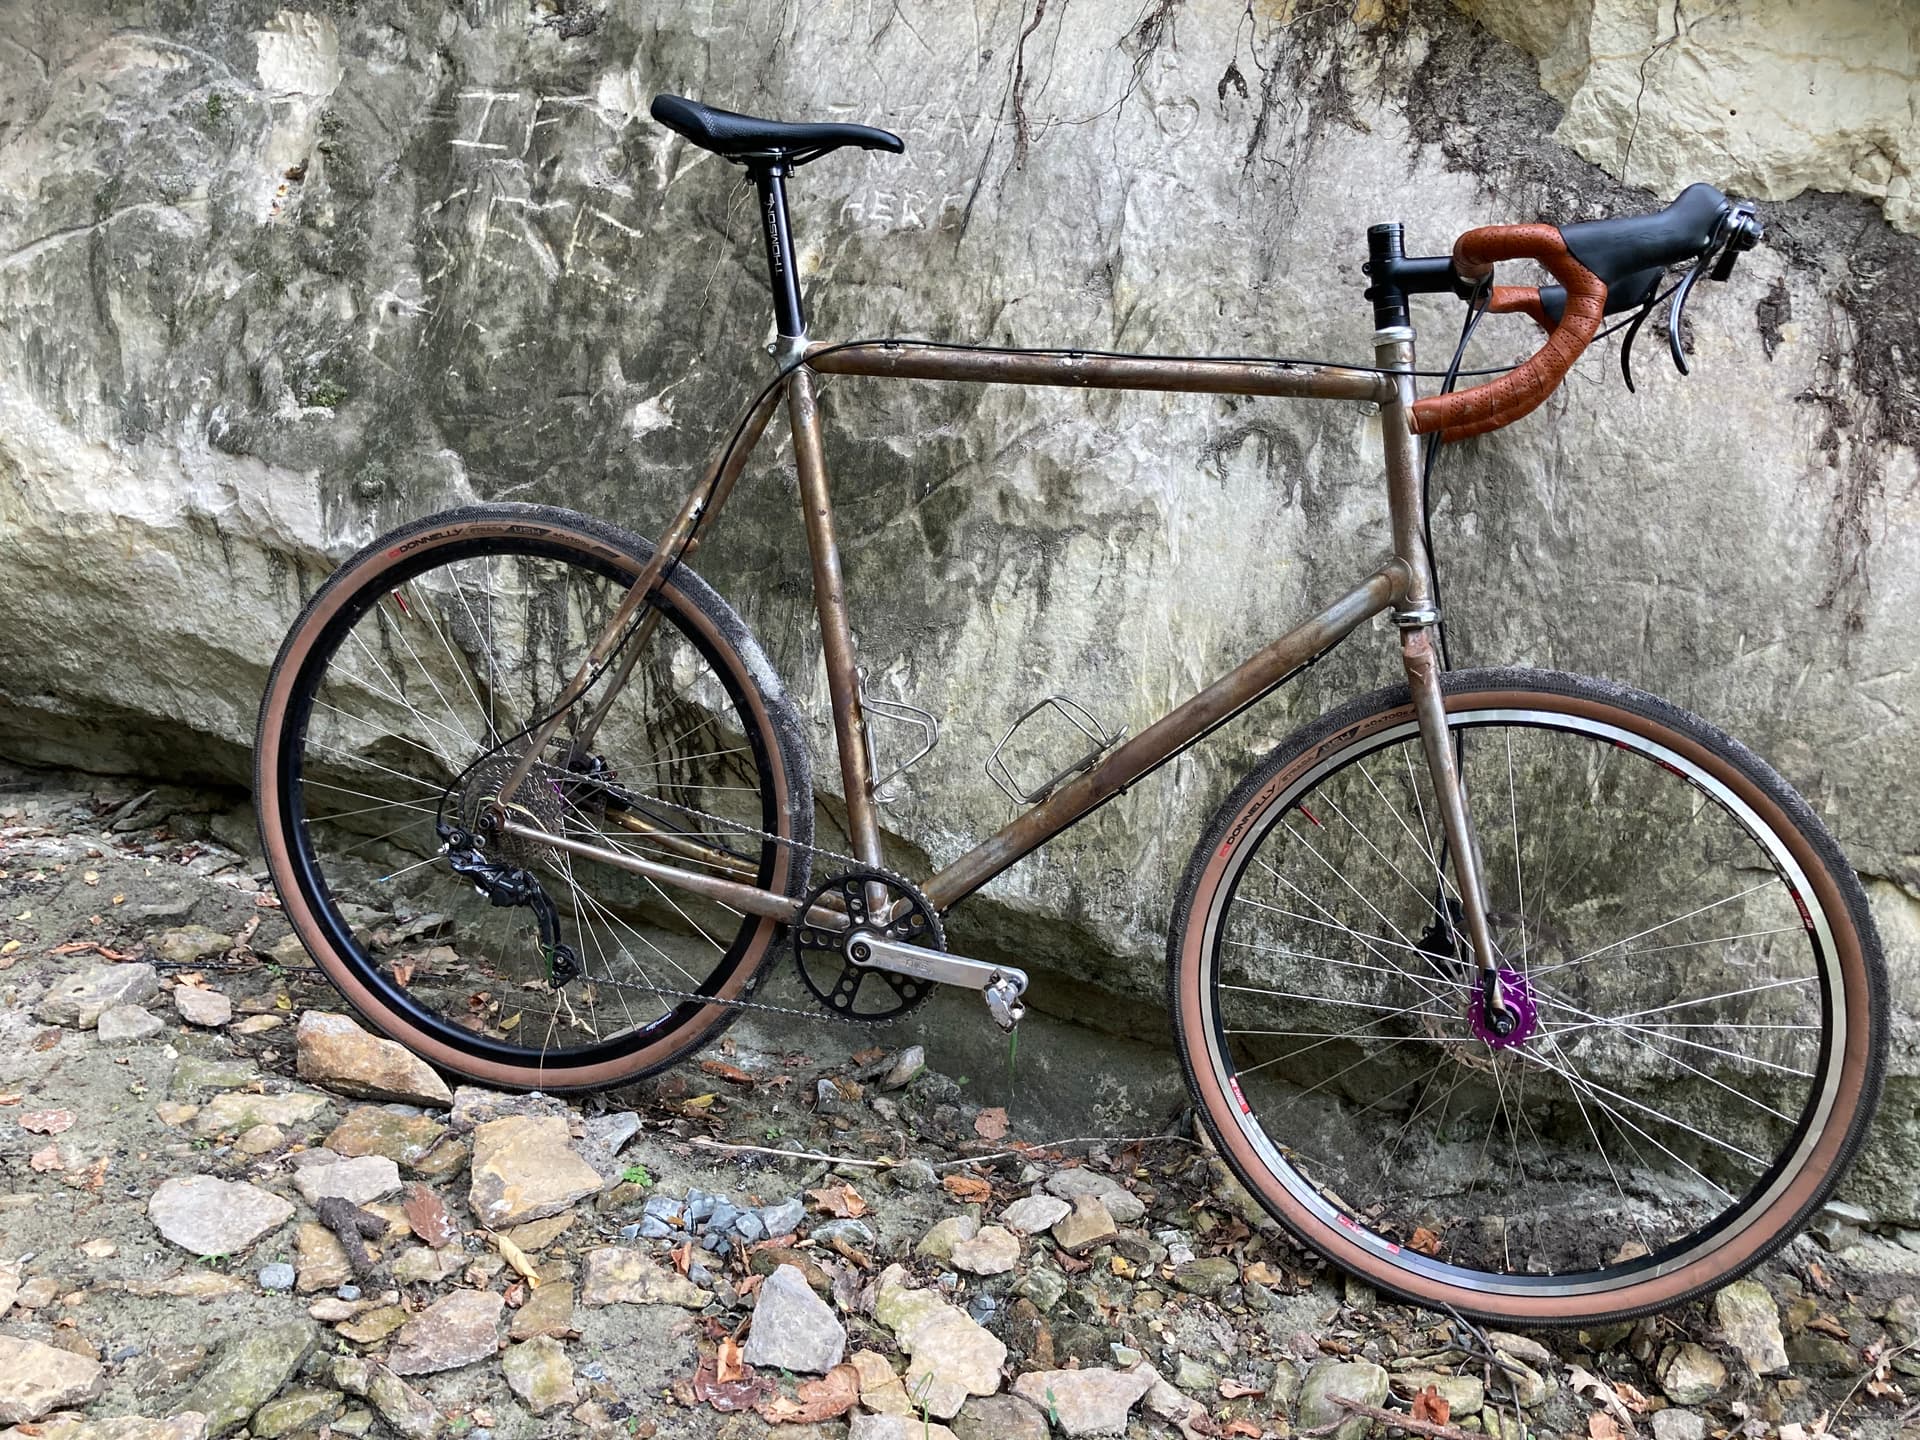
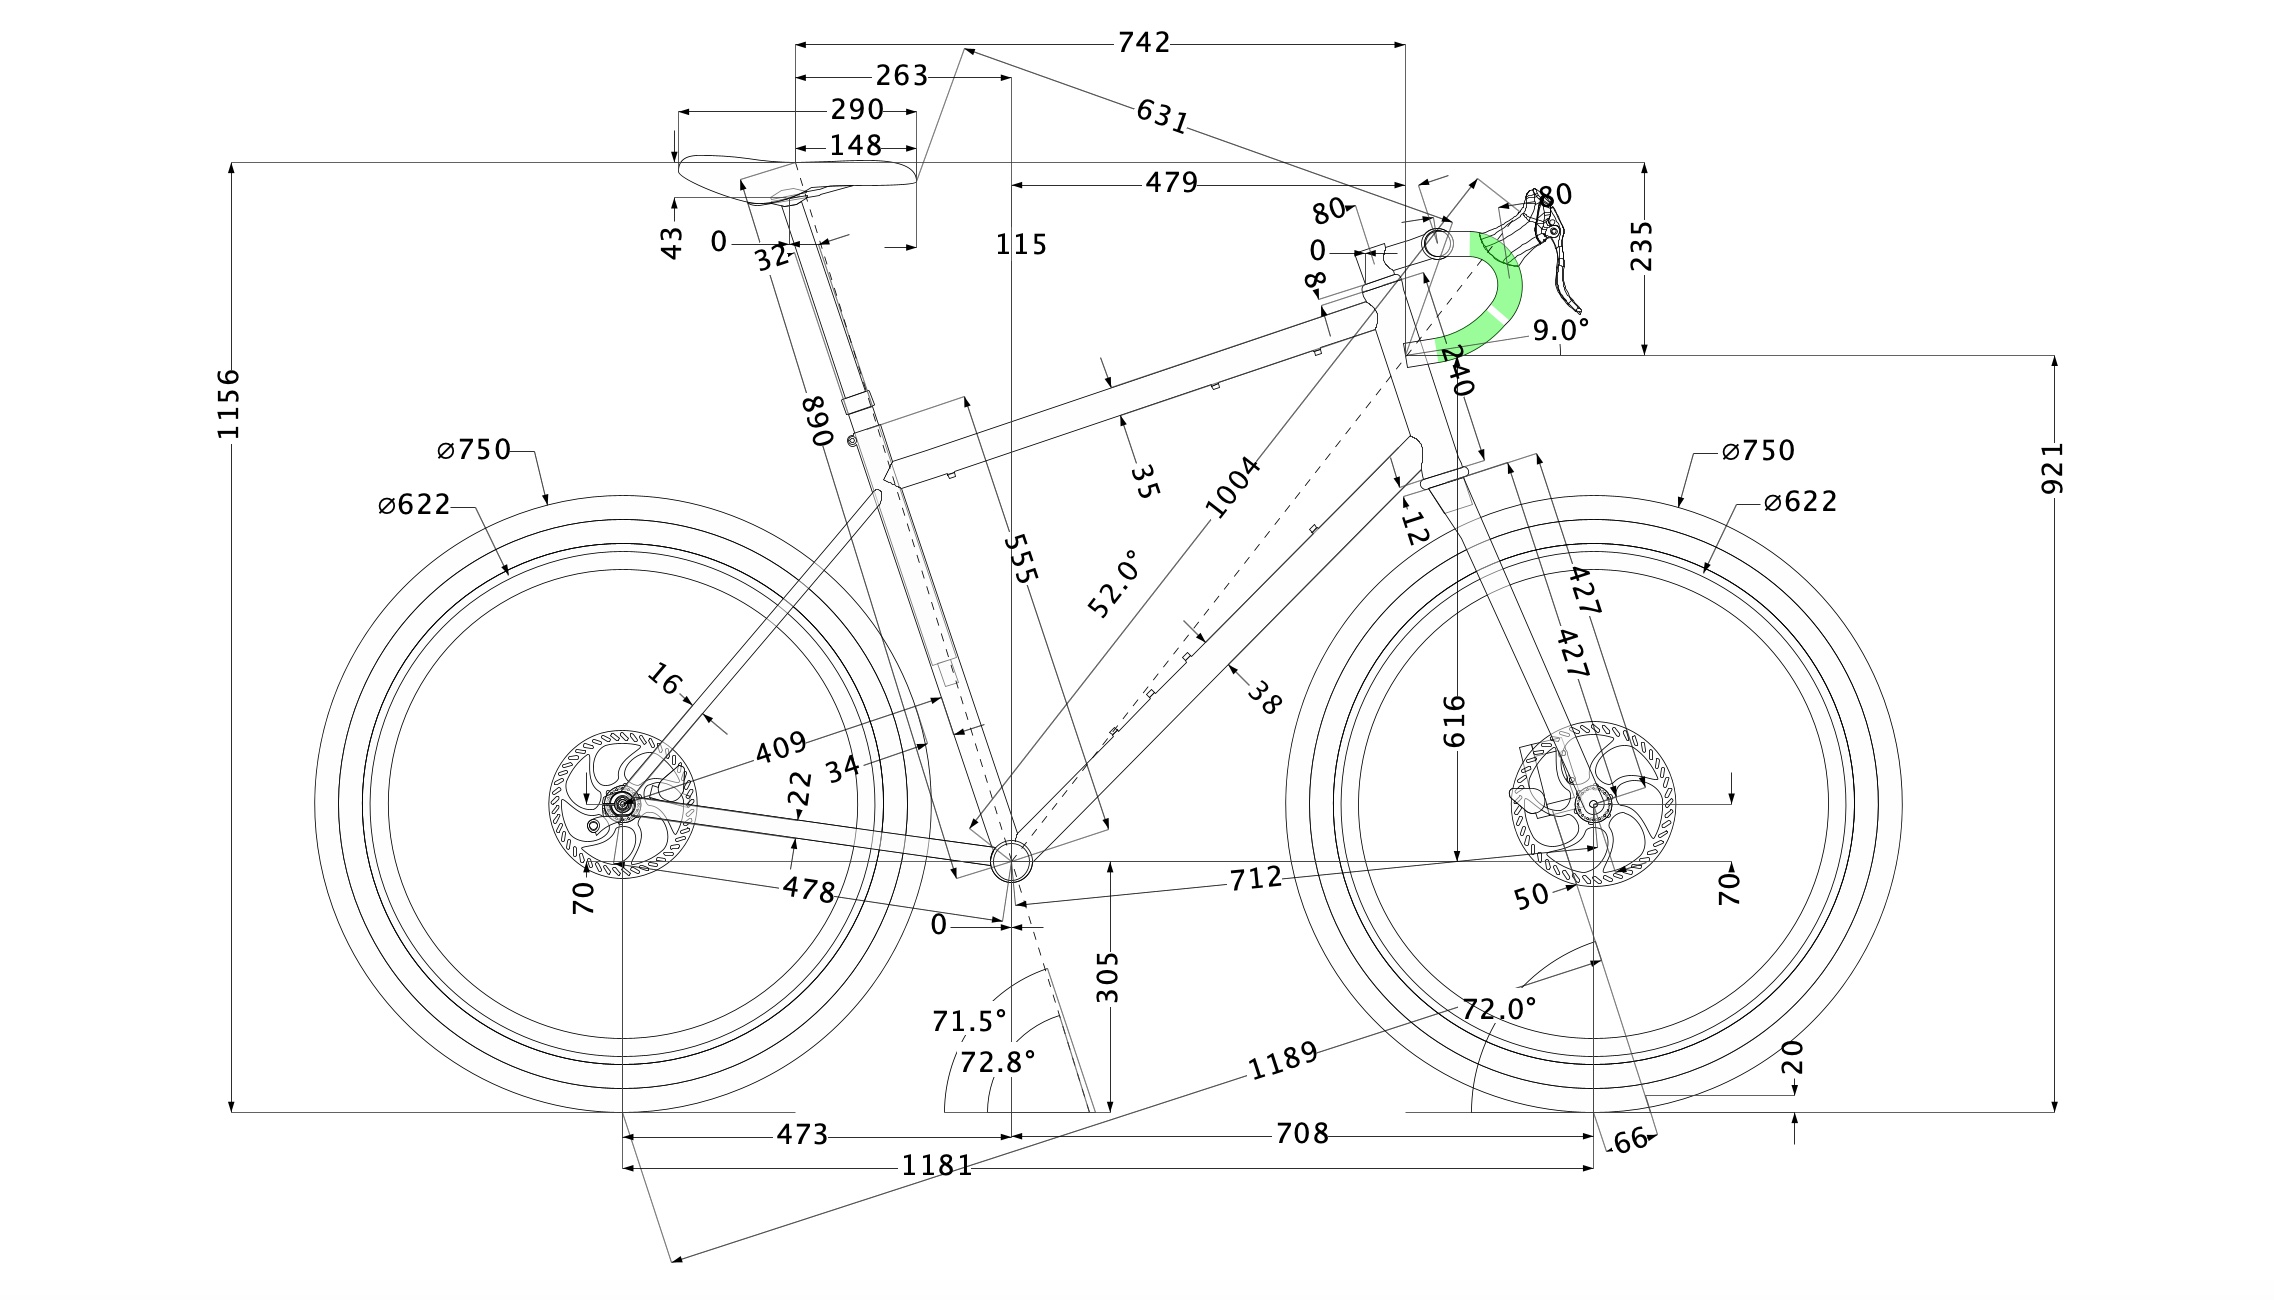
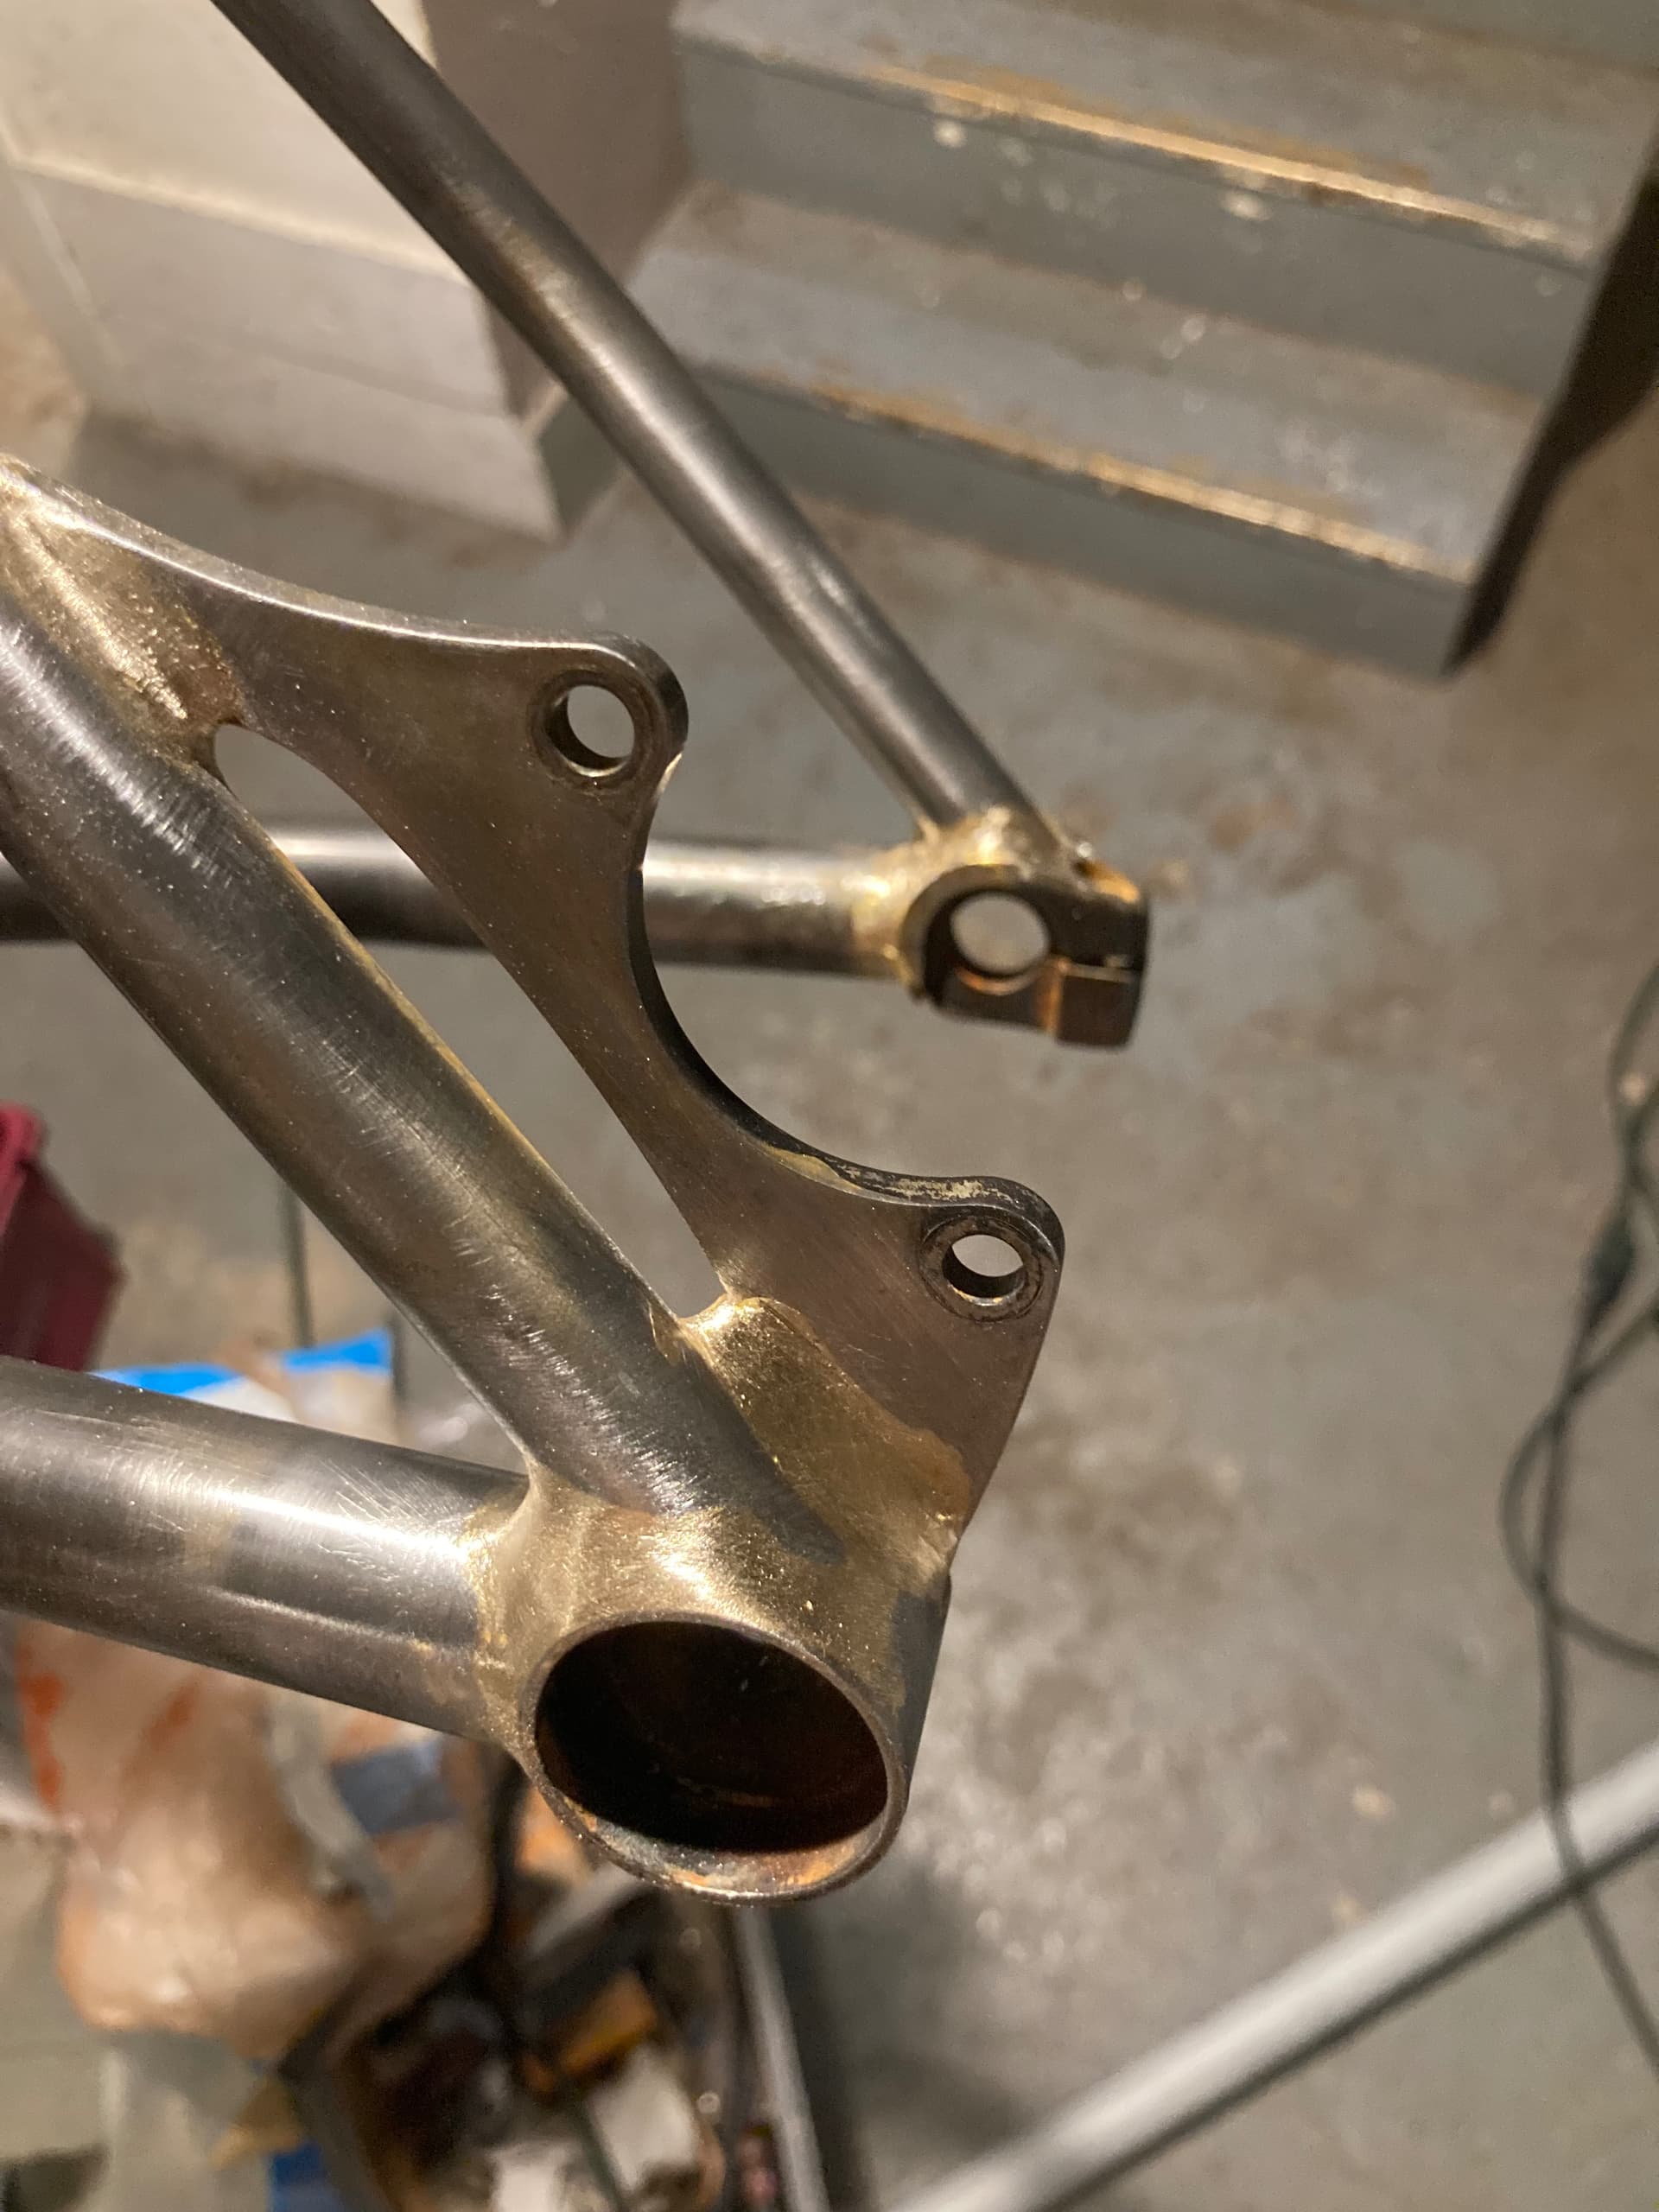
I’m currently in the process of designing my first frame. For sketching out my geometry, I used guy153’s CAD, and implemented a visualization for the center of gravity (red circle in the sketch below). The frame should build into a light touring/gravelish bike. Not for racing, not for expeditions. More like a bike for weekend trips with 50/50 gravel/paved.

About me: I’m 201cm tall, and have an inseam height of around 101cm, so most of my height comes from my legs.

As I have very little experience with bikefit or doing frame proportions, I’m running a problem: I read, that the distribution of weight should be around 40-45% front wheel, and 55-60% rear wheel. How Important is this, and how narrow is the “correct” window? And, when building a bike for someone like me, how do I achieve this?

Something I can really feel is a tendency to wheelie when going uphill with my current bike (where I have around 66% rear - 34% front). Also I feel like the steering is too nimble, however I have never ridden a bike that is my size and steers more stable..

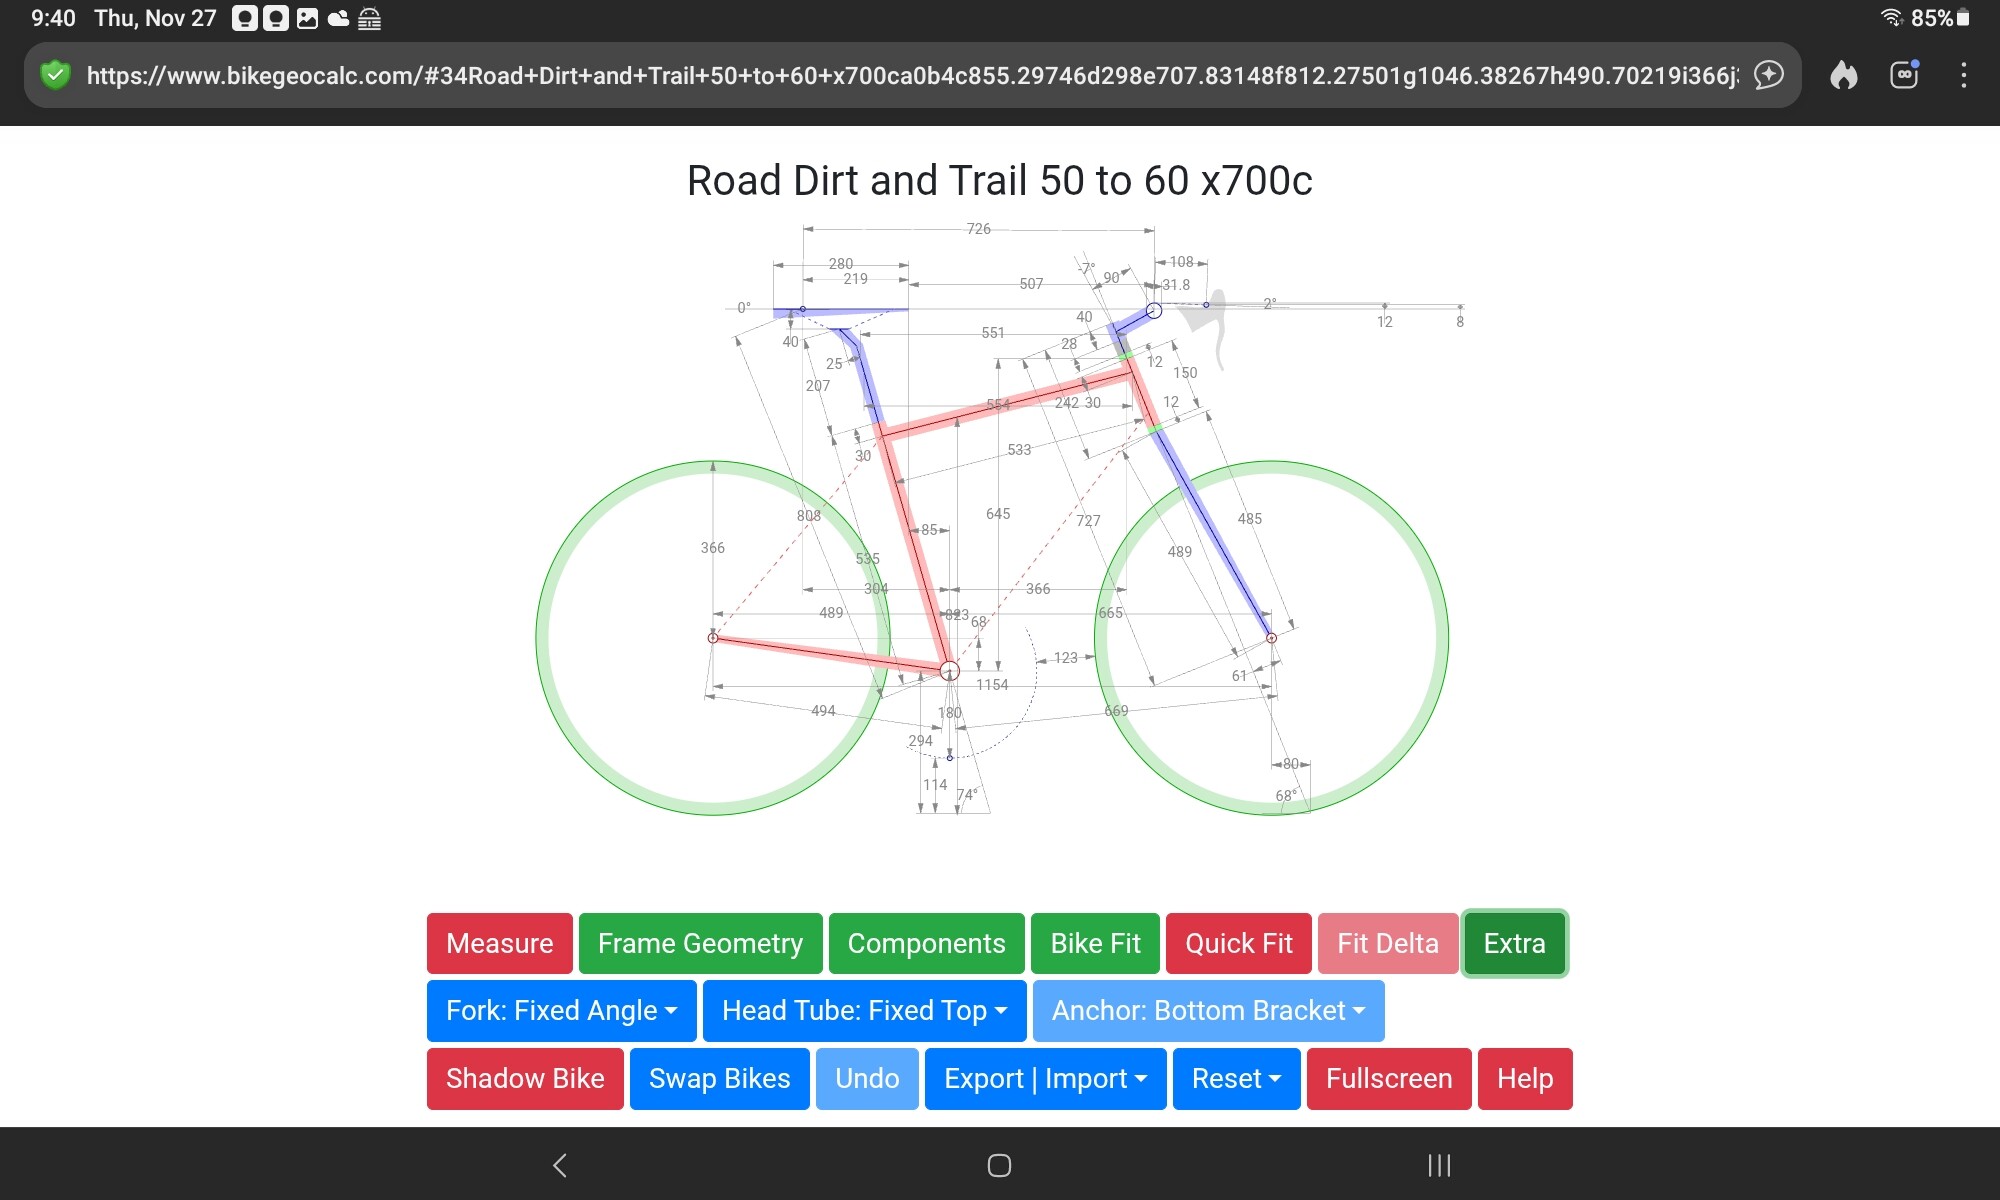
My intuitive way would be, to steepen the STA and to lengthen the chainstays. If I tune these numbers for this 40/60 weight distribution, I get to this draft:

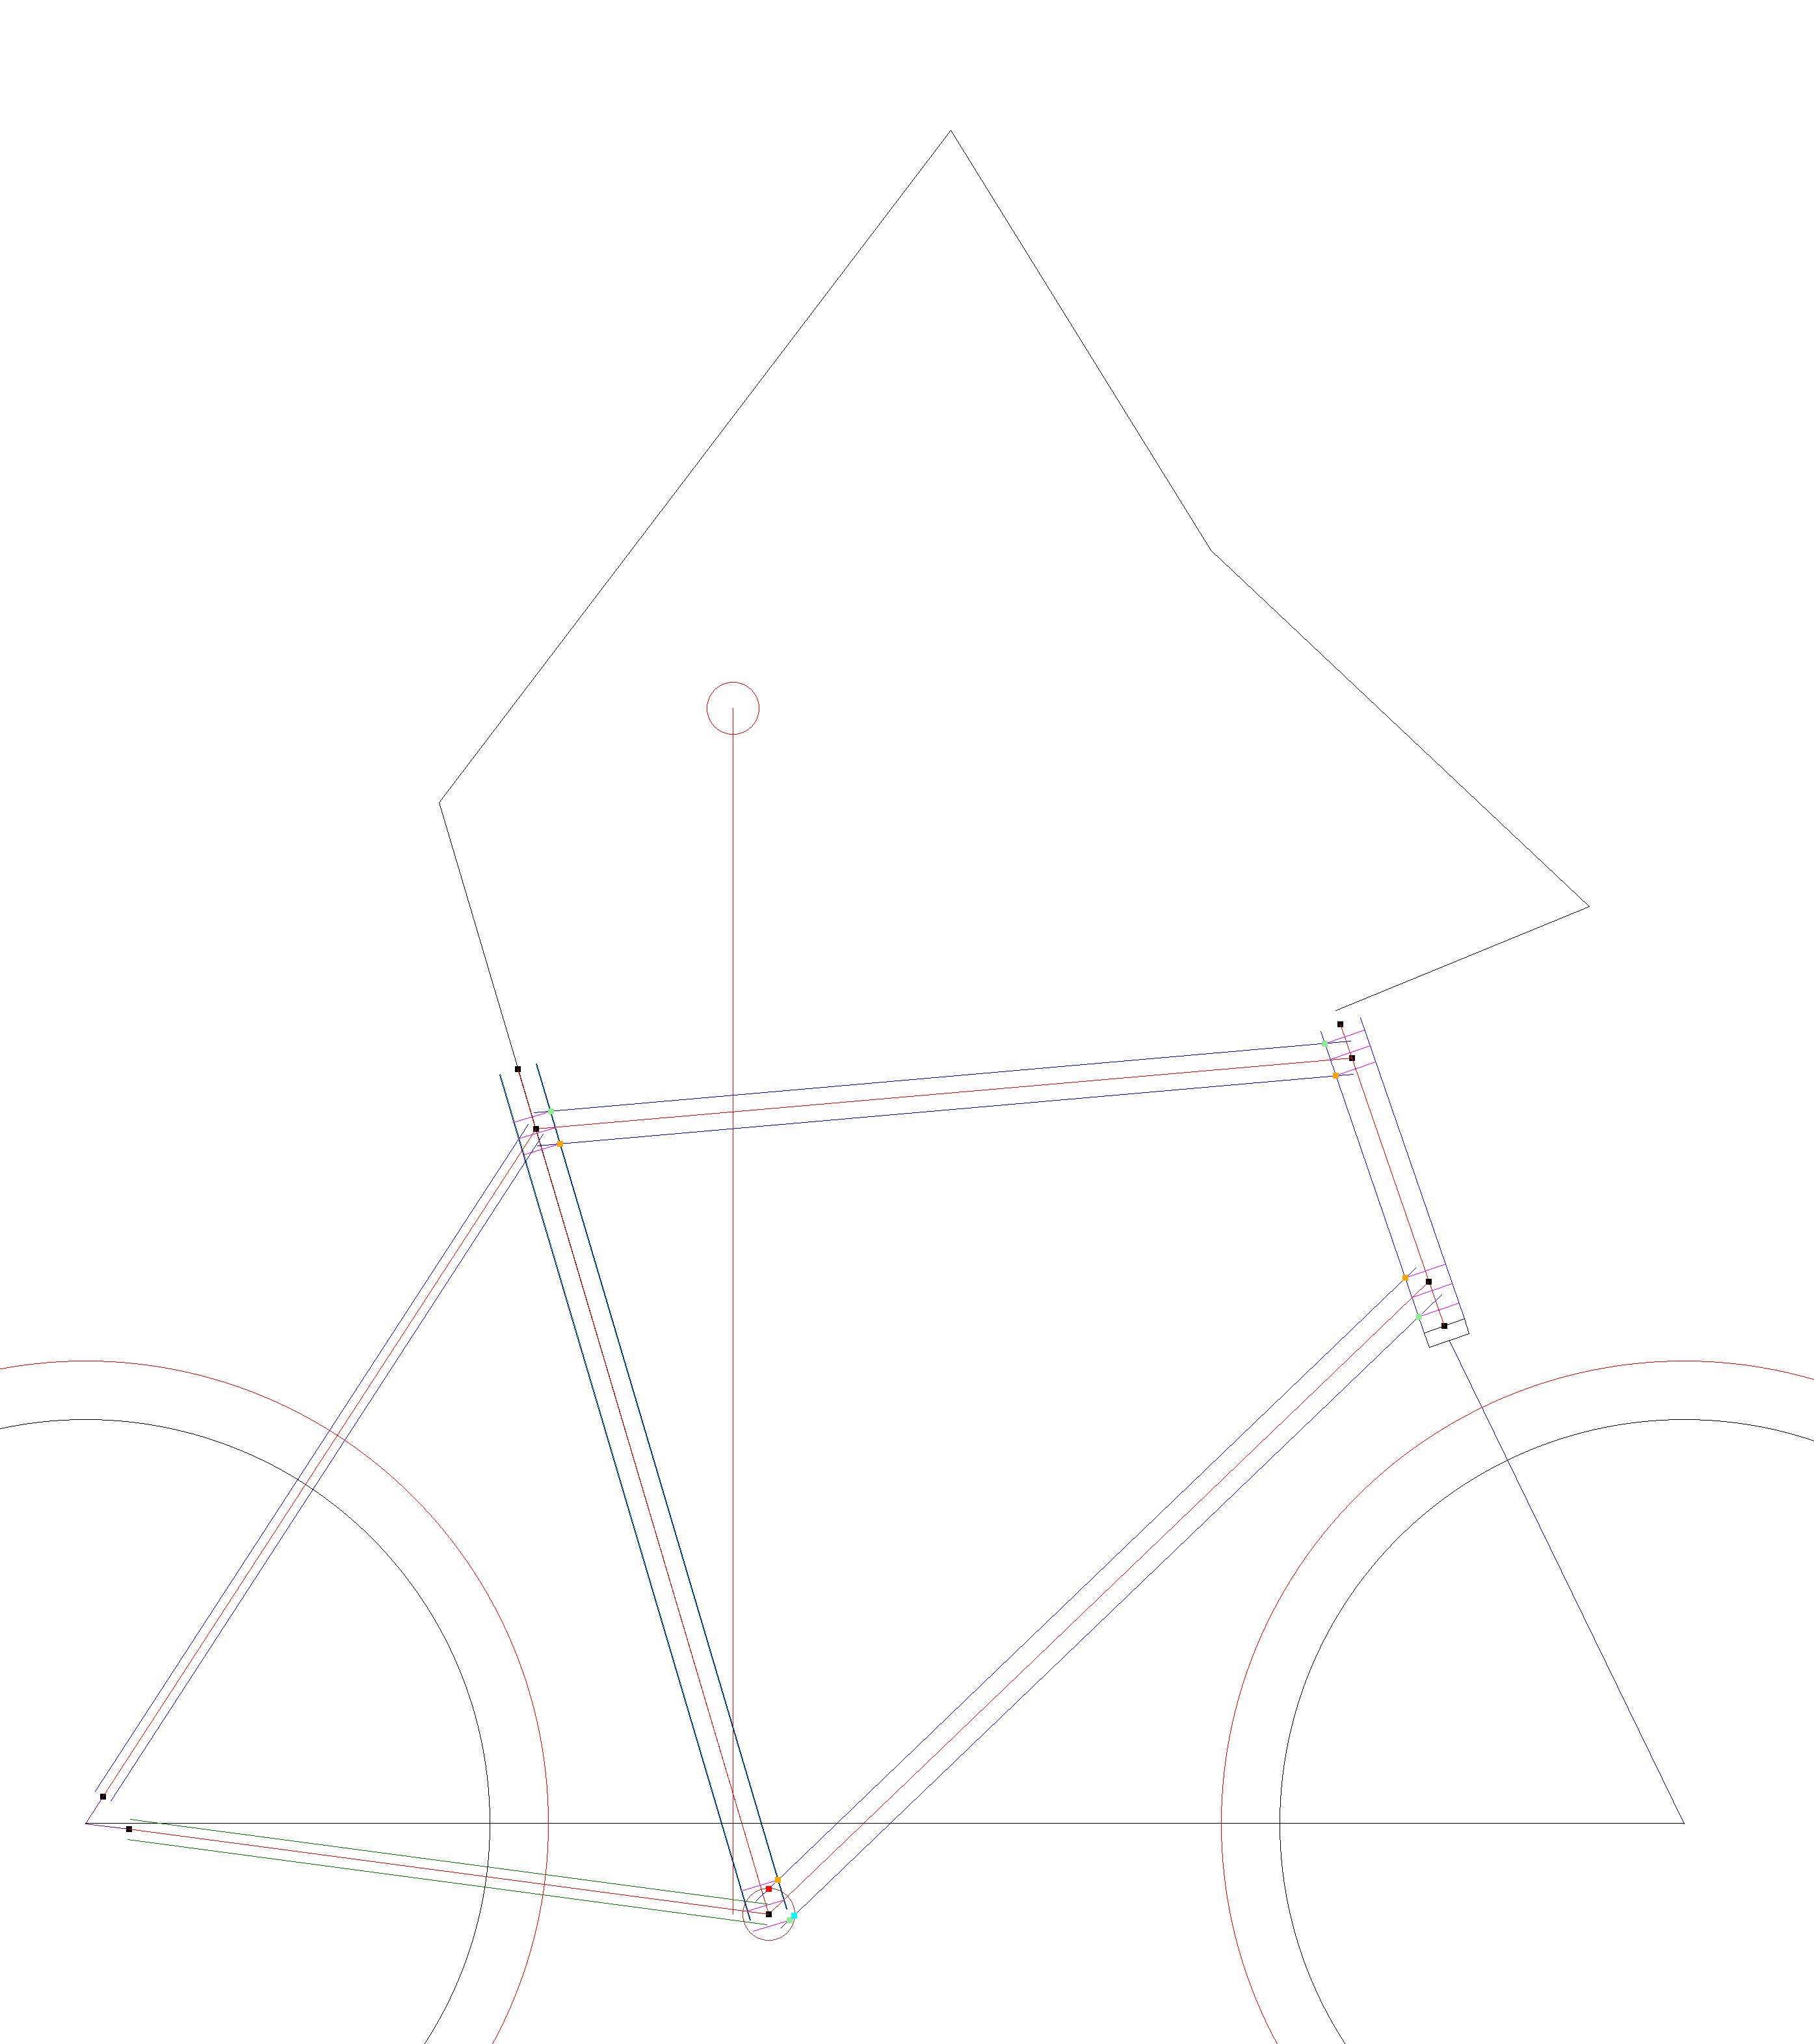
This one has the “proper” weight distribution, however the chainstays are 530mm long, and with 74°, the STA is rather steep.

How would you solve this issue? I read the Paterek manual, he suggests, that long chainstays have mainly disadvantages for poeple, that are racing (which I dont care about). However, I don’t think, he had 530mm chainstays in mind. Other bikes that come to mind are Rivendells, however they use these long chainstays mainly to balance the upright position they tend to have, if I interpret the geometry correctly.

I would love to hear some of your approaches to this issue (and also, feel free to criticize my draft).
(The sketched bike has 685mm stack, 440mm reach, 69mm trail, 74°STA, 71°HTA, 610mm eff. top tube length, 70mm bb drop)

Cheers,
Hinner

1 Like

I say go for it! Maybe a good minimum chainstay length is about half your inseam. The design you have looks pretty balanced. You could also consider 32” wheels since everybody is talking about them.

It might be hard to find chainstays actually long enough, Reynolds ones only go up to 450, although you can go a bit longer if you’re using dropouts with brake mounts built in. They add about another 35mm. But you could use generic Cromoly tubes if you can get them.

As for ST angle, I think you want to base that on the stack. The higher the stack, the slacker you want the ST (I see it as a continuum all the way to a full recumbent). If you drop the stack and steepen the ST that will put your weight further forwards, but it might not be the riding position you’re looking for.

2 Likes

What is the front centre and trail for the size tyres you want to use? What stem length, bar reach and levers are you thinking of using? Seat tube angle is a resultant data point. Don’t try to set it to set your frame up. The saddle needs to go where it needs to go and then the seat tube will follow via either a inline or seat back seat post. I prefer set back seat posts with teh seat tube passing through teh middle of teh saddle and the clamp behind the middle of the rails. Better support for the saddle and for me gives nice lines and symmetry. Most of my frames end up in the 74-76 range so 74 isn’t steep.

5 Likes

Thank you, for the replies!

I thought about it as well, however this will be my first build, so I don’t want to mess with disc brakes. Maybe at a later point, when I have a bit more experience.

Thats a good point.. I just checked, the longest one I could find on the fly were 470mm.. Add some material for bb and dropout, and maybe I could go with max 500mm cs-length I guess.. Quite unfortunate.

Front center would be around 687mm, trail will be 69mm with 45mm tires. I planned on using a 80mm stem, with a Nitto Noodle, and Campa Ergopower brifters. All in all I added 222mm for this combo, when designing the frame.

I didn’t want to go much longer on the stem, so I could get a more aggressive position, if I should ever feel the need.

Keep in mind - this will neither be a race-oriented bike, nor a mtb. I referenced this, when thinking about STA:

I thought of the seat tube angle as a way, to position my center of gravity in a place, where I could comfortably ride. this is the article, I based my assumptions for the STA on, when I designed the bike.

My thinking was:
Saddle height and saddle-to-handlebar-distance are the main factors, that are predefined by my body. Now I need to find a way, where:
a) the trail is roughly in the right spot (around 70mm, since I wanted a medium-high trail, according to this,
b) the front and rear wheel a loaded approximately 40%/60% (which is quite hard to get with my body, thats why I started this thread) and
c) my center of gravity is slightly behind the BB, when riding in the drops

However, I’m quite curious to hear, how you and others would tackle such a frame.

Cheers!

2 Likes

I am 205cm and 125kg. I started building frames for the same reason that you are. Before I built a frame, I had spent 10+ years riding 61-64cm production frames with a super long Thomson seat post to try and make them fit me, so I got used to a ton of weight on the rear wheel and twitchy bikes.

For my first few frames, the biggest limiting factor was my ability and my tooling. I had to use lugs because I didn’t have the fixtures or tools to build whatever I wanted, nor the ability to fillet braze well: I had a torch, a piece of granite countertop, and some hand tools. Although they worked, the first 2 frames fell short of what I wanted. The third, a disc brake road bike with 40c or so tires, was actually pretty good, but still not there. From there I moved on to hardtail MTBS and built 3 different iterations, as well as some single speeds. Below is a picture of my first frame. It has the longest chainstays I could get away with at that time, and really isn’t that big. The other is my 3rd frame. I have also included the drawing of the most recent racy “gravel bike” that I built before I packed up my shop and moved. It is currently built, but hanging in a storage unit waiting for finishing touches.

All of my tools are currently in storage as I buy a new house, but when I am set up, I bend all my stays out of 5/8” and 7/8” .035” and .049” wall cromoly from aircraft spruce and fillet braze the frames, so I am not limited by what is available for bicycles.

I had to build about 5 or so frames before I was able to get close to something I actually wanted to have, which in my case was a long travel hard tail MTB, and spend many hundreds of hours and thousands of dollars on tooling to do it well. The more I learn, the less I know about bicycle geometry though. I am skeptical of many universal truths about bicycle handling, especially as they pertain to tall people. I can only build what I like and encourage you to experiment as well.

Building a good bicycle frame is hard, and I suspect that building a good bicycle for a tall person is even harder. When I built my first frame I felt like I was taking a shot in the dark blindfolded. If I were starting over, I would probably do it the same way and make something that uses available tubing and as few tools as possible so I could develop skills to use files and a hacksaw.

What you are able to accomplish with your first frame will depend as much on the capacity of your fixture and the availability of materials as it does on your abilities to miter and join tubes. It would be helpful to know how you plan to construct it if you want more specific information.

6 Likes

I’m not super tall but am similarly proportioned (183cm, 90cm inseam, 780-790 saddle height) so have had similar thoughts about STA’s. My big issue is saddle setback from BB growing too much with a slack STA’s by the time I get things up to height. I have a drop bar gravel bike with a 73° STA that is too slack. My most recent custom bike is a rigid flat bar ATB with a 76° STA that feels a lot better, especially with my grips up level with my saddle height. I’ve actually found the taller my bar height/stack gets the steeper I want my STA (kind of like being closer to a standing position than a bent over race/aero tuck), which is contrary to what @guy153 said.

I would also agree with @DEVLINCC that you don’t need to worry about STA as a driving parameter of your design. Just figure out what position you like your saddle relative to the BB. Same for bars. Once you have those points nailed down you can work the design around them and things will fall into place a lot quicker.

I also think super long stays would be fun to try. Like if you’re going to build something custom you may as well get a little experimental too!

3 Likes

JUst be careful about using geometry theories to drive your final design. The number one driver here is your position on the bike. Get that dialed then link the contact points. So saddle set back is teh driving dimension for teh seat tube angle. The angle is the resultant while you position the seat tube and seat post.

Like wise with the bar position. Ideally the hands on the hoods sits a fraction behind the contact patch. Some call this the power point. This is obviously a combination of HT angle, bar height and the length of teh assembly. I suspect you’ll be going to a longer stem to get closer to that. The benefit is that you’ll shorten your front centre I suspect which will mean your rear centre will come in as well.

With around a possible 650-660 FC I would run around a 480 RC at most. That’s not based on any formulas just what I would feel is a balanced setup. Still depends on what your saddle setback is, Long legs can have short or long femurs which will vary the set back for teh same saddle height.

5 Likes

Are you comfortable on your current bike? If so, take measurements from it so you know where your contact points are in space relative to the center of the bottom bracket:

  1. Saddle height
  2. Saddle setback (x) - I like to measure from the widest point of the saddle since that’s where I sit on the saddle. My saddle setback is 284mm on drop bar bikes. If I position my saddle to my numbers I know I’ll feel balanced and comfortable.
  3. Crank length
  4. BB to handlebars (x) - I measure to the center of the bars at the stem, but you can use a different location as long as you stick to it.
  5. BB to handlebars (y)

Then choose the components and design the frame from those contact points. That’ll help you determine seat tube angle and frame stack and reach. Don’t just blindly choose a seat tube angle because someone online says it’s the number to use.

If you’re not comfortable on your current bike either work with a bike fitter or experiment with your current bike until you’re happy. Then design the bike.

IMO tall riders, like short riders, end up on compromised bikes. Taller riders should have bikes with longer wheelbases so the looping and endo angles aren’t so steep. The bike will ride more planted.

I’m only 1.77m tall. My drop bar bikepacking bike has 520mm chainstays and 685mm front center and it rides like a great. It was an experiment to see if a long bike would feel weird. It’s definitely different than my racier gravel bike but it’s not worse. In fact, for bikepacking I think it’s much better.

I guess I’m saying don’t be afraid to try something different. Go with long chainstays. Use some sliders to test different chainstay lengths. If you design it well, it’ll be comfortable. Then it’ll be a matter of whether you like the way it handles. If not, try a new design.

6 Likes

Most chainstays taper to the end. I would assume, it’s mostly aesthetically. Do you try this as well, or just go with “straight” stays? Thank you a lot for this write up! I assume that i will have the same experience as you had, to build a couple of frames until I land somewhere I’m happy. I just want to make educated mistakes :slight_smile: .

As for tooling, etc.: I would love to build lugged frames, however I find the availability of lugs that will provide the correct angles and work with (partially) oversized tubing very limiting (I simply can’t find lugs, especially bb-shells, that would work well for what I want to do.). I will most likely us a simple jig and a flat table for this build, however I’m also in the progress of moving cities, so I can’t tell for sure what I will end up with. Most likely I will fillet-braze at least the bb-assembly.

@DEVLINCC Thank you for these insights! So your approach would be to shorten the bike overall, and compensate by using a longer stem?

Thank you as well. I’m hesitant to just “rebuild” the position on my current bike, since I don’t know what I could be missing. My saddle position on this bike is chosen in a way that I can fit a carradice bagman, so it’s not tuned for the best fit. I will however start a series of tests with saddle positions, to see what I can get comfortable on (And also experiment with the stem length accordingly). I’m quite impressed, that your bikepacking bike is that long.

So if I try to conclude everything said so far, these would by my takeaway points:

  • I won’t use my STA to manipulate the weight distribution.
  • Long chainstays are not bad in any way, it seems like (for me at least) availability is the major limiting factor. Worth a try at least.
  • Since no one seems to care about a fixed 60/40 rule regarding weight distribution, I won’t either (just keep the “rough proportions” in mind.)
  • Bike fit should not be compromised by handling characterisitics/weight distribution
  • If I can’t get the chainstays long enough, I can compensate by shortening the front-center, while keeping my handlebar position constant.

Feel free to correct me and thank you all for the input :slight_smile: !

2 Likes

Disk brakes are pretty easy, especially if you just get the dropouts with the mounts on them. Then there’s nothing to do at the back, and you just buy a part to braze onto the fork (if you’re making the fork). Caliper brakes the easiest but tricky if you want big tyre clearance. For V-brakes you need to make sure you end up with the seat-stays about the right distance apart at the place where they attach. This can affect your choices about how you attach them to the ST. For my last two builds (actually one was disks anyway, but the other was Vs) I used a “segmented wishbone” which I actually really like.

3 Likes

I use straight stays. I don’t know of any drawbacks, as long as they are compatible with the dropouts you are using.

3 Likes

Lennard Zinn is a really tall dude who has been making bikes since the early 80s and has written and spoken about his philosophy. Looking at his bikes, they look different than a more standard size bike.

In this podcast he touches on it but if you search the web you will likely find more. He advocates for higher BB, longer chainstays and such for bikes for tall folks. His substack enables you to ask him direct questions.

Lennard Zinn makes a strong case for chain waxing (and 36-inch wheels, too) - Singletracks Mountain Bike News

4 Likes

To add to this, another key in Leonard Zinn’s designs for fitting tall people is using longer cranks sized to between 20 to 21 percent of PBH. So, the 57.5 bottom bracket drop on the XL version of the stock Clydesdale Team results in a pedal to ground clearance of about 107mm because of the 190mm cranks. The riders seatpost is correspondingly about 10mm to 15mm lower than it would be with 175mm cranks. I’ve found this in my research for a custom frame since I have similar proportions to Hainer (even if I’m a couple of inches shorter) and plan to incorporate a used 180mmm crankset into my design which I plan to do a post regarding in the next week or so. Here’s a couple of screenshots of my current draft design. This design is meant to enable me to ride comfortably in a semi-upright postion using drop bars with stability being emphasized over quickness.

4 Likes

Since I’m new I was only allowed to attach one of the screen shots. Here is the second showing my fit and the components along with key extras like toe overlap and pedal to ground clearance.

And a URL if you want to fiddle with the design - be warned many changes will screw up the distance from BB to saddle nose and from the BB to sitbones.

3 Likes