Cheers. Had a few guys DM me after posting to Insta. Even Adam Prosise, helped me out with some awesome info. Super appreciative.
Unfortunately I’m using plain AutoCAD currently. I can’t afford to pay for the Fusion licence for the time being. I can’t seem to find a way of setting the export resolution for the stl export. Do In3DTec handle other formats easily. I noticed they listed stp but need to play around with exports to see what output I get. I also have Microstation at home which is usually pretty good at exporting complicated shapes and I know there is a whole bunch of settings available with the export command.
I feel like there has to be some way to increase the export resolution in autocad… In Solidworks you had to dig a bit in the menus.
Regardless, a STEP (stp) file is a generic parametric 3D model. So if you can get a STEP file, there should be plenty of ways to convert it to an STL file!
Copy from insta post…
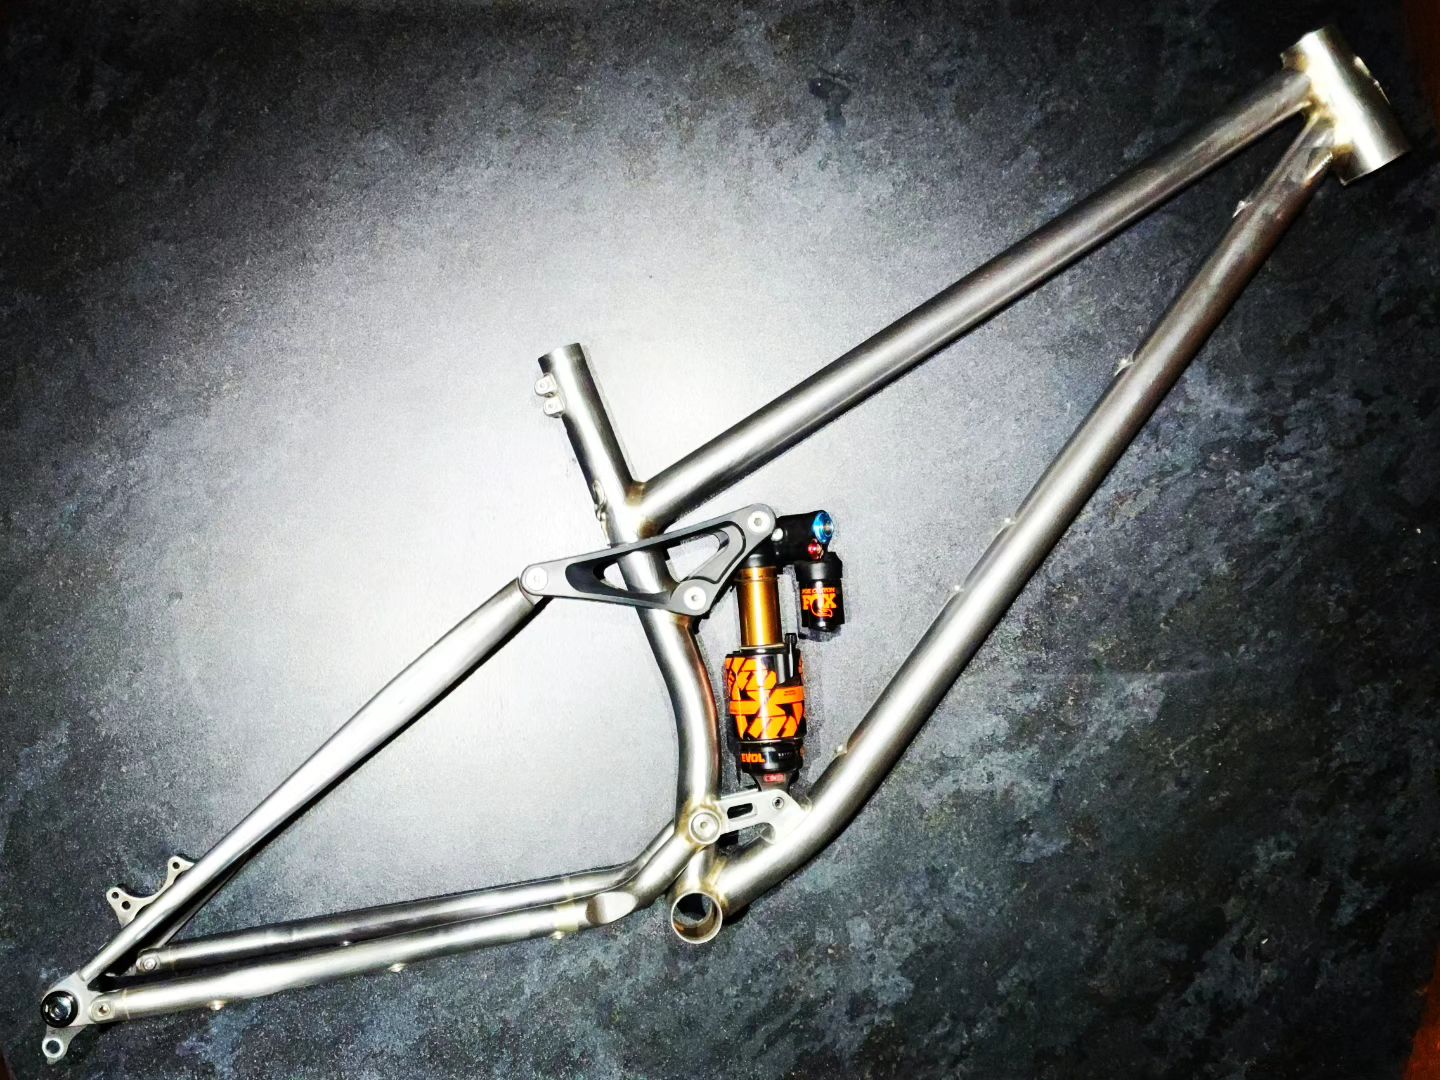
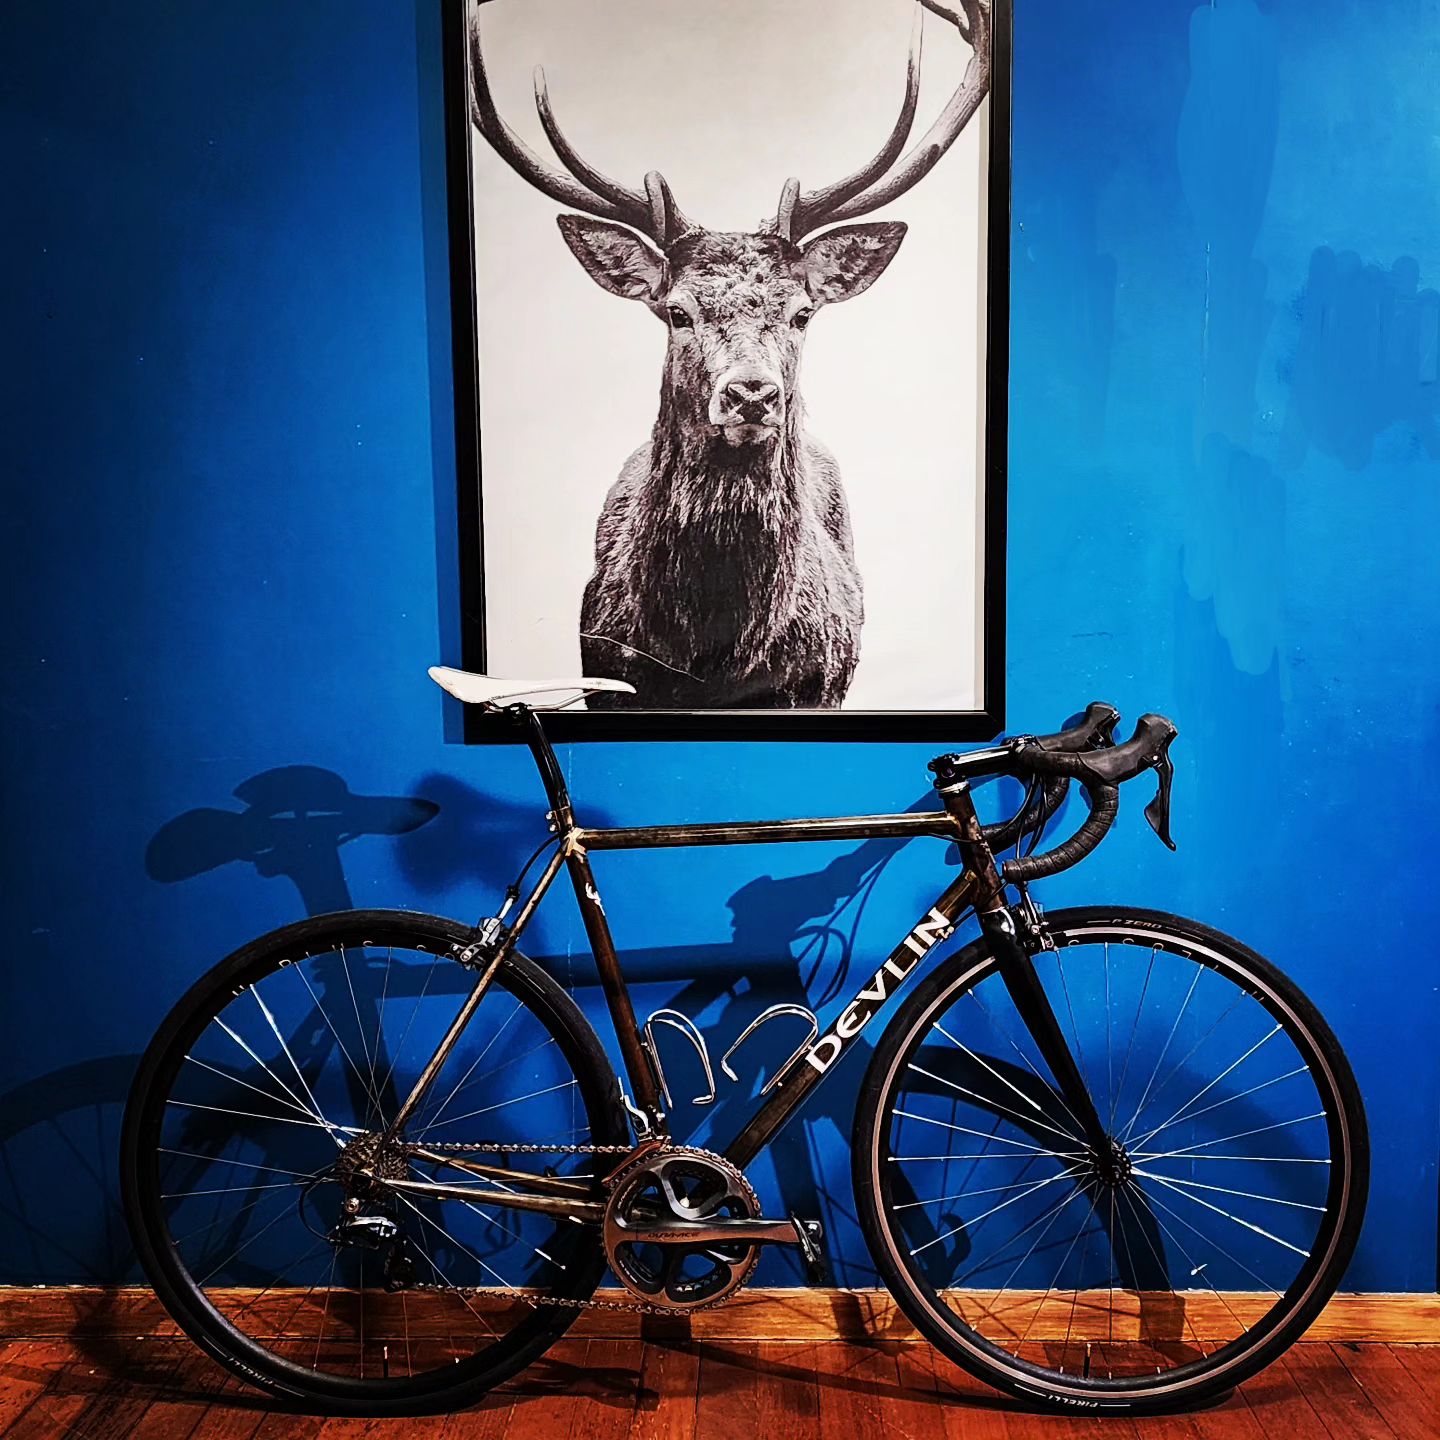
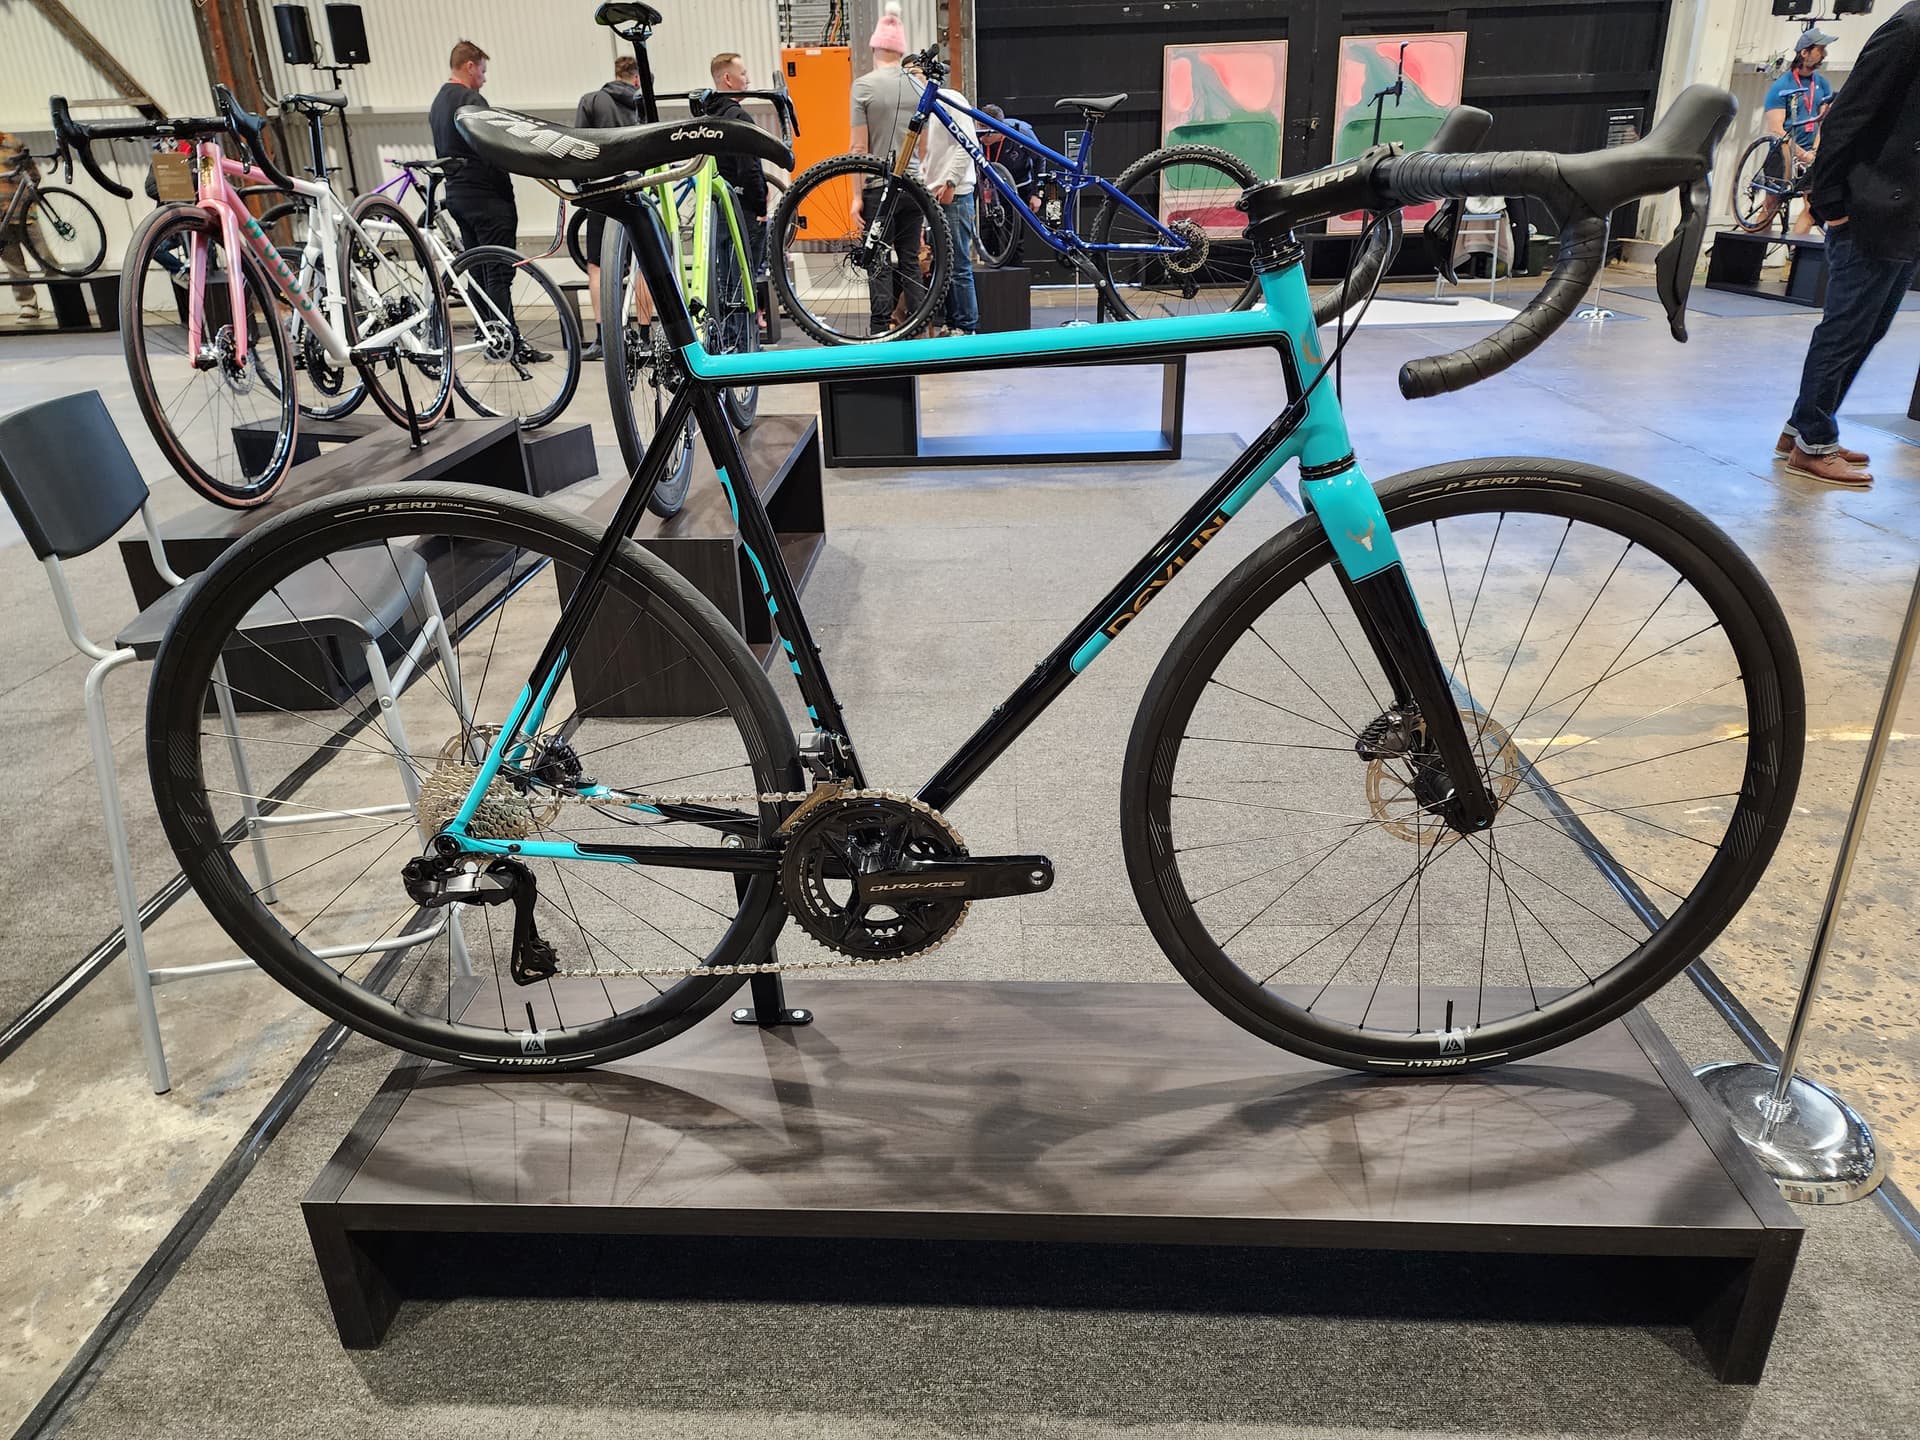
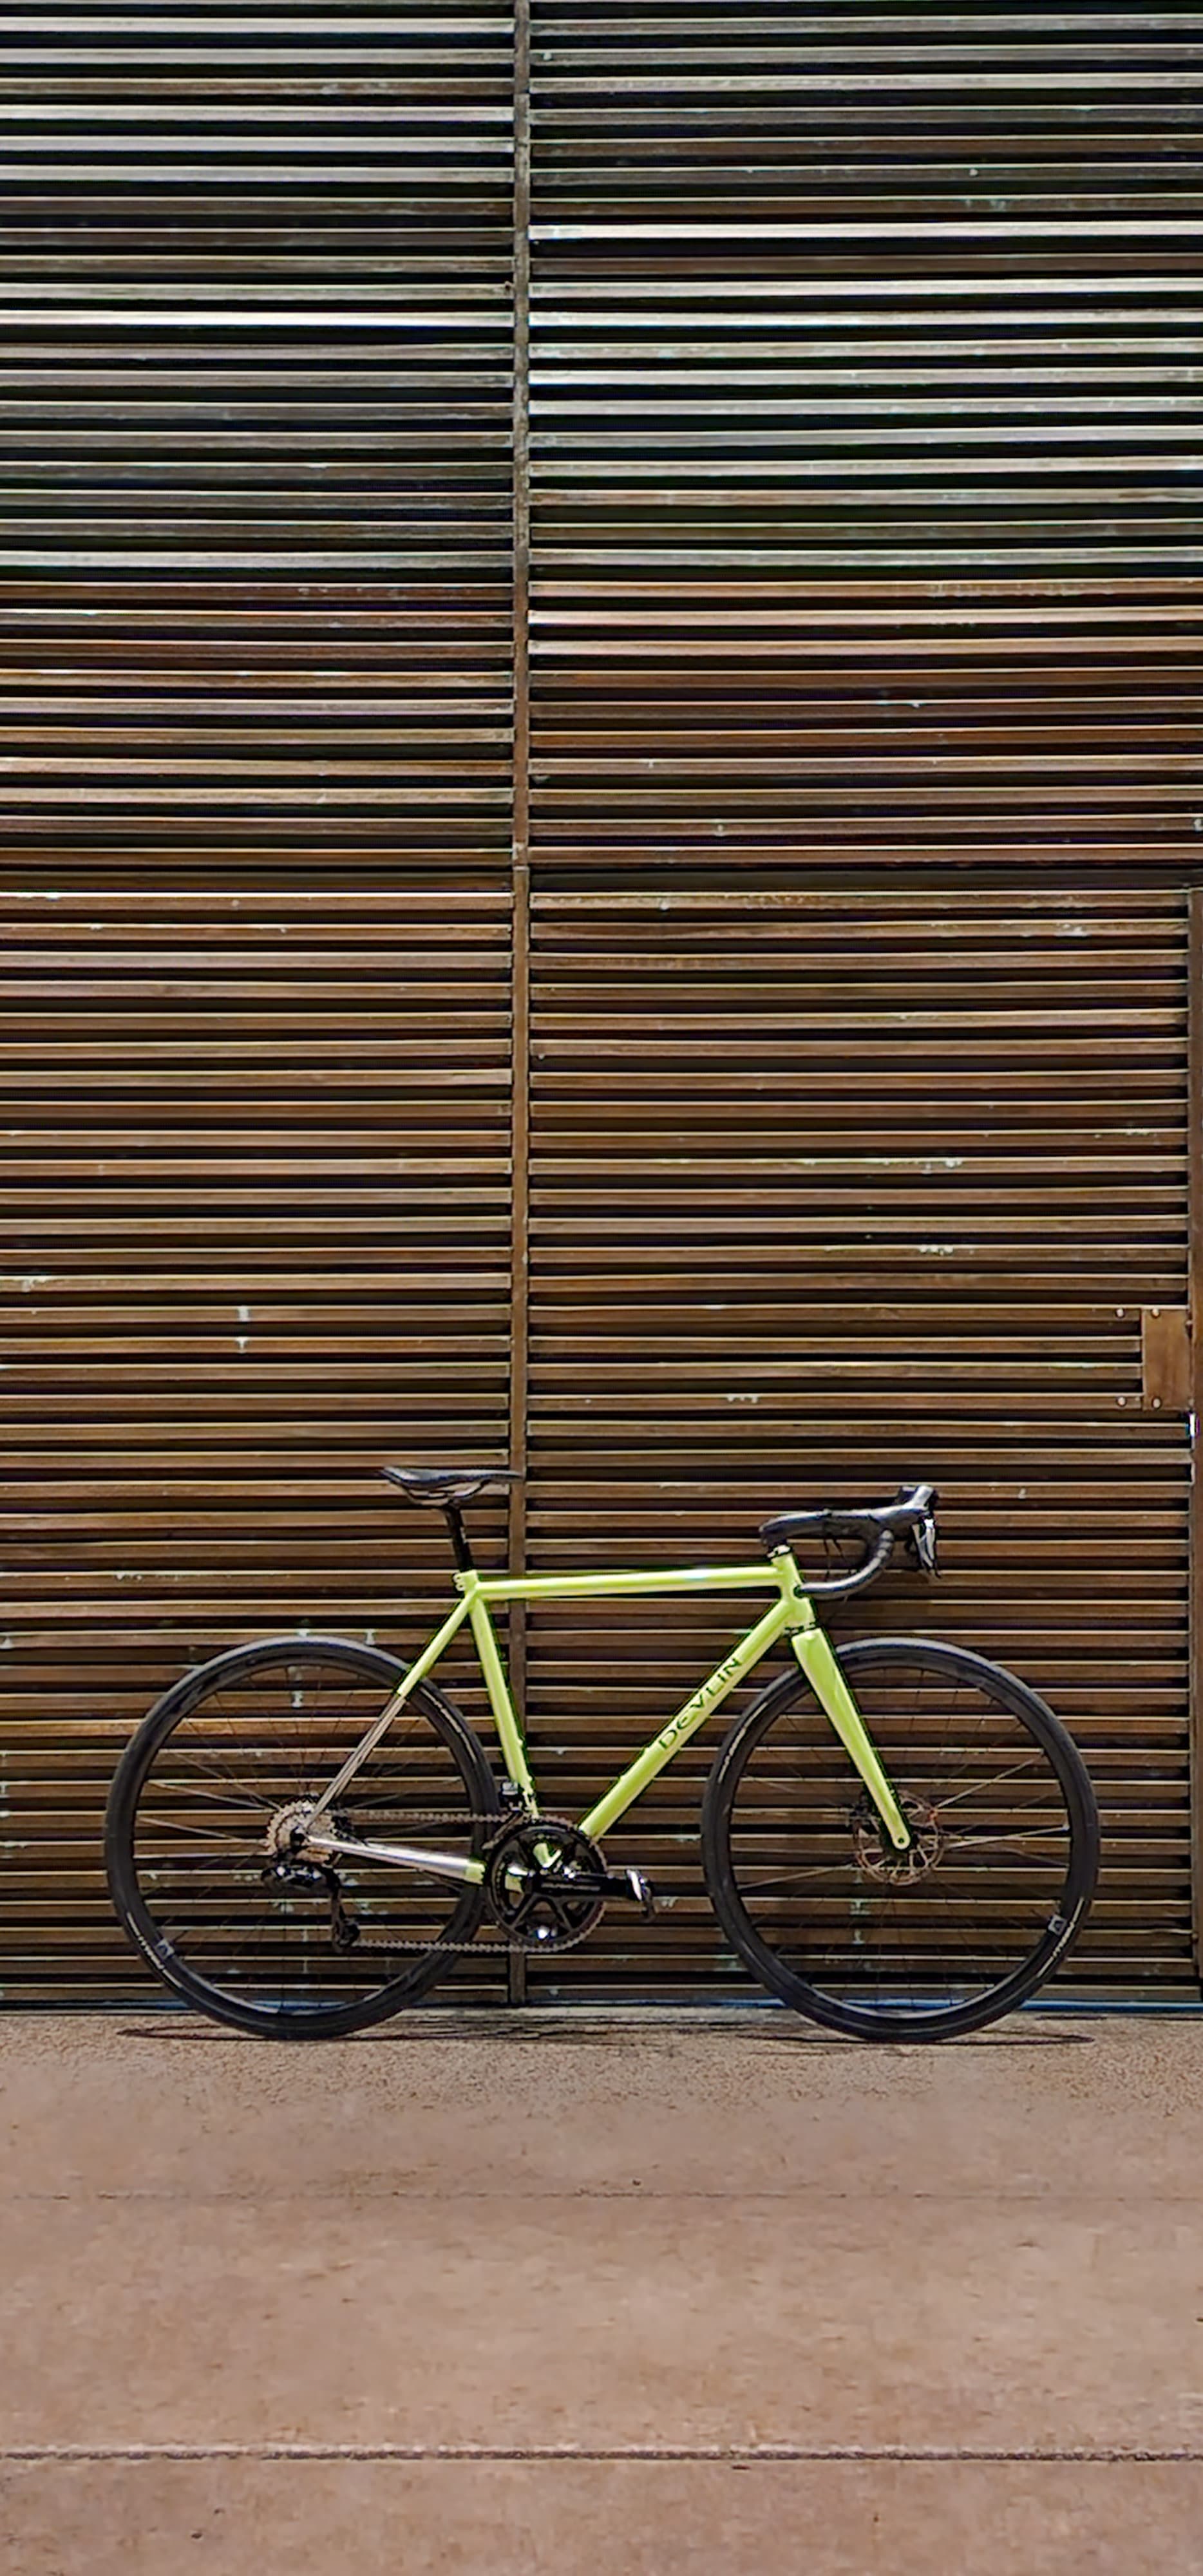
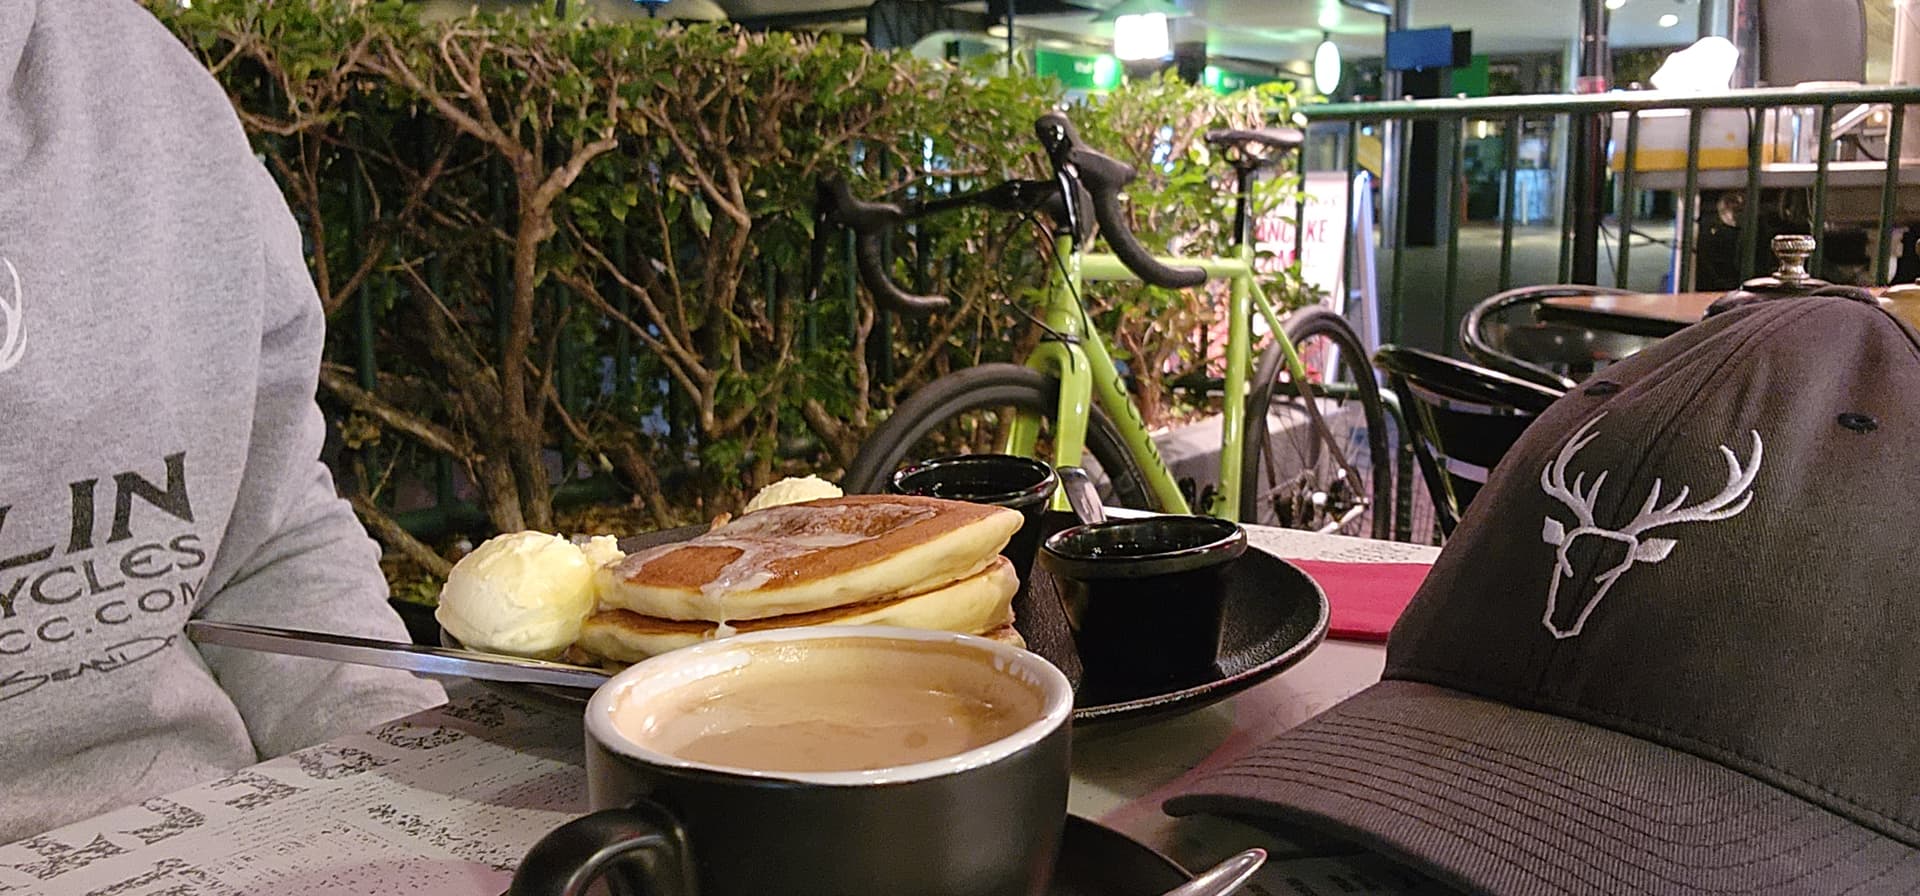
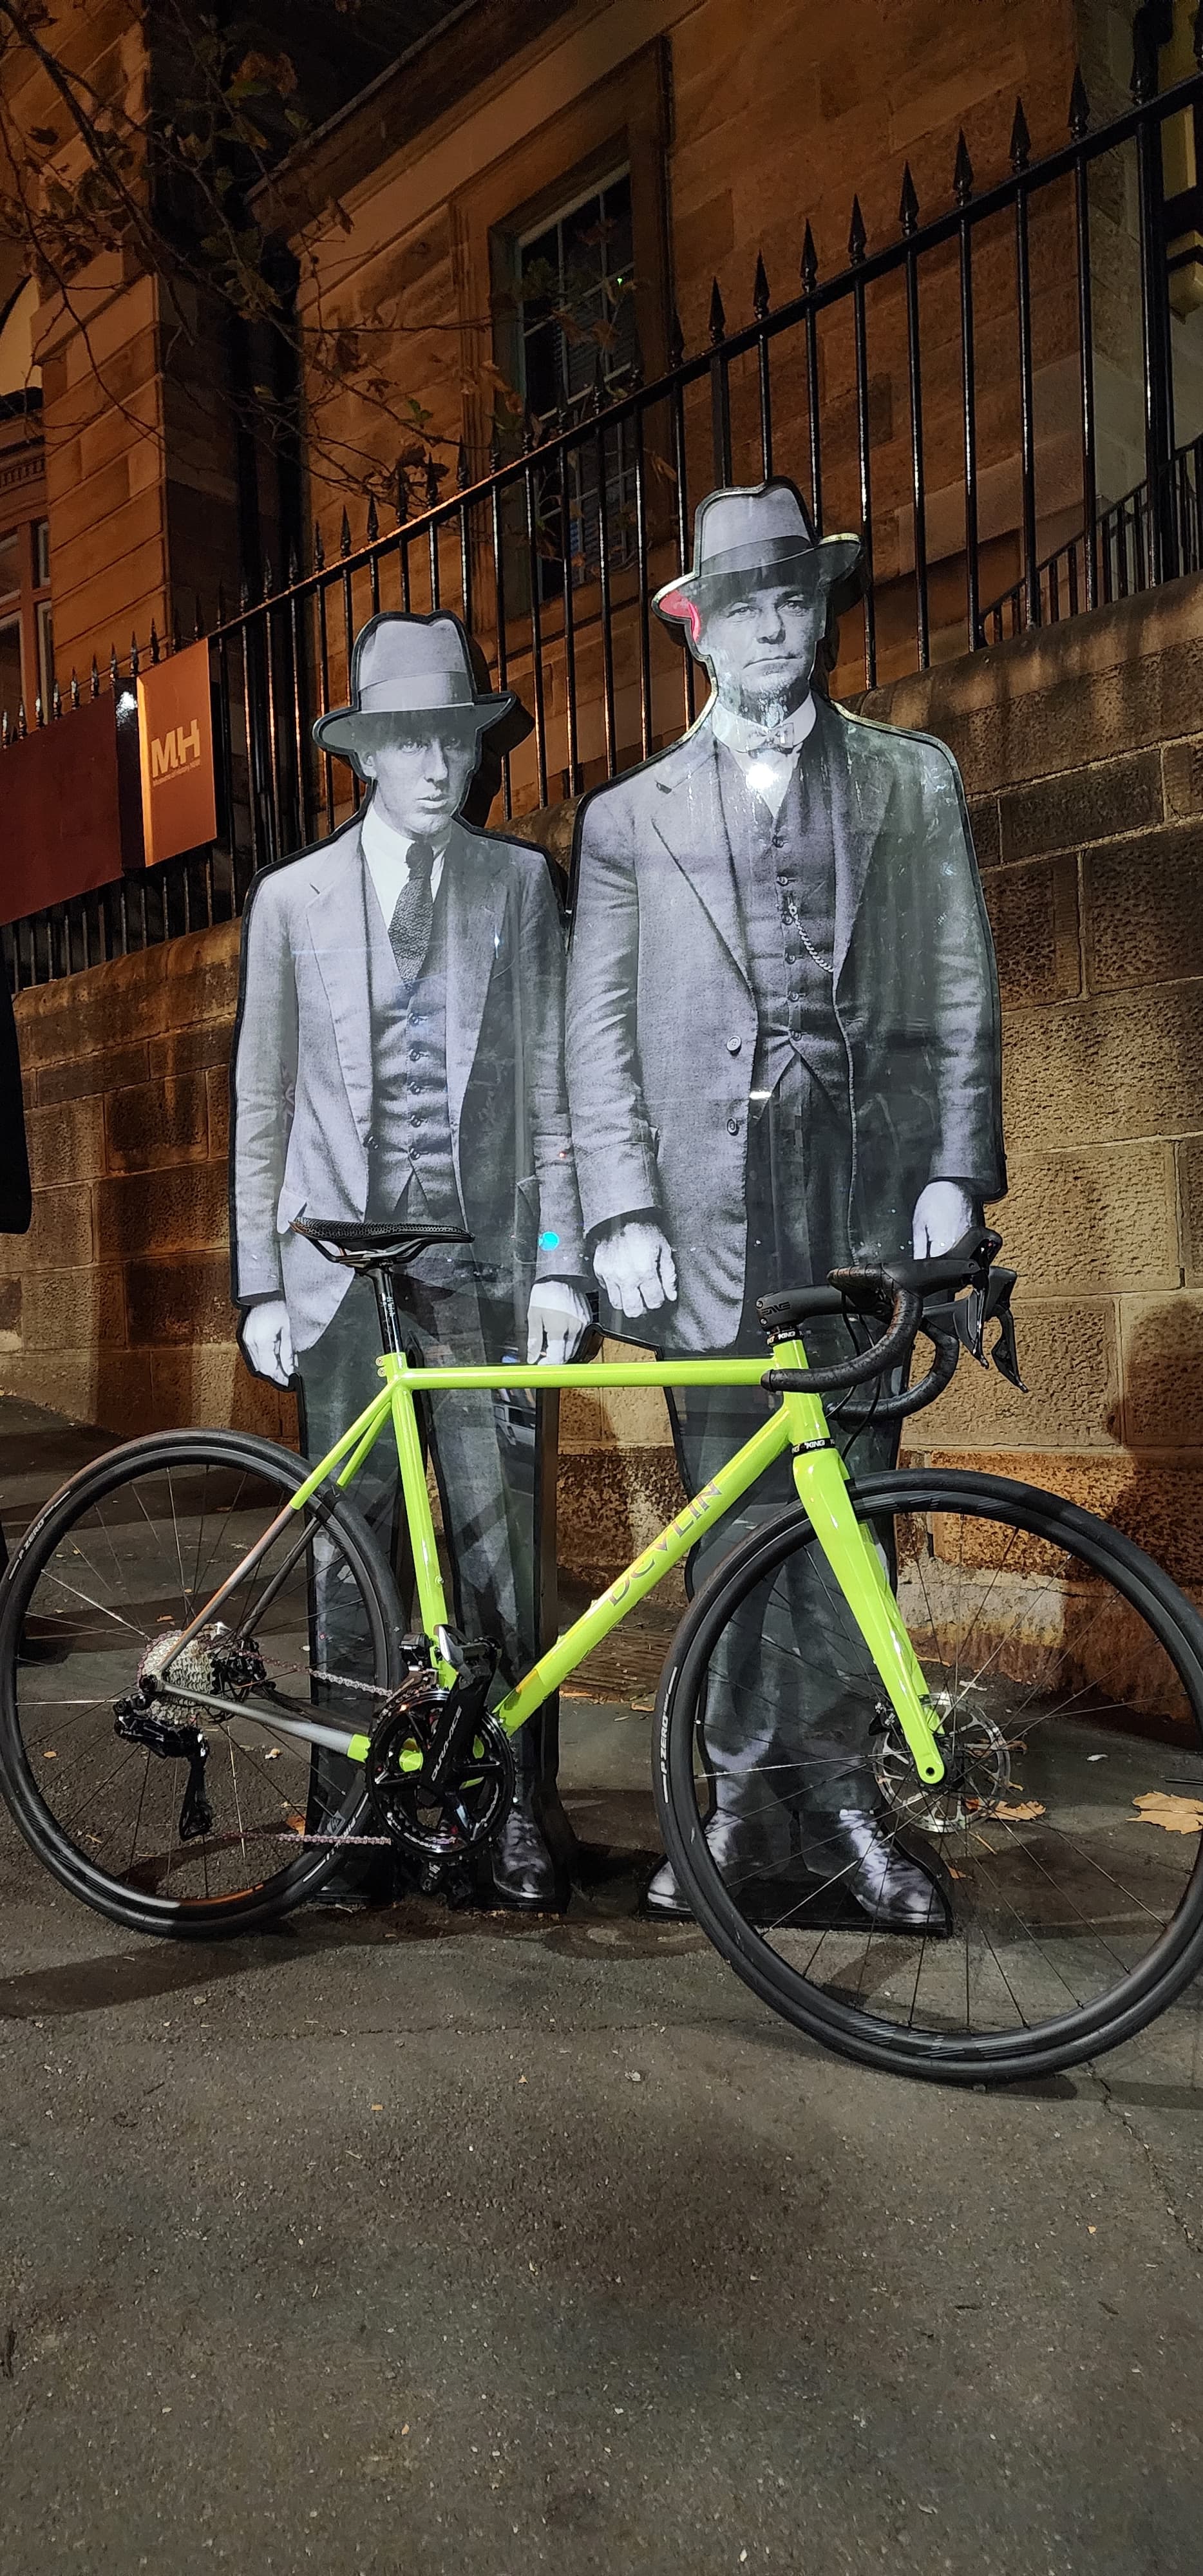
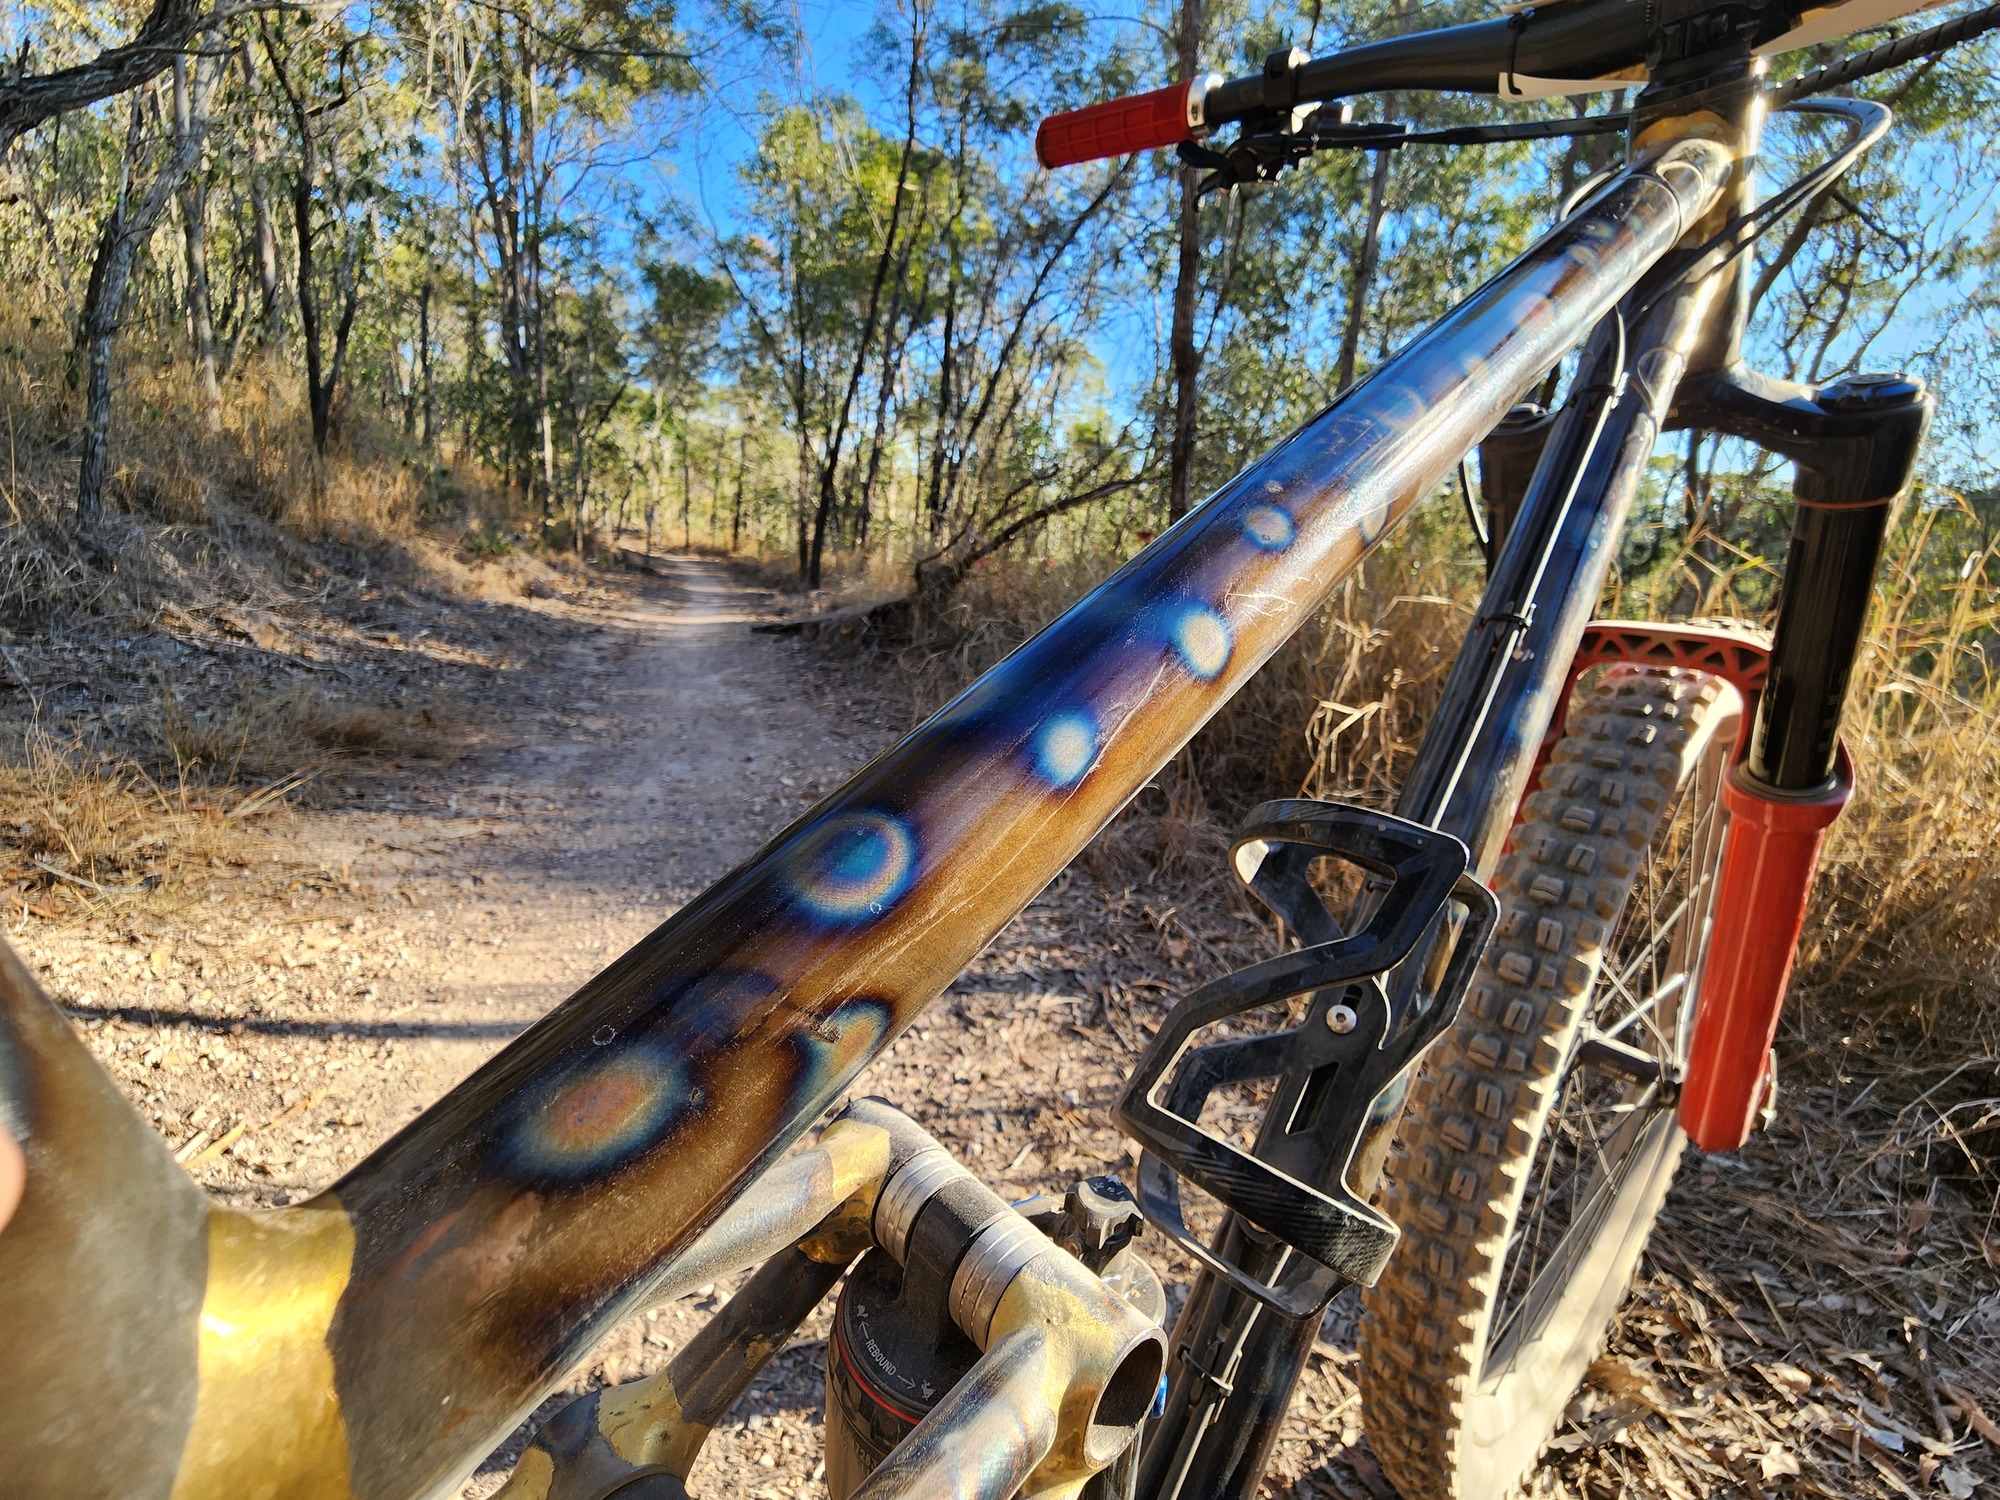
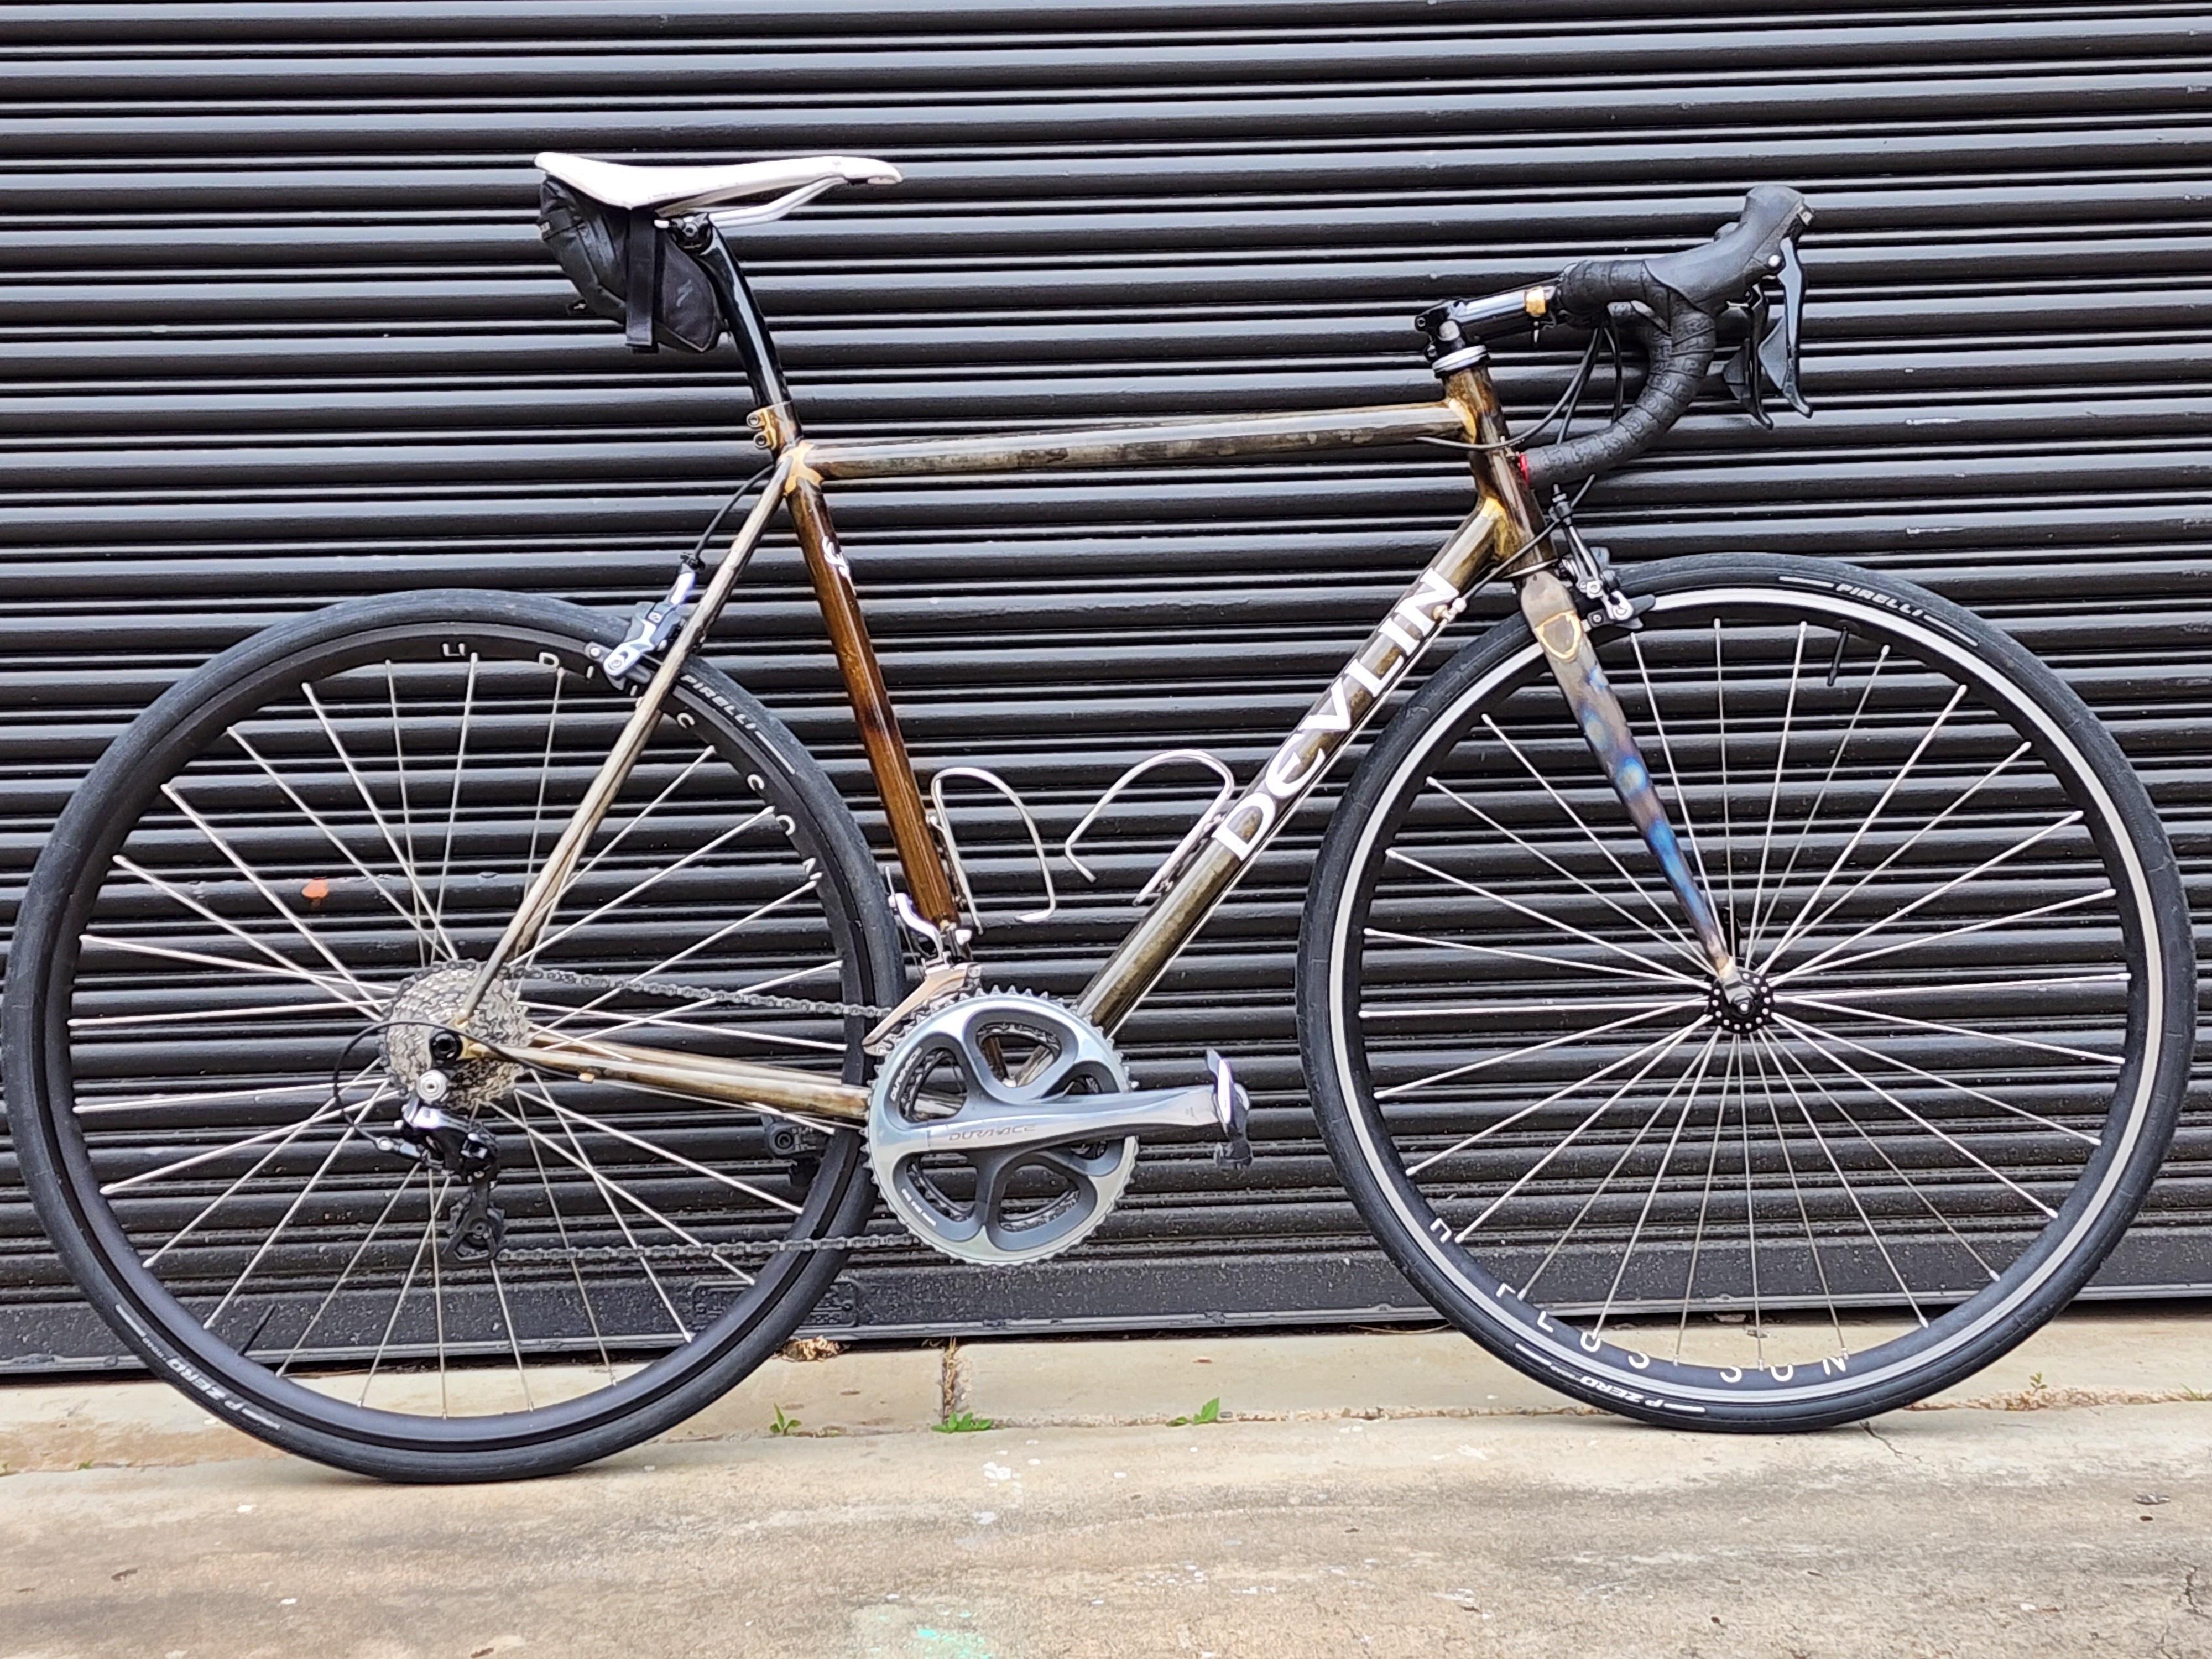
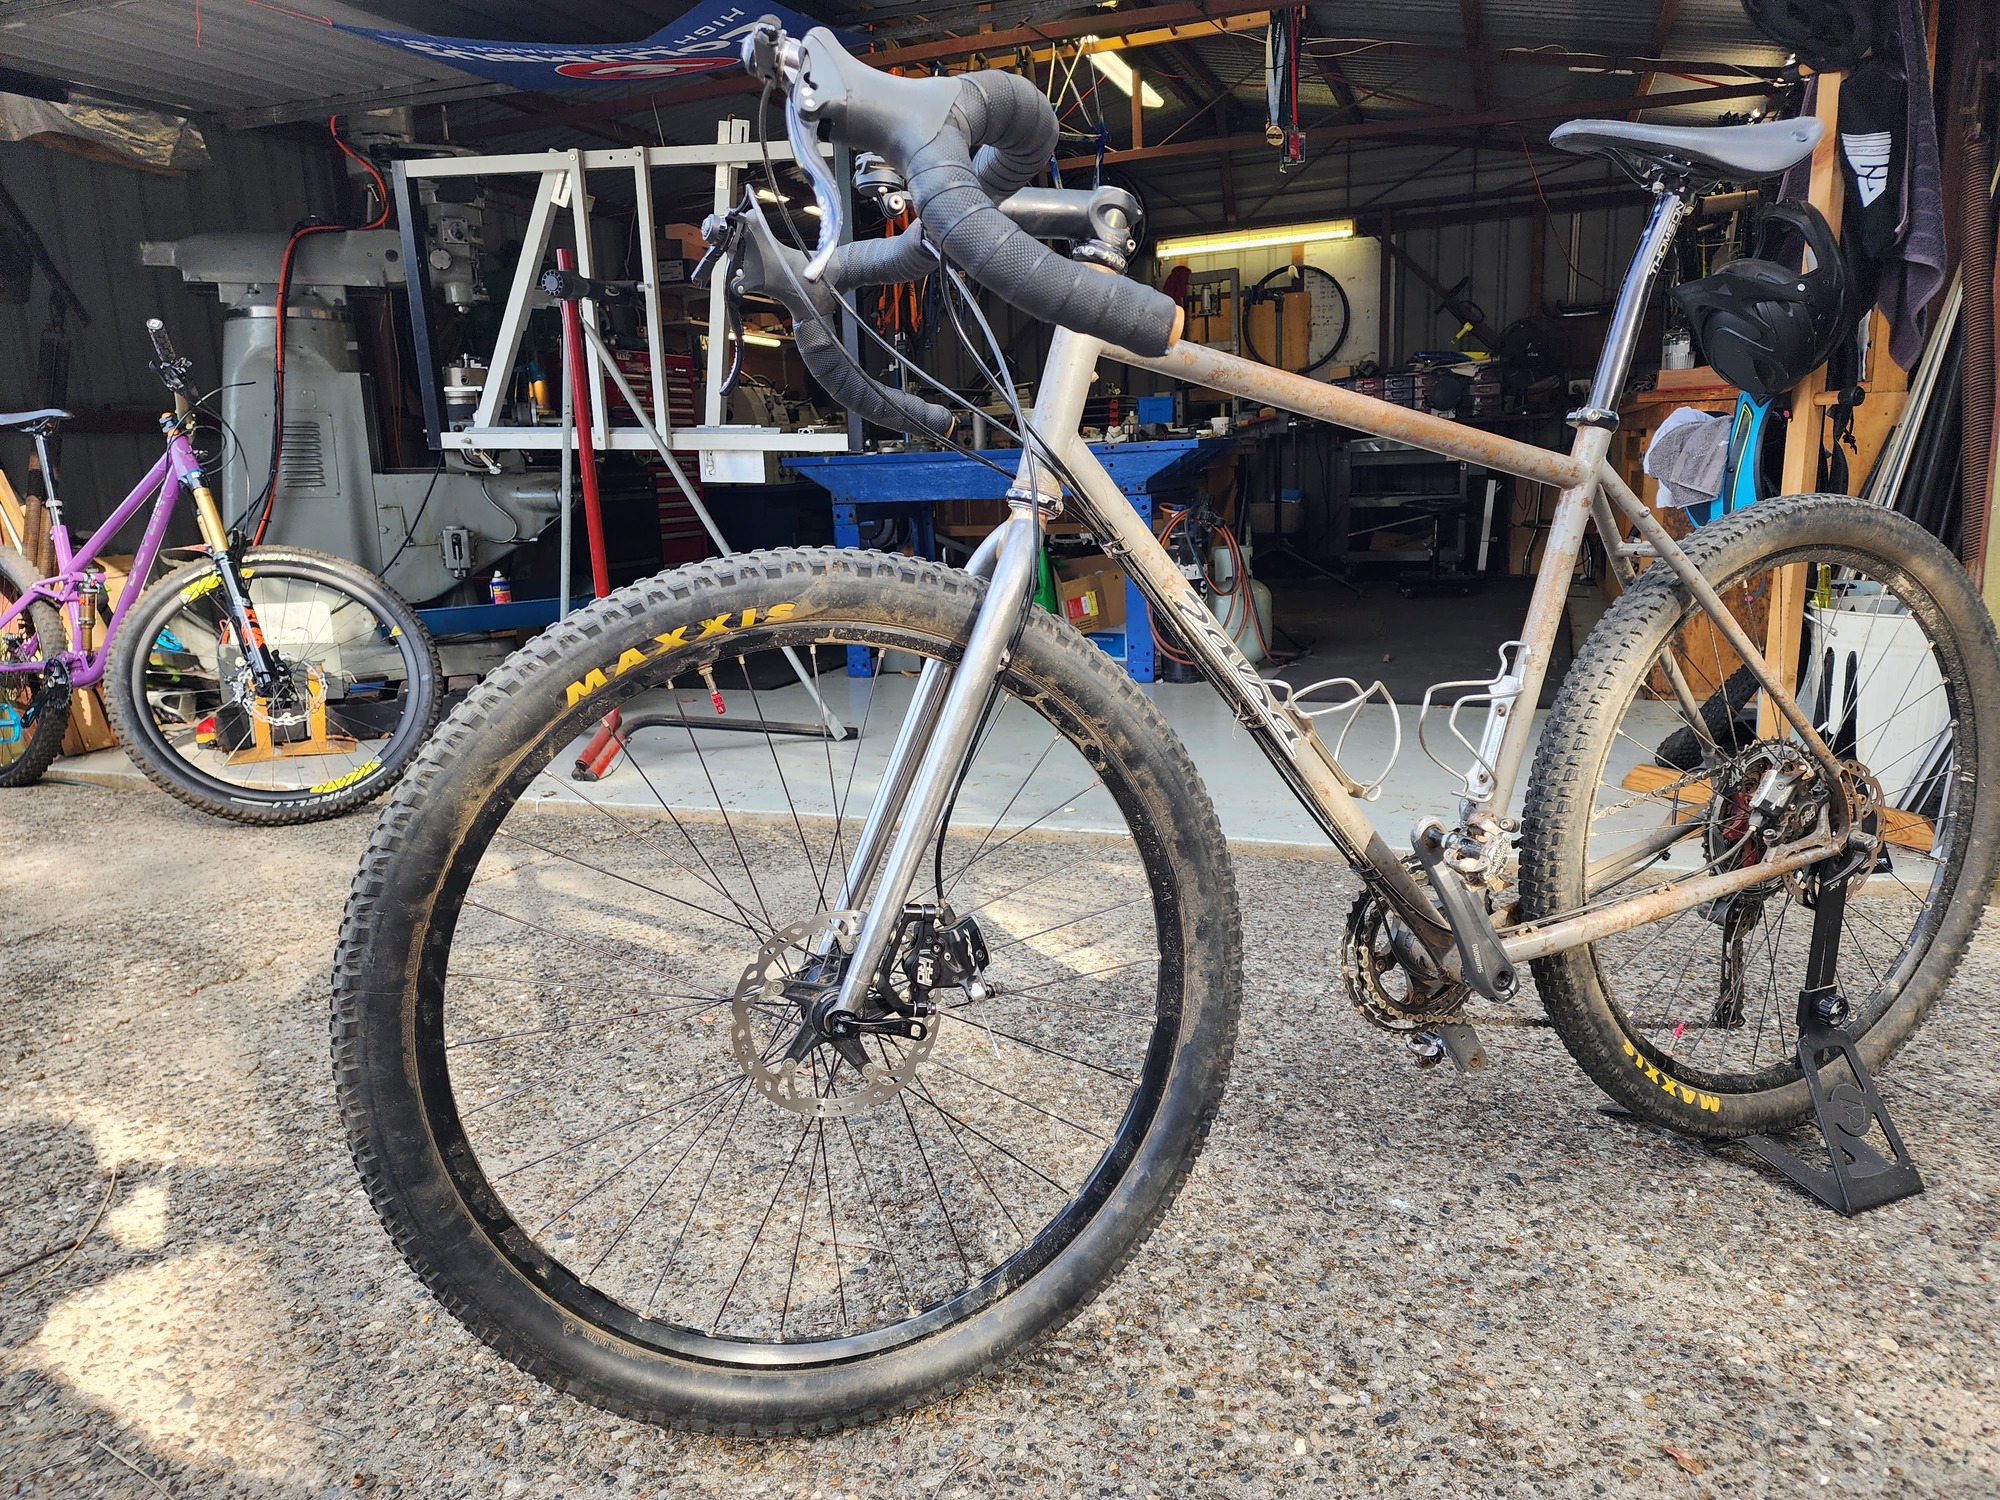
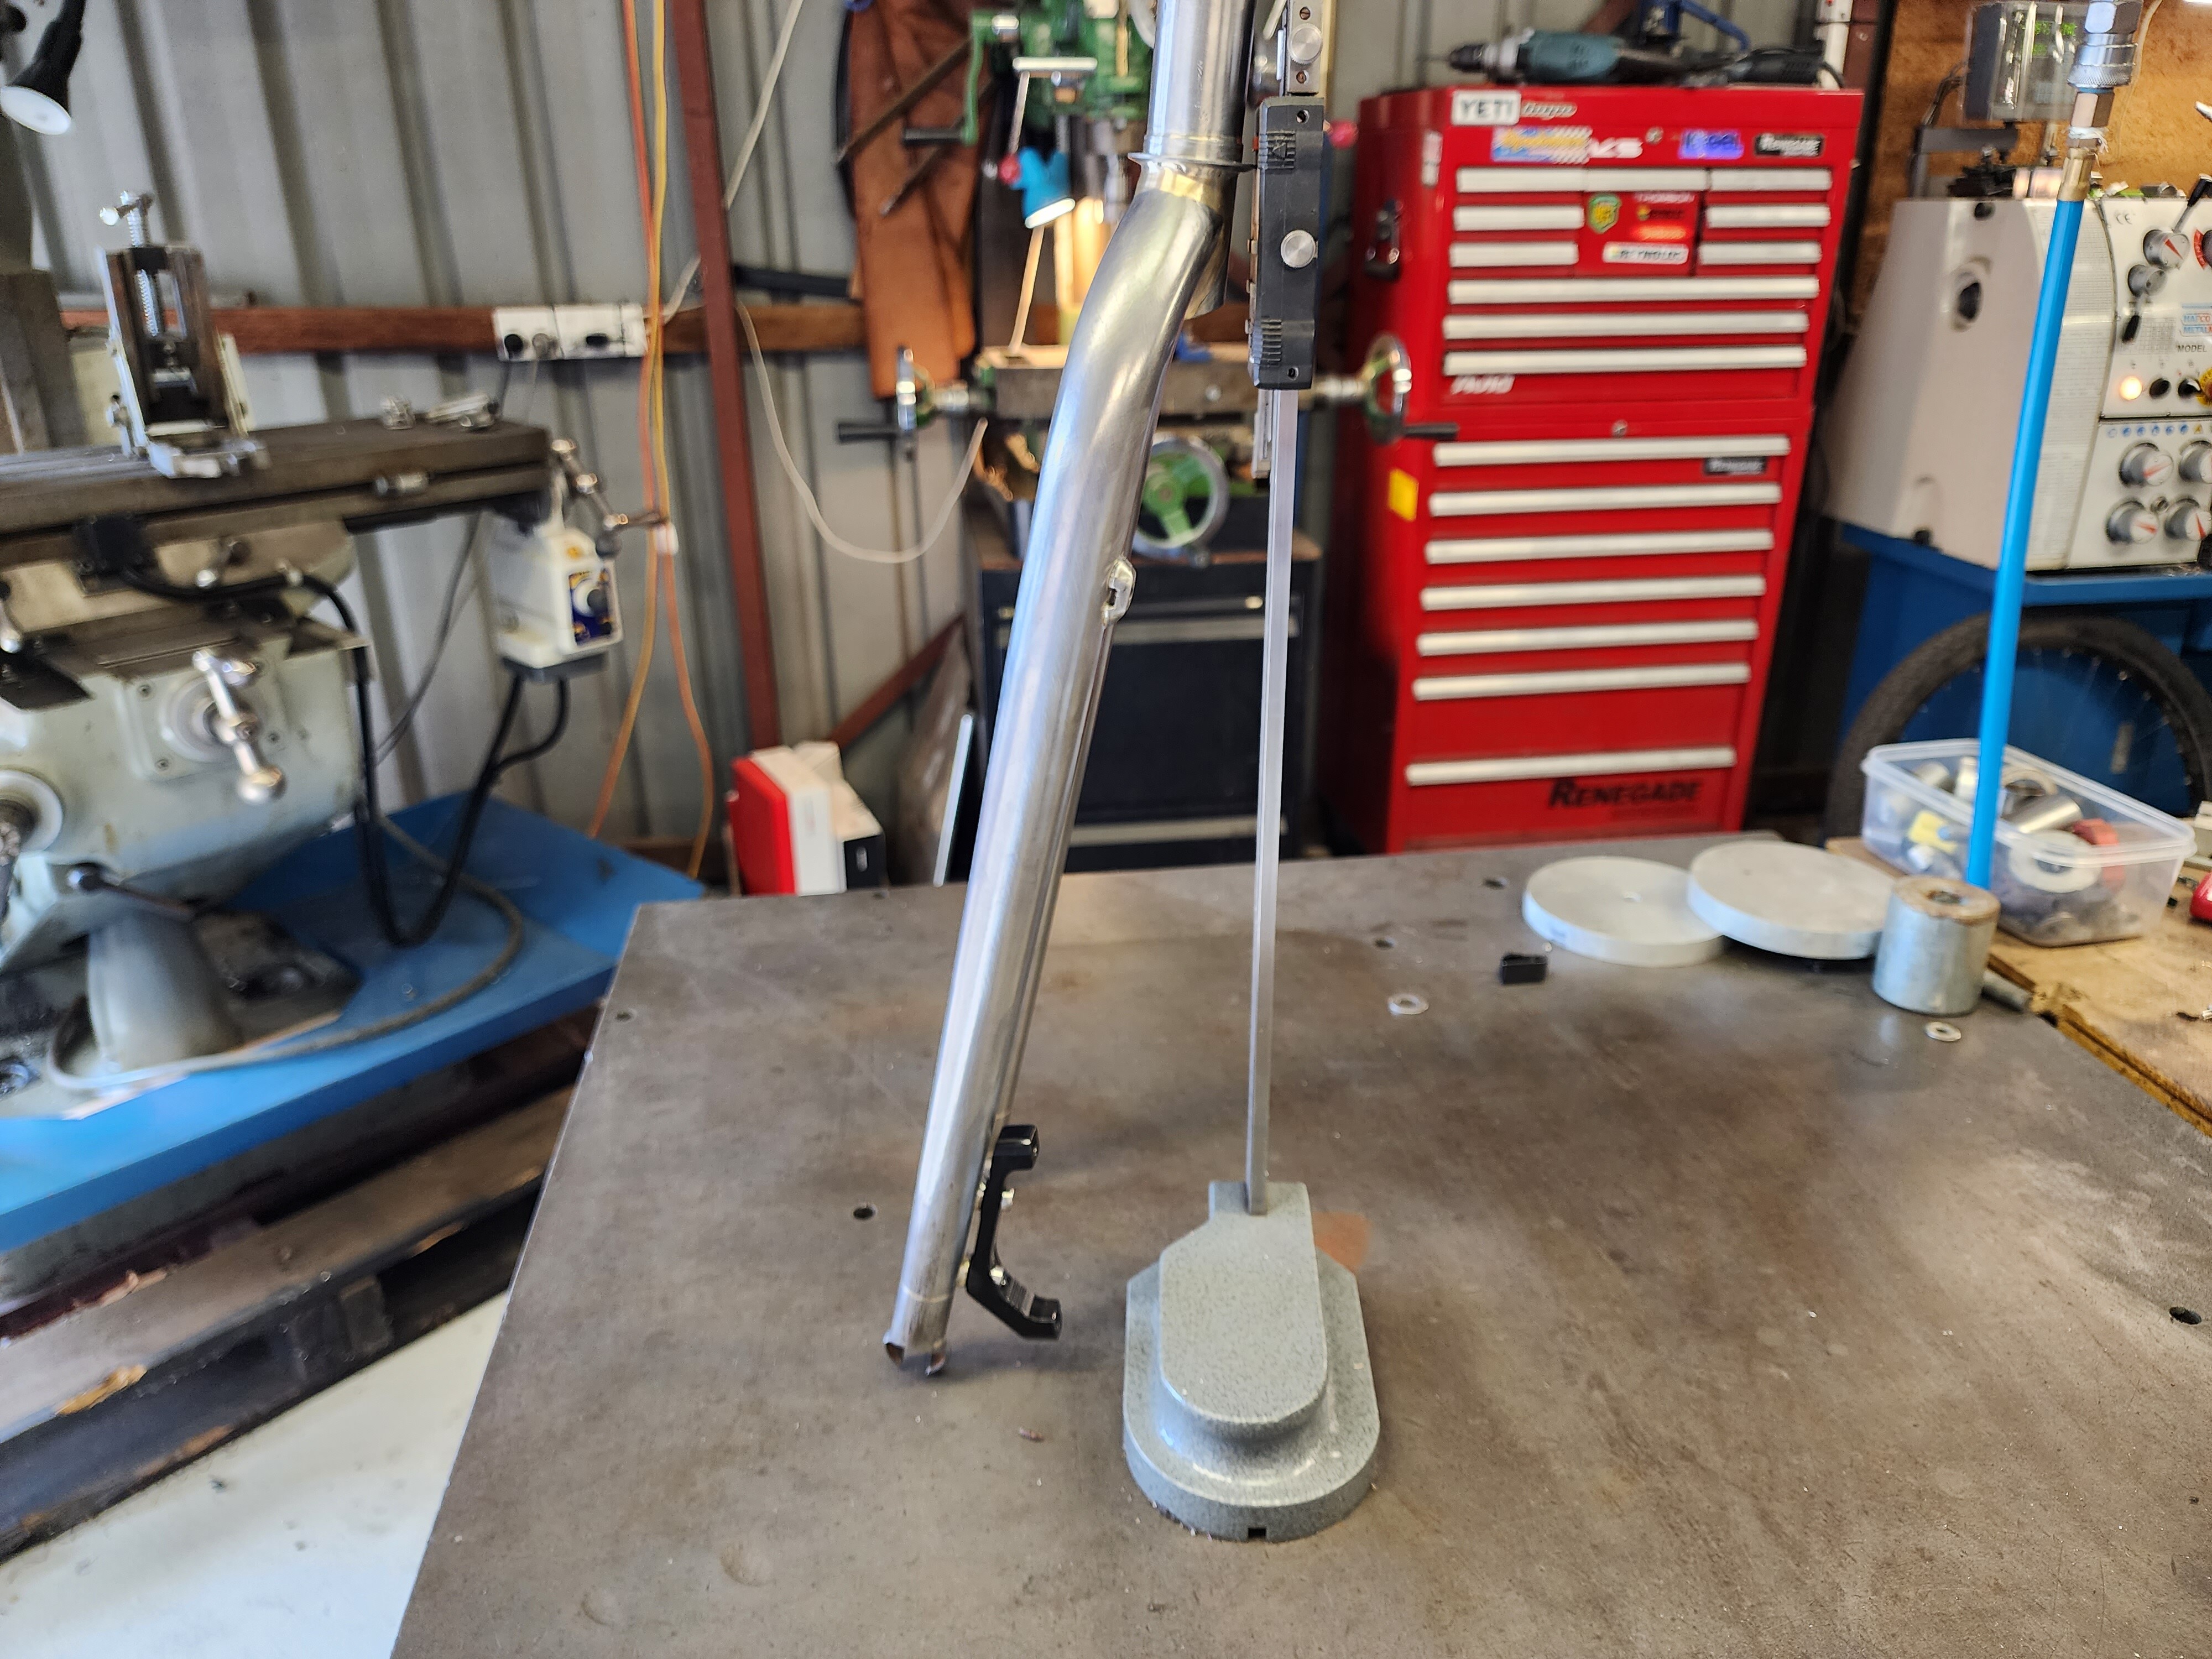
"A reward for myself after a hectic start to the year. I did start this bike a few months ago but had to put it on hold. The finish was something that evolved over the course of the build.
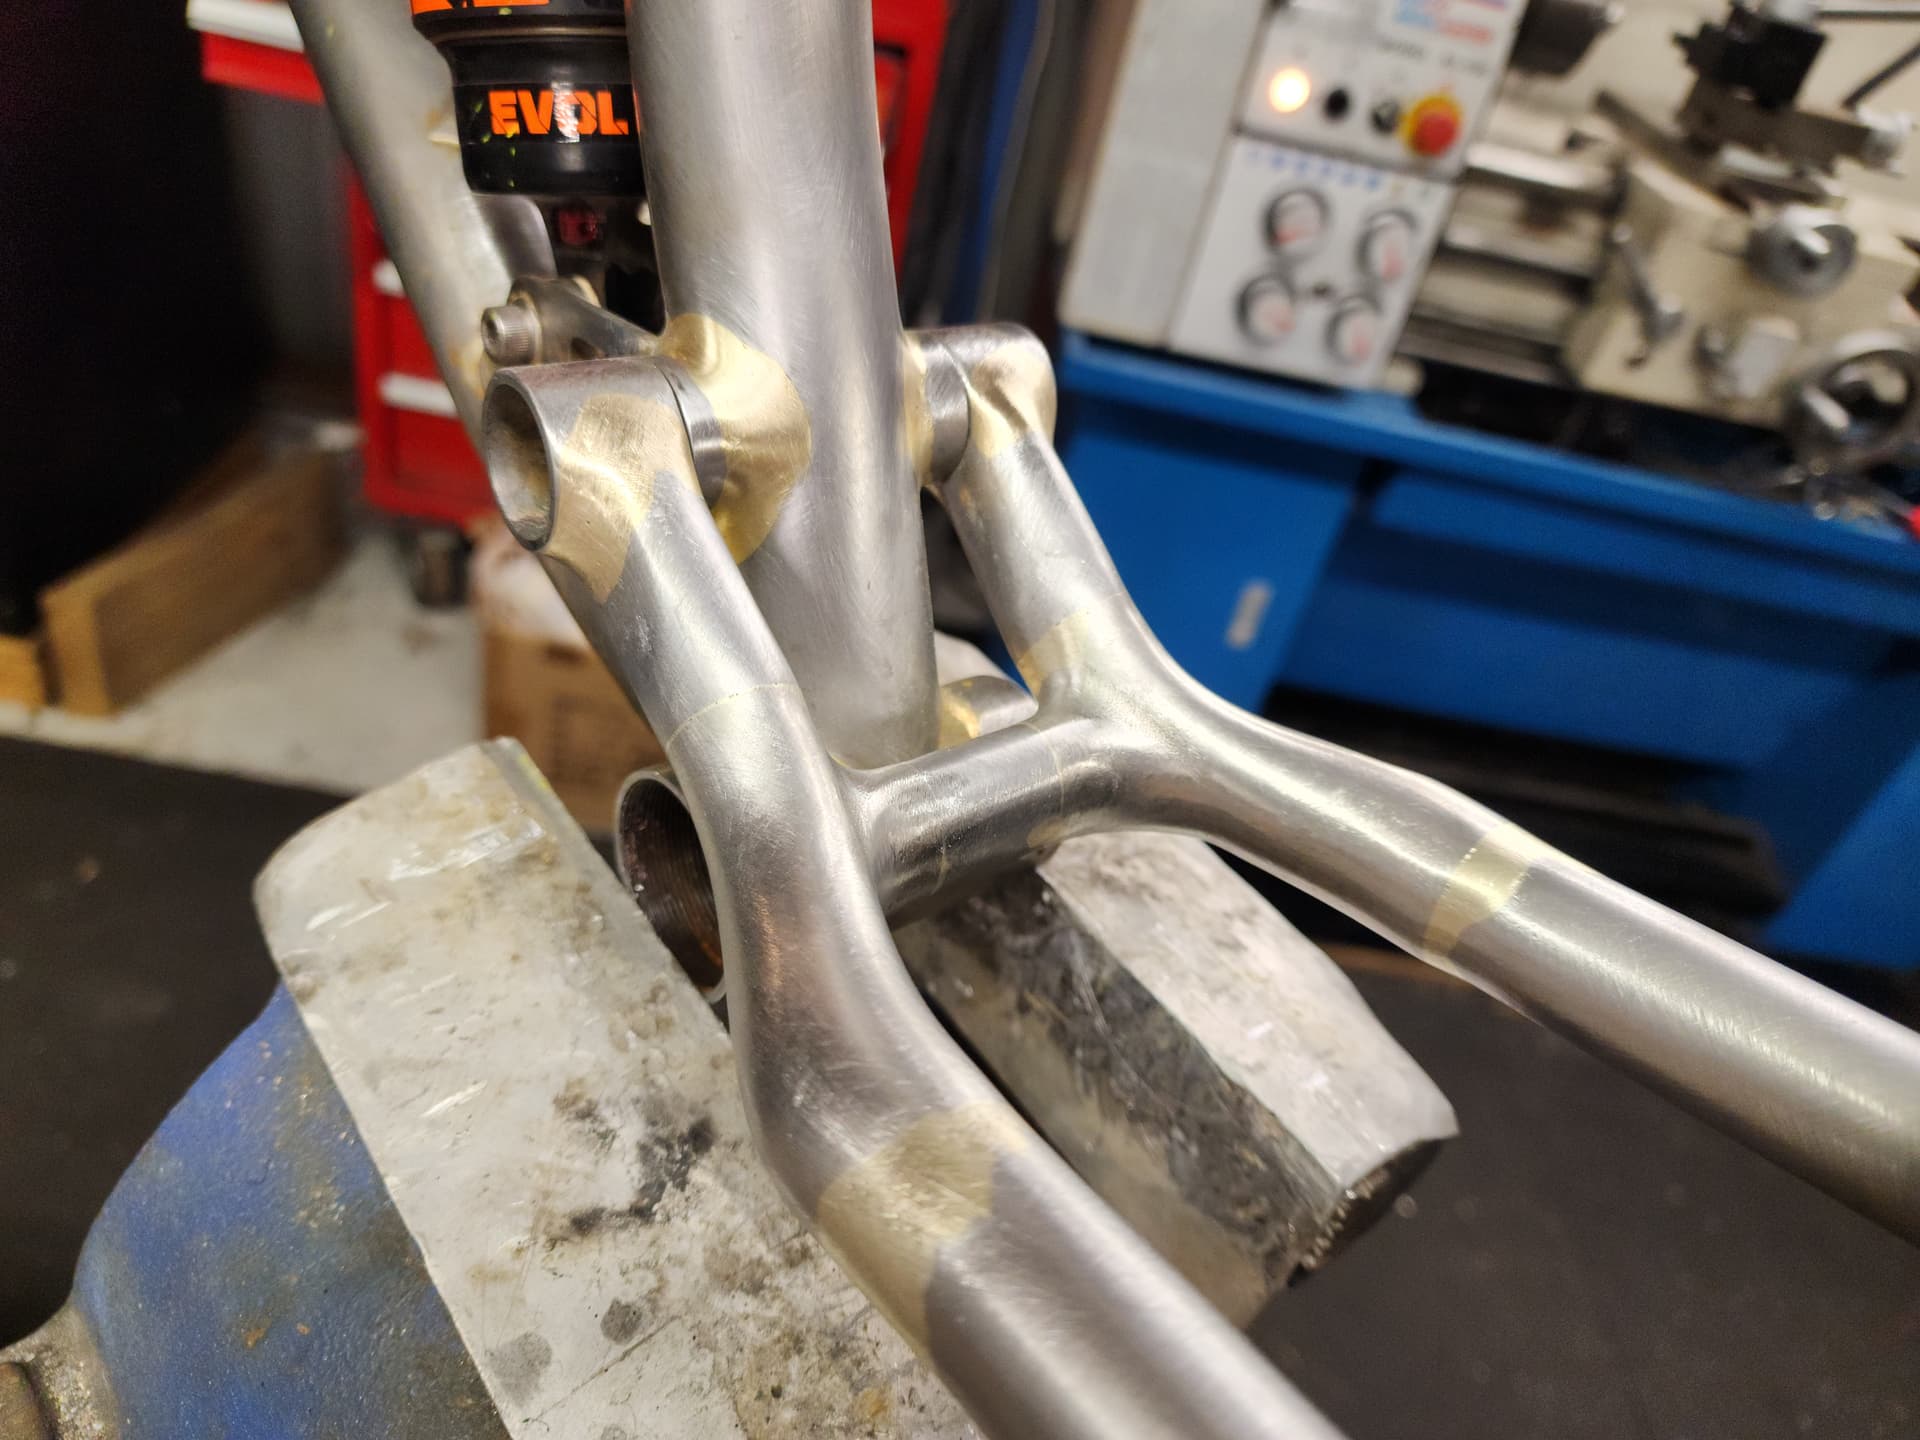
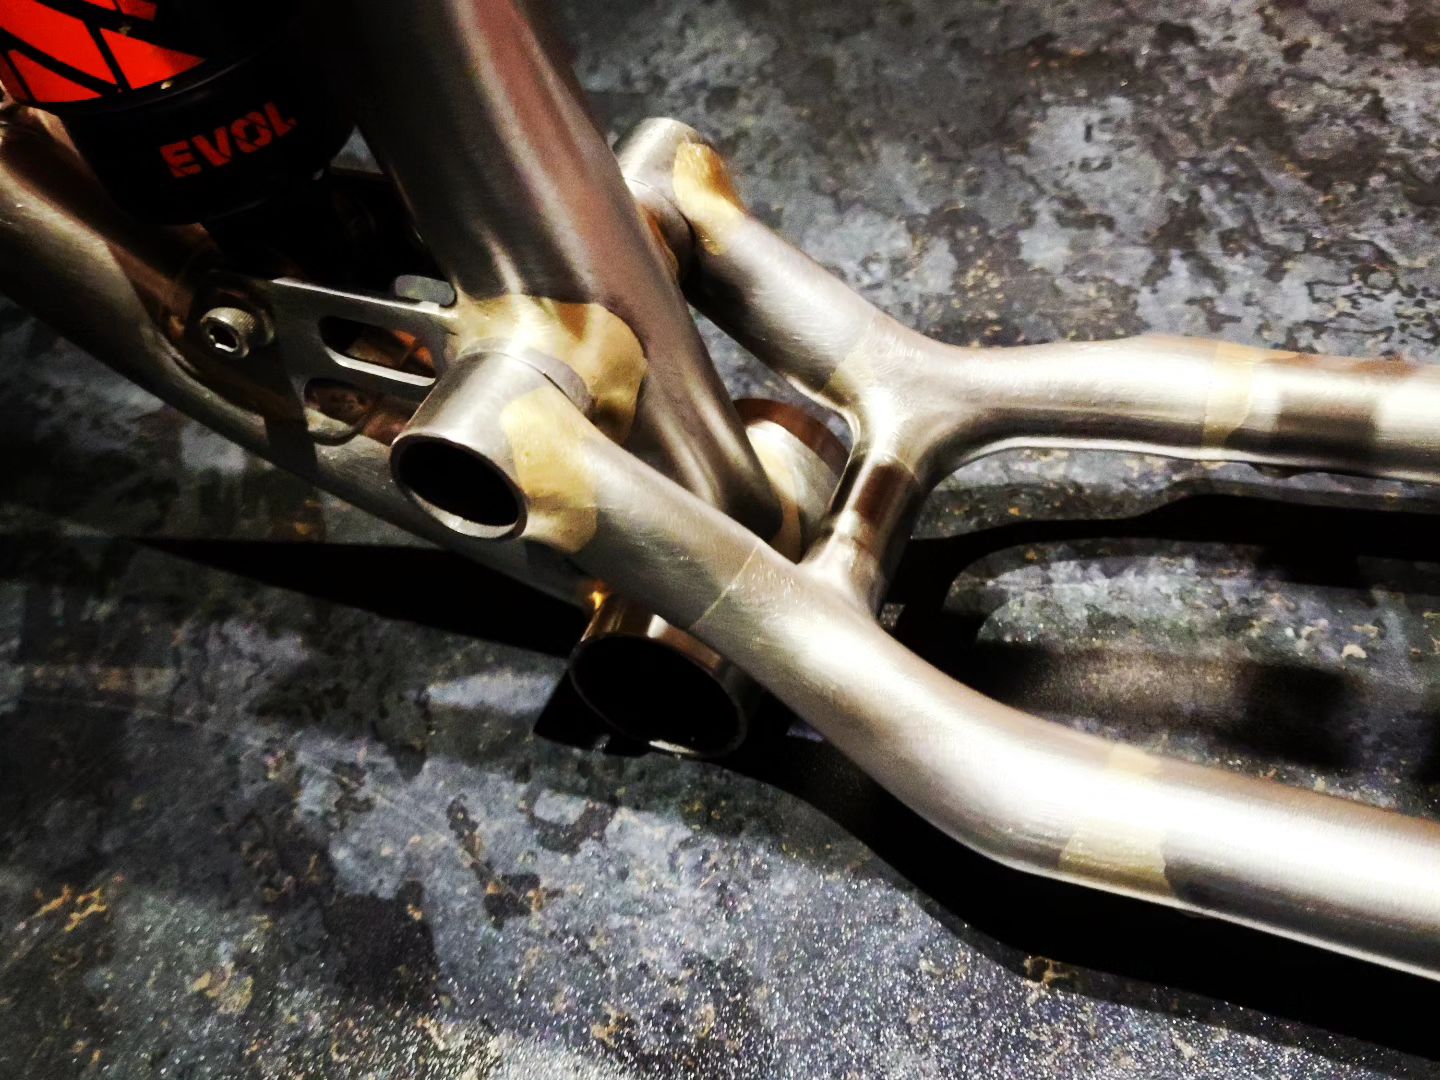
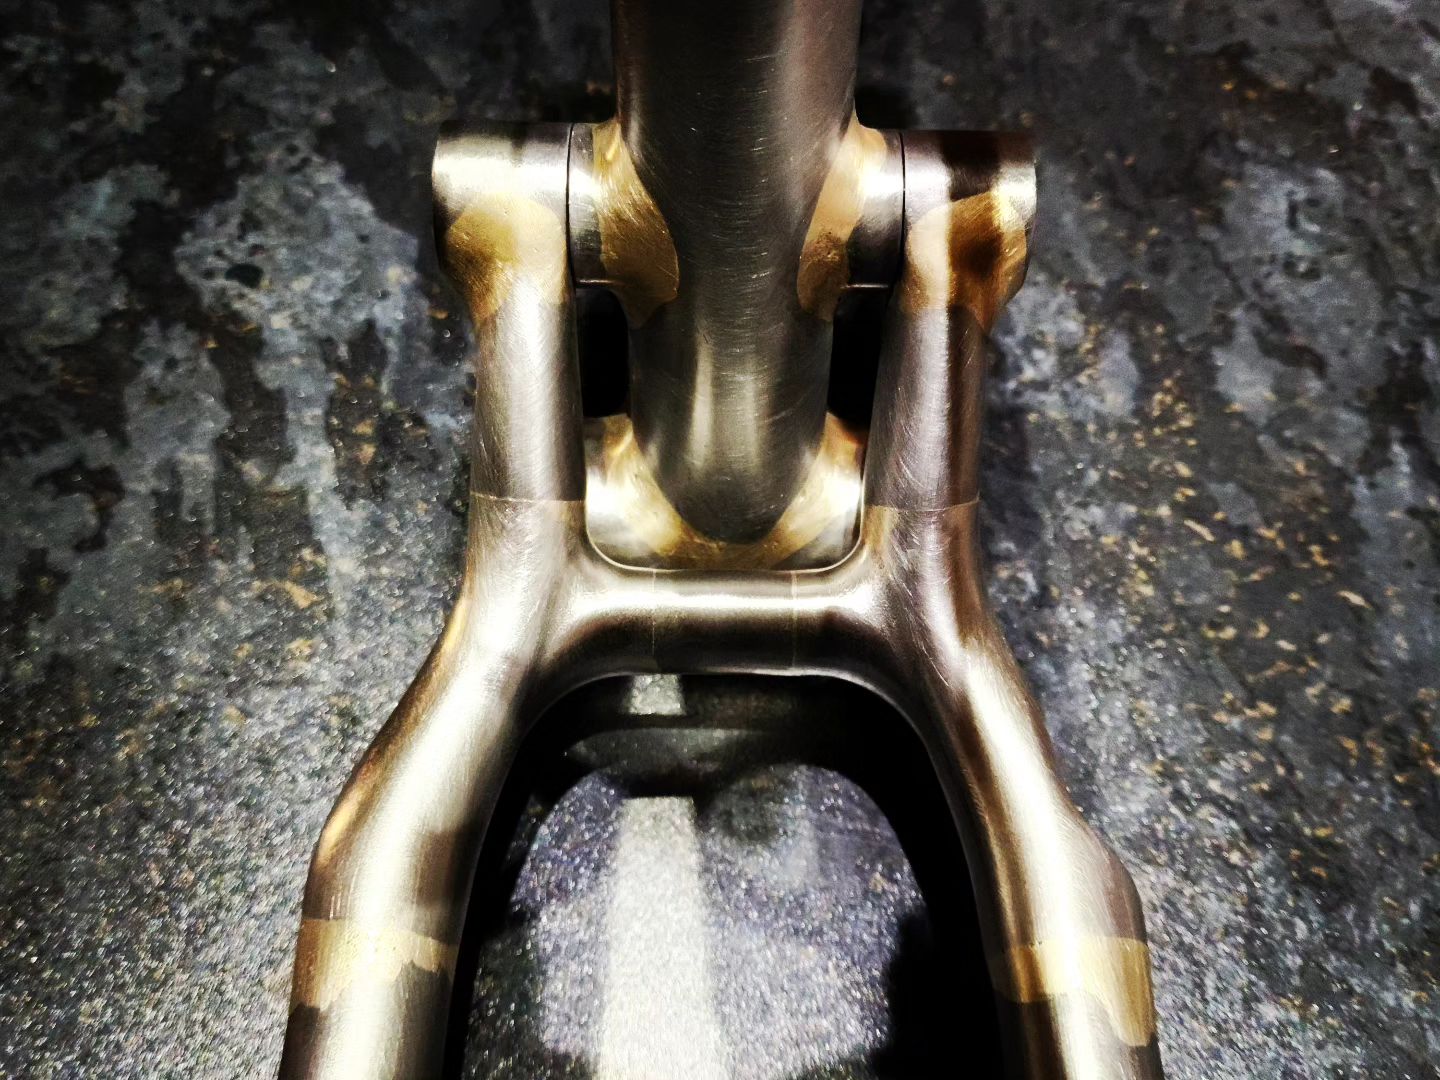
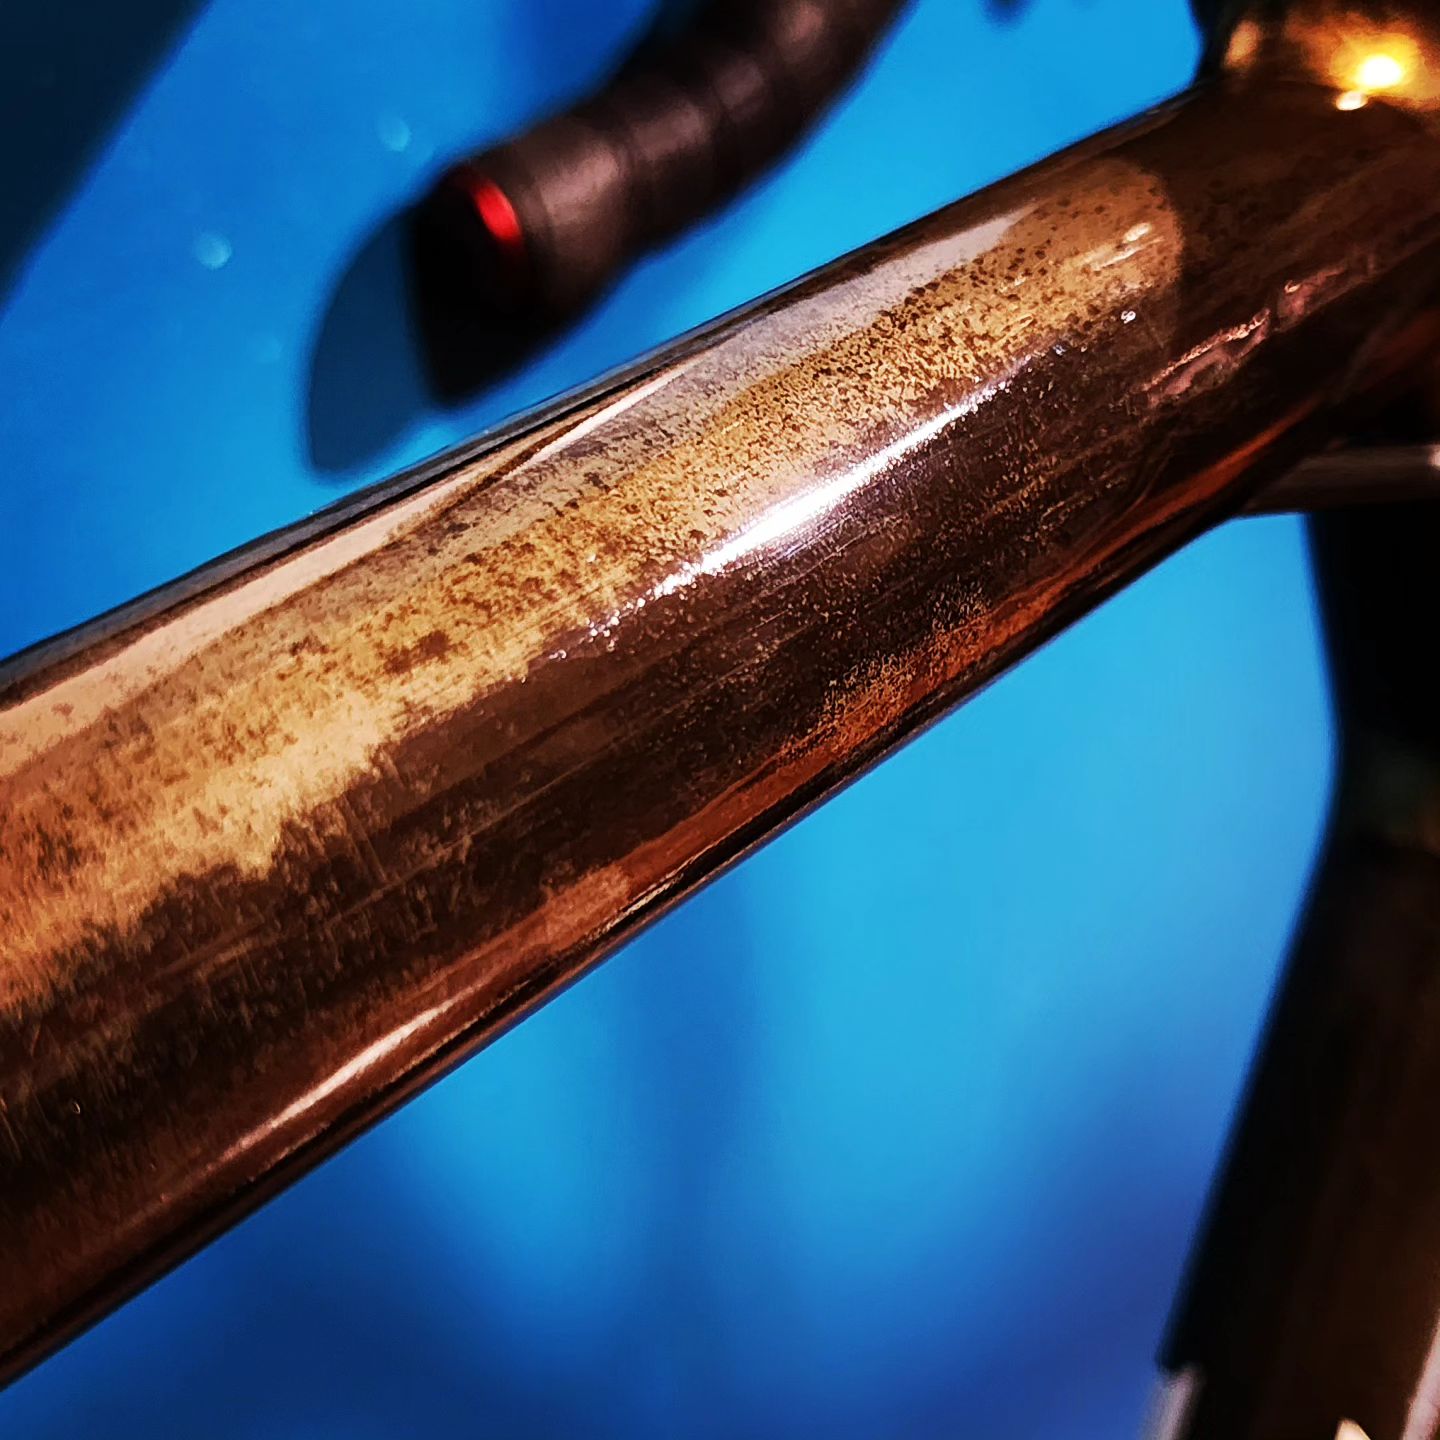
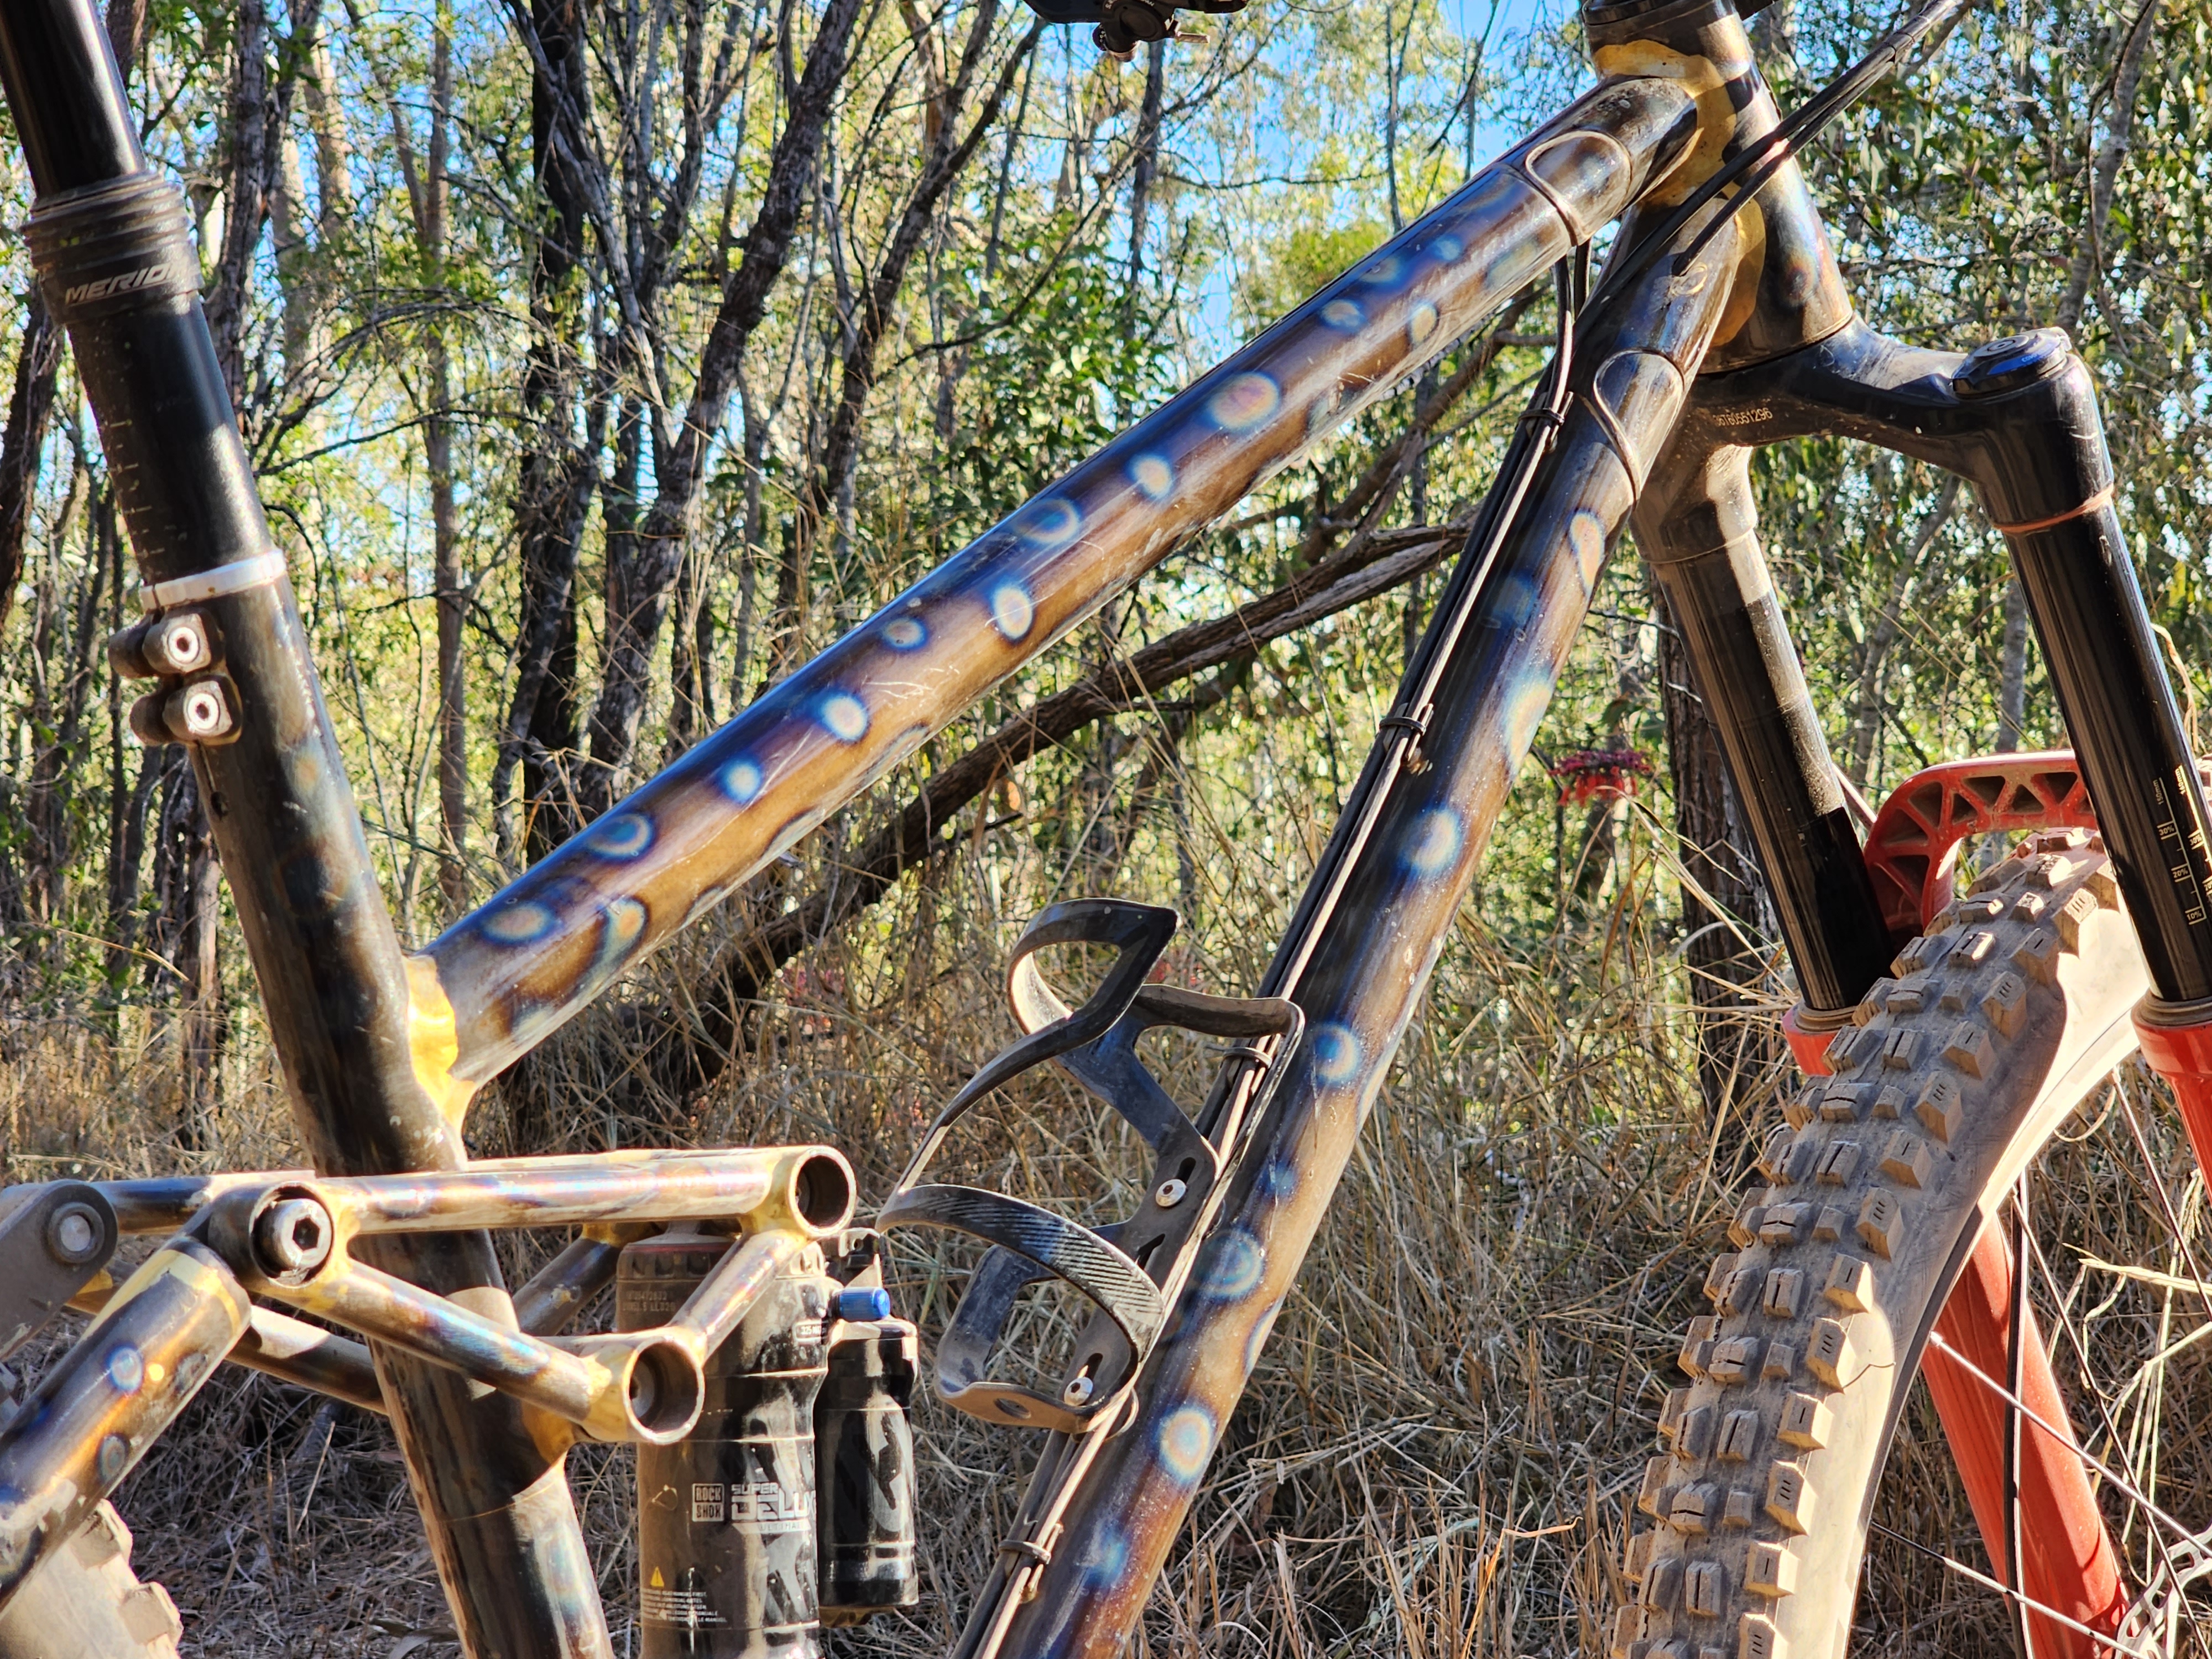
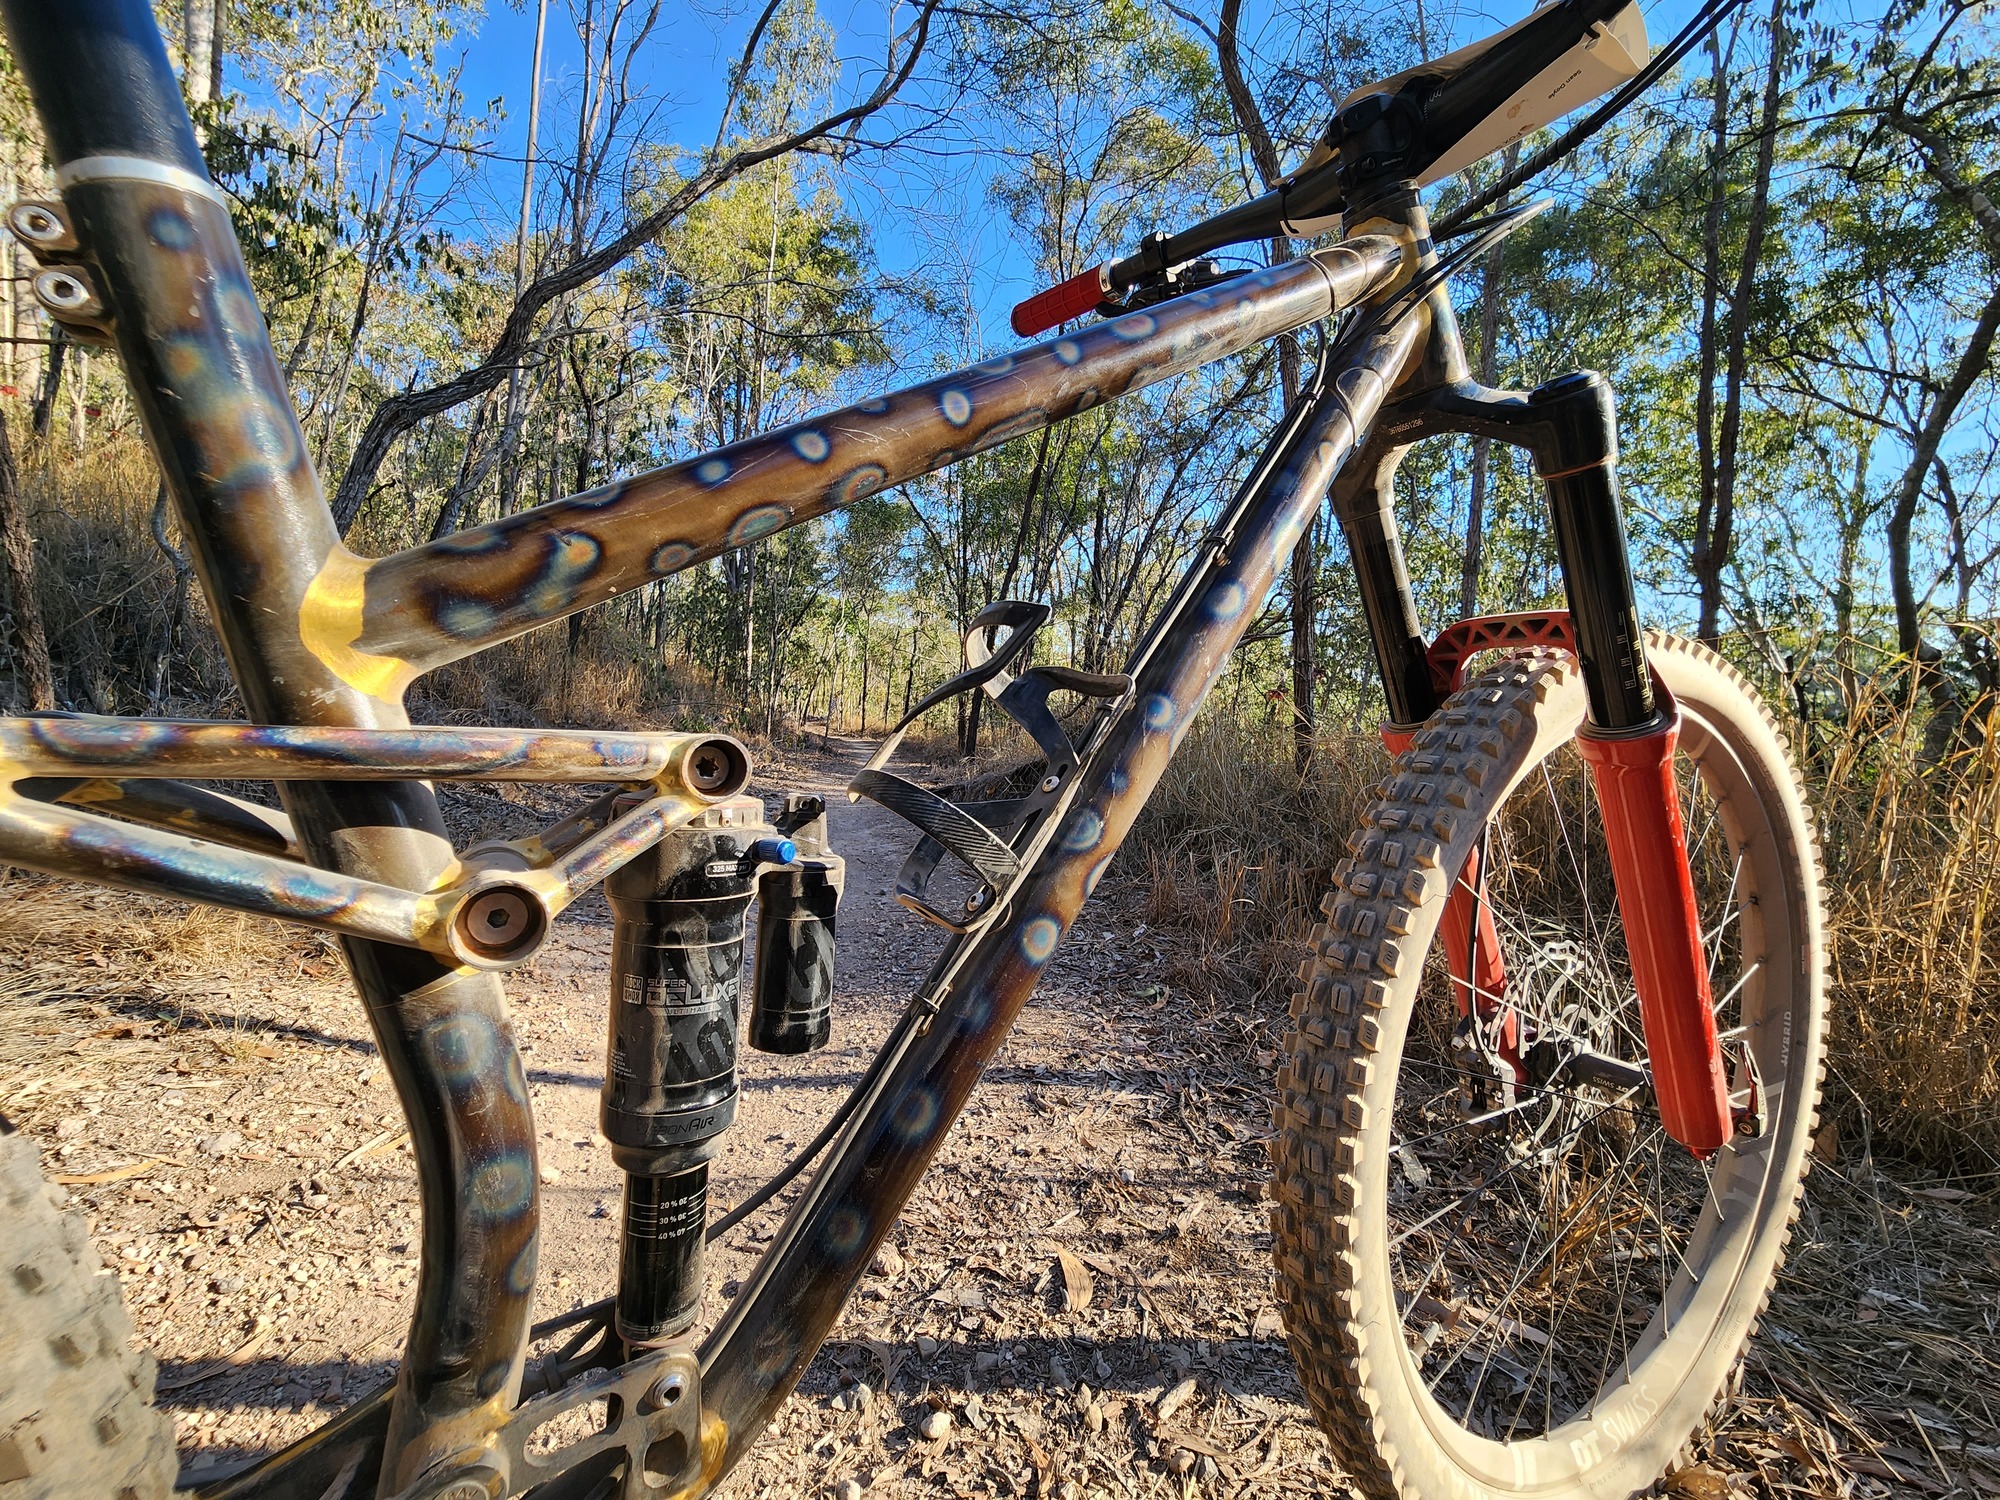
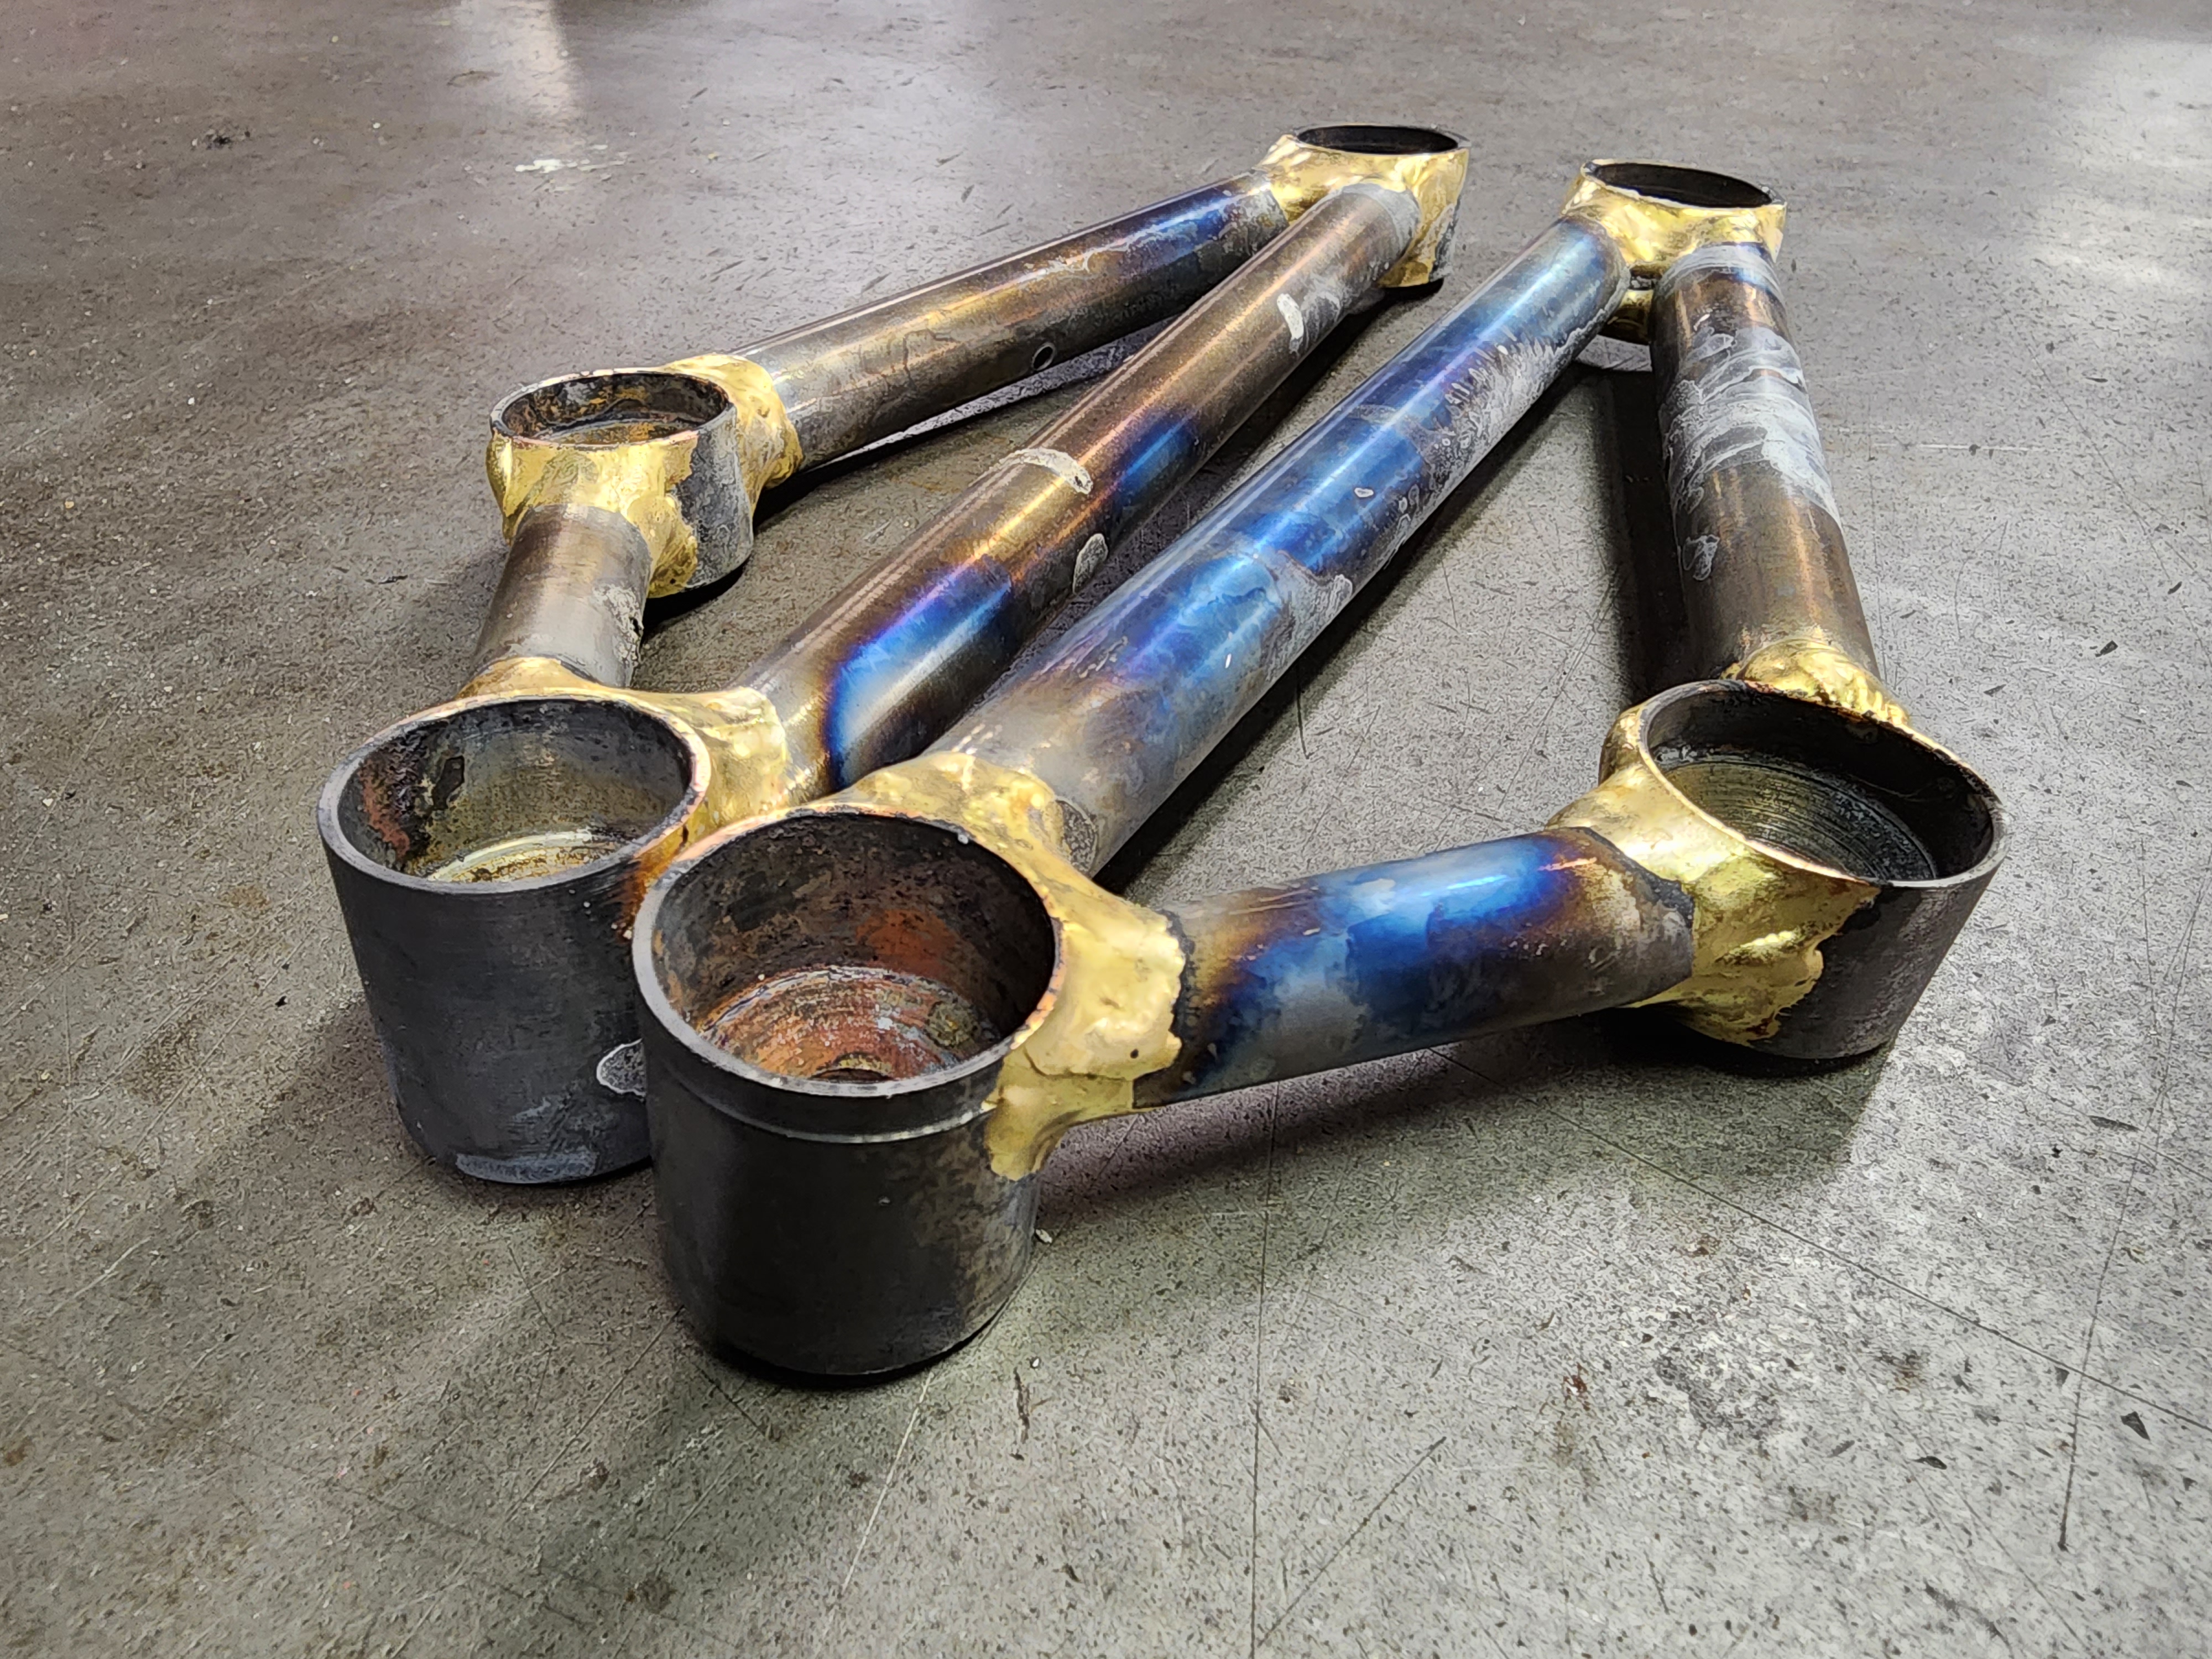
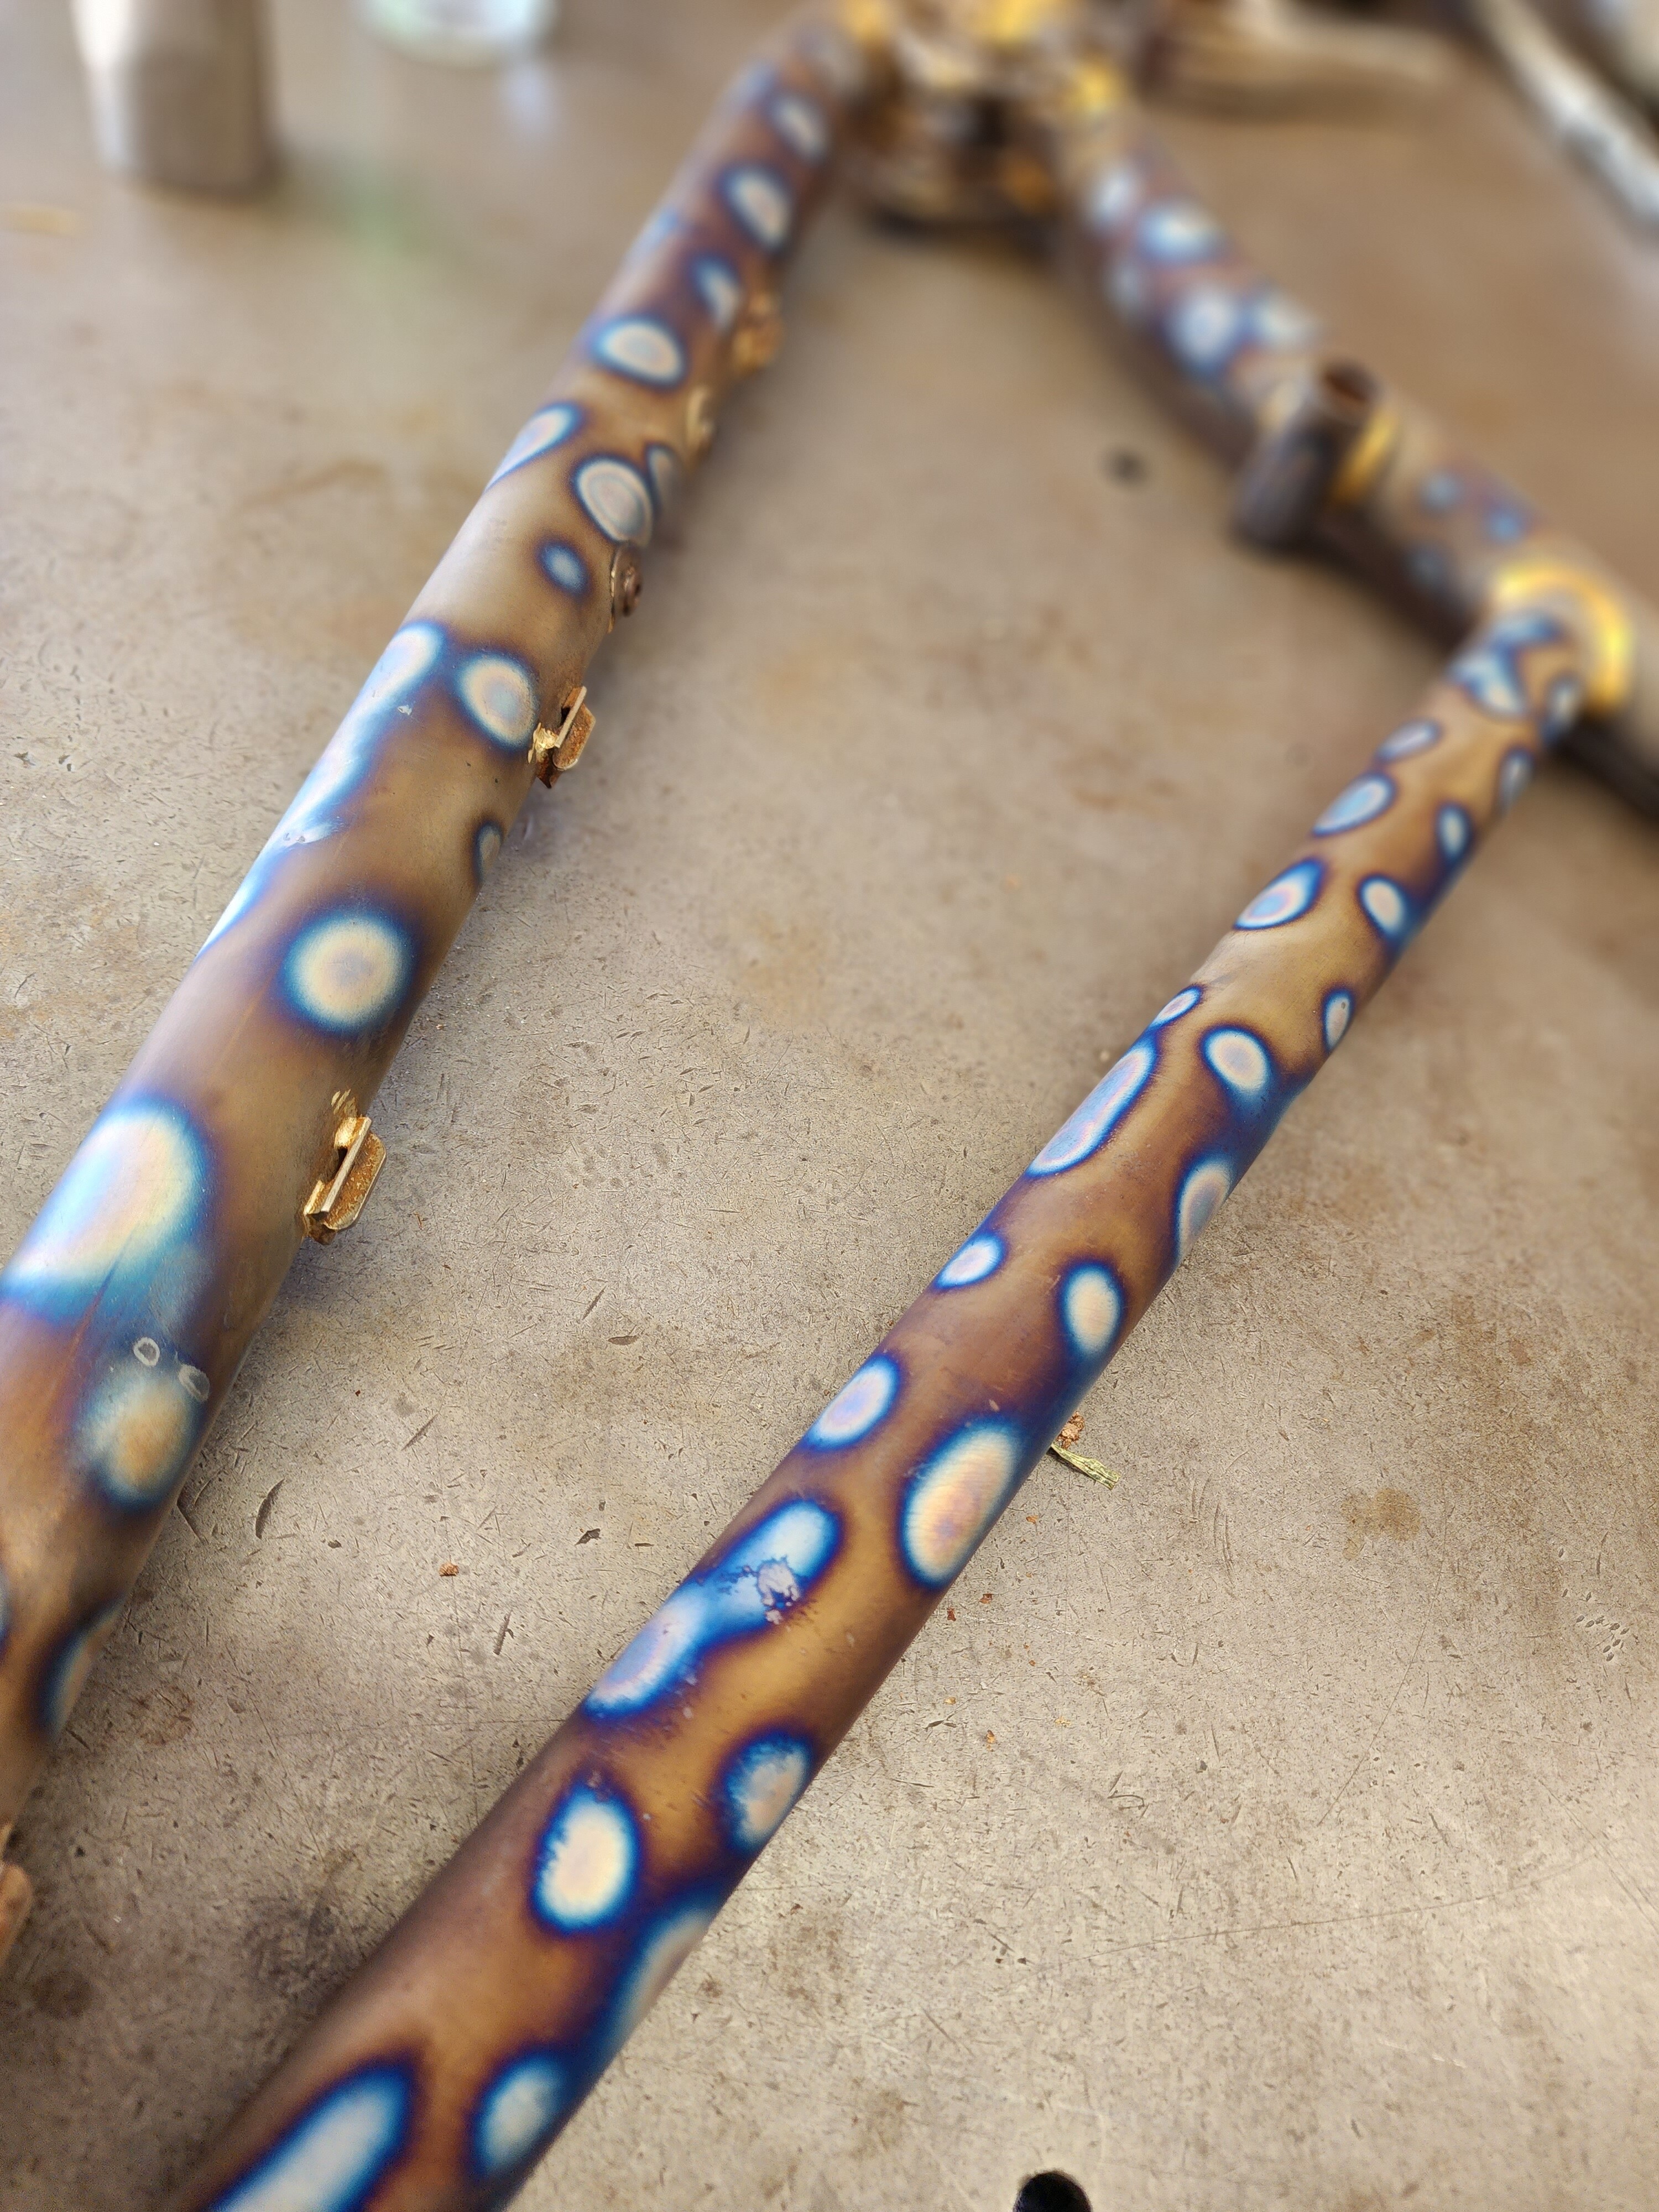
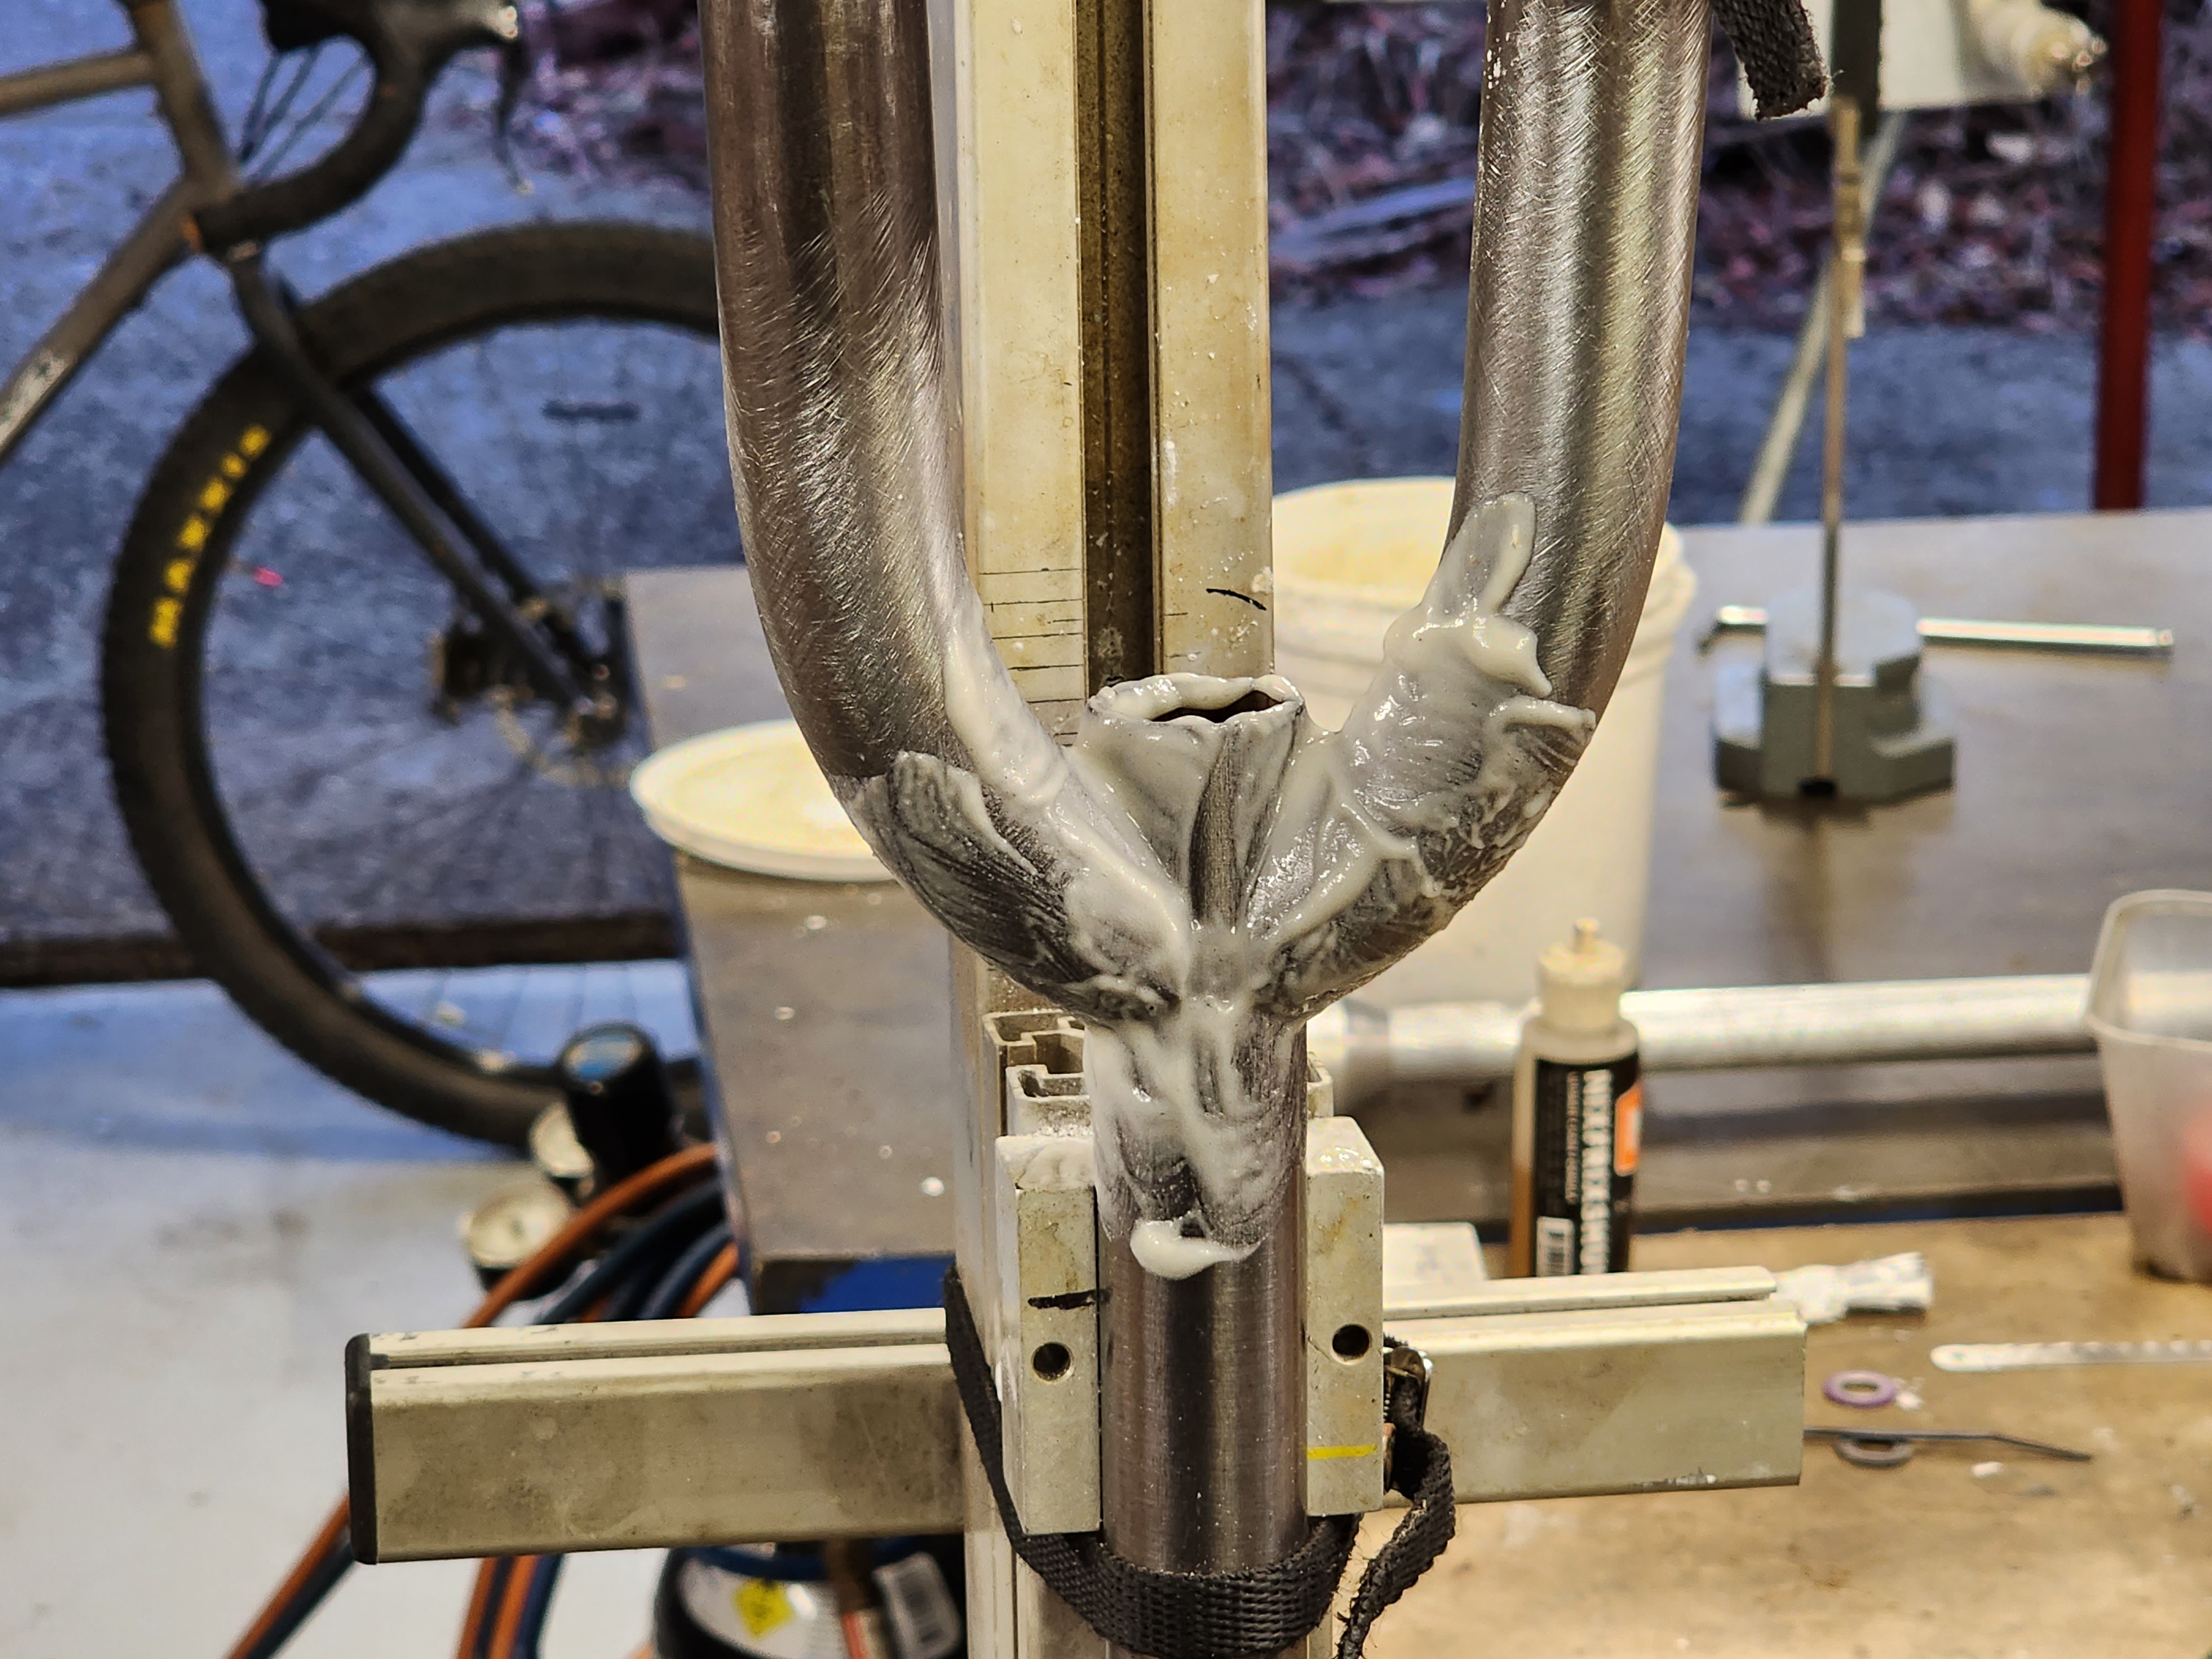
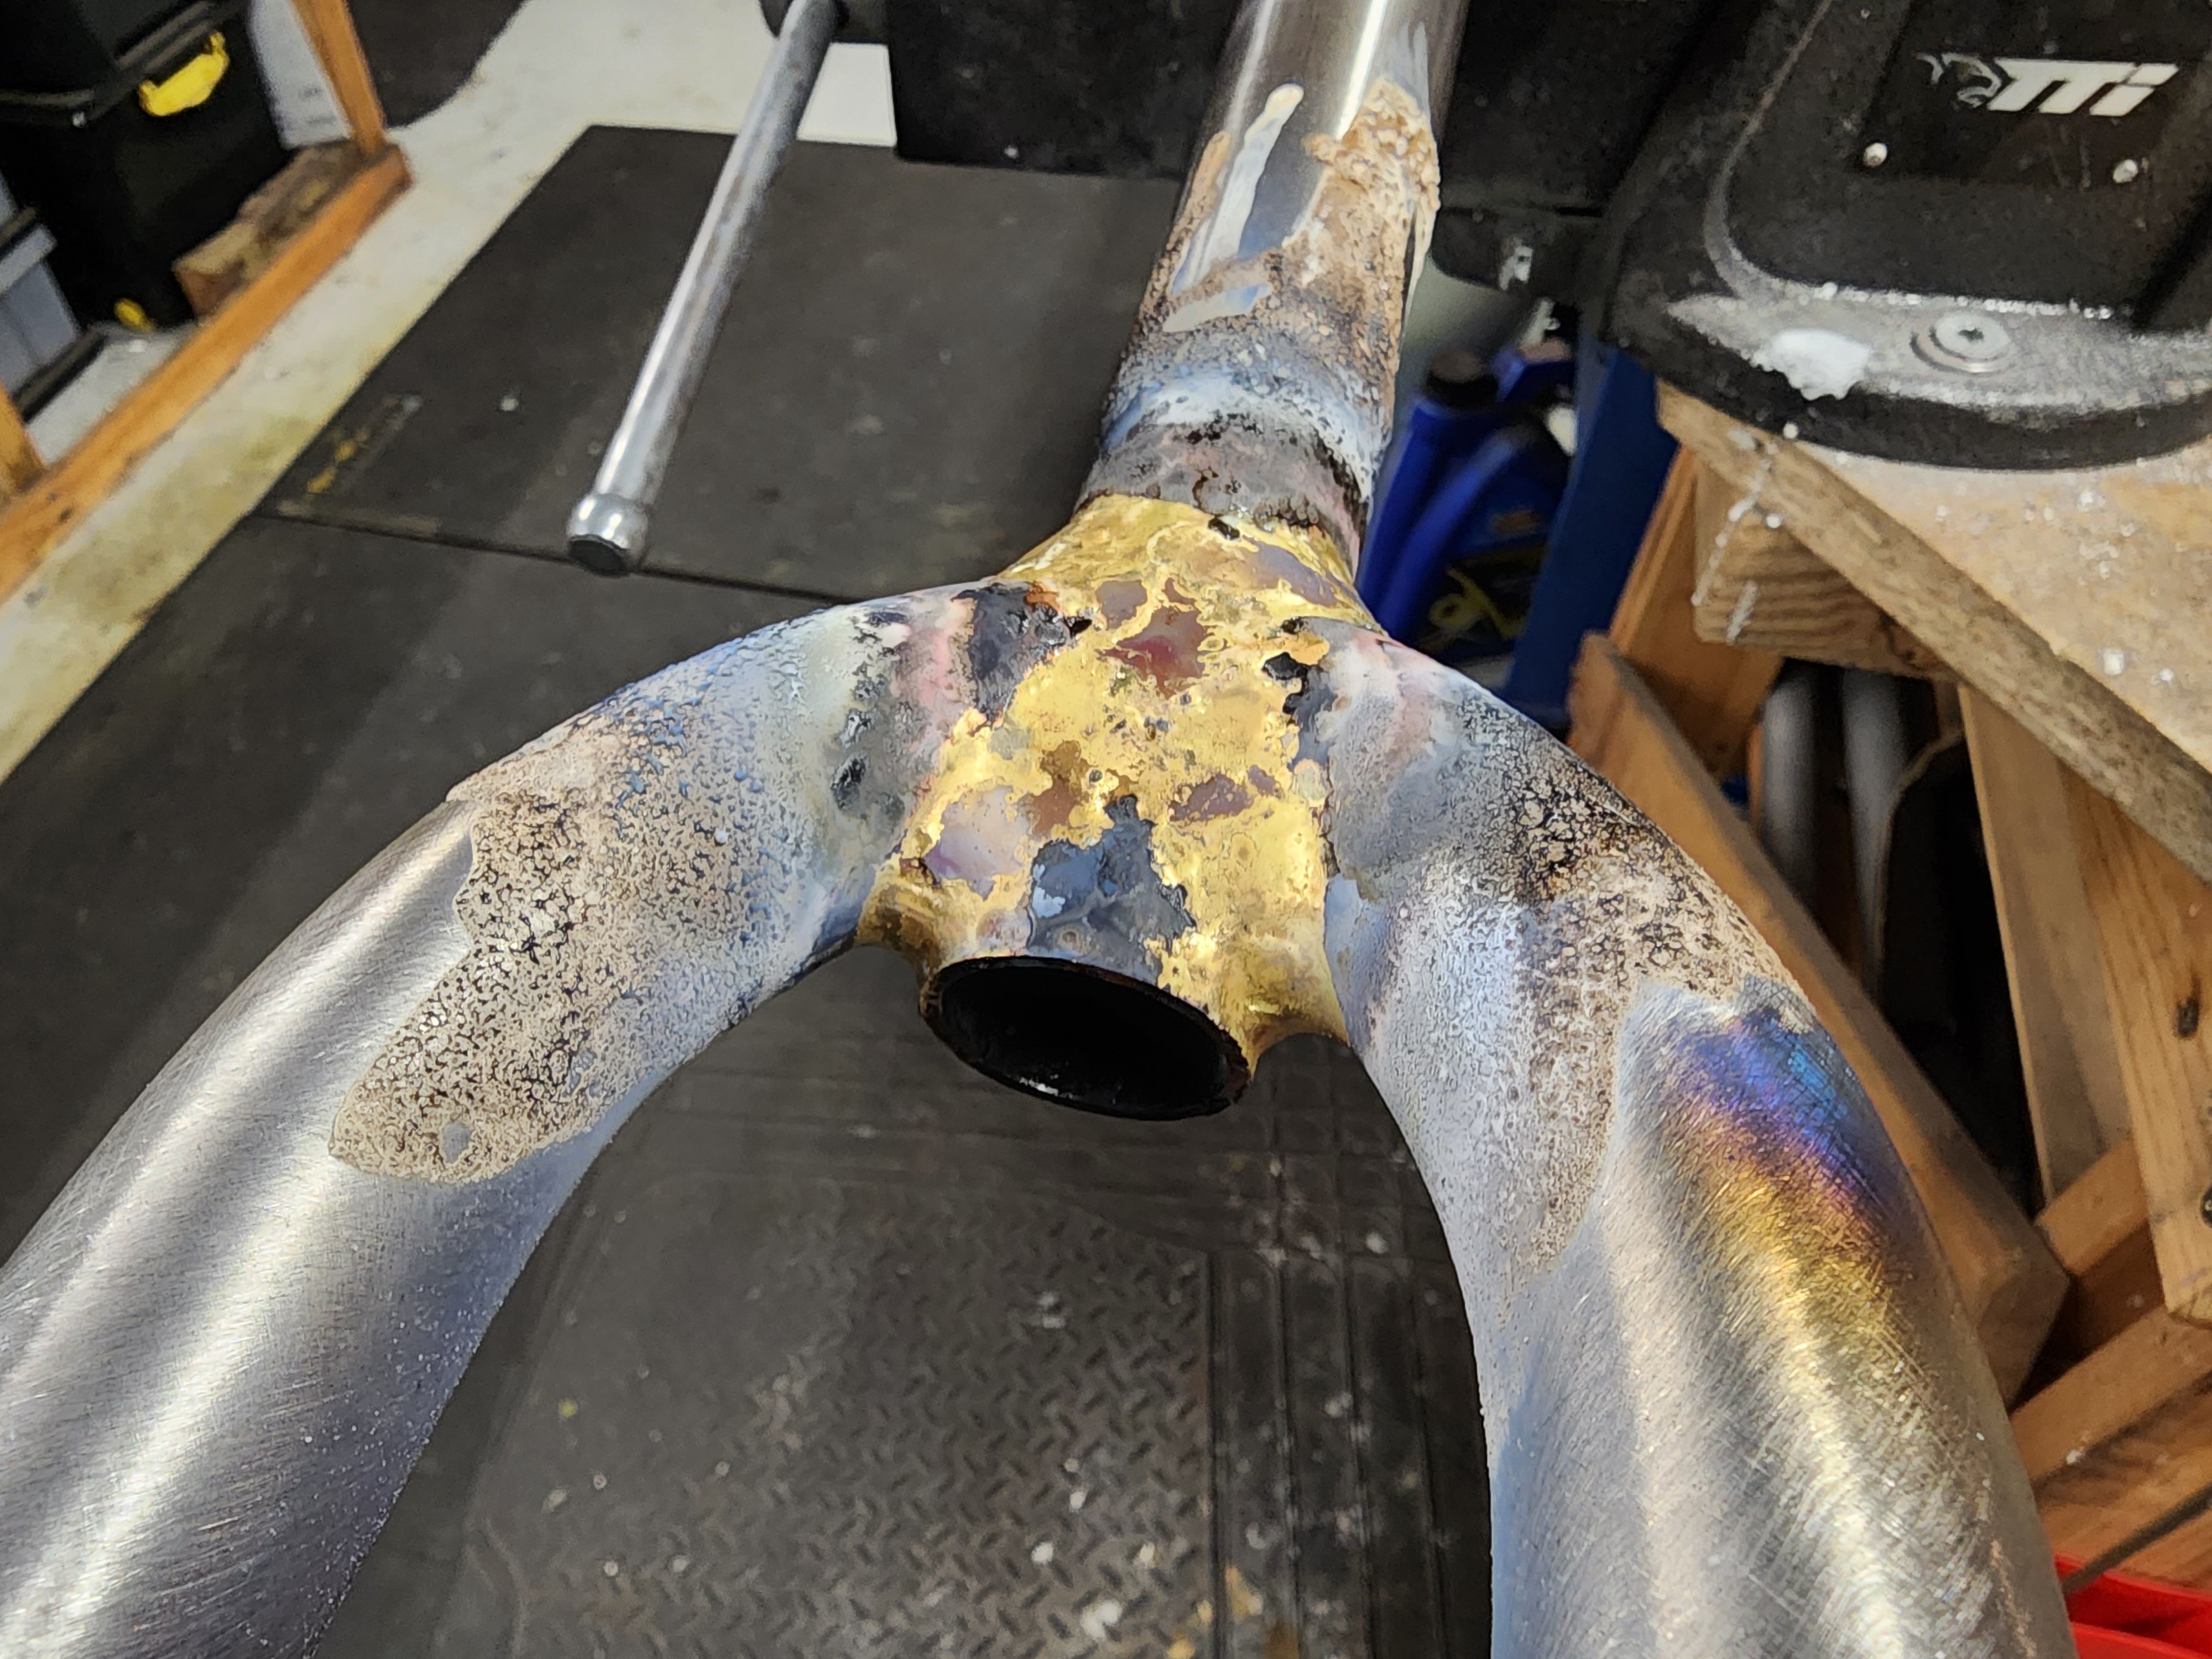
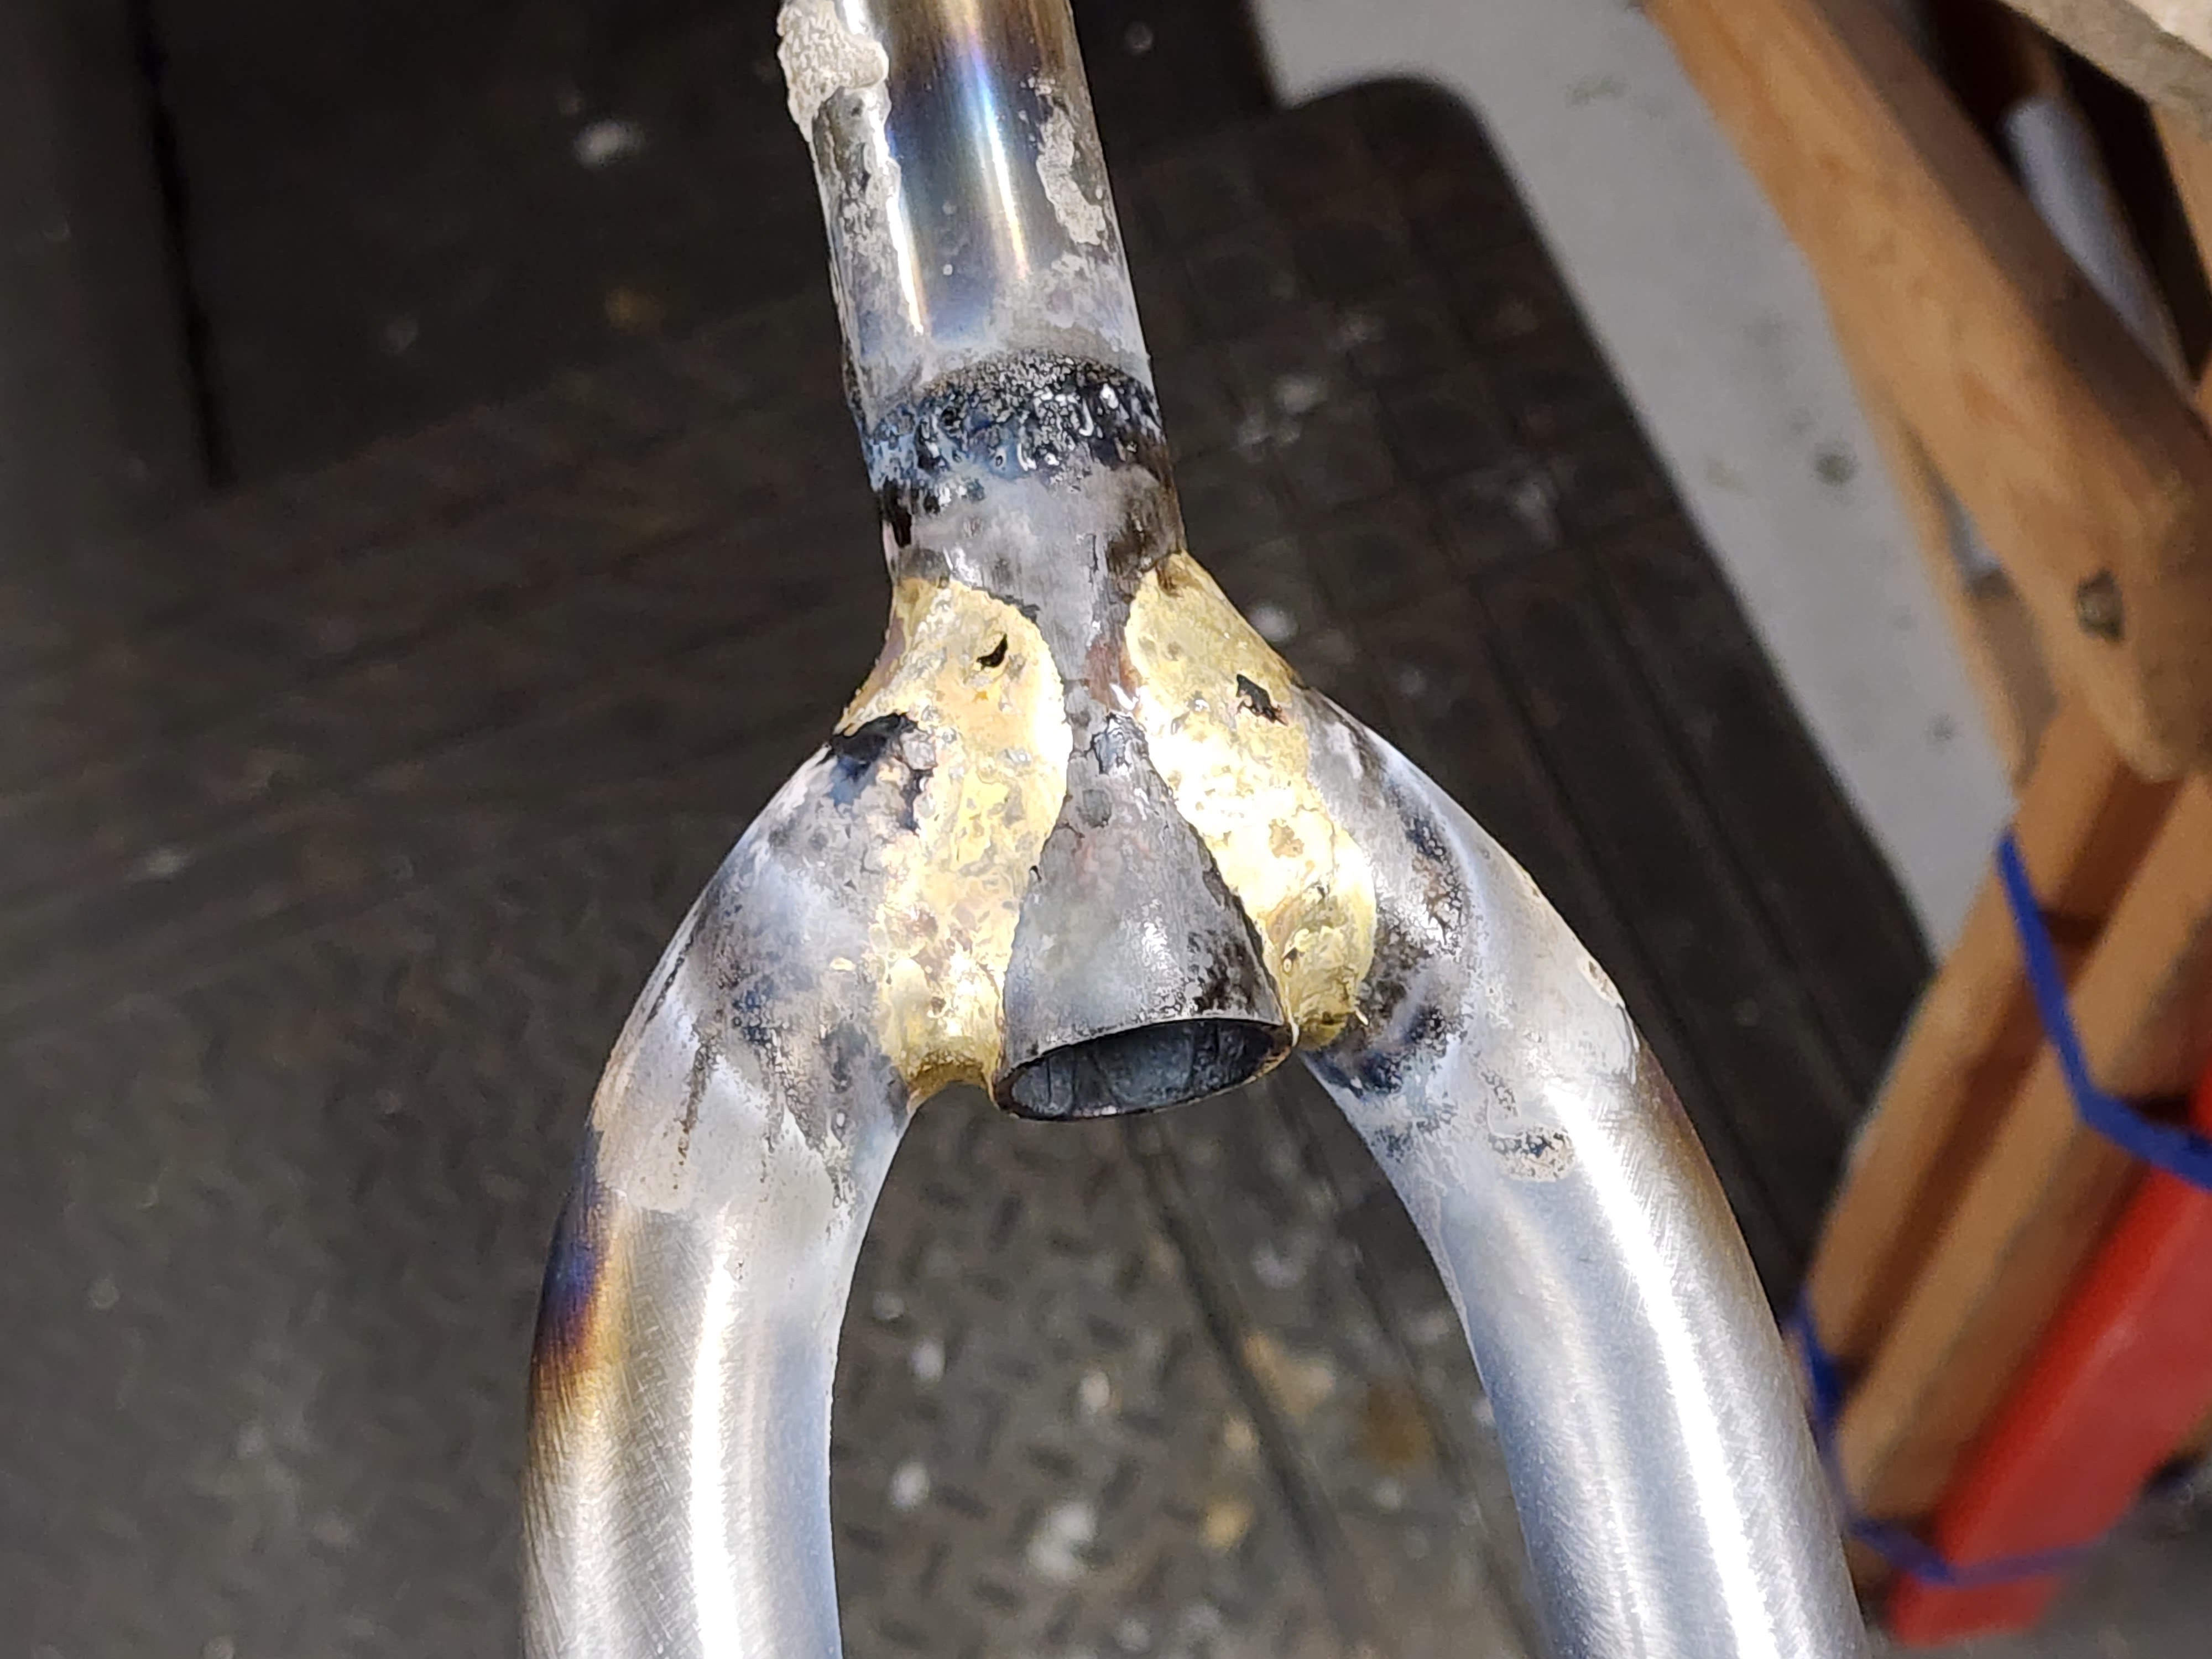
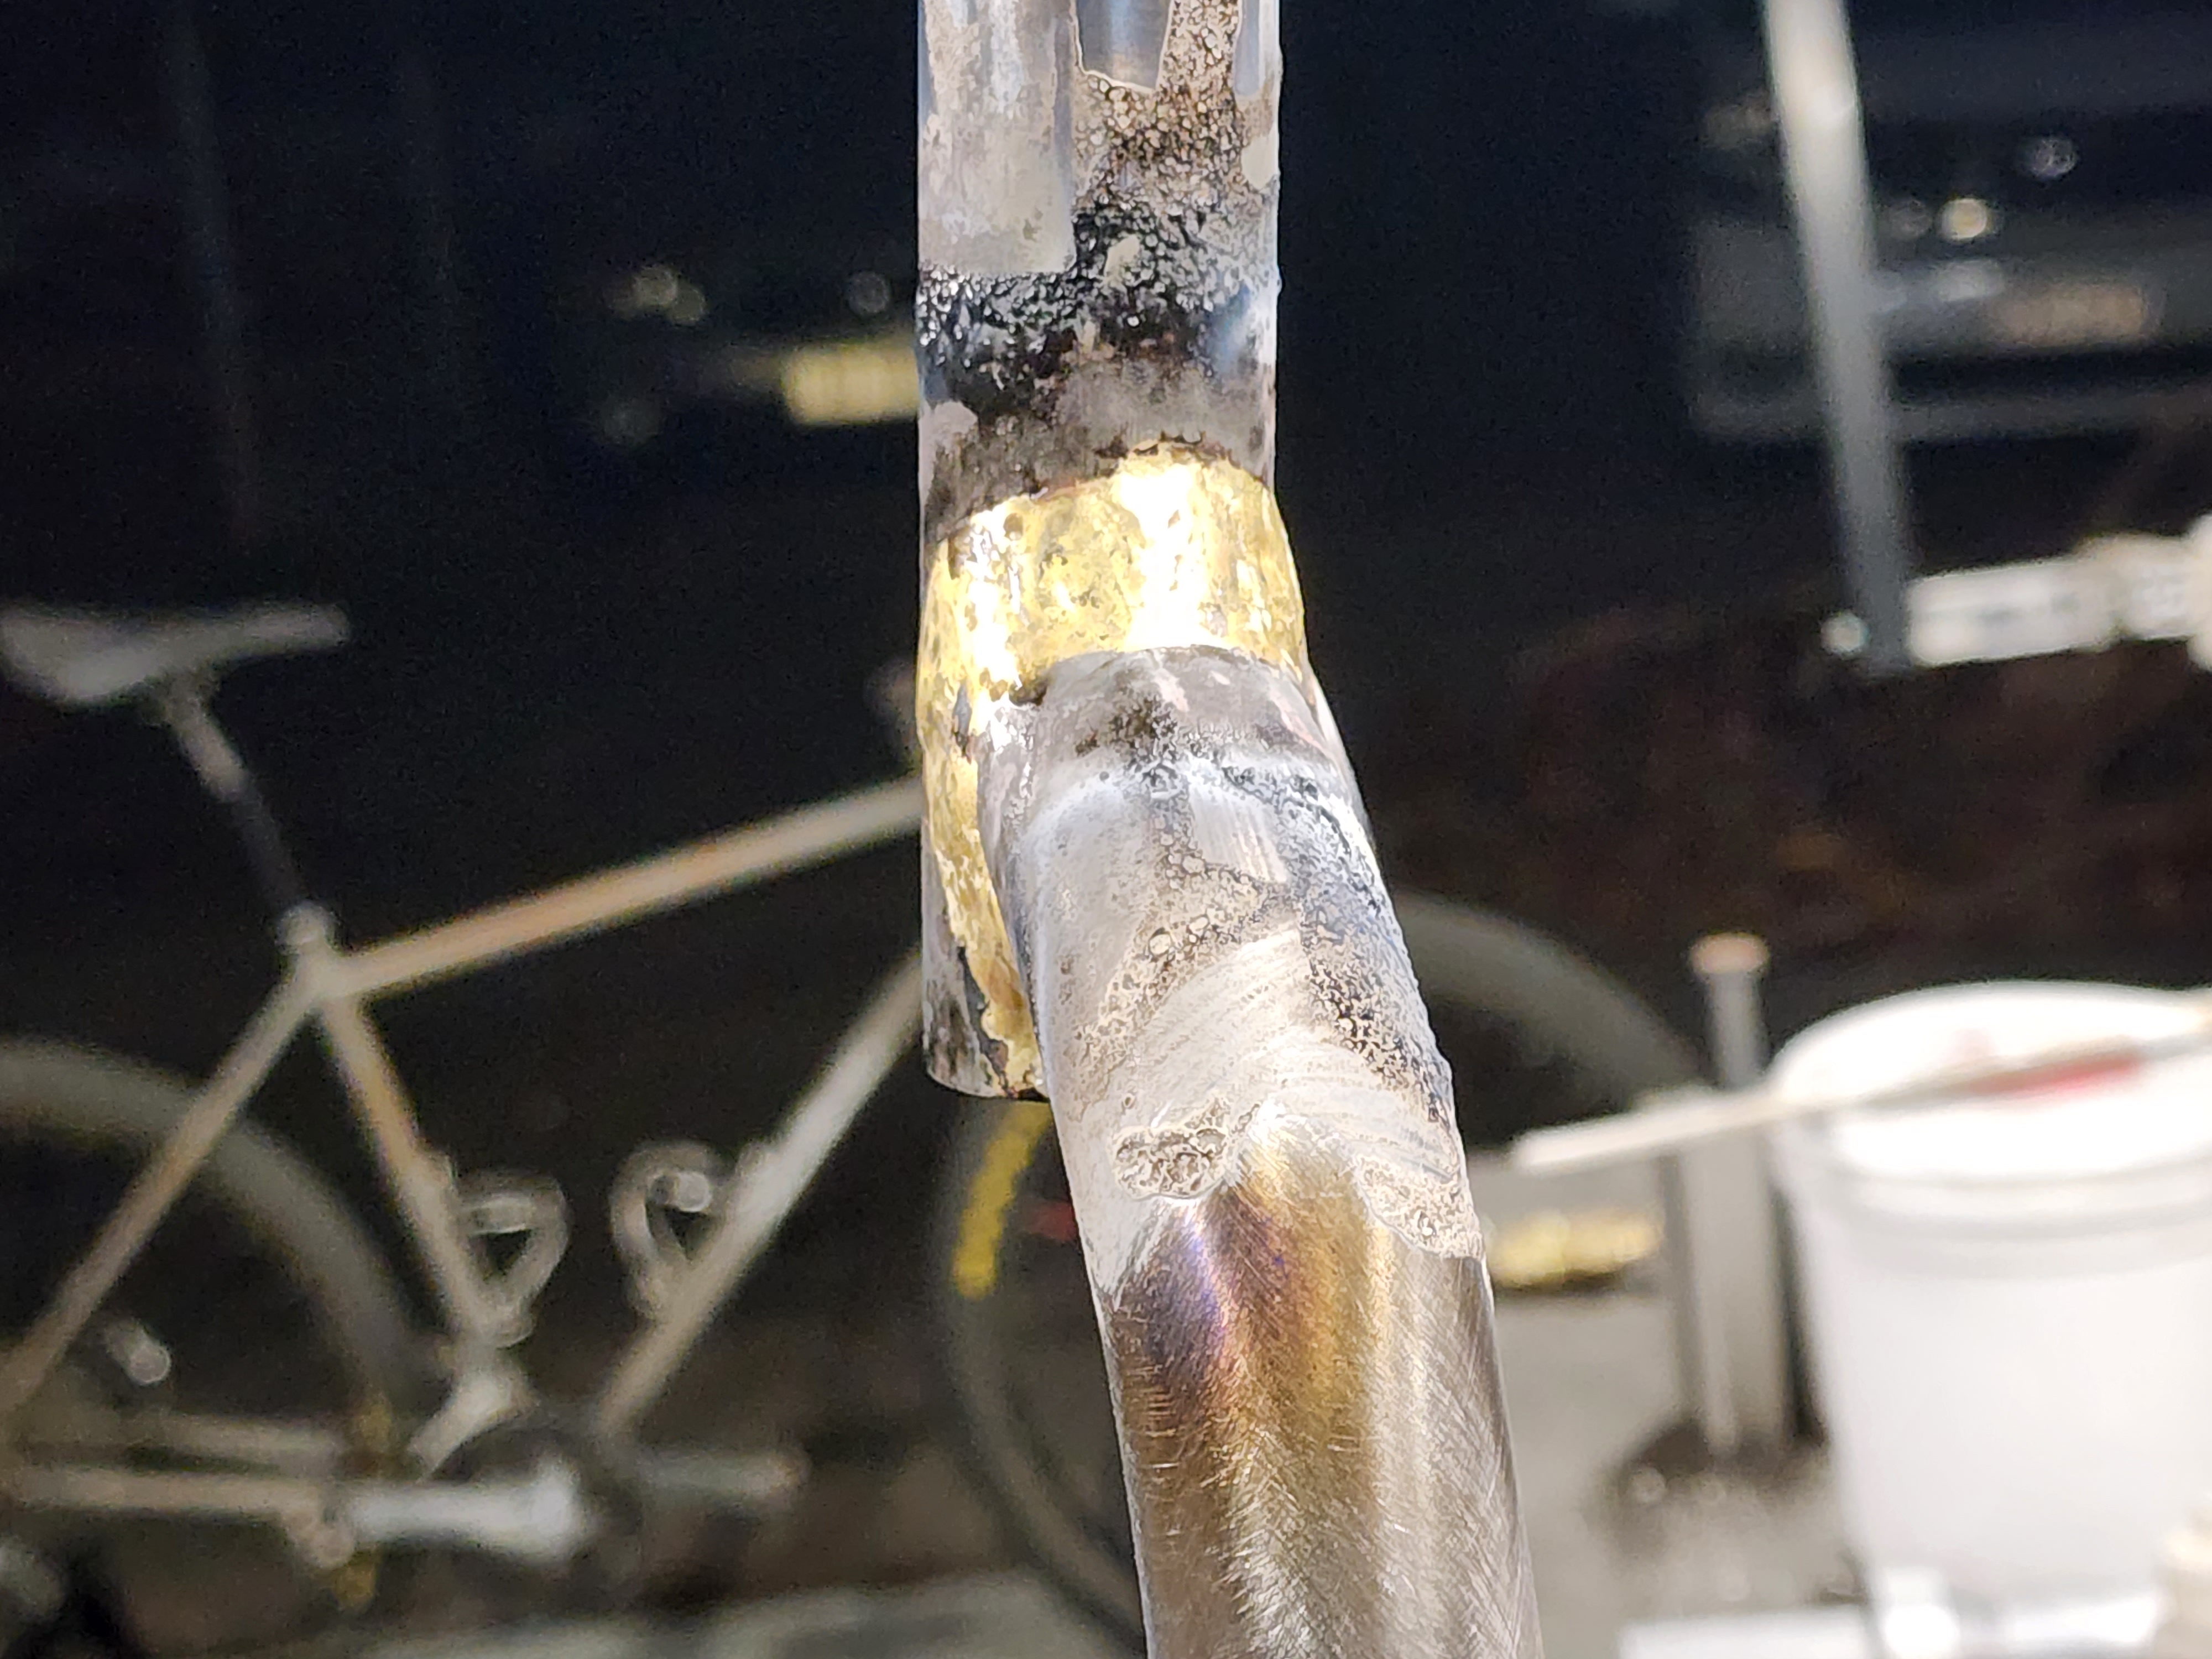
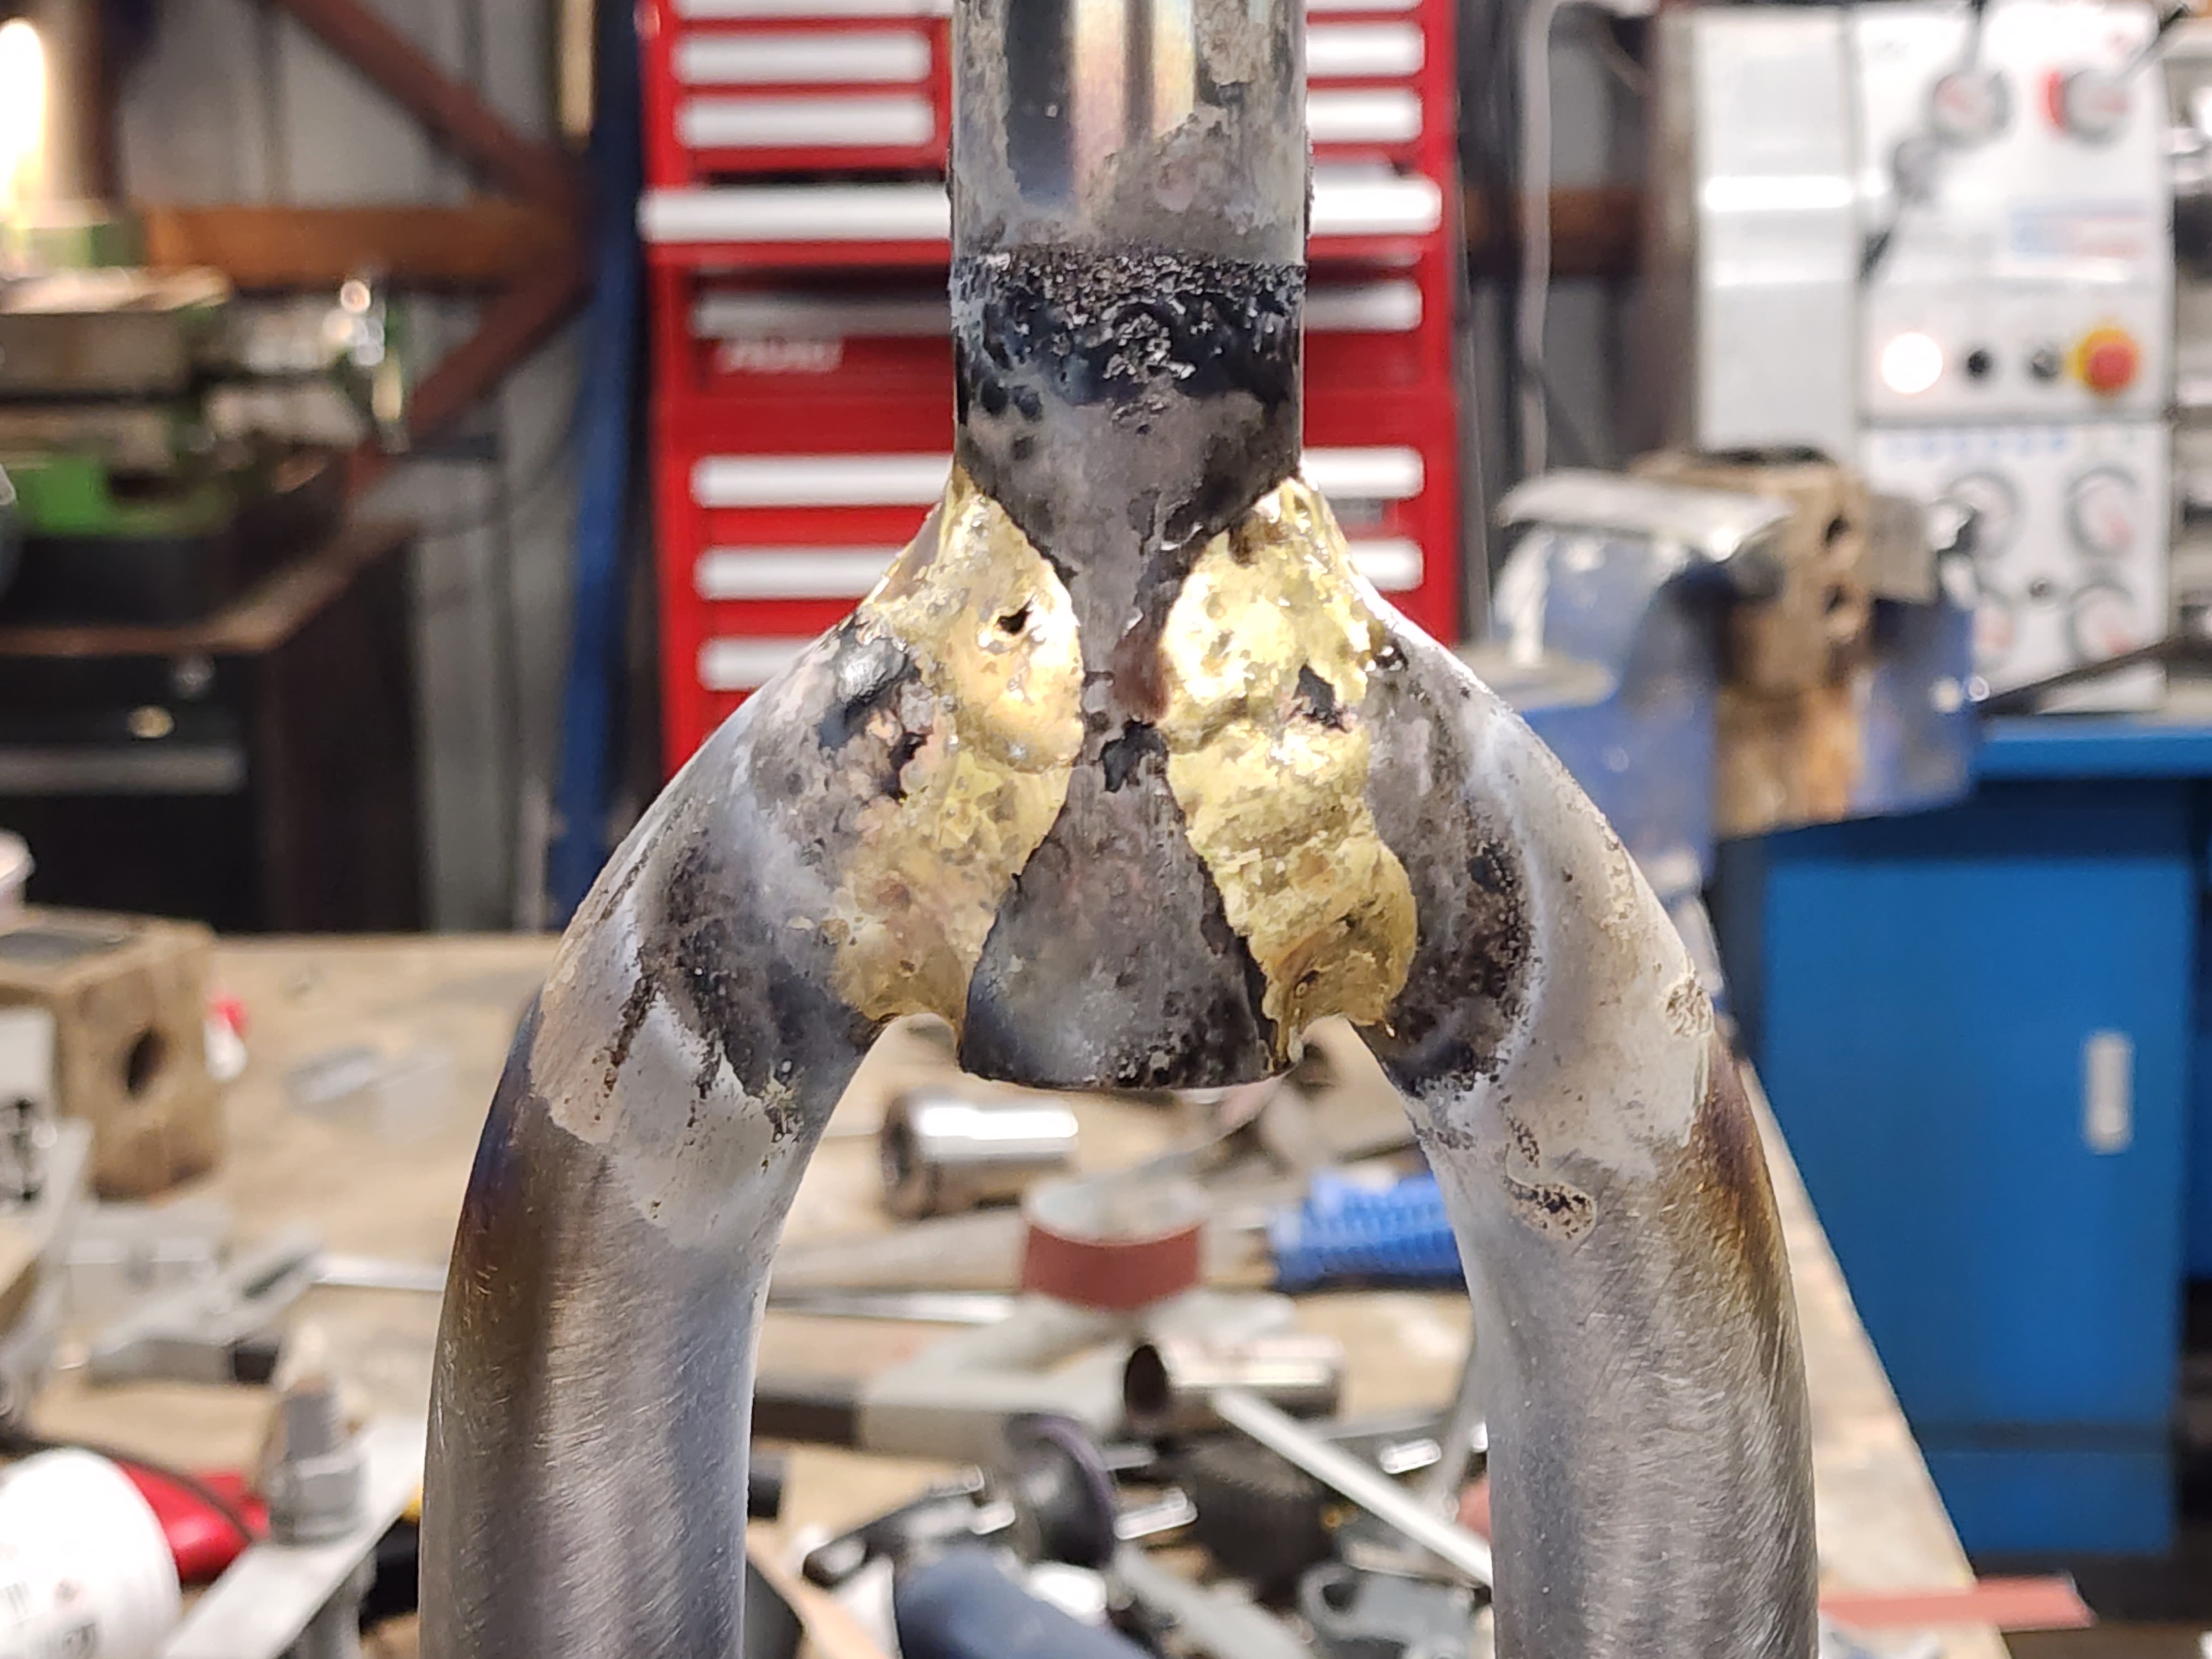
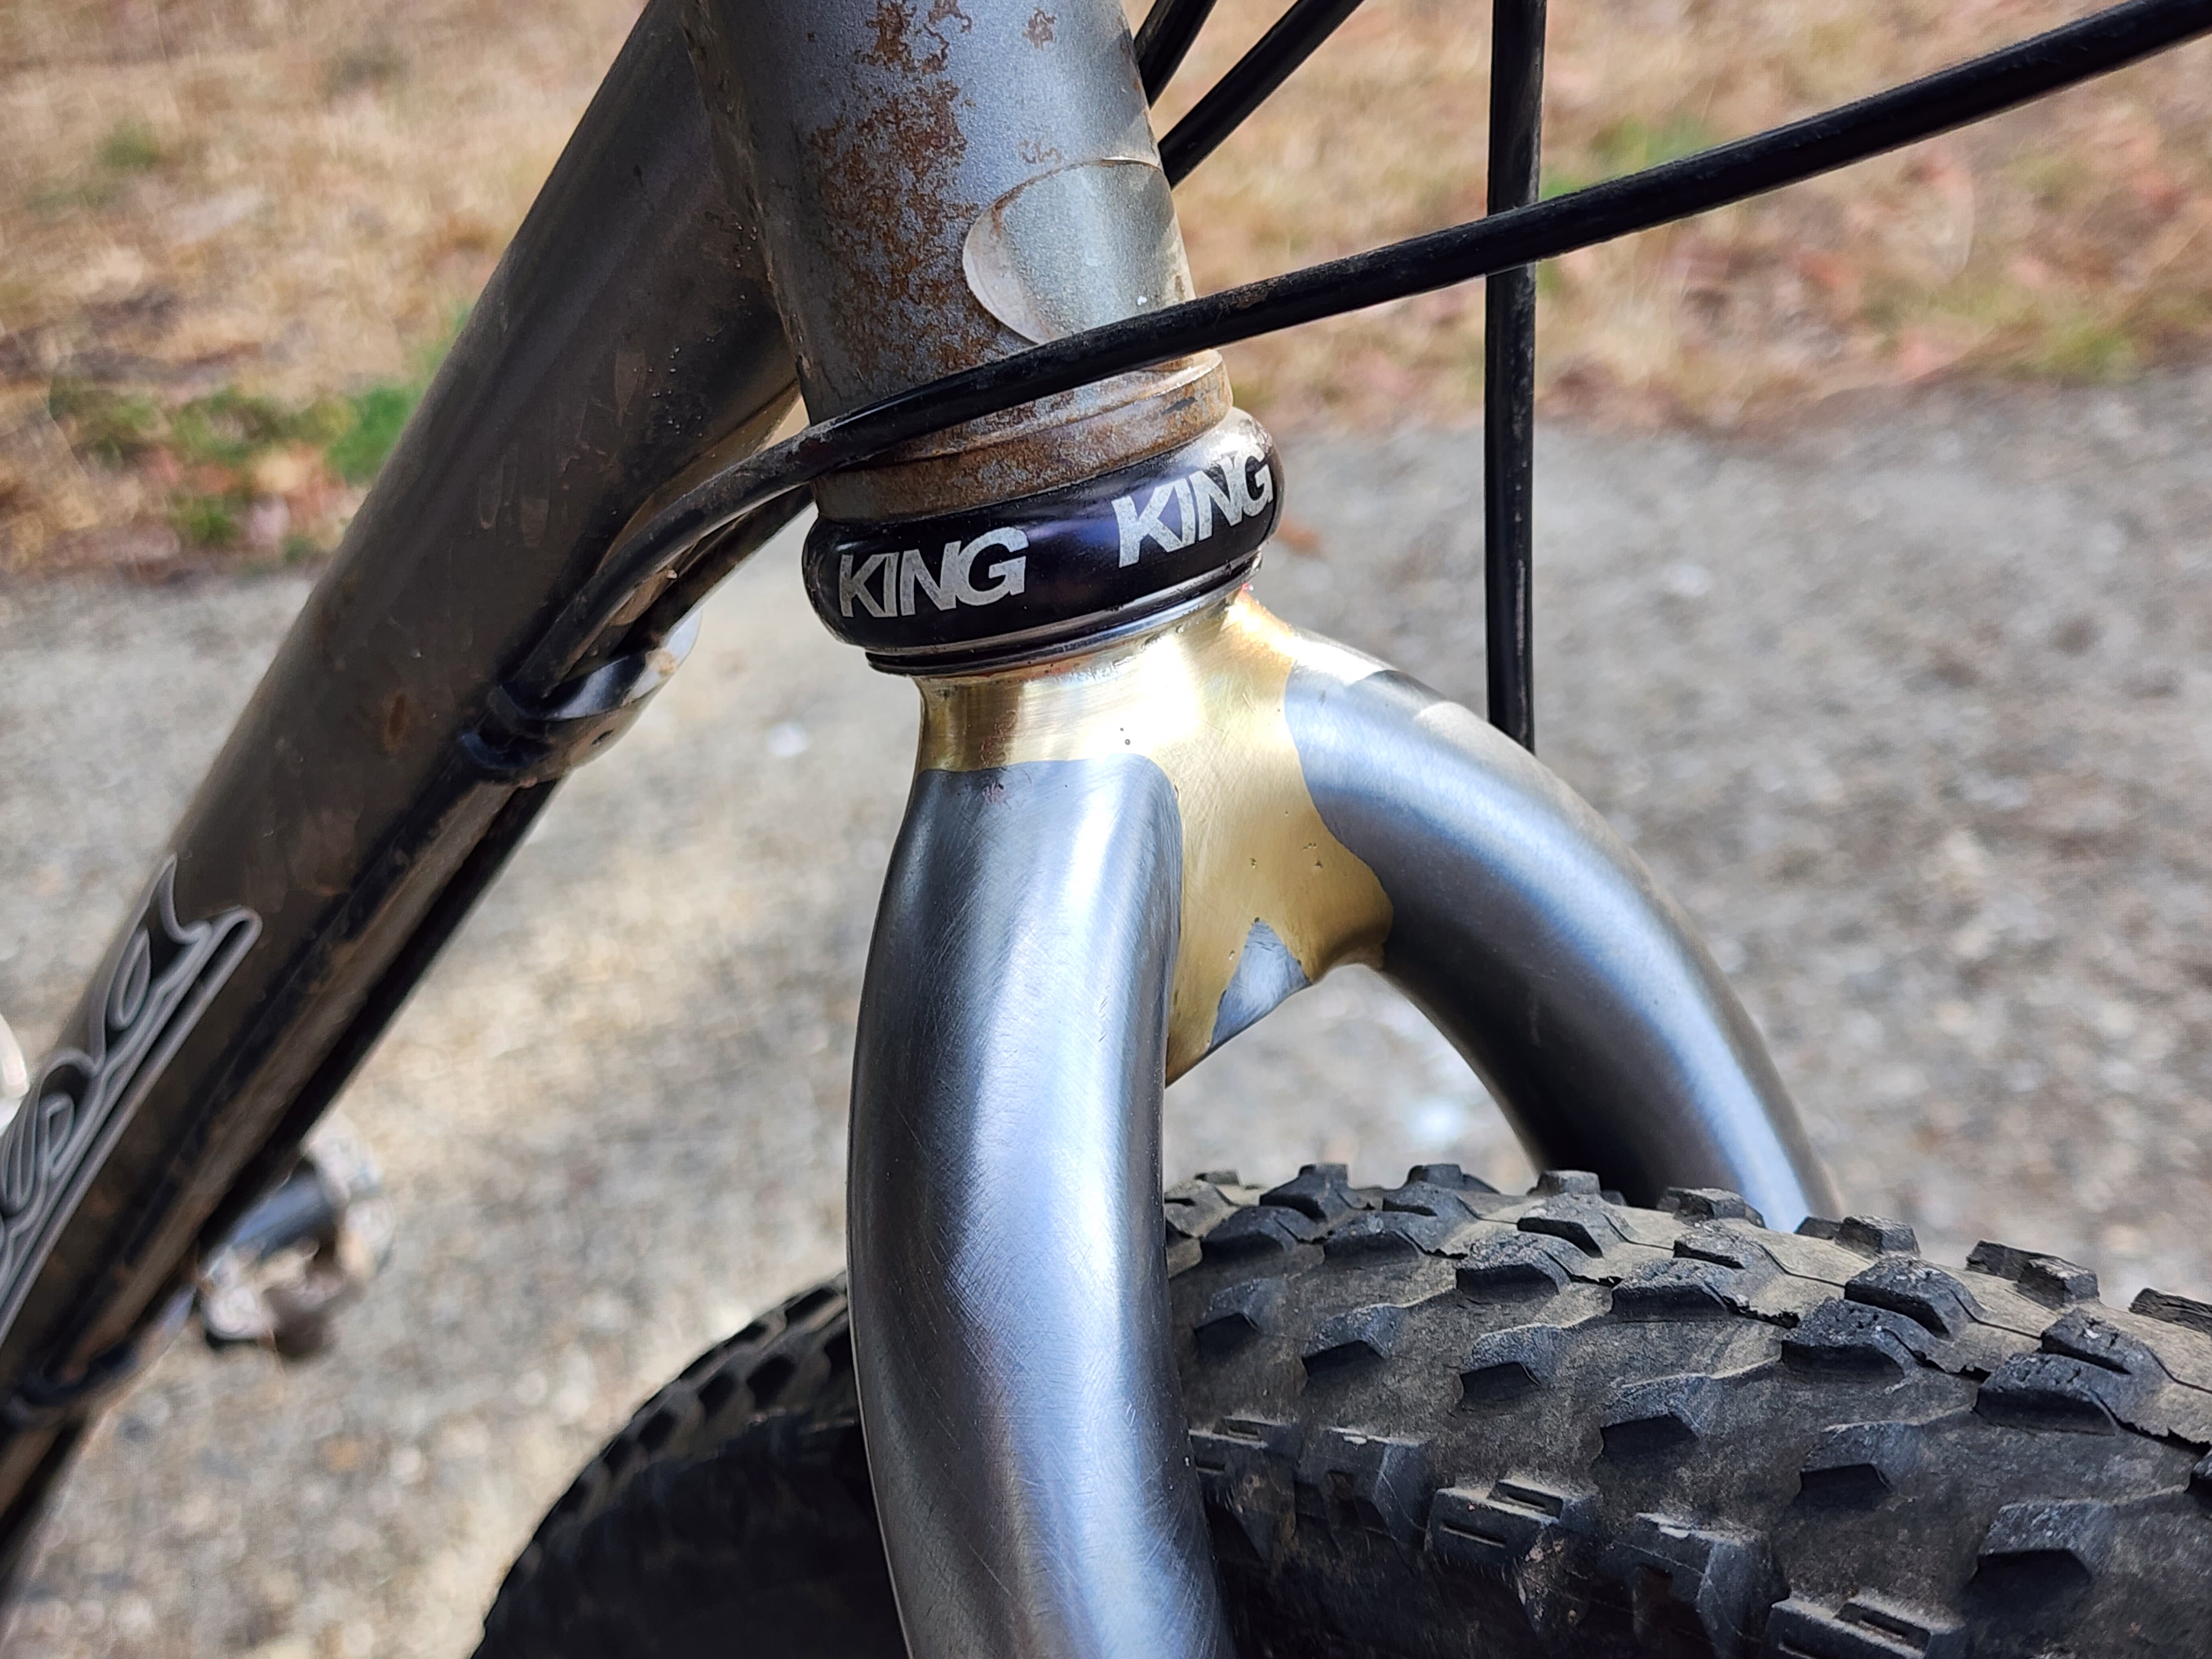
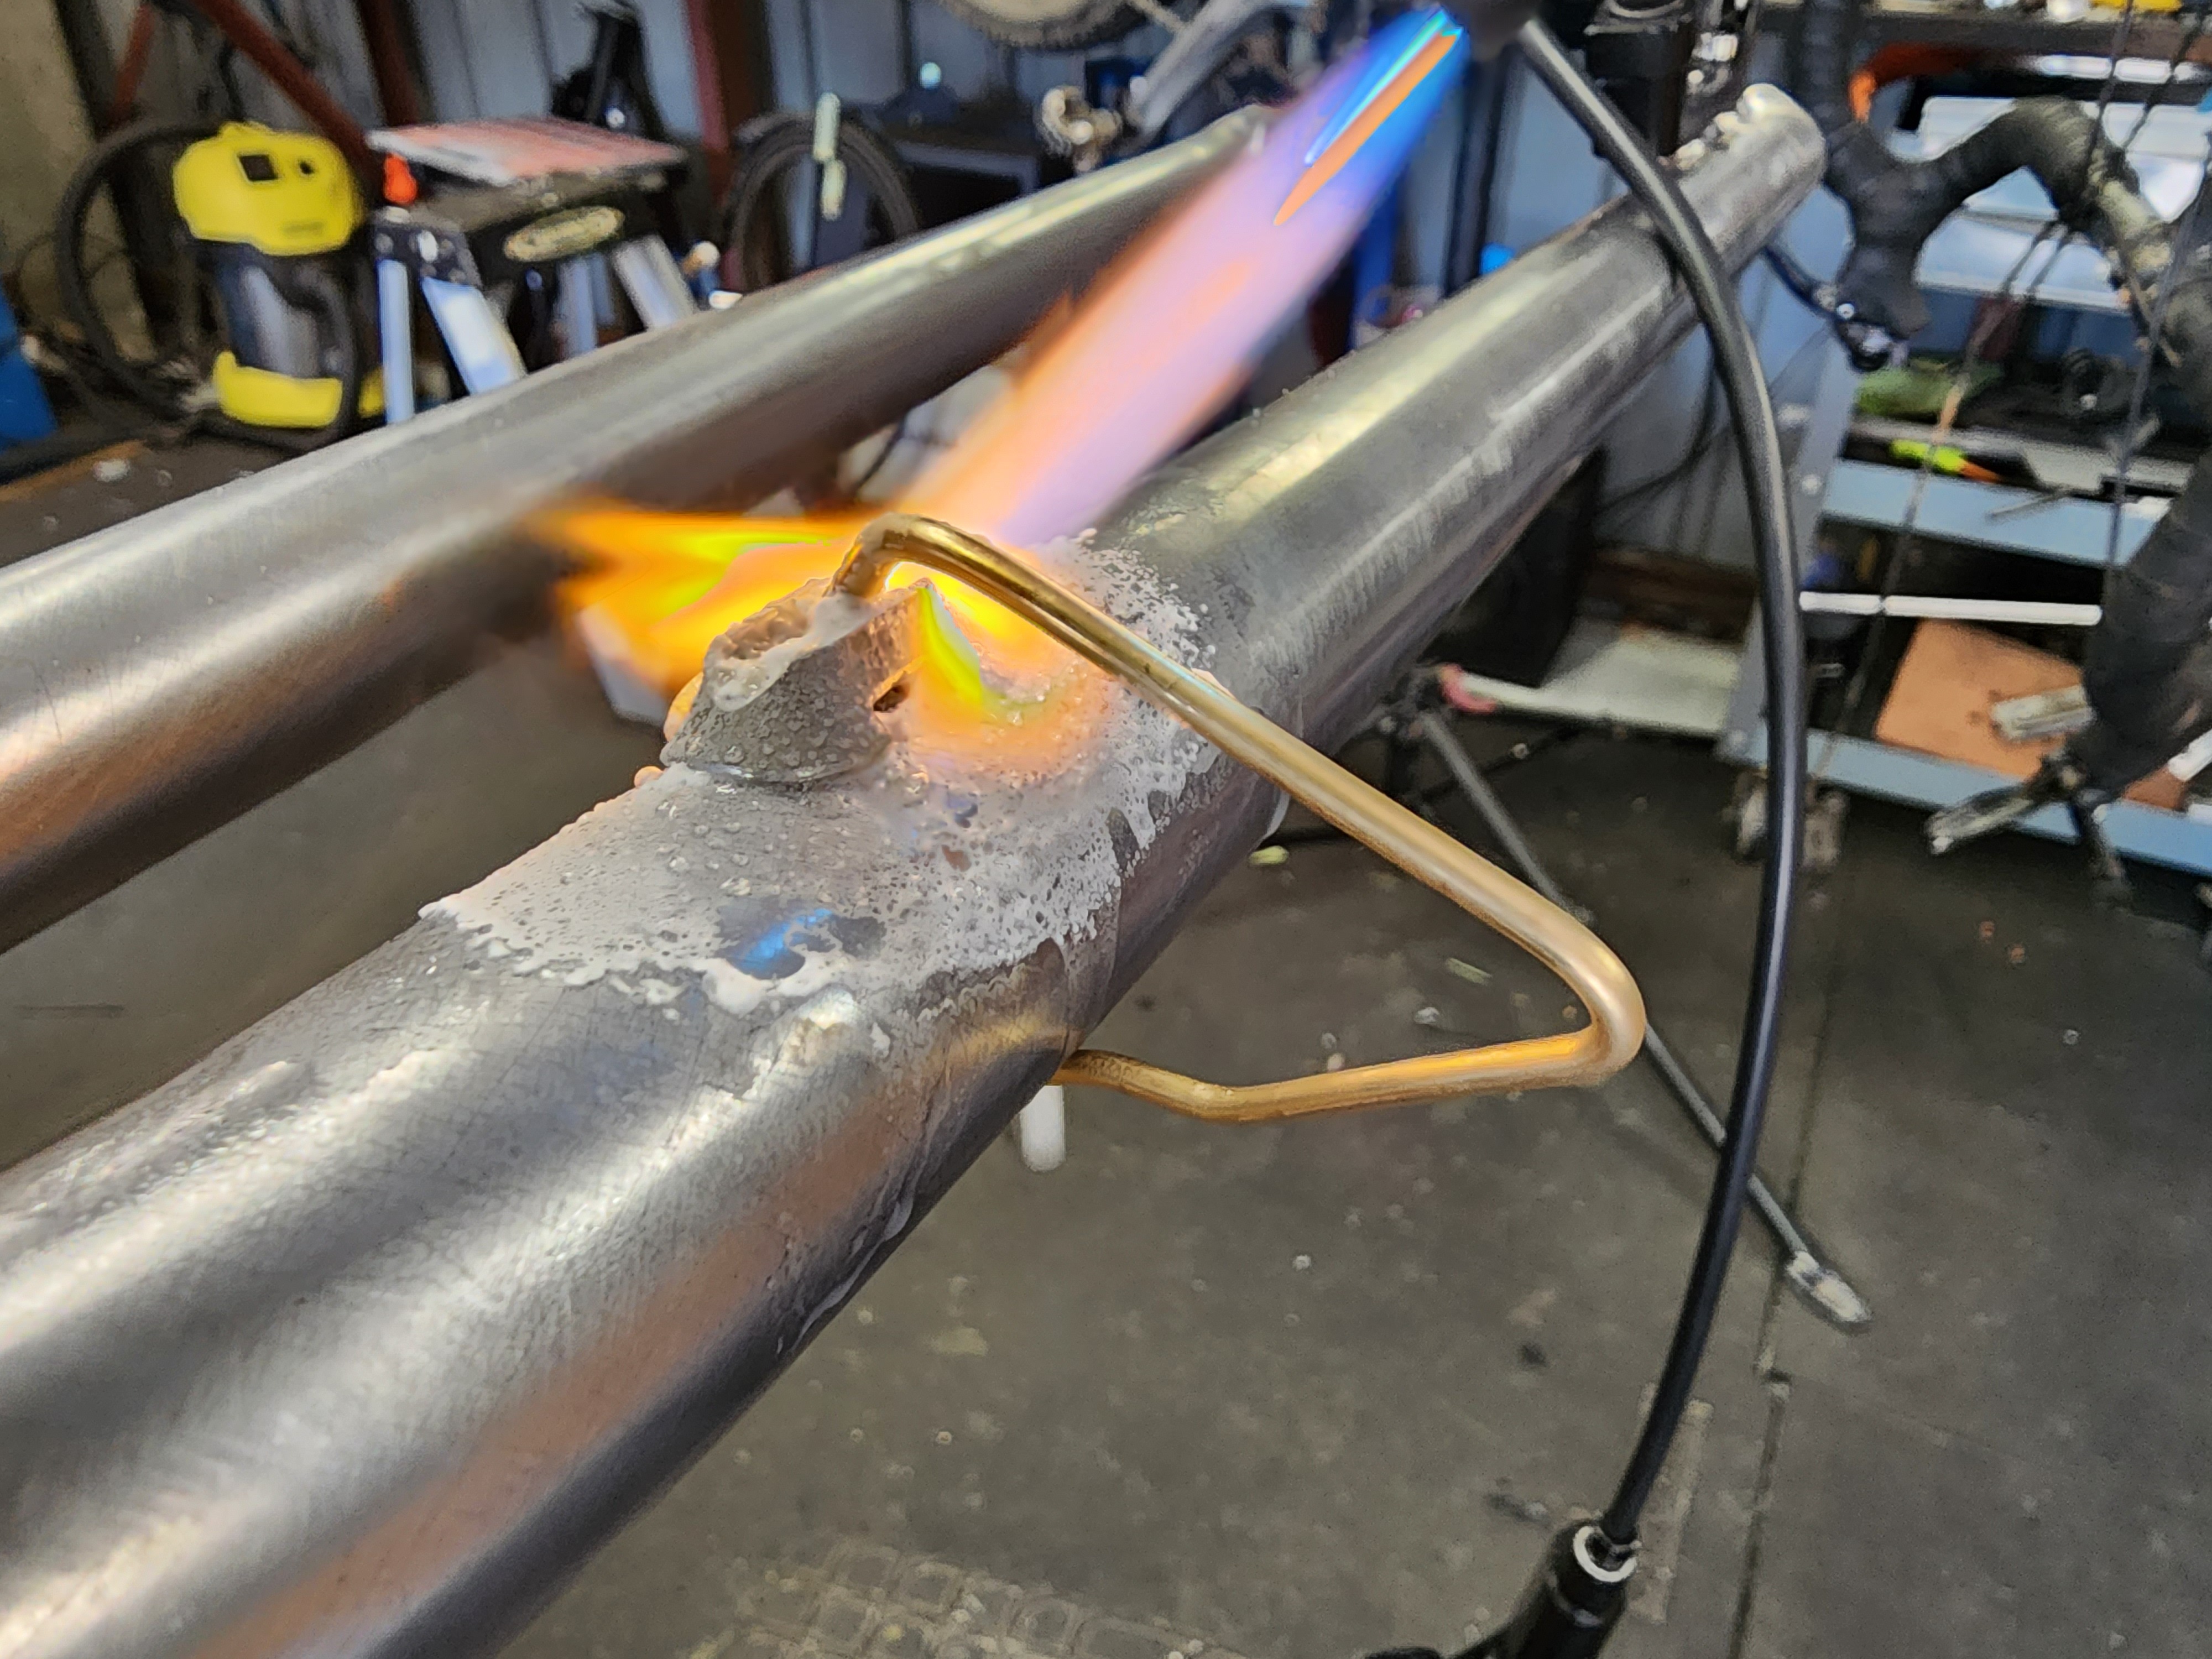
In building my frames, there are quite a few soaks in a tank to get the flux off after brazing. In this tank is plain water with a dash of phosphoric acid. The concentration is quite small but it has two effects. One is that the steel doesn’t rust while in the tank. The second is that it etches a dark film onto the steel.
Most times I scotch bright it back to bare steel as I go along, but this time I left it. I only filed and sanded enough to dress the fillets and even with those, I purposely didn’t finish them off perfectly. I guess I run the risk off people thinking that’s how they always are, but I liked the effect.
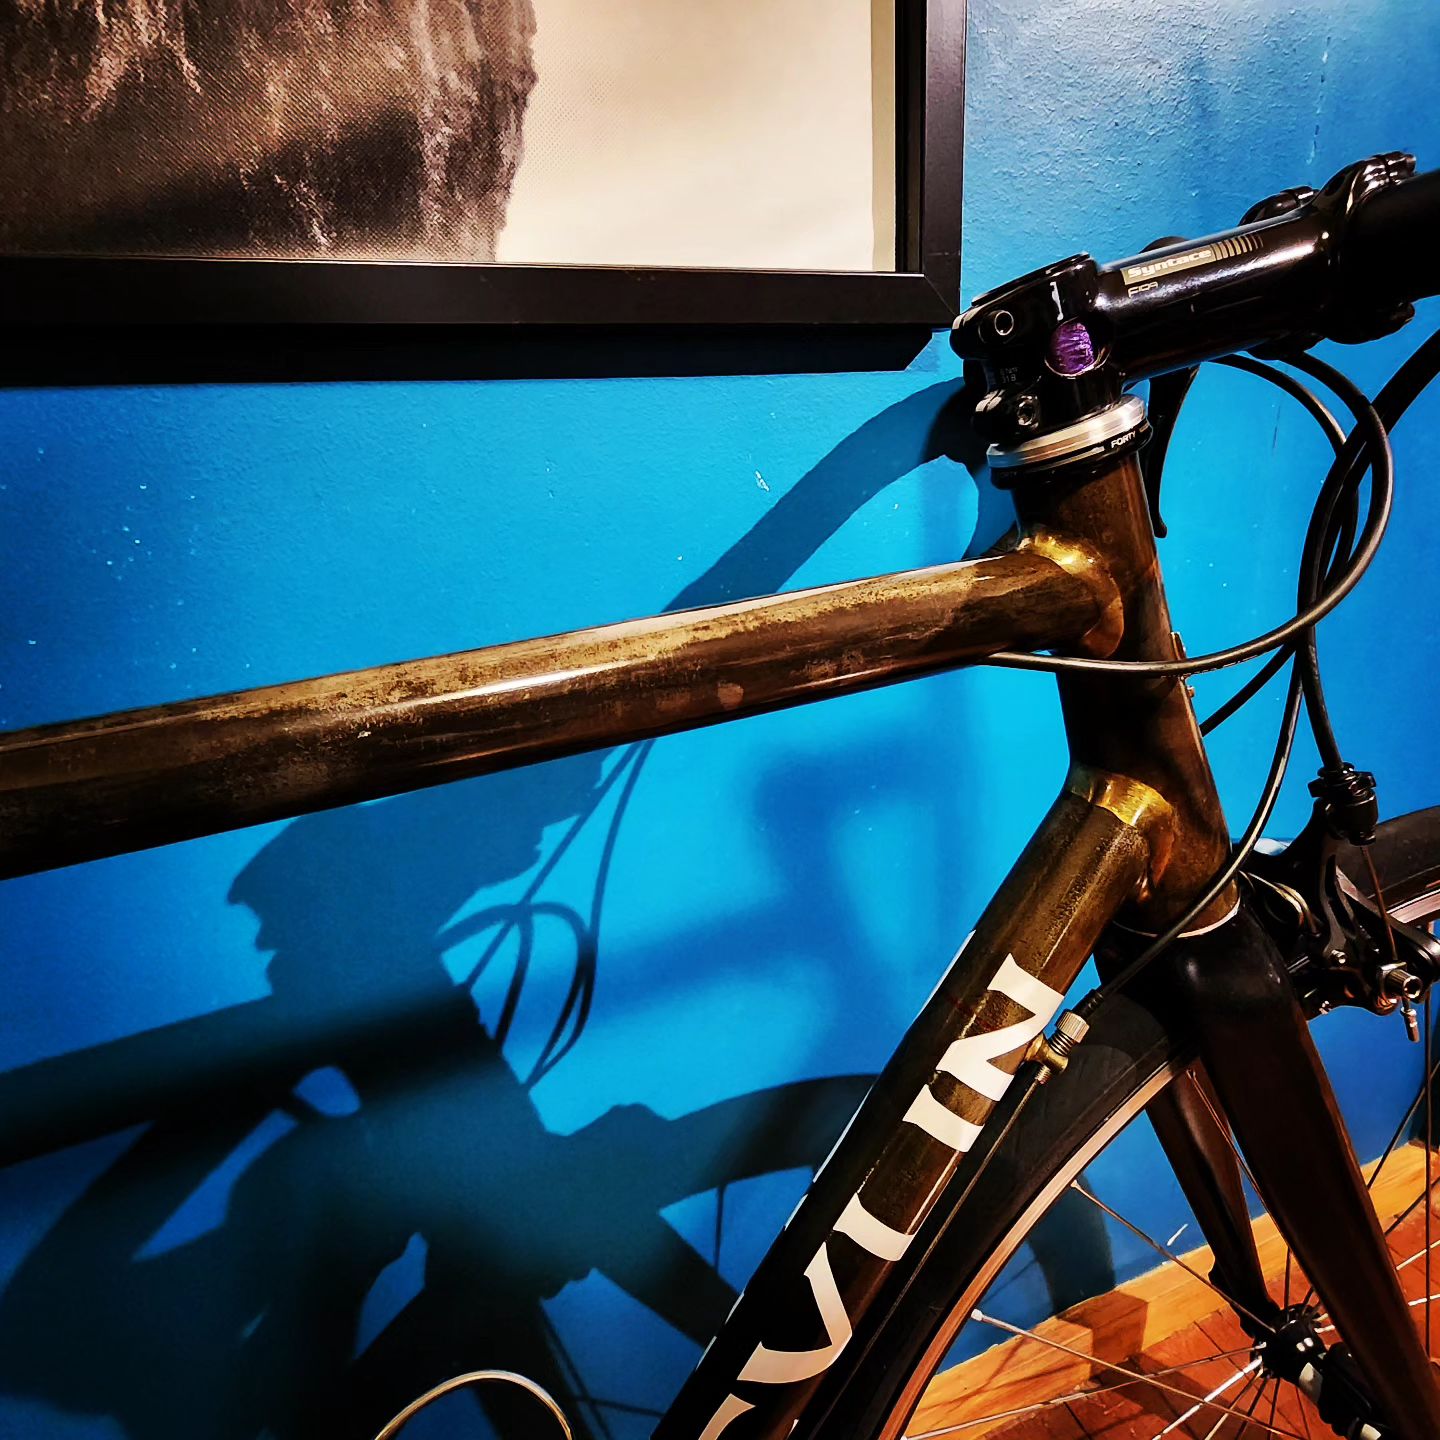
The frame itself is Columbus tubing. Tapered head tube, top tube and seat tube. 35mm down tube. 1 1/8 straight steerer for integrated lower head set. Threaded English shell. 14mm tapered seat stays. NOS Columbus chainstays.
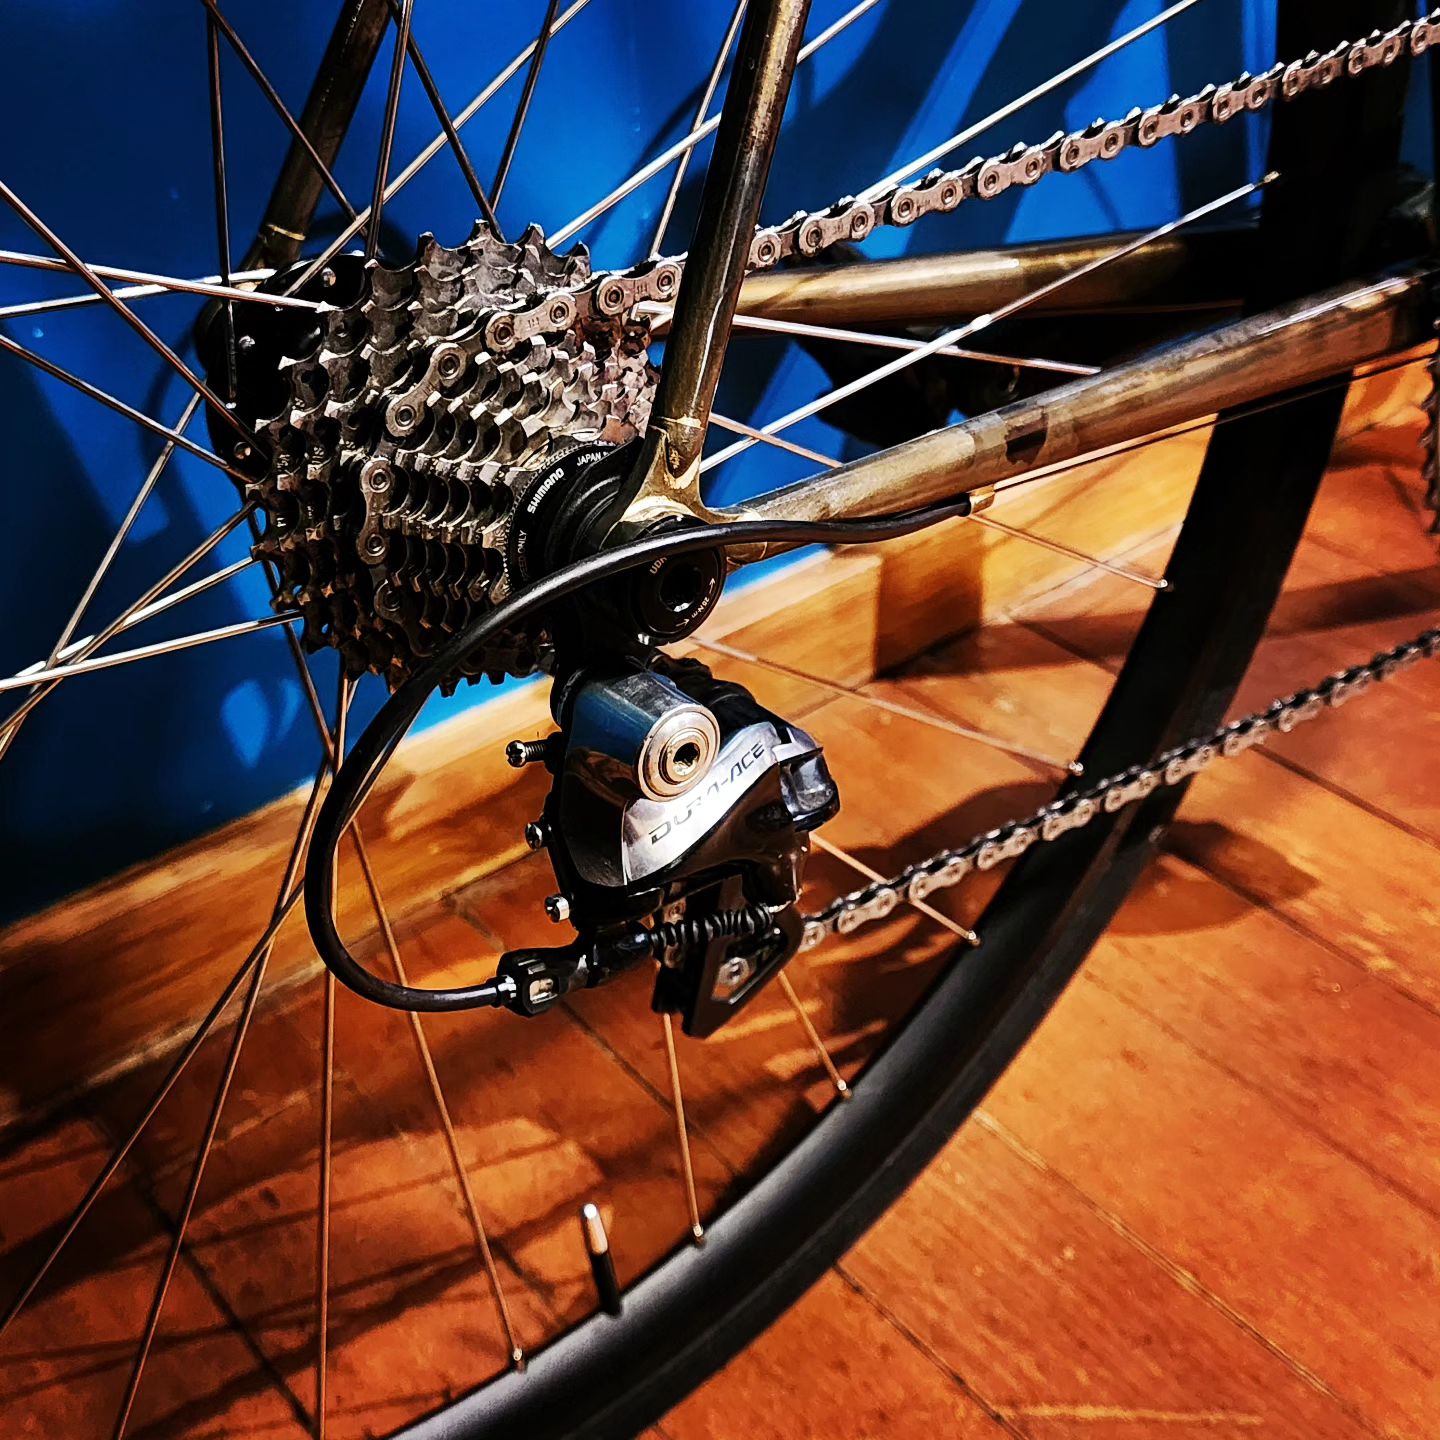
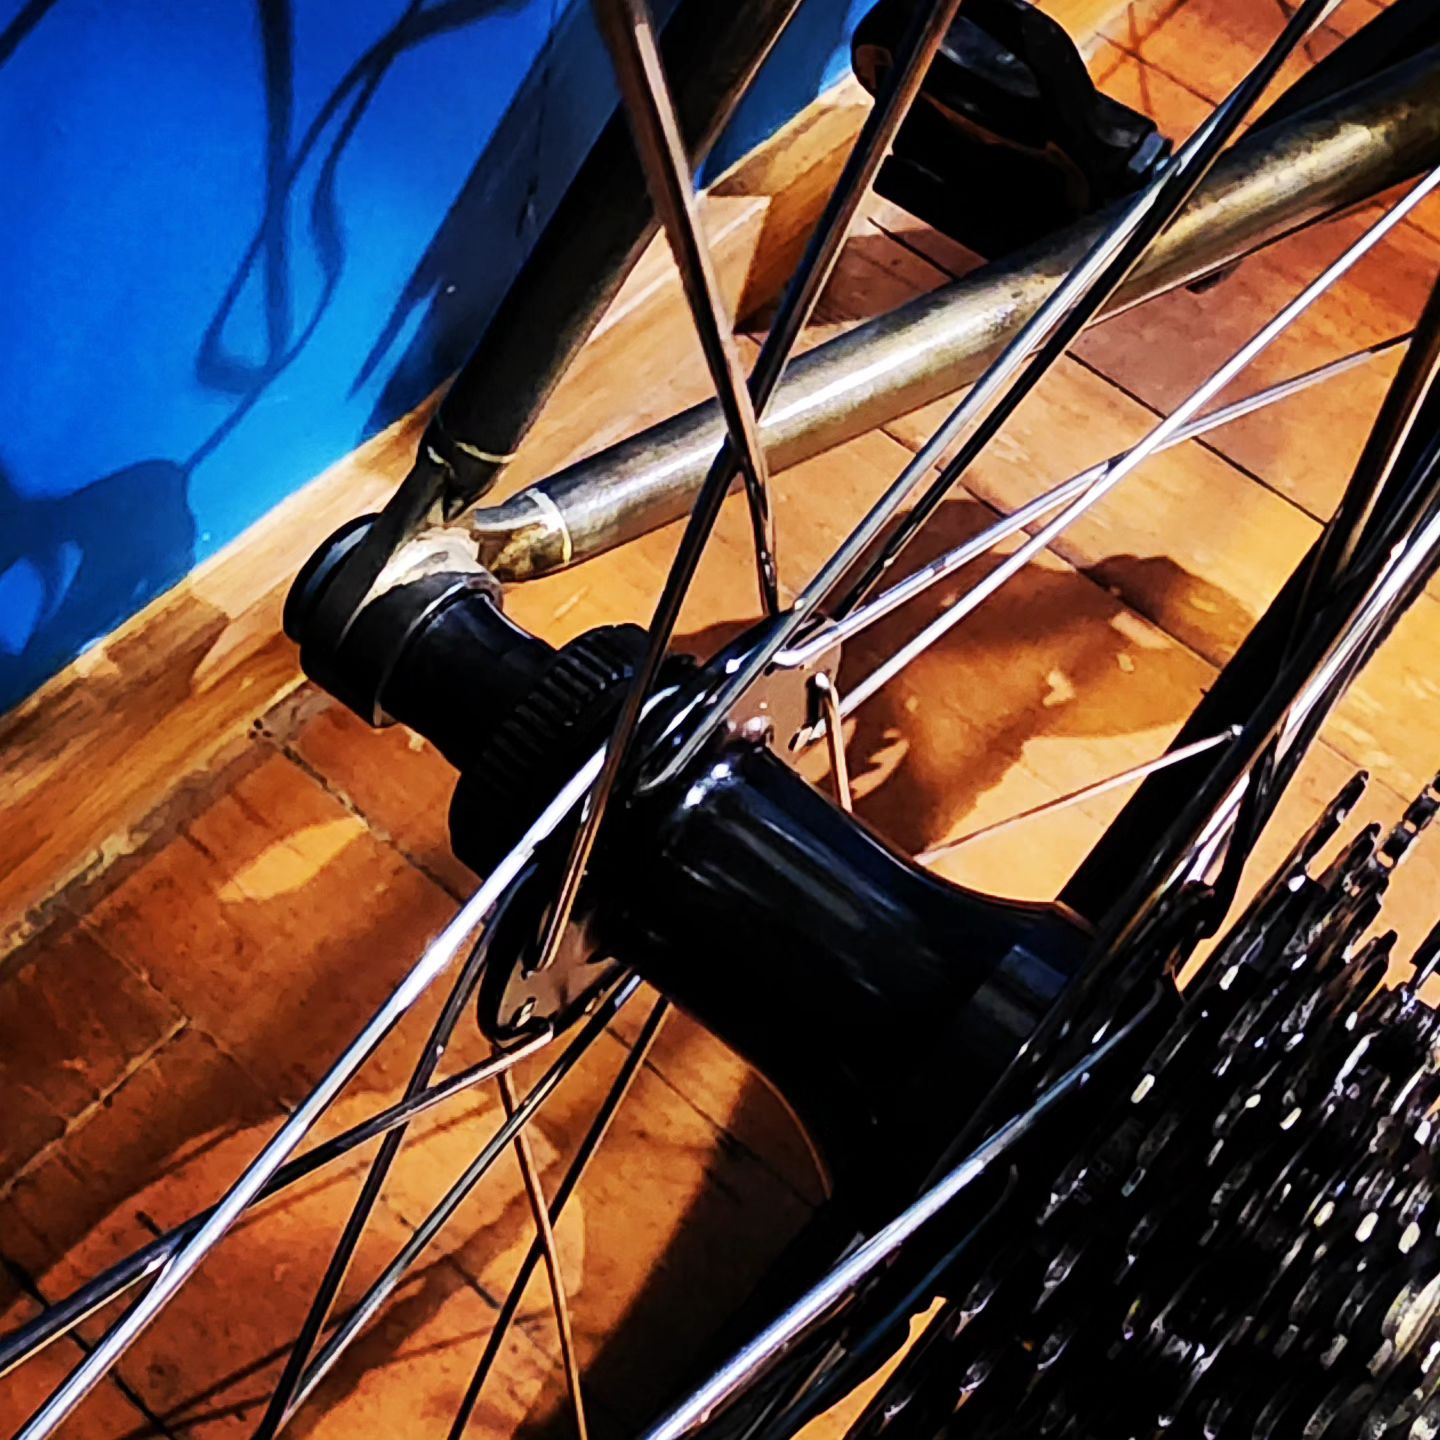
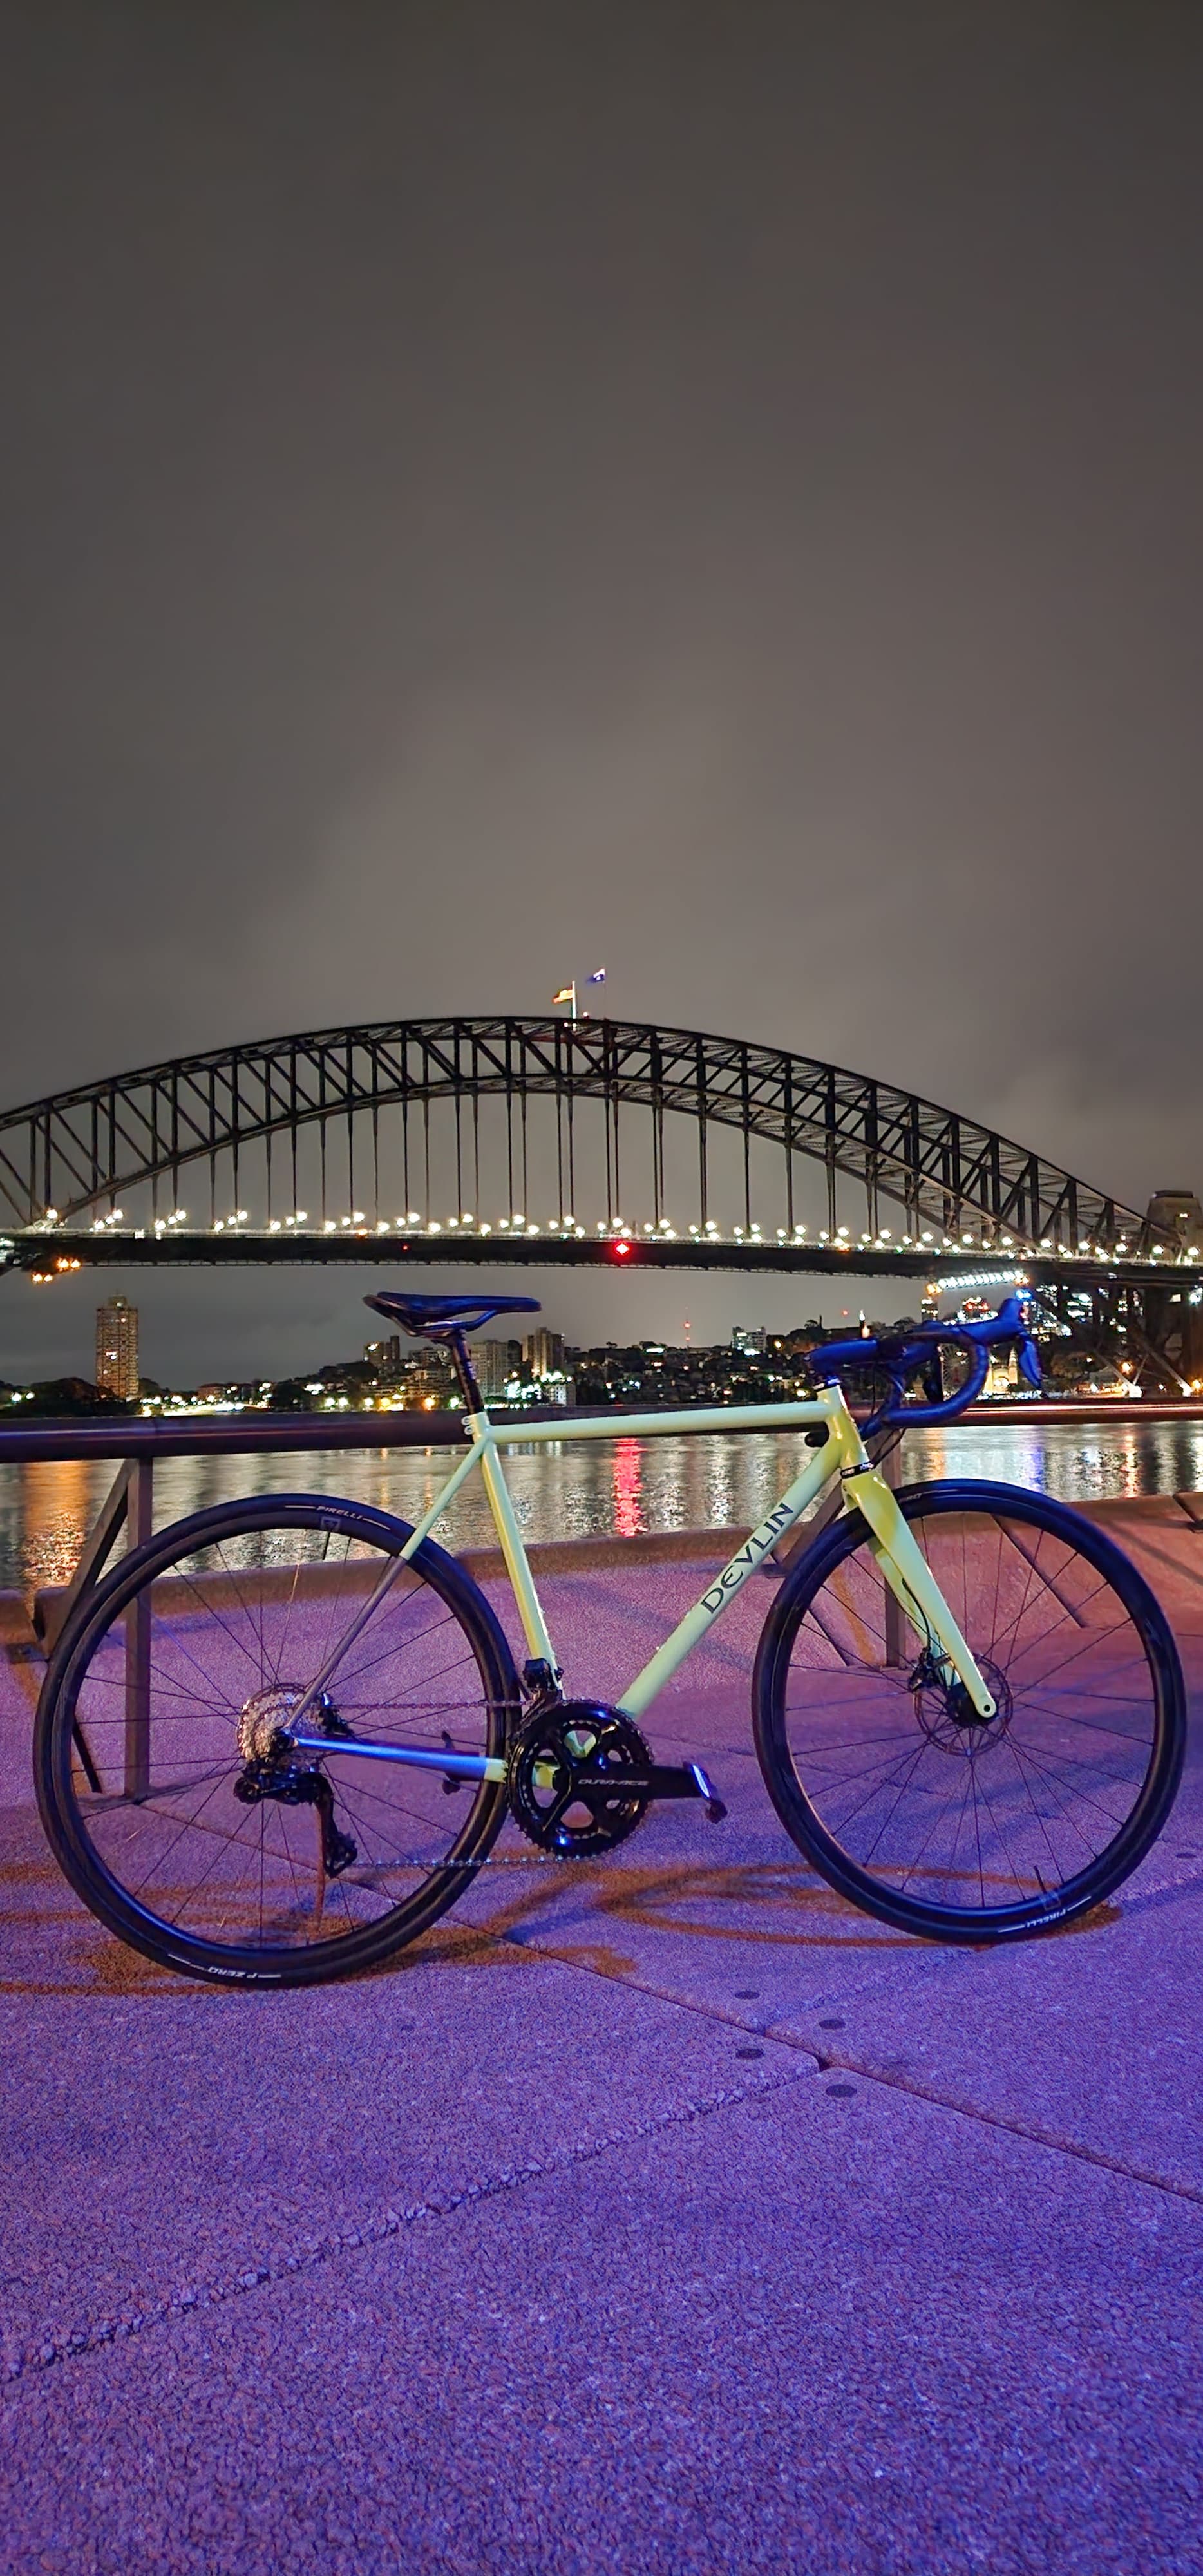
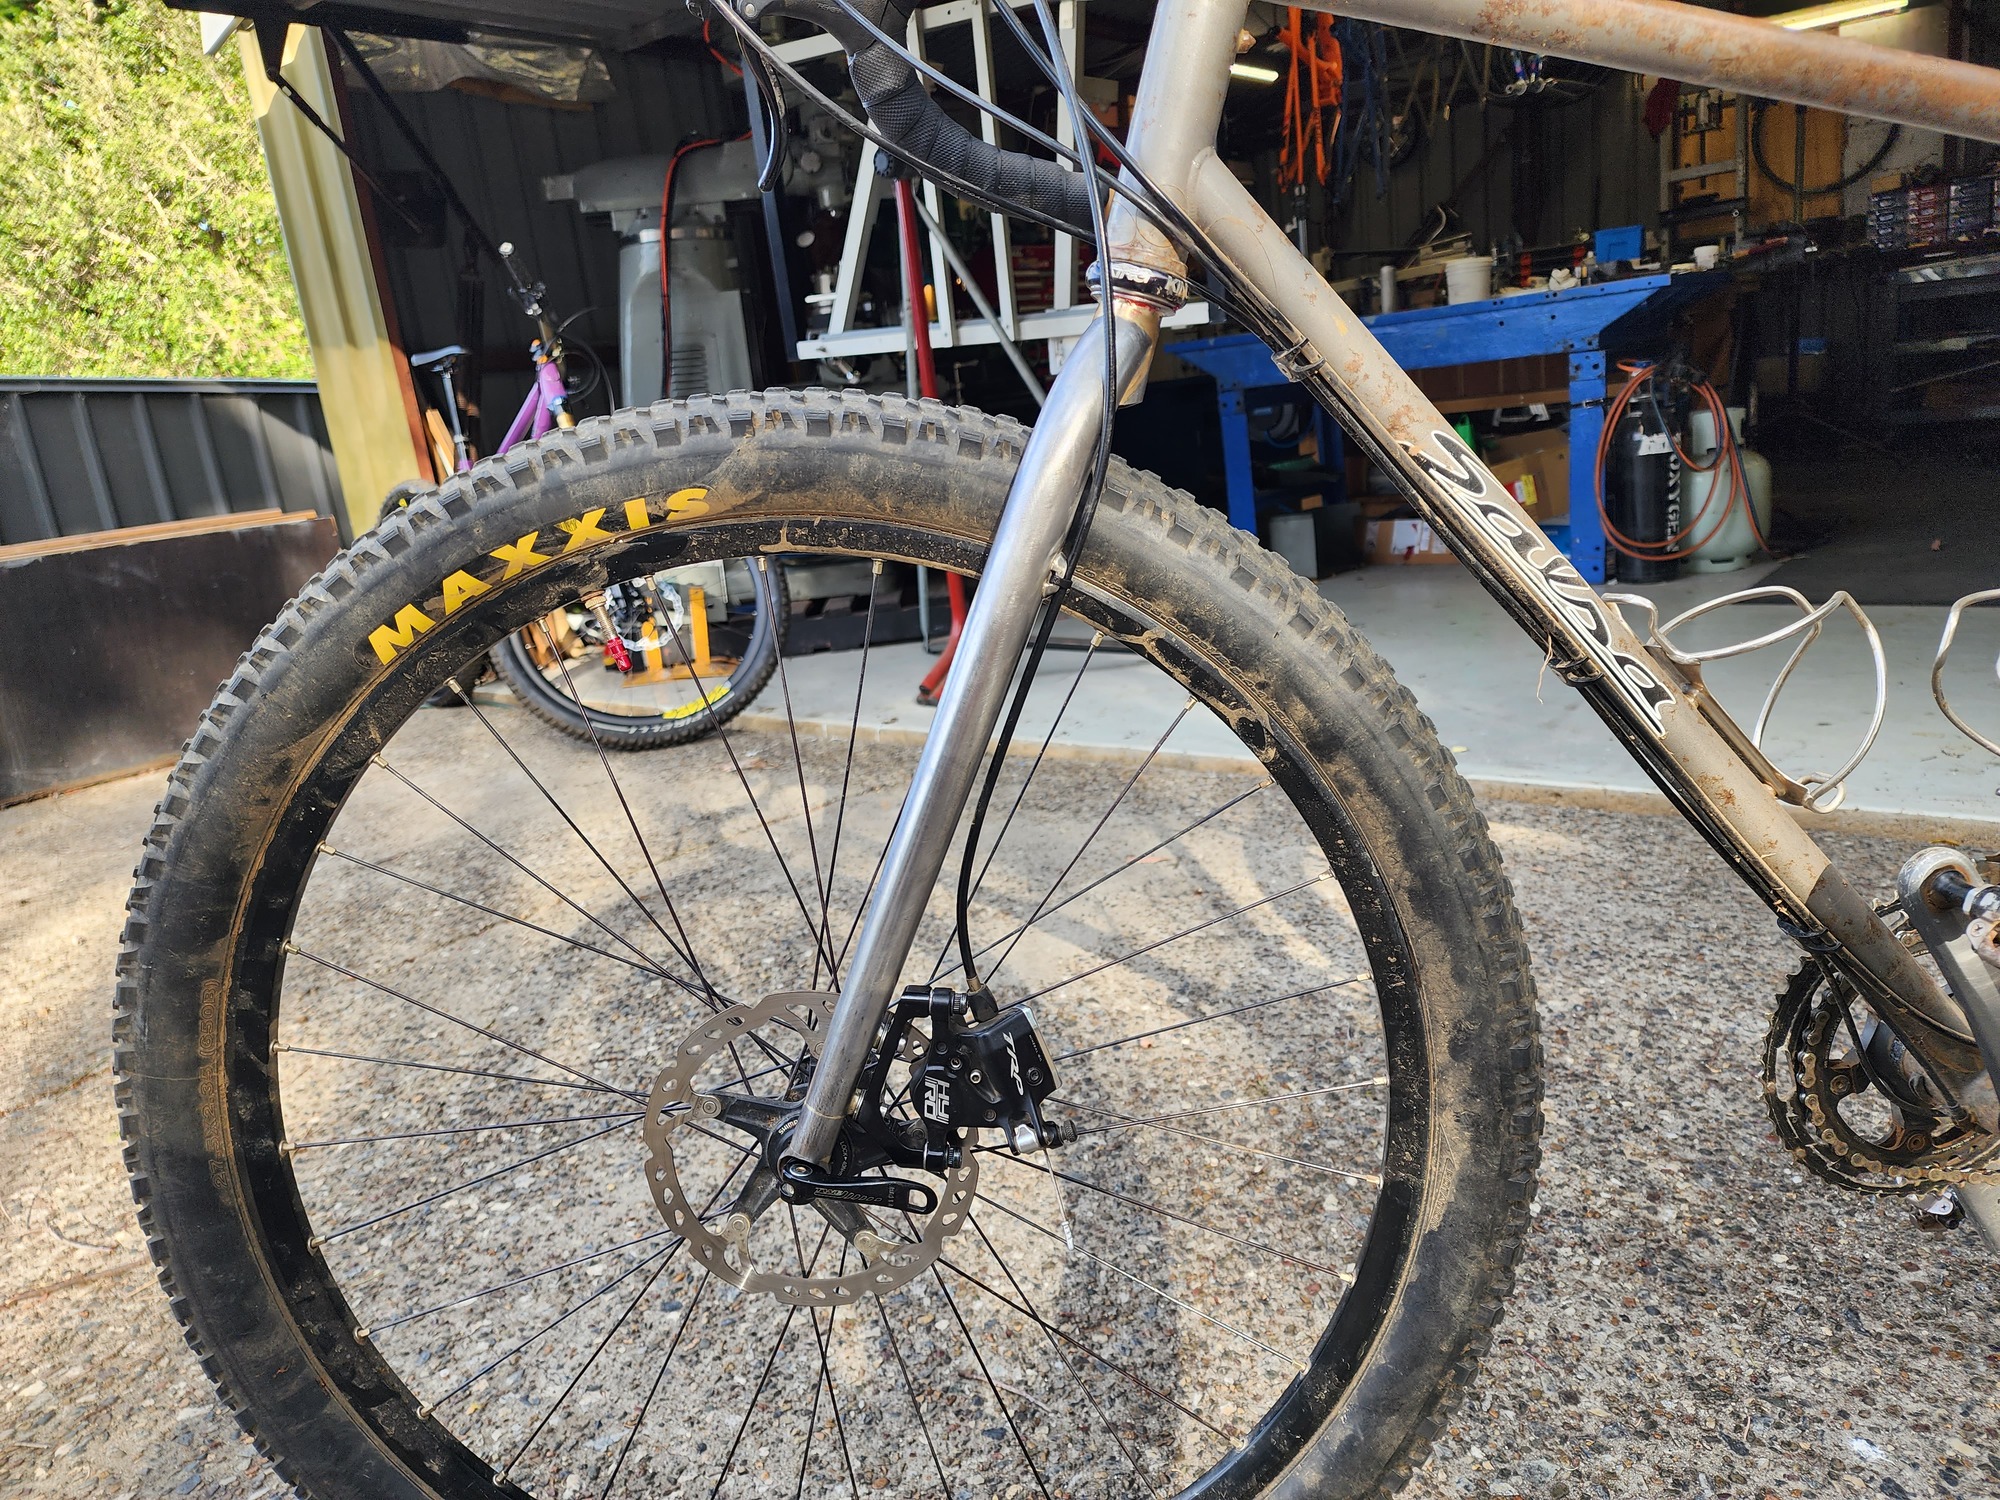
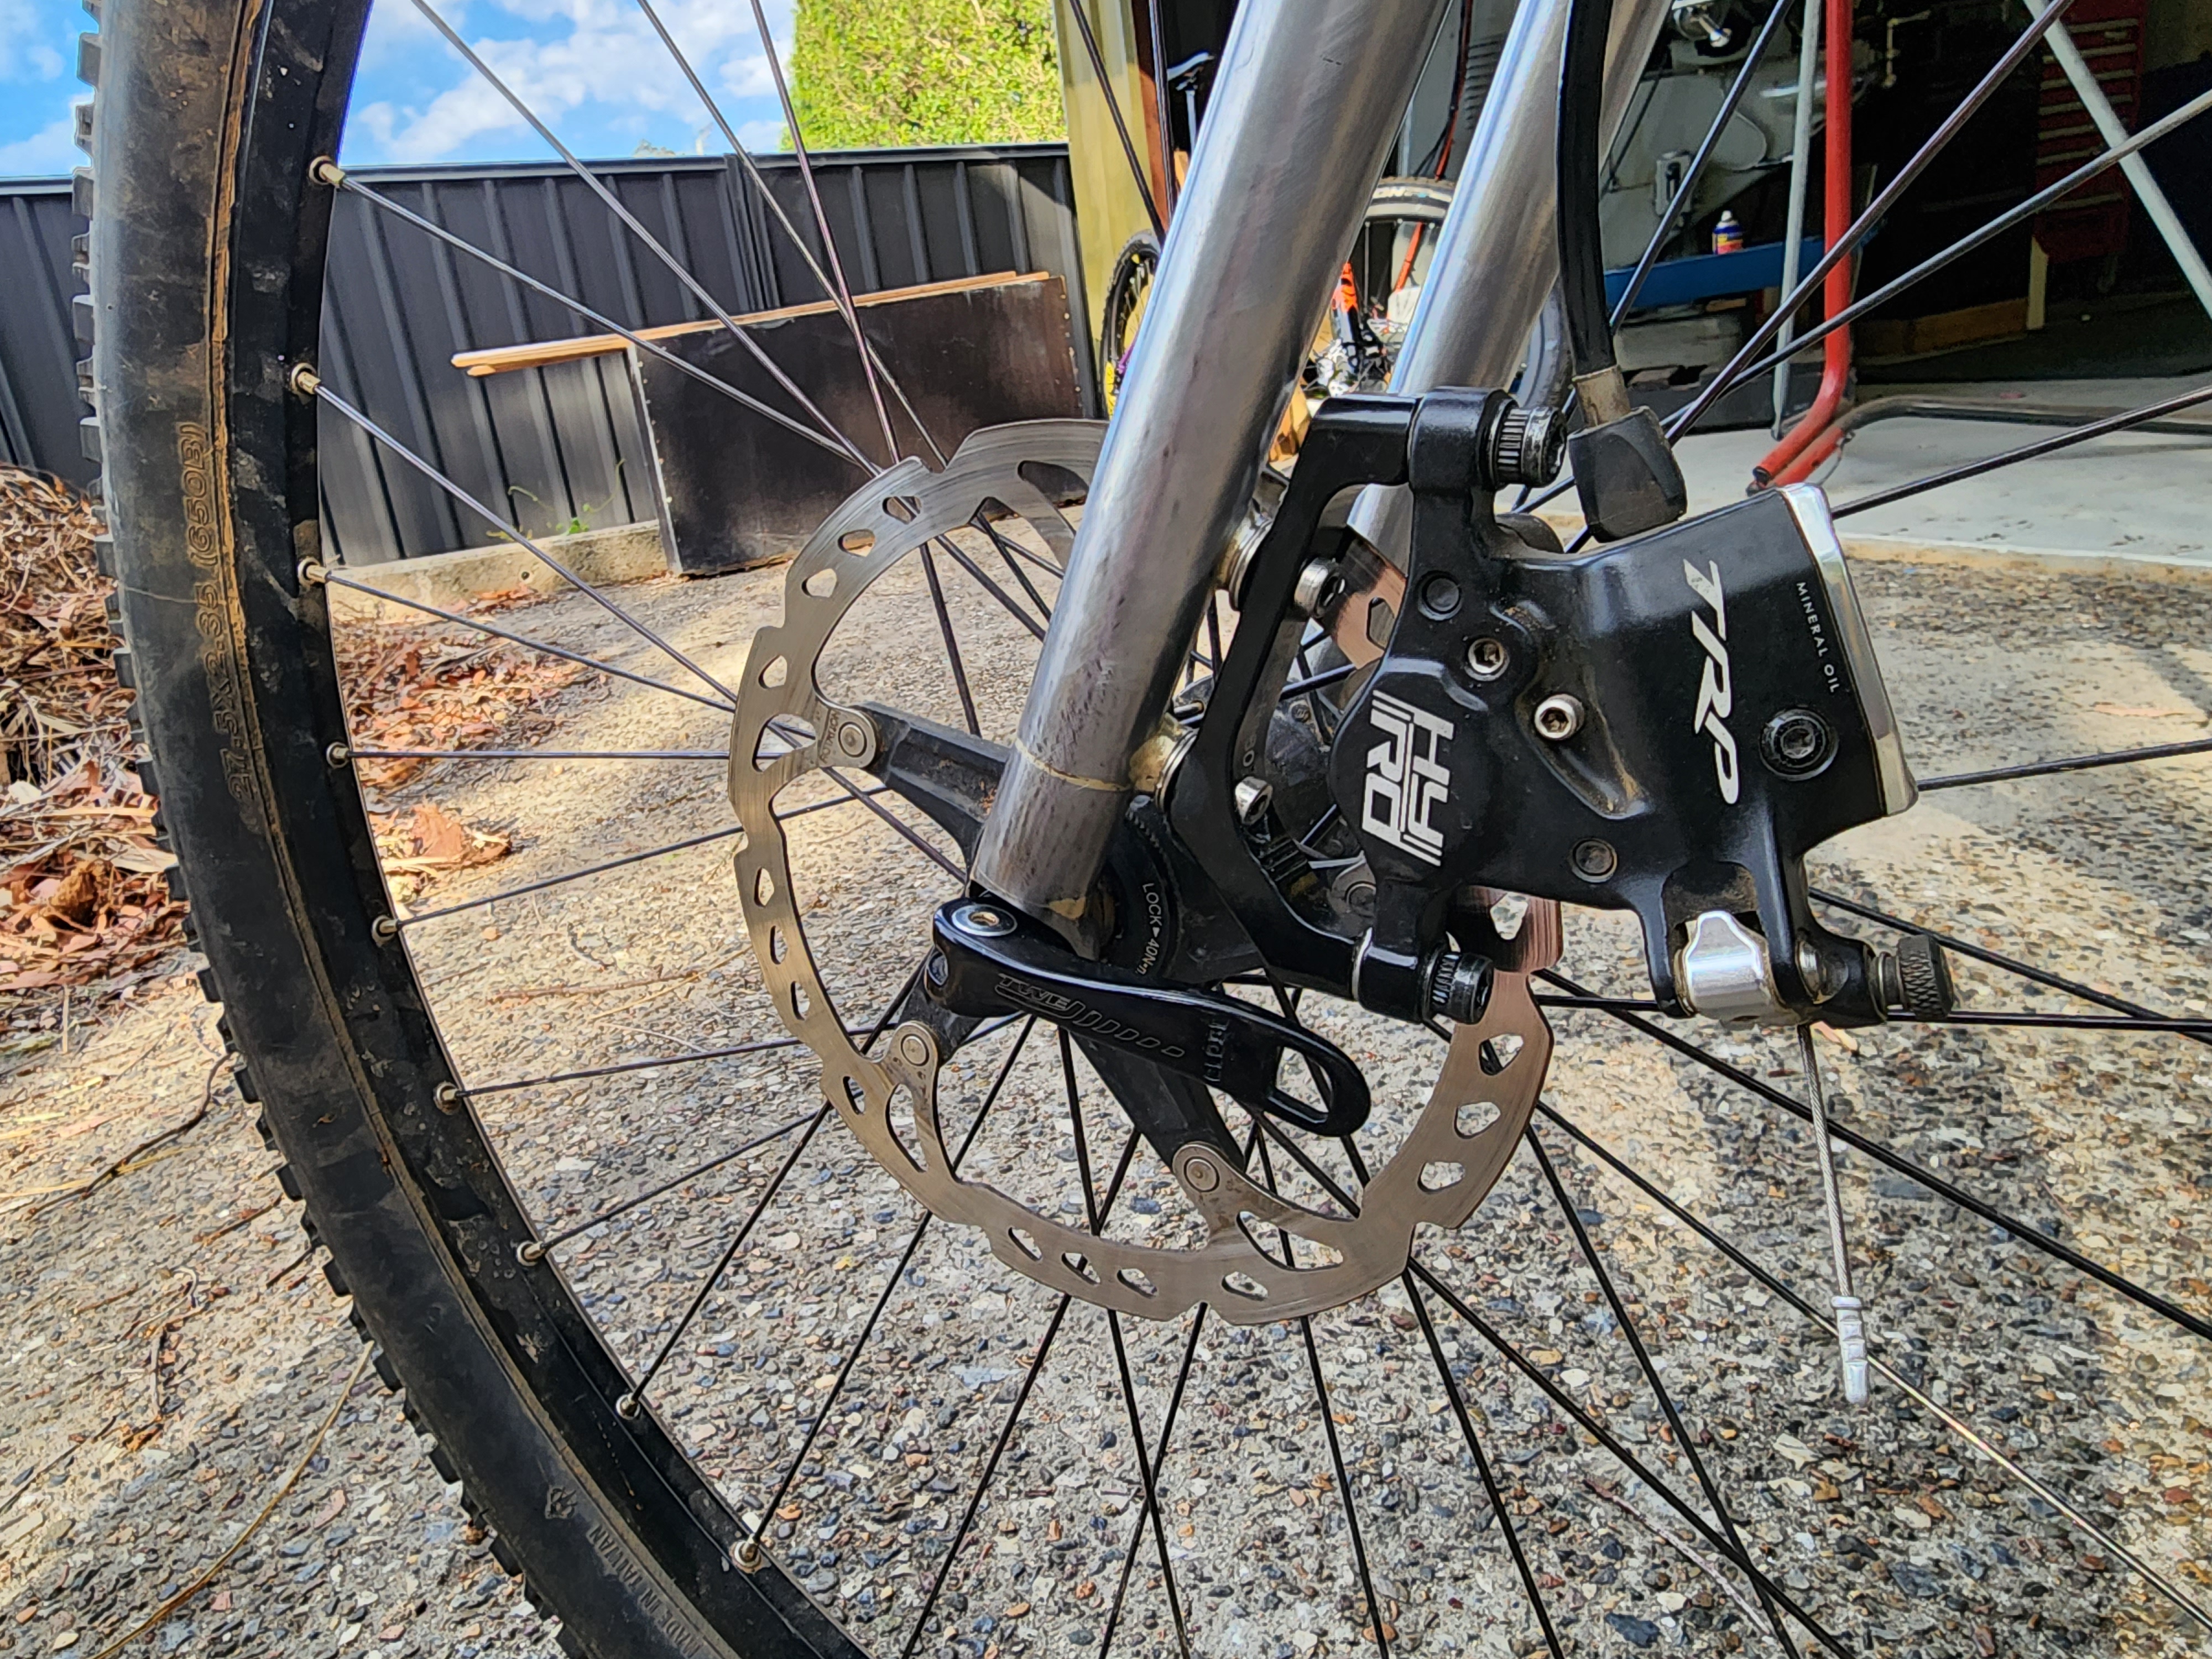
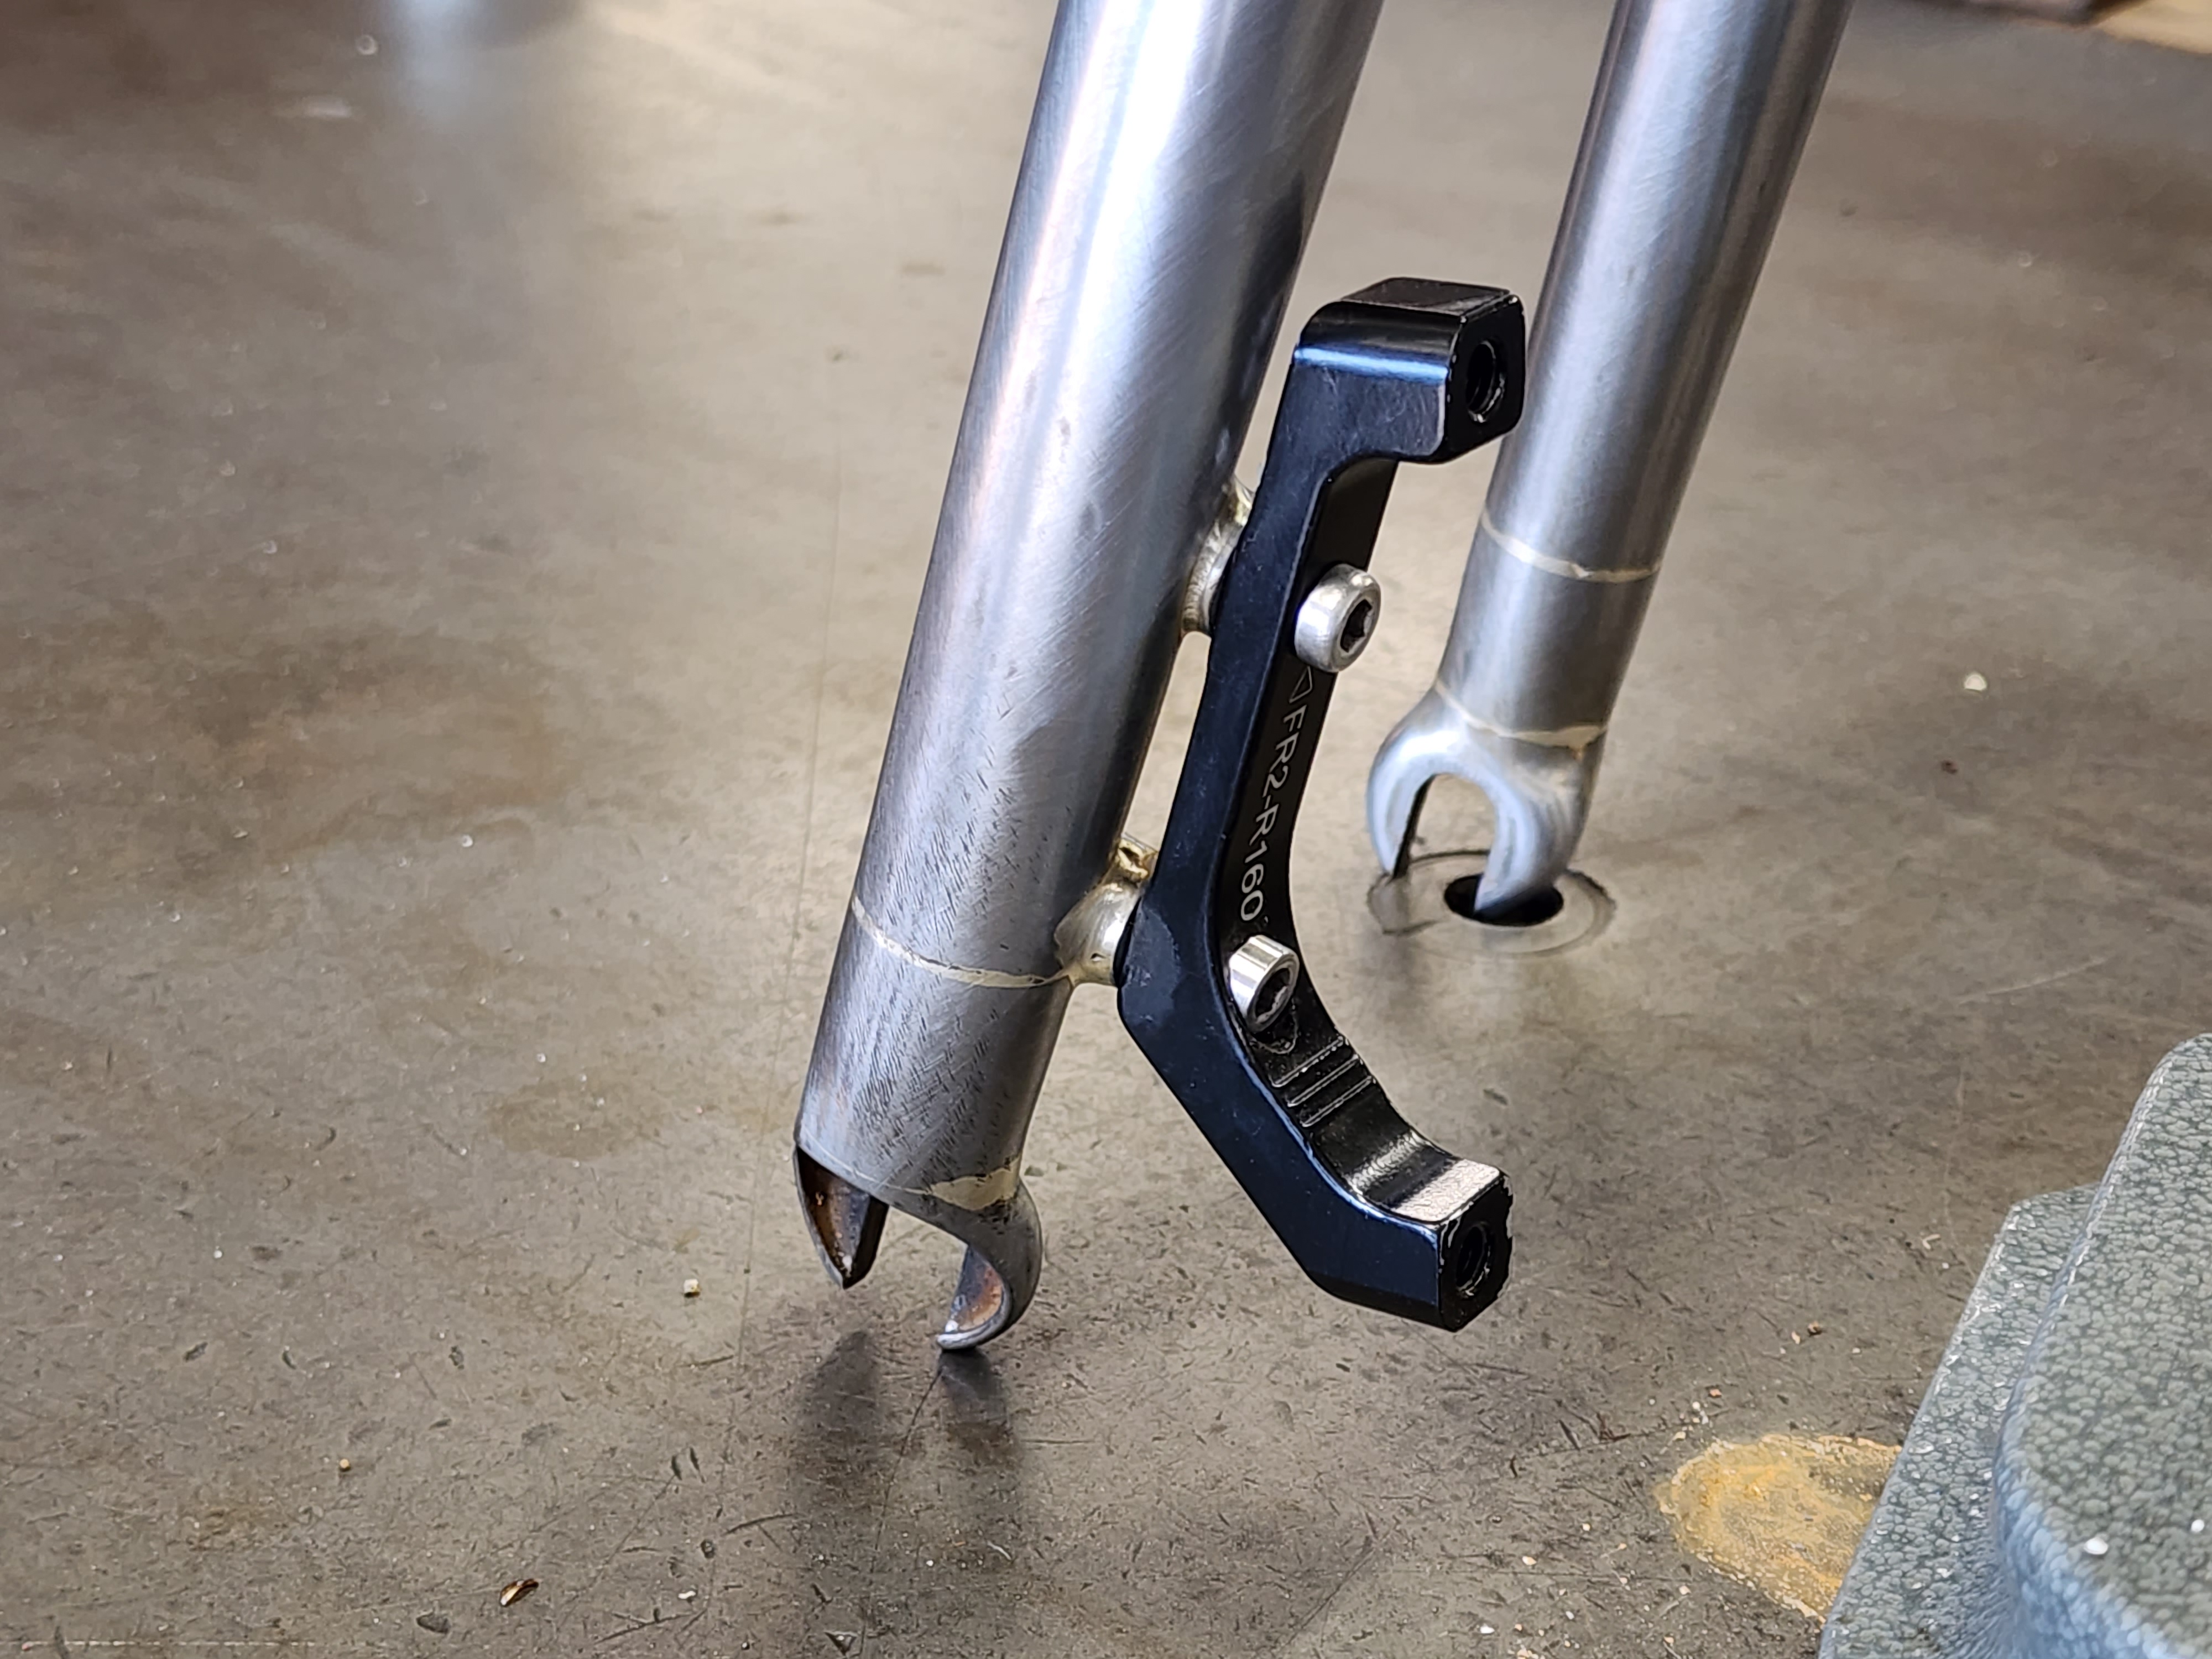
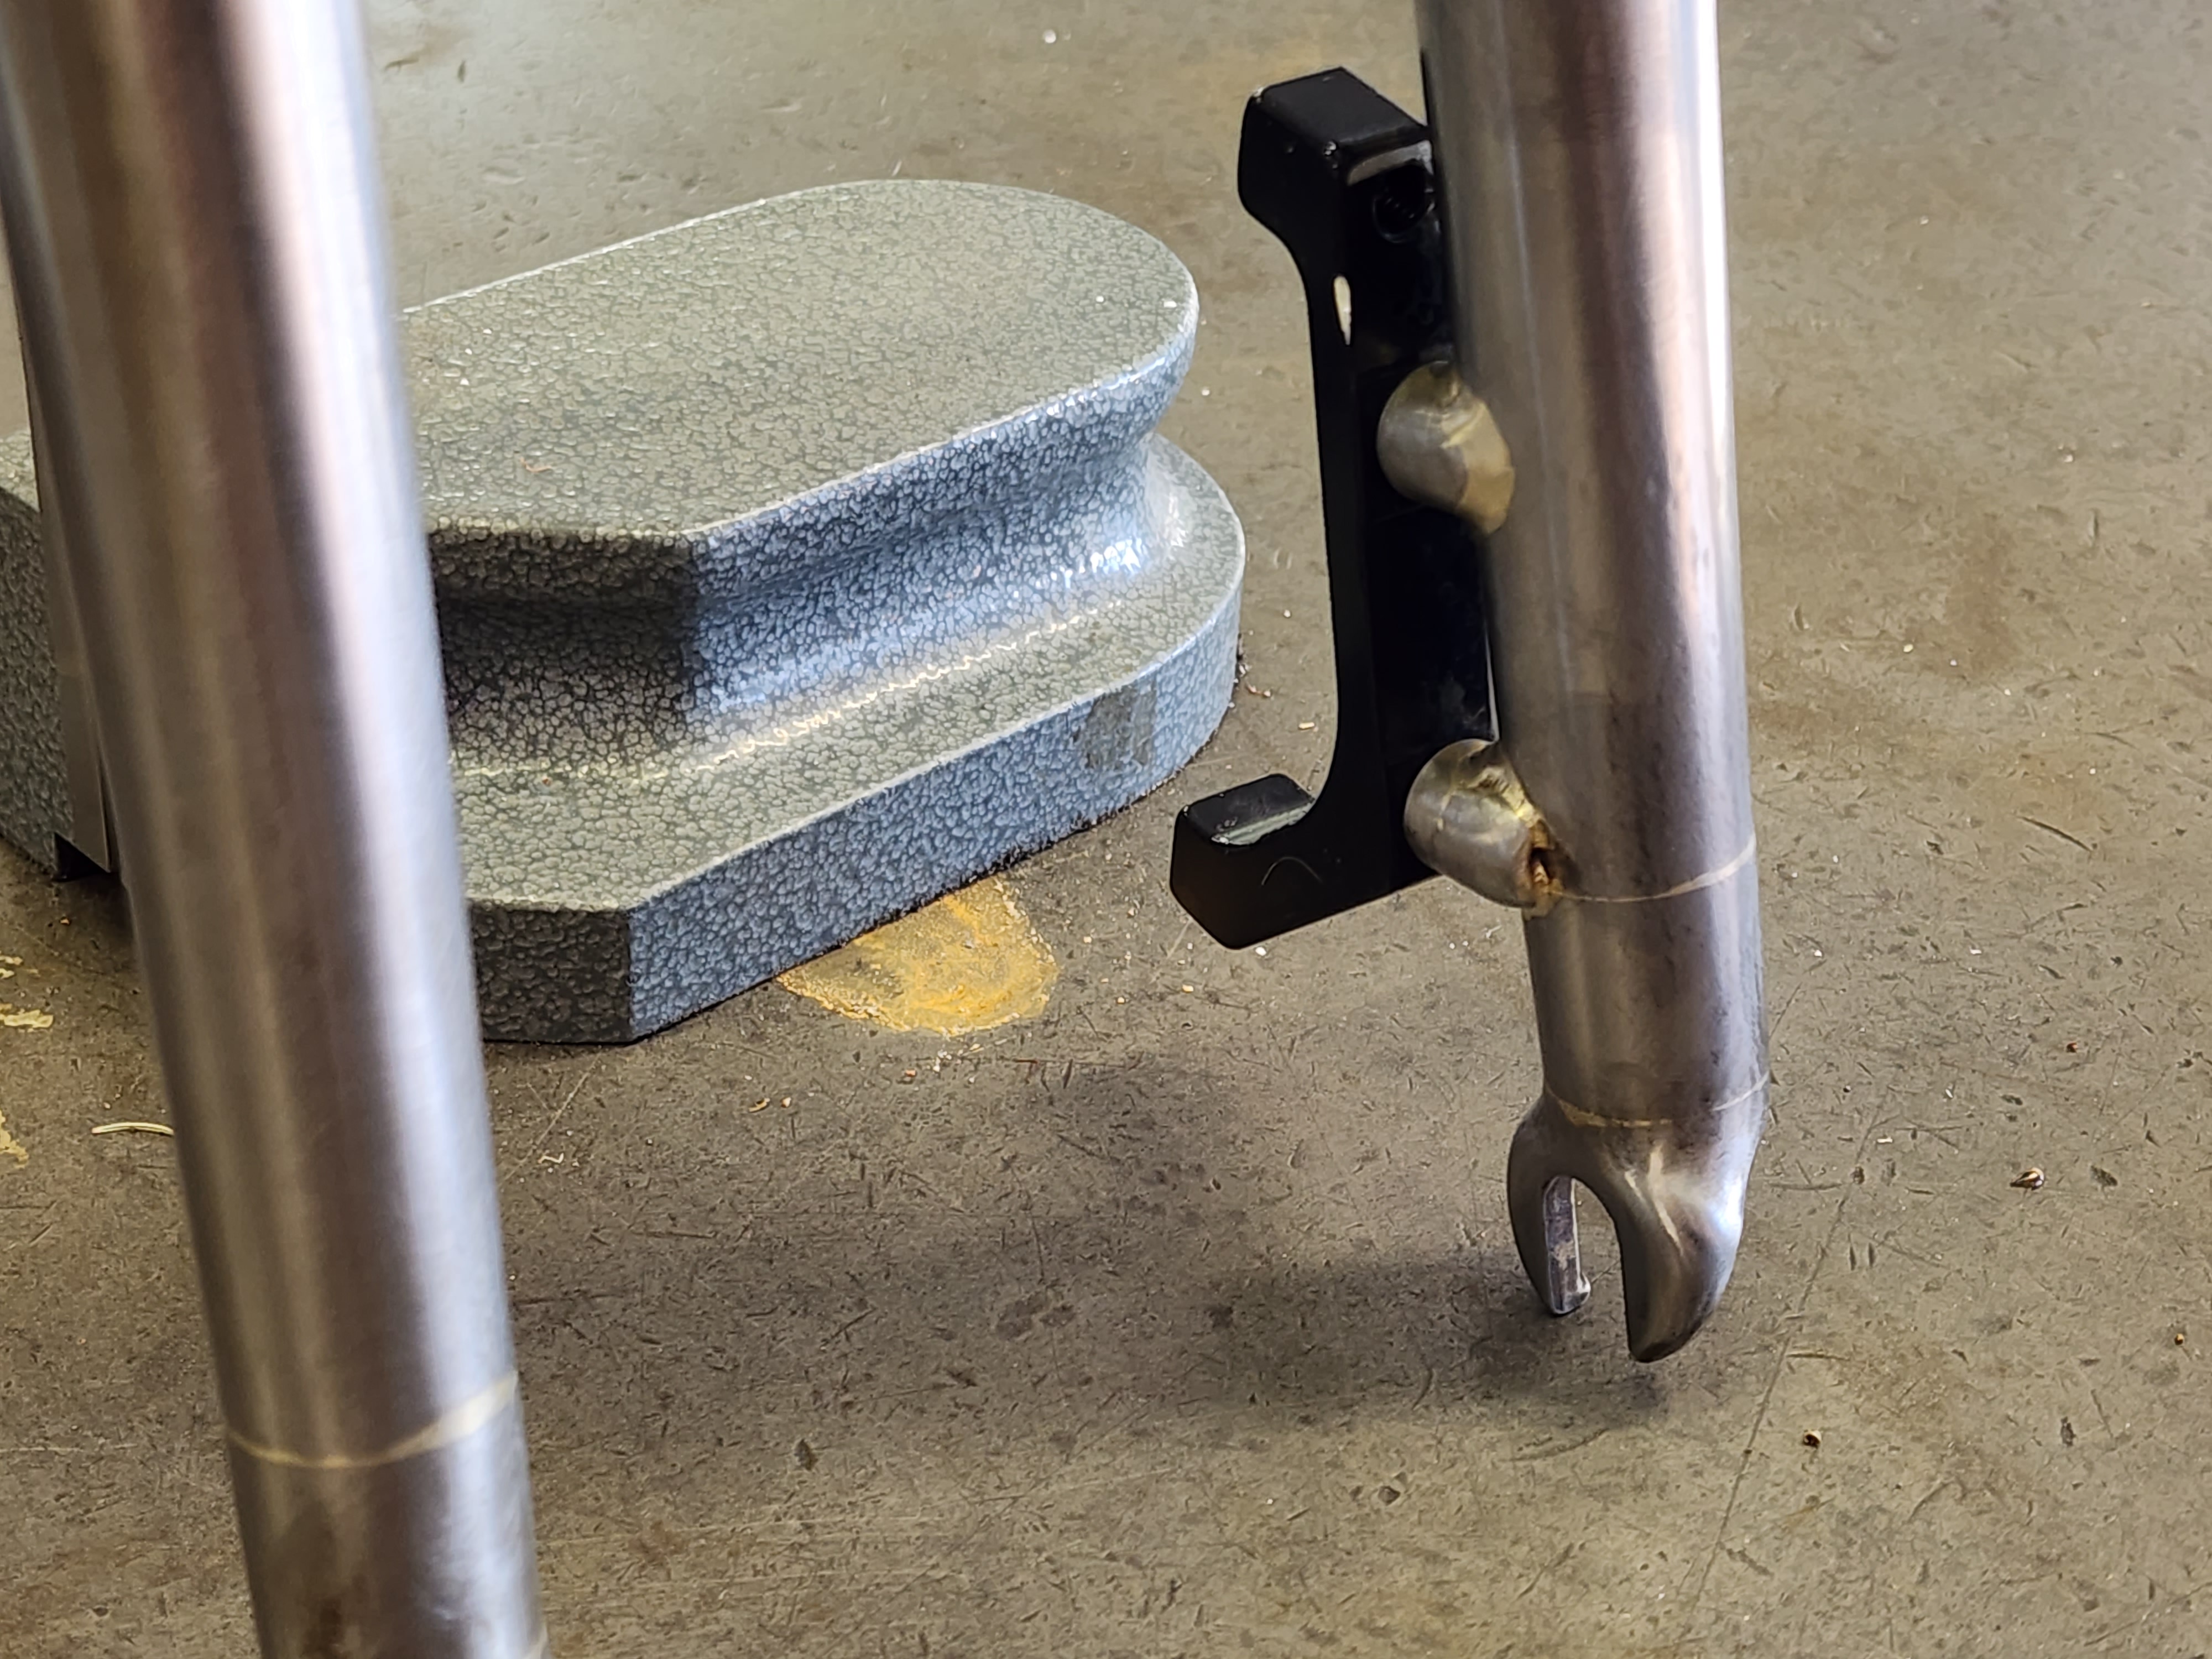
It’s a rim brake system, but just mess with everyone I’ve used a disc hub, 12x142 Thru axle, with my UDH compatible drop outs. The idea is it will be super easy to convert to disc if I ever want to do that and future proof the frame a little.
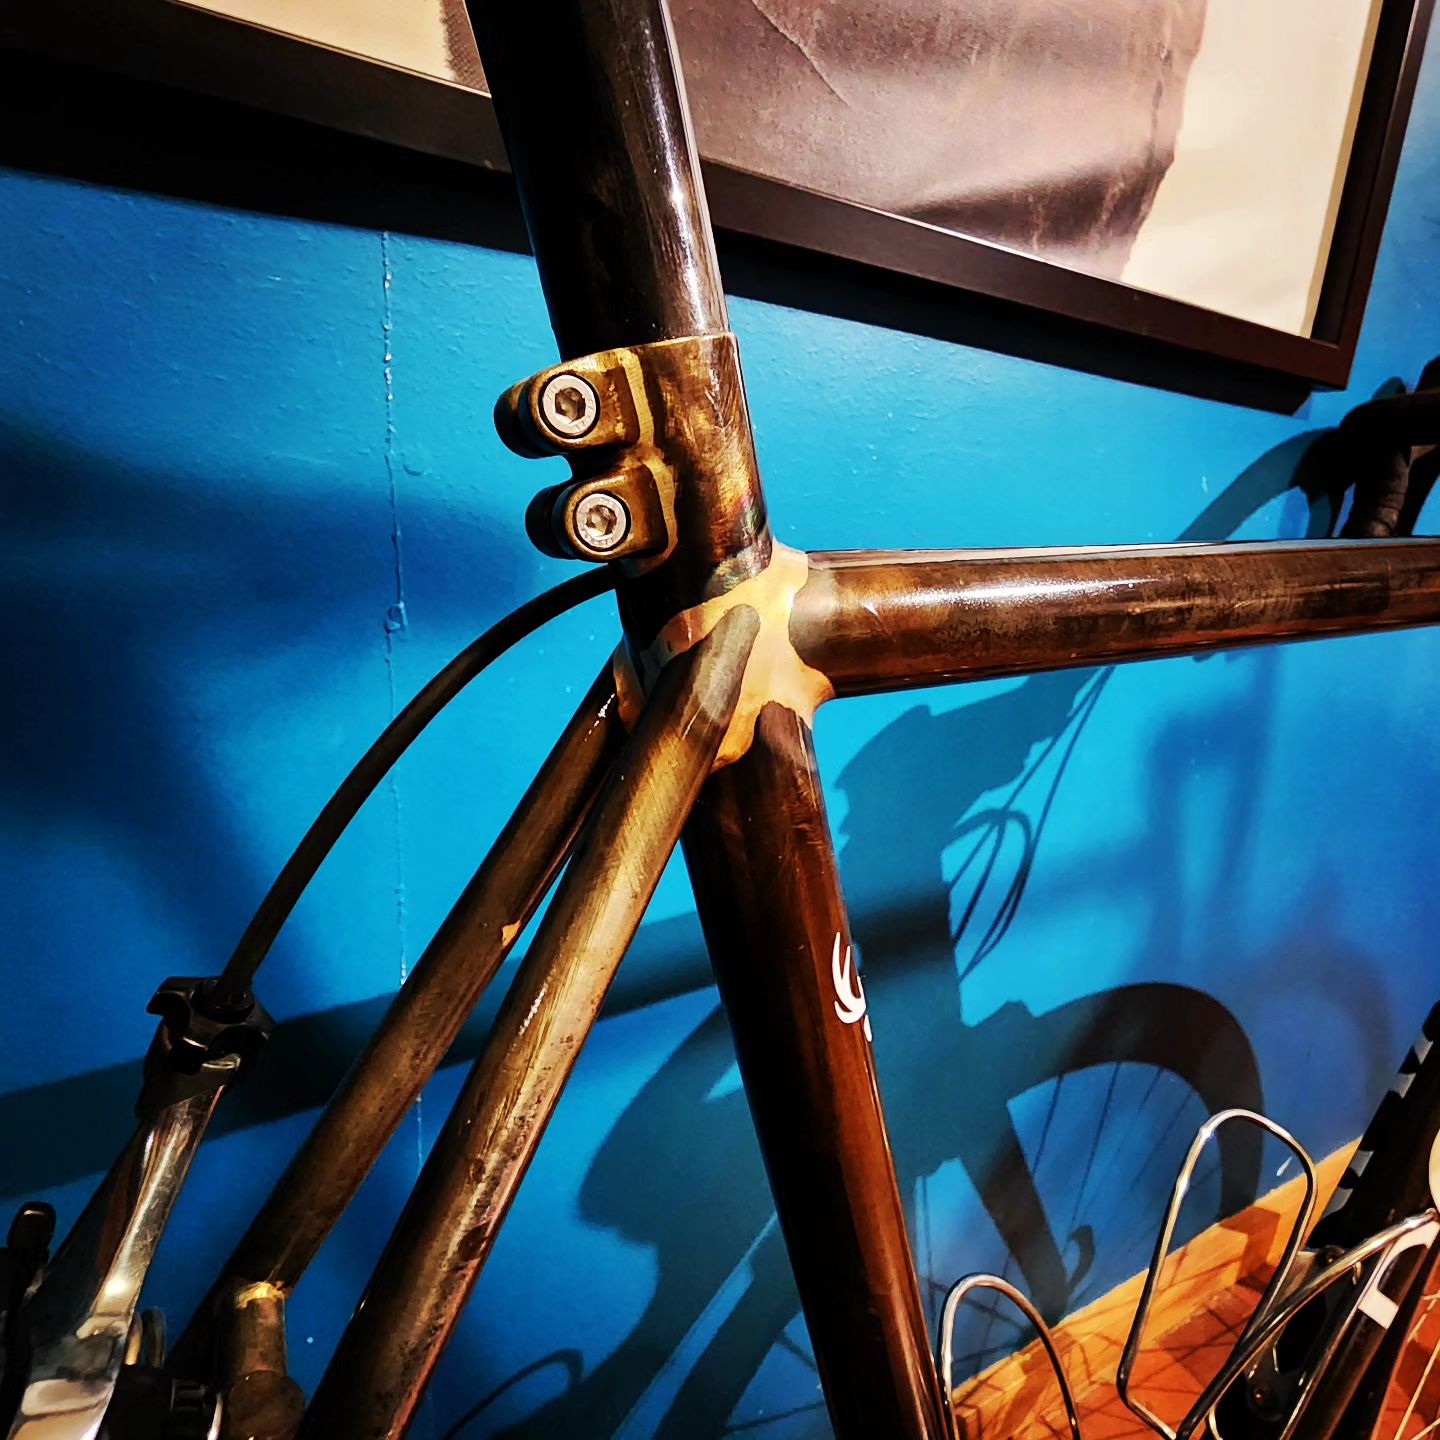
Lastly is Llewellyn seat tube binder bosses. Im following his idea of using two to spread the clamping force over a much greater area on a carbon post. I works incredibly well.
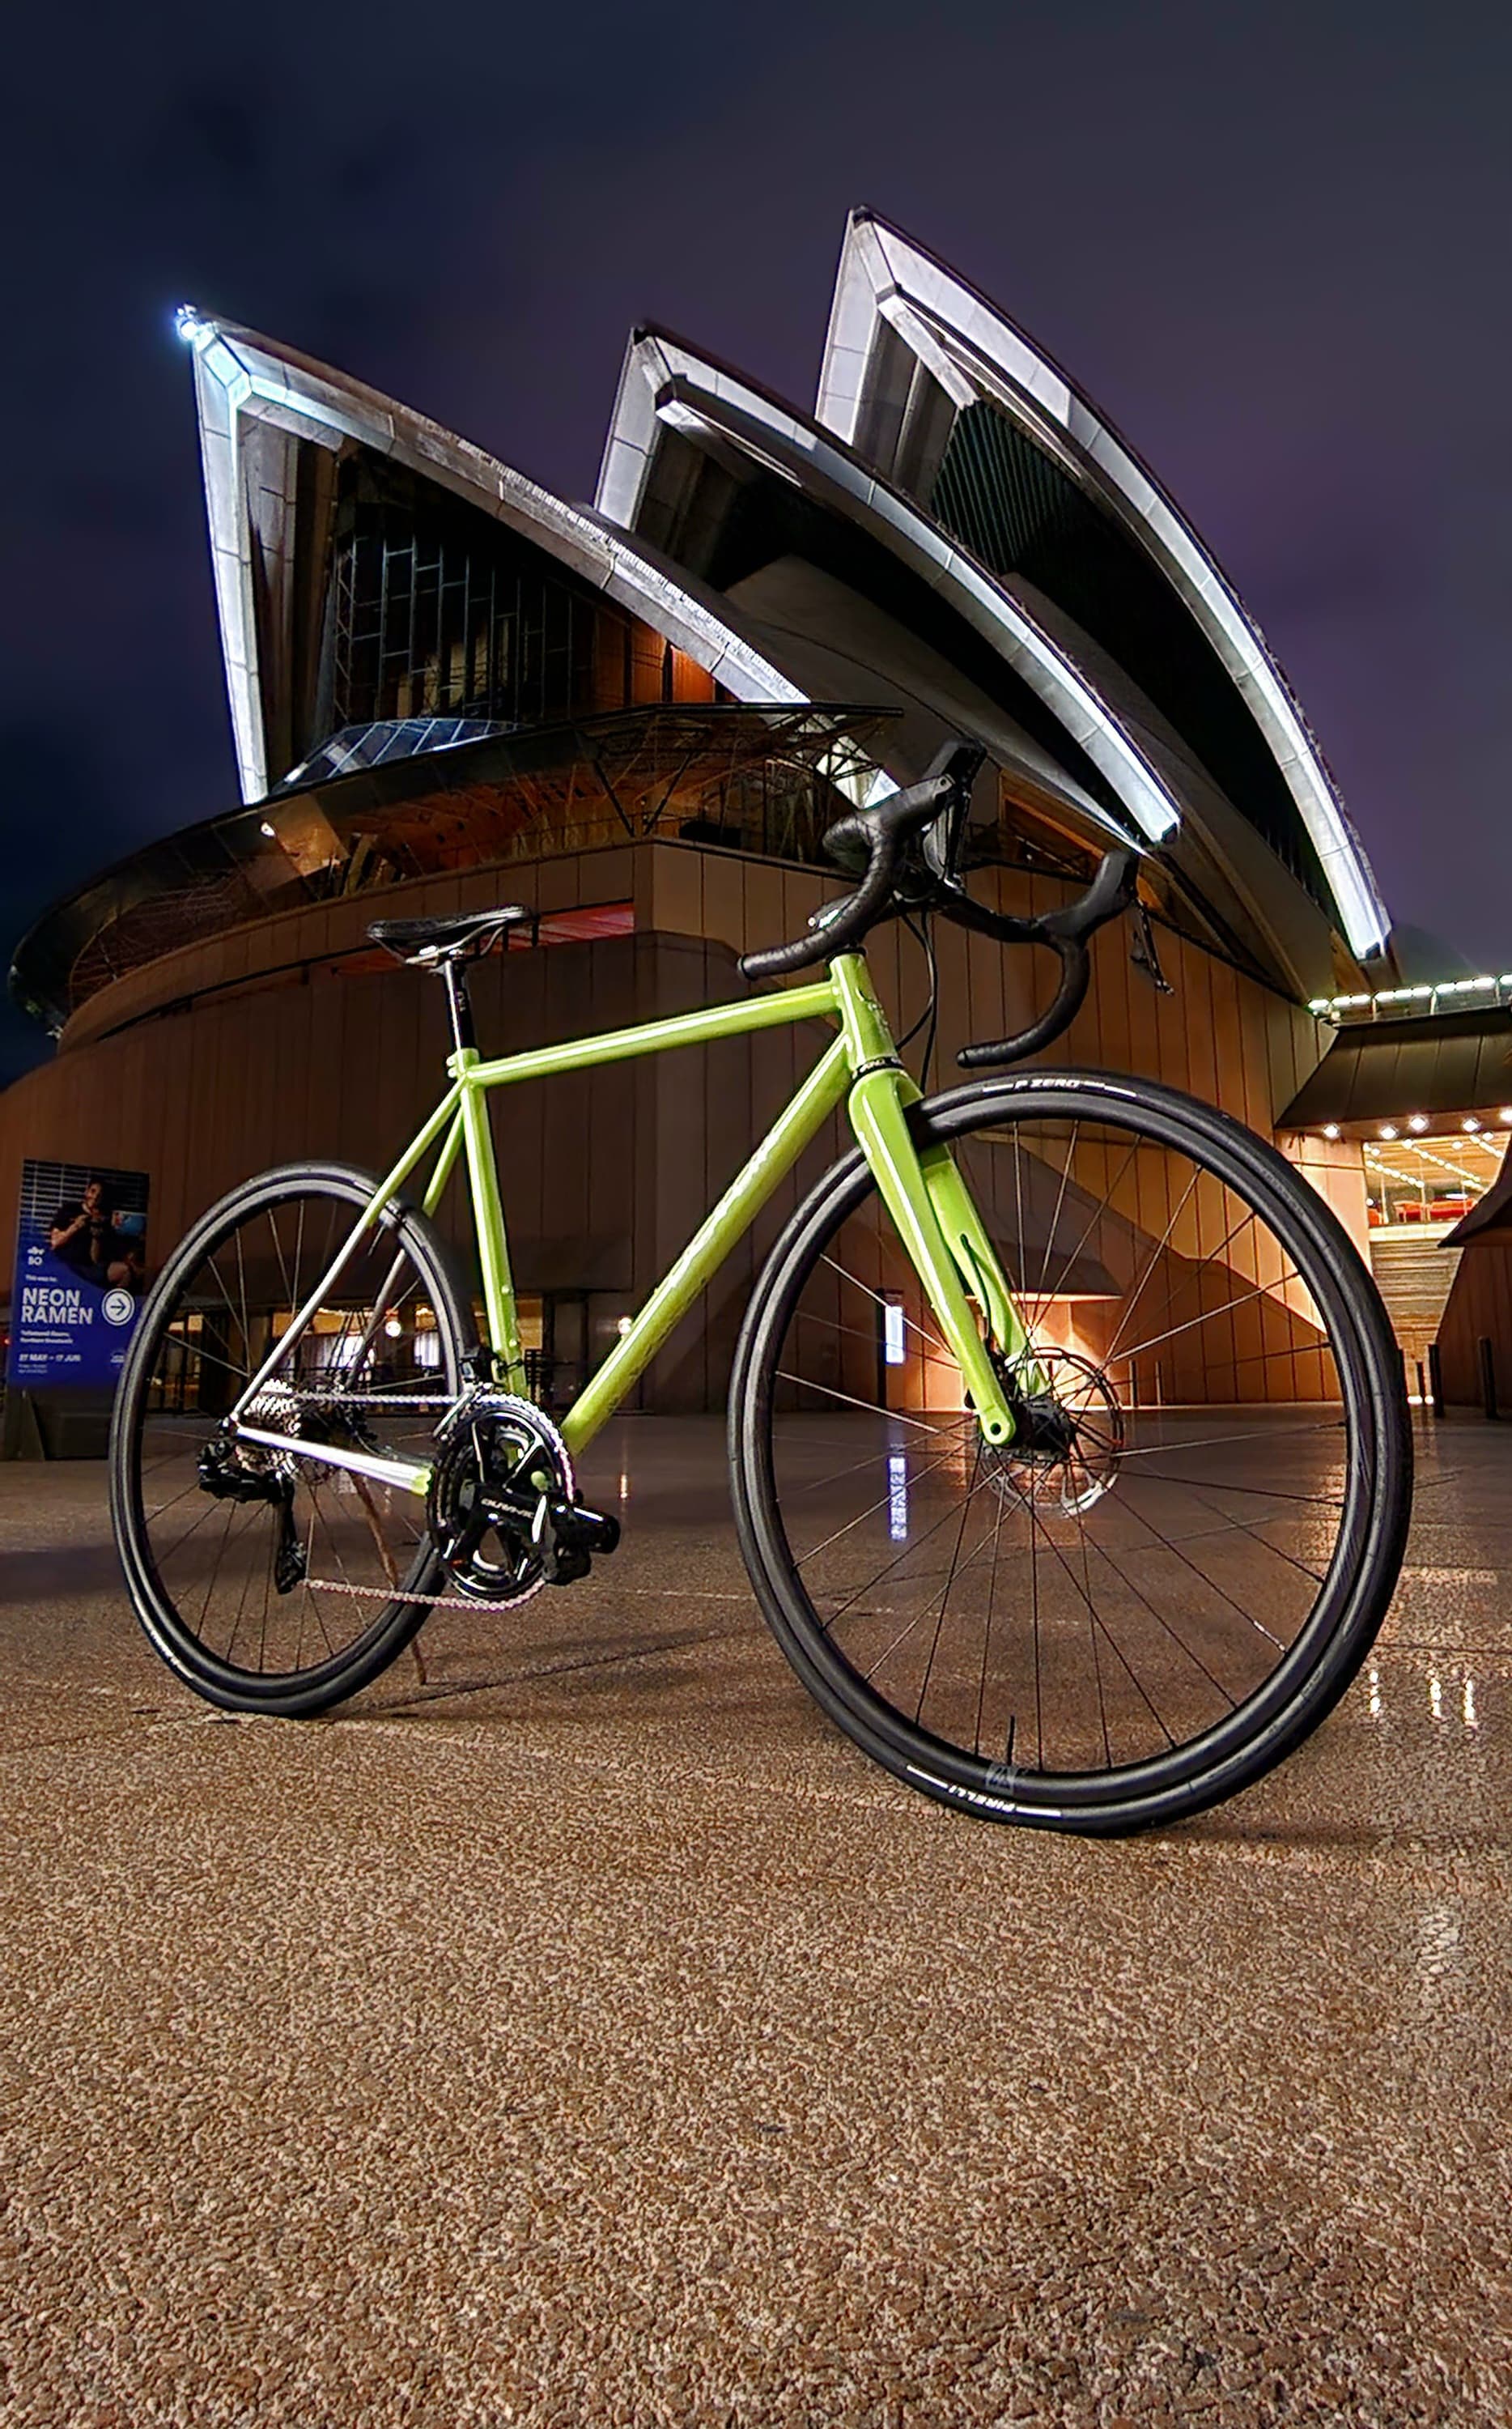
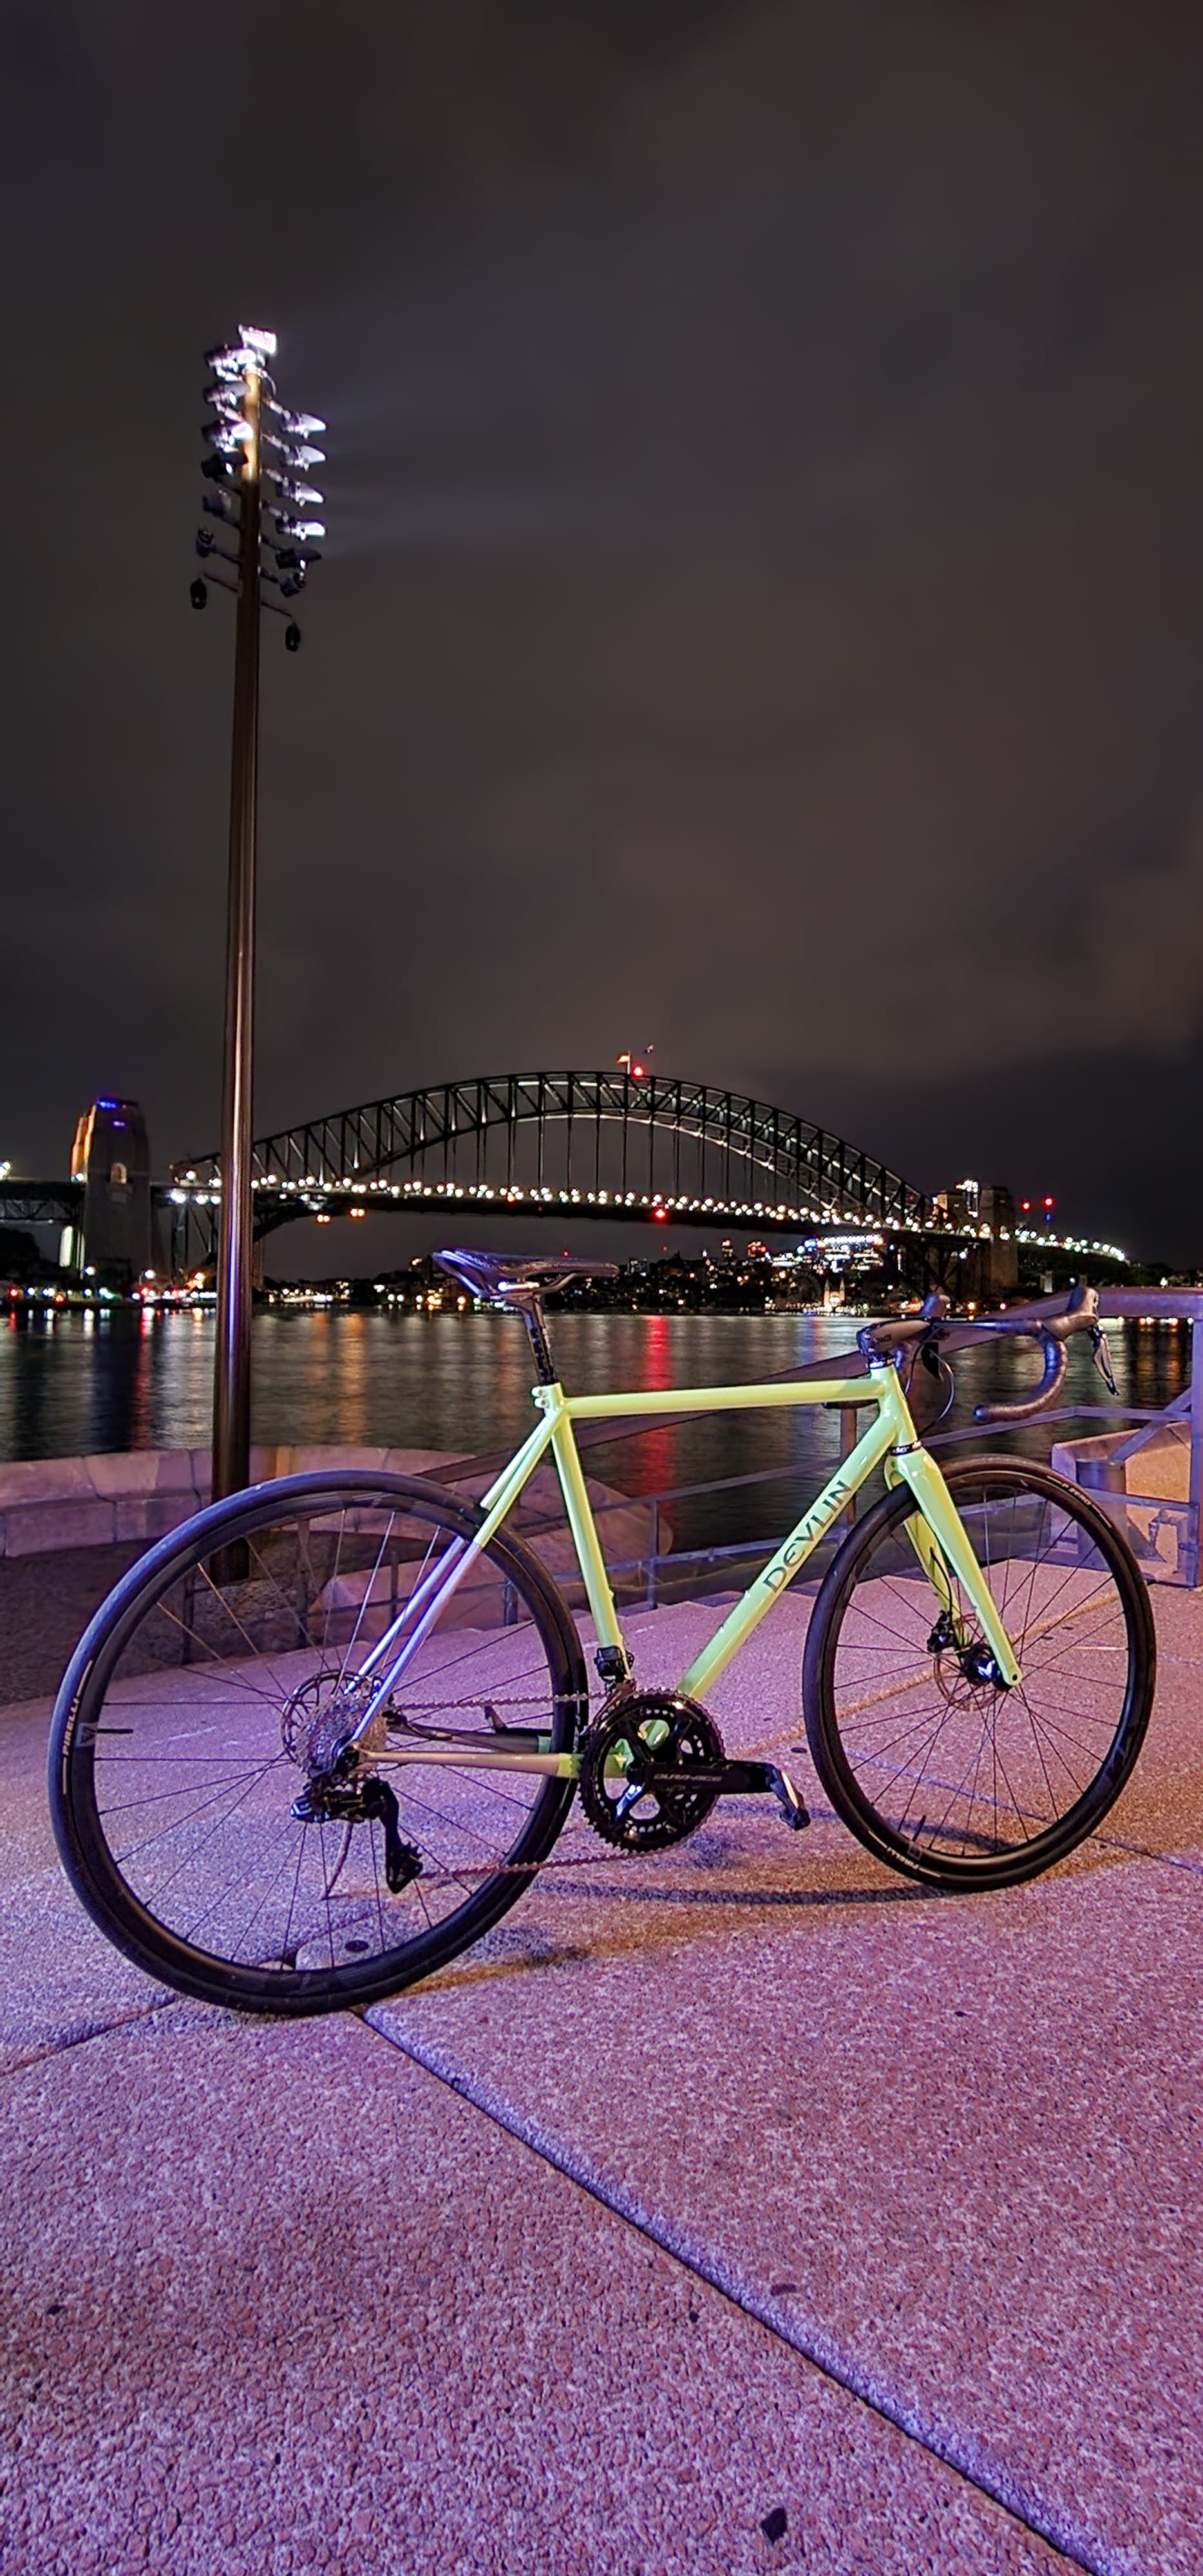
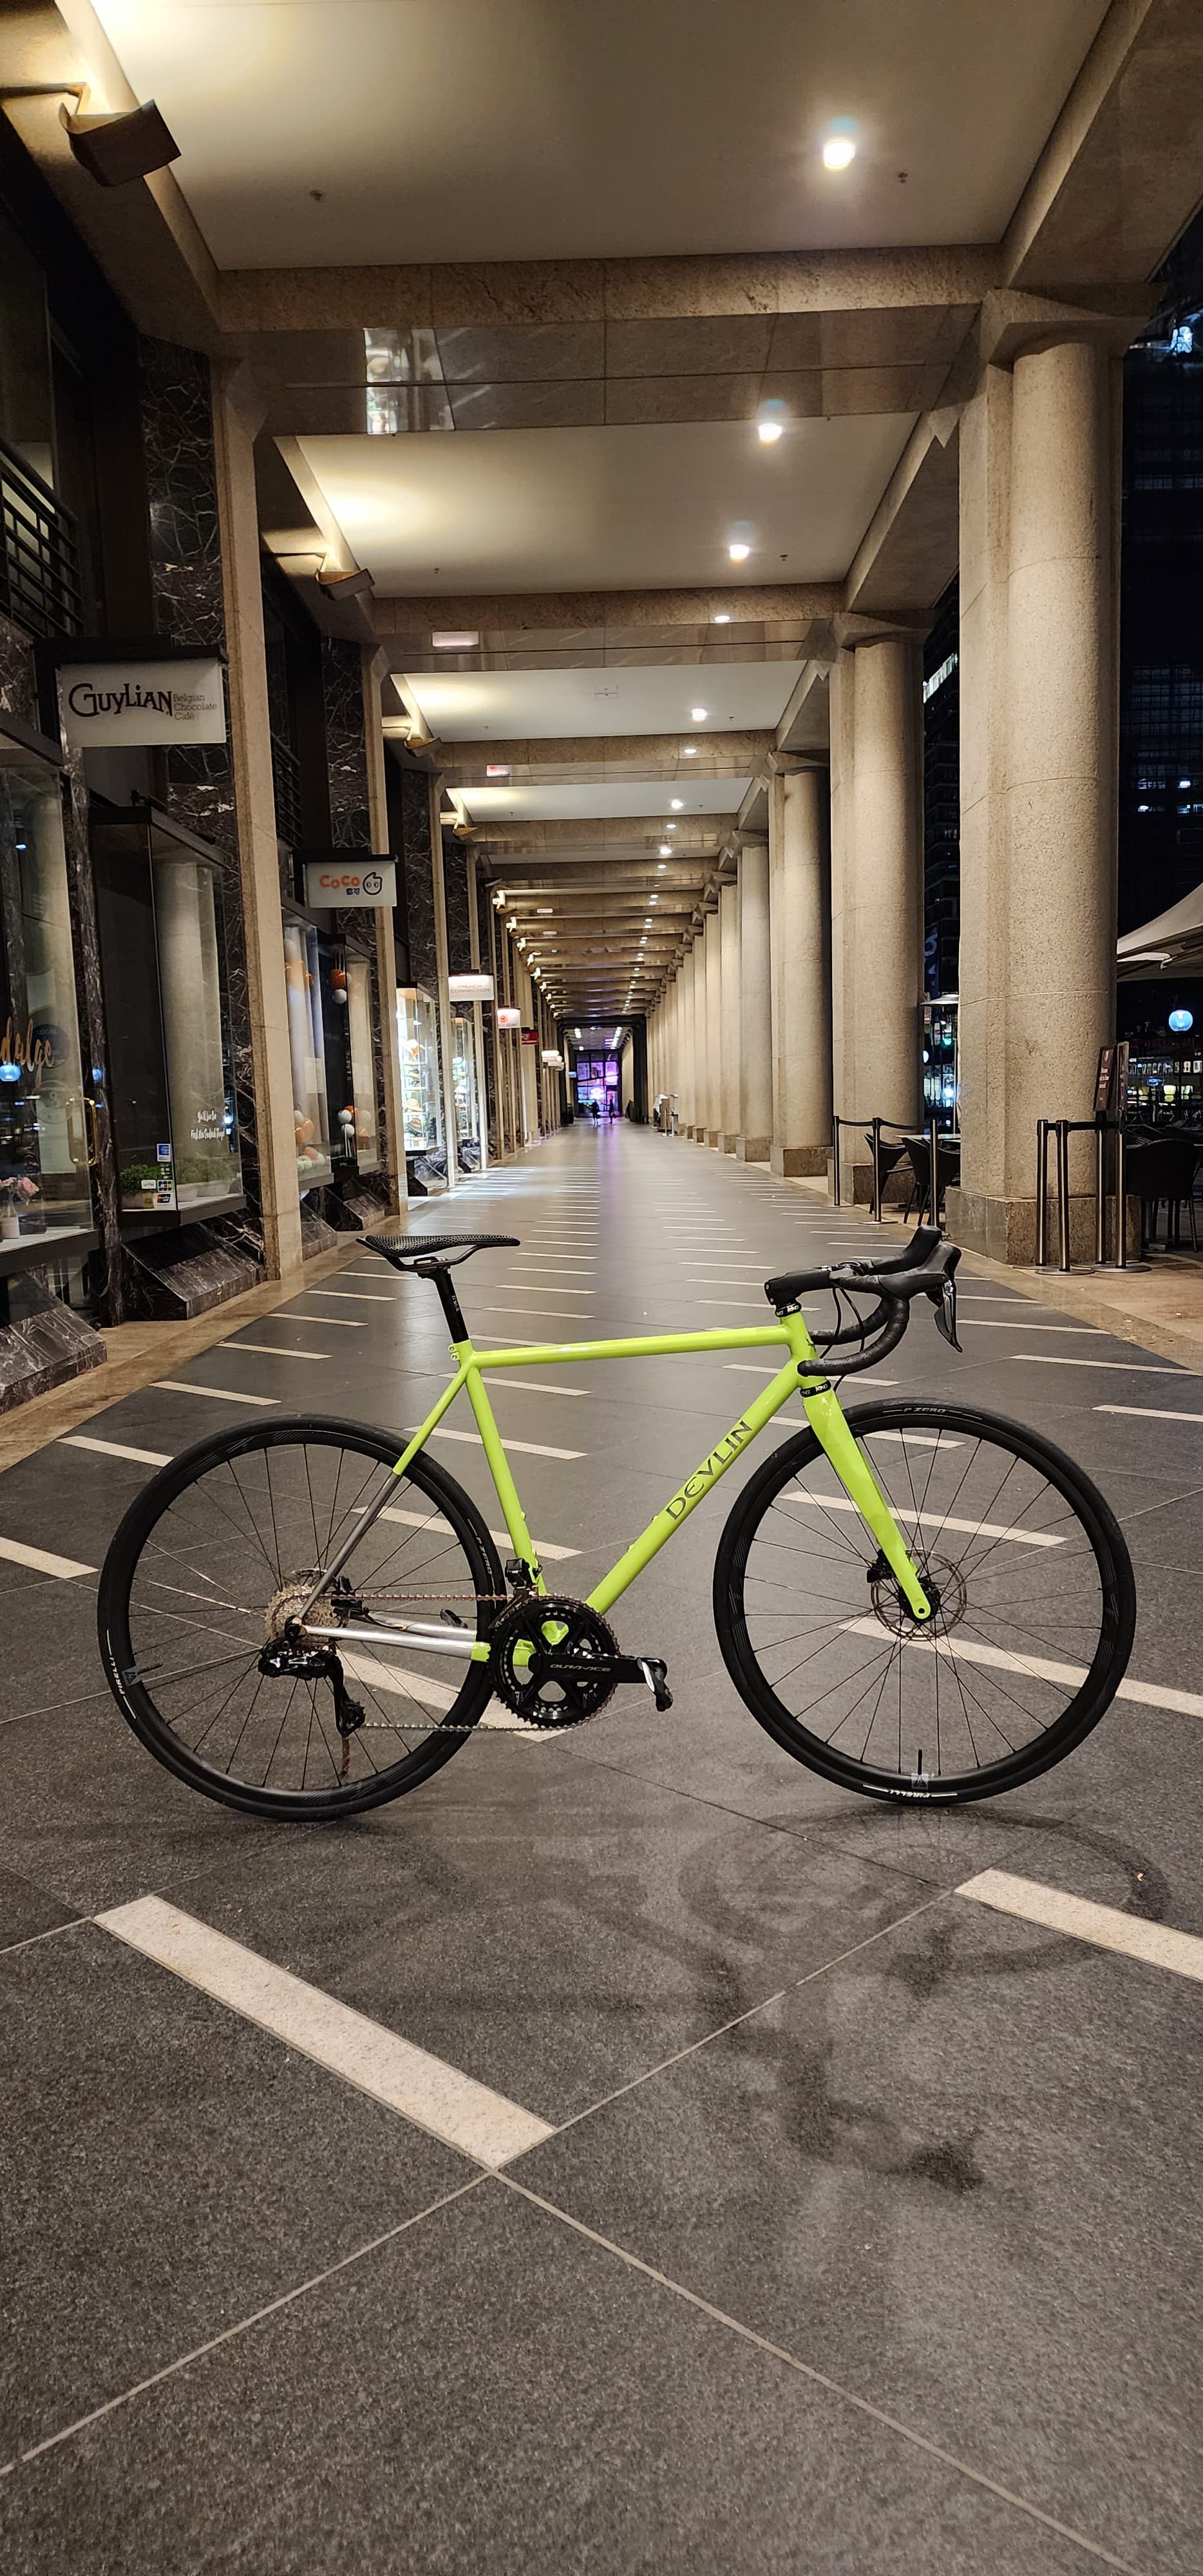
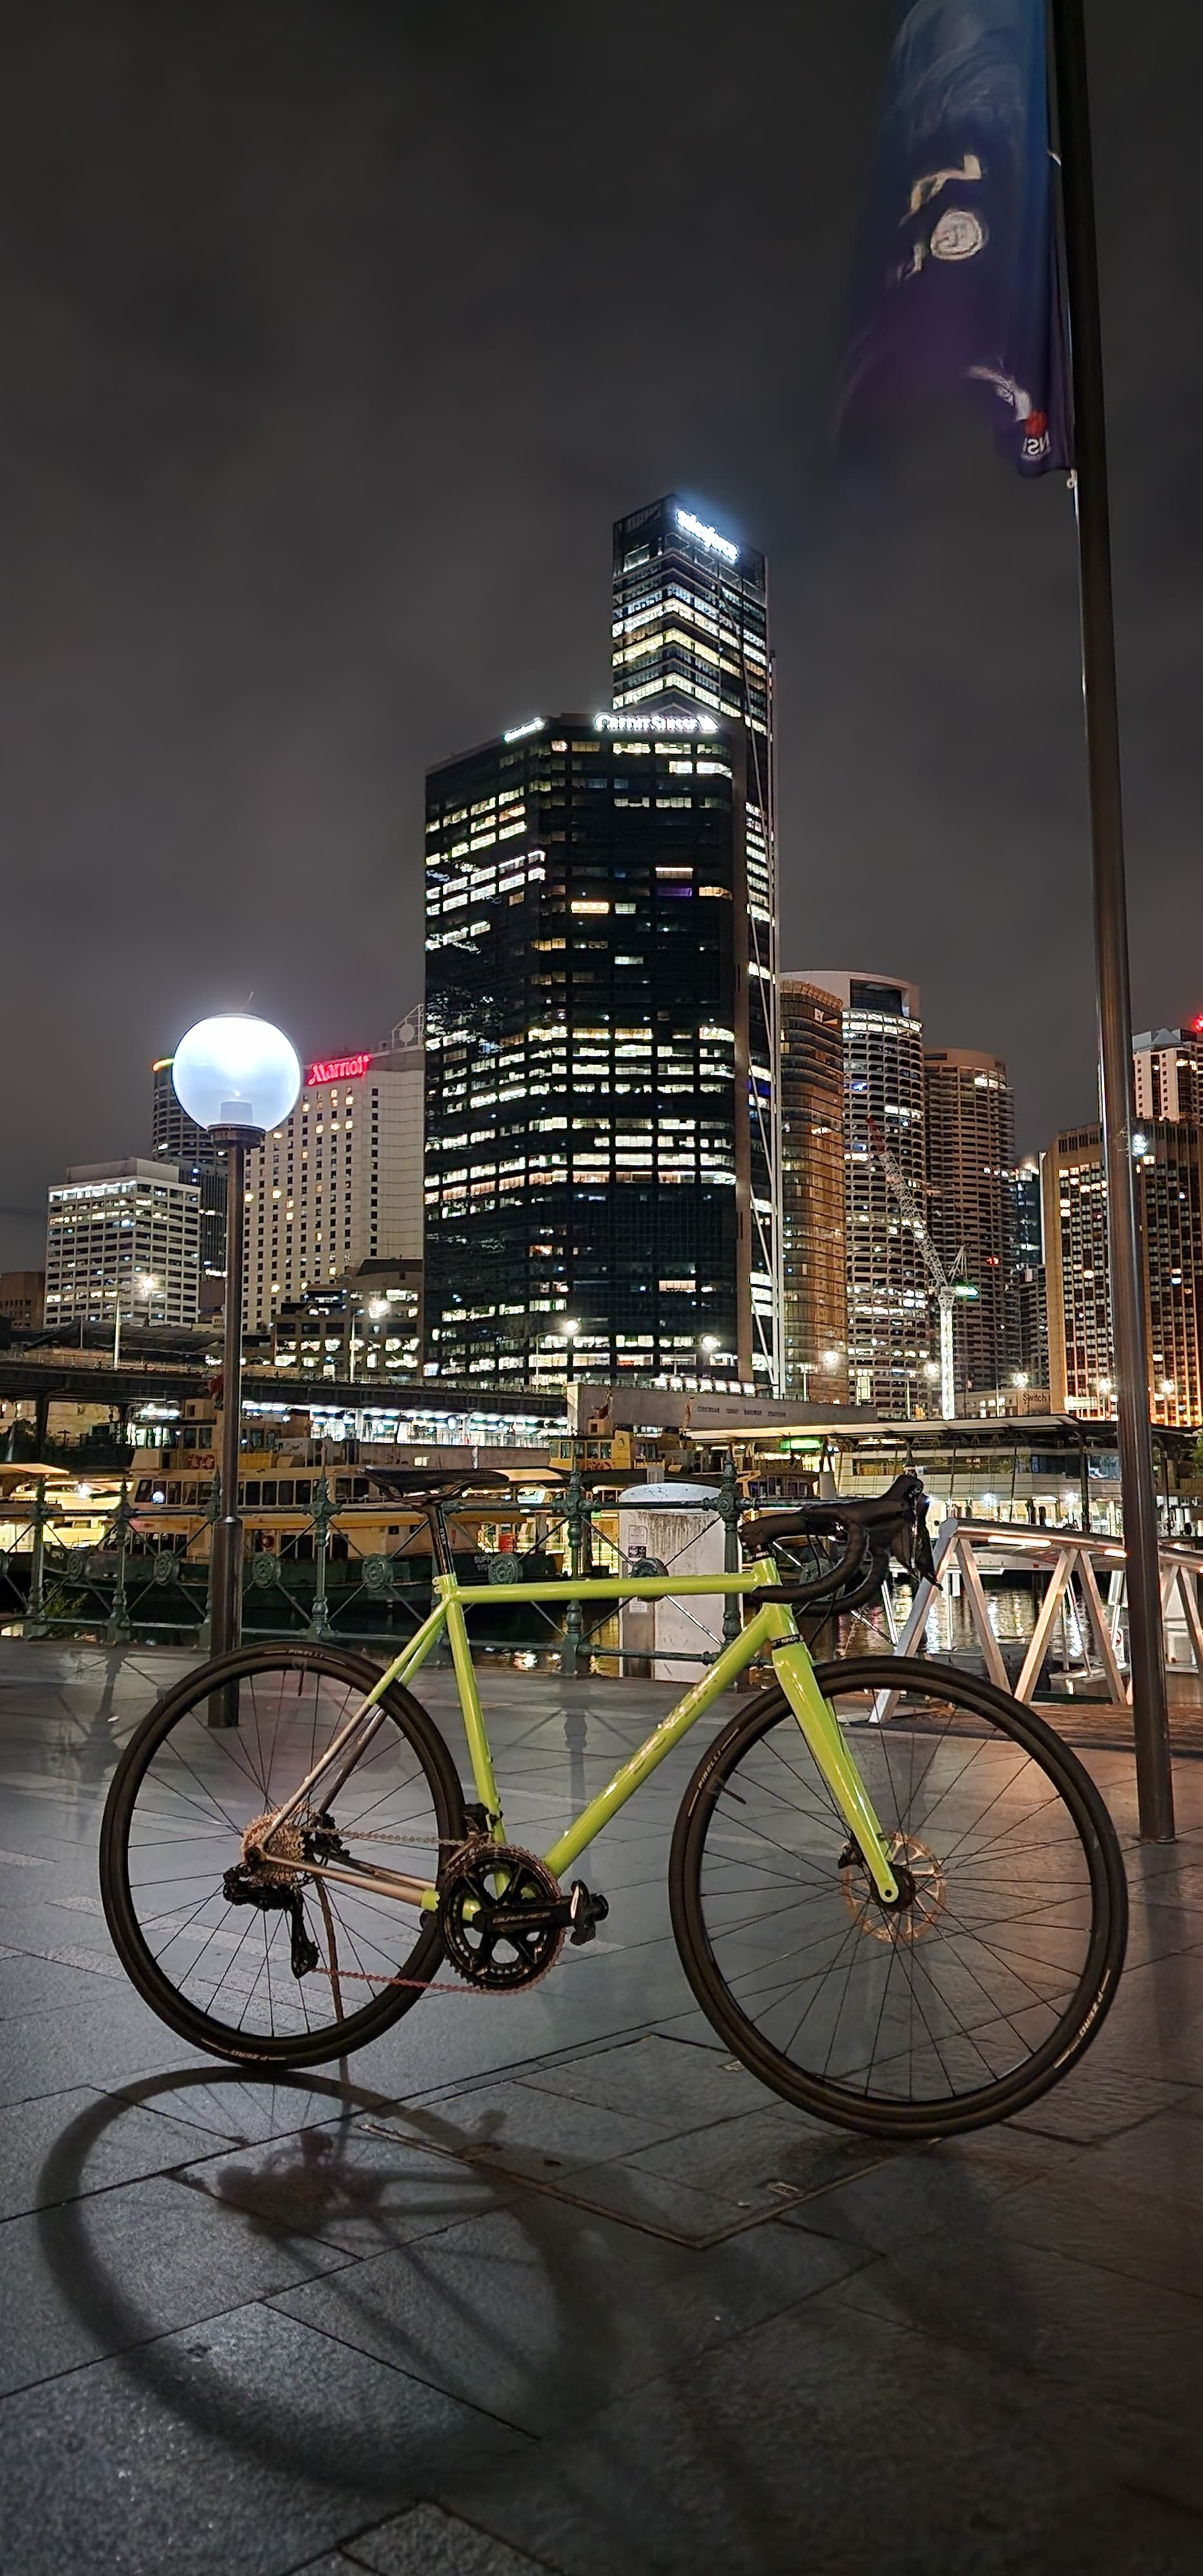
It’s finished off with parts I had in the spares box. Hoping to put a Rotor crank on it at some point but old school 10 speed Dura Ace crank on there currently. Ultegra 11spd levers shifting Dyra Ace derailleurs and squeezing same generation brake callipers. Synrace stem Pro bars and bartape. Custom lower head set cup and top cap with Cane Creek upper cup. Specialized SWORKS 27.2 carbon post. Spec. Romin saddle.
Pirelli PZero 28mm tyres on H Pluss Son Archetype rims. DT350 front hub. Bontager rear hub. Shimano XT bottom bracket bearings.
8.4kg as is ( bathroom scales )
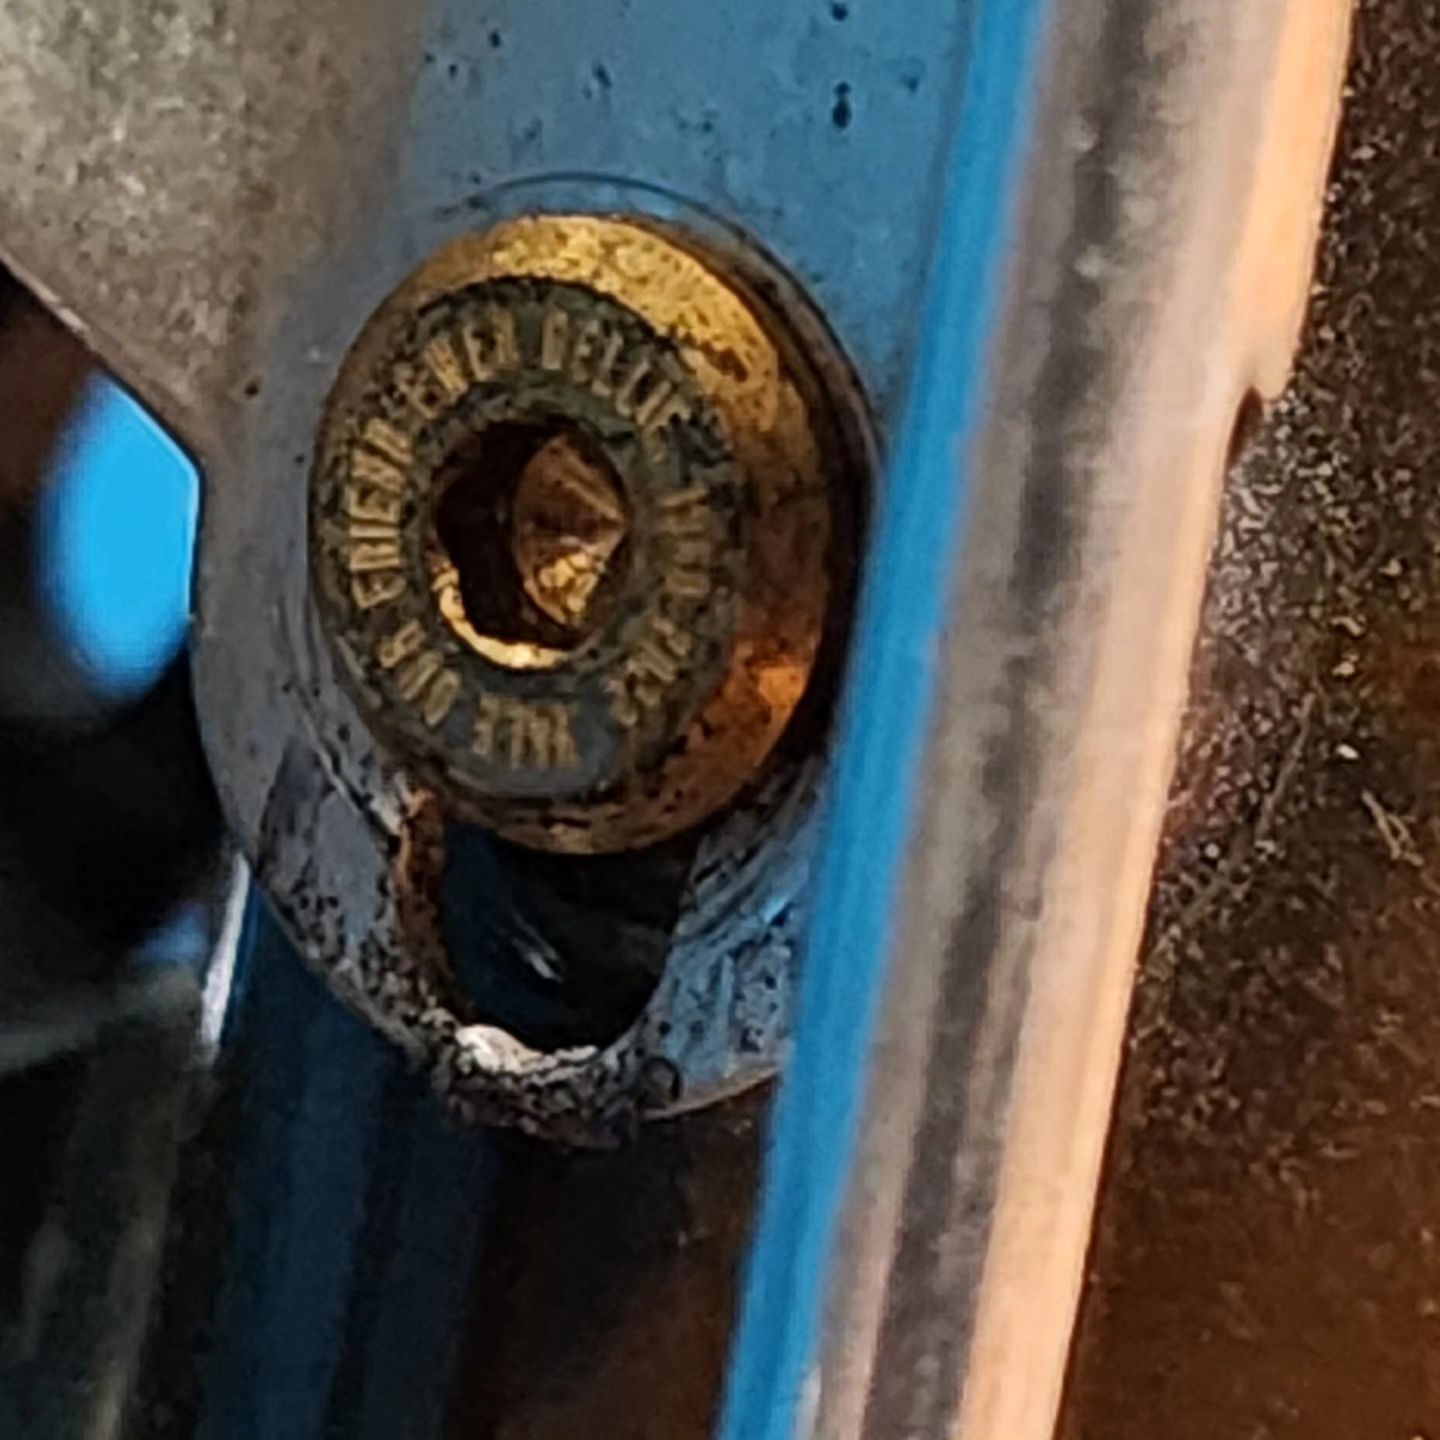
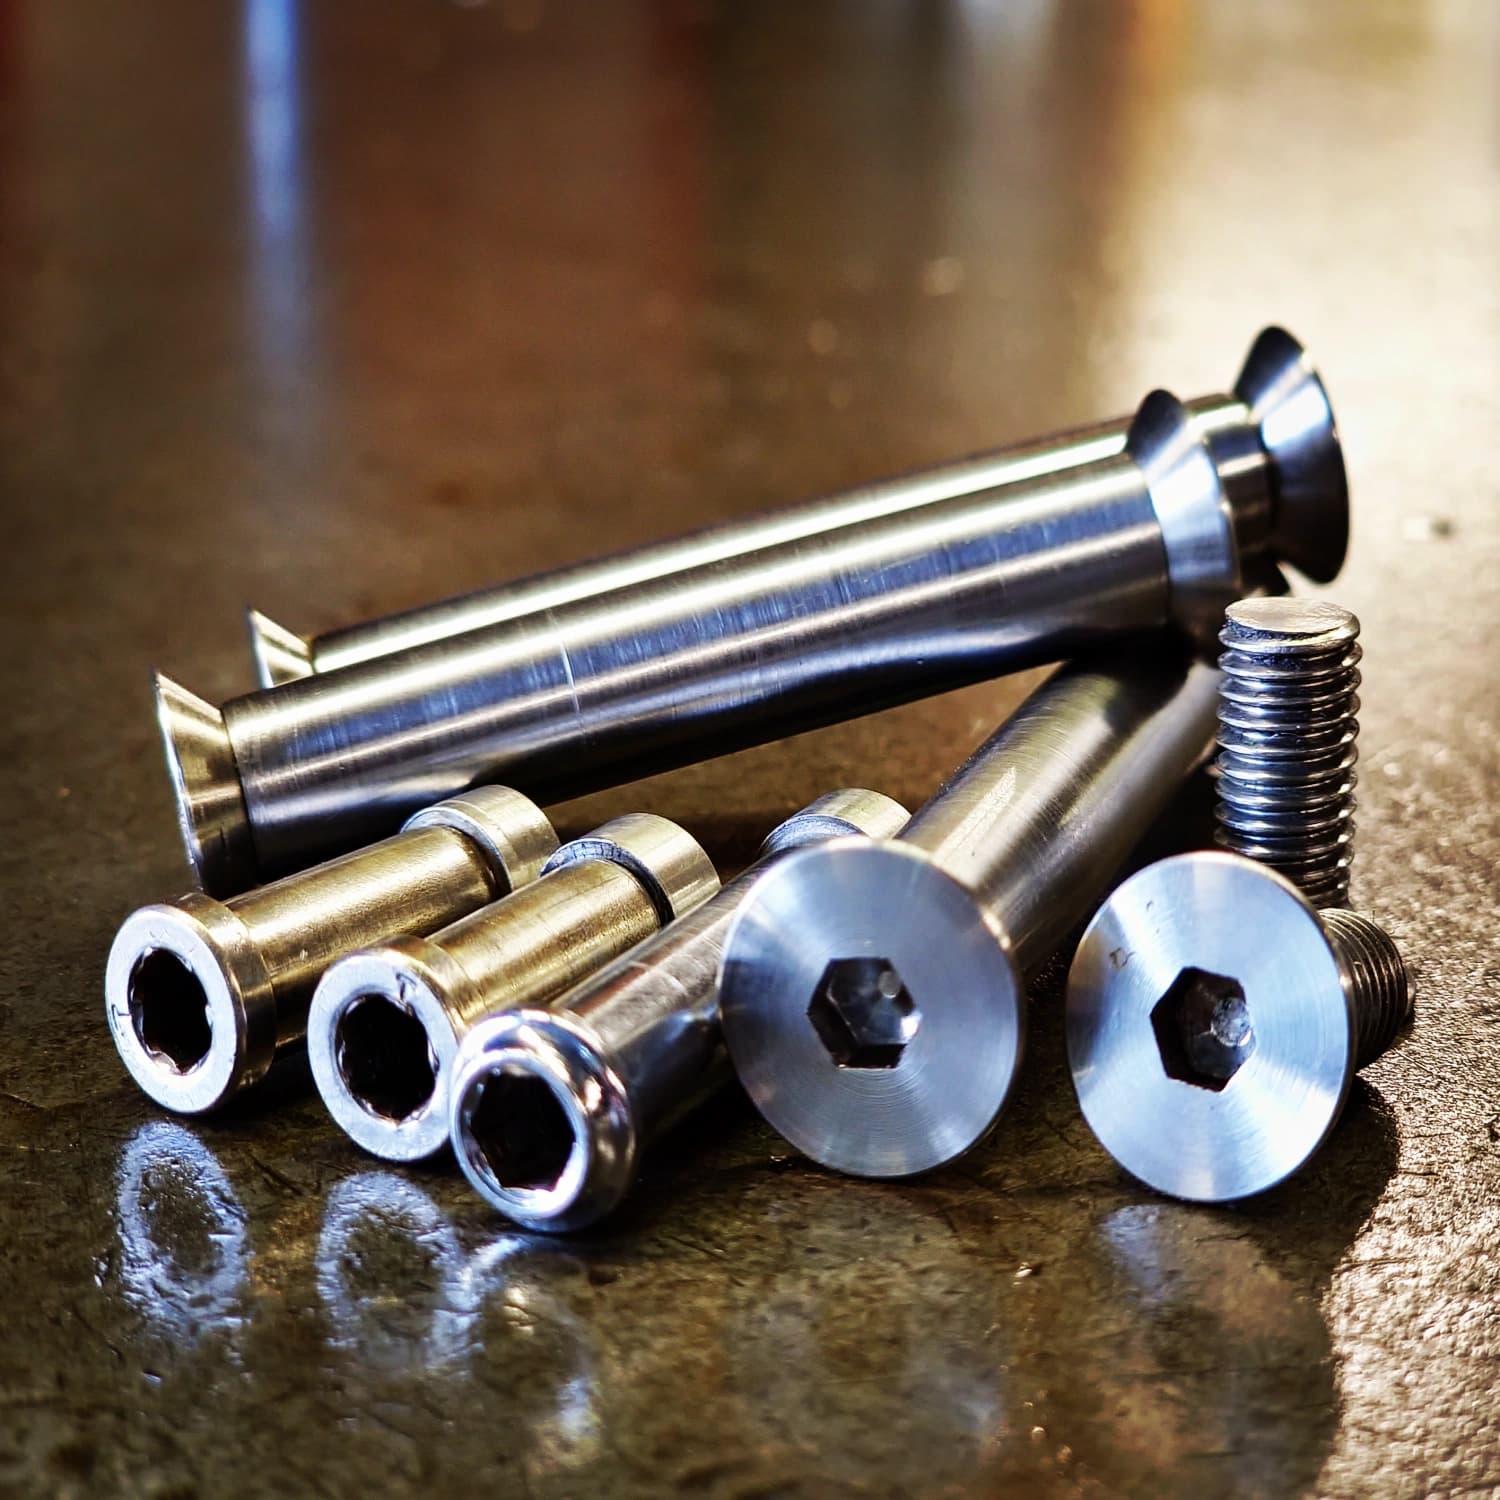
The icing on the cake is Ewen Gellie issue Protipo bottle cage bolts. My personal bike will carry these forever."
Wow! That phosphoric acid is a really cool look. It reminds me of a time, I experimented without doing a standard primer and paint job after a build. One time, I purposely clear coated over a bare frame to see how long the bare steel look would last. I treated it before clear coating with some pickling vinegar type solution that I can’t remember the name of. Then, wire brushed it. Then 2 coats of clear. It looked great! However, a couple months later rust started showing in random spots all over. And after maybe 6-12 months, it was totally rusty. I had hoped that I could, at least preserve the bare metal look for awhile, but nope. I started over, re-sanded off the rust, and primered and painted it. Now, I wish I would’ve just kept it rusty looking and turn it into a beater frame. It probably would take like 20 years for a rusty hole to develop. So what? I could’ve used it as my grocery store bike. If a rusty hole developed I would’ve just thrown away the frame. Oh well.
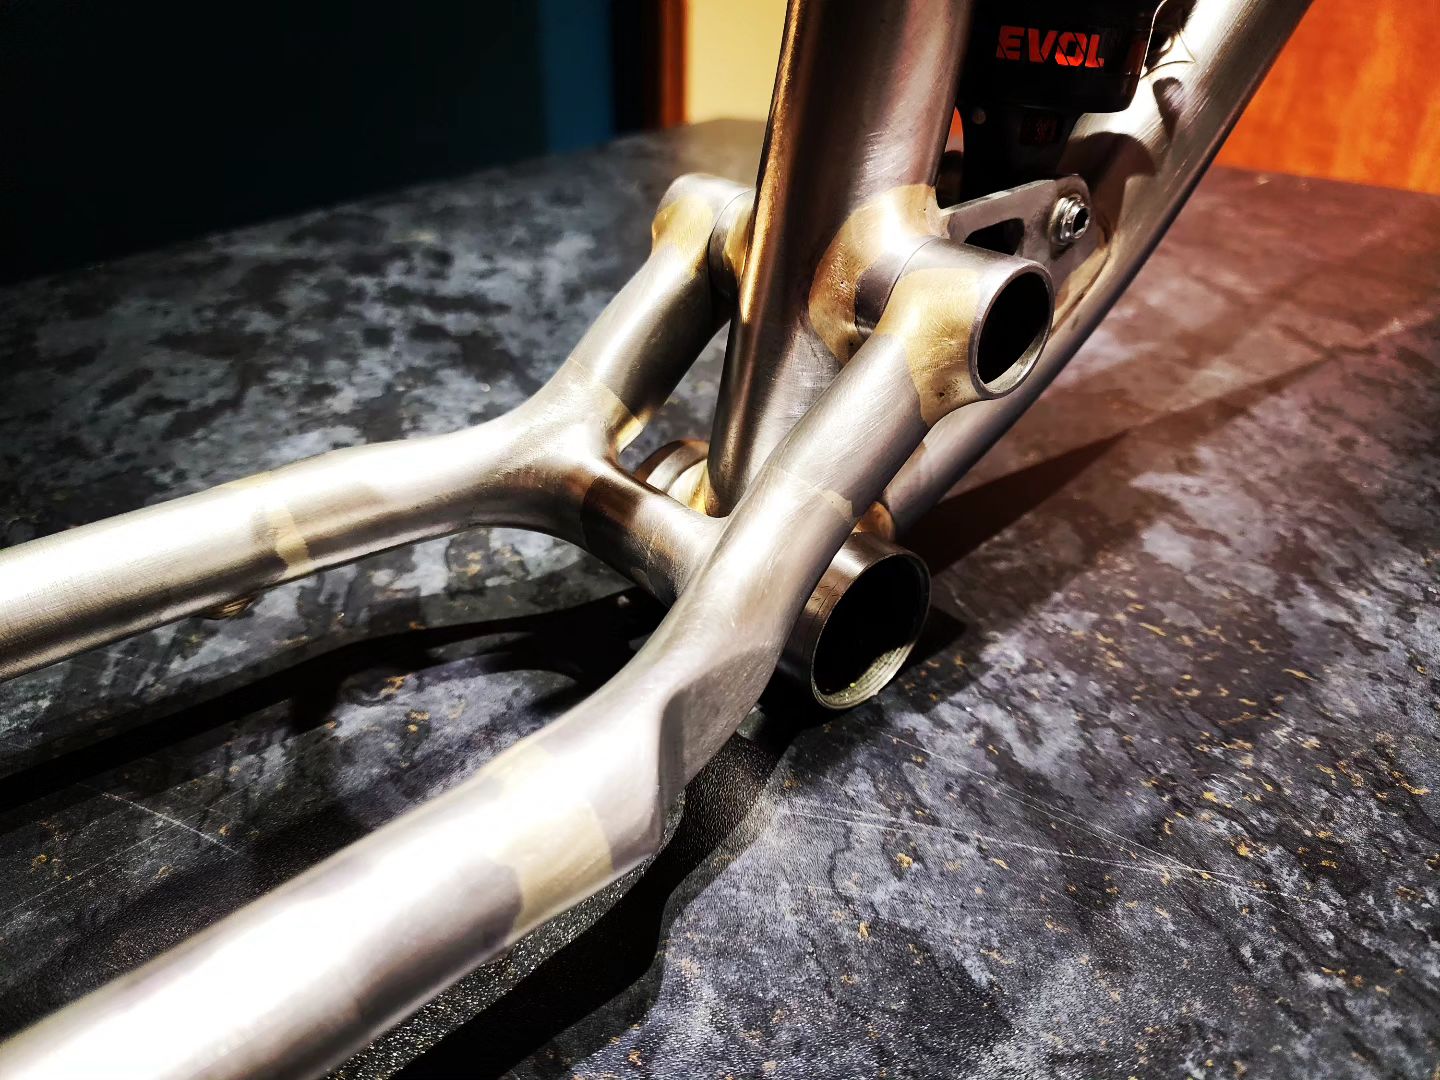
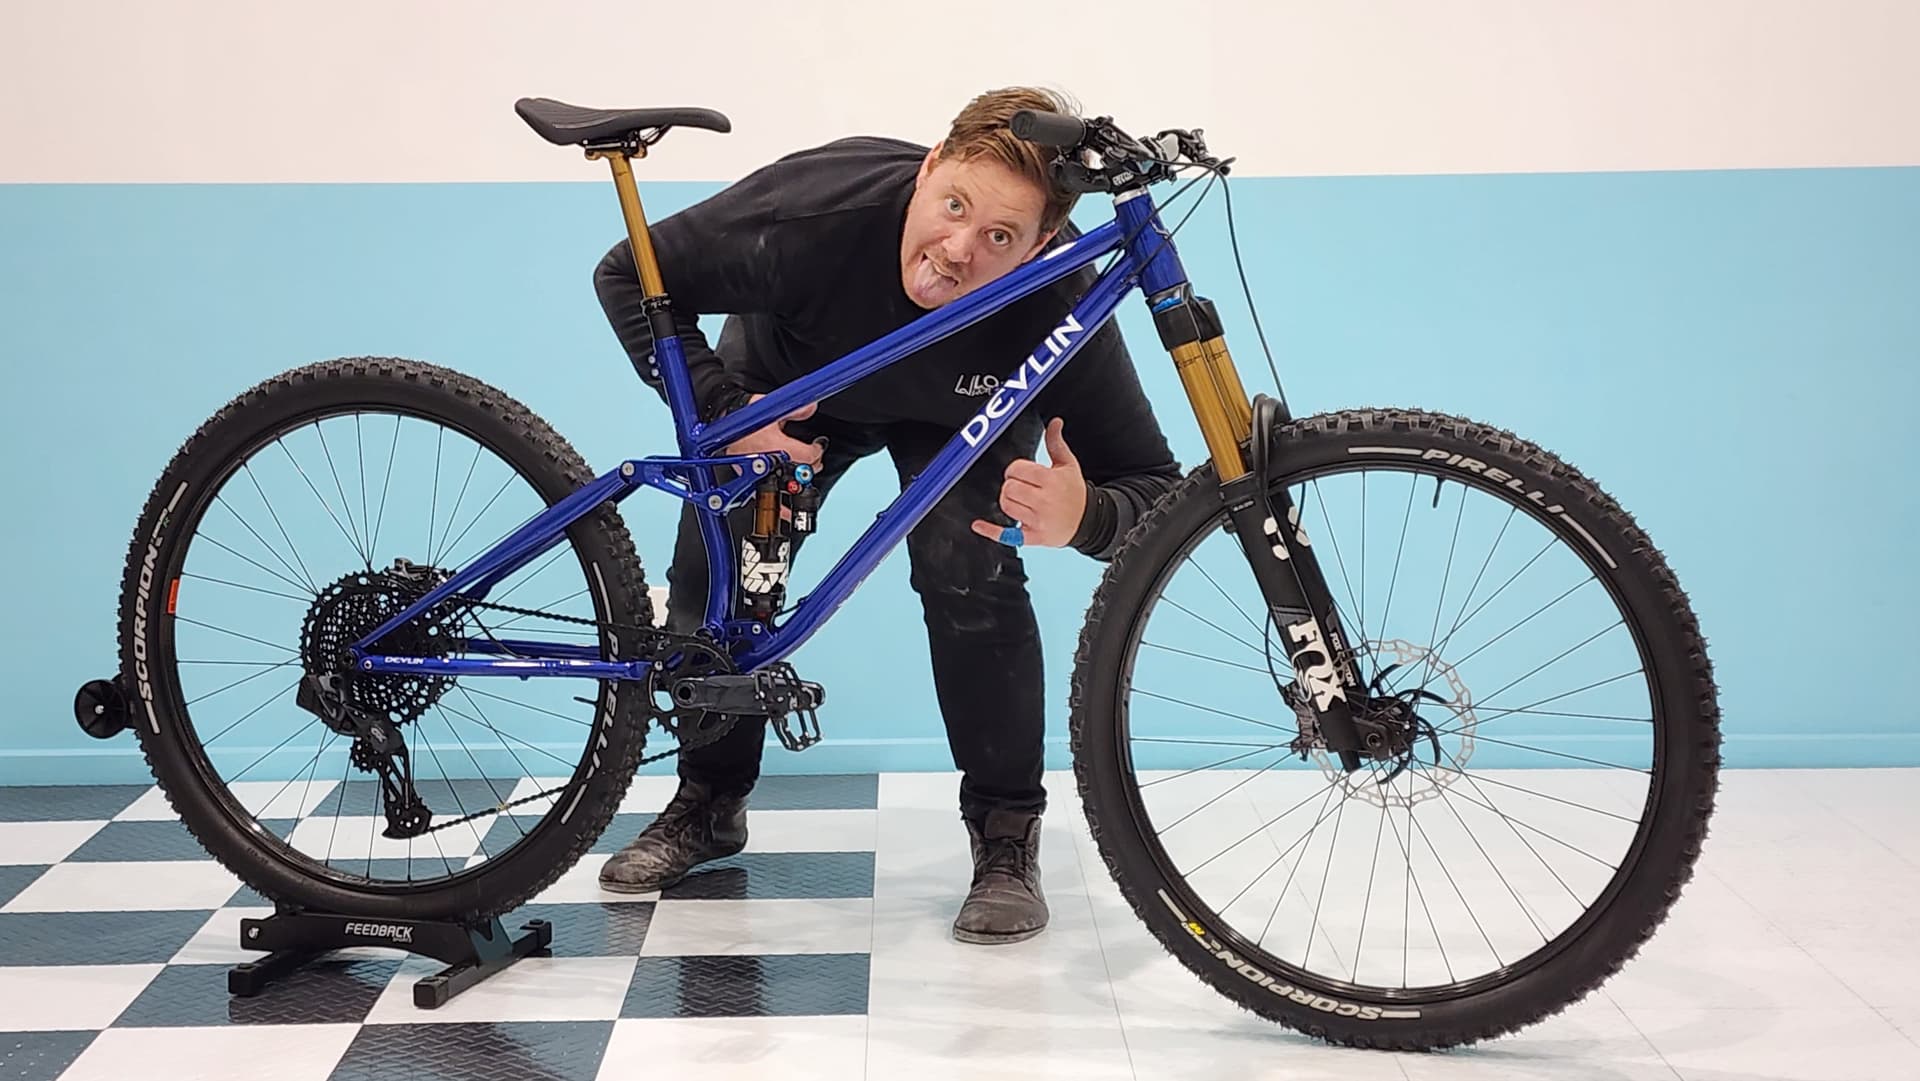
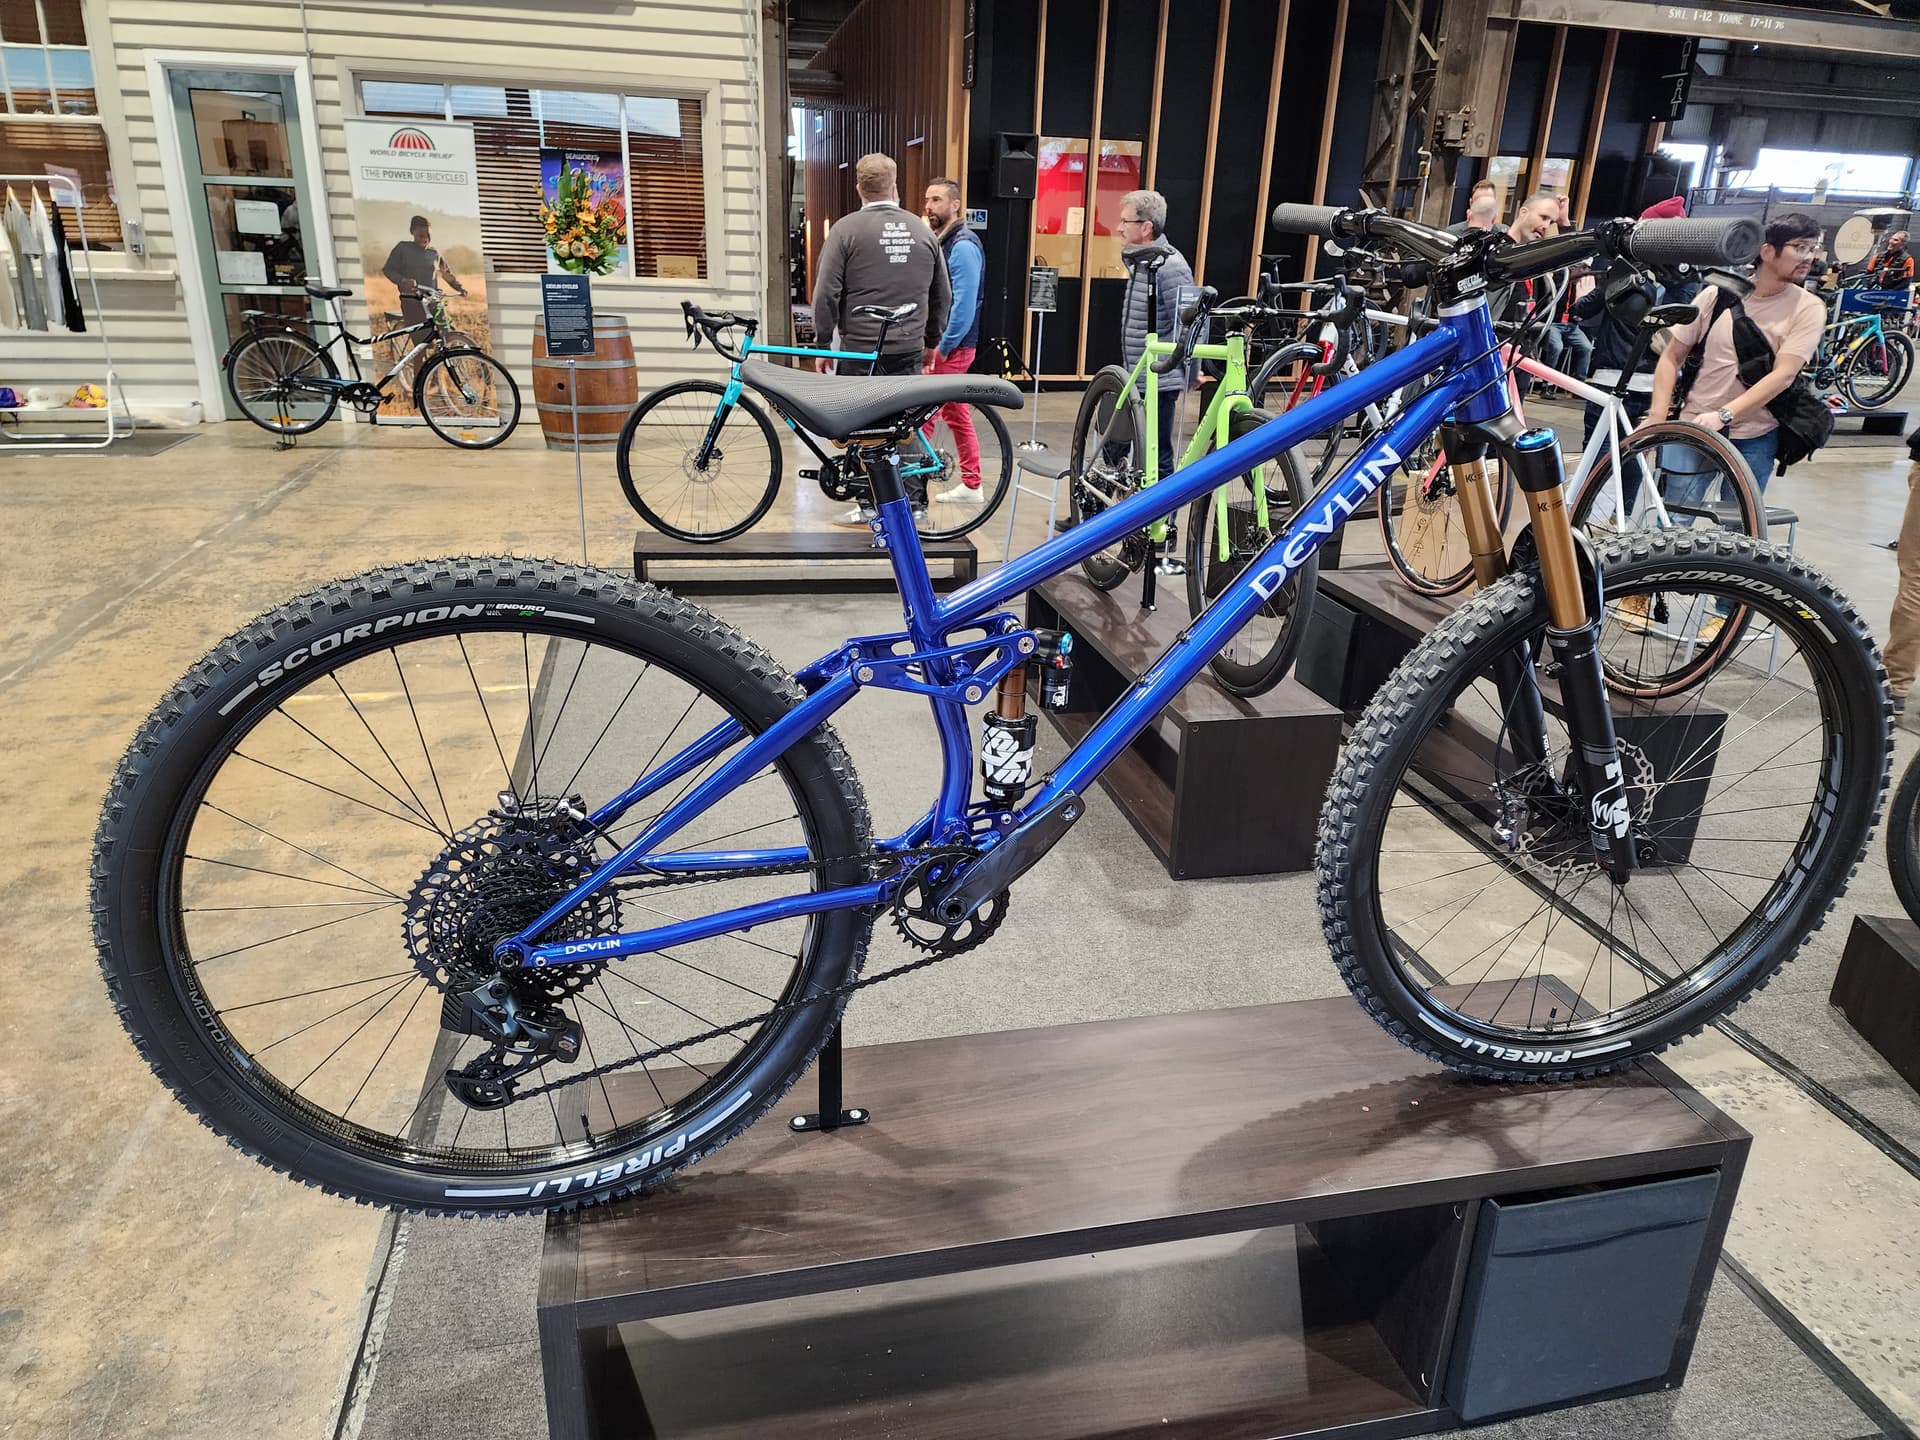
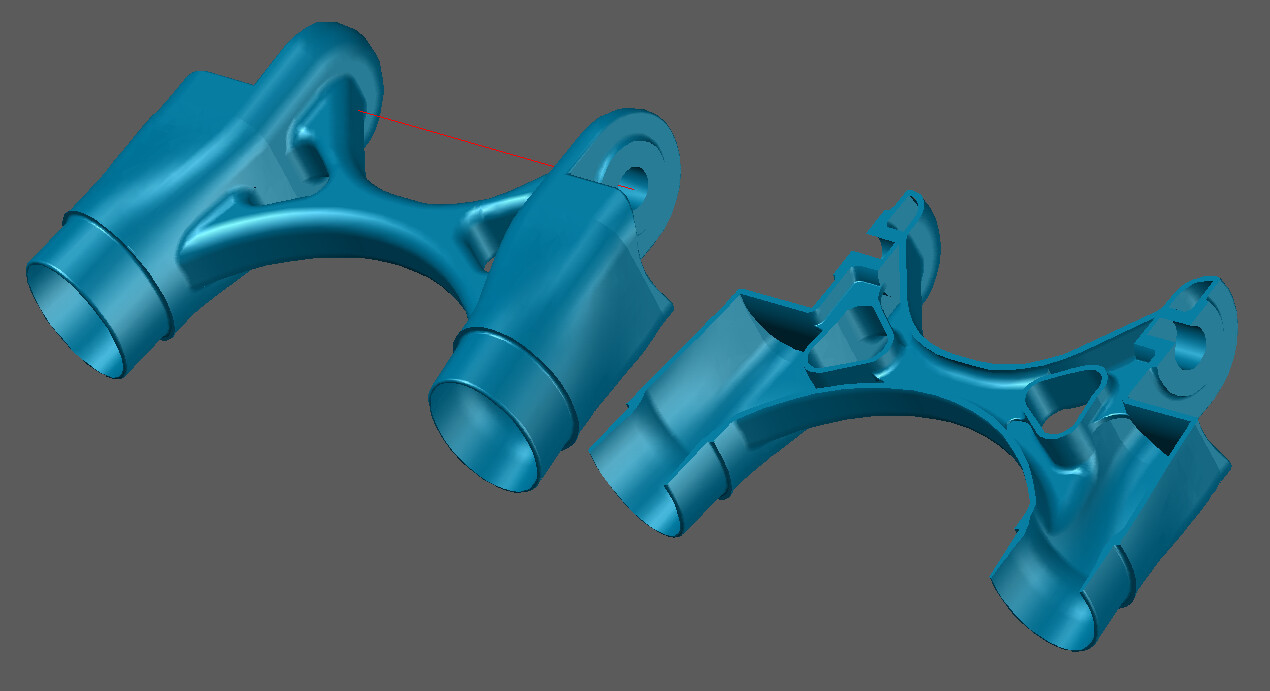
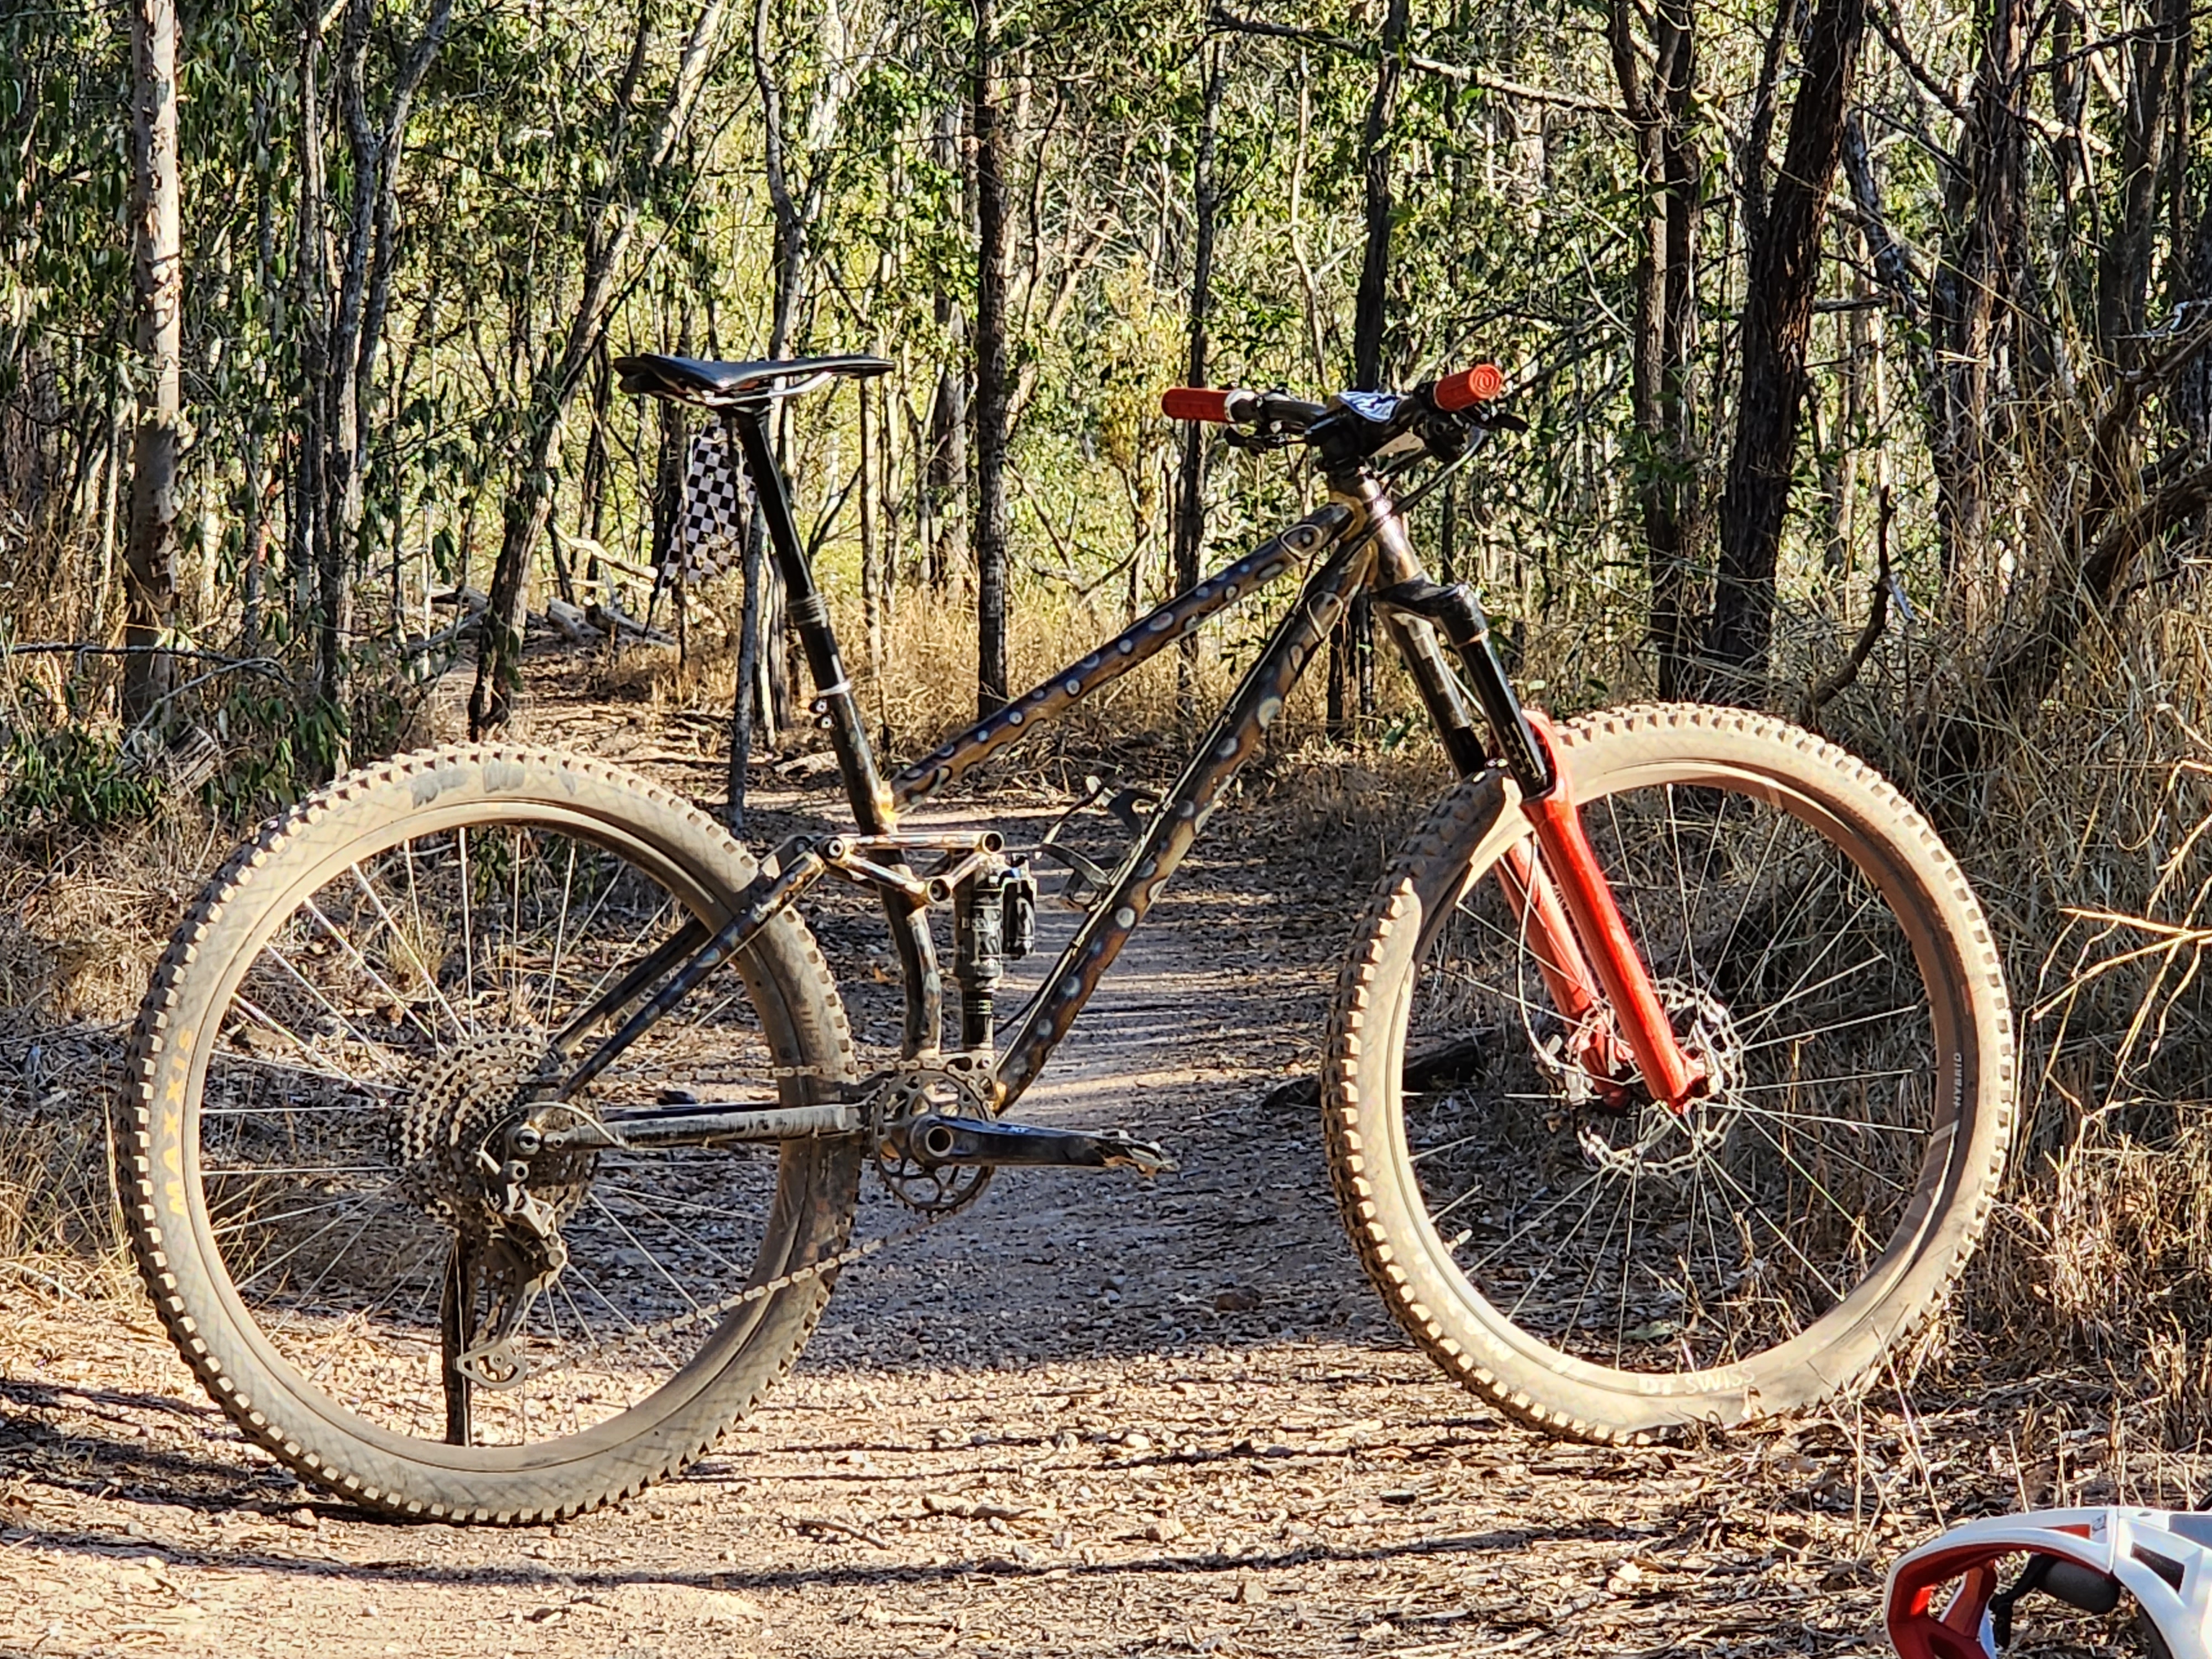
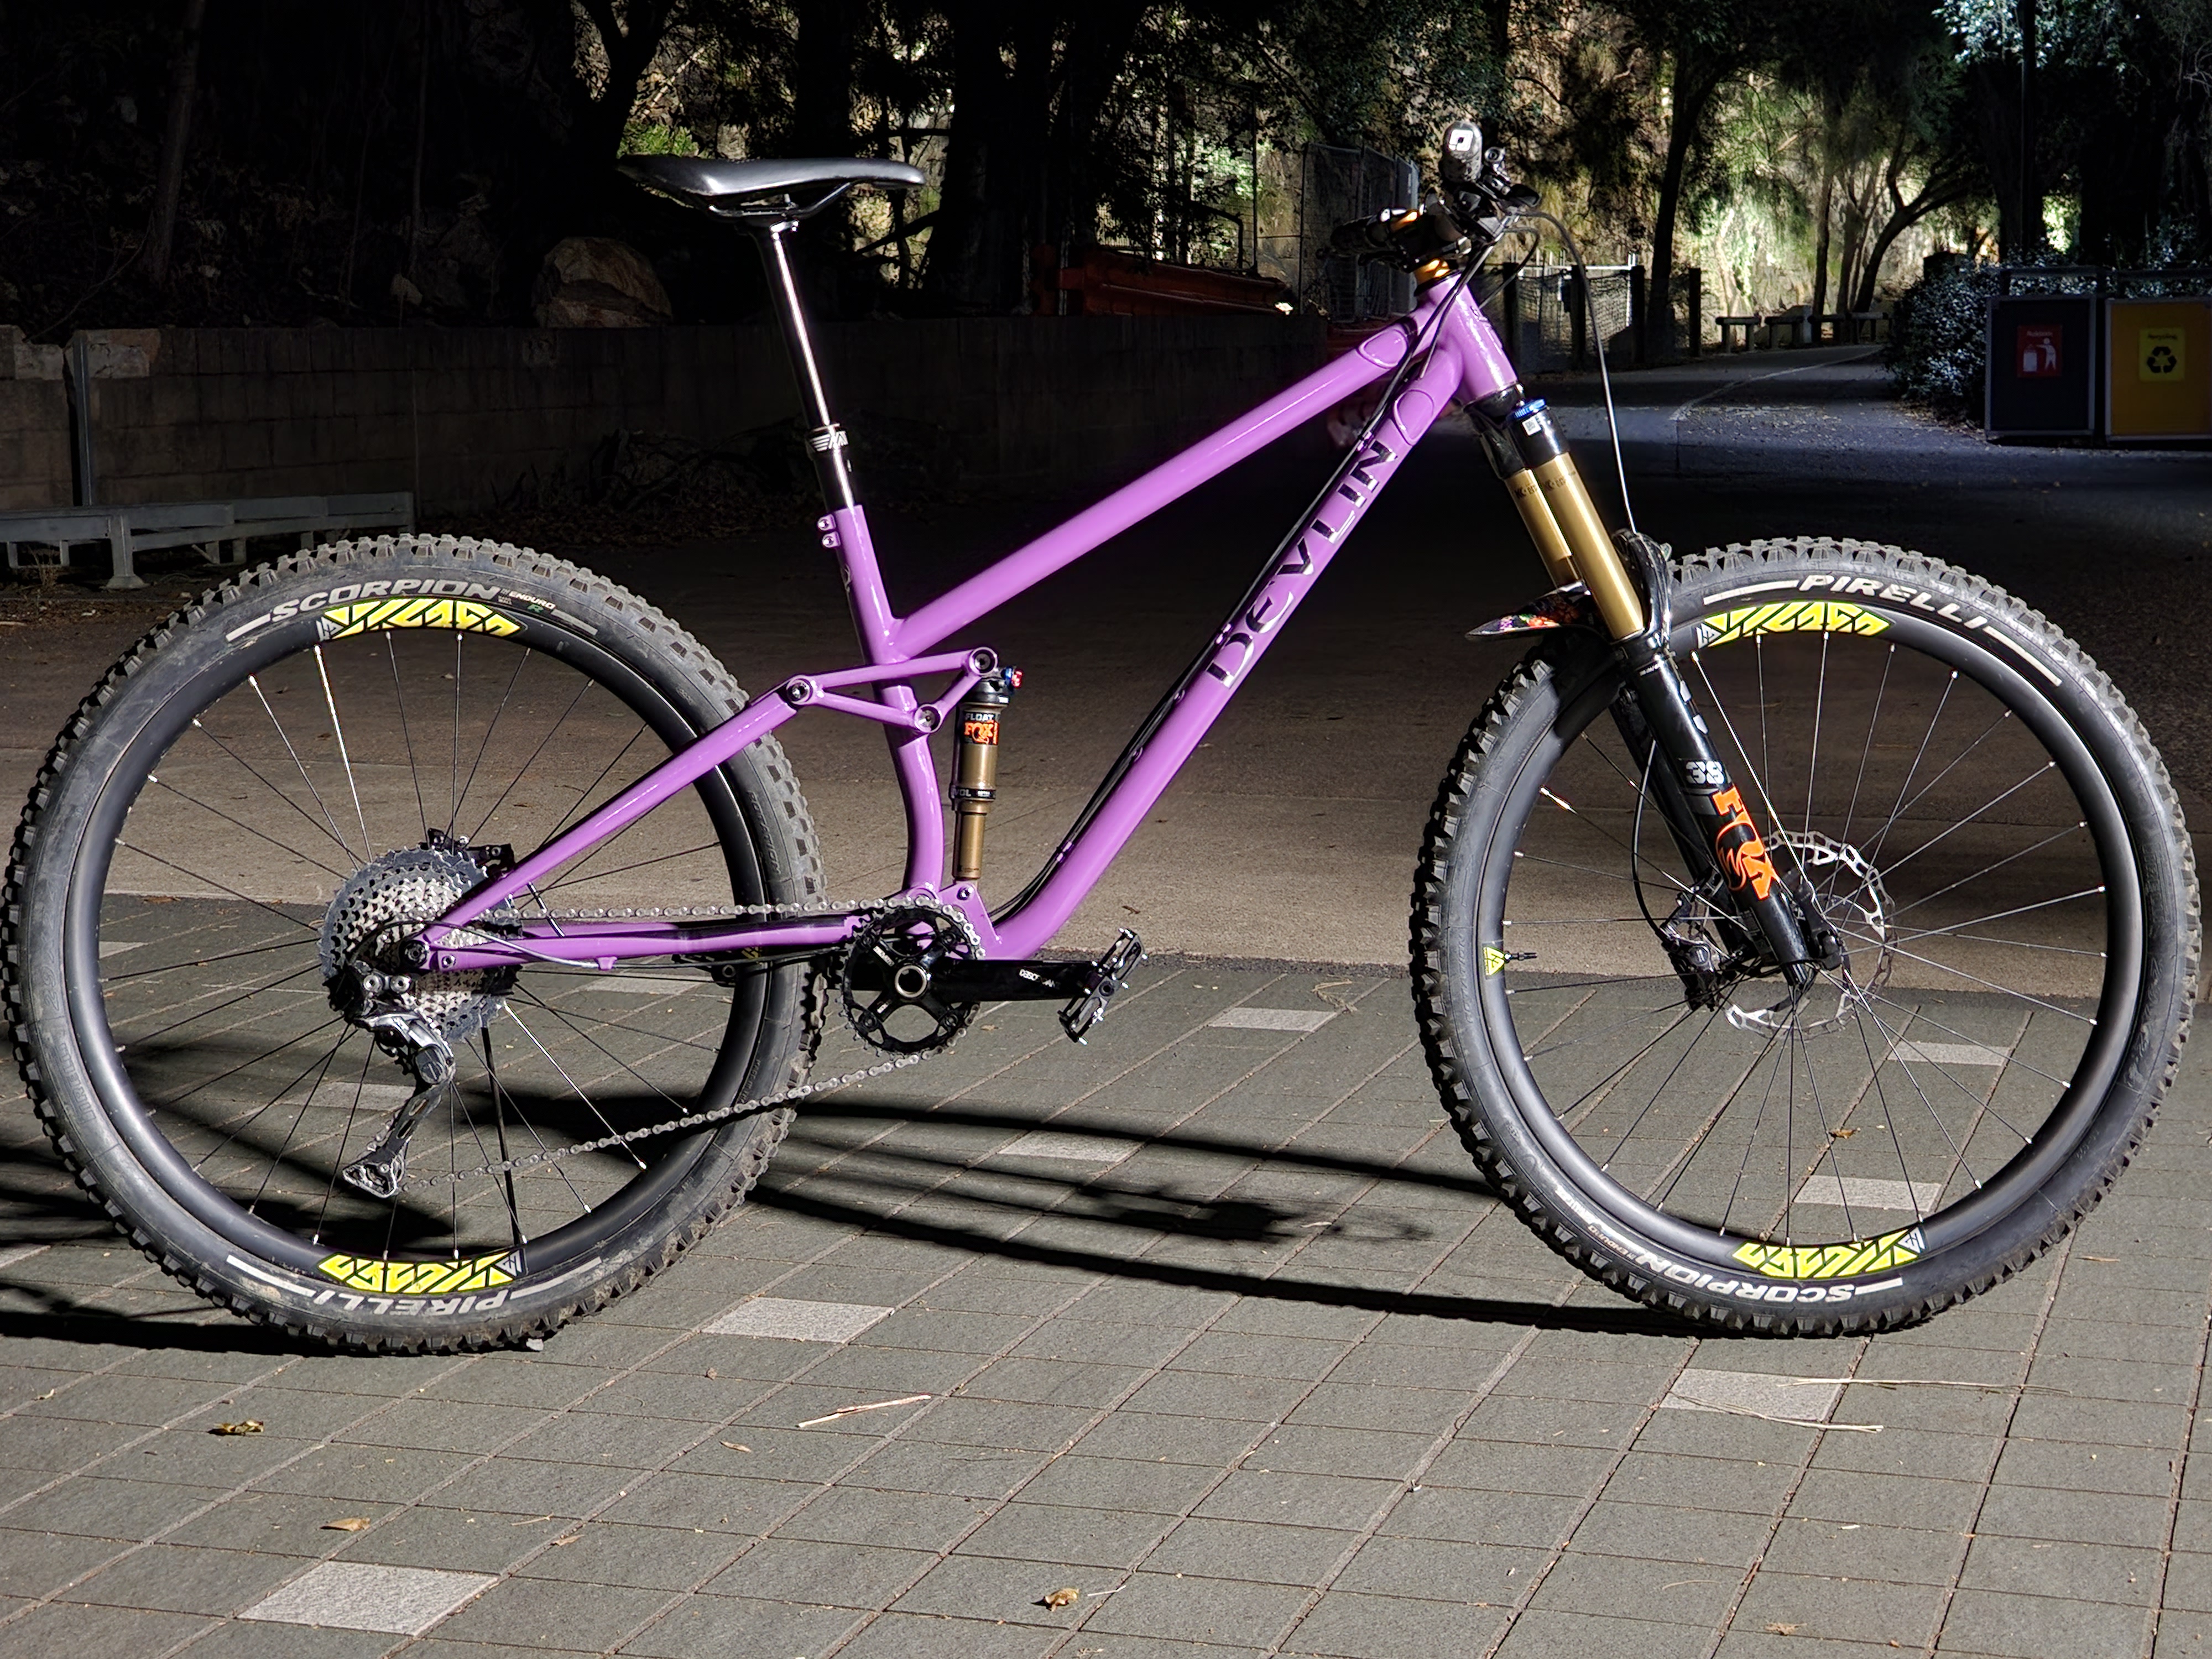
The general shape of that FS bike looks great. Like the type of thing that seems simple but has many many many hours in it to reach simple. Hopefully that makes sense. Anyway looks great. Cheers
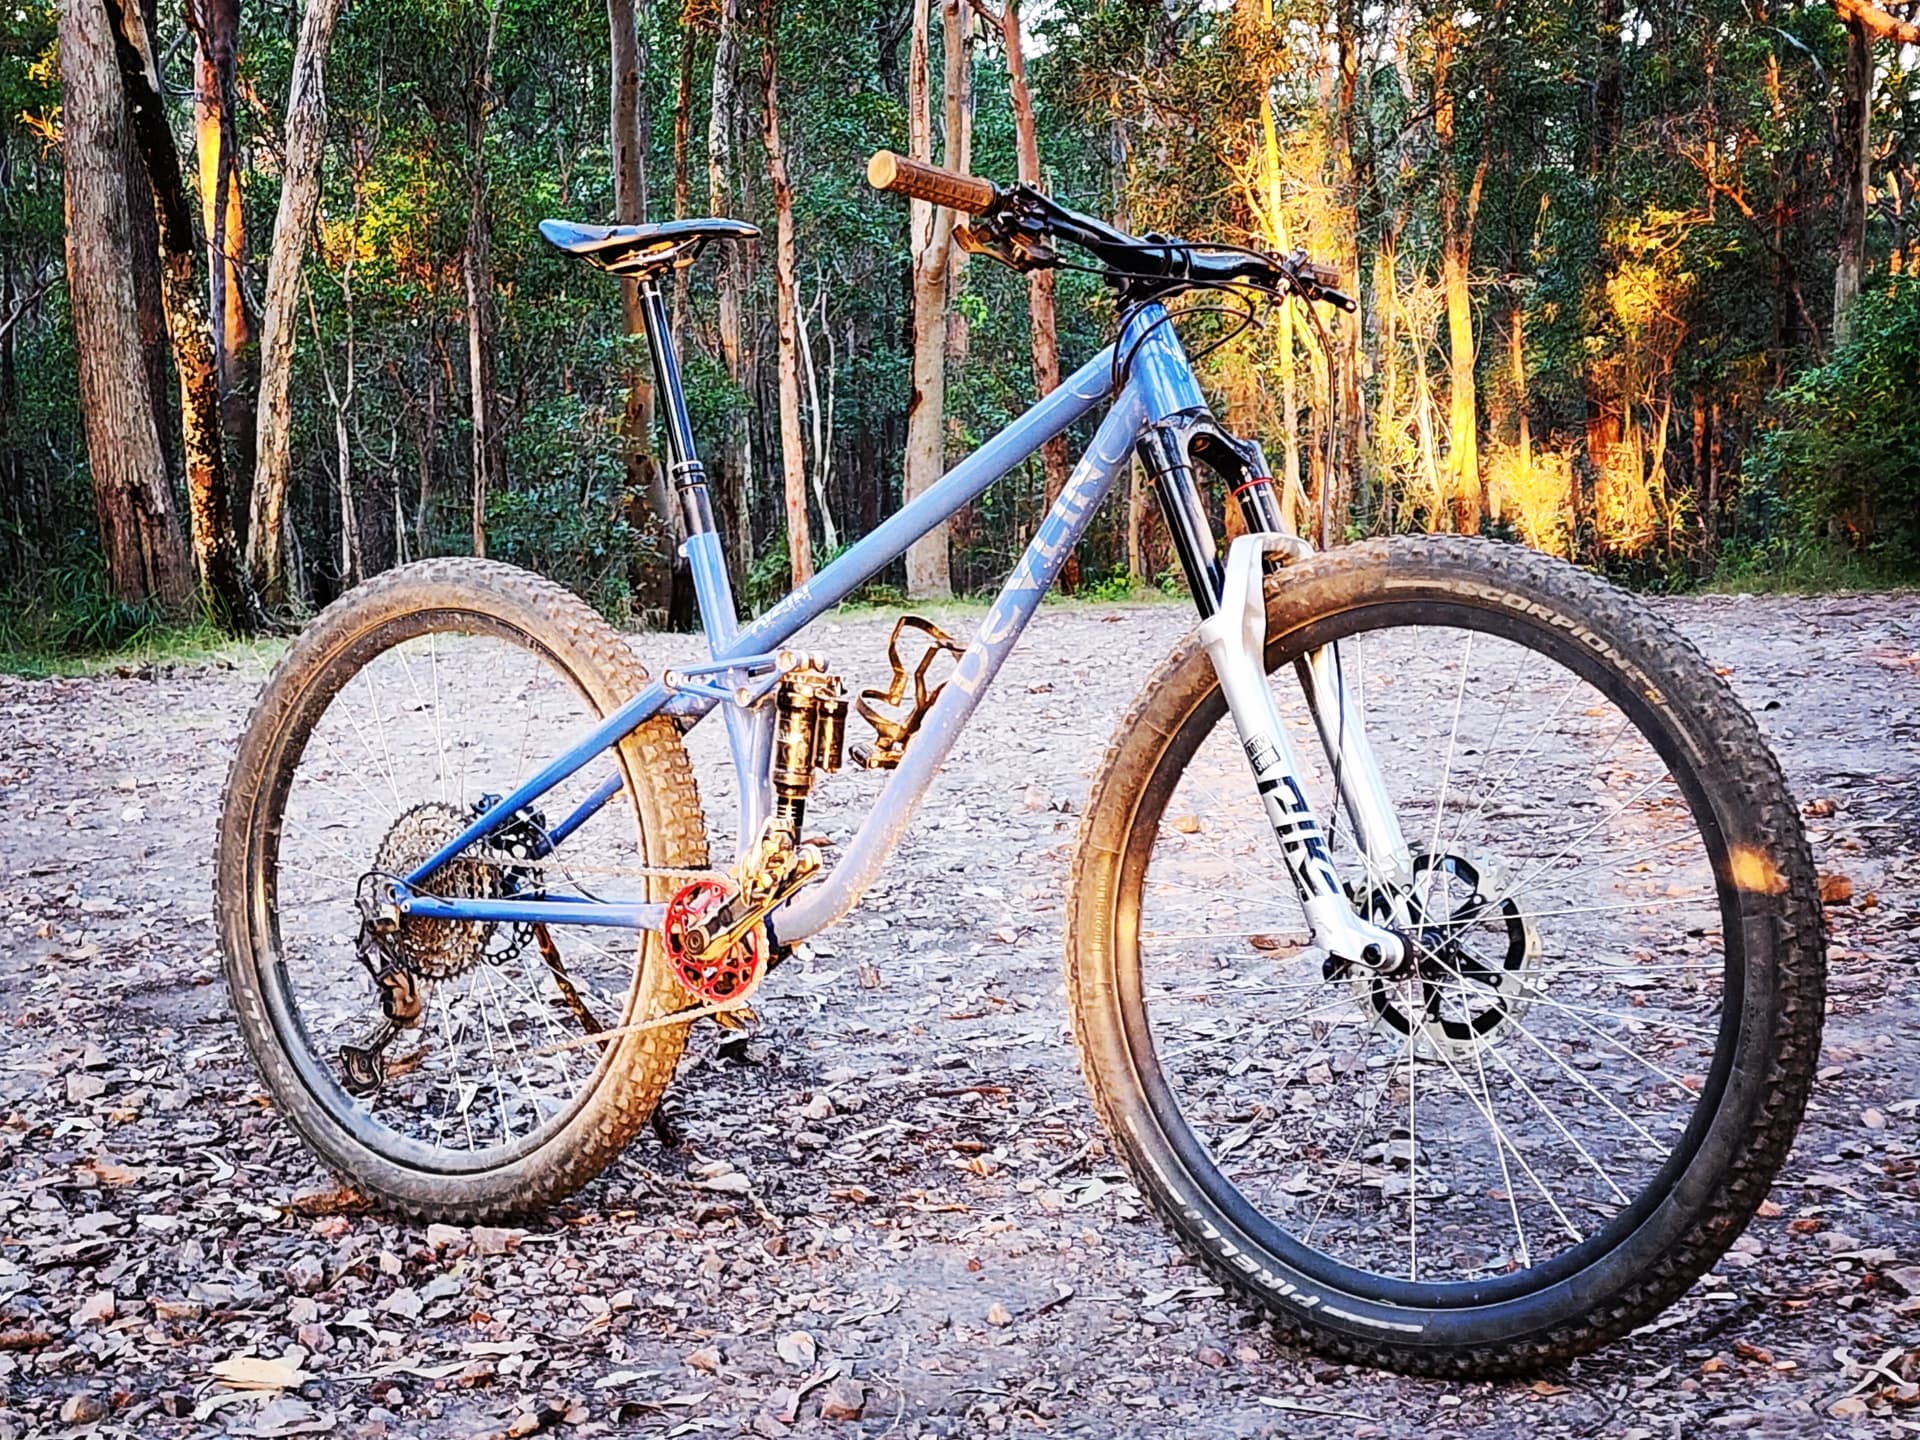
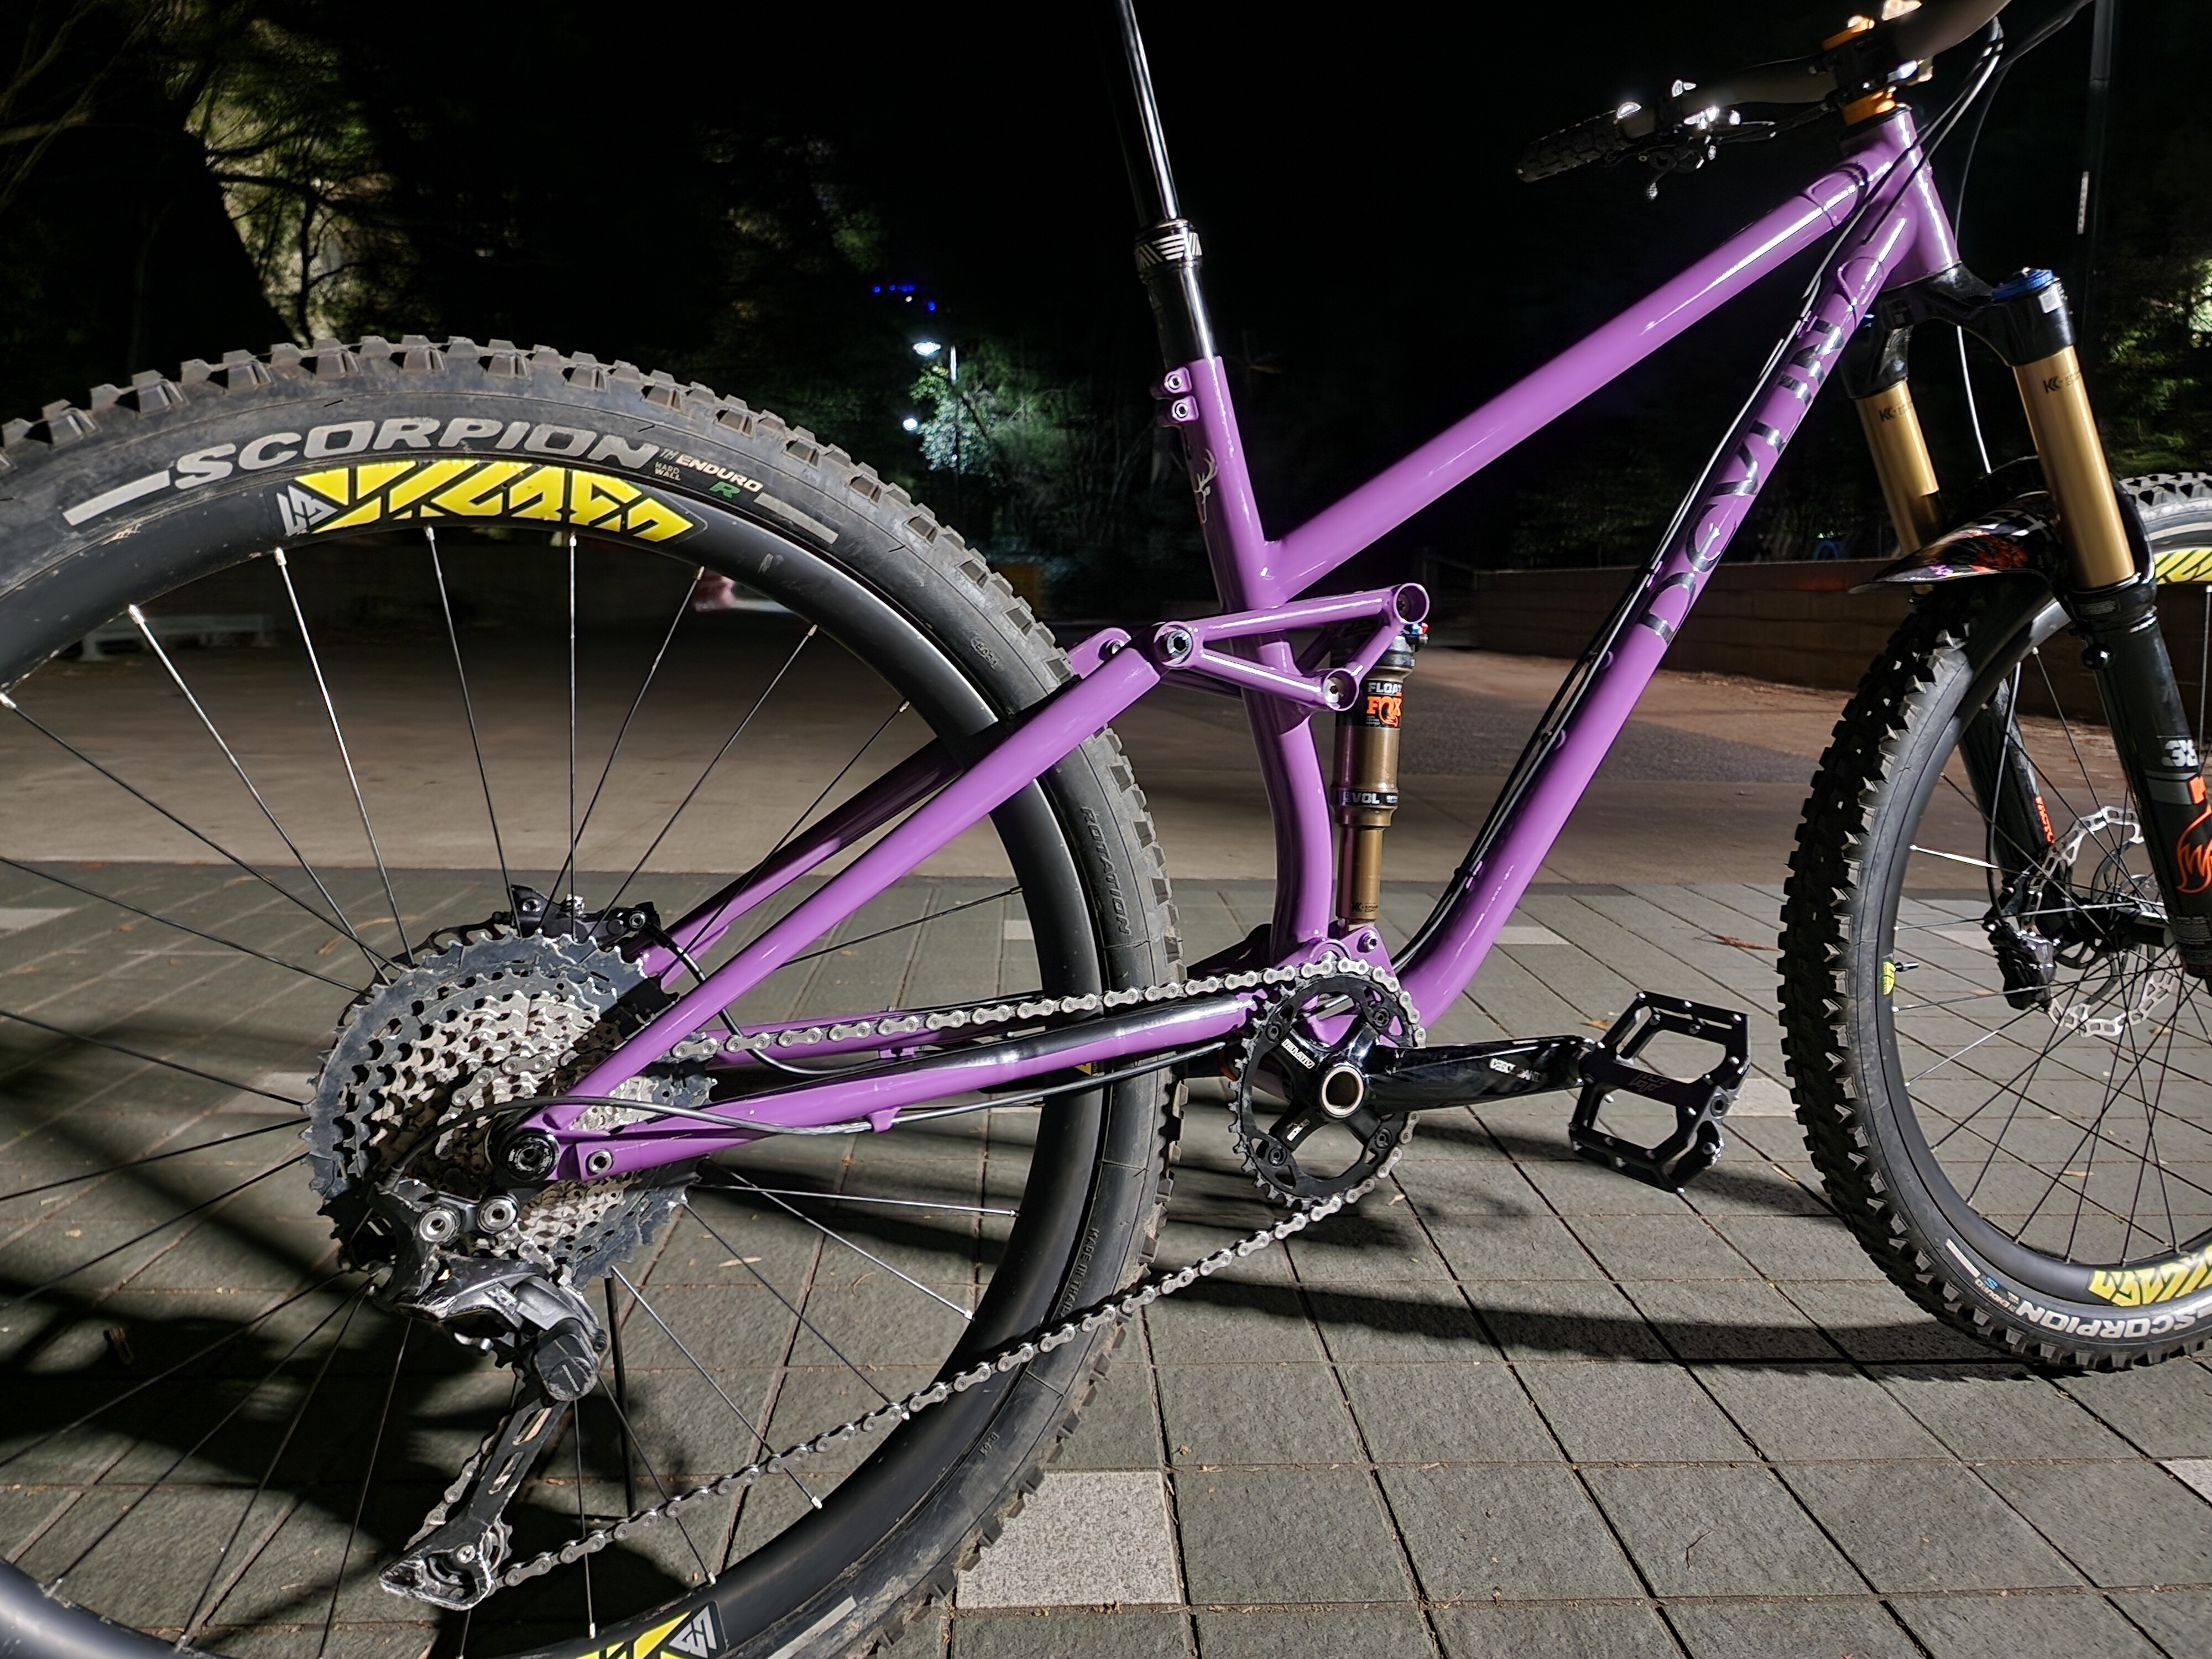
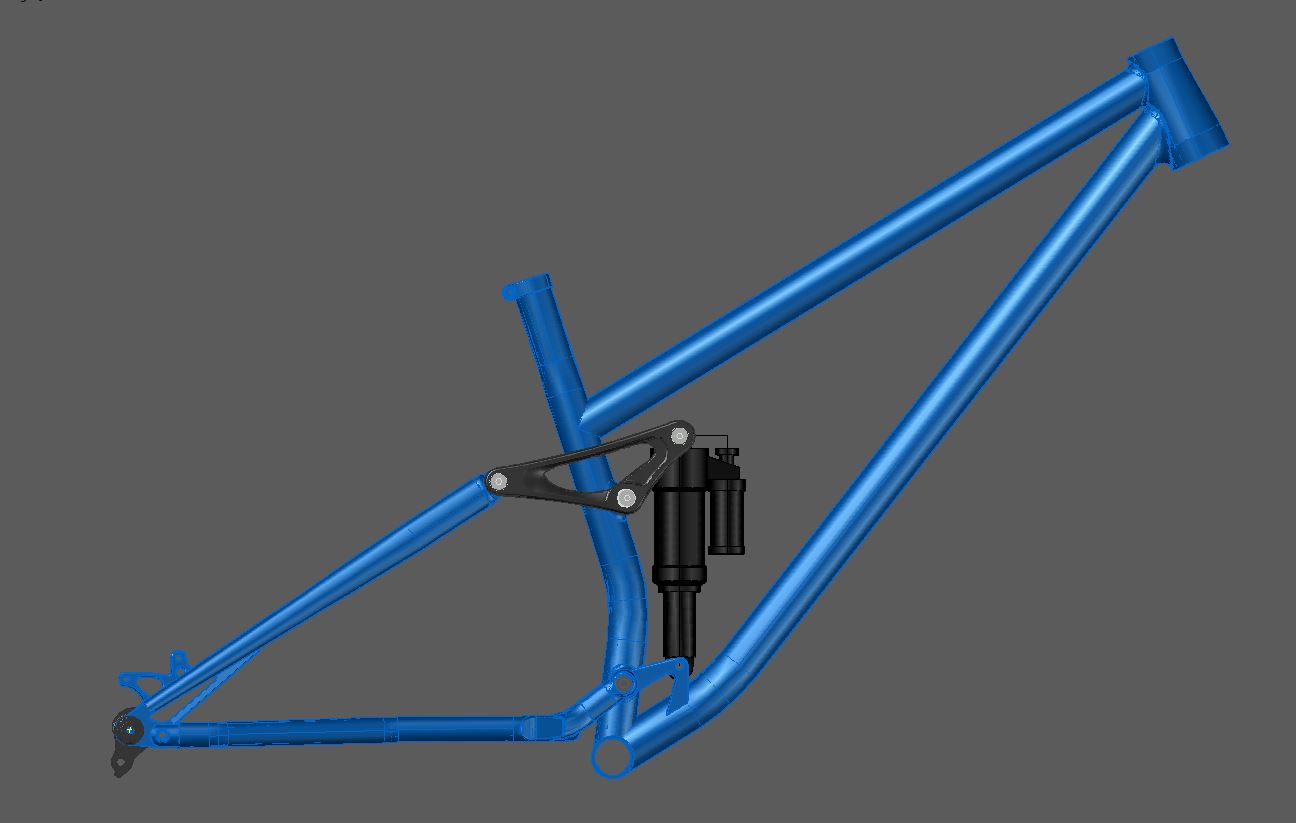
Thanks. I have definitely put a lot of time into the bikes. This is actually an early one that I rebuilt parts of. The swingarm suts a bit too high on this one but I left that part on this bike. The blue one below is closer to the current shape with you can see in the 3d model shot.
Thanks mate. It’s really nice to get those comments because it’s something I’ve worked hard at getting right. I’m still not 100% happy but it’s pretty close to whats in my head.