Hey y’all,
So far, I’ve built two frames with dynamo lighting, and I’m working on a third now. All of them have the tail light placed on the rear fender, and I’m feeling pretty good about the way I route wiring for this placement.
I thought I’d start a thread to discuss the different ways to run this wire.
I’ll go first.
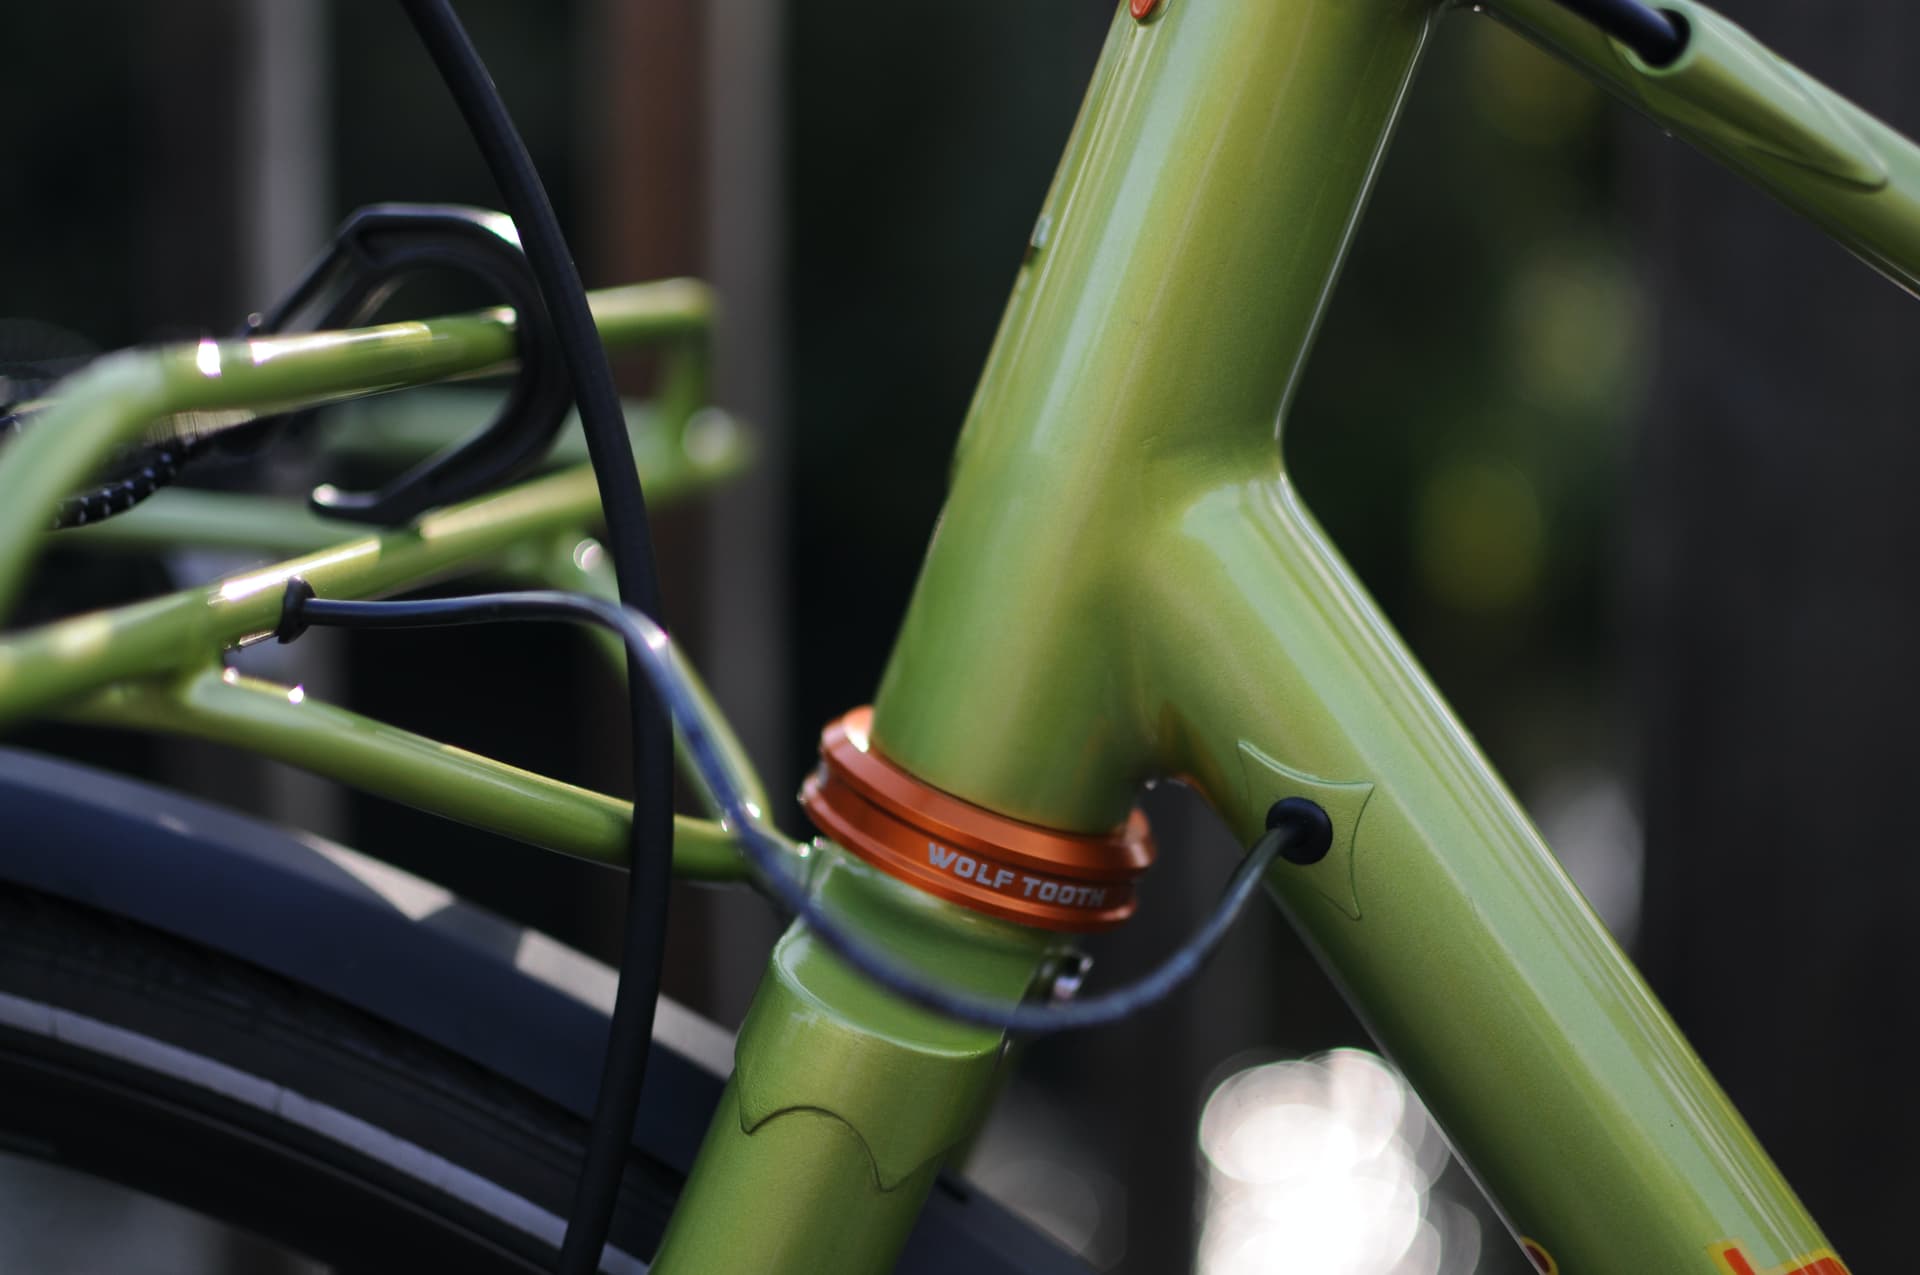
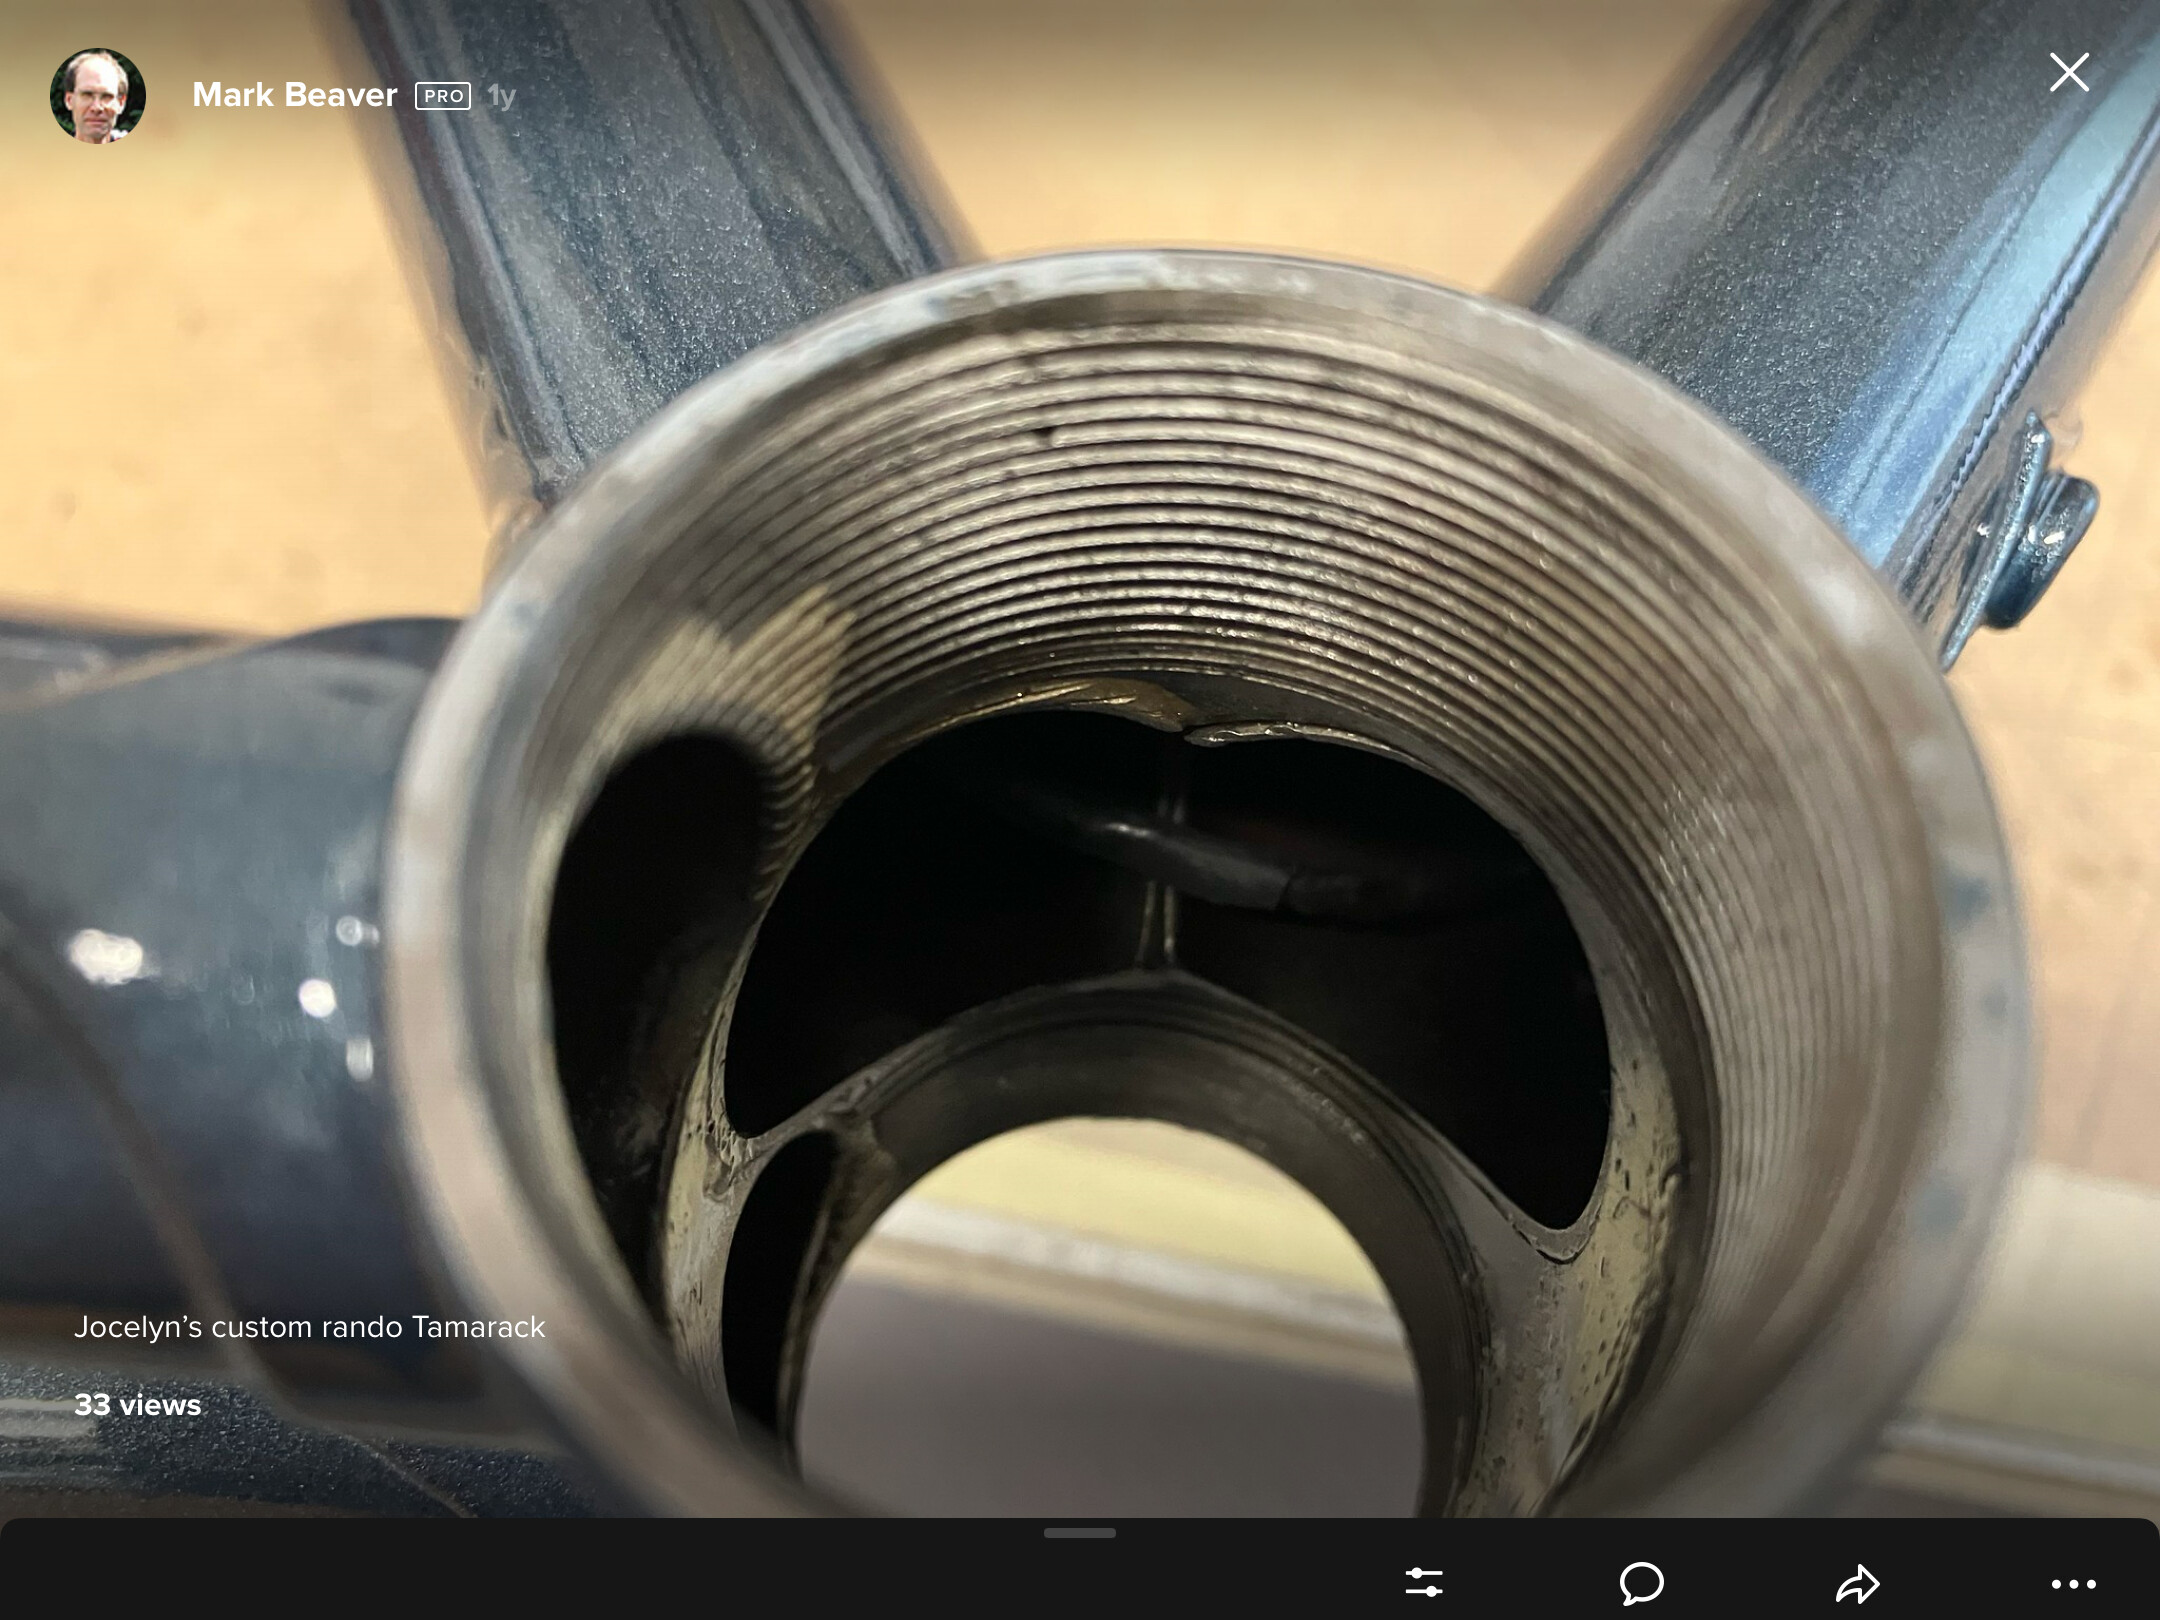
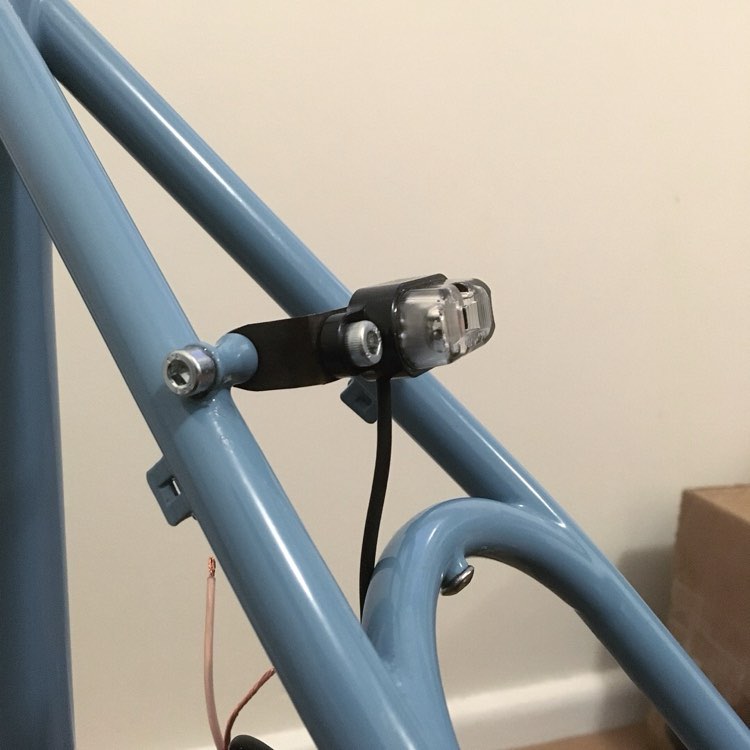
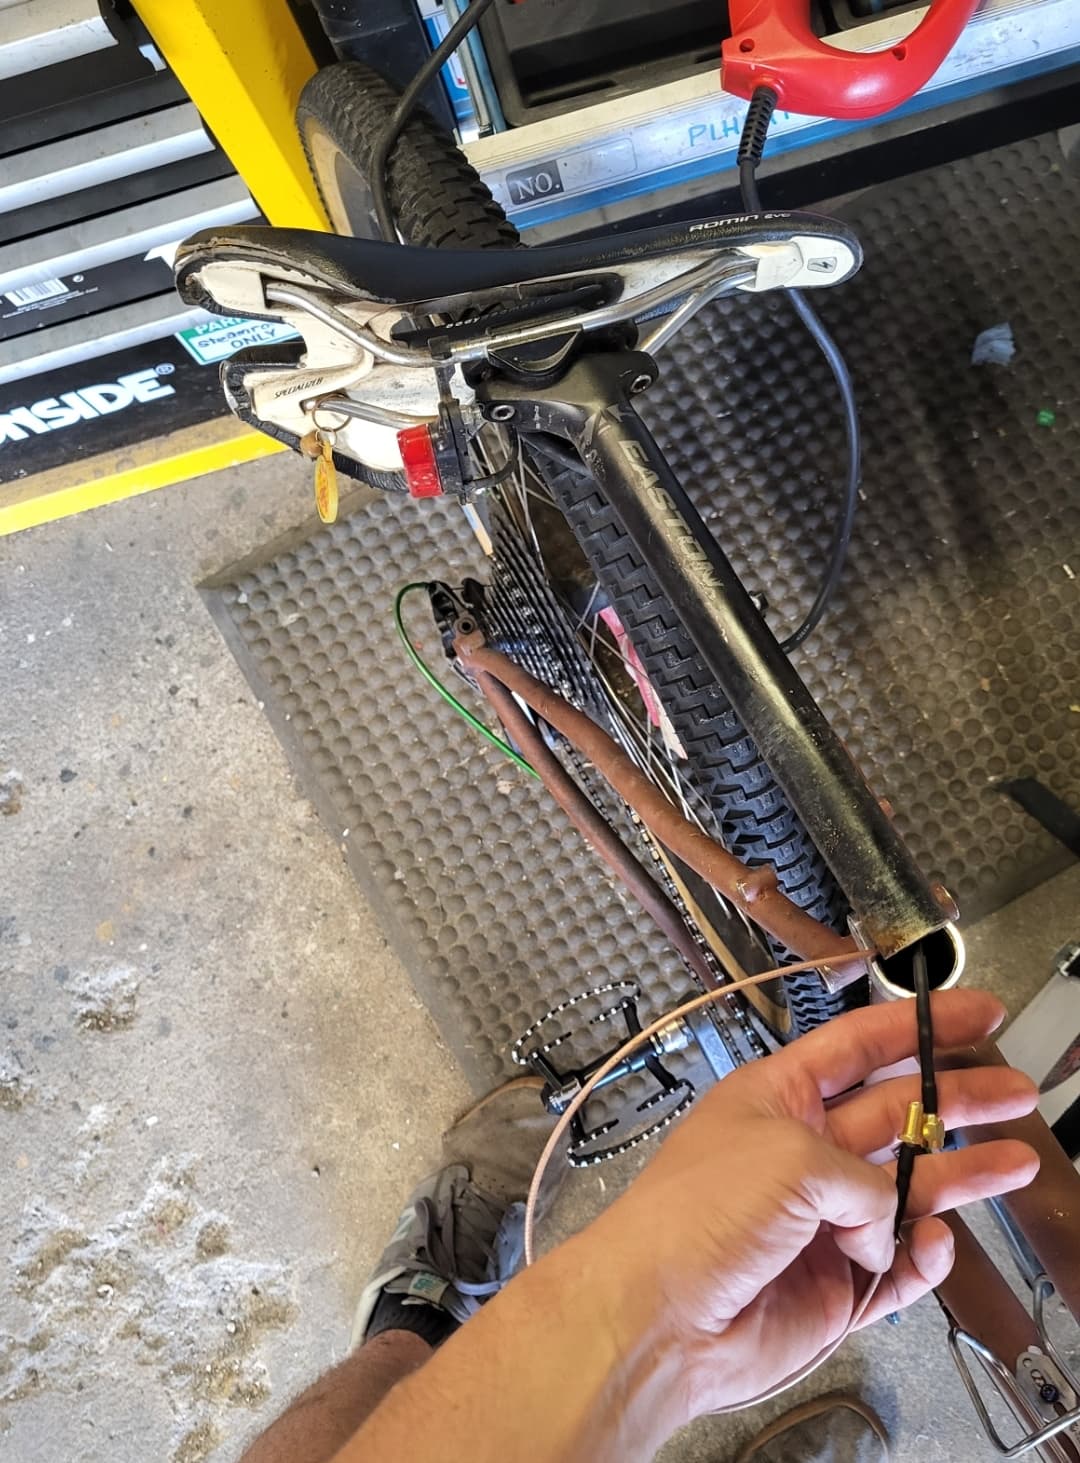
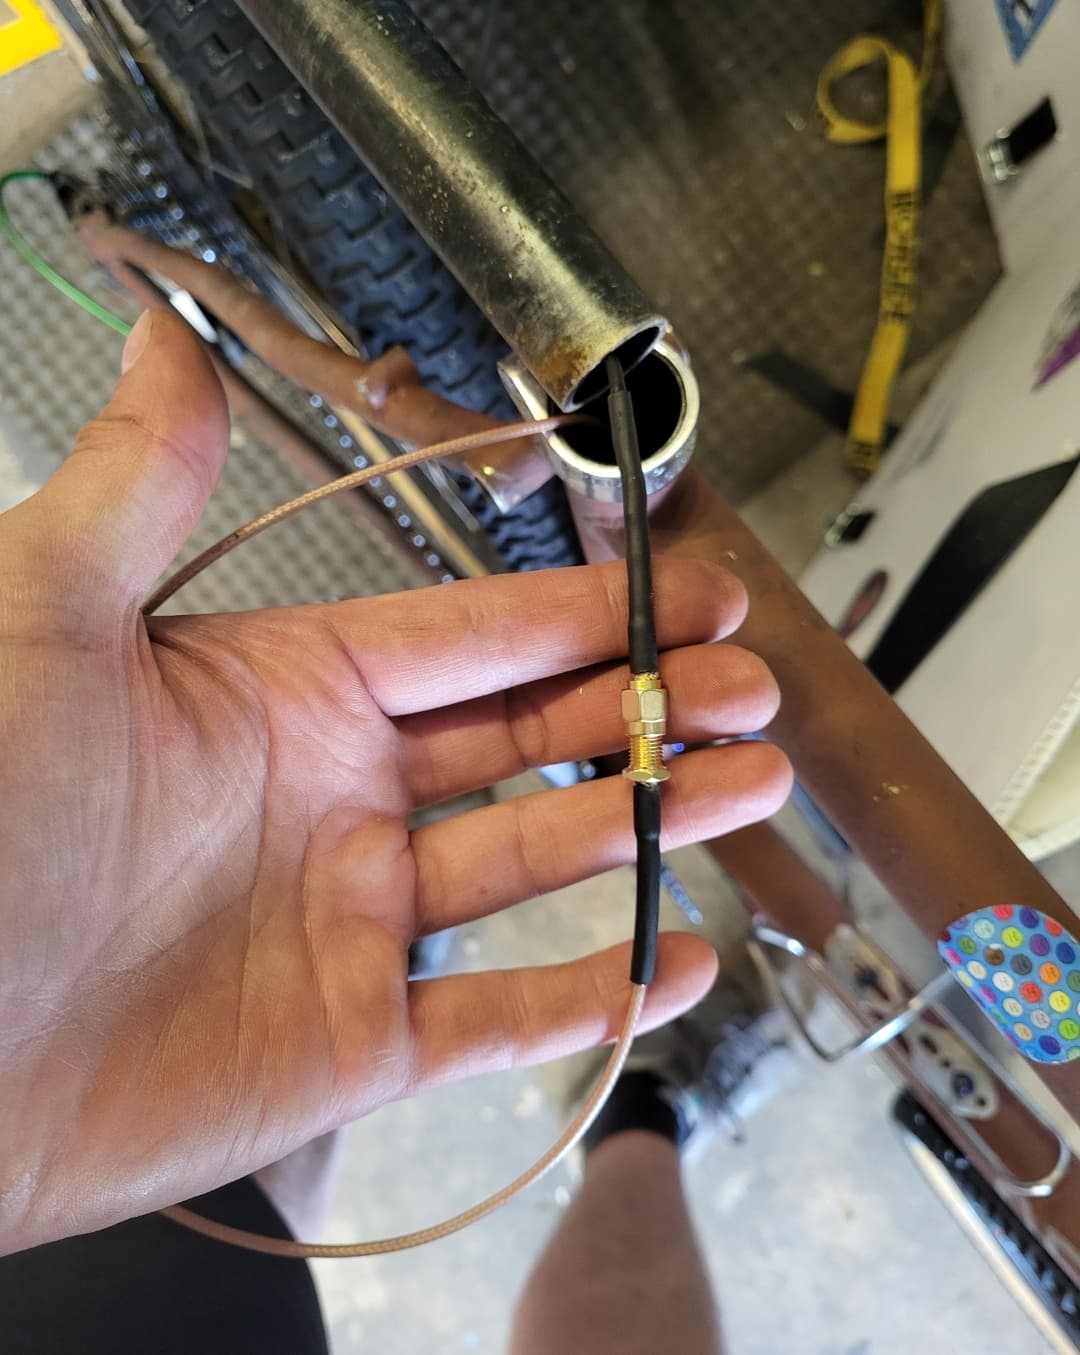
The taillight wire comes off the headlight and into the front end of the downtube, like this:
From there, it runs along the inside of the fender. This is maybe the sketchiest part of the whole thing. On my latest build, the fenders were polished aluminum, so I used aluminum foil tape (the kind you’d use for sealing HVAC ducting). This seems to be really sturdy.
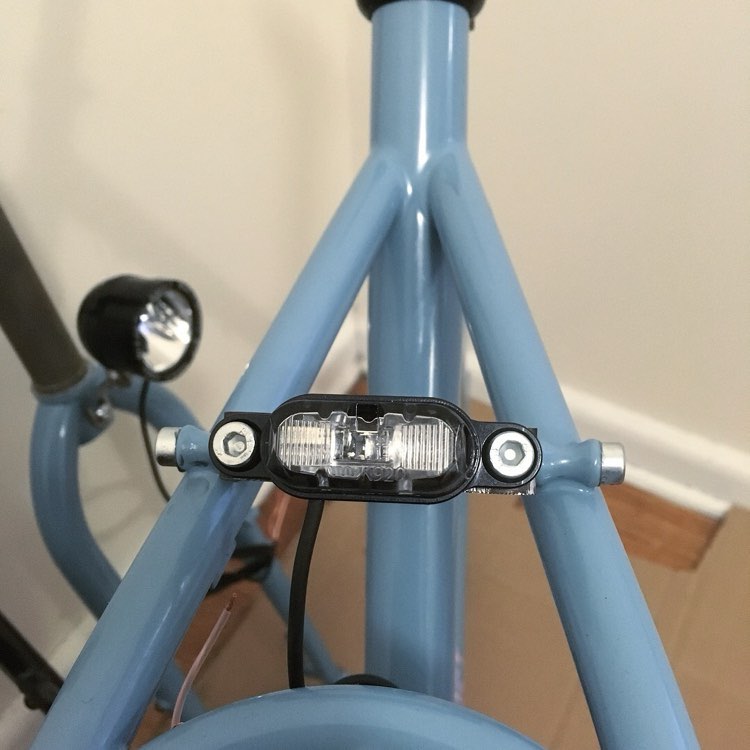
The previous build had black PDW fenders. I used rim tape, which I’m less confident about. I think I might try black gaffers tape on the next one I do with black fenders.
I too have used aluminum foil tape inside a fender and it worked well. That stuff is tenacious.
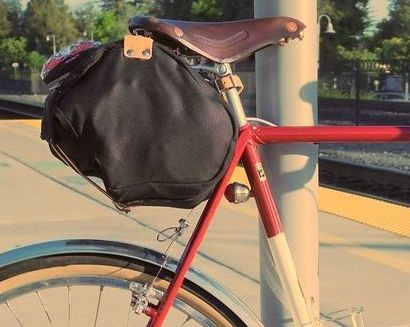
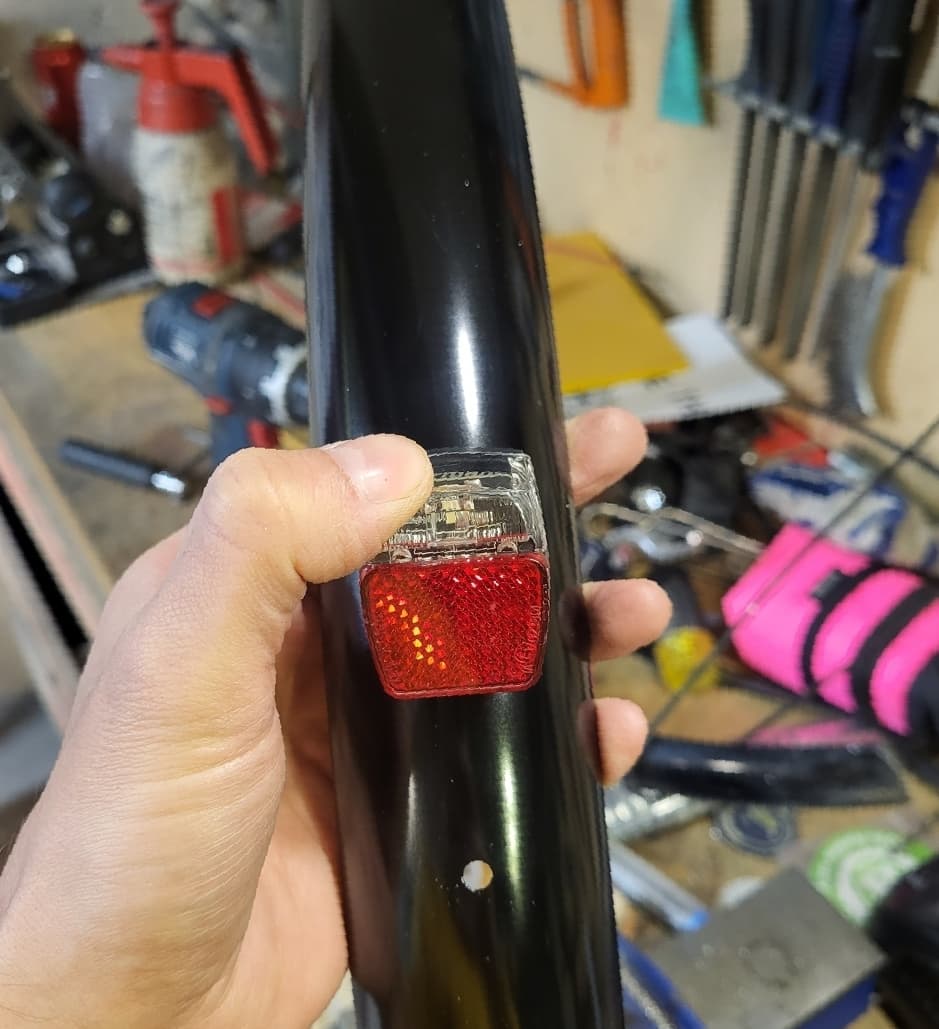
Most of my taillight jobs have either been at the back of the seat tube or on a rear rack. A couple of times I’ve put the taillight on the back of the saddle. Those are the biggest pain since you have to drill through the seat post.
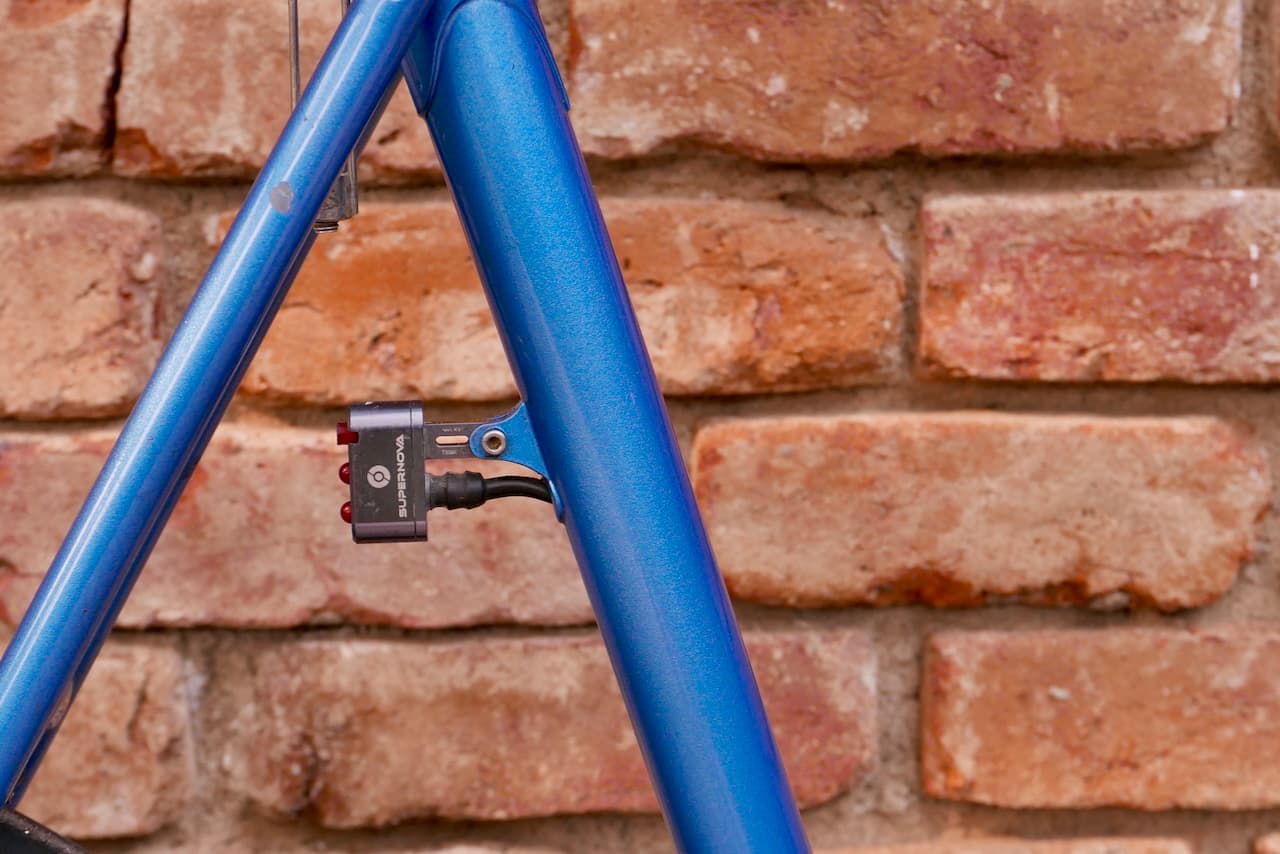
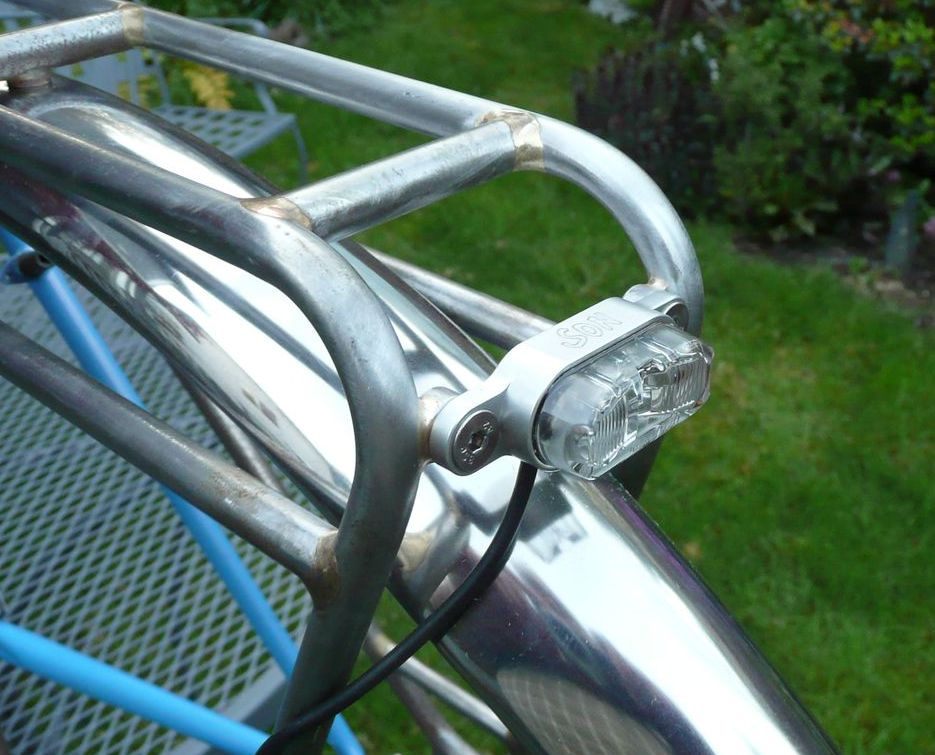
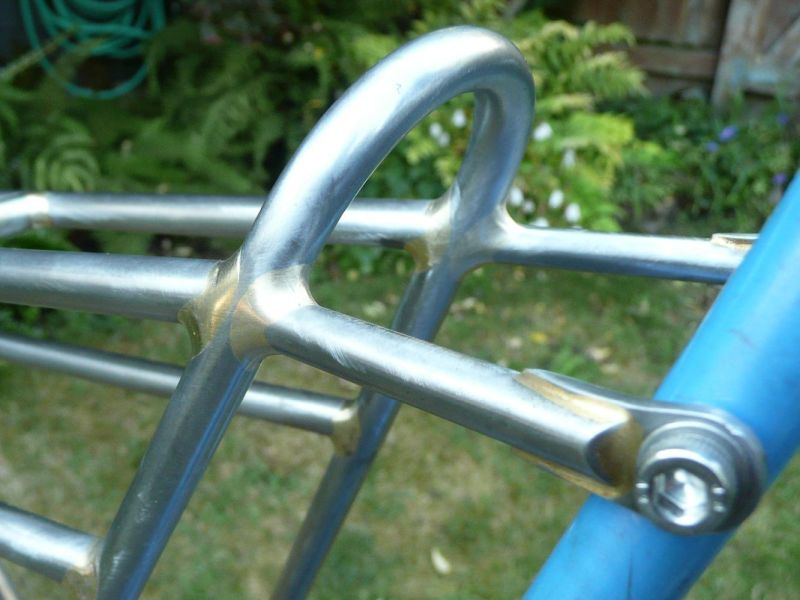
My favorite method is attaching the light to a Tubus rear rack. You can run the wire through the NDS chainstay a poke it out near the dropout and then run the wire through the rack strut with a drilled hole near the mounting area.
Approve! I like how you put the holes in the frame on the neutral plane for the primary bending loads, and the rubber grommets are more sanitary than how lotsa dem are done.
Check your fenders, on some metal fenders the rolled edge is big enough to snake a wire through. More finicky to accomplish, but pretty bombproof, not depending on adhesive tape that’s being bathed in silty road water. And much less chance of hitting/dislodging it, like when installing a wheel or washing the bike. If snaking the light wire itself doesn’t work, due to too much friction for “pushing a rope”, I have had success with pushing something more rigid like MIG wire, then soldering the light wire to the MIG wire to pull it through.
You can also un-curl the fender by prying it open a little at a time until the cable fits into the curl, then squeezing it back shut. Some old Euro city bikes did it that way and they didn’t pinch the curl shut over its full length, just in spots, maybe 6" apart. This has the advantage of being easier to remove the wire later, only a few pinched places you have to pry back open. But I’ve seen bikes done like that in the '50s and the wire is still fine, so having to undo it shouldn’t come up often.
If you use small connectors like banana plugs where the wire goes into and comes out of the fender, then you can separate the fender from the bike without having to re-wire it. The plugs add one more thing to wrong I guess, but the good gold-plated ones are pretty reliable and the benefit outweighs the suck IMHO. Same with where the wire enters the front of the DT; I’d put a disconnect there so you can take the rack off without re-wiring.
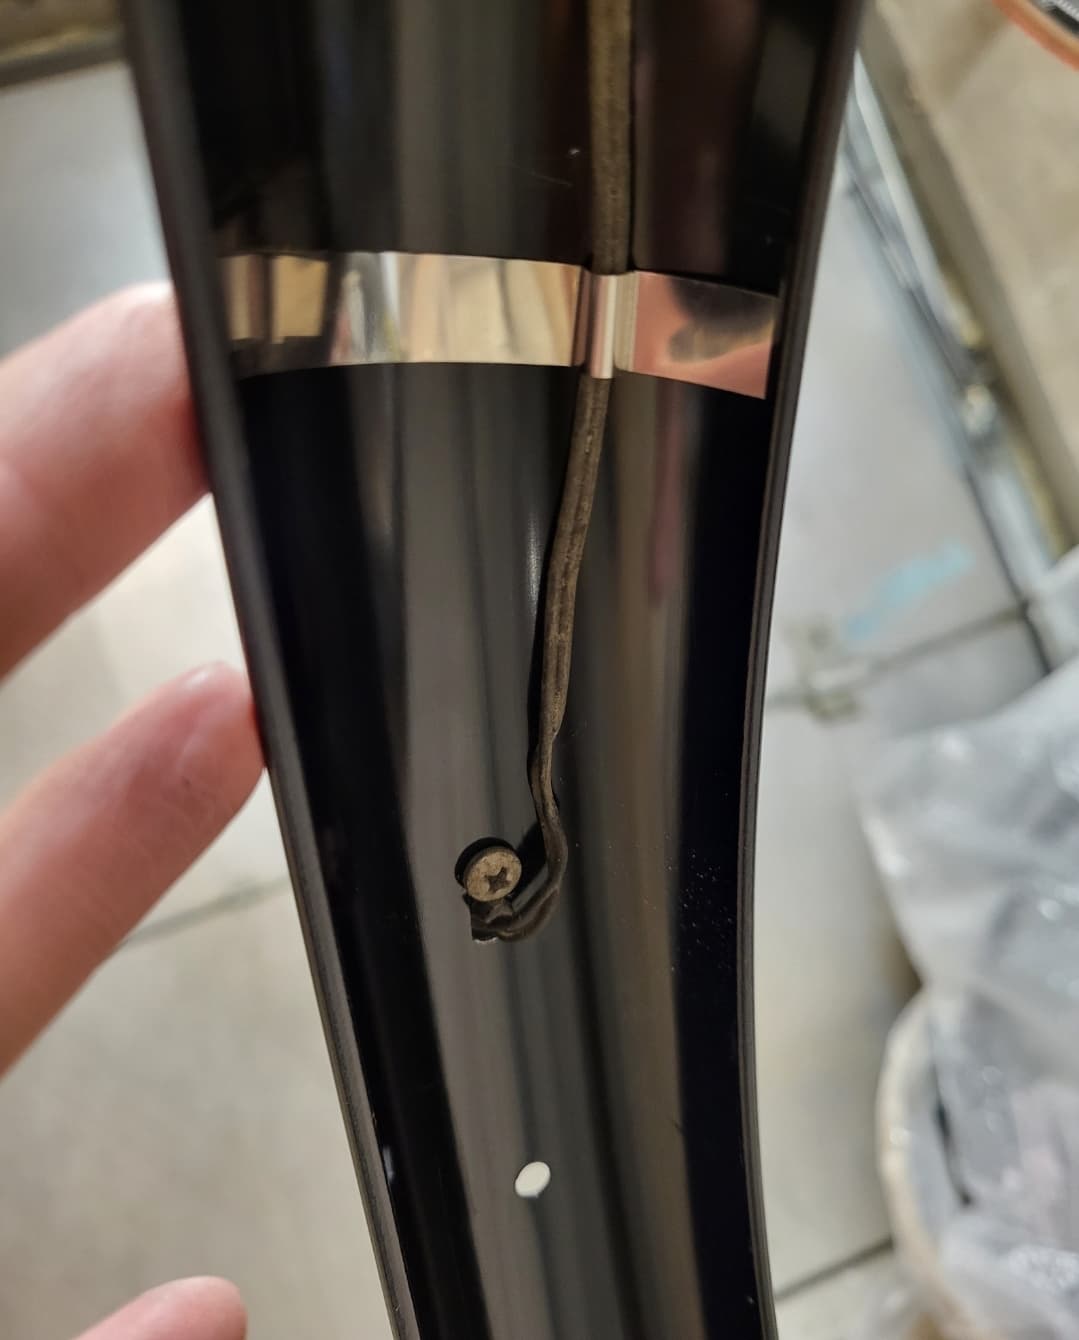
I will double-miter the seat tube and the down tube in the bottom bracket to give the wires room, and round off the sharp edges. Then run the headlight wire down to the bottom bracket and run the taillight wire down to the bottom bracket, and attach a wire connector protected with heat shrink. So if someone needs to take the taillight off it’s an easy process.
First off, this only works for larger frames where it’s possible to position a taillight that can be seen above the fender but with still enough seat tube length above the light for proper seat post insertion depth.
Rene Herse sells a little braze-on specifically for this application. There’s a little tube that sticks into seat tube to prevent the seat post from accidentally destroying the wire.
I haven’t done this in years, but here’s a couple of examples before RH sold the nice braze-on:
The advantage of this method is that the light is protected by the frame. And it works without fenders or racks. But the light can get blocked if you use a large saddle bag or if you put stuff on the deck of a rear rack
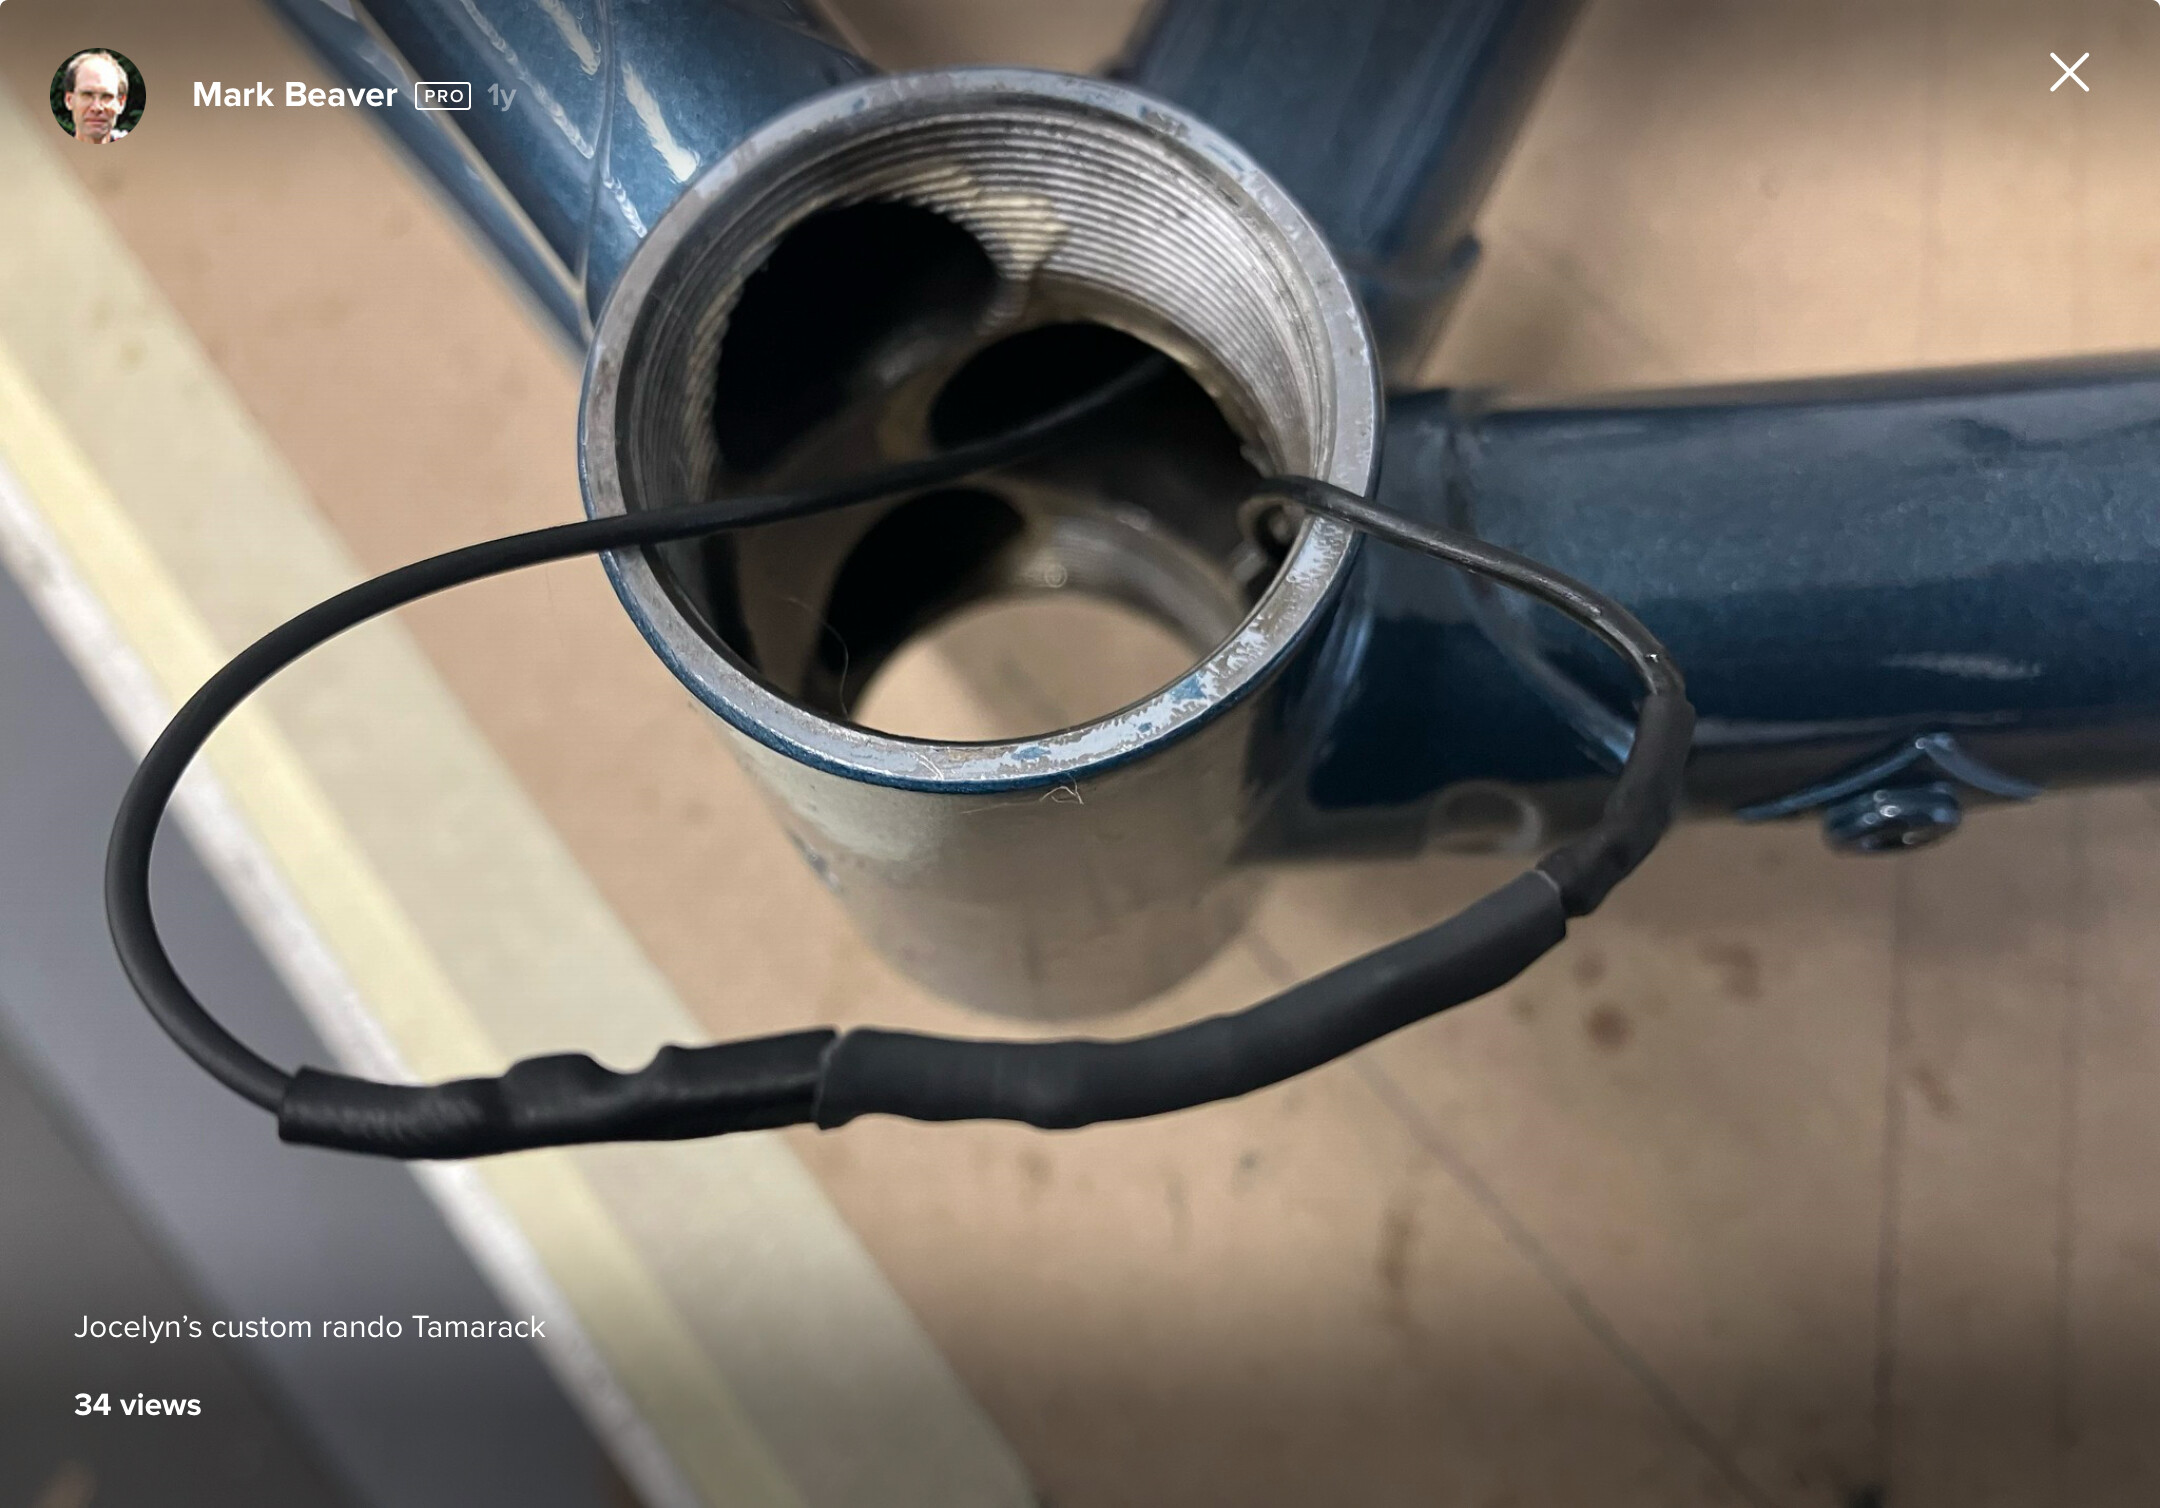
I’ve done a lot of internal Dynamo wiring. But I’ve heard of some issues with cracking around or by the hole on thin tube high miles bikes. I’m not doing it that way anymore.
I used to use zip nipple washers as they are smaller than water bottle reinforcement bosses. And then put a grommet in them.
I’ve seen a lot of vintage touring bikes using the bottle boss reinforcement with a bottle boss! I think I’m going to go that way from now on. And make sure you put them in the tube before the butt. I think I’ll start doing that and maybe even getting those plastic water bottle bolts and drilling a hole in them for the wire, lol
I’m pretty sceptical about putting them down by the BB shell. I’ve seen a lot of vintage steel bikes fail there. That seems to be a pretty high stress area. When doing rear fender mount taillights I’ve always drilled the hole in the BB shell itself. The exposed wire needs to travel a little bit farther but that’s a good thing as I always add a split there and need the room to get my fat fingers on them.
I’ve done tons of the Compass tailights too, and never had an issue or heard of an issue. There’s plenty of room in the BB shell for a sealed cartridge and the wire. Just be careful not to pinch the wire when installing the bb.
I’ve also used the HVAC aluminum tape on the inside of fenders 100s of times with no issues. And on some customer bikes that do lots of miles. The fenders are oily from the factory. You need to clean them with rubbing alcohol and lint free blue paper towels a few times before installing the tape!
Yeah this pic came up on another forum recently so I saved it in my Bike Humor folder.
That type of tail light, or any small tail light really, appears as a point-source to motorists. It doesn’t appear to get bigger as they get closer, so it’s harder to judge distance. So for bikes that actually get ridden in the dark a lot, I prefer big tail lights (like B&M “Line” series), despite them being less elegant. “Not getting run over” trumps elegant.
But especially if you put the point source right where the centerpull straddle yoke blocks the driver’s view of that point, as I so often see them done. All that trouble to do the braze-on and run the wire, only to have it be invisible to a driver — suboptimal!
They always put it on the Left side, but then you can’t lay the bike down — on either side. Not that I lay my bike on the ground all that often but it happens sometimes. Or putting it inside a car, usually laying one one side. Those little tail lights people put near the dropout are not strong enough to take a lot of that. Prolly safer to lay it down on the right, though it goes against our hard-earned habit of not laying it on the derailer.
I think some of the tiny elegant tail lights I see must be there mostly to satisfy some legal requirement, like brevet rules? “Yeah, it’s technically a tail light, right?”
I`ve been there. Getting the cable through and over the edge of the sharp-ish Bottle-Boss is a pain for instaling and service.
Talking about service and installation: Has anyone found a better solution than Vac and string for pulling the cable throug the sometimes small vent-holes in BB-shell and through the Chainstays?
I found this method to be quite shit actually. Especially when the insides of the tubes are coverd with framesaver or other gunk.
I account for the installation by making slots as vent-holes However, getting the cable though the Frame does not spark joy.
Love this thread. Well though out dynamo wiring can elevate a custom build. Personally I hate internal wiring though and generally just zip tie my dynamo wires to brake/gear cables haha.
The tape to the inside of a fender works well. I had a gorilla taped wire last 6 years on a SKS fendered commuter before it was sold. For value I’d say B&M lights are the pick. SON are nicer if you’re into fancy machined things—I have both a fender mounted light and rack mounted one installed. I hacked together a bracket for the “rack” style light that’s still going strong after 8 years/40,000 km.
Another solution I’ve always enjoyed is the one below by Map Cycles/Mitch prior — since copied by many others. The wire comes down through the seatpost. Obvs very saddle/bag dependent but a great outcome if it works for ya!
Yeah, Nitto, not so much. Here’s a Nitto rack where the guy really wanted a tail light braze-on, to the point where he was willing to pay to have the chrome stripped, and the thing re-chromed after.
The wire goes through the rack tubes; this is just a test-fit of the braze-ons.
All the un- and re-chroming wasn’t just for this light BO though, he also had me remove the adjustable bits for struts to the seatstays, and replace them with bespoke made-to-fit ones.
We also lowered it, since Nitto puts the rack platform way high over the tire. In the new lower position, the rack just kisses the fender, with a M5 top-hat BO there to bolt the fender to.
Some people asked me “couldn’t you have just made the whole rack in the time that took?” Only people who’ve never made racks would ask that. Custom racks are very time-consuming. But the bottom line is, this is what the customer wanted — I don’t judge. (OK maybe I do a little, quietly to myself…)
Yes! The best method by far is an old shift cable! Cut the head off. Then kink about 3/4 of an inch from the end, maybe 25 degrees. It’s stiff enough to run through anywhere and flexible enough to pop around internal objects.
The kink is the most important part. When it gets to about where your hole is in the frame, you twist it in your fingers and the kink will scrape the inside of the tube. As it scrapes around and gets neer the hole it will just pop right out!
I have a you tube video on how to do this for internal brake cable routing. Same idea.
Then clean the end with rubbing alcohol and use a heat shrink to attach it to the Dynamo wire. Then gently pull back through!
For compass tailights I send the shift cables up the BB shell out the top of the seat tube. Then fish in the Compass tailights wire into the seat tube and up out the top of the seatpost hole too. Usually with very long needle nose pliers.Then clean and heat shrink, and pull back down and out the bb.
Then run the old shift cable into the reinforced down tube hole and out the BB. Then clean and attach that cable to the Compass wire again and pull up the down tube and put the reinforced hole you made up by the headset.
Believe me I tried and hated everything else. This is the way! I can run anything in about a minute or less without even feeling the need to scream swear words!
This is how I’ve wired a couple of my builds without a rear fender. I have a Busch & Muller Toplight attached to the seat rails with a B&M seat bracket. The bracket is not the most elegant one and I’m planning to have my friend 3D print me a plastic housing, where I could place the original plastic lens and the electronics. This could take years. I like the toplights, they are cheap, bright and compact.
The wire runs through the top of the seat post. A lot of them, like Thomsons, are open at the top anyway.
Being Finnish, I use a lot of Pelago fenders (bike company here in Helsinki, production overseas). They mount their rear light cables with small metal clips on the underside of the fender. The rear lights I’ve been mounting on fenders are Herrmans, another Finnish company with domestic production.
My friend taught me that if you don’t have a well stocked electronics store, you can just buy RCA cables for thin coaxial cable, but I quess, pulling two strands to the rear light is not really necessary as you can use the frame and fender as a ground. Routing the wire through the fender edge could work quite well, as discussed earlier.
These are the components I use for my wiring at the moment:
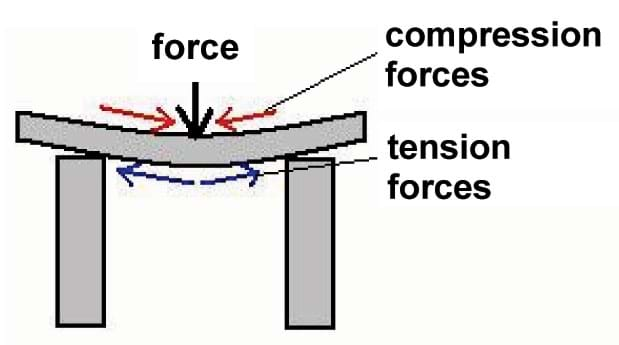
Somewhere between the top and bottom, there’s a horizontal cross section of the tube that isn’t being loaded in compression or tension. This is the “neutral” plane.
This is an oversimplification, of course, but it’s still useful to consider.
Bicycle frame tube’s aren’t simple bridges like in this diagram. There are a lot of forces going on. In a downtube, the biggest force is probably torsion. That is, the bar is being twisted - for example, when the rider is pedaling with the left foot and pulling the opposite handlebar up with their right hand.