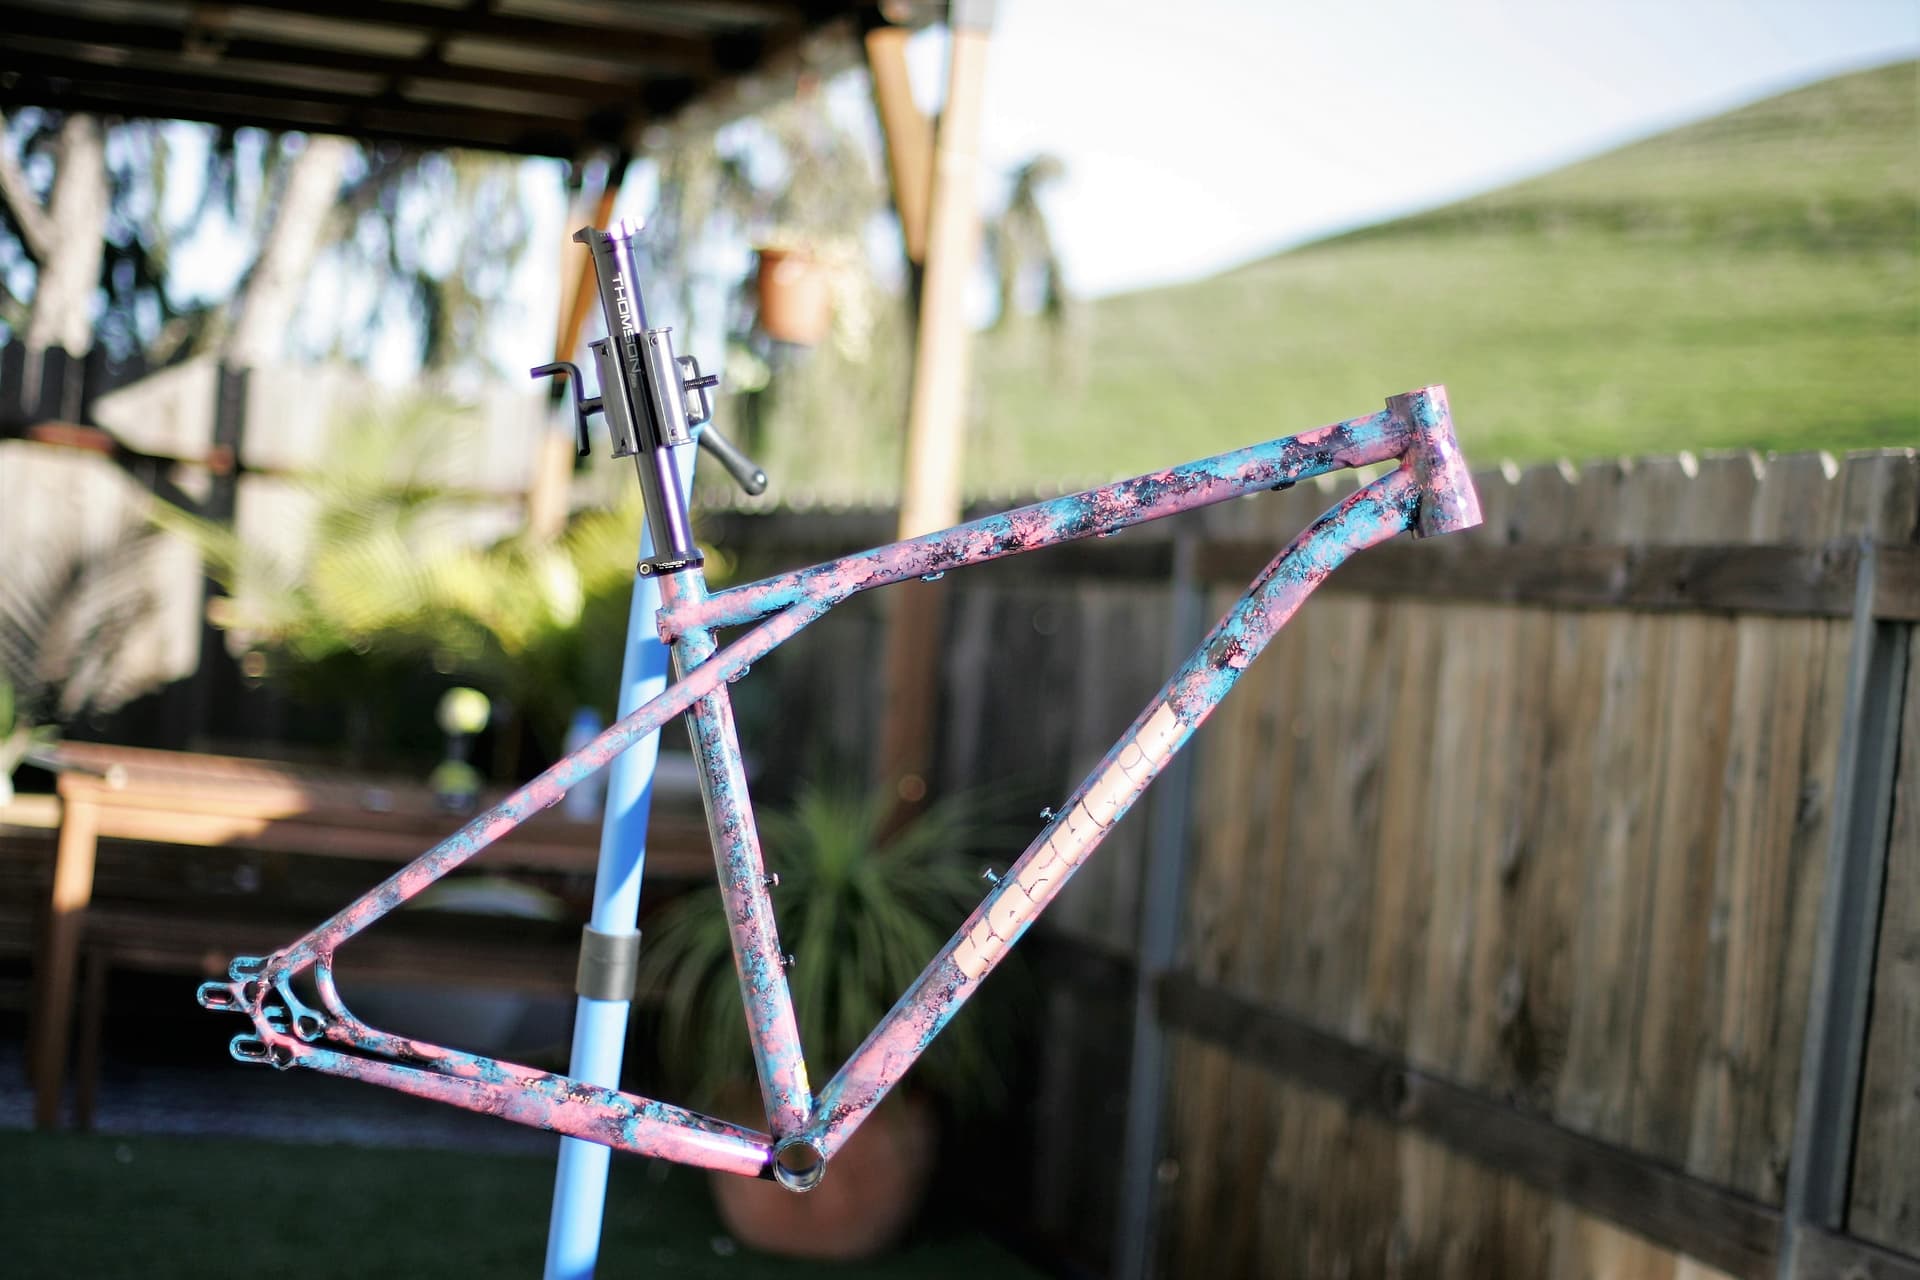
I use spray.bike for my rattle-can jobs, it’s the best I can find here and because I live near Sacramento, it ships fast (order early afternoon, delivered next day). I don’t have a spray booth but I may build one if I start doing more of them, I usually spray outside or in the garage and then bring the frame in the house to dry.
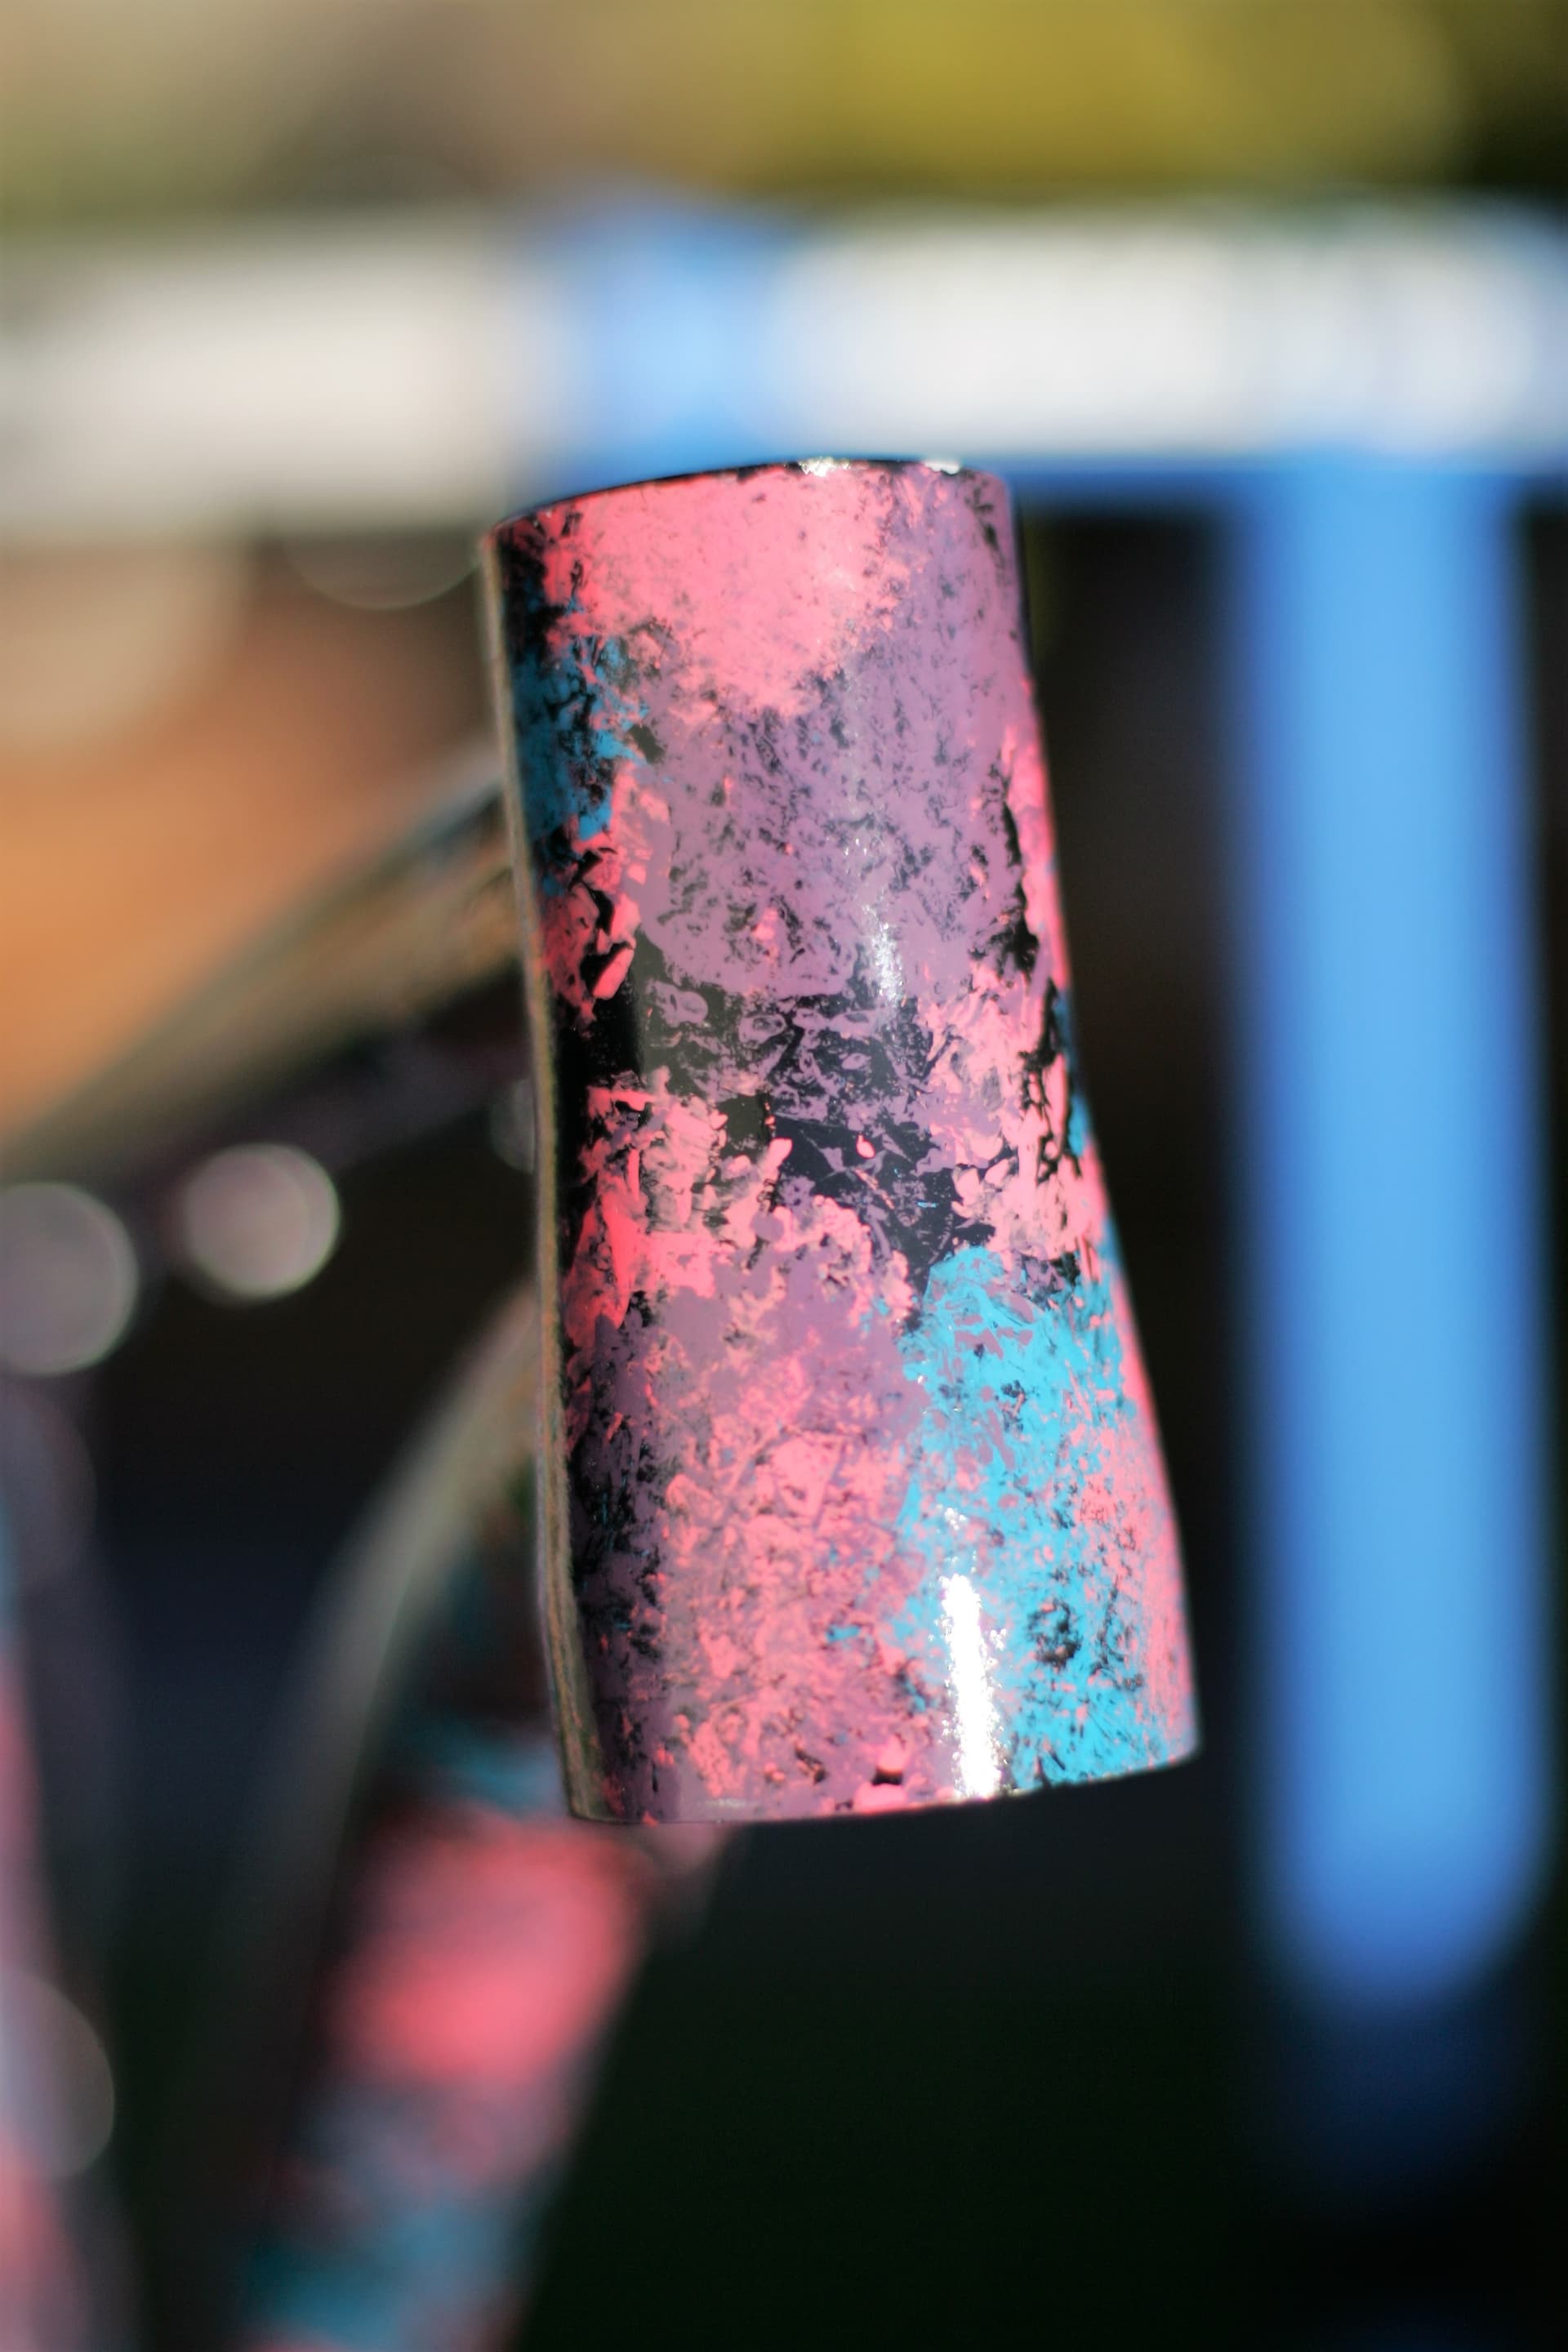
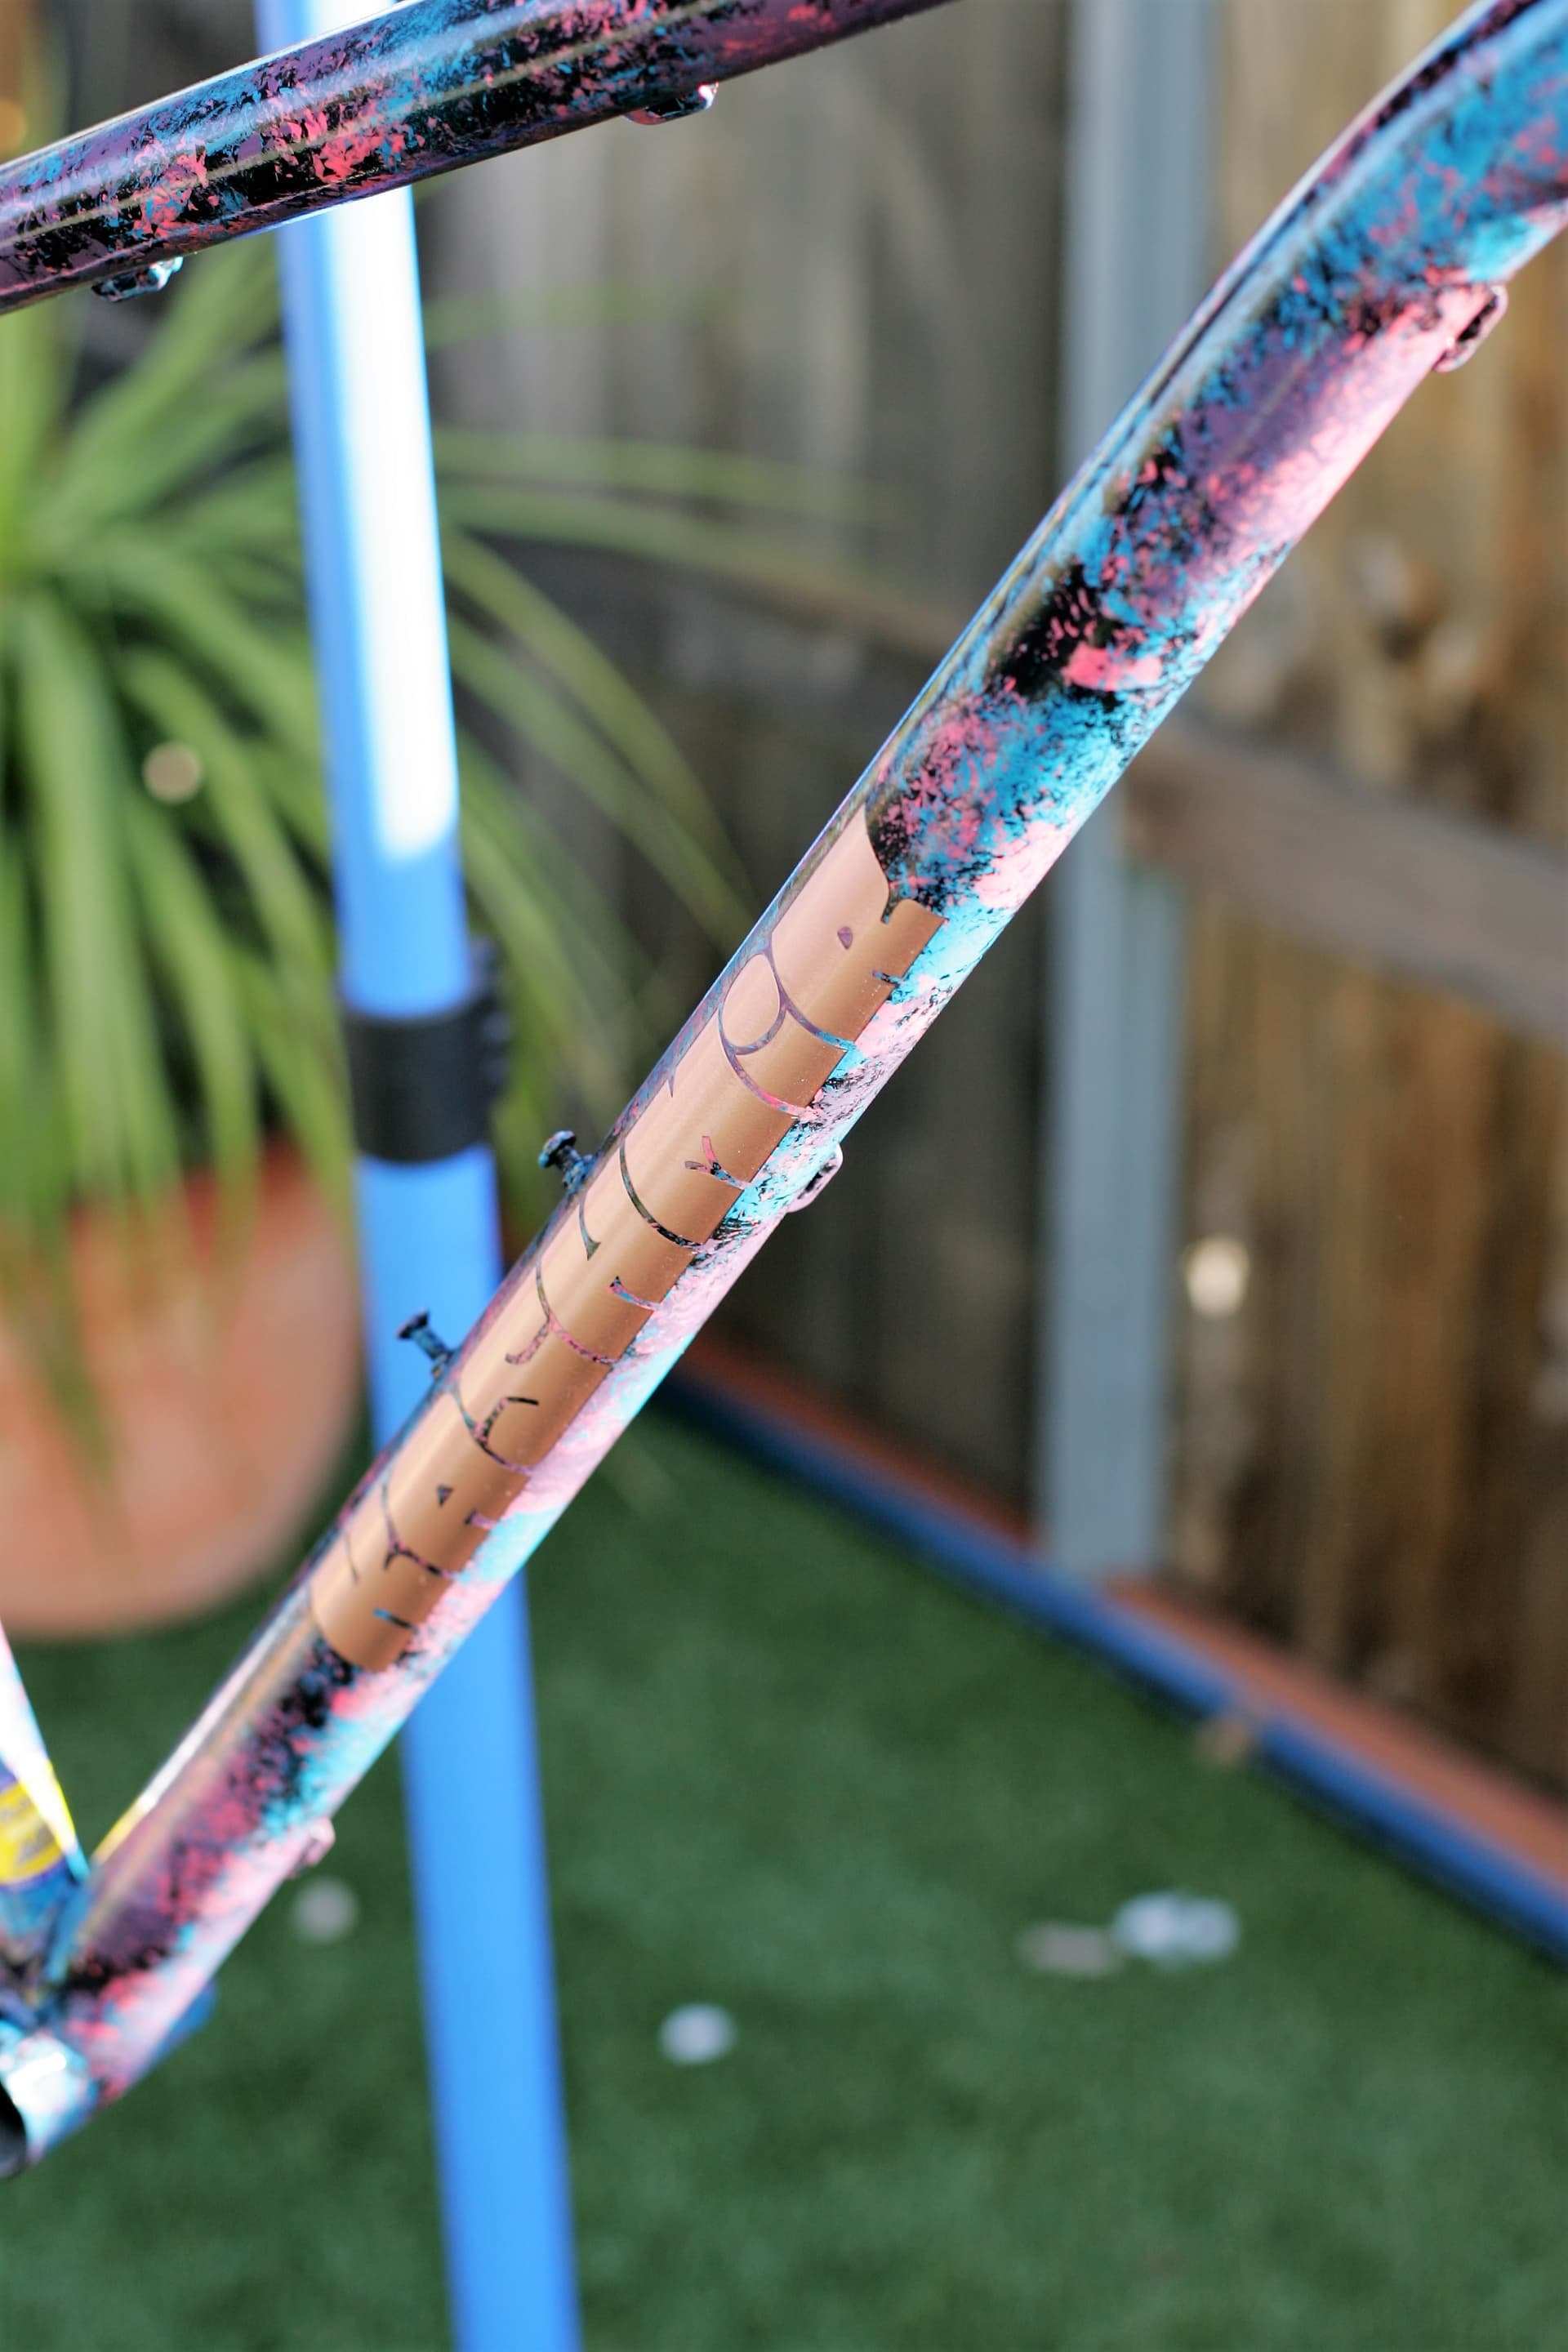
This is an effect I have made by applying color via plastic wrap (yep the kitchen kind), take a little plastic-wrap, make a ball out of it, spray some color on it and touch the frame with it.
Then clear-coated.
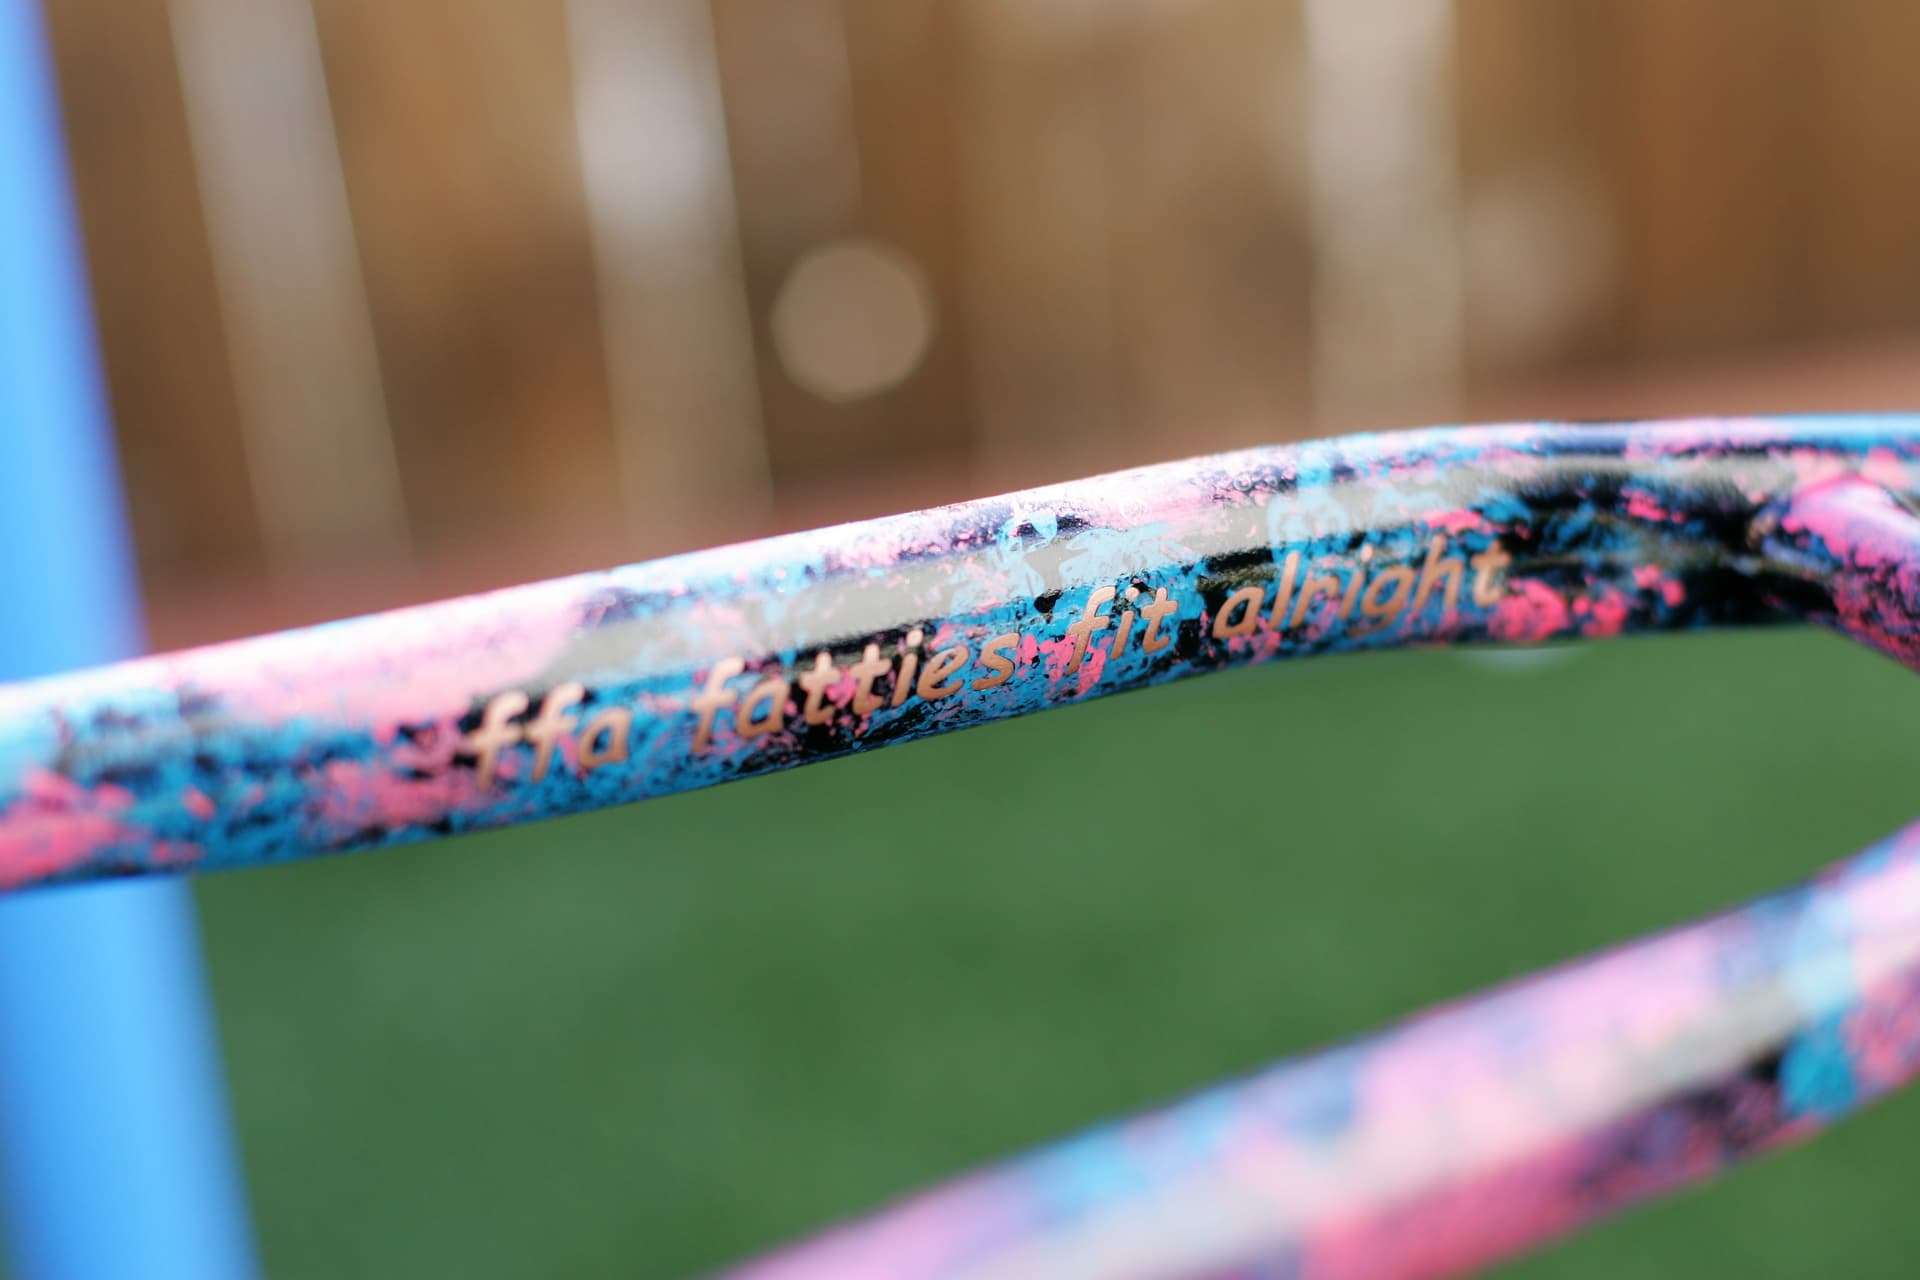
The decals were cut out of vinyl using a Cricut machine and then removed before the clear coat.
So, the whole process was:
- Primer
- Copper paint where the decals go
- Apply decals
- Black paint
- Colors
- Clear coat
Some tips:
- Get a high quality rattle can, paint quality is important as is nozzle quality
- Let it dry, if you screw up (and you will), let it dry 24h before touching it - believe me on this one.
- Different compositions needs different spray styles and dry differently - some paints want to be sprayed 1in from the surface, others need 8in and everything in between. If you are not sure, double all dry times, paint hardens over time, it may seem dry to the touch until you grab it and leave a mark.
- Use gloves, they saved me on multiple occasion from leaving my prints on a frame that looked dry.
- Some paint may leave a fuzzy surface, get some parchment paper (yes the one used you use to bake) and pass it over the paint once it’s dry, it will take care of the fuzzyness (3000 grit would do as well but it’s much cheaper and easy to get parchment paper)
Sorry for the pics, I was doing experiments with a 23yo DSLR