Let’s talk about Paint. Having trouble with guns or product? Want that no polish clear coat? Want to try a new effect but not sure how it will come out? This is a Q&A section to help you on your journey to become the next Van Gogh (of bikes)!
@Fin Welcome to the forum!
I am curious about what people’s experiences are with the durability of rattle can jobs. On my next bike, I want to try a crackle effect over a powder coat:
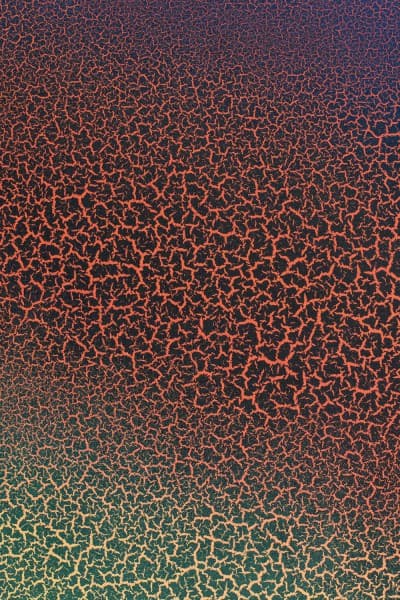
- Do you think I would need one of those 2k clearcoats?
- Would a 1 part clear work?
- Can I leave it un-cleared? I think the scratches could add to the crackle look

Not quite what you’re looking for, but you could also do a vein style of powder.
2 Likes
Any of the wzrds with ‘art’ paint jobs are rattle cans. The hold up well once you get the hang of it.
Using the same brand primer, paint and clear is ideal (Montanas makes a steel primer). For clear coat we do 1 light coat, then 3-4 full coats.
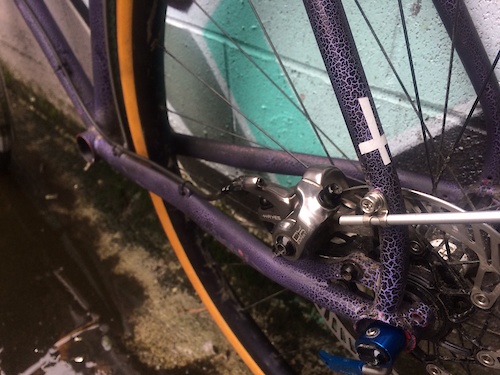
I’ve used the crackle effect cans before and they are unforgiving but the effect is really cool. You’ve got one coat to get it right!!
I know this goes without saying for painting, but MASK UP when using the crackle finish. Whatever is in there is extra harsh compared to normal Montanas cans.
The over spray does not crackle. If it dried too quick it does not crackle. Thick coat gets big crackles, light coat gets fine crackles.
I got a bunch of overspray in this bike and ended up redoing the top tube, lucky the crackle makes it super easy to hide any ‘seams’.
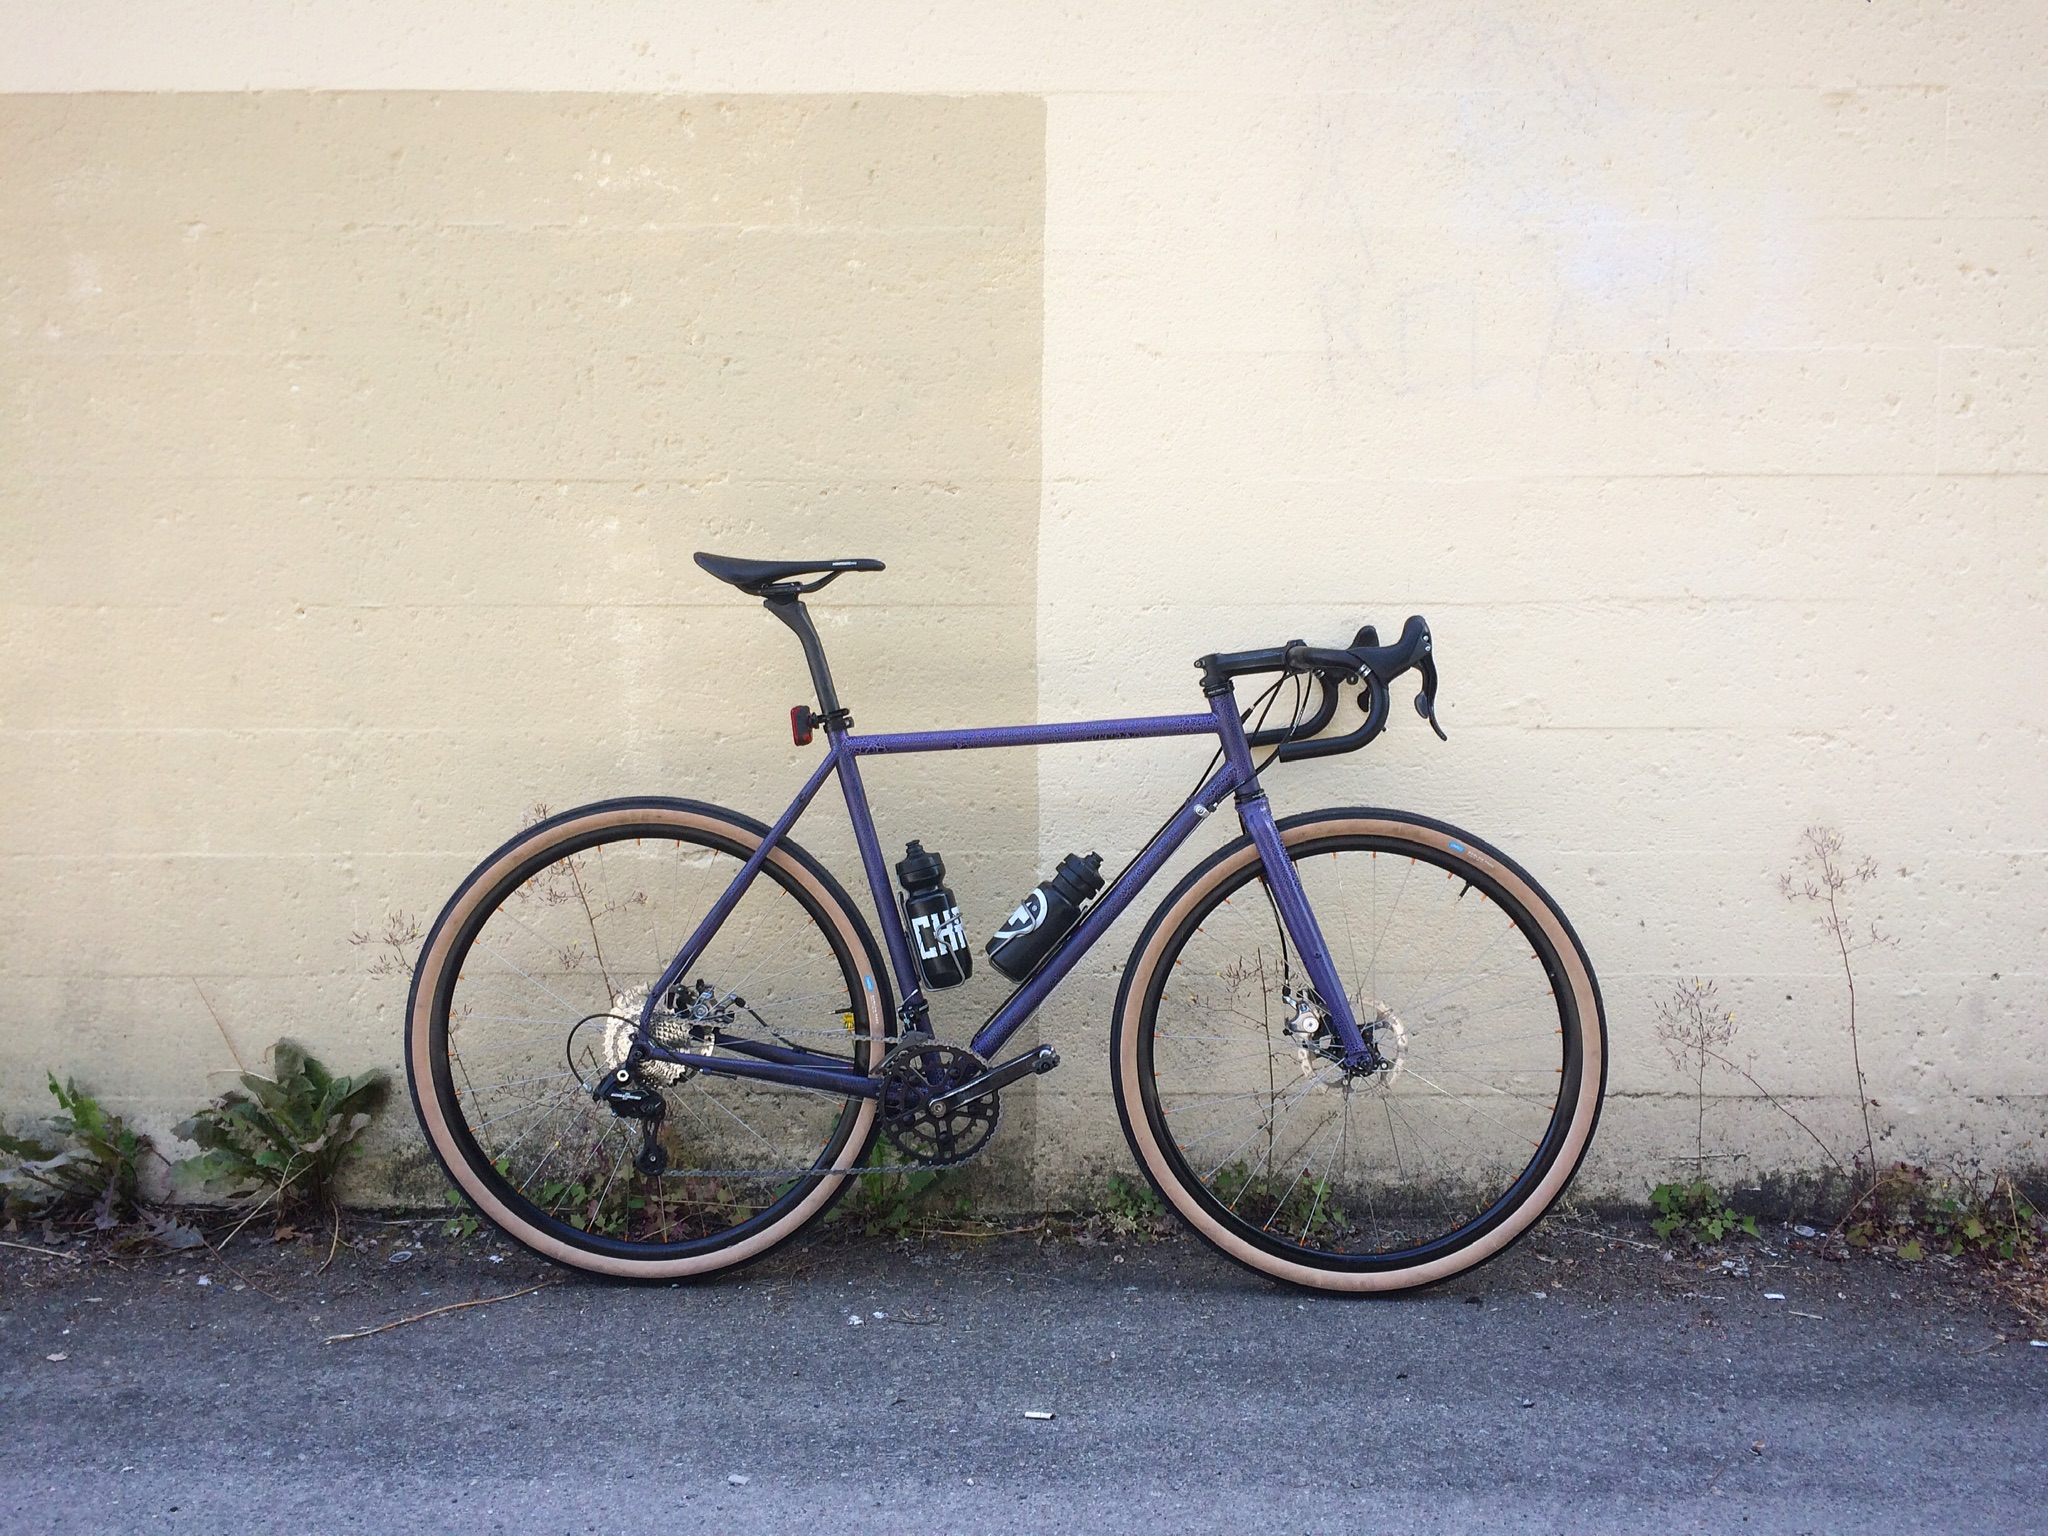
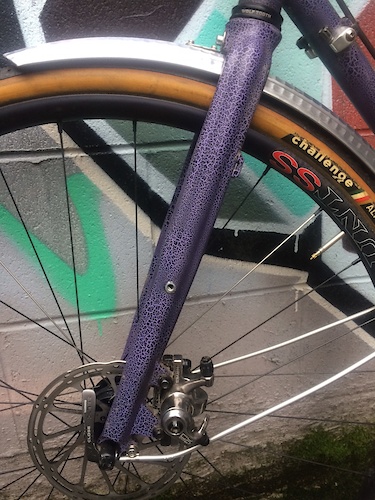
Below is my fog cutter from a few years back.
5 Likes
Wouldn’t need it as much as it being a nice addition, the 2k. In my experience it is so much easier to get a nice glossy finnish with the 2k laquer.
Are the Spray.bike/Montana rattlecan paints durable enough to use on a bike that gets ridden out in the real world?
I’m not interested in getting set up with a full paint gun and accessories but it would be kinda neat to just shoot a frame from a can and call it good. I’ve always just paid for powdercoats, which comes with it’s own set of problems.
-Walt
1 Like
Montanas and spray bike are essentially the same paint. Acrylic in a can - but one comes in 100 colours and costs half as much.
From my experience rattle can paint jobs are softer and are more prone to rub damage (heels and bags) where as automotive paint is harder and more chip prone.
5 Likes
But Montana is way easier to apply than any automobile paint.
1 Like
Does the Montana have that nice powdery low-drip that spraybike has? I really like using the spraybike paints, they’re easy to make look good.
Is it the Montana Gold line that is comparable to spraybike?
I guess I should rephrase the question, because when I rattlecan stuff, it’s very, very temporary. Like, a month or two before it’s coming off/flaking/rubbed away.
If I shot a bike that’s going to get ridden a lot but maintained/taken care of with these newer canned paints, would it still be vaguely ok looking in, say, a year? 2 years? 5 years?
2 Likes
Hey walt, i think it depends on the top coating, and how well you prep your steel… I did some spray.bike without a proper clear coat and i think it lasted like half a year, could easily scratch it with my nails. My latest rattlecan job was with a 2K can, and it came out hard as a rock. Couldnt chip it with my nails if i really wanted to, so maybe a rattlecan with a 2k clear is the answer.
5 Likes
For the best results you want to make sure you start with a good key in the frame before applying the primer.120-240 grit for steel, 240-320 for alu, 320 for carbon. This gives you a good mechanical bond.
Ideally, at least for gun paint, you don’t want to let your colour completely dry before you apply the clearcoat, with allows for a chemical bond.
You want a good clear coat (2k) to seal everything in, the spray bike clear coats don’t cut it for me and I know another painter (Orion) here in France who switched to guns for this very reason.
2 Likes
I’ve done about 10 bikes with spray cans with good results. Not quite pro, but definitely good enough not to get a full setup.
The most useful video I’ve found is: spray paint a bike at home with supreme quality DIY - YouTube
Montana paint is great and readily available in so many good colours.
*The people at my local graffiti store put me on to using the grey Montana Level caps. They are like 50 cents and it really helps get the paint more even with less runs, especially when you first start out. *
I use 2 part epoxy primer and clear coat from the auto supply stores (you can order off Amazon too). I use 2 cans of primer and 2 cans of clear - which ends up being like $120 a bike. That said, I think I will try the Montana primer.
I also buy the 3m clear tape and put that on off road bikes. It’s a pain in the butt to get on without wrinkles, but way cheaper and just a effective as Ride Wrap.
Finally - buying a Cricut machine to make all the vinyl masking was a game changer. They are super simple to get started and I’m always amazed and how much detail you can get. Their stock vinyl is great - makes nice clean lines and comes off easy after paint.
If you can’t get the machine, there are a million people on Facebook Marketplace willing to print them for you.
All that said, I’ve been trying to find a pro painter to do the clear coats with a proper gun. I think that would make the most difference.
6 Likes
I’m not sure why people seem to be afraid of getting a spray gun and want to stick with rattlecan. Next frame I paint I will document my procedure but its really not very hard to get amazing results. The only expensive part is having a big enough air compressor. I bought mine for $300 second hand but it could be a barrier to entry I guess. The other pain in the bum is cleaning the gun afterwards. But to break it down a little here’s my process:
- Clean frame with GP thinner or wax and grease remover
- Paint with Protec (PPG) Epotech 408 primer, thinned as per TDS
- Wait overnight for cure again as per TDS
- Sand gently with 400grit. You don’t want to get down to metal again if possible, just smooth and key the surface. If you have runs you will have to flatten them with a block
- Basecoat time, go to the automotive paint place and get 100ml of whatever colour(s) your heart desires. You will probably only use about 30-50ml of this actually. I usually use Protec paraglaze cause its affordable, I also have a selection of 80s vintage basecoats that I picked up a an emporium of all places*. Whatever you get, READ THE TDS if you follow the instructions life is good. GP thinners or what the basecoat specifies. Go hard with layers, stripes, fades, masking all that good stuff. TDS will tell you flash off time between coats. I also have not had any issues with mixing basecoats to get some interesting colours, though YMMV, do a test first.
- Clearcoat. I have been using Protech Carmaster 2K, usually end up using about 90ml for a frame.
My paintgun is a hardware store HVLP gravity feed jobbie, I think it was about $80 but I have seen identical ones on aliexpress for about half that. I have no training and not very much experience, but good quality paint through a paint gun is just SO easy to apply with a nice even coating. The main thing you need to remember is to start off doing all the clusters first with a light coat, so headtube junction, SS/ST/TT junction, BB junction and the dropouts before spraying the tubes. If you spray the tubes first you are likely to get sags/runs as you have already laid a full coat on the tube. I guess as a side note, in terms of labour time, there is a lot of waiting involved. The primer goes on quickly but the basecoat/clearcoat probably takes me the better part of a day depending on how many layers/masks, with a bunch of 15min waits for flash off etc. so I don’t think this would work for a pro builder time management wise.
Here’s my most recent paint job:
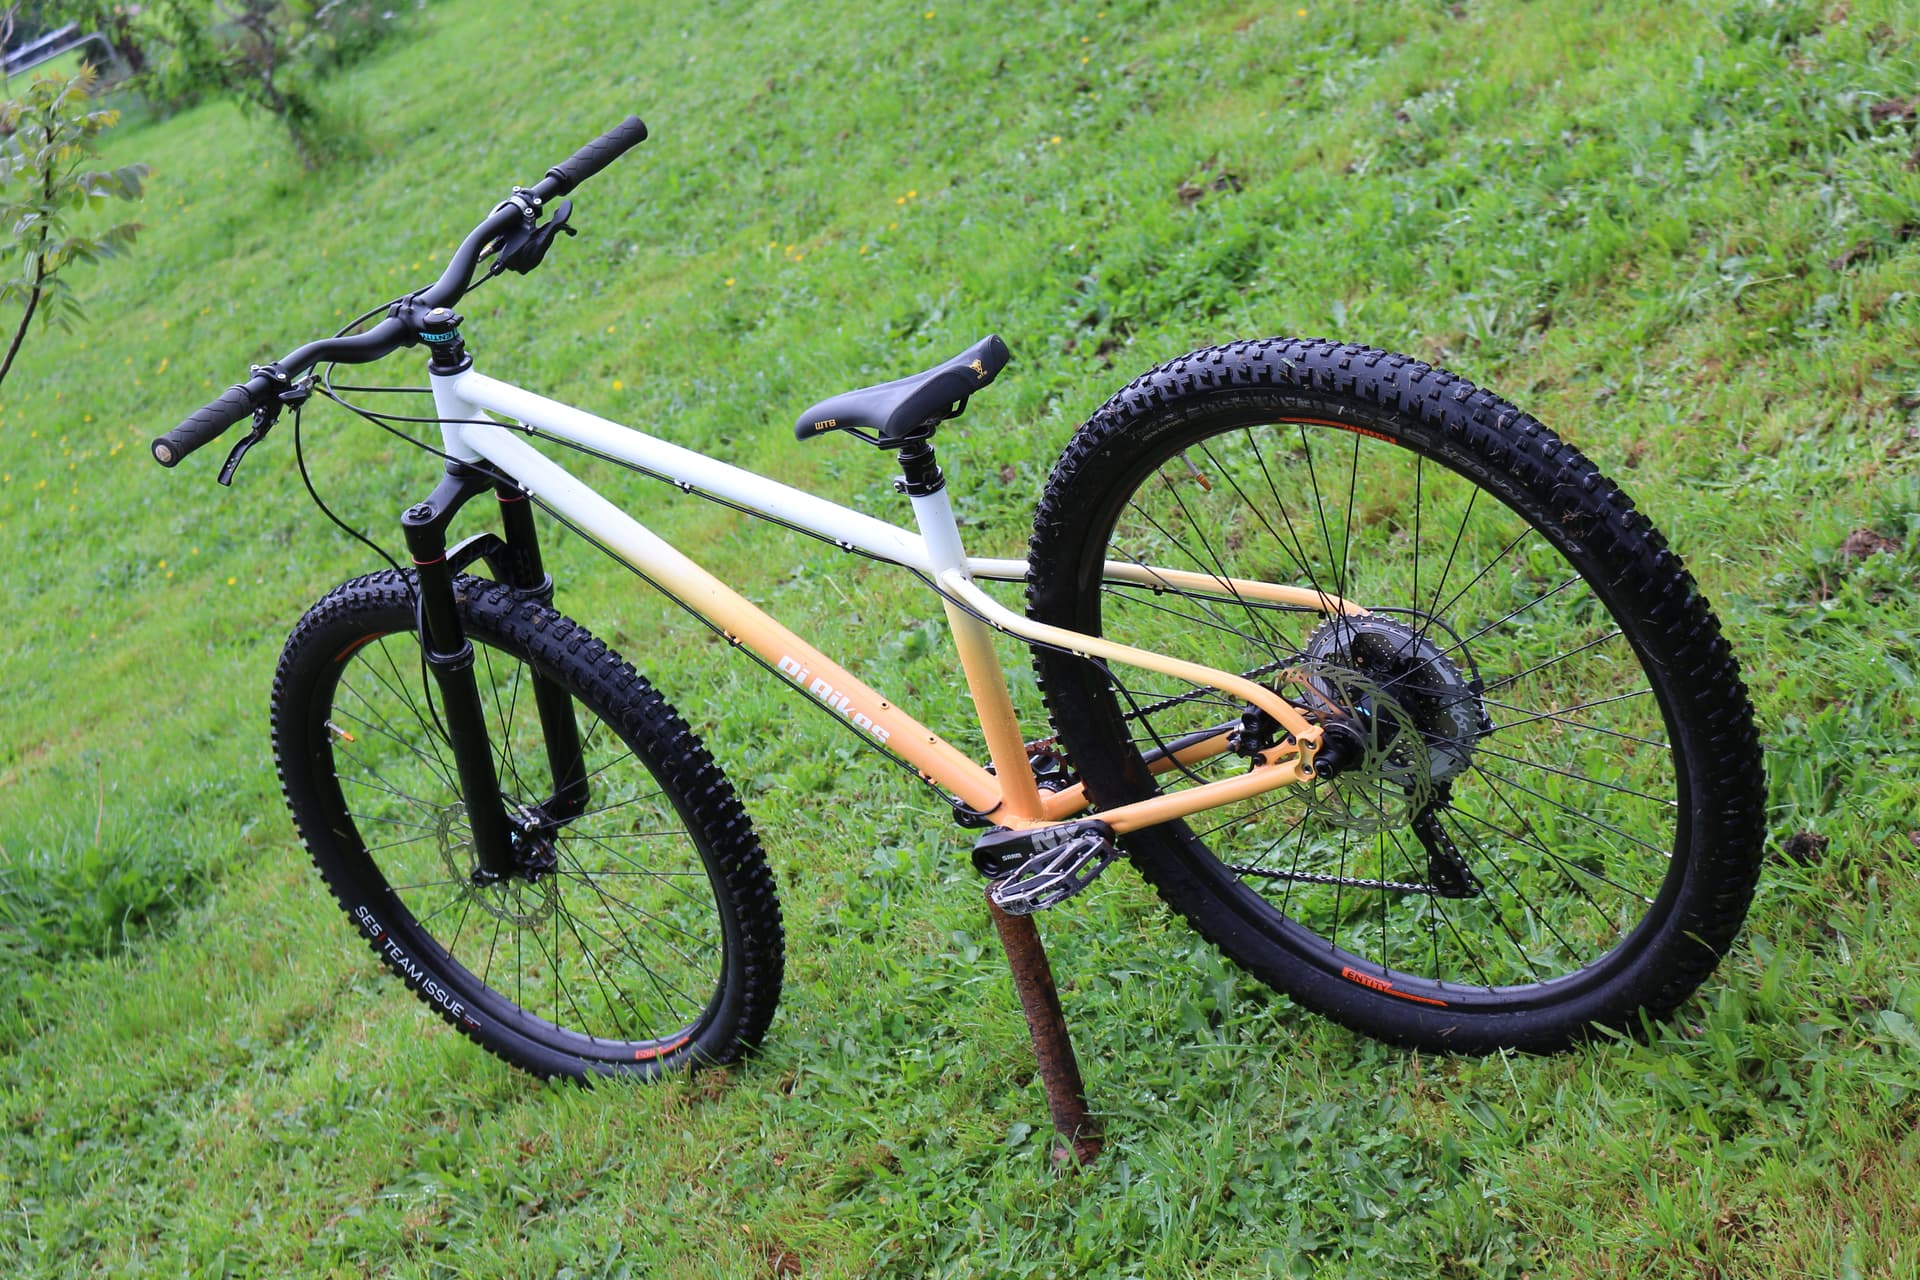
Seabuckthorn orange fade into white
Some older ones:
GM beechwood Med fade > GM beechwood light
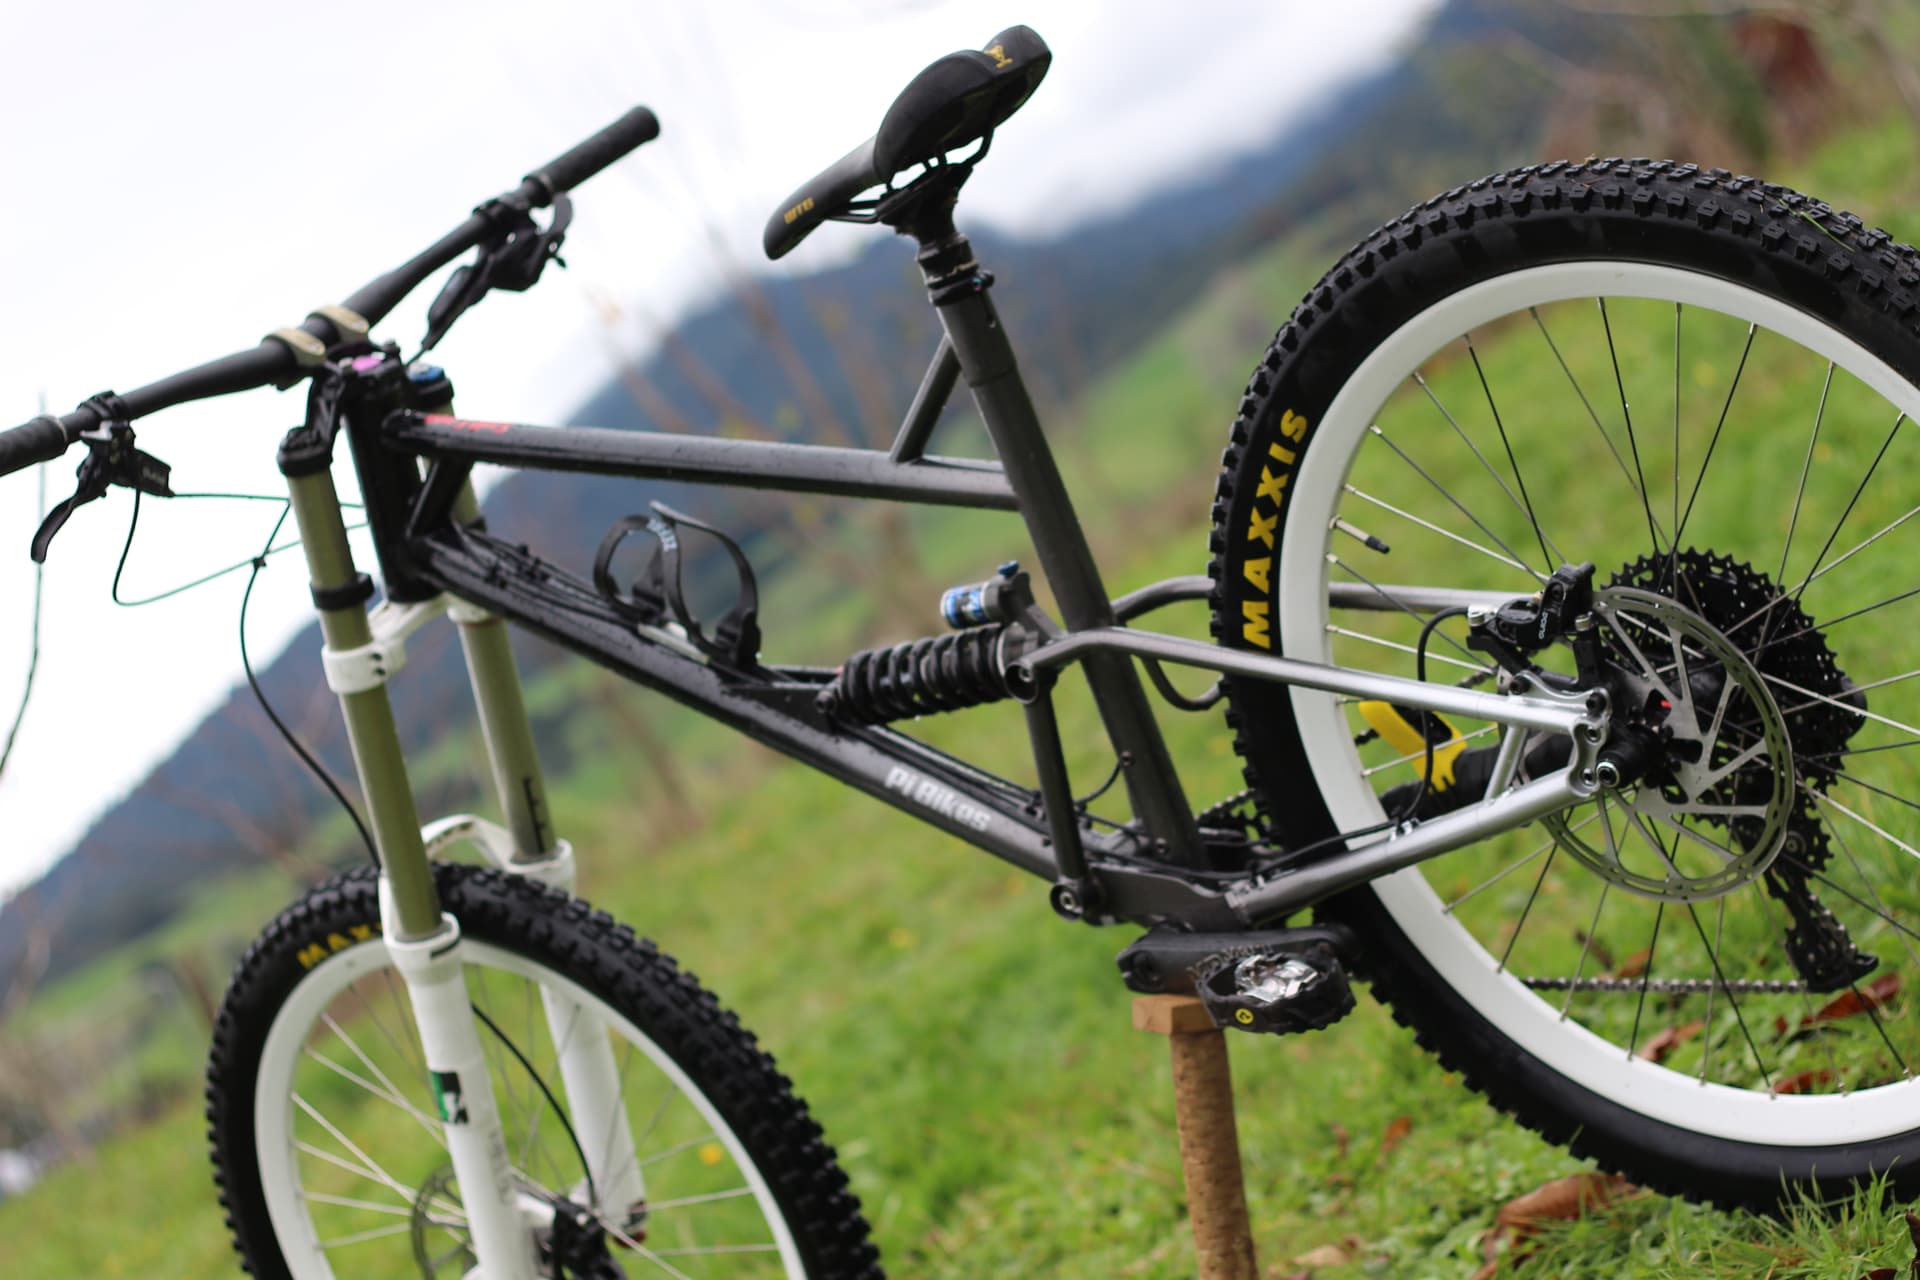
Mazda starlight silver > Chervrolet Smoke Grey met > Black
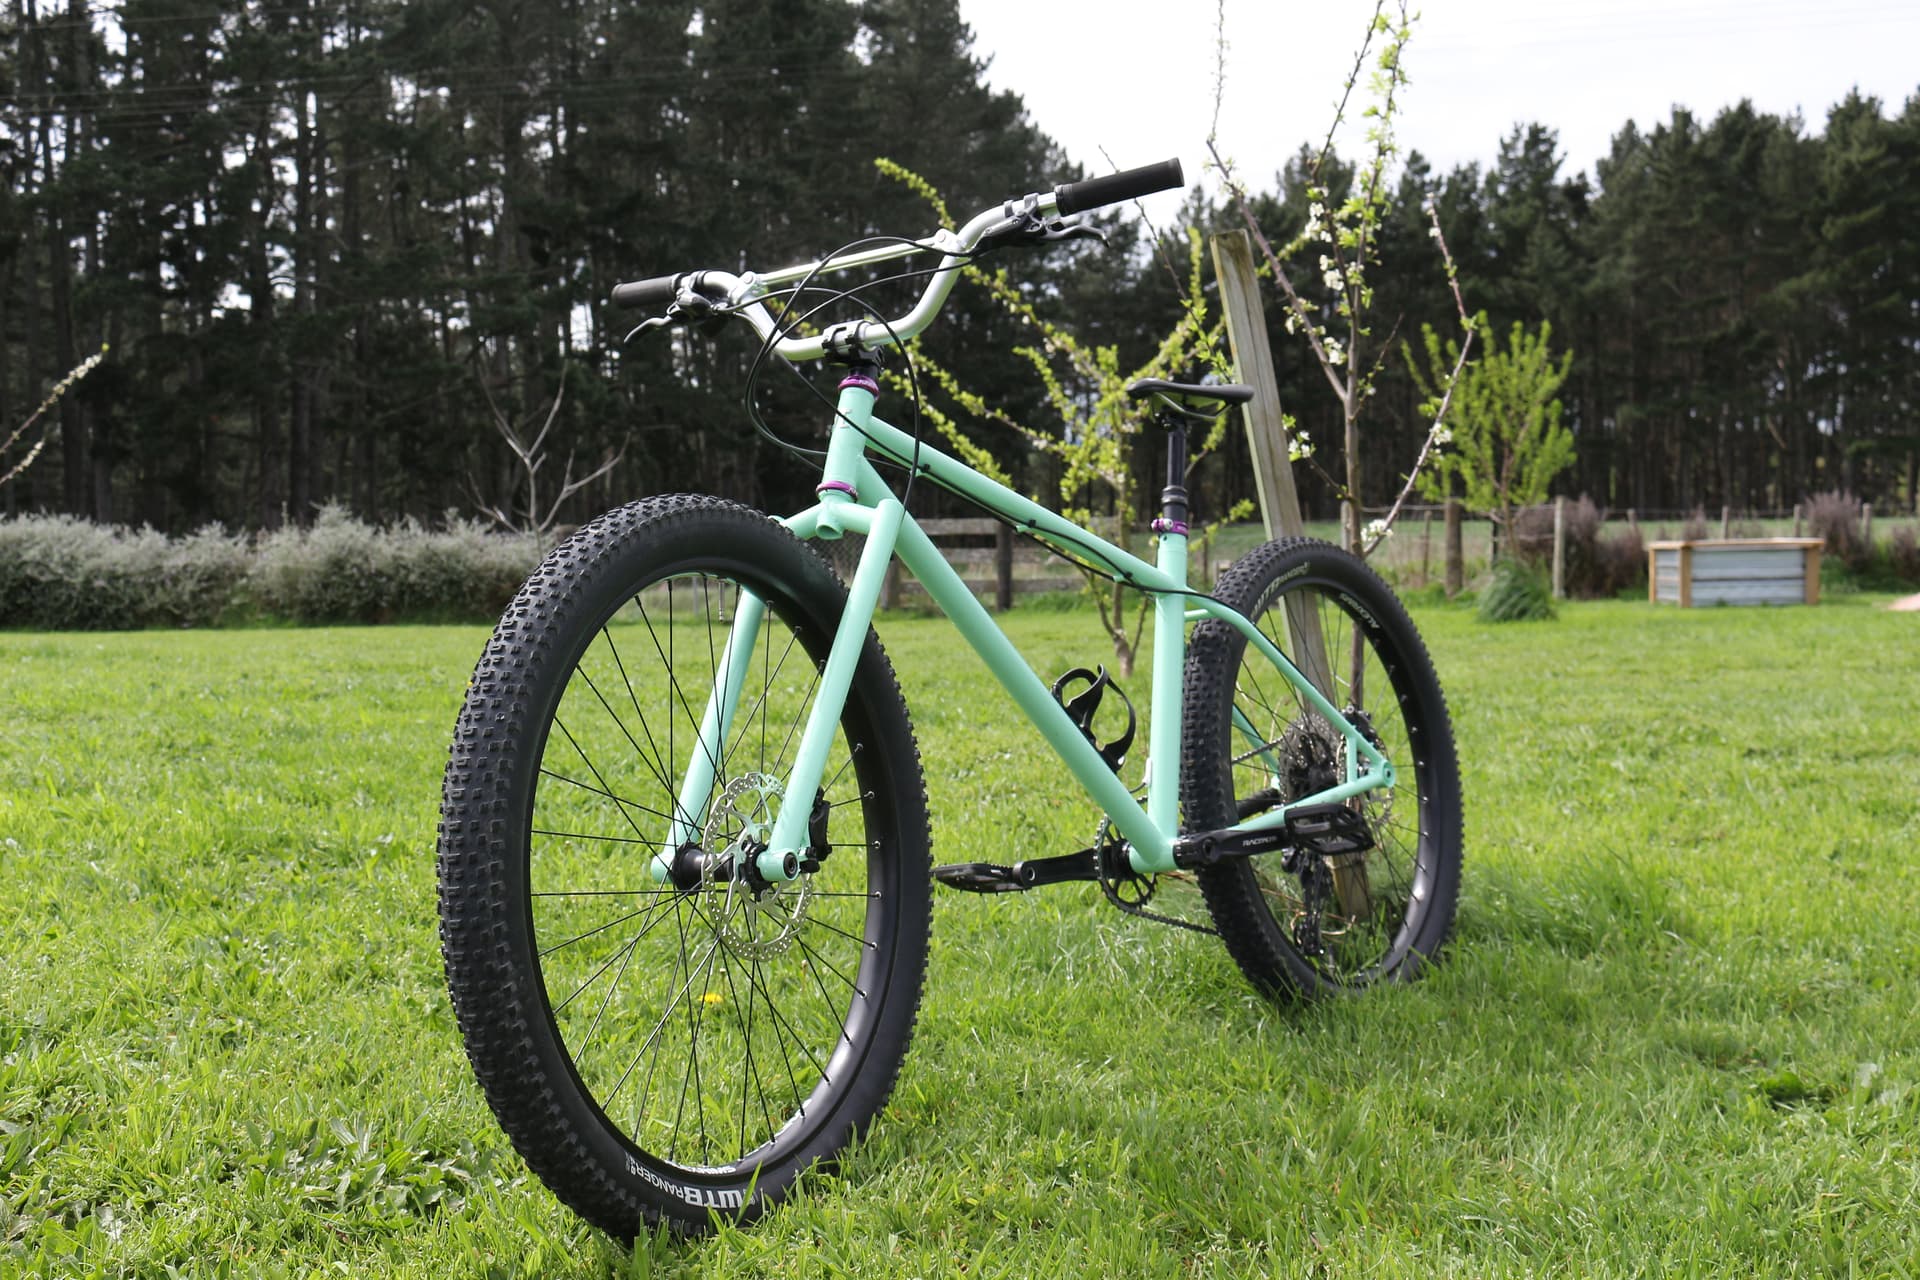
Pantone 351. This one is actually a 2k direct gloss (PPG deltron DG). No clearcoat required
*pro tip - if you don’t know what colour you want ask if they have any mistints, you might find an amazing colour for cheap
10 Likes
*side note:
If you like rattlecans thats cool too, I just found spraygun and auto paint to be approximately 420.69% better for me
8 Likes
Great info!
I don’t have the space or protective gear I’d want to get into the gnarlier paints, and it sounds like the amount of time/money required makes it not worth pursuing at this point. I generally try to make sure I’m making $100-150 an hour for time in the shop.
$150 powdercoats look good and last a long time so even if I could do it in an hour and the paint/gear was free, it would be a wash at best.
Someday if I get really bored I’ll make a ghetto paint booth and try it just for fun, though.
-Walt
4 Likes
When I did my framebuilding class Rob Gassie also taught me to wet paint. It was really fun. I ended up doing research into how to do it safely, what kind of storage to use for the paint, etc,. As @Pi_bikes mentioned, the compressor and the set up of it were problematic.
I ended up shelving that idea and one of my friends is a super good powder coater. He’s able to do fades / masking and all that and just charges me whatever price he wants.
We’ve been playing around with vinyl decals underneath a powder clear coat and that has been difficult. They slide sometimes and the material designated for decals under powder are expensive. I’ve had really good success applying decals after a powder coat, and then having a wet (non powder) clear coat put on top. I could probably do that myself with a rattlecan and have good success with practice, but I’m lazy and I like lettings pros do their thing.
4 Likes
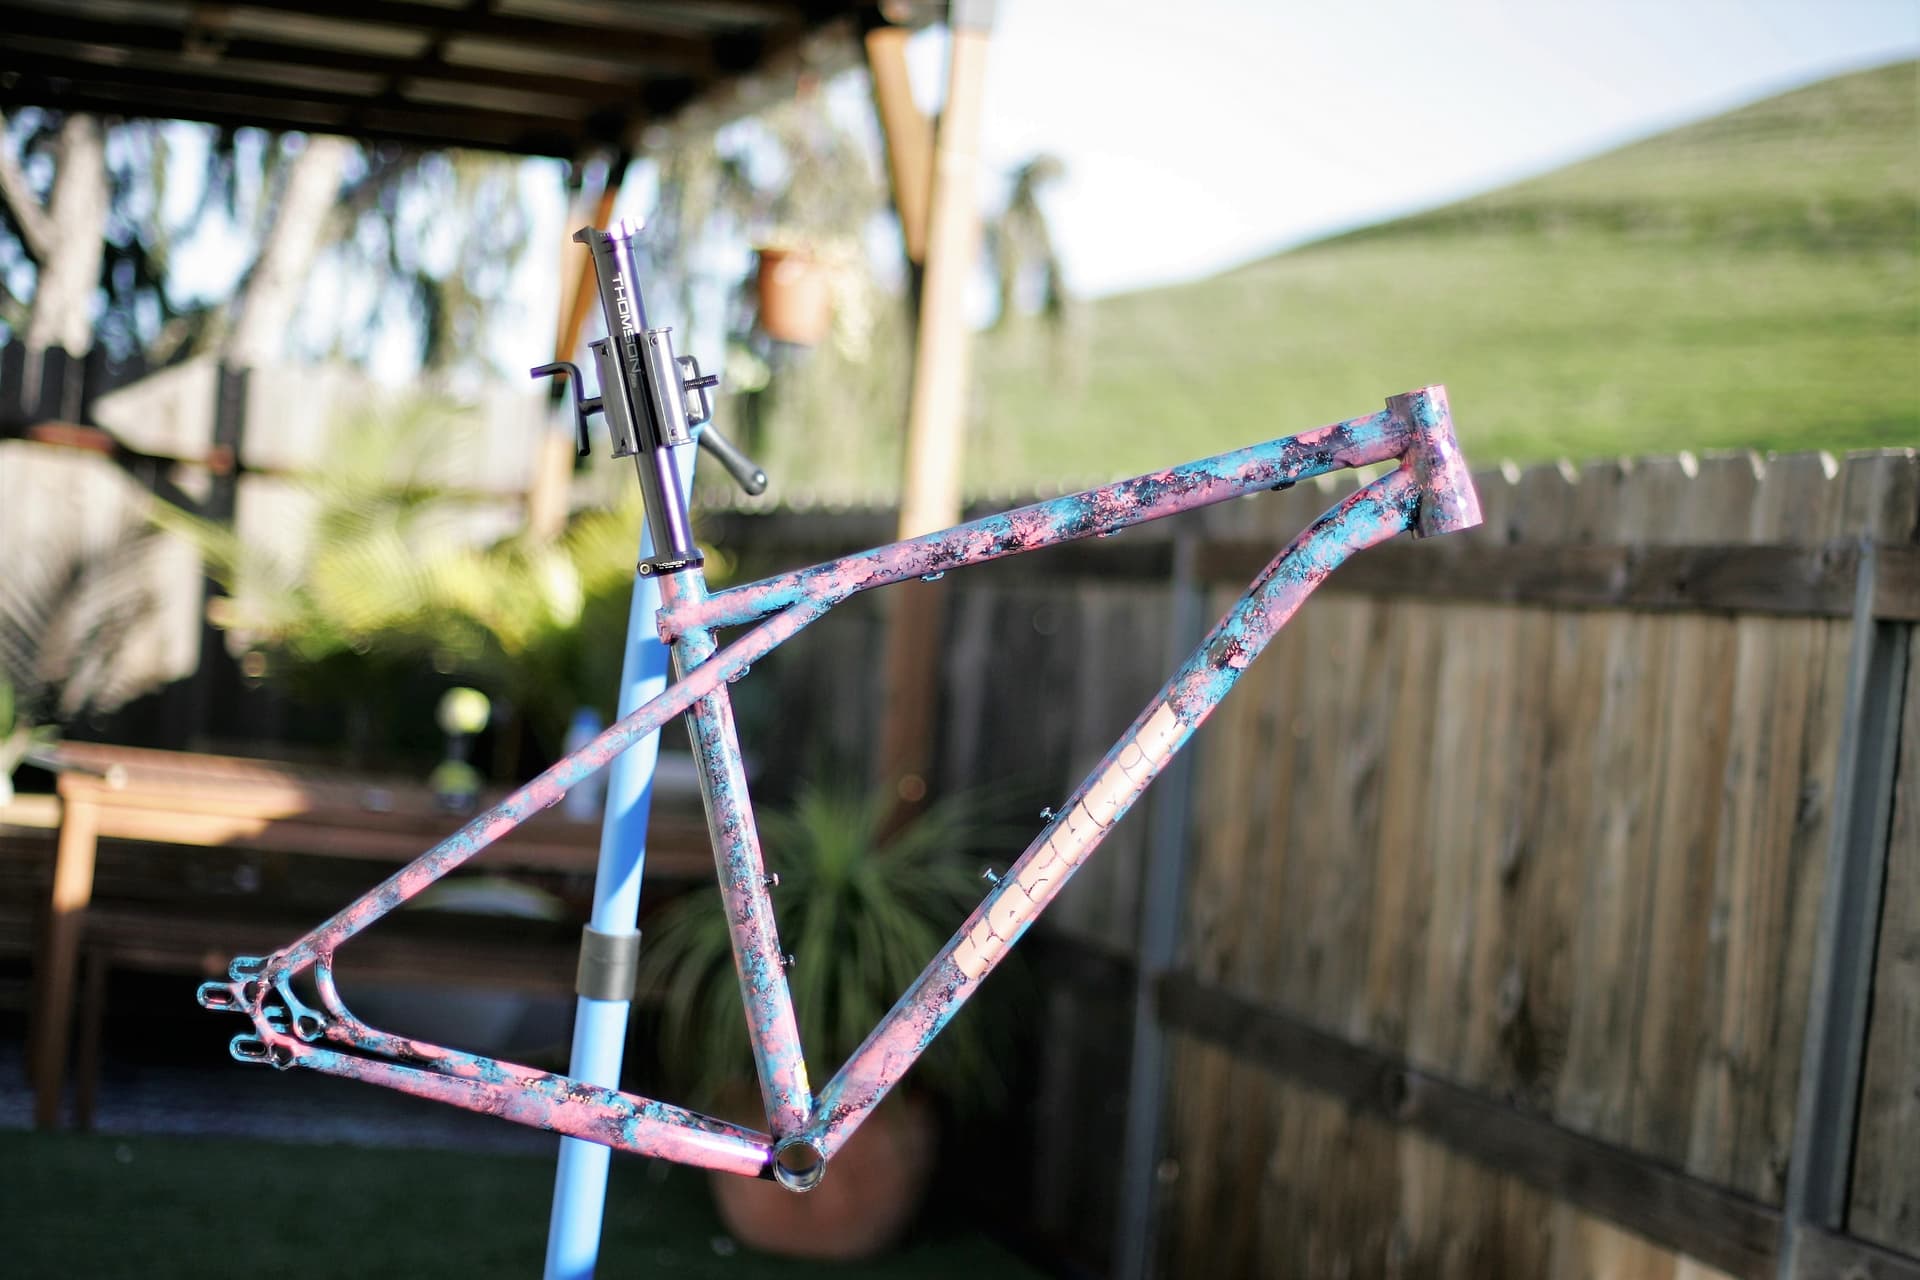
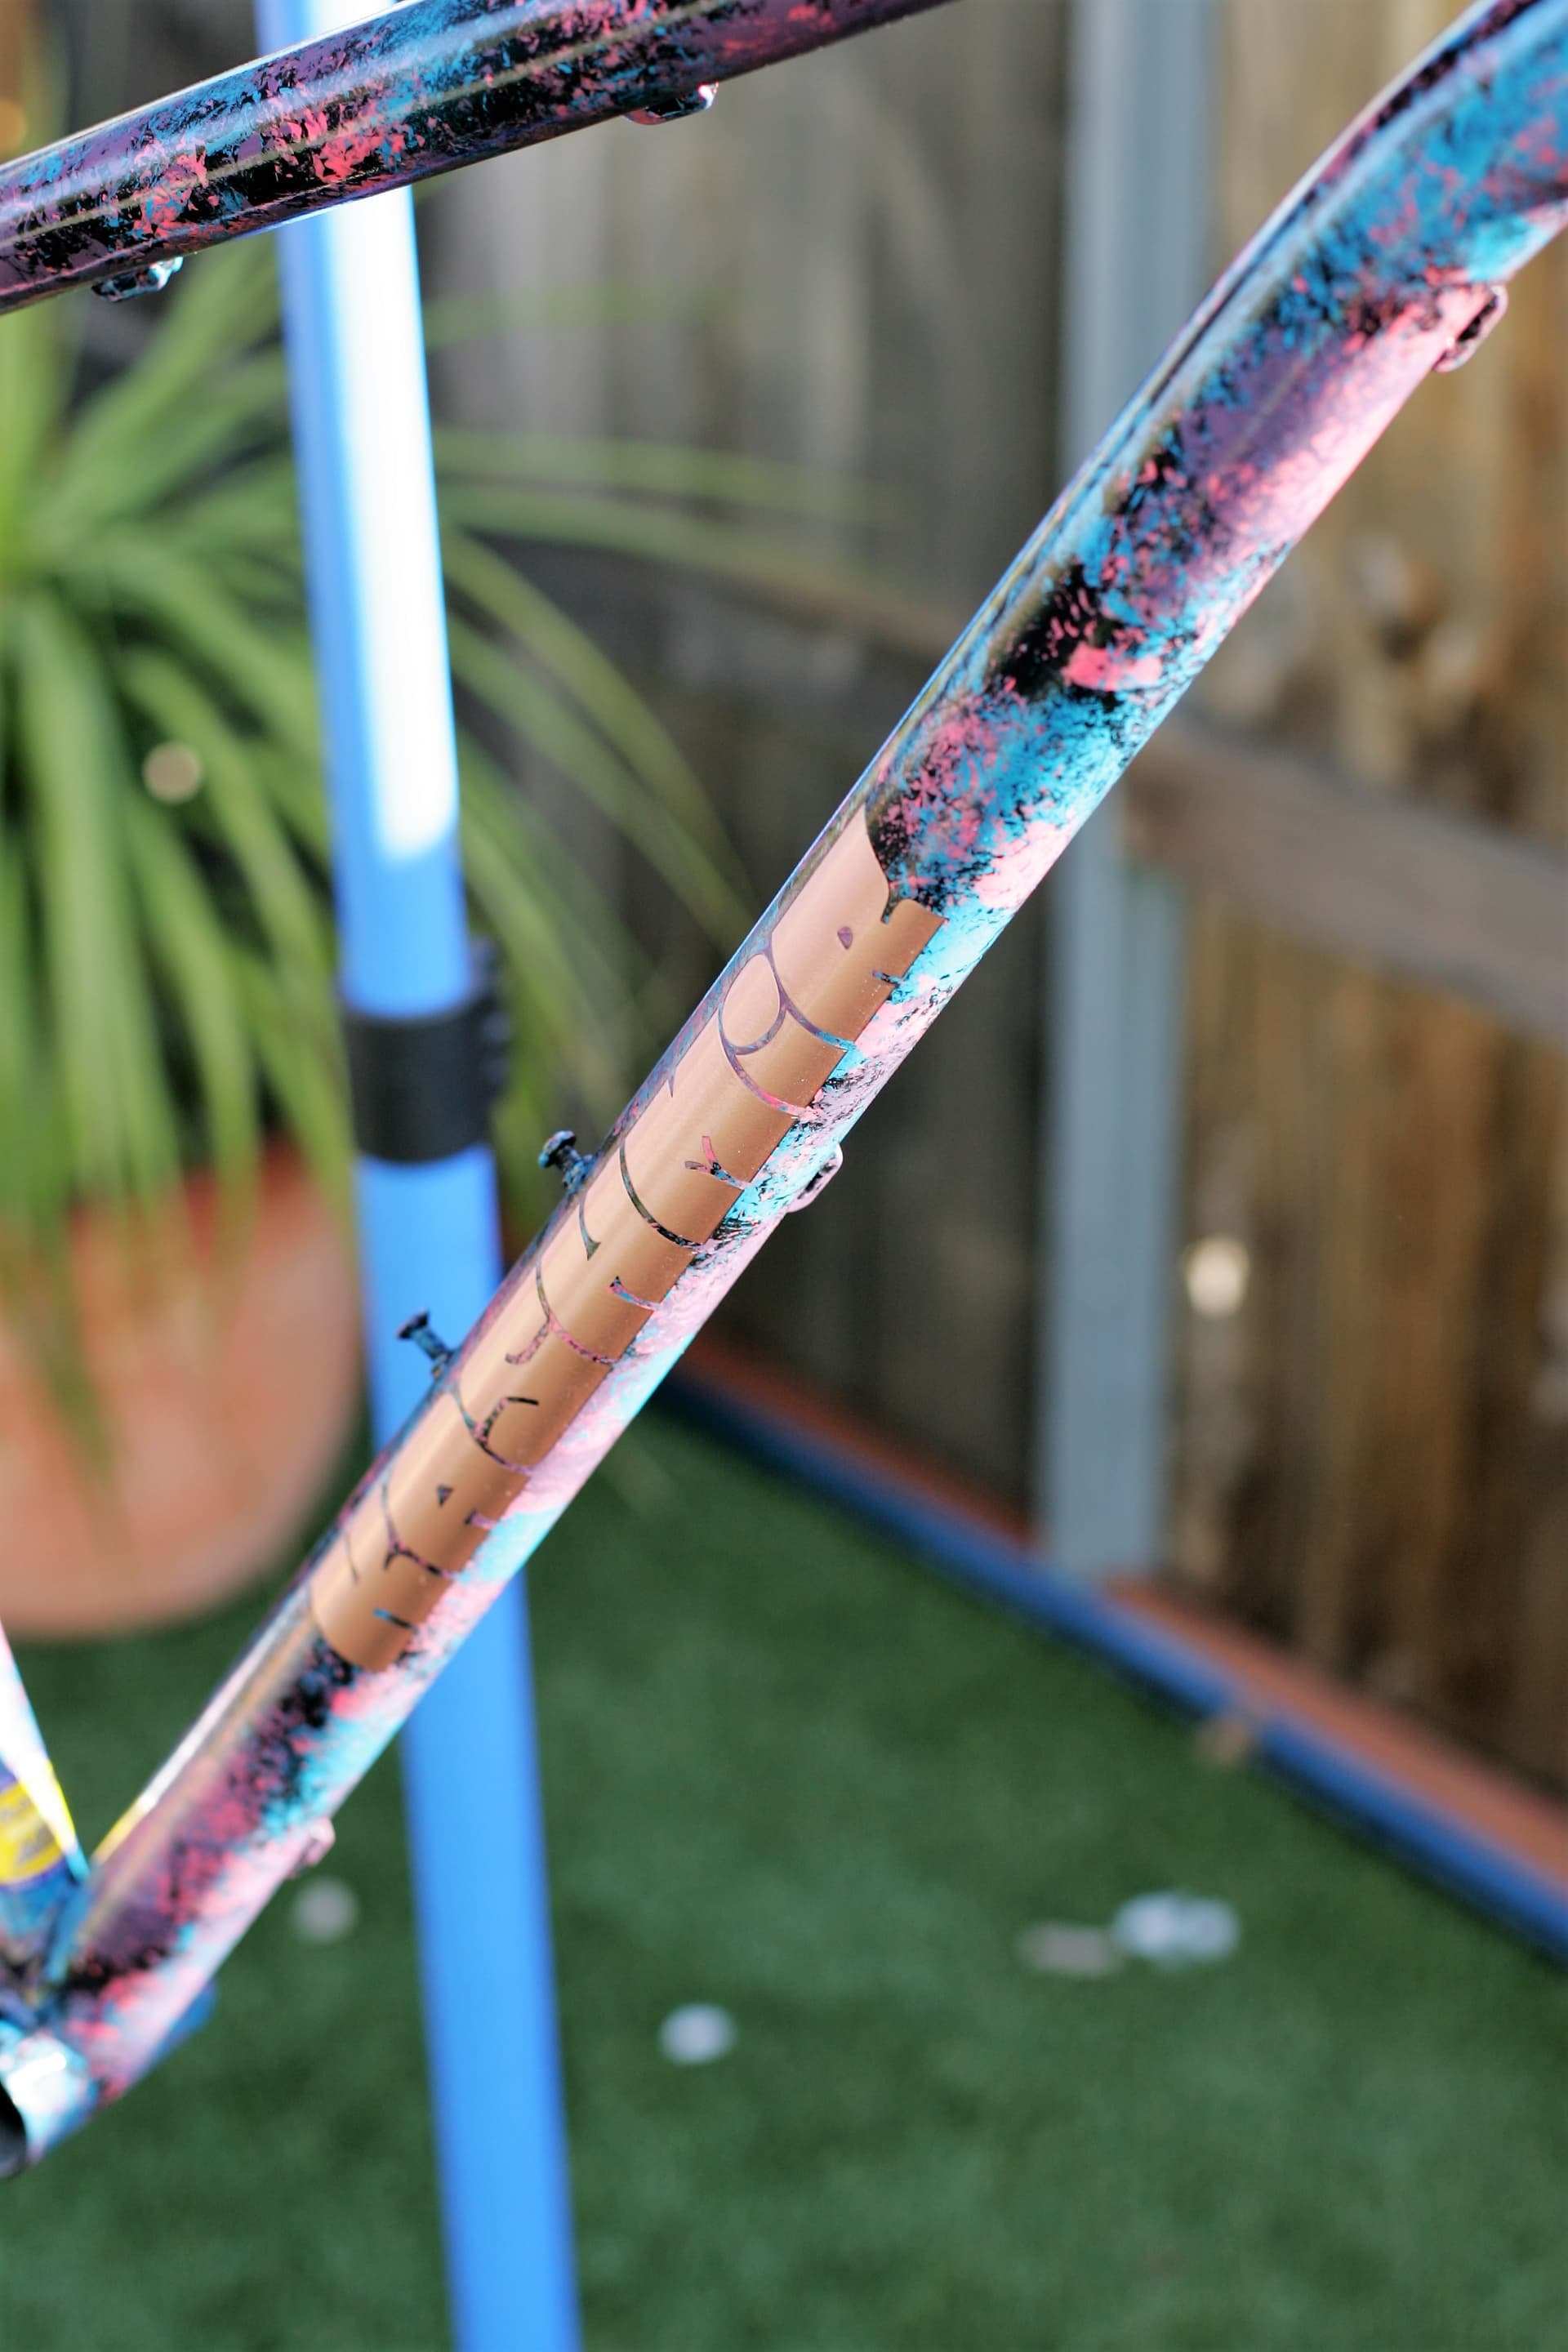
I use spray.bike for my rattle-can jobs, it’s the best I can find here and because I live near Sacramento, it ships fast (order early afternoon, delivered next day). I don’t have a spray booth but I may build one if I start doing more of them, I usually spray outside or in the garage and then bring the frame in the house to dry.
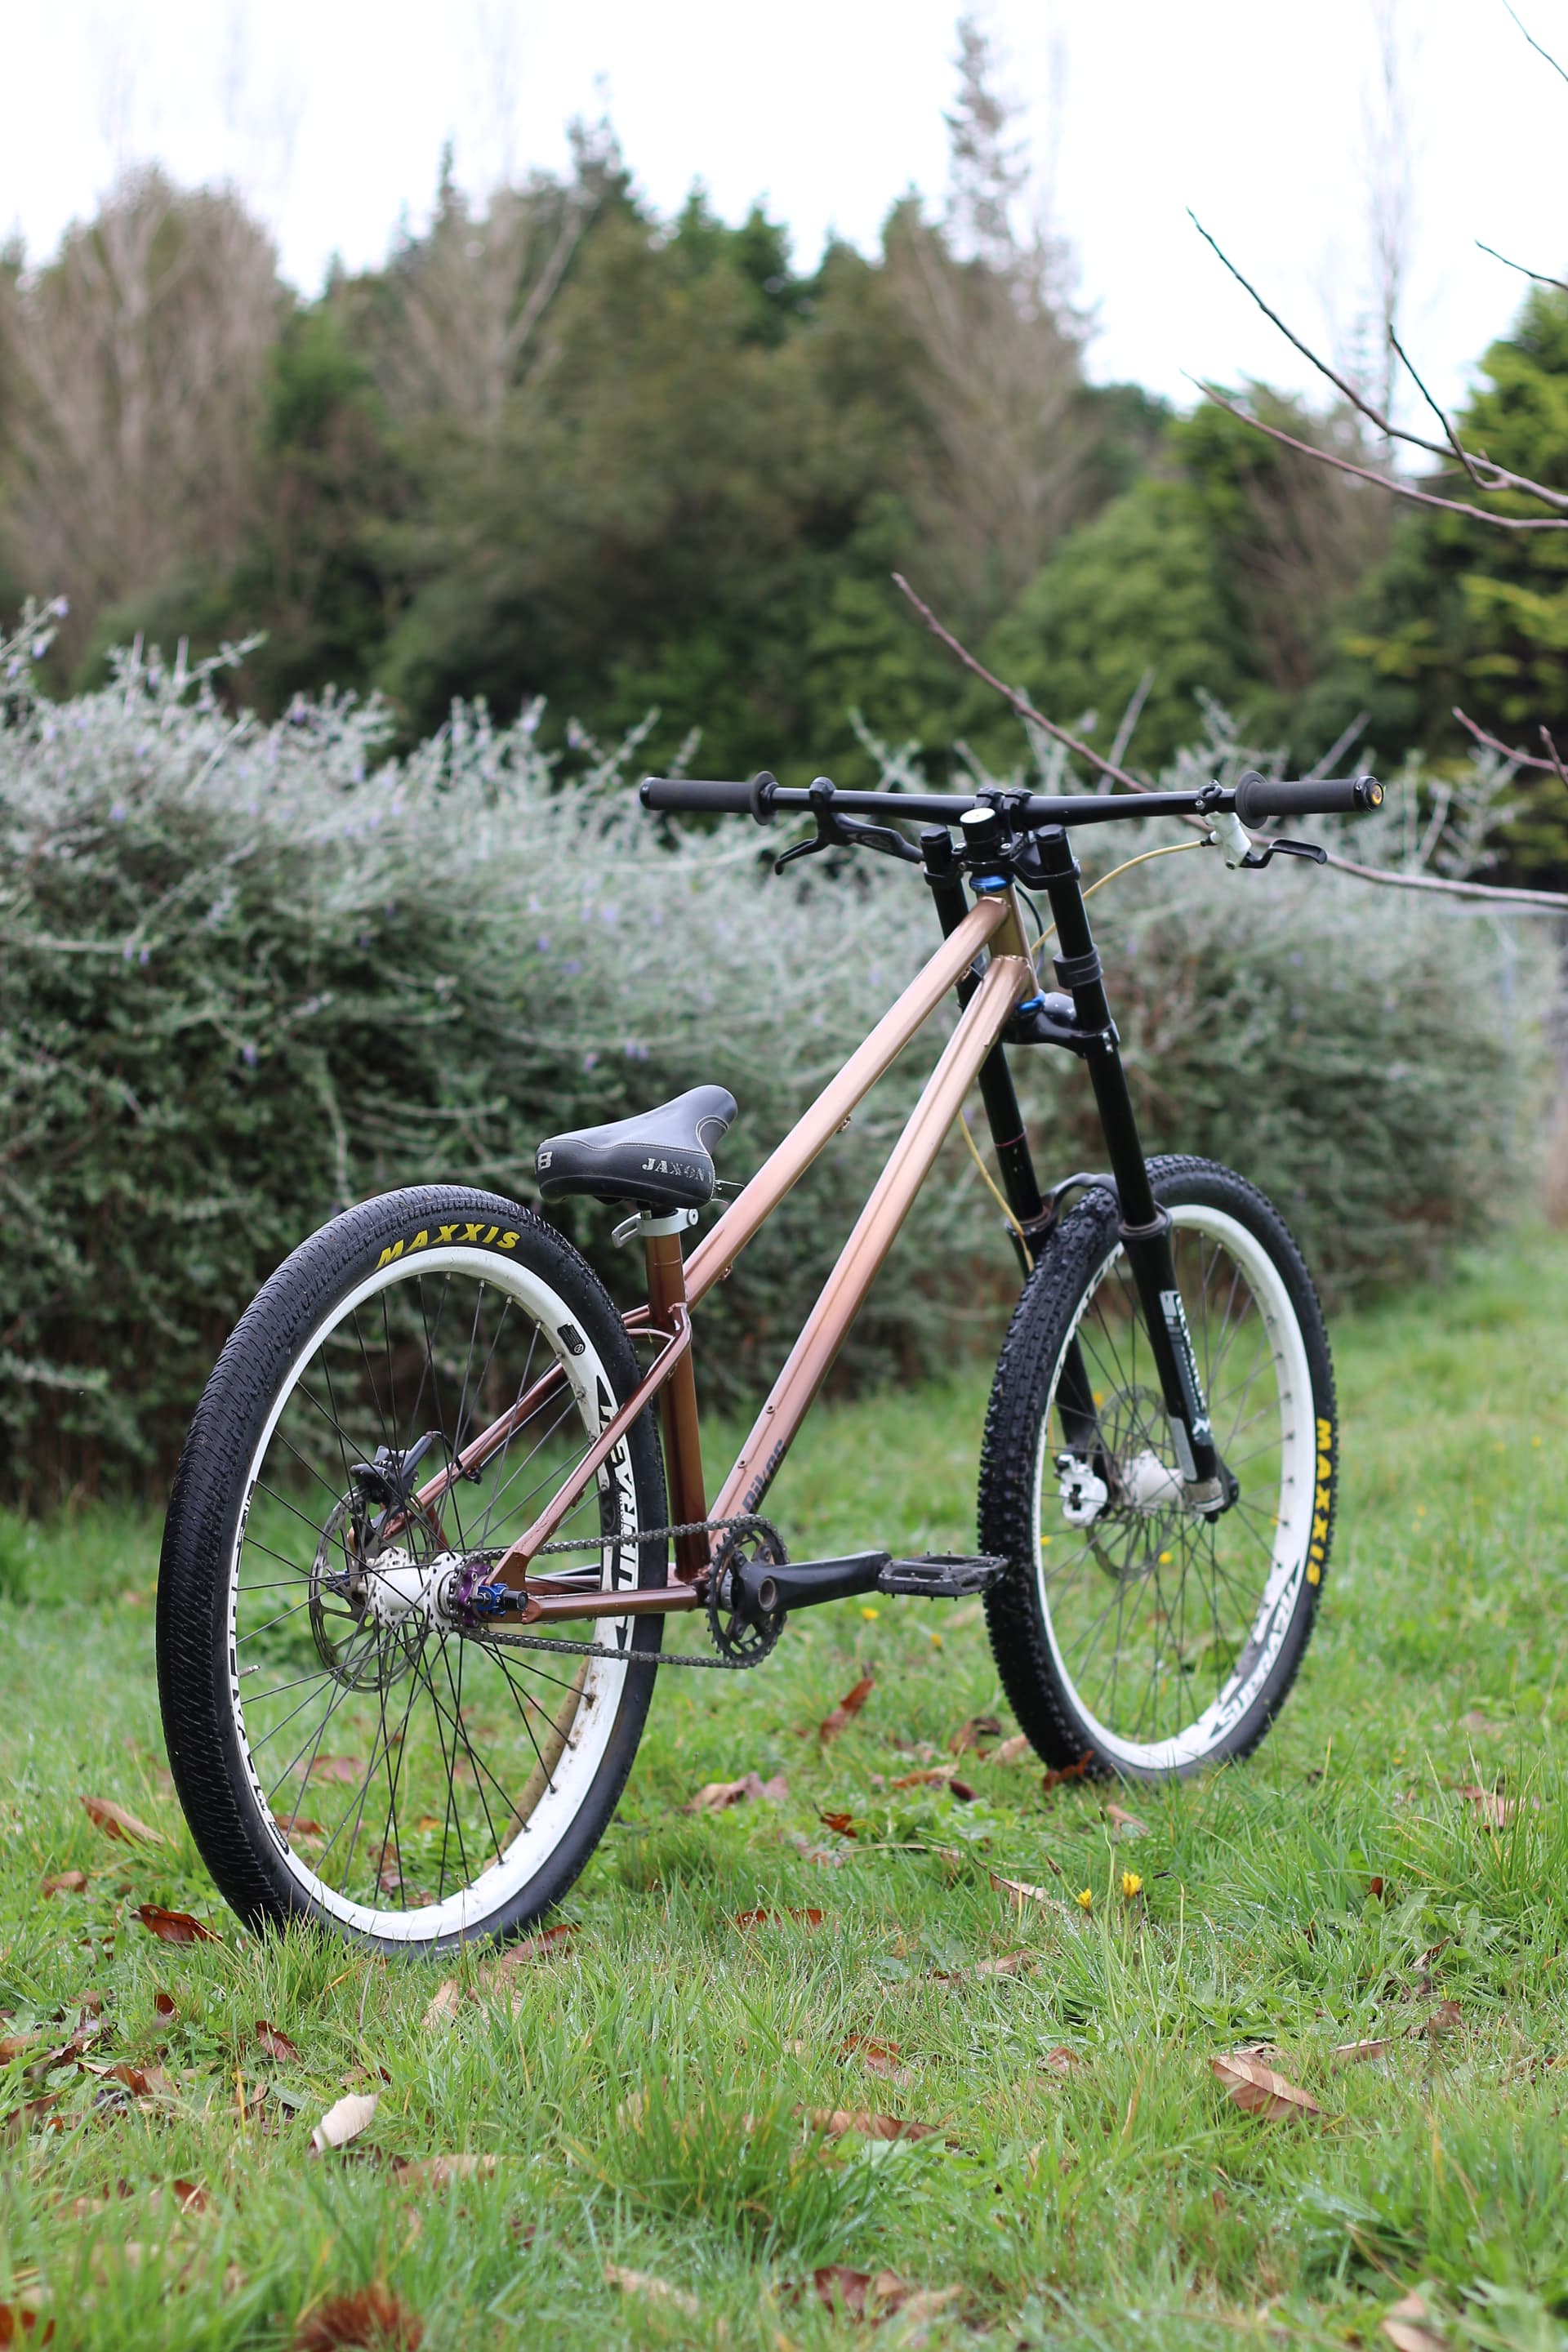
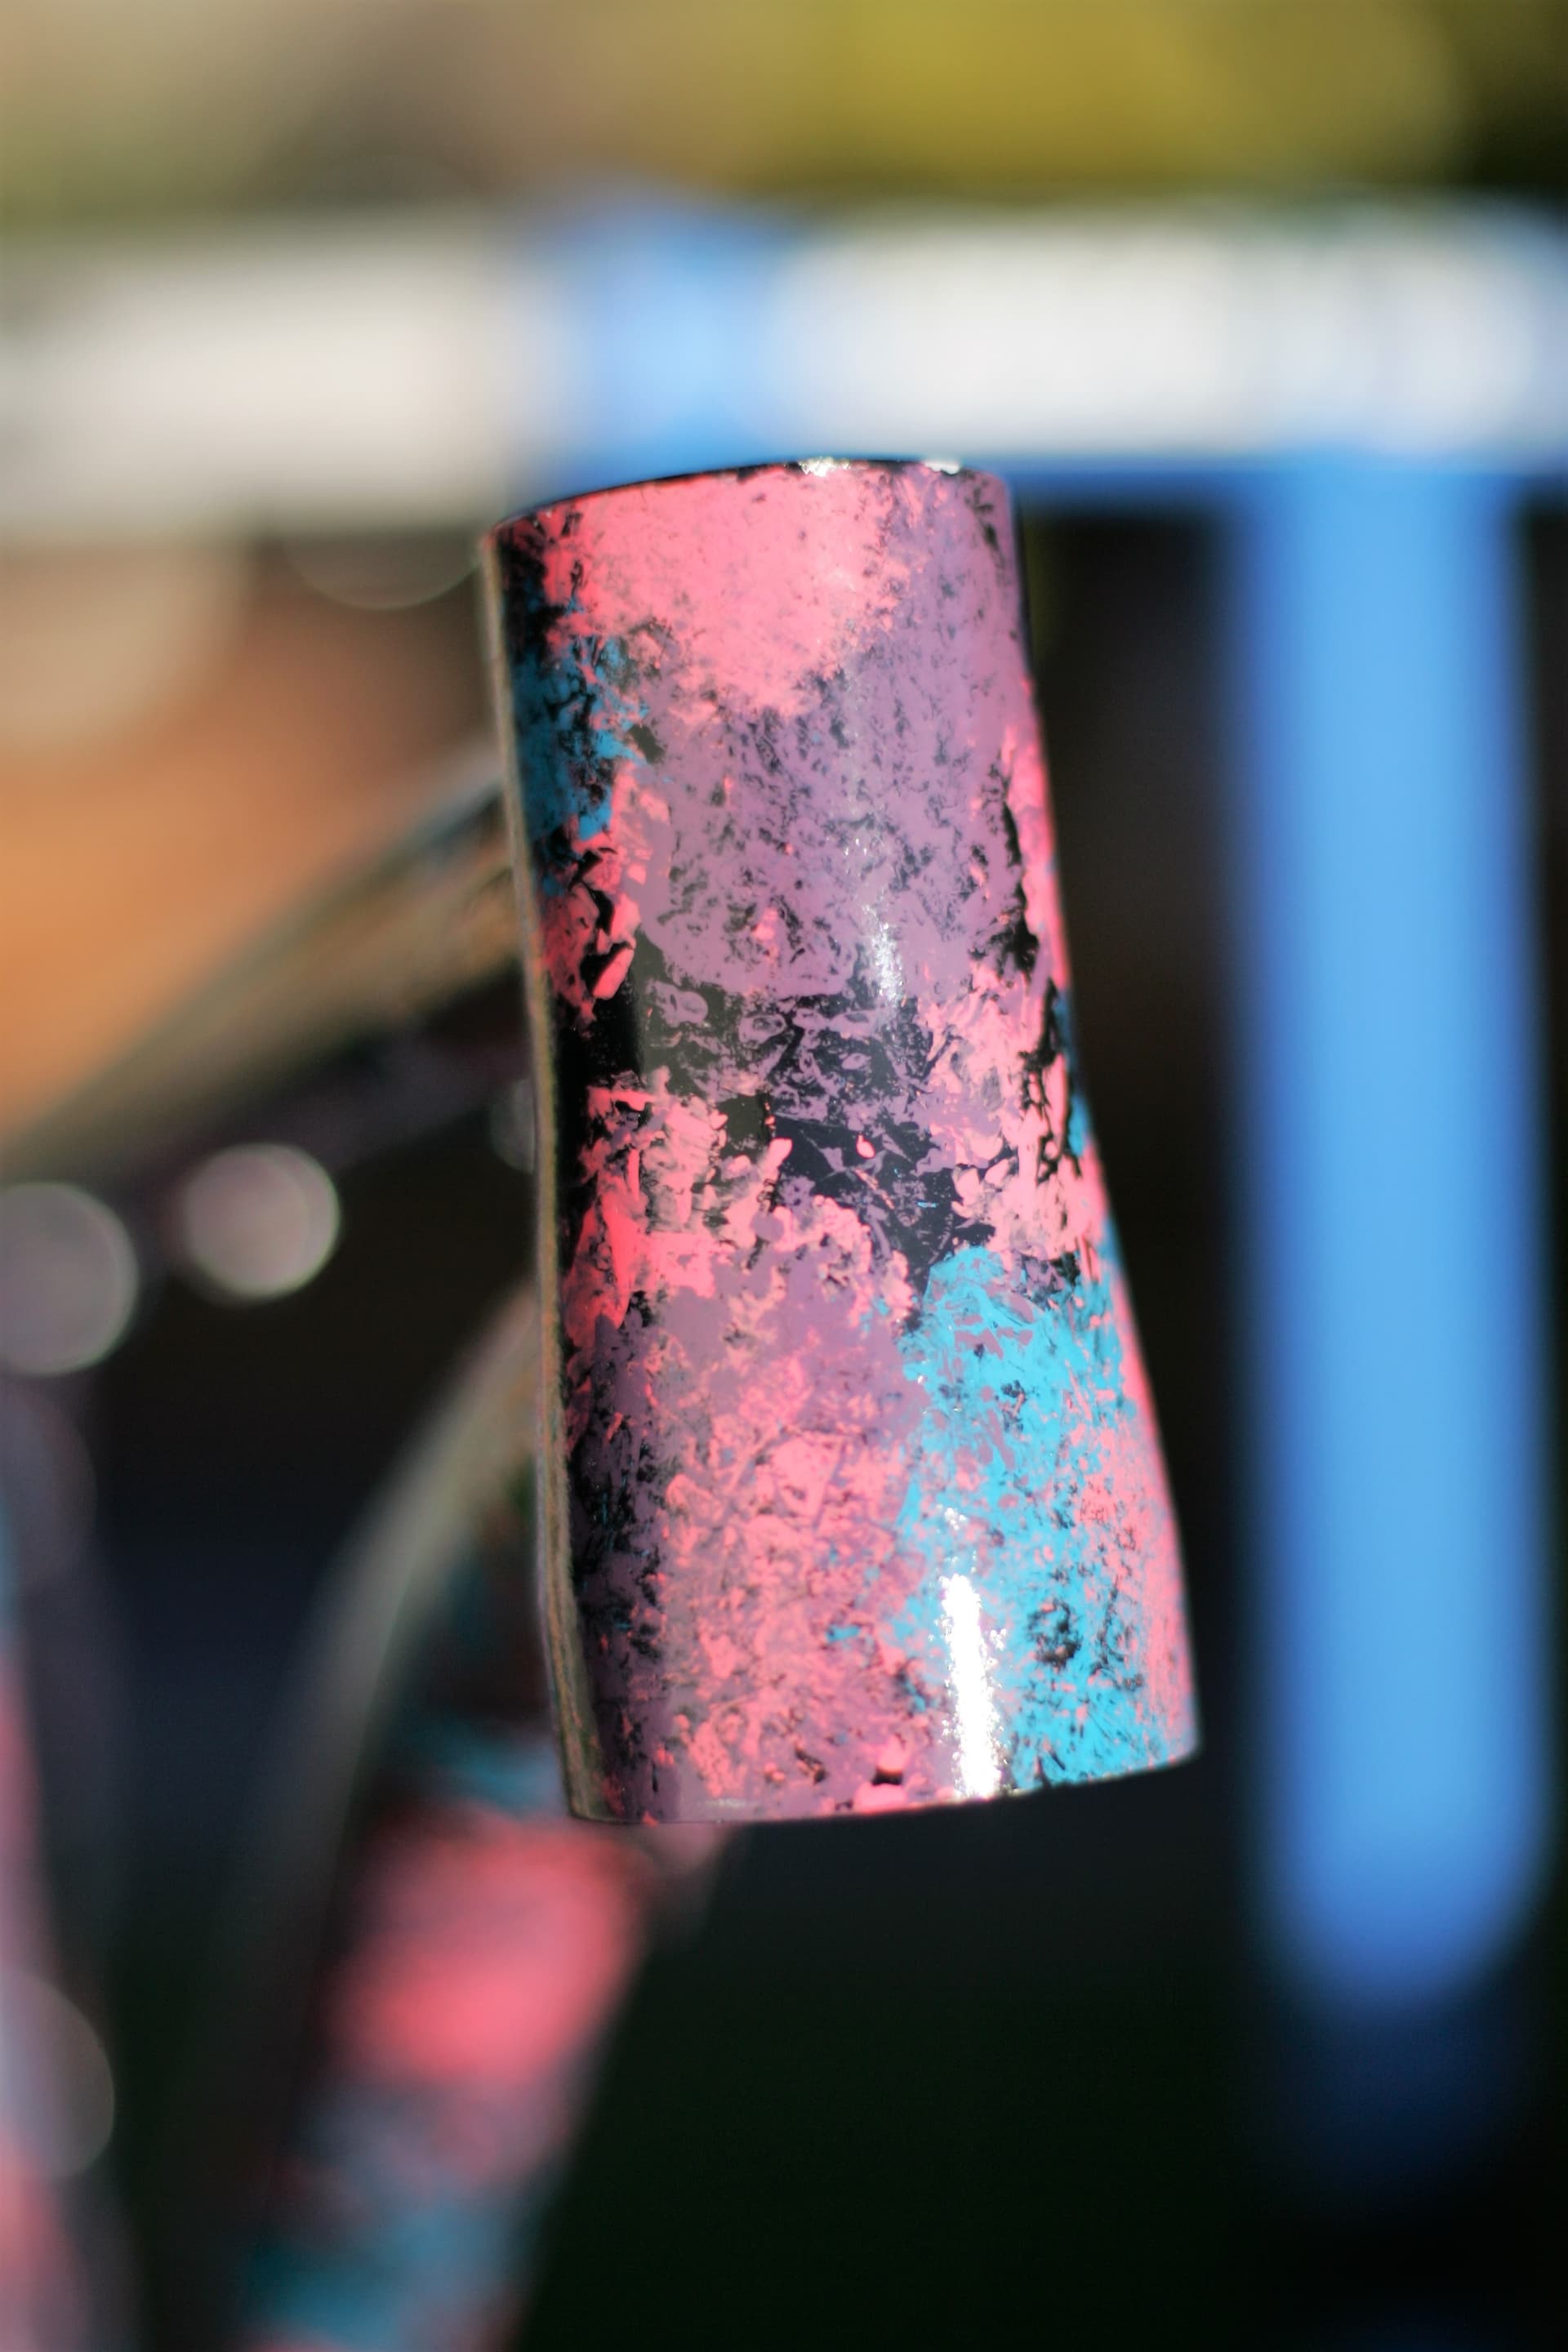
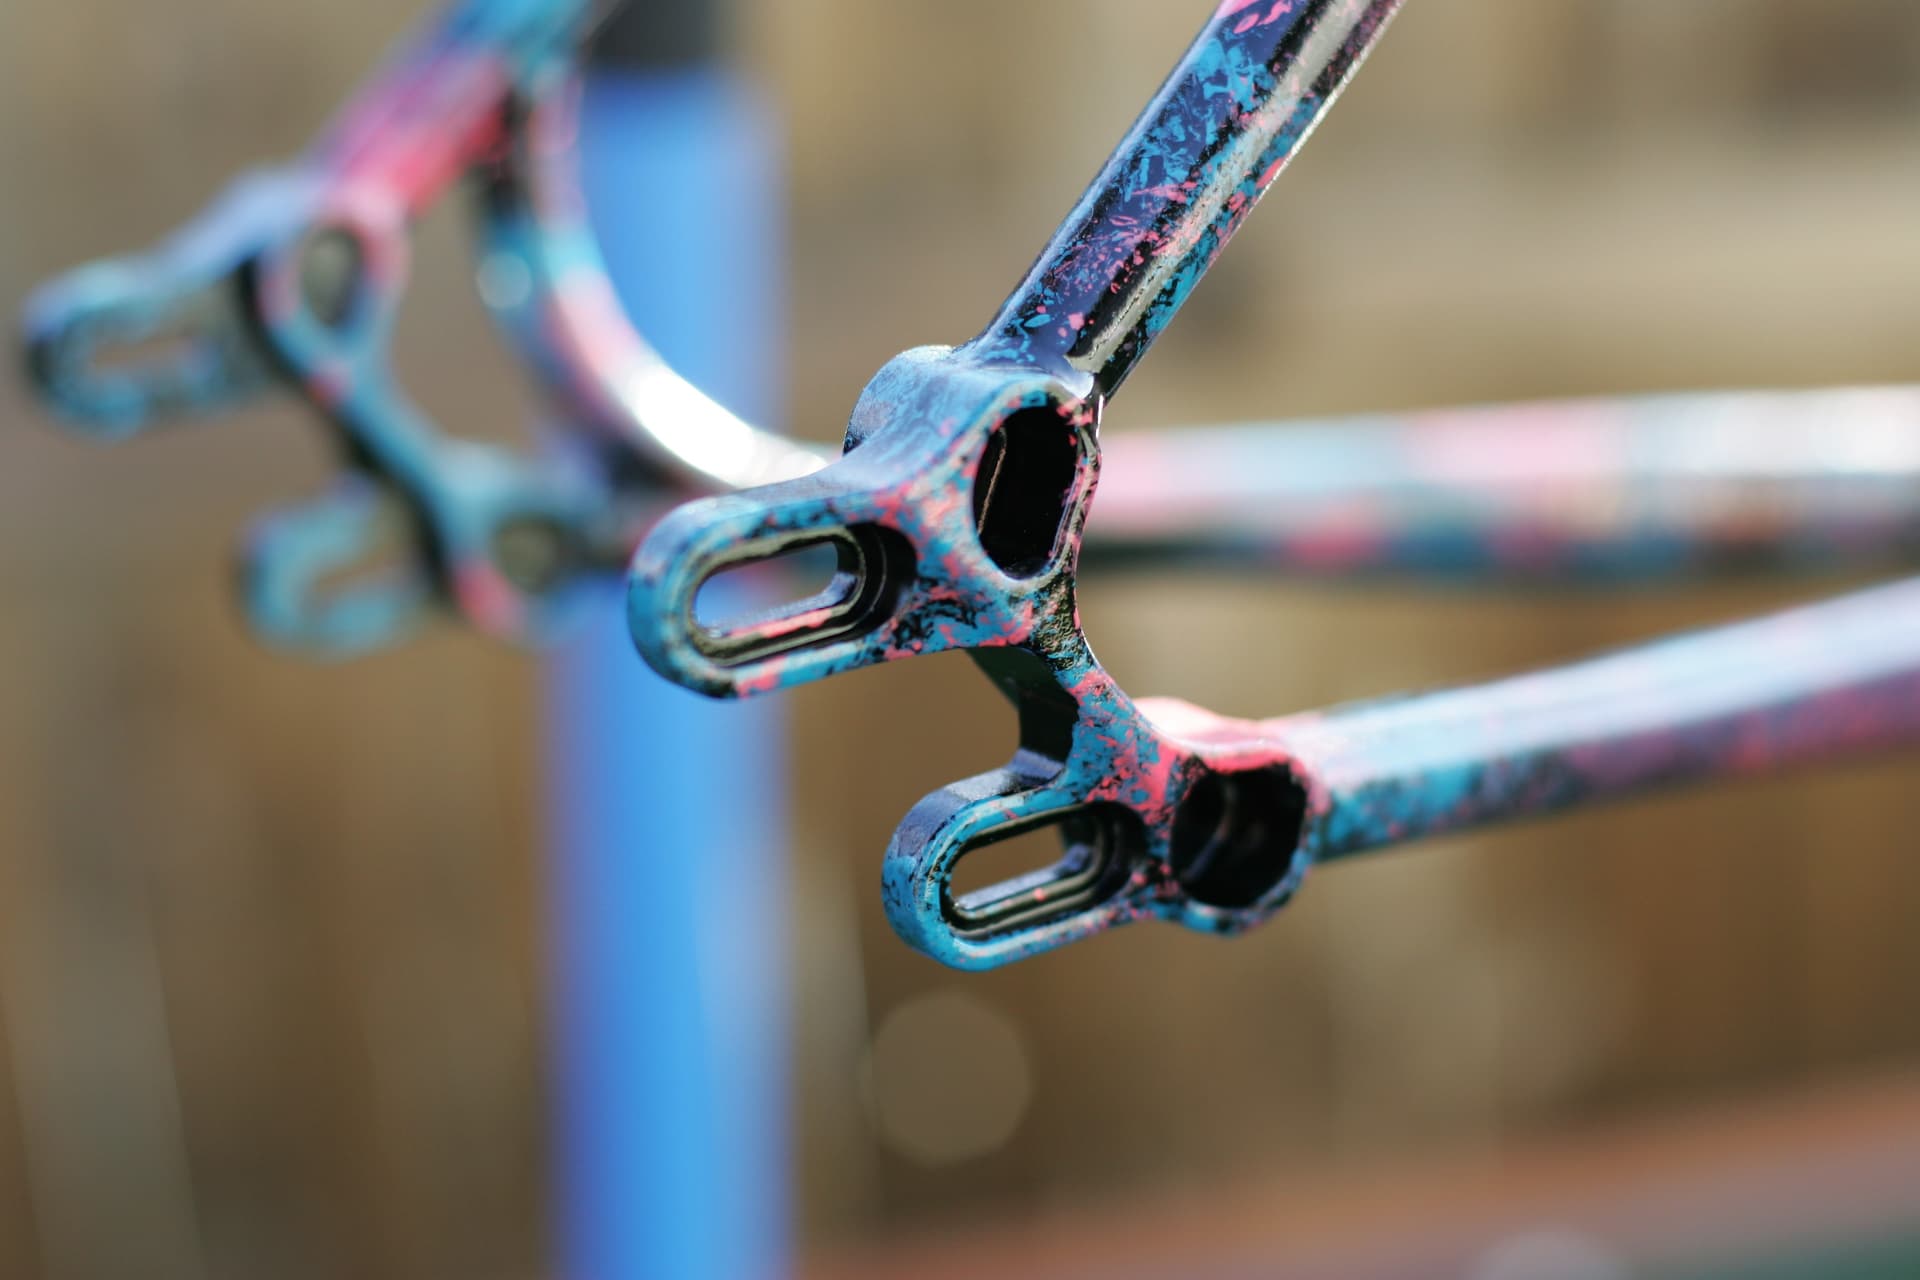
This is an effect I have made by applying color via plastic wrap (yep the kitchen kind), take a little plastic-wrap, make a ball out of it, spray some color on it and touch the frame with it.
Then clear-coated.
The decals were cut out of vinyl using a Cricut machine and then removed before the clear coat.
So, the whole process was:
- Primer
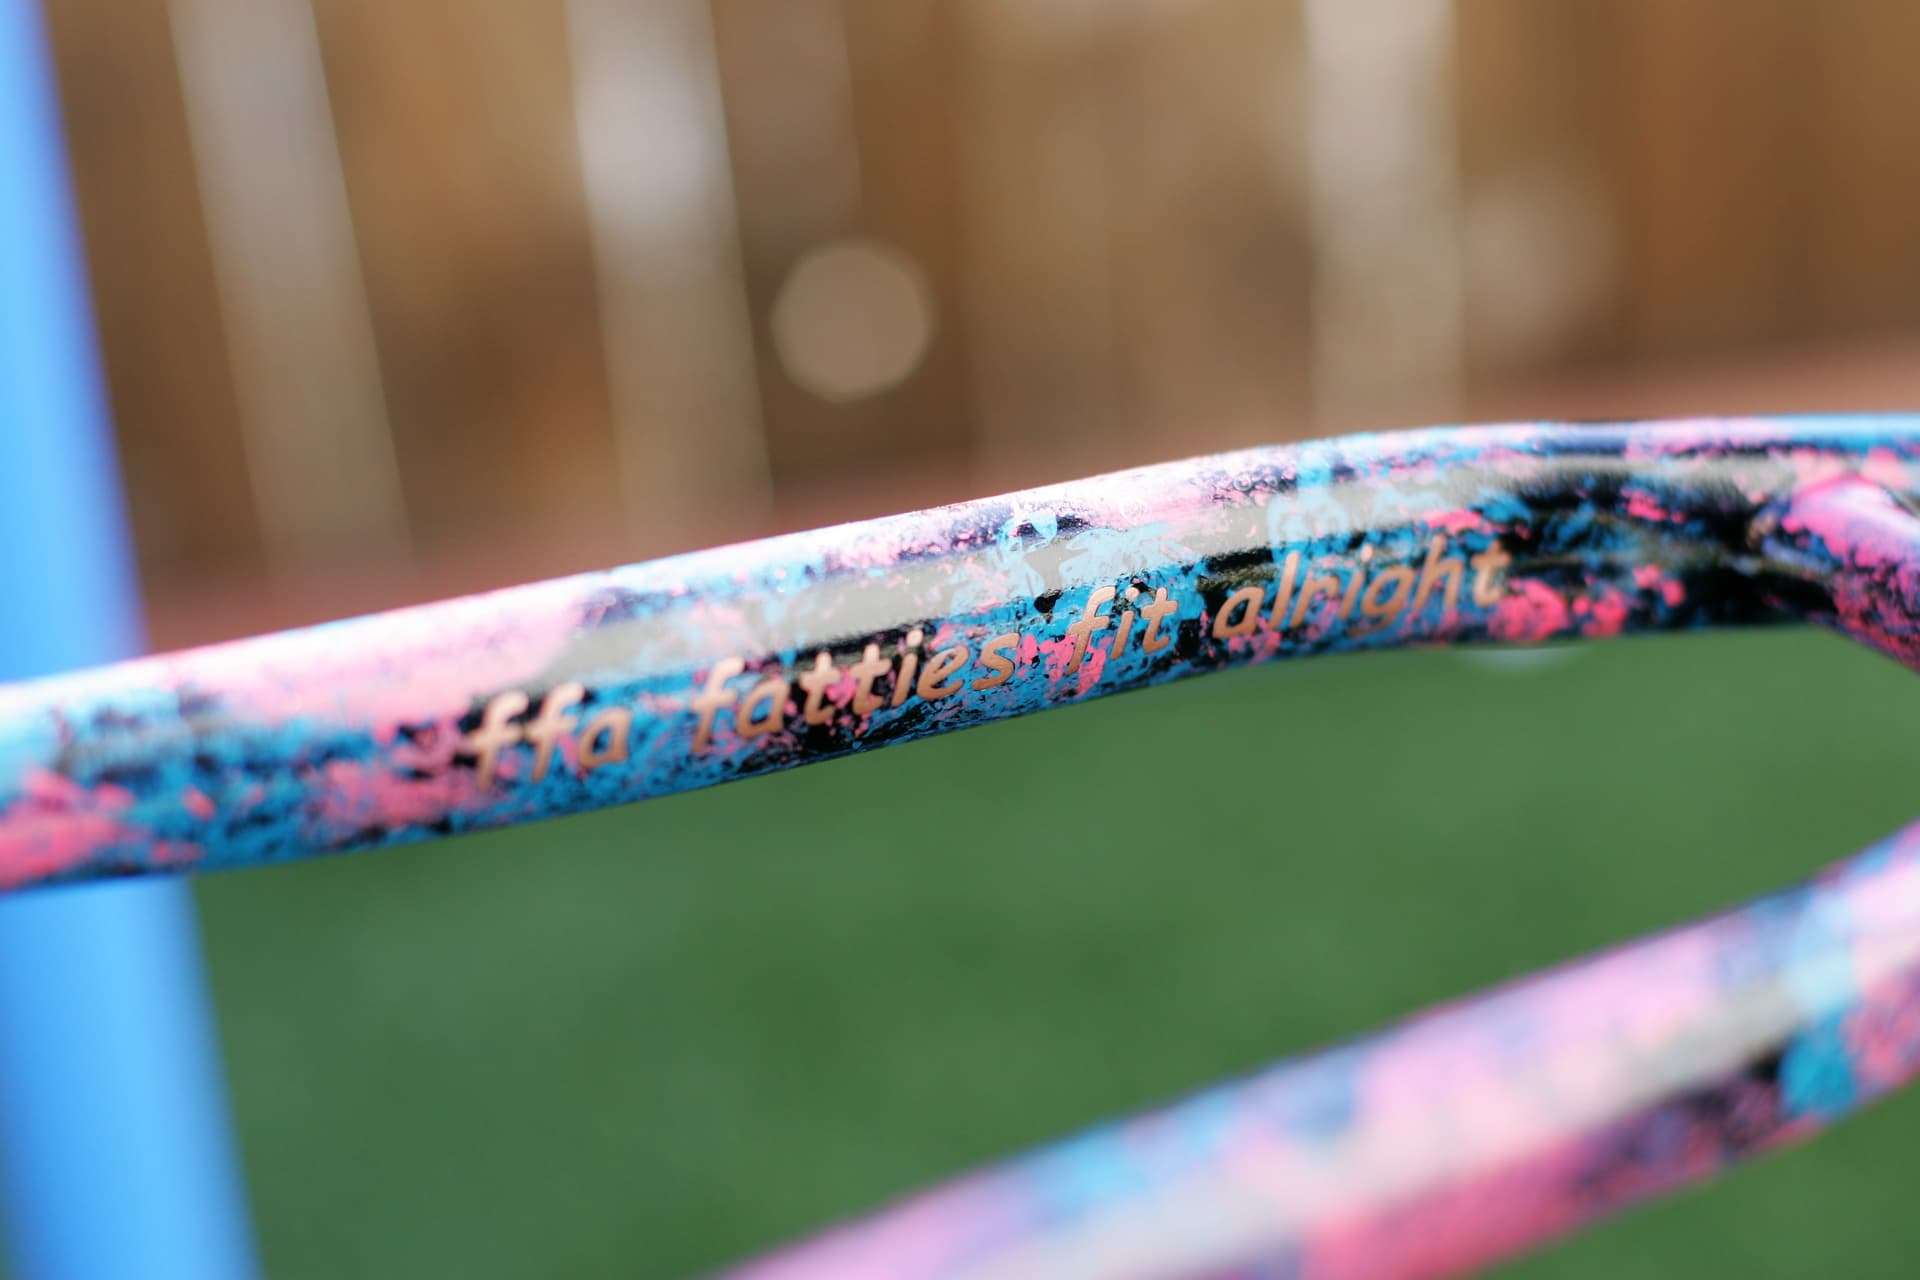
- Copper paint where the decals go
- Apply decals
- Black paint
- Colors
- Clear coat
Some tips:
- Get a high quality rattle can, paint quality is important as is nozzle quality
- Let it dry, if you screw up (and you will), let it dry 24h before touching it - believe me on this one.
- Different compositions needs different spray styles and dry differently - some paints want to be sprayed 1in from the surface, others need 8in and everything in between. If you are not sure, double all dry times, paint hardens over time, it may seem dry to the touch until you grab it and leave a mark.
- Use gloves, they saved me on multiple occasion from leaving my prints on a frame that looked dry.
- Some paint may leave a fuzzy surface, get some parchment paper (yes the one used you use to bake) and pass it over the paint once it’s dry, it will take care of the fuzzyness (3000 grit would do as well but it’s much cheaper and easy to get parchment paper)
Sorry for the pics, I was doing experiments with a 23yo DSLR
15 Likes
Have you found a source for a material designed to go under powder? We have had mixed results with oracal under powder. Seems like different colors react differently?
Hahn Rossman
I know some folks have had success with regular vinyl decals under a low-temp clear coat. But yeah, there will likely be a color shift of some kind.