I’m about 3 weeks into ownership of a Creality Ender 3 S1 Pro. So far so good, apart from stuff falling off the bed! Tramming your bed (“levelling” is a misnomer) is vital to make sure everything is parallel, but you engineering types already knew that didn’t you! Make sure you preheat the nozzle and bed before you do any tramming or auto-levelling, to account for any thermal expansion.
Yesterday I had a delivery of PETG and TPU to try, after getting started with PLA. I also bought some cool two-tone PLA but like a moron I bought 2.85mm stuff which doesn’t fit my machine. Live and learn.
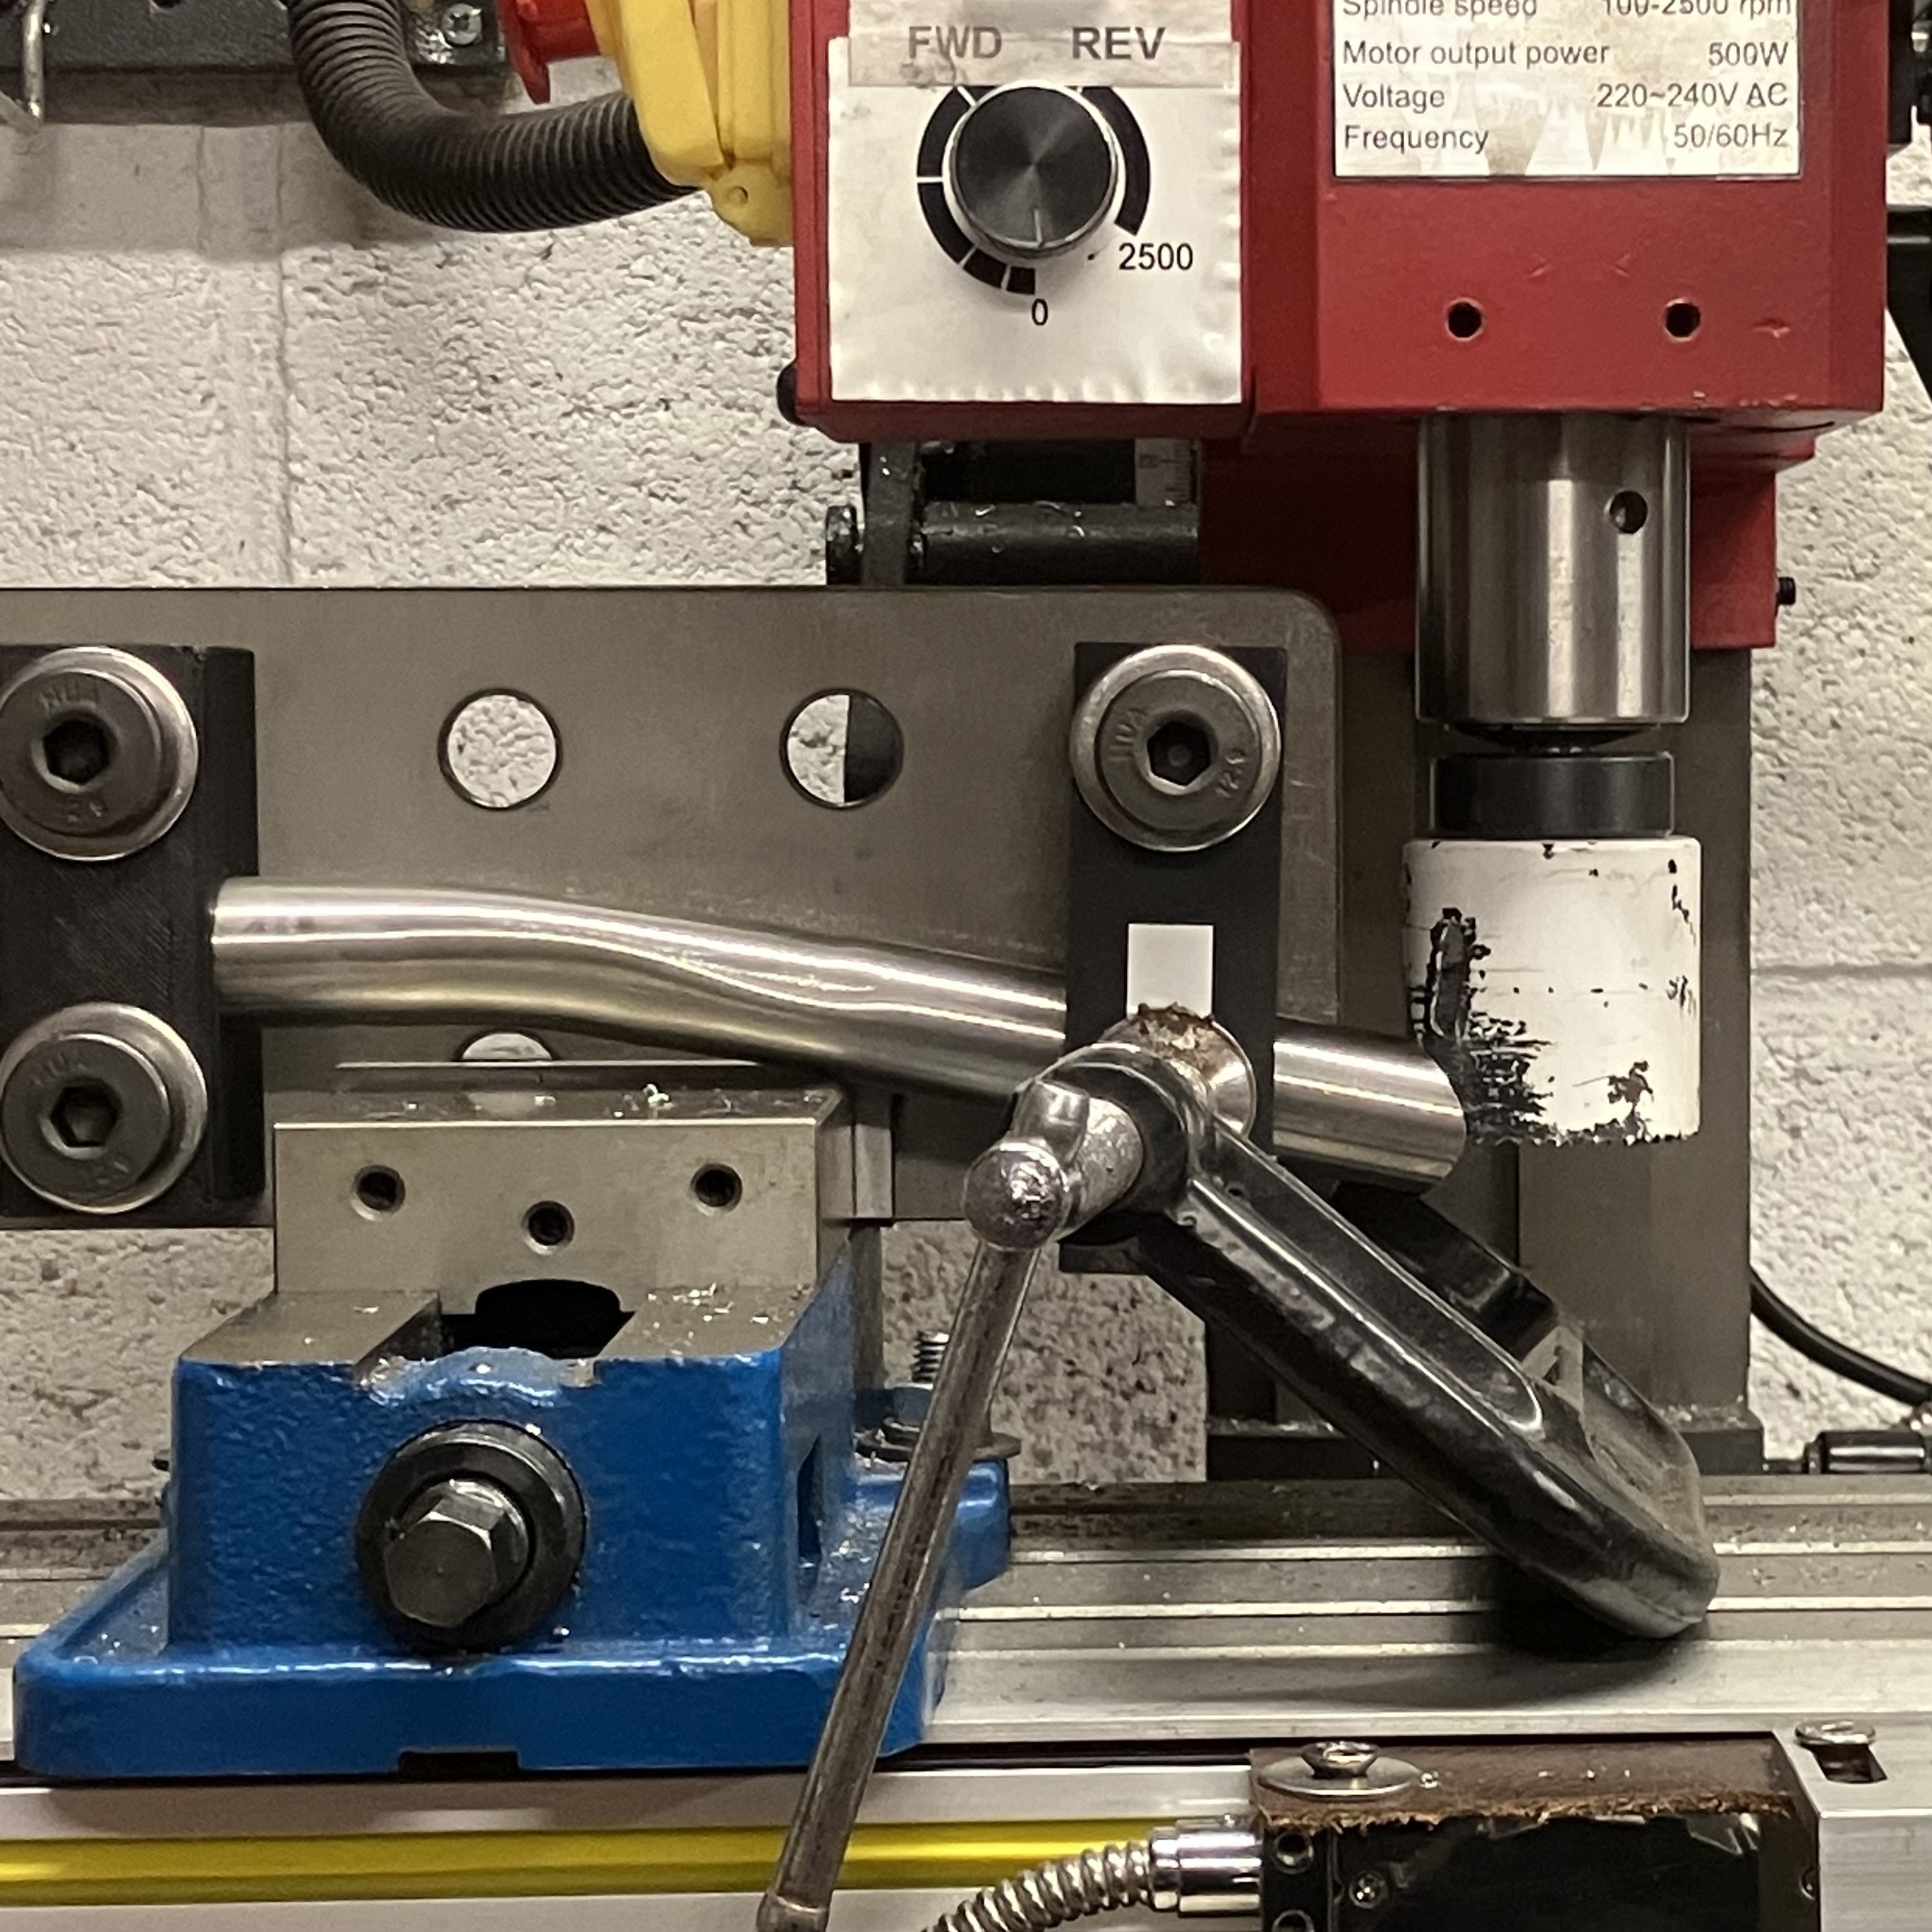
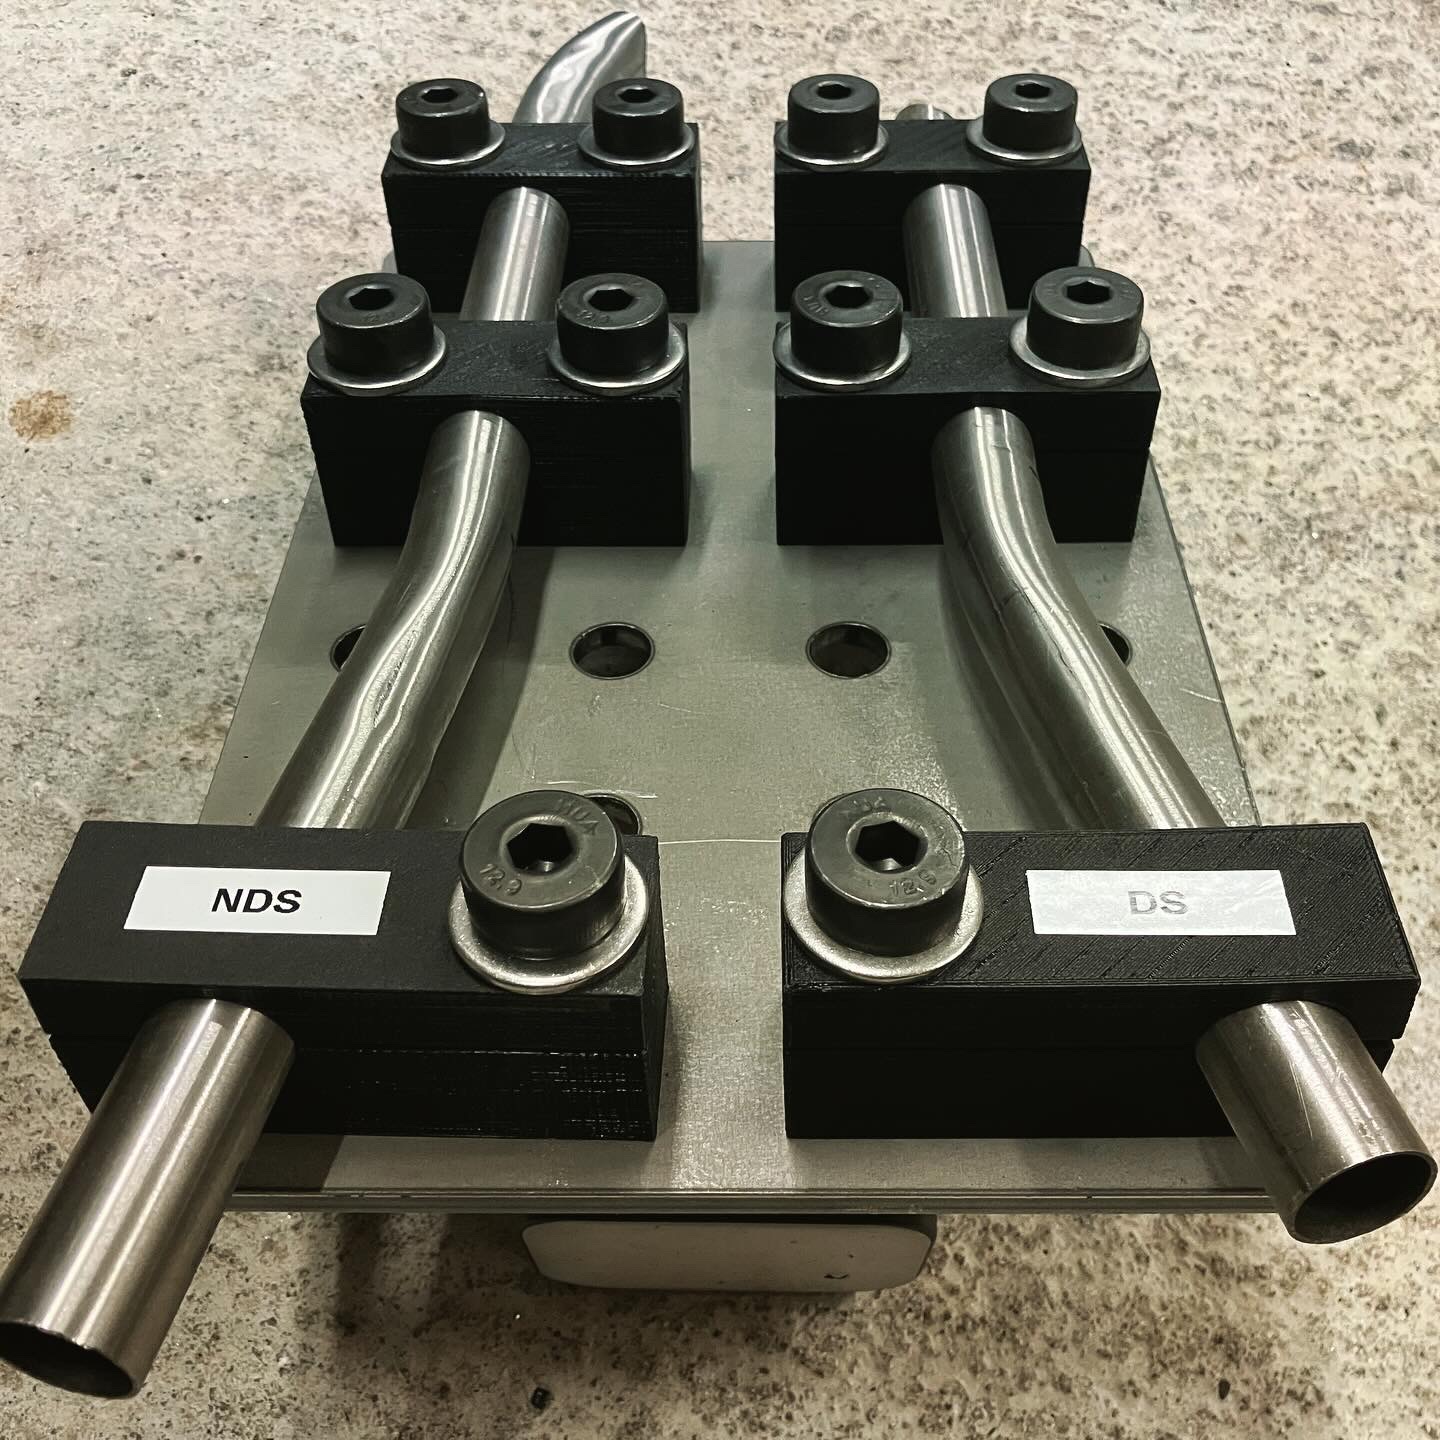
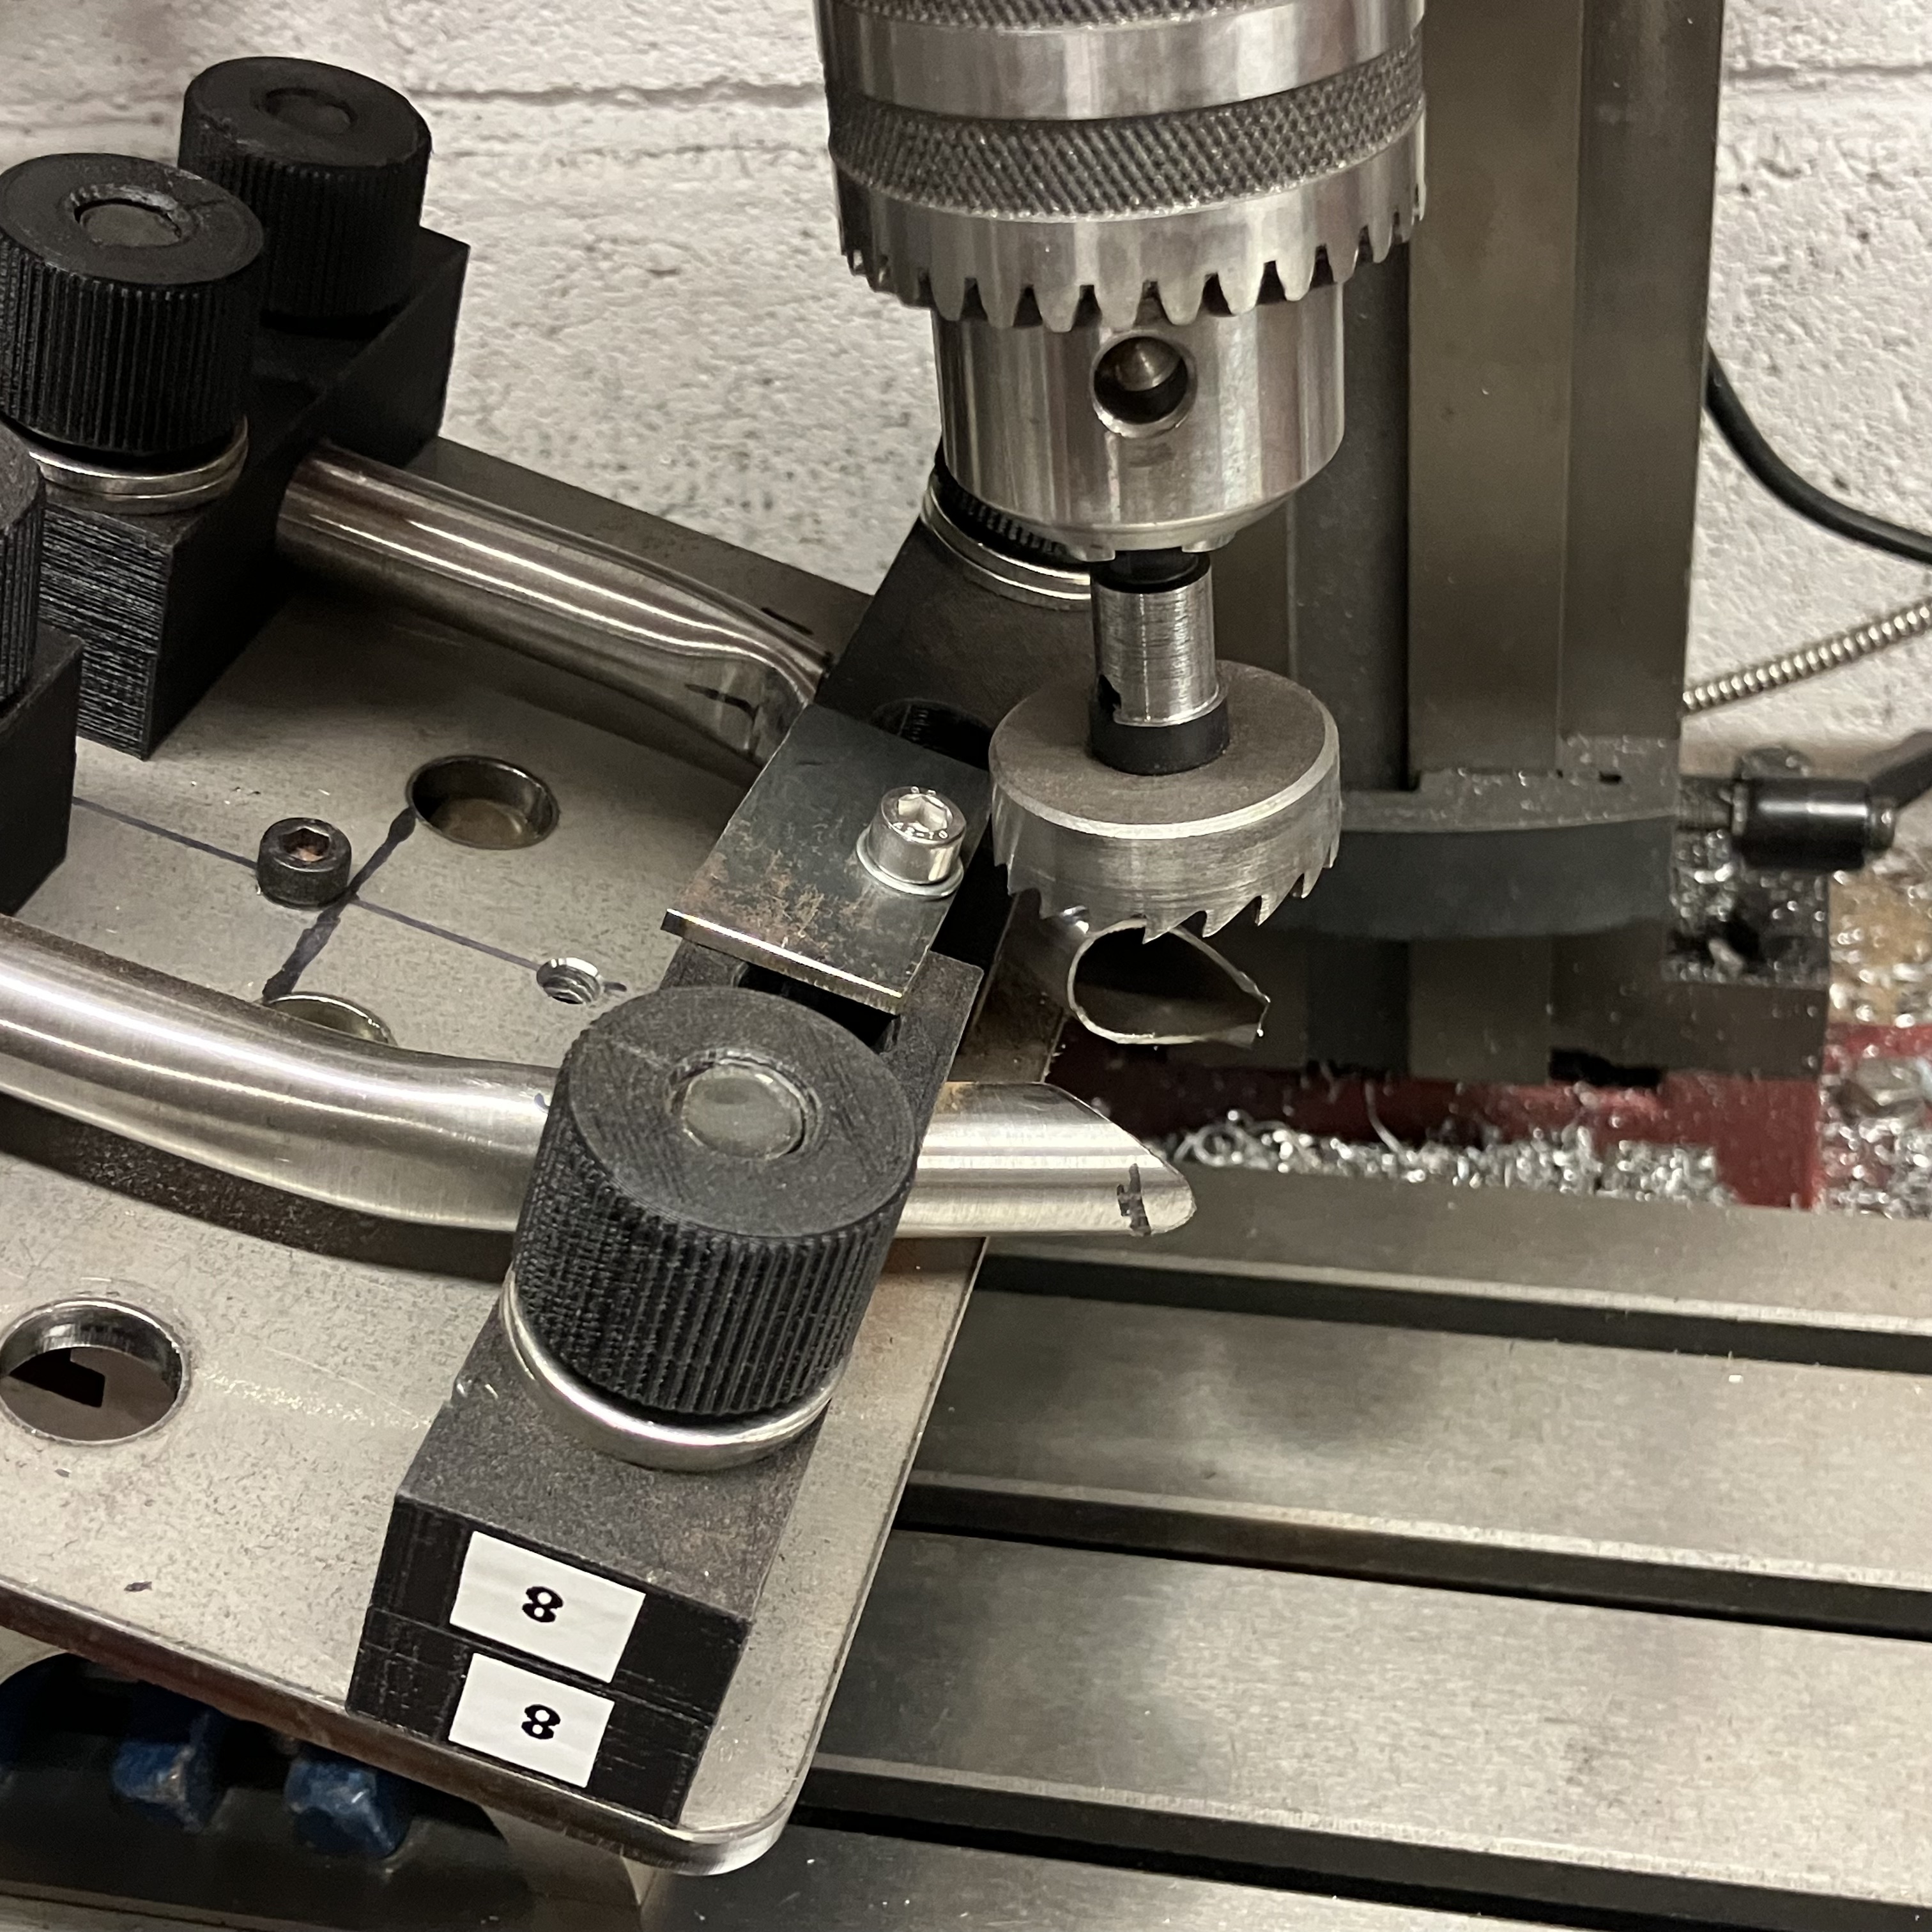
Just printed off a few tube blocks for a rack I’m making.
PLA, 0.4mm nozzle, 0.2mm layer height, 0.4mm width, 0.8mm wall thickness with 4 outer walls, 20% infill, 104% size in the slicer to accommodate any shrinking. Seems to work pretty well holding the tube in the vice. No problems filing with it but uncertain if it would hold up to a milling machine.
This video does a good job summarizing current state of 3d for fabrication in the garage.
Glad I picked up a printer back in the fall. Printed numerous jigs and fixtures to make building my recent full suspension frame much easier. Printed in petg.
Current bike has 3 printed parts on it in full usage. Custom printed cable guides to exactly match my 42mm downtube with three cables and the notches perfectly sized. Printed in petg.
The seat tube is a full straight gauge 35mm 0.9mm tube with no collar welded in. I printed a shim to match ID and 30.9 seatpost. Working great so far.
Last one is a chain guide printed in TPU that is a copy of the STFU style guide to mount to the chainstays to keep the upper chain route from banging around. This is awesome as it helps cut down on pedal kickback.
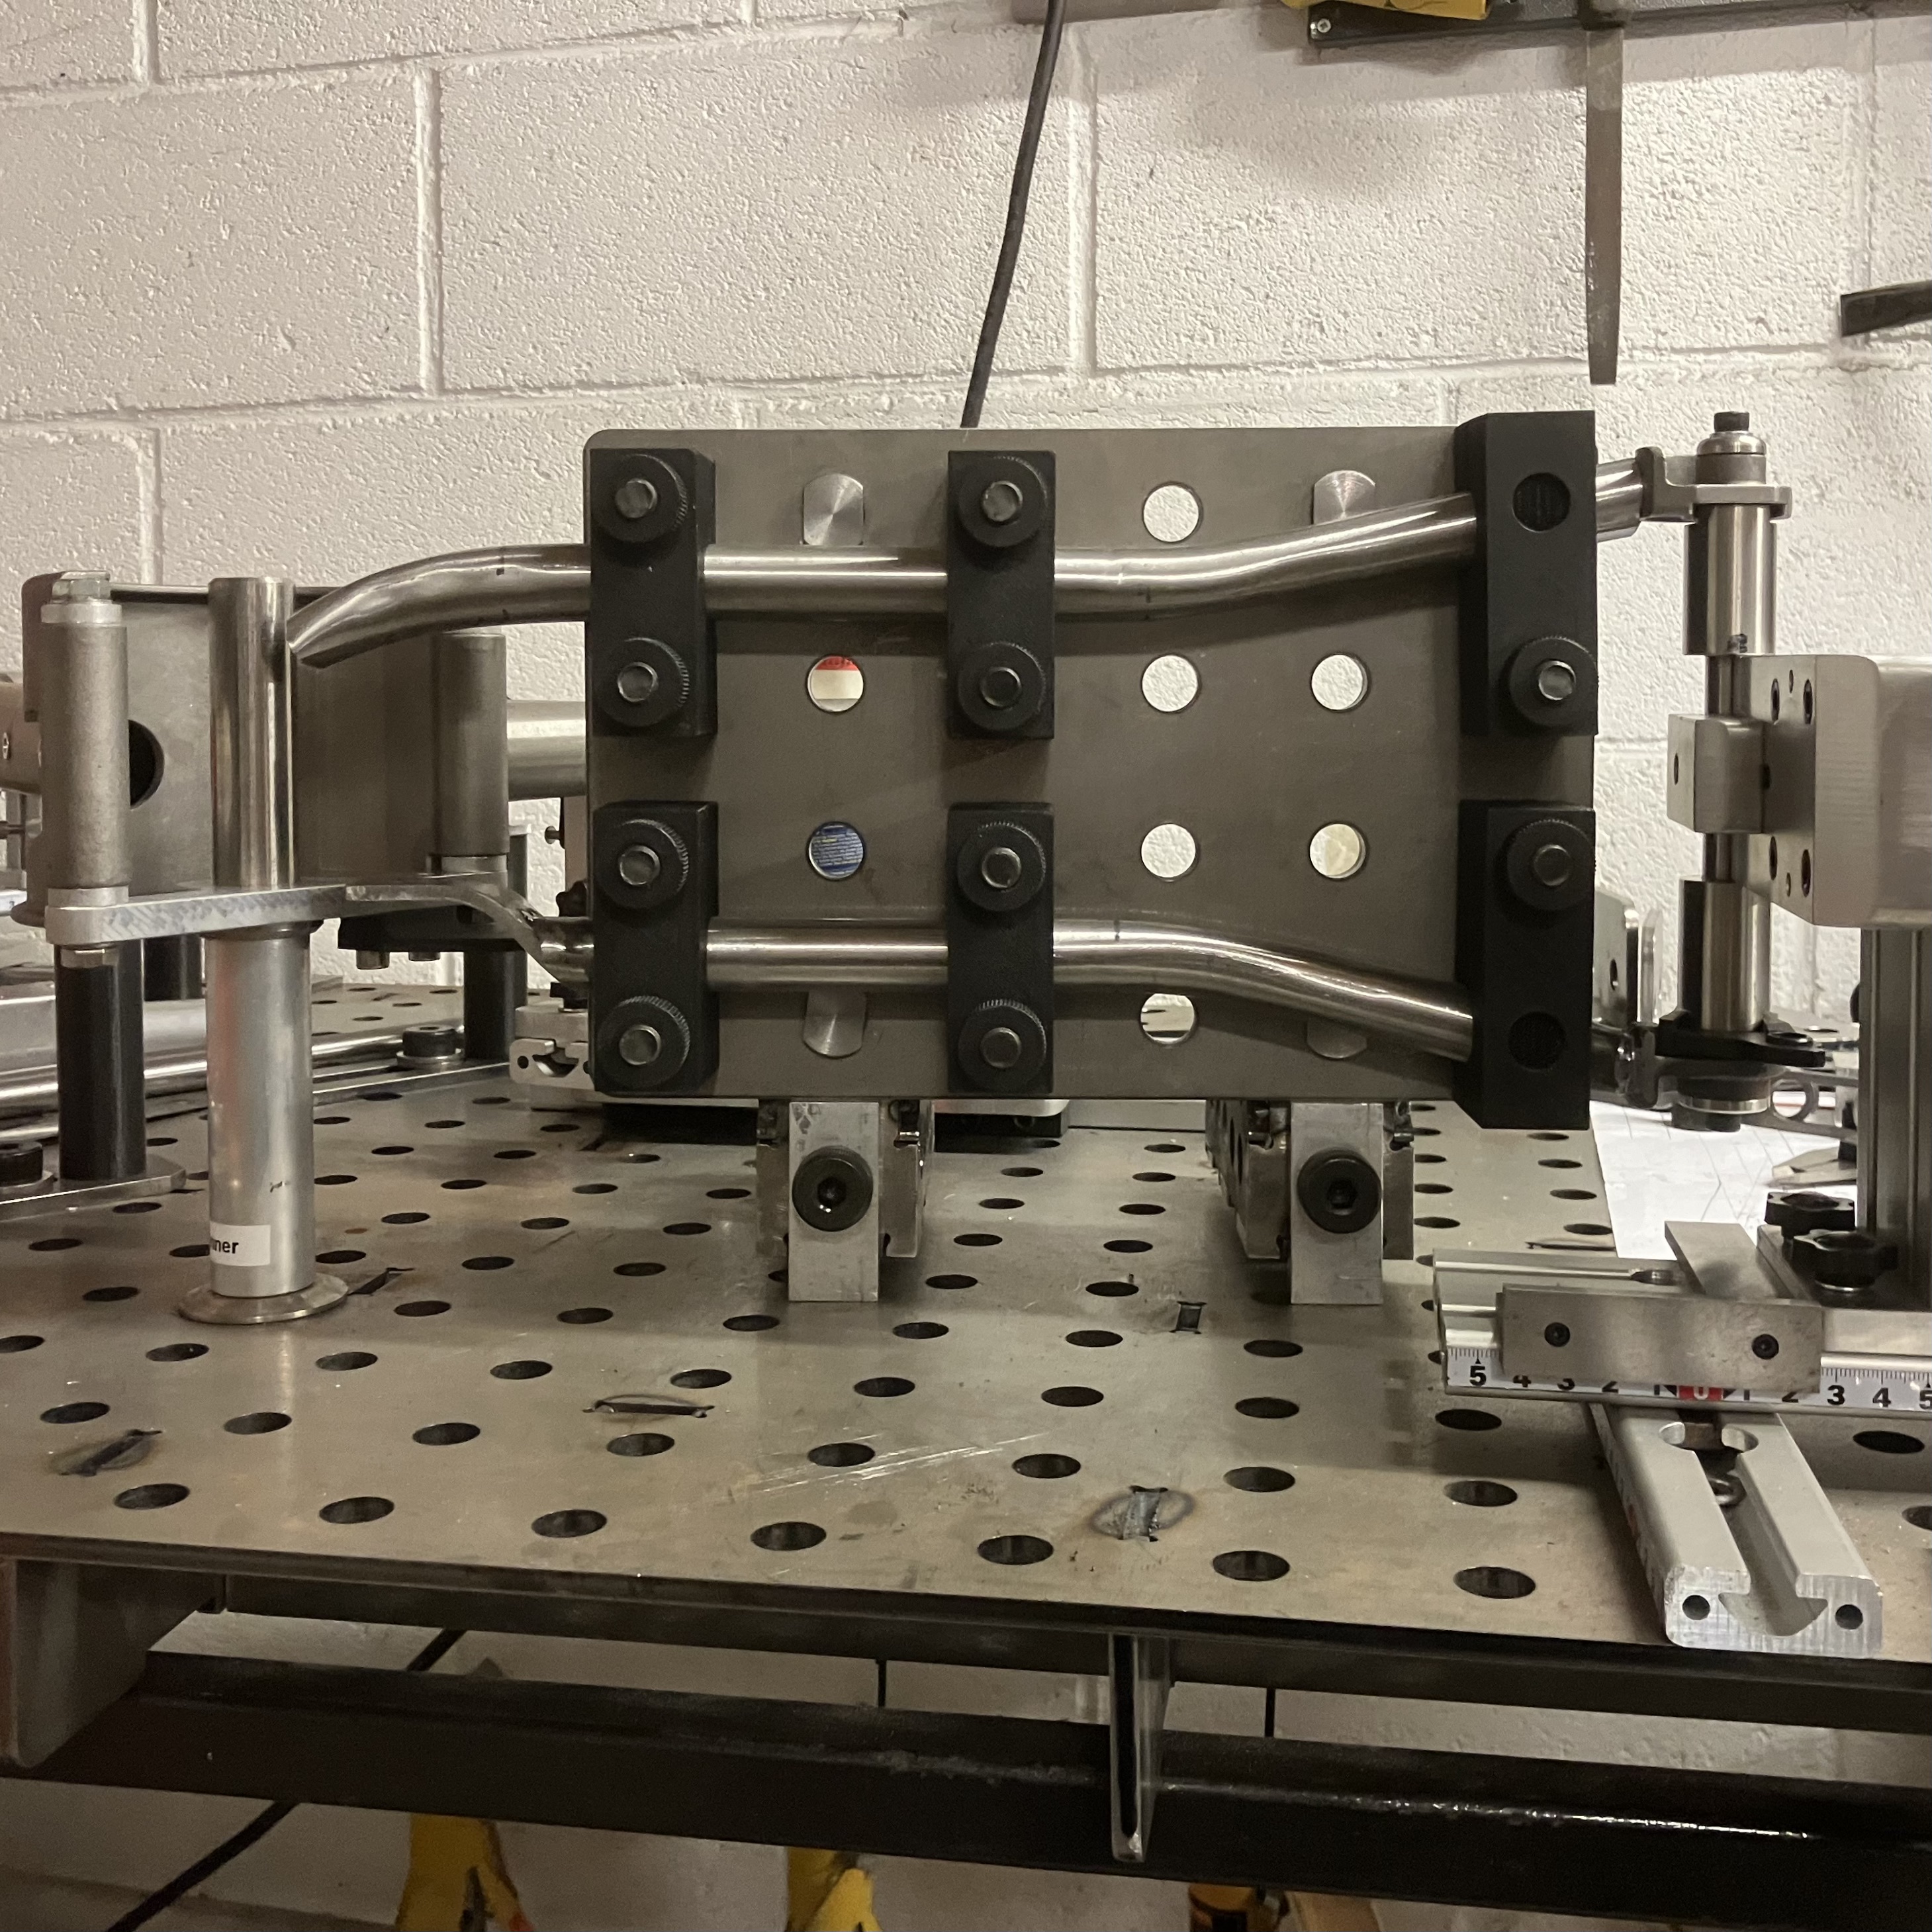
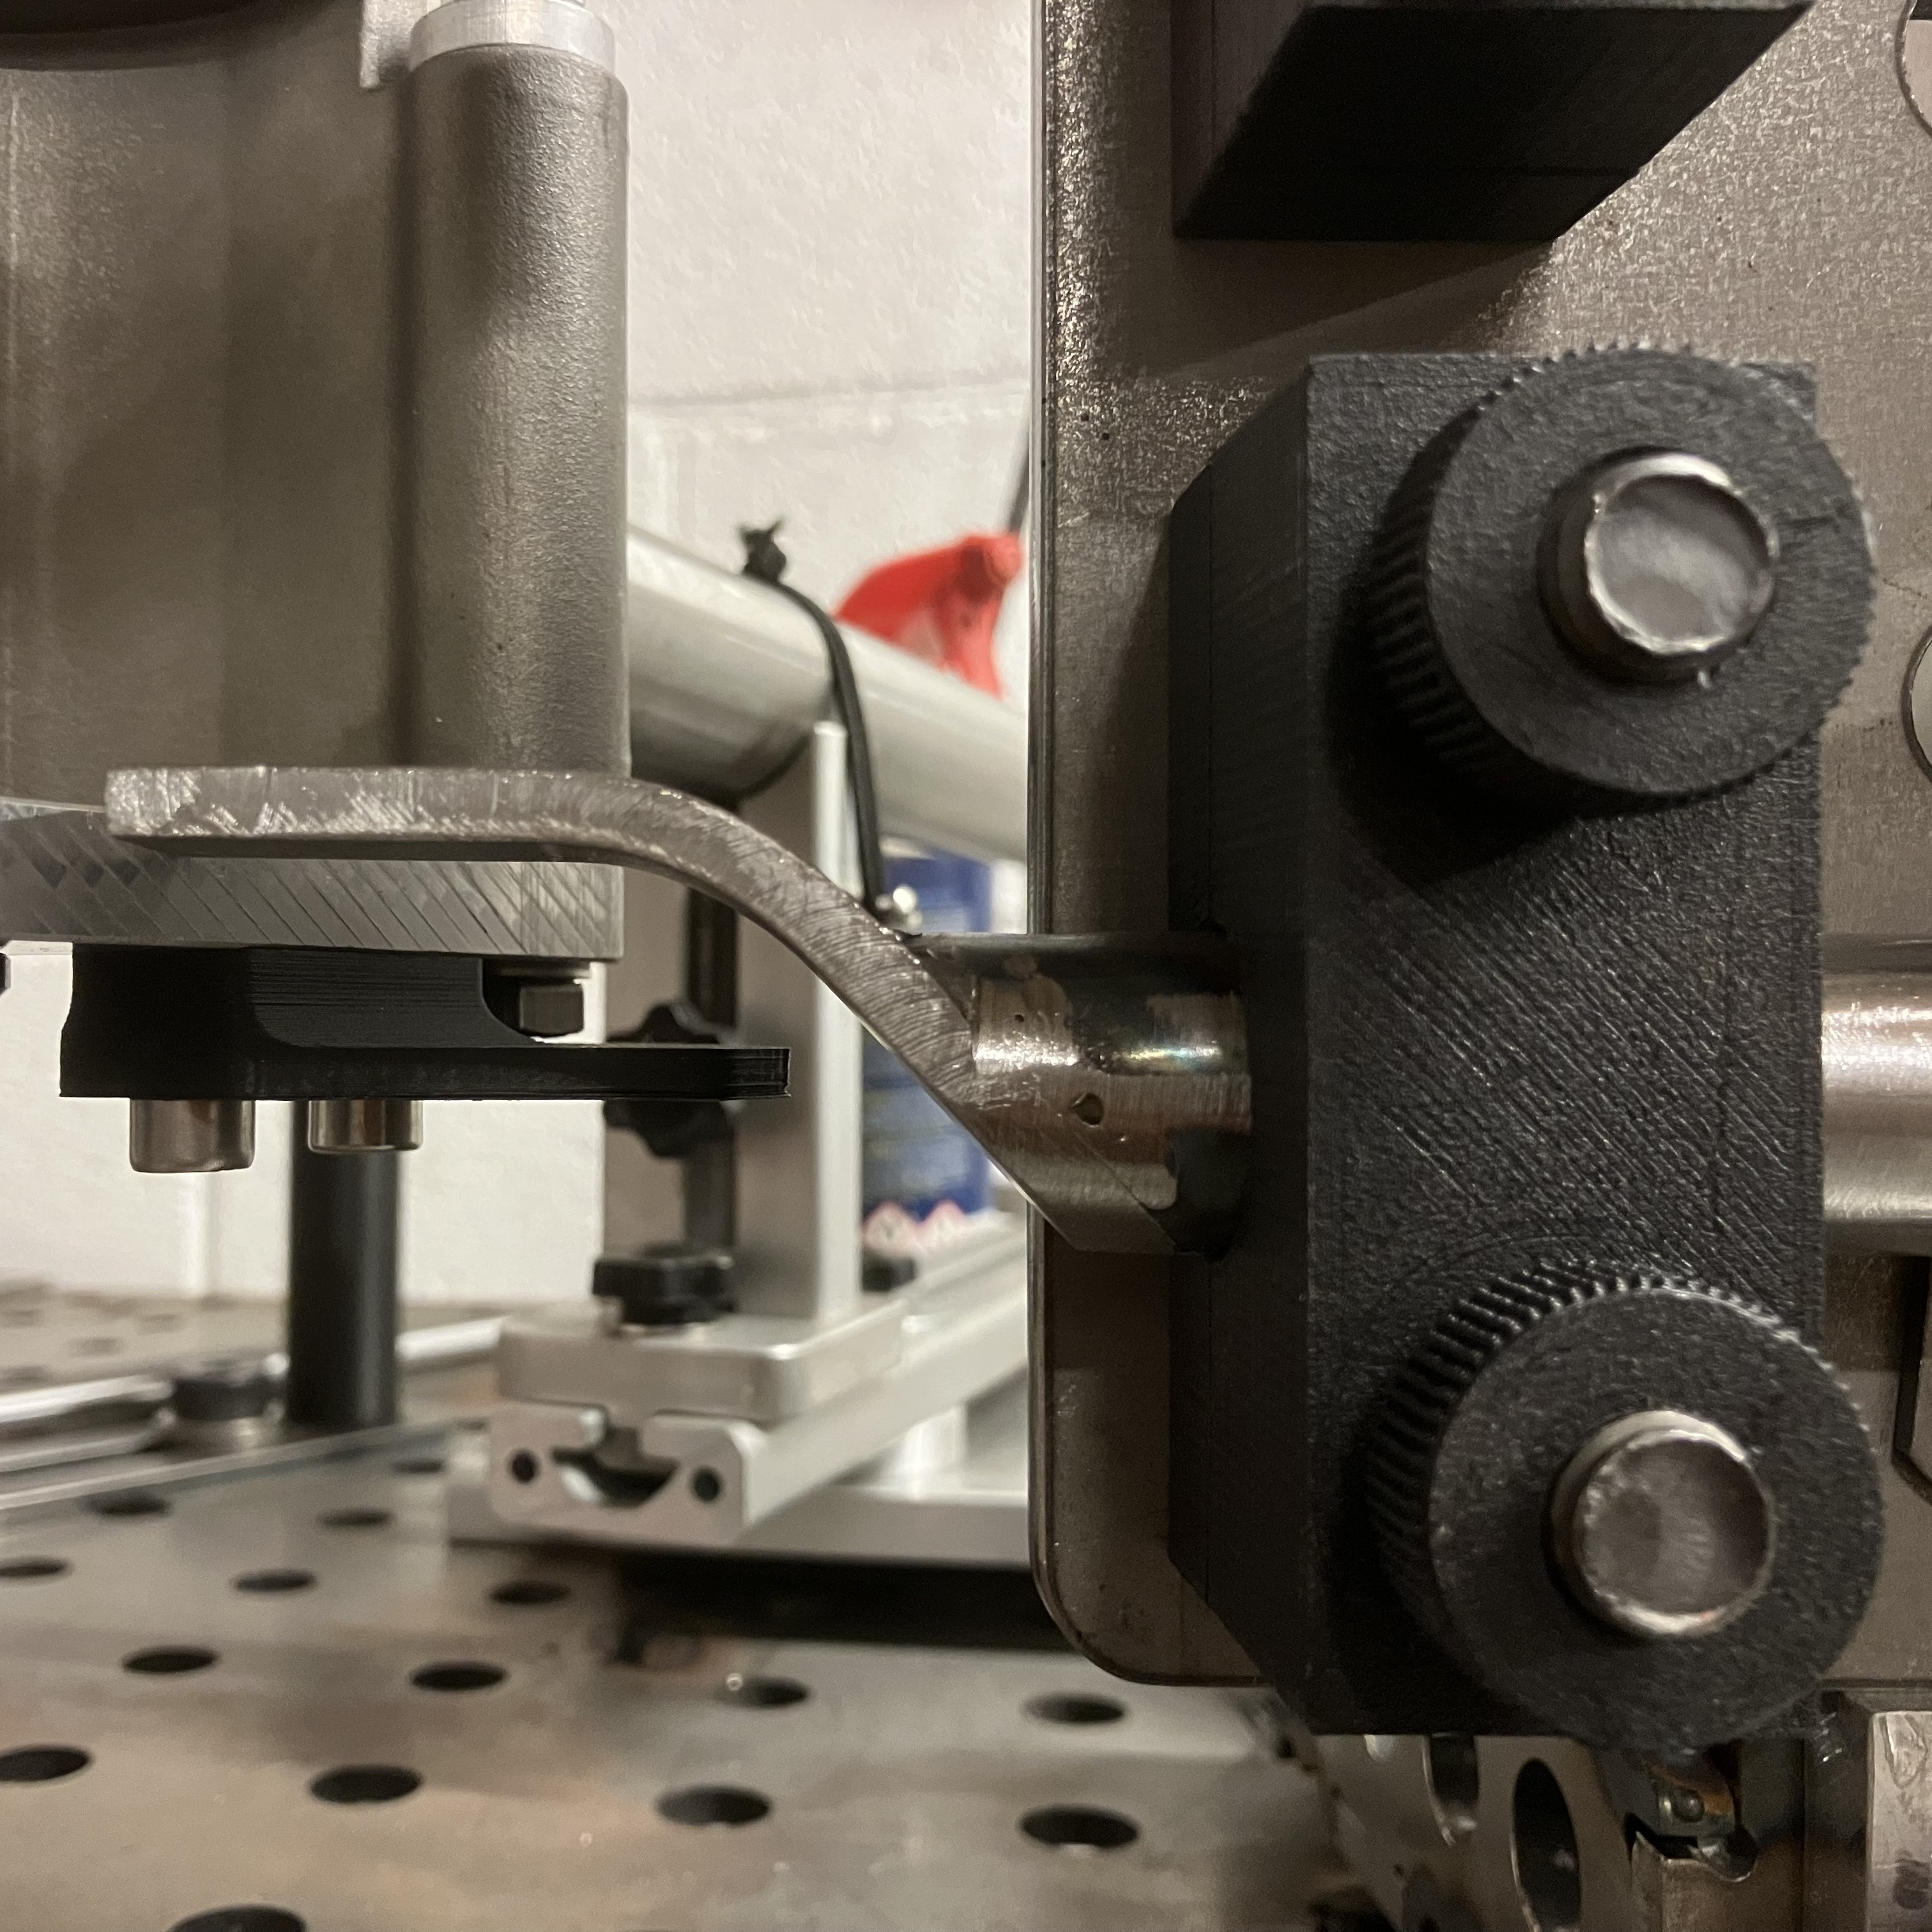
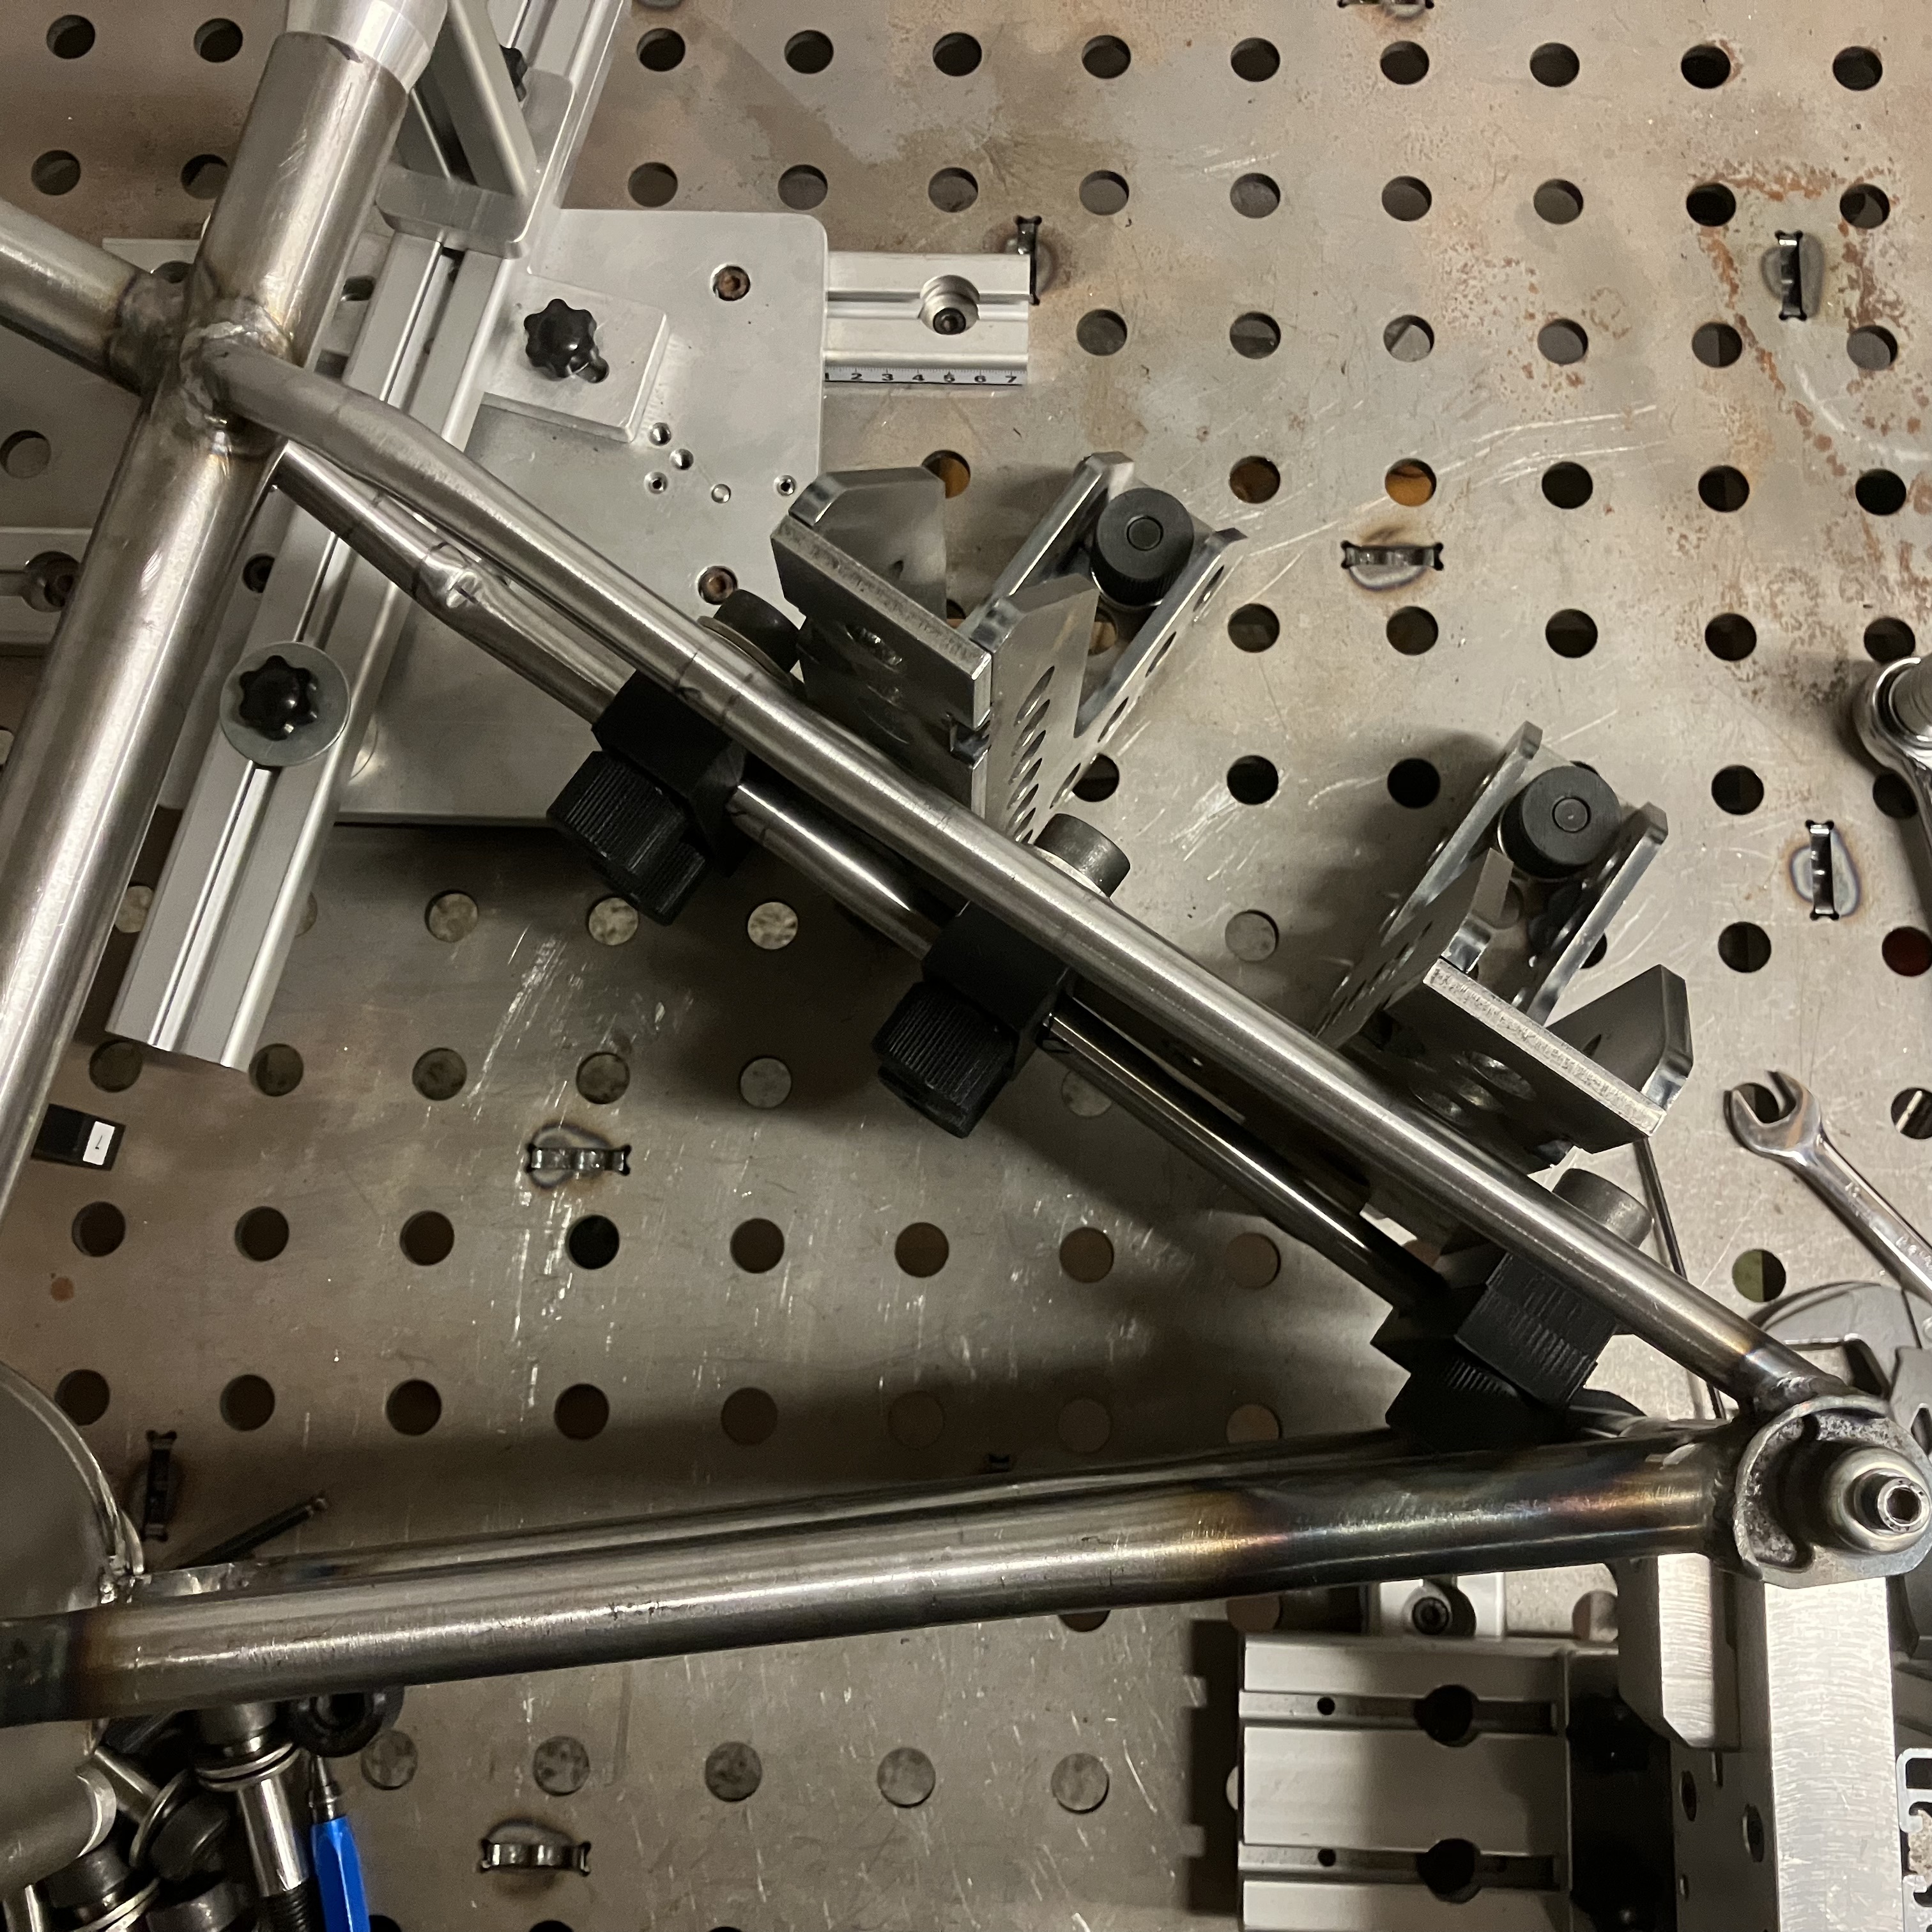
I’ve come up with a new approach to seat and chain stay fixturing. It involves 3D-printing holders generated from a 3D-model of the frame I’m building. These then get fixed to a standard 50mm/2" grid fixture plate. I have a full-size fixture plate for use with the main jig and a half-size plate for working on individual stays in my small mill. There are some improvements to make for efficiency and repeatability but, for a first use, it went very well and I’ll be continuing with this approach in future builds.
Oh, and FWIW, those nuts in the photos are also 3D-printed. The threads were modelled and then cleaned up with a cheap tap after printing. They work great.