Introduction
FDM printers are the most common consumer-grade print. They work by extruding a bead of plastic layer by layer, and are affectionally referred to as hot glue gun robots.
- low cost
- easy to use
- print quickly
Creality Ender 3:
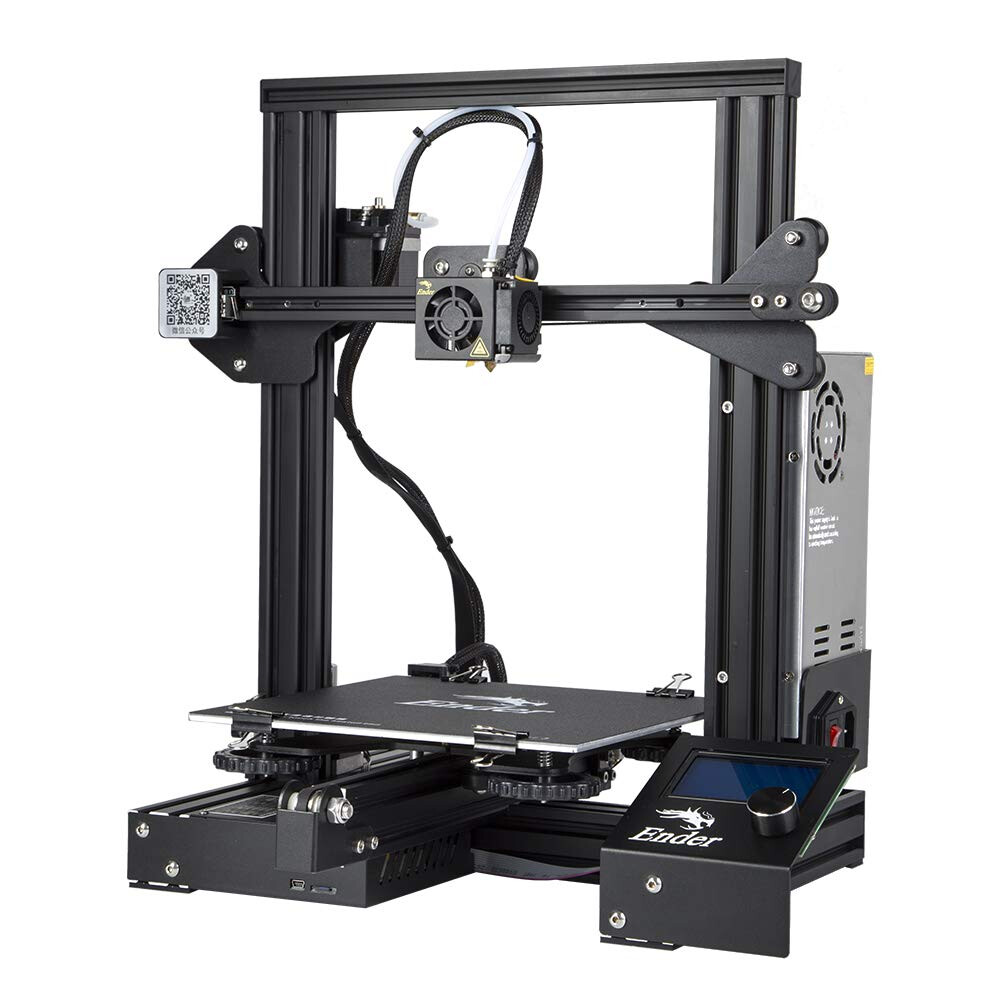
Print Volume: 220x220x250mm
Fillament: 1.75mm
Cost (2023): $180
Where to buy: Amazon.com
The Creality is the cheapest 3D printer you can get. It is based on the opensource PRUSA architecture. This is great printer if you want to dip your toe into 3D printing.
Limitations:
- no technical support
- limited to ABS and PLA printing
- expect to learn how to fix and reallign the printer
Artillery Sidewinder X2
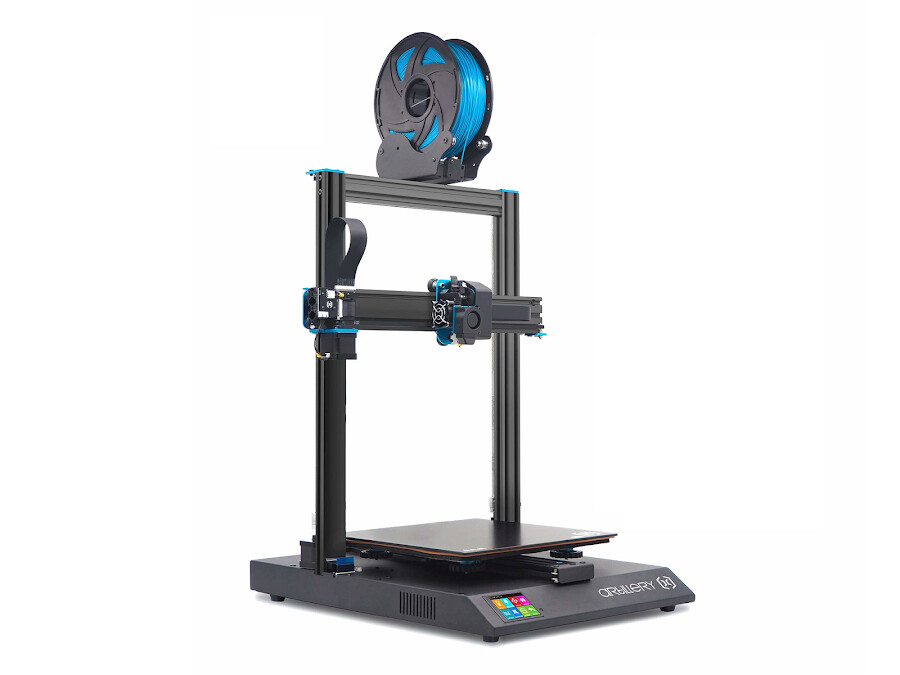
Print Volume: 300x300x400
Cost: $429
Link: Artillery Sidewinder X2 3D Printer | MatterHackers
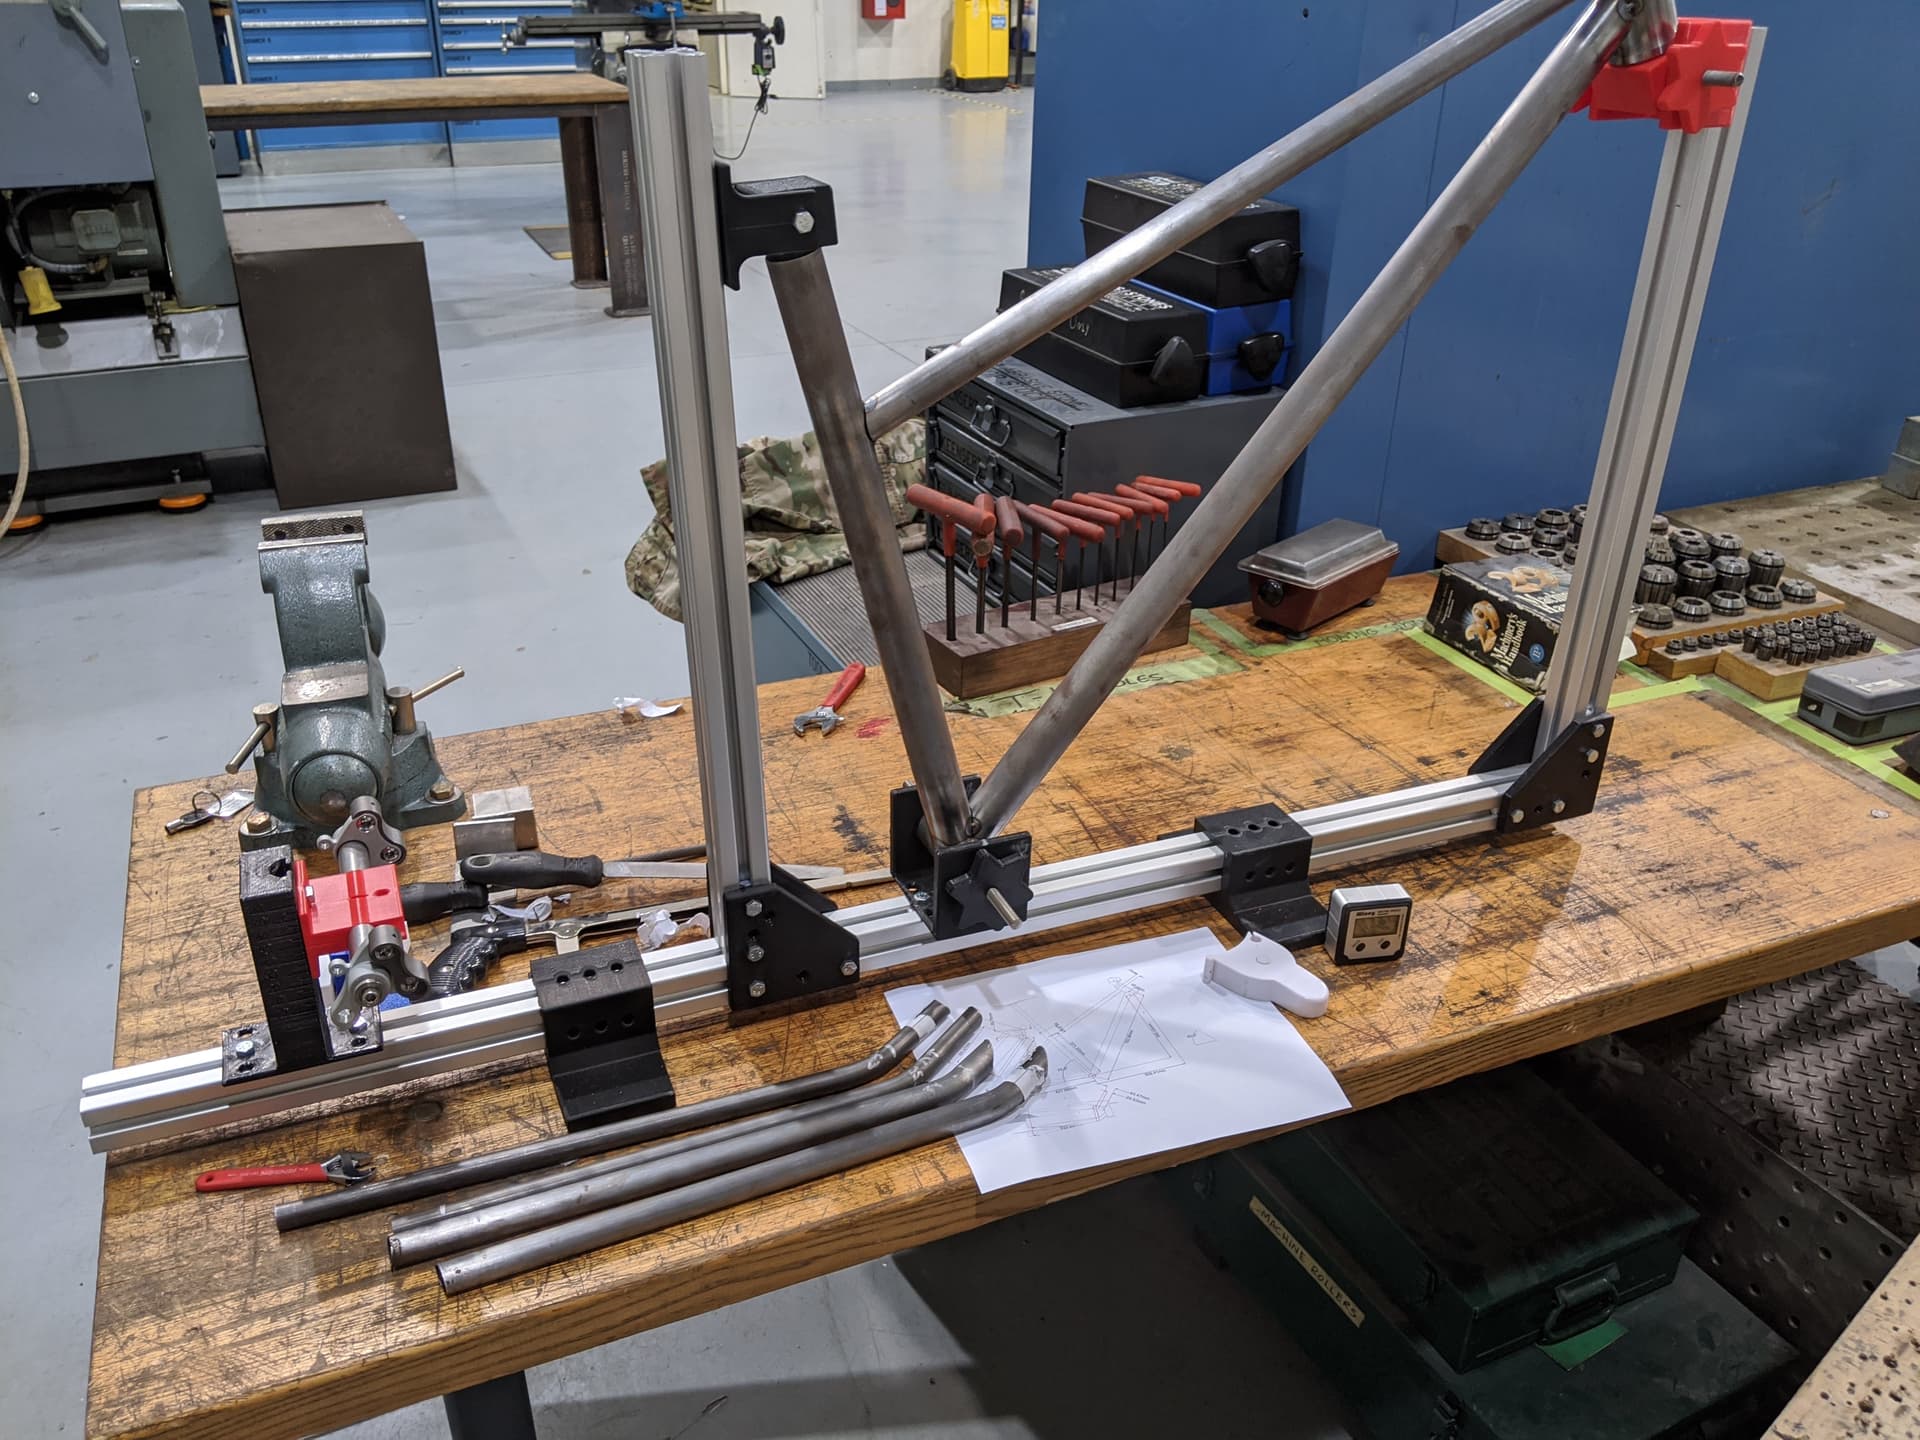
Artillery Sidewinder X1 (and now X2) are fantastic FDM printers at a slightly higher price point than the Enders with a larger build area. ~$450ish. I’ve bought an X1 as my first foray into CNC/3D FDM and it has been flawless pretty much since day one with very minimal maintenance required. I’ve used it to build bending dies, jigs, etc. My first frame was built entirely using extrusion and 3d printed plates/blocks. -StratoCycles
Lulzbot TAZ Workhorse:
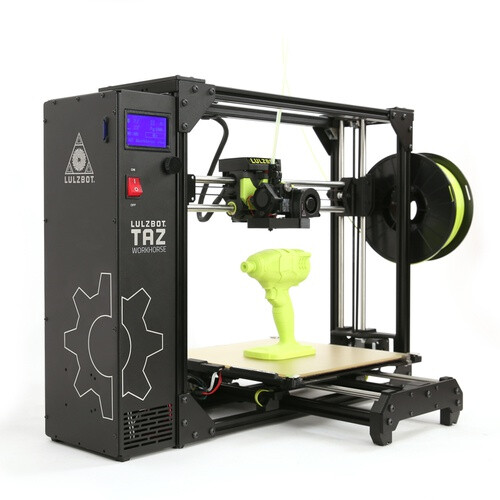
Print Volume: 280x280x285
Filament: 2.85mm
Cost (2023): $2950
Where to buy: TAZ Workhorse+ | LulzBot 3D Printer
The TAZ is what I used all throughout the graduate school to build robots. Its standout feature is the 2.85mm filament diameter nozzle. This allows for faster prints and stronger layer adhesion. You could even upgrade the print head to .8mm and 1.2mm nozzles to print more than twice the speed
In 2022, Lulzbot released a budget printer (~$1300), The TAZ SideKick 747 to compete with the low cost printers on the market. It also uses the same print head system as the TAZ workhorse, and could be a good option for a builder on a budget. I don’t have any experience with the printer. If you do, please let the community know!
Advantages:
- Very reliable
- Uses 2.85 filament
- Print more complex plastics (fiber reinforced nylons)
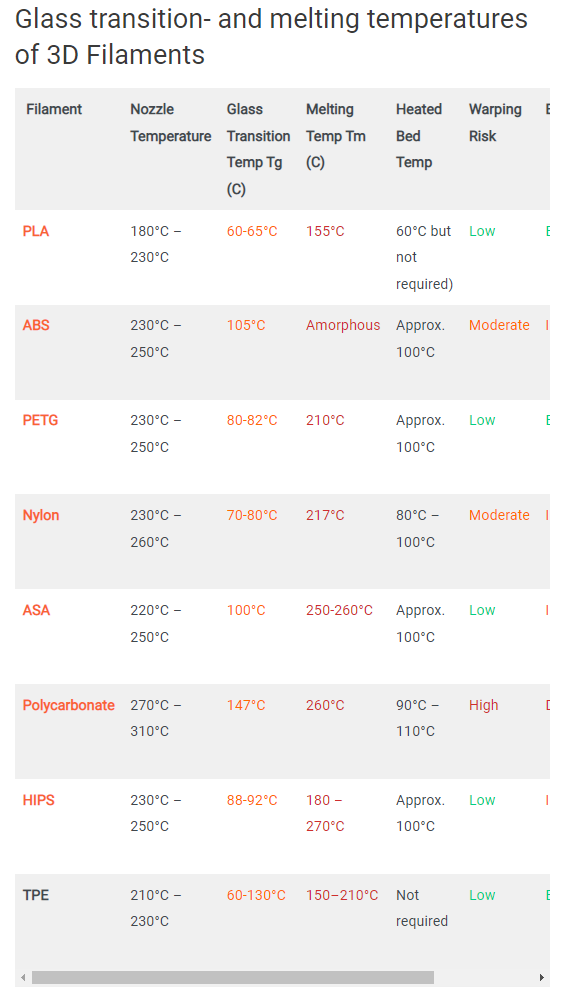
Useful Framebuilding Filaments: [Work in progress]
PLA: the gold standard
Software: Updated 12/23/22
Todo:
- Is SlicerSlicer any good?: https://www.youtube.com/watch?v=LIUB7CbDQD4
- SuplerSlicer is forked from prusa slicer
#1 Prusa Slicer:
Link: PrusaSlicer | Original Prusa 3D printers directly from Josef Prusa
Pursa Slicer is currently my favorite. The UI is much snappier and easier to use. My favorite is the “place on face” feature saves a ton of time. It also has a pretty advanced “variable extrusion width” feature called Arachne.
Unfortunately, your printer may not have a default PrusaSlicer profile. You may need to manually import your printer settings, as I had to do with the TAZ workhorse.
#2 Cura:
Cura is the most common 3D printing slicing software. Chances are, your printer comes with some co-branded form of Cura (Creality, Ultimater, Lulzbot). It works, and if it aint broke don’t fix it. However, native compatibility is the only thing going for this slicer. Its a bit laggy and clunky, but it just works.
#3 Simplify3D
Paid Software: $150
Link: https://www.simplify3d.com/
Update 12/23/22: I would not reccomend simplify3D anymore. It has not seen any software updates for the past 2 years, and seems unsuppored by the developors. Sad, but time to move on!
Simplify3D is an extremly powerful slicing tool. It gives you much more control over the print process and support generation. In my experience, I was able to get much stronger parts with S3D and the Taz. That being said, it is not free, its more complicated, and it is a 3D party software, so YMMV.
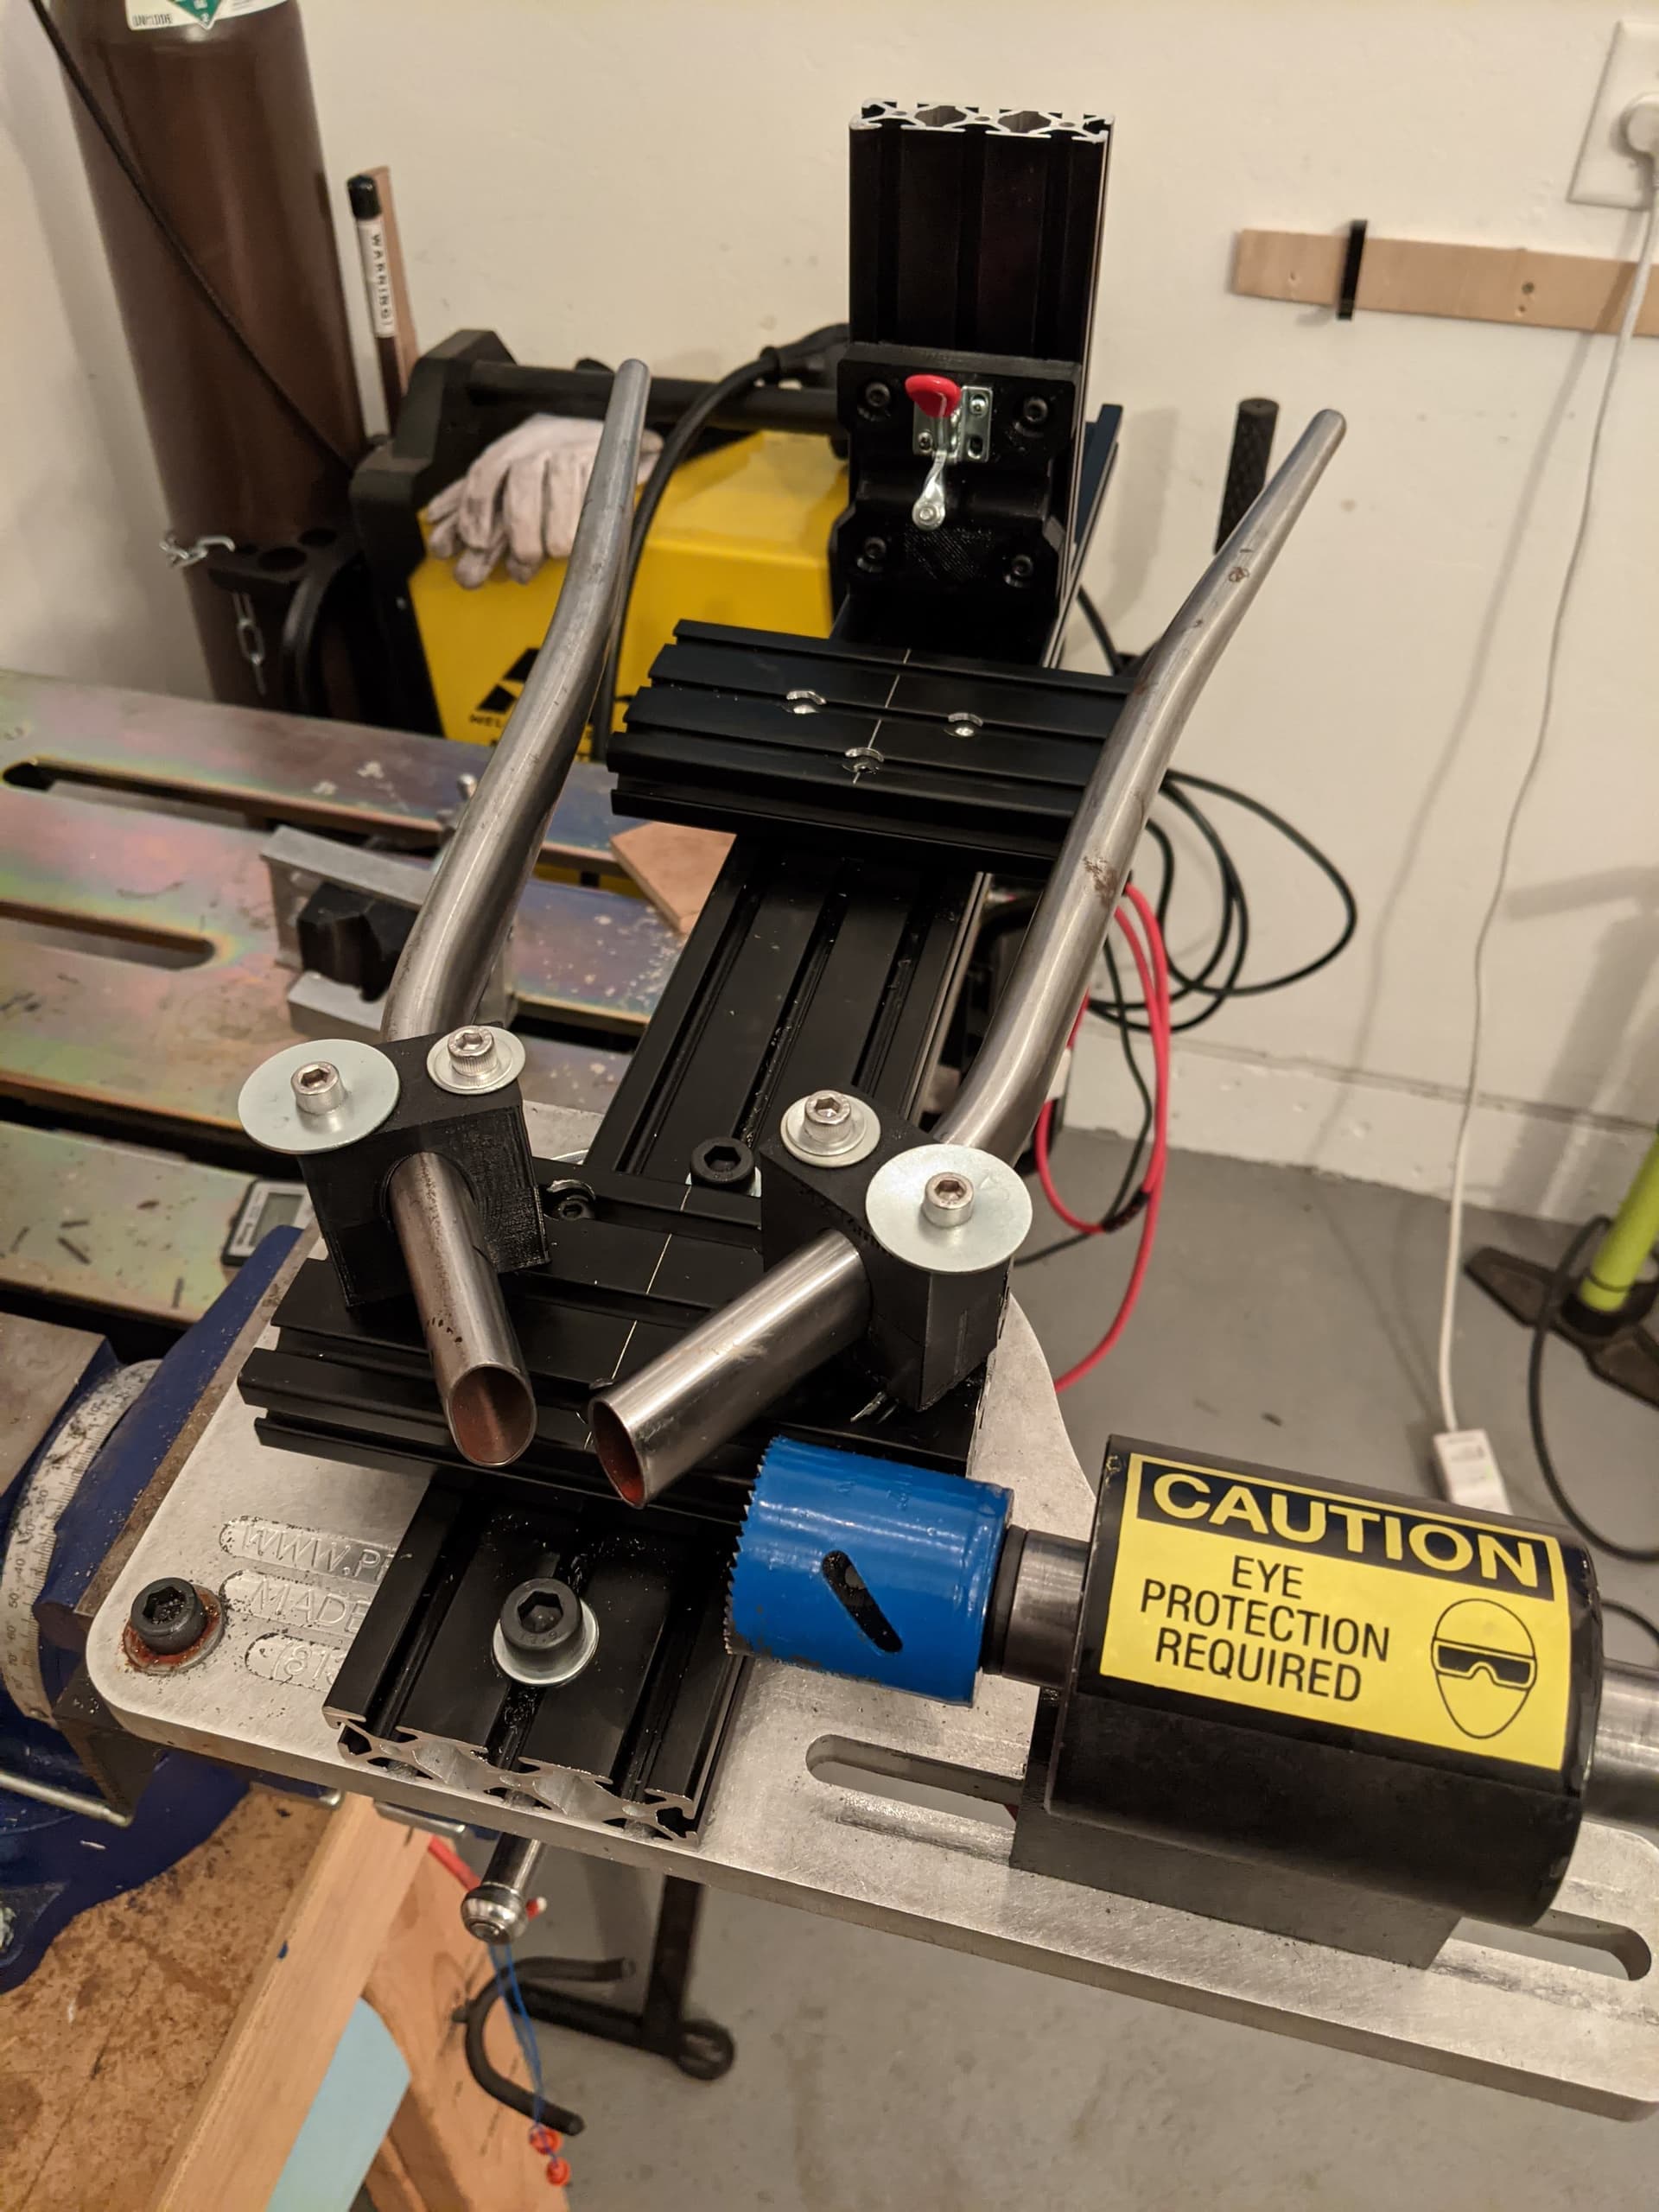
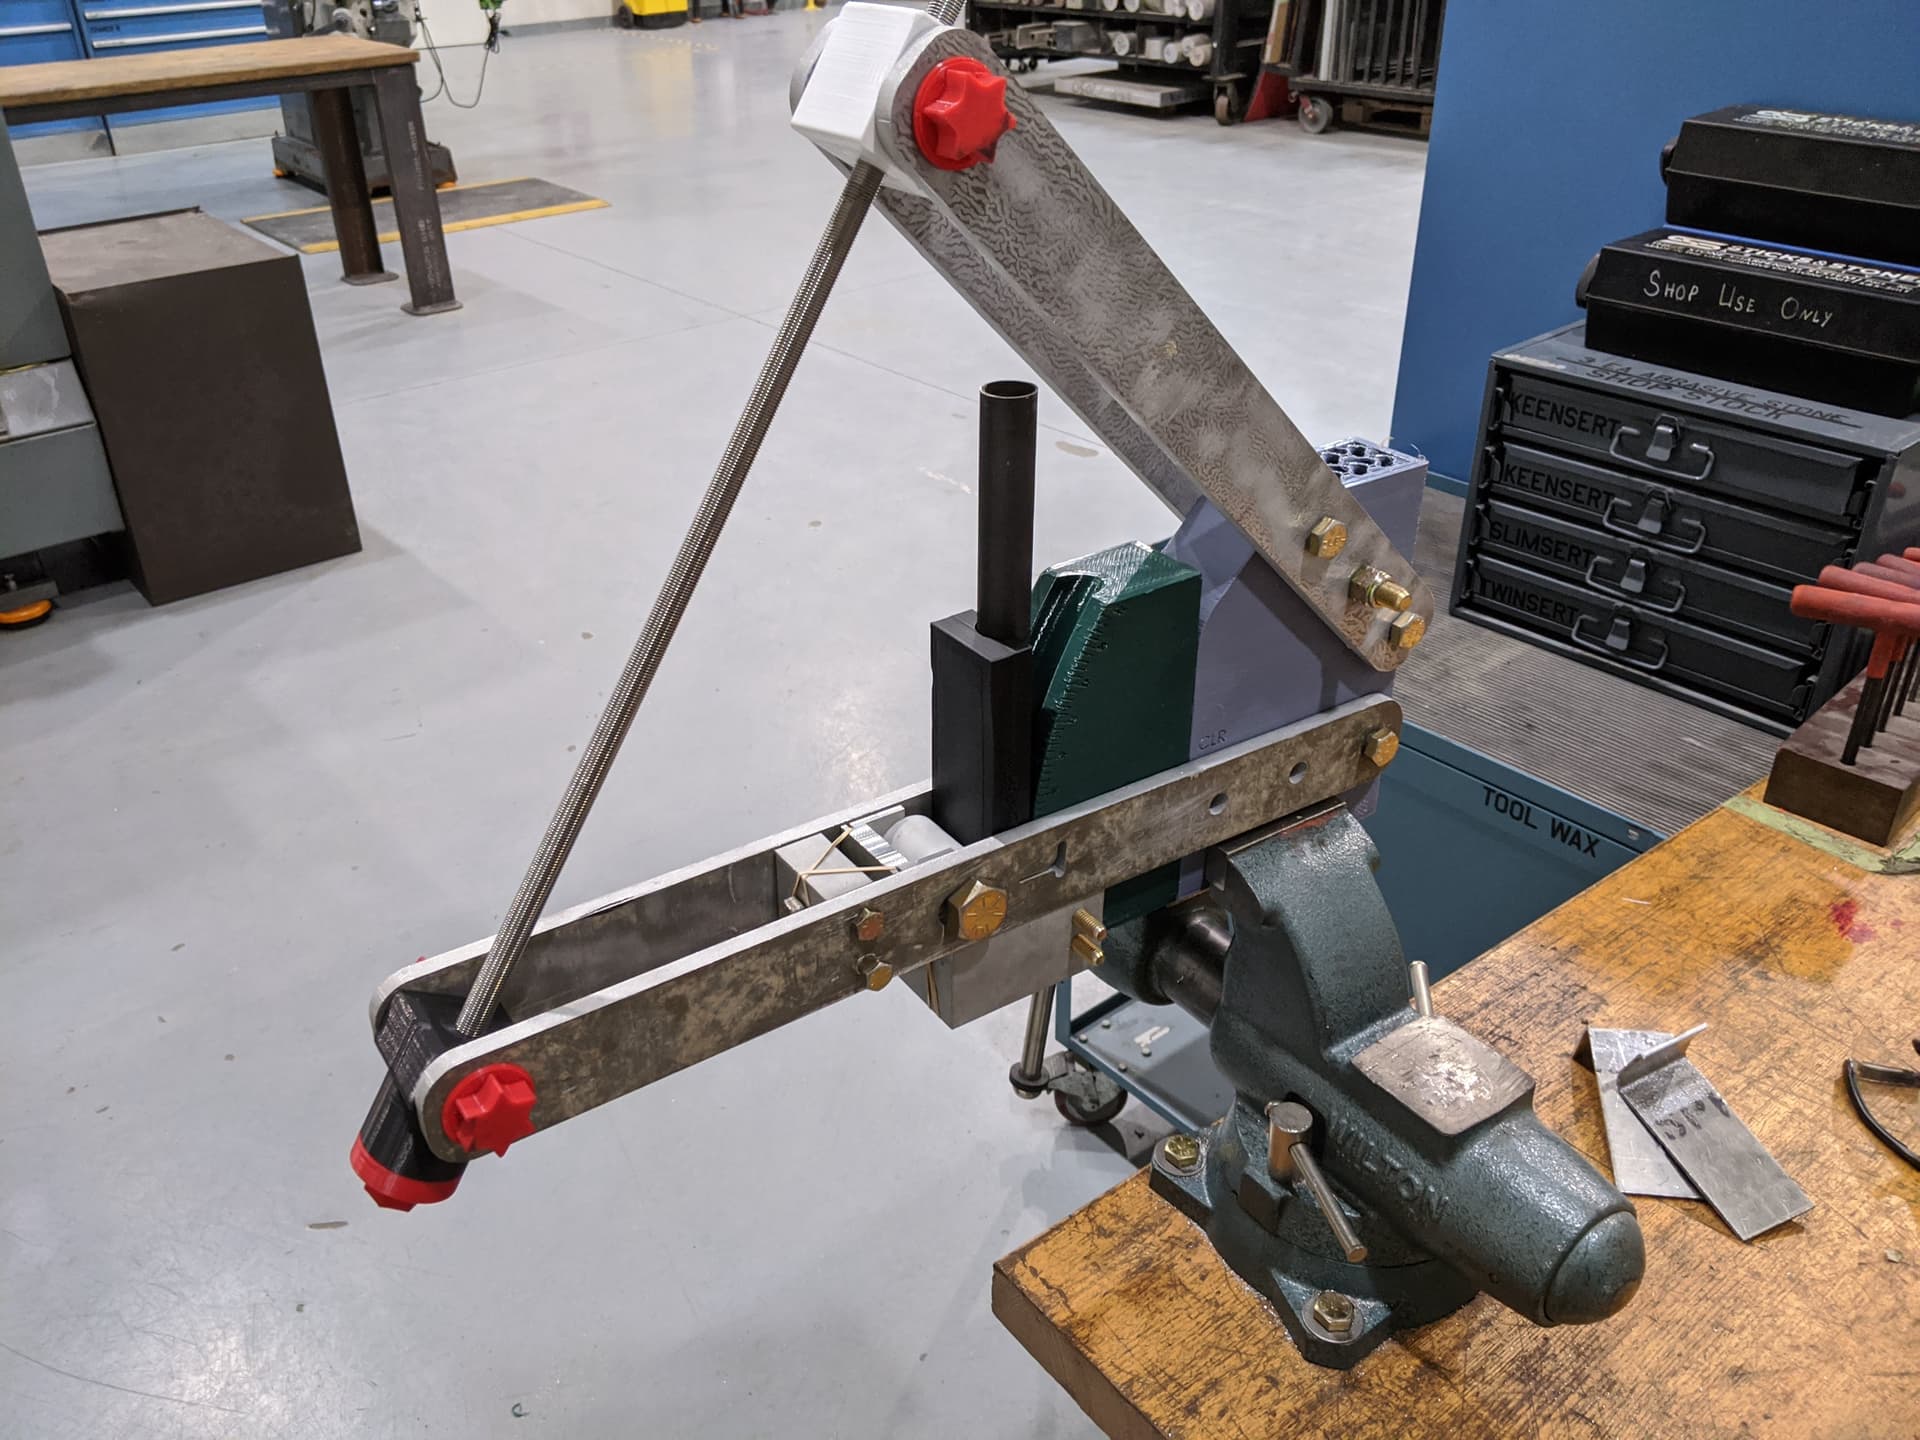
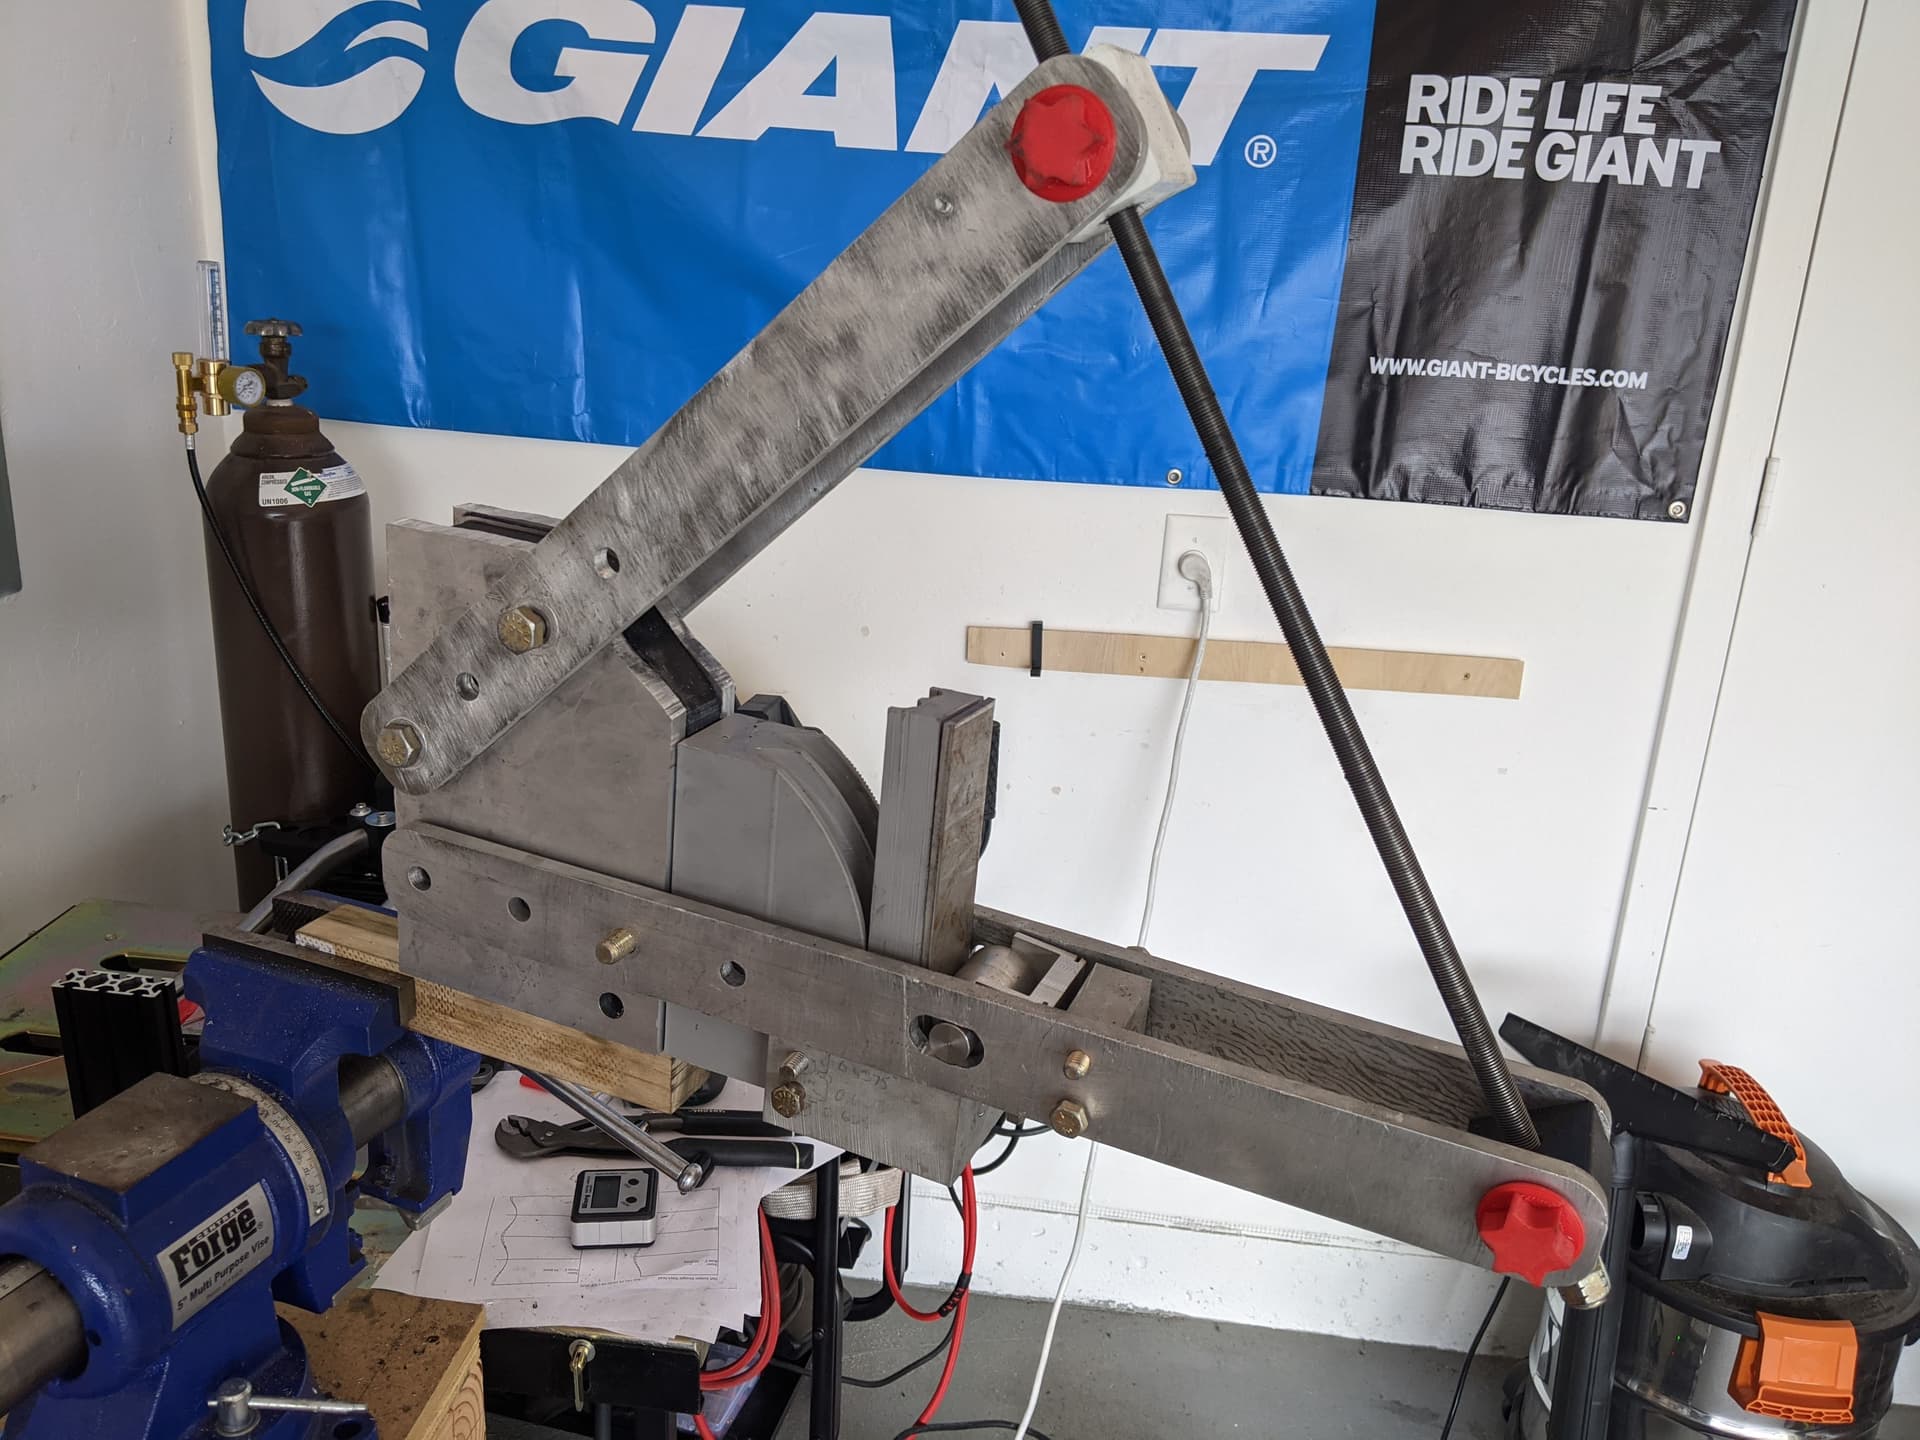
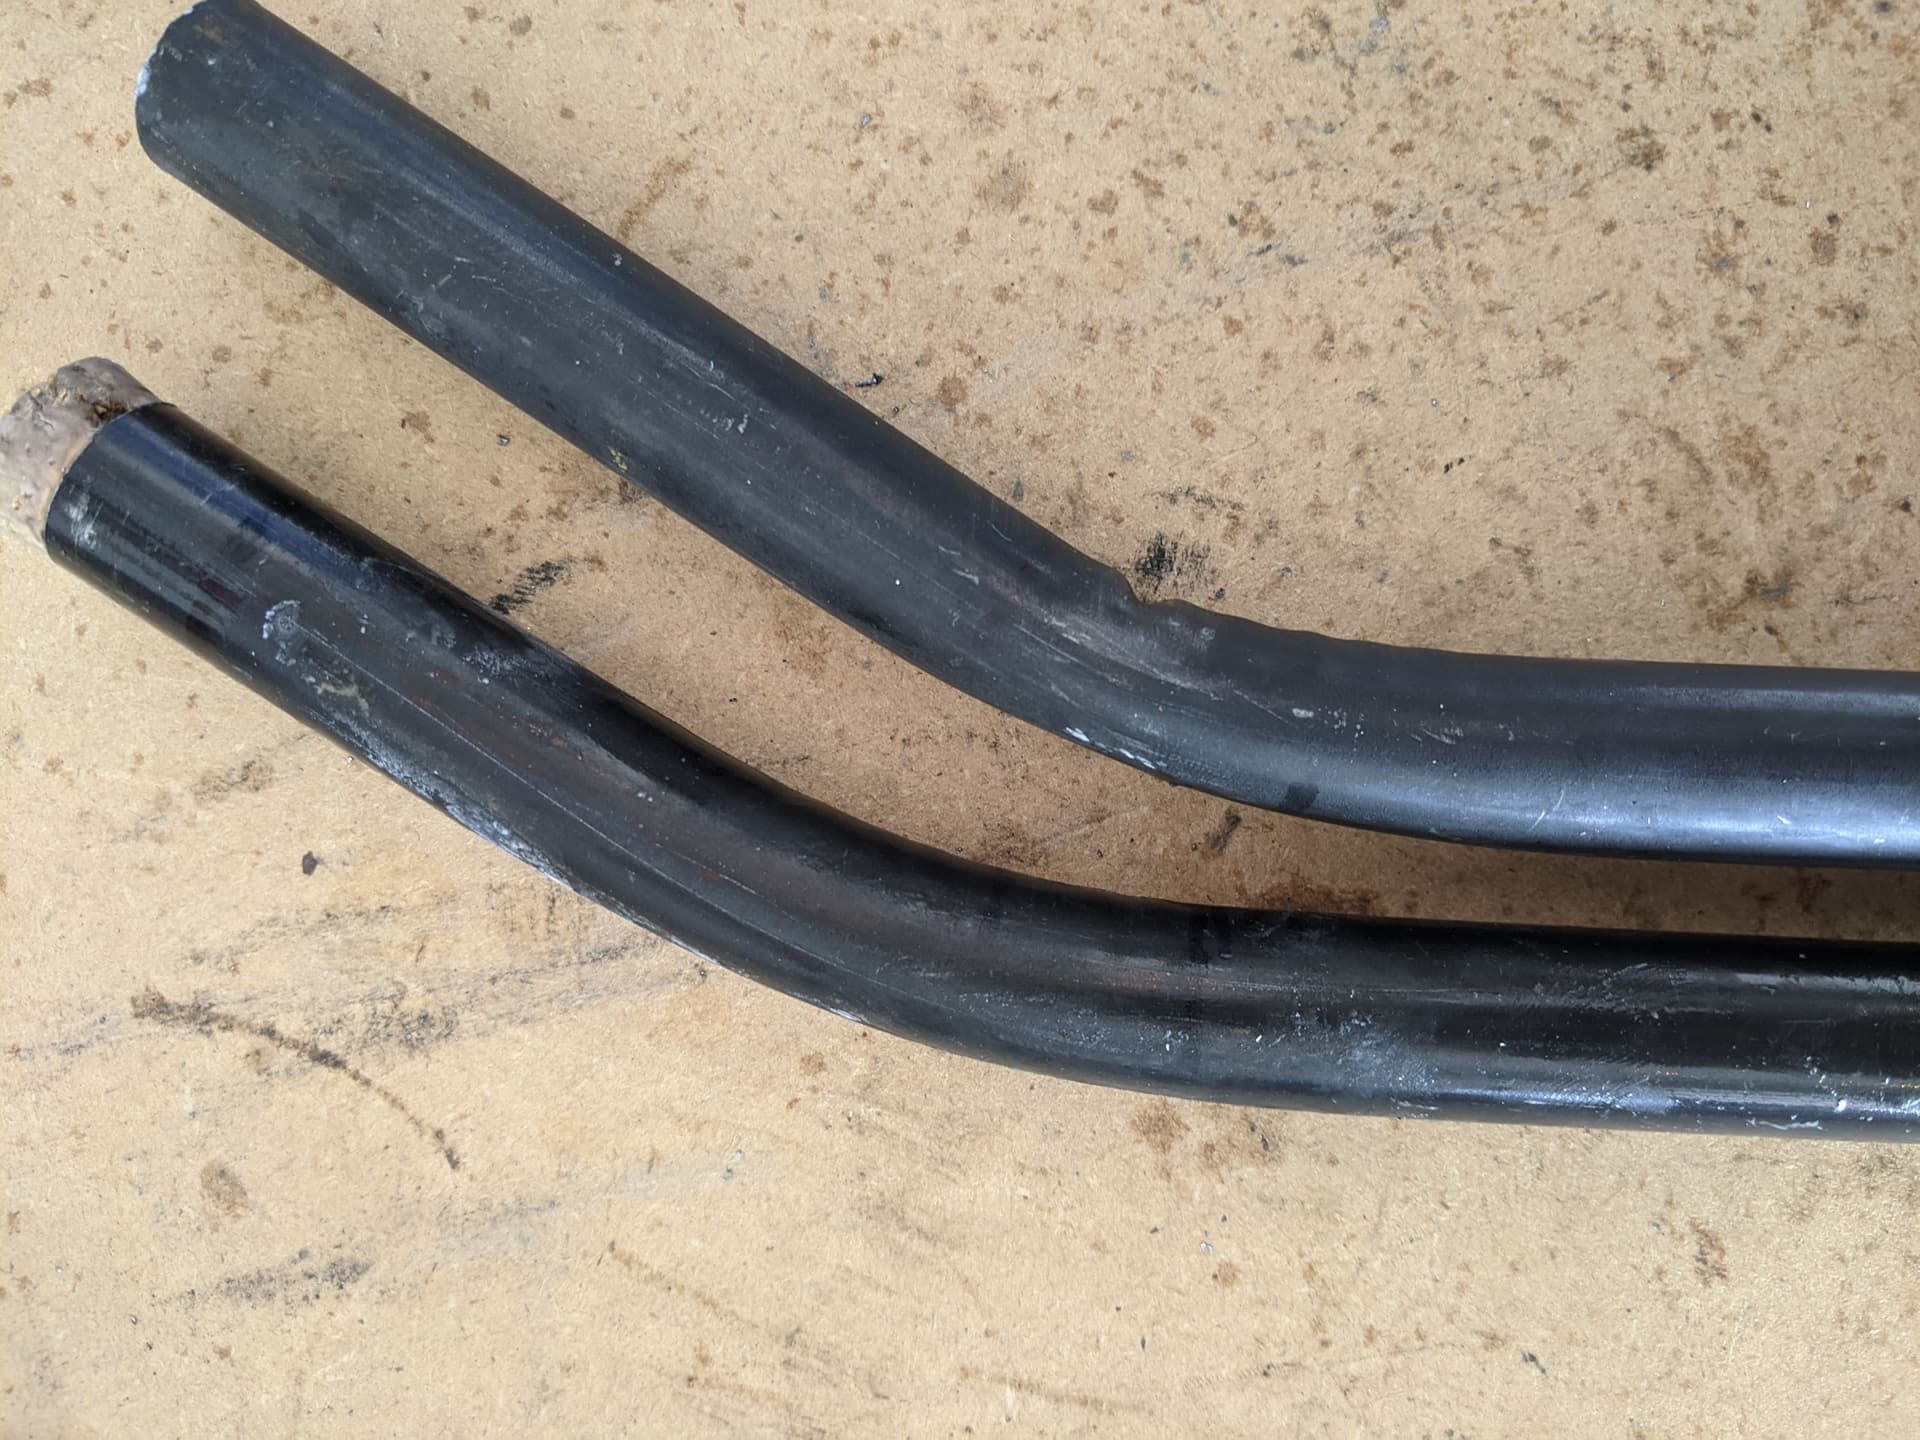
Useful Applications in Framebuilding:
- Tool organization
- Fixturing
- Forming dies
- Bending Dies