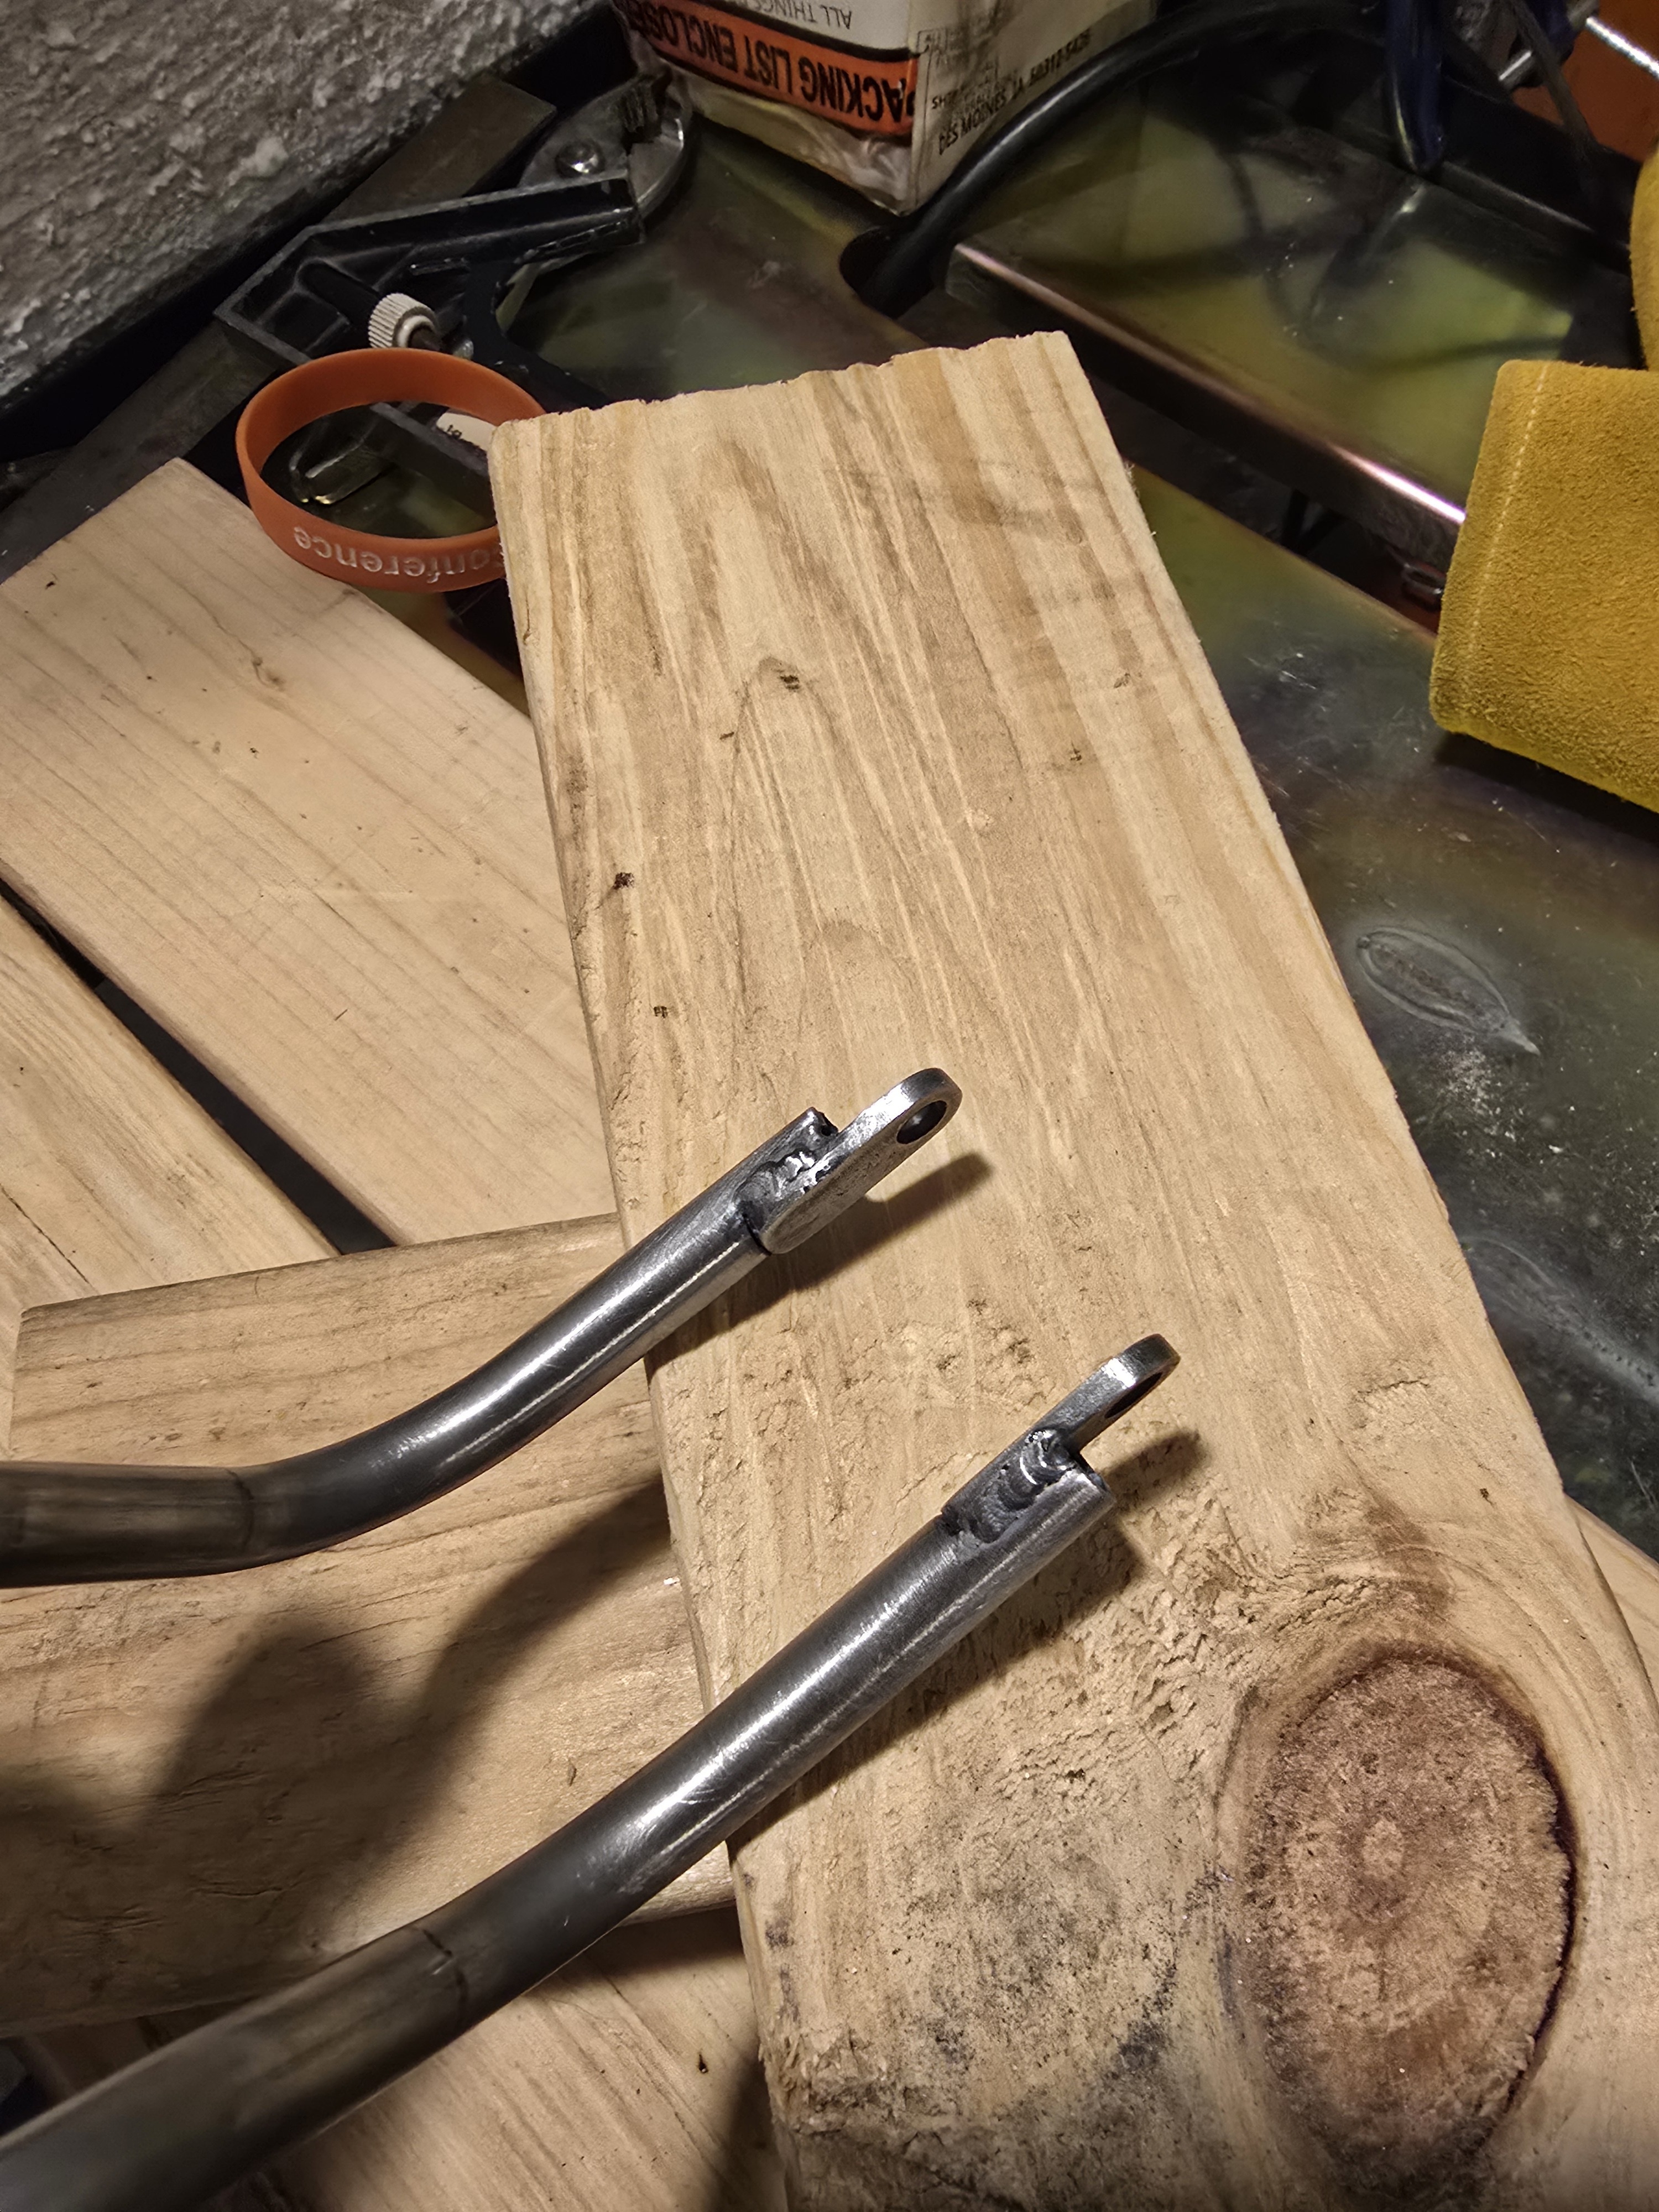
So. Very novice. I added these rack tabs to a saddlebag support I’m working on. I placed them flush to the outside of the 3/8 - 0.049 tube. Perhaps I should have centered them. The TIG welds were bad. I ground them down, because I wasn’t certain I had good penetration on both parts. Grinding alleviated my worries, and so I put a fresh pass of ugly back on it. I’ll file and clean them up later. My question now is regarding the heal of the tab. I dremeled the tube to fit up to the tab fairly well, but I probably should have shaped the tab to match the tube instead. Regardless, that’s a gap, and since this will be under my saddle, it’ll be resisting side to side motion. I believe the smart solution is to weld that gap shut. Smarter would be to put a gusset over it. Less smart may be to try to fill it with silver. And short lived might be to fill it with paint… I do have an earlier version which I welded the same as this current state and it has not had any issues, so maybe the lateral loading isn’t as severe as I expect. Thoughts and guidance will be much appreciated.
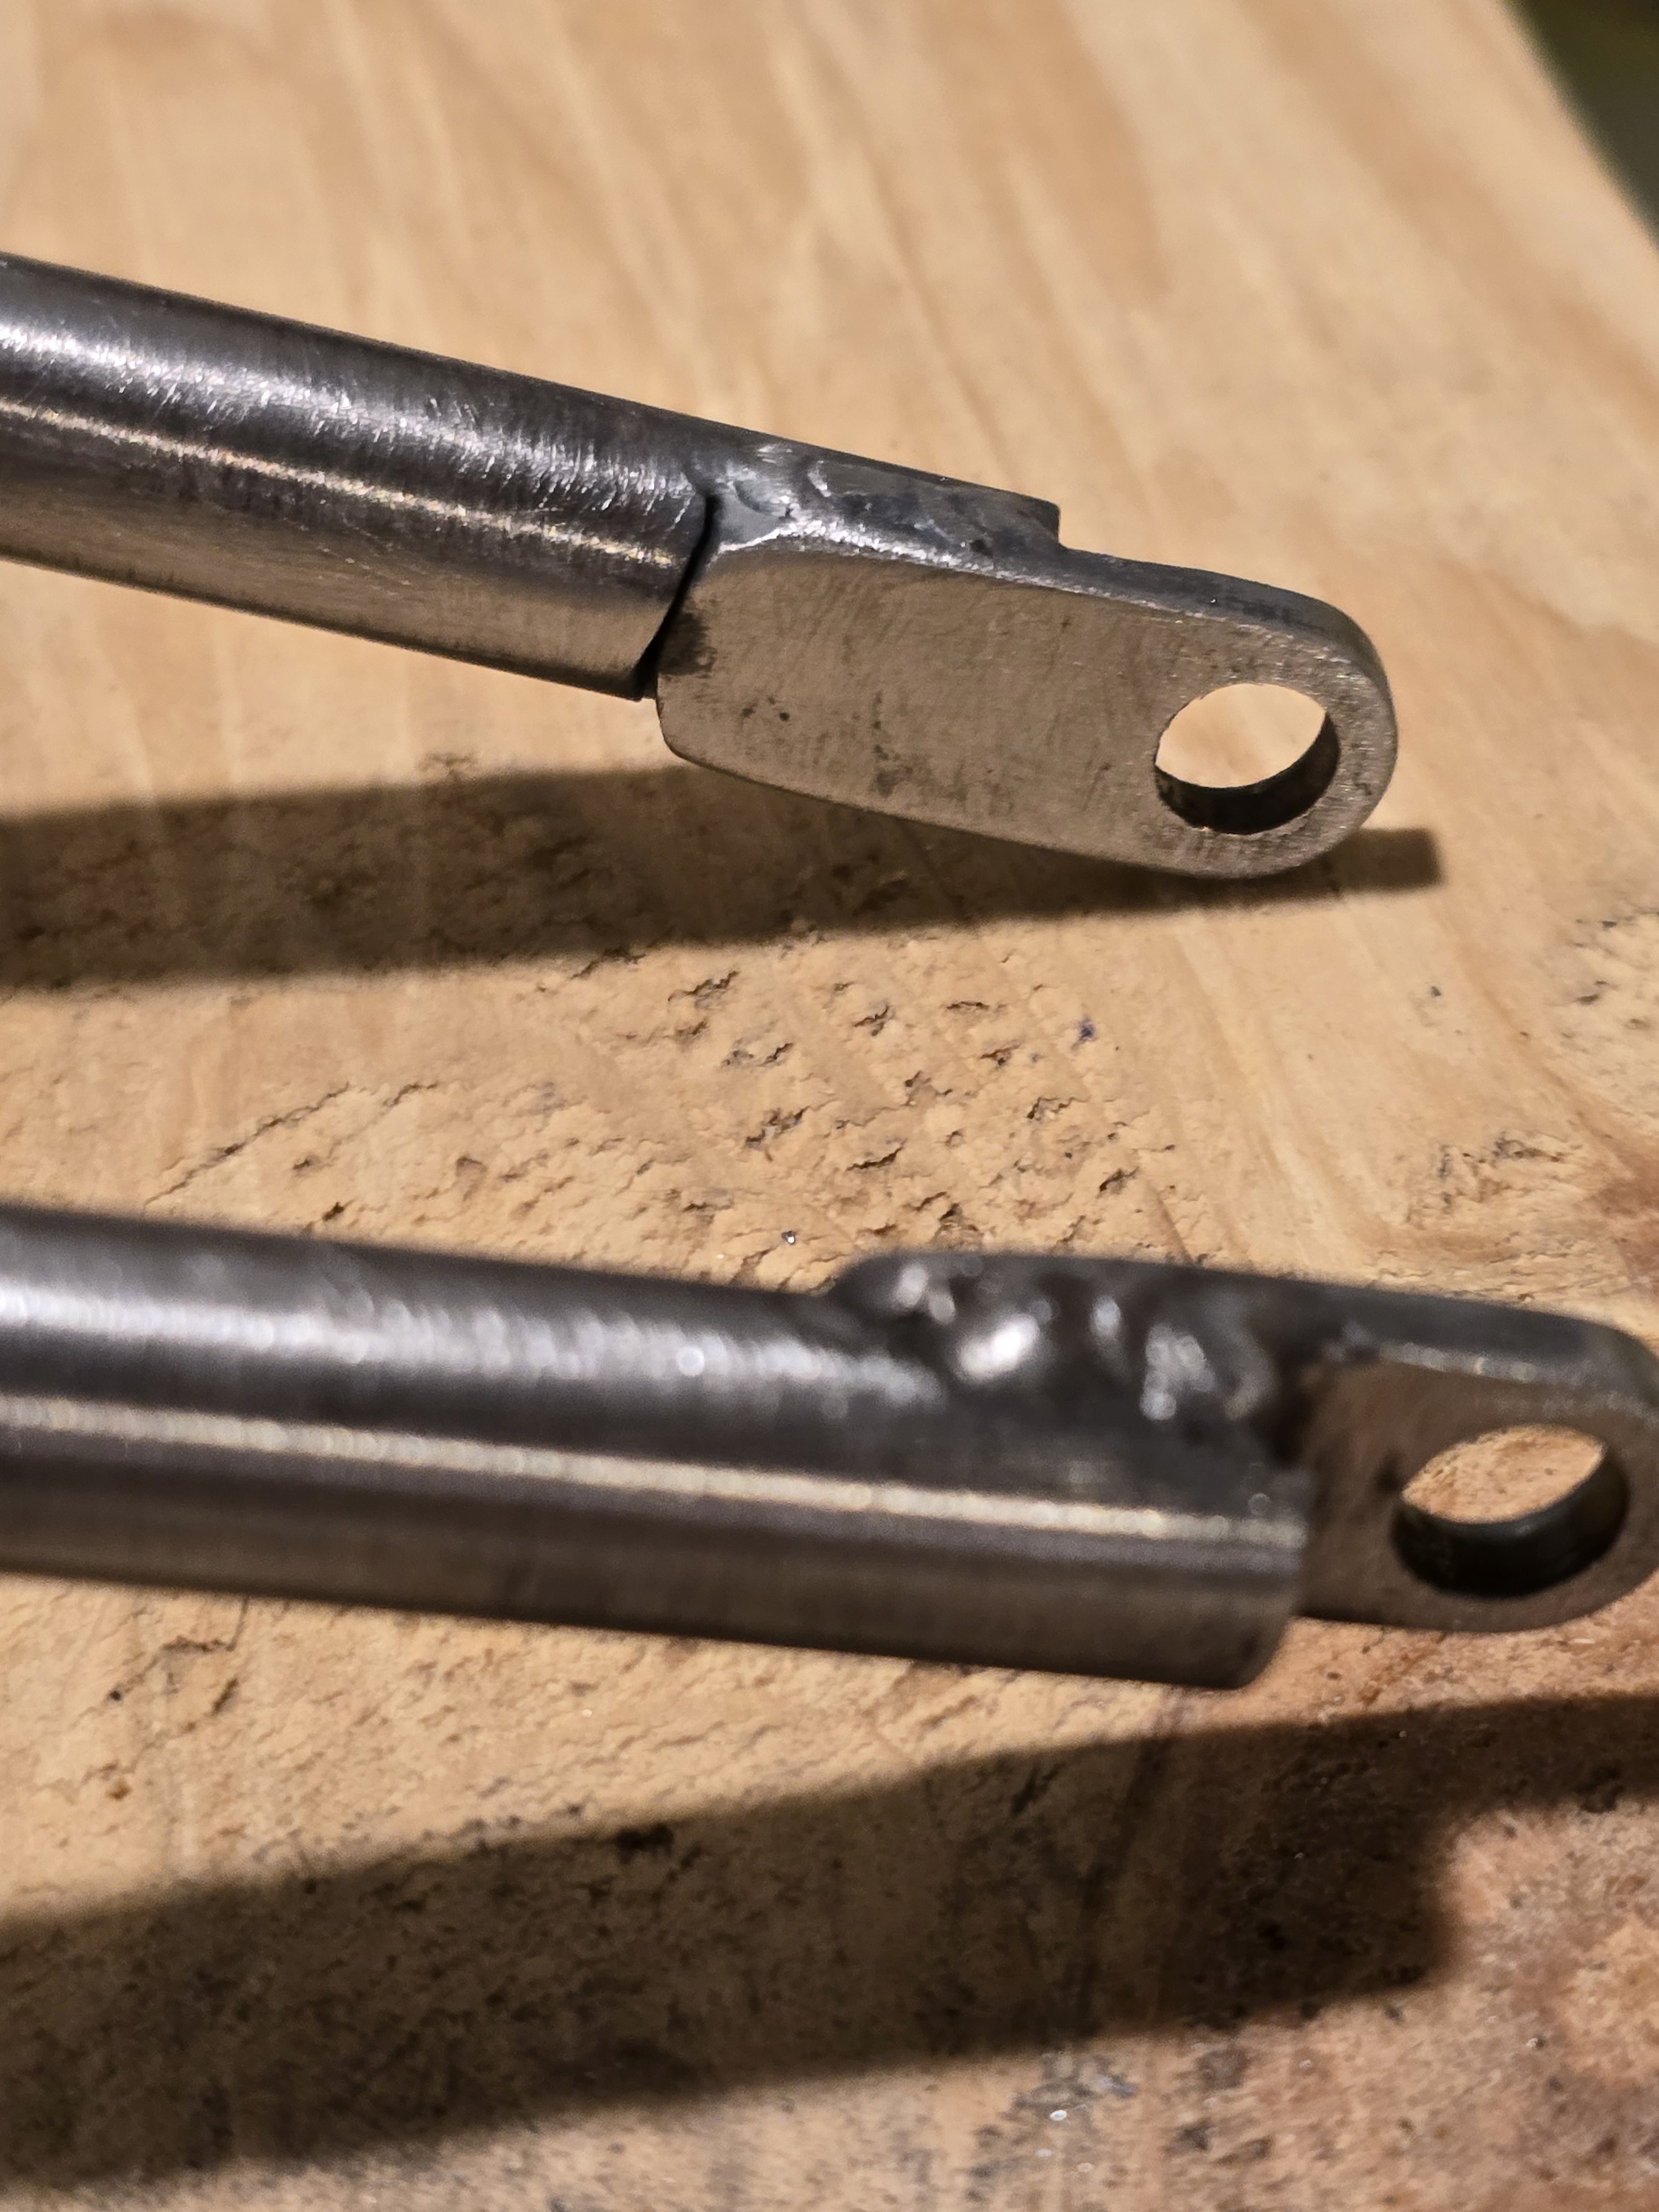
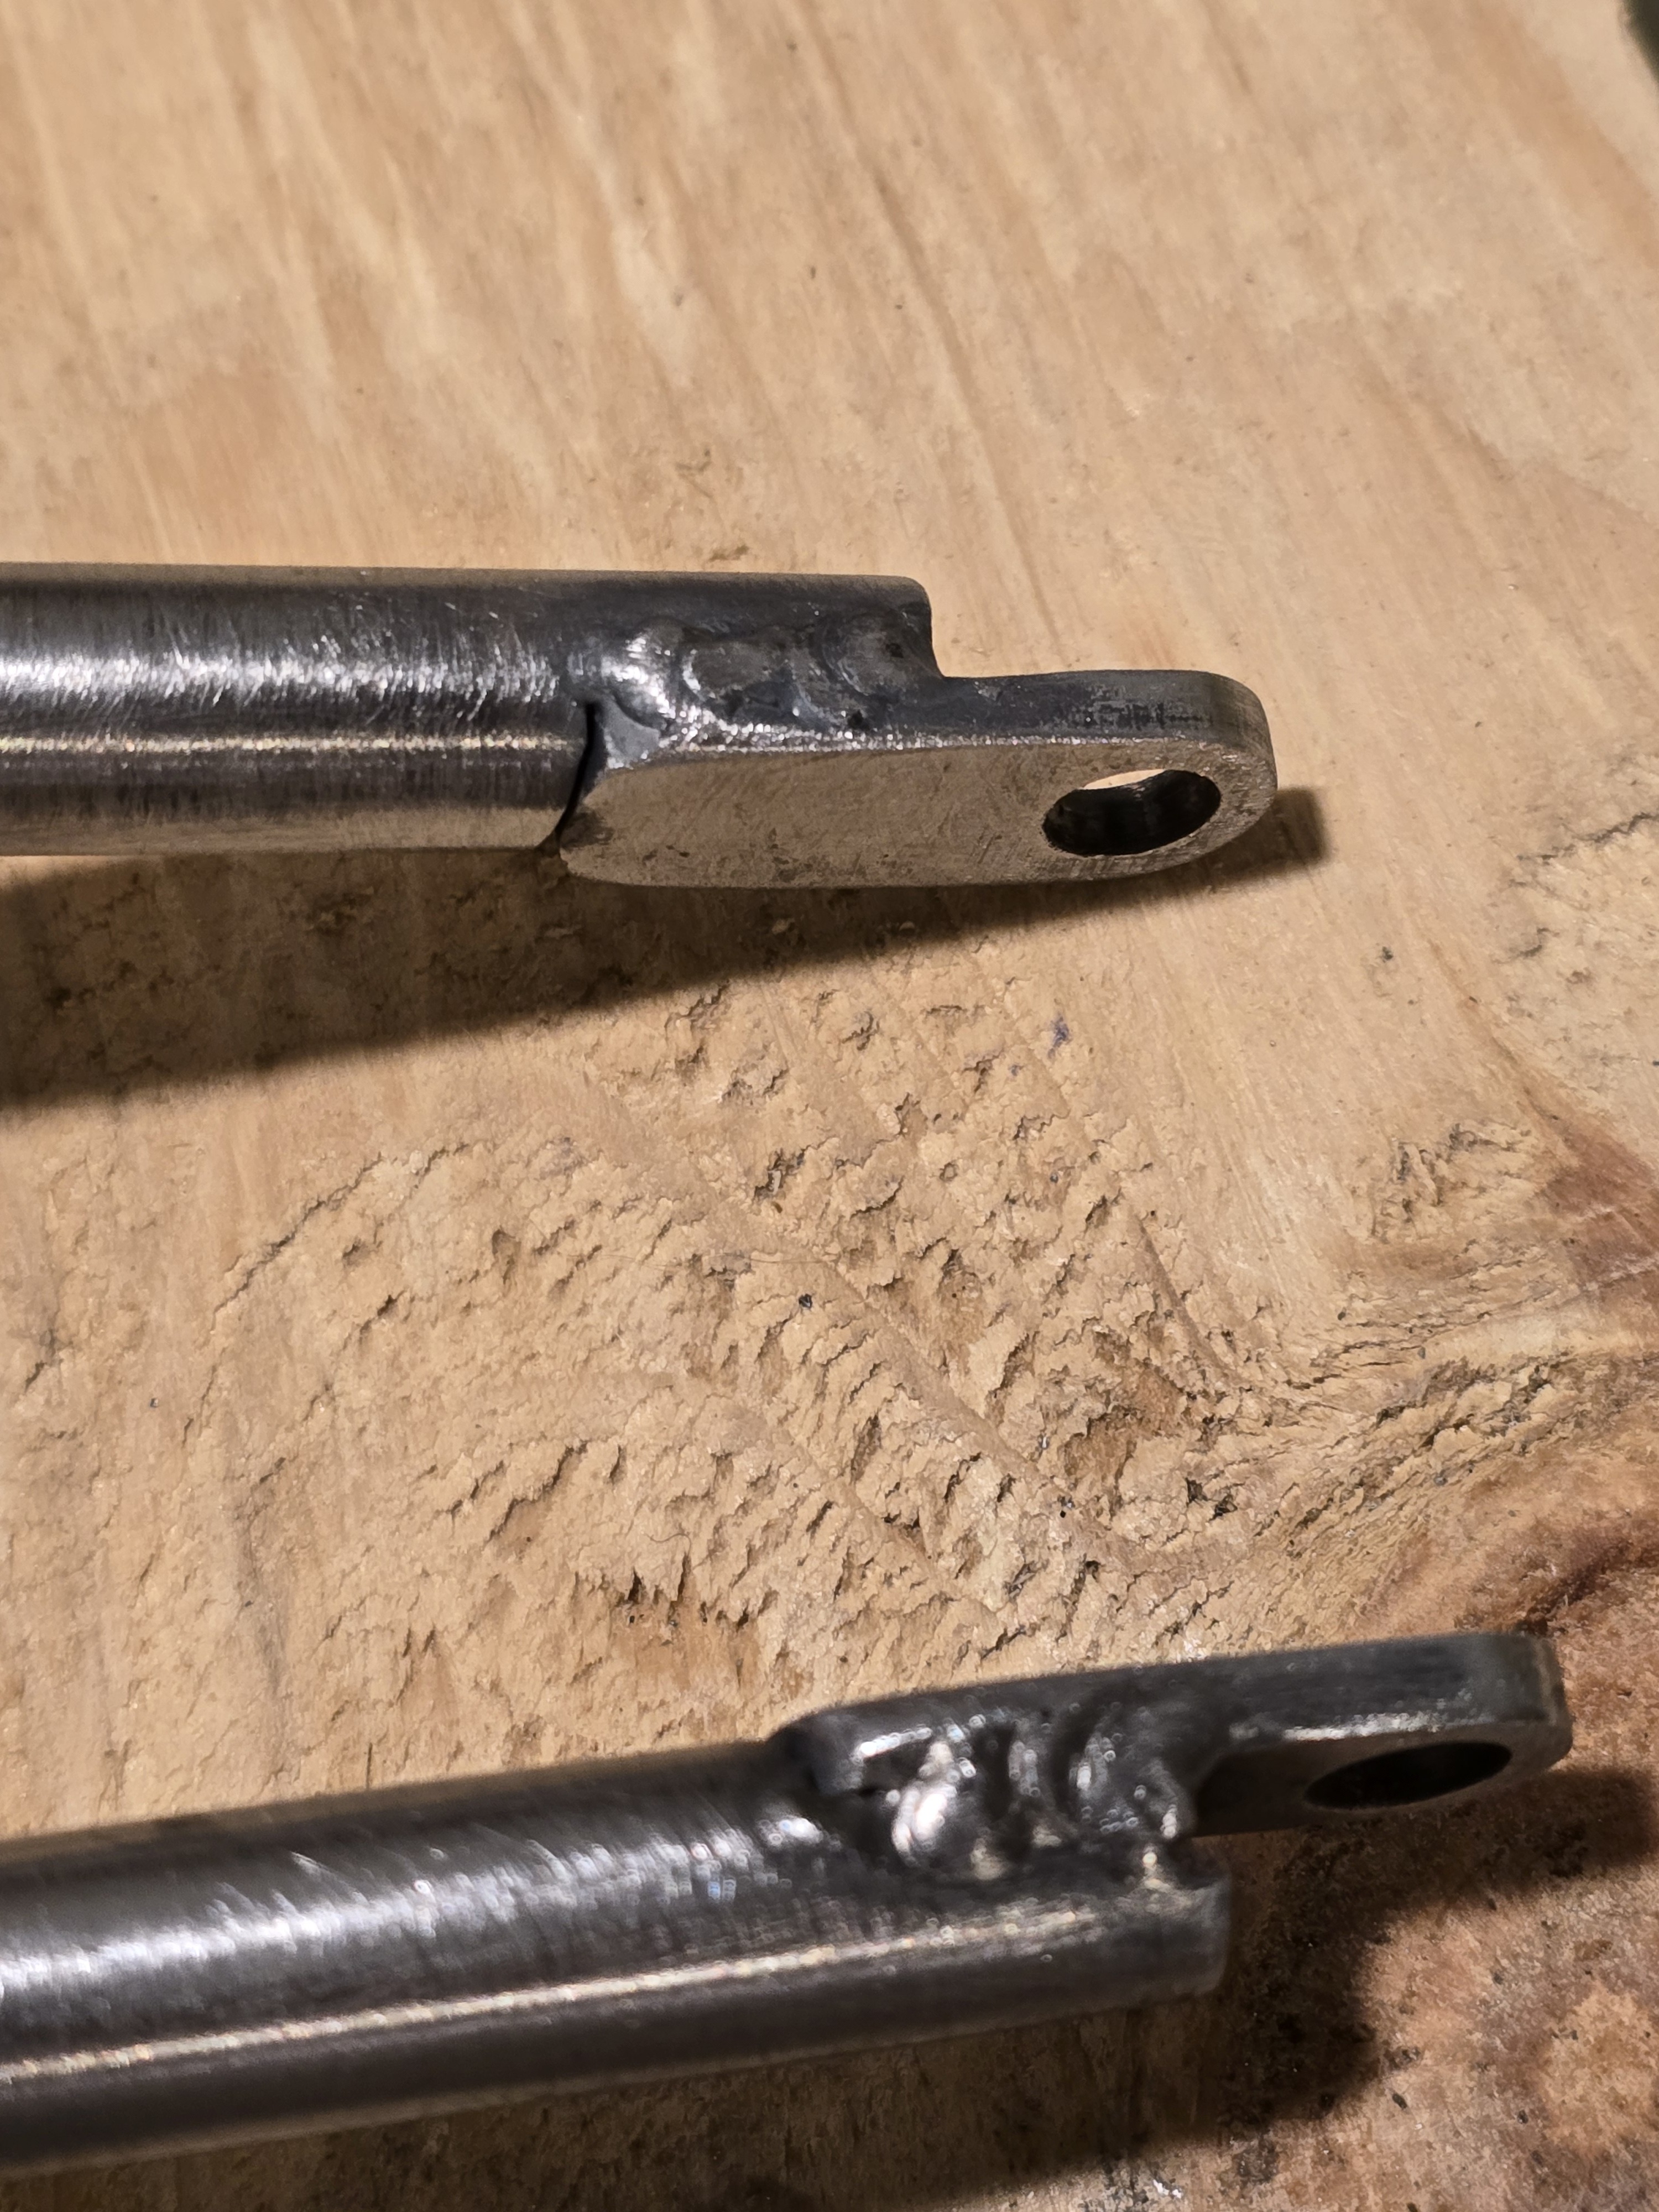

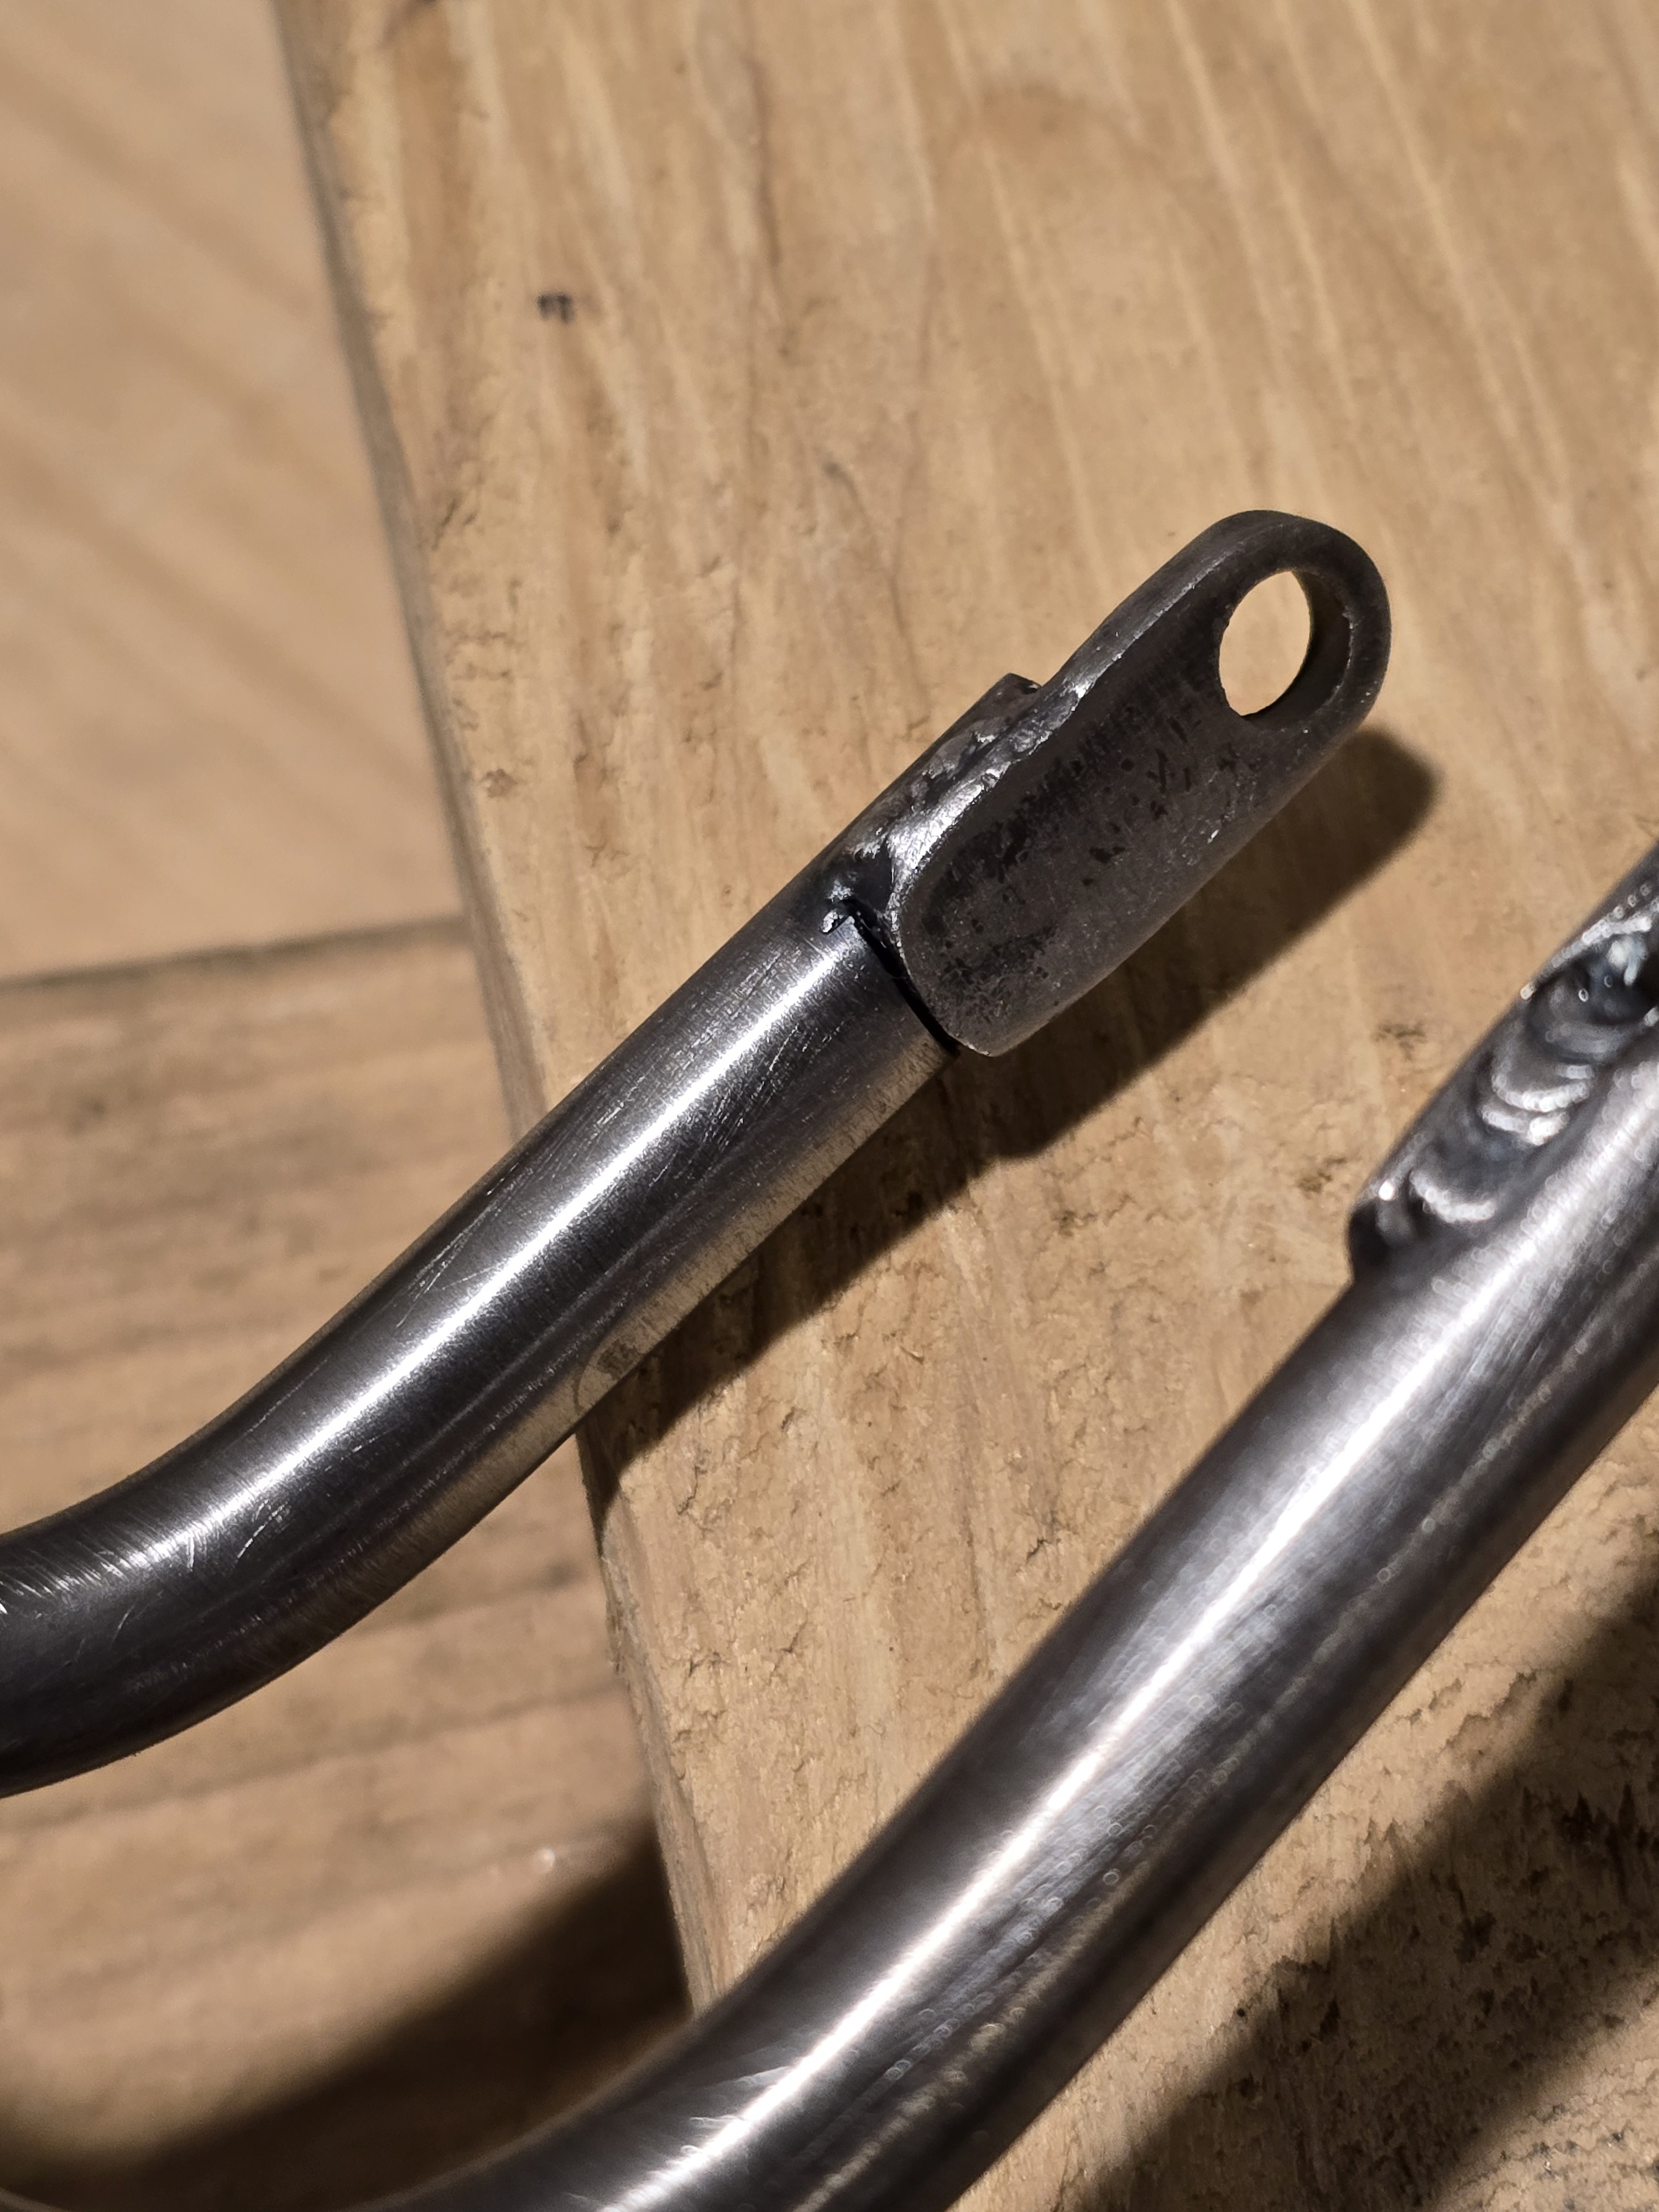
It’ll be fine as it is, but I would weld it shut anyway. Doesn’t need a gusset. Make sure the tubes are vented somewhere or hot gas can blow back out of your weld right at the end just as you’re closing it up.
Maybe not the most “Instagram” welds but they look functional in these pictures so don’t worry about it!
The tabs on these things are much thicker than the tube so that they can support bolts without getting crushed. You don’t need massive side-to-side stiffness, because both sides are going to be bolted in place across the bike. The welds you have look at least twice the wall thickness of the tube, so, assuming they’re decent, if you were to break test this, I think the tube would fail before the welds broke. That’s the acid test for whether you’ve done enough, which I think you have. But I would still weld them just because reasons. Personal/aesthetic/OCD or something 
Thanks for input and feedback.
I wasn’t really trying to skip steps, but I was a little nervous about making it worse than it was. I need to have this done for a trip, and won’t have time to start again from scratch.
Anyway, the gaps filled in easily enough, though I wish I’d put the tabs on before bending the end so close together. It was a little difficult to find a shot I liked.
I don’t tig but welding across the top of the tab was my thought as well.
Can I ask why you didn’t just weld around the whole tab to start with?
Well, of course. I’m just very inexperienced and was lacking confidence to accomplish it correctly.
Welding along the straight edge was simple enough. But I was concerned that the gap and needing to follow the curve would cause me trouble, and I might end up making a mistake that would require starting over. So, really it was just a plea for someone to tell me it was fine as is.
I had already had enough trouble bending it with a Ridgid 606 bender. First it was ovalizing bends in thinner 0.028 and 0.035 4130. I have not had that issue with 304ss. Then, with the 0.049, I really attempted to get the bends sequenced properly and aligned planarly(?) to minimize strong arming it afterward. I had the bender in a vice, used the digital protractor on my phone, and was as careful and attentive as I could be. Then, I spent a ton of time strong arming it. And that was a lesson it how much more resilient the 4130 is. I really think my bends were better aligned when I eyeballed it.
Anyway, it’s rattle canned and on the bike now. I’ll snap a finished photo tonight.
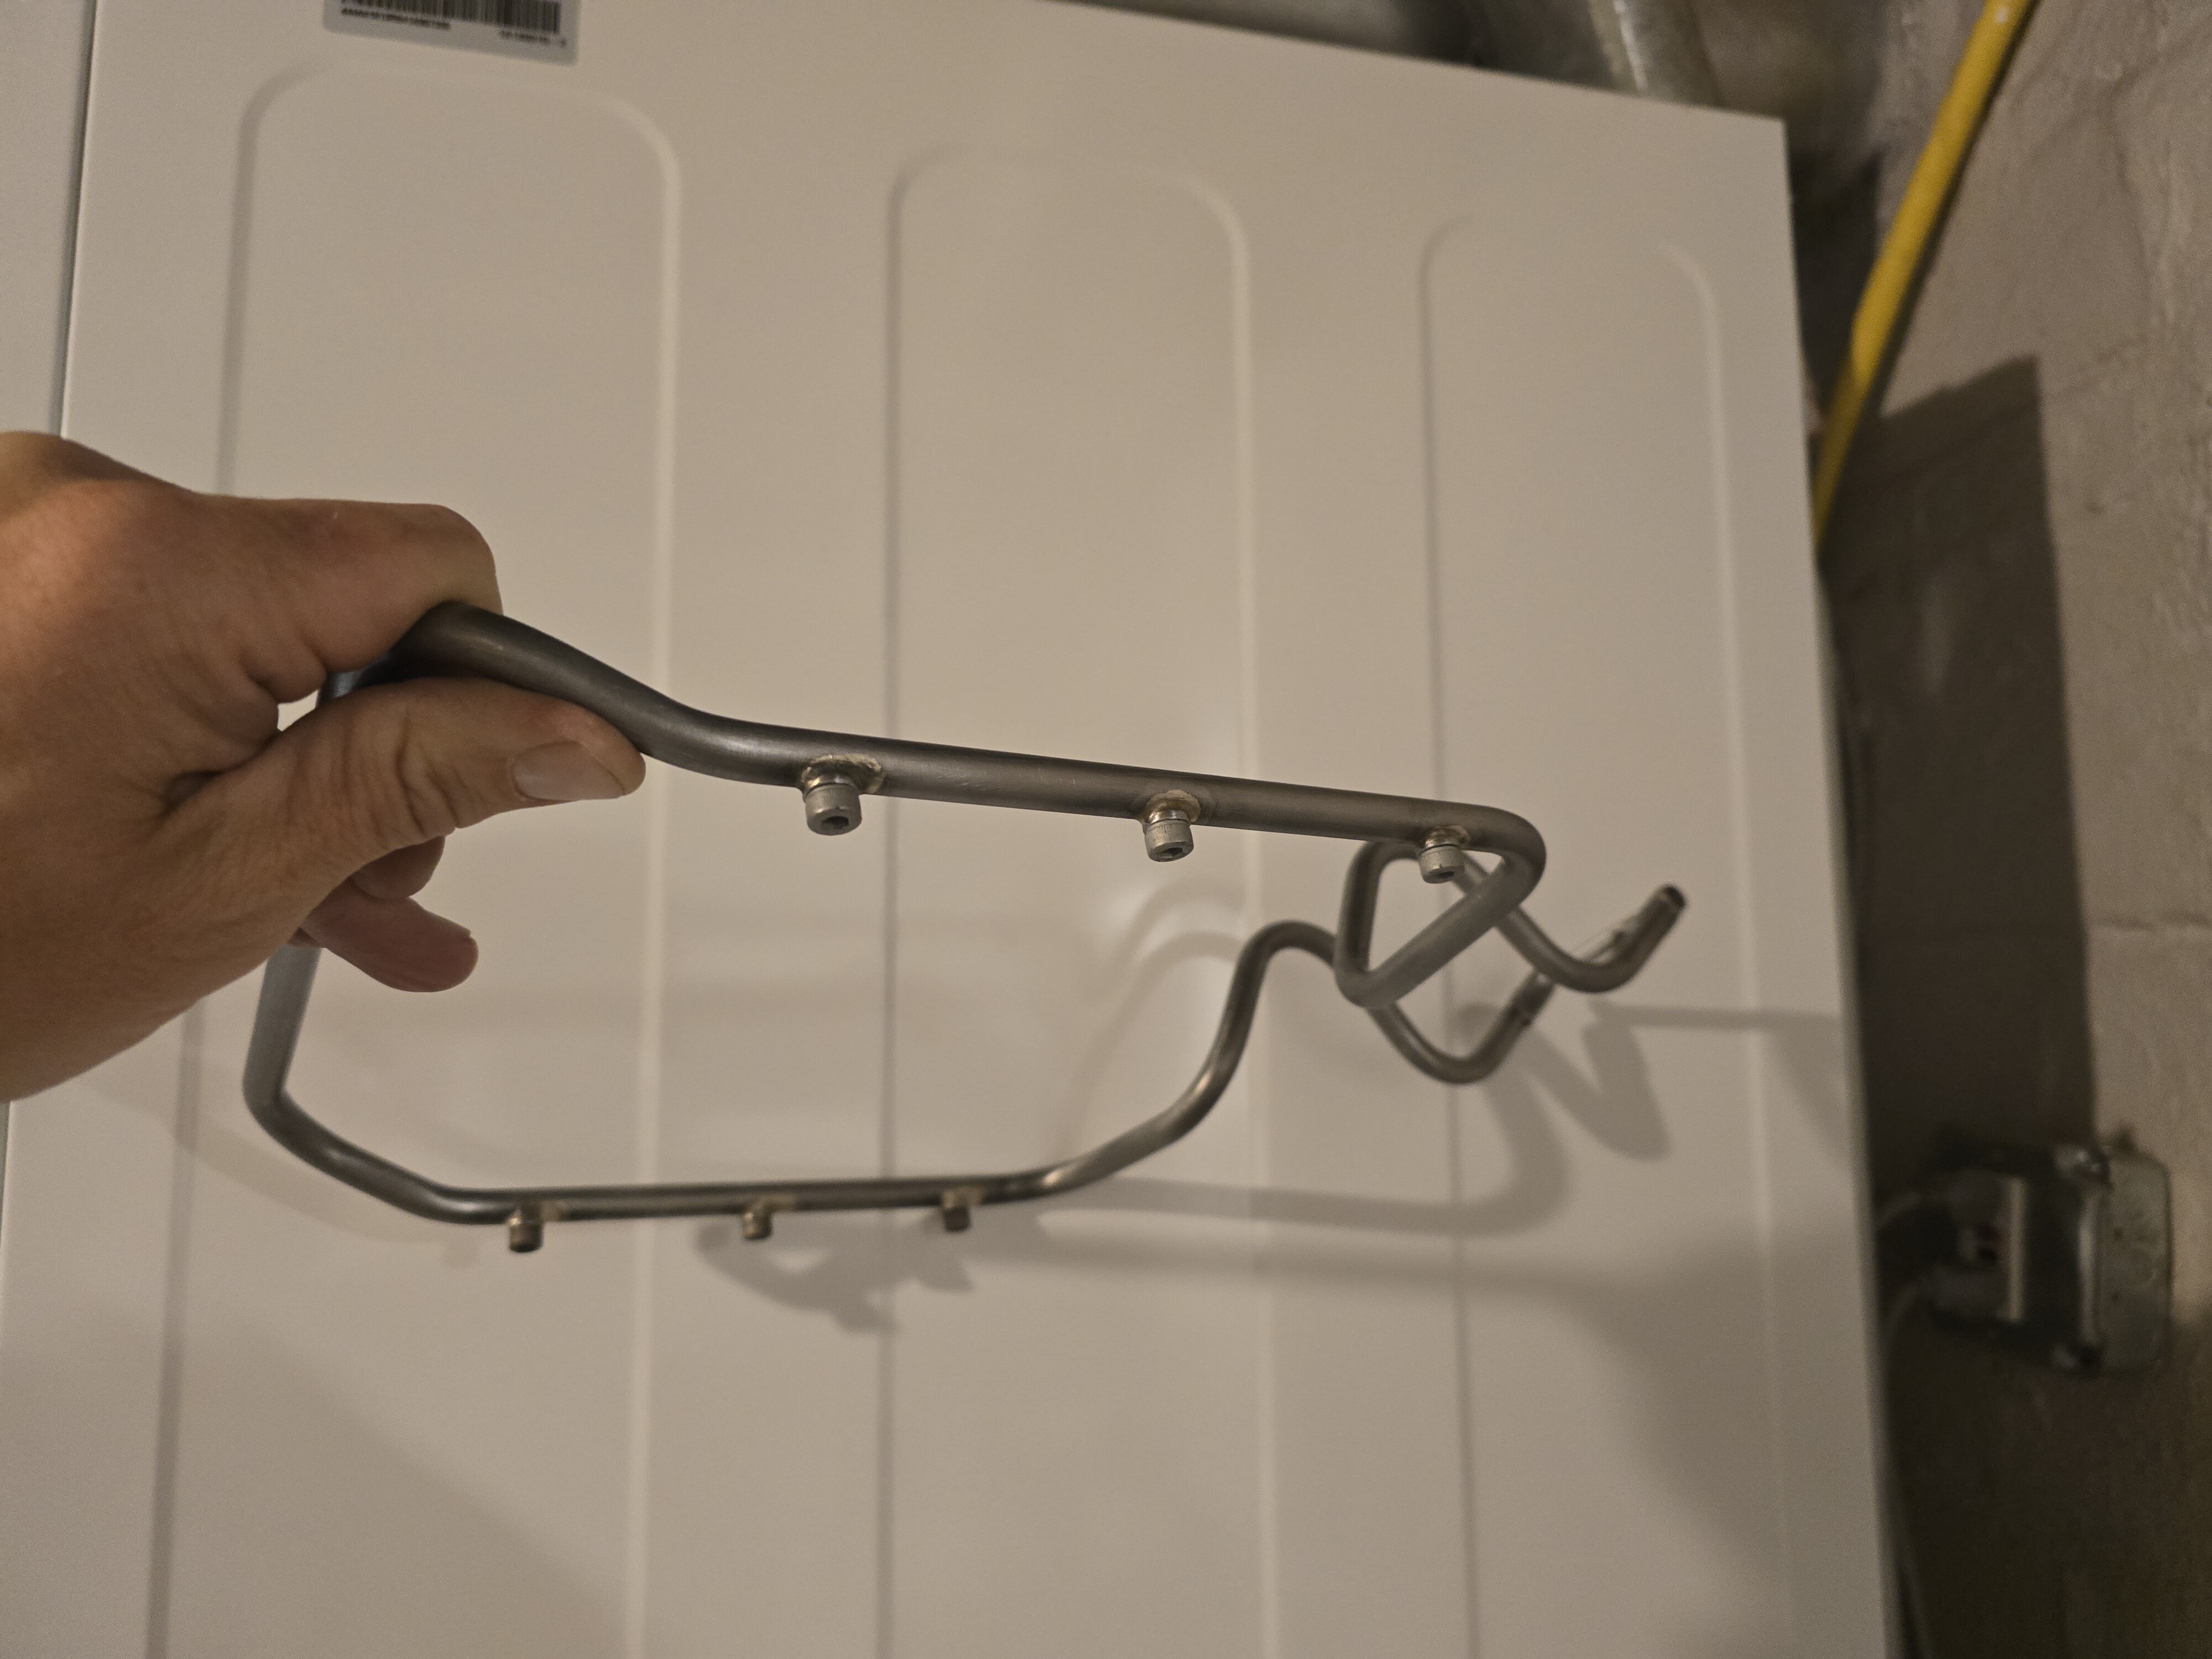

I’ve often found that the Mark I eyeball turns out to be more reliable than trying to measure things. You can see particular things, like parallelism between two things that are close together for example, very accurately, often more so than the accuracy with which you can get your measurement tools properly aligned with the thing you’re trying to measure.
It looks like your rack has turned out very well. A lot of complex bends there!
Probably an ignorant question, but why add rack tabs instead of squishing the tube and drilling a hole through it. I am going to make my first rack from 9/16 (8mm) 4130 soon and was wondering if I need to get tabs. The smooshed tubing is about 11.3 mm wide, is it that that is too narrow for a bolt hole? I would use it for a lightweight rear rack for bikepacking, so relatively light weight loads.
A second question, assuming I need tabs, is if i can use stainless. I seem to see those offered more than 4130. Does it matter for the brazing? I have bronze and could get silver, but prefer to use bronze if possible because i already have it. I guess i am confused if mixing SS and 4130 would cause an issue. Thanks!
You need silver (or nickle silver) to braze stainless steel. I don’t see any reason to mix it with 4130 for a rack — once you assume that it’ll be painted you might as well use the stronger and easier to work with material.
Squash and drill works, it just doesn’t look very good. Check Brompton fork dropouts for an example.
I used a short piece of tubing at a right angle before making my first batch of rack tabs. This is easy and basically free, but probably not quite as strong.
That’s all I do. Bash it flat and drill a hole (I’m usually using 10mm x 1mm stainless tubing). I round the bottom corners off a bit just to tidy them up and because nobody likes sharp corners.
I think the main reason for tabs is aesthetics. But really nobody’s going to notice what the rack tabs look like once they’re on the bike. Well nobody normal that is However I am never going to criticize anyone for making pointless things beautiful because that is what it’s all about.
That all makes sense to me. Funny, I have a Brompton but never noticed that about the forks before!
I just saw something on YT about someone making something for motorcycle and they did exactly this. The squish the tube, drill a hole and then fill the squished end with some kind of filler. It seemed like more than silver so I’m guessing it was brass but couldn’t tell.
A lot of what a framebuilder does is for aesthetics and to differentiate from the lowest common denominator type bikes. Why did anyone do that thing with the seatsays attaching to the top tube to make the extra triangle? Certainly adds weight and arguably nothing more. But it differentiates and shows the craftsperson cared. Nicely finished dropouts, rack ends, bottle bosses with stars or other reinforcements etc. all add to something you can be proud of. IMO.
Following up after tour divide.
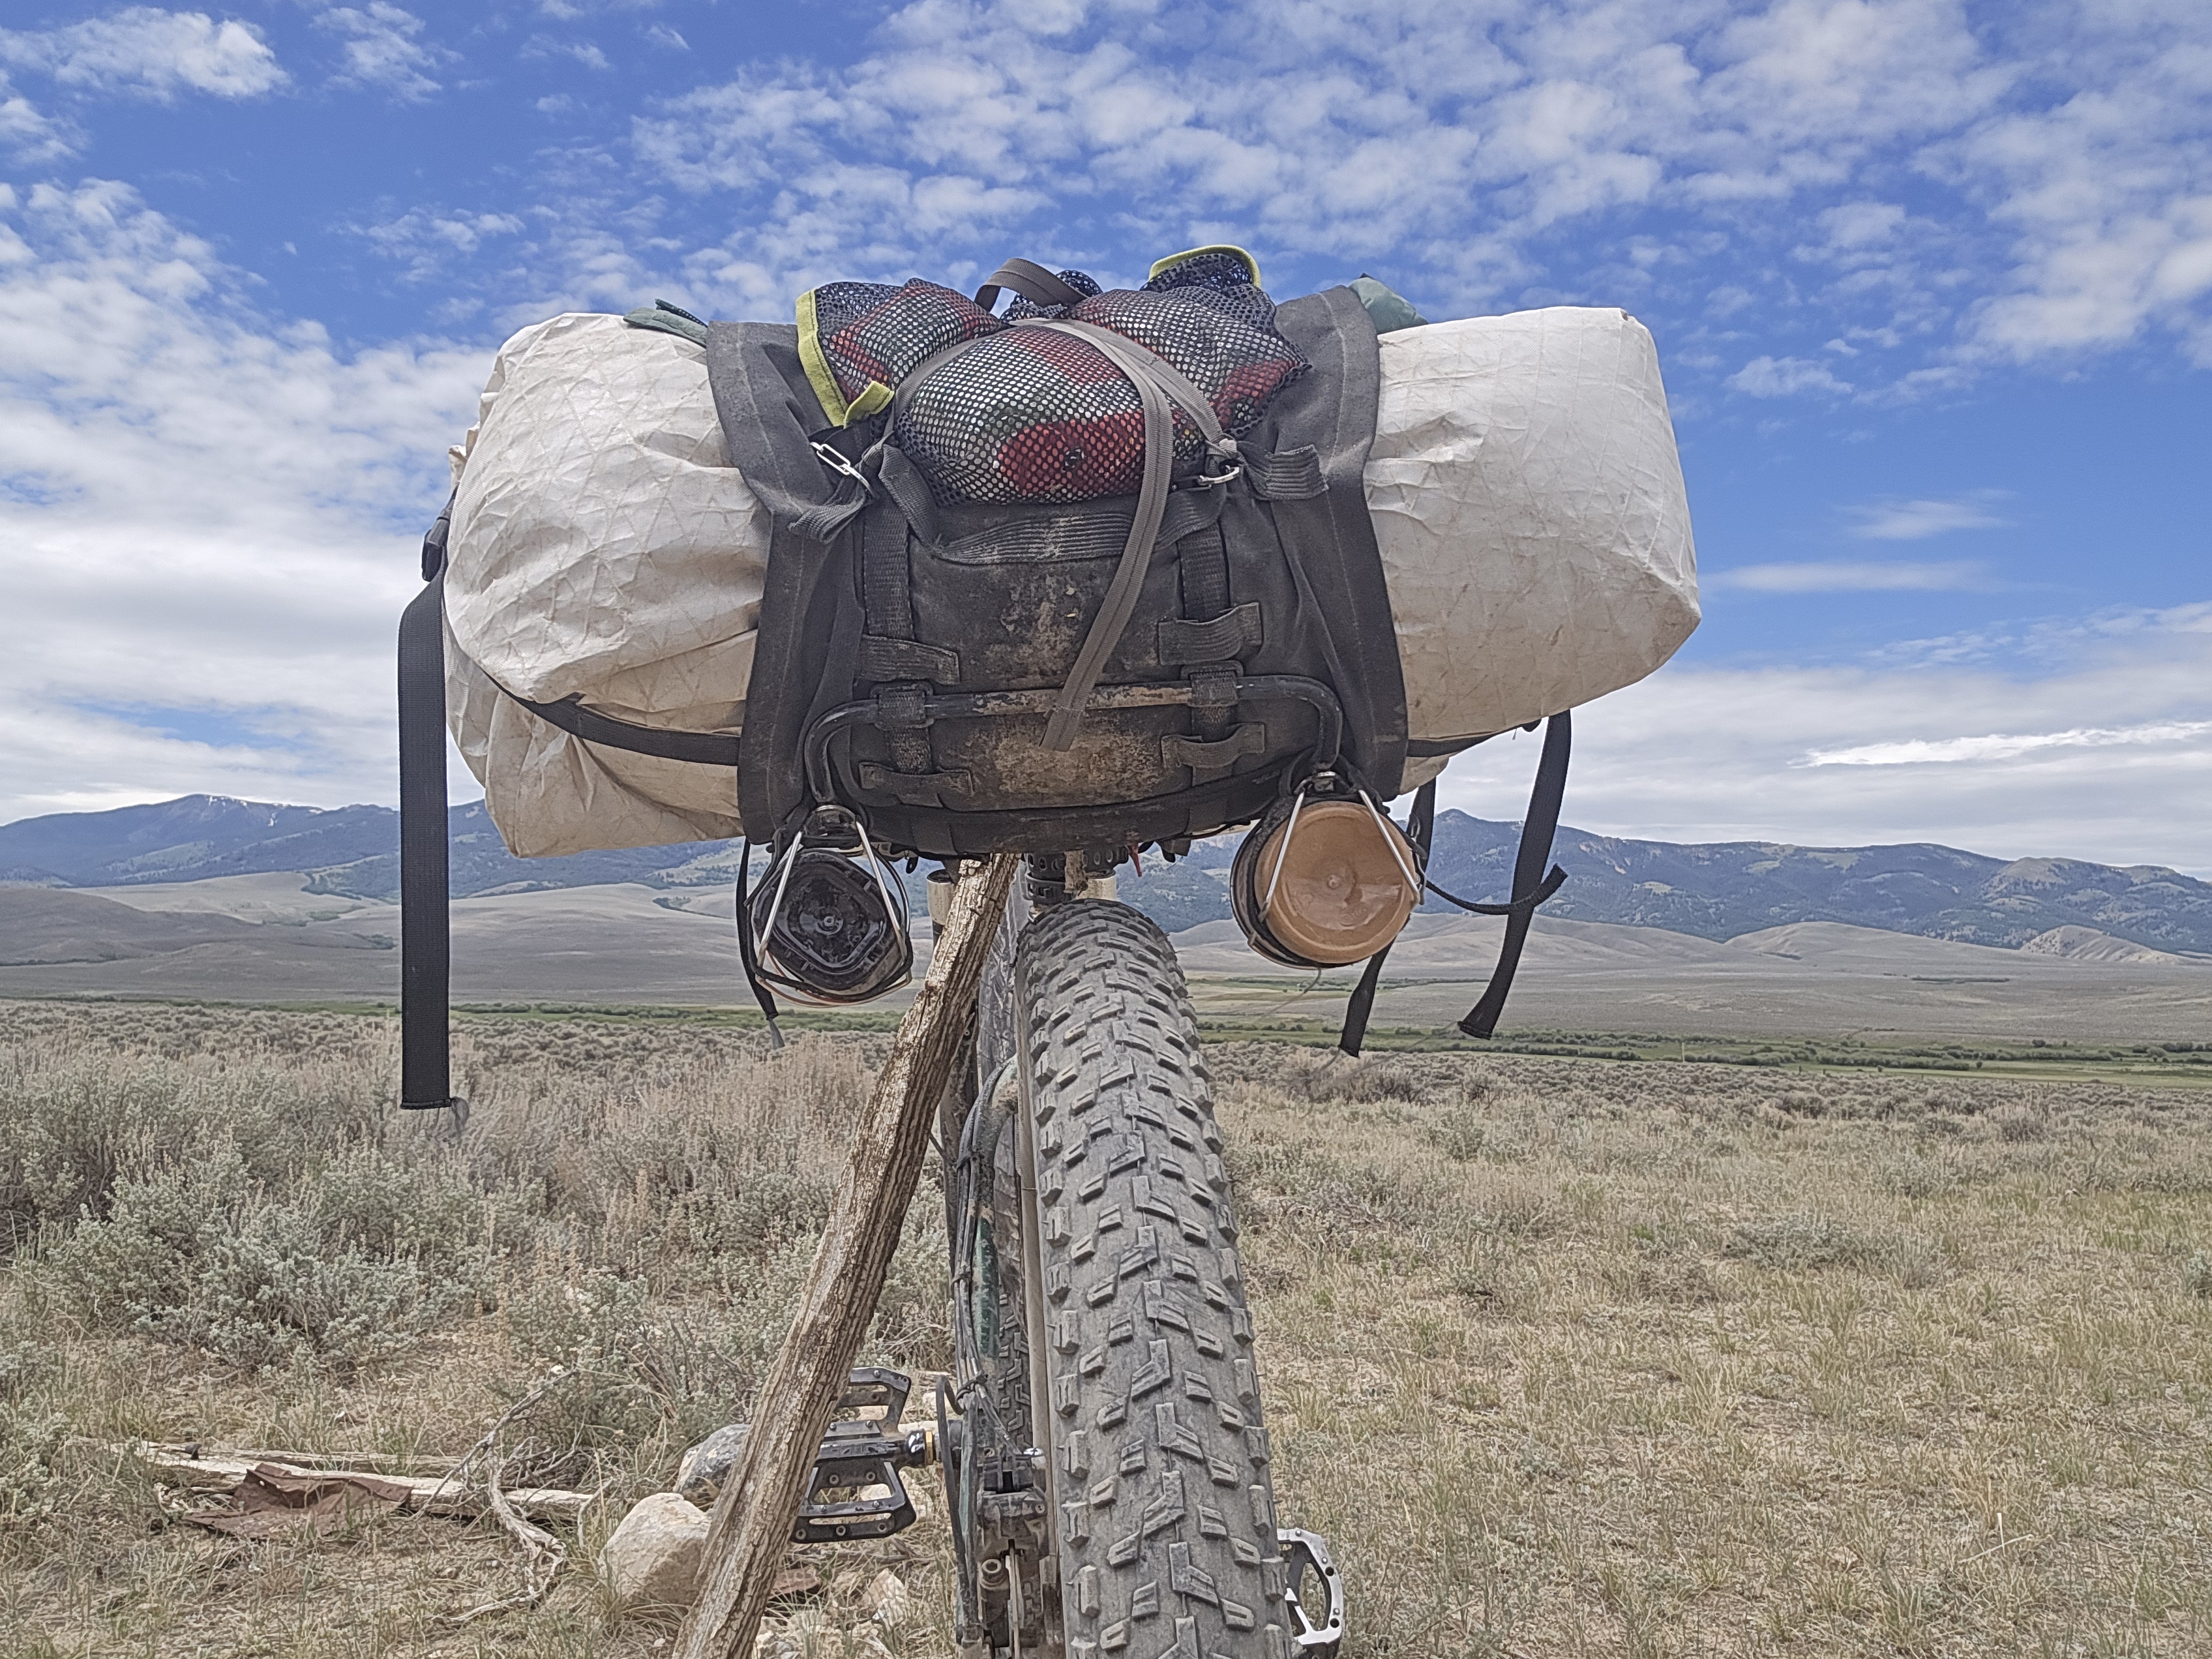
My original concern with the incomplete weld was that it lacked strength in the lateral direction. While pedaling out of the saddle, this “rack” was intended to add stability to prevent my bags from fishtailing behind me. However, my hope (and I don’t employ hope much as a design strategy) was that strapping the bags fairly tight to the loops on the B17 saddle would mitigate most of that motion.
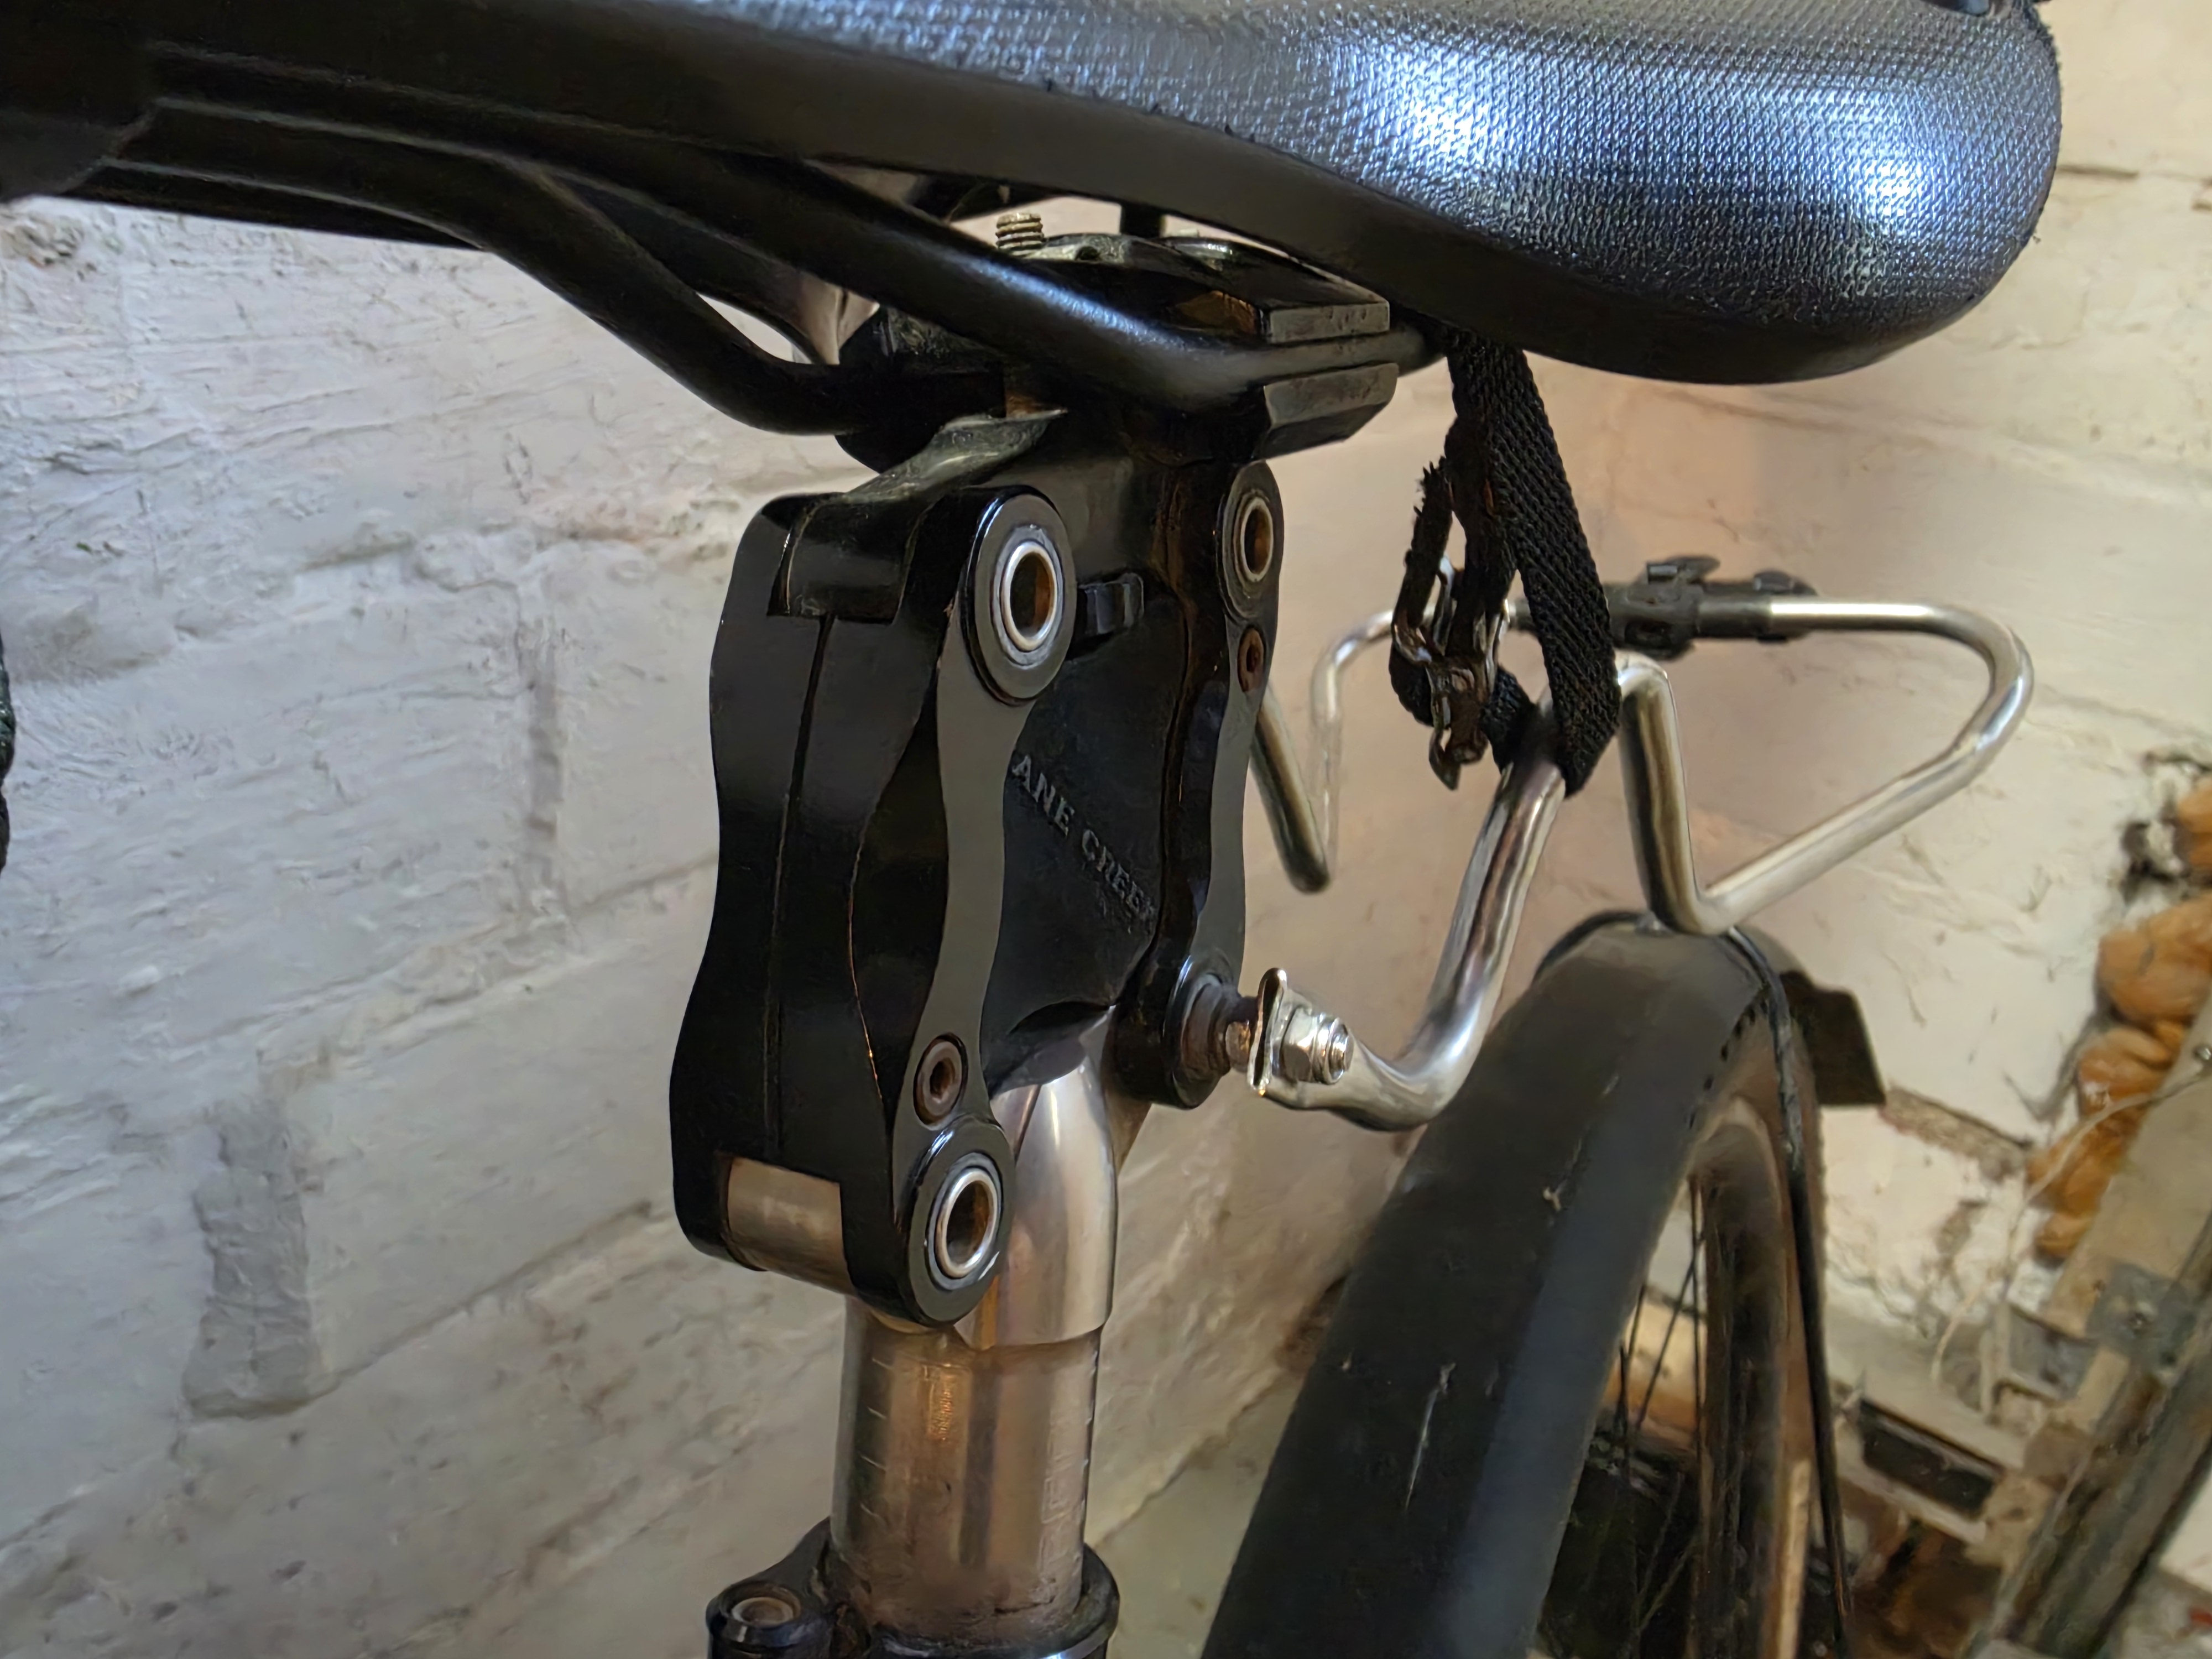
I chose to use the rack tabs here because this method was within my tooling and abilities. I had a lot of other methods I preferred, but this one won out simply because I could do it. It also left the tube ends open incase I wanted to run a wire through to a taillight, which I did not do. The tabs had 5mm holes which I drilled out to 1/4” so that the pivot spindle would sit within the thickness of the tab. I wanted the 1/4”x0.049 spindle to take the shear instead of a 5mm screw. The spindle ends are tapped for 5mm to sandwich the hole thing together. And I brazed 5mm SS washers to the outside of the 1/4” holes of the tabs as backstops for the spindle.
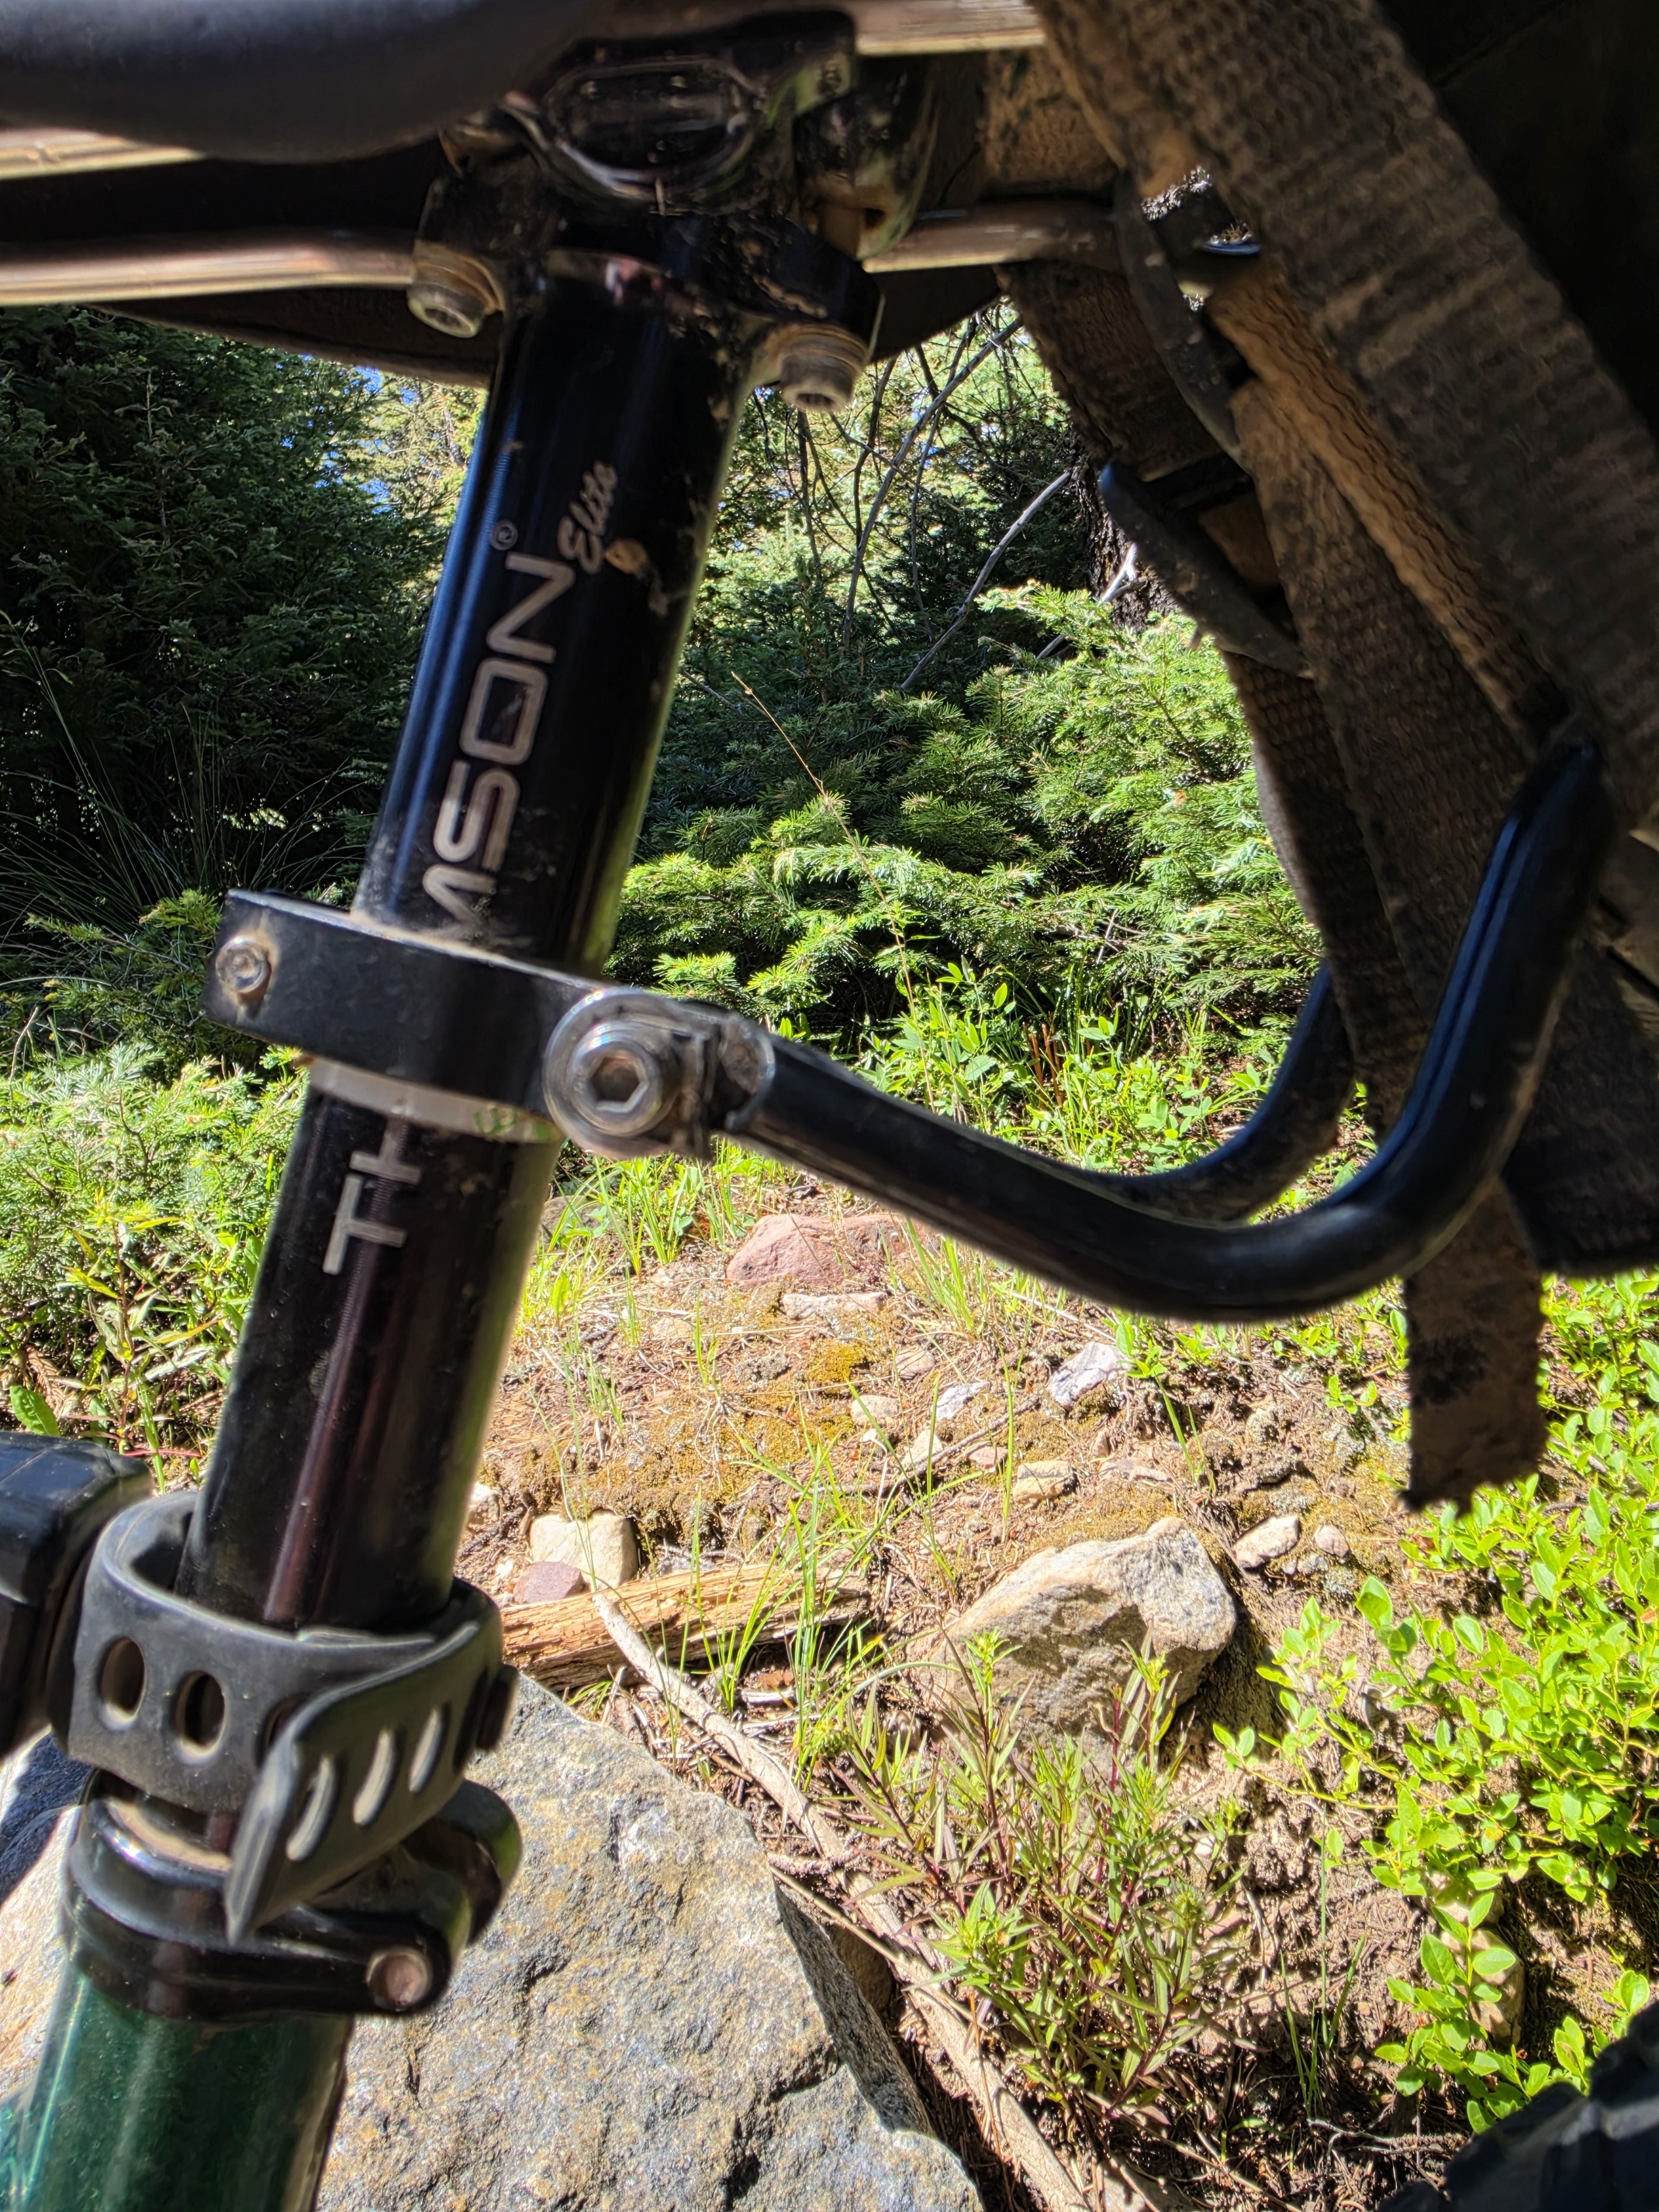
I used and Axiom Trekk seat collar as the mounting point on the seat post. I bored out the 5mm holes to 3/8” to fit nylon bushings for the spindle. I was a bit concerned by how little aluminum I was leaving, but it’s worked great. I do have some 7075 bar stock 5/8” and 3/4” thick that I’d like to drill/machine to create a more robust bracket, but that did not fit into my expedited schedule pre-race.
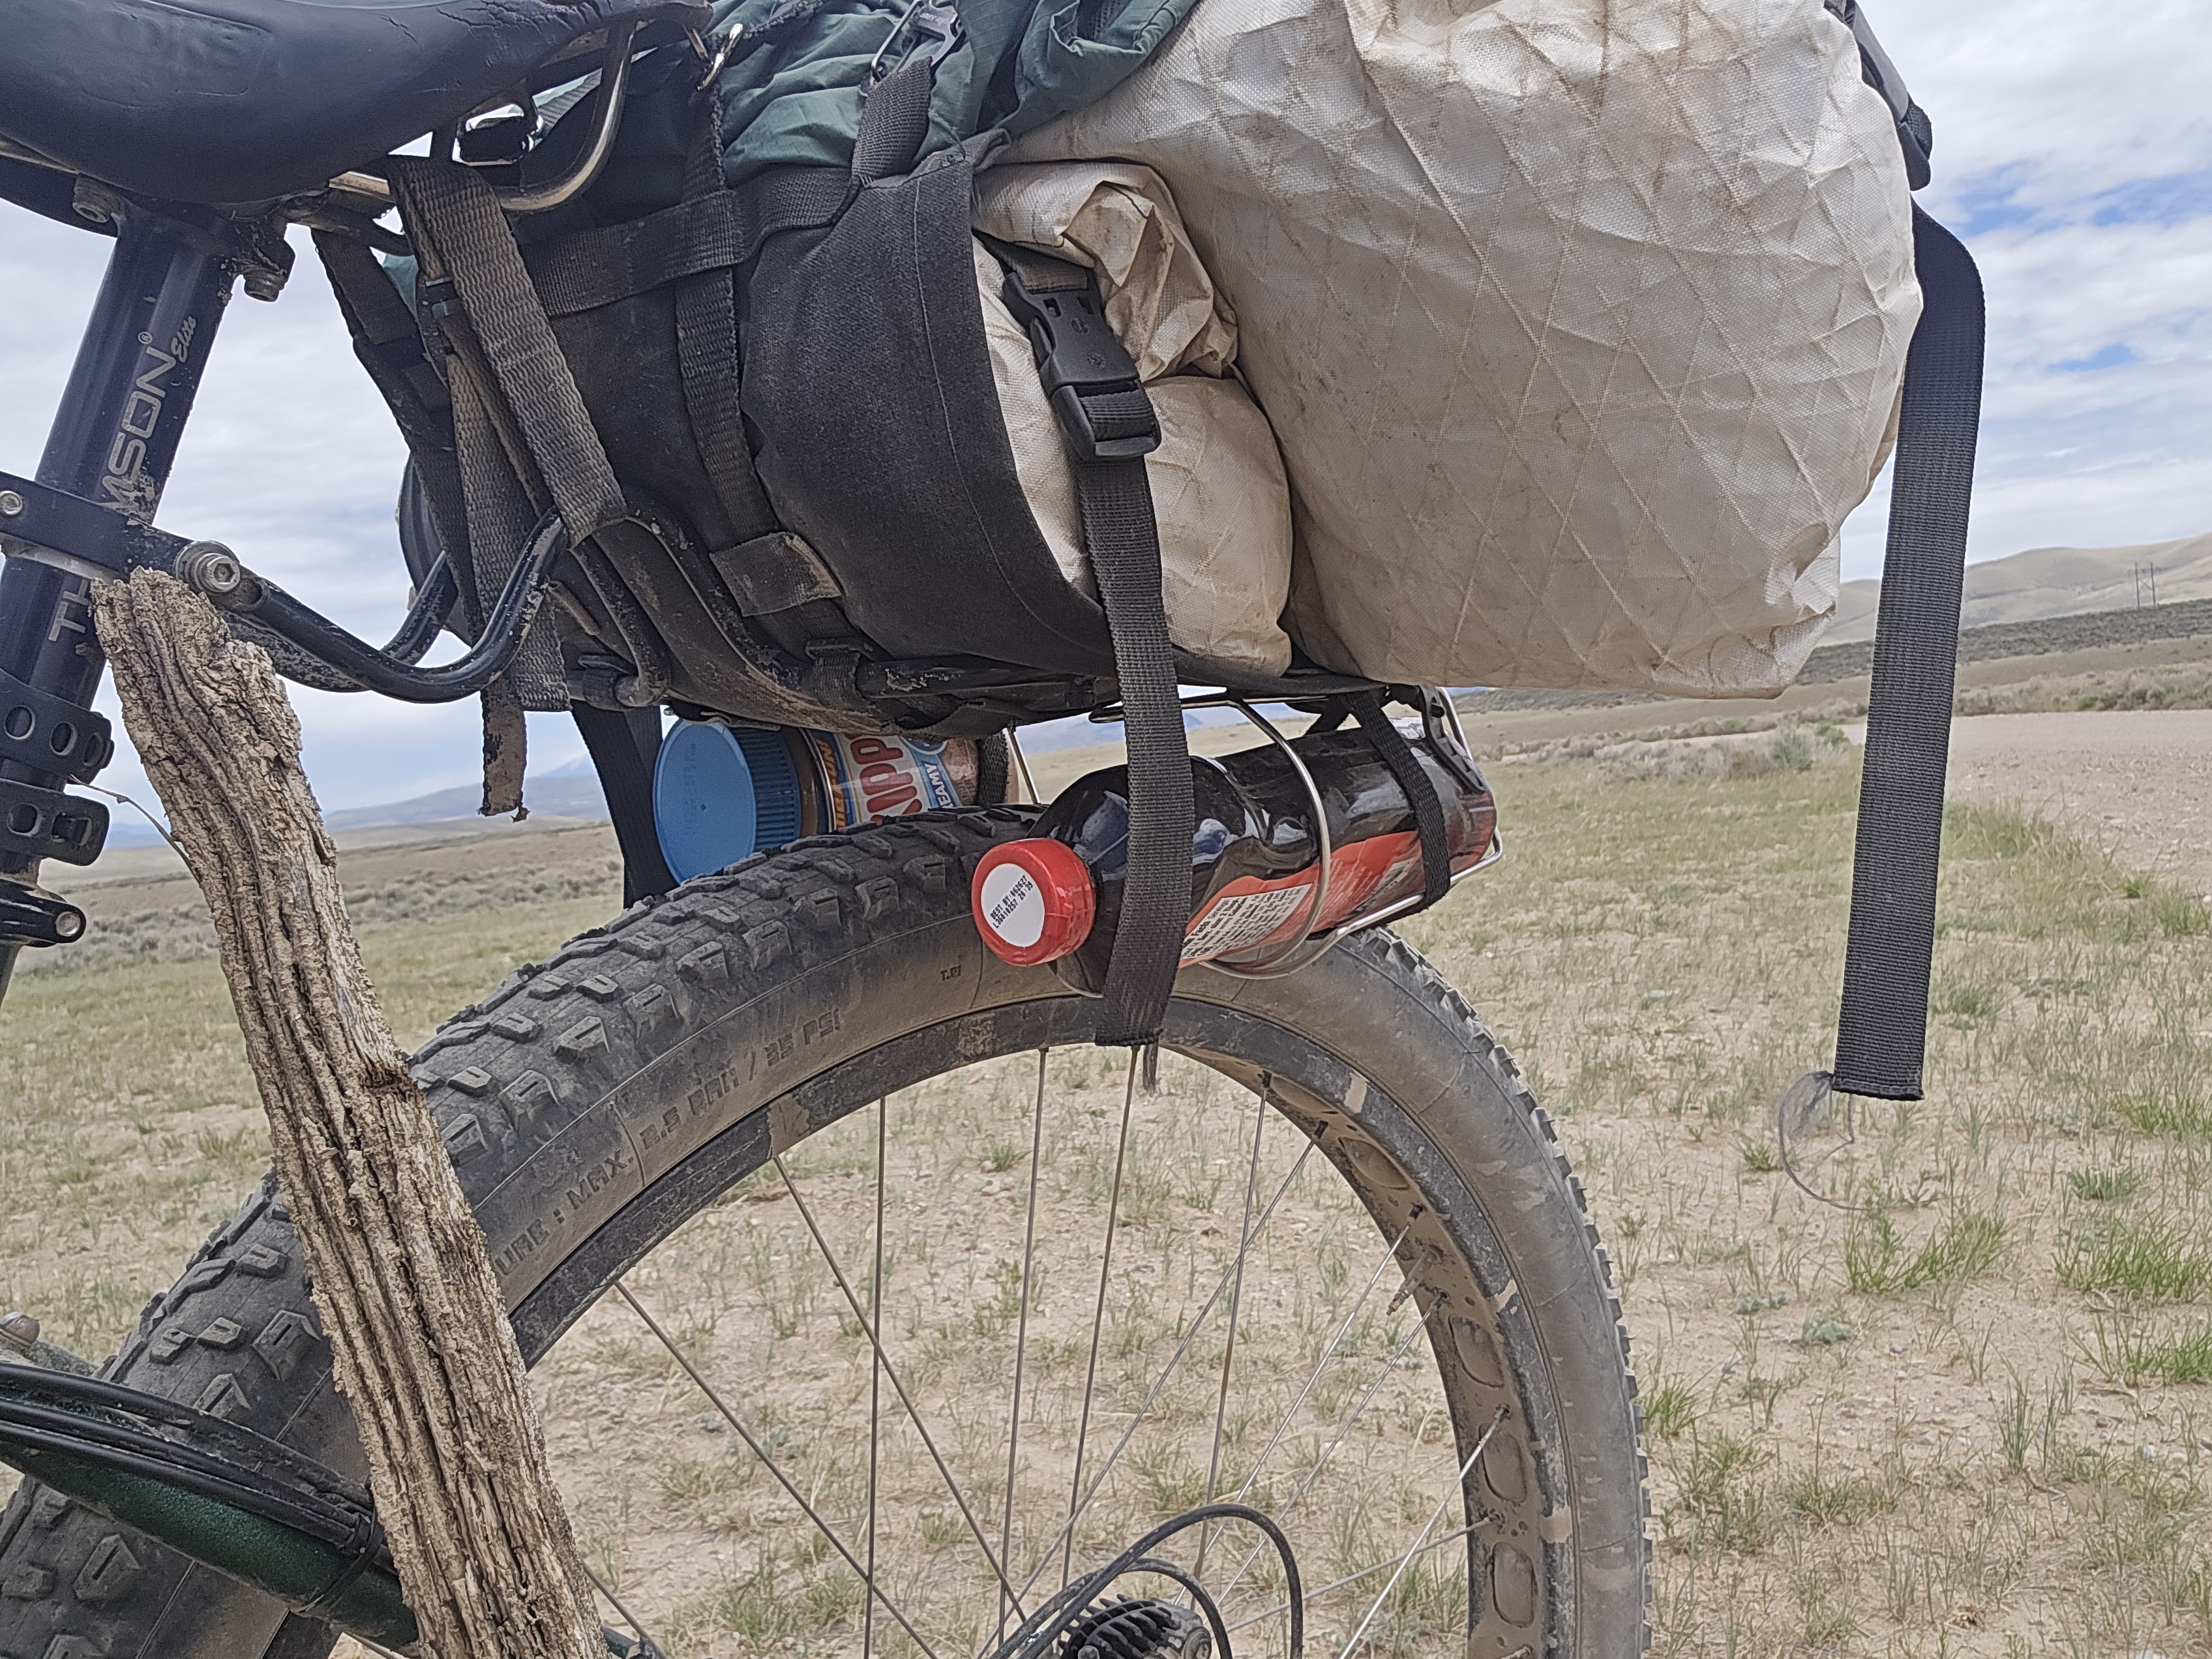
My previous, lighter weight versions were all 304 SS and I did crush the ends in a vice for this connection. That’s worked great. I threaded the ends of 5mm rod and sandwiched the rack ends with nylock nuts. I ran the 5mm spindle through the pivots of a Thudbuster seatpost with 7mm OD nylon bushings. Simple enough, but I thought the 1/4” tube spindle would be narrower without the nuts and stronger all together. It is, but the TD is quite the testing ground.
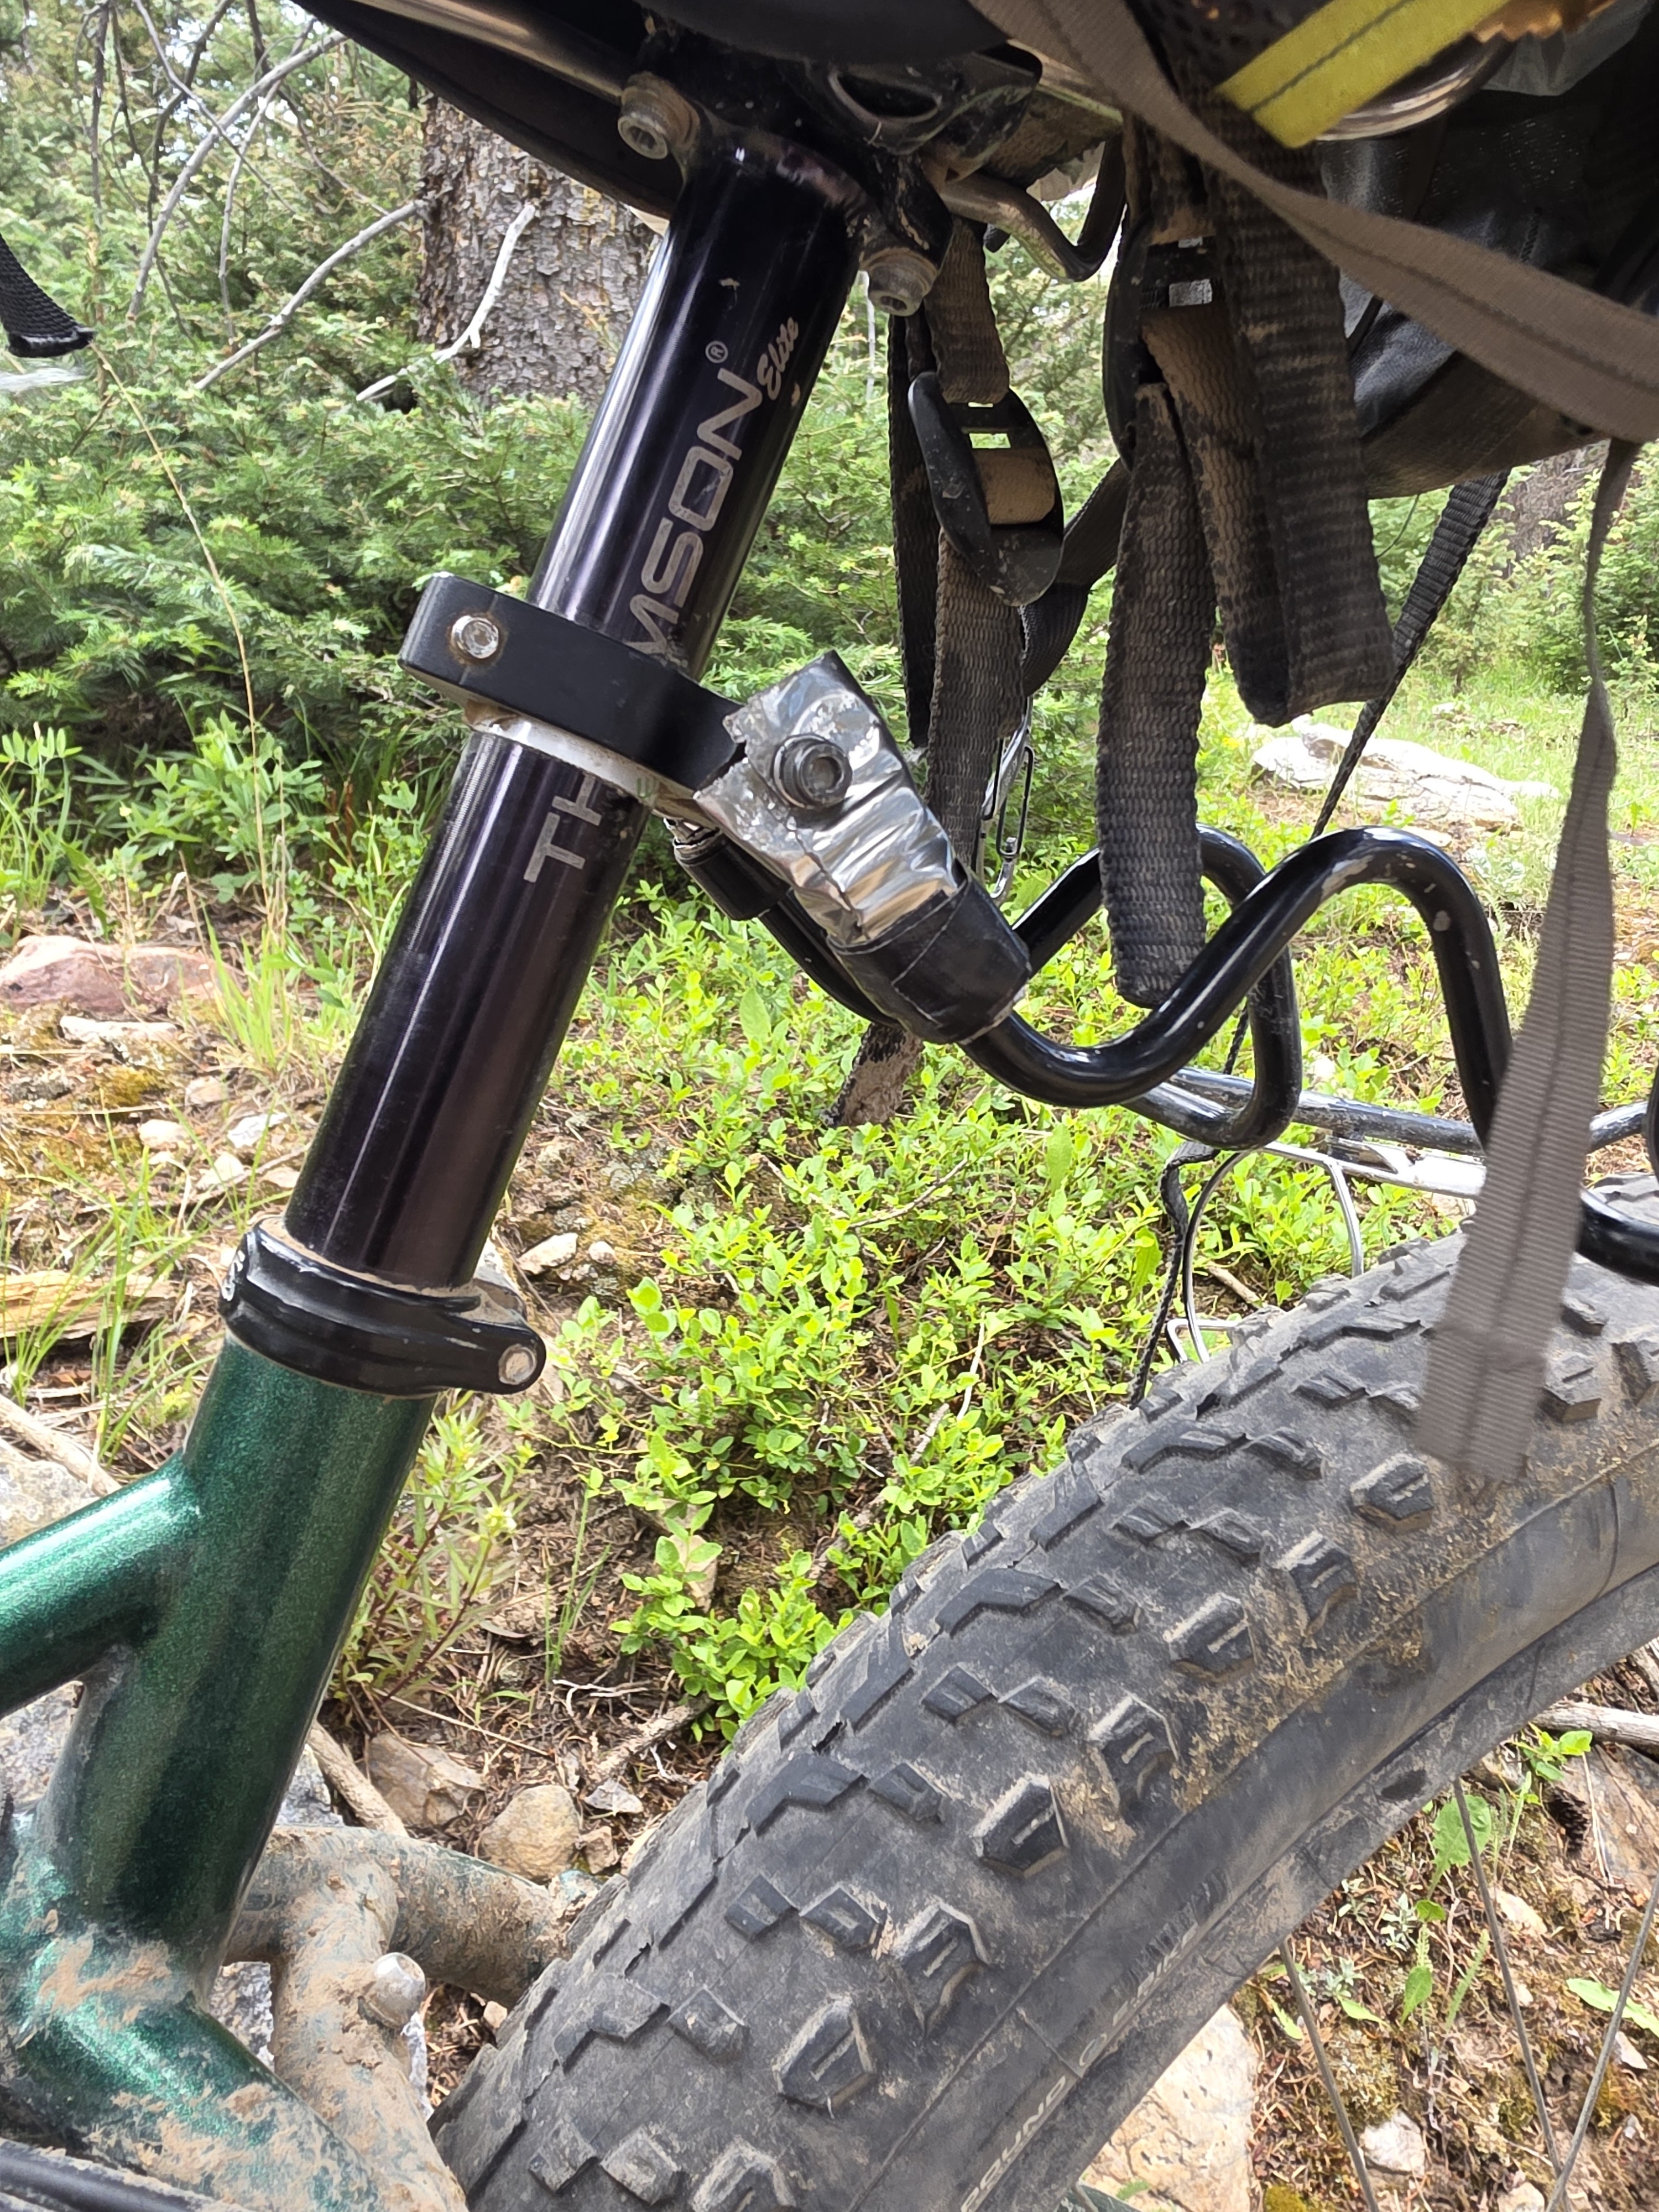
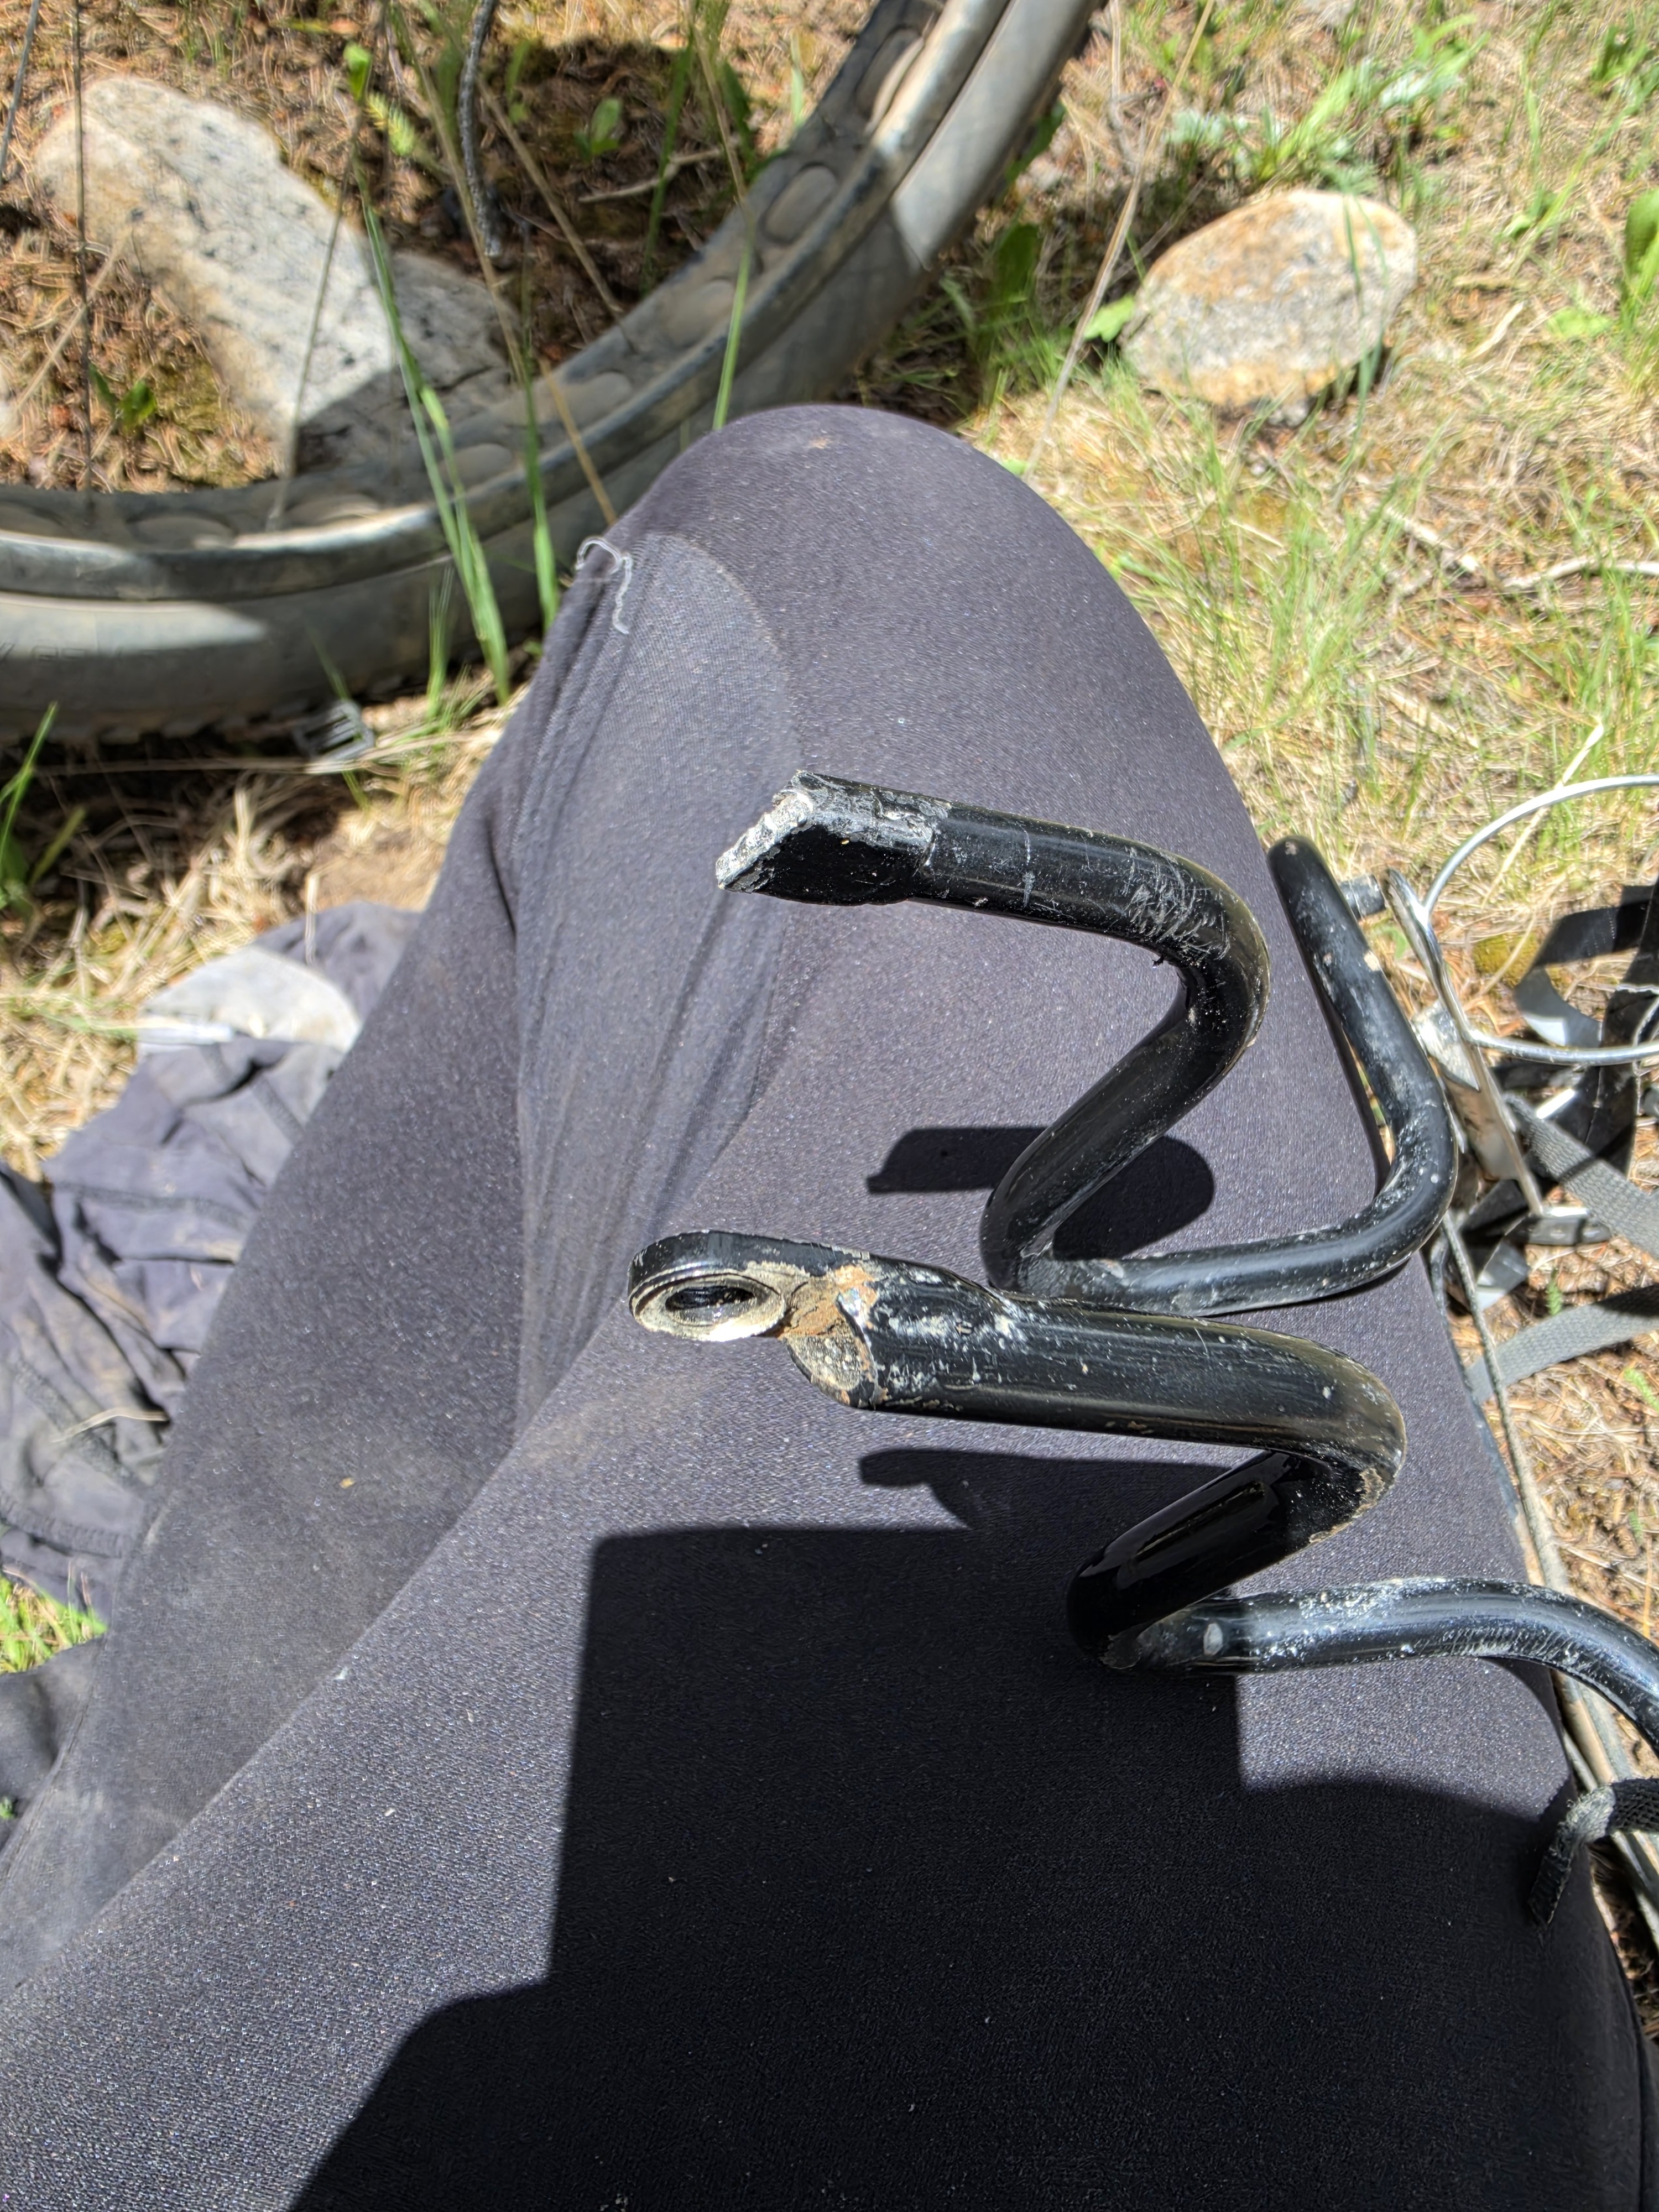
The left rack tab split in two after existing the CDT section in northern New Mexico. About 2100 miles into the route. A rather frustrating section spent pushing the bike way too much. I’m confident this was mainly due to lateral stress. The 0.049 thick tube is much more rigid so it’s not able to flex and absorb as much load, which is then transferred to the rack tabs. Also, the brazed washer on the other tab had broken away, leading me to think it was pried off by the spindle. 2100 miles of very rough roads, minimal braking descents, tent and sleep kit swinging around, additional food and drinks piled on: pretty good trial for the contraption. It would have been nice to test it out beforehand, but nothing I would have ridden would have accurately submitted it to the pain it was intended to endure.
Anyway. I sat there and contemplated all the ways I could salvage it. Splinting it with a couple brittle sticks or my Leatherman. Strapping it to my back (ugh). Then, I chose to have lunch. A can of Bush’s baked beans. Only purchased because the Gold Pan convenience store lacked some of the other non-sugary foods I was hoping for. And there it was, a tin can to slice, roll, and drill out on the trail side into a nice walking boot for the rack. I was able to secure it better in Abiquiu with a couple of hose clamps. But it limped it’s way down to the Mexico border.
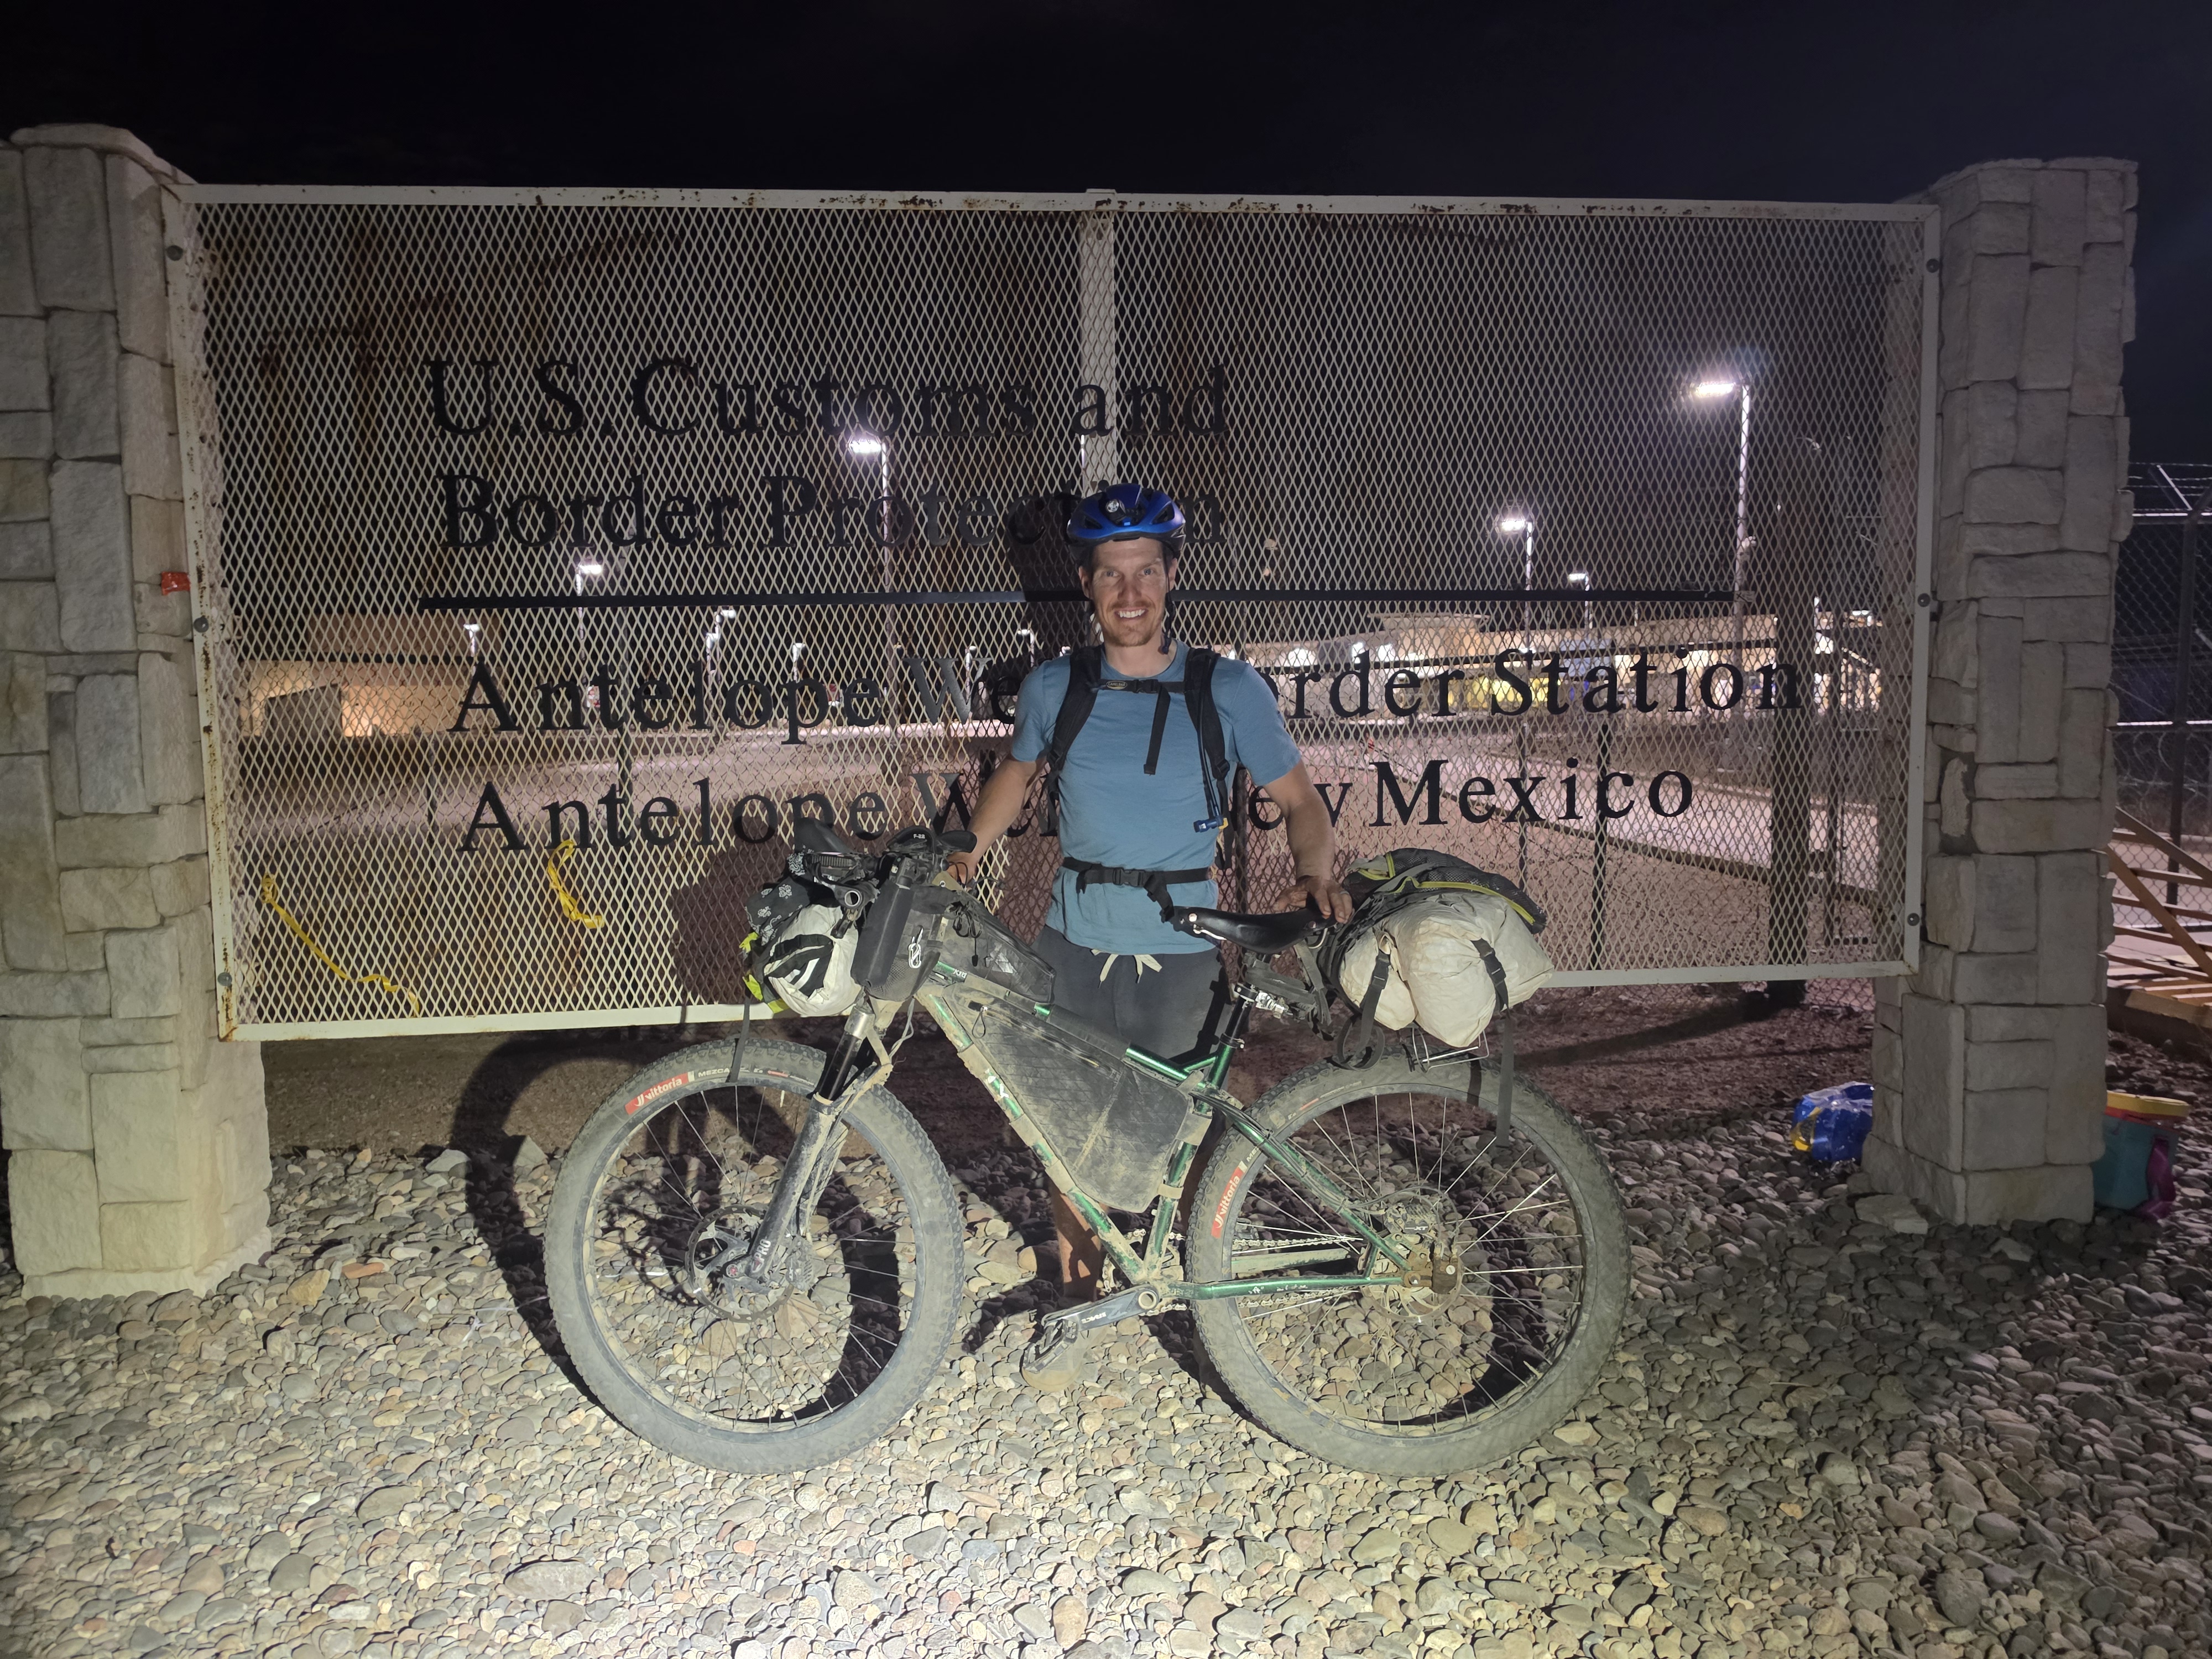
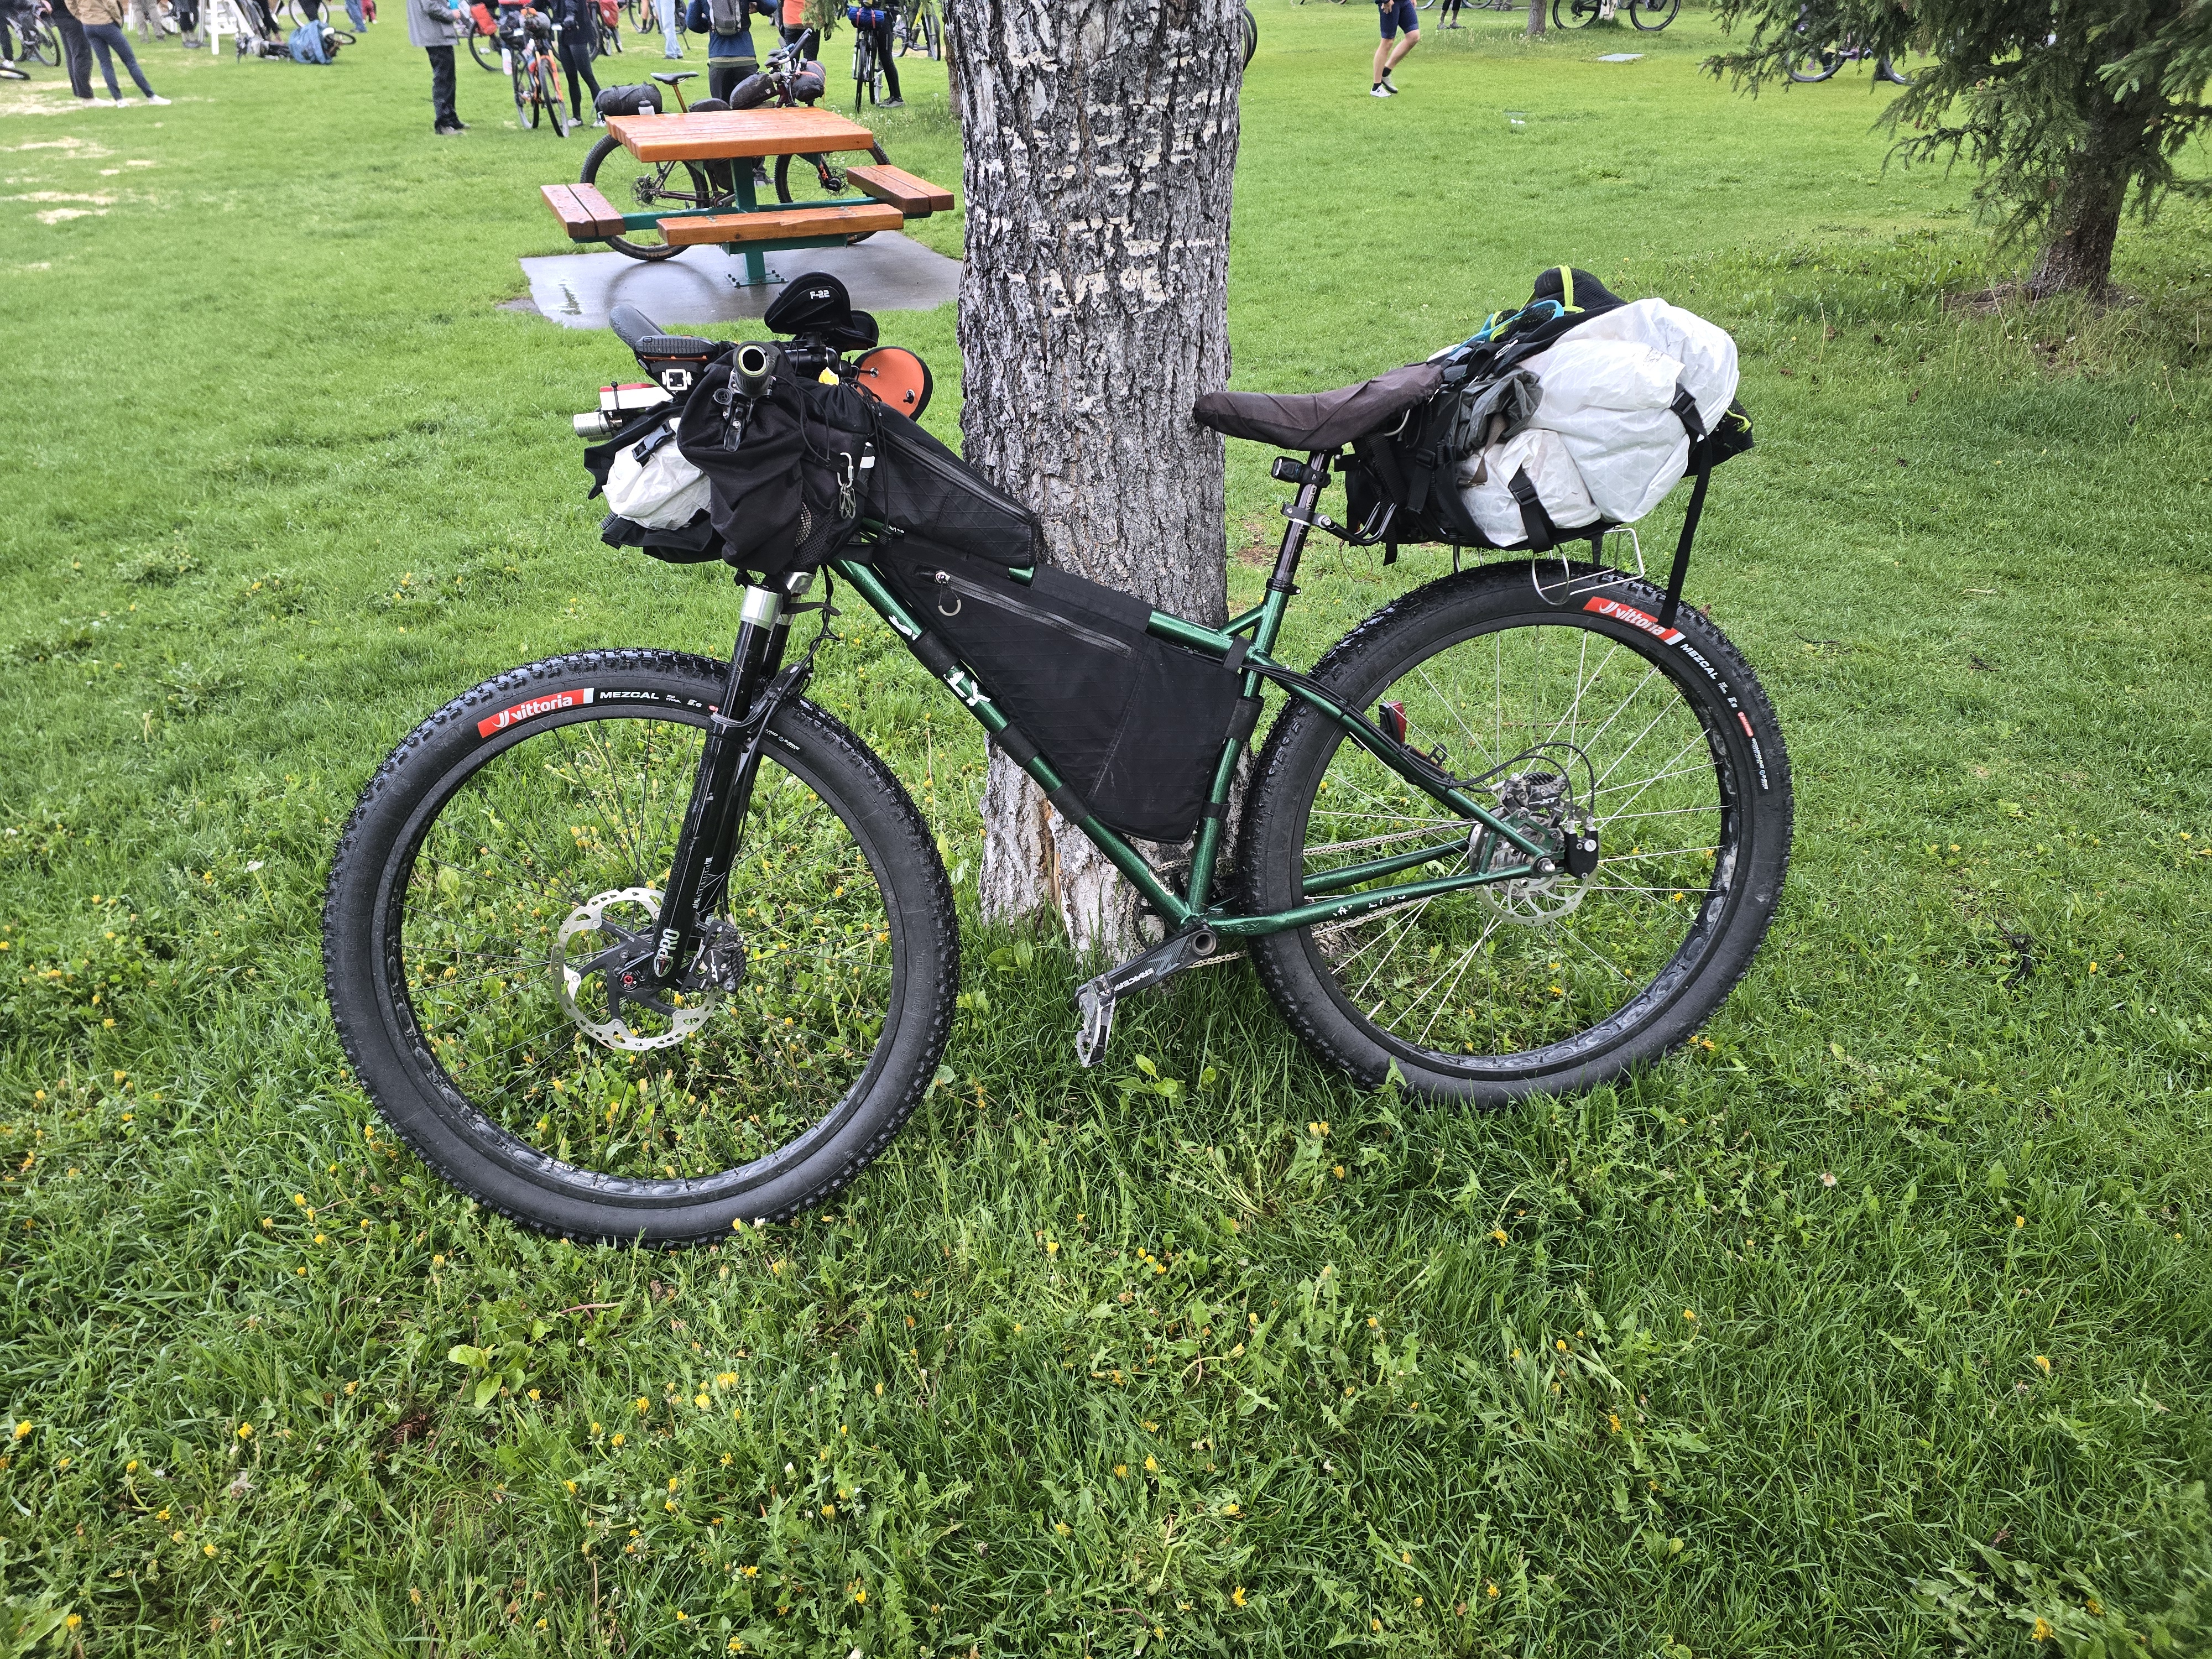
Certainly an epic way to test it! Always amazed these “bike packing” style racks with no struts going down to somewhere near the wheel work at all so I’d say it did pretty well. Have often used baked bean tins for “field repairs” or cars, shoes, etc in the past 