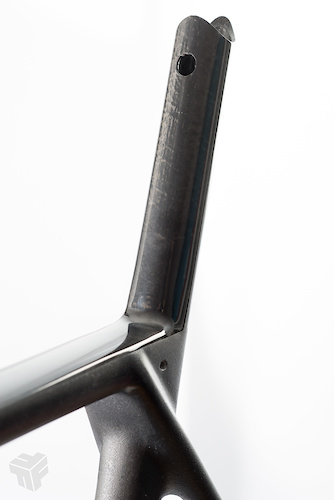
That cleaned up really nicely! great work! I like the SS-TT-ST junction, very slick
1 Like
It is really nice to hear it from skilled builder as You are…thank you!
But it was only logical place for direct mount brakes and I am inspired by @Lester original build:
1 Like
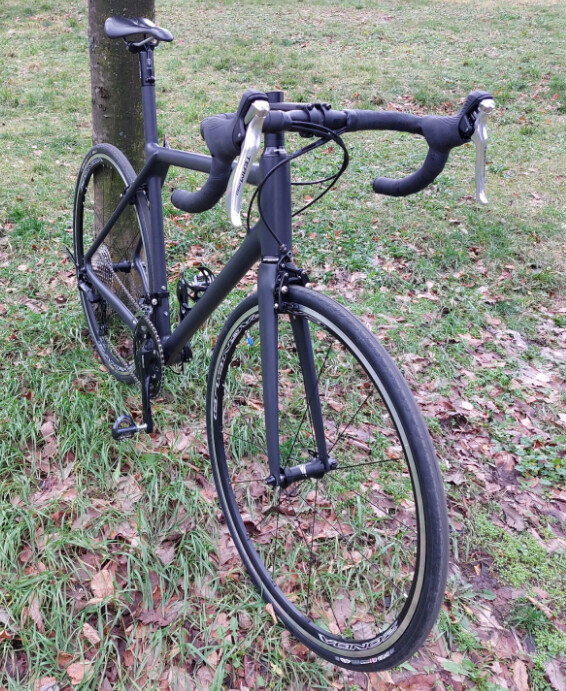
At the end of November snow came…so it was not chance for test rides. Now is Christmas time - traditionally snow is gone and test rides happened. Finally!
The frame is not in final colors. The frame is still in primary color. After some hundreds kms of testing I am going to make final color coating.
It is really great feeling to ride your own bike! My first homemade bicycle frame!


12 Likes
Build looks amazing! I too am embarking on a CF build-specifically a front triangle for my son. This will then be coupled with an aluminium swing-arm that I already have. I was prepared to use electrical tape to compress the layers of carbon but you’ve used nylon tape. Was this efficient enough? Did you prepare the tape with holes too allow the excess epoxy to escape? Sorry for all the questions. Many thanks.
1 Like
You can buy shrink tape specifically for this job. I think the pricking-holes thing isn’t really needed as the excess resin is pushed out along the tube as you wrap (plus if you’ve done your sums right there won’t be too much resin anyway). Check out the video on that link for more.
I am not English native speaker and find the right word is sometimes problem for me…
Feel free to ask questions:)
It is special woven tape which is used in laminating world for suction of redundant resin. After removing tape (it is not problem, because it cannot stich with resin) you get really good surface for another laminating. Sanding, etc. is not must. You can start laminate other layers.
Every shops with needs for laminating knows about it.
1 Like
Yes, you are right. But for shrinking of tape you need temperature over 100 ˚C and my process with blue foam is not suitable for it. For blue foam is temperature too high.
1 Like
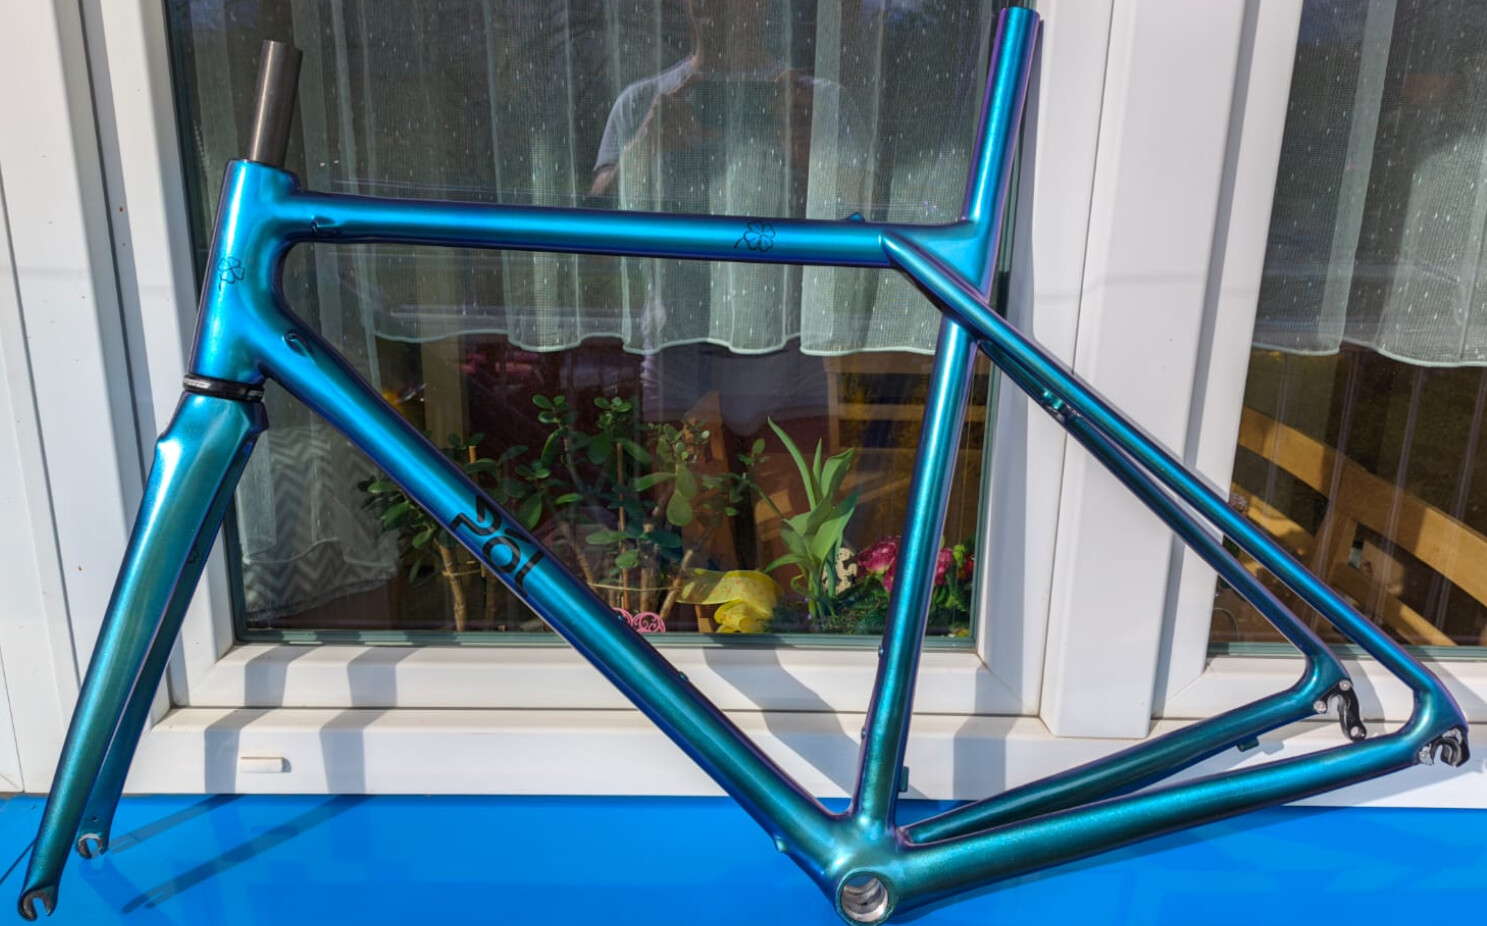
Winter is going to sleep and it is time to finish all things. It is time to ride bikes as it is main reason for building. Test rides with bike on basic color went OK so it is time to create final coatings.
It is chameloon blue to green. It mainly looks as blue to light violet ![]() and here is final result after 2k clearcoat. Everything is made by high quality 2k spray cans. It is a little expensive but if you are without proper equipment…it is enough. Wet decals is printed by laser printer and puted under final clear coat. After some weeks of hardening frame will be polished but it looks great enough now already.
and here is final result after 2k clearcoat. Everything is made by high quality 2k spray cans. It is a little expensive but if you are without proper equipment…it is enough. Wet decals is printed by laser printer and puted under final clear coat. After some weeks of hardening frame will be polished but it looks great enough now already.


16 Likes
Beautiful paint work!
1 Like
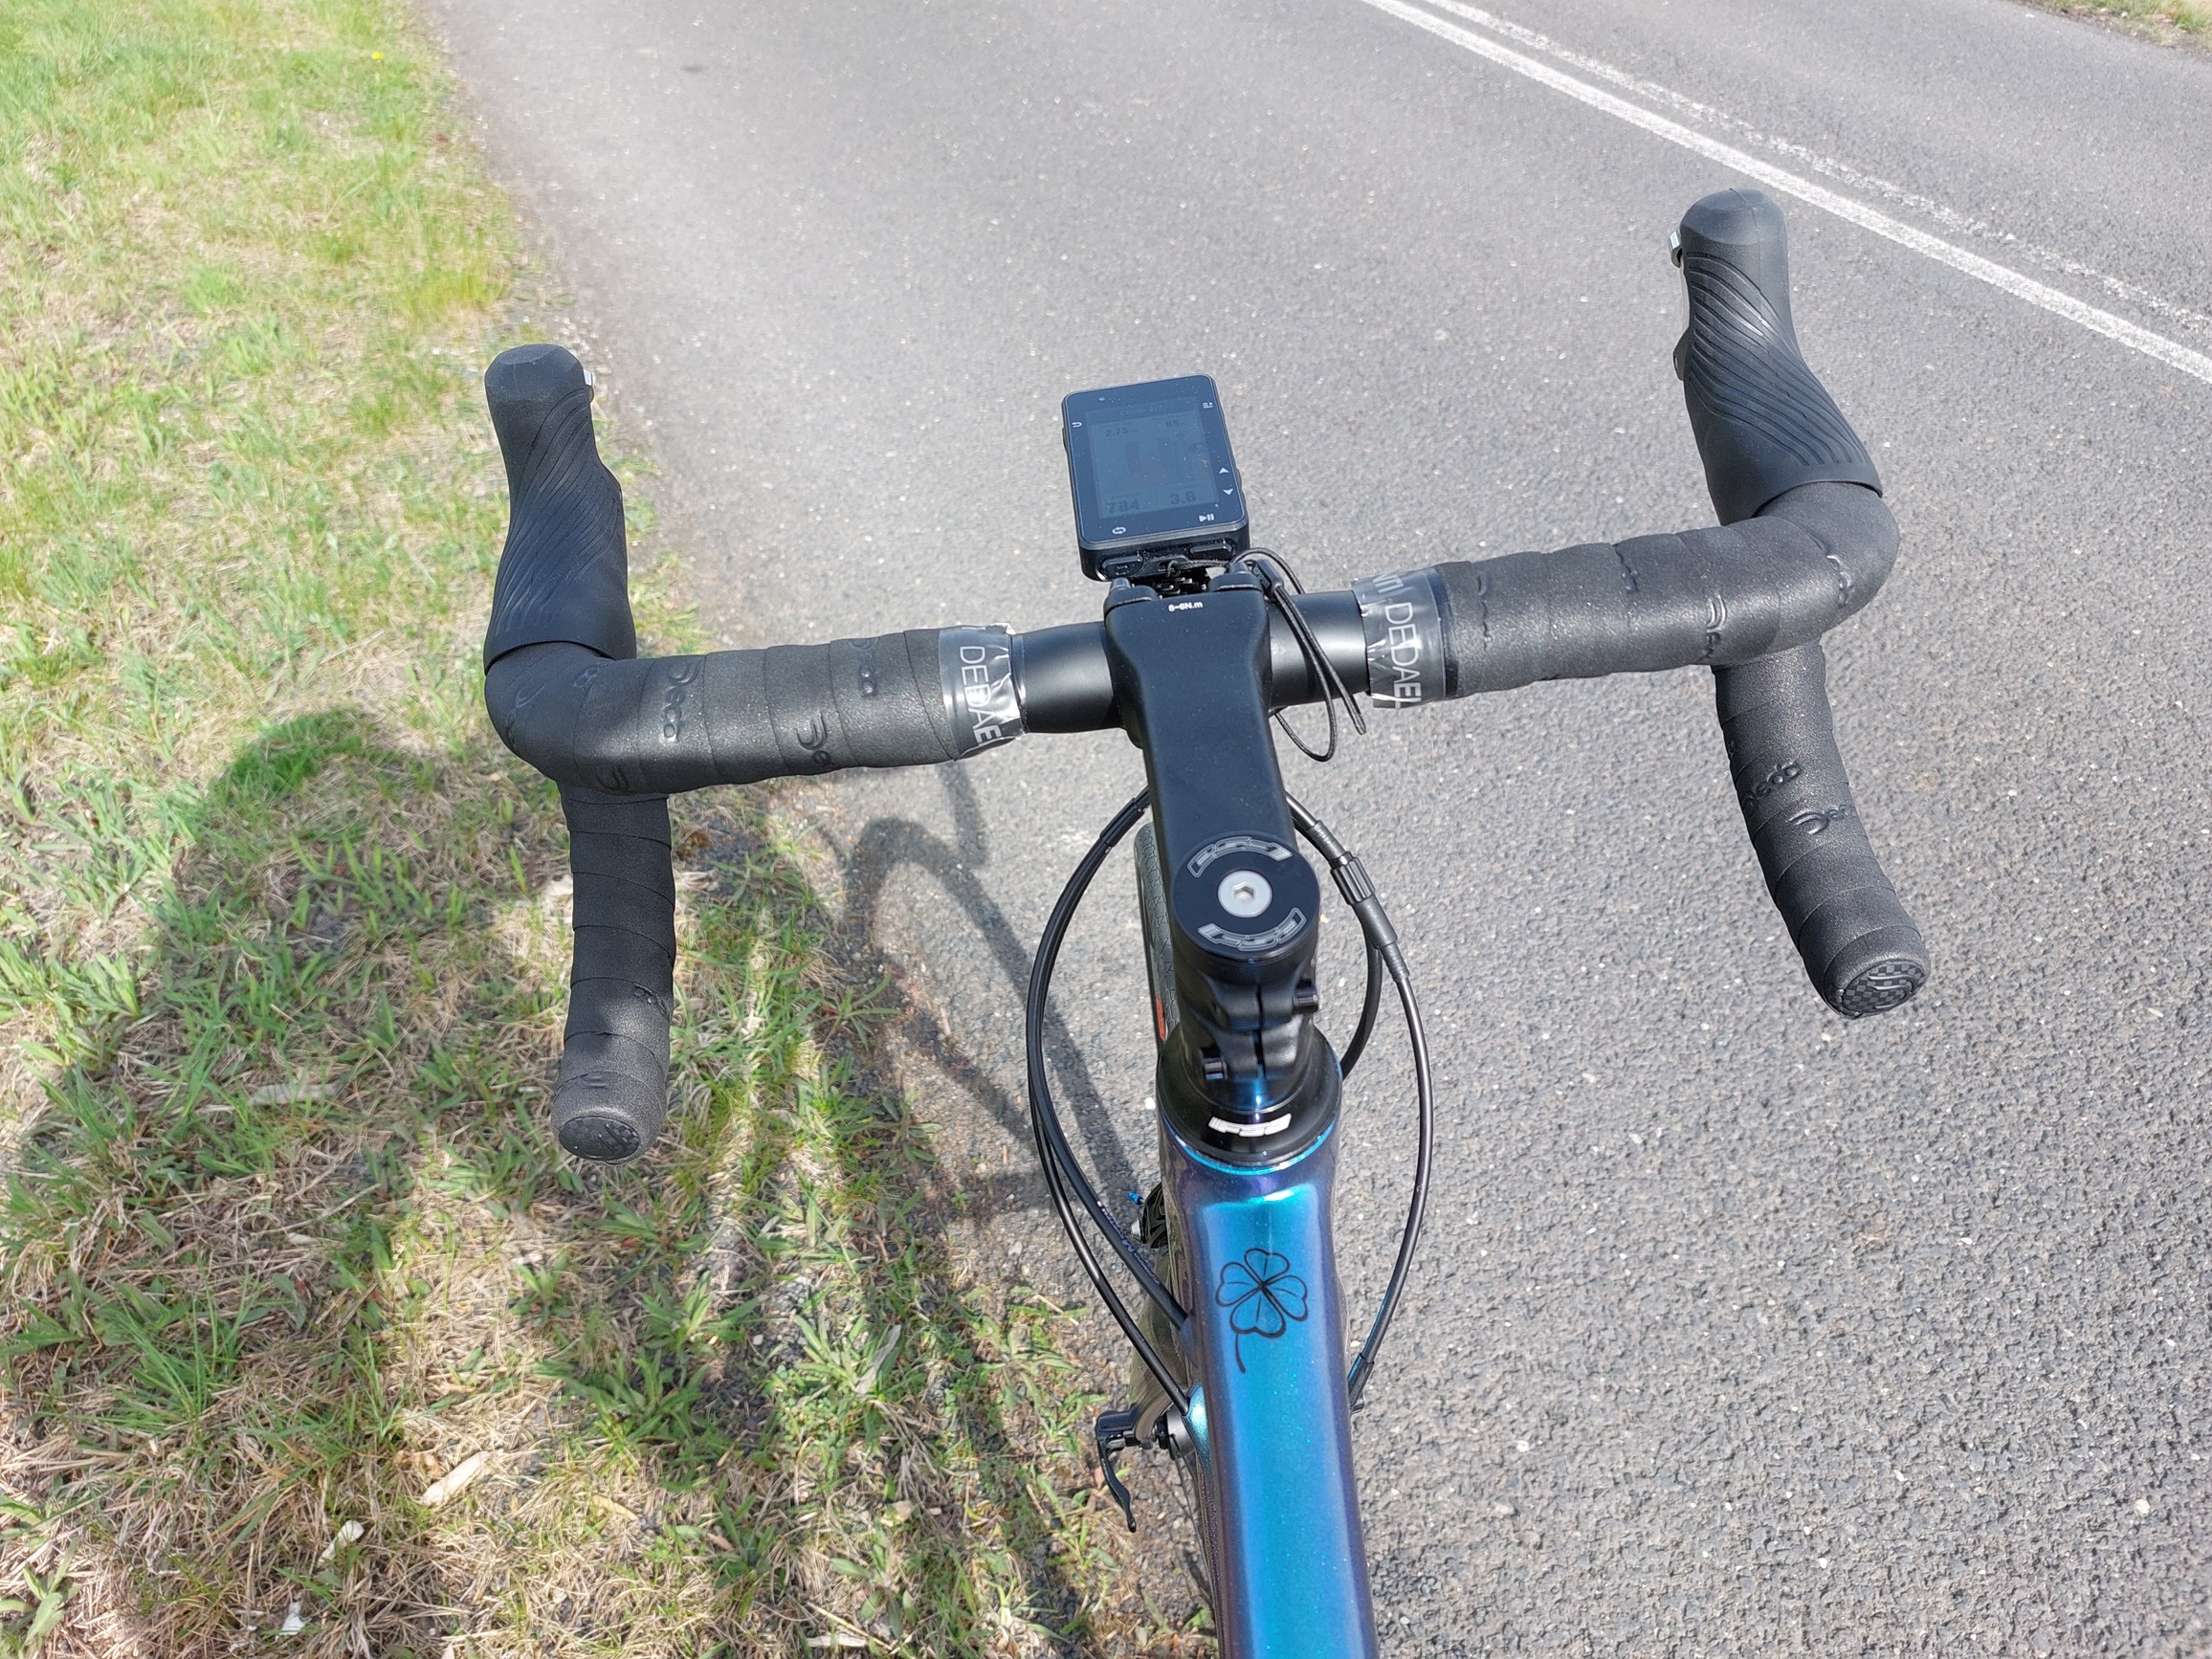
Hi! Bike is finished and is actually riden. Time to enjoy cycling. Thanks to this forum for great inspiration and helpfull members.


12 Likes
What to build next? I am looking for something universal to get everywhere.
- Endurance oriented MTB HT with mounts
- Gravel bike with mounts
0
voters
Have you weighed the frame?
Yes, not really impressive. It is heavy:) 1.410 kg with paint finish. It is due by using really oversized tubes in the front triangle and by to much layers of carbon fibre on joints. And It is my first frame…
Today I have some experience from my first build. I could imagine weights saves about 250g on the front triangle, 150 g on joints and with simplest color finish I could go under 1 kg.
2 Likes
Nice very interesting!
Hi, I just came across your build. Very cool!
Are there any plans for building another frame in the future? If so, maybe I can help give useful tips on the carbon fiber. I worked with carbon fiber at a small racing rowboat building company for about a year and did research, design and building at that company.
Hi. Thank You. Yes I am planning another. It will be gravel bike with 2.25 tires. But plan sits still only in my head. Thank You for your advice:). Do you see important construction faults in my first build?
1 Like
Cool! Sounds like a challenging project. Of course I’m not an expert on carbon bike framebuilding, I can only suggest some of the production techniques we used that could maybe be interesting or useful for you.
It looks like you already know what you’re doing, and in some aspects more than me!
One thing I was thinking about while looking at the build is the epoxy with microballoons. At the boat company we used a lot of thick epoxy glue called Variobond. I think it’s a bit stronger, but might also be a bit heavier and it’s very very thick but can be thinned with regular epoxy.
I also see you used some 3D printed parts on your working table, so maybe it would be possible to make some custom carbon connectors in 3D printed molds? It could probably save some weight if you can use a custom mold and carbon connection and don’t have to use filler to smooth it out.
We only started using 3D printed molds to make foam cores for parts that get wrapped in carbon, but we were barely getting started with 3D printing when I left the company.
And if you want to make some parts of the frame more flexible for comfort, you could use glass fiber, it’s more flexible but can still be quite strong.
Please, could you describe which material is used to foam core in 3d printed moulds?
We used 2-component hard PU foam, but also epoxy foam. With either one you will have to look around for the right hardness/density otherwise your part will be heavy as a brick. The epoxy foam was much nicer to work with but the one we used was not that lightweight.
With the epoxy foam I have to add that we mixed the 2 components, then warmed it up a bit before pouring it in the mold. It’s also best to keep the mold warm while the foam is expanding, this takes a few hours. The colder it is the less it expands, or at least that was the case for the type we used.