Long time ago I was dreaming about building bicycle frame. @Lester (SleepingAwake on Pinkbike) finally inspired me and I have started to build it! As time allows, I put here all steps of my process. My process is much more simple then @Lester has… May be later with other frame, things could change:).
The frame is almost done, but I want to share building process with community, because this forum is really kind and helpful. Please, my English is not good, I know…
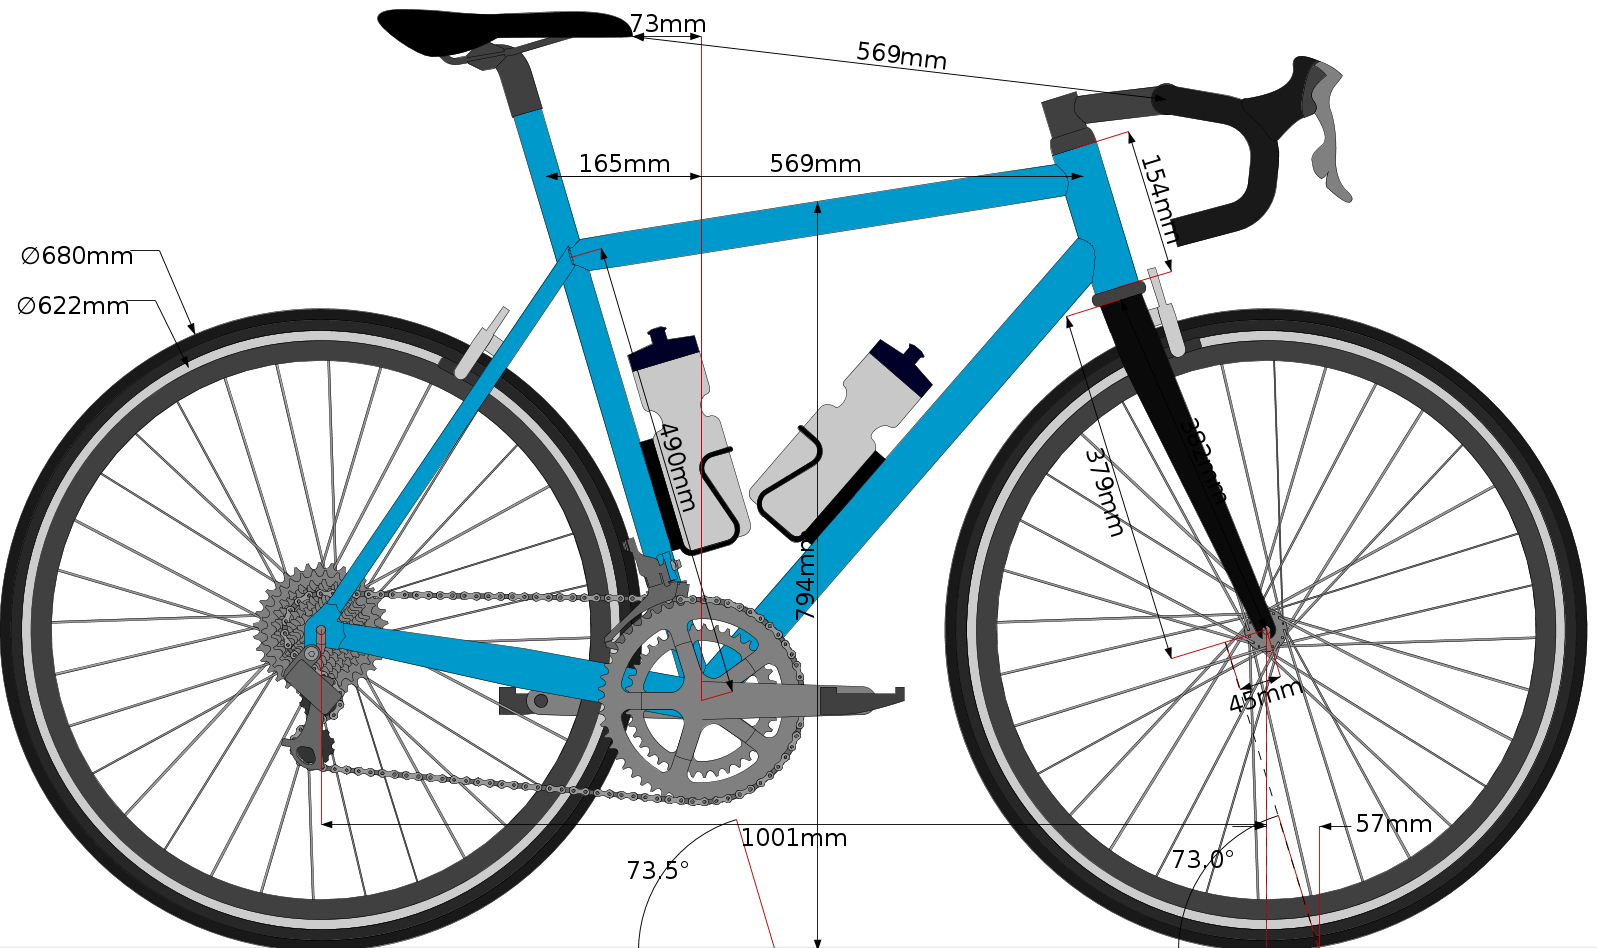
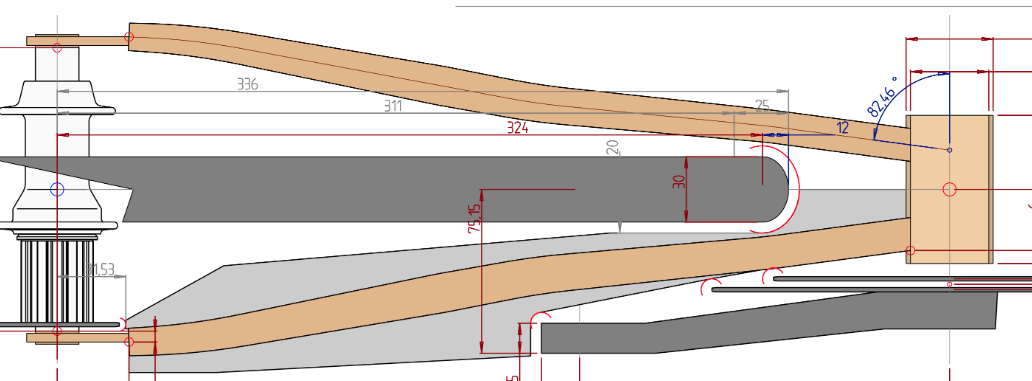
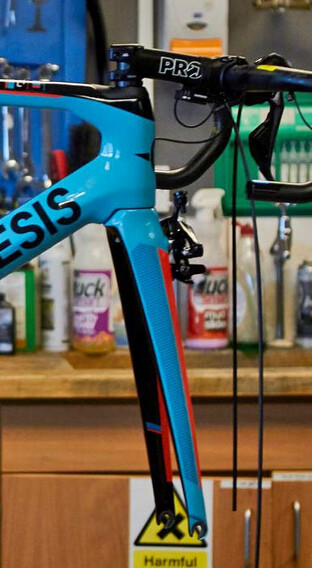
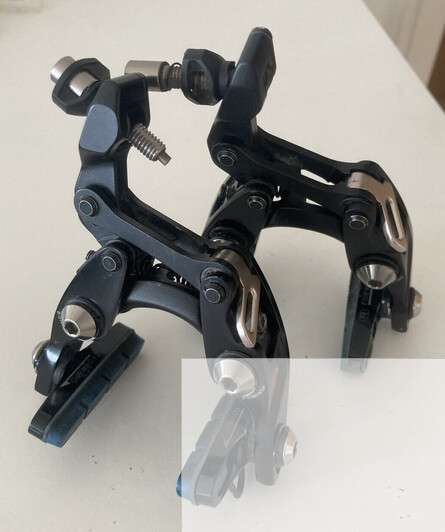
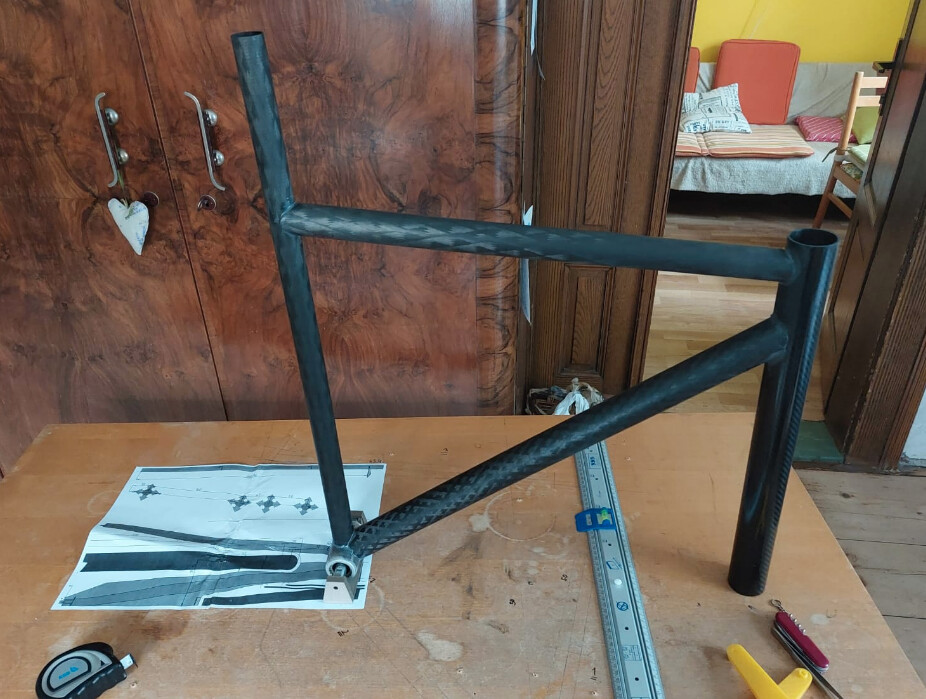
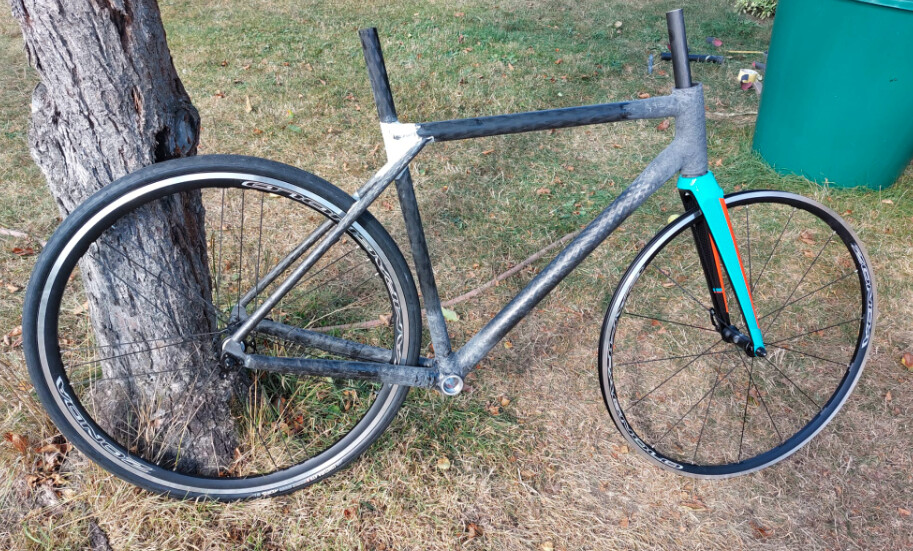
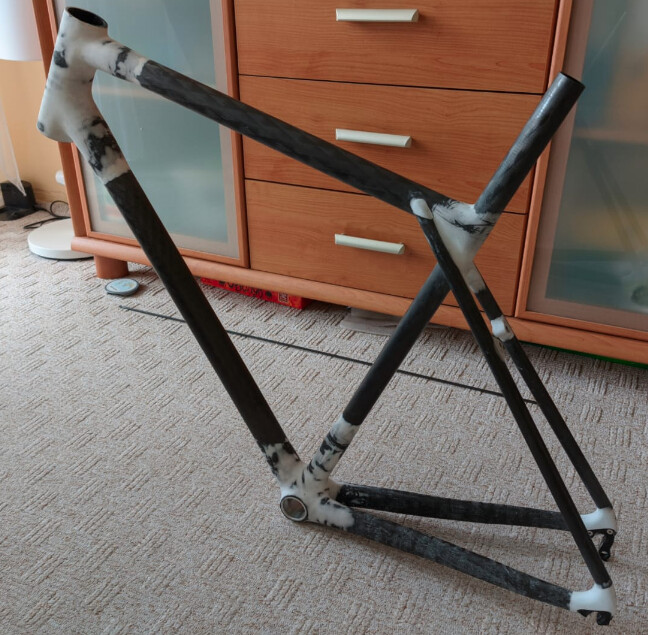
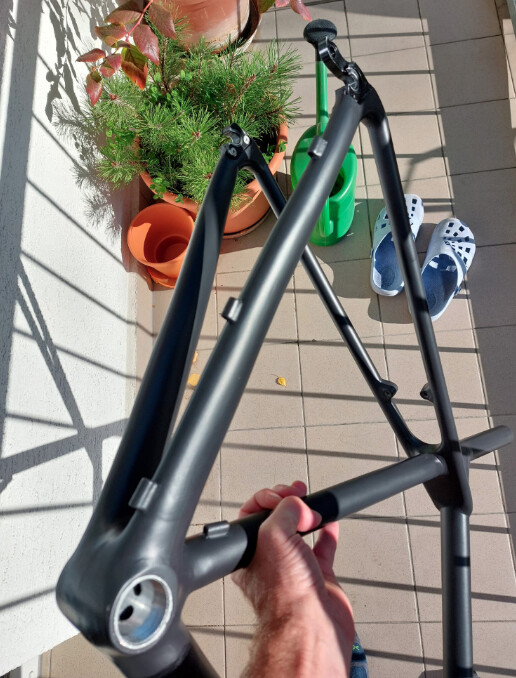
So here is my concept (road bike with direct mount brake calipers and integrated seatpost):
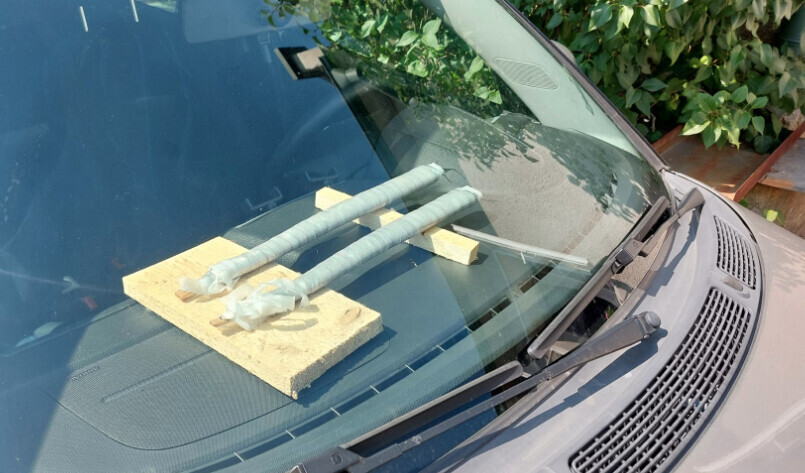
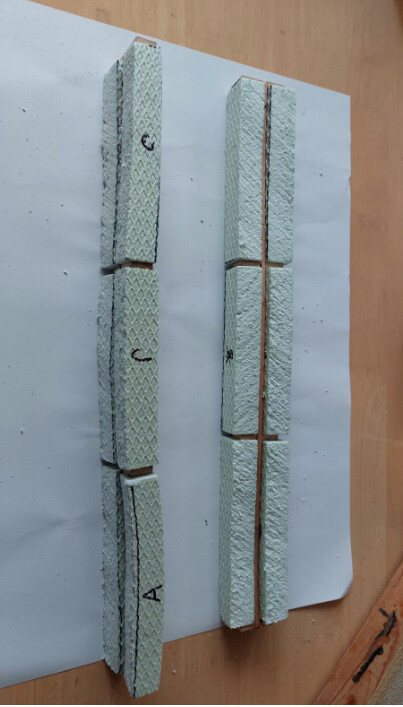
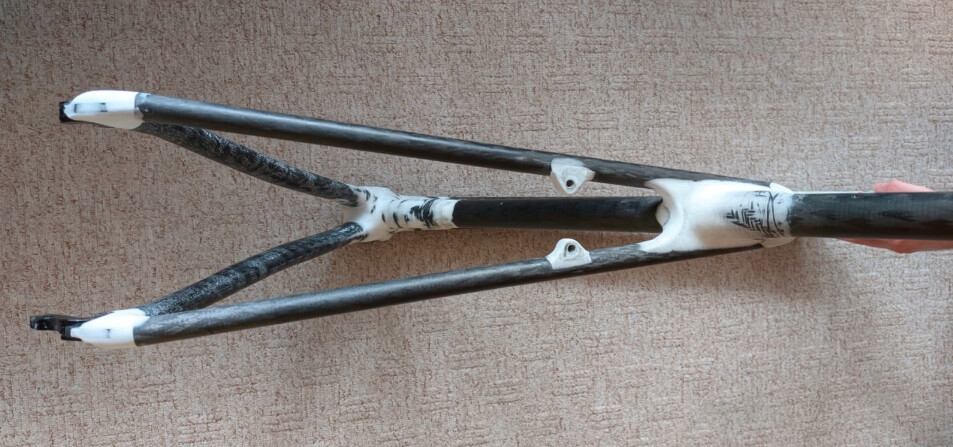
Yes, I laminated chainstay yourself. I created it using “forget form” method. You know what it is mean, but for others… I created main shape using balsa wood and blue foam. After curing, balsa and blue foam are removed.
Old free version of RattleCAD is used for making drawings:
I used 200 g/m2 twill weave carbon fibre sheet and epoxy resin similar to L285 with long time hardener (80 min). 8 layers of carbon fibre sheet + 1 layer of glass fiber laminate as last layer (My process is simple, sealer and sanding will be used on last glass fiber layer, carbon fiber create strength)
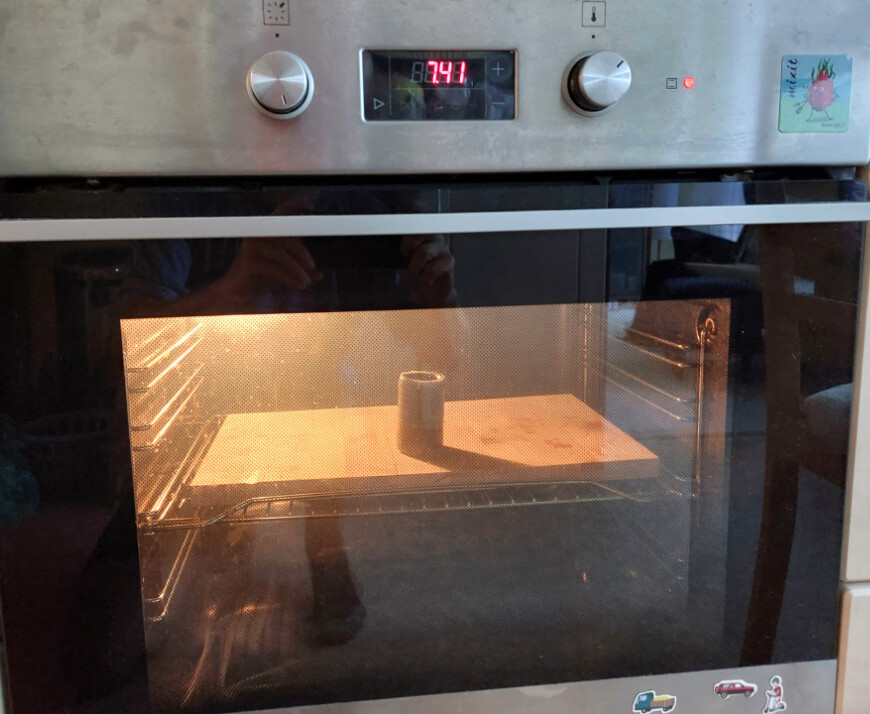
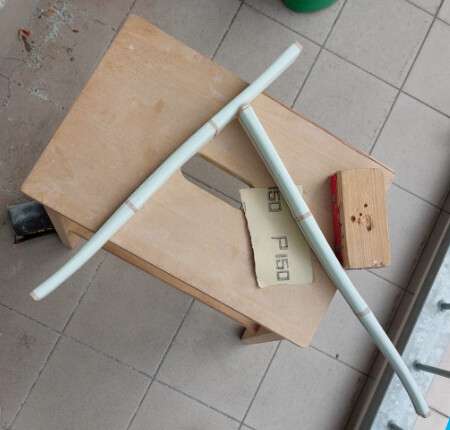
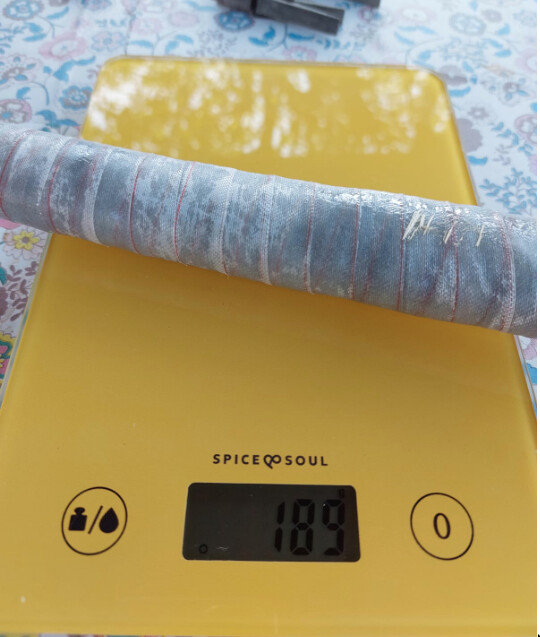
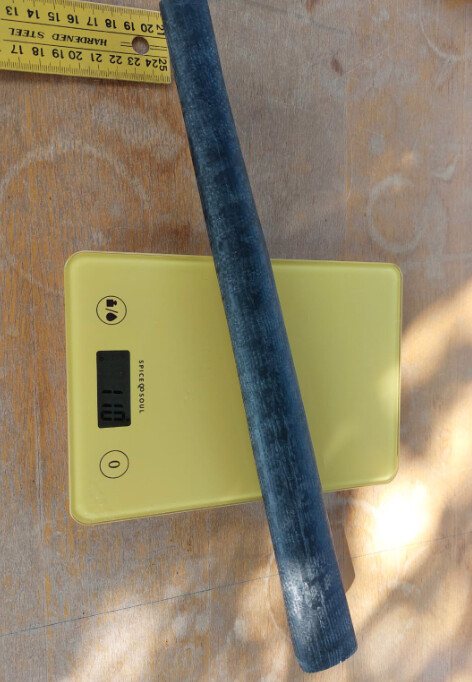
After terrible work with twill weave carbon (it is hard to shape around form) I put chainstay to owen. During summer time is not problem achieve temperature more than 60°C for 8 hours. I do not have vacuum pump so I created press with nylon tape which also removes some redundant epoxy.
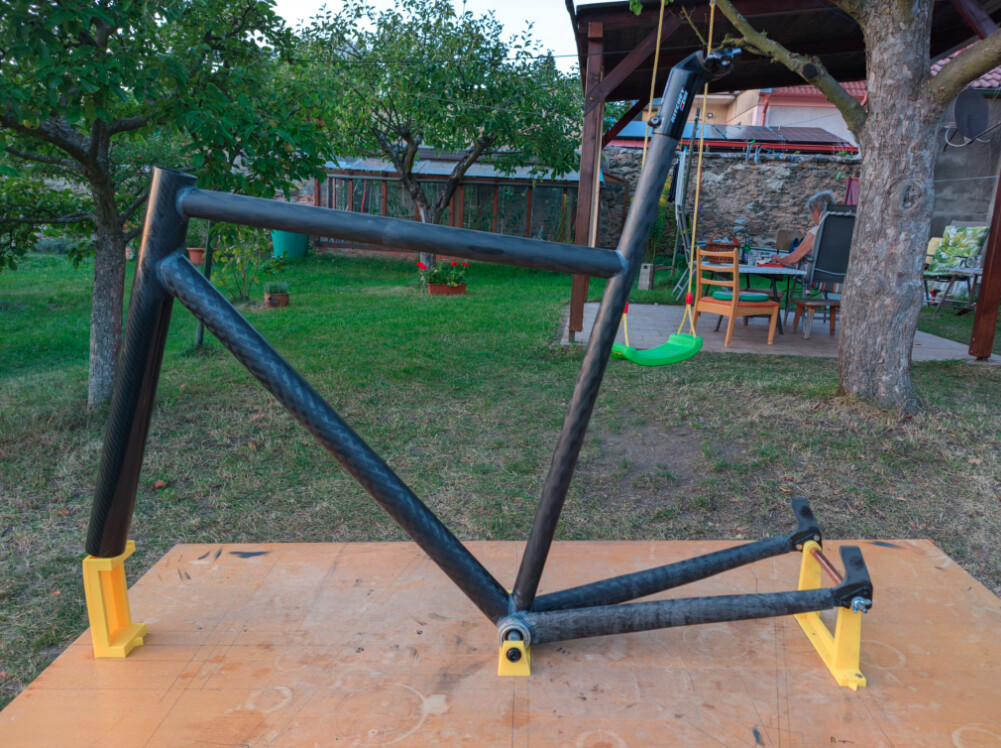
After curing:
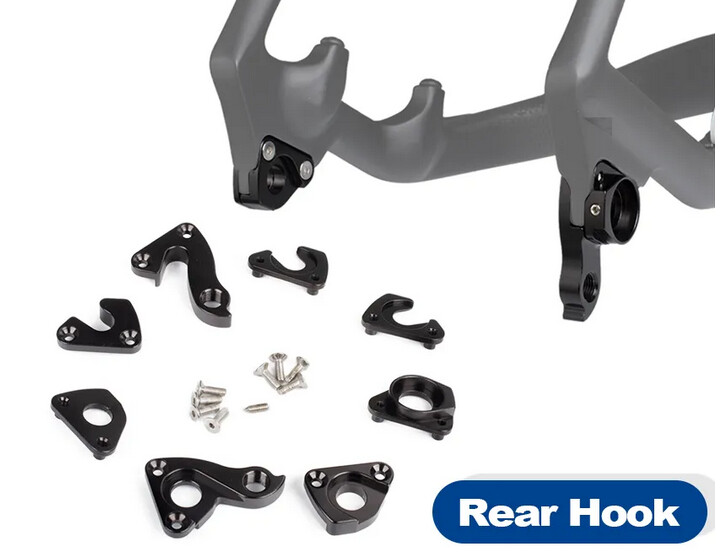
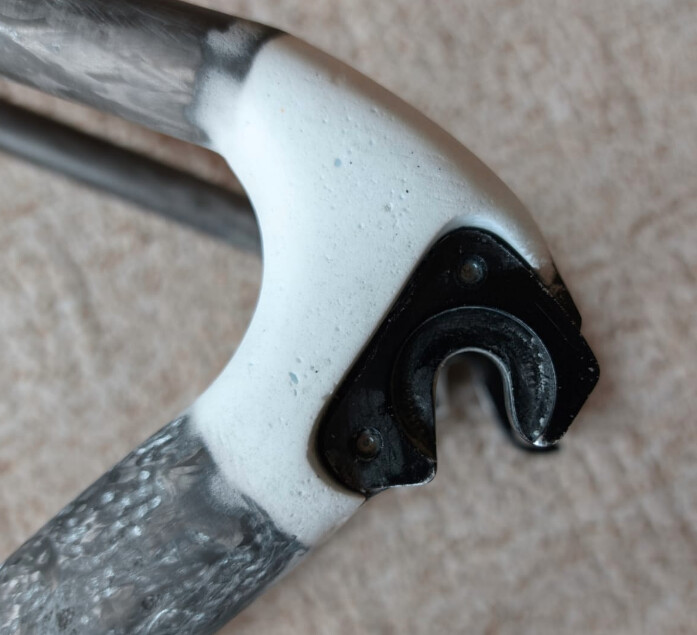
I did not make full dropouts because I have spare switchable dropouts from my china build bike. China bike frame was delivered with dropouts for thru axle and quick release. You can buy it for 10 €.
I only cut shape for mounting dropouts to stays from 6mm thick carbon plate:
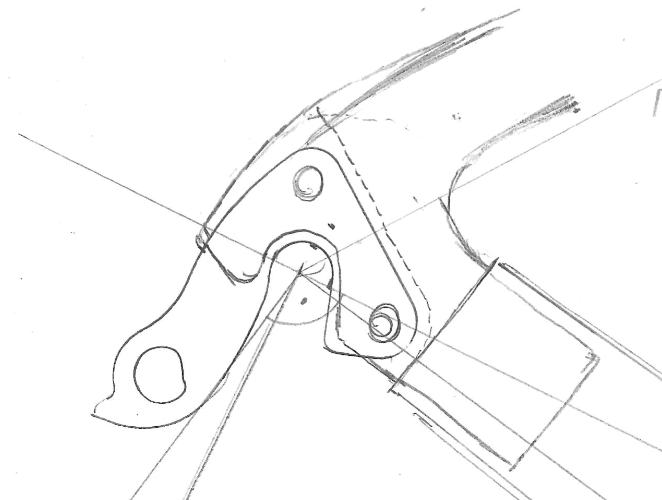
By hand drawings as template:
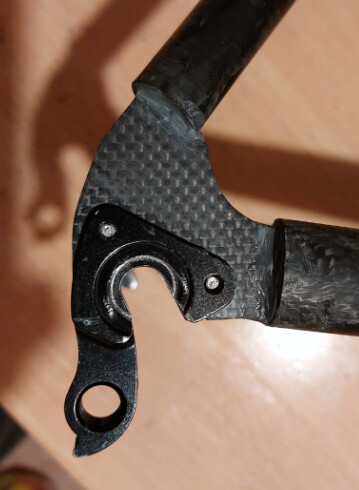
Result:
In next steps, flat area will be filled by microbaloons with epoxy resin for better looking shape and little support.
Geometry of frame was build around the fork.
At first I would create all tubes by myself, but I was lucky and I bought tubes (DT, TT, ST) from https://www.instagram.com/m.carbo/ for very reasonable price. Thanks you m.carbo
I only maked chain stays as I described.
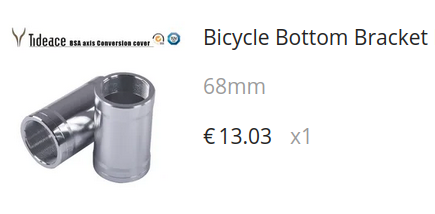
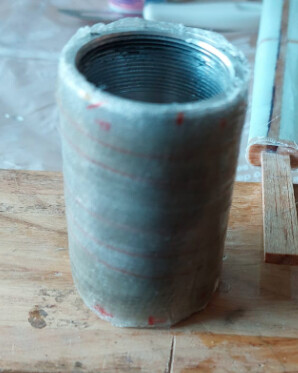
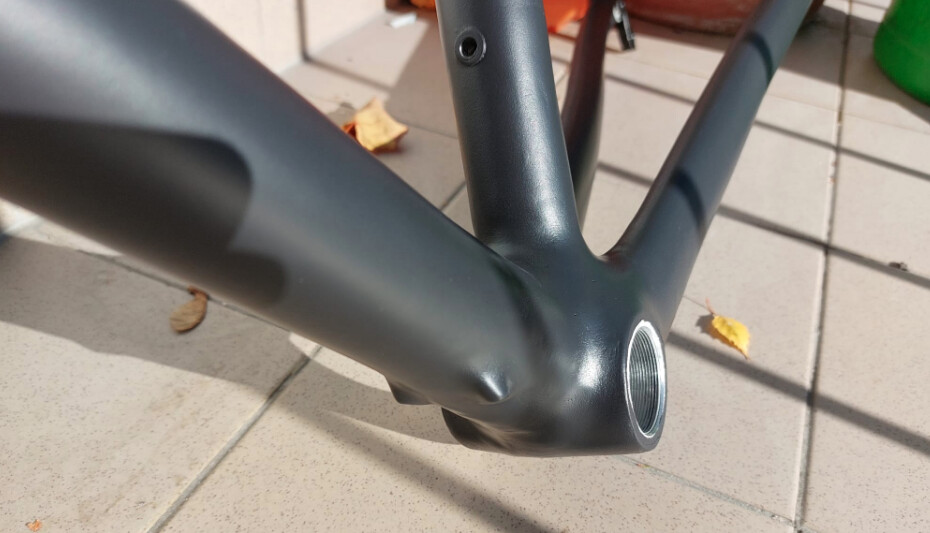
As bottom bracket I used convertor from pressfit to BSA:
Bottom bracket is from aluminum alloy, it is important to prevent galvanic corrosion between carbon fiber and aluminum. As protection I laminated glass fiber around BB. BB bracket is scratched with saw for adhesion. Before laminating BB is sanded and degreased by clear aceton. Nylon tape is used for press and removing excess epoxy.
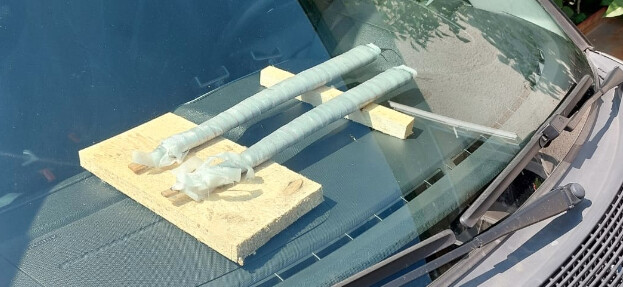
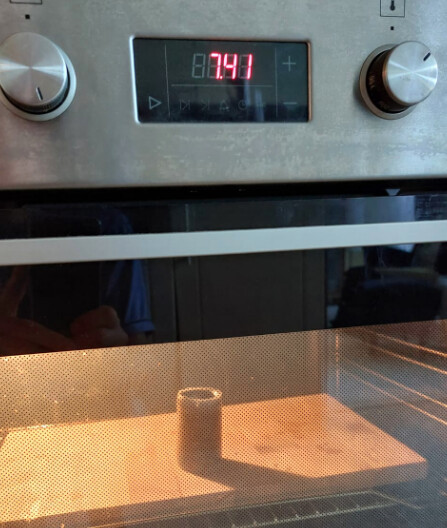
Next important step was to wait when my wife leave home and I used her owen for postcuring fiber glass laminate .
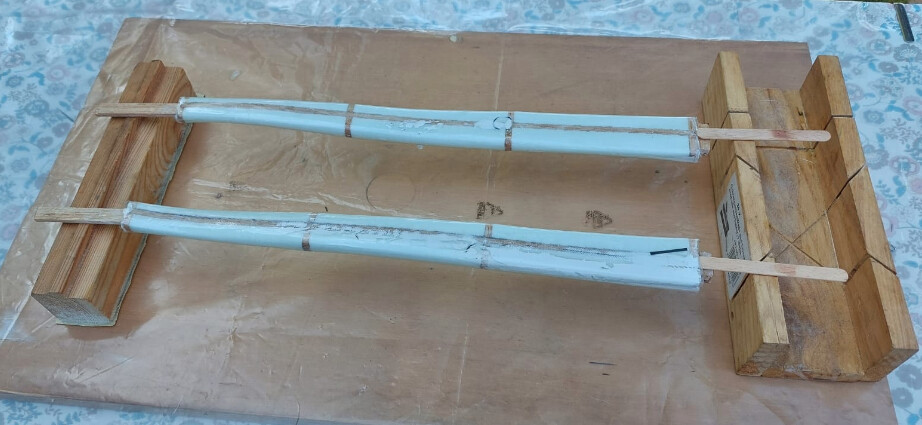
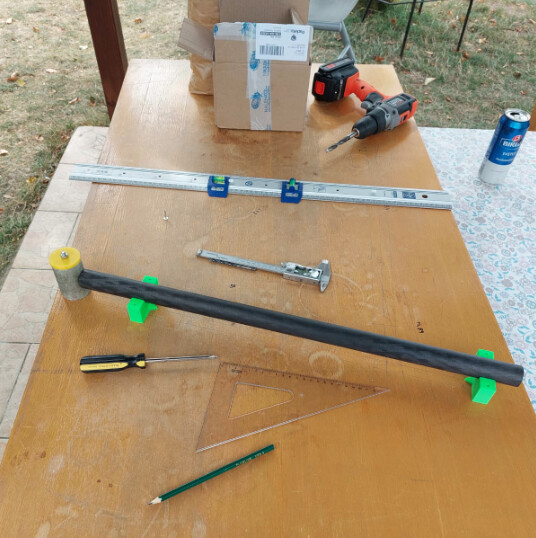
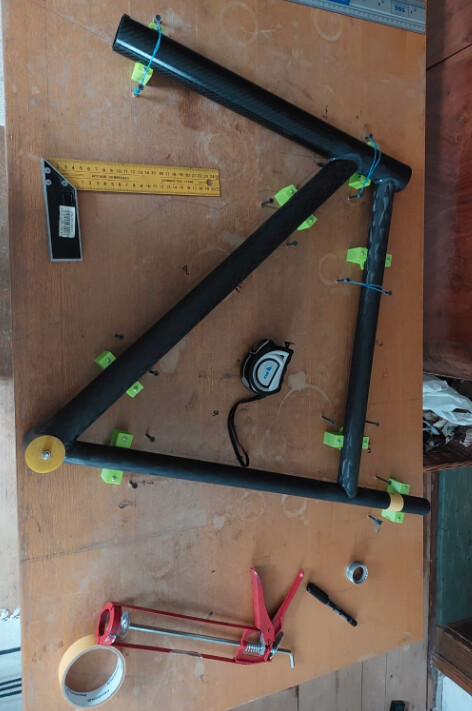
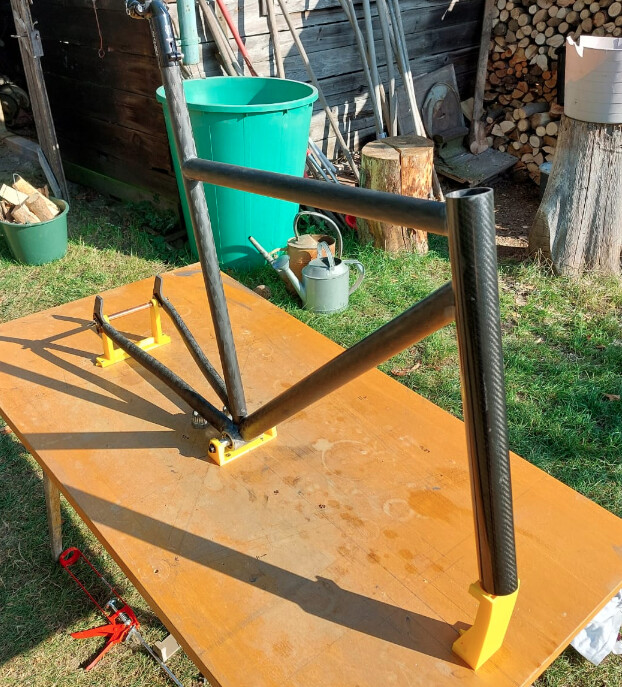
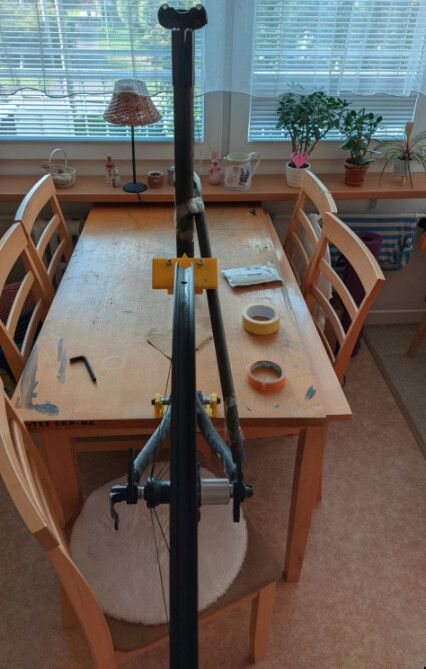
Let’s move to assembling! I did not use specialized jig. I used old teacher’s table as plate…yes I am teacher . I did some measurement and table was really straight.
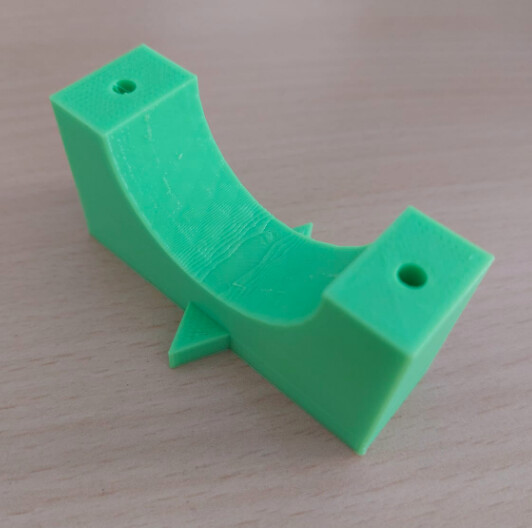
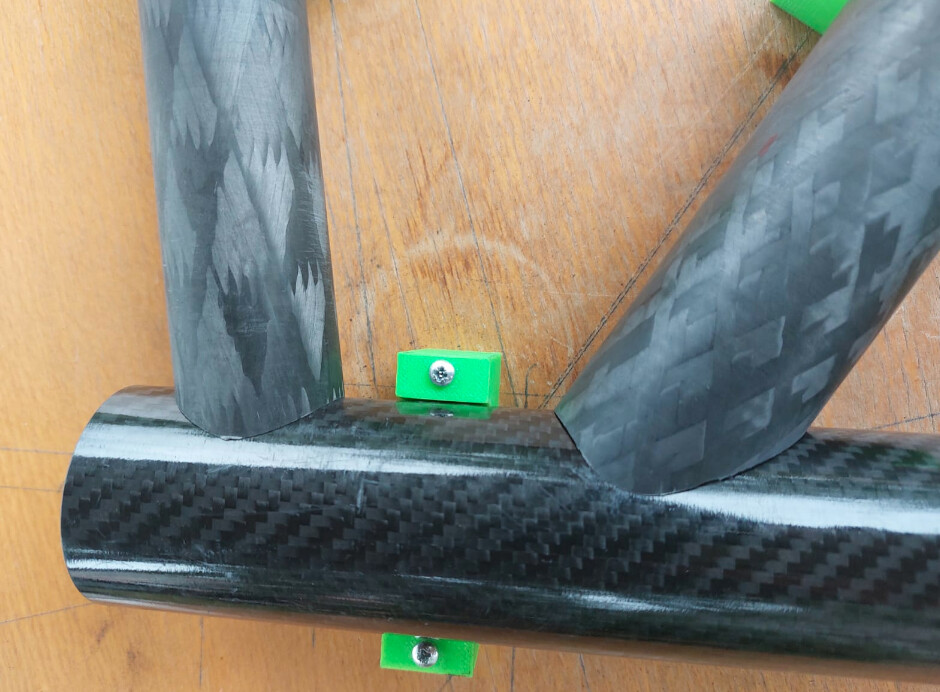
I printed tools which helps me to put tubes to right positions.
You are right. You do not need expensive tools. Prices of carbon tubes are similar to steel tubes. Current epoxy resins do not smell. Only dust from sanding is problem.
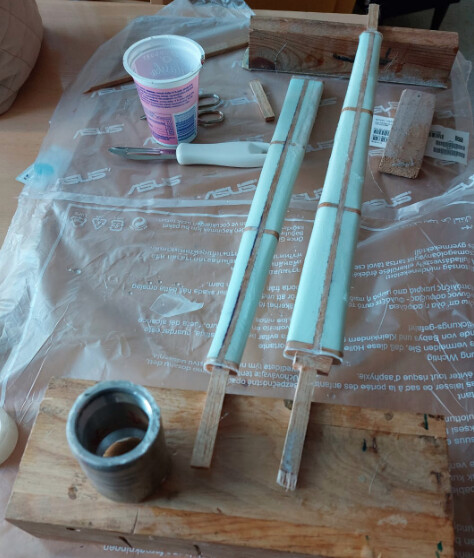
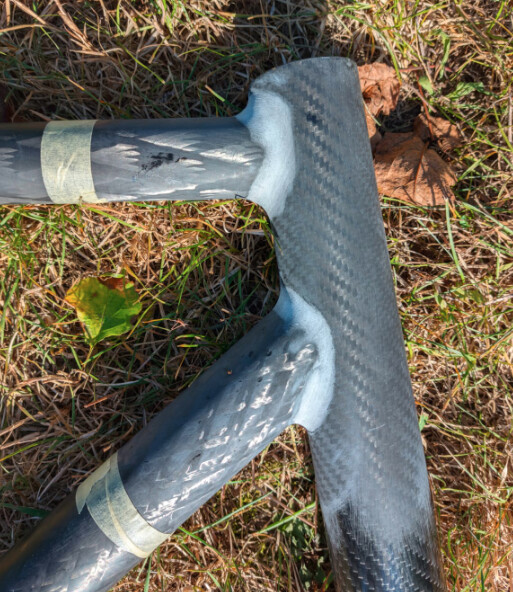
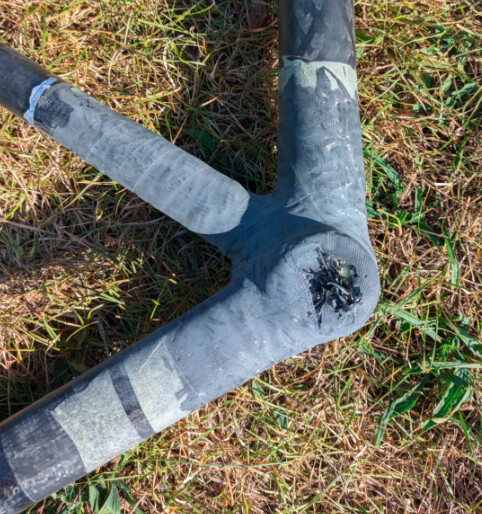
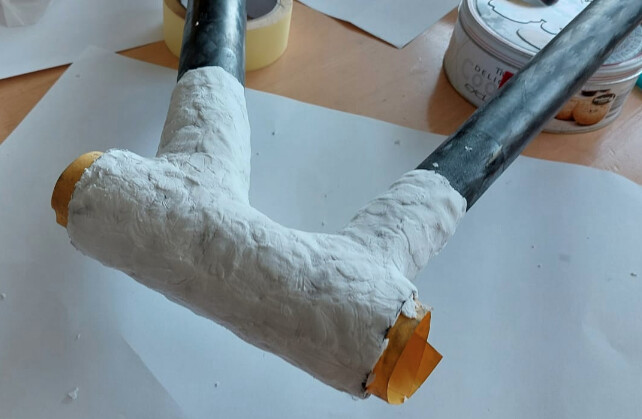
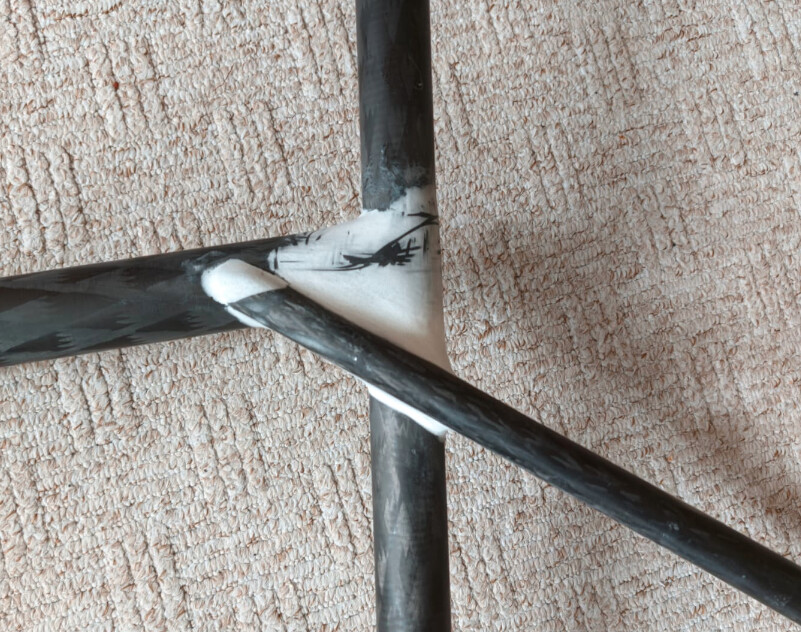
Bonded tubes looks great but connection is not strong enough. I prepared connections for laminating extra layers of carbon fibre. I removed sharp edges using filler. Filler is created by mixing epoxy with microbaloons (microscopic glass balls):
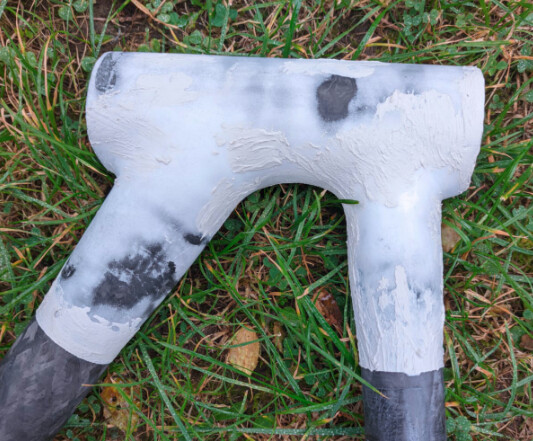
For ‘cosmetic’ reason I continued using filler and sanded connections for nice looking shape. It is important to sand only filler and carbon fiber leave untached:
I struggle to make this decision on my own frames. But I will echo something that I think @liberationfab said in another thread “friends don’t let friends do unsupported cable holes” of you do internal, plan ahead and put some extra reinforcement around where the holes will be. Frame looks great
I am struggling too:).
I have prepared places for drilling holes by adding extra layers already. But still not choose between external/internal. I know only what @Daniel_Y said - rear brake routing will goes internally. @JoeNation put good comment here, but I think it is related mainly to steel/aluminium/titan. But I am not welder… Internal is simple for carbon fibre builds because I could make it in lot of steps, corect every mistake, etc. I live across border not far from Dresden where Bespoked show started today. I am going to see some inspiration. Thank you for opinions about external/internal.
If it helps - I built my carbon road bike with internal routing, had zero trouble with that and would definitely do it again.
As Pol said, it is comparatively easy to add a few staggered patches in a carbon build around the cable ports.
Summer house is prepared for winter…the build is going slowly to finish.
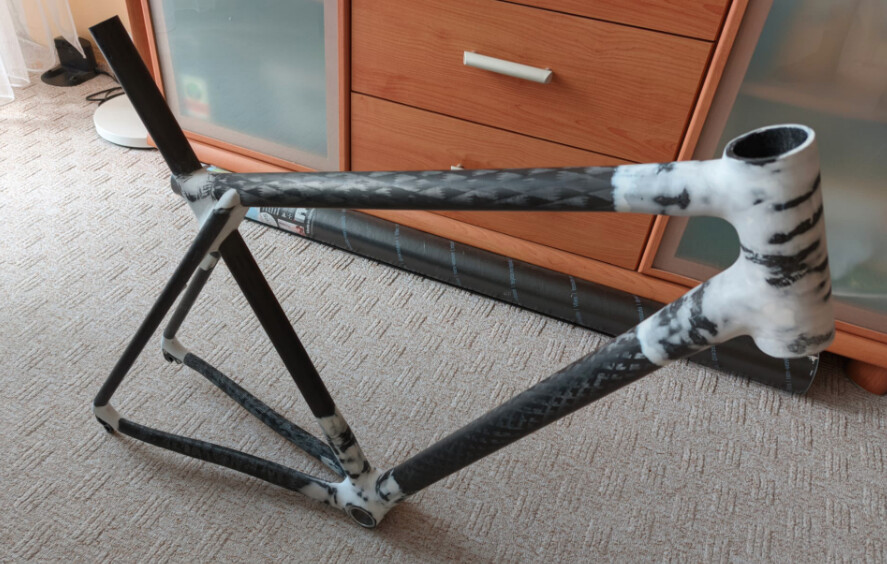
Thank you to everybody for hints about internal/external routing. I have chosen internal. Butt it was really painful experience to see drilled holes in tubes. I used 6/5 mm carbon tube which I buyed at hobby shop for shifters routing ends. For rear brake routing ends I use the same tube as positive mandrel and created tube myself. I created 7/6 mm tube. River nuts are bonded as bottle bossies.
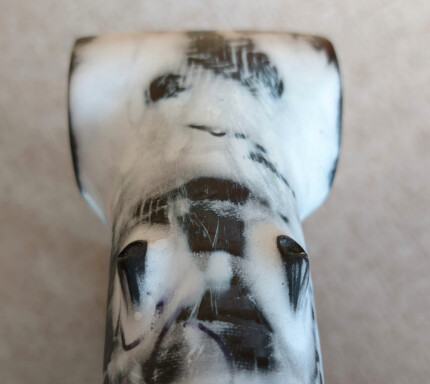
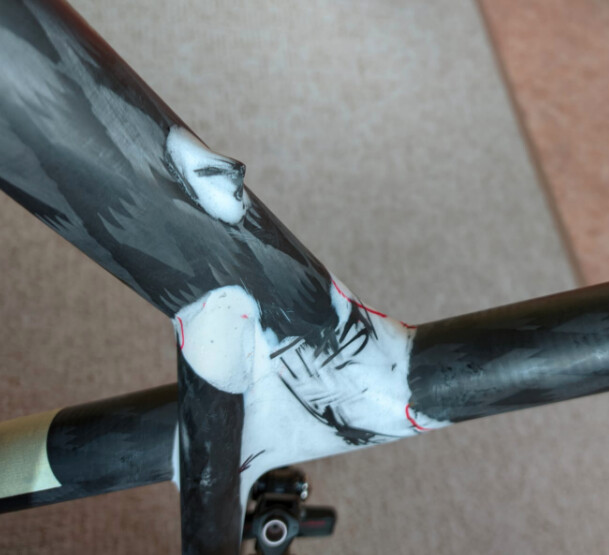
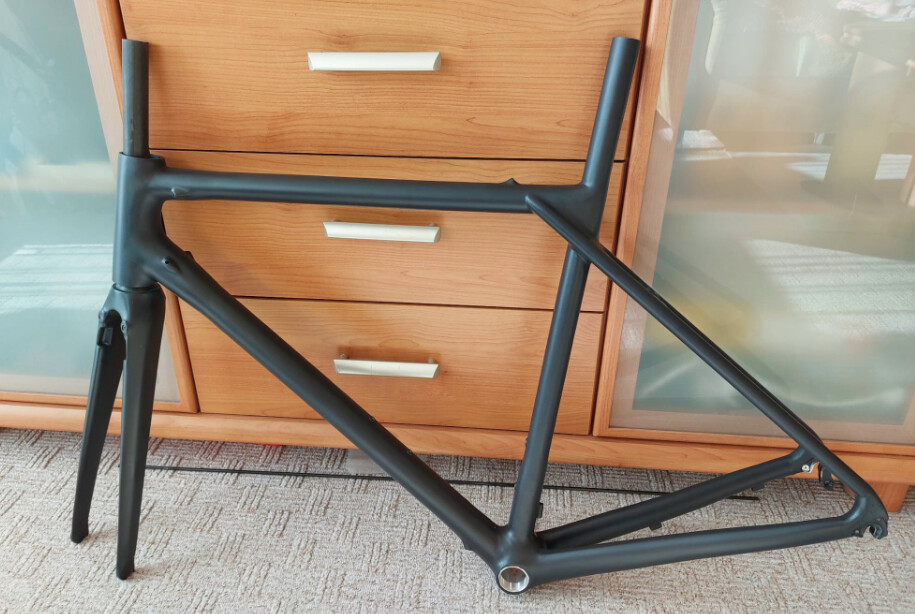
I am preparing frame for final color. Now I have first layer of spray kit. After sanding and beautifying of surface I will put another layer and frame will be prepared for final color.