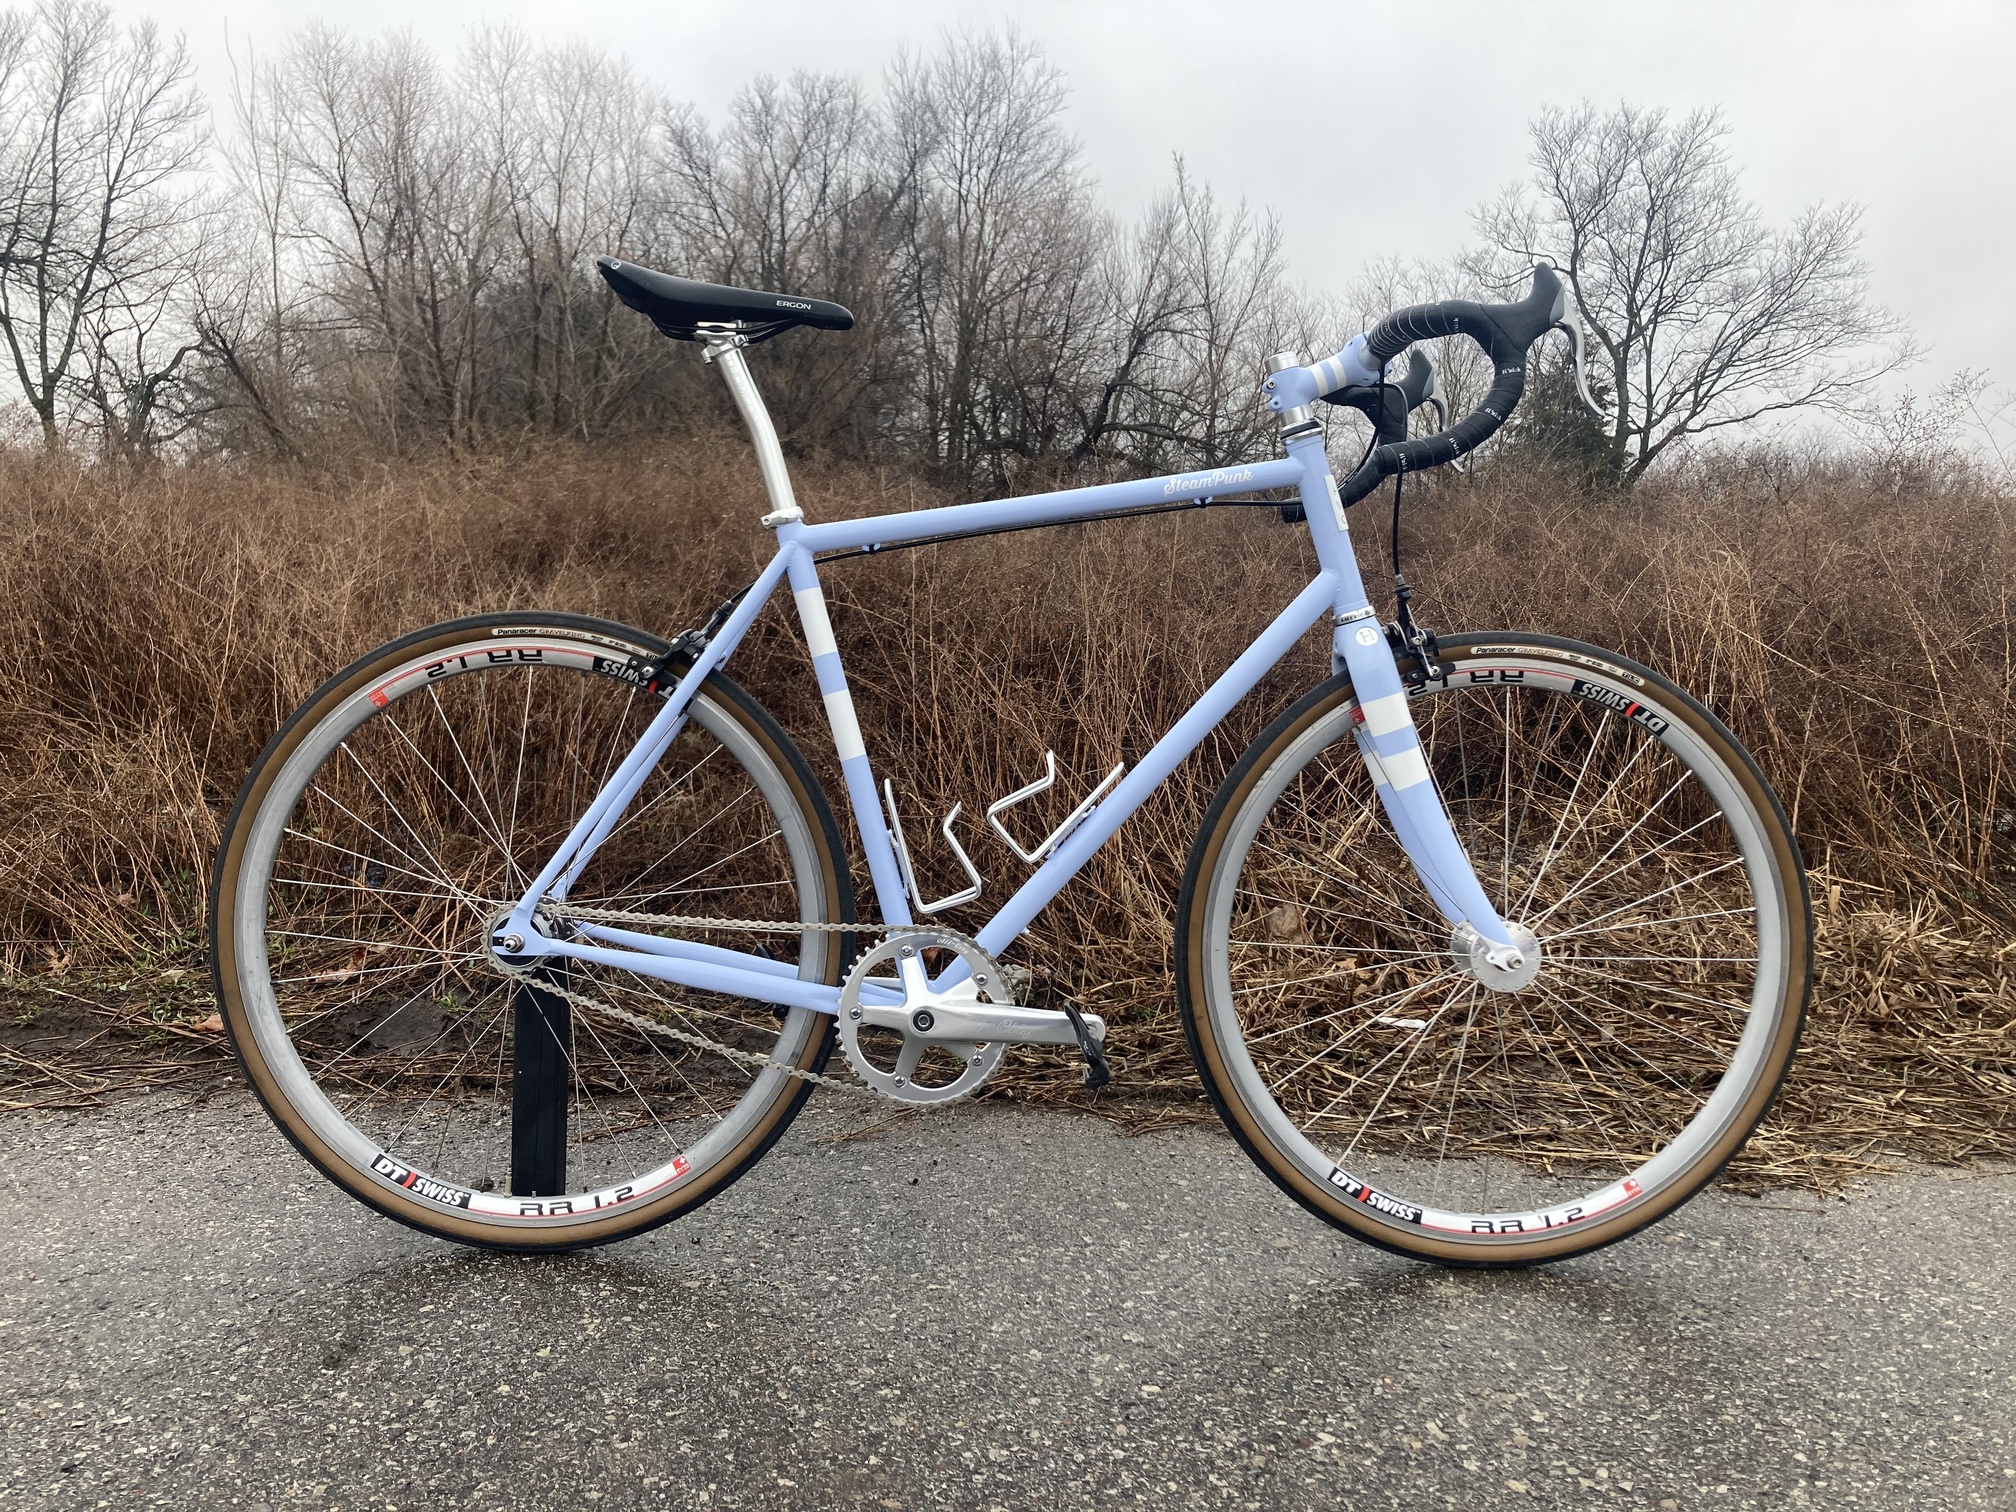
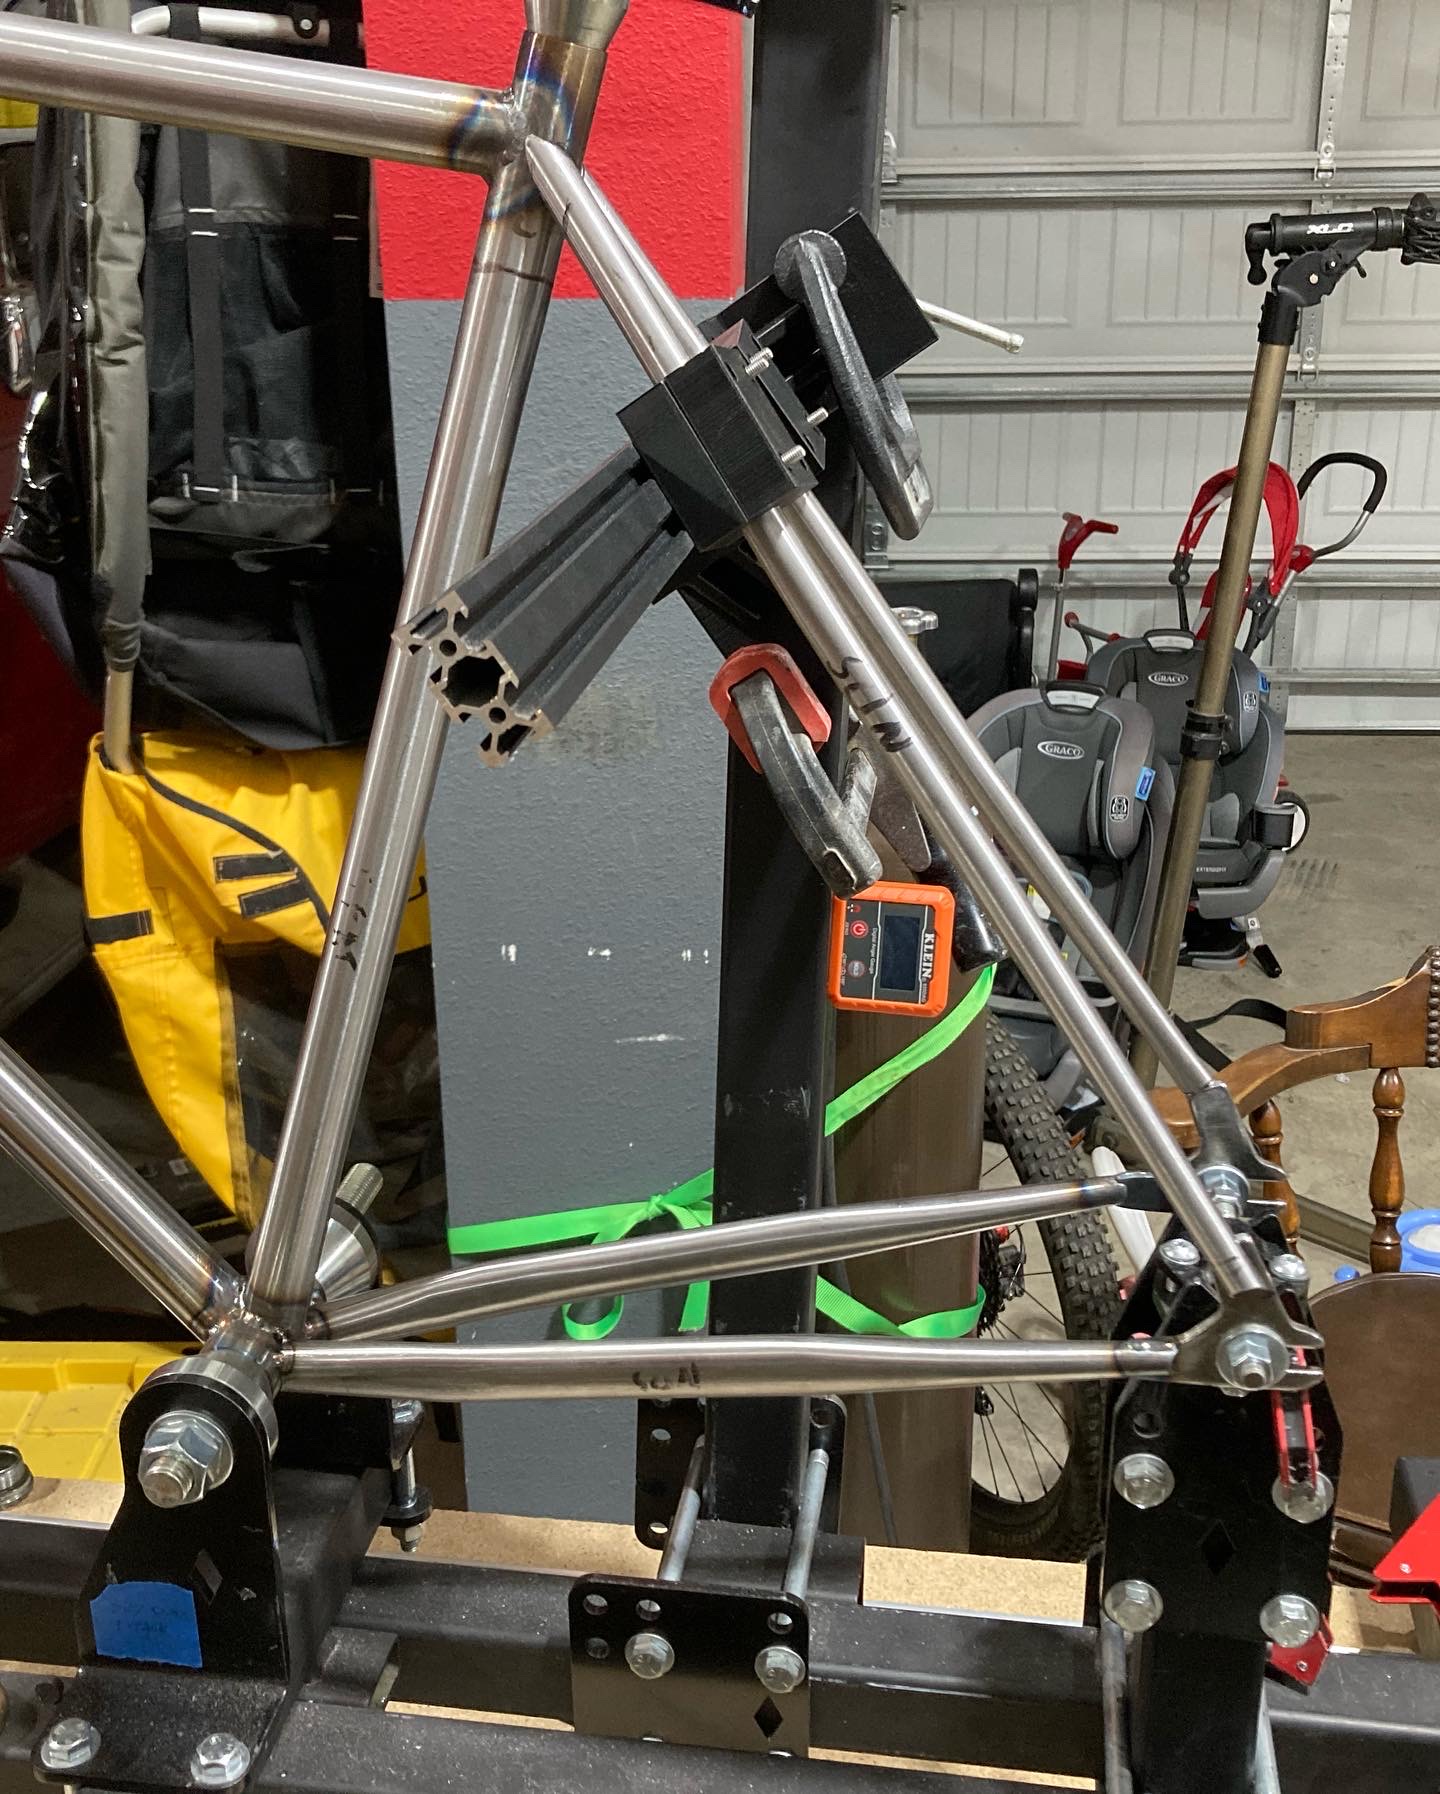
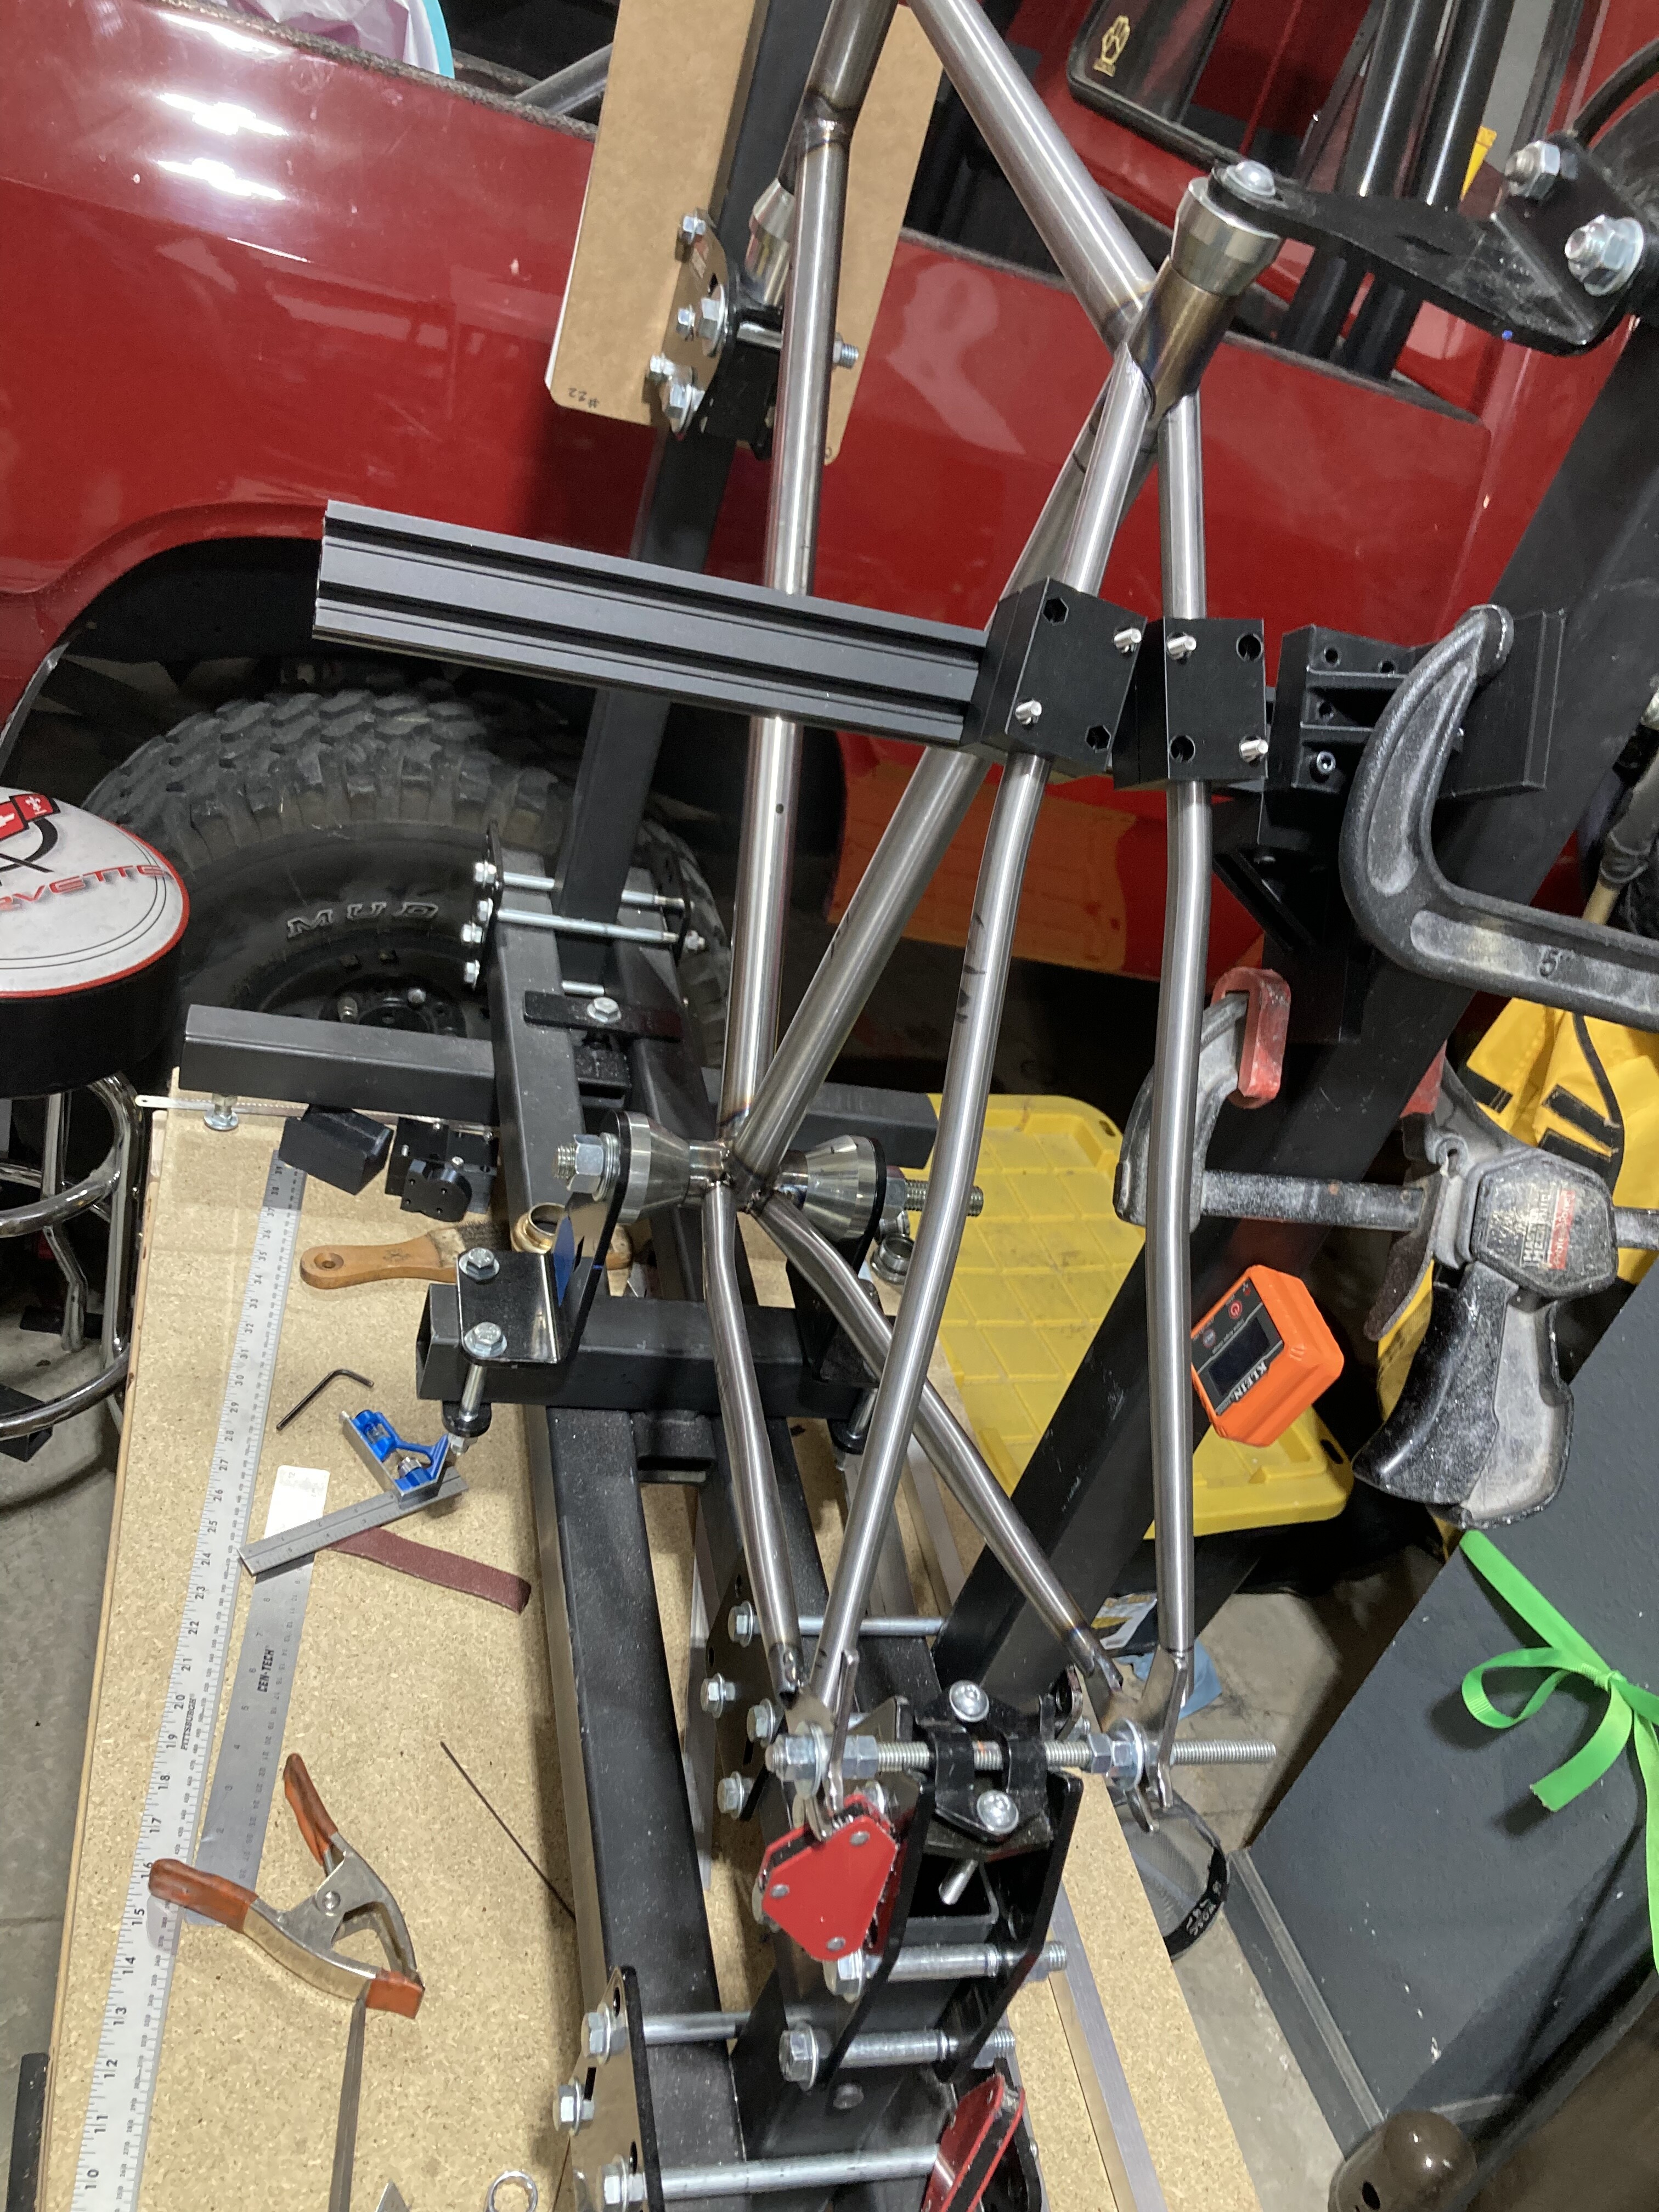
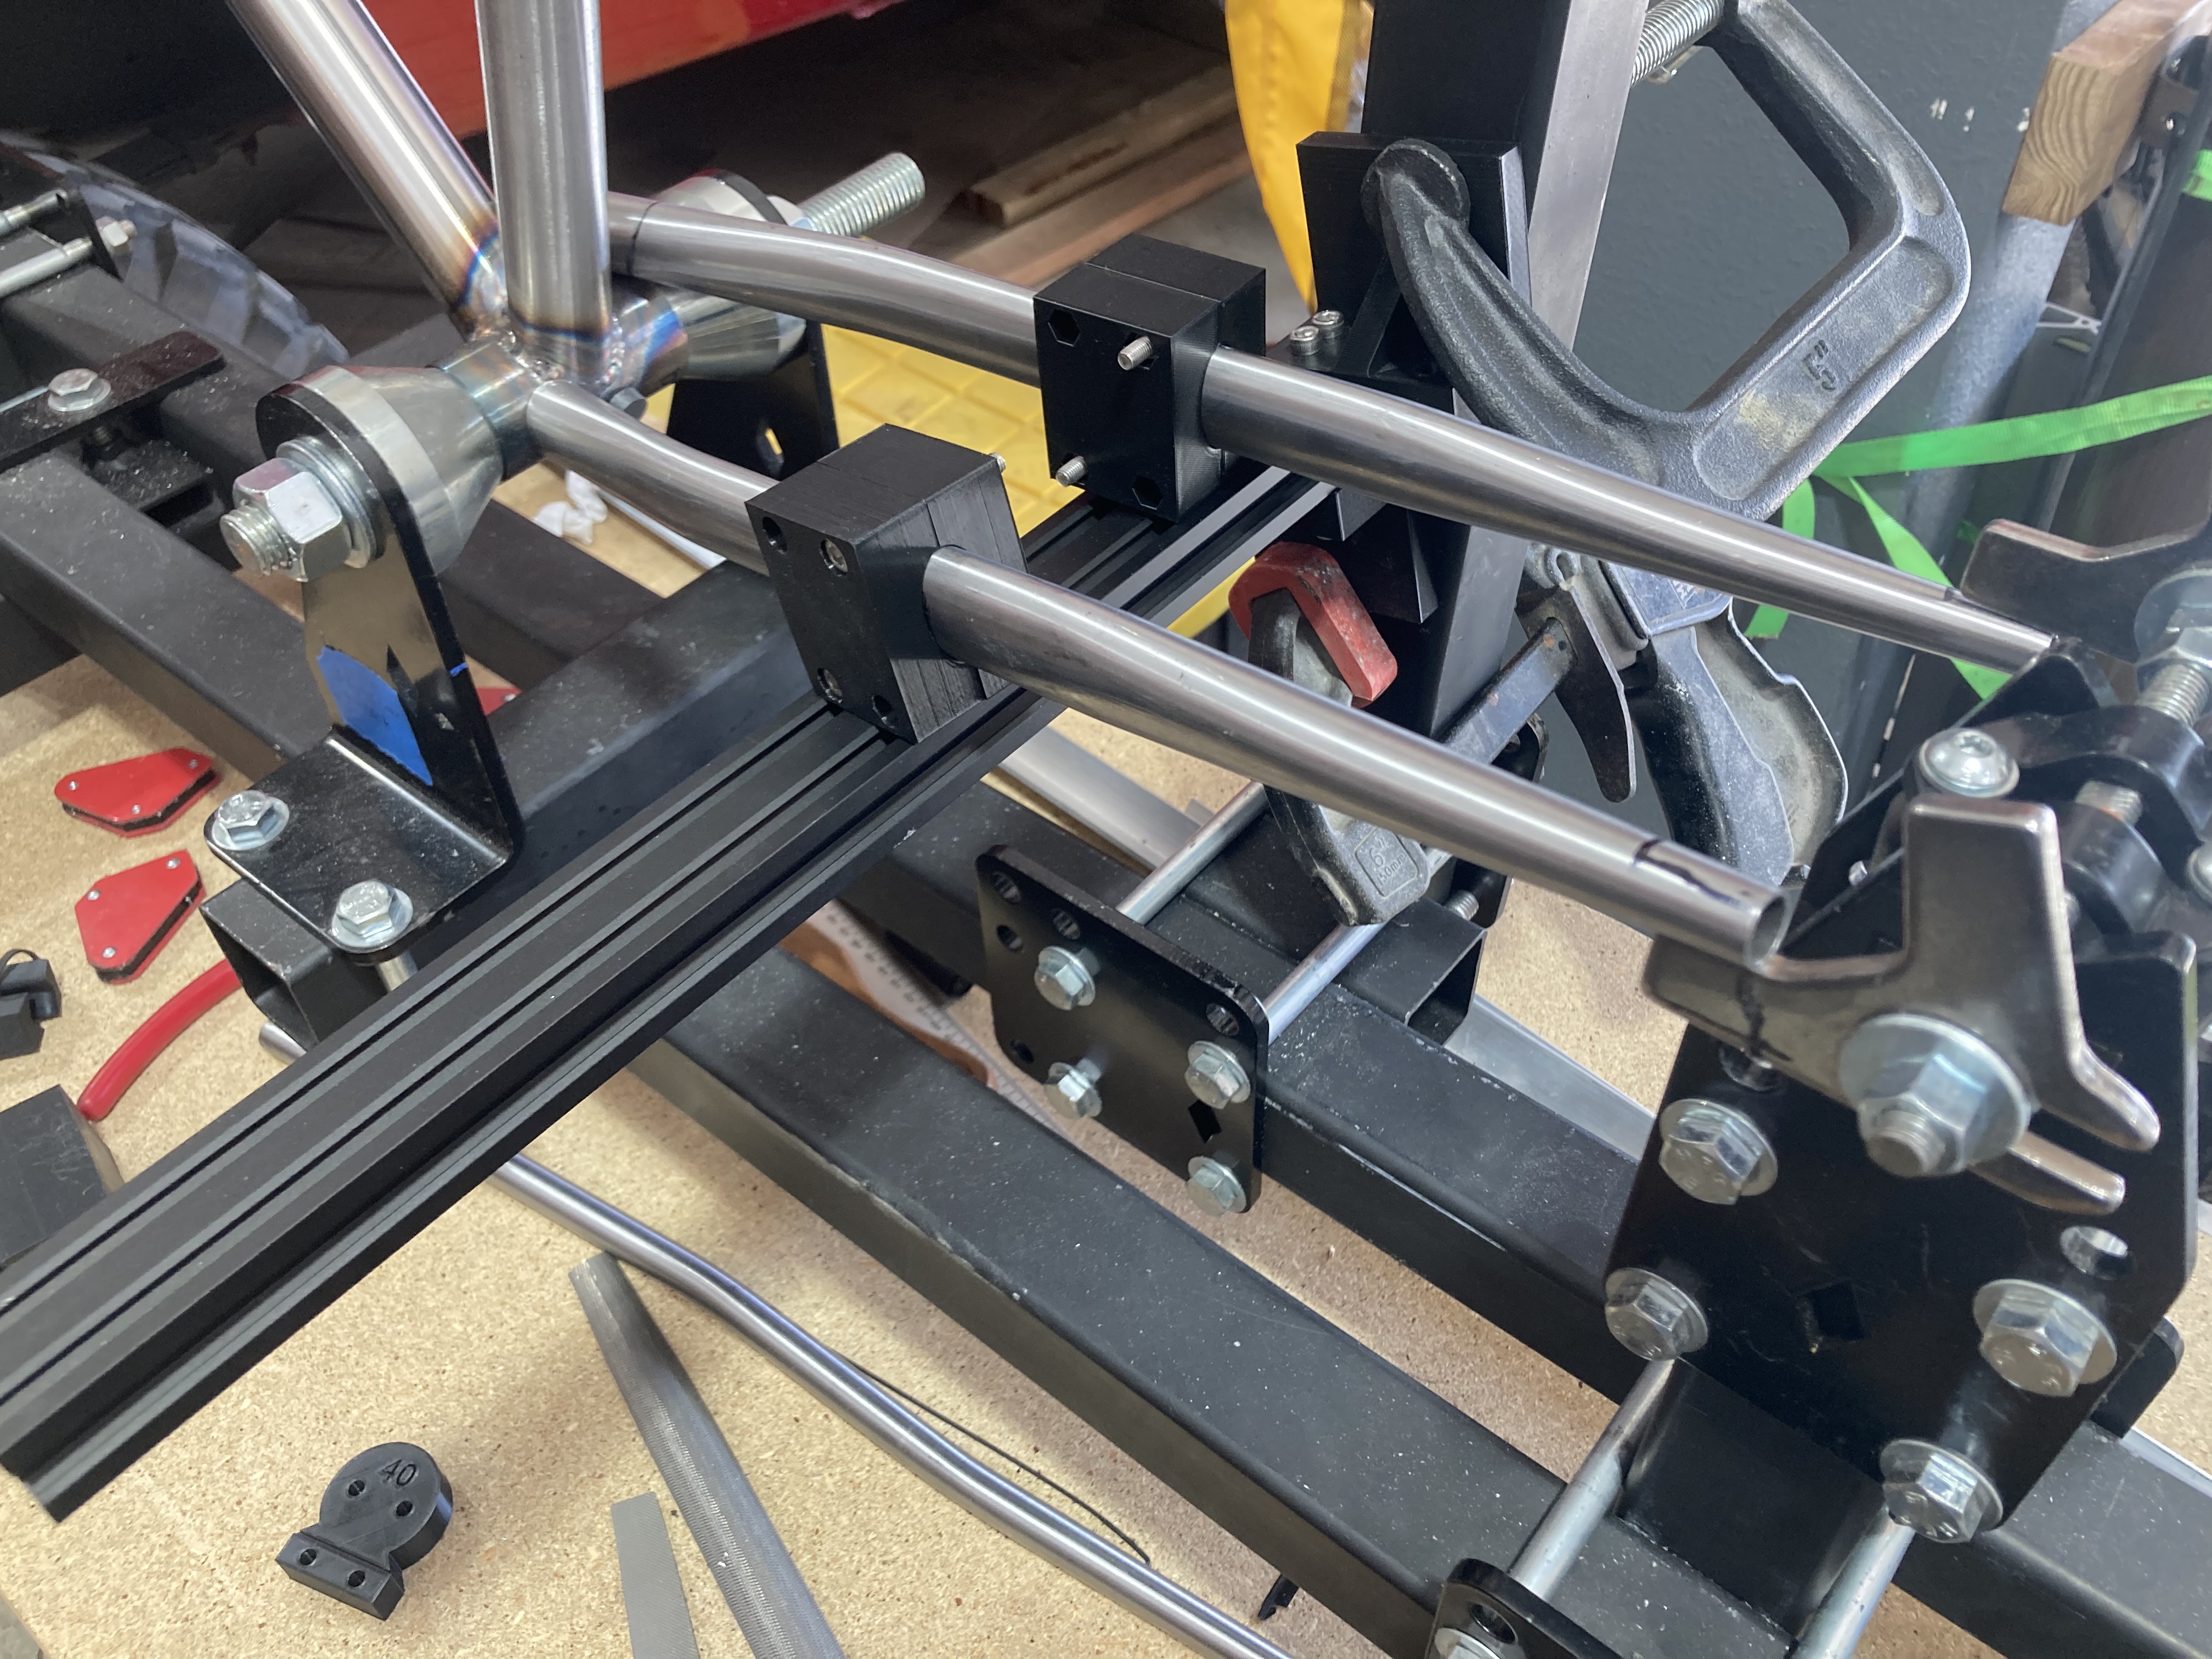
This is my first build. Overall I am pleased with the results and lessons learned. I 3D printed phase blocks for the stays and miter templates for the seat tube. Both were hugely valuable in getting everything straight.
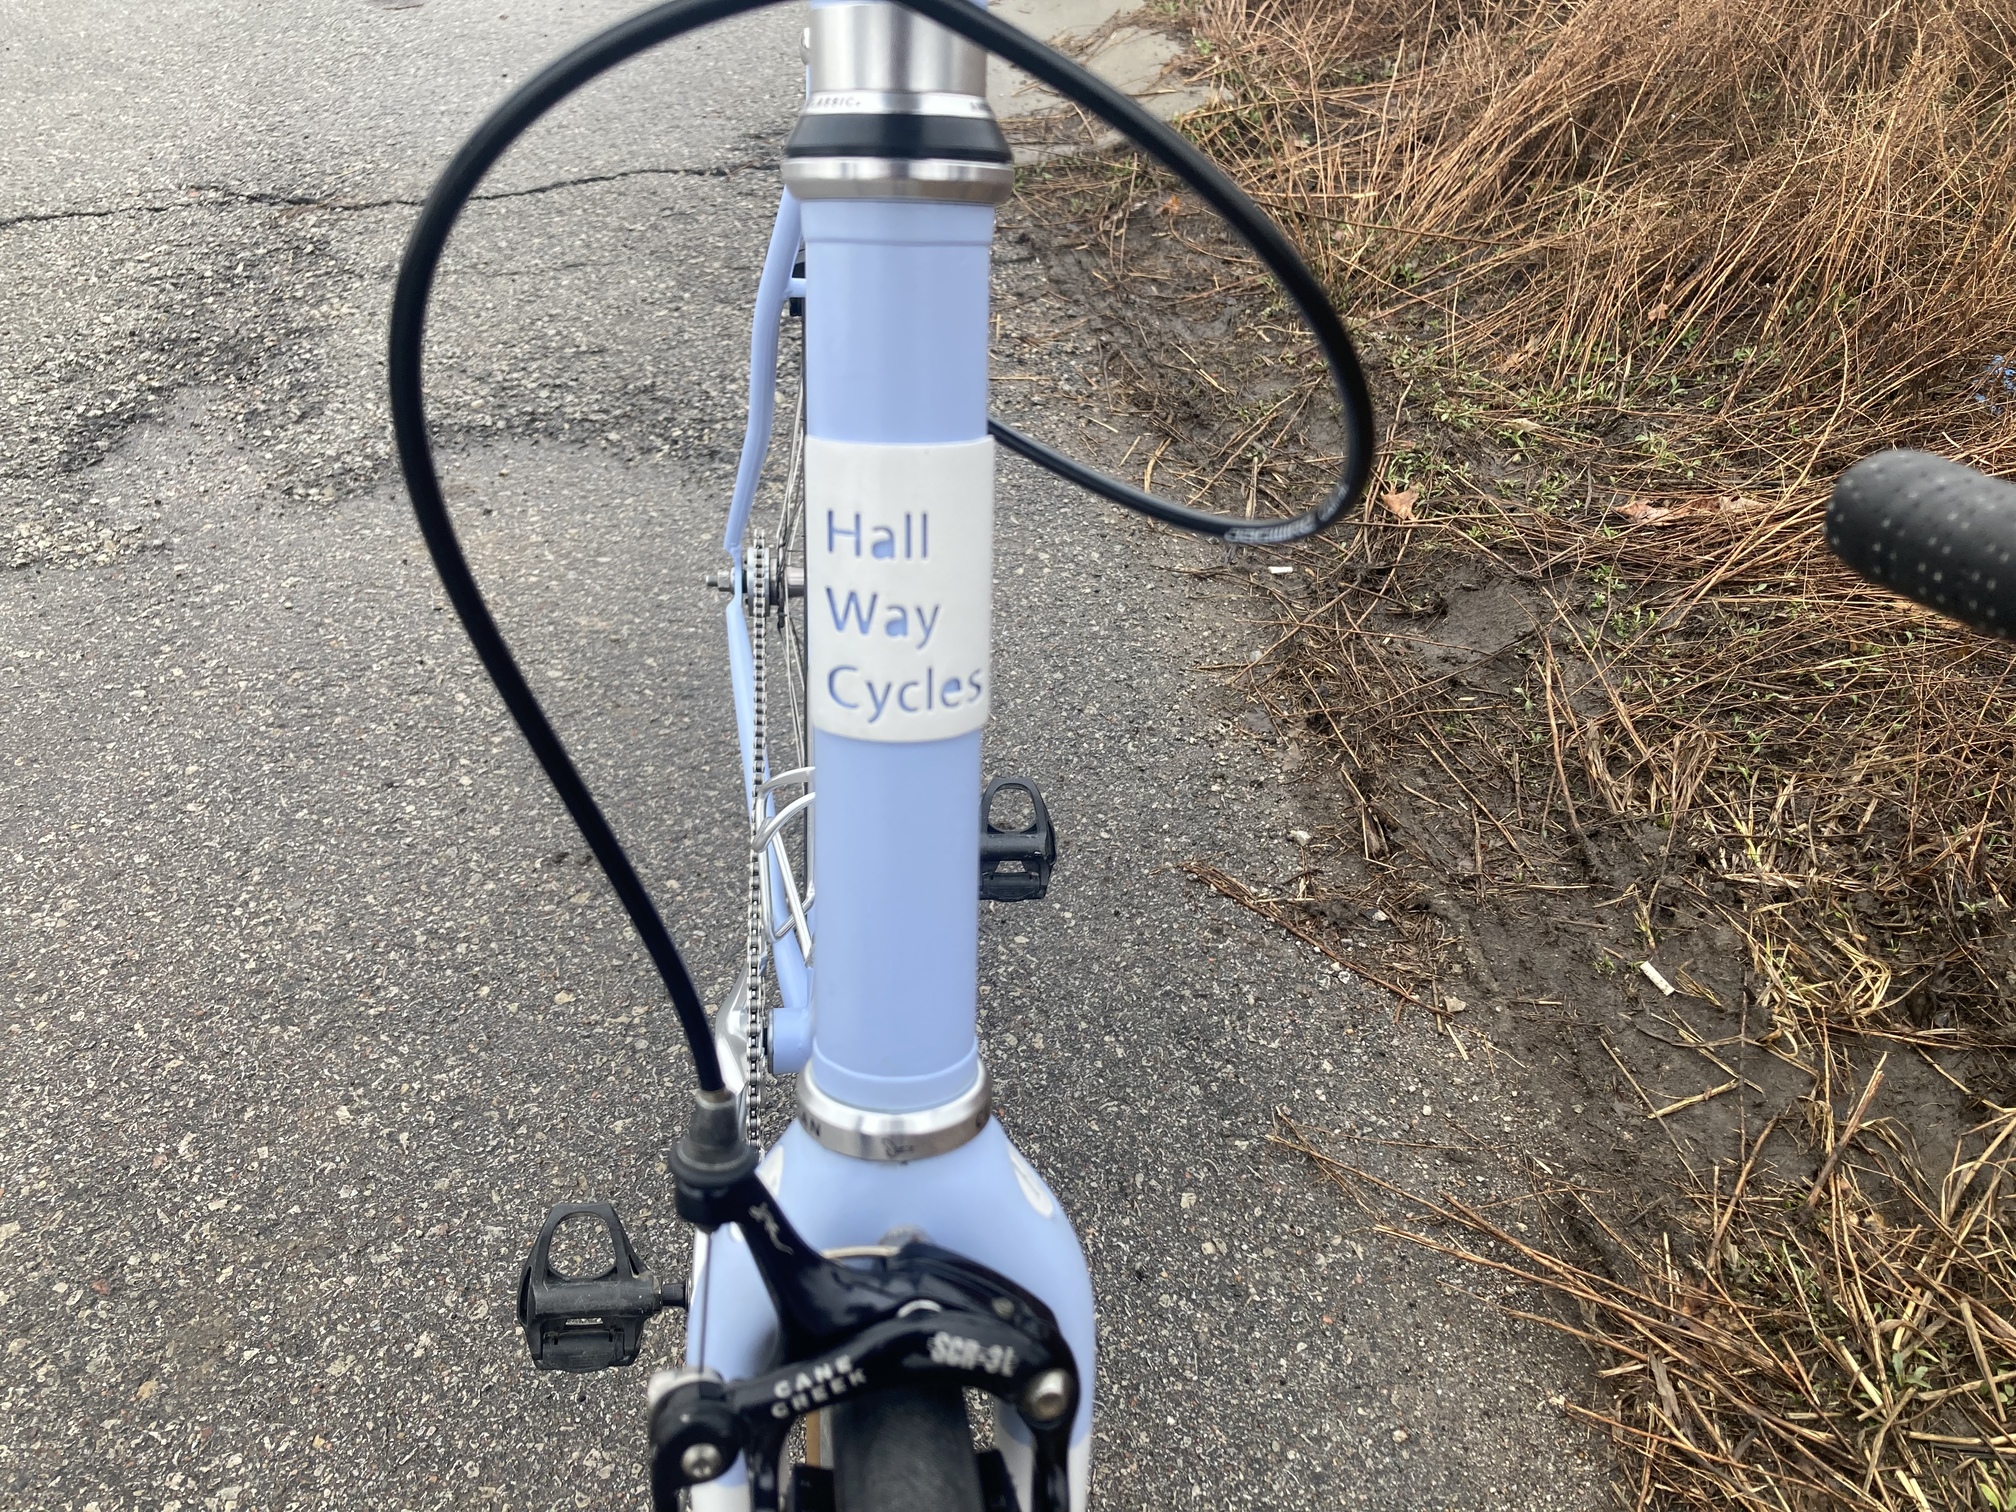
The head badge and fork inserts are also a 3D Prints.
Overall lessons learned
-Being able to weld a practice joint does not mean you can weld frame joints well
-A little creativity with SolidWorks and a 3D printer goes a long way
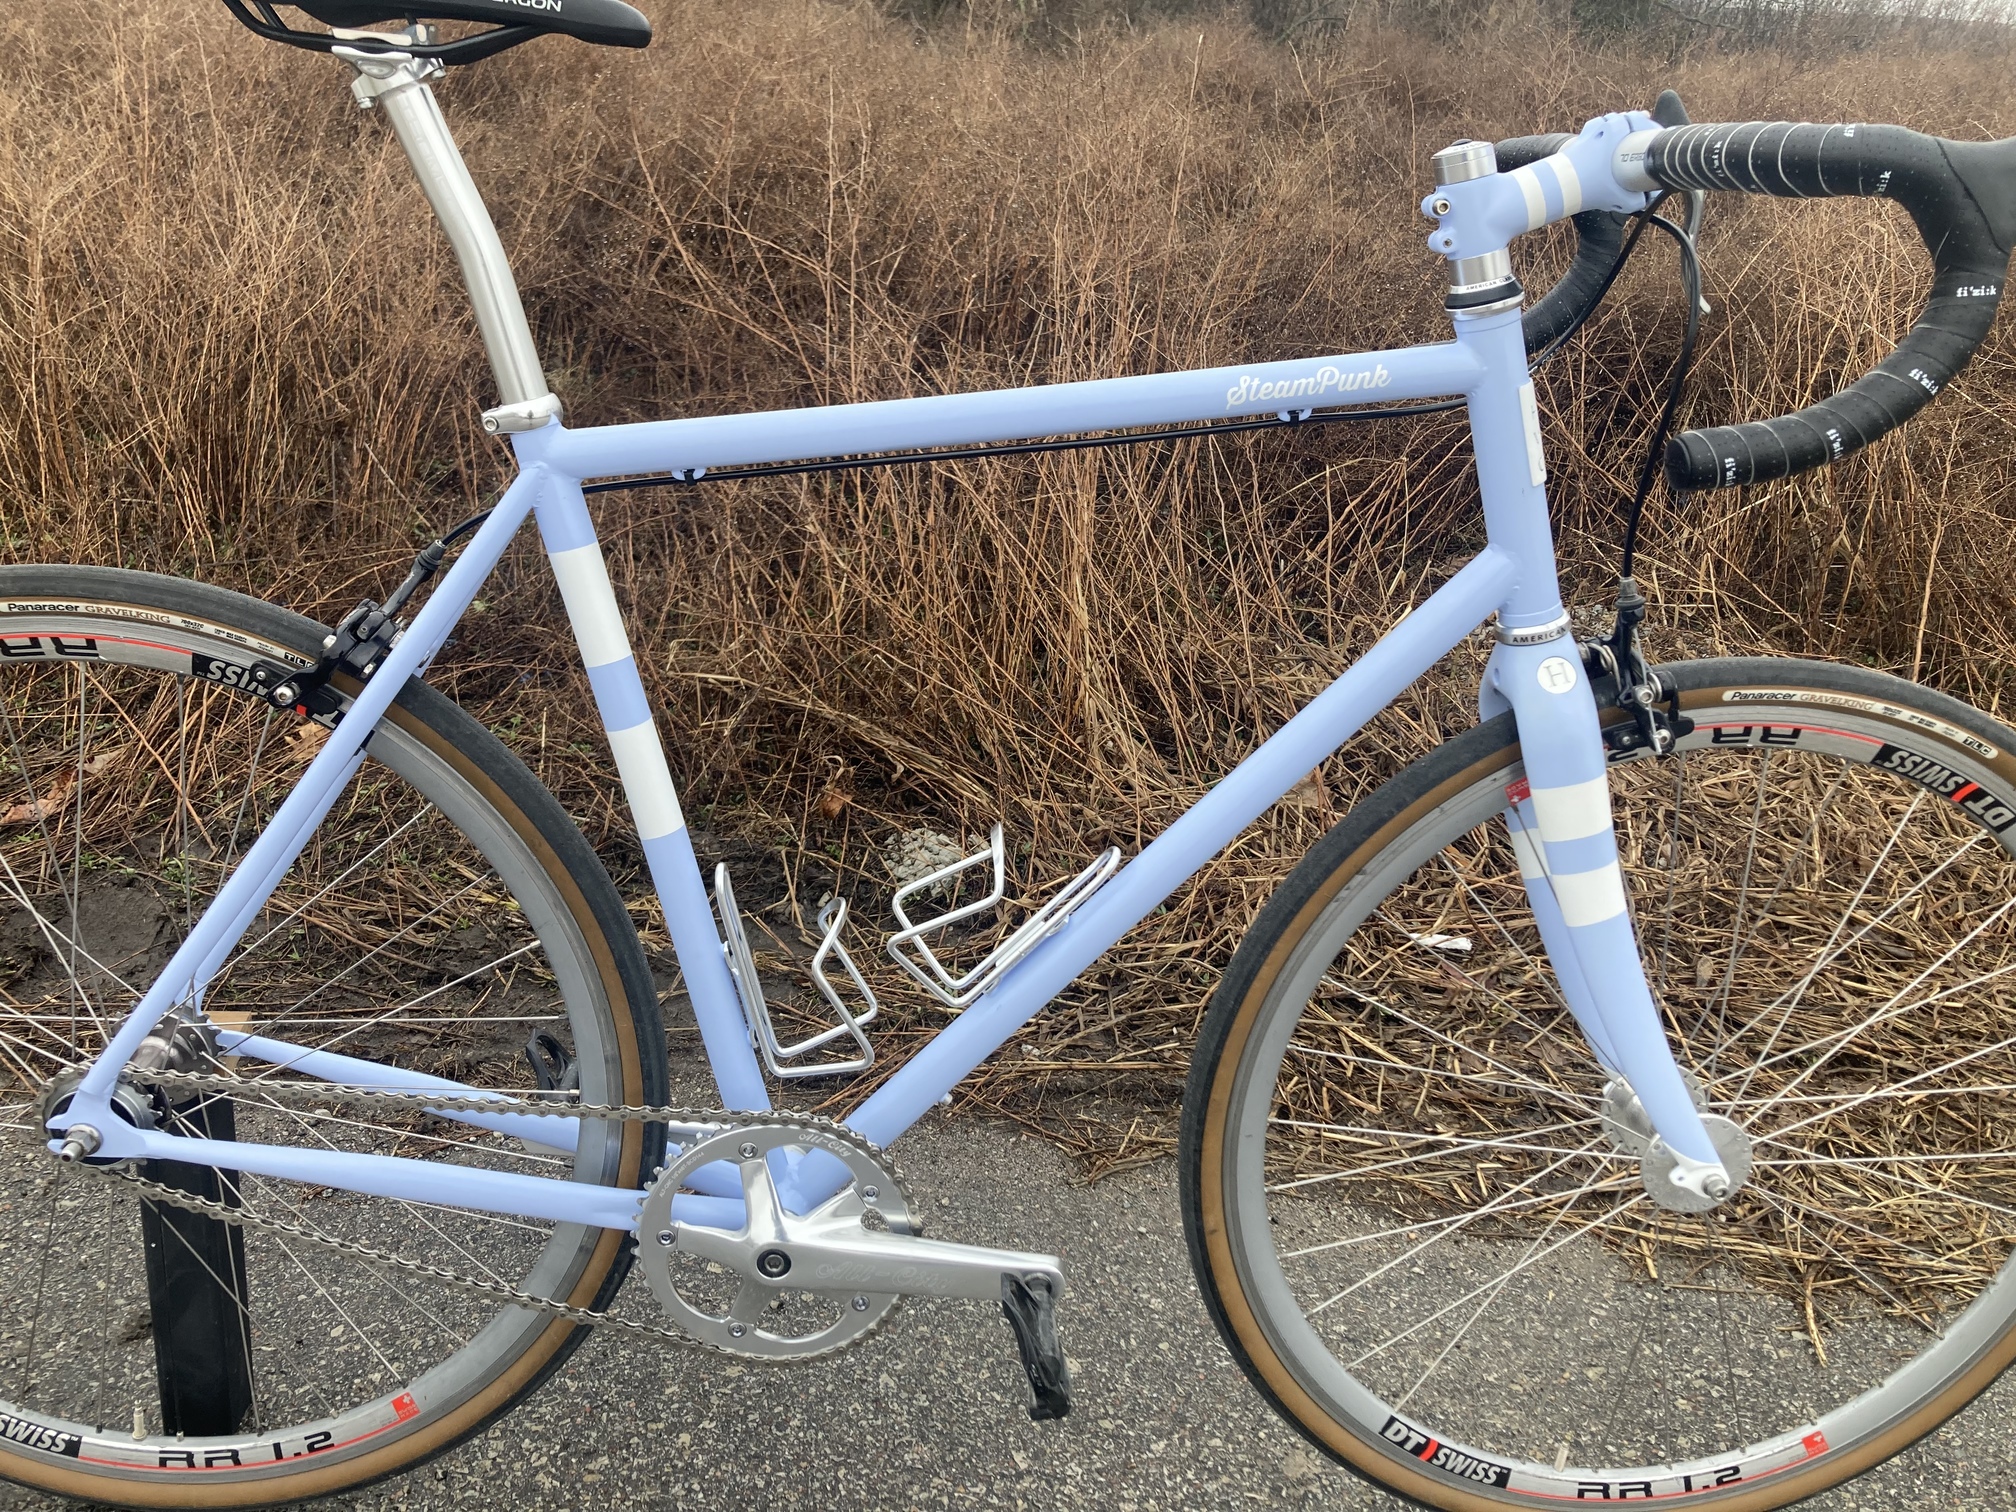
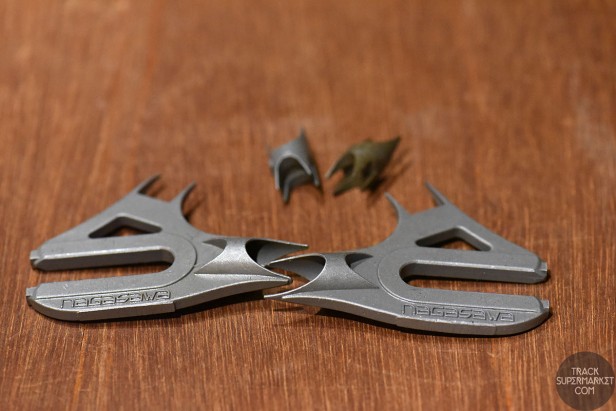
-Track ends should be at the chain stay angle rather than level with axle for aesthetics
-Brake bridges are hard to weld!
Thanks for including the pictures of the blocks and supports you used for the stays. Stay supports are something I’ve been over thinking…
And also the bike looks great!
That is what I thought but after I assembled the bike it just seemed off. I looked at other track frames and some have a slight positive tilt and some are horizontal.
I found when the have a slight positive tilt they are much more ascetically pleasing.
These are just Columbus track ends. I think that these are fairly blocky which also drives my opinion
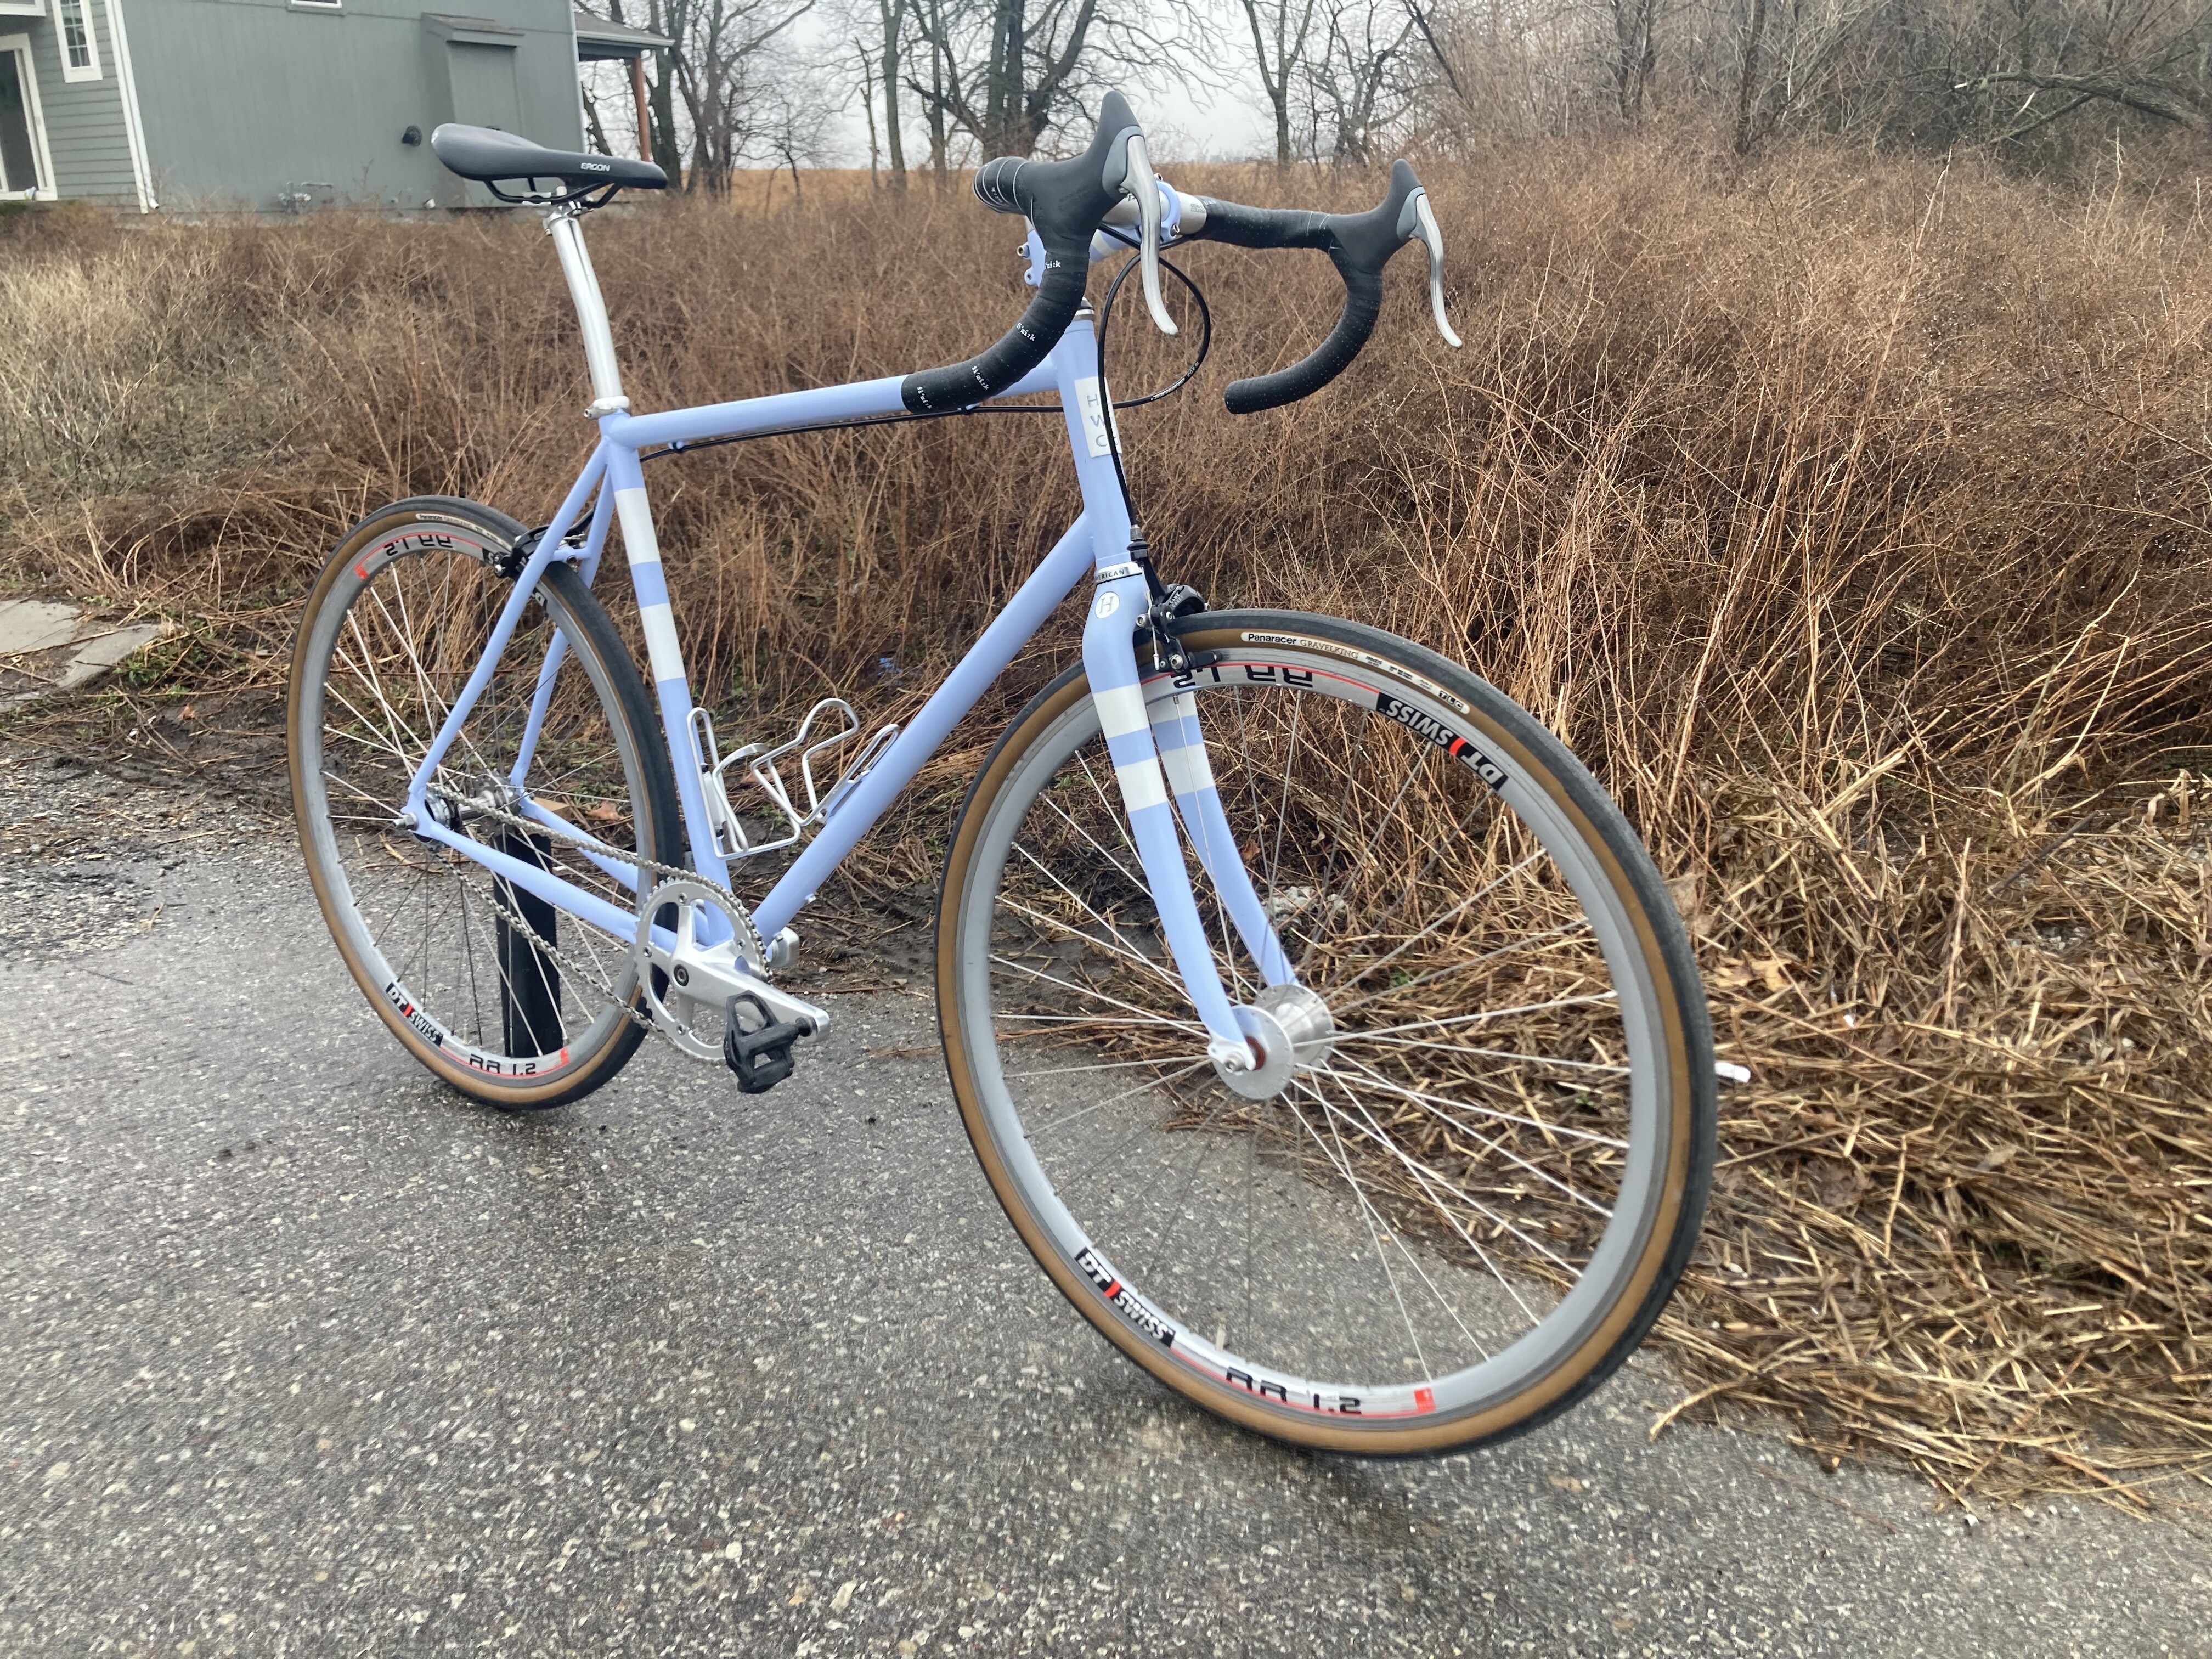
To my eye the only issue with these drops is that the CS & SS angle is a bit off. You could correct that by turning the while drop-out, as you suggested, or by chopping the drop-outs a bit and correcting the angles. Personally I like Steamroller type hooded drop-outs for tig welding and for brazing I’d go multi-part NJS - those thing only take a drop of silver to put together.
I totally agree! My previous track frame was a Gary Fisher and it had hooded drops that I really liked. At the time I bought the tube set I couldn’t find hooded drops.
Bike fab supply just made some hooded track ends I really wish were available when I built this frame.