Generally 2x the tube thickness, you could probably get away with 1.8x on a gravel bike but for MTB 2x or slightly more is good.
3 Likes
Ah thats my bad with poor word choice. When I said “join area”, I meant my join area and not the end of the tubes. I’m doing 420mm chainstay + ~20mm join length which puts the internal lug into the region where it starts to become oval
1 Like
Ah thanks! Ok, I’ll probably be more conservative and start with 2x even though its an all road bike
1 Like
For reference only, not saying what you should do, I use 1.2mm on my swing arm yokes, with an 1.0mm thick rib horizontal throughout the whole structure.
2 Likes
Welp, I’m pretty bad at updating this. Also happy new years!
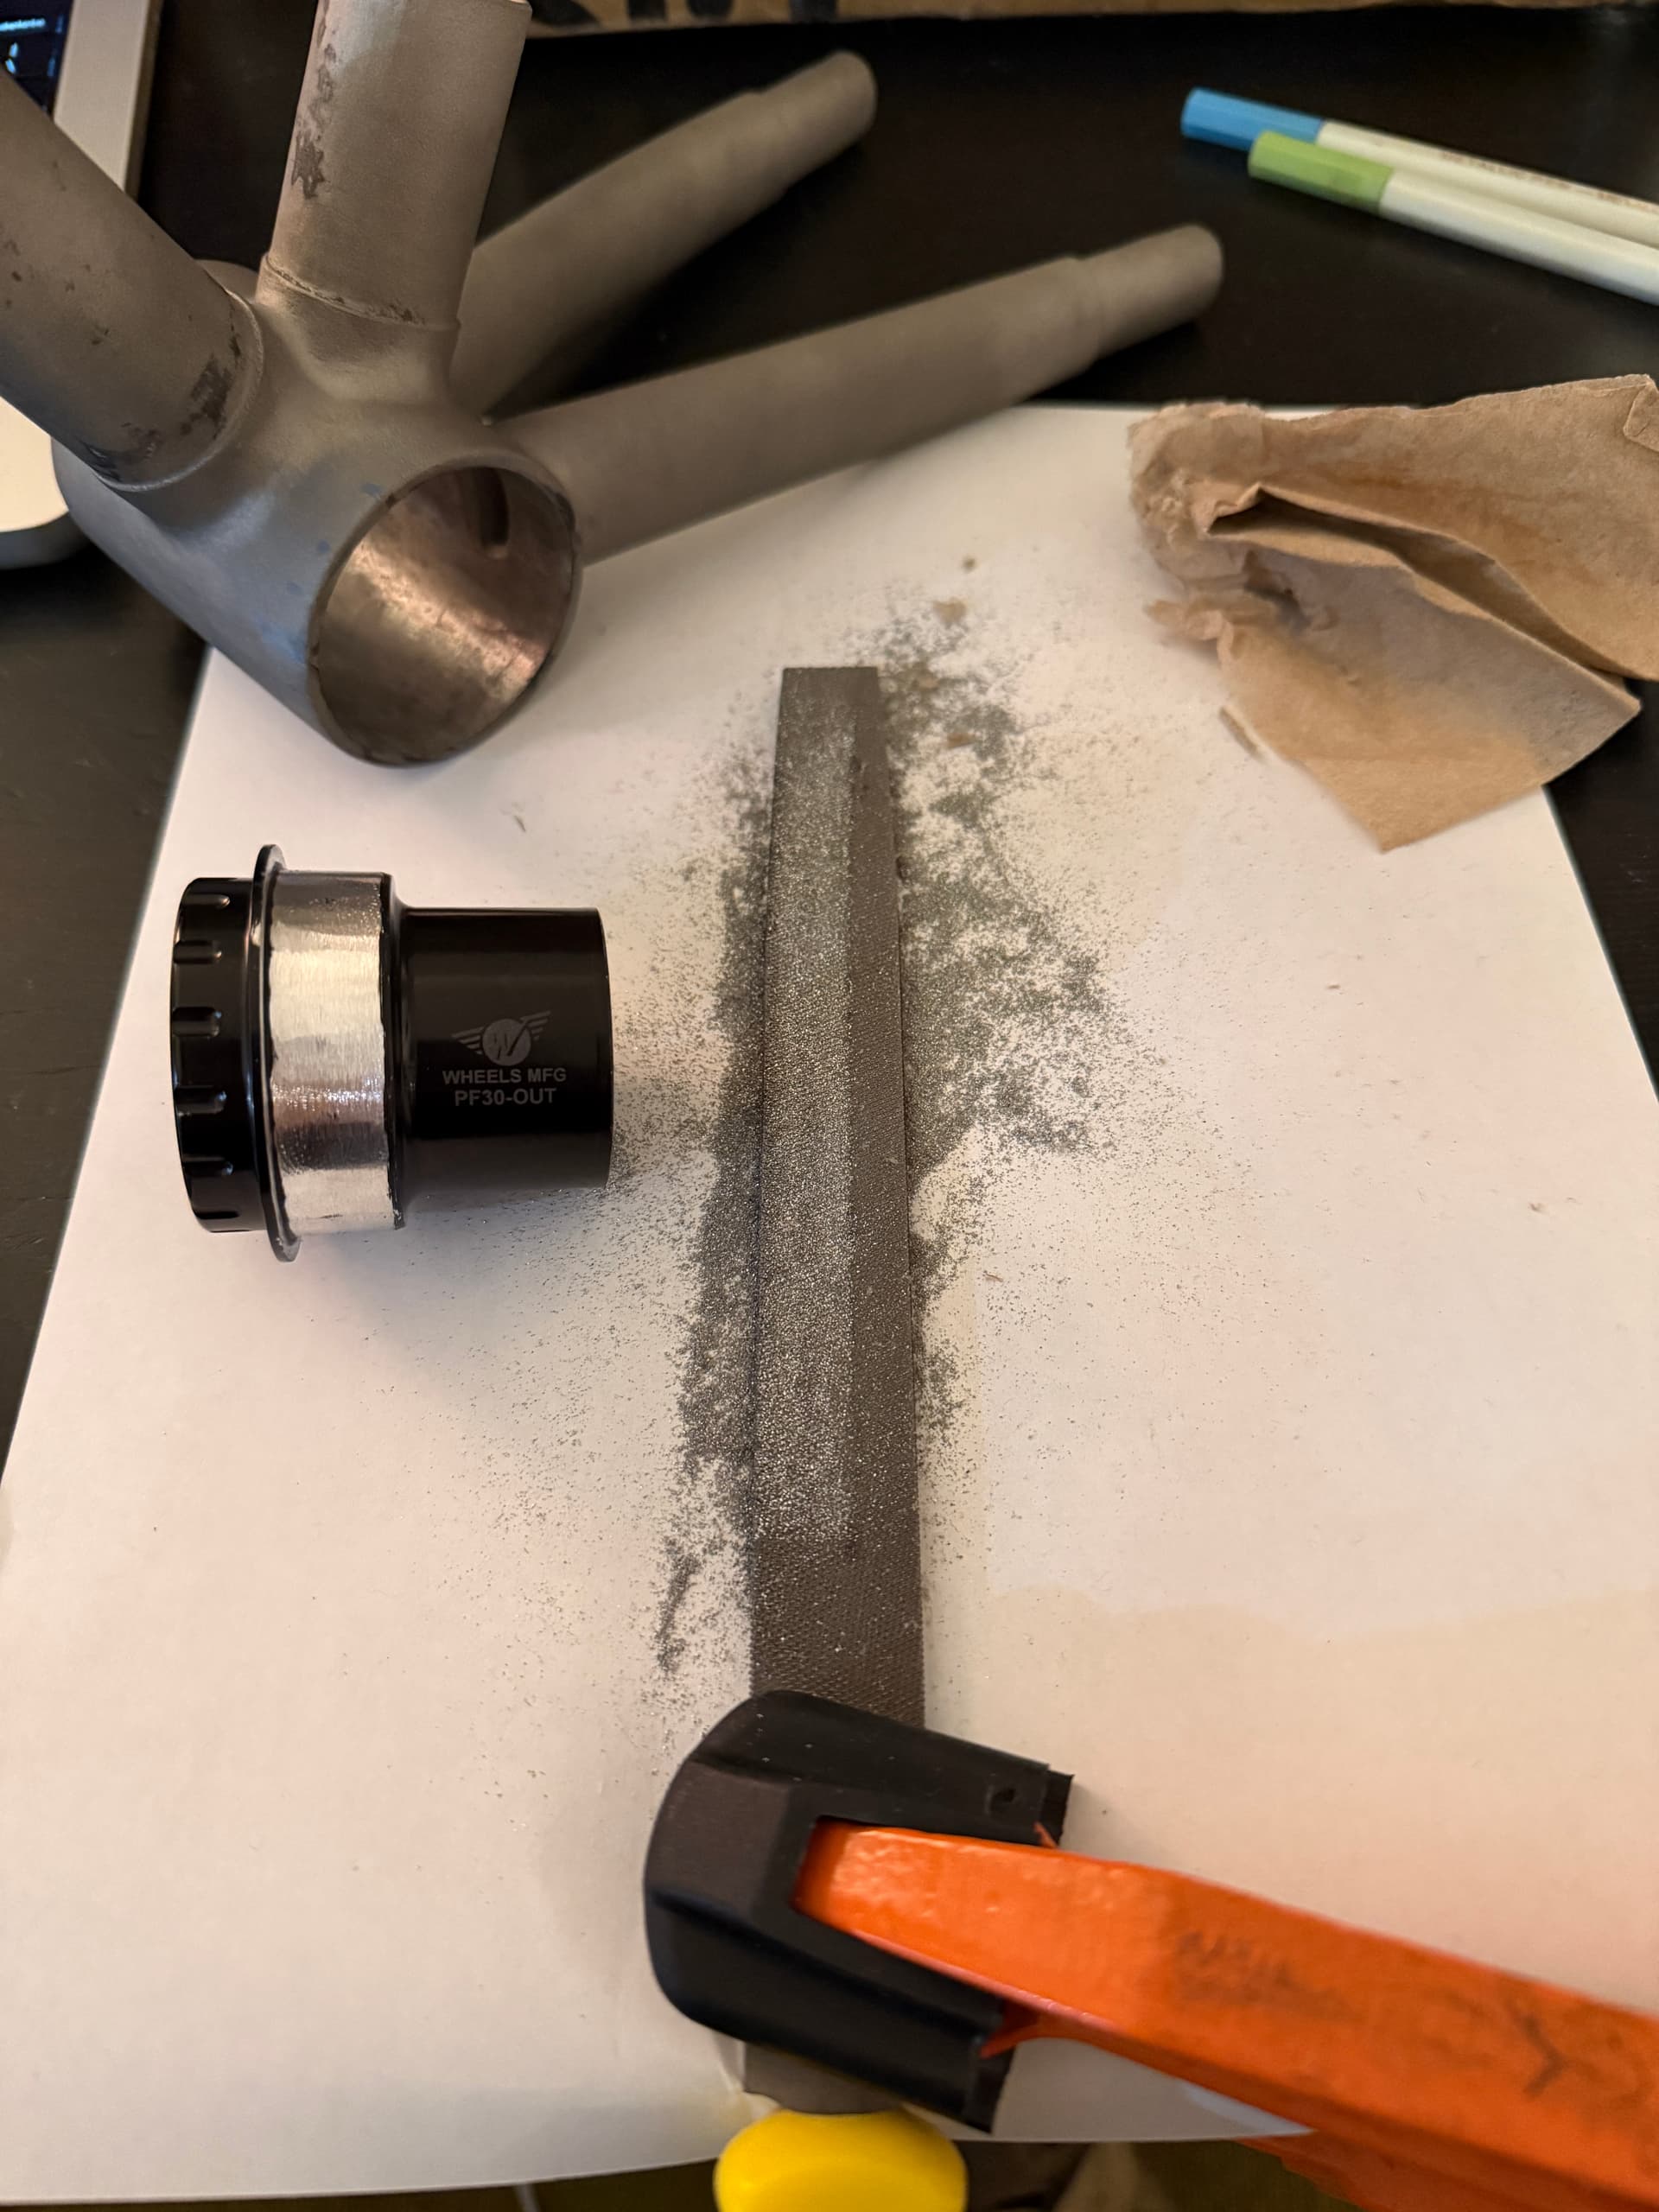
I finally got the 3d printed parts in. I did do two rounds of small testing for tolerance beforehand. To save cost (~$100), I decided not to get the bottom bracket reamed to size since I was using a thread together bottom bracket. I come to regret that since it was slightly undersized. Luckily everything else was as expected with minor filing so things fitted better without resistance.
Sanding/filing 316L is really hard. I only had a drill to help but then I realized I could just sand the aluminum bottom bracket instead ![]() Luckily this is a one off bike for me so I took the easy way out.
Luckily this is a one off bike for me so I took the easy way out.
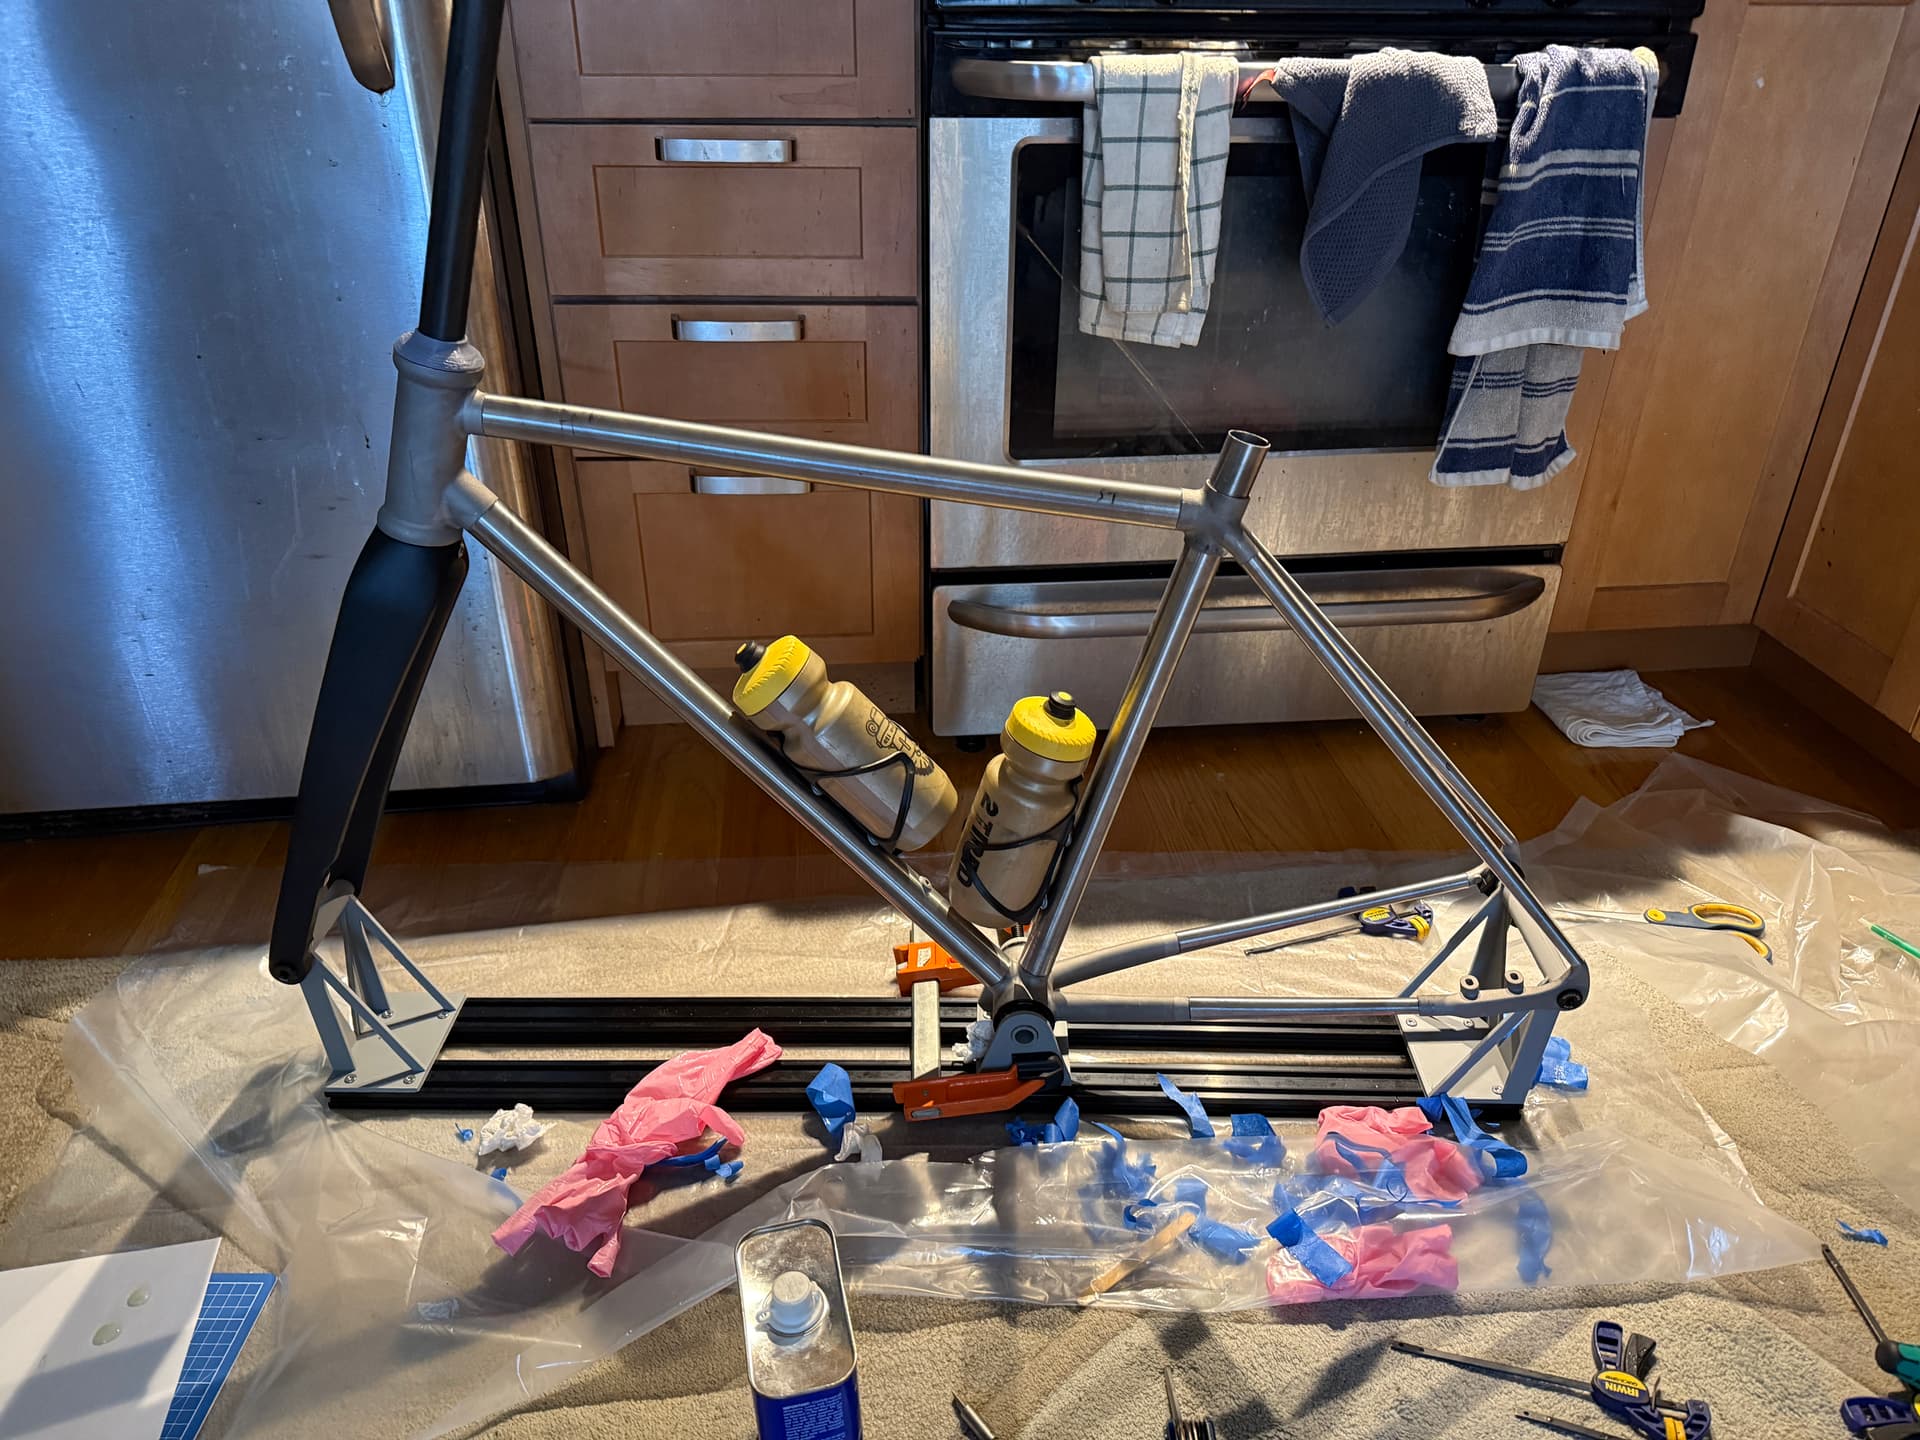
I was able to glue everything as well. Here are some photos:
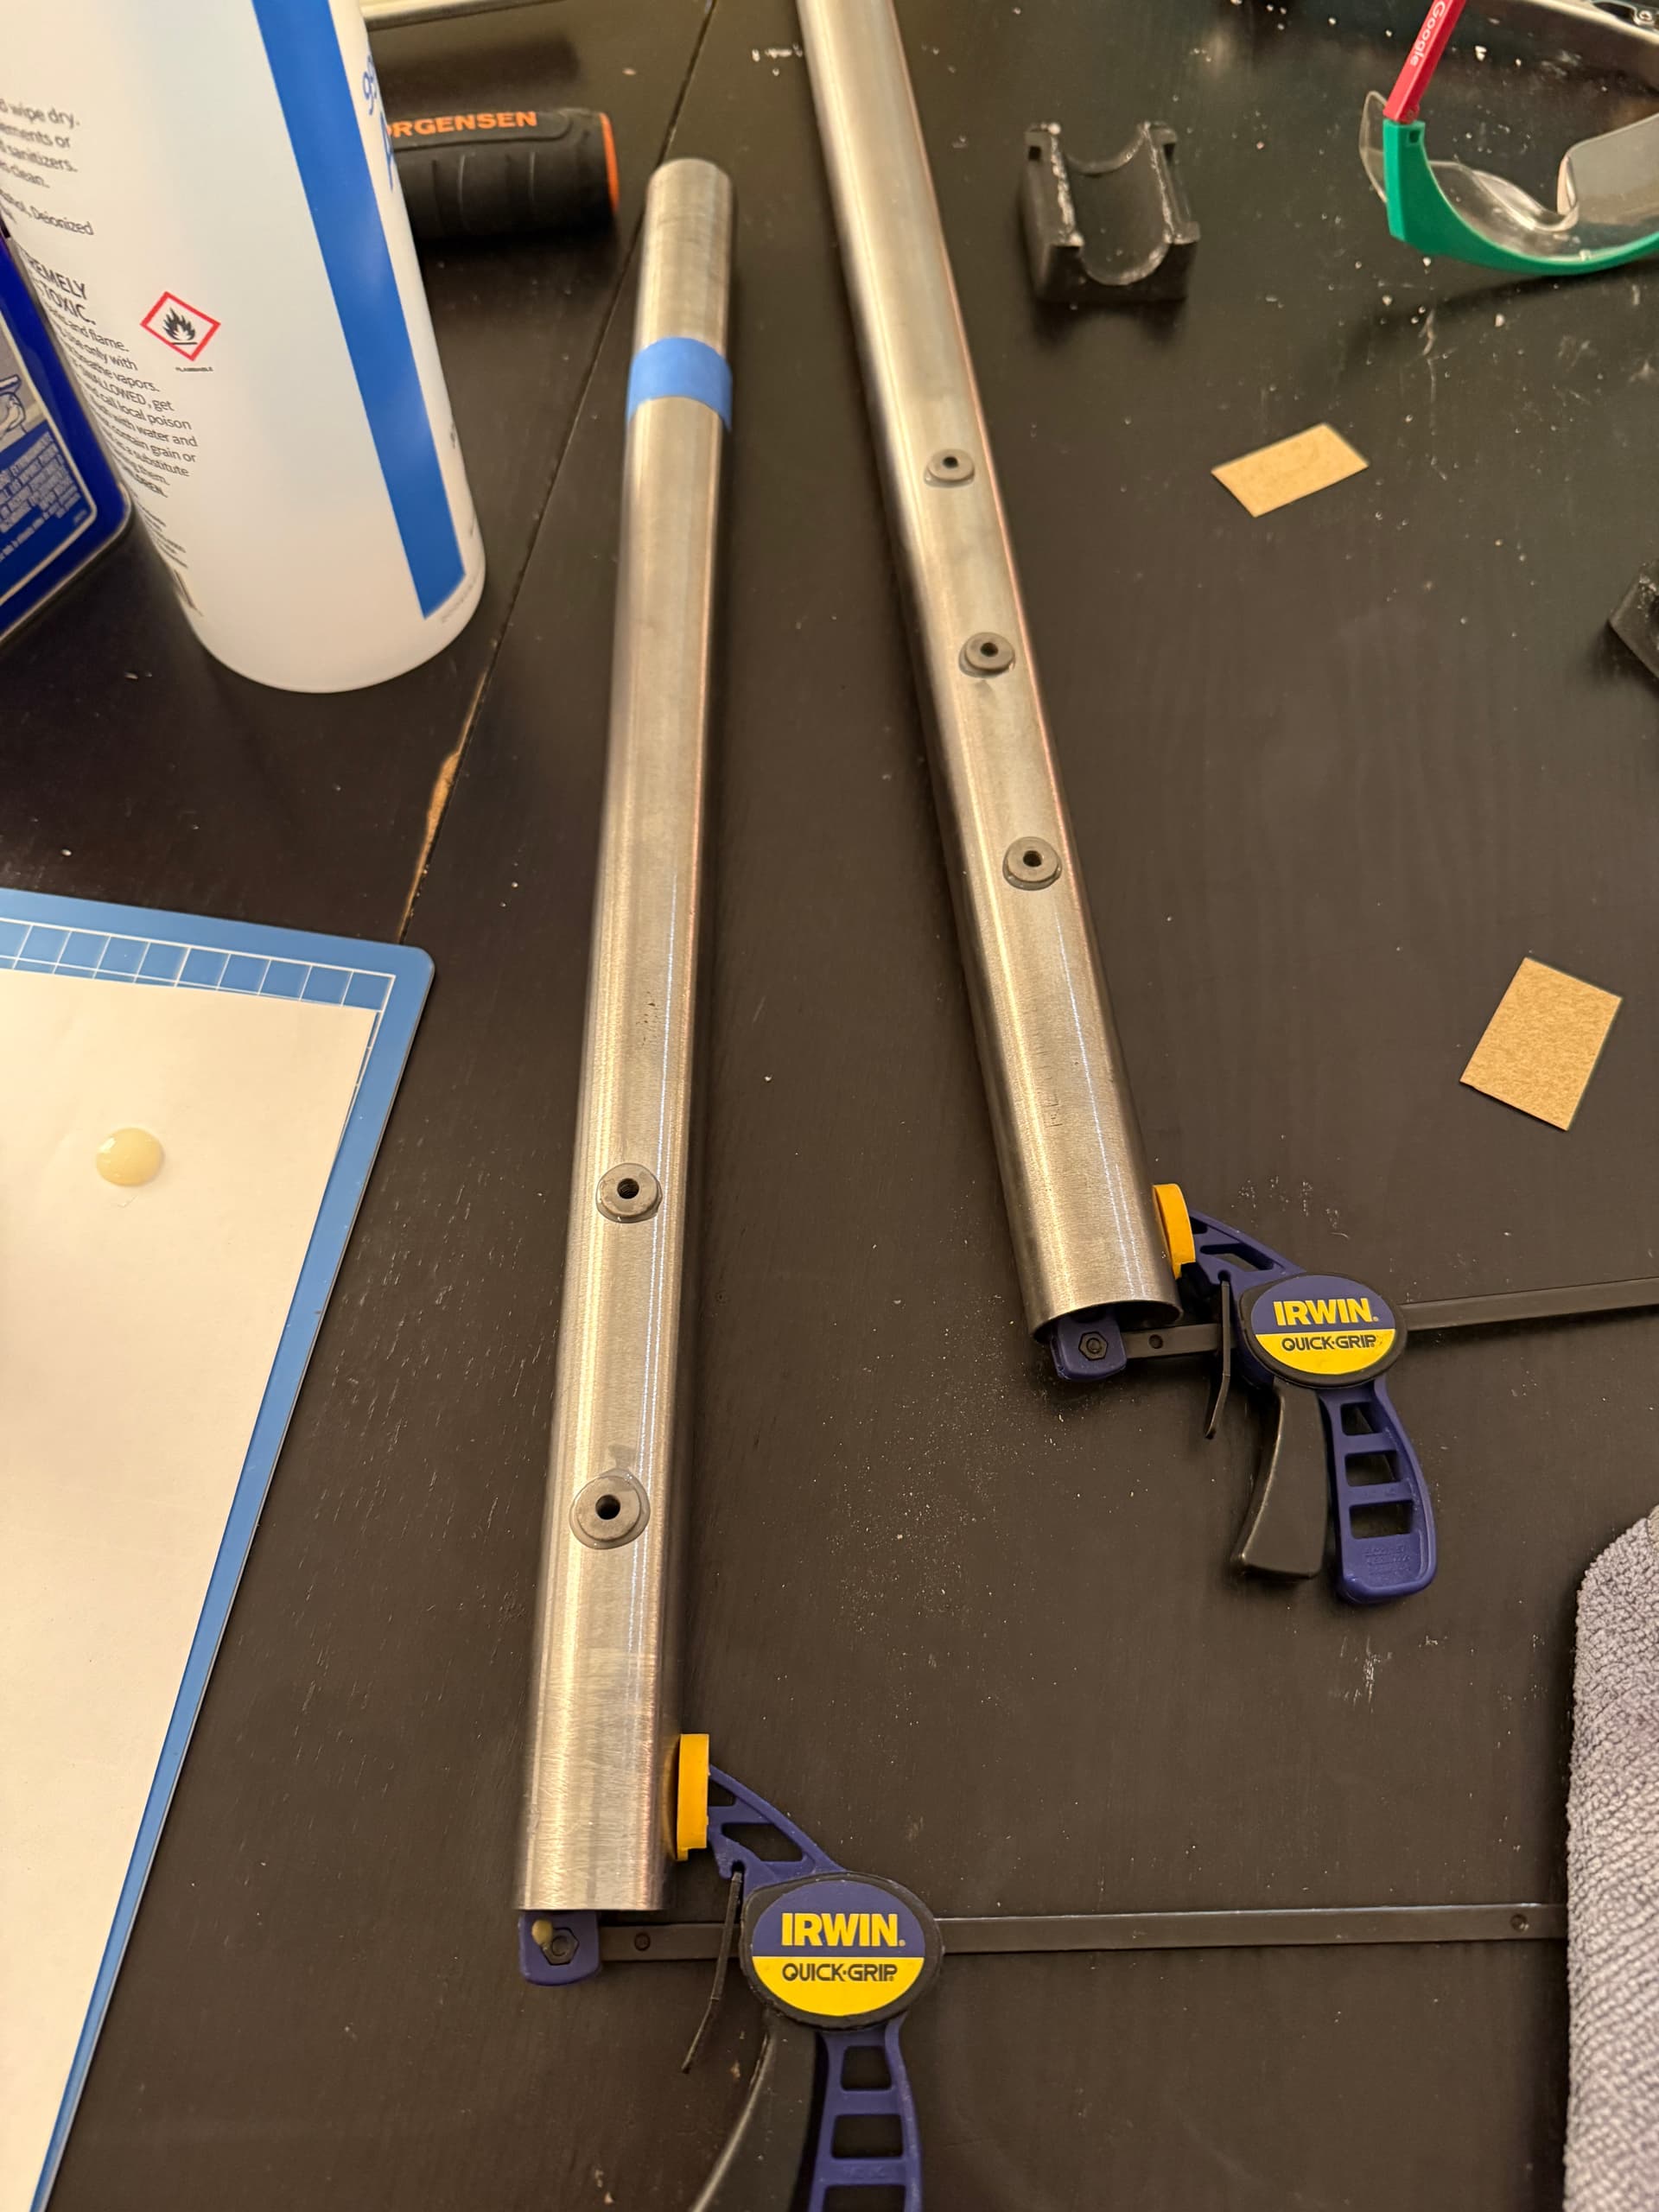
The gluing went ok. A little nerve racking but I did practice the assembly several times before to get the correct order. I cleaned all surfaces with acetone + alcohol + sanding + acetone + alcohol which took way longer than I expected. Praying that the glue job is sound.
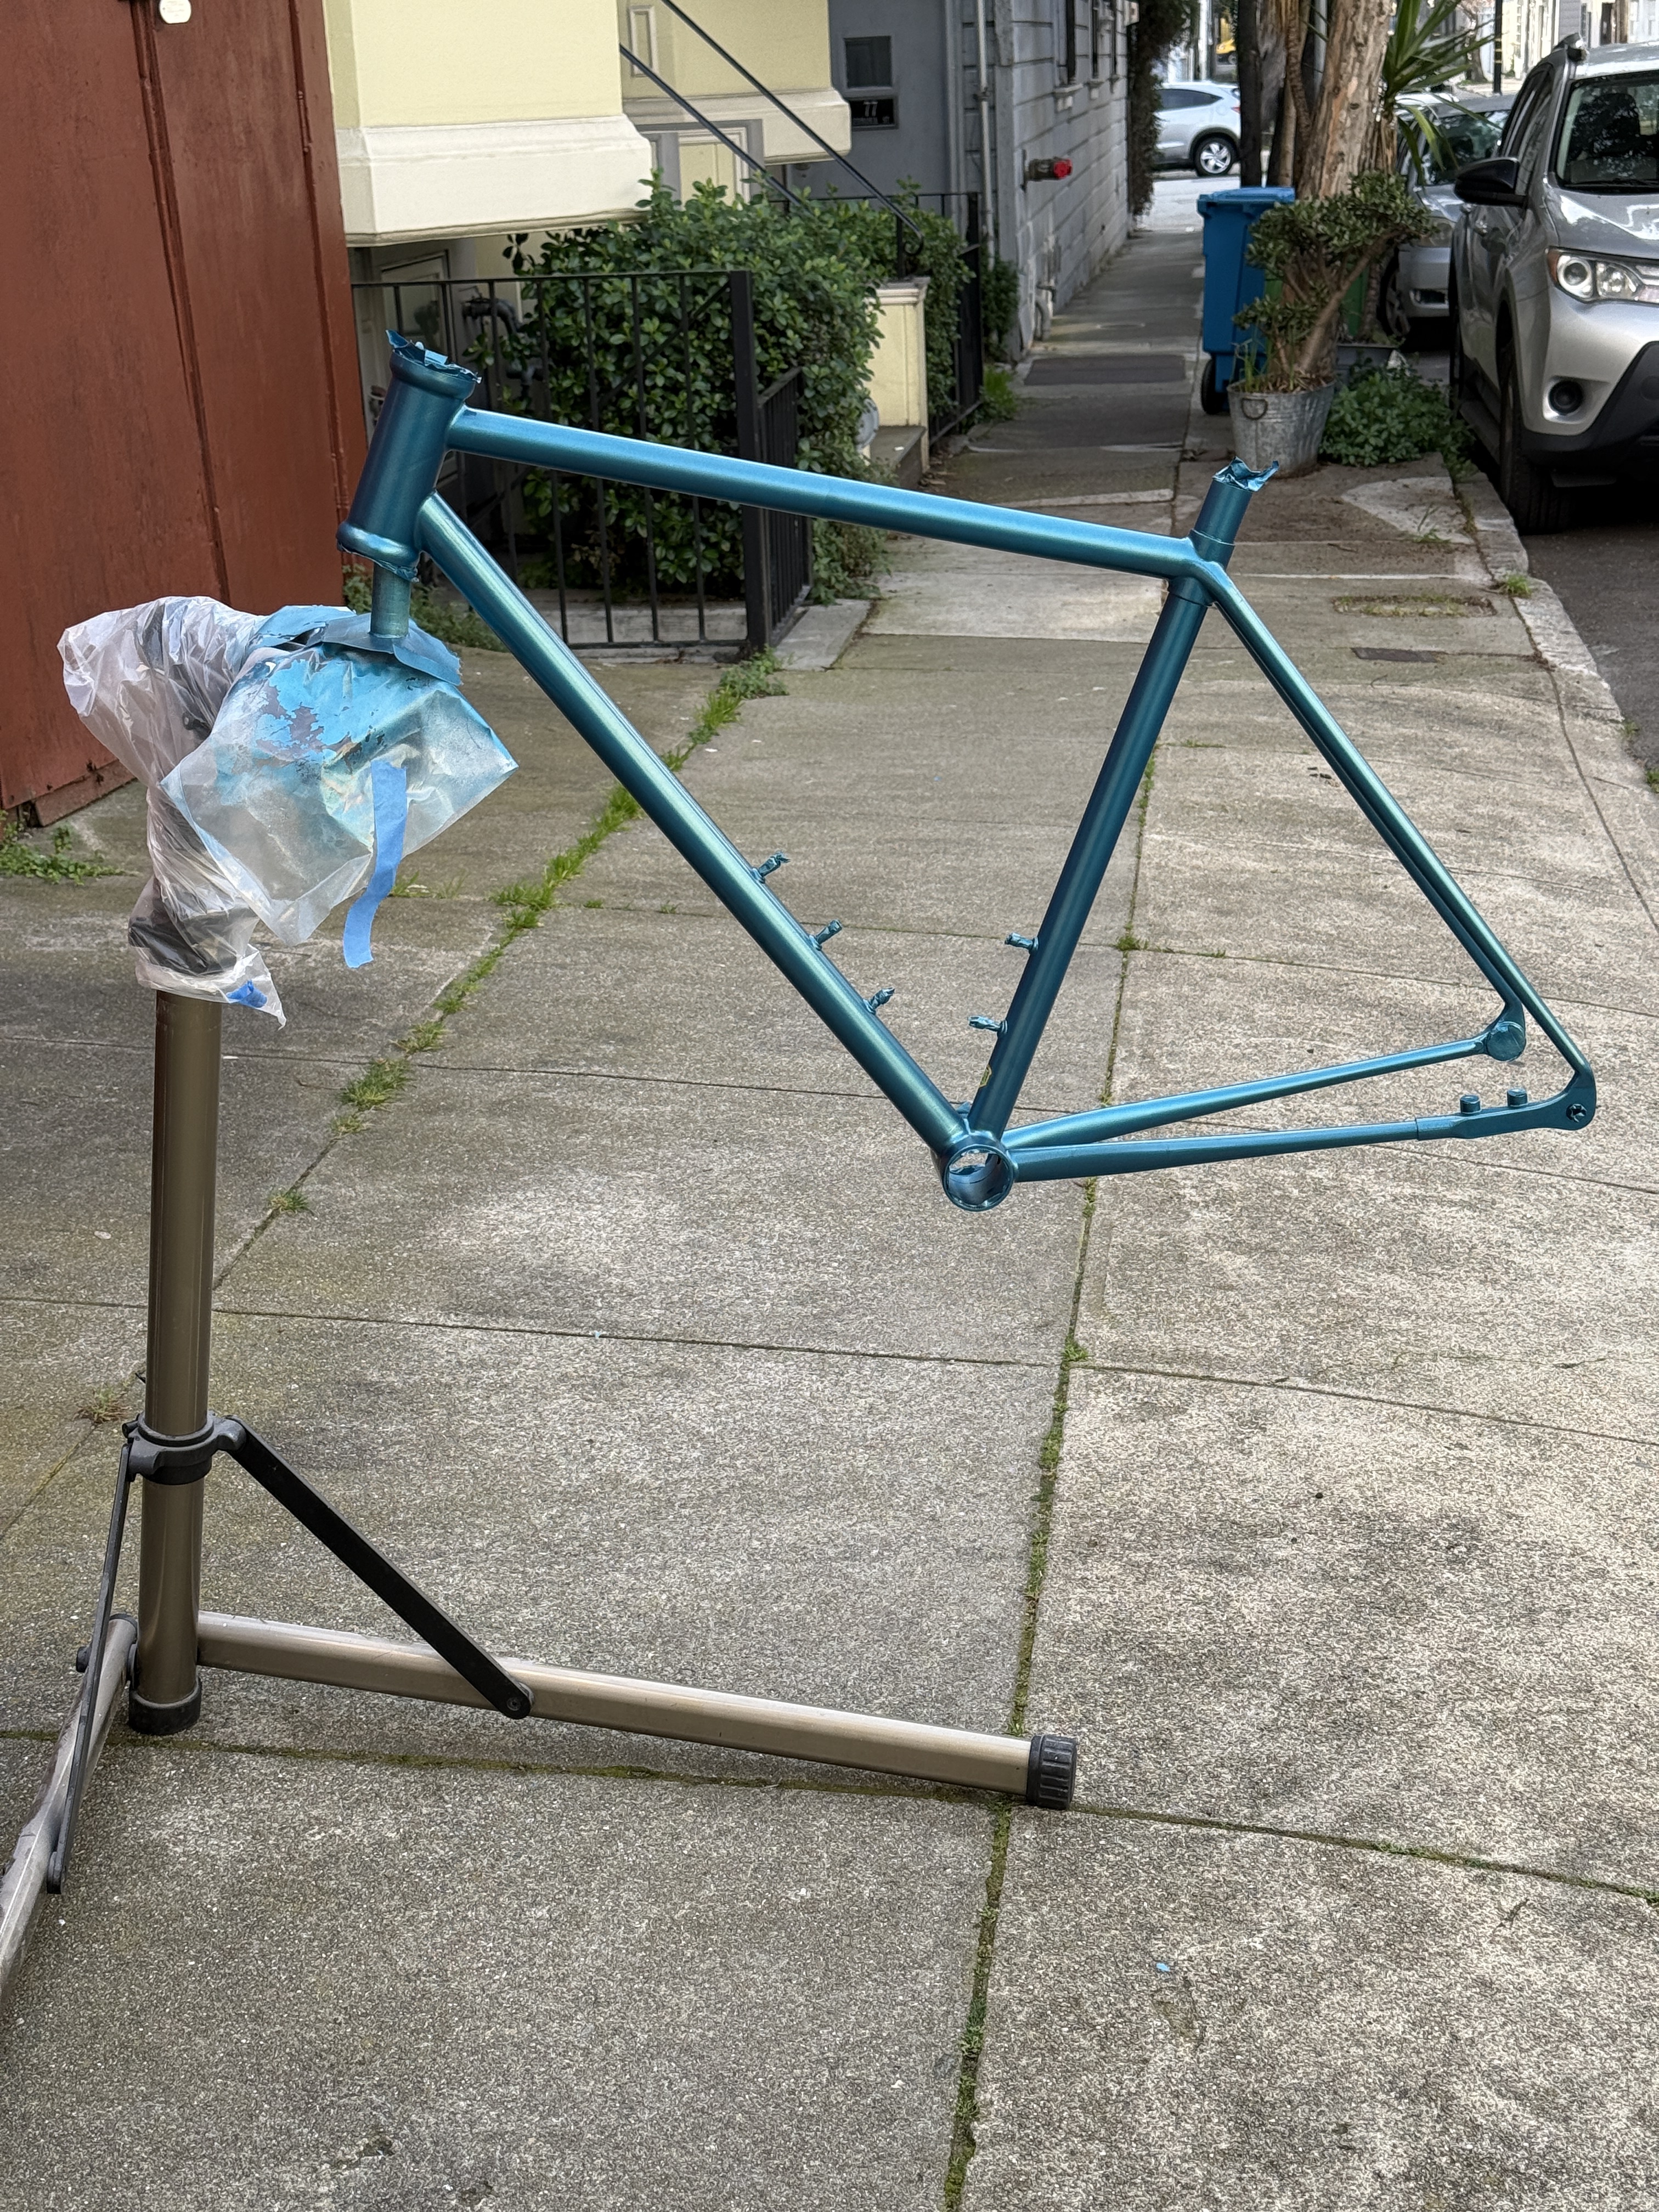
Last step is to paint. I’m planning on polishing the stainless steel so show off the odd construction. Definitely not doing that by hand and hope I don’t regret that. Just regular spray paint for the steel tubes.
4 Likes
Looks good! What kind of glue did you use?
I used 3M DP460NS. Maybe like 60-70% of a 50ml tube for the project?
2 Likes
Looks great, looking forward to hearing how it holds-up.
1 Like
Really cool, nice work. I hope this turns out to be one of those “it worked even better than I hoped” jobs, rather than a “well that sucked”. Having worked a little bit with bonded car parts (I made bits for the Lotus Elise about 20 years ago, that has a bonded aluminium chassis), I can attest it is labour-intensive and stinky, but is very effective when done right. Looking forward to seeing it painted and being ridden.
3 Likes
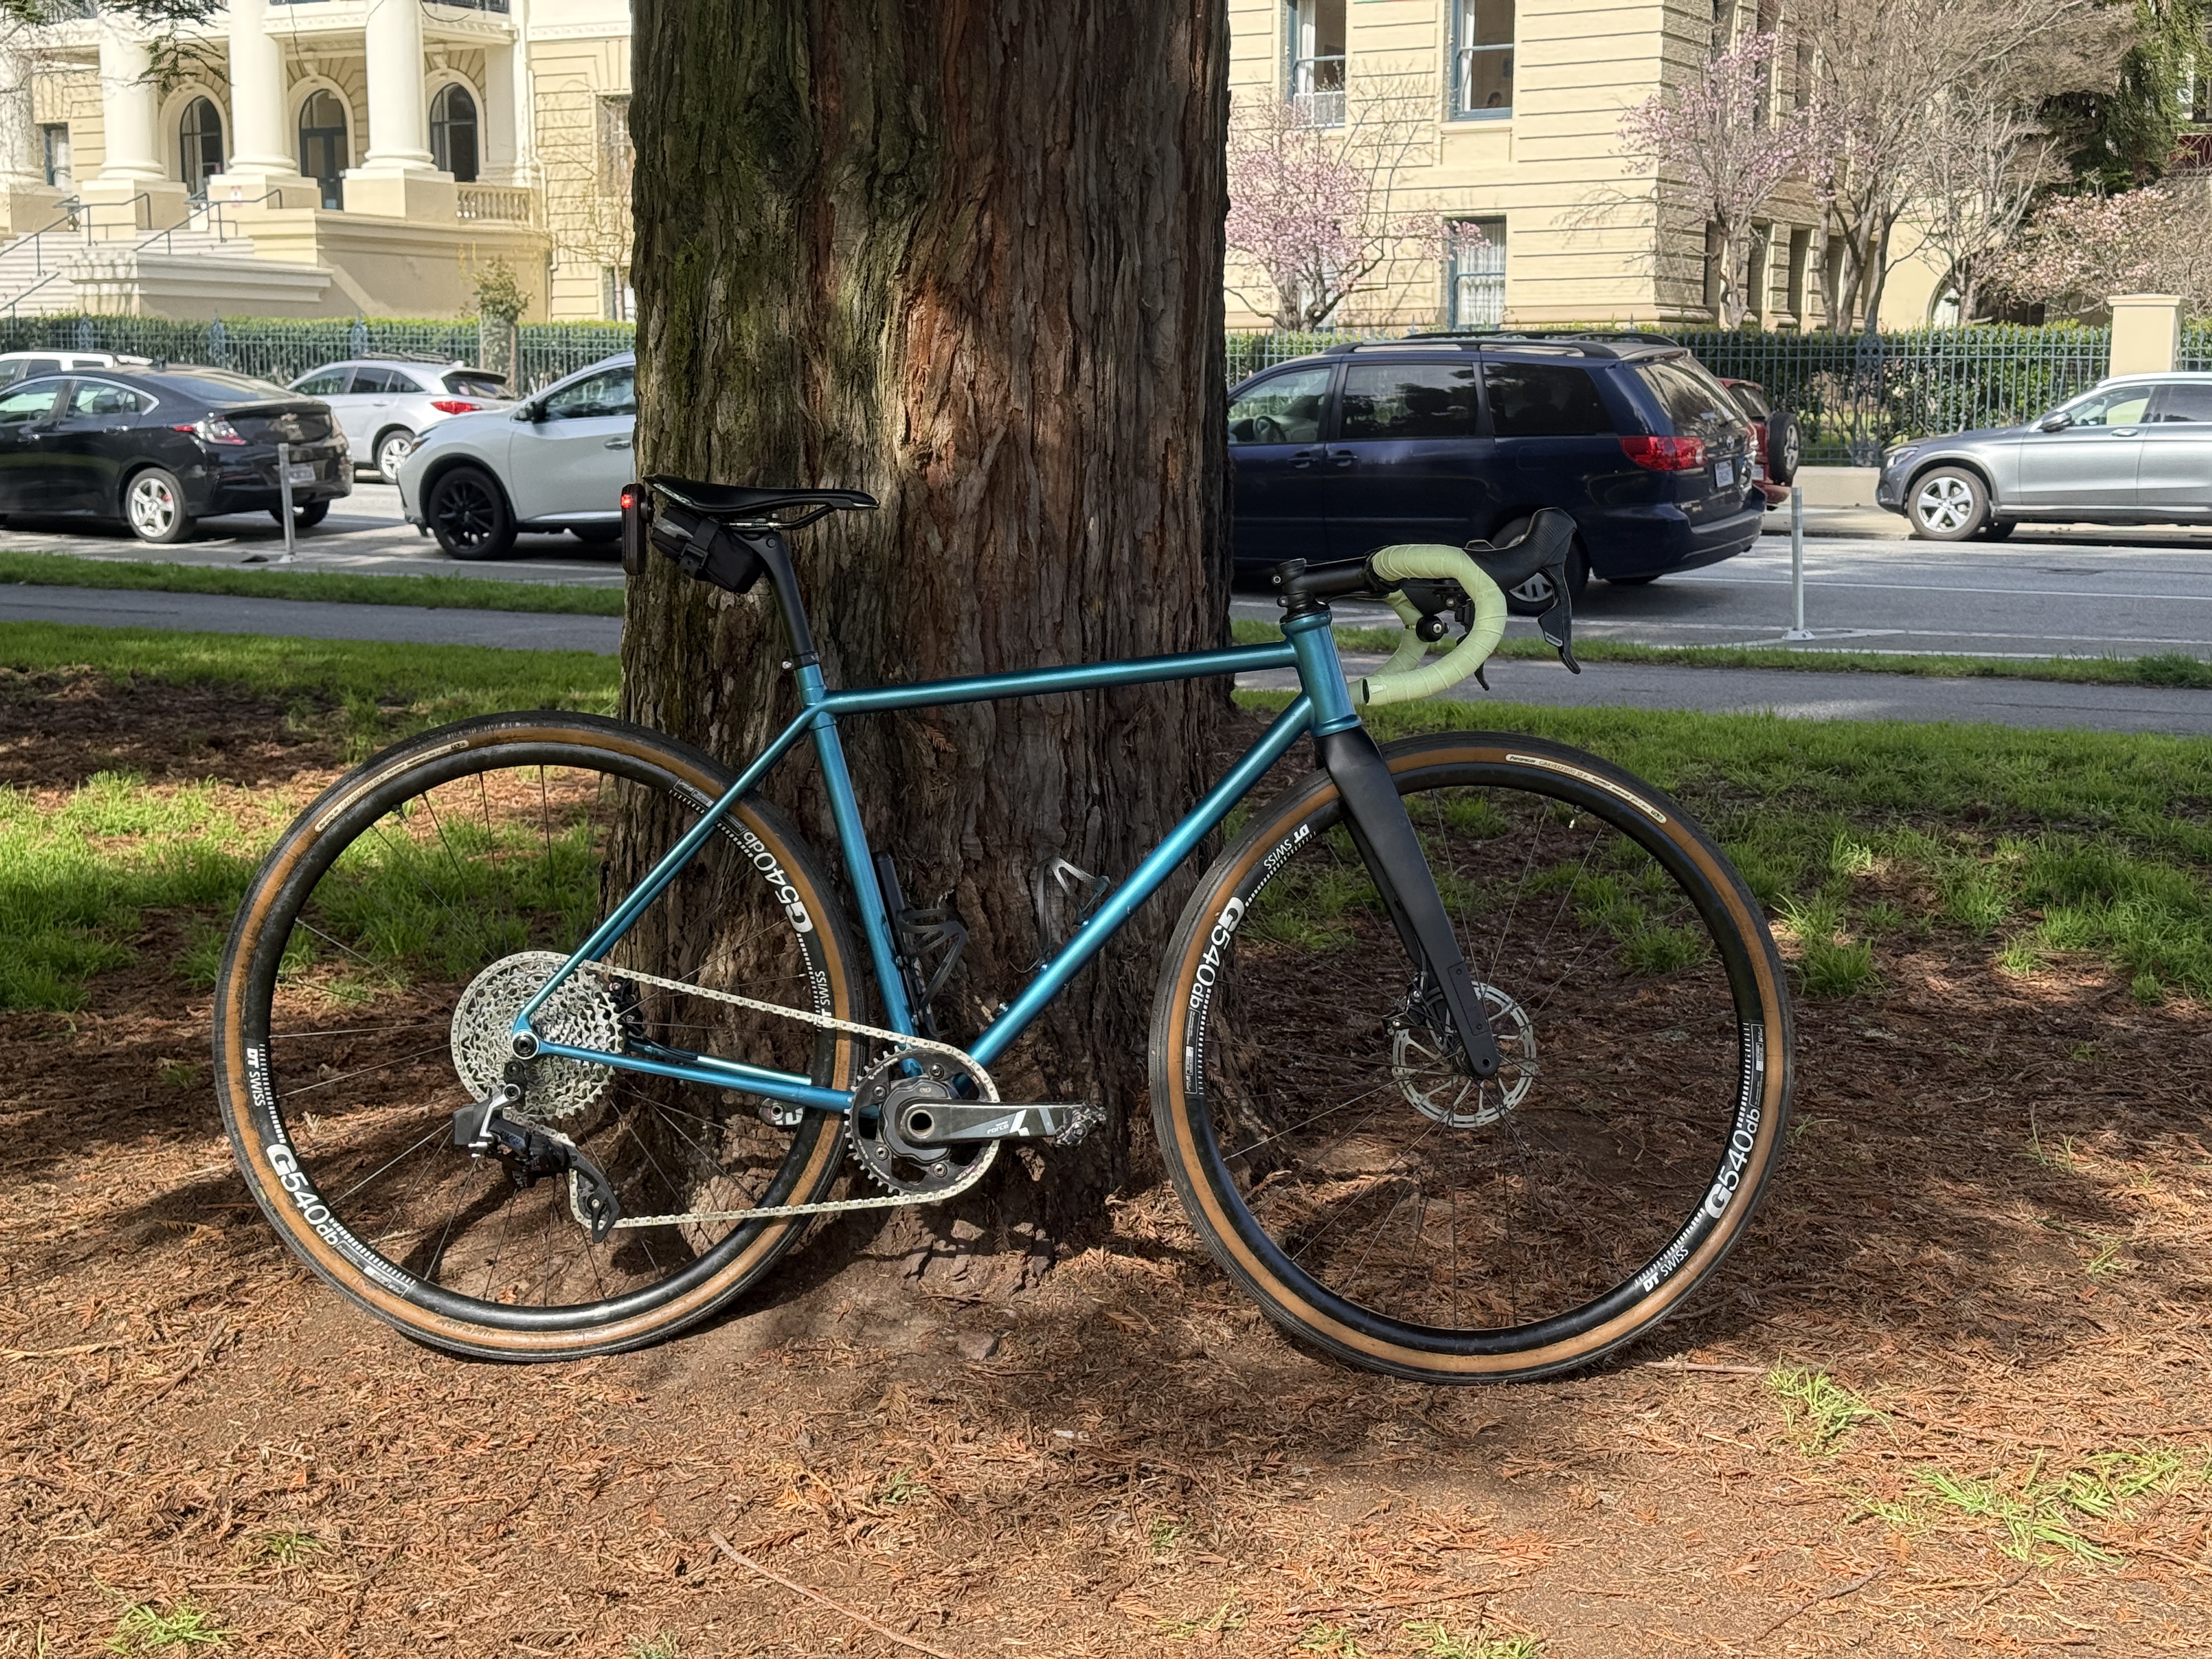
Well here it is! Mostly built from parts I had laying around.
Some photos from first real ride today:
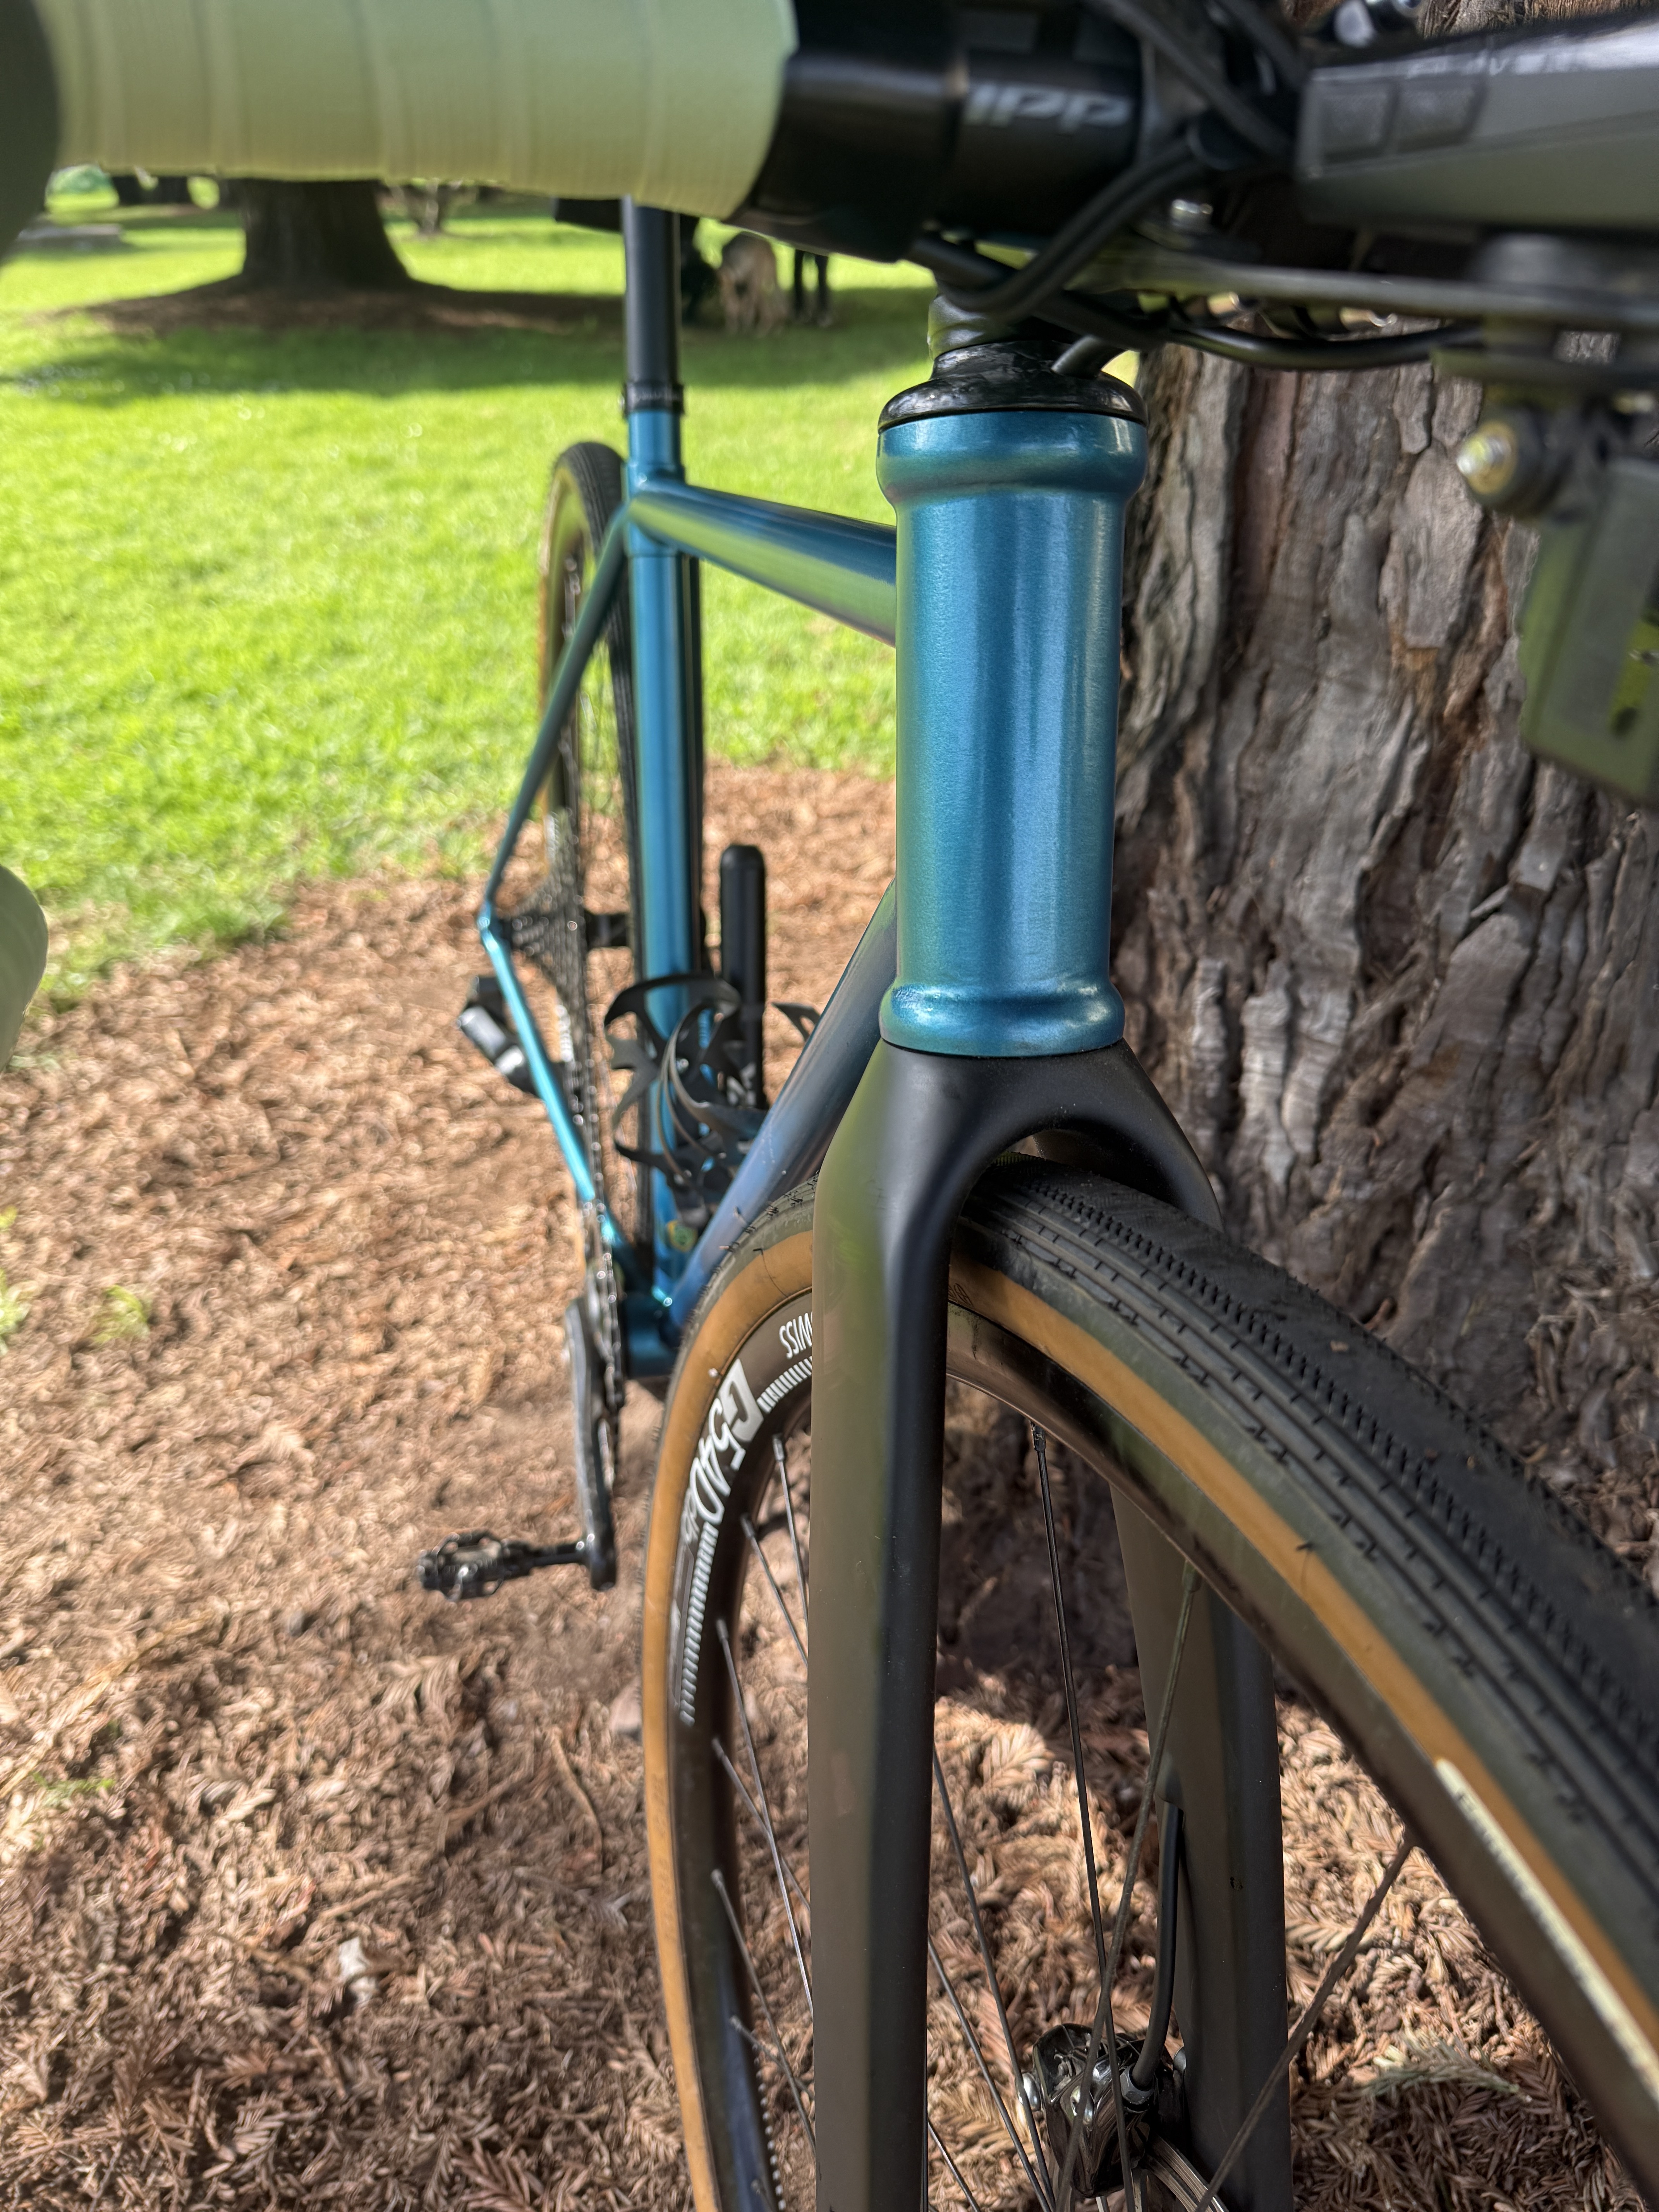
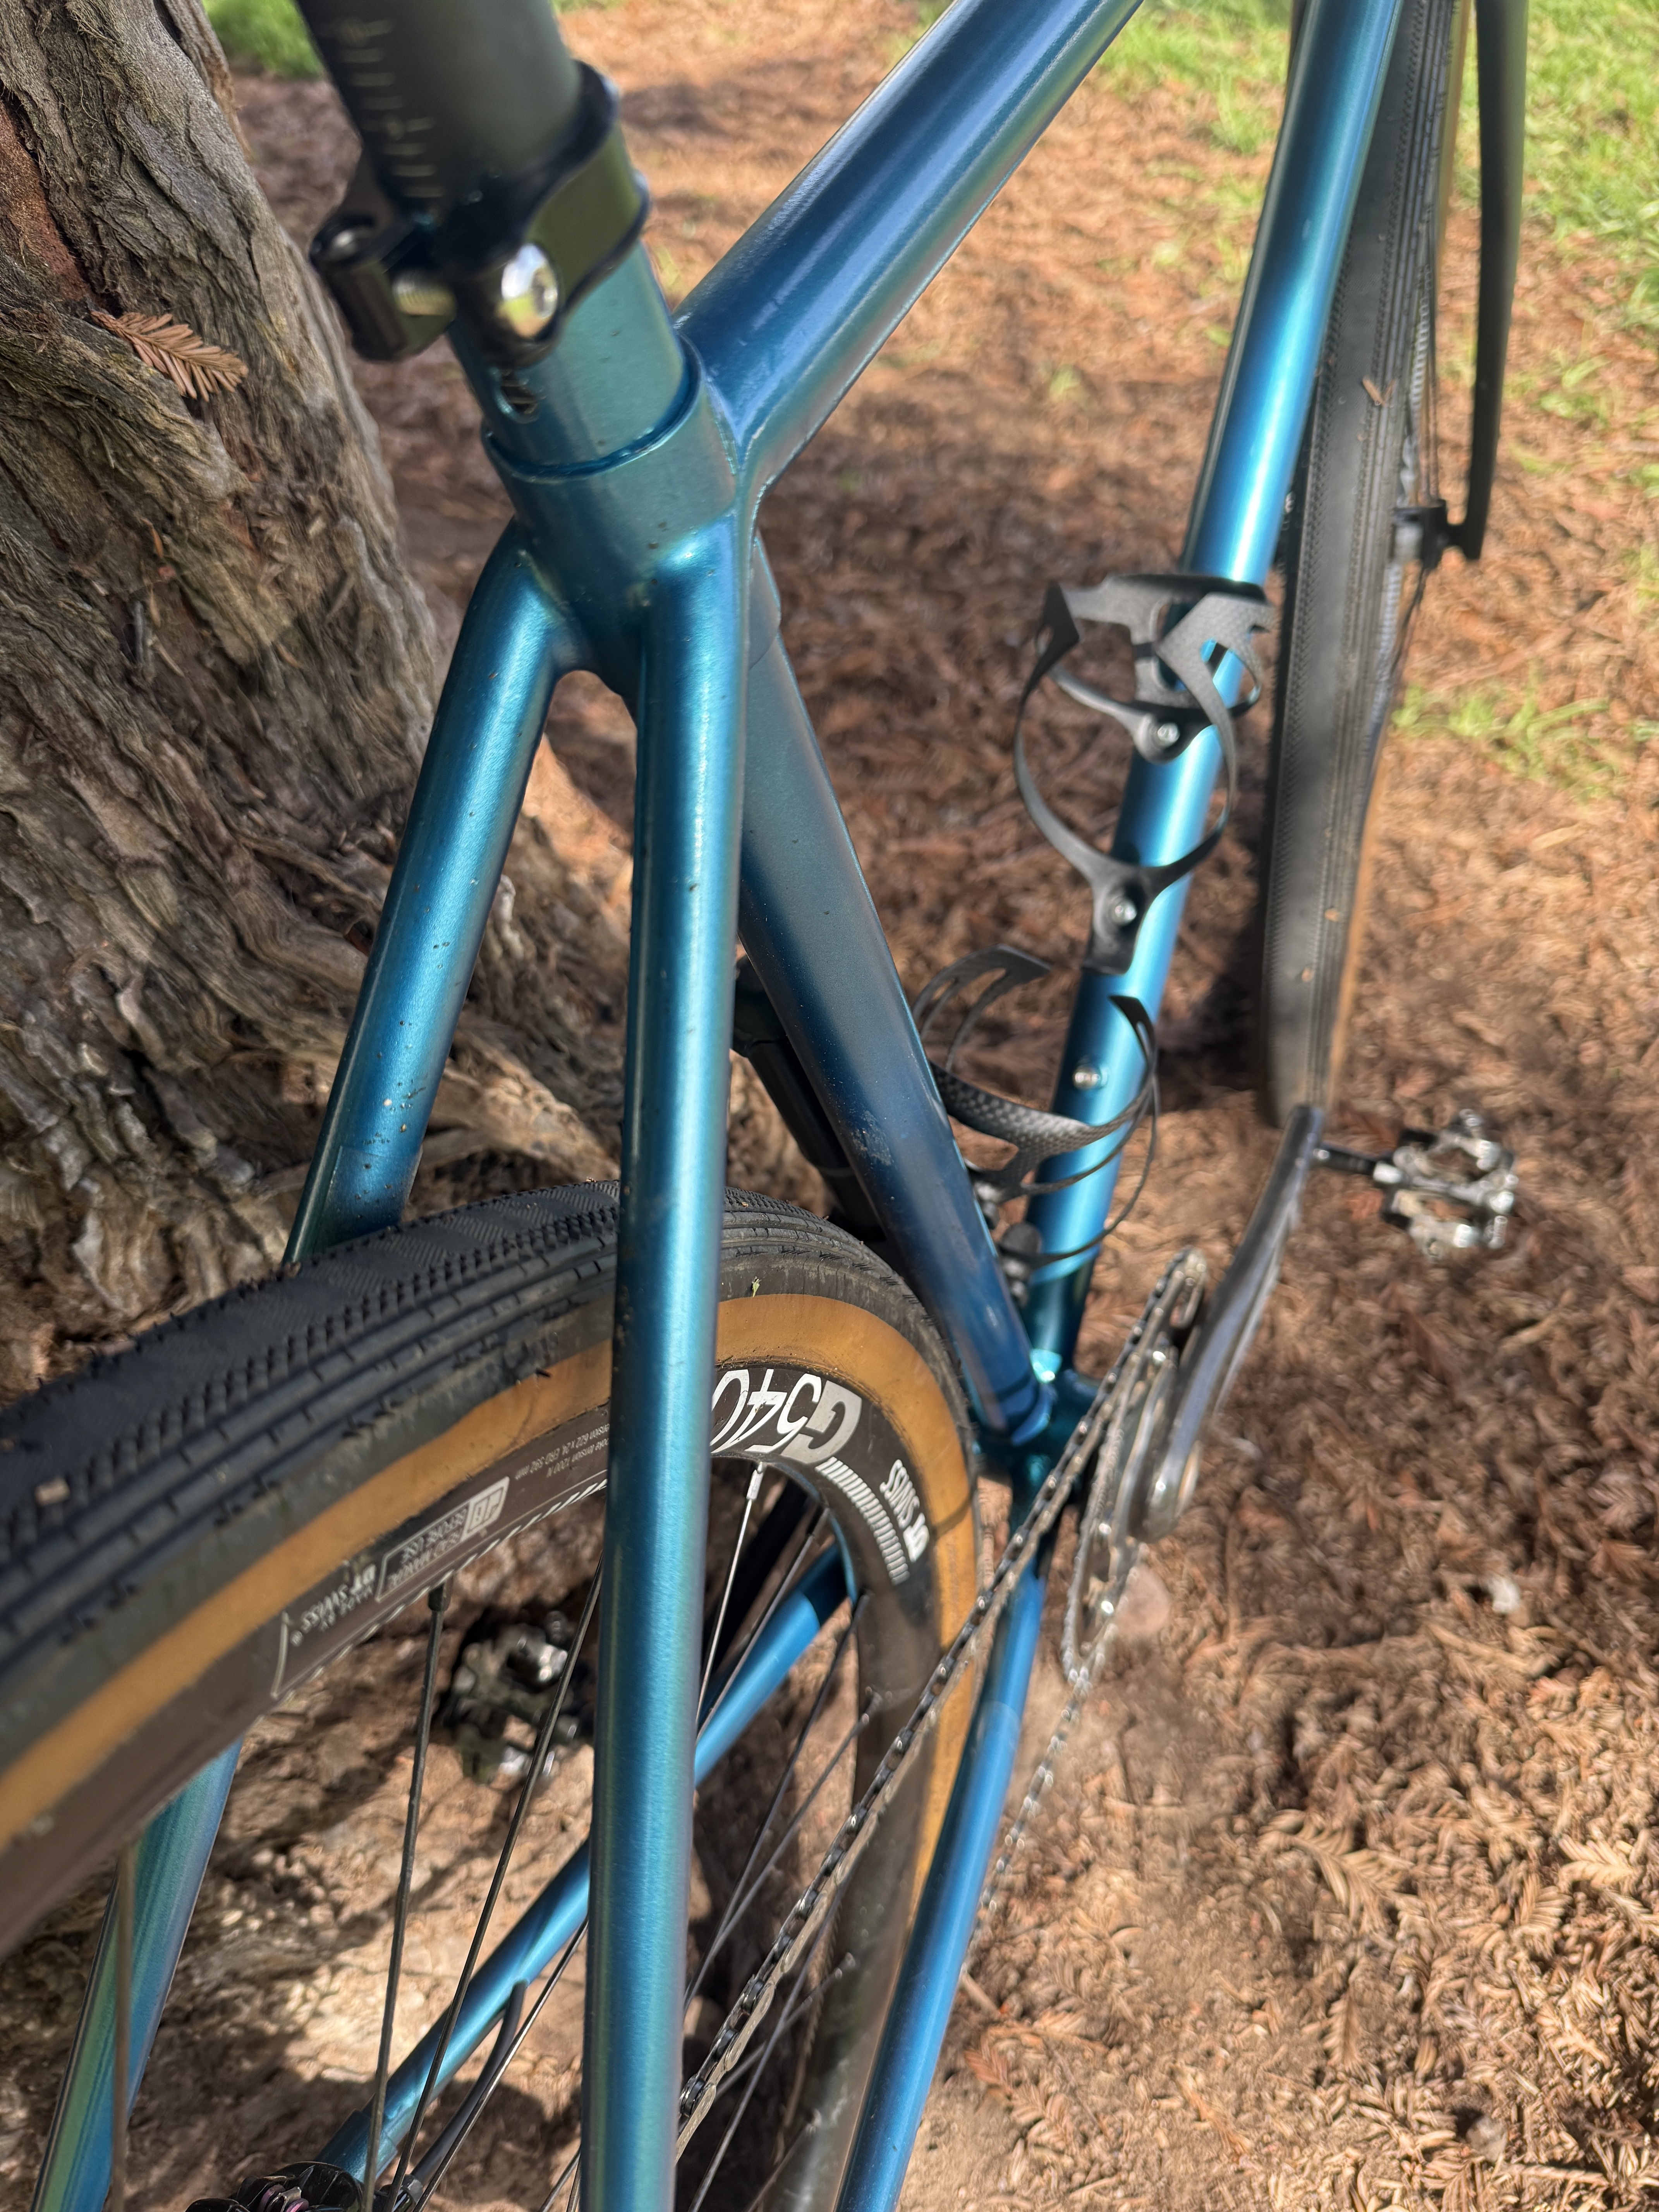

Some thoughts:
- 22.5lb with cages, mounts and pedals. Definitely on the heavy side with those stainless steel 3D printed parts. The tubes are 631. Feels solid.
- Maybe feels too solid. Its fairly stiff and unforgiving. I think the design at the bottom bracket/ chainstay connection where I extended the 3D printed part contributed to that. Needed it for tire clearance with the straight chainstay tubes. My regular bike, Aspero with ~44mm measured Caracal tires, is way smoother and mutes the road more. This bike has Gravelking SS 38mm which might also contribute to the feel.
- First time spraying painting so was surprised how good it looks. There are some small issues like runs and joins not sanded perfectly smooth if you look closely. Also masked the udh dropout wrong so some stainless steel is poking out. I didn’t end up polishing the stainless steel because it was too much work. The 3D print part has some texture on it in some parts (maybe from supports?) Small enough to fill with paint but obvious if raw. I did Montana Gold for base, color and clear (varnish). Fragile finish, already nicked it with a hex key building it up

- Made the carbon headset top cap for internal routing and a little bling
Changes I would make:
- Kind of wish I went with more clearance but I was limited by the fork which I already had
- Get some 2k clearcoat and someone who has the equipment to spray it
- Extend the front center even more to get less toe overlap. Its not bad, like a standard small road bike but I’m too used to no overlap on my other bikes
Overall, quite happy with it! Really glad that it rides, all the parts fits and hasn’t exploded/cracked. I don’t know how I feel about using this building method again. 3D printing the parts are costly and heavy. Maybe I’ll try to find a place to learn brazing!
6 Likes
Well done it looks great!
As for stiffness, what diameter tubes did you use? I usually go with 1” TT and 1 1/8” DT (for a bit of a “classic” feel which probably doesn’t suit younger riders used to more stiffness these days).
You can get 2K clear in a can (the brand I use is SprayMax). Quite pricey but gives a very good finish and one which is actually reasonably durable if you give it long enough. It takes probably weeks to get full strength. Nobody wants to wait that long so ride carefully and avoid gravel to begin with.
As for nicking the paint when building it up we’ve all done it ![]()
3 Likes
+1 for spraymax 2K clear in a can. It’s my go to, decently durable and you can get a really good super high gloss finish when sprayed right. From personal experience “sprayed right" means holding the can a little closer than the instructions state, but quick and smooth movements so it doesn’t run.
3 Likes
I used 28.6 for TT and 31.8 for DT so sounds like I went up 1 size in tubes.
Yeah, I did see the spraymax 2K clear in a can but also read the health warnings and felt that my current half mask and filters probably wasn’t fit for the job ![]()
1 Like
Yes only use it outdoors. I wear a mask but also just hold my breath. Spray it for a minute or two, and then walk upwind to get a bit more air ![]()
1 Like
That’s fair. I use it with a 3M 6000 mask, cover myself from head to toe and spray in my basement which has an extraction fan. (originally for moisture problems but I put a cloth filter over it to use it to suck out the paint fumes)
1 Like
The only problem with spraying it outdoors (depending on the time of year) is bugs getting stuck in the paint ![]() Somehow they can’t resist the toxic smell of death.
Somehow they can’t resist the toxic smell of death.
2 Likes