That reminds me that I need some new files. My miters take forever at the moment.
3 Likes
I thought about one more thing in relation to this:
I’ve used paper templates a fair bit, and the key is to make sure the printer outputs the template in the right scale. I also always wrapped the paper around the tube and left it there - I’ve never used it as a guide to paint a sharpie line. Way more accurate that way. Once the paper has been wrapped around the tube and the notch placed in phase and at the correct location, I’d just stick it down with some masking tape.
Back when The Bicycle Academy was running, I believe they took it a step further and had their templates cut out on a vinyl plotter. That way, the students could wrap the template around the tube and not worry about the paper sliding or shifting.
5 Likes
I’ve used paper templates a fair bit, and the key is to make sure the printer outputs the template in the right scale.
The way to tell whether it has is whether the template wraps around the tube perfectly without overlapping or a gap. But it can be tricky on tapered tubes like seat-stays.
1 Like
In case you want to keep using 3D printed templates, I have one tip for improving those.
On your picture, the top surface is a horizontal extension of the inner edge, which means while your inner edge will follow the edge of your miter, the top surface of your miter template doesn’t follow the miter.
A quick visualisation:
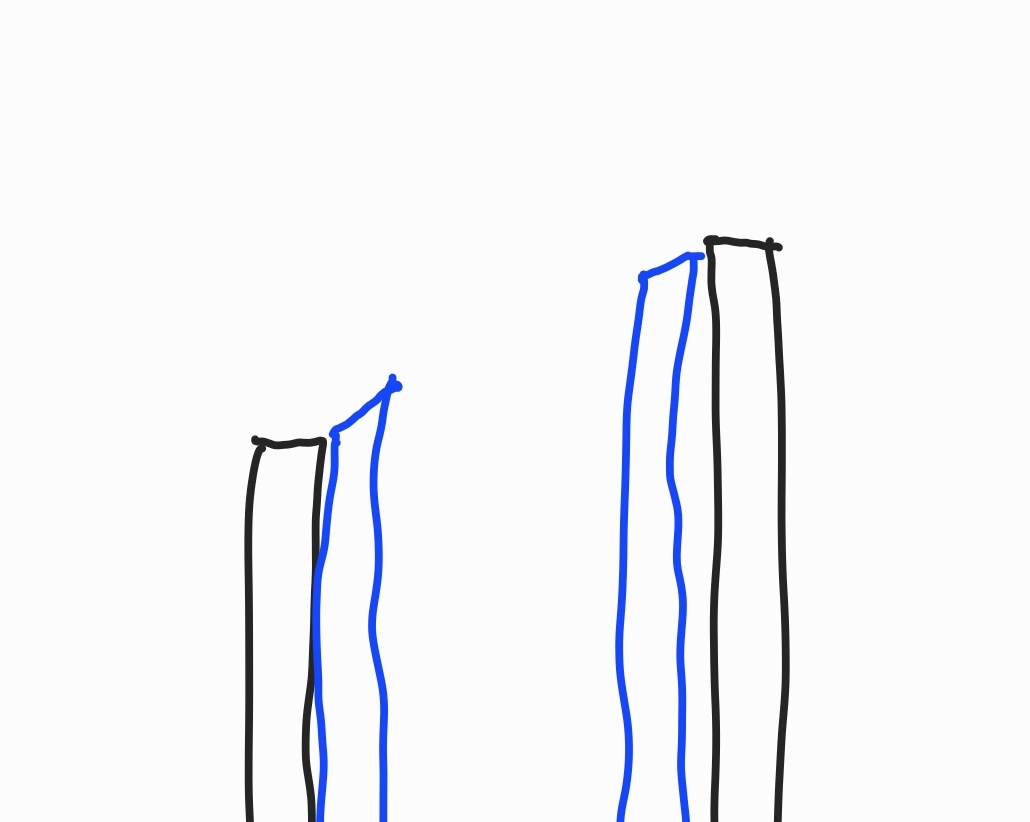
Blue is your tube and black is the 3D template. I think it’ll be easier to make better miters if your template is a continuation of the end surface of your tube, you can model this easily by modelling the miter template as a tube and then cutting away the end of it with the size tube you’re going to fit up to it.
2 Likes