How do you guys measure bent stays? I don’t have a fixture for this (I know some folks do) but I got these BMX 20 degree bent stays from bikefab that I wanted to cut notch and slot for my frame. What’s the measurement process here since both sides need to be cut and the distance from either side matters. With the frame tubes I could arbitrarily notch one side and then accurately measure the next cut along the tube - can’t really do that accurately with the stays due to the bend. Do you always measure cuts from the edges or is there a trick I don’t know about?
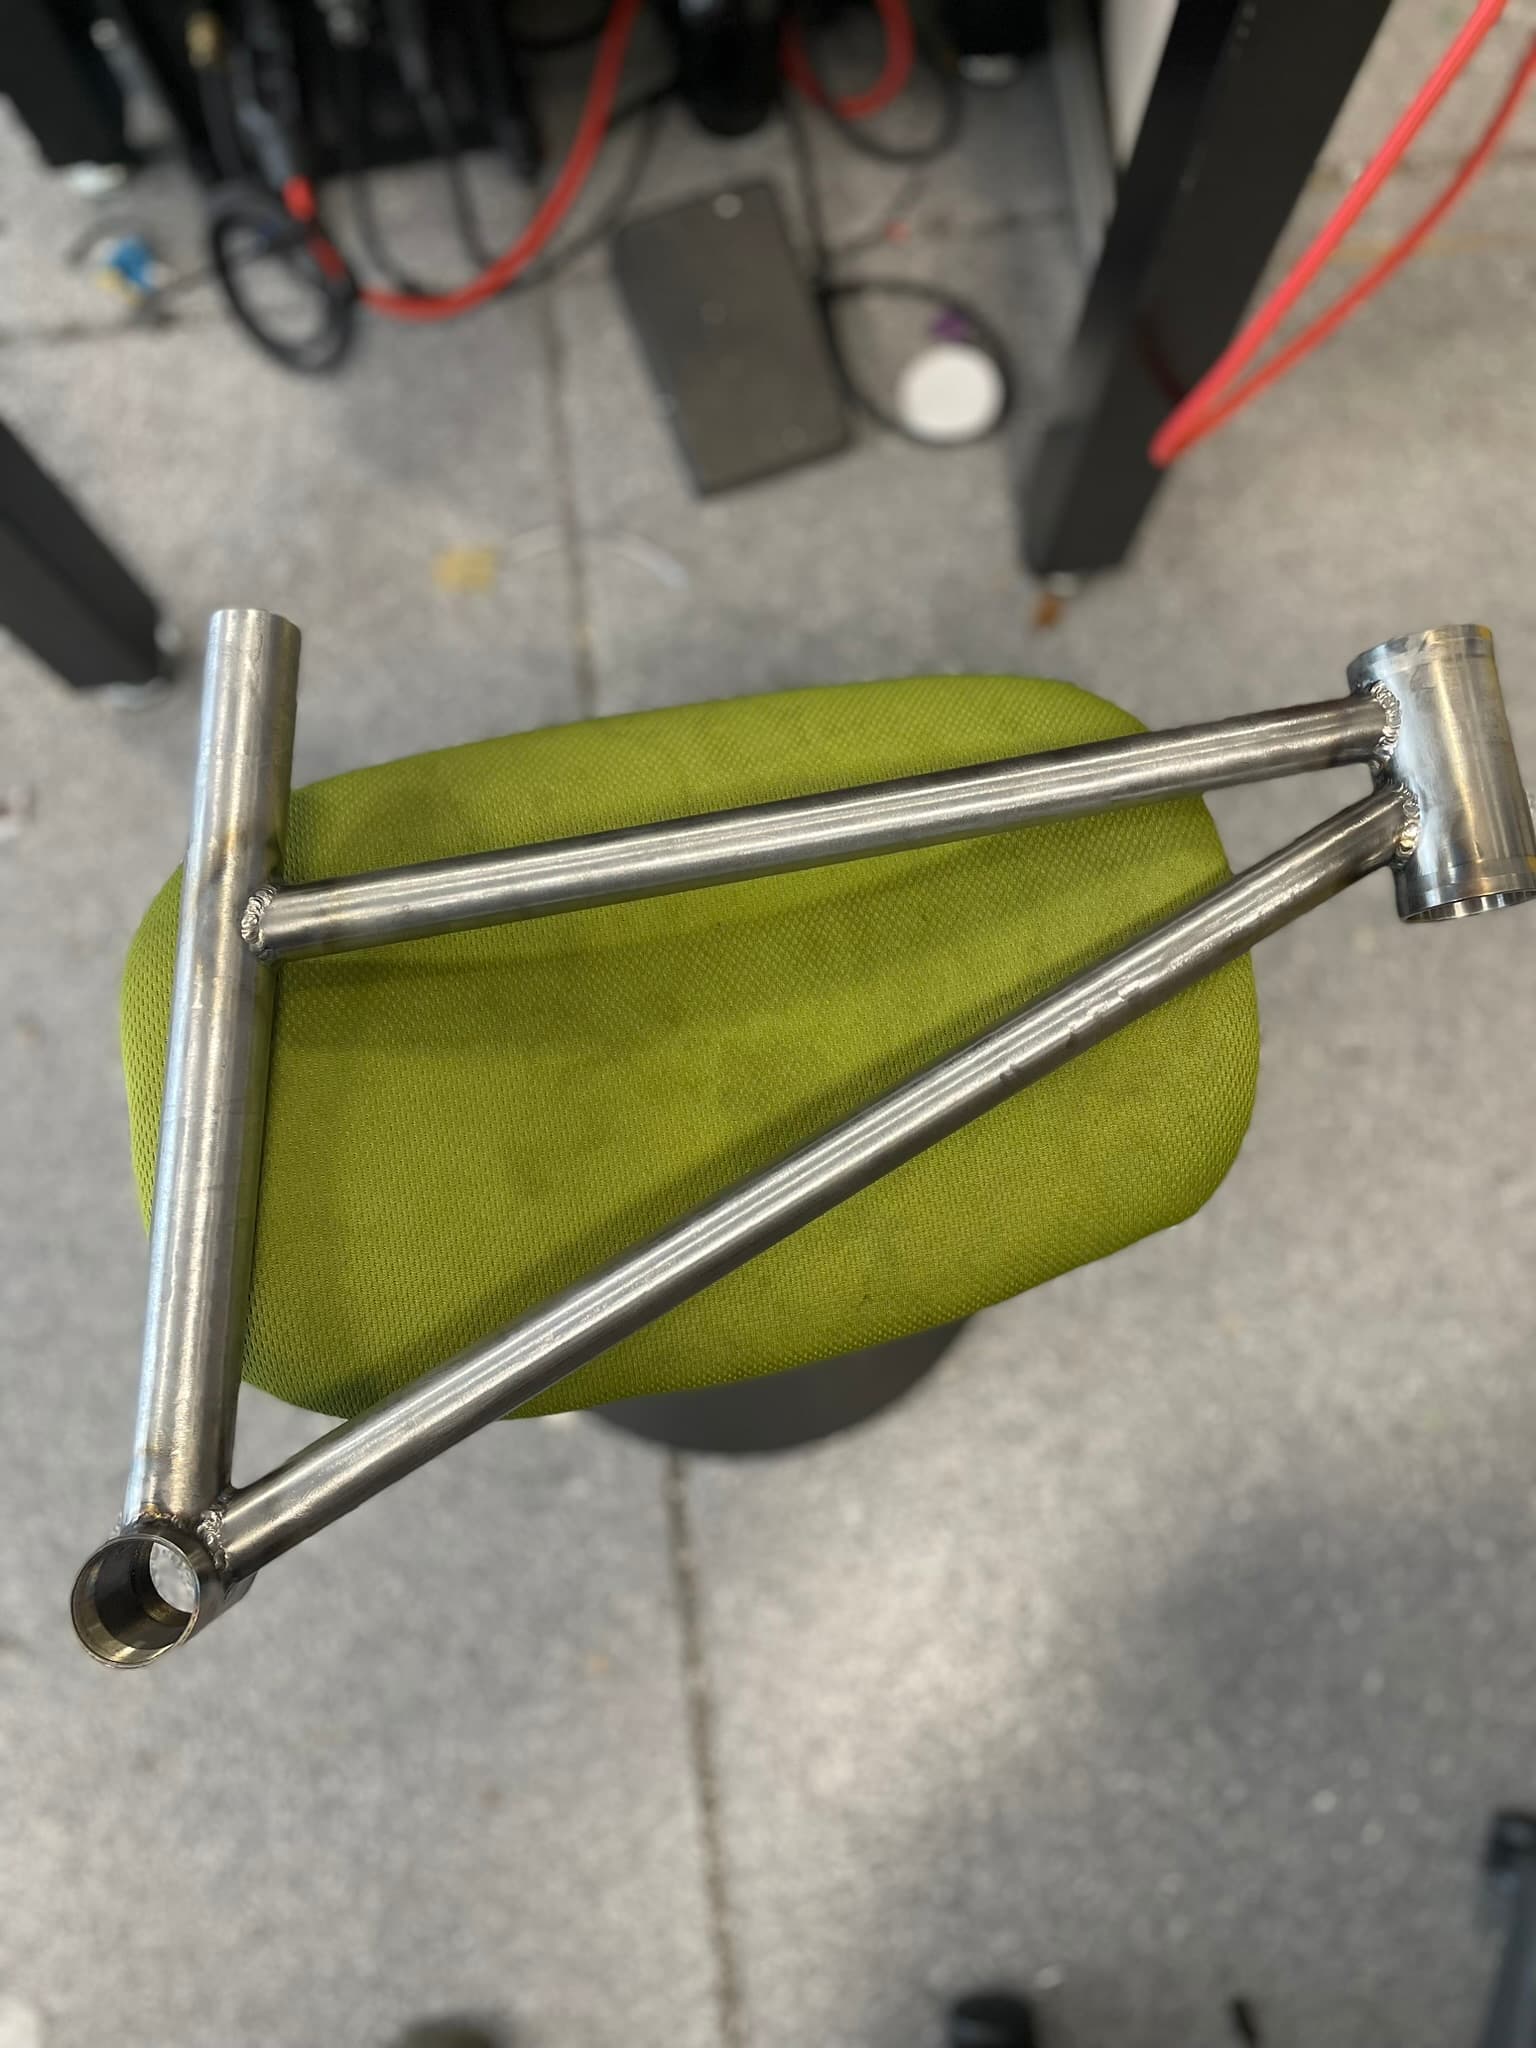
Kids bike is coming along. Got the front triangle all welded up:
I do have a fixture for this, which helps, but it isn’t strictly necessary.
My process is to notch the back of the chain stays first, then braze the dropouts to the stays. You should know the angle for this joint, and you can attach the dropouts to the rear wheel or to a rear hub to measure clearance before attaching to the bottom bracket.
This is one of my first steps in building a frame actually - the chain stays to dropouts and seat tube to bottom bracket happen first.
Once the stays are attached to the dropouts, I measure the stays from the centerline of the rear axle. My fixture makes this easy, but I would think you could sort this out without a fixture, as long as you have the dropouts mounted to a wheel or something.
Next, I would braze the chain stays to the bottom bracket. Then manually file the seat stays until they fit the way you want.
I draw the chainstay/dropout/bb assembly 1:1 on paper, as viewed from the top (angles, mitering distance) and side (bb drop). You could fashion some sort of one-time fixture out of whatever you have. If you don’t have dummy axles then at least space the chain stays ~2-3mm wider than you want the spacing to end up, using threaded rod and nuts. Attach dropouts to chainstays first, then chainstays to BB.
For BMX bike with slotted dropouts, the length of chainstays doesn’t have to be super precise. You’ll have slots to adjust the wheel straight. This is how the old makers were able to get away with eyeballing alignment (see the YT videos documenting the Taylor brothers in UK). As we moved to vertical dropouts it became much more important although you could, and many high-end makers did, file the dropout to make up for a bit of misalignment. With through axle, equal length chainstays is pretty critical.
Once chainstays are attached as mentioned above, then carefully hand miter the seatstays so they fit tightly but don’t exert any pressure on either chainstay. This will cause left to right cant of the wheel that will be harder to correct. Tack and then verify alignment carefully. I find this to be the hardest part of a frame.
I believe I read on some forum somewhere that at least this one builder (i forget who) makes the chainstay/dropout/seatstay assembly first, then attach to the front triangle as a unit. I think there is some good logic in that but haven’t tried it.
Yeah at Davidson in the '80s-'90s we made “rear triangles” as we called them (though without the seat tube they’re not a triangle, just a uni-angle?) Usually shortened to just “rears”.
We attached them to the main triangle at the tacking stage, then brazed everything in one go.
I think this was commonplace in Italy and maybe Japan as well. For a long time we got our rear triangles for the production models made by Tange, came to us with the chainstays mitered for BB, and our logo’d seatstay tops already attached and cleaned up. They did a very clean job of the stay ends at the dropout too. That worked out great for us whil we were getting boxes of 50 pairs of rears per frame size per model, but eventually as steel frame sales decreased, we had to bring those steps back in-house. Bill made very good jigs and processes for brazing rear triangles, they required zero adjustment to fit them to the main triangle.
I was the guy who made all the one-off custom frames, so I wasn’t ever able to use the Tange-built subassemblies, but I still made rears that way. That’s definitely the stage where you want to get the rears polished and plated! Having just right and left rears, so much easier to polish, the platers really liked that. Just don’t dip them too deep, don’t want chrome where they braze to the BB shell or the brake bridge.
I used to use RattleCAD and that software outputs a PDF of the chainstay arrangement. I would then print the PDF in full size on multiple sheets, then tape the sheets together like a puzzle. My fixture allowed me to then use machinist squares to measure off of the lines to make sure the tubes were in the fixture in accordance with the drawing. Not that you can’t draw it by hand and not that this was really better than drawing by hand, but inputting the tube dimensions made it easier.
I did the same! I was able to just use math and cad to position the jig - but hole saw notches i couldn’t figure out a more mathematical way than just by sight. So I printed out views of the stays that helped me to do it somewhat accurately.