LETS GO
It actually works oh my word
Update: The doctors have banned me from riding until I get my wrist x-rayed, so bike related stuff has taken a back seat recently, work and uni prep have kept me fairly busy too.
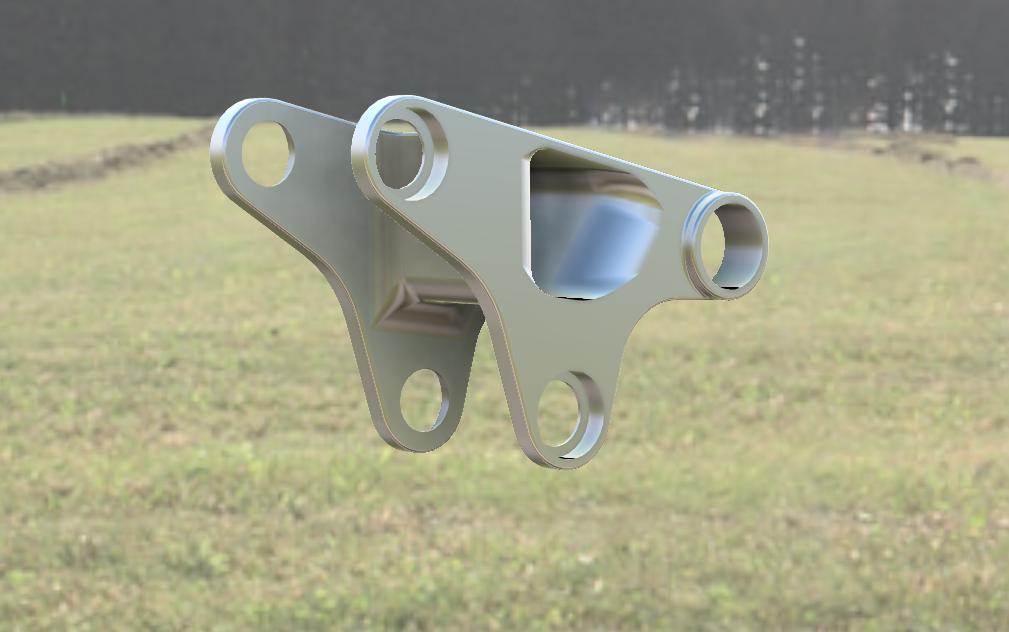
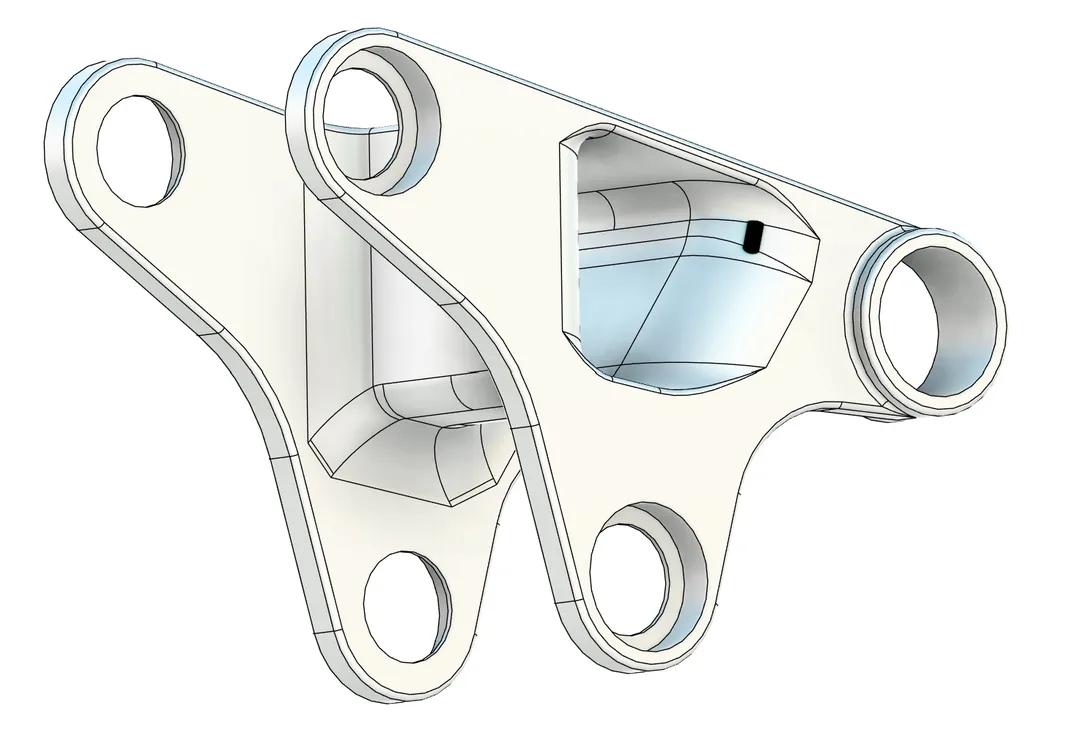
However, I’ve just gotten one of those fancy new laptops with the touch screen and stylus, and I wanted to test it out. The first thing I’ve made is a 1 piece rocker that’s slightly heavier than my old 3 piece design, but it’s much easier on the eye, uses no bolts and there’s way less room for alignment errors now.
Next steps are to build a proper chainstay yoke (without it, the UDH spec demands that my main pivot is asymmetrical, which hurts tyre clearance) and update my seatstay-rocker joints to match the oval gauge tubing I will be using. I move in to my uni room on the 13th, but I’ll try to get another update posted before October, hopefully it should involve a considerable amount of 3D printing.
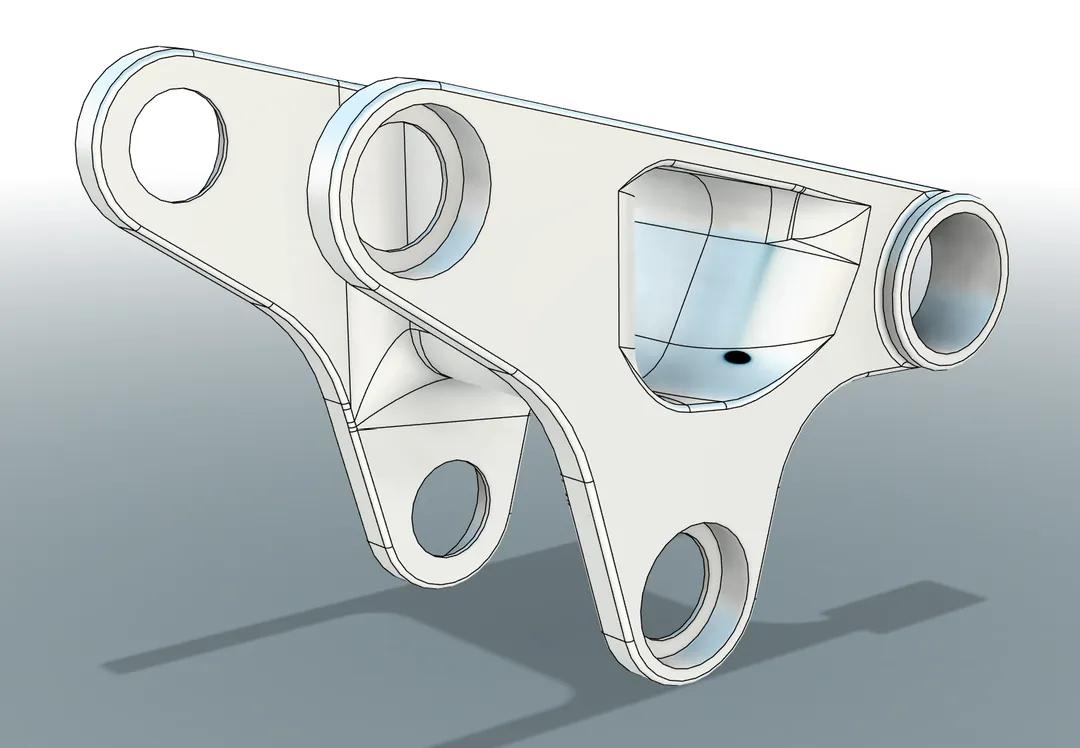
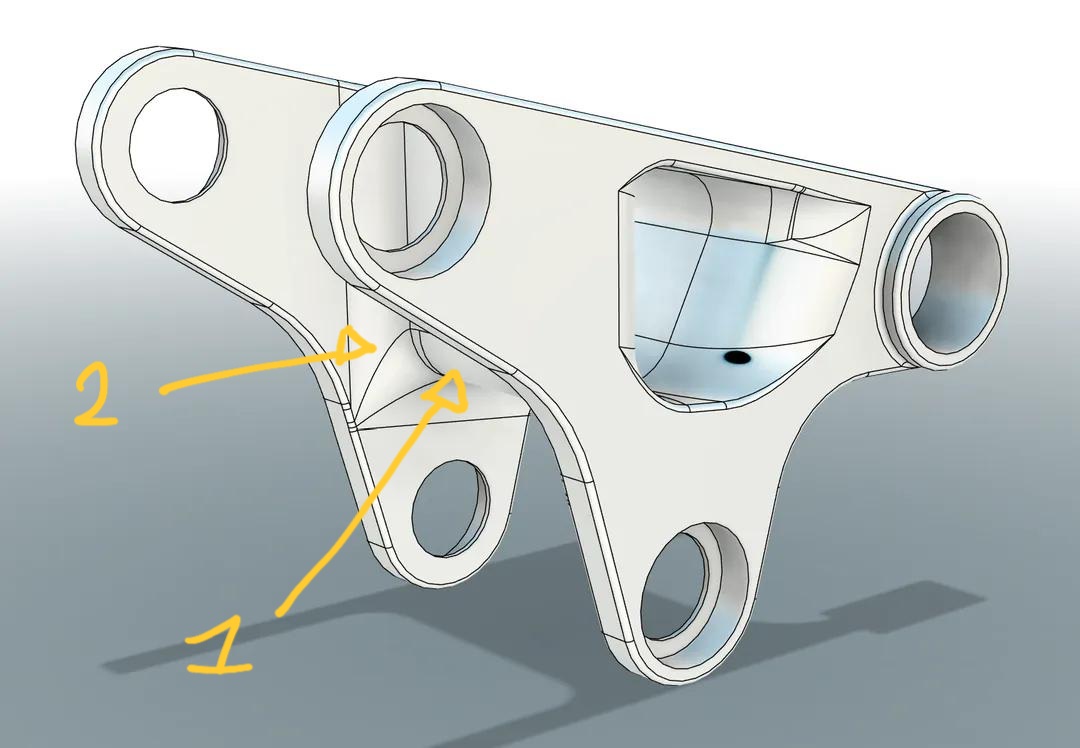
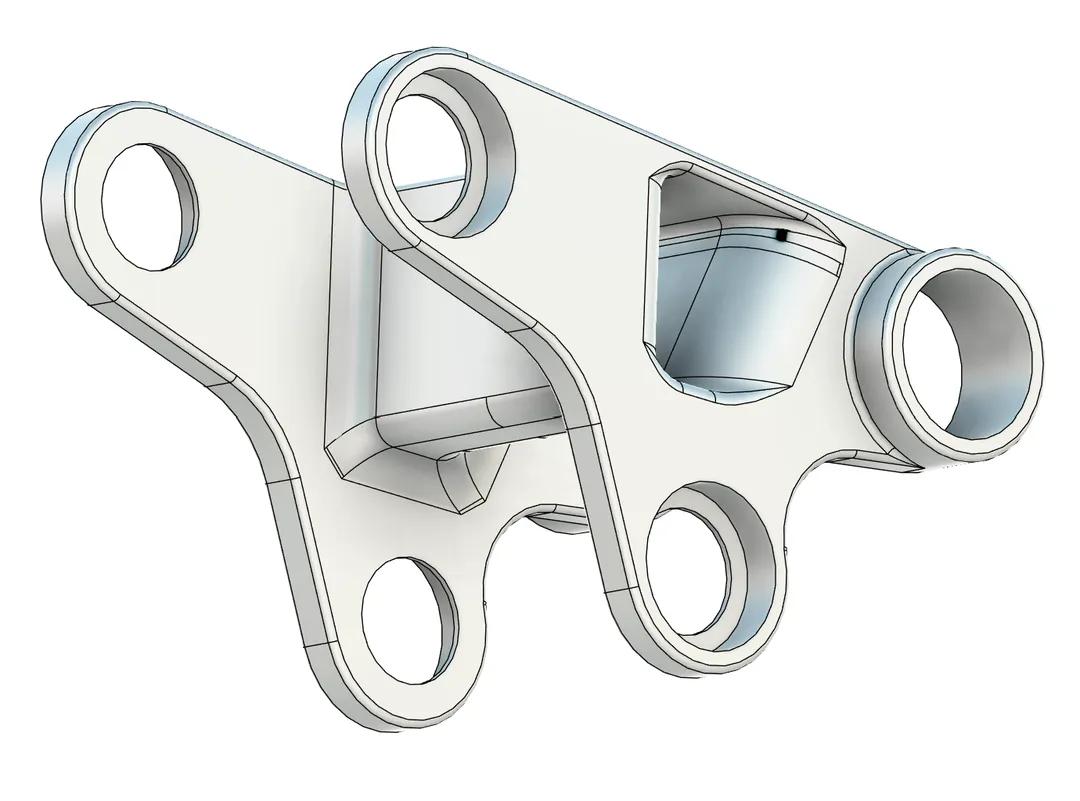
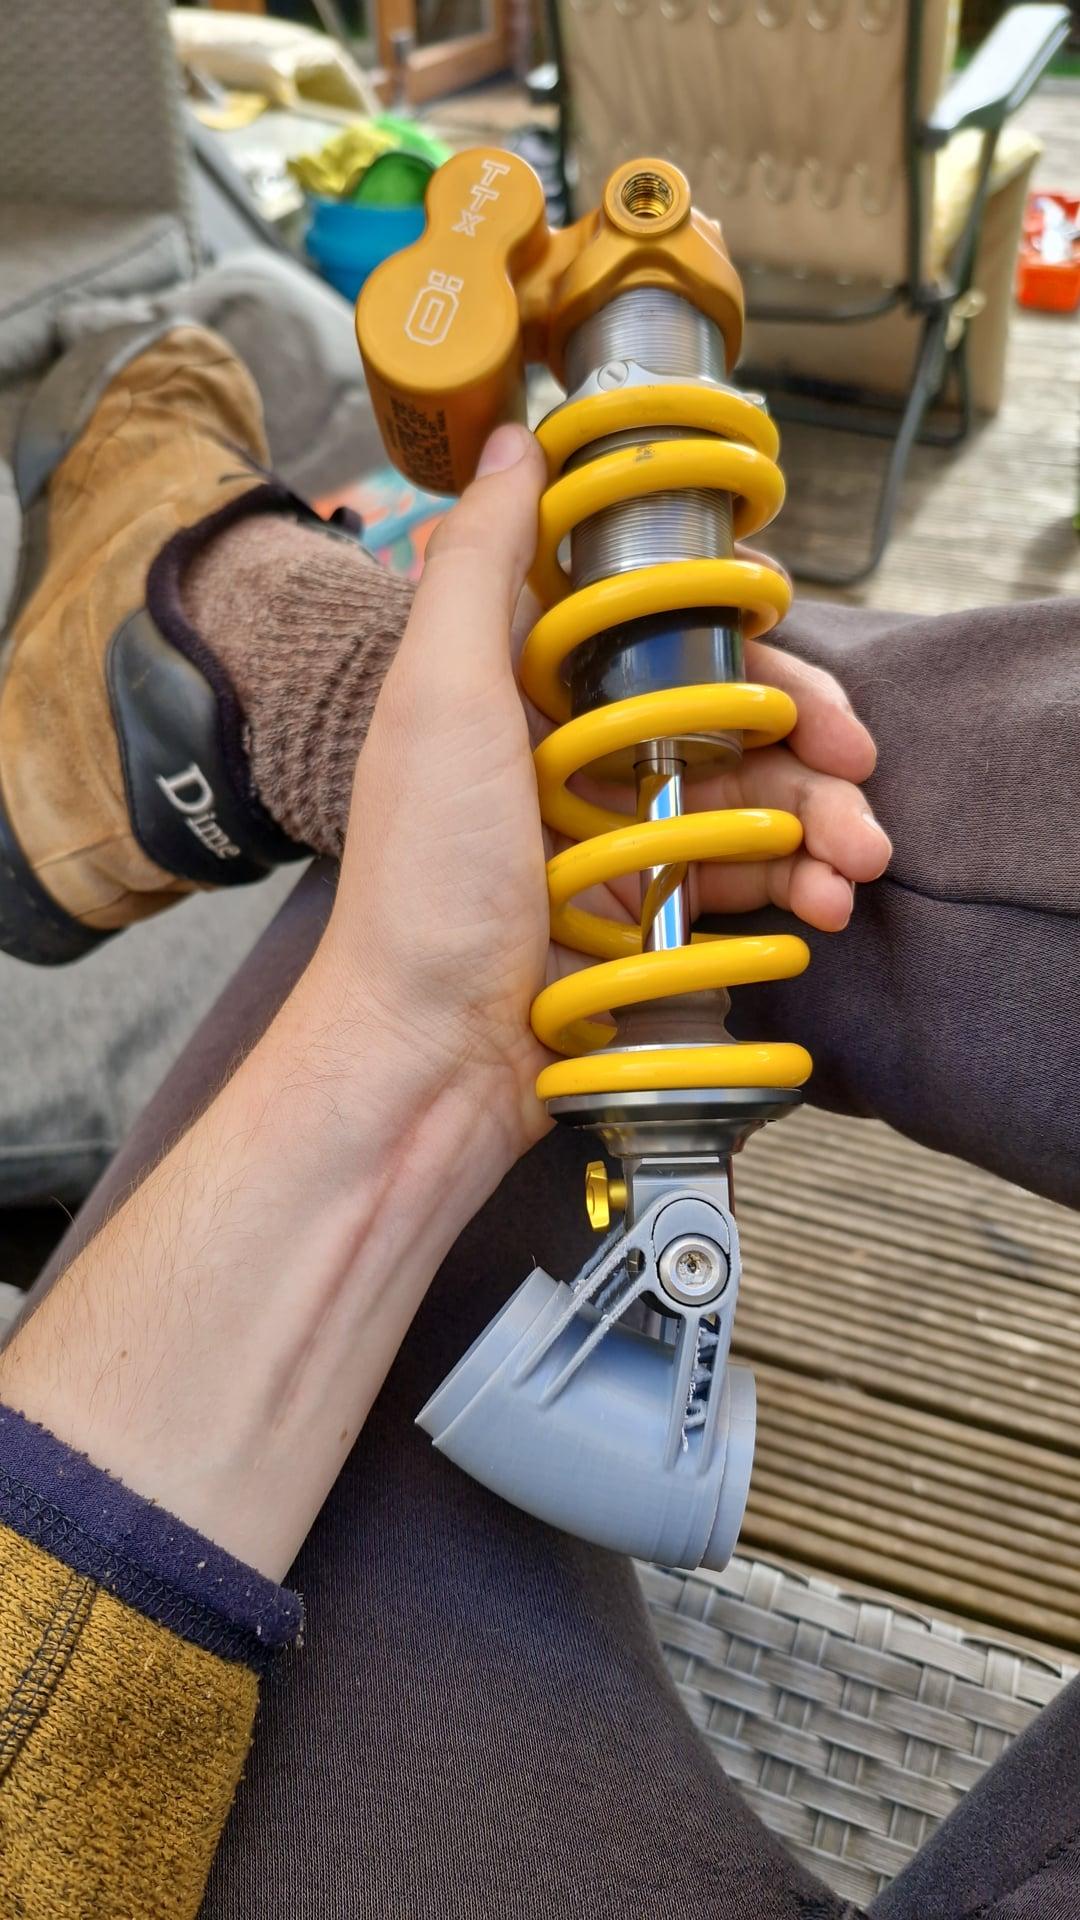
I don’t have any advice from a suspension point of view because I really don’t know much about it, but from a CAD point of view I have a small tip for cleaner fillets.
If you change the order of your fillets and do the one on the center connection first and then the one I marked 2, then the one I marked 2 will run cleanly around the whole edge without doing that weird point thing.
Order of fillets can make a very big difference to the cleanliness of the shapes ![]()
That ruins the front and rear curve, so what I’ve ended up doing is a chord length fillet for those and it’s worked alright.
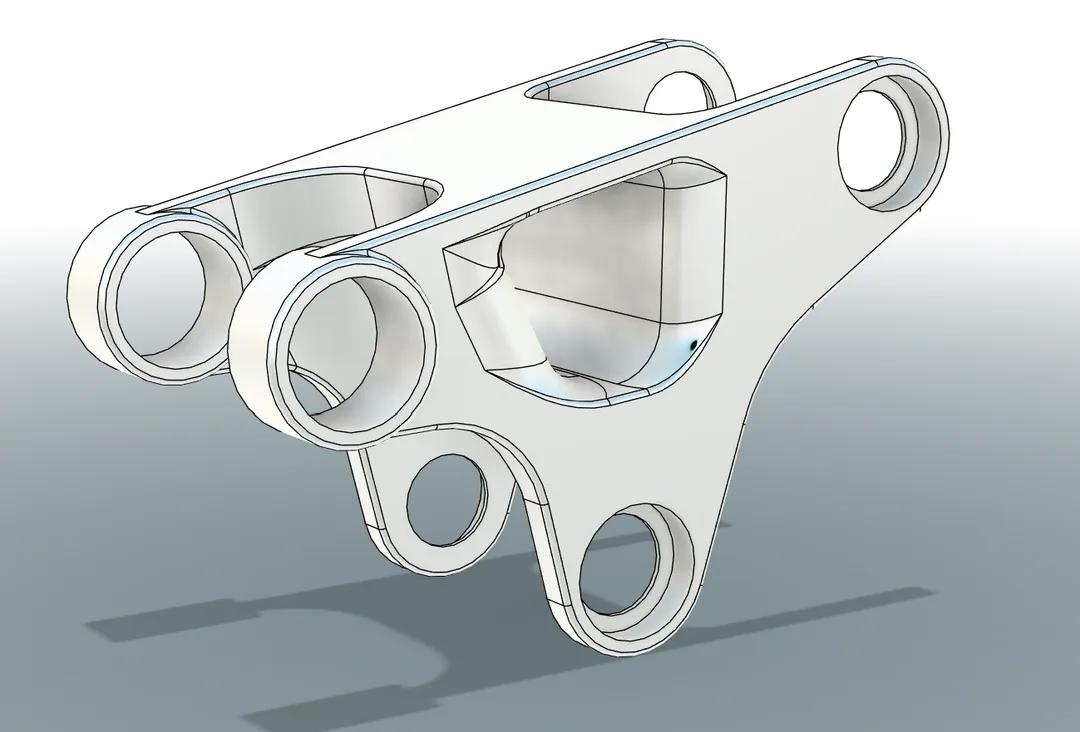
Here is a shorter travel link with the same build process.
I quite like the one piece rockers now. Will work on the rocker-seatstay joints tomorrow, I’ve got some ideas floating around in my head since the doctors gave my wrist the all clear.
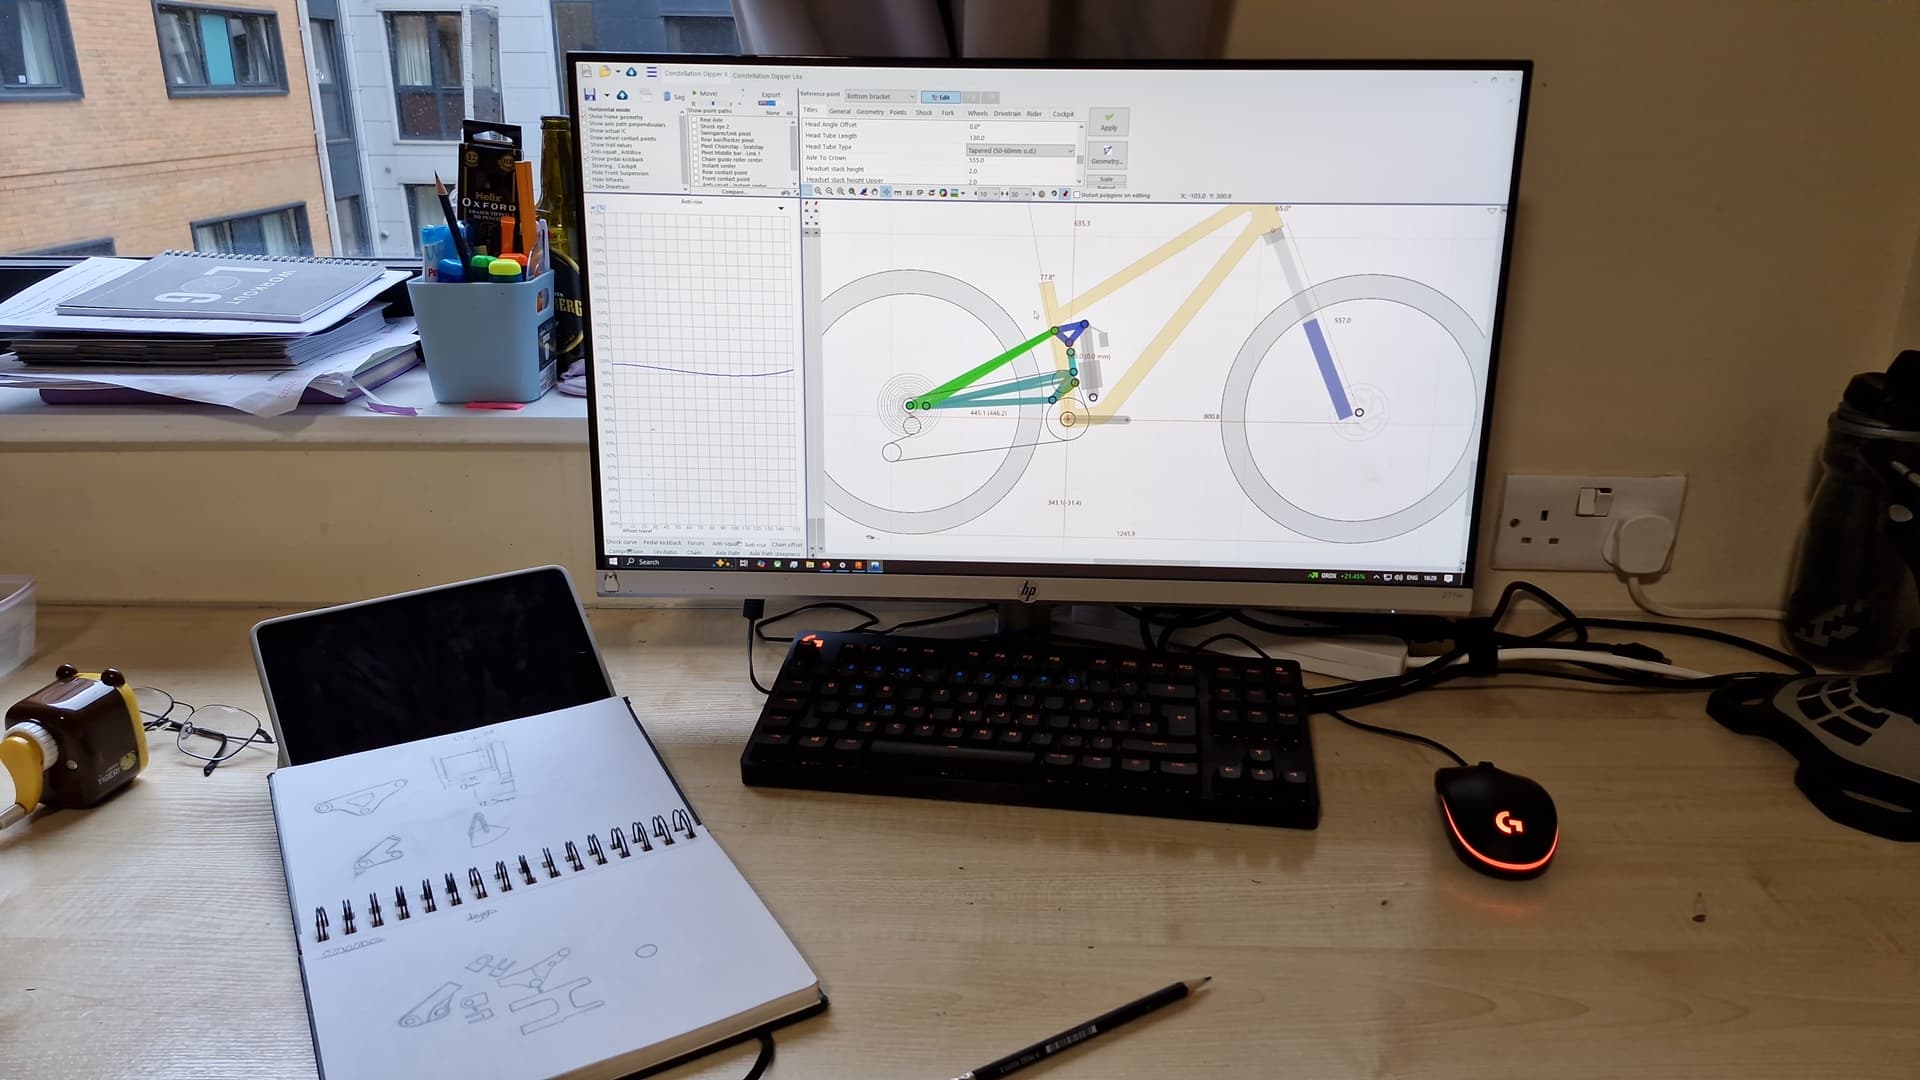
Rate the setup:
I’m all settled in at uni, and it turns out there’s some folks here who are making their own bike out of roll-wrapped carbon tubing and 3dp alloy (the uni printer only works in alloy, but the lion does not concern himself with the fact he has to rework his CAD drawings.)
I’ll get to work on my master drawing and see how it goes, and I’m meeting the other DIY bike people on Friday to pick their brains.
Would anyone be able to point me in the direction of a UK supplier for carbon tubes? I can find straight tubing but not oval tubing, and I’d rather use oval on the rear. I could potentially learn to roll wrap my own, as there’s some folks doing that, but I’d rather leave that to the pros.
I’ve used tubes from these people before for bike frames. They seem very good quality. Also get the MMA glue from them. But idk if they have anything oval.
Nothing oval, but a prepreg sheet should get me a good few chainstays, and then the spec would be completely under my control.
I used easycomposite prepregs in the past and i like them. I did process them in an autoclave so can’t speak for the out of autoclave pregs though.
However - not super easy to get a good tube with roll wrapping. At least not if you have off axis fibres in there, which you want. You need a lot of surface pressure to roll the prepreg tightly around the mandrel when rolling, otherwise you will have basically too much fabric that then wrinkles when consolidating in a vacuum bag or with the shrink tape.
I think if you have the option it would be better to pack it into a negative mould with a bladder on the inside, but you will still need to match the diameter very closely.
So it would be a 2-man job getting them rolled tightly?
That would certainly help, but I think for a chainstay it’s also not strictly necessary, as they are fairly short.
Honestly you probably have to see what works out best for you, and there will be a learning curve. Just don’t expect the first tube to be flawless. If you don’t get it rolled tight enough with the planned layup you can always debulk it between layers in a vacuum bag, ideally at slightly elevated temperatures.
But all will greatly depend on the shape of the mandrel and your layup.
The way I’ve seen it being done, is that it’s wrapped around a bar either diagonally or straight, and then when it’s wrapped to the preferred thickness it’s wrapped again in shrinkwrap, that provides the pressure when heated to make it more cohesive. Probably not as strong as it would be if done in an autoclave, but maybe better for DIY?
For a round tube you will not lose anything in terms of quality compared to an autoclave process.
Only for complex shapes? Would an oval tube lose anything from the oven process?
You will find the wall thickness is going to be lower where the curvature of the tube is tight, which might or might not be a problem
Good info here. I’m doing the same on my second full suspensions. On #1 I tried to do it myself and gave up. For #2 I went with a Cascade link off of a smuggler and bought the full hardware kit from transition. Hope this makes it easier.