My next “gravel” bike would like the option for fenders.
What are you go to fenders and how do you go about adding the mounts? Max tire size?
Thank you.
My next “gravel” bike would like the option for fenders.
What are you go to fenders and how do you go about adding the mounts? Max tire size?
Thank you.
YES ALWAYS!
I might be biased living in places with this weird thing called “rain” but fenders to me are a necessity on any bike that isn’t an mtb or race-specific frame. I am a bit of a fender snob and only run nicer fenders - imo Honjo are the gold standard and Velo Orange are a close (but more economical) second. You can get Honjo fenders from Sim Works, EAI, or Rene Herse - there’s a bit of overlap but it’s worth checking out all the different options.
I generally design around the widest fender I can for maximum coverage - for example the all-road bike I made has clearance for 62mm H80 fender, but will usually see 42mm tires. Sim Works is nice in that it gives you the full dimensions of the fender so you can put your bridges in the exact right spot, along with recommendations for tire size.
As far as mounting locations, I tend to stick to a chainstay bridge, seatstay bridge, and some sort of boss near the rear dropout. There’s a bit of flexibility there - sometimes I’ll put a water bottle boss on the inside of the seatstay near the dropout for “stealth” mounting, but sometimes putting a rack mount boss near the dropout is easier and multifunctional.
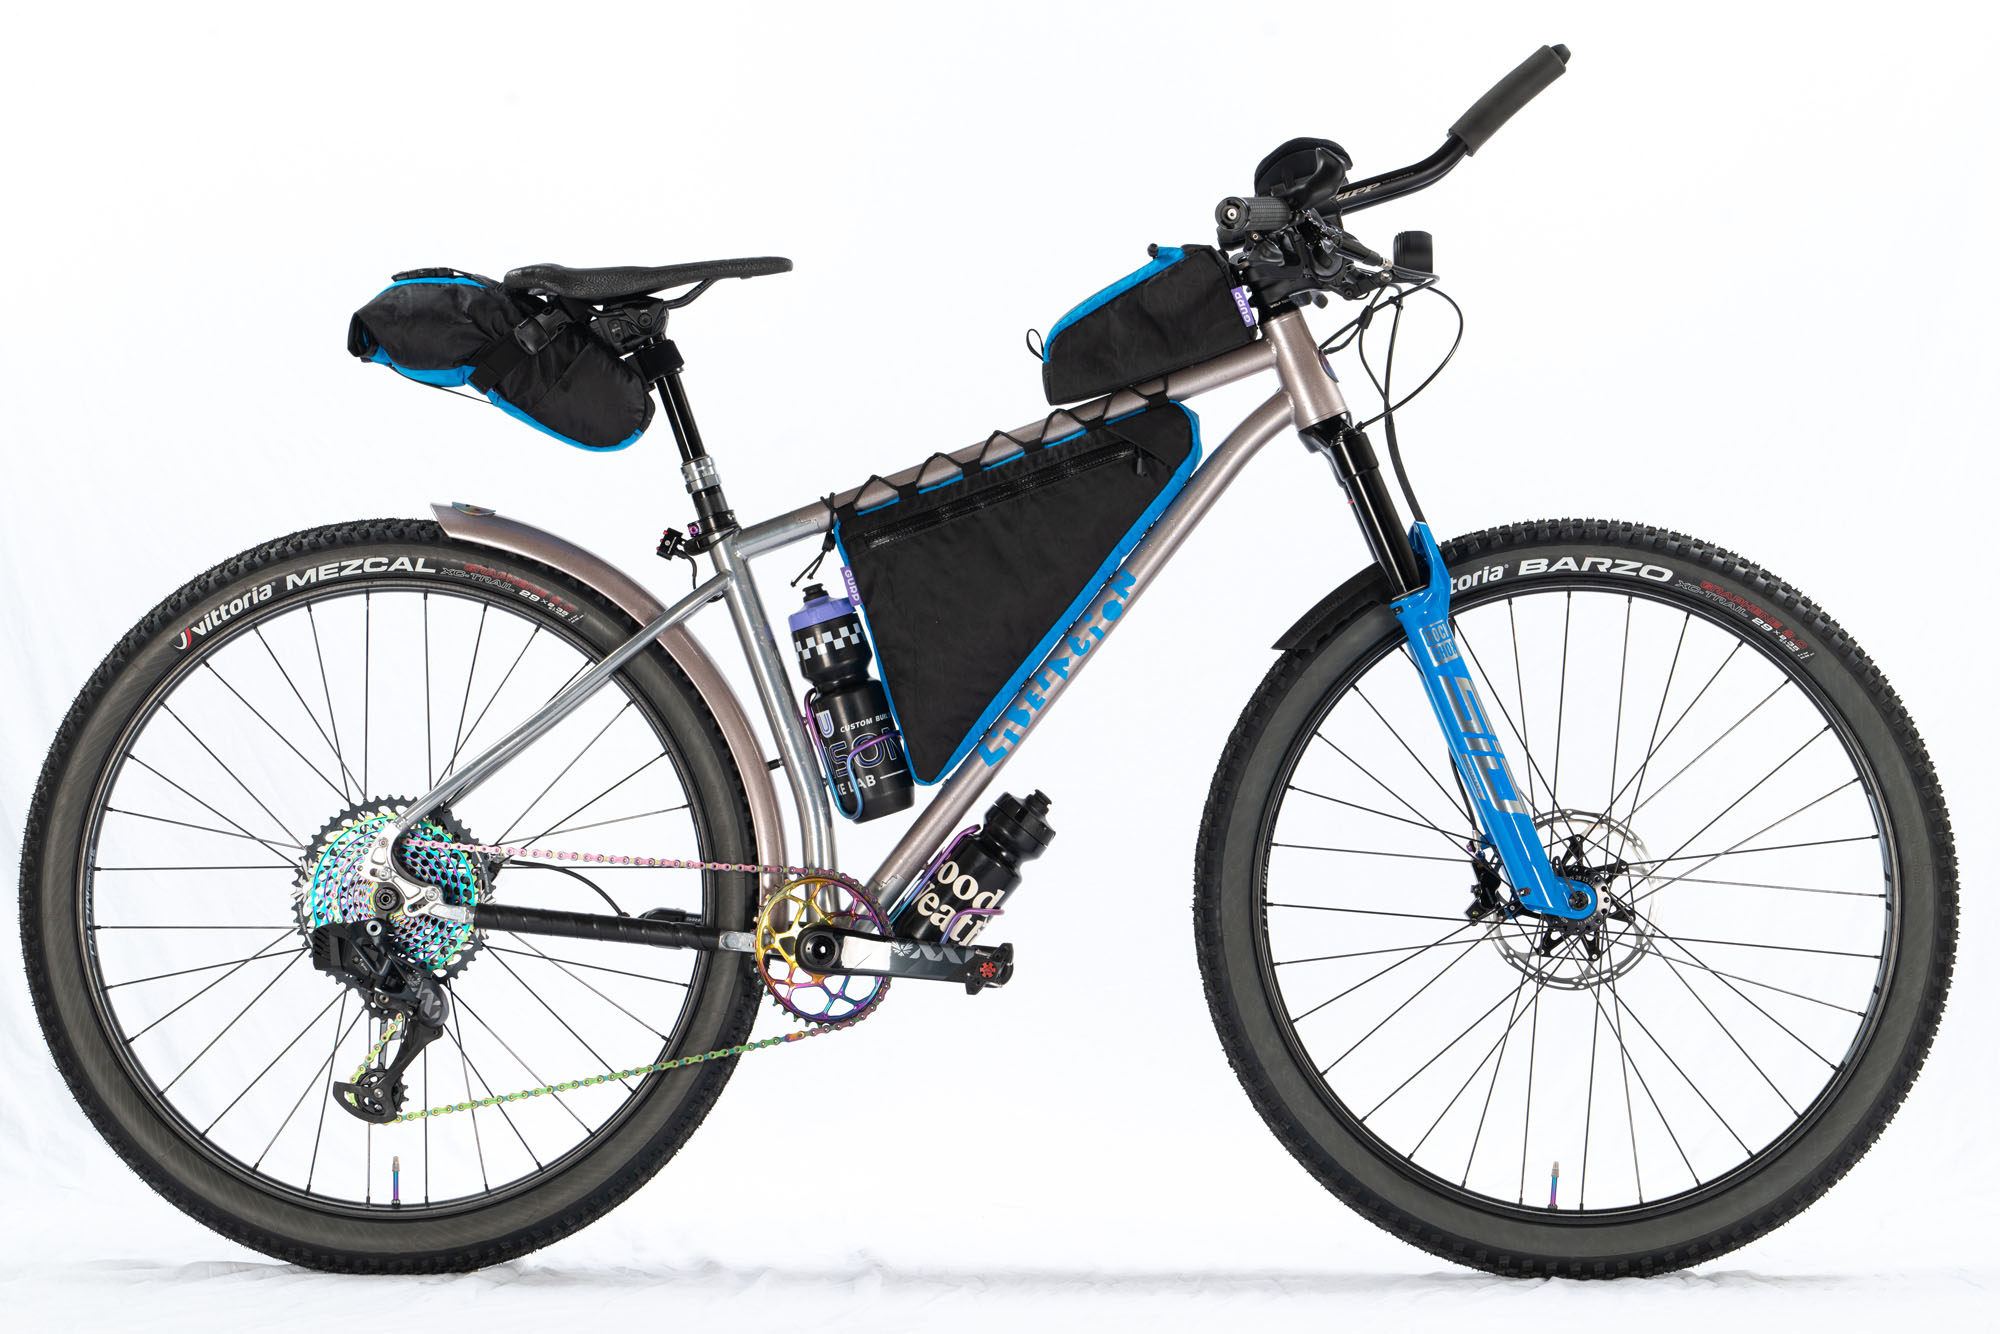
If you want to get fun and funky with it, you can also do what I did for my PBE show bike last year:
It’s hard to see in the photo, but I put a water bottle boss directly on the BB, one on the seat tube, and used a regular bridge on the seatstay for the third. I used some spacers from McMaster to get the fender at the exact right distance from the frame.
Here’s another fun mounting method I did for one of my MADE show bikes. I didn’t want a full bridge so I made these little arms with machined stainless balls:
Great. Thank you for the info. I like the bottle bosses on the BB and ST.
+1 to everything @liberationfab said.
Some tips:
Another great resource for learning how to install metal fenders is at How to install metal fenders, Part I: achieving a proper arc radius – Eléctricalités A.T.
4-part series. The one on dimpling fenders to clear tight forkblades and stays is valuable.
Mark Beaver
Tamarack Cycles
Long unsupported spans of fenders will eventually crack. Fenders mounted with only a single mount will wiggle annoyingly and then crack.
Some builders try to get away with skipping the chainstay bridge and using a boss on the back of the seattube instead… This will crack and fail also.
Fender bosses in the bridges, racks and fork crown should be normal to the fender. Little 90 degree brackets will crack and fail.
Hahn" resident rando nerd"Rossman
Somewhat related to this conversation:
Titanium fenders? Amazing. I wonder how they get that shape. It must not be easy, given the price.
I talked with them about the manufacturing process when they were first launched and it is definitely not easy. Especially difficult given the propensity of titanium to work harden when formed and the tight compound radii involved. It’s a great recipe for cracking sheetmetal. I believe they had mentioned about 2 years of prototypes before it was ready for production?
This is probably the most impressive thing that I’ve seen in the framebuilding world from a manufacturing engineering point of view.
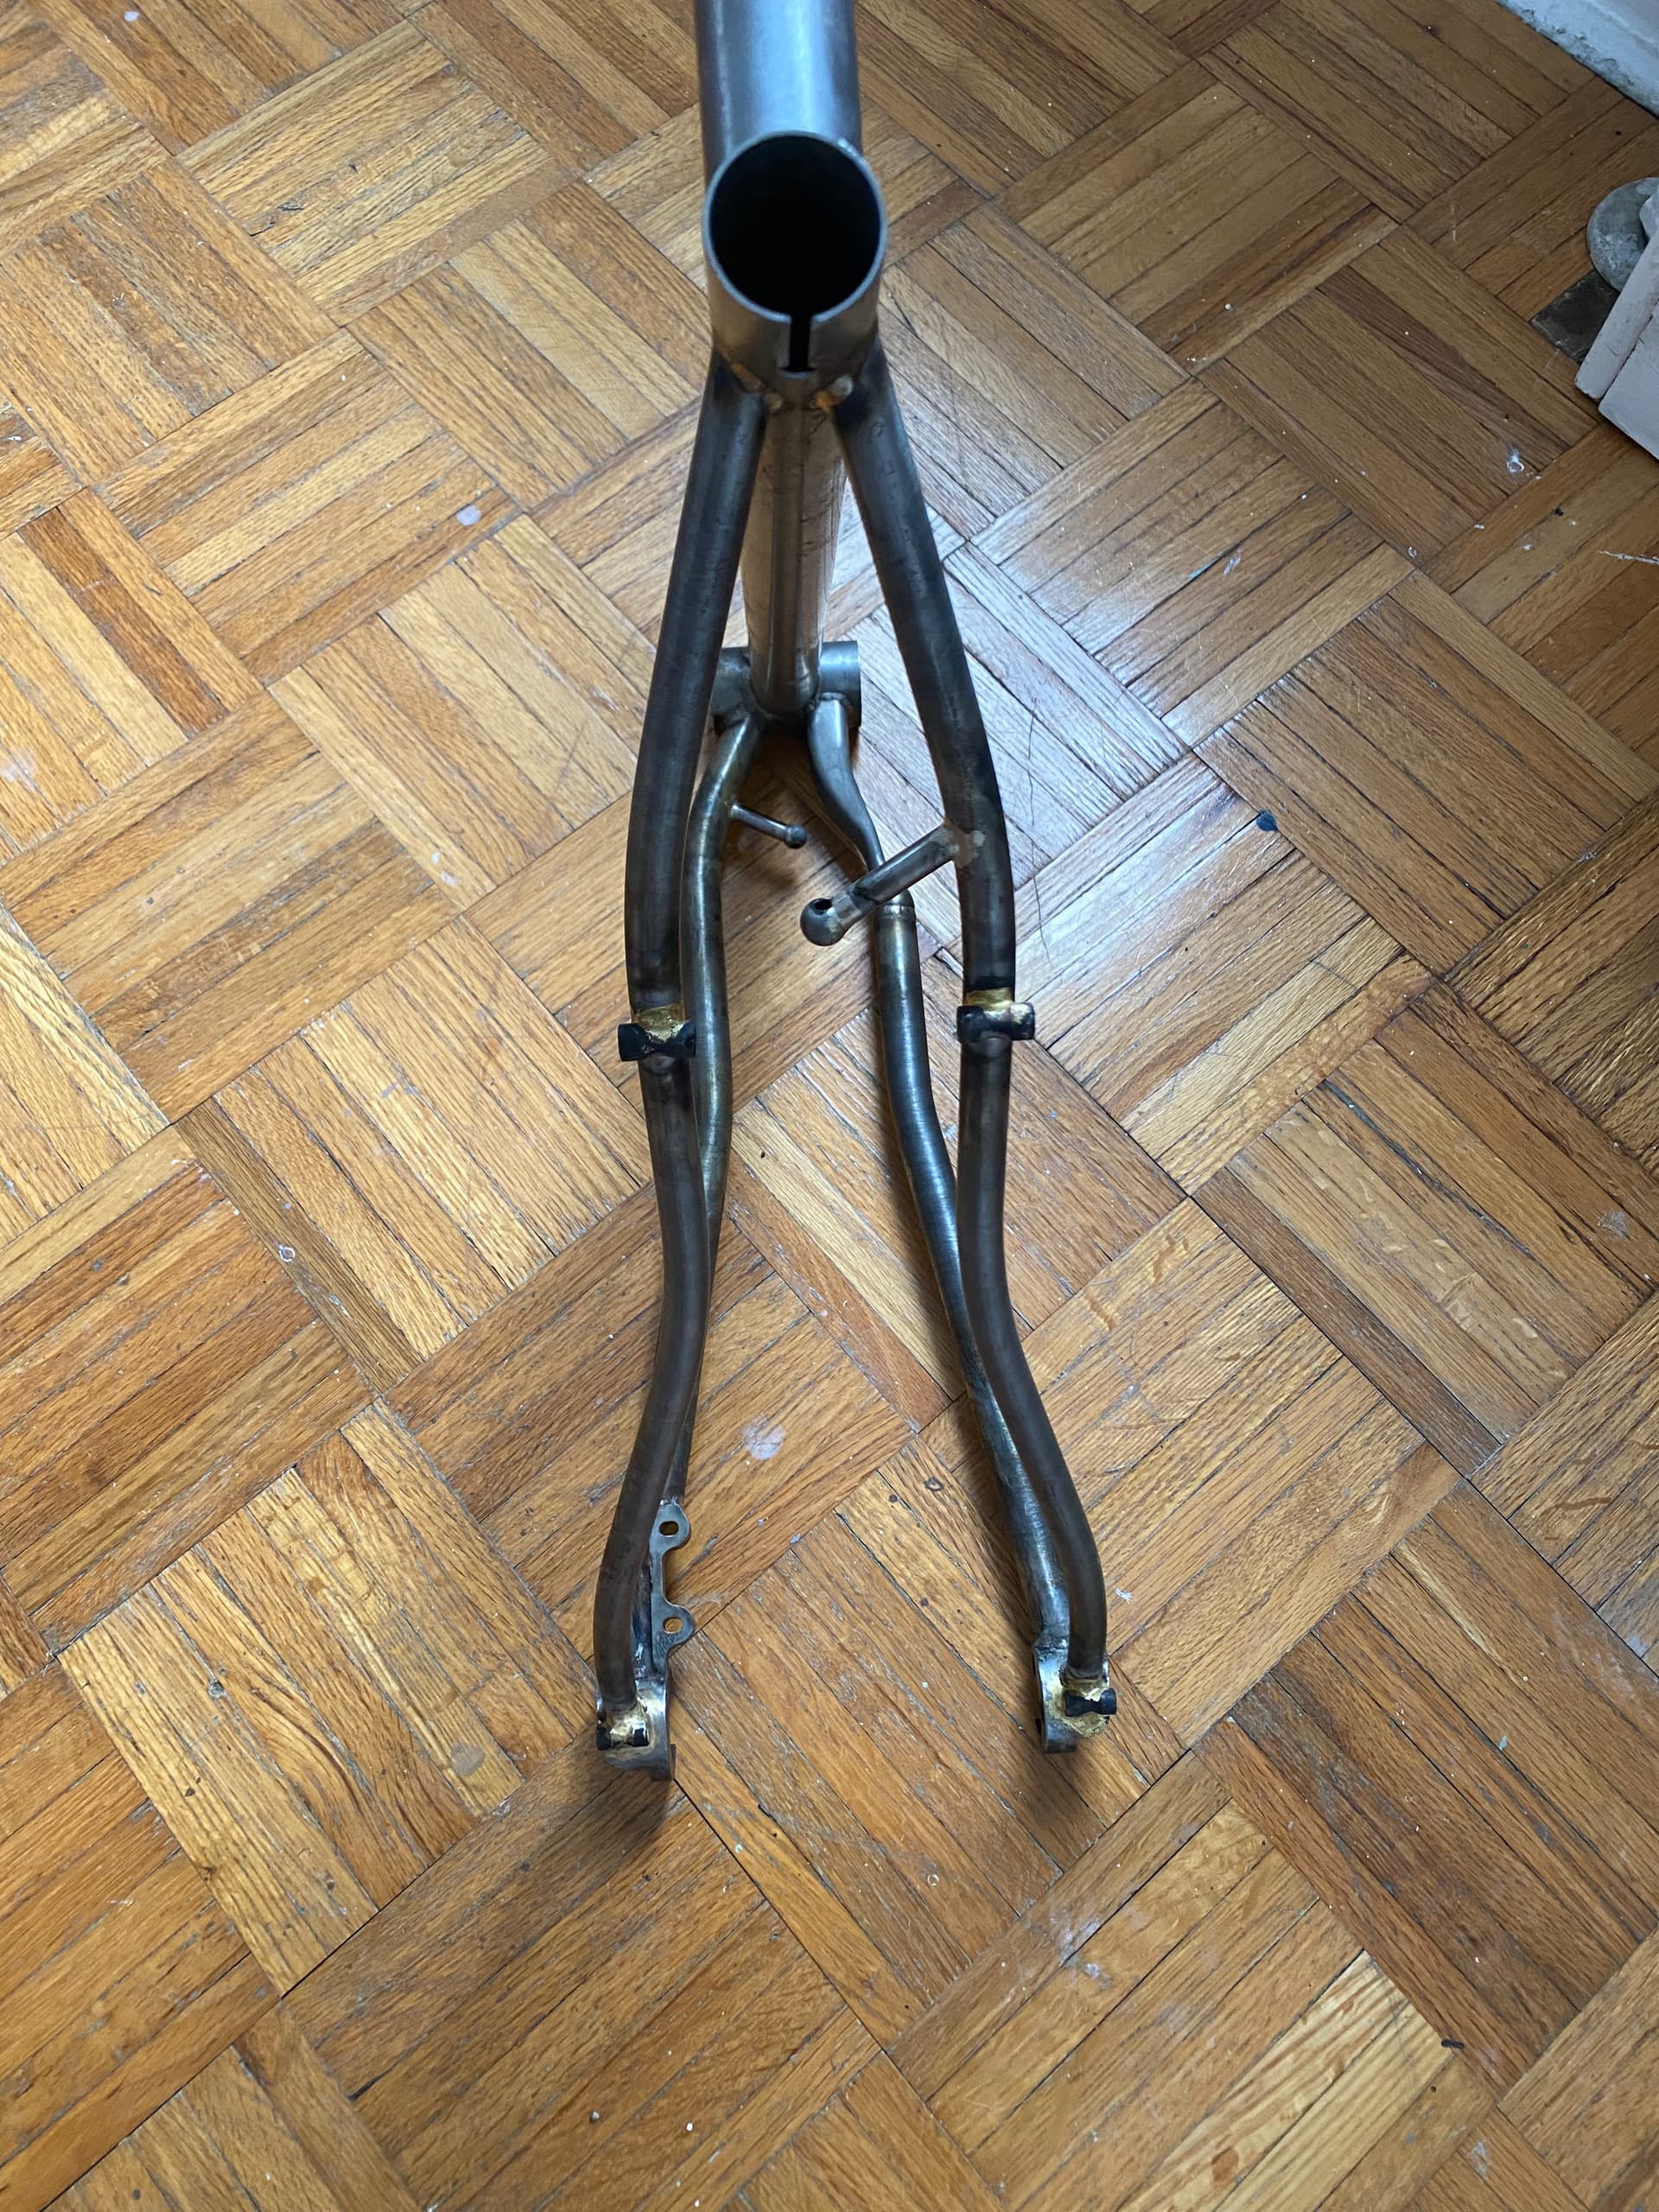
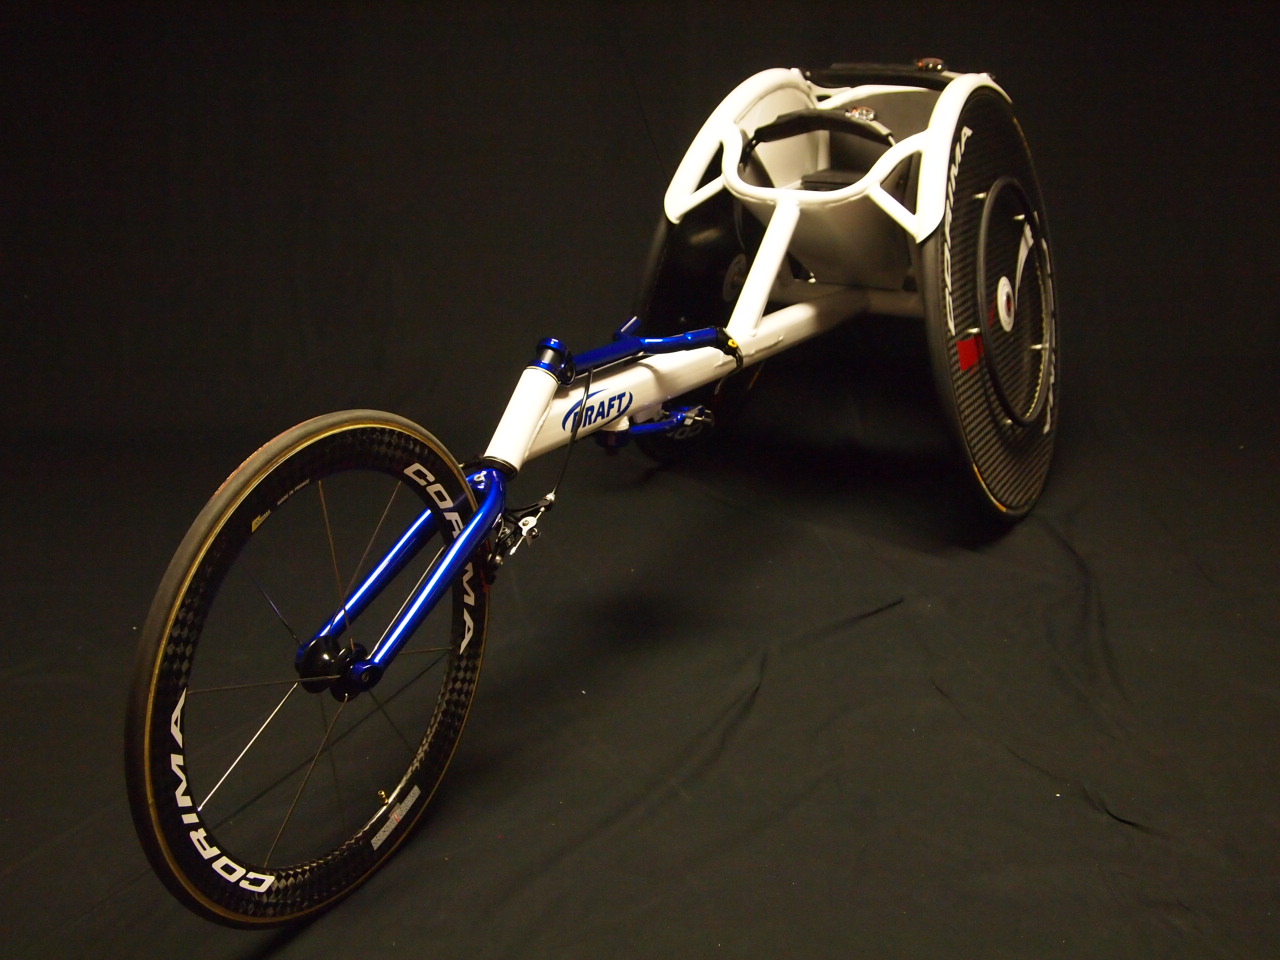
I’d hoop roll a tube to the right radius, then cut along the centreline with a bandsaw and curved guide profile to give a fender shaped blank.
50% wastage of materials, but pretty quick, and uses standard tooling.
The degree of springback would need to be tested, so the blank ends up at the right radius. The remaining material radius will spring open when the compression side of the tube is removed.
I used this method on hundreds of wheelguards for racing wheelchairs. Aluminium, so the springback is far less than with Ti, but should work in principle.
All the best,
Dan Chambers
Wow, that is REALLY cool! It looks like a hot rod!
Thank you for all the info. It will help a lot on the next frame build.
I’m looking for some creative input on the topic!
I want fender mounts but will only use them a few months a year.
My problem is the seat stay aesthetics. They are aero profile with a large radius wishbone bend. A bridge would ruin the look.
I am willing to put a chain stay bridge in.
I was thinking about a bottle boss in a SS and making a thread in fender mount but do not love putting a hole in the SS.
Any creative solution suggestions?
I found this from Rodeo labs. It looks like Trek does something similar. This would be easy with two hour glass rack mounts.
how stiff is the fender? could you get enough stiffness from a chainstay bridge mount, a “back-of-the-seat-tube” mount, and the usual struts from the dropout?
That is a good question. I am going to use Honjo or Velo Orange. I would assume either to be fairly stiff.
I like the seat tube idea because I can make a custom stand off tube to dial in fender fit when it’s in single speed mode.
Follow for anyone that knows fenders.
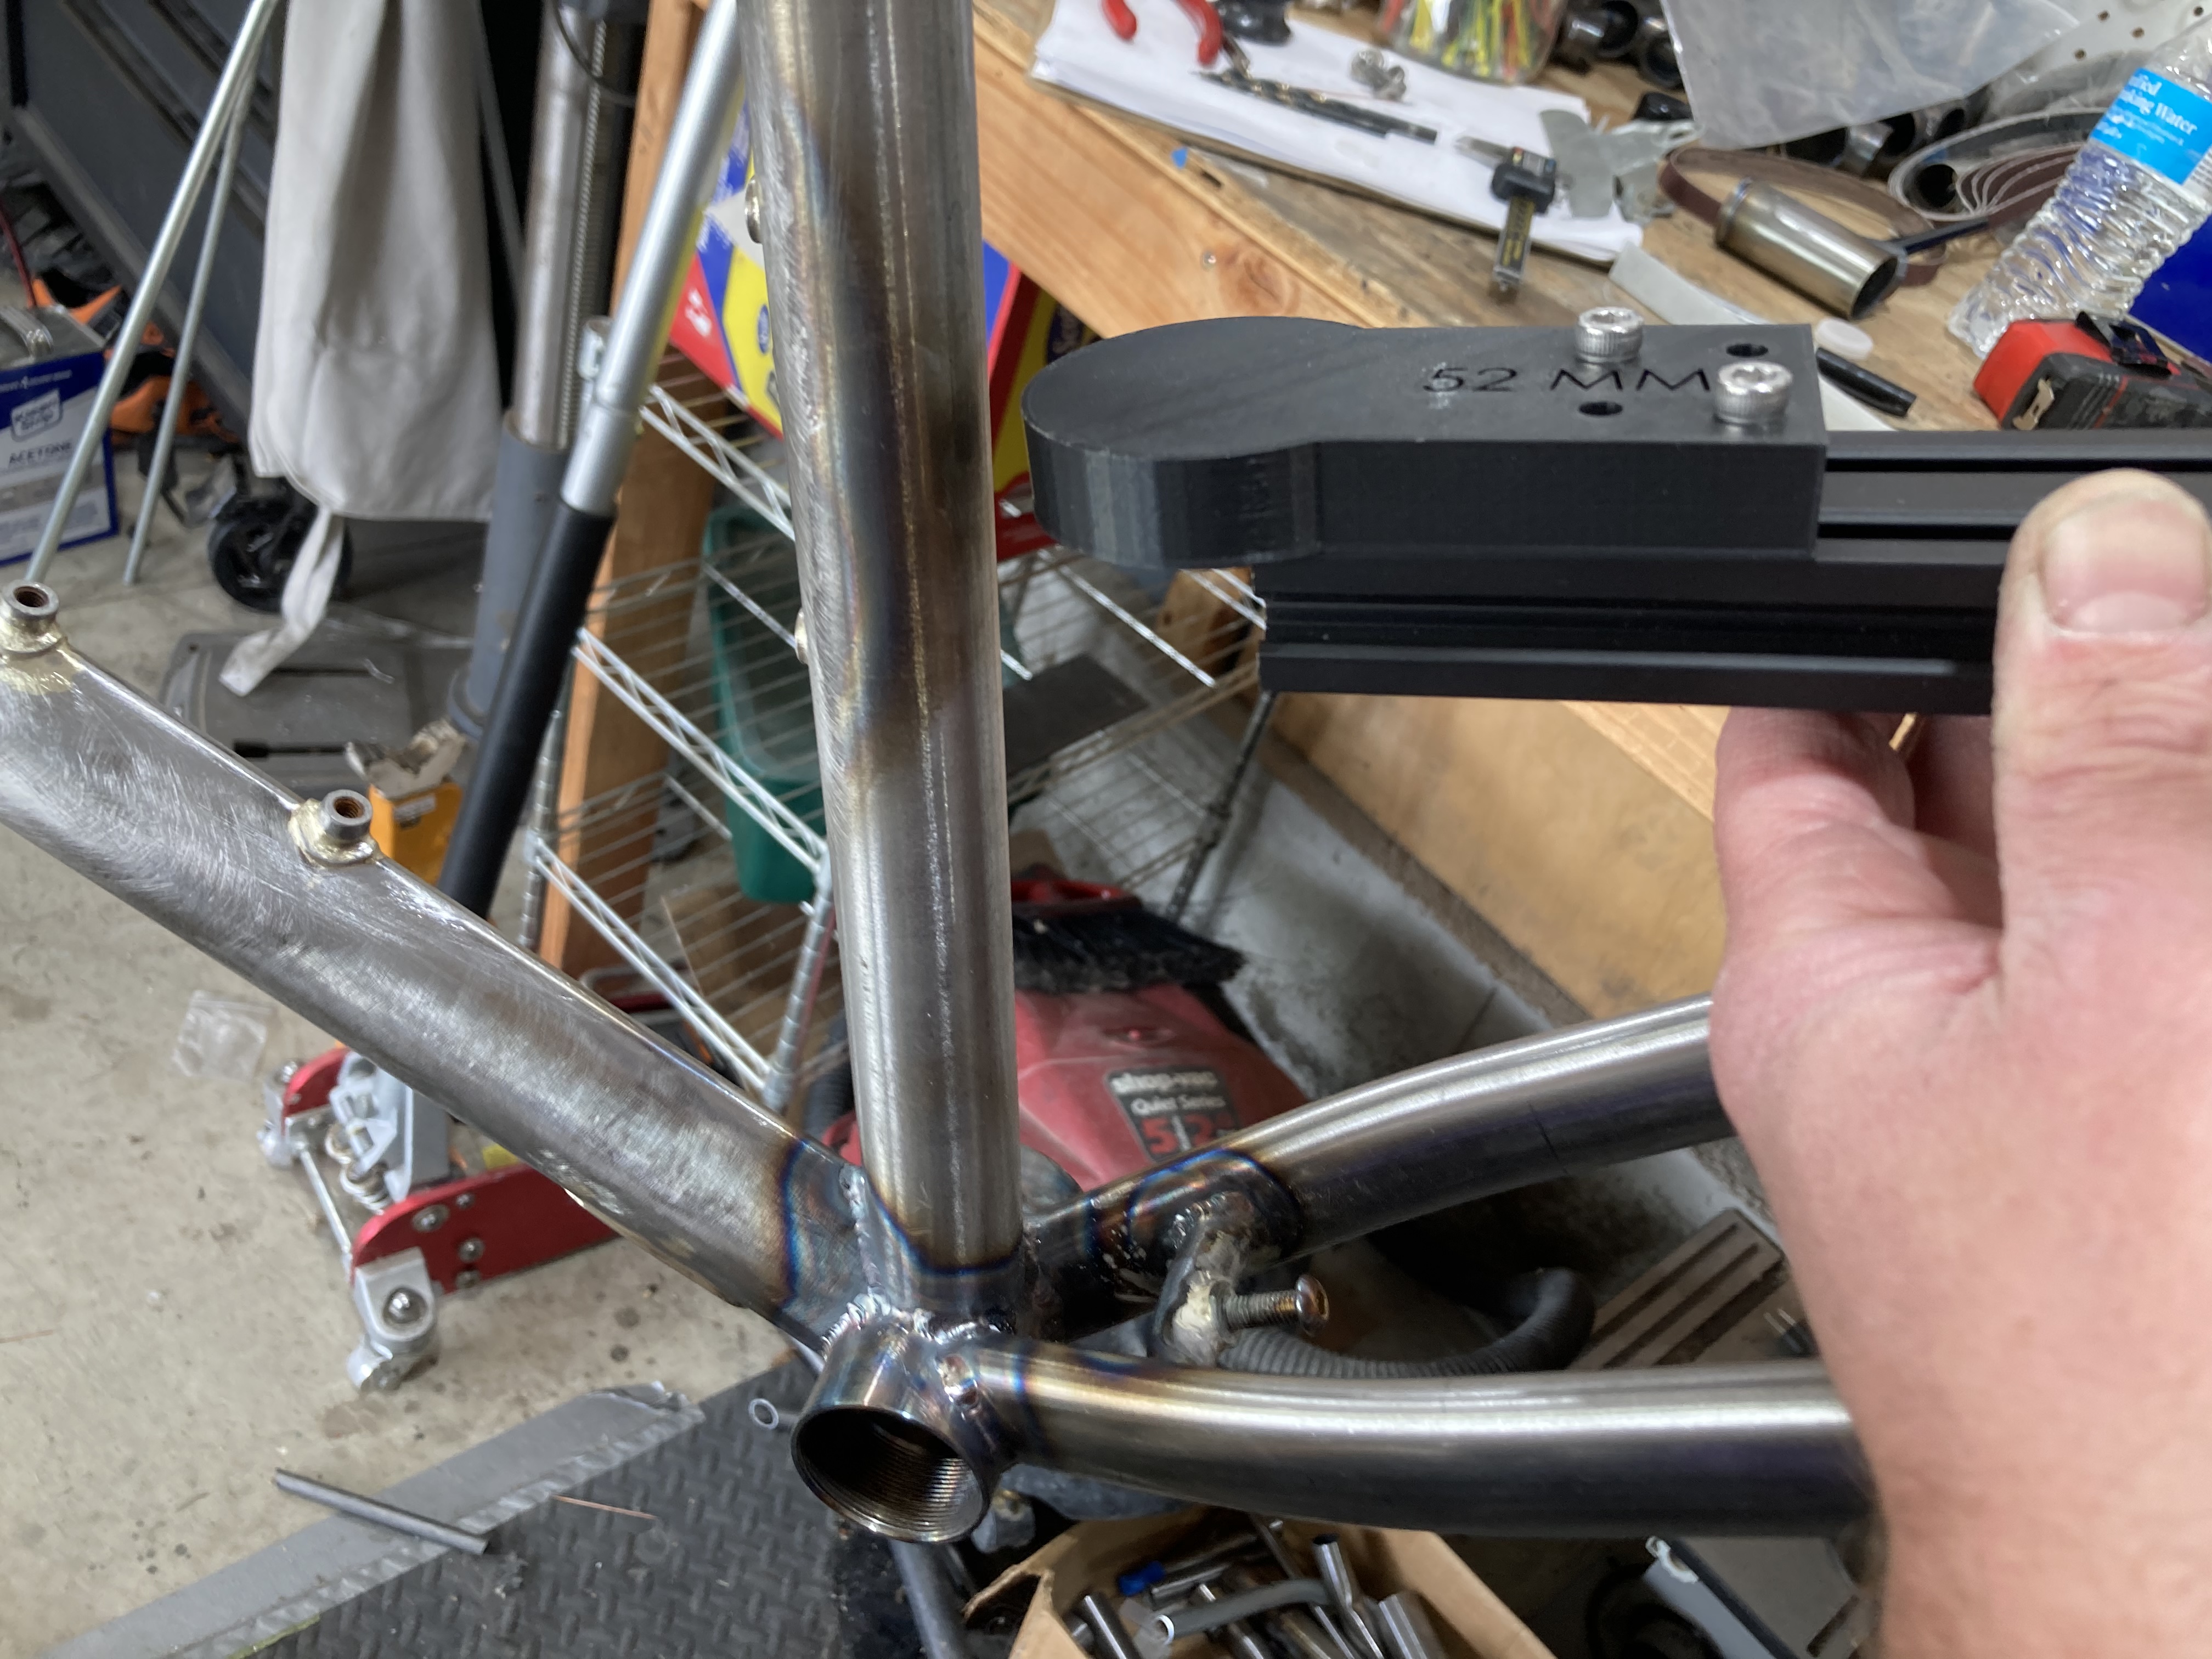
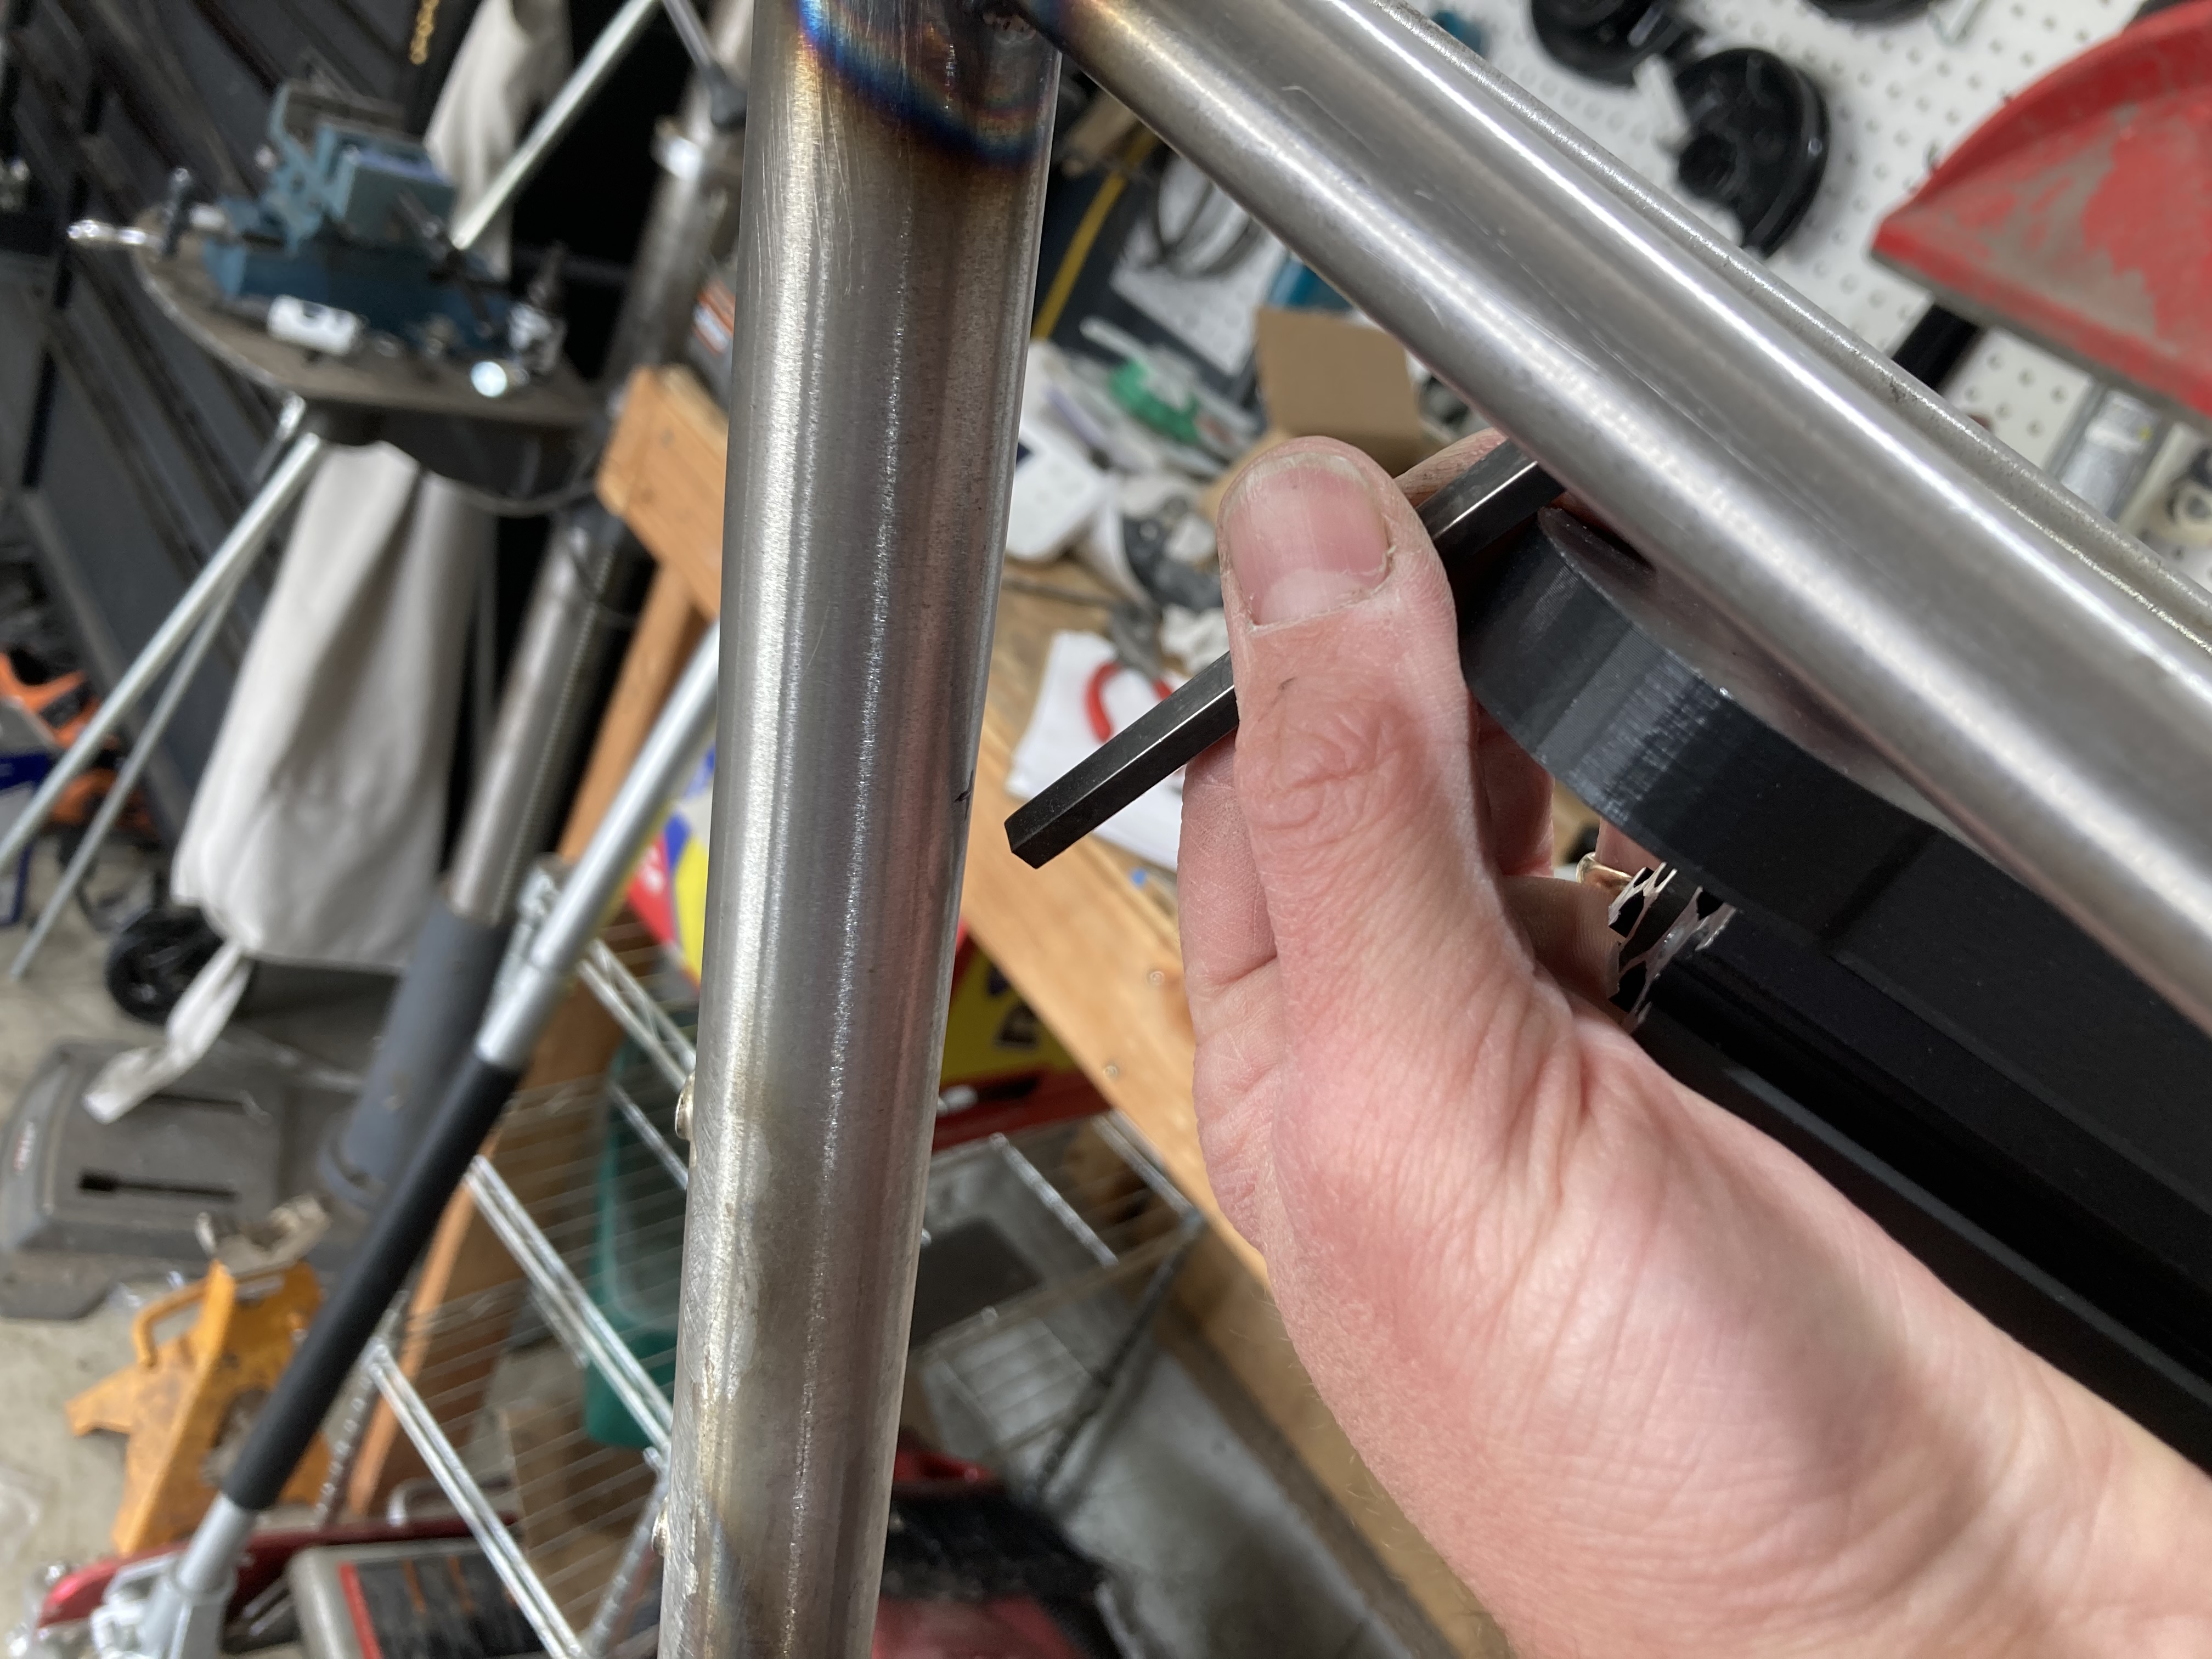
I can put a second boss where the fender is the closest to the seat tube and make a spacer or I can put the boss higher and make a bracket similar to what the hex key is doing in the photo.
For reference, I moved my tire checker out to the fender location.
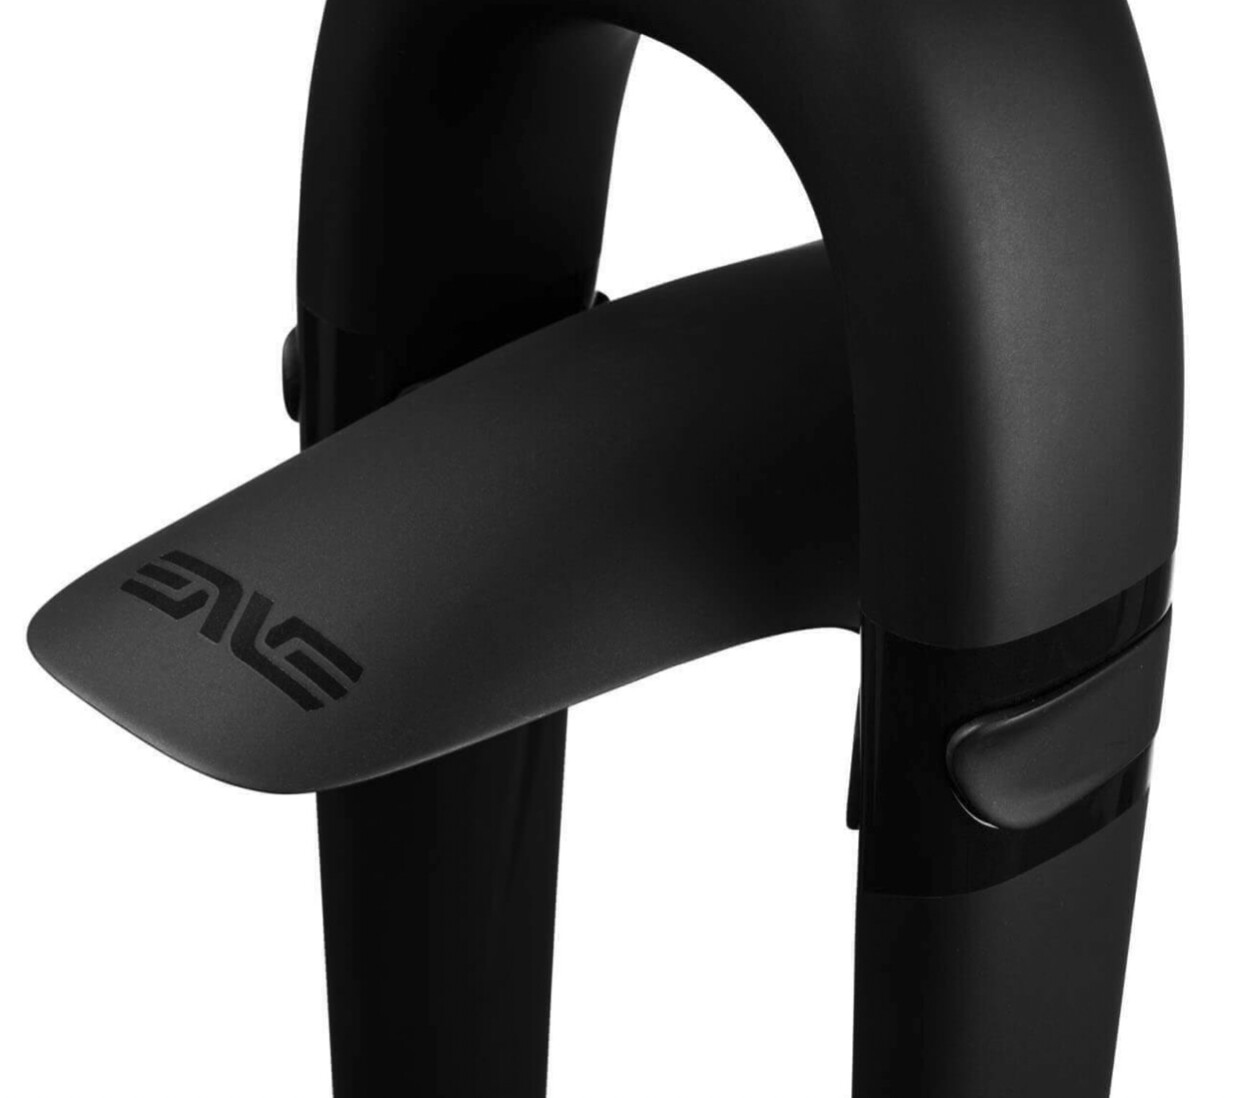
Enve uses a friction snap-on fender for their MTB fork. There’s a recess in the blades to prevent the fender from sliding down.
I imagine you could do something similar on the seat stays, except instead of a recess, you could braze-on a little nub on each stay that captures a 3d-printed bridge that snaps over the nubs.
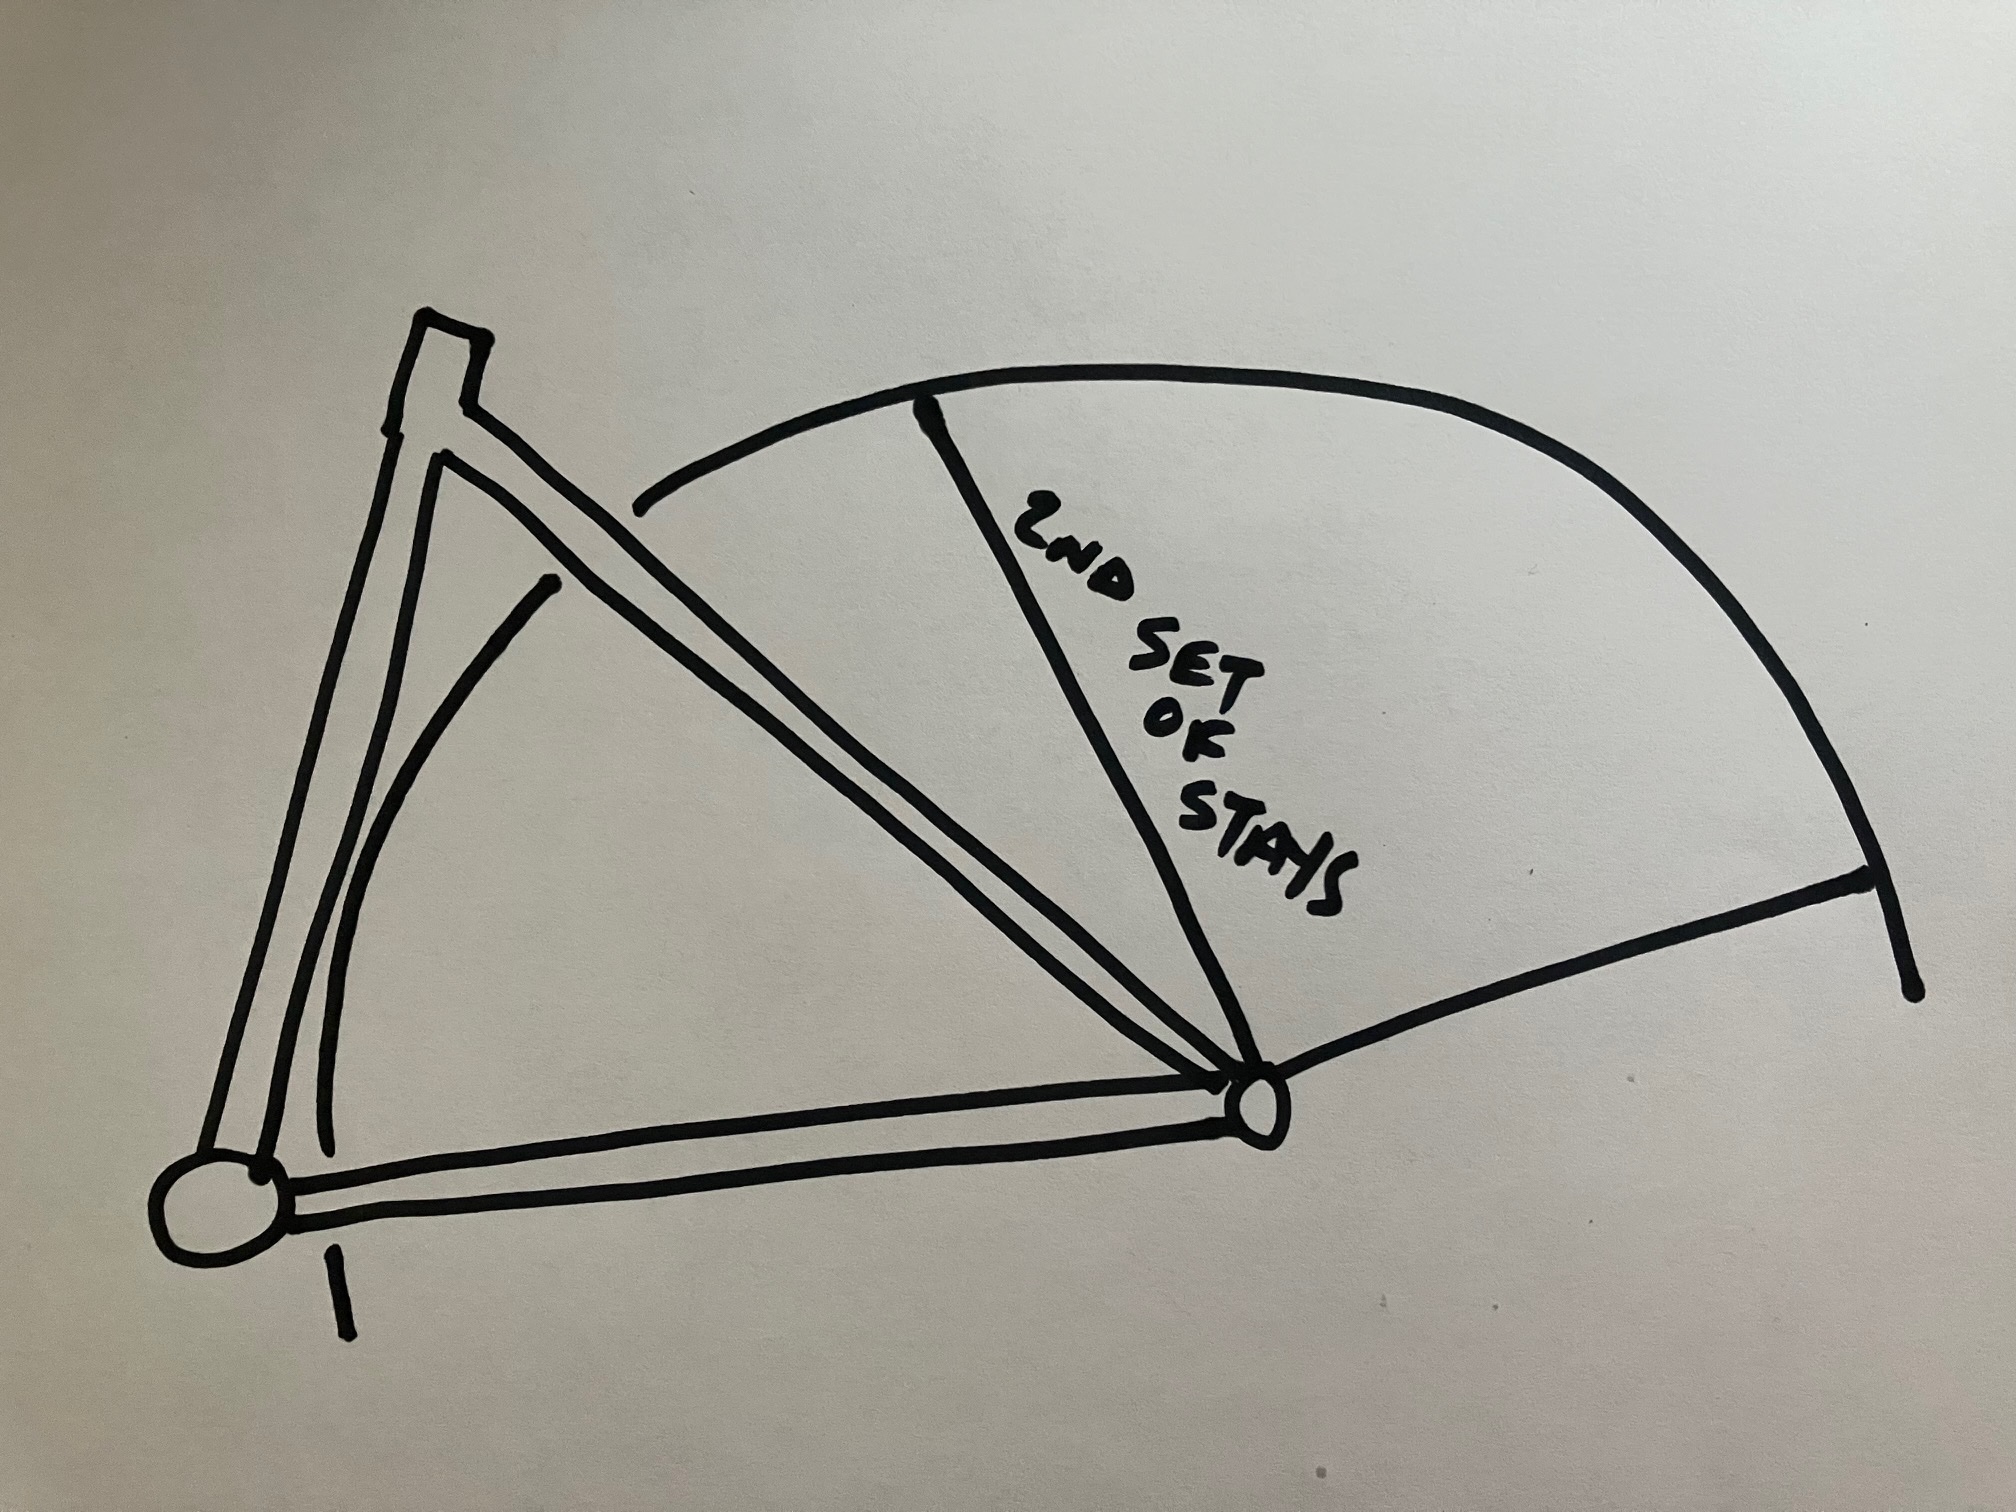
Another option would be to add a second set of fender stays that attach to the fender near the seat stays. Not sure if that would be rigid enough, but I think it’d be a better option than relying on a mount on the seat tube.
It’s in the same vein as adding a second set of stays on the front fender if you don’t connect it to a rando rack. Otherwise, the fender end will be too flexy.
Where were you a week ago when I cut off the second eyelet on my dropouts?! ![]()
Enve also sells a kit for the seat stays that is pretty interesting. This would’ve pretty easy to copy and print.
I’ve been out of hobby framebuilding for a while, but I’ve been thinking about fenders a lot lately and I feel like this community has thoughts and insights that I wouldn’t find elsewhere.
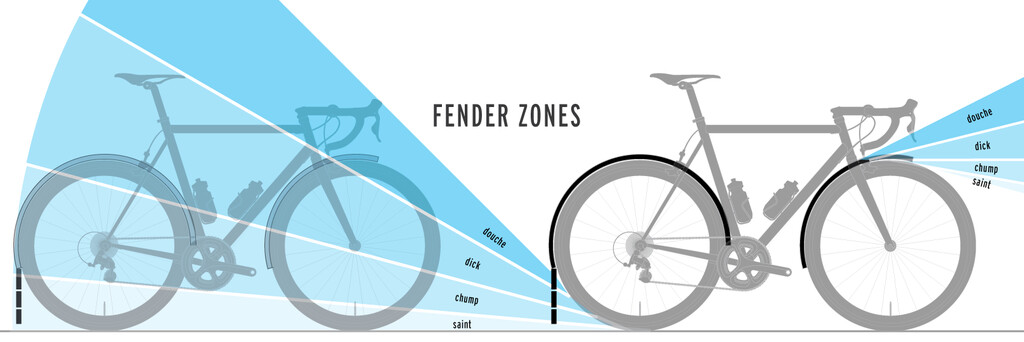
I made this image to help aid in discussion.
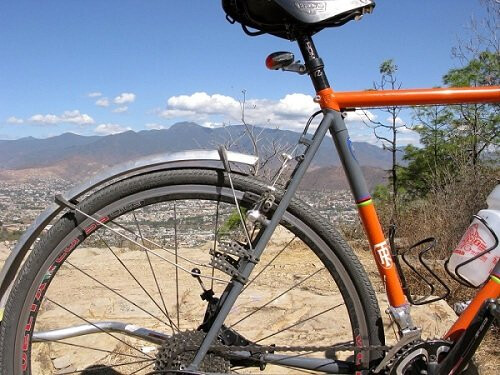
There seem to be different schools of thought here. For example, Liberation Fab’s bike, shown below has rear fender coverage from 12 oclock to 3 oclock.
Planet Bike speed EZ Fenders have rear fender coverage from 9 oclock to 12 oclock. Completely different from Liberation Fab’s.
Assuming that water and debris is flung off the tire tangentially, it seems like Liberation Fab’s design offers more protection to the riders legs and the bicycle itself, while the Planet Bike fenders protect the riders upper body only. Maybe there’s more to it than that?
Of course a lot of fender placement probably also relies on more than just rider protection. Liberation fab’s fender is tucked nicely into the frame protected from any damage, while Planet Bike’s is slapped on the outside, making it easy to install on any bike. And I’m well aware that protecting other cyclists is a big consideration for fenders (see image below). BUT I am mostly interested in SOLO rider protection from water and dirt.
A fun thought experiment might be, if you only had 2 ‘hours’ of fender coverage on each wheel (with the goal of solo rider protection), where would you put it?
Hopefully this wasn’t too rambley. Please give me your thoughts and feedback!