Howdy all! I’ll use this thread for documenting some of my builds. Currently on vacation at my parents’ house and it feels like a good excuse to wax nostalgic about past work.
4 Likes
001: “Rabblerouser” at UBI in Feb 2021
I kind of fell accidentally into frame building. My good friend Ian is a fellow bike nerd and offhandedly mentioned a frame building class in Oregon while we were chatting one day. “What’s the point of doing that?” I think I responded. But a few months later during the doldrums of covid, he mentioned it again and it seemed like as good a thing to do as anything else. I was fortunate at the time to have a steady income and the ability to take some time off work so we took a trip down to Ashland for UBI’s brazing course.
The class was great in many ways - most of all it reawakened a feeling in me that had been dormant since hanging out in the community college metal shop back in my robotics club days. Looking back, I really appreciate the effort Ron and the folks at UBI put into the curriculum there. It was also challenging as someone who is prone to acting like a 3 year old asking “why?” all the time. The answer was often Because This Is The Way We Do It which didn’t quite scratch my insatiable thirst for knowledge. I also love learning from failure and the class was (understandably) designed in such a way that the main goal is a rideable bike frame instead of full and complete knowledge of the subject matter.
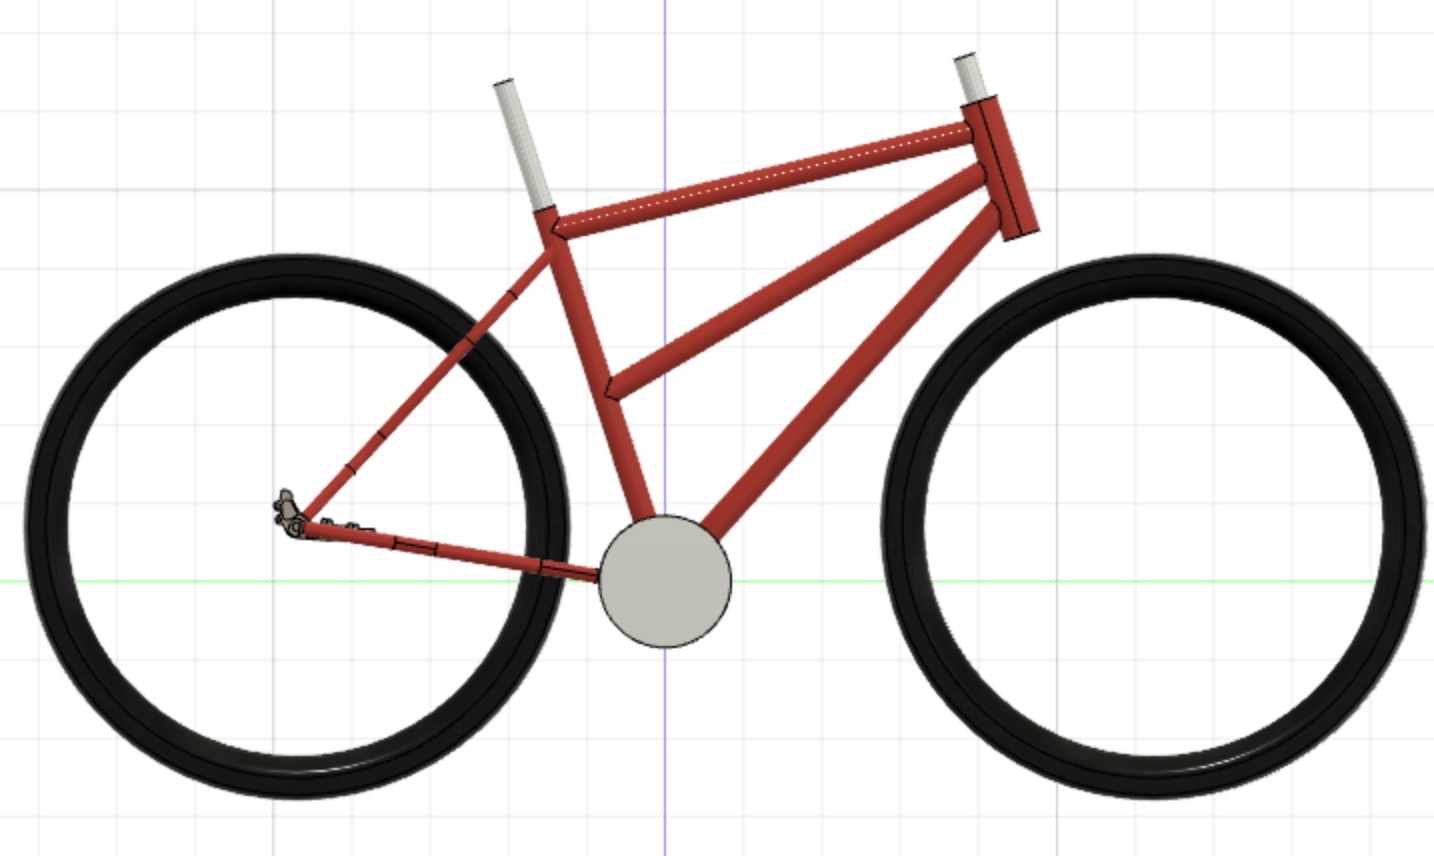
I came in with a bike pretty well designed already. I wanted a single-speed “monstertracklocross” style frame. Geo was pretty standard 74/74º angles and a long stem for “urban” riser bars. 27.5x2.1" tires and sliding disc dropouts. I really wanted to make it a triple triangle and eventually did, but got a lot of pushback from Ron for trying an unorthodox design. Learning to braze was super cool and felt like an amazing super power. Truly nothing compares to melting metal with a giant flame.
Anyhoo, here are some pics:
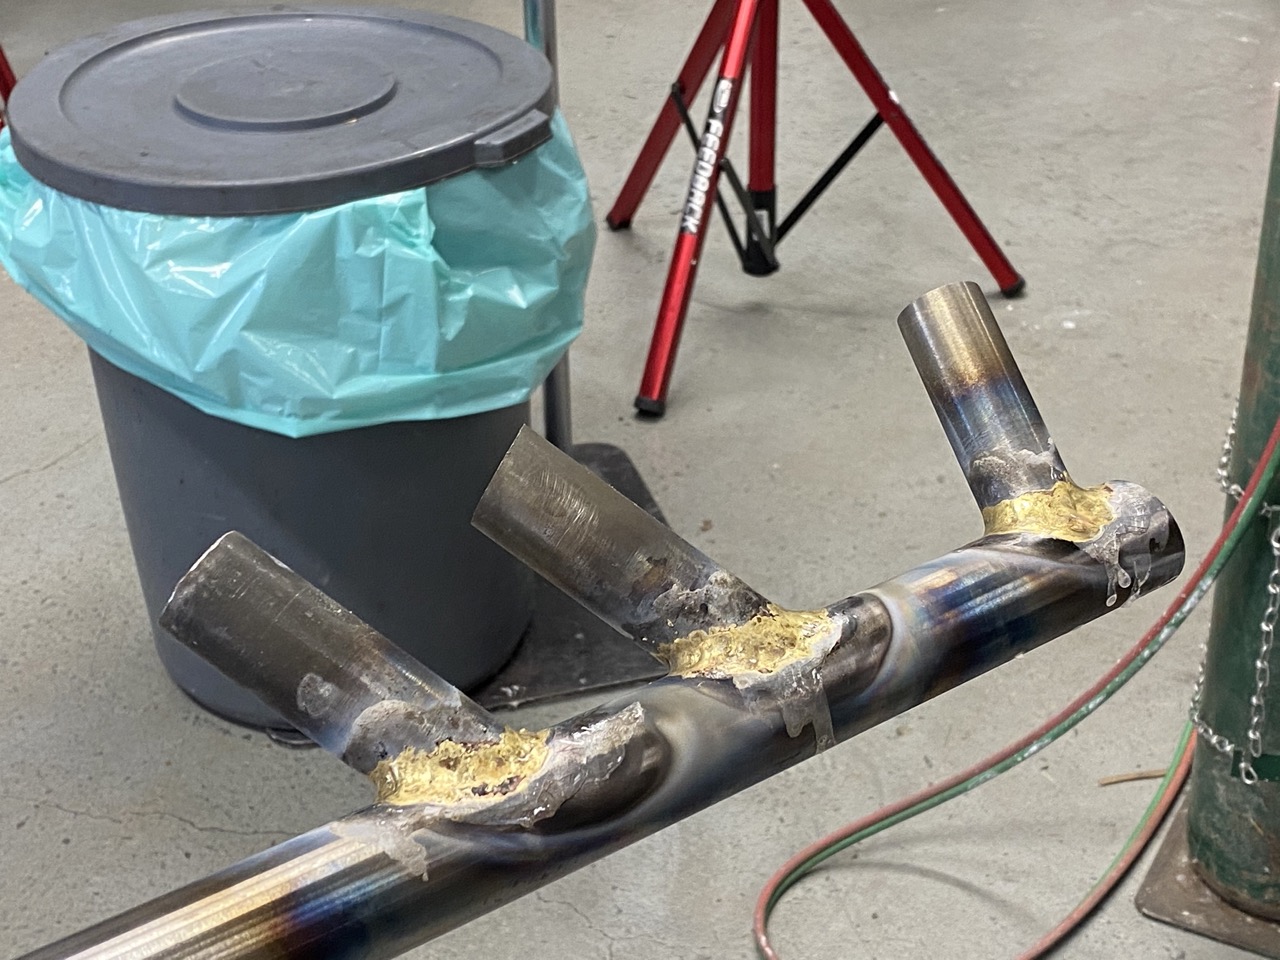
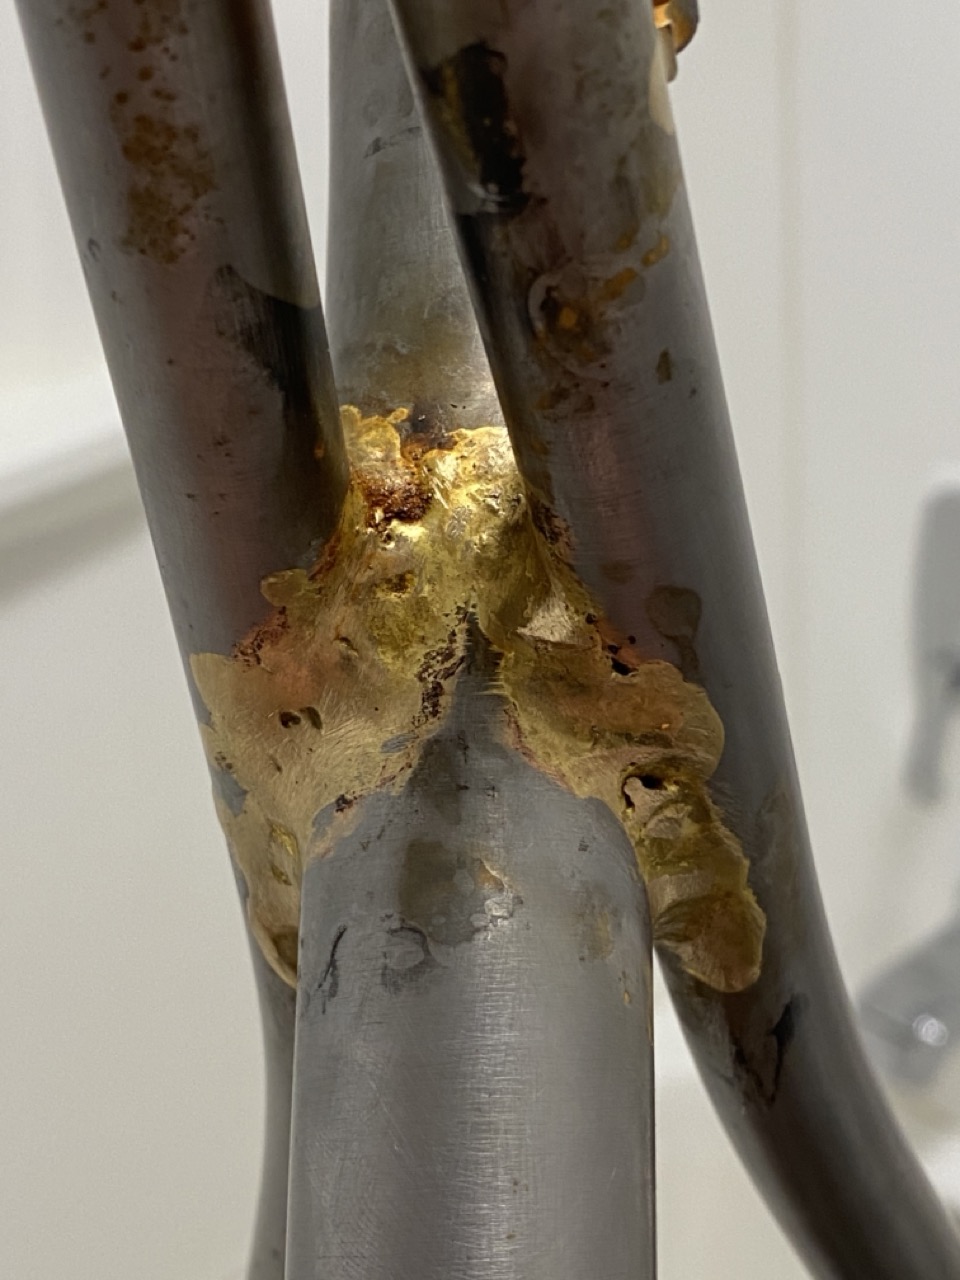
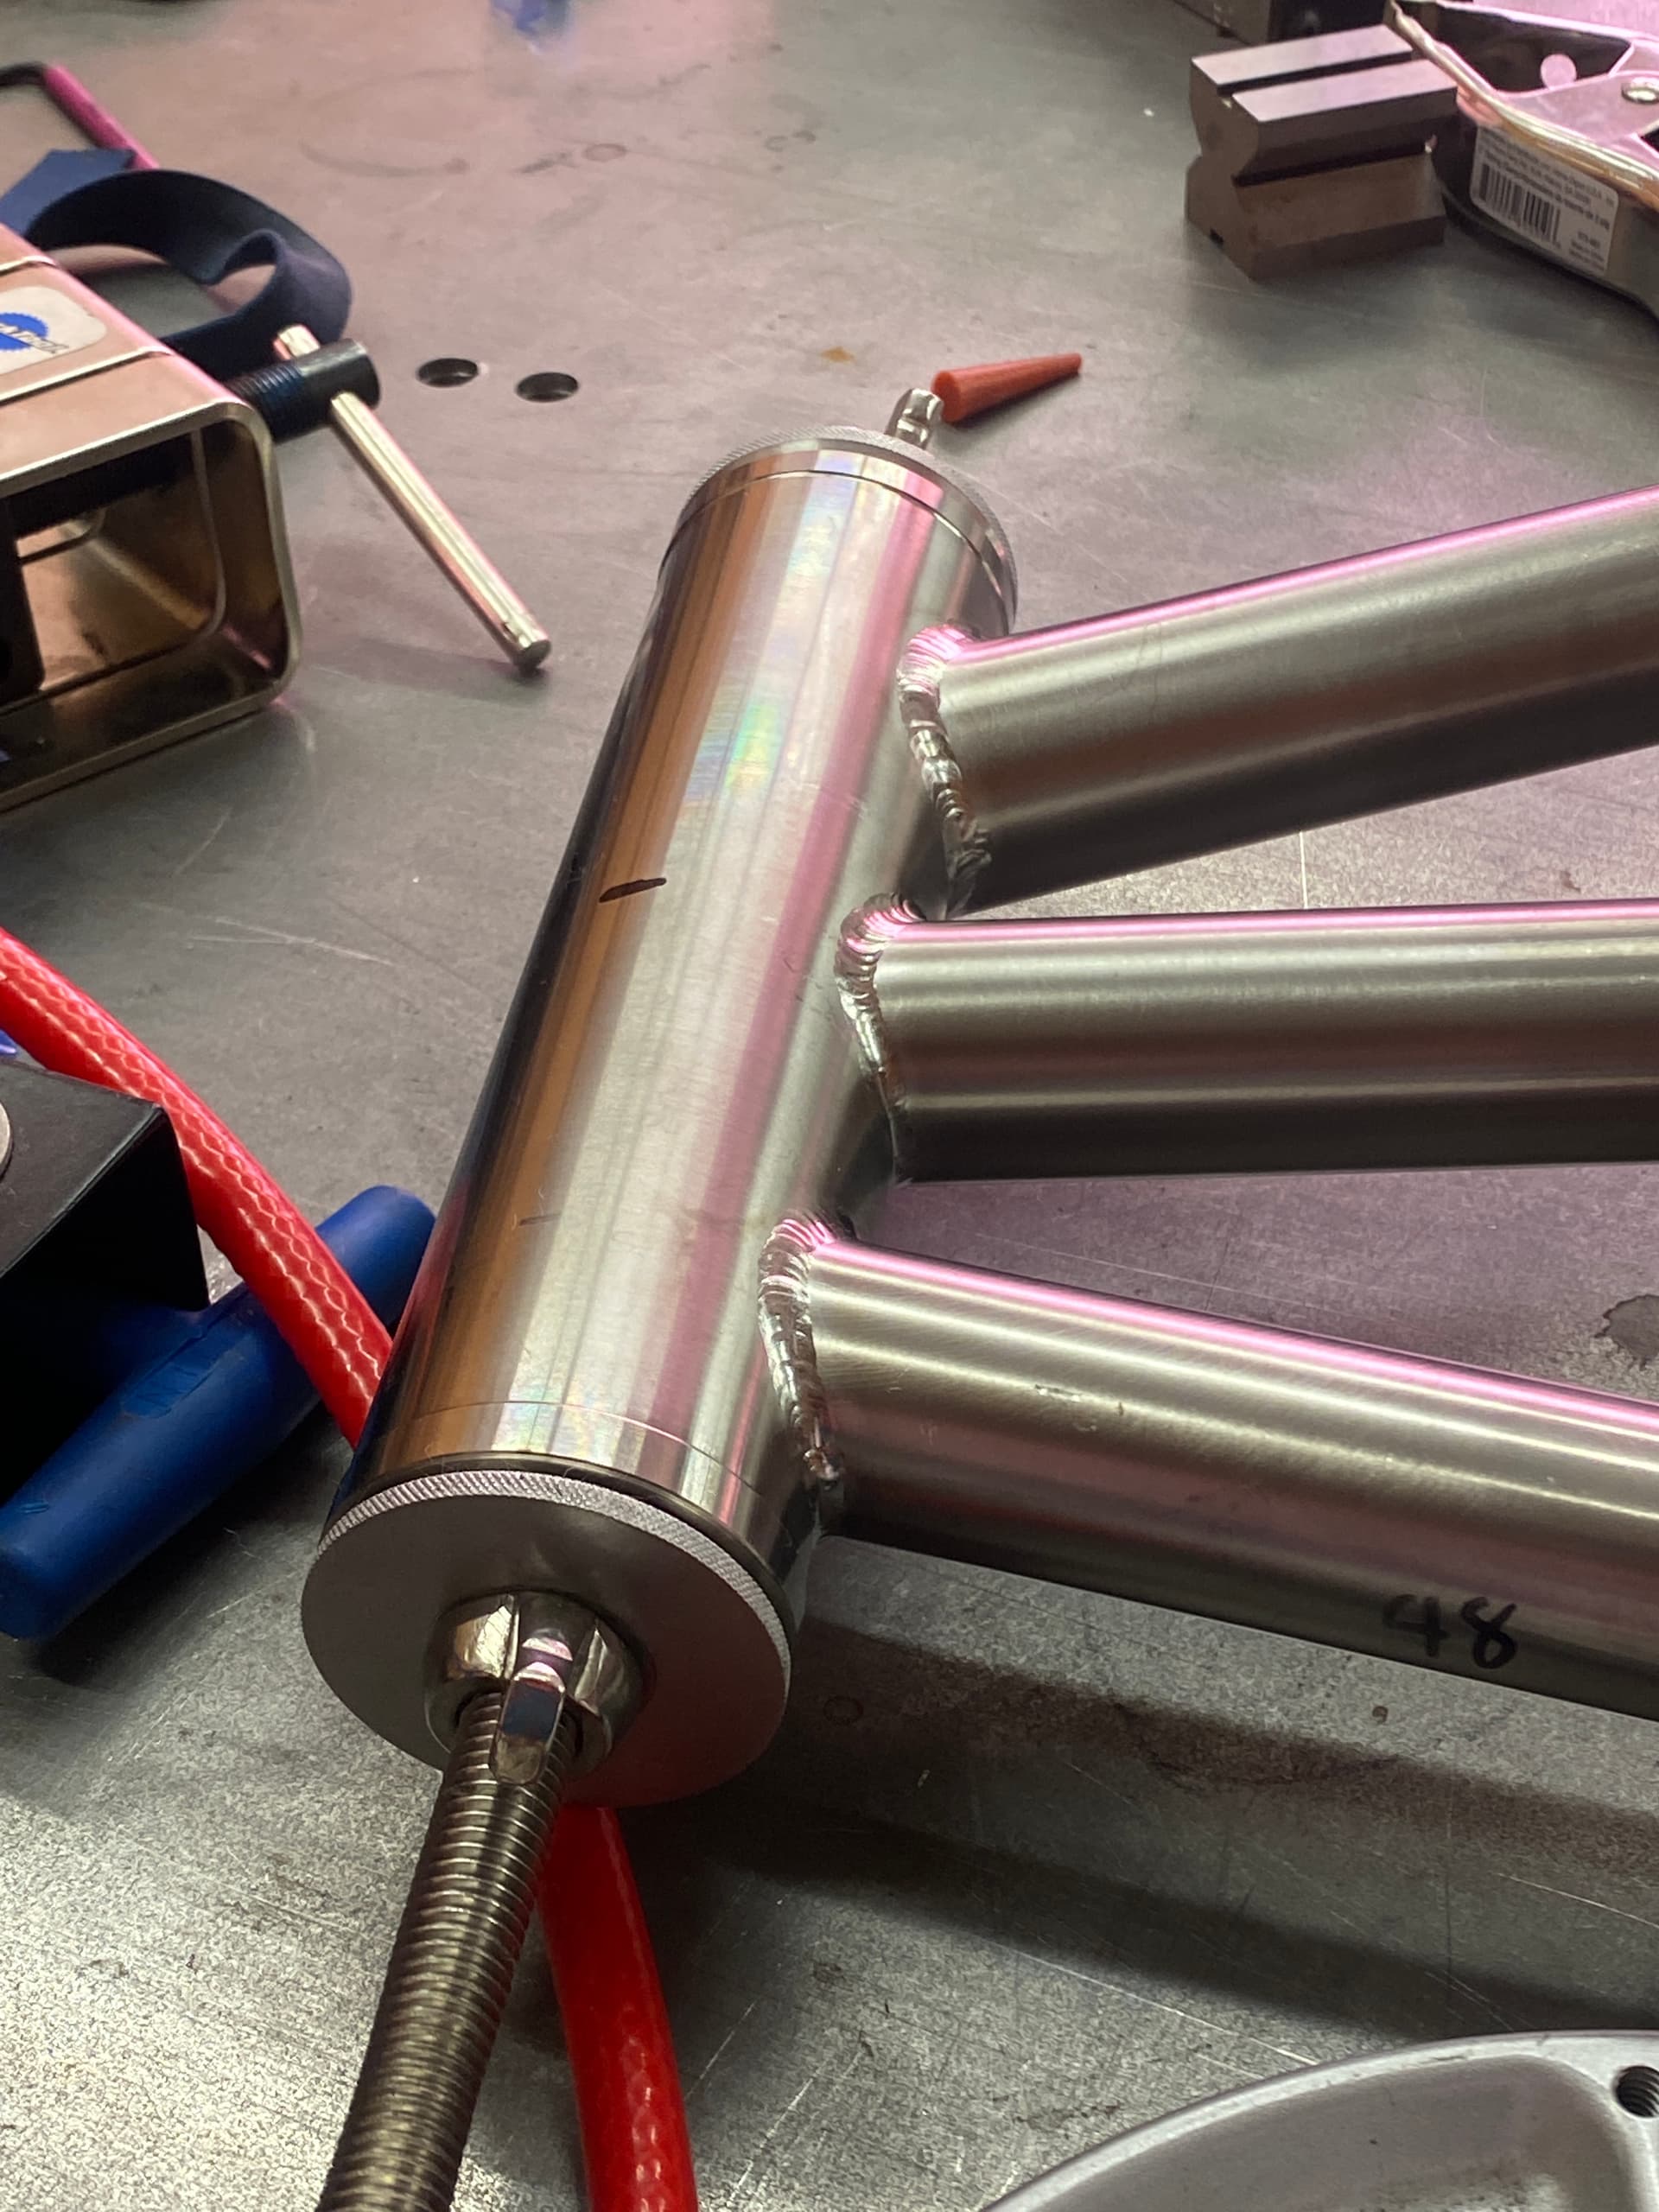
Beautiful blobby brass tree

BB/ST junction
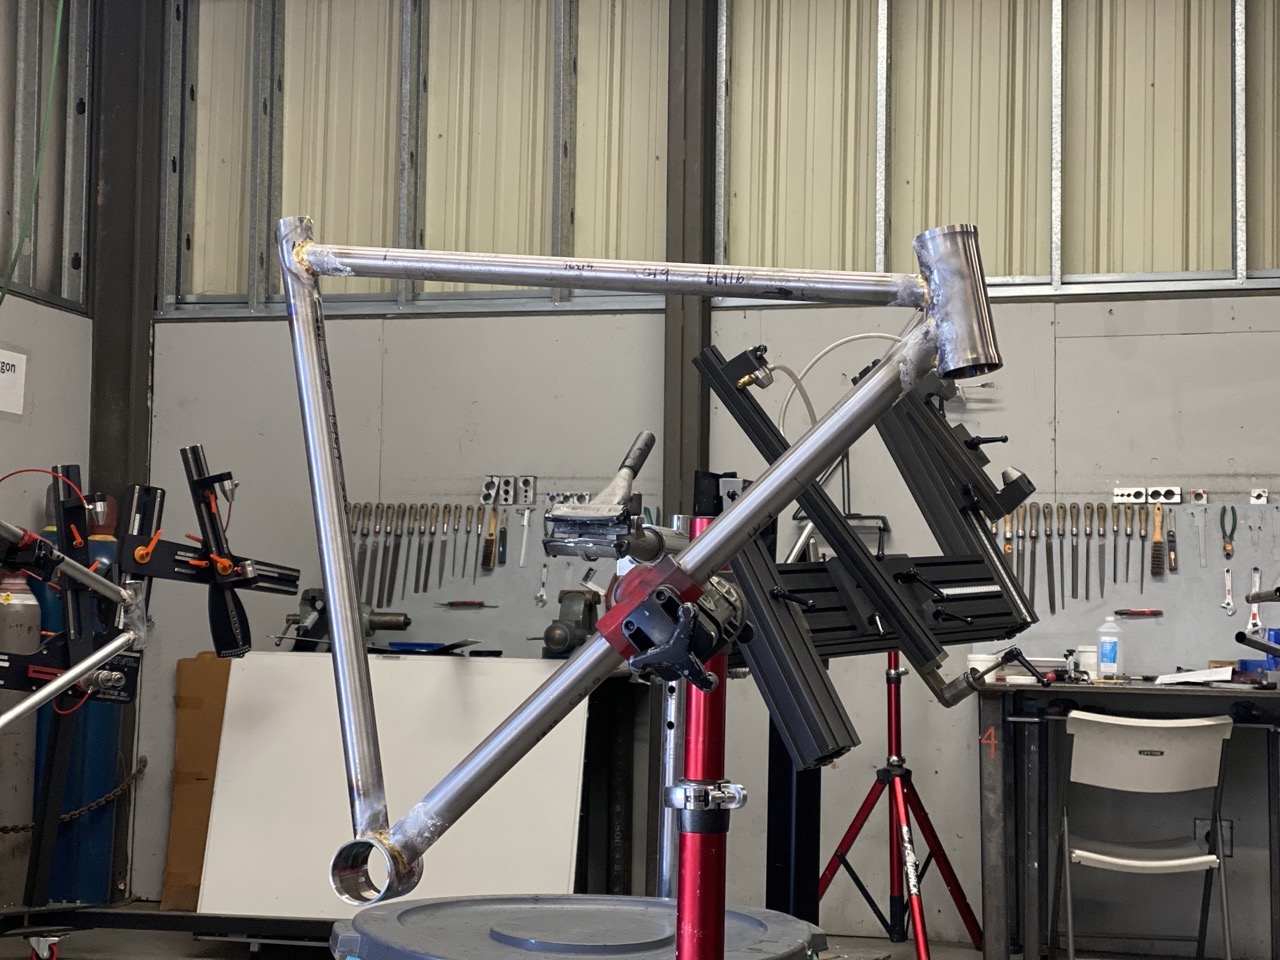
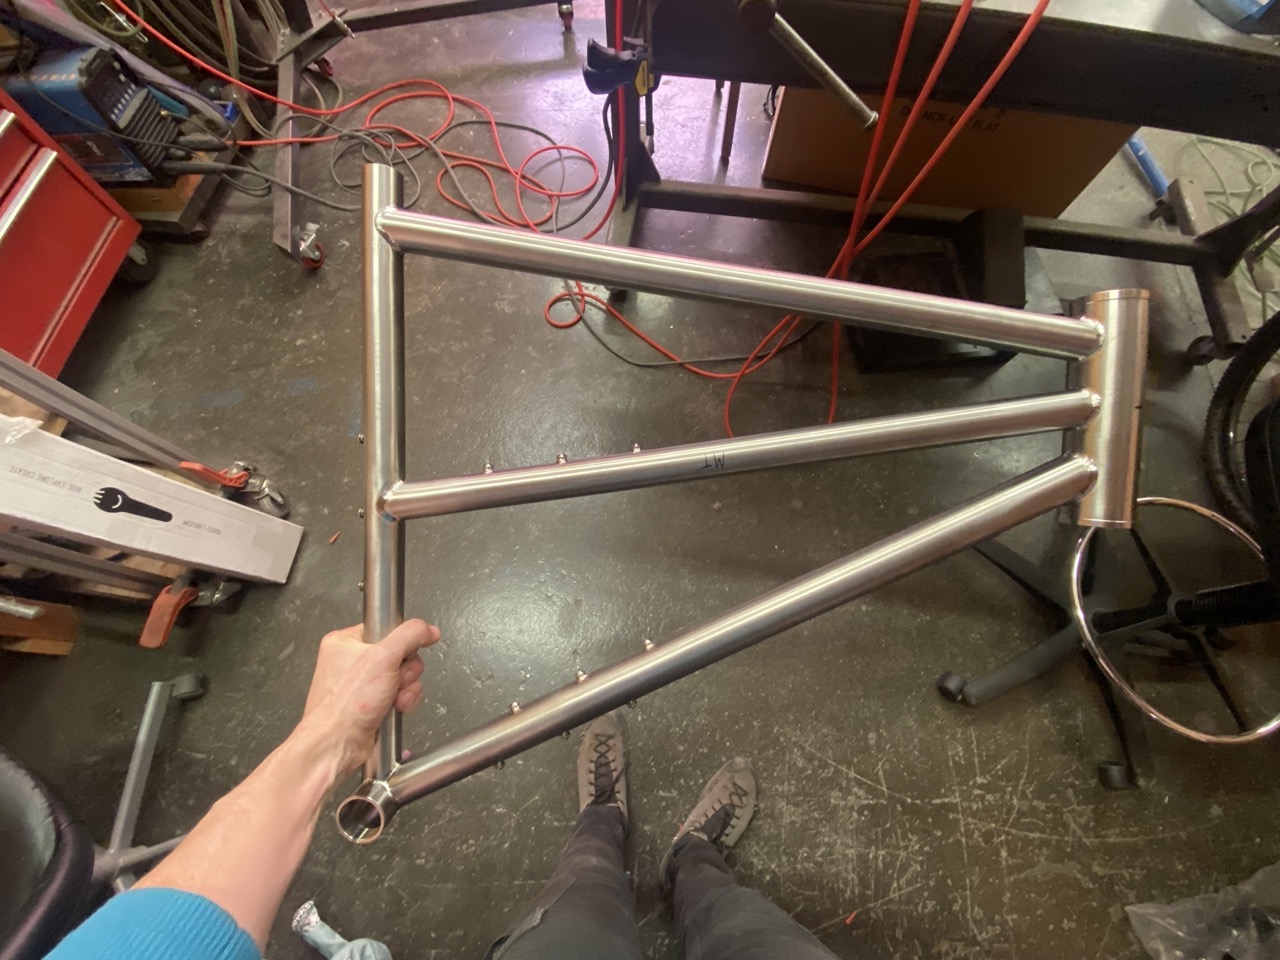
Front triangle!
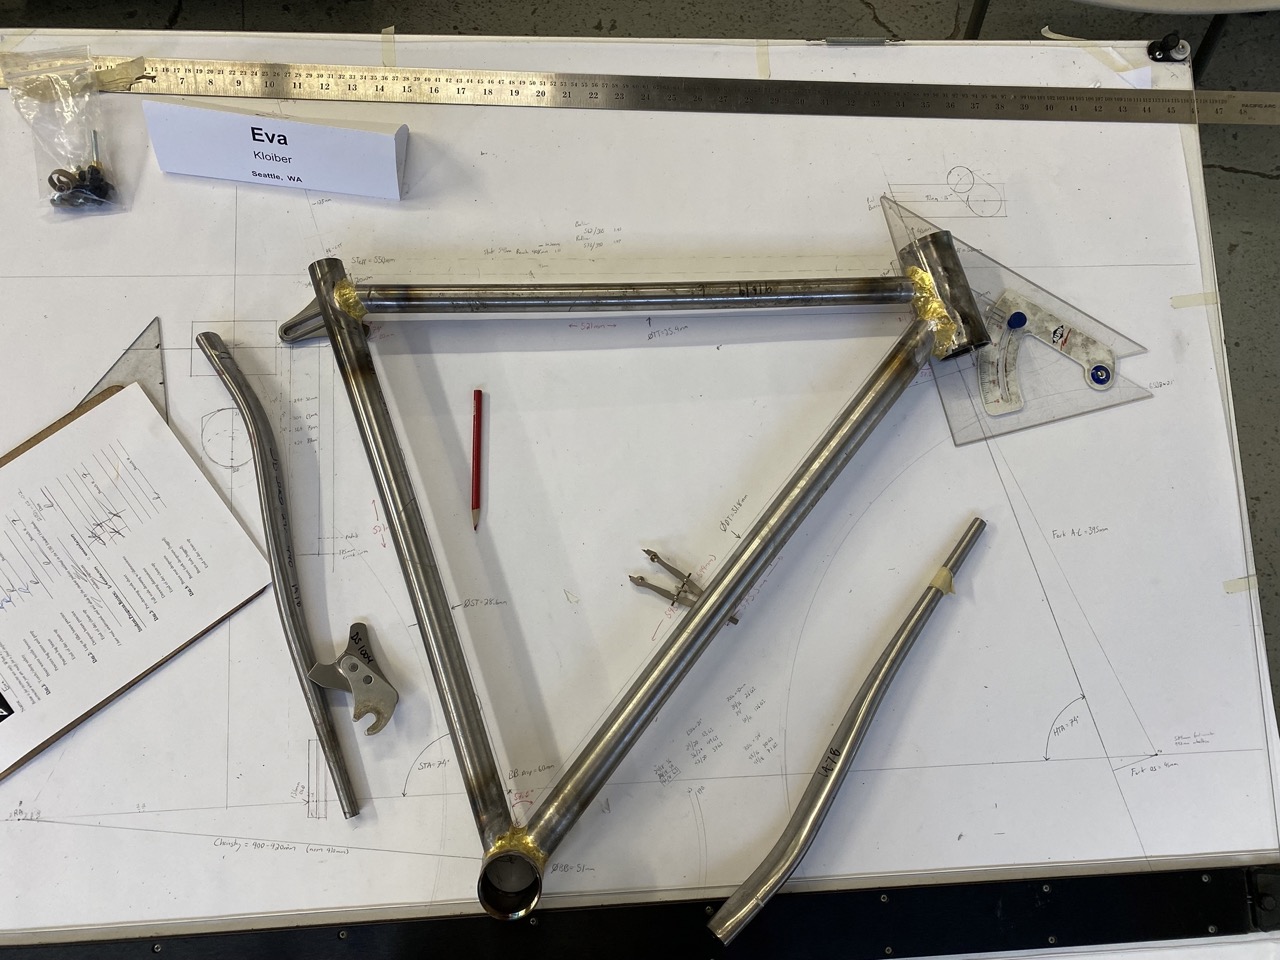
Full-scale drawing
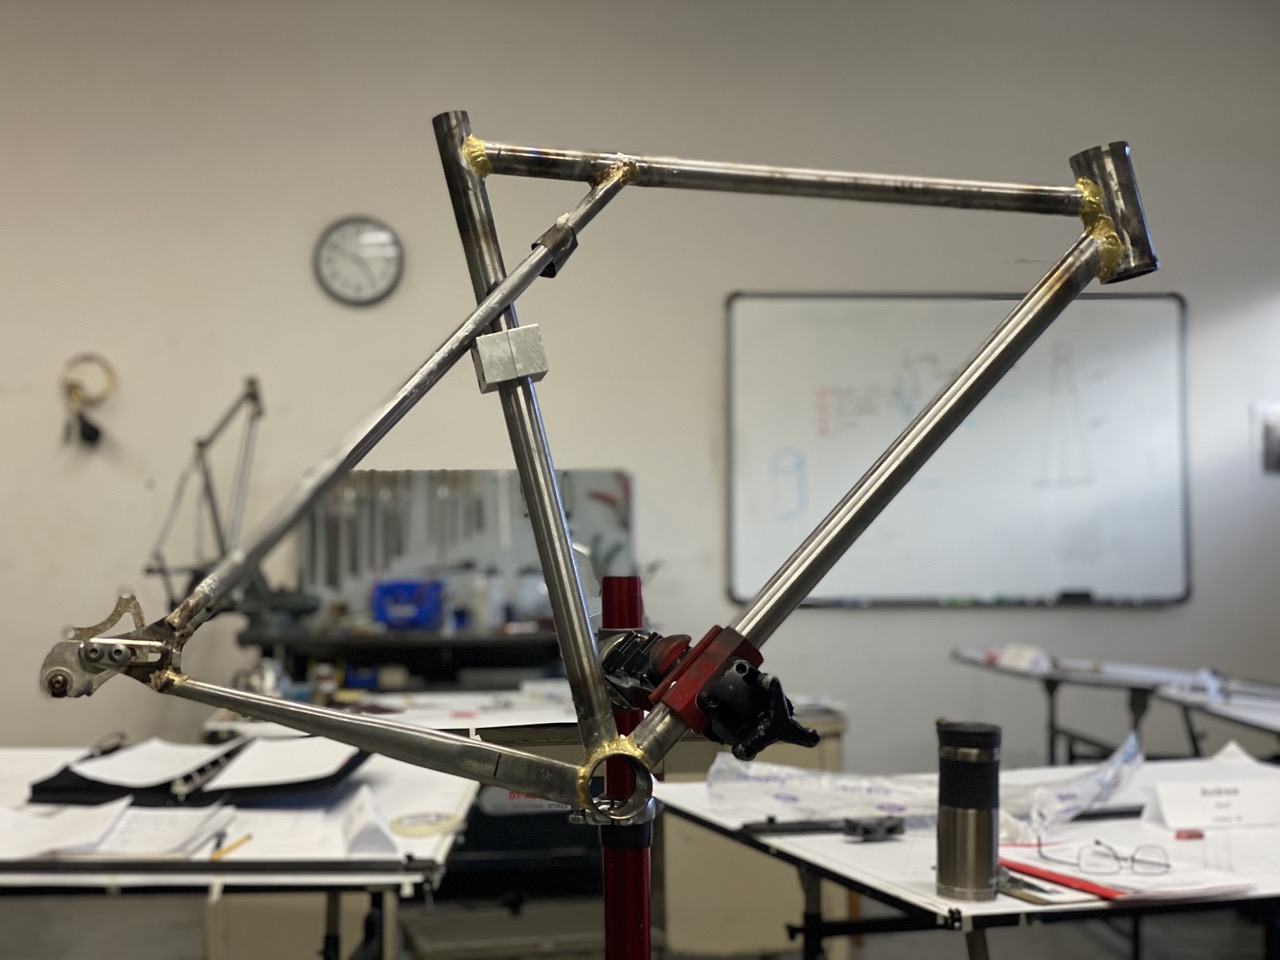
Done-ish
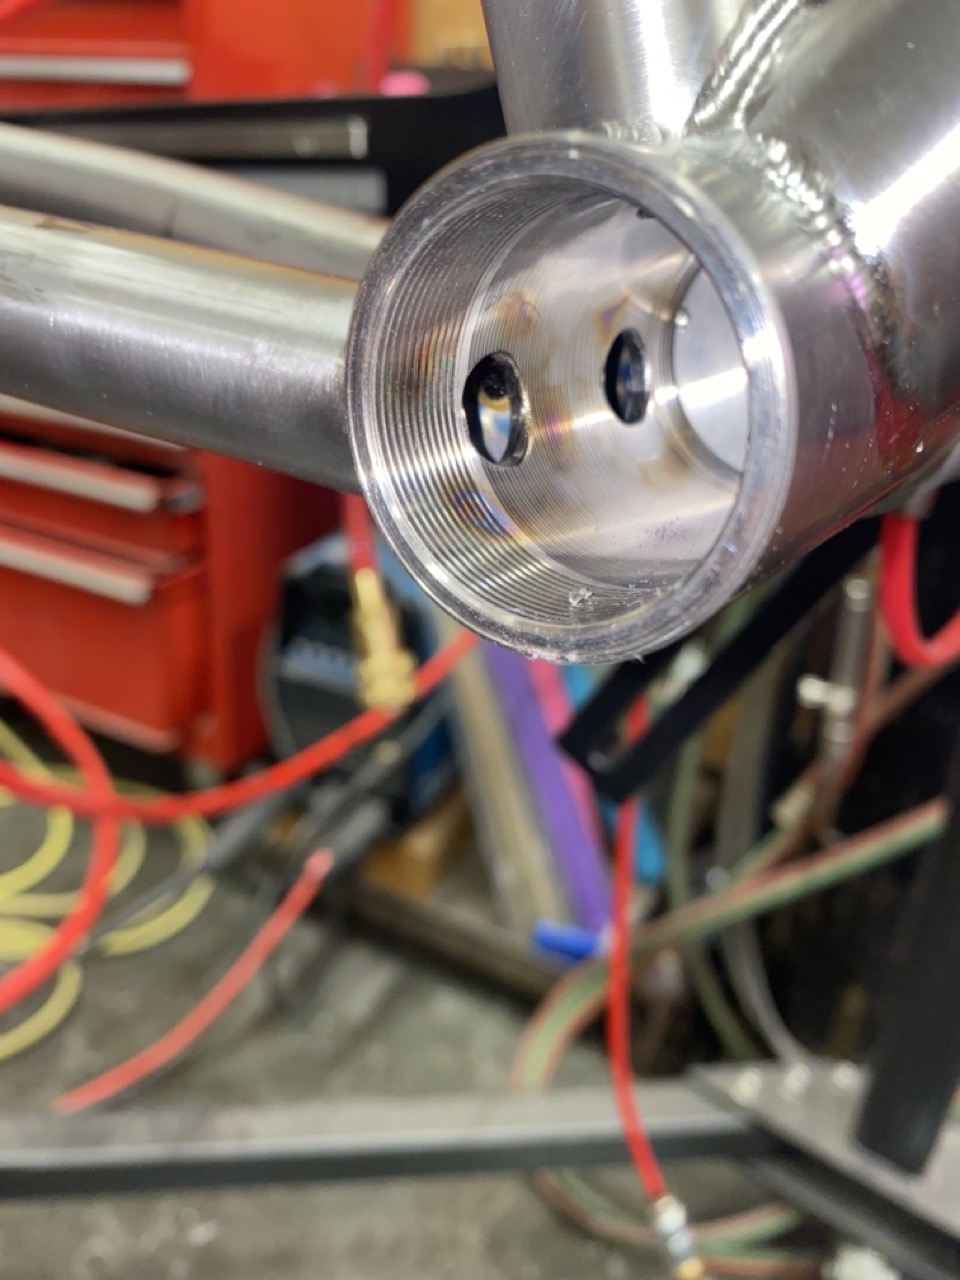
Oops…
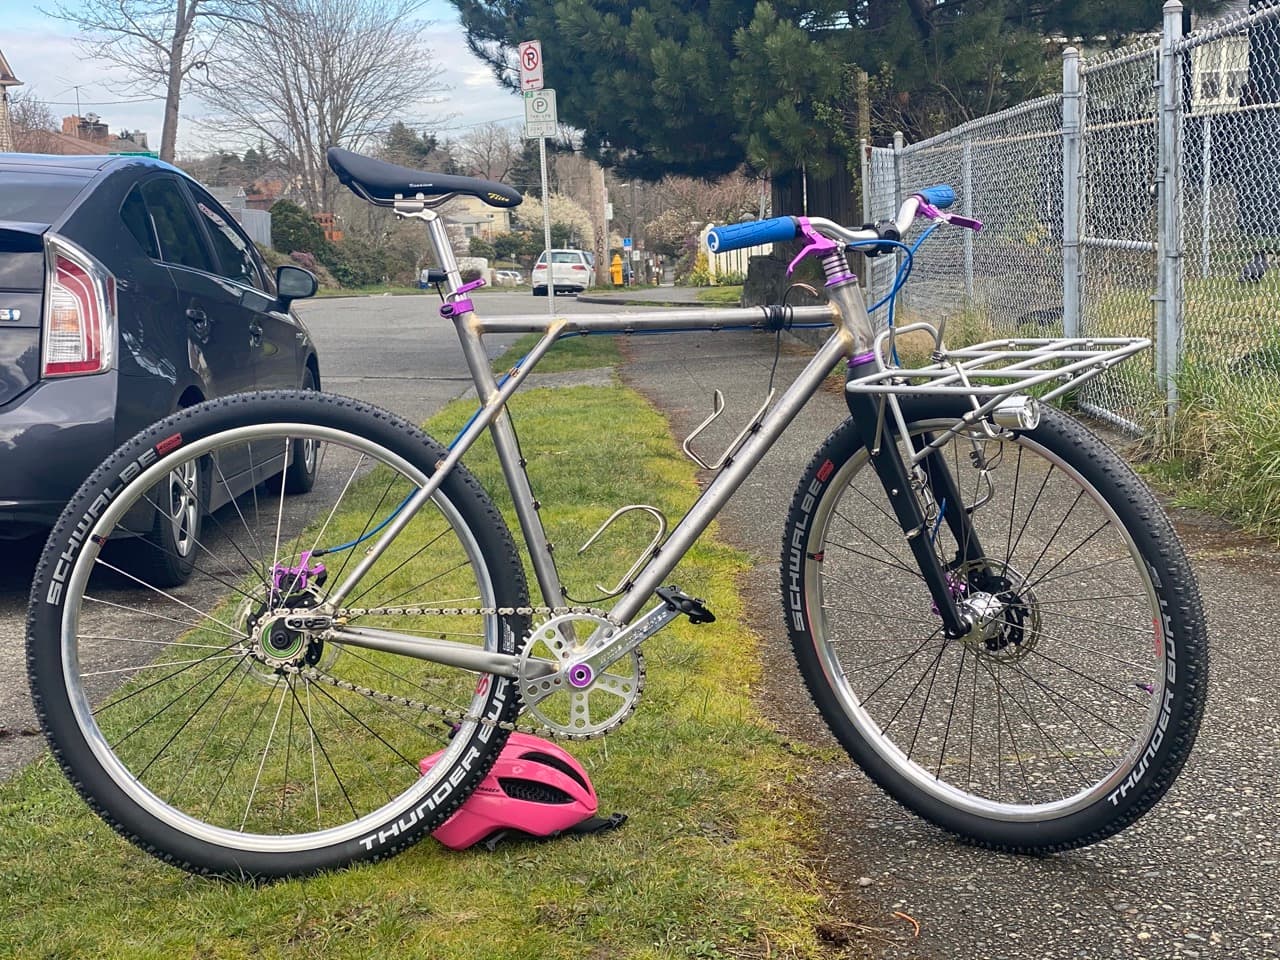
Mostly built up! Don’t mind the wonky saddle angle
The bike ended up turning out great! Super fun to ride around on - absolute delight of an urban ripper. I sold most of the components on it before moving so it’s just a wall-hanger now. Not perfect by any means - lots of pinholes in the brass and some minor misalignment, but a frame I’m excited to have started from!
3 Likes
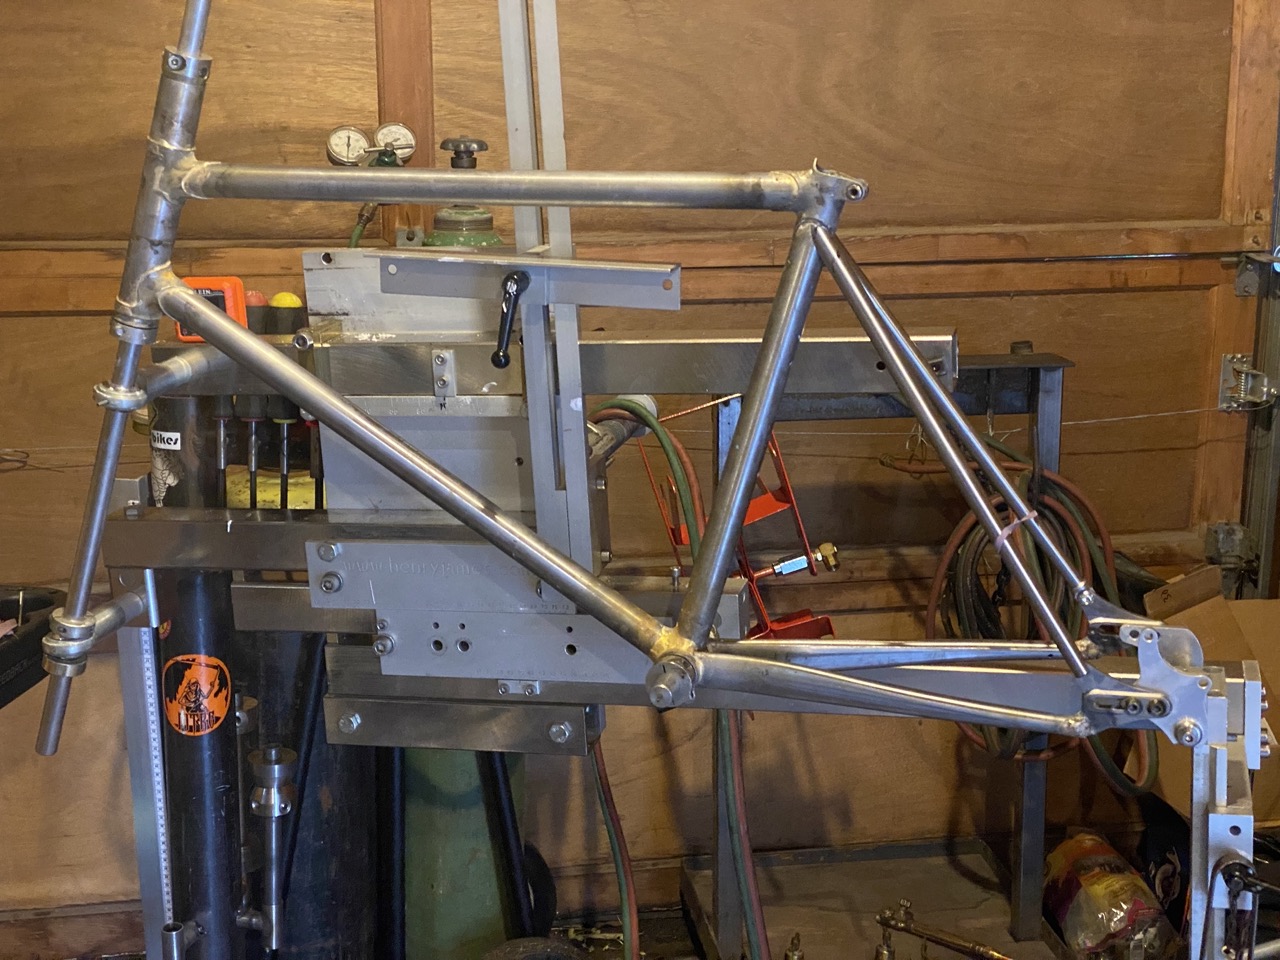
002: “Small Fellow” built in Ian’s shed, April-July 2021
There was a short-lived period after the UBI course where I thought to myself, “nah, I’ll never build another frame.” I did quickly come to my senses and started prowling Craigslist for the gear to make it happen. I was lucky to find a farmer out in rural Washington who sold me an oxy/acetylene setup for a good deal. Greg at Donkelope sold me his old Henry James jig and I was ready to rip! My buddy Ian let me use the shed behind his house to build out of. We affectionately called it “fort fire hazard” as it was ready to go up in sparks at any moment.
For frame number 2, I wanted to make a mini-velo with a belt drive and internal gearing. I’d seen some VO Neutrinos around and thought they were super cool. I also decided to do lugged construction as a way to make it look neat/weird. I notched all the tubes with printed templates, hacksaw, file - a process that made excited to look for a mill next. I used my work’s Fusion360 license to play around with modeling the frame ![]() I was still pretty early in learning how to use the program, but it was useful to get basic miter angles without resorting to a full-scale drawing.
I was still pretty early in learning how to use the program, but it was useful to get basic miter angles without resorting to a full-scale drawing.
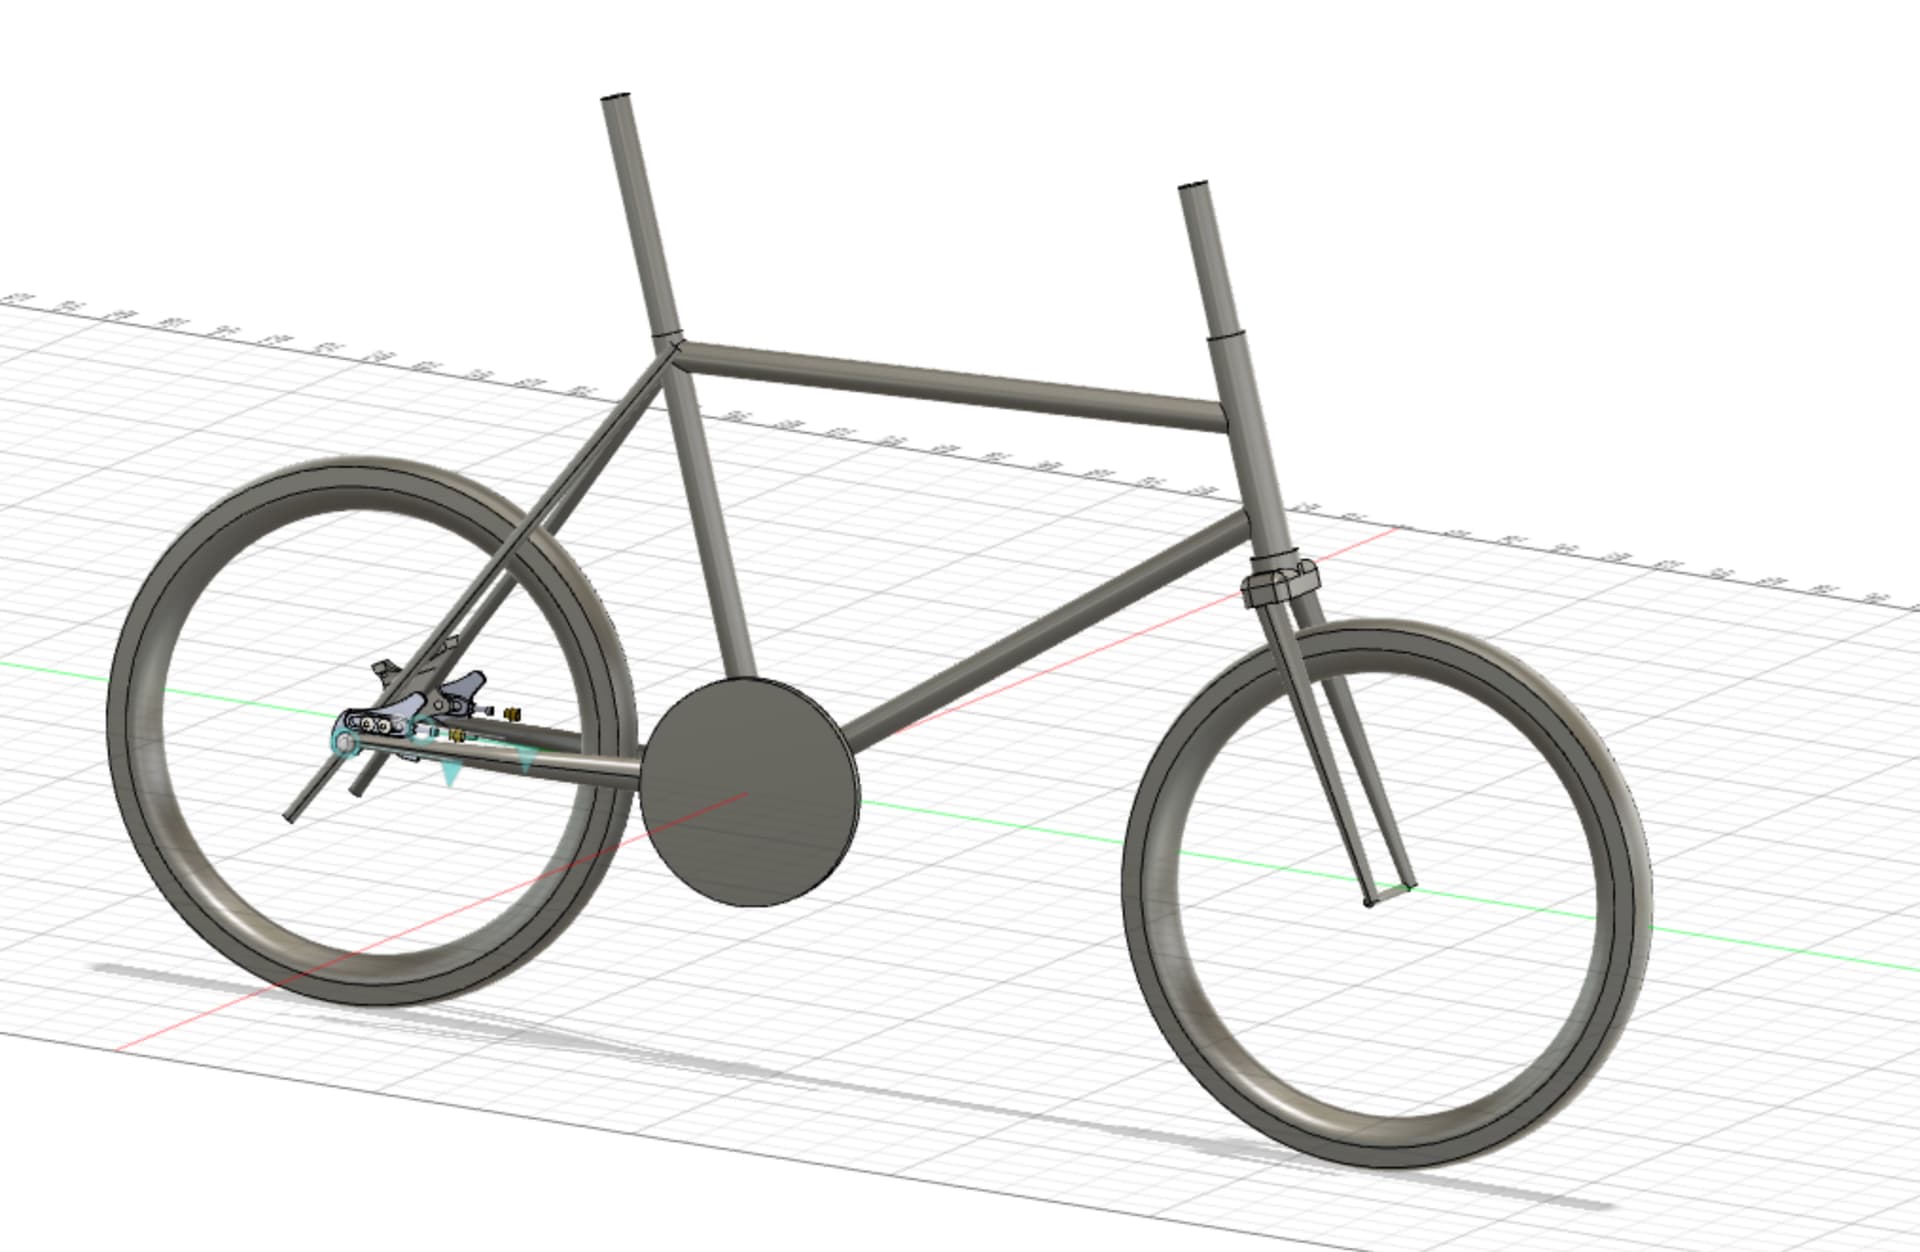
Fusion360 model
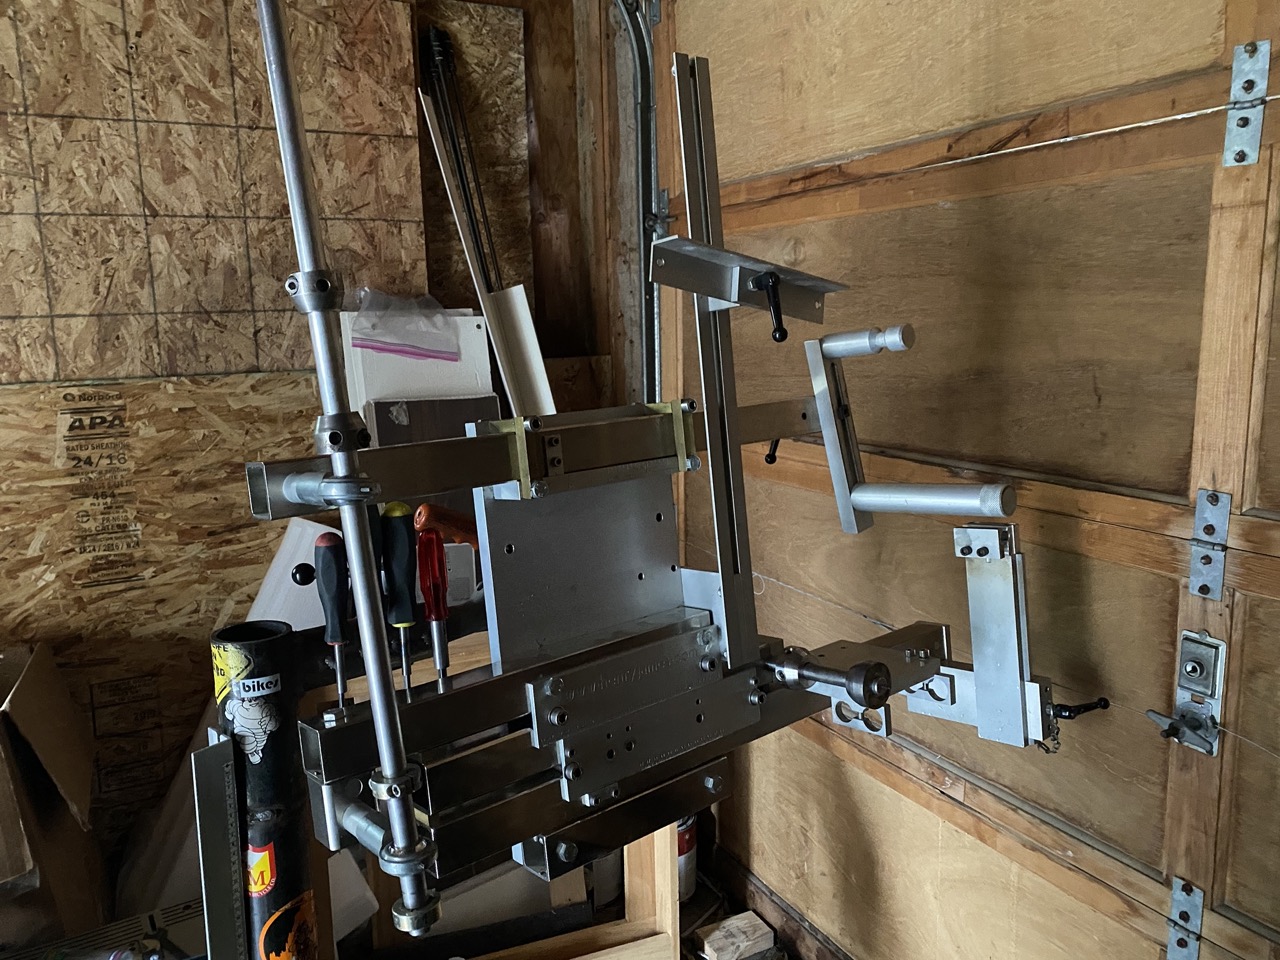
New old Henry James jig!
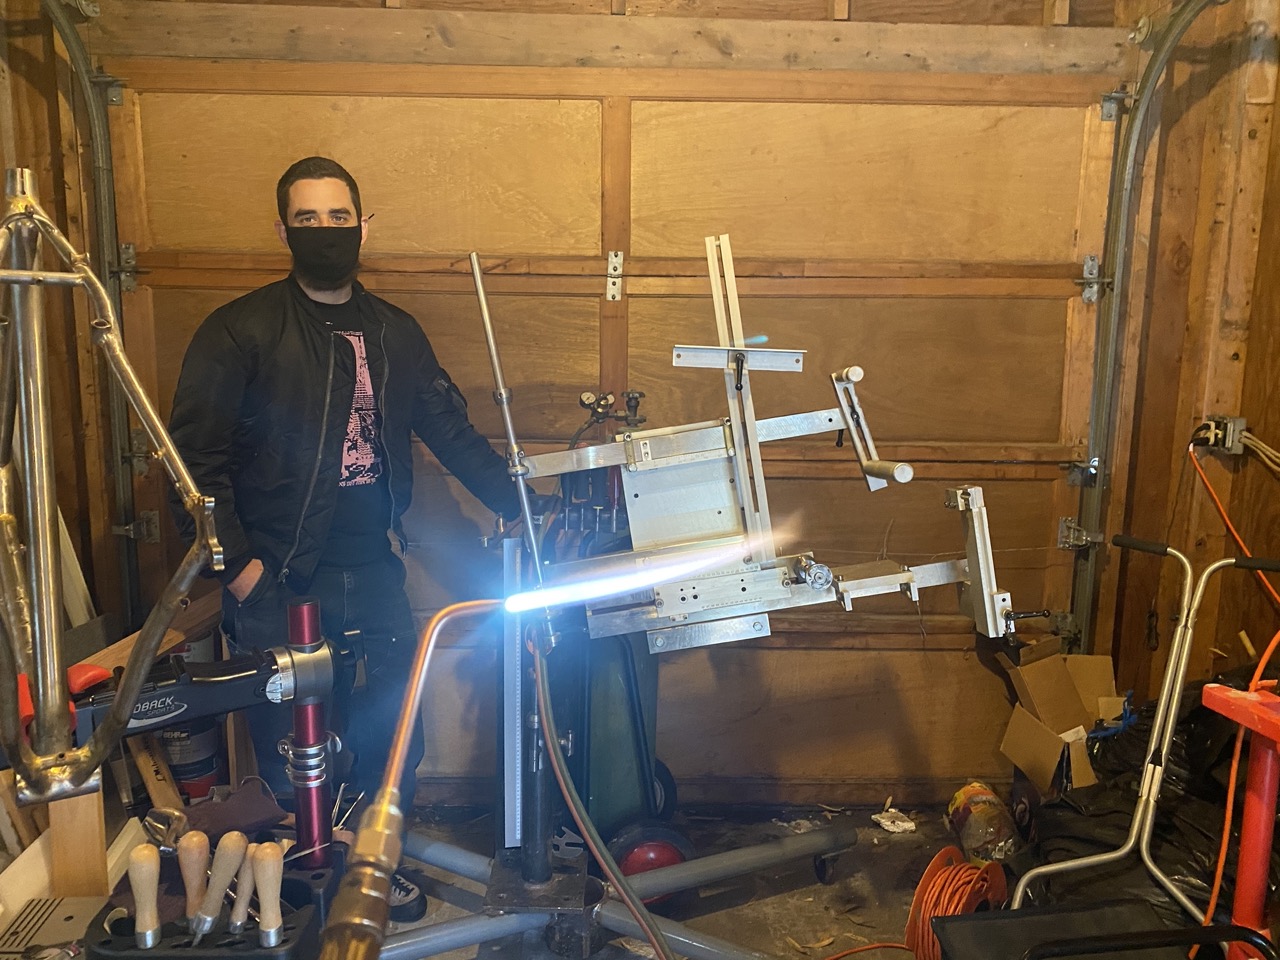
Ian in Fort Fire Hazard

Front triangle
Most of a bike
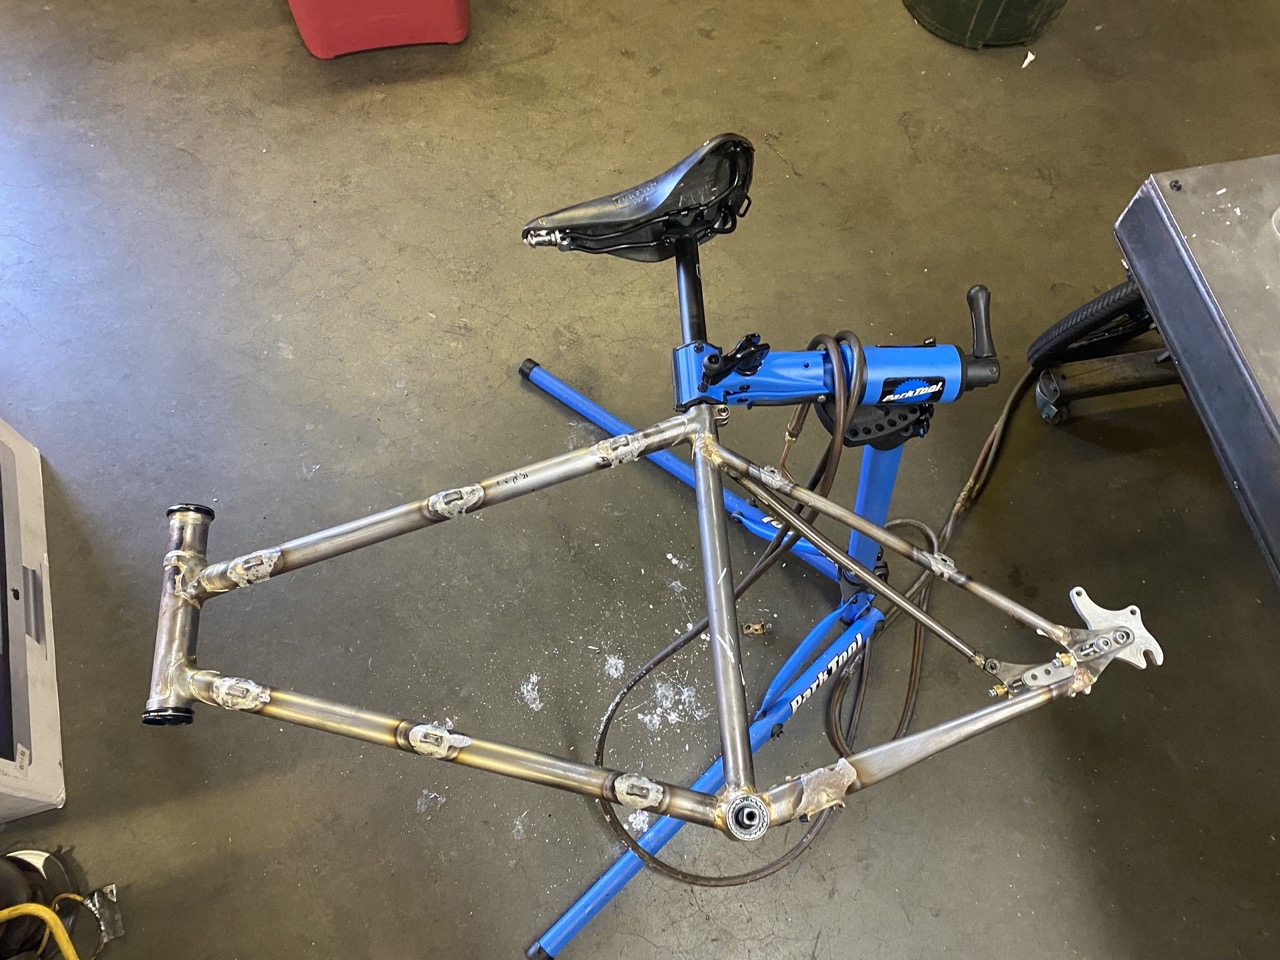
Braze-ons
Built up-ish
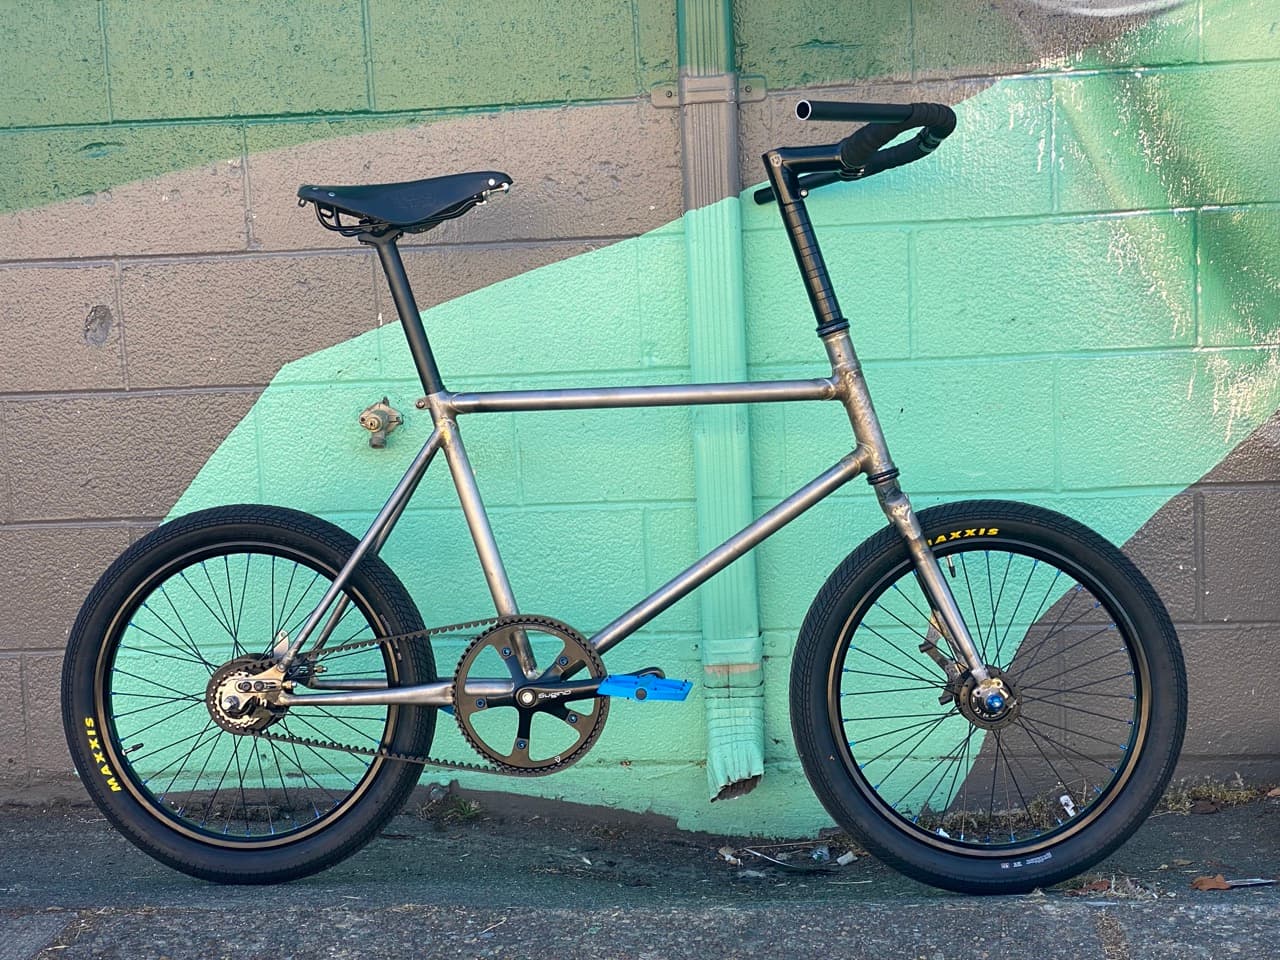
Painted!
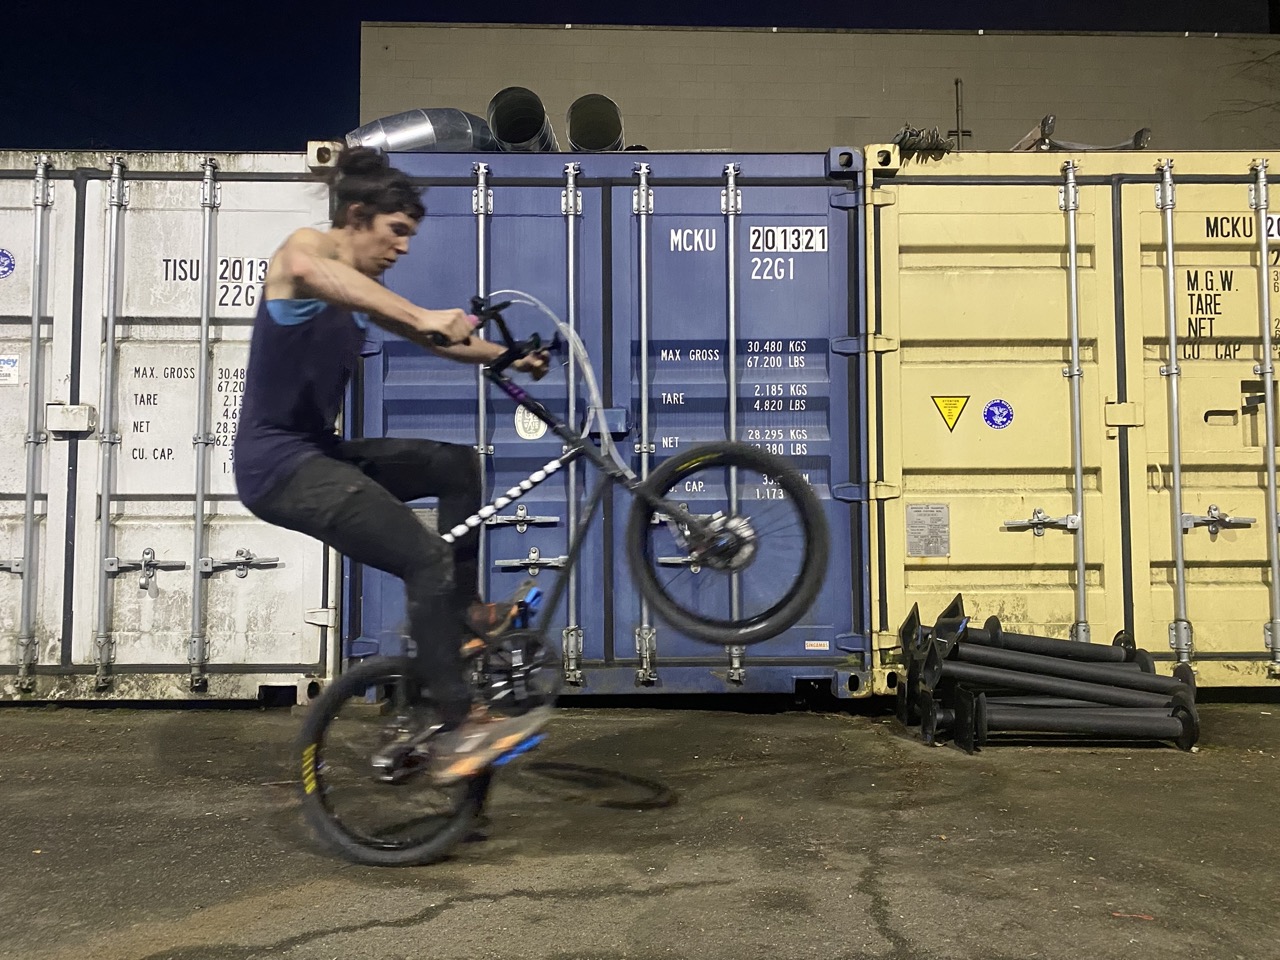
Wheelie machine
Overall, this build turned out pretty neat! It sat for about a year before I finally got around to painting it. I had forgotten that I forgot to put the seatstay brace and a few braze-ons on so there’s some big time funkiness with the cable routing and no real provision for fenders. Definitely a model I want to come back to now that I have some more experience under my belt!
9 Likes
003: “EGG” built in the Magic Touch Moped Shop July-August 2021
One frame was enough to build in “Fort Fire Hazard.” It became pretty clear that I had outgrown the space before I had even gotten started. Finding affordable shop space in Seattle was not an easy feat - I had my eyes peeled on Craigslist, Facebook, and every email group I could think of for months before finding a lead. I finally landed in a shared shop in the Magic Touch Mopeds building. I shared immediate space with folks doing motorcycle chassis fabrication. Around the corner was a wood shop used mostly by boat builders and of course the aforementioned moped shop. There was also Bob, who ostensibly had shop space there, but would mostly come in and chat your ear off about trains.
I also managed to scrounge up a 70s-era Jet mill. It was pretty mediocre at most things, but it was mine. A pretty nice size for a small builder, more compact than a full 36" bed and still fairly rigid.
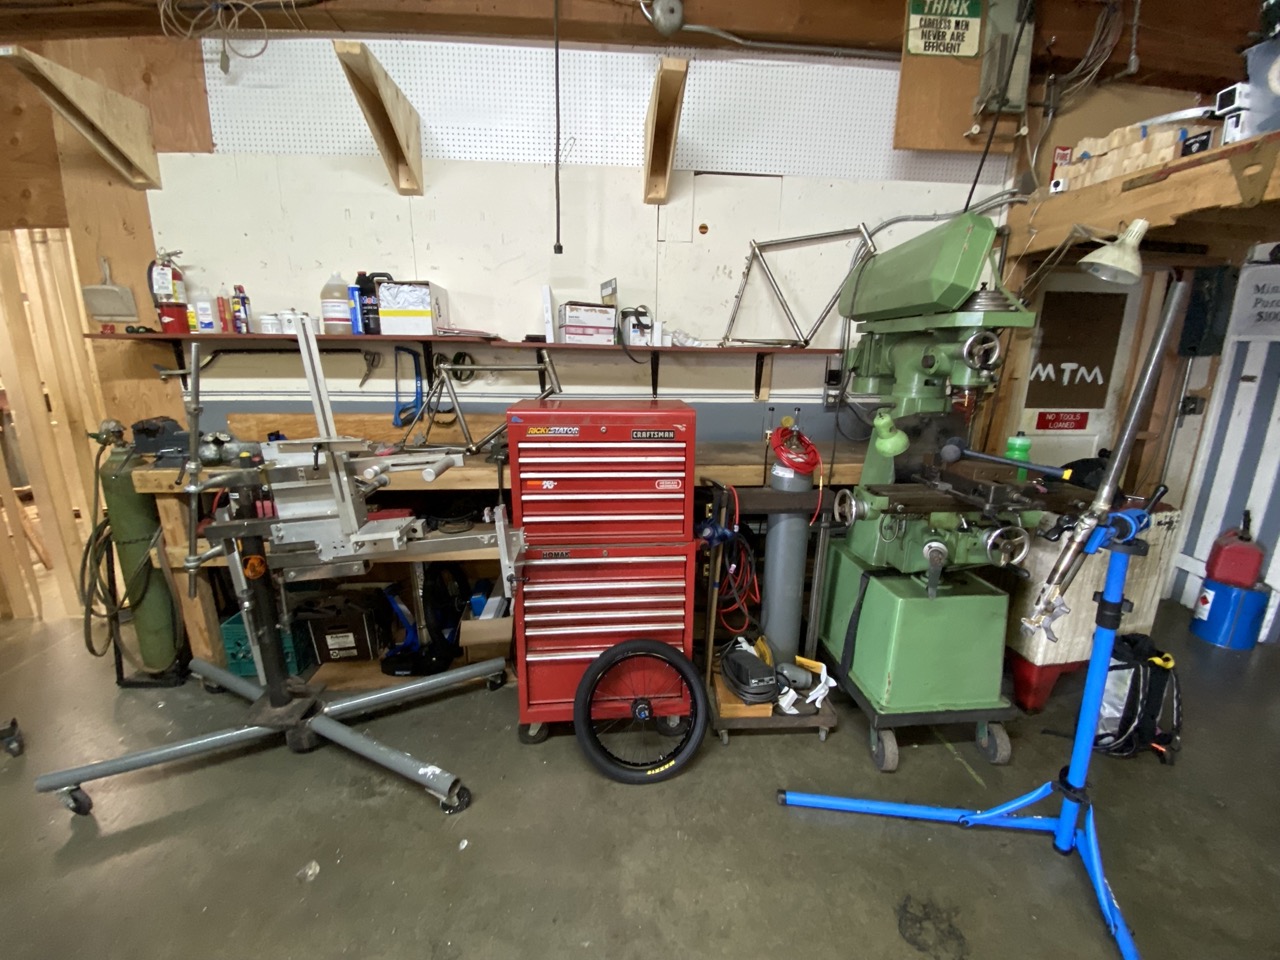
New shop space!
For frame #3 I decided to do an “aggressive” gravel bike. I took the specs from the Salsa Warbird and the Evil Chamois Hagar and met in the middle. This bike was inspired by my rides in the Capitol State Forest outside of Olympia, WA.

Fusion360 model
I decided to do a lot of new things with this frame - internal routing through the down tube, tapered head tube, and a custom chainstay cutout. It was a pretty bad idea to do all of these at once - I don’t think I did any of them well, but I sure learned a lot about what not to do. I ended up cooking the head tube pretty good and it was just too thin after reaming. I swapped it out for another tapered head tube with a slightly thicker wall which worked out better.
Custom chainstay cutout
Seems fine
Tubes in tubes in tubes
It’s a frame
Built up!
I feel really good about how this frame ended up riding. Felt just like the bike I was looking for and I can’t wait to dig it out of storage soon and go rip it again! There were a few finish issues that I learned from - lots of pinholes that appeared after powder coating and some uneven finish filing on the brass fillets. I am also a bit bummed that there’s not much clearance to the seat stays. I didn’t have a bender yet so I had to work within the constraints of stock tubing. Also after having to swap out hydro brakes twice, I don’t think I’ll do internal routing again on a personal bike.
3 Likes
Frame 006: Unnamed Hardtail built at the final UBI Framebuilding class ![]() December 2021
December 2021
Frames 004 & 005 were ultimately scrapped, victims to me self-teaching TIG. I got really fed up with finish filing after frame 003 and decided to turn to the dark arts of zips & zaps. Scrounged up an old Miller and got to work making a lot of mistakes. Around this time, I was also considering the pros and cons of turning this hobby into an actual business. I figured if I wanted to do custom work and maintain a healthy margin then titanium welding would be a good skill to have. I hopped on the waitlist for the UBI Ti class and crossed my fingers.
As luck would have it, I got in! It was great to get to spend more time in Ashland, although the weather was never ideal for riding while I was there. Ended up hanging around town and met a few locals who proved to be great connections later on. I think that returning to a framebuilding class was much more useful than going the first time. I had a better grasp on the basics and was able to ask more informed questions to the instructors. Mike DeSalvo was a wonderful co-instructor and always had a lot of great input.
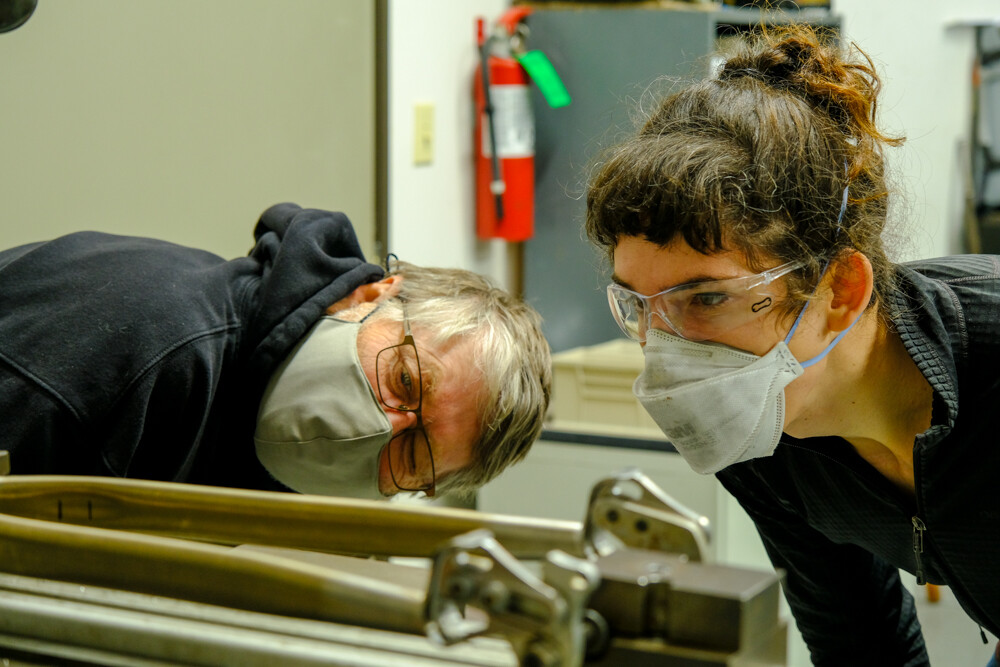
Ron & I looking at chainstays
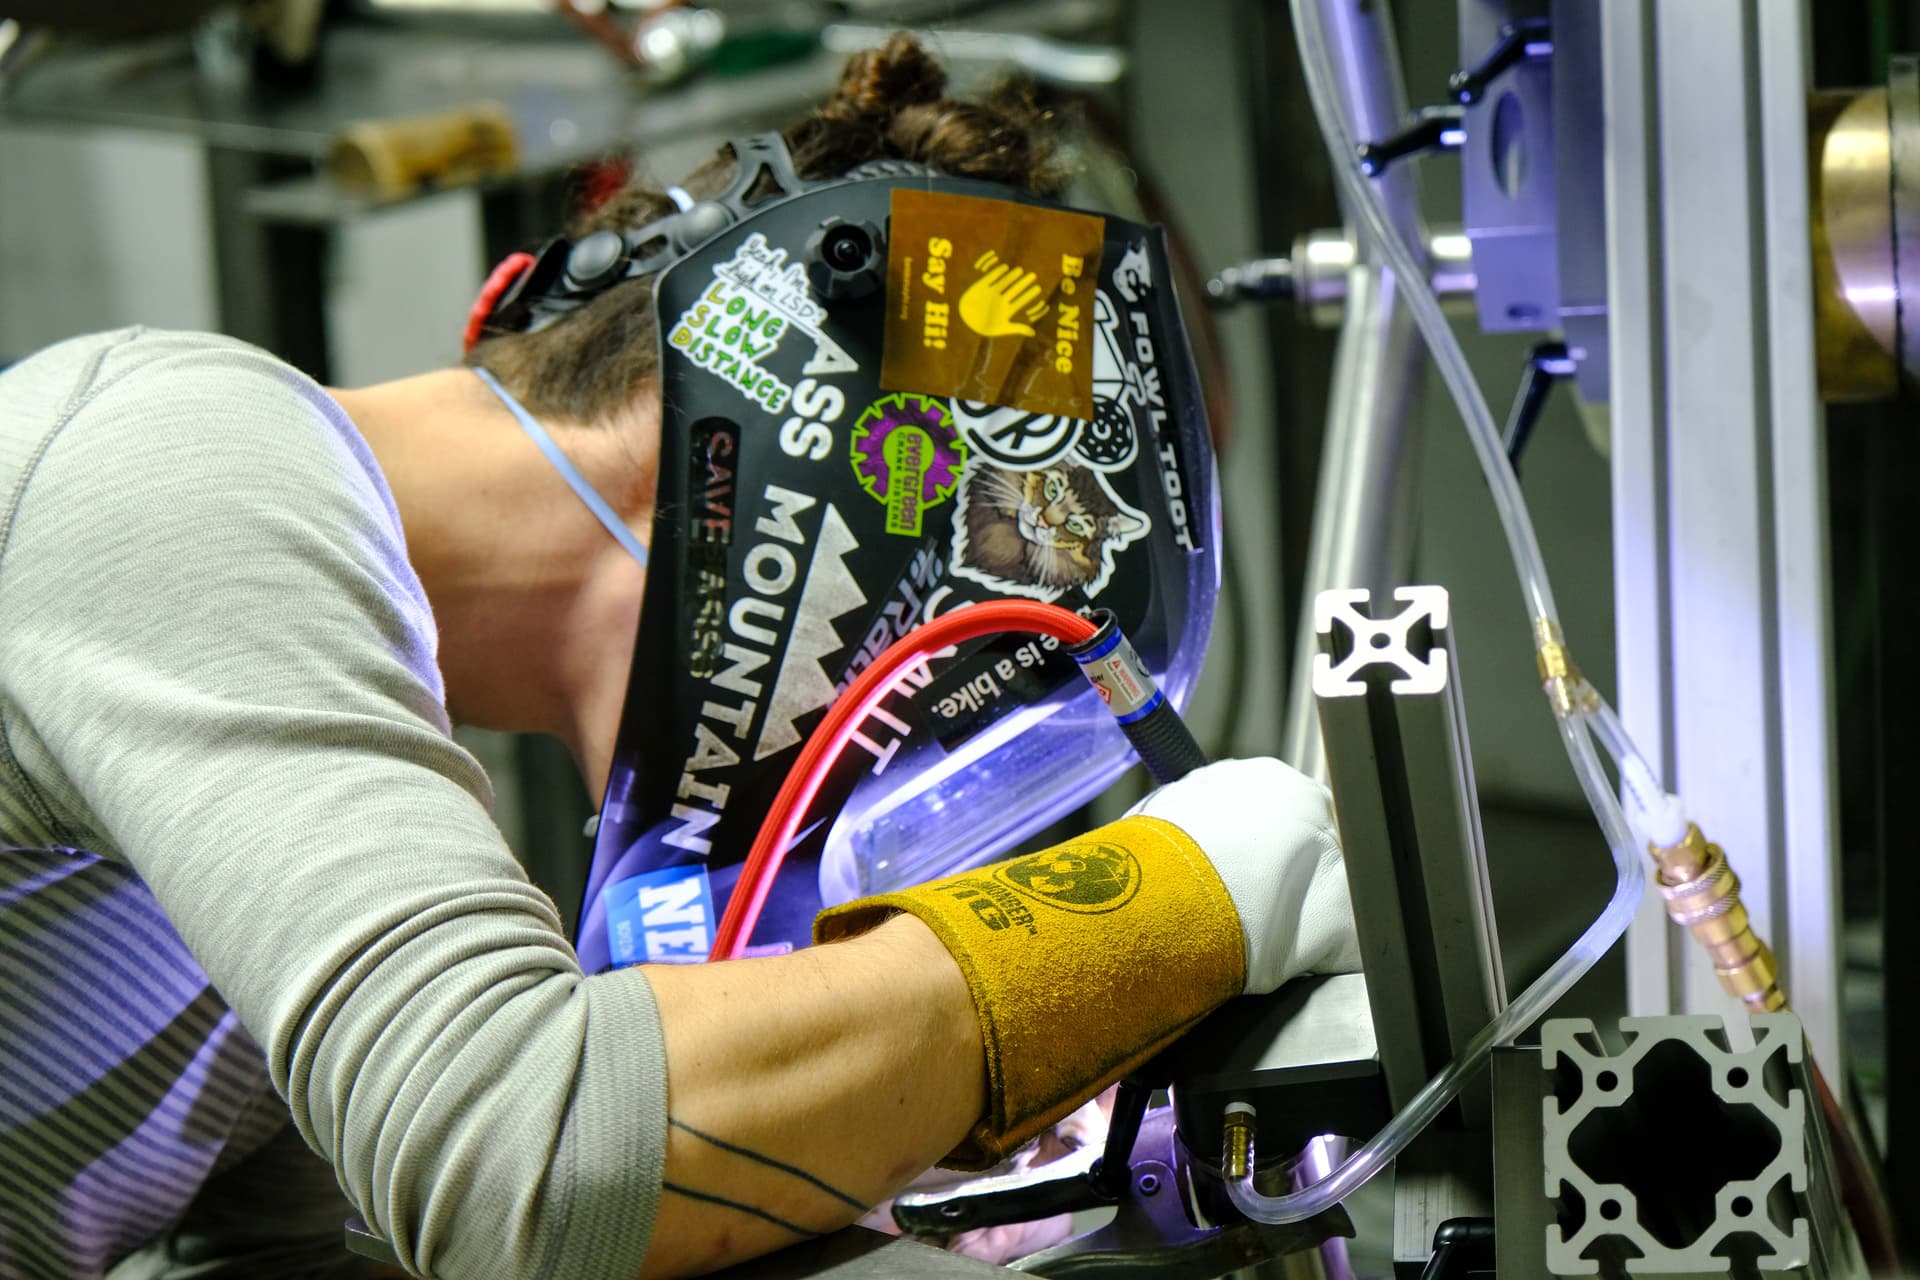
zip zap

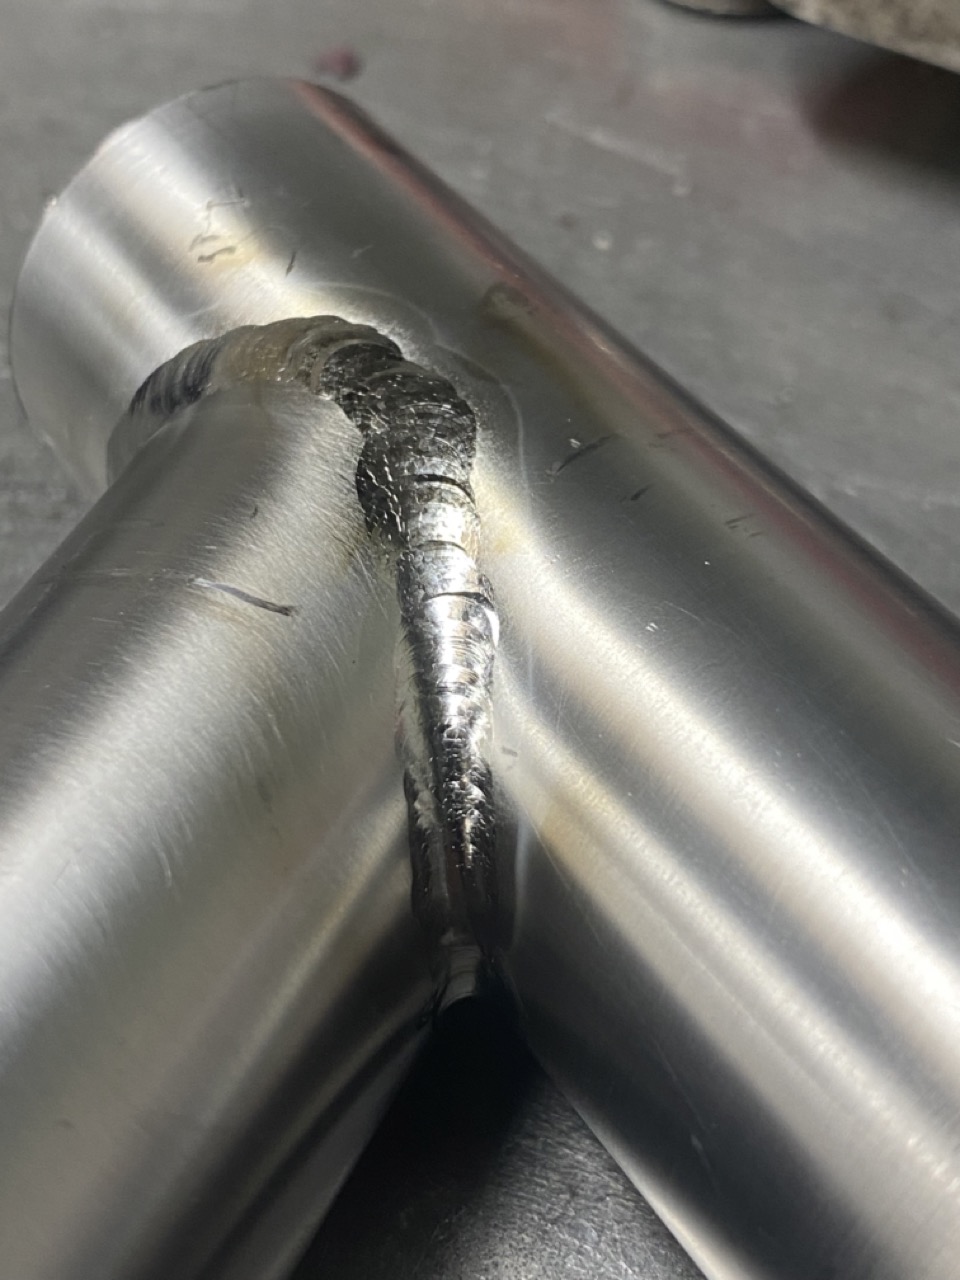
Made a lot of triangles
Getting there!
Turns out that welding Ti is really fun! The bead is way more “floaty” than steel and it is a lot harder to punch through. Obviously it does require a great deal of care as far as prep & process goes, but if that’s all done to spec, the actual welding is usually quite smooth.
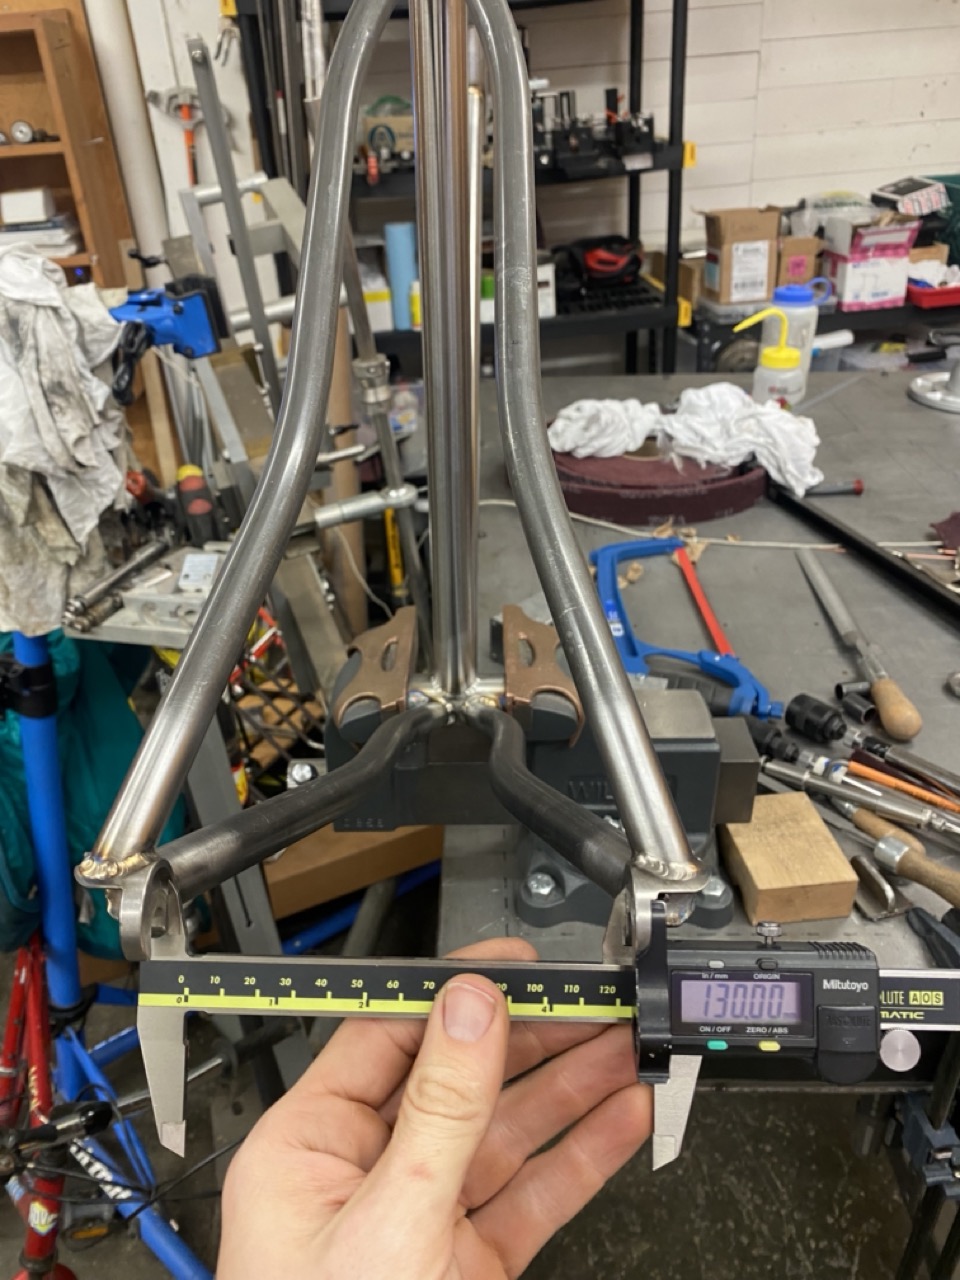
For this class, I built up a 27.5" hardtail. Nothing too wild - 140mm travel with a 65º HTA. I did aim for a relatively low BB height of 300mm just to spice things up a bit.
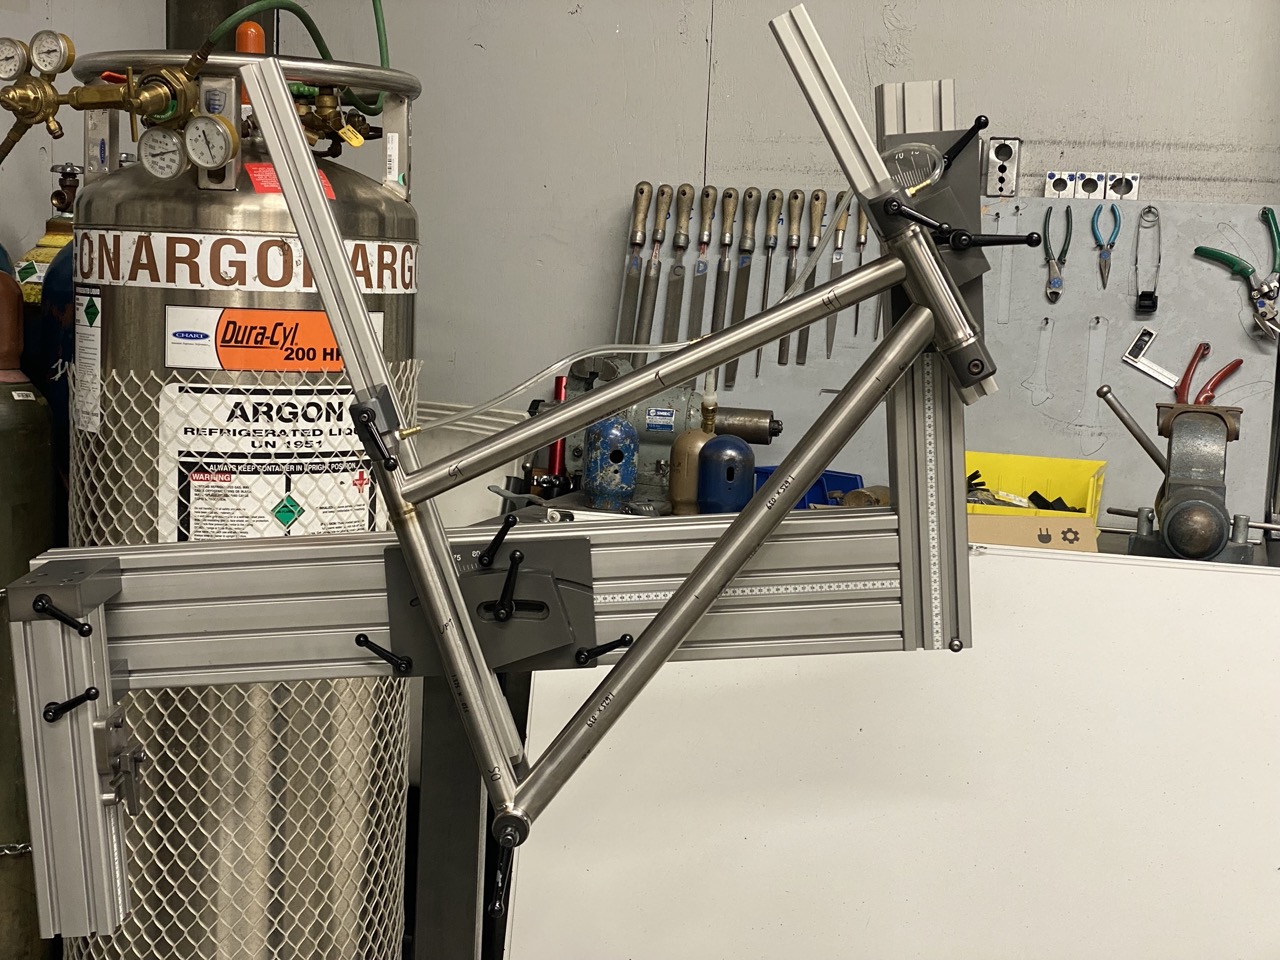
In the jig
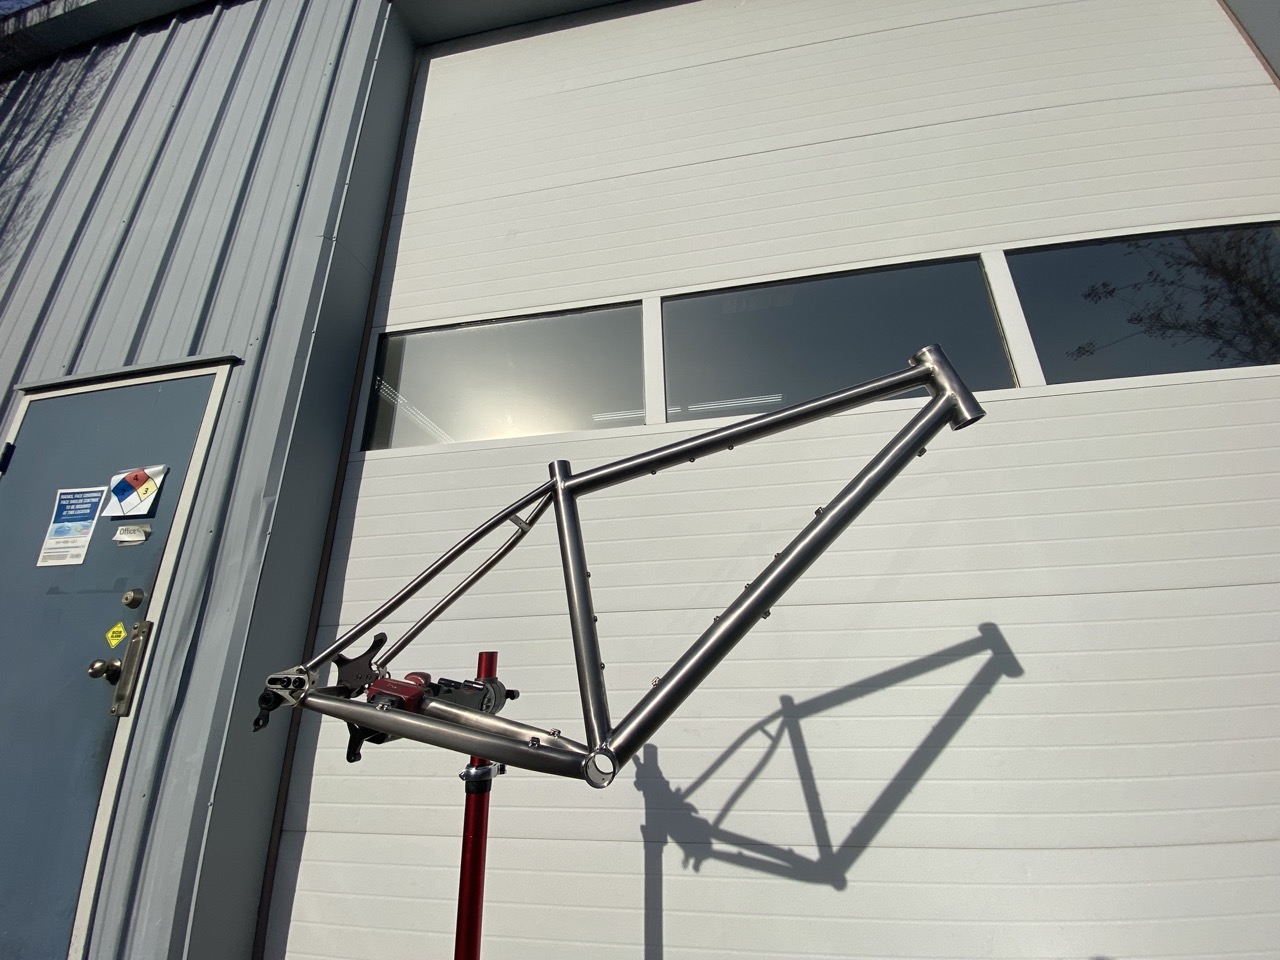
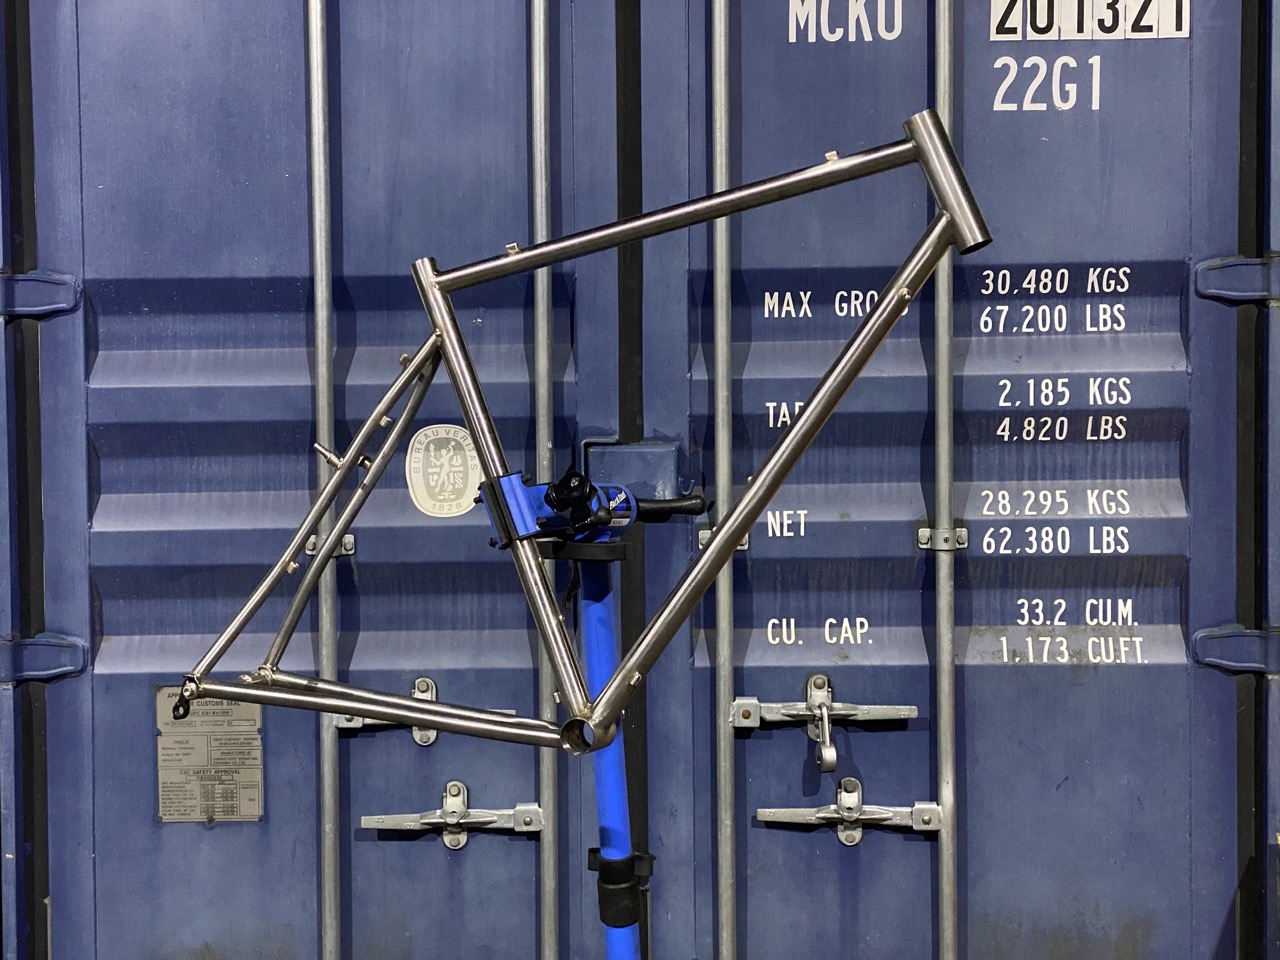
Done!
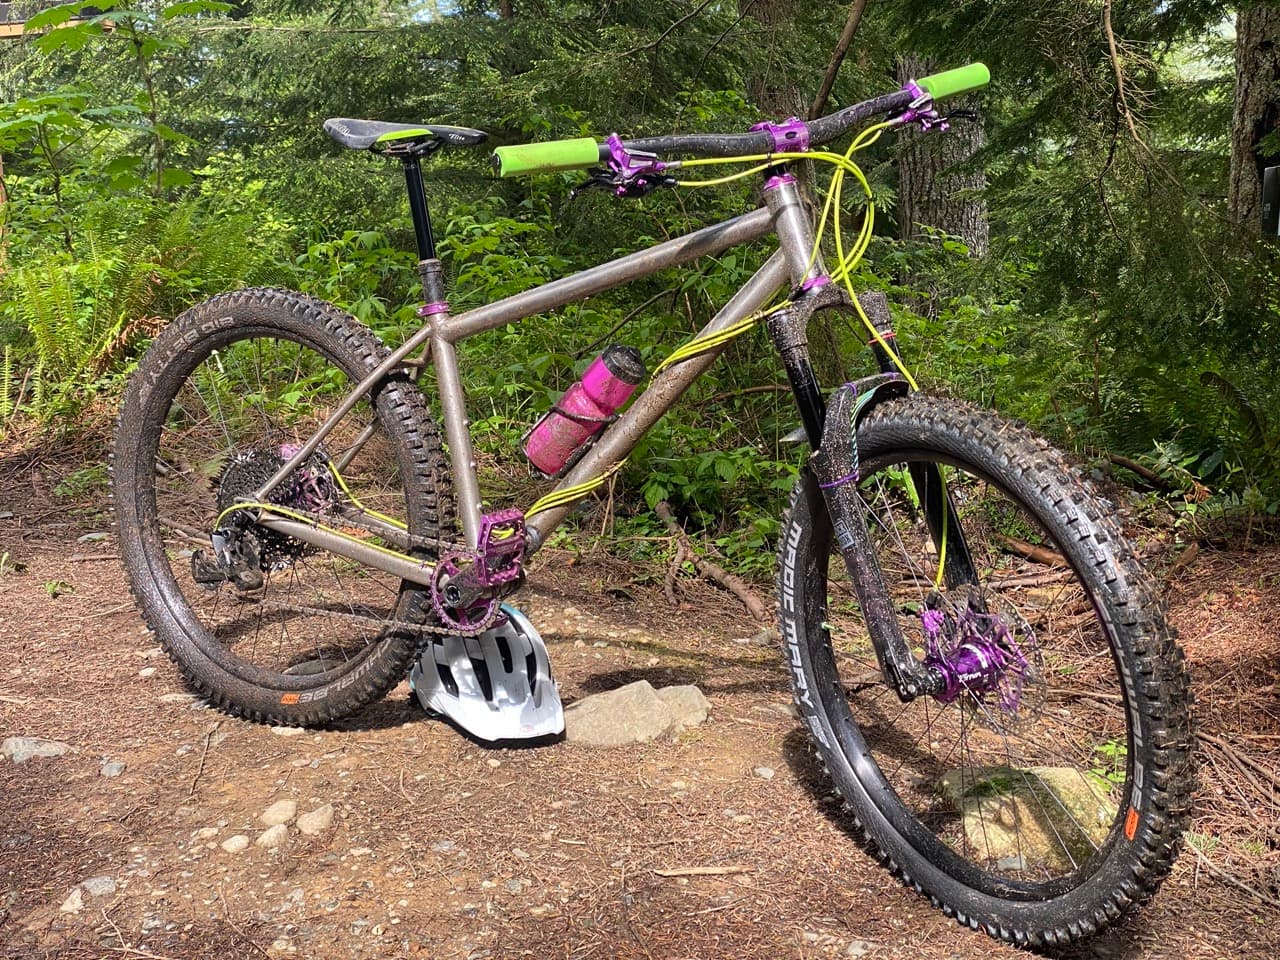
Dirty!
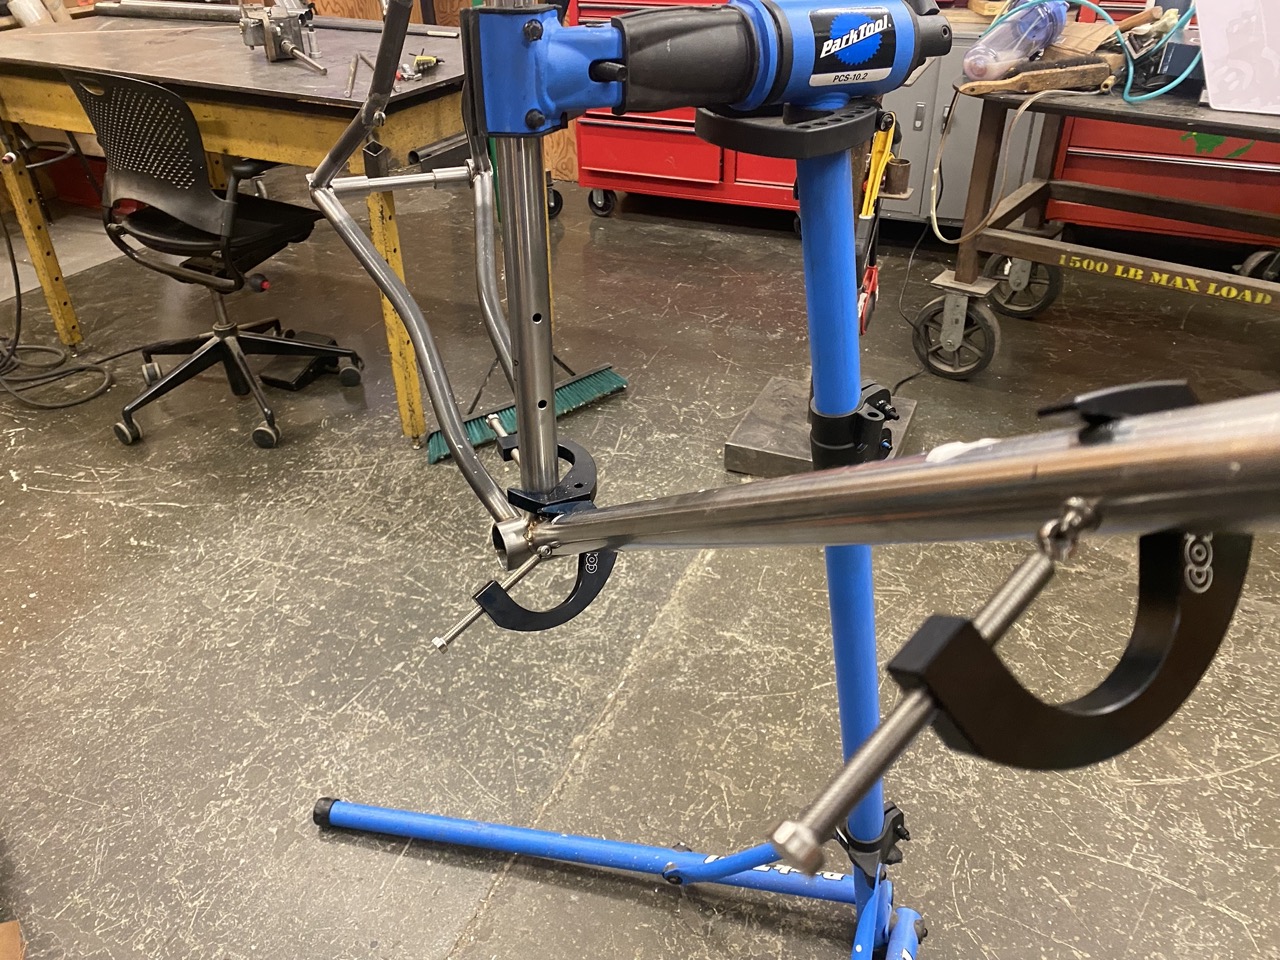
I feel a little ho-hum about this frame. After riding some other Ti stuff, I’m not sure it’s the right material for a hardtail. I don’t think the flex characteristics of titanium end up offering much that steel wouldn’t in this form factor. Maybe with longer or less shaped stays. The bike is certainly fun to ride, much more capable than the Trek Stache it replaced. The swirly down tube cabling is a bit hokey, but I think it’s fun! Unfortunately UBI had run out of triple cable bosses so I had to use single cable bosses and a boatload of zip ties.
5 Likes
1 Like
Oh that would’ve been helpful! I’ve since sold that mill since I didn’t want to move it cross country. Hoping to pick up a Bridgeport in a few weeks to replace it!
1 Like
Very cool. I want to try Ti but will wait until after frame 5 at least
1 Like
It’s pretty rad! Getting the purge setup can be a PITA, but once that’s set, you’re pretty golden! I’d be happy to write up what I know once I get back in my shop and can translate muscle memory into words.
Sounds awesome. We talked a bit at PBE this year.
Frame 007: Queen of Hearts built in the Stunt Doubles shop. Feb-Mar 2022
This frame was shamelessly designed around Sam’s beautiful canti hanger hearts. My first real bike as an adult was a Redline CX bike that I had sold a few years ago. I wanted to replace it with something similar - a minimal steel frame with geo that balanced comfort and performance.
During the UBI class, I saw a Craigslist posting with a ton of frame building fixturing for sale up in Bellingham. I hemmed and hawed - I was extremely not looking to dump a ton of cash into tools right after having paid for the Ti course. But after chatting with the seller, the deal felt too good to pass up. I ended up grabbing a good amount of Anvil stuff, lots of building sundries, and some bonus tubes & braze-ons.
I also moved shops once again! This time to a spot way closer to home and in a shared space with lots of sweet folks. Smith at RatKing Frames shared immediate space with me and the folks doing Stunt Doubles were around the corner. This was by far the best shop experience I’d had - nothing better than bouncing ideas back and forth with someone who really knows what they’re doing.
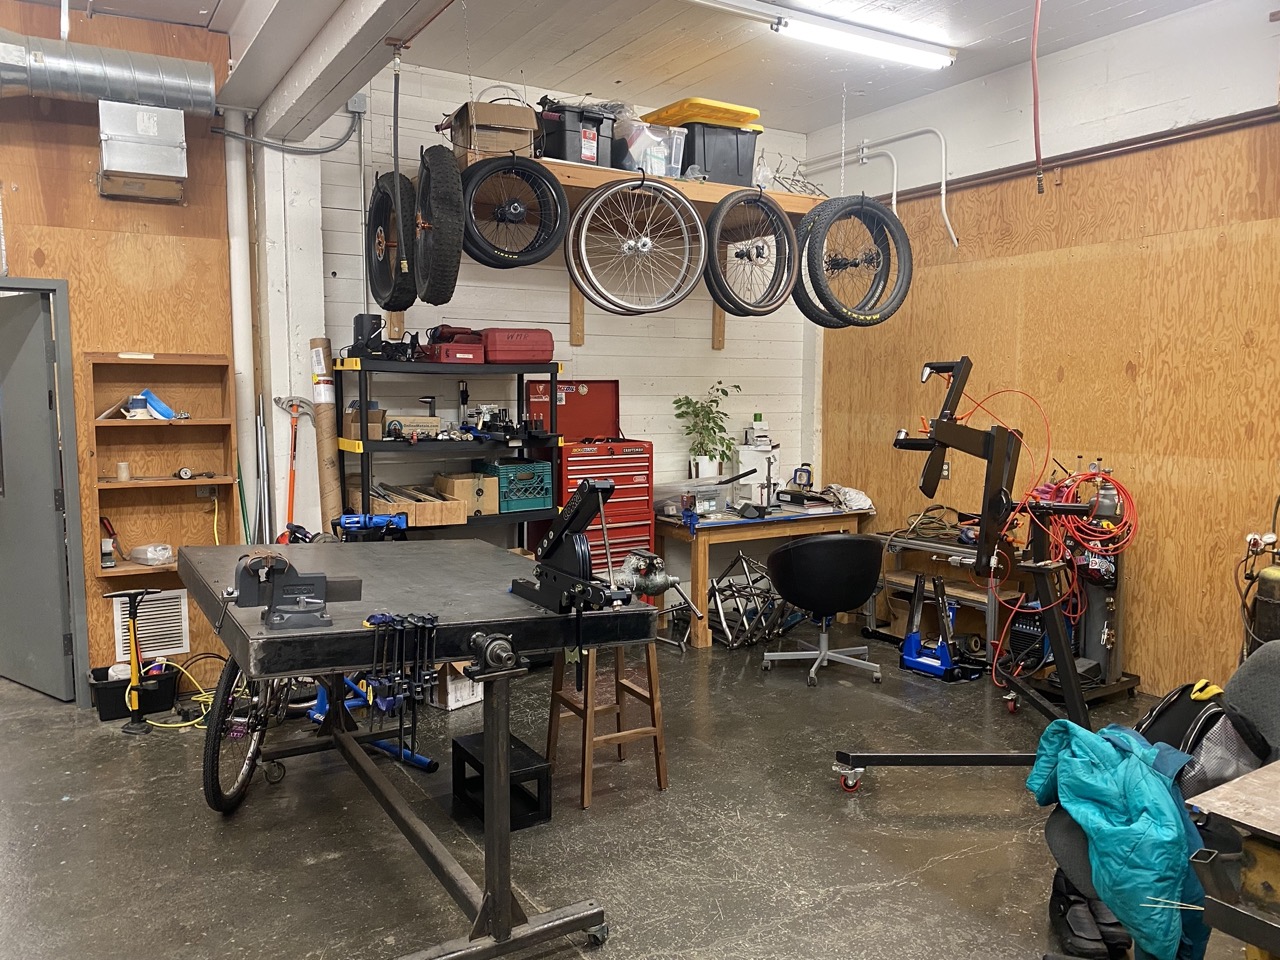
New shop space!

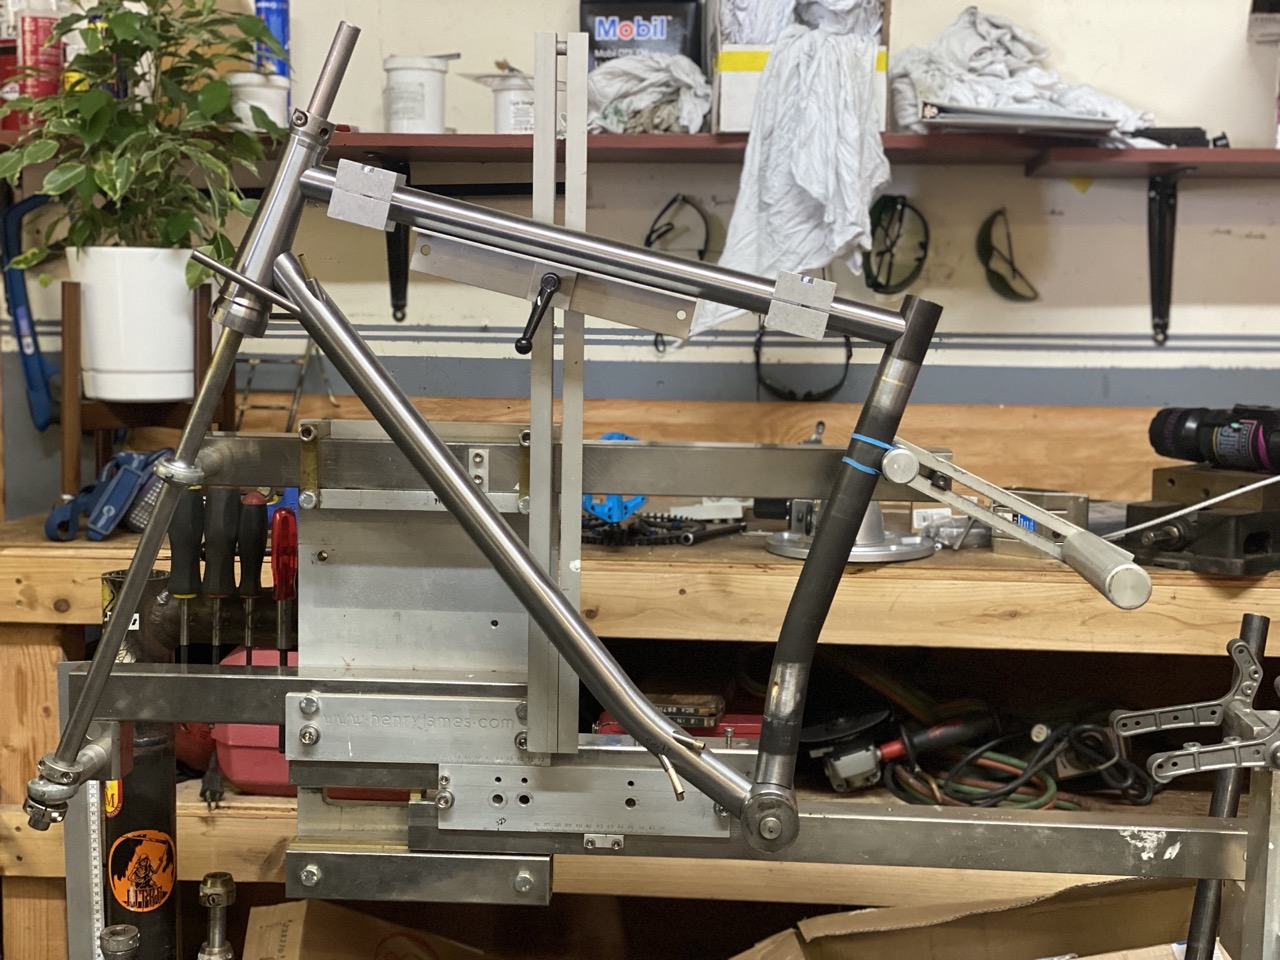
New jig!
Noice
Braze-ons
Raw frame
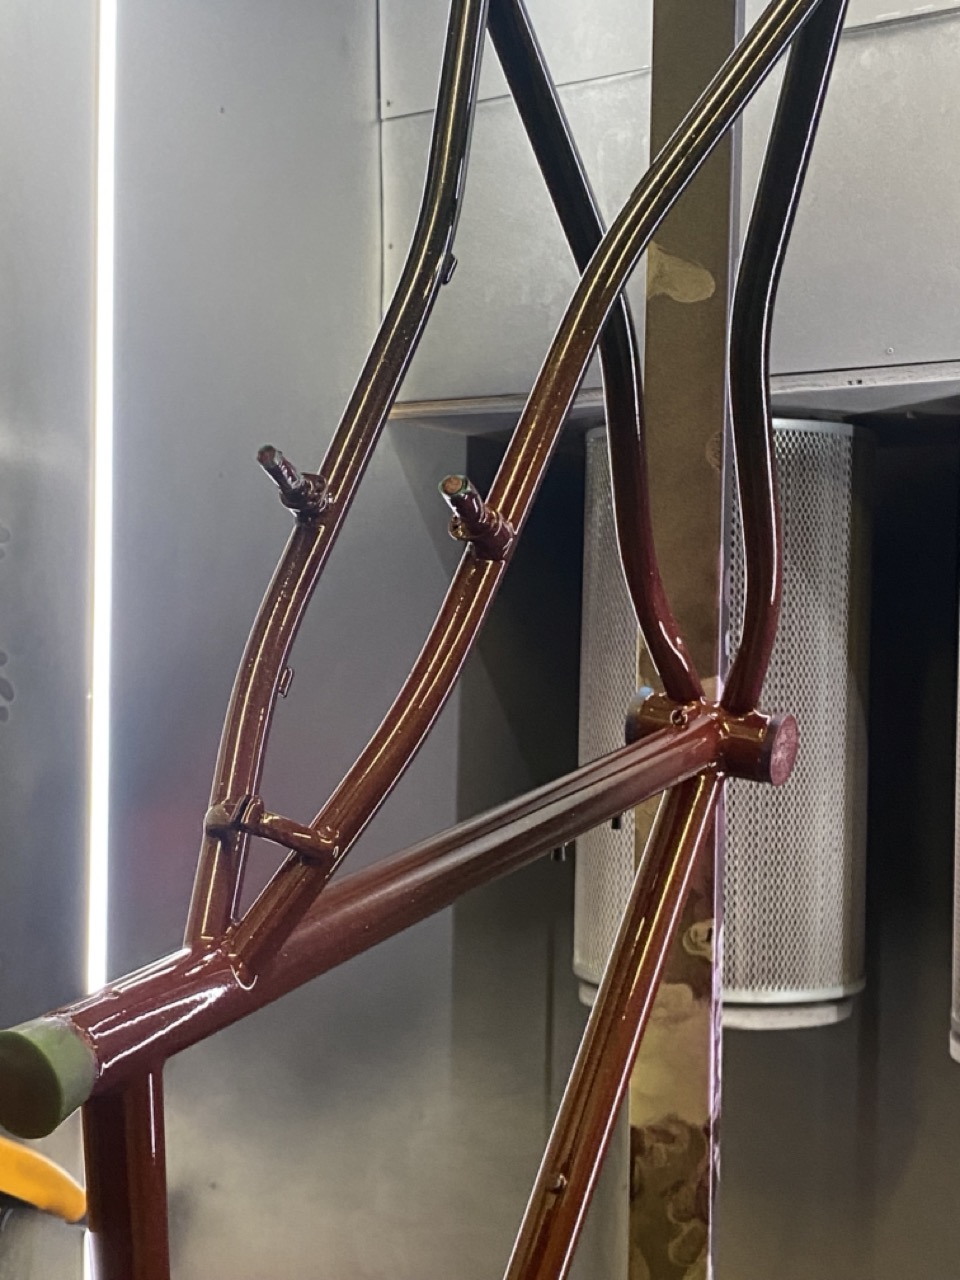
Powdah!!
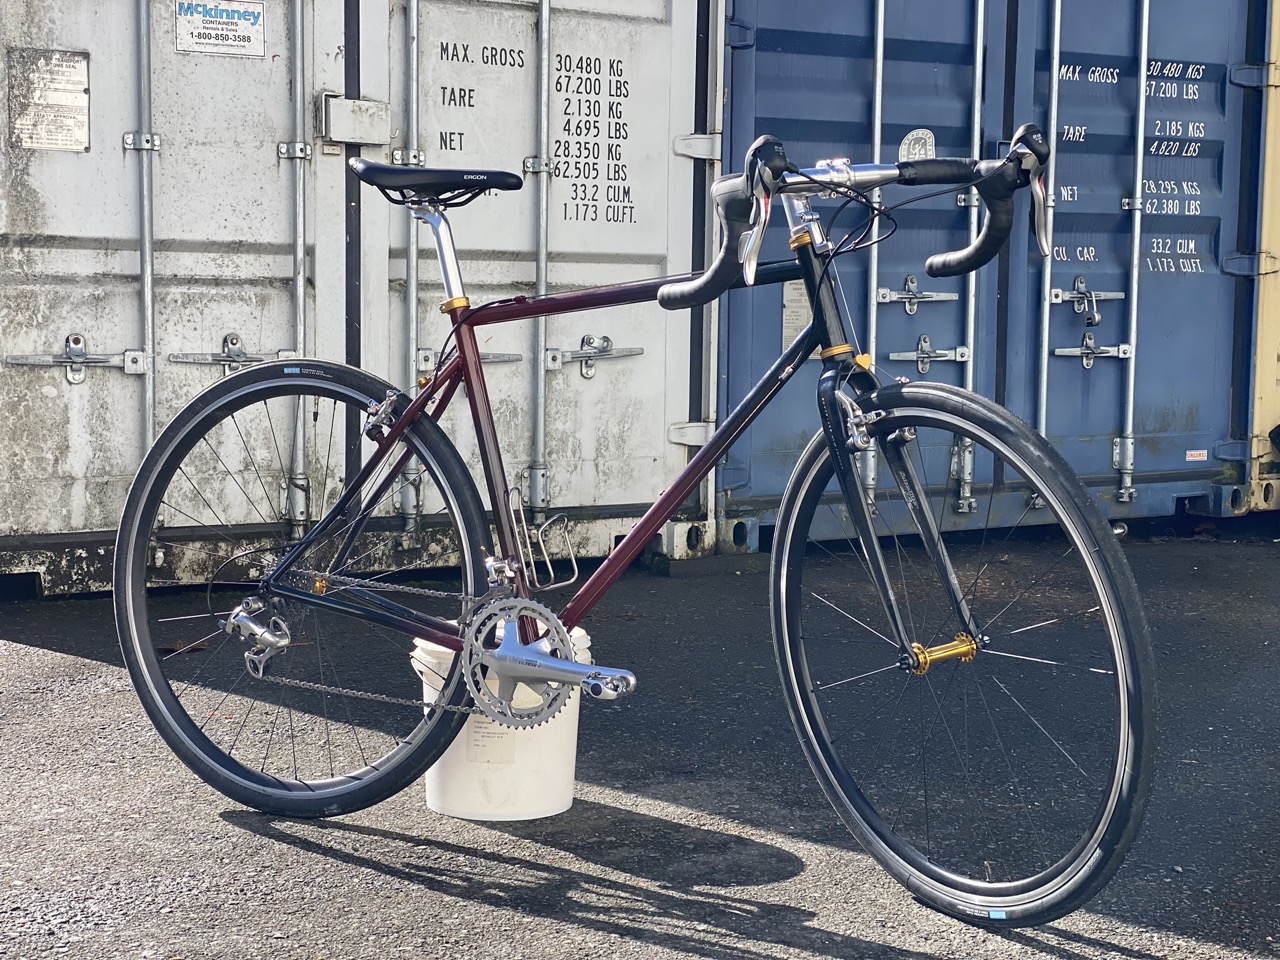
Built up
This was the frame where everything clicked into place. I finally felt like I knew what I was doing and was able to move through the build process without stopping to remember how to do each step. Having the new fixturing was a total godsend - it made the whole process go way more smoothly than before. This was also my first time getting to powder coat and it was a total blast! Made me really excited to get more into paint work.
The frame rides delightfully, it was my first skinny-tired bike in a while and I had forgotten what that felt like. Not much I’d change other than maybe choosing different dropouts - the chainstay ended up butting up against the edge of the small 1" round ones I used.
3 Likes
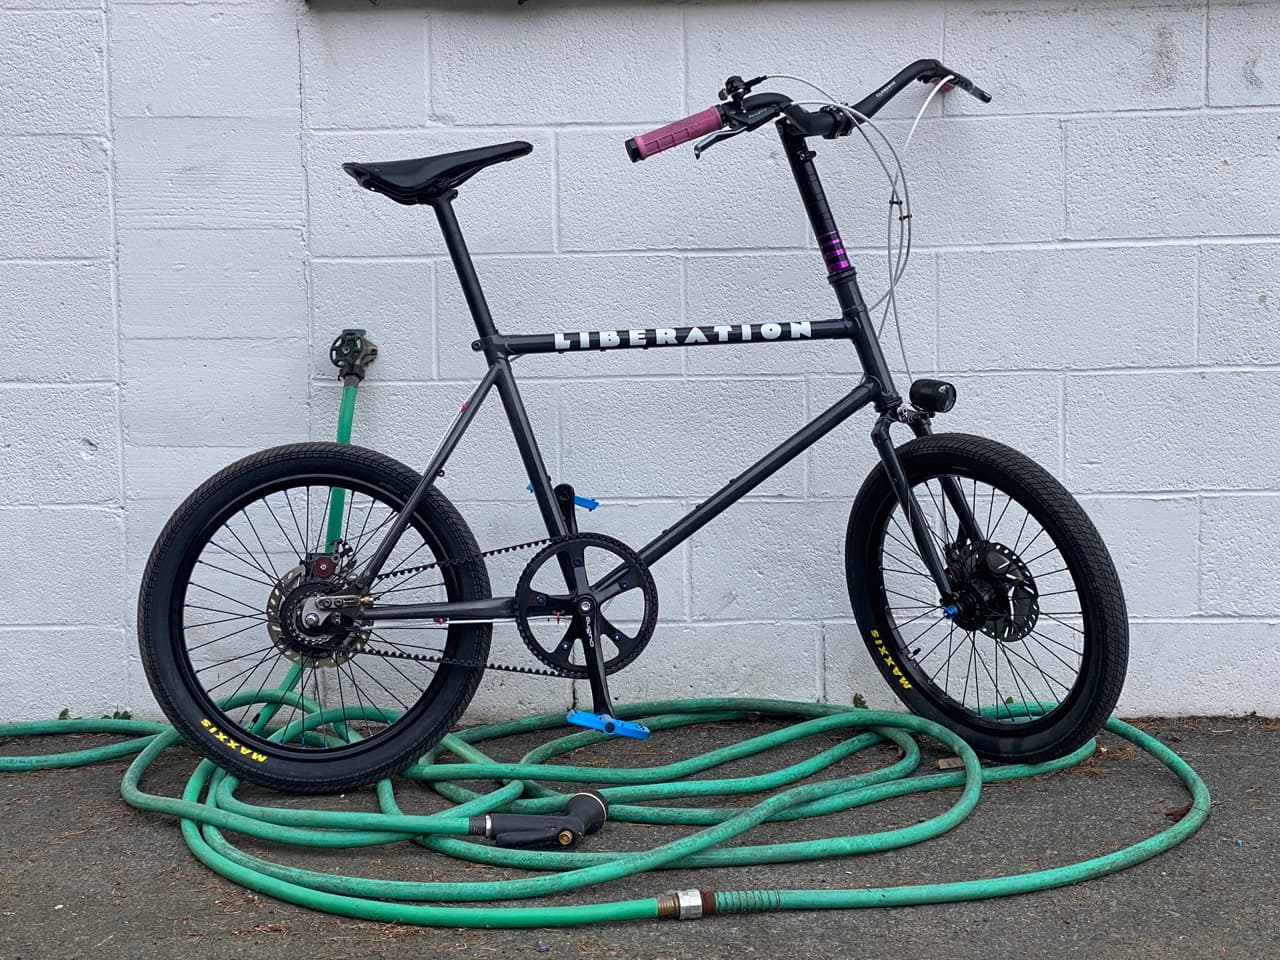
Frame 009: Who Woulda Thunqapillar built in the Stunt Doubles shop. April 2022
(Frame 008 was my first customer build, woo!)
Of everything I’ve made so far in my short building career, this is the one I’m most proud of. I think it rides an interesting line of uniqueness that turns some folks off, but entices others. I set out with the goal of making a bike inspired by Rivendell, but using exclusively modern components and materials. I think I accomplished the goal and then some!
Rough CAD
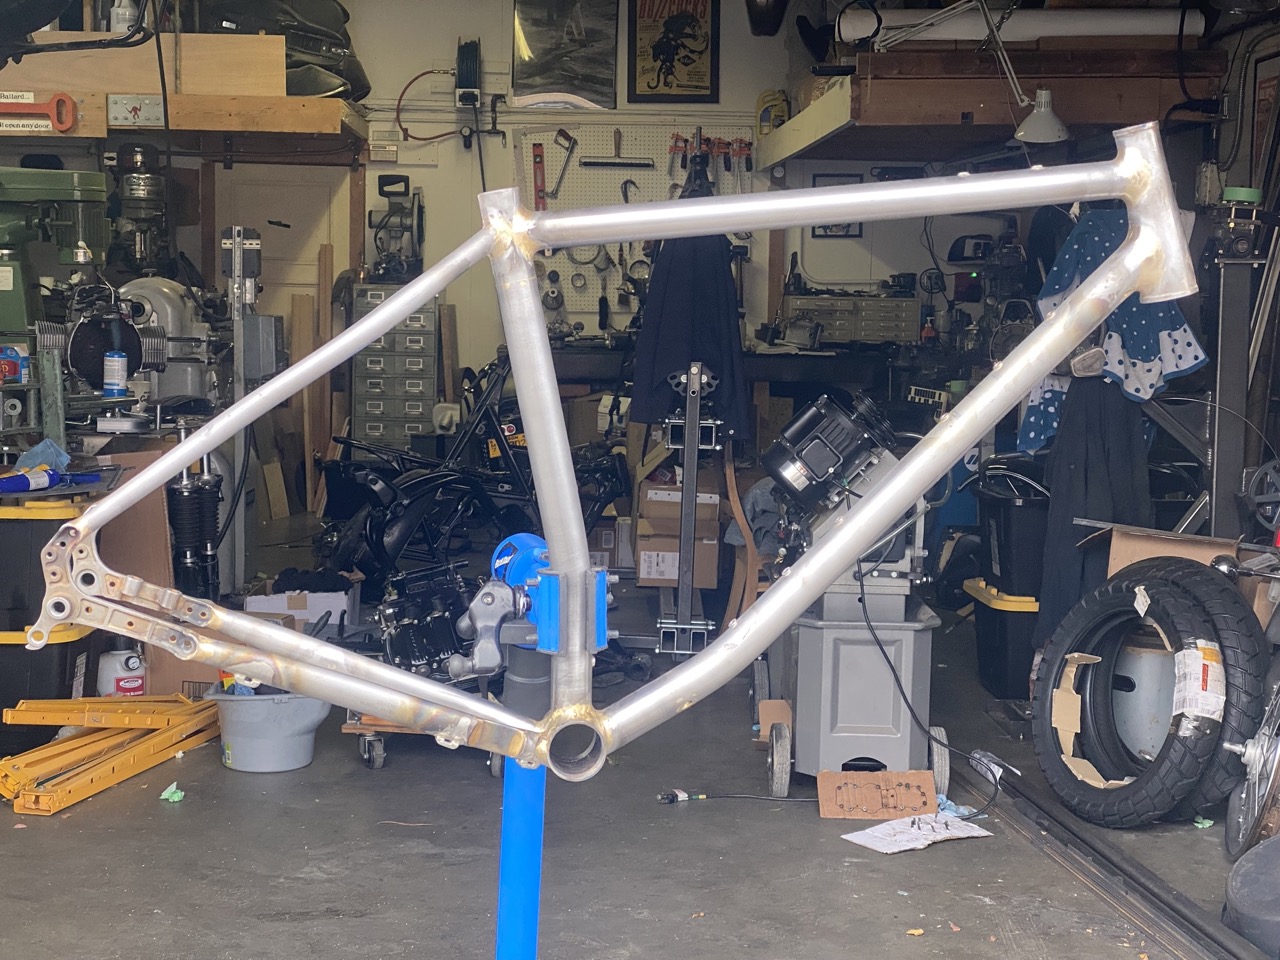
Giant head toob
Front triangle(s)
Guess who fucked up their purge setup
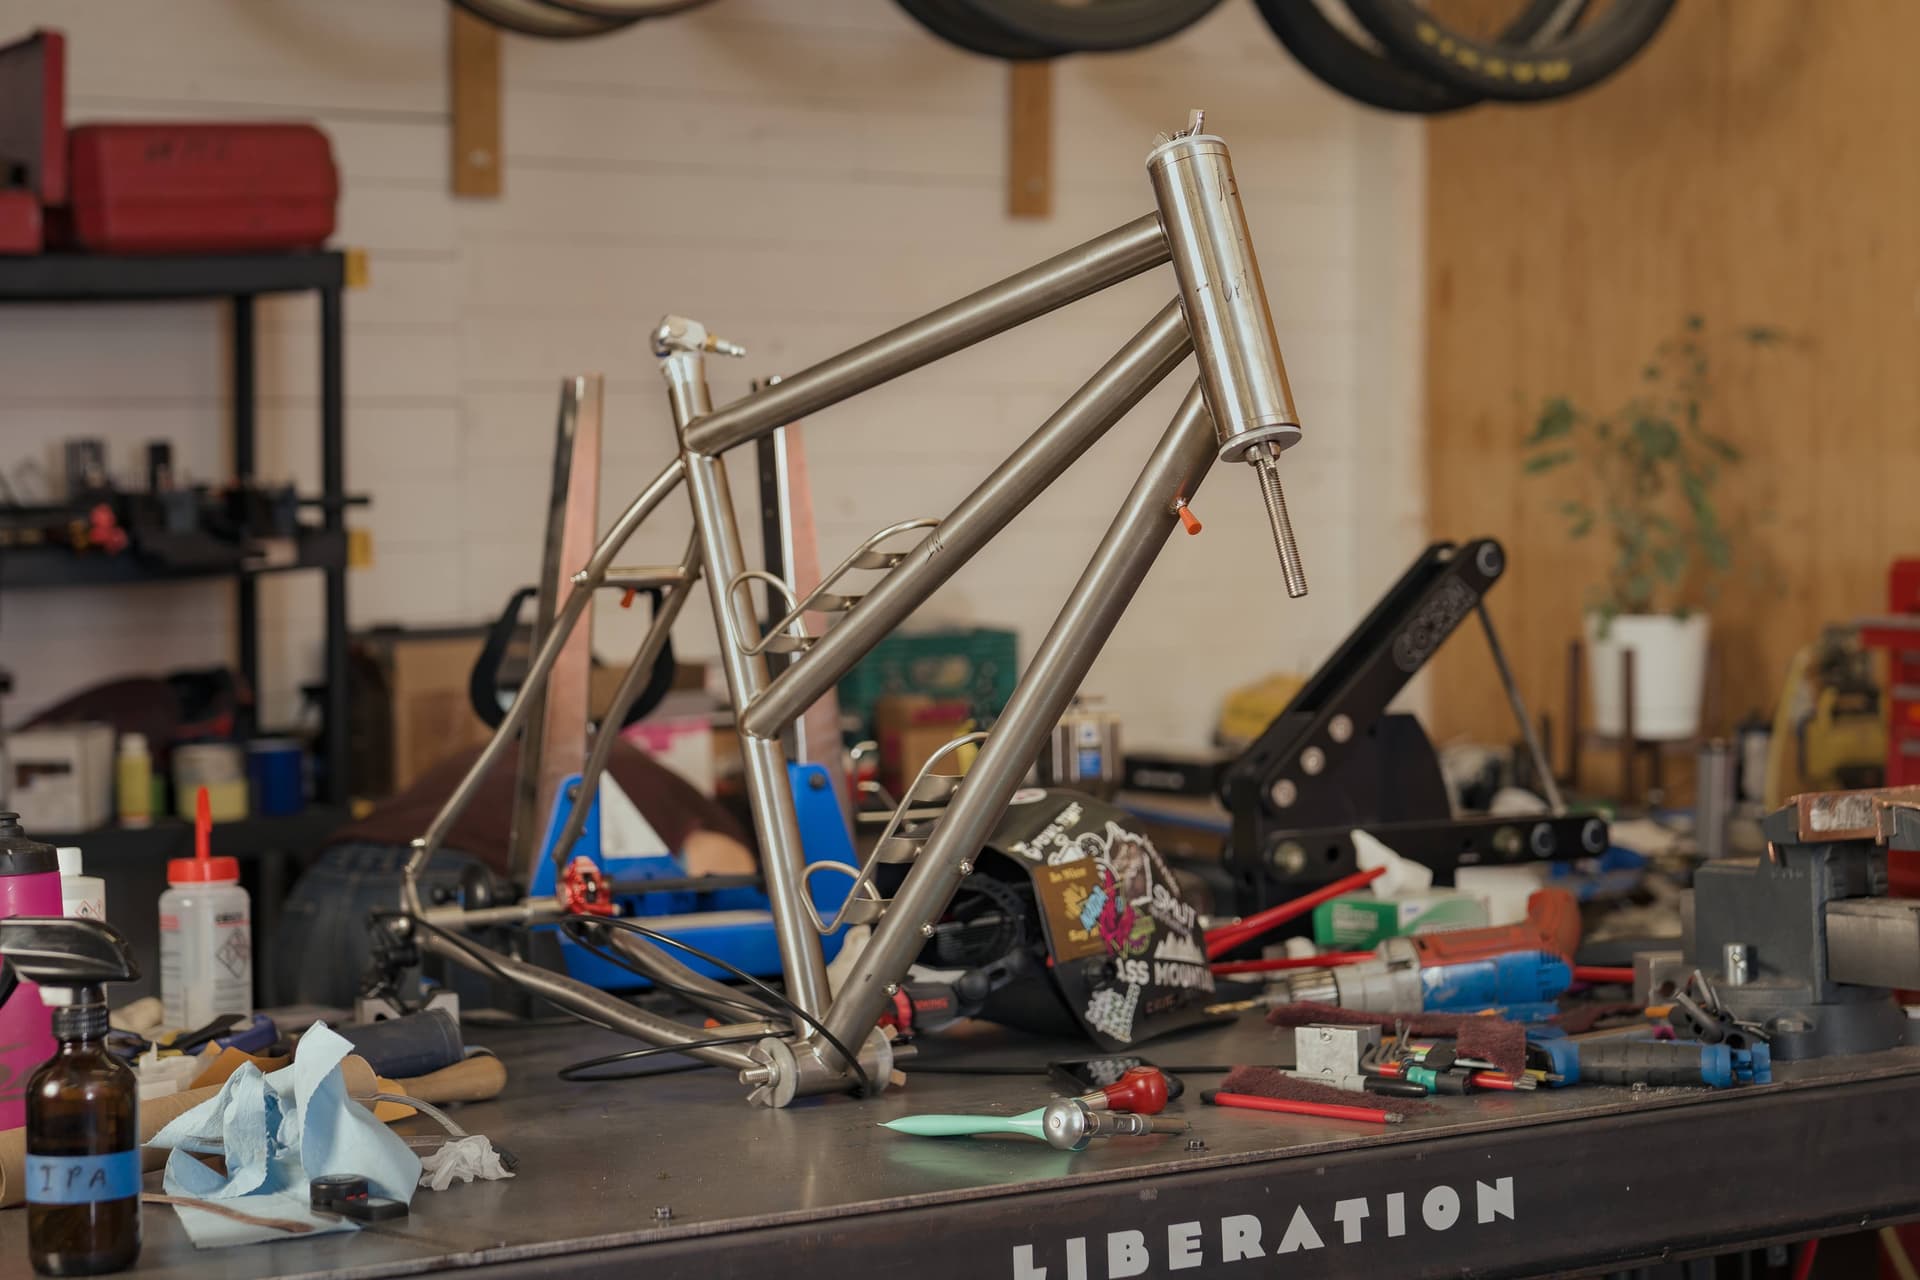
All together
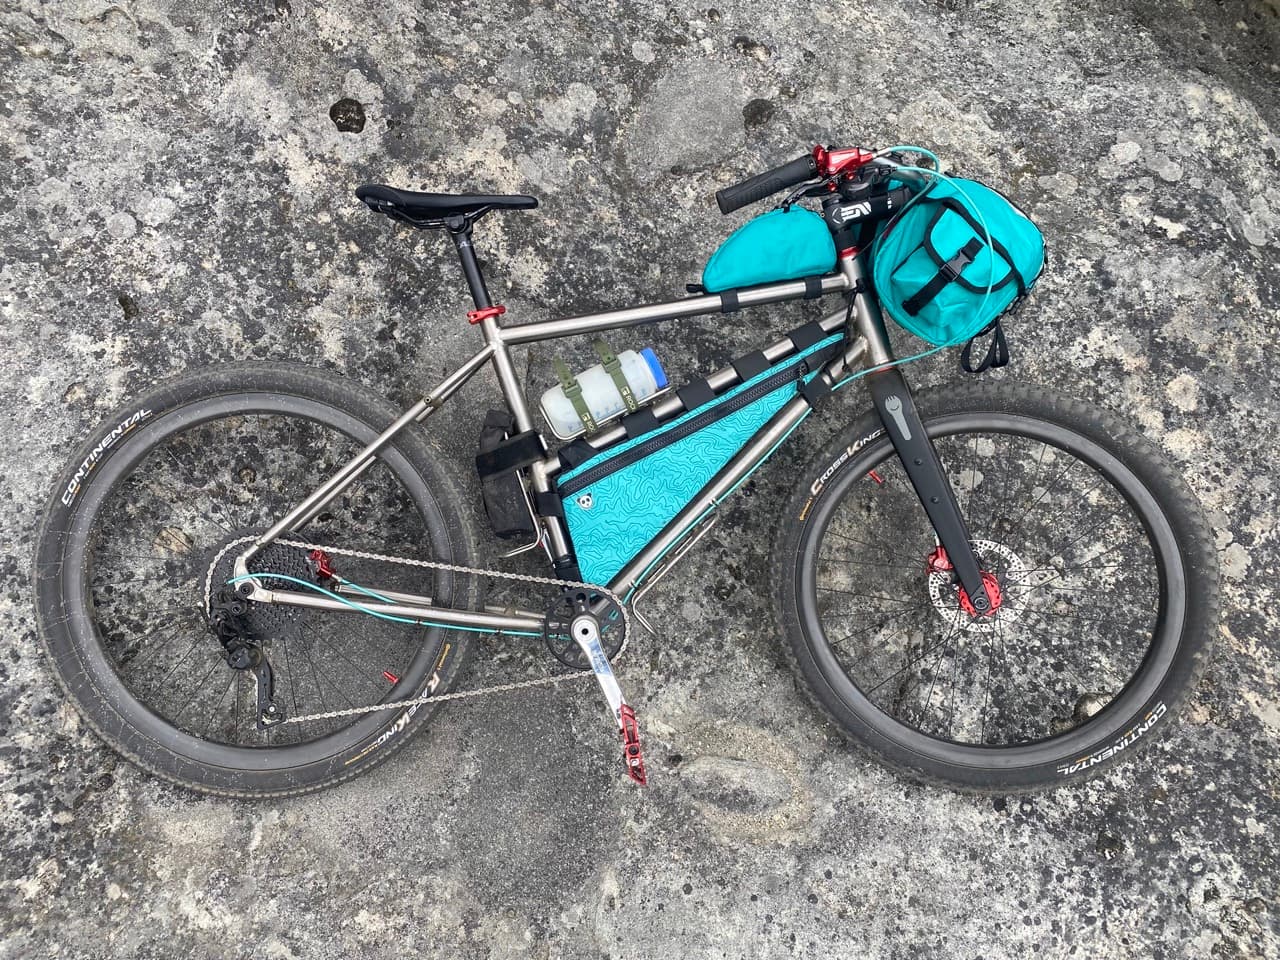
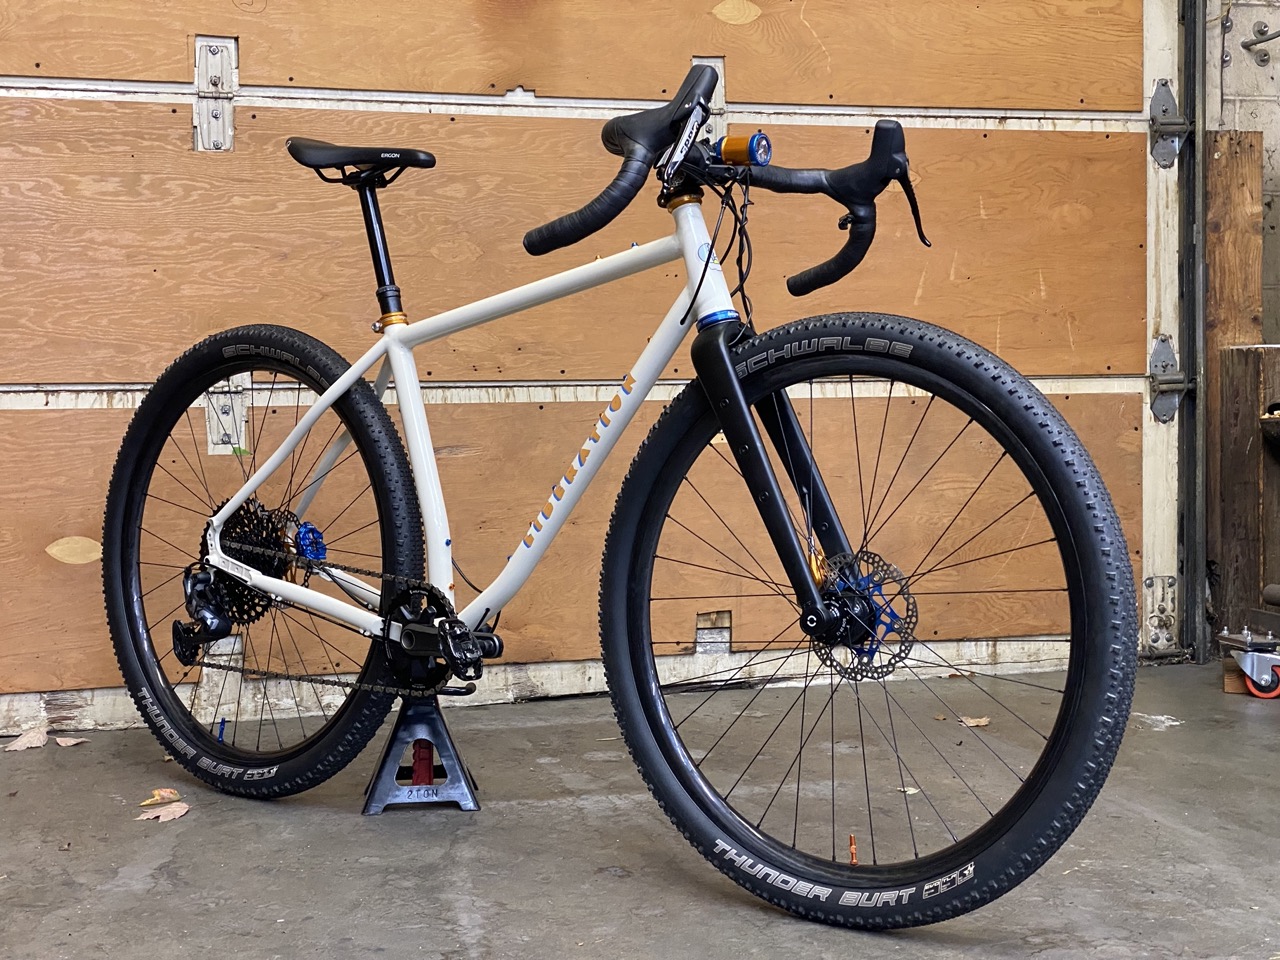
Built up!
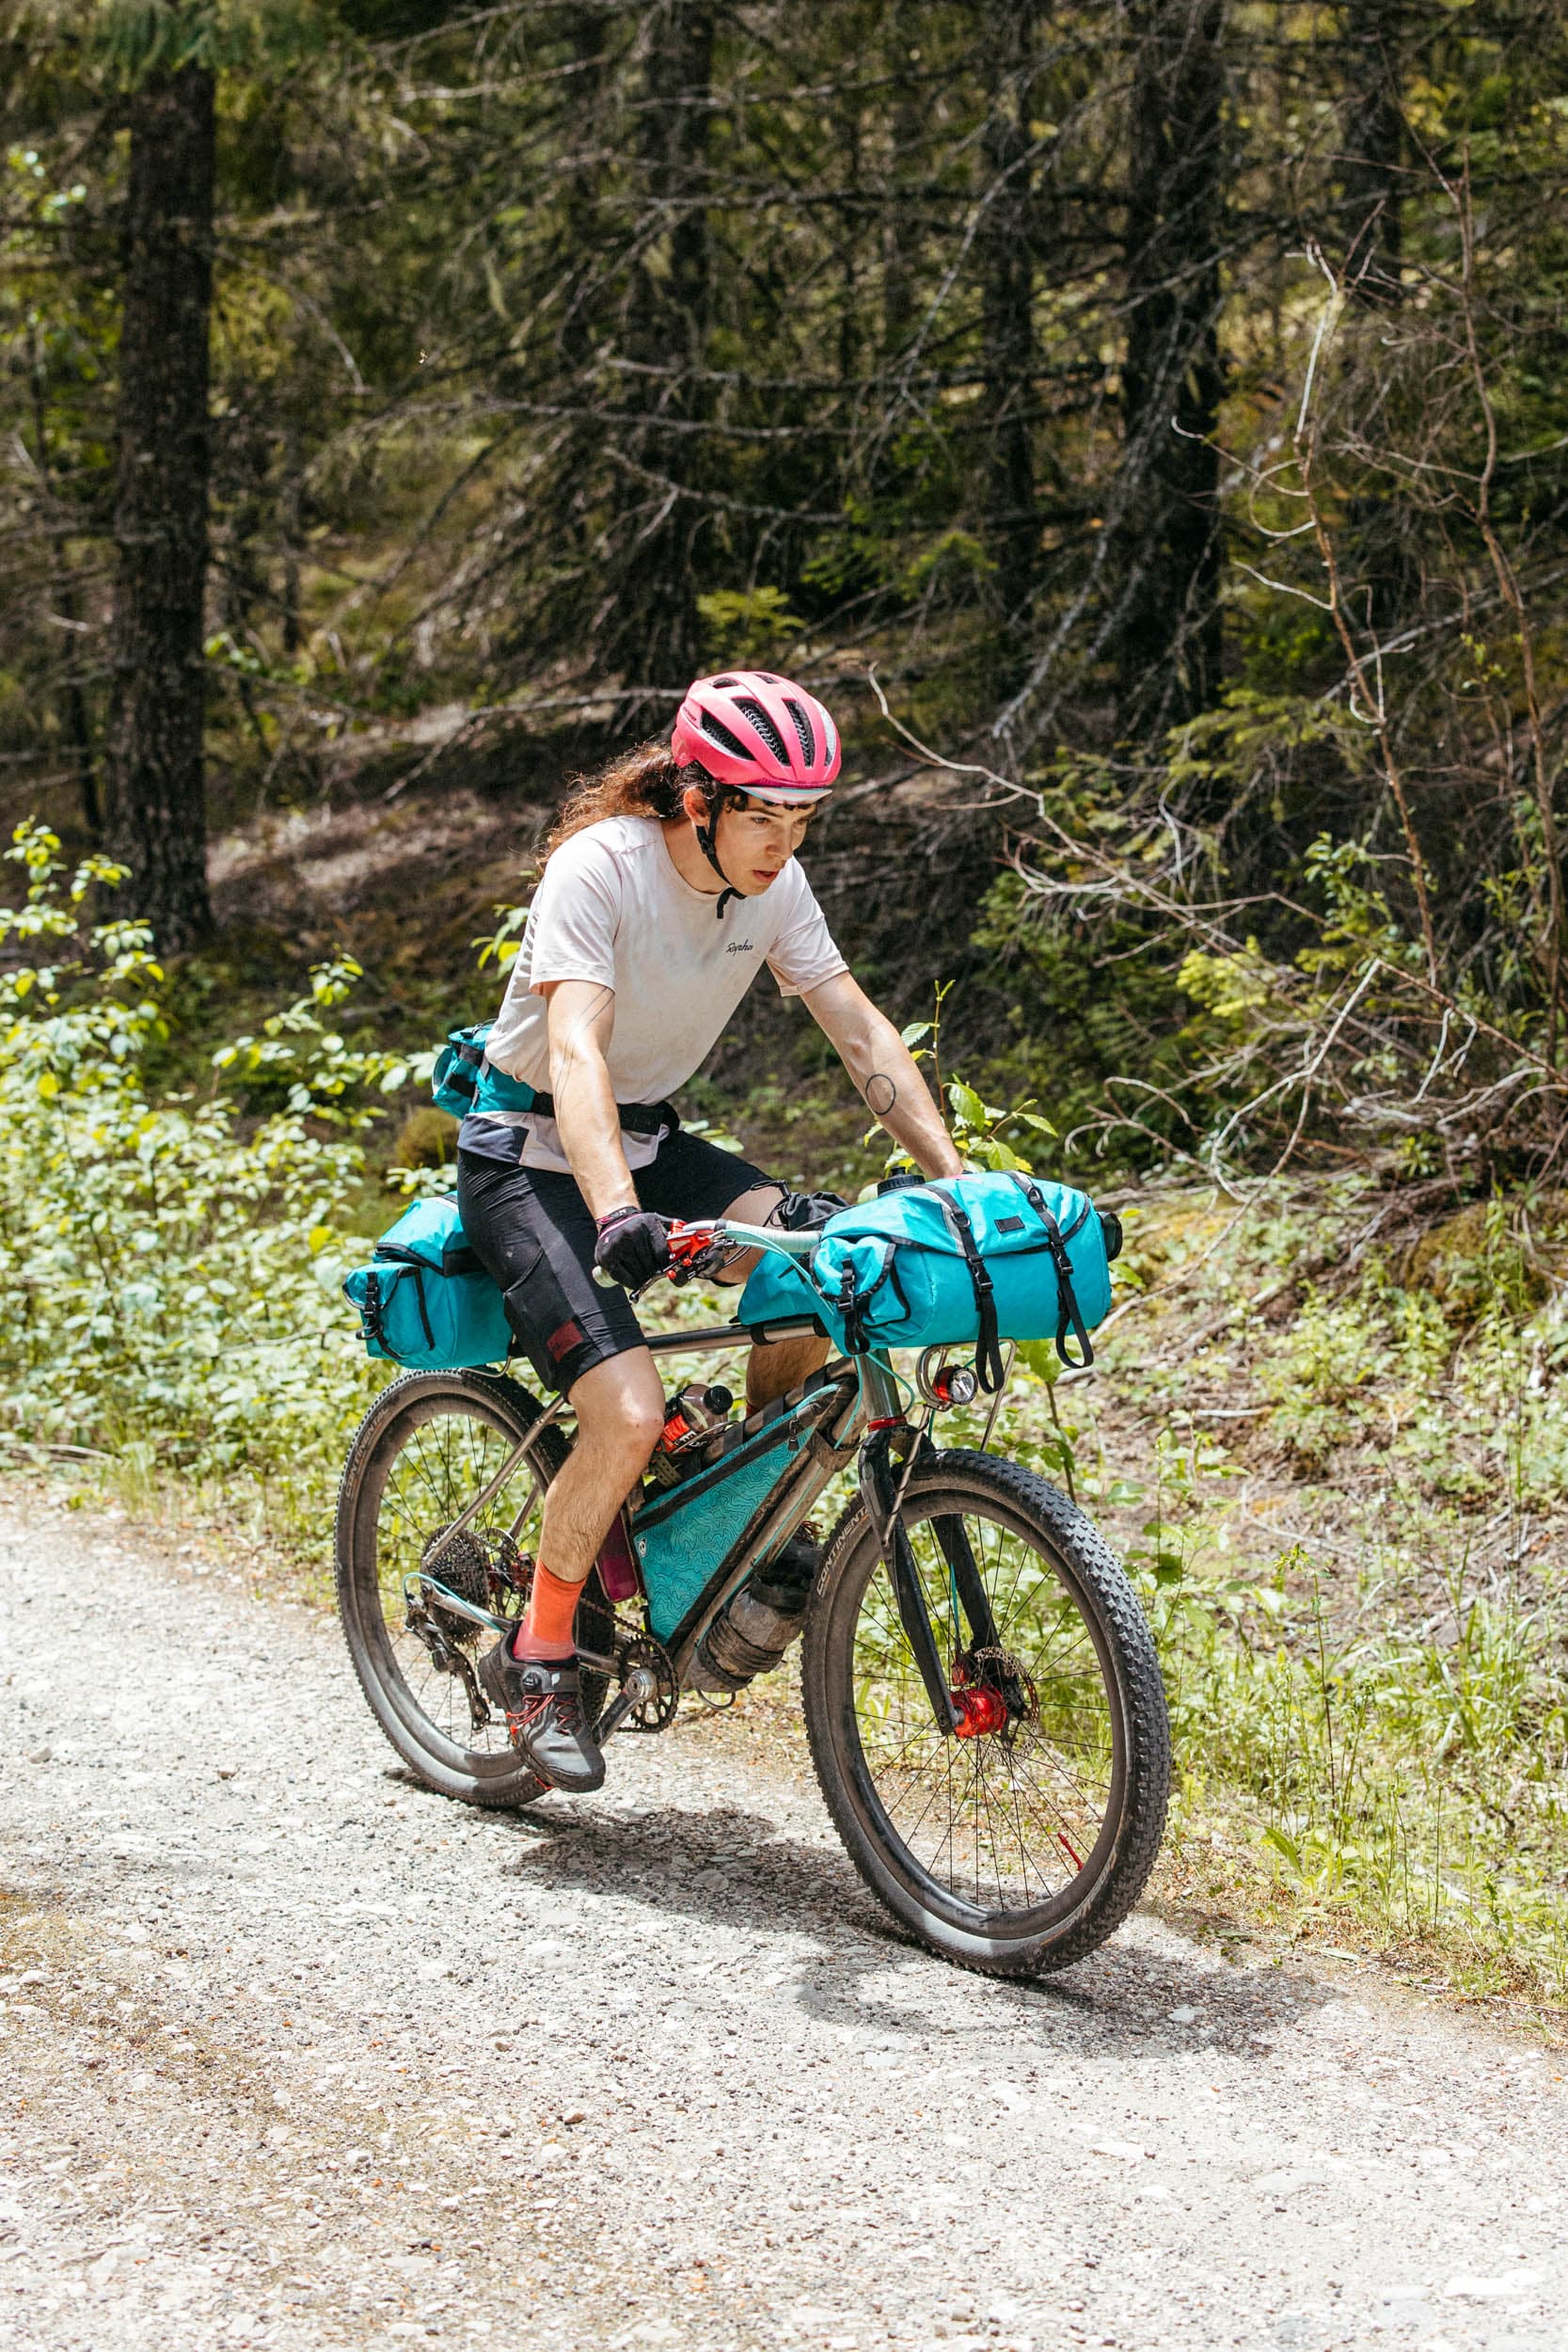
On tour!
Super duper stoked with how this one turned out. It feels like a total one-of-a-kind bike and was a great place to start thinking about what the Liberation “brand” would center on. Slightly wacky, definitely comfy, and immensely practi-cool.
I only had a few miles of singletrack as a shakedown before diving in to the Dark Divide 300 with some good buddies. This bike was absolutely stellar for long days, steep climbs, and chundery descents. Would not have minded drop bars on some of the road sections, but the swept-back Toscos were prime for everything else.
9 Likes
I am curious how the long chainstays felt on such an epic ride:
- What did it work well with?
- Do you think there is a limit of too long?
- Were there any times when the wheebase was too long?
Not a direct analogy, but for me, a short chainstay mountain bike is fun up until the moment I am tired. Once I am fatigued, my front end keeps wanting to tuck in turns and lift off on climbs. All I want to do is sit and spin home haha.
2 Likes
Long stays are life!
I really loved them for the never-ending steep climbs on forest roads. I was riding long after other folks were walking and I’m not especially strong. The relatively low gearing (20 gear-inches) helps to enable a “spinny” mindset and the long stays keep the rear end engaged and the front end firmly on the ground. It kind of feels like cheating sometimes!
The big downside of the long stays is that out-of-saddle efforts are usually met with spinning out. Since the rear end is so kicked back, getting up off the saddle to sprint is not great unless you’re intentionally keeping your weight much further back than normal. I’m wondering if a slacker HTA/longer reach would’ve made this better, but the bike was getting pretty dang long as it was. I know short-stay bikes feel stellar climbing out of the saddle, but that’s just not my vibe on bikepacking trips.
I don’t think the wheelbase has ever been an issue except in tight urban settings. There’s a switchbacked pedestrian ramp I frequent here in Pittsburgh that requires some trials skills to navigate with this frame. The wheelbase is “only” 1160mm which is still shorter than many 29er mtbs.
3 Likes
5 Likes
Hey! That bike looks great. Just wanted to know that those wheels are living on with my first frame! I’ll have to send you a pic when I find one.
2 Likes
![]() I love that!! The sisterhood of the traveling wheelset begins!
I love that!! The sisterhood of the traveling wheelset begins!
3 Likes
I’ve been busy moving across the country and setting up my new shop in Pittsburgh. Everything is coming together - never as quick as I want, but it’s falling into place!
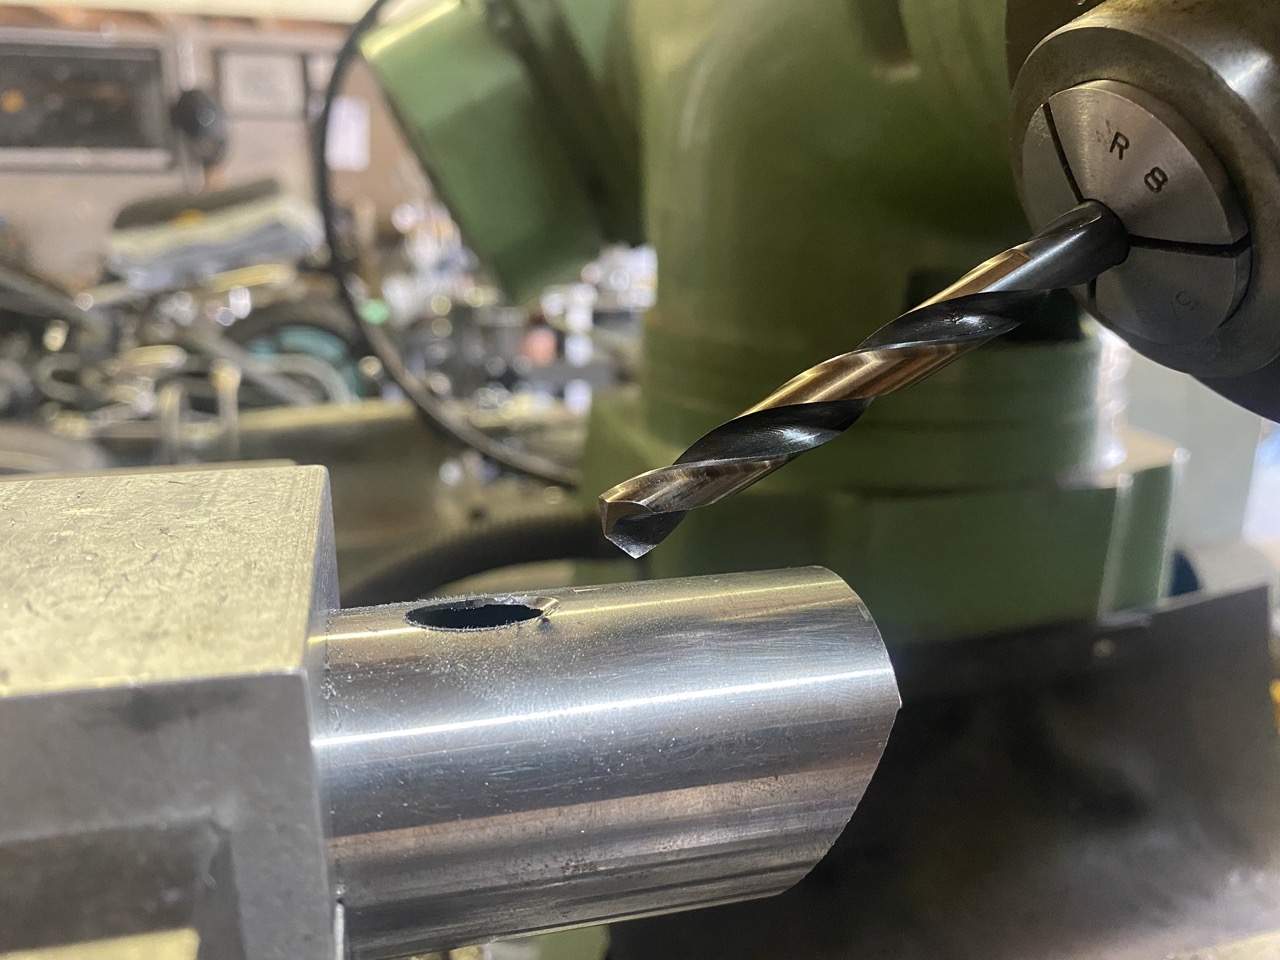
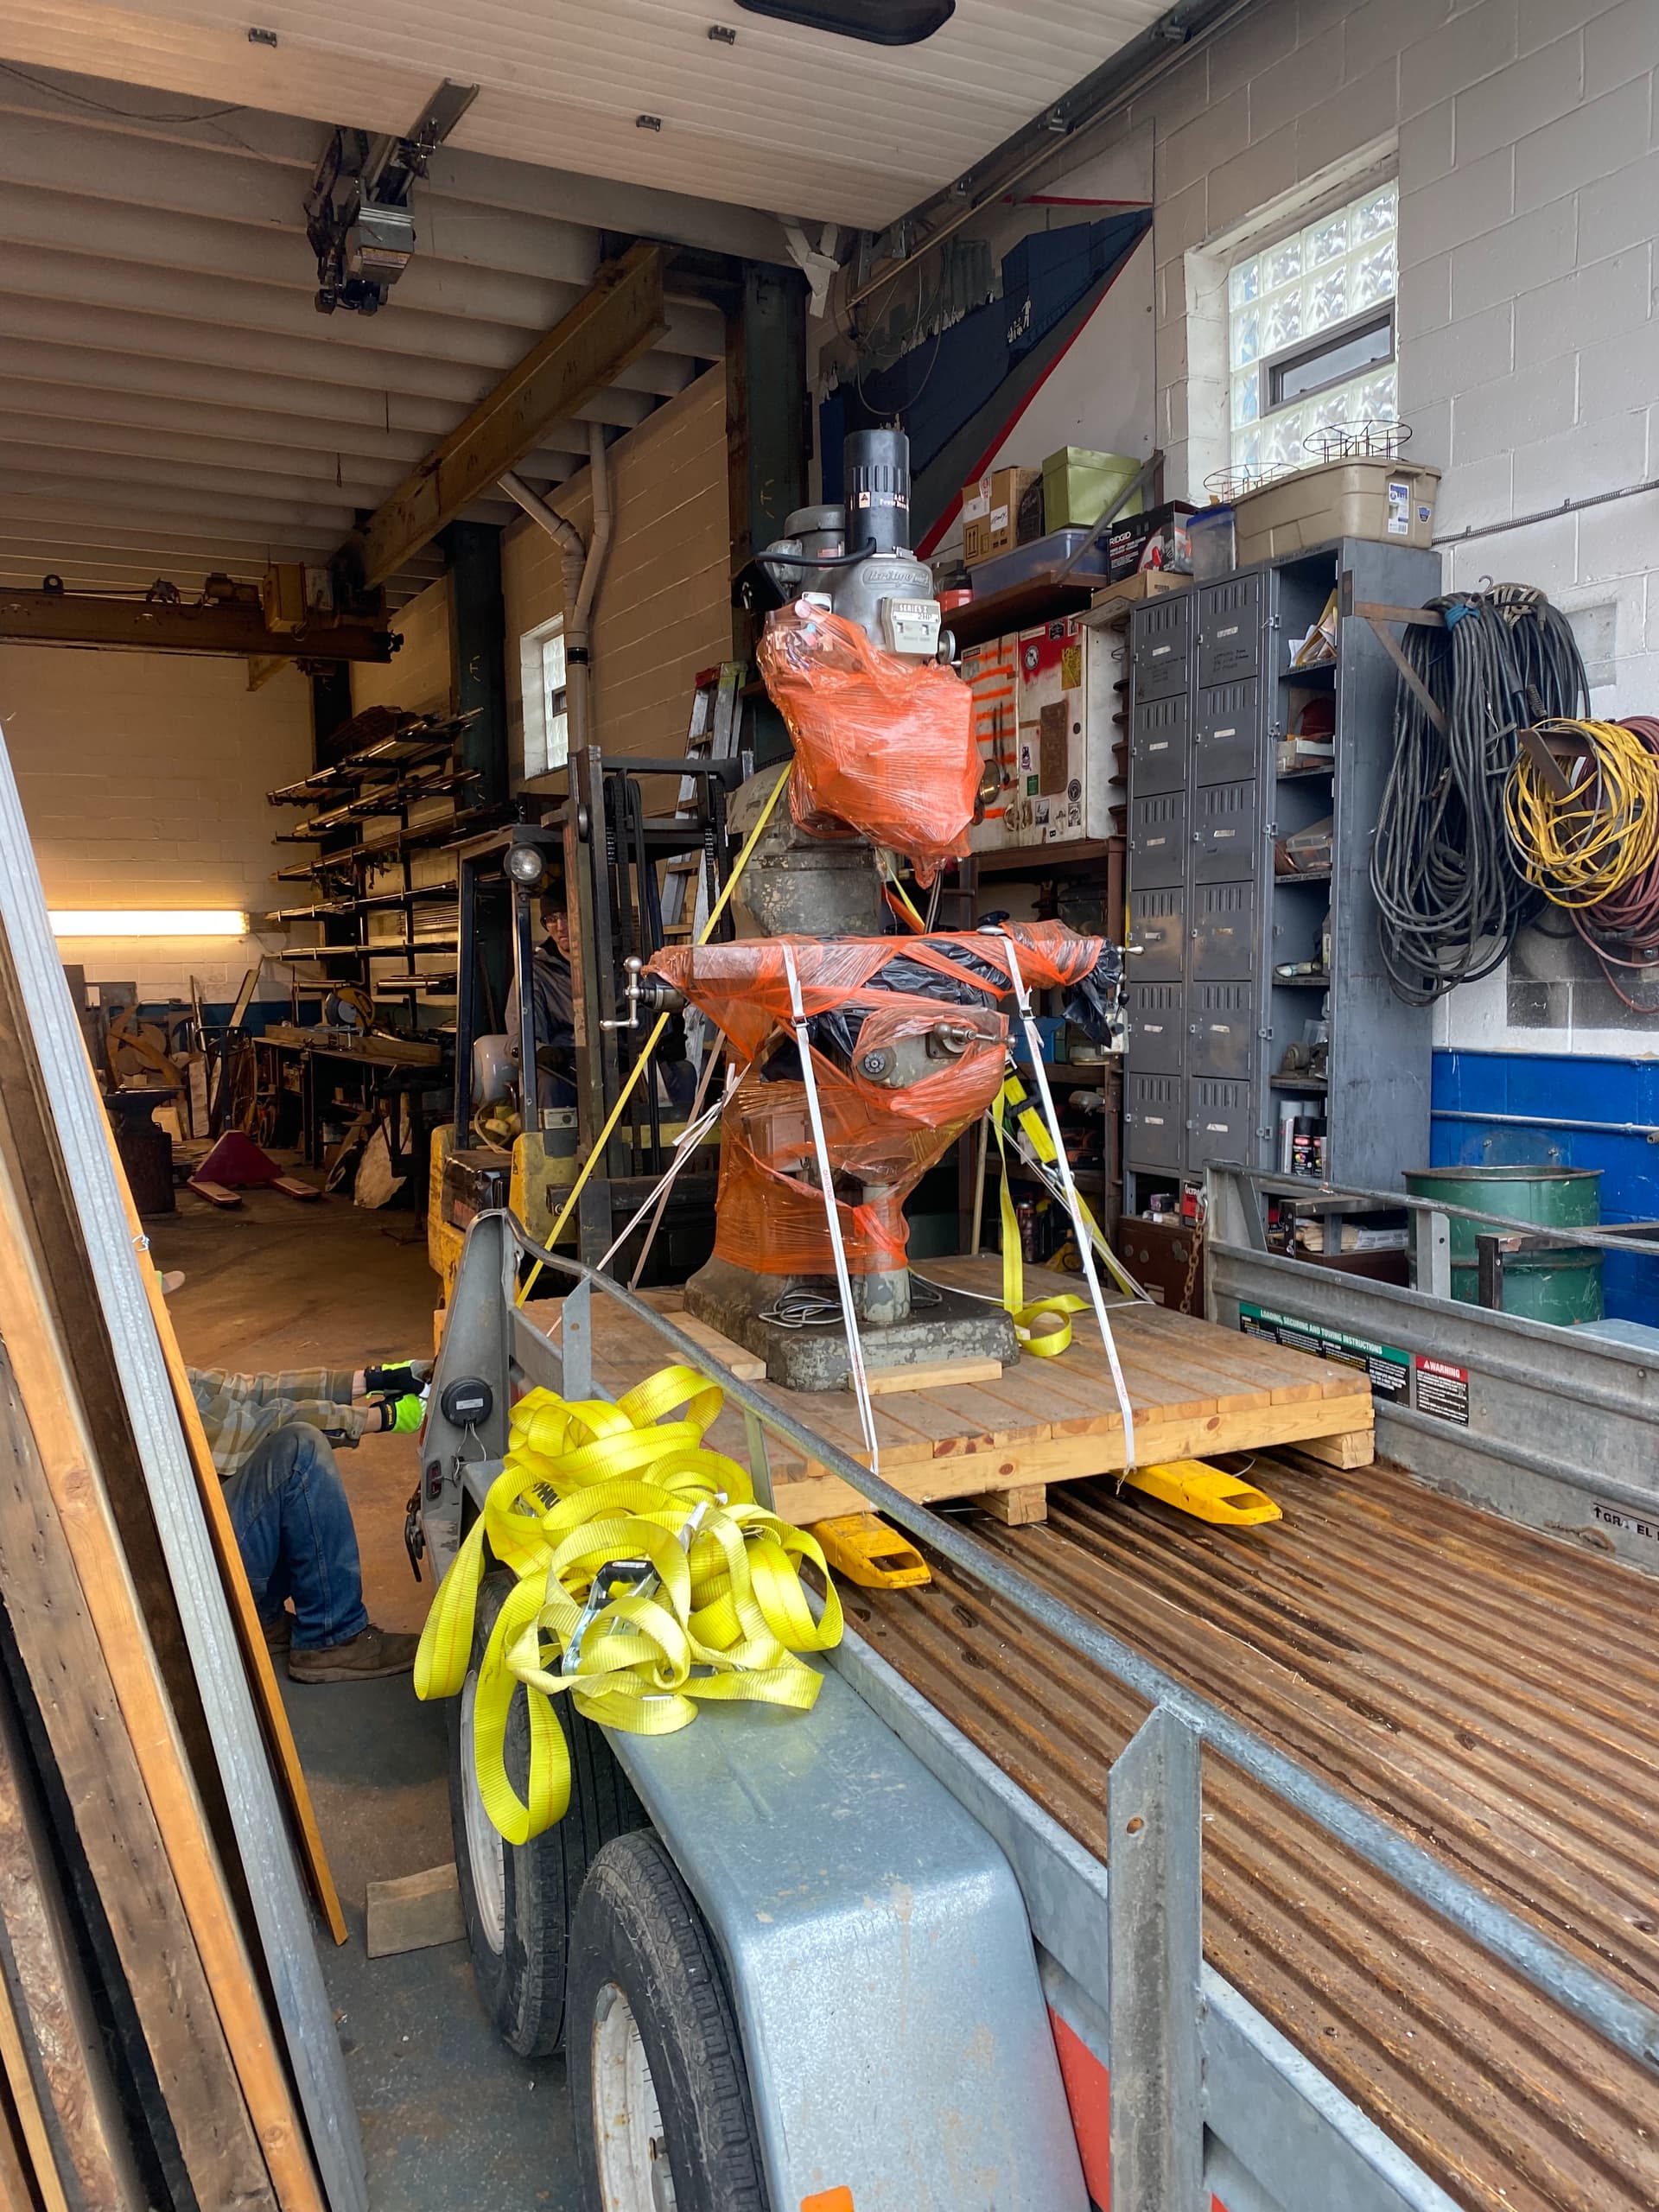
Sean Handerhan is one of the other builders in Pittsburgh and he mentioned to me that his day job was getting rid of the Bridgeport mill he had used to build for a while. It was in “decent” condition with one known major issue, but the price was right!
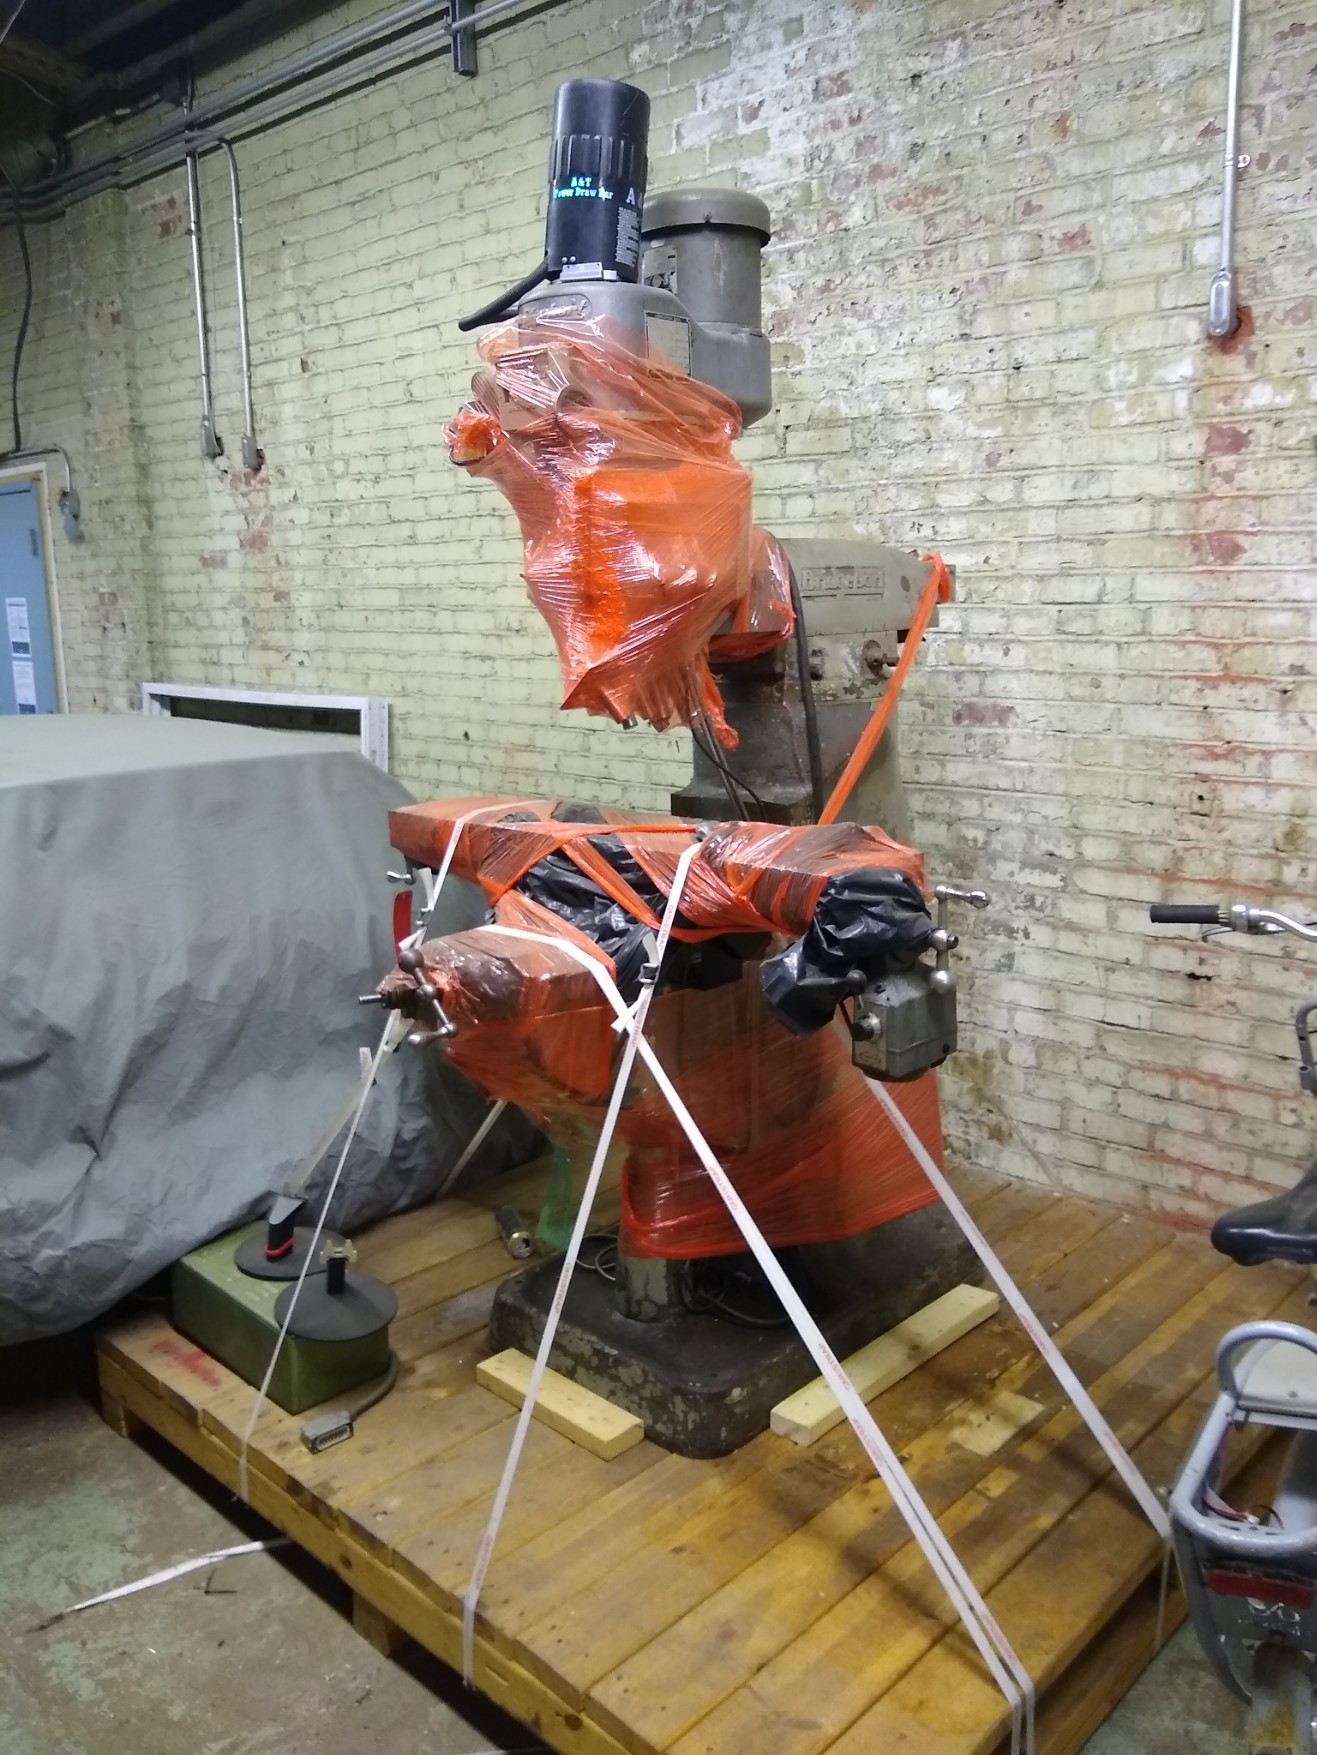
I rented a UHaul truck with a 6x12’ trailer to move it. It was loaded on a 6x6’ skid which made transporting with a forklift pretty easy.

My new shop space has a forklift as well - super handy!
Loaded it on a pallet jack to scooch it into position
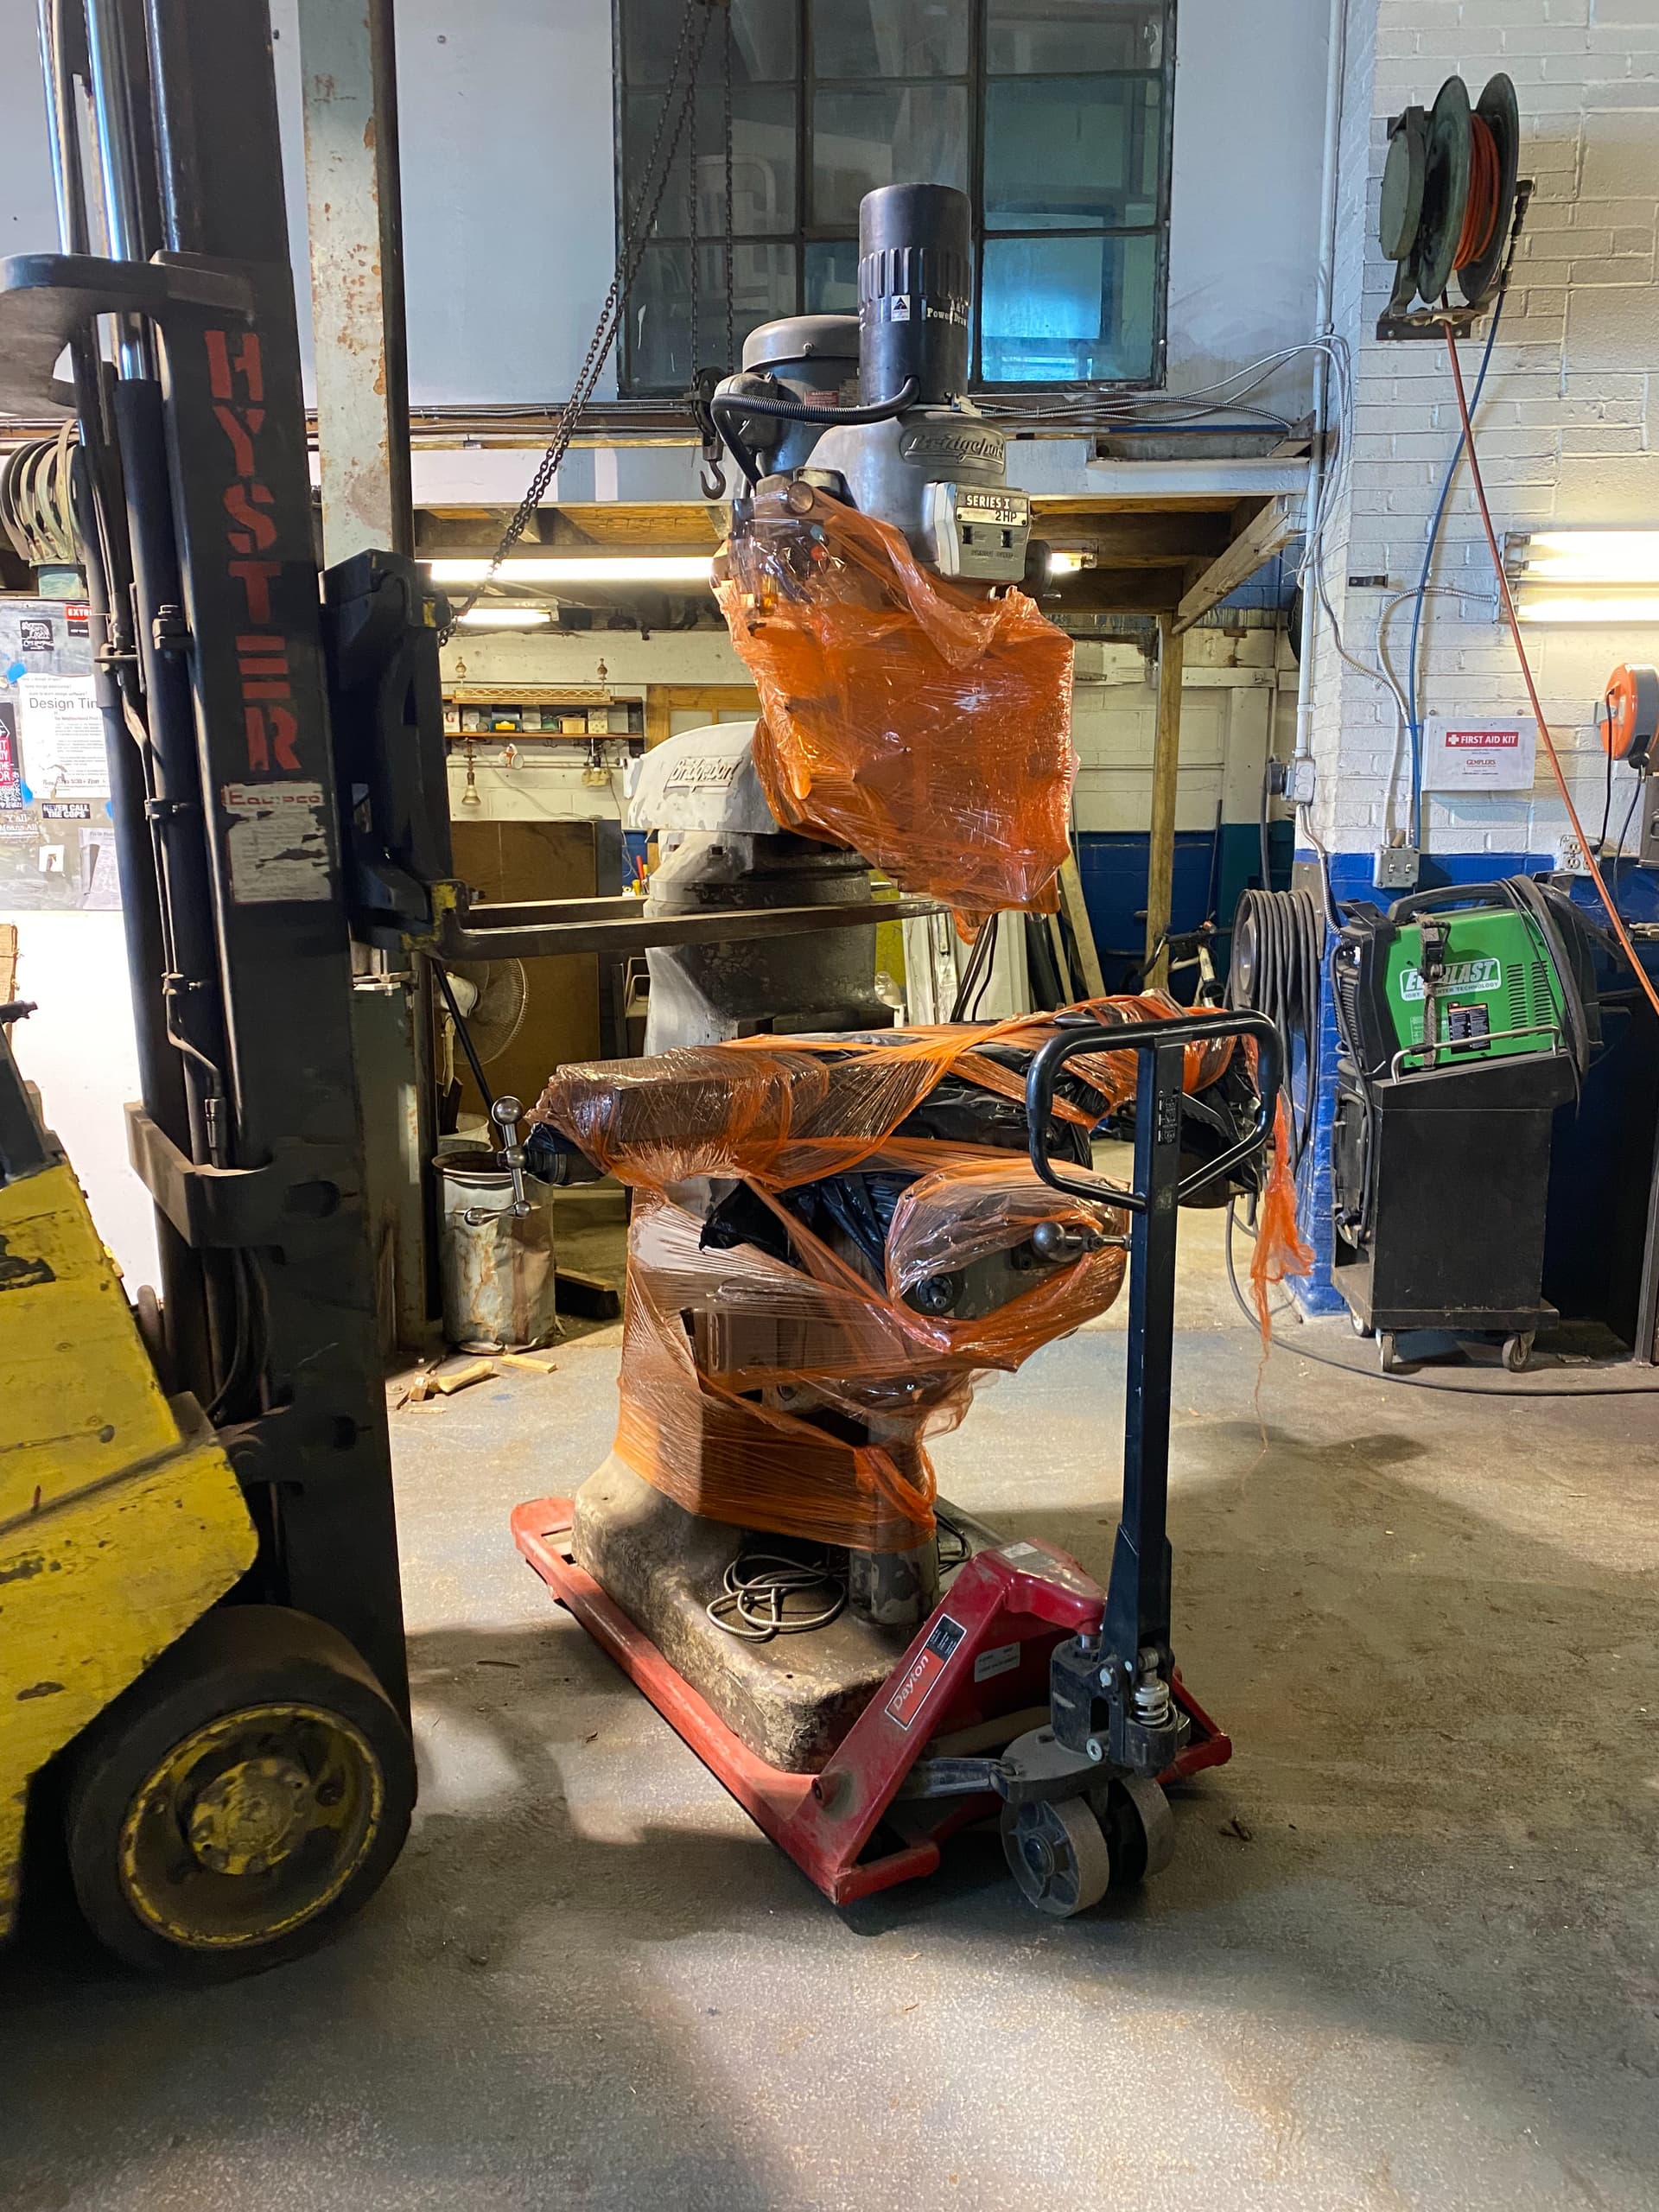
Ready to get taken apart!
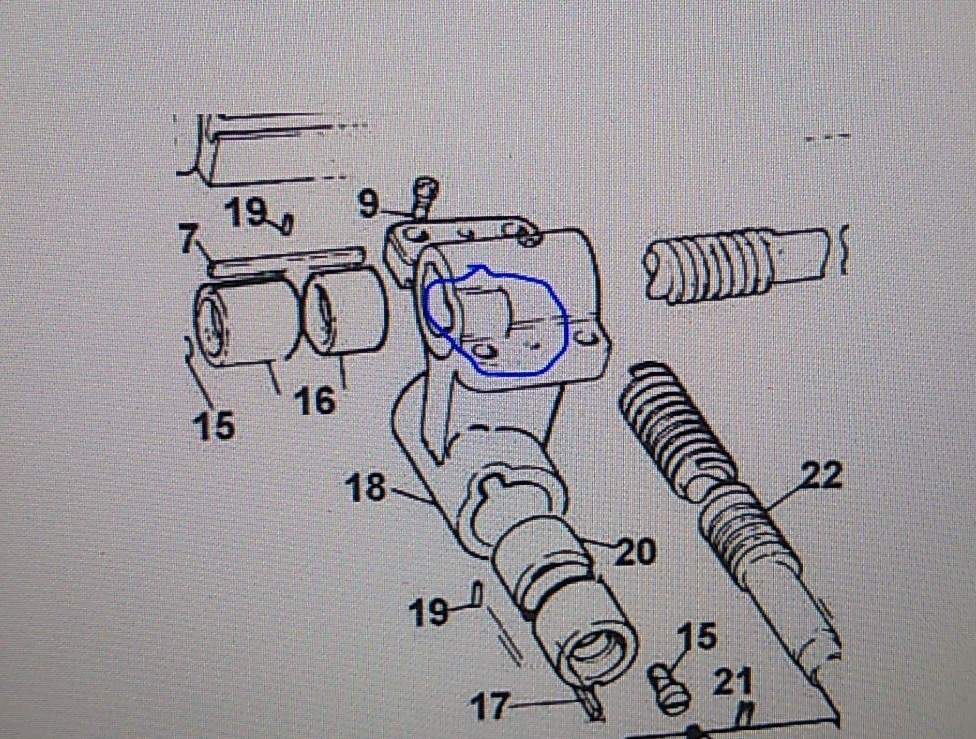
Apparently the feed nut bracket casting cracked in the circled area. I have a replacement on order and hopefully it’ll arrive soon! Until then, the main symptom is just bad backlash in the X-axis.
4 Likes
That is awesome. I have a friend giving be a south bend and bridge and 2 surface grinders. Just need to get in upstate NY.
This place is a great resource for all things BPT.
I grew up a half mile from the Bridgeport factory.
3 Likes
Back in the late 90s/early 2000s nice big old manual machines were almost free for the taking all over the place. Then in the late 2000s the commodities boom (especially for copper) made it worthwhile to haul them out and melt them down, so now the pickings are a lot slimmer. It’s a bummer.
My BP has inscribed on the (mismatched) head: “Head replaced 1968”. Love it.
-Walt
4 Likes