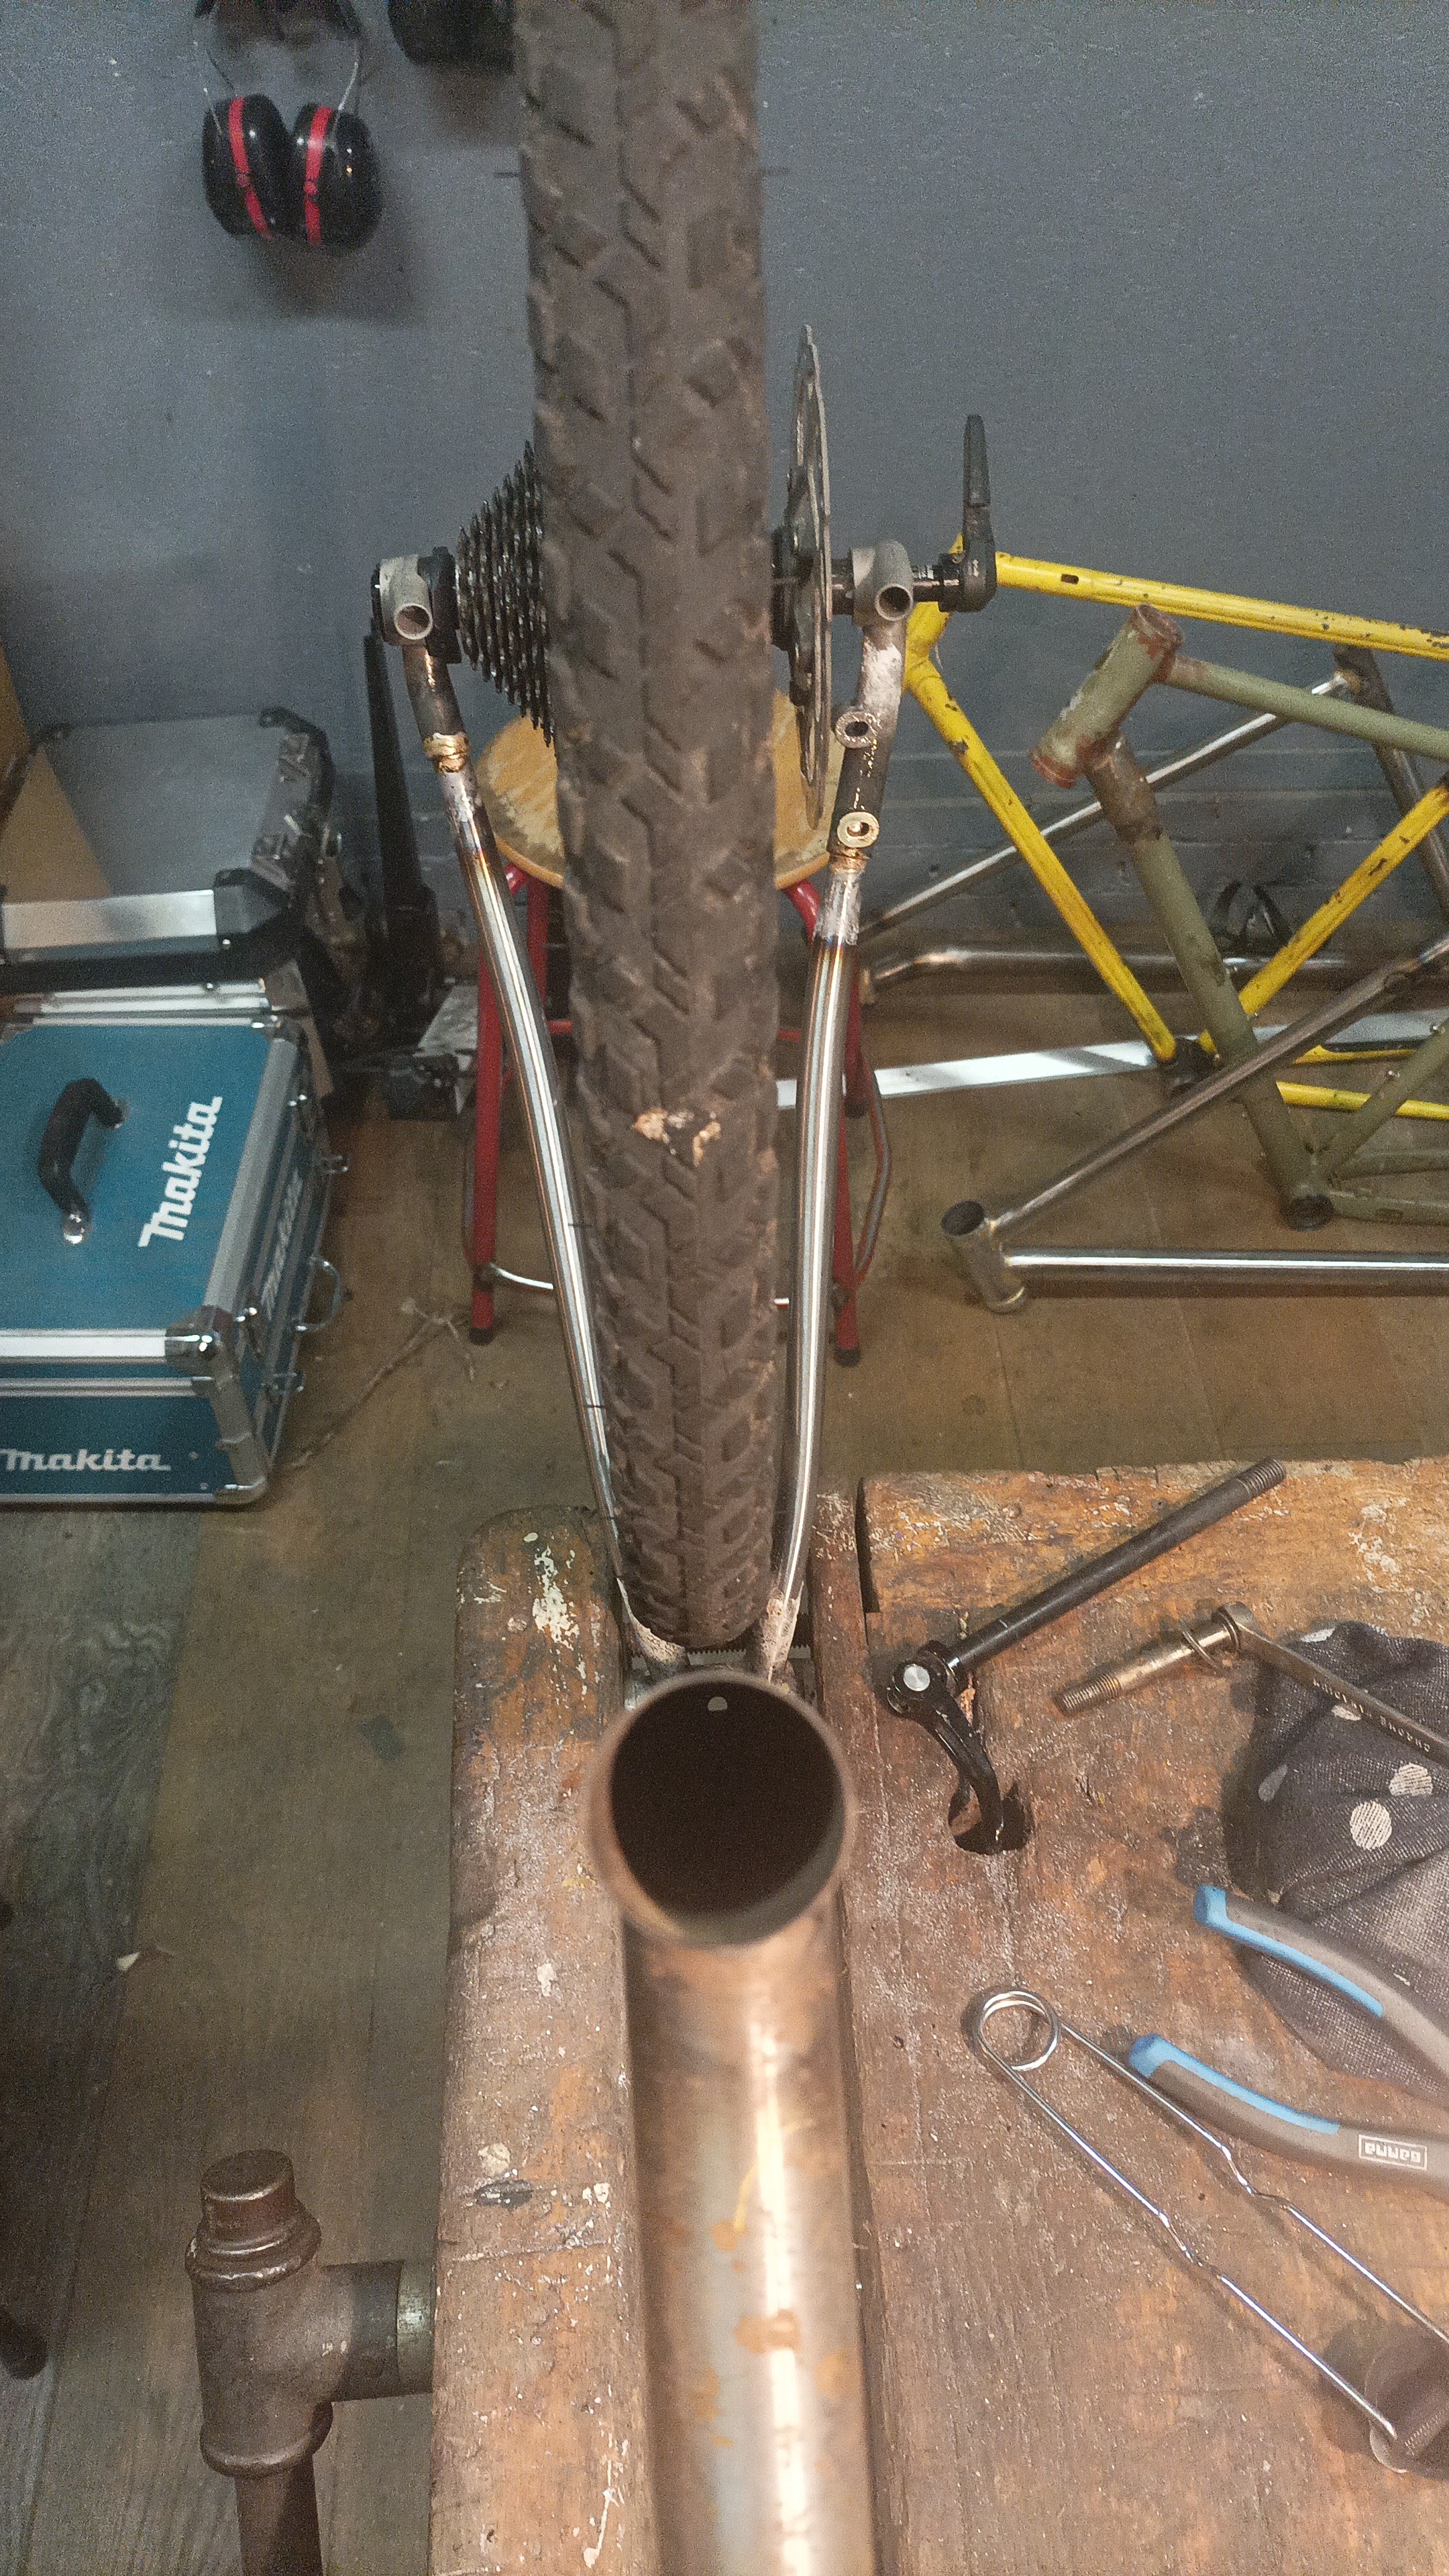
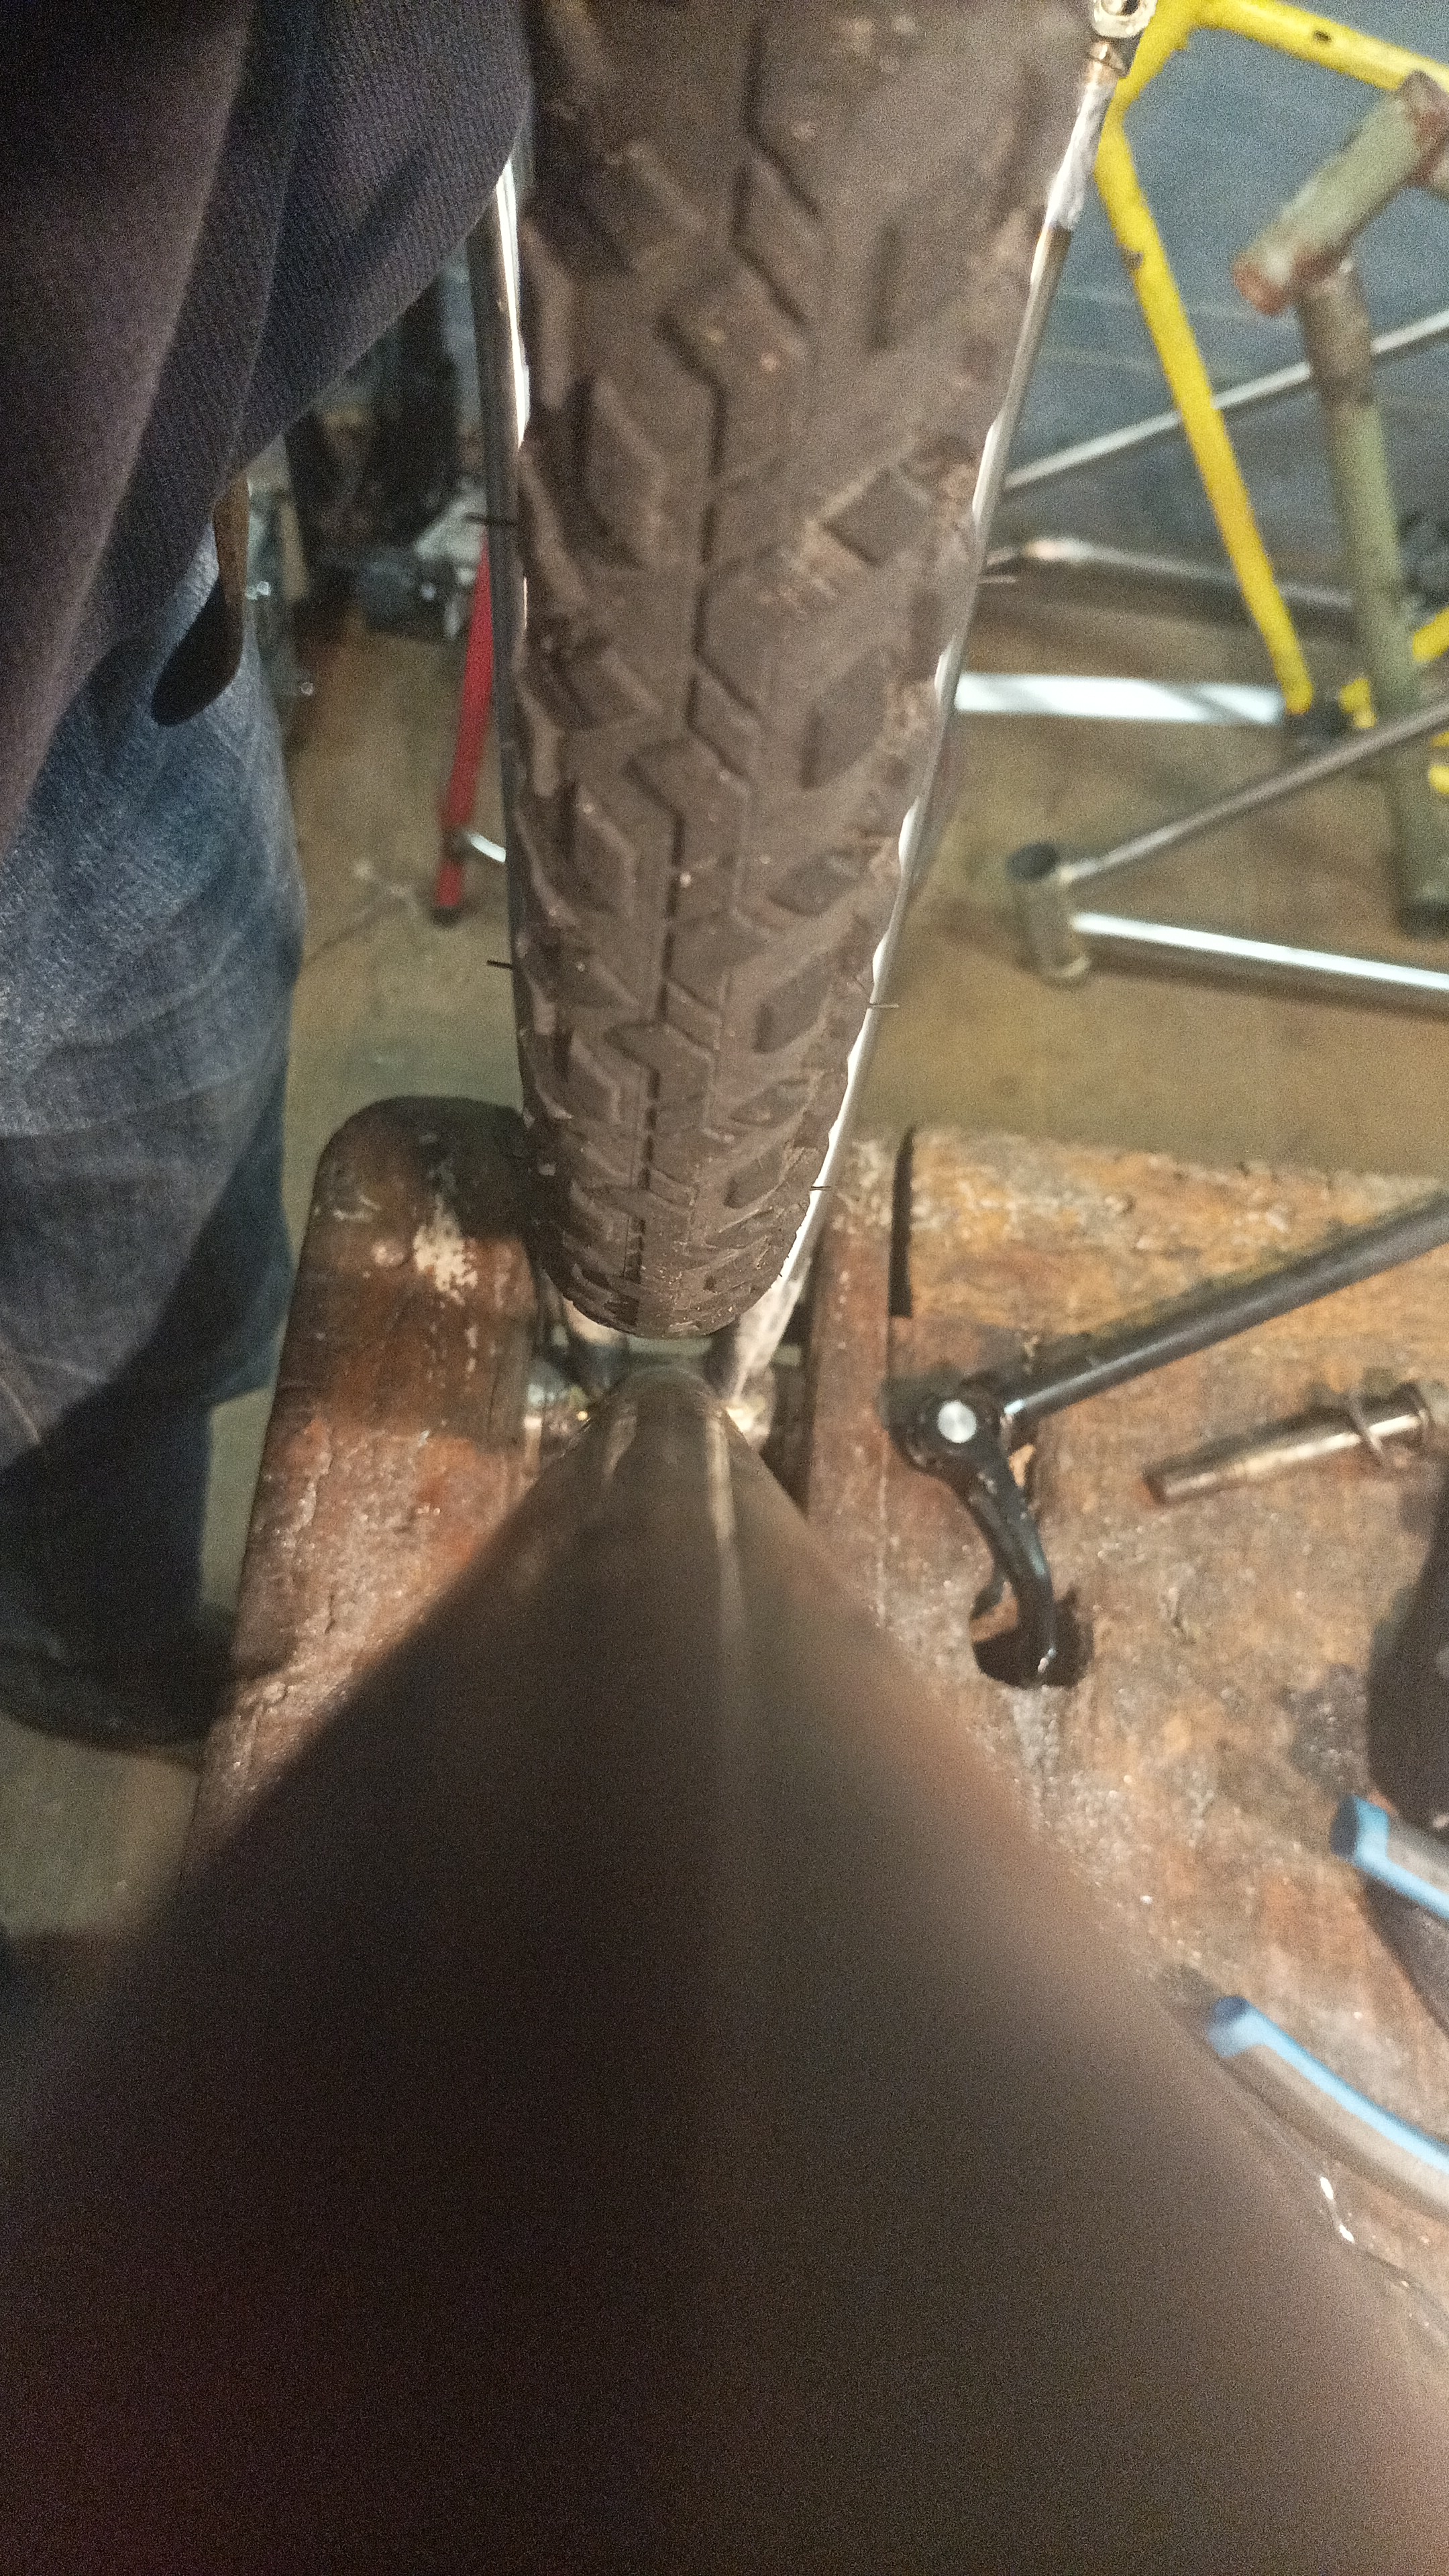
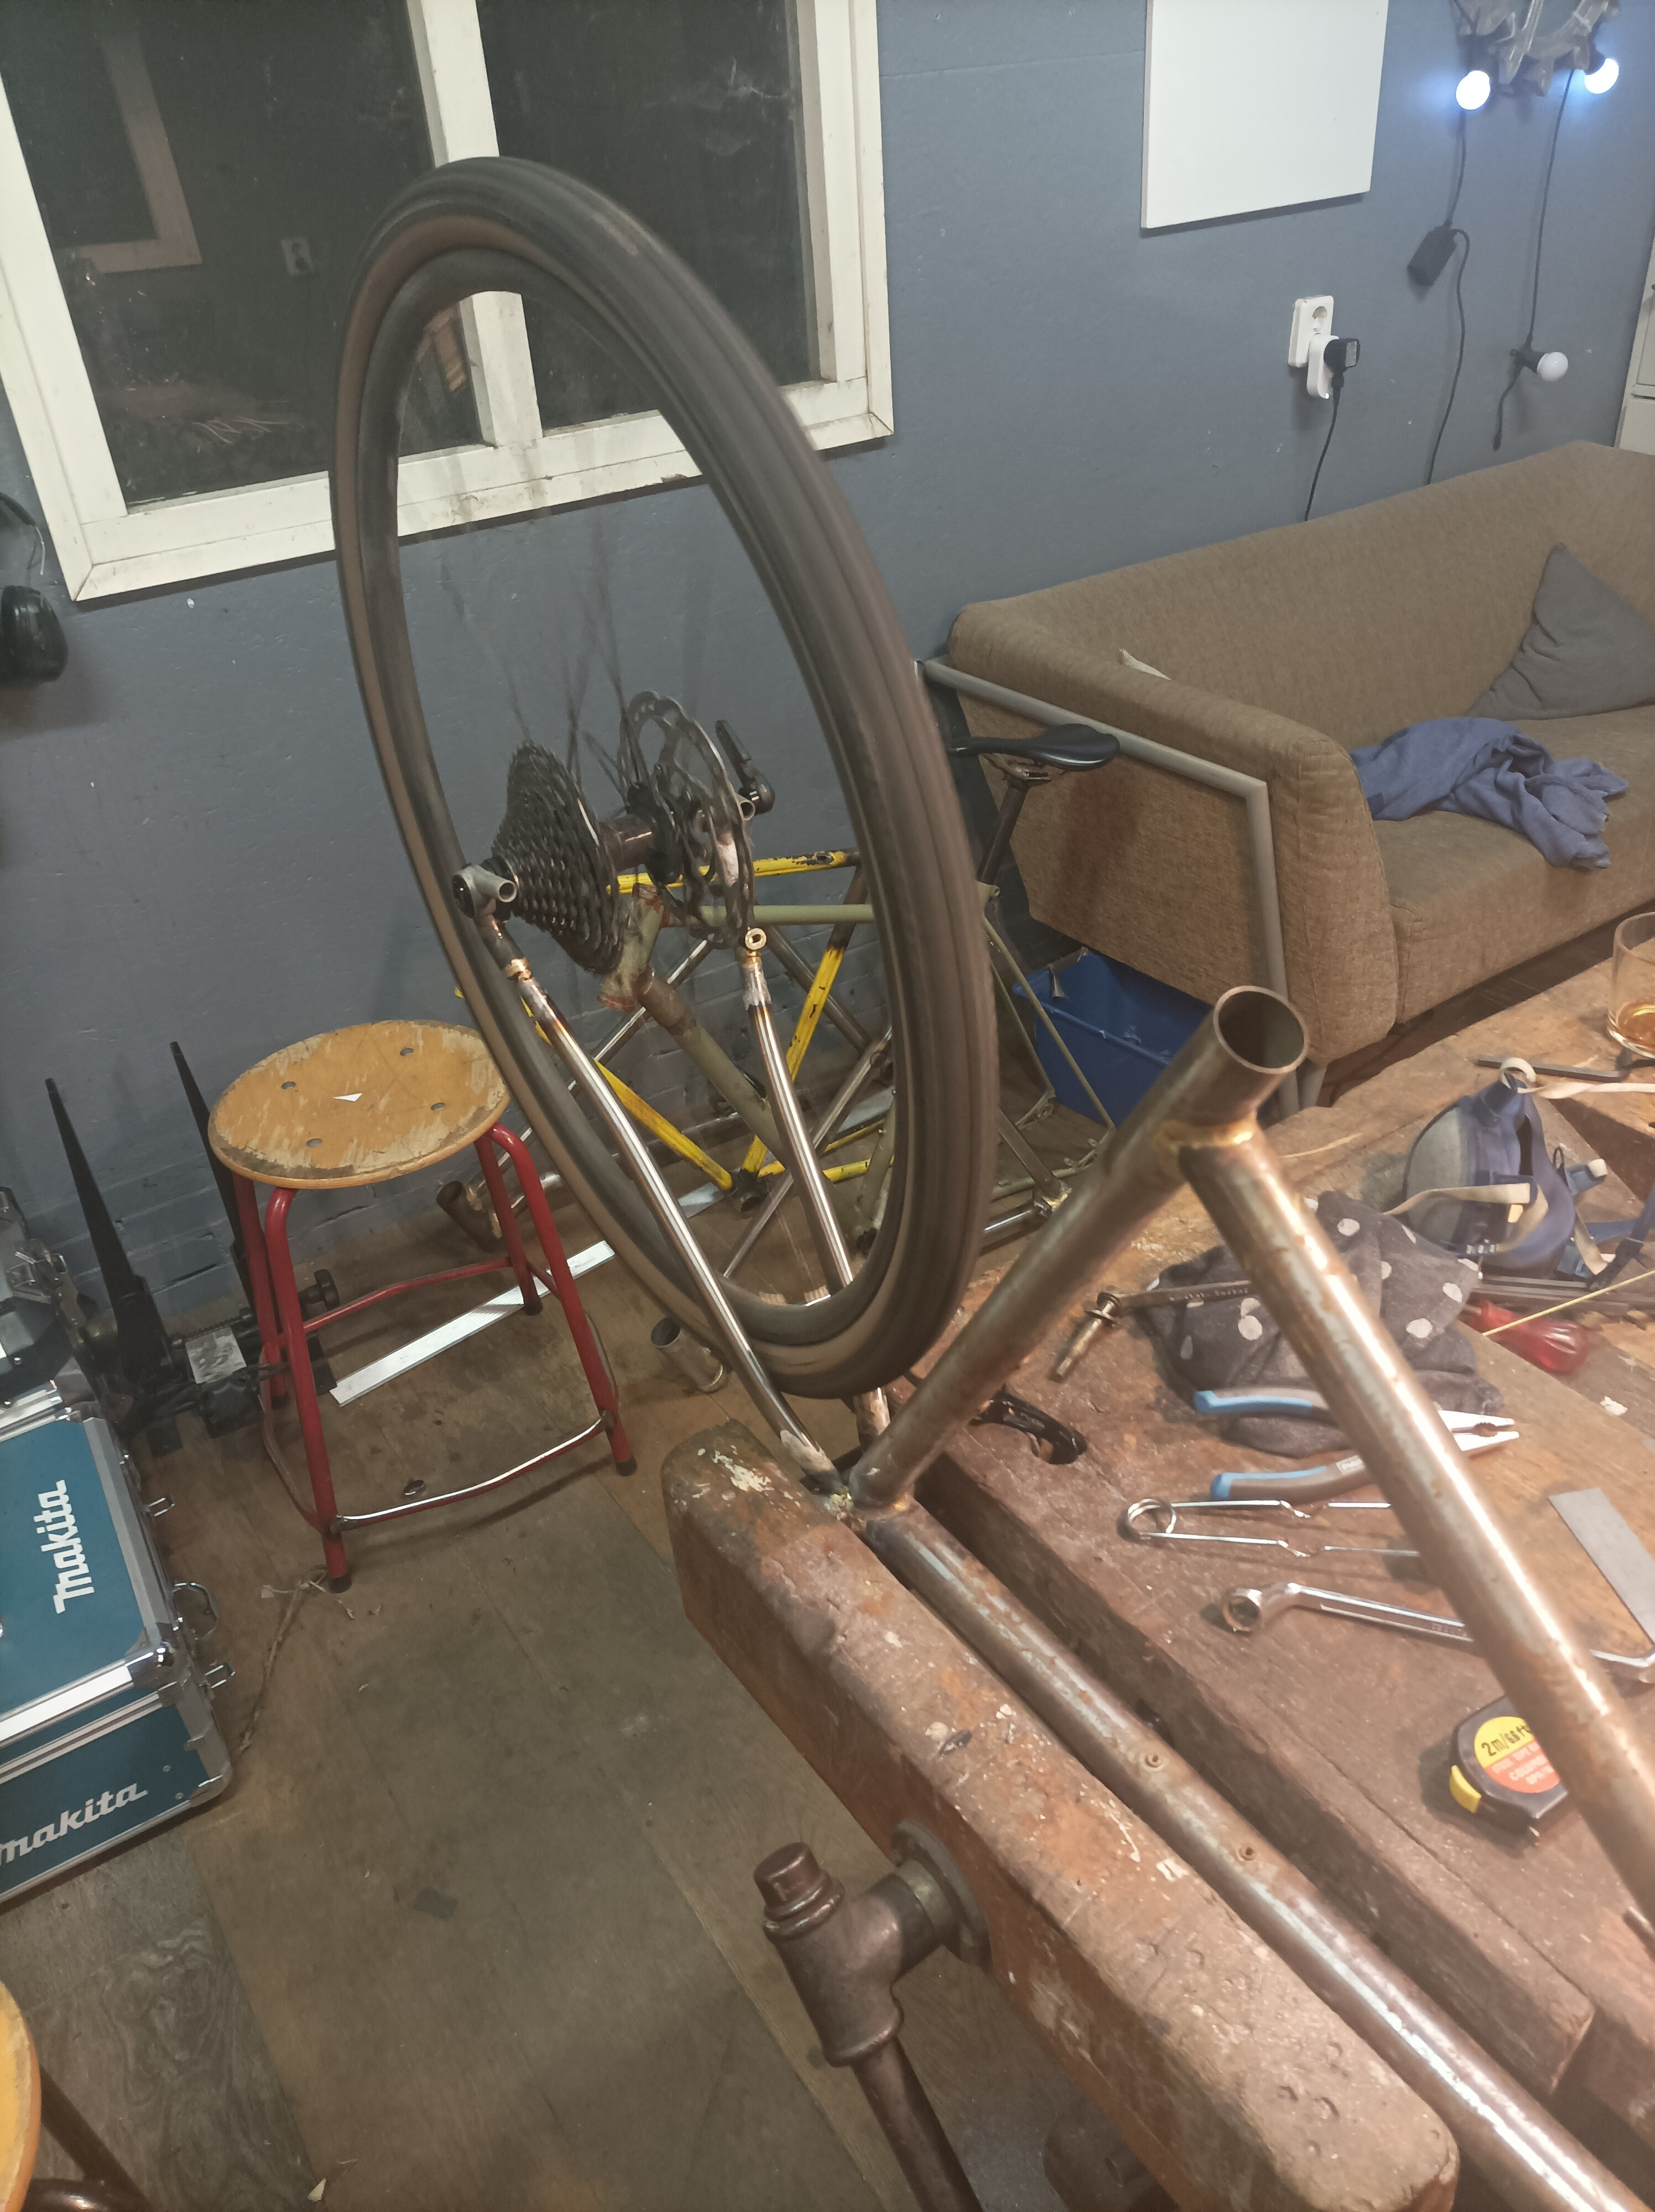
Hi all, im working on a gravel frame with custom 3d printed dropouts for UDH. this is my first frame with thru-axle style dropouts and it’s already biting me in the behind. I put a rear wheel in the rear triangle which I just put a few tacks on. The tyre sits 3/4 mm more to the right than to the left. I guess there is no way to fix this by coldsetting. My idea is to take off the chainstay on the side that is “longer” and take some more material off. Than tack together again.
I would love some suggestions on whether or not this would work, how much to take off and so on.
On top of the comments above: The nice thing about these kind of dropouts is that you can tweak the chainstaylength. I usually tack both sides and then check alignment. If something is off its pretty easy to loosen one side, slide the CS in or out the dropout and then fix everything again.
And don’t worry, it will be pretty easy to take off the dropouts brazed with silver, just make sure you clean everything very good before you start over. In this case I would take off the non driveside and tack it again with the wheel in place to check alignment.
Vertically it’s pretty easy to fix before you attach the seatstays, just use the wheel to twist the chainstays untill the wheel is correct.
Another thing to consider for next time you do a UDH bike is to design your dropout around some kind of eccentric insert/bushing that can be rotated to adjust the CS length. That’s what Paragon do for their UDH design and they even sell their bushing seperately if you wanted to use it.
Here’s hoping it’s just the frame that’s out this time!
Would you suggest taking off just the dropout or maybe the whole chainstay? Non drive side should be slightly longer so that would be easy to do with just the dropout i think.
On the non-drive side there is around 40mm of overlap. To take it off, do i just make it hot again untill the silver starts to melt and try to pull it off? I have never tried taking off brazing material with a torch
@Jillesoom Great minds think alike, this is what I was going to suggest.
If our bushing won’t work for you, it may be possible to make your own. It can go in the right or left side, where ever it works best. This is going to be a challenge to get properly set up in a machine if you need to do any pre- or post- bushing machining. I wouldn’t want to take it on, but if it’s easier or simpler than replacing the dropouts, it may be worth it.
Thanks for the reply, for this particular frame i wont bother with the bushing as my machining skills are non-existent. I do however know how to use cad, so i might design the 3d printed dropouts to accept the bushing.
How amazing is it to have so many eyes on a particular problem, and even have a manufacturer bud in. Love this community.