Hello,
I have been building and restoring oldtimers for many years and it was time for something new.
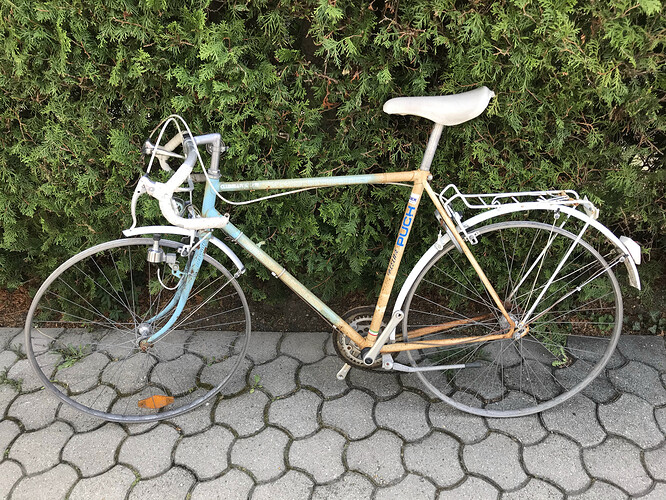
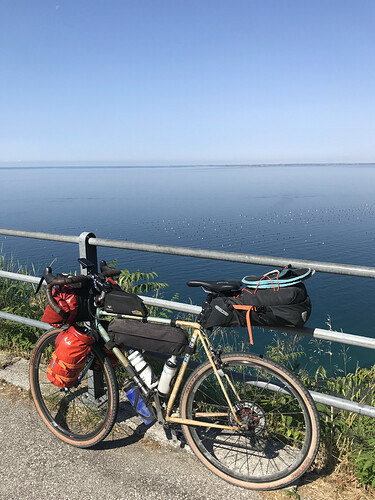
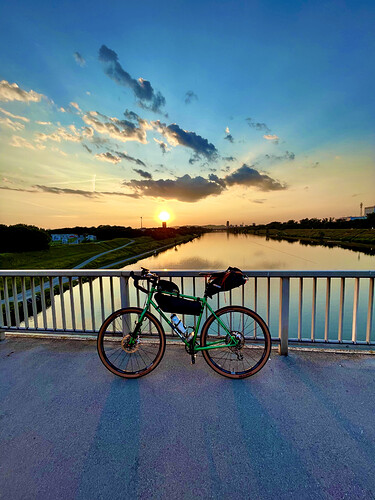
One day I came across this old puch bicycle which is made in Austria. It was ready to be scraped, I picked it up and gave it a new life. Made about 5k km on it, several bike packing trips to Italy, but in the end it was a little bit too small for me.
So I decided to build my own bicycle, but I also wanted to build all the fixtures on my own.
In in the beginning it wasn’t that easy to find all the information, but I got it all figured out.
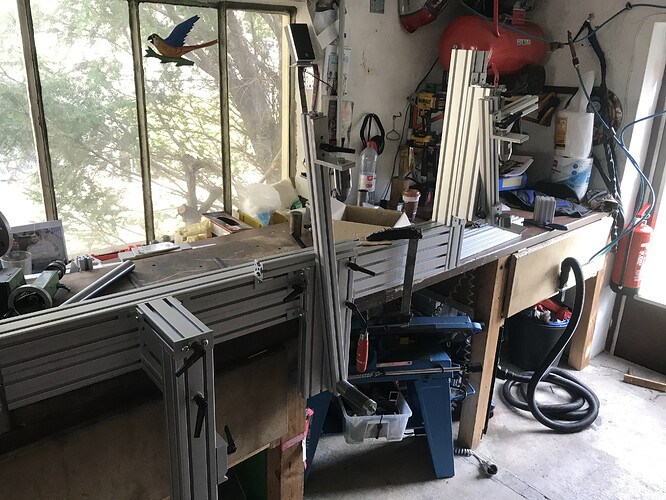
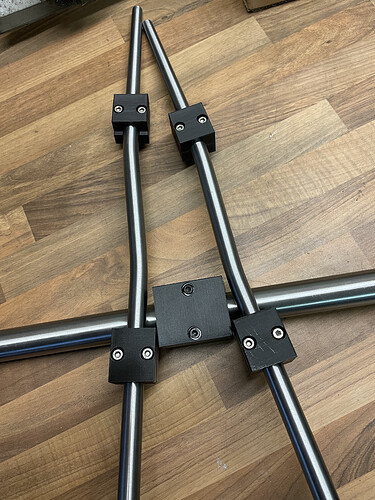
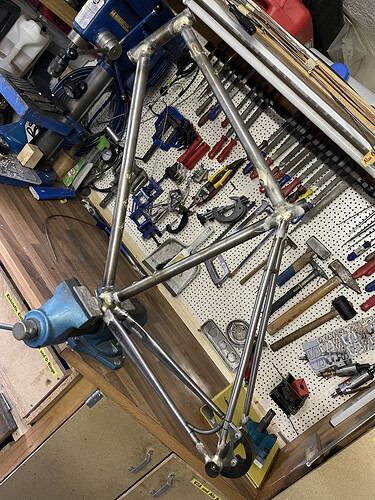
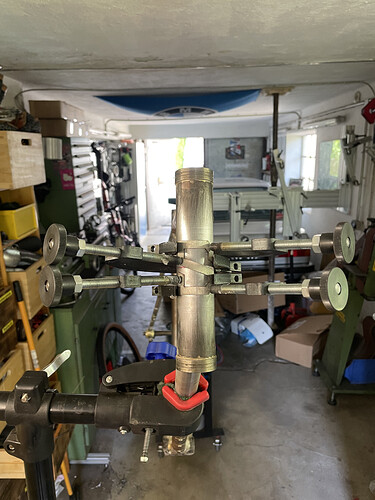
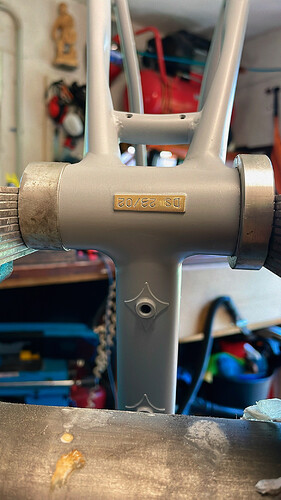
Here is my frame fixture that I build
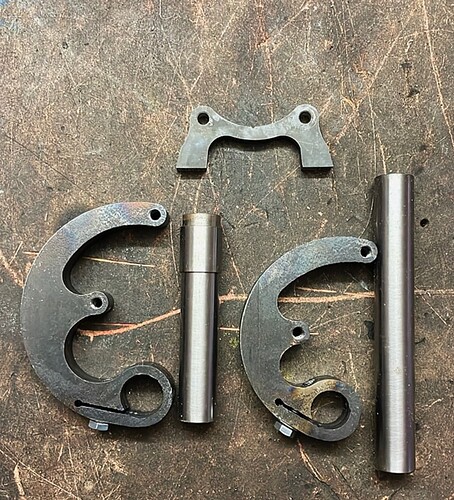
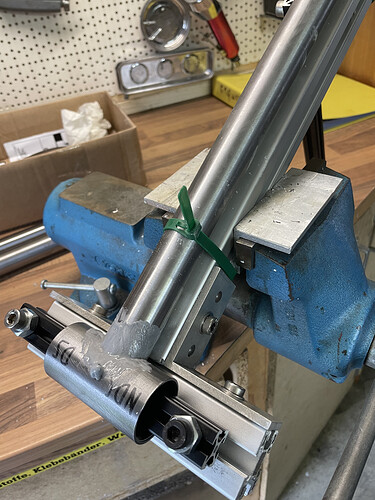
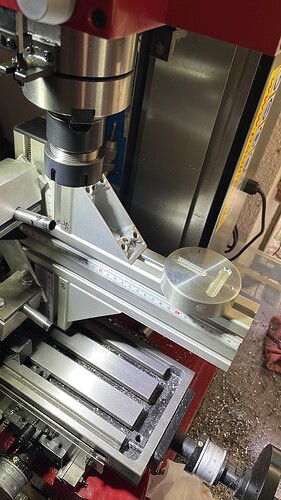
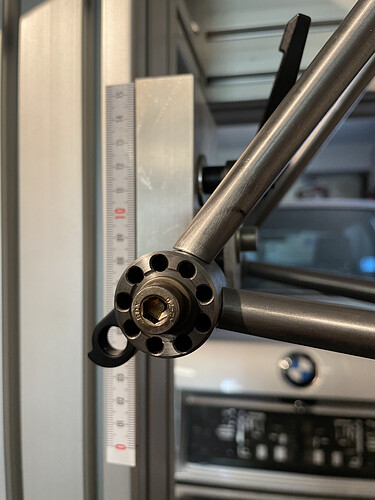
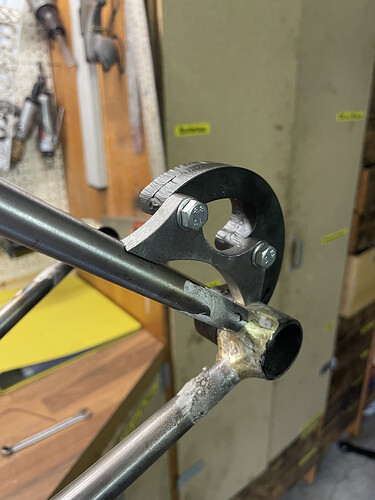
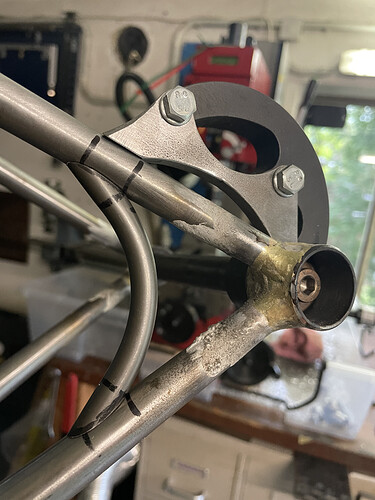
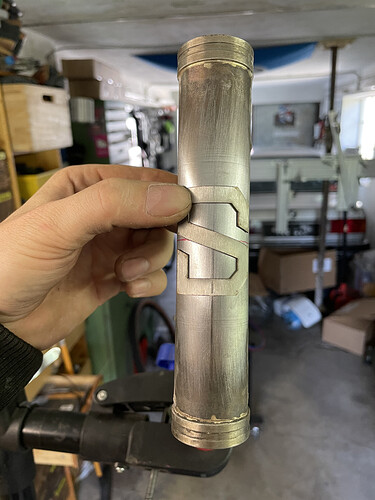
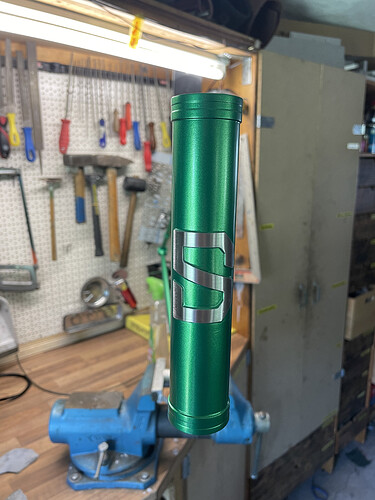
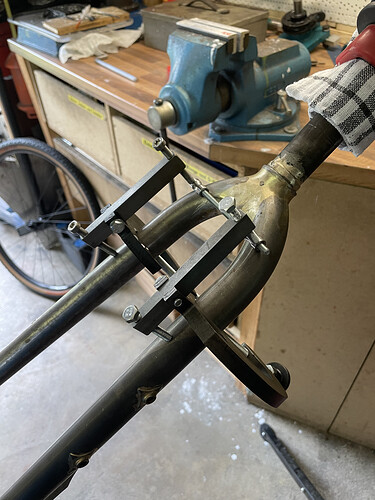
Since I am going with disc brakes I needed some tools to mount the is tab
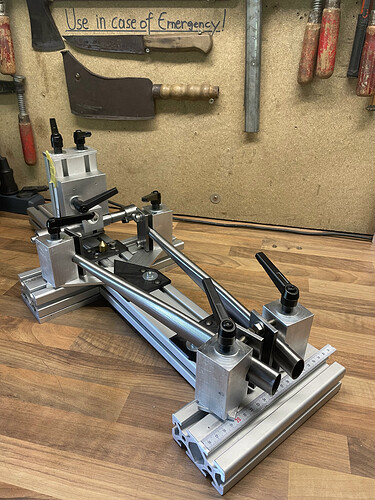
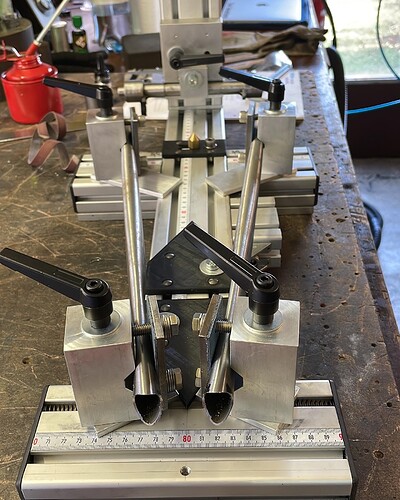
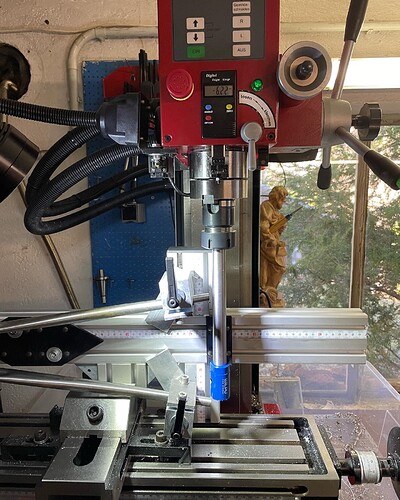
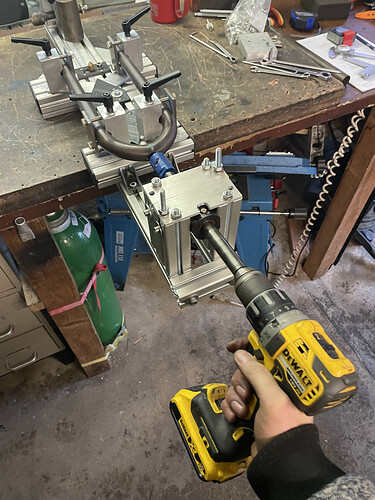
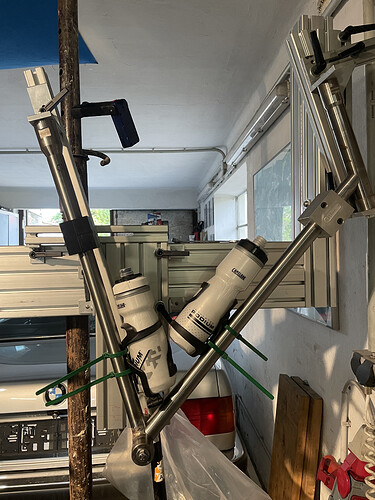
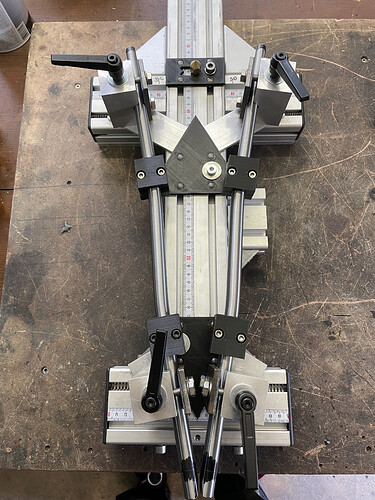
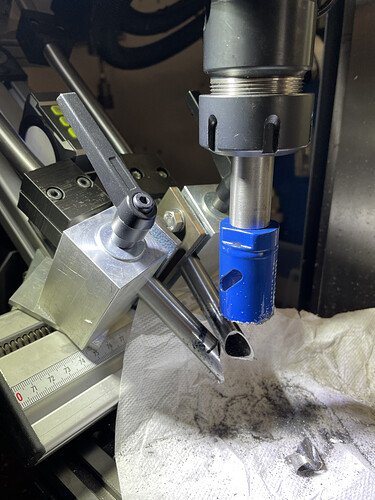
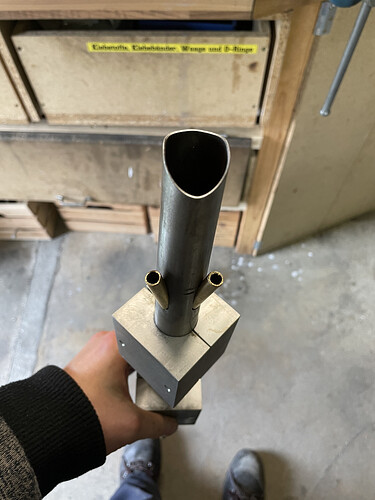
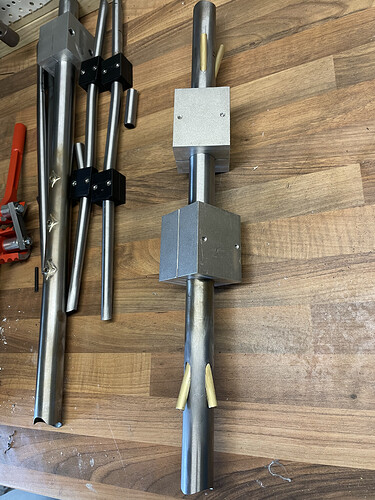
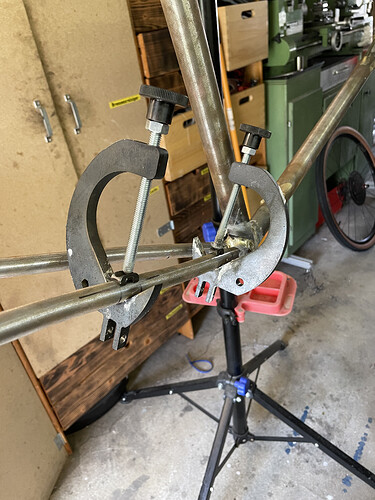
The next big tool was my chain stay, seat stay, unicrown fork fixture. Took some weeks to invent this thing but I am so happy how it came out. Such a universal fixture which is very easy to set up.
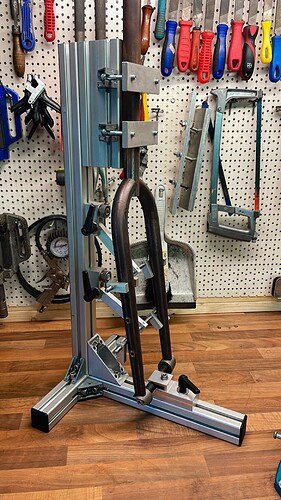
Then it was time for a nice fork fixture, I have built one a year ago, but it wasn’t that good for unicrown fixtures.
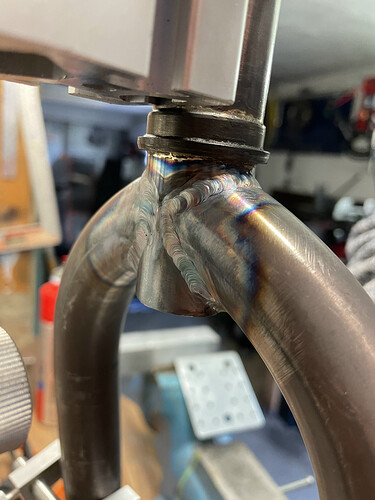
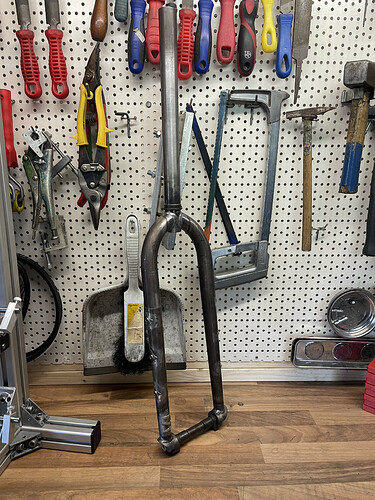
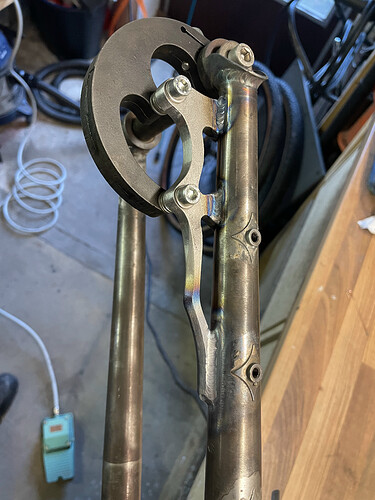
The fork turned out really good, I am so happy with the result
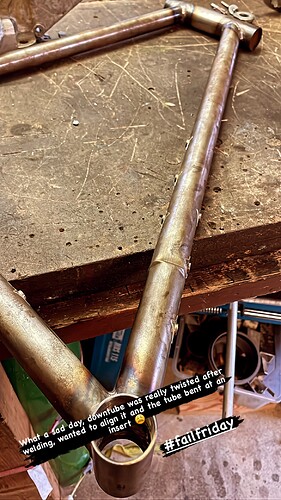
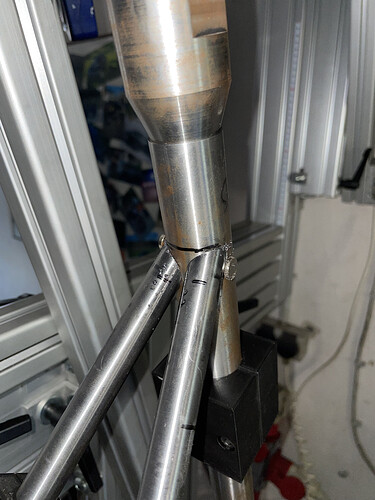
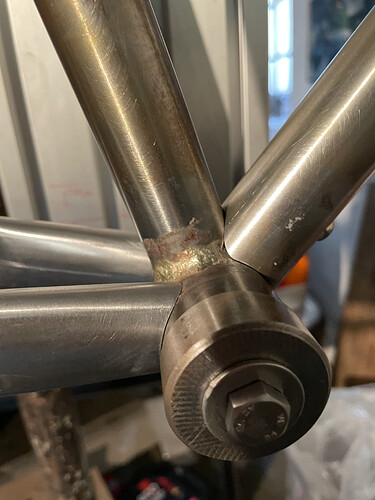
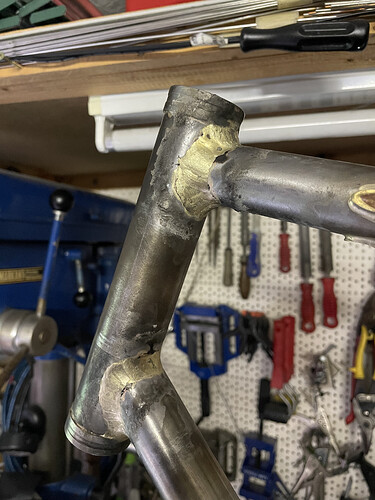
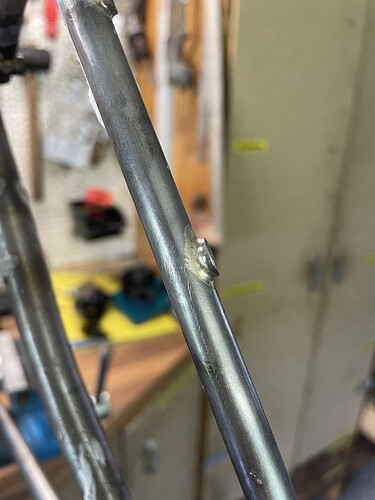
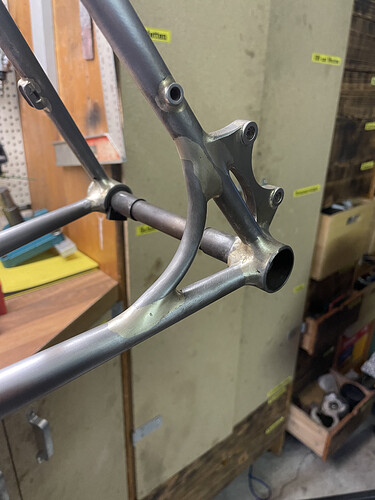
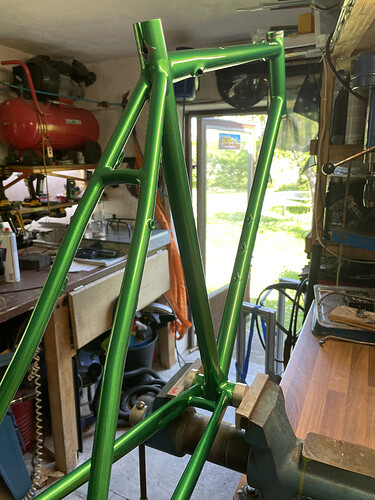
The frame took also in shape, but I had several issues. wanted to cold set the frame after welding and maybe I am a little bit too strong 
But I cut the DT ad inserted a new one and made the alignment before the final weld. Live and learn 
//kdDOk1VS0CDGId61eij7cKuynp7.jpeg)
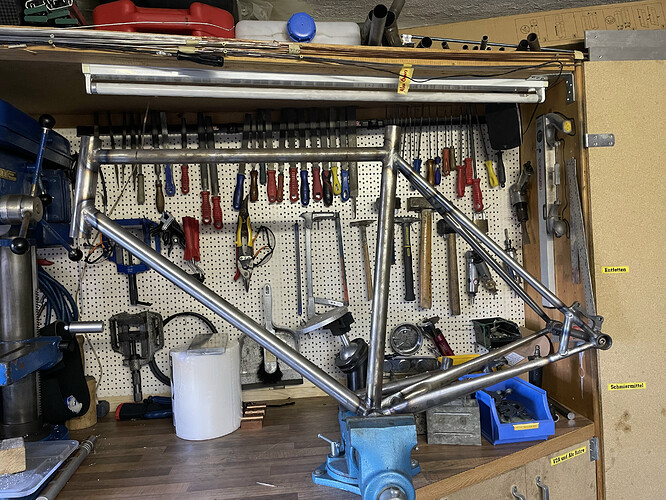
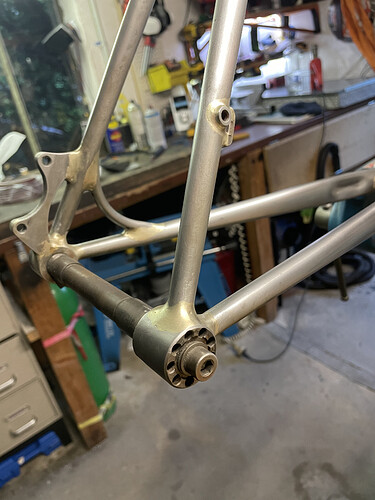
I am pretty happy how everything went together, but for the next frame I would o some things different.
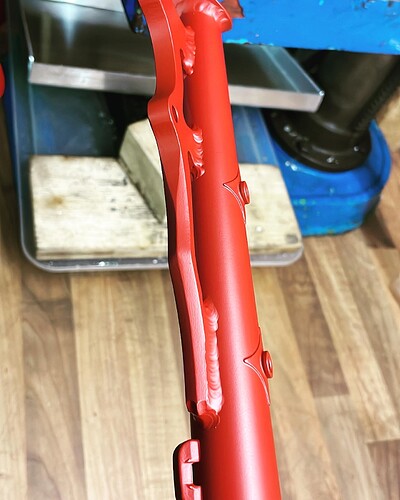
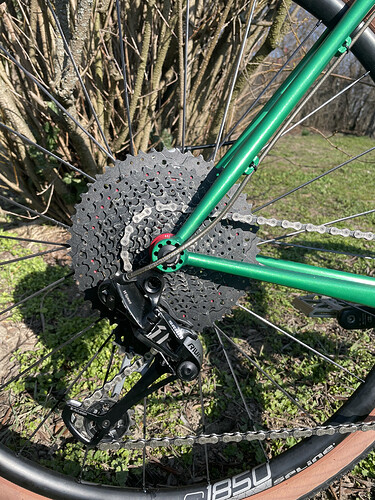
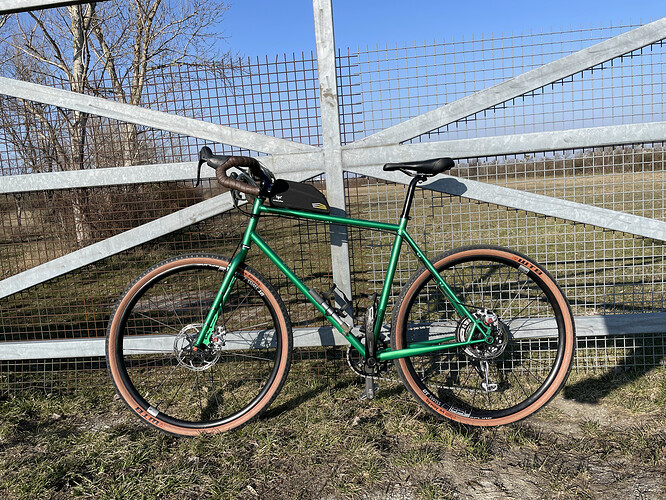
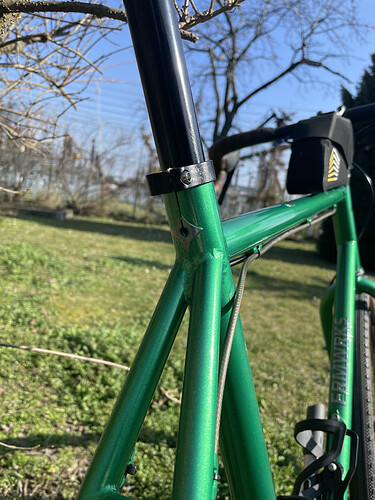
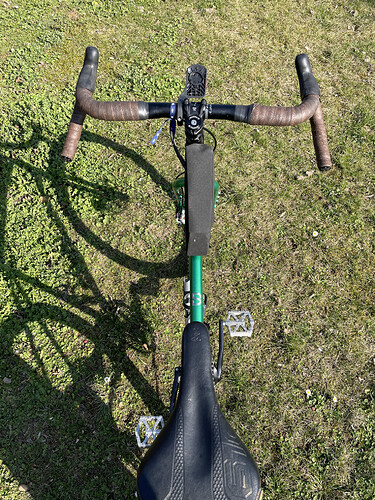
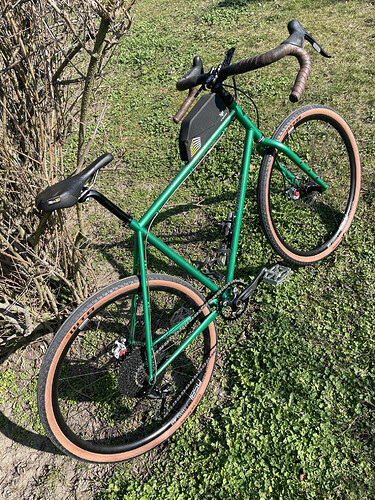
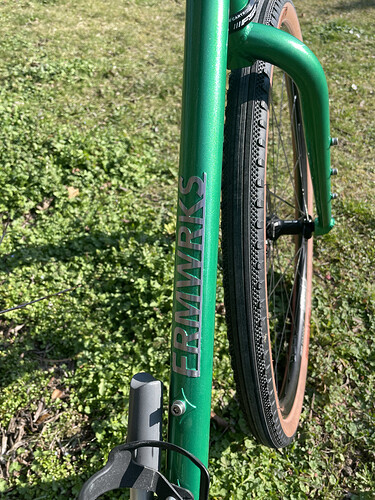
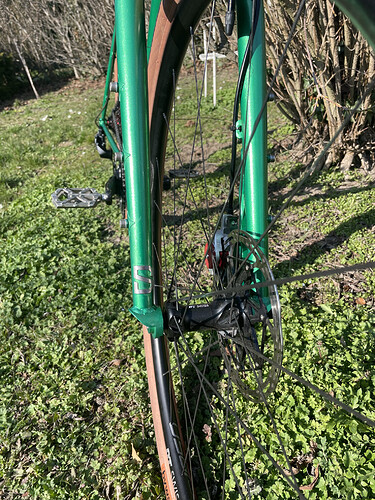
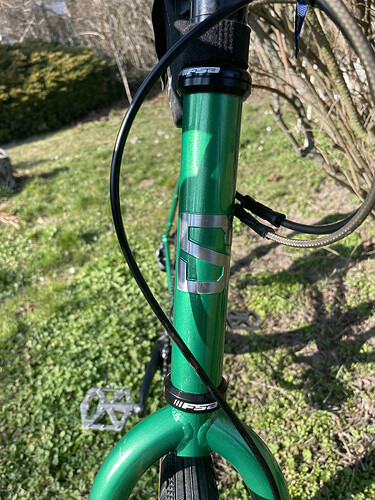
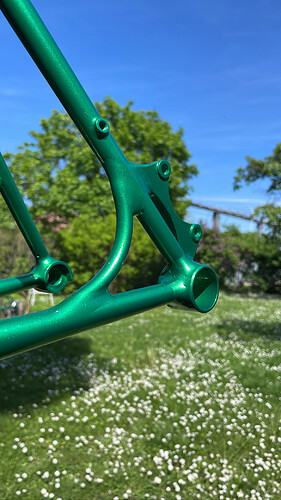
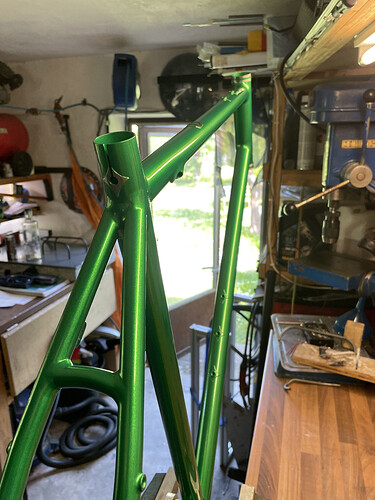
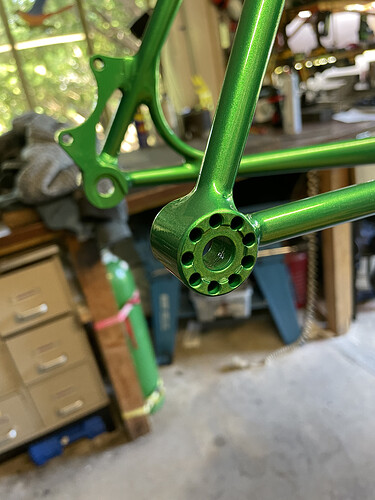
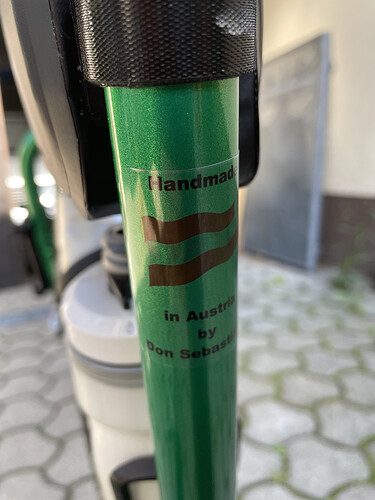
In the end I painted the whole thing and it looks amazing =)
So what do you think about my first bike?
You can also see more detailed pictures on my IG: Bastel_Mann
greetings Sebastian
17 Likes
Beautiful work, especially figuring it out by yourself.
2 Likes
Sorry, it’s time for me to bail on the forum.
3 Likes
Beauty! I am more impressed by the fixtures than the frame. I am curious about your decision to buy your own rather than buy the tooling. For fun? cheaper? Availability? Making them all is very impressive.
Hopefully, your contributions to the alignment thread will help people avoid this mistake moving forwards!
2 Likes
@Smoothsailor Thank you, yeah this forum would have been so helpful one year ago. But I read all the shimano and sram frame standards several times to figure everything out.
@anon91558591 yeah it was a hard one but in the end I learned something new👌
Thank you @Daniel_Y, since I am living in Austria and the shipping costs for this fixtures from Farr or cobra to Europa are insane, I decided to build it on my own. Also for me the process of inventing and building stuff is very enjoyfull.
For every fixture i had a picture of the final result in my head and it is so satisfying seeing this picture come to reality😁
4 Likes
Many people would say the same about building a frame!
2 Likes
Looks great! I hope to be where you are at in about a year. I also decided to build most of my own tooling because I had zero machining experience and I like getting into the details of things too. I built the PVD Skynet jig and I’m currently in the process of building my own CS / SS mitering and welding jig that is going to be very similar to yours. Cheers!
2 Likes
Nice work! The first frame is the foundation for your next frame, N+1 to infinity!
3 Likes
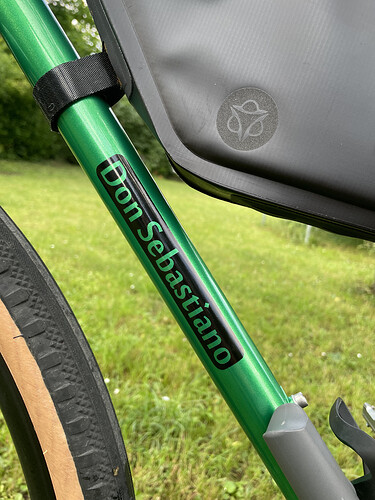
Don Sebastiano Frame Number 2.
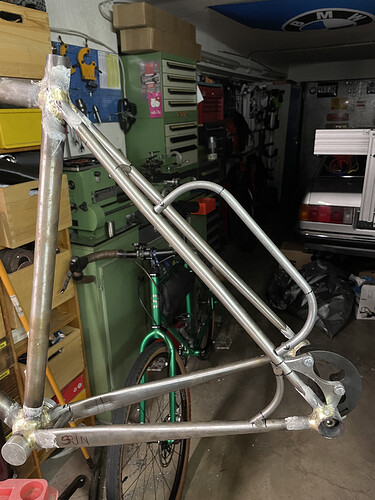
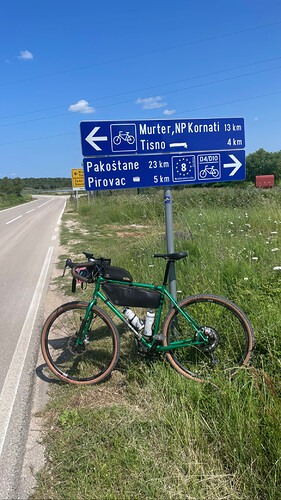
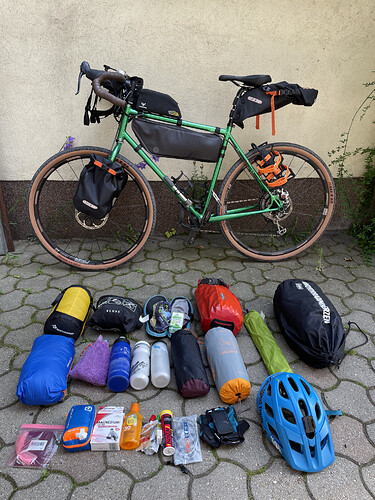
So Shortly after I made my first frame I decided to build a second one which is more refined and has some more details than the first one. I also wanted to make a long bike packing trip from Austria to Albania, therefore I need some racks and anything cages mounts. This will be the ultimate stress test for my handbuilt frame.
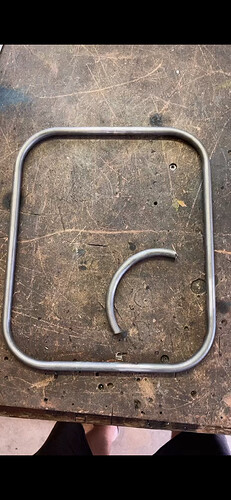
Starting with pre bent seat stays:
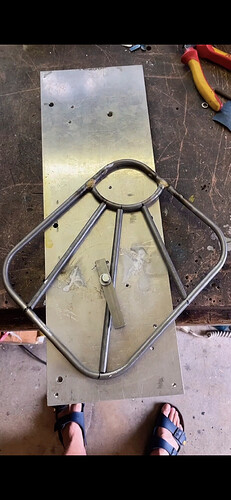
Tool for the BB ST joint:
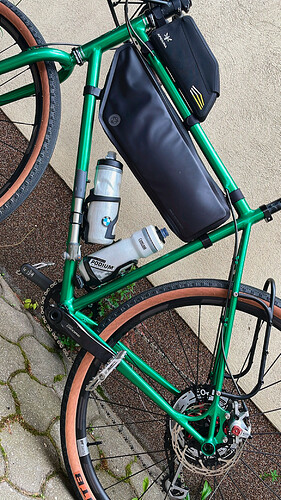
Looking where the water bottles will sit
SS cutting in my jig
Fitment is spot on:
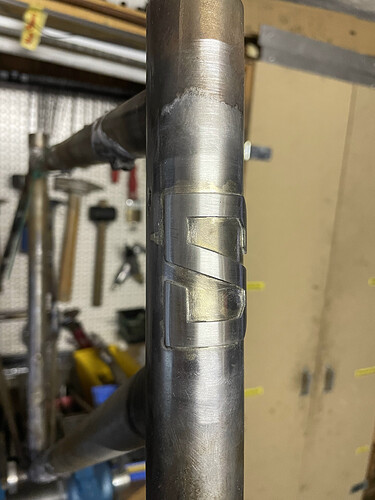
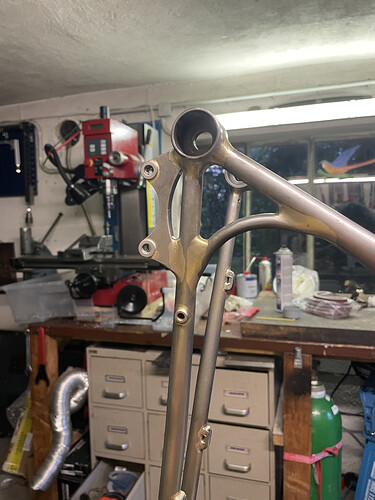
Also a first time for me, internal cable routing:
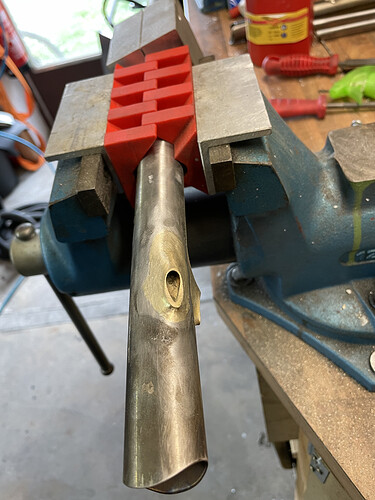
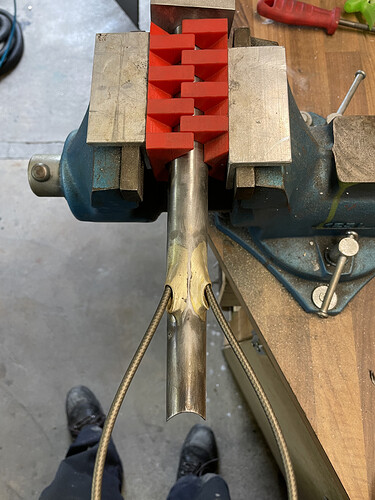
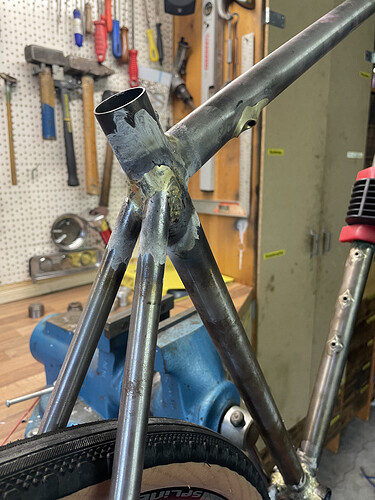
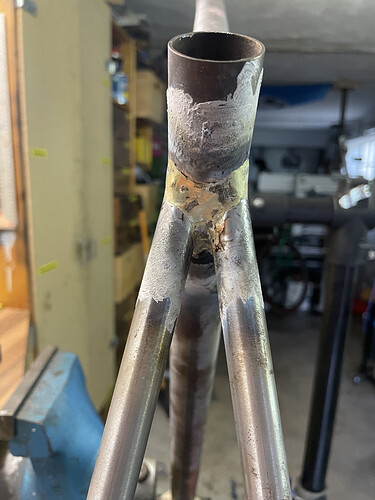
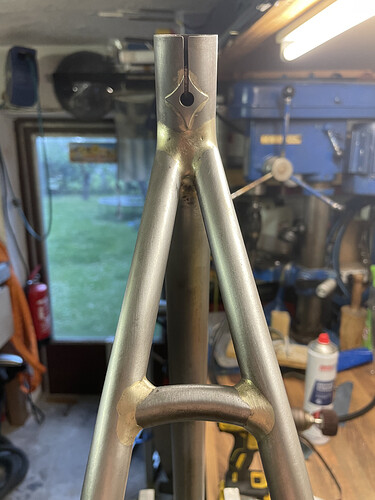
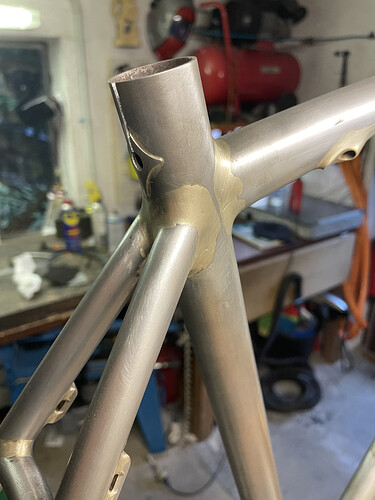
This is also my first filet brazed frame, so also a lot to learn here.
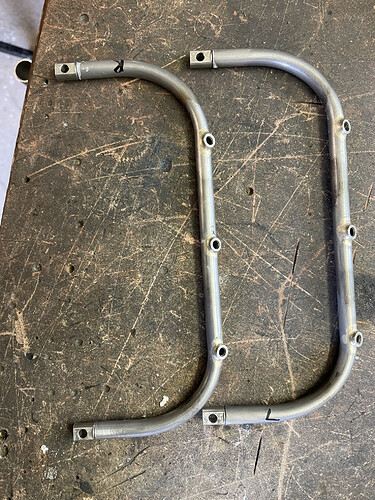
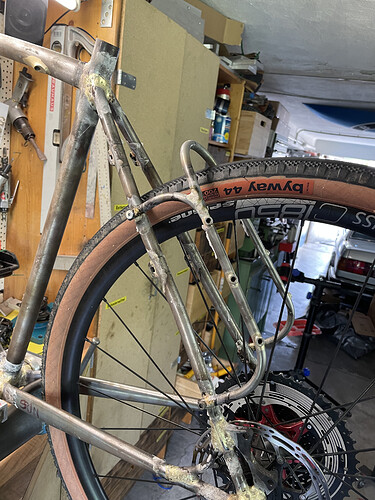
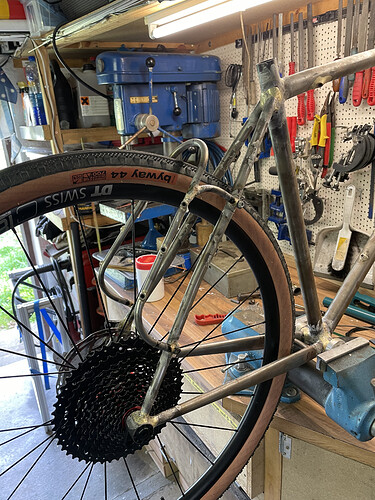
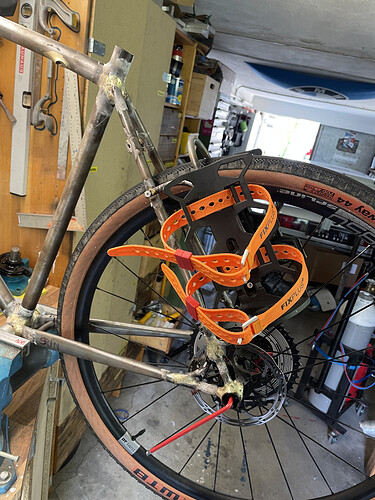
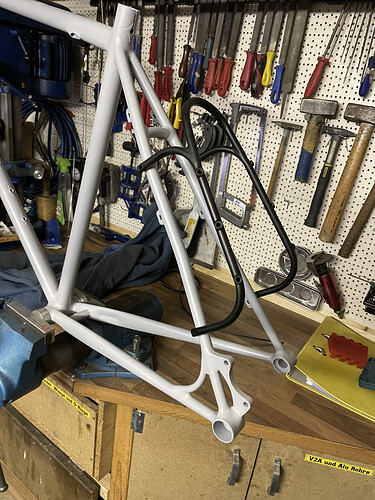
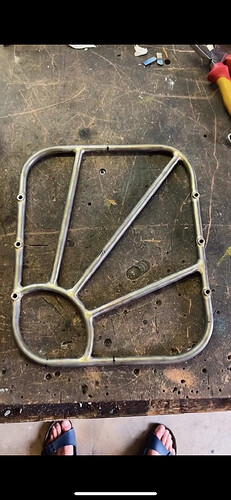
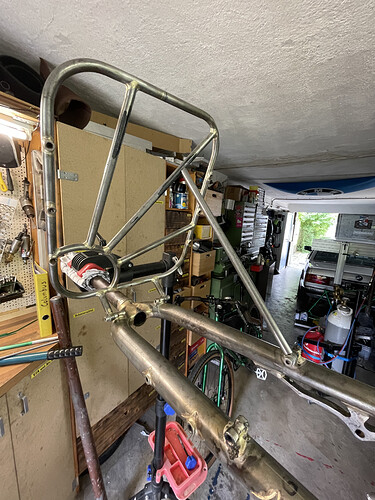
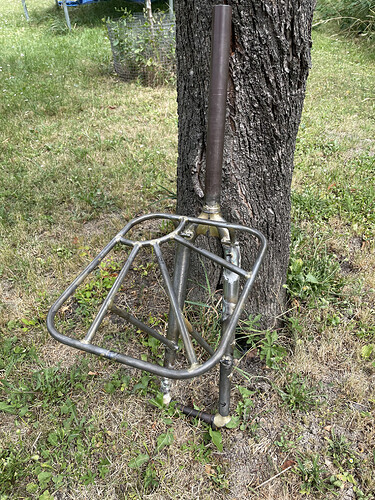
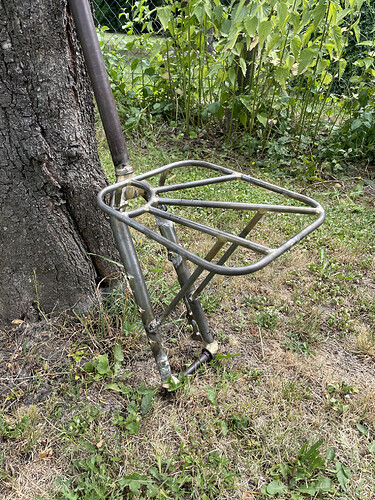
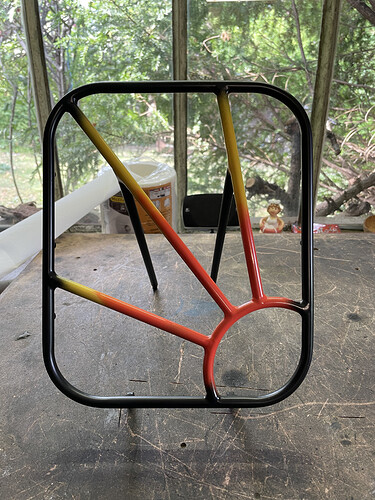
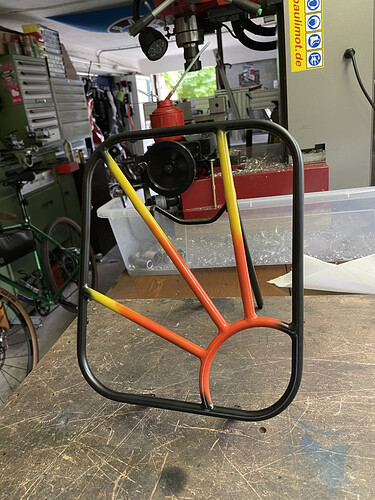
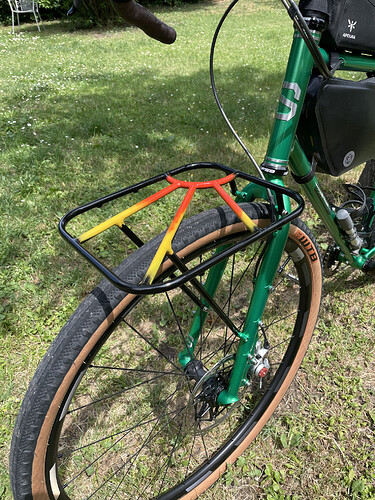
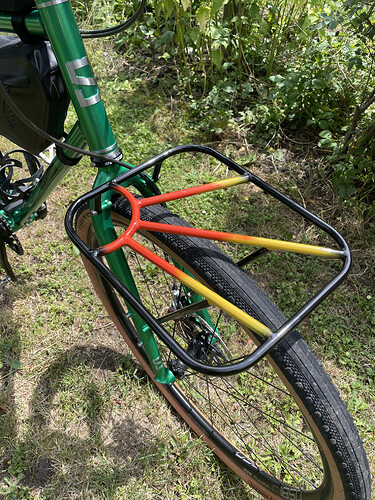
Yeah and the it was time for the final touches and racks:
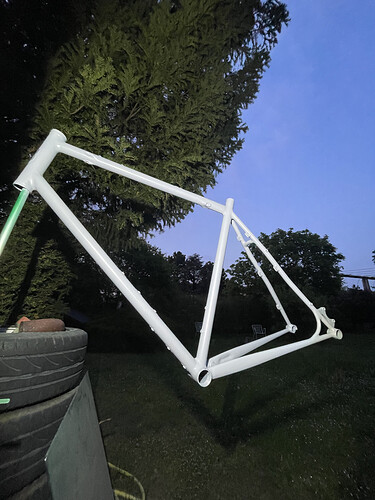
Then it was time for some paint:
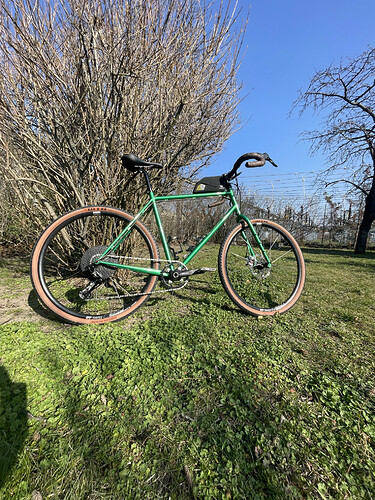
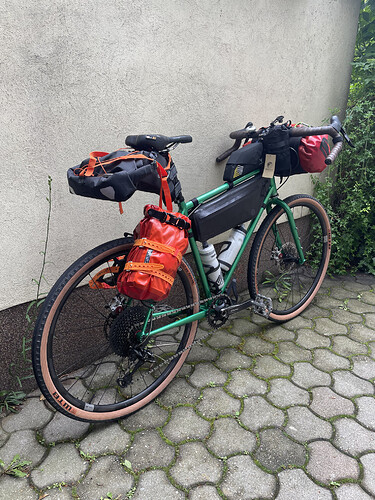
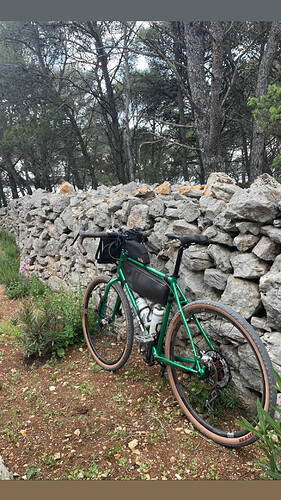
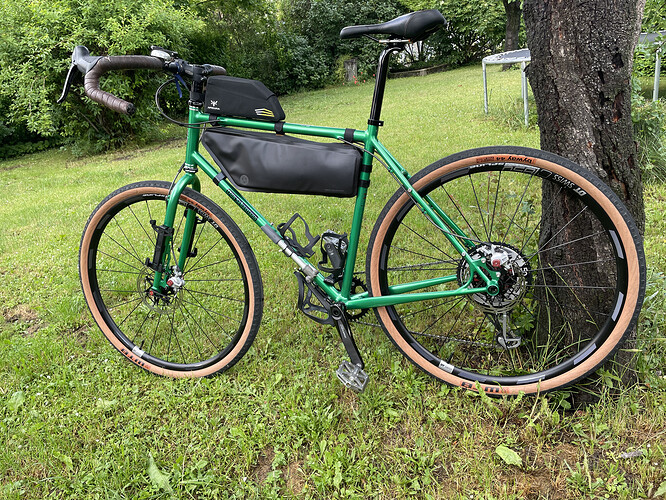
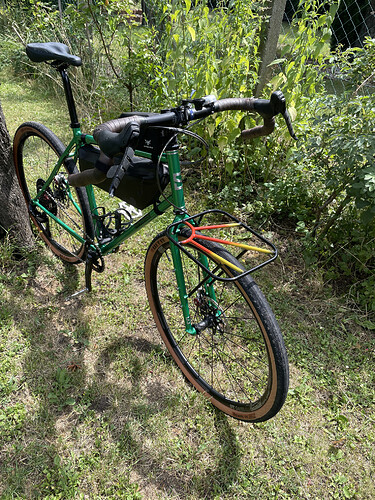
The finished bike:
7 Likes
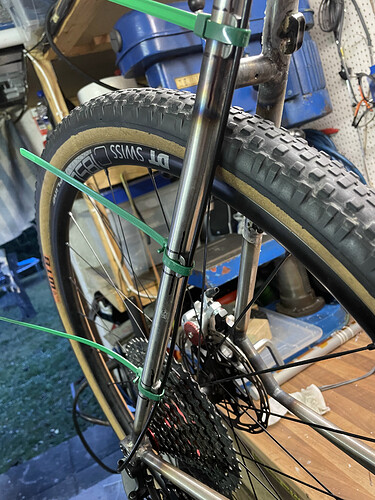
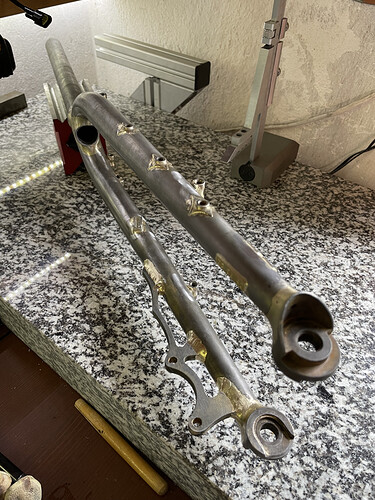
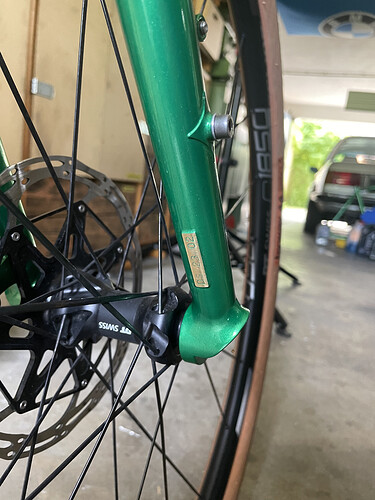
So the Frame was done but this beauty needed a new fork, because the first I have built was a little bit too wide for this tire width, so here we go:
Now everything with paint:
16 Likes
![]()
![]()
