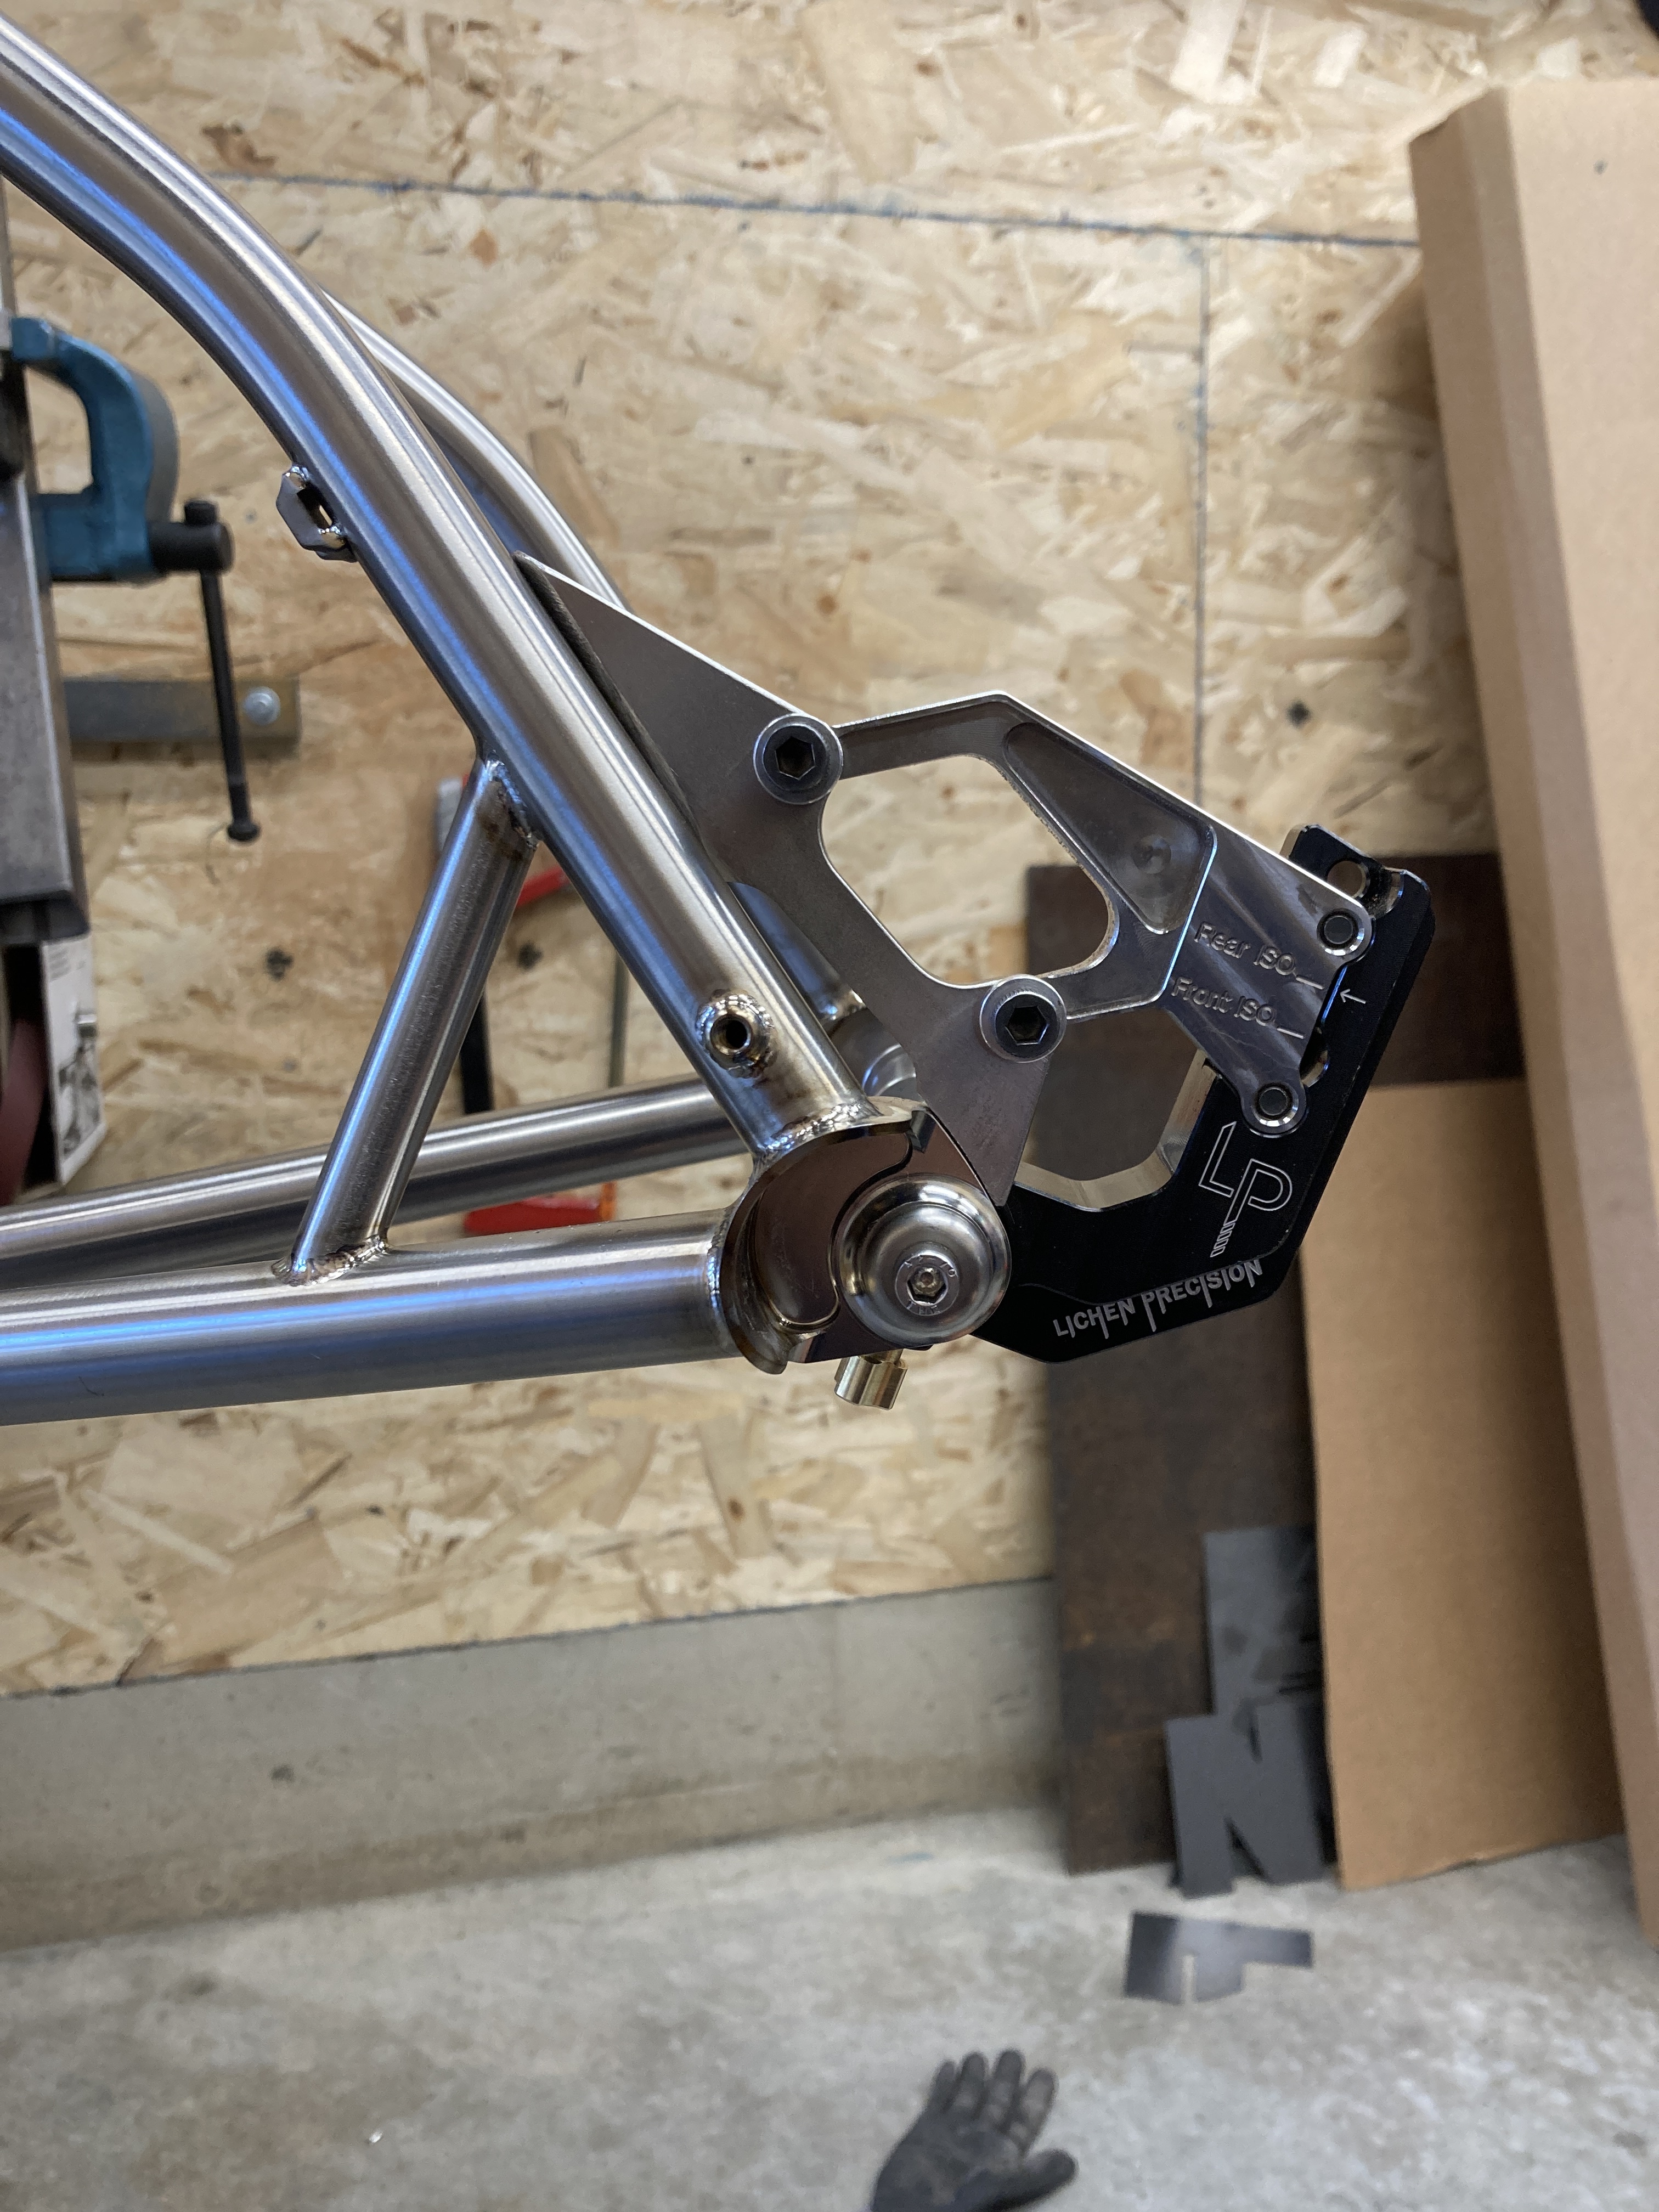
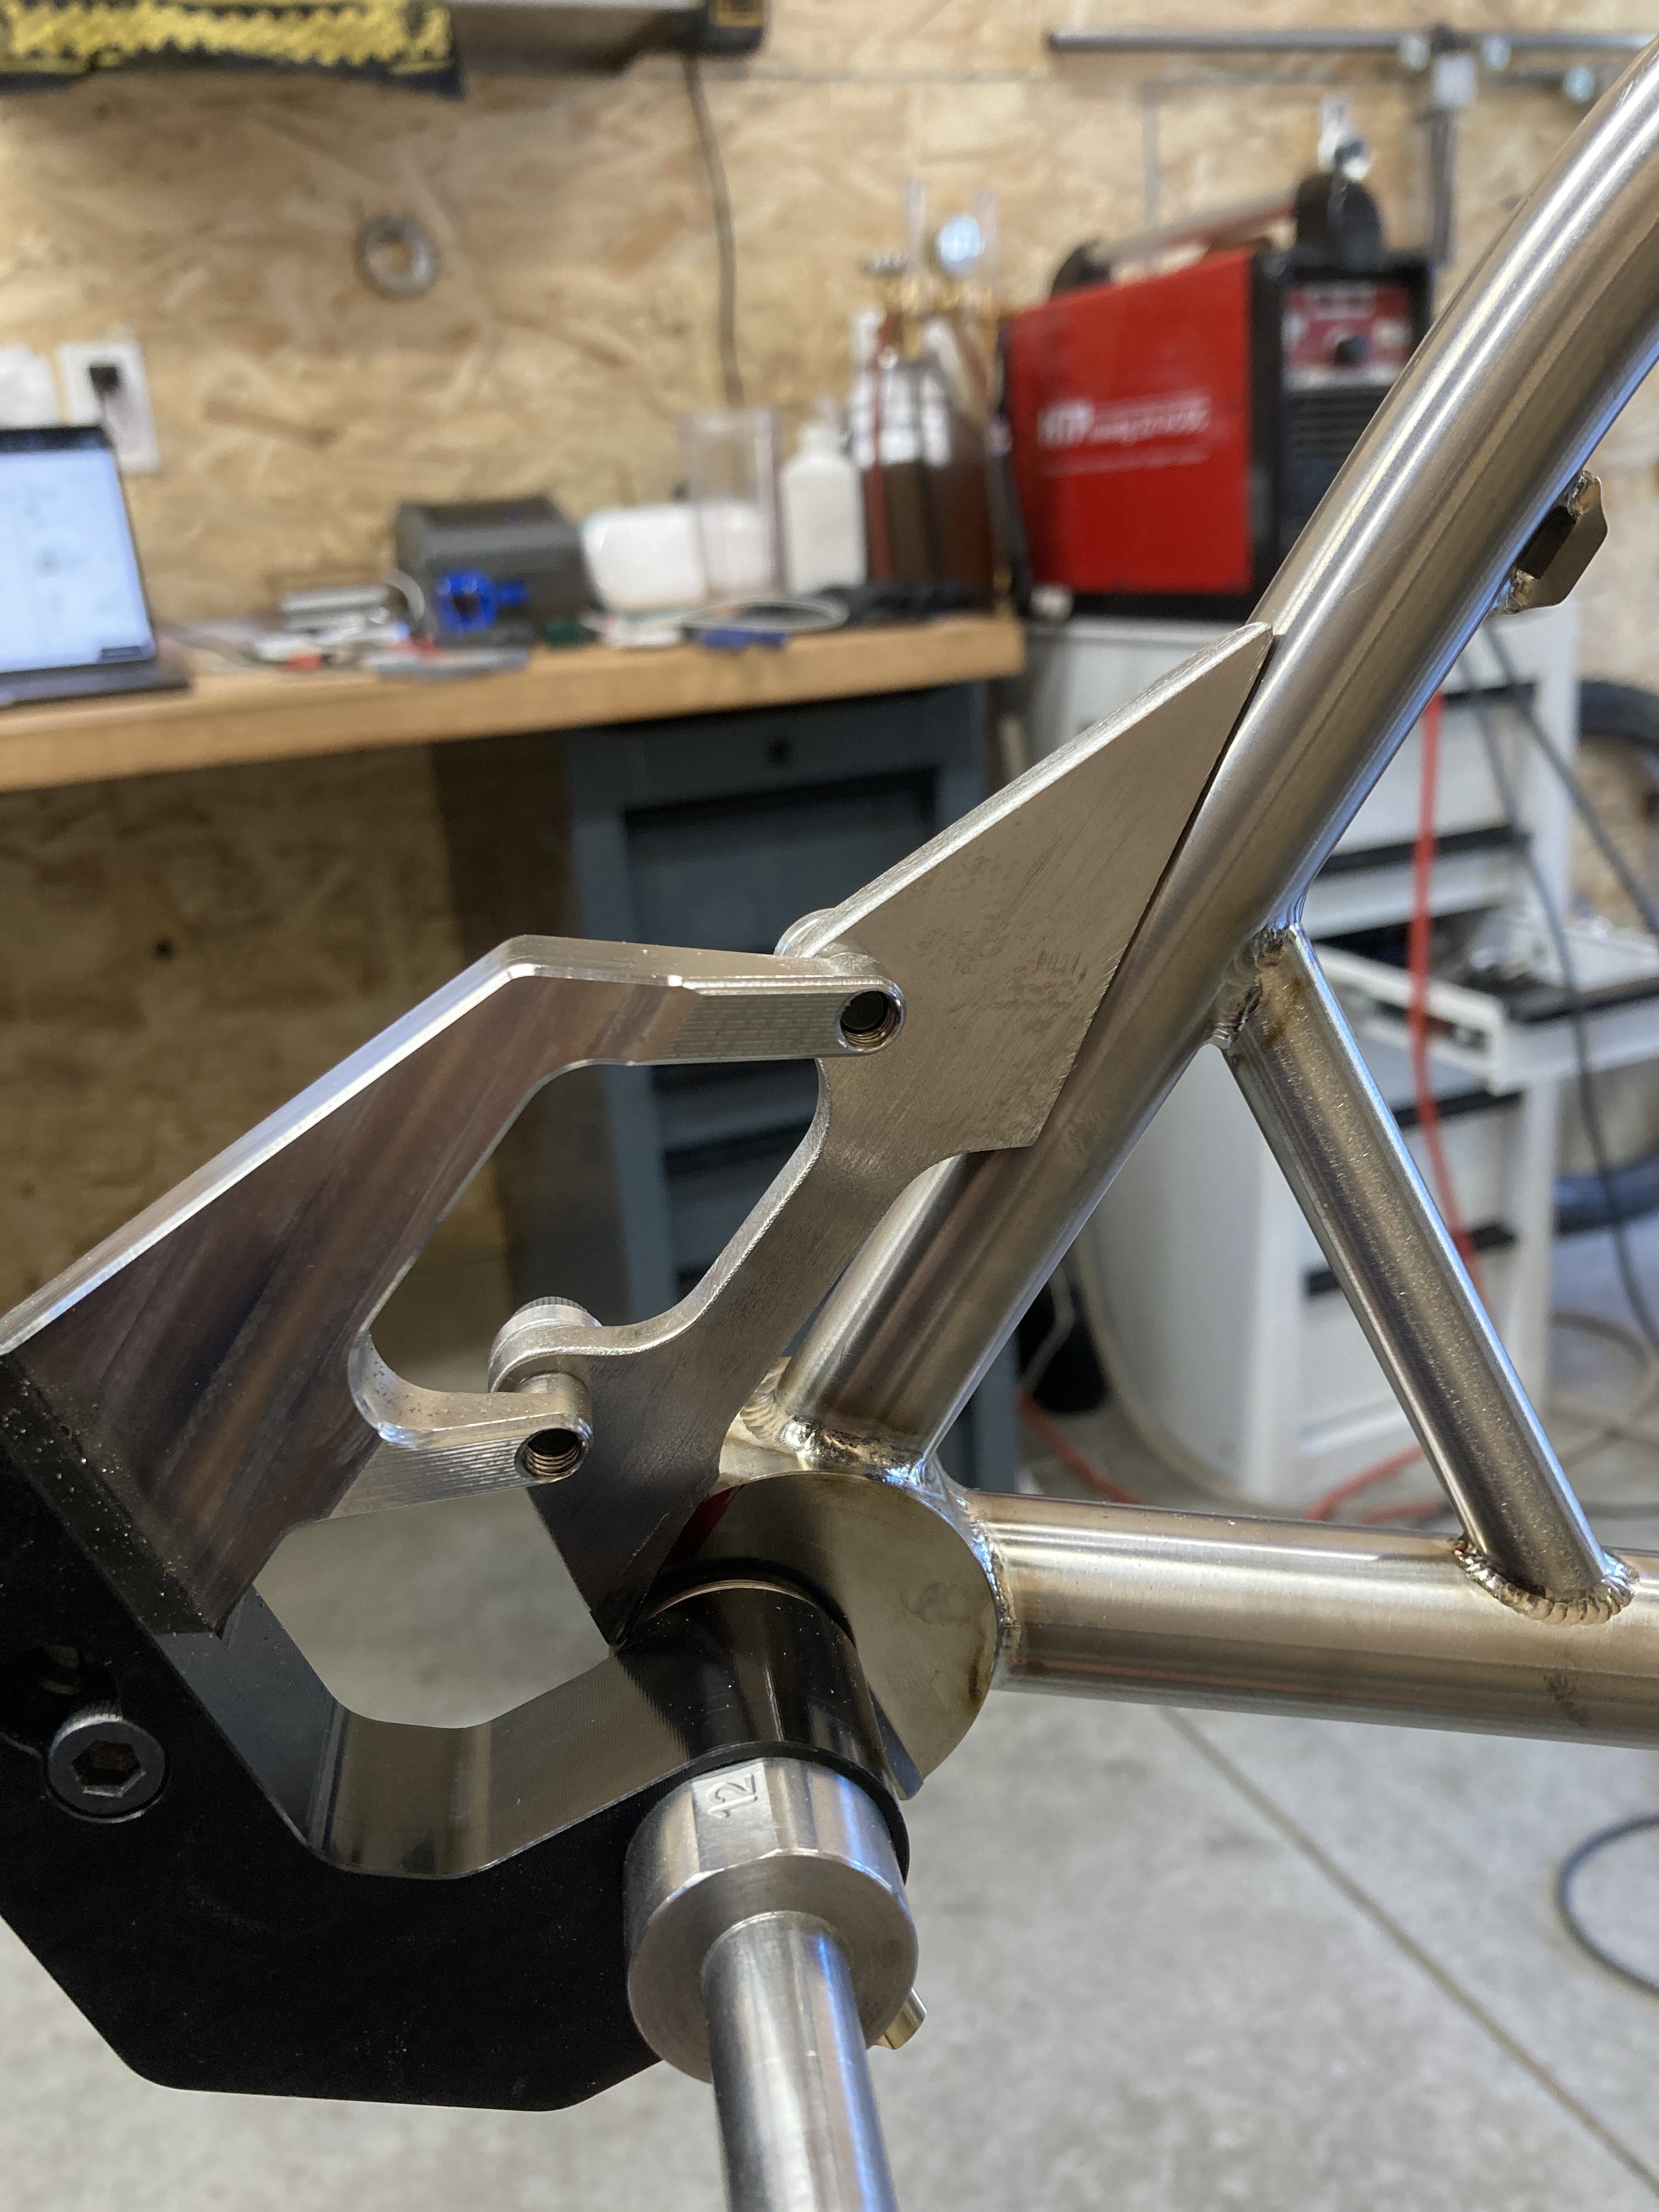
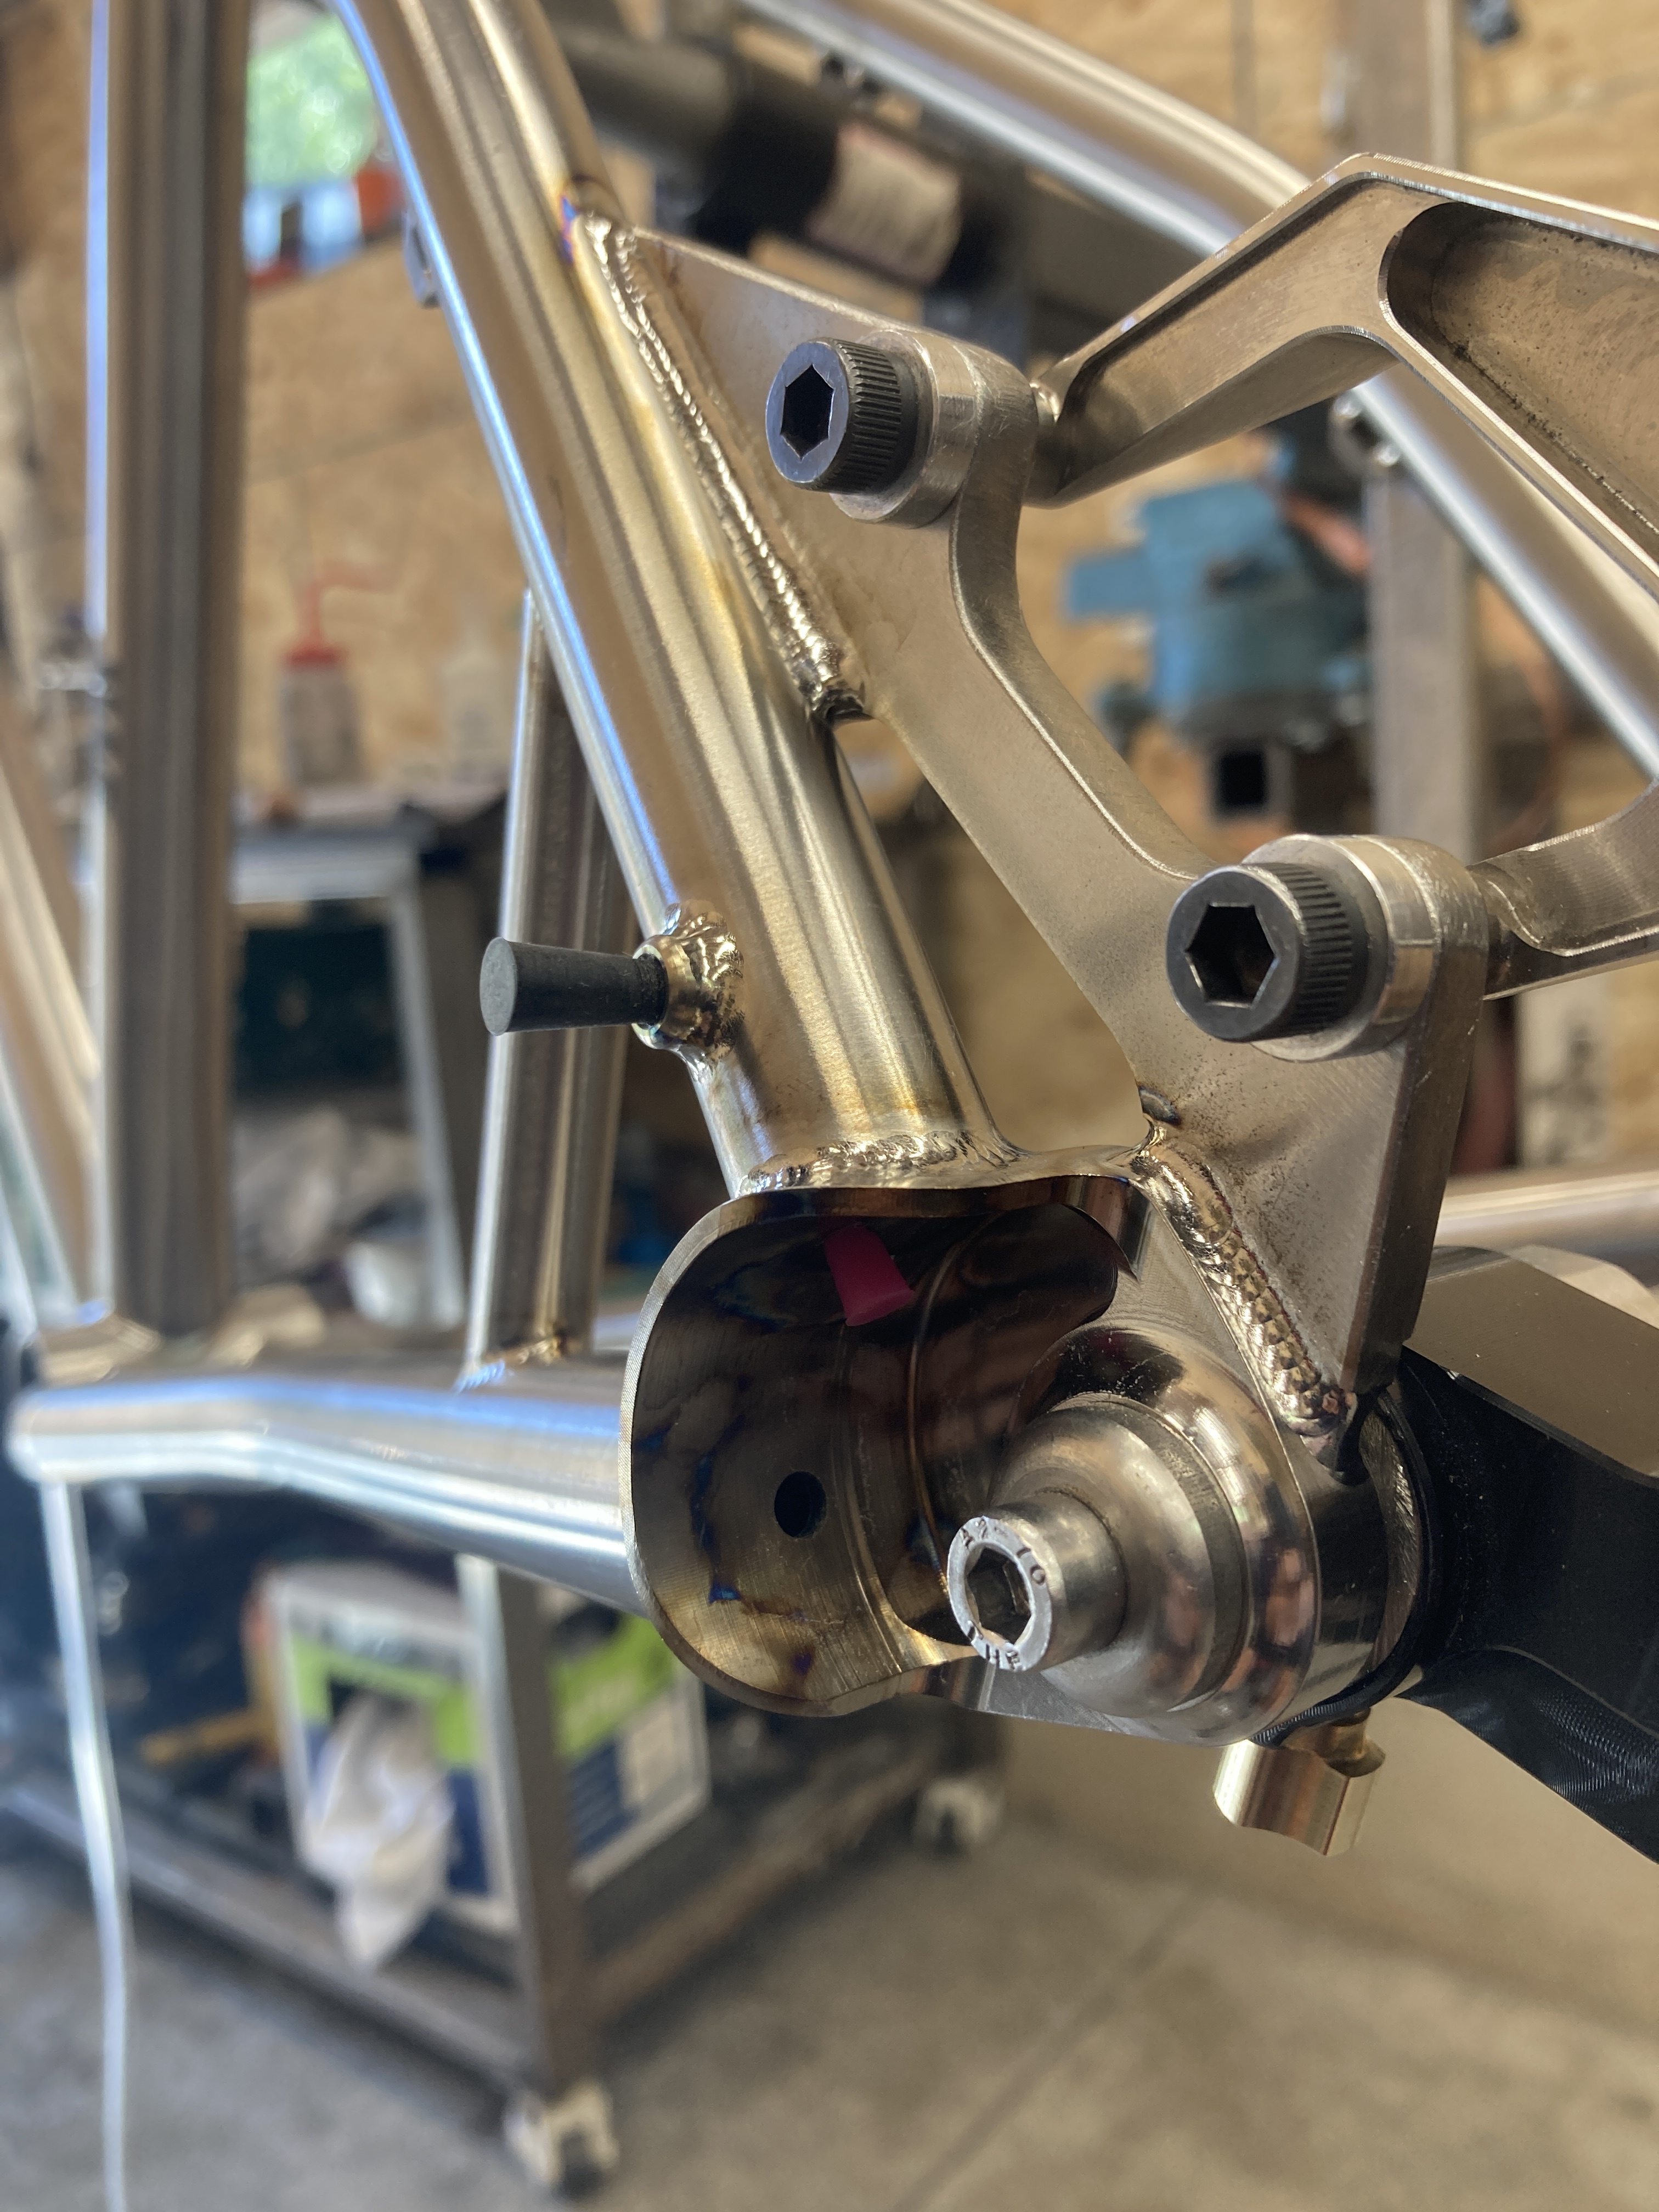
Has anyone successfully used the Paragon DR0073 dropout with an IS brake tab?
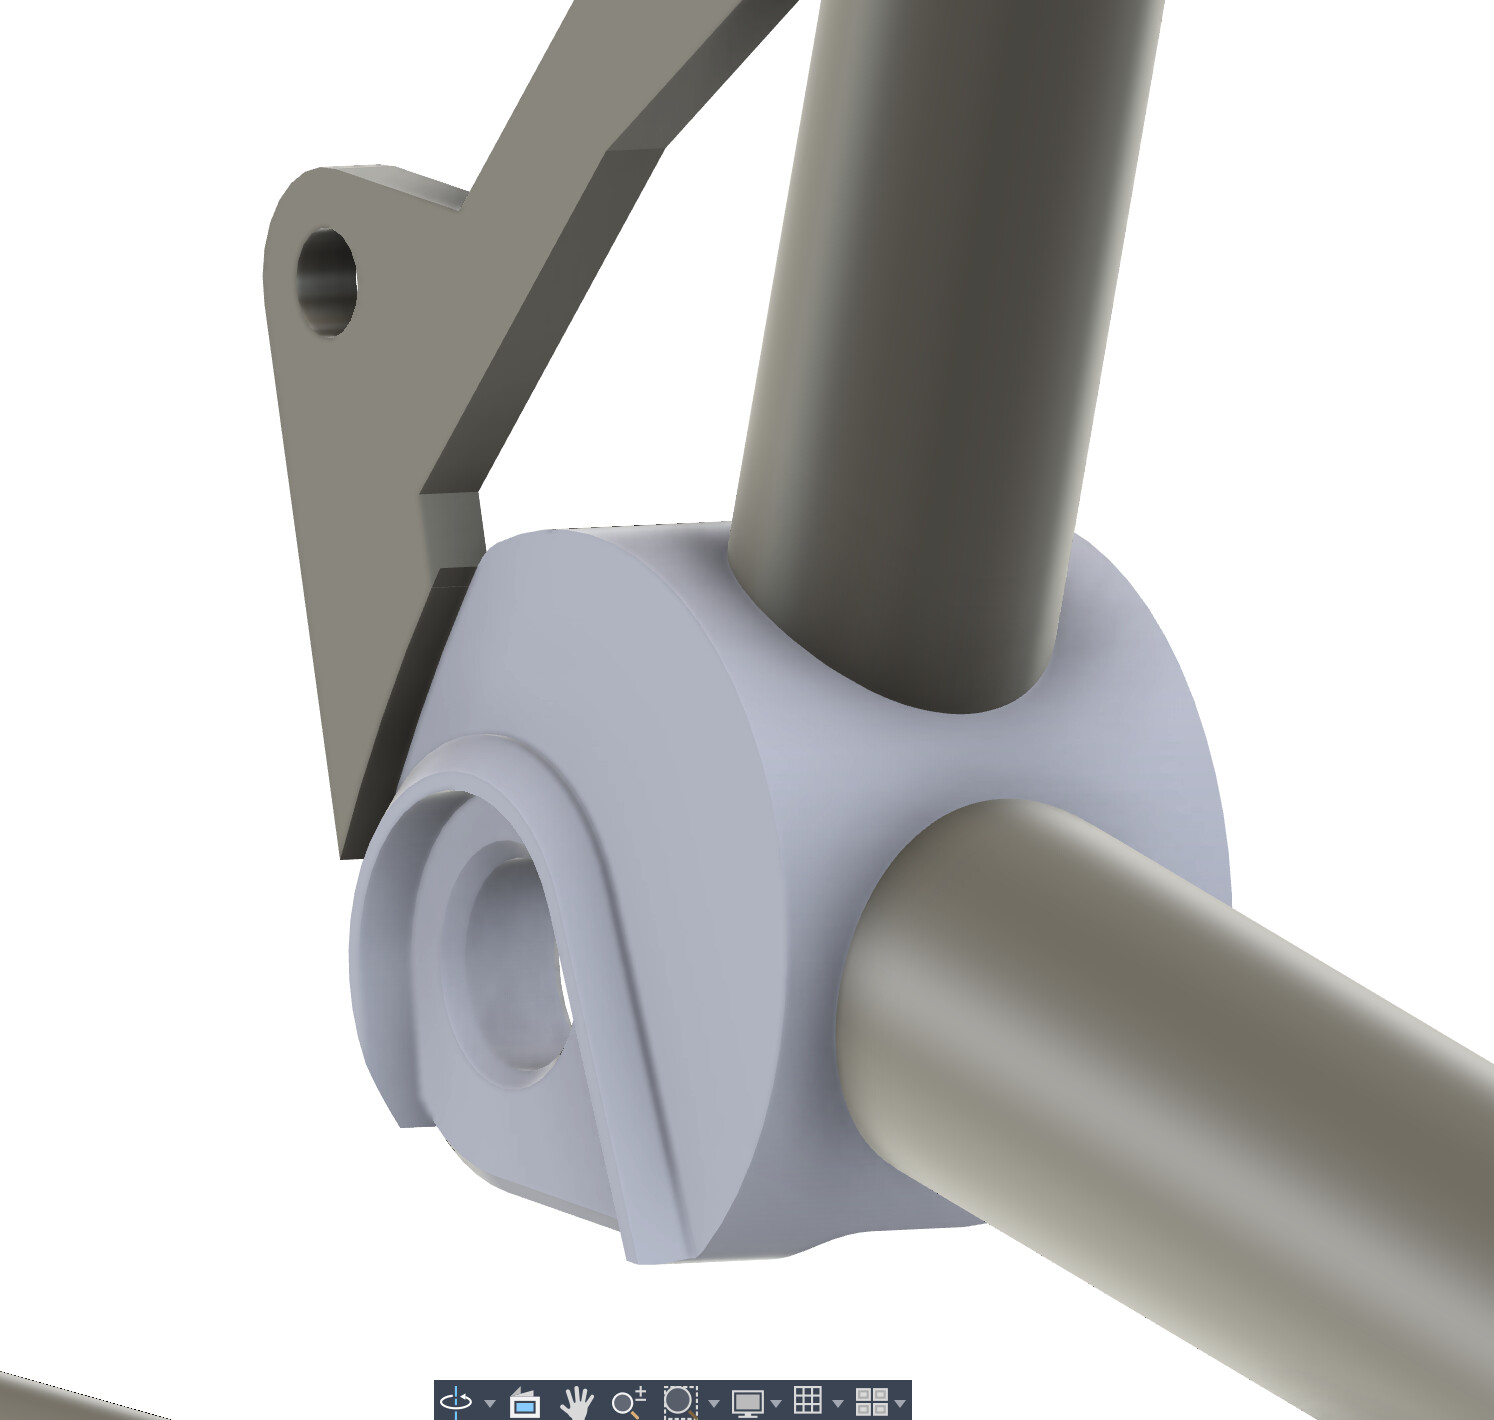
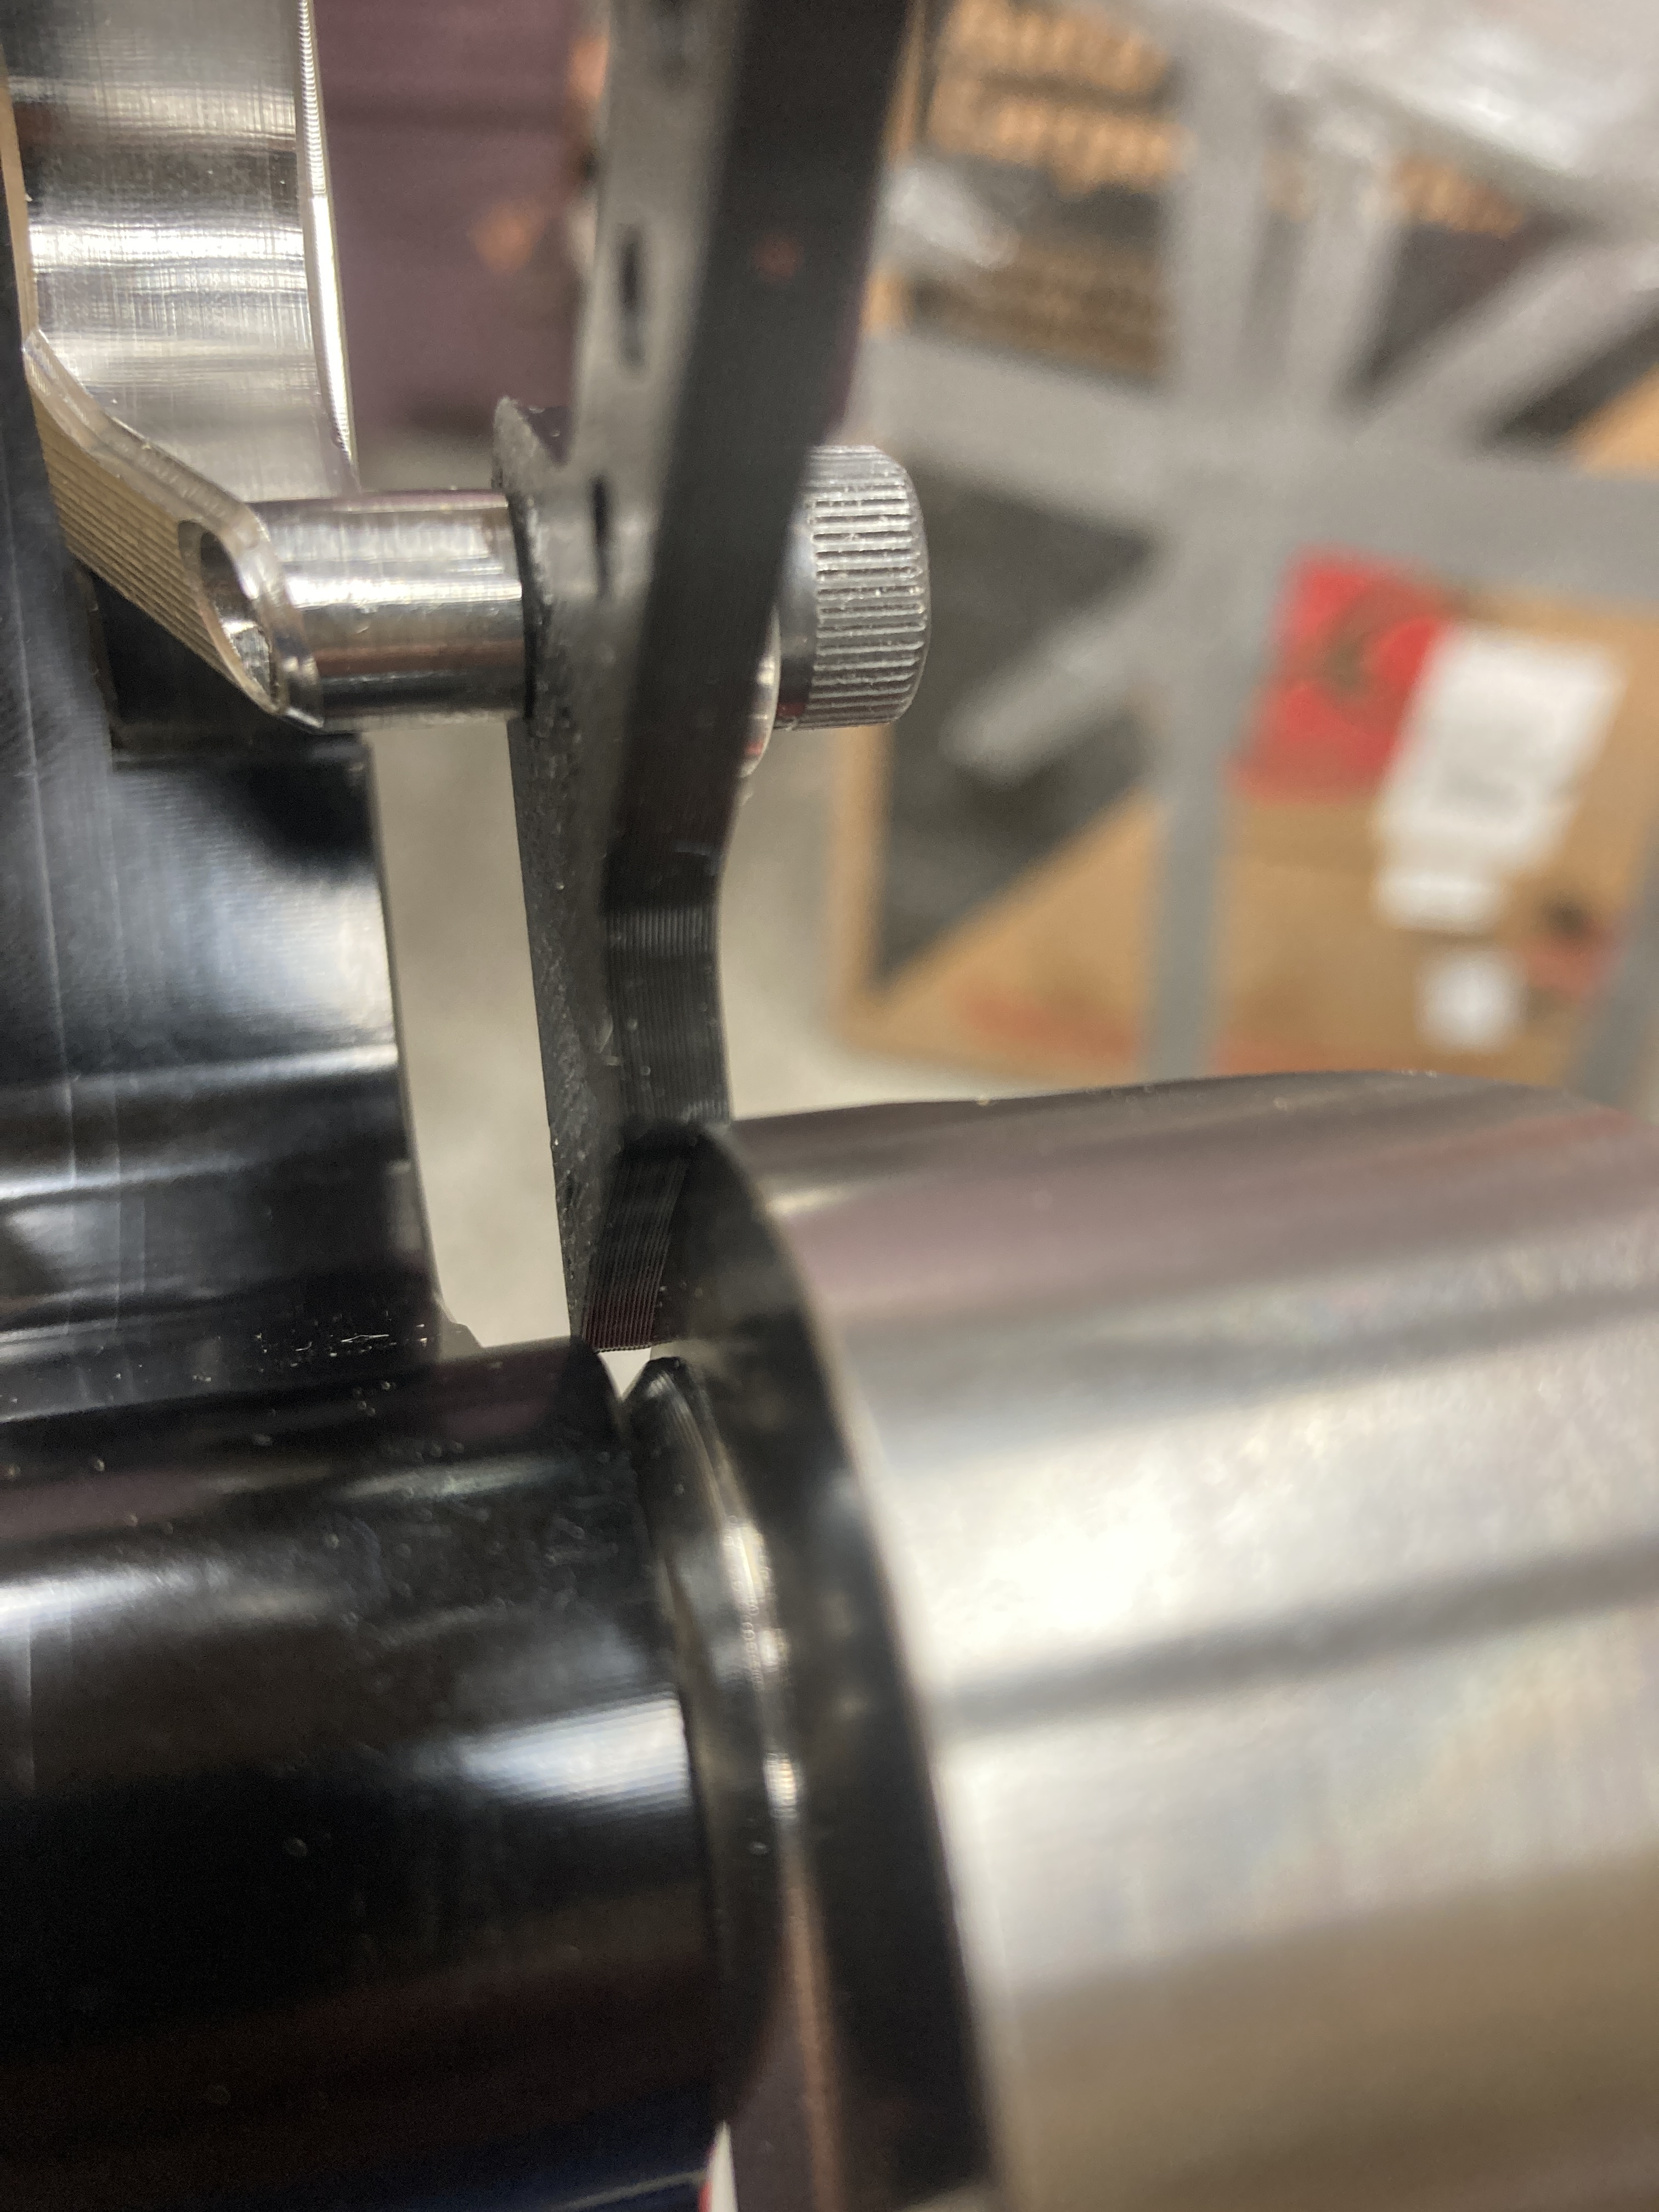
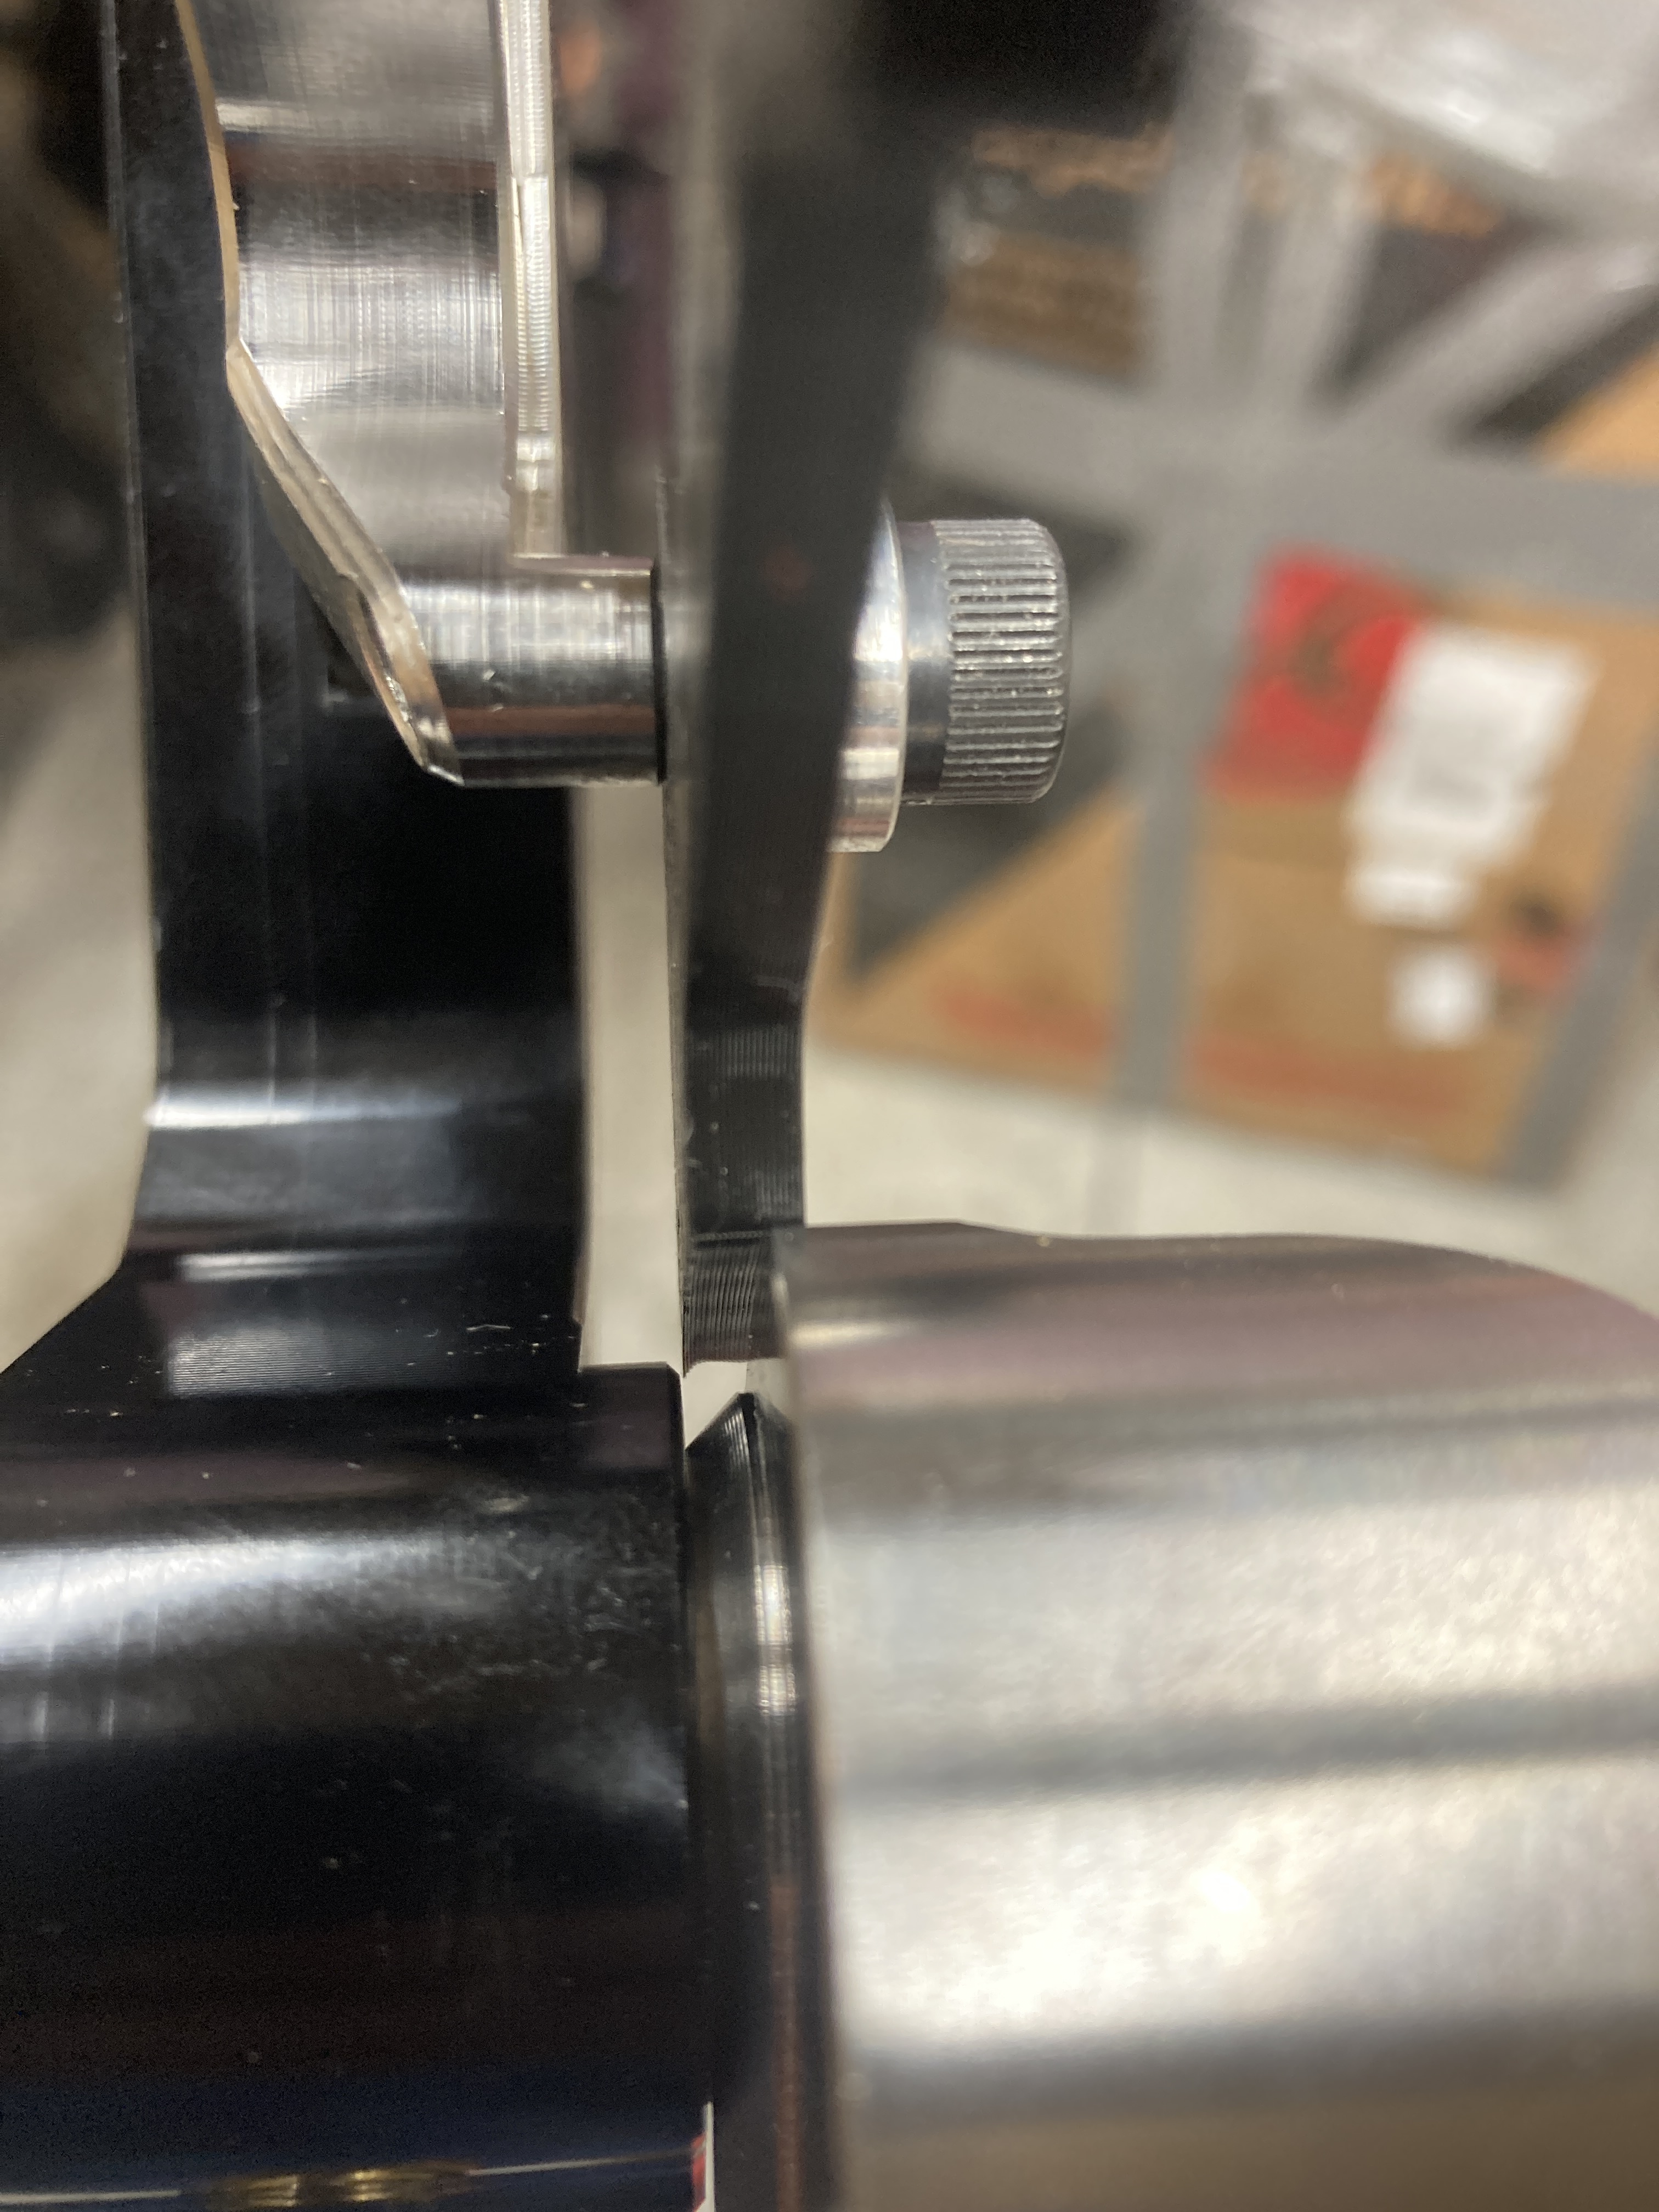
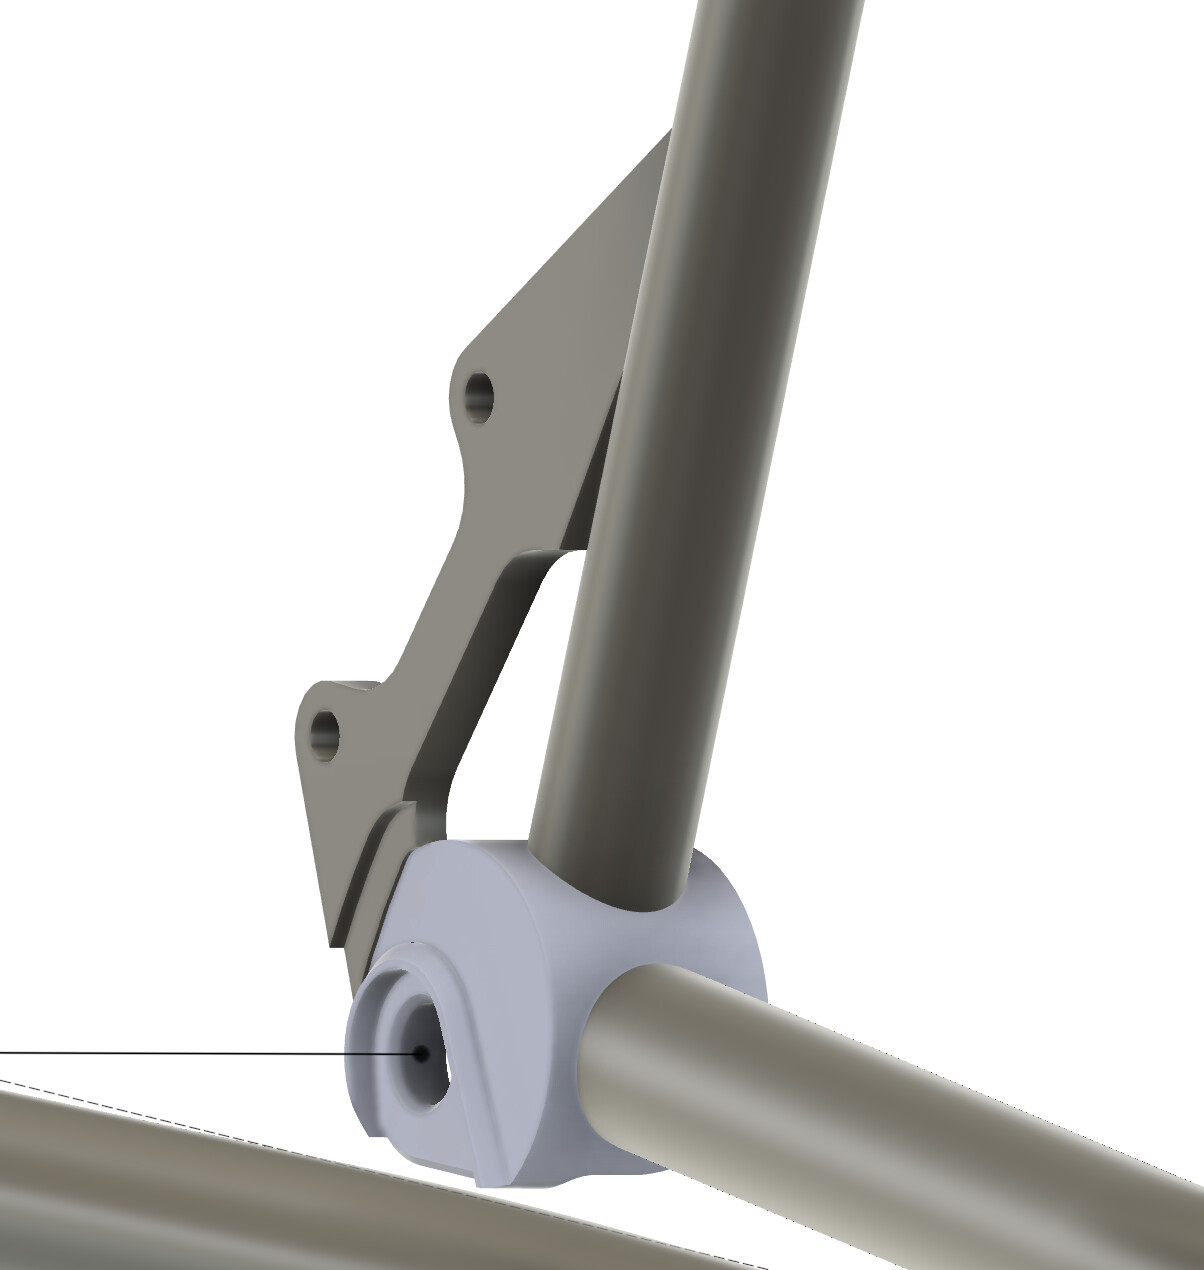
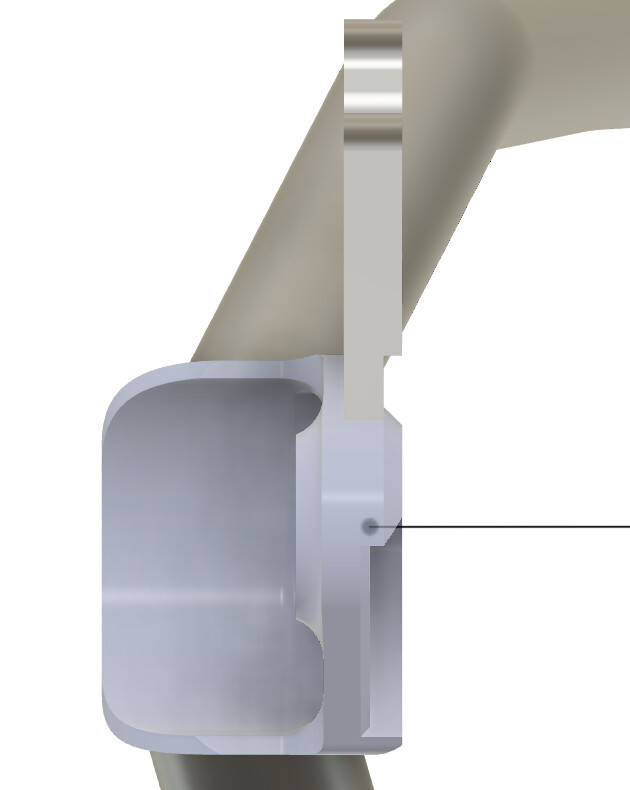
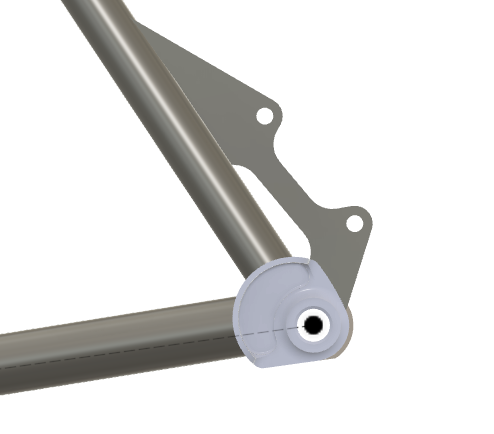
I’ve drawn it in fusion and the landing on the dropout didn’t look great. About half the width of the plate is floating and the other half lands on the dropout. Decided to print a plastic version (4mm thick, SCS would be 4.7mm) of the IS tab, doesn’t look any better in real life, although if I employed my buddy Phill(er) I could probably make it strong enough but I’m not entirely sure I want to do that.
The other option, which may be unacceptable, would be to land the plate on the drop out and then use a couple 3.5mm shims/spacers between the plate and the IS tab. Although, that probably violates some law that I am unaware of.
Let me know if you know anything, much appreciated.
Just make sure to “one size up” the plate you are using since you’re inducing more bending into it with that offset. It’s not terrible, but it leads to very strange pad wear when the brake tab is too flexy. Don’t ask me how I know…
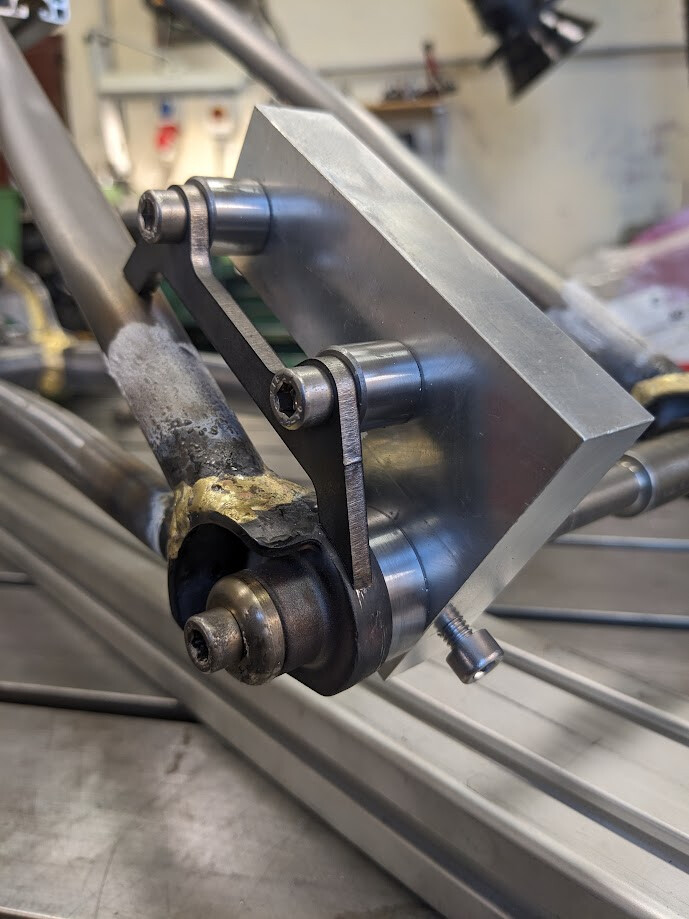
Thanks y’all for the group think. I don’t have much experience with the IS tab, wasn’t sure how much leeway was available with the design. Going with .25" material and I will machine a small pocket on the inner face to gain some weld clearance with the brake fixture in position.
Edit: Possibly the most expensive IS tab ever, SendCutSend is quoting $110 for 1, $85 for 2, $75 for 10! Using some 4.7mm material and having some spacers cut from 3.7mm material gets it down to $92 for 1, $72 for 2. The spacers are about $3 each. Hmmm…
Lots of reasons to not do that, my comment was in regards to the crazy increase to the cost of a part like this. 2 years ago this was a $25 part, 4x in 2 years is bonkers. The downfall continues at a rapid pace!
Apologies if you took offense. Our local laser shops are slow and expensive, also unlikely they would have 1/4" titanium plate on hand (I don’t have any either).
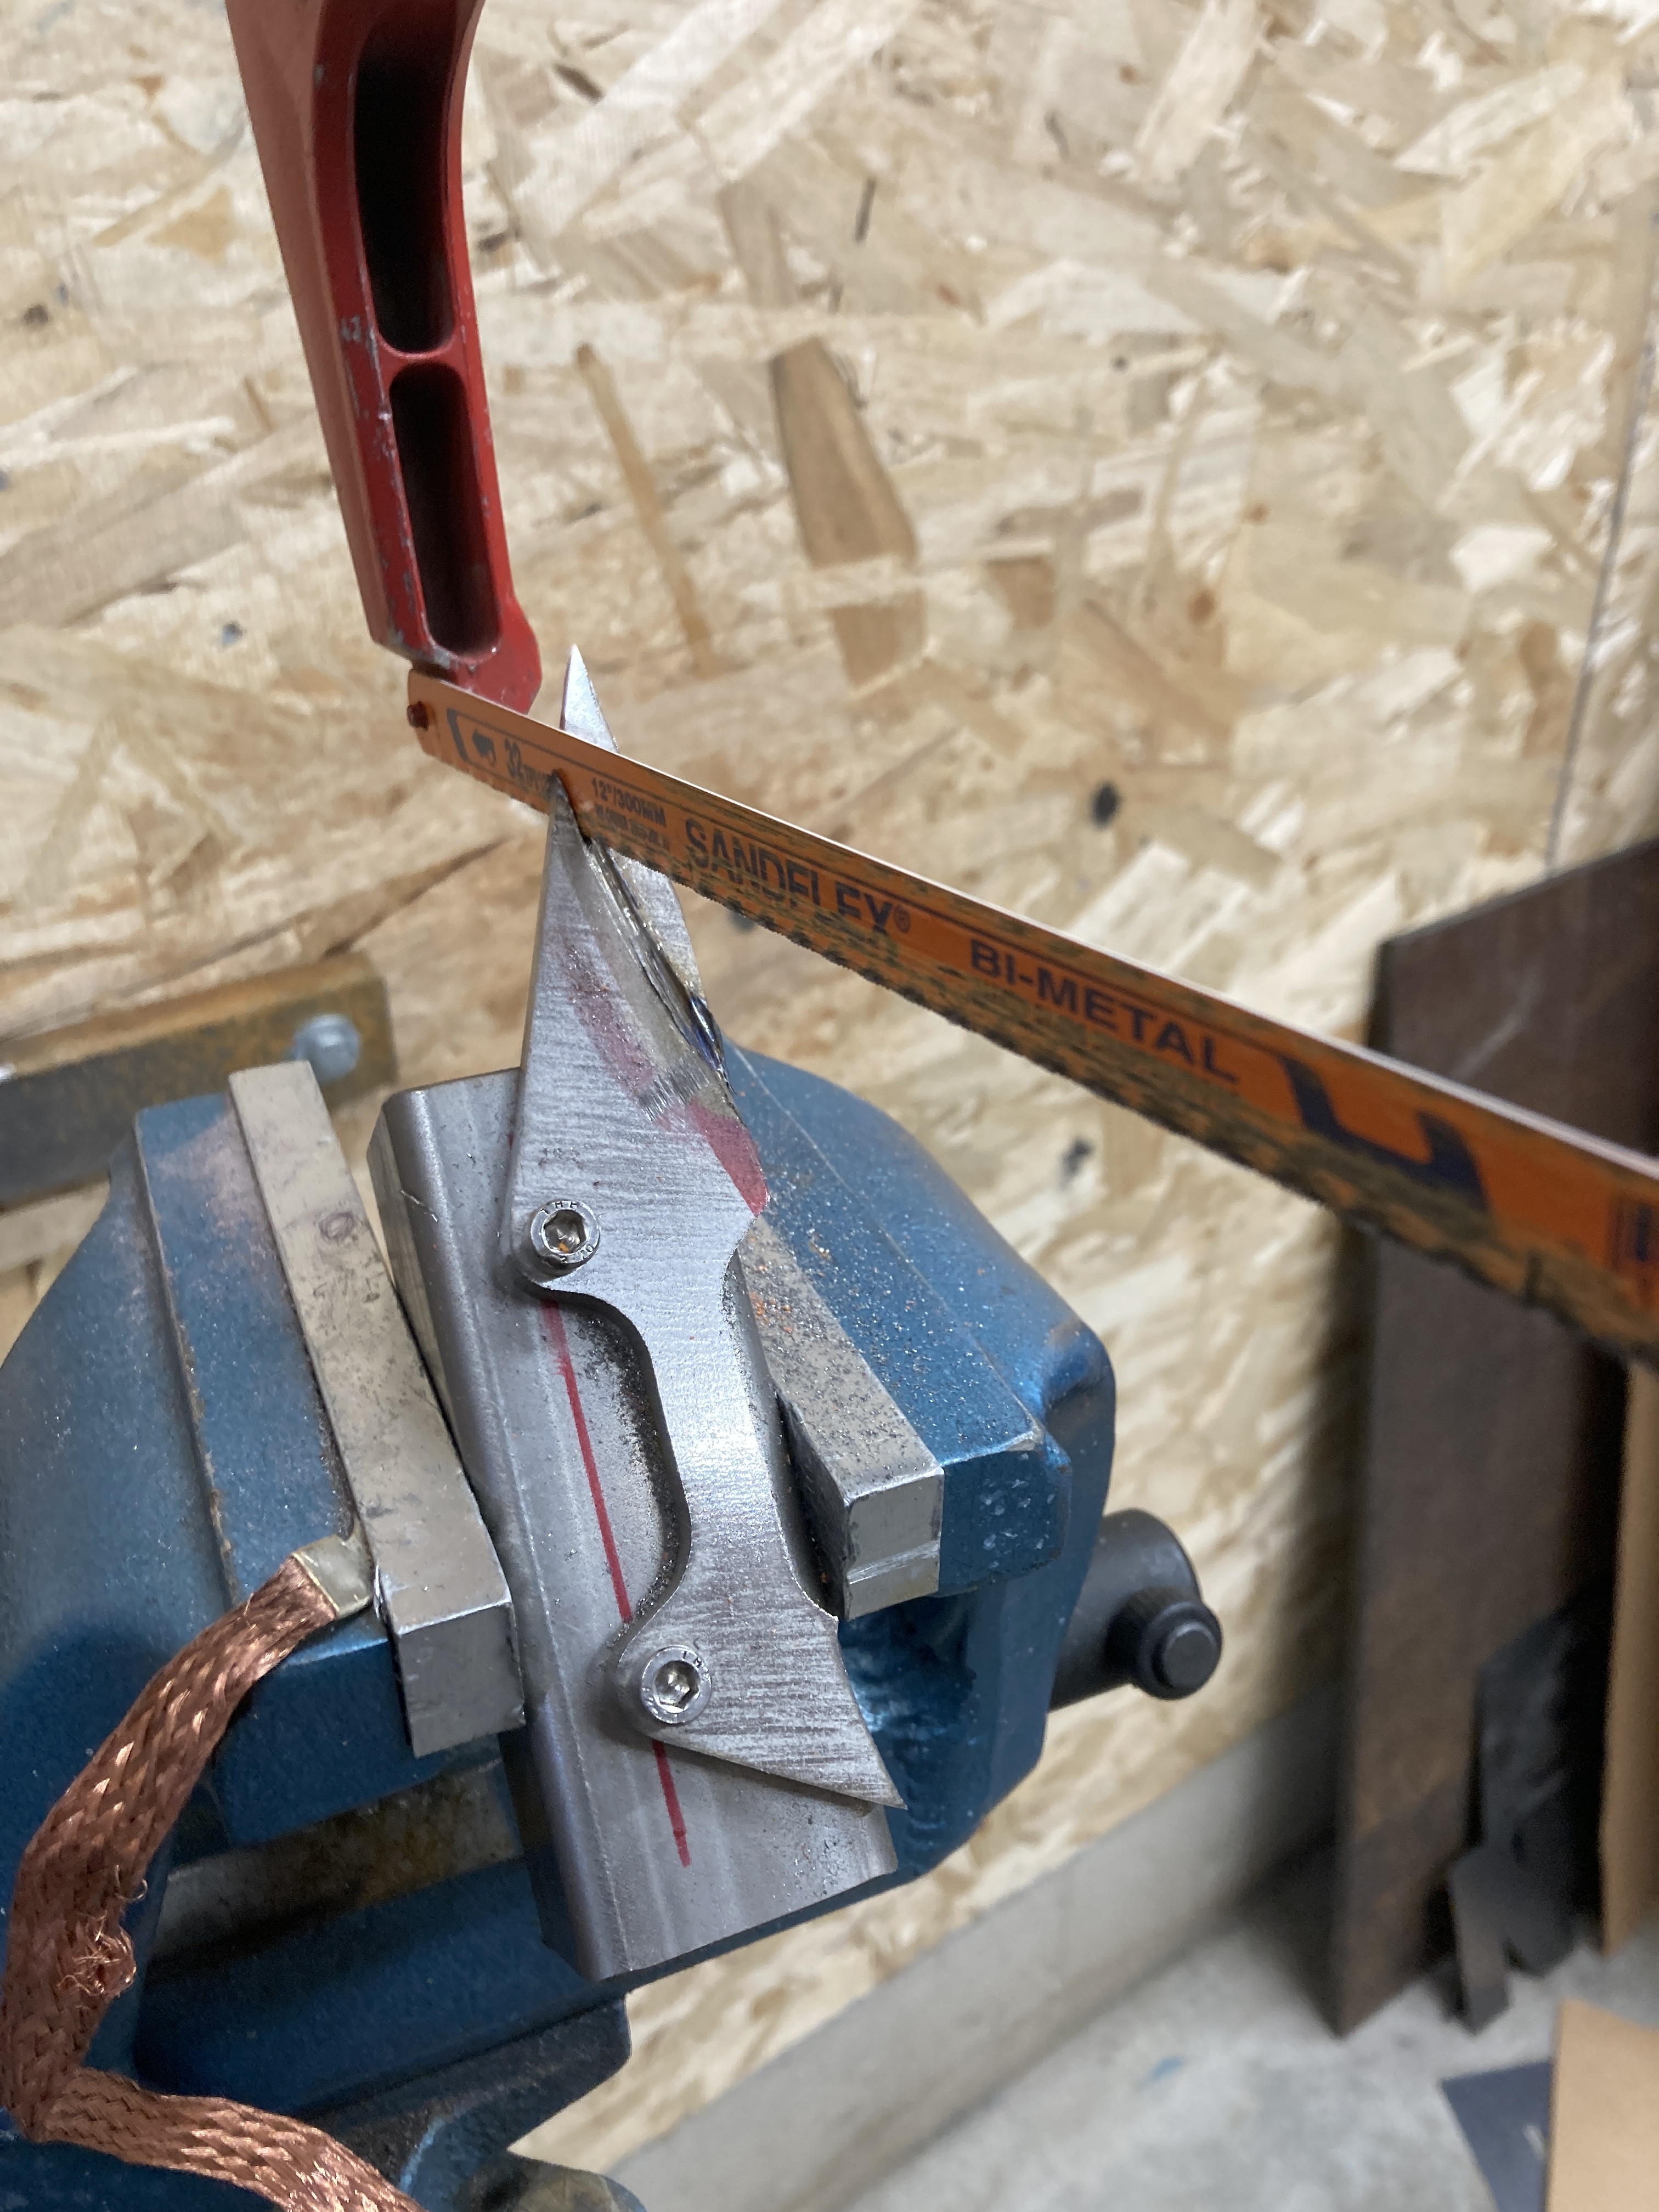
I got the laser cut titanium ISO tabs, I panicked before I placed the order and added some length to the tab. Titanium requires specialized cutting wheels and ceramic sanding belts if you want to use power tools. I ended up hacking off most of the excess material with my hacksaw and finishing with the hand file.
Interesting note, having these 3d printed would have saved about a 1/3 of the cost and allowed for placing the material in all the right spots.