I’ve done it on wet-painted frames too without any problems, unless they showed up much later and I wasn’t informed (quite possible). Paint thickness might be the most important variable, with thick paint more likely to crack/flake. The ones I did had thin paint. Adhesion is another important variable, which probably depends most on surface prep, maybe paint chemistry too (I’m not a painter). But I’ve indented mass-produced frames with paint that was, let’s just say “rapidly applied” (not fussed over) like a '70s Raleigh and an early-'80s Trek.
I make the vintage style indent (everything about me is vintage) that’s a fairly sharp crease down the middle. I actually believe those are best for fatigue life and I’ll get into it if anyone wants, but that’s off-topic for now. My point is, the sharp indenter should be a worst-case scenario for paint, but it hasn’t caused problems for me.
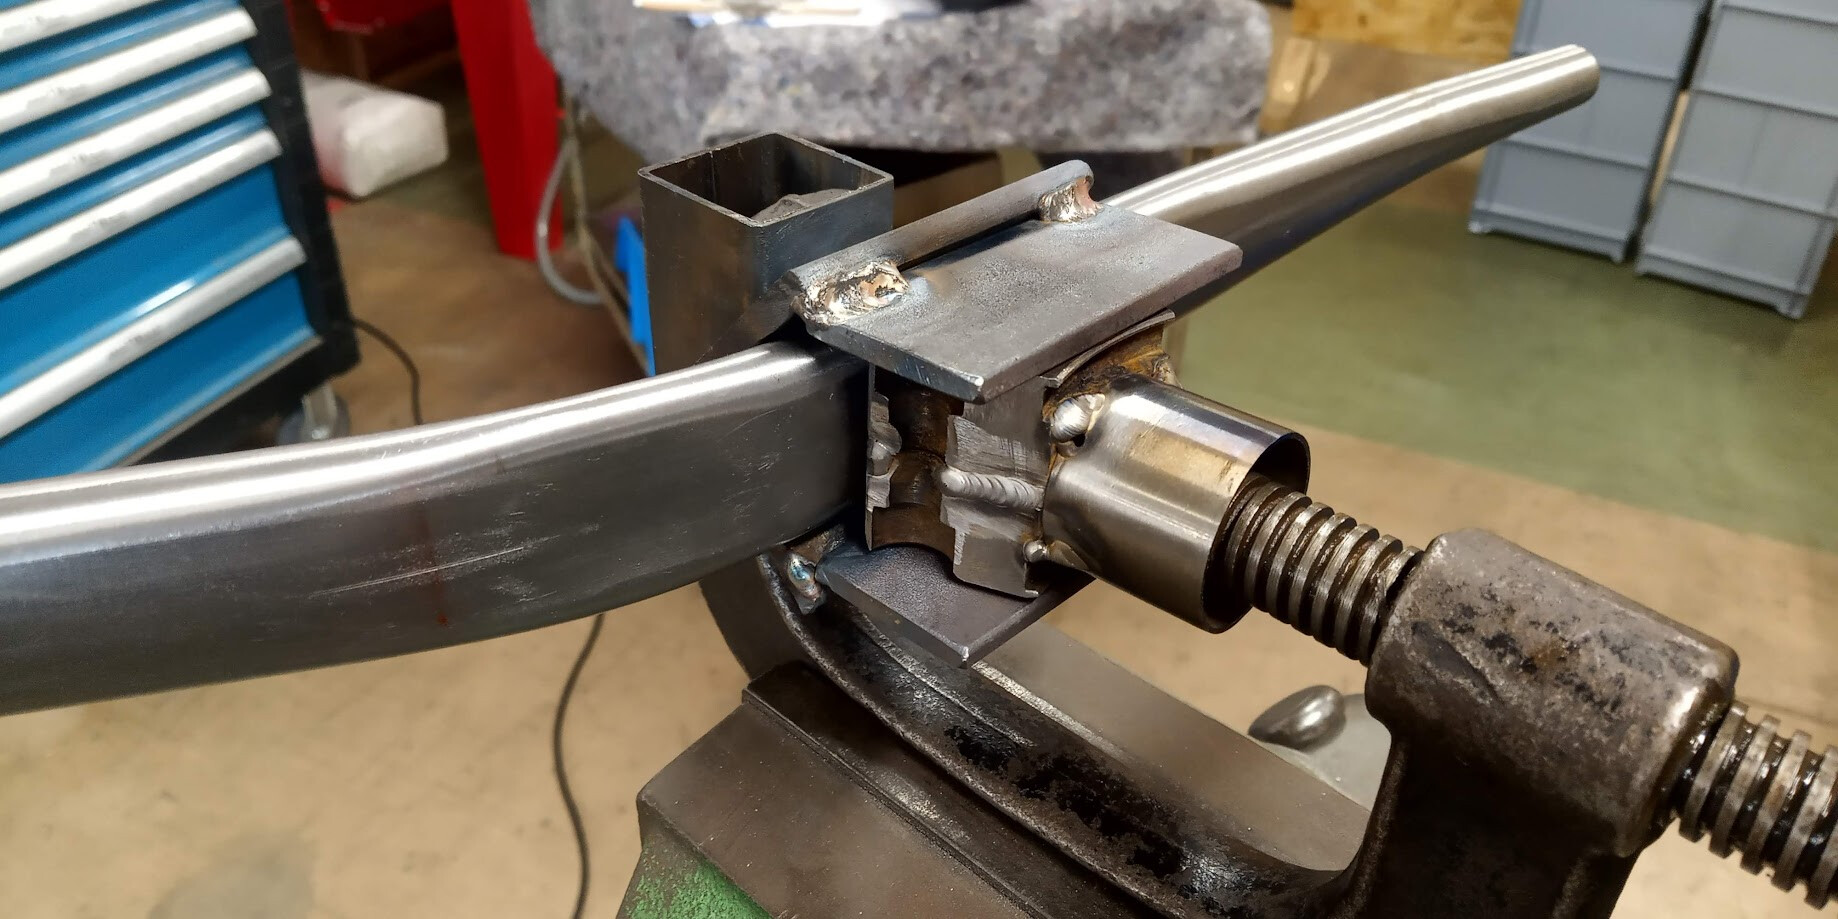
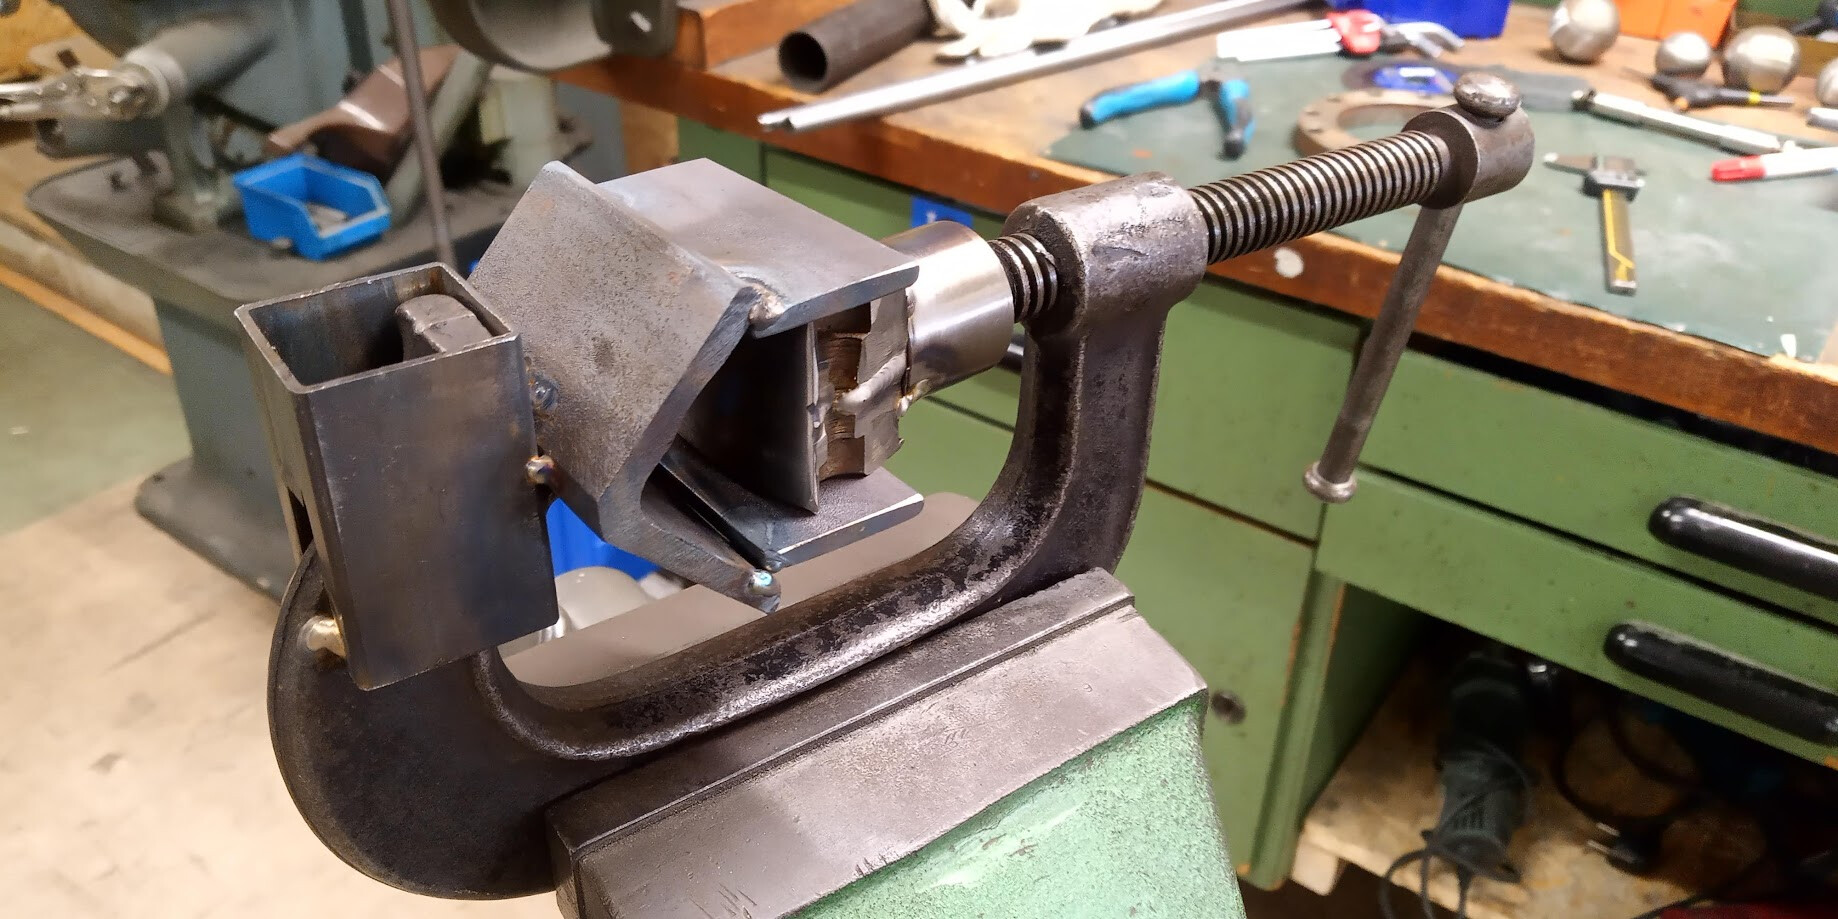
I made better indenters at two of the shops I worked during my career, but now as a hobbyist I use one I made in a few minutes that frankly needs to be upgraded. I used too cheap a C-clamp (I think the “C” on mine is for China), and the threads are getting grindy. But it makes nice-looking indents, to my old eyes…
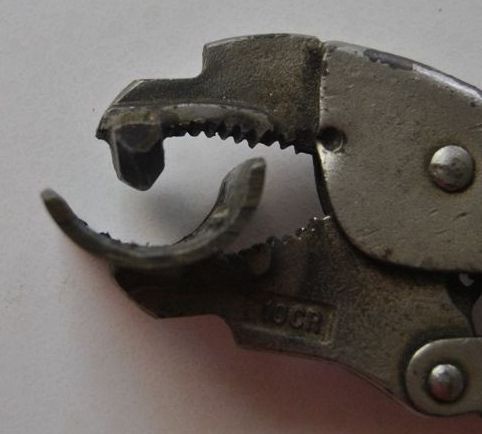
Tempted to make one out of a large Vise-Grip, like this one Curtis Odom made for himself, he says it works good.
The outer dent in a right-side chainstay is tricky because there’s often a bridge right behind where you want to dent, so you may need something that braces the BB shell instead of the backside of the stay. OK, modern frames are less likely to have a chainstay bridge, showing my age again… At one shop, we had a nicely shaped indenter that just had a 3/8" rod welded to the back of it for striking with a big-ass hammer. We’d clamp two plates to the business end, that went over the top and bottom of the stay to hold it on-center and aligned, and those couldn’t be permanently welded on because different stays need the plates at different spacings, so it was finicky, with a shim stack to get tham at the right width for the stay. But aligning it in 3 dimensions by eye and holding it there while striking with a hammer is not reliable enough.
I have seen some horrible, bad, fugly indents made with hammer’n’punch though, so maybe practice on some dumpster frames before trying it on a customer’s. The ones we did at the aforementioned shop “usually” looked quite good, but I’d advise staying away if you’re risk-averse.
Don’t forget to block the dropout spacing with a dummy axle, and plan on re-aligning the triangle afterward, the stay will move from being indented.