Post processing a fillet brazed joint

Hello, I am just wonder How Do you post processed your joints after brazing? Do you use any power tools? Or you use hand tools only? Which one (some brand / product recomandation)? Do you have any public tips :slight_smile: (my files just dull very quickly)

I have just few fillet joints under my hand. I am using hand tools only (files, emery paper, scotch brite, etc.). I am just seeking for some knowledge of someone expirienced.

Have you seen the YouTube videos made by Paul Brodie? He covers the whole process really well.

What a lot of people use are:

  • round files
  • round files with some emory cloth on top
  • spiral-wound cartridge rolls with something like a Dremel
  • carbide burrs for fast material removal (be careful with this one)
  • handheld belt sanders with narrow belts
1 Like

Hello, thank you for your answer. I saw videos from Paul Brodie :-). I know the posibilities. I was also interested what majority of framebuilders are using and they preferences and tips.

My number one tip is to practice your fillets until you can get them to wet out along the edges. You’ll never be perfect, but if you can keep the edges flowing into the tubes as much as possible you’ll save yourself a ton of post-processing work. It’s those cold edges that take lots of time and practice to smooth out without digging into the bare steel nearby.

How do you get the edges to wet out?

  1. Tubes must be thoroughly cleaned
  2. Brazing rod must be cleaned
  3. Apply a thin coating of flux that’s mixed well with a consistency like thick carrot soup (my preference)
  4. Use a torch head with a flame that’s wider than the desired width of your fillet (I use a Smith 205 head)
  5. Preheat the two tubes evenly
  6. As the tubes come up to temp bring your torch head super close to the tubes and touch your brazing rod on the tubes where you want the puddle to form.
  7. Quickly move your flame away from the puddle to let it solidify.
  8. Move the flame back in a little past the center of the first solidified puddle and do step 6 and 7 again.
  9. Follow steps 6-8 around the joint while repositioning the joint to let gravity help the puddle to evenly spread onto both tubes.

I think the concept of fillet brazing is best understood by watching some videos of TIG welding with a pulse. There’s a quick concentration of heat that melts everything and then the heat is turned way down to let the melty stuff solidify. You can do the same thing with your brazing torch.

I don’t have any tips for post-processing that aren’t covered by Paul Brodie in his videos. His method with power tools is the gold standard in my opinion.

What parts of the process are giving you the most trouble?

10 Likes

Brodie’s use of the Dynafile is a bit heavy-handed IMO. It’s acceptable when the tubes are thick enough, and it helps to have large fillets. Helps in the sense of not digging a trough into the steel around the fillet edges. The large fillet does not help in terms of overall frame strength though, because the larger heat input and slower cooling of the big fillet result in a wider and softer tempered zone in the HAZ.

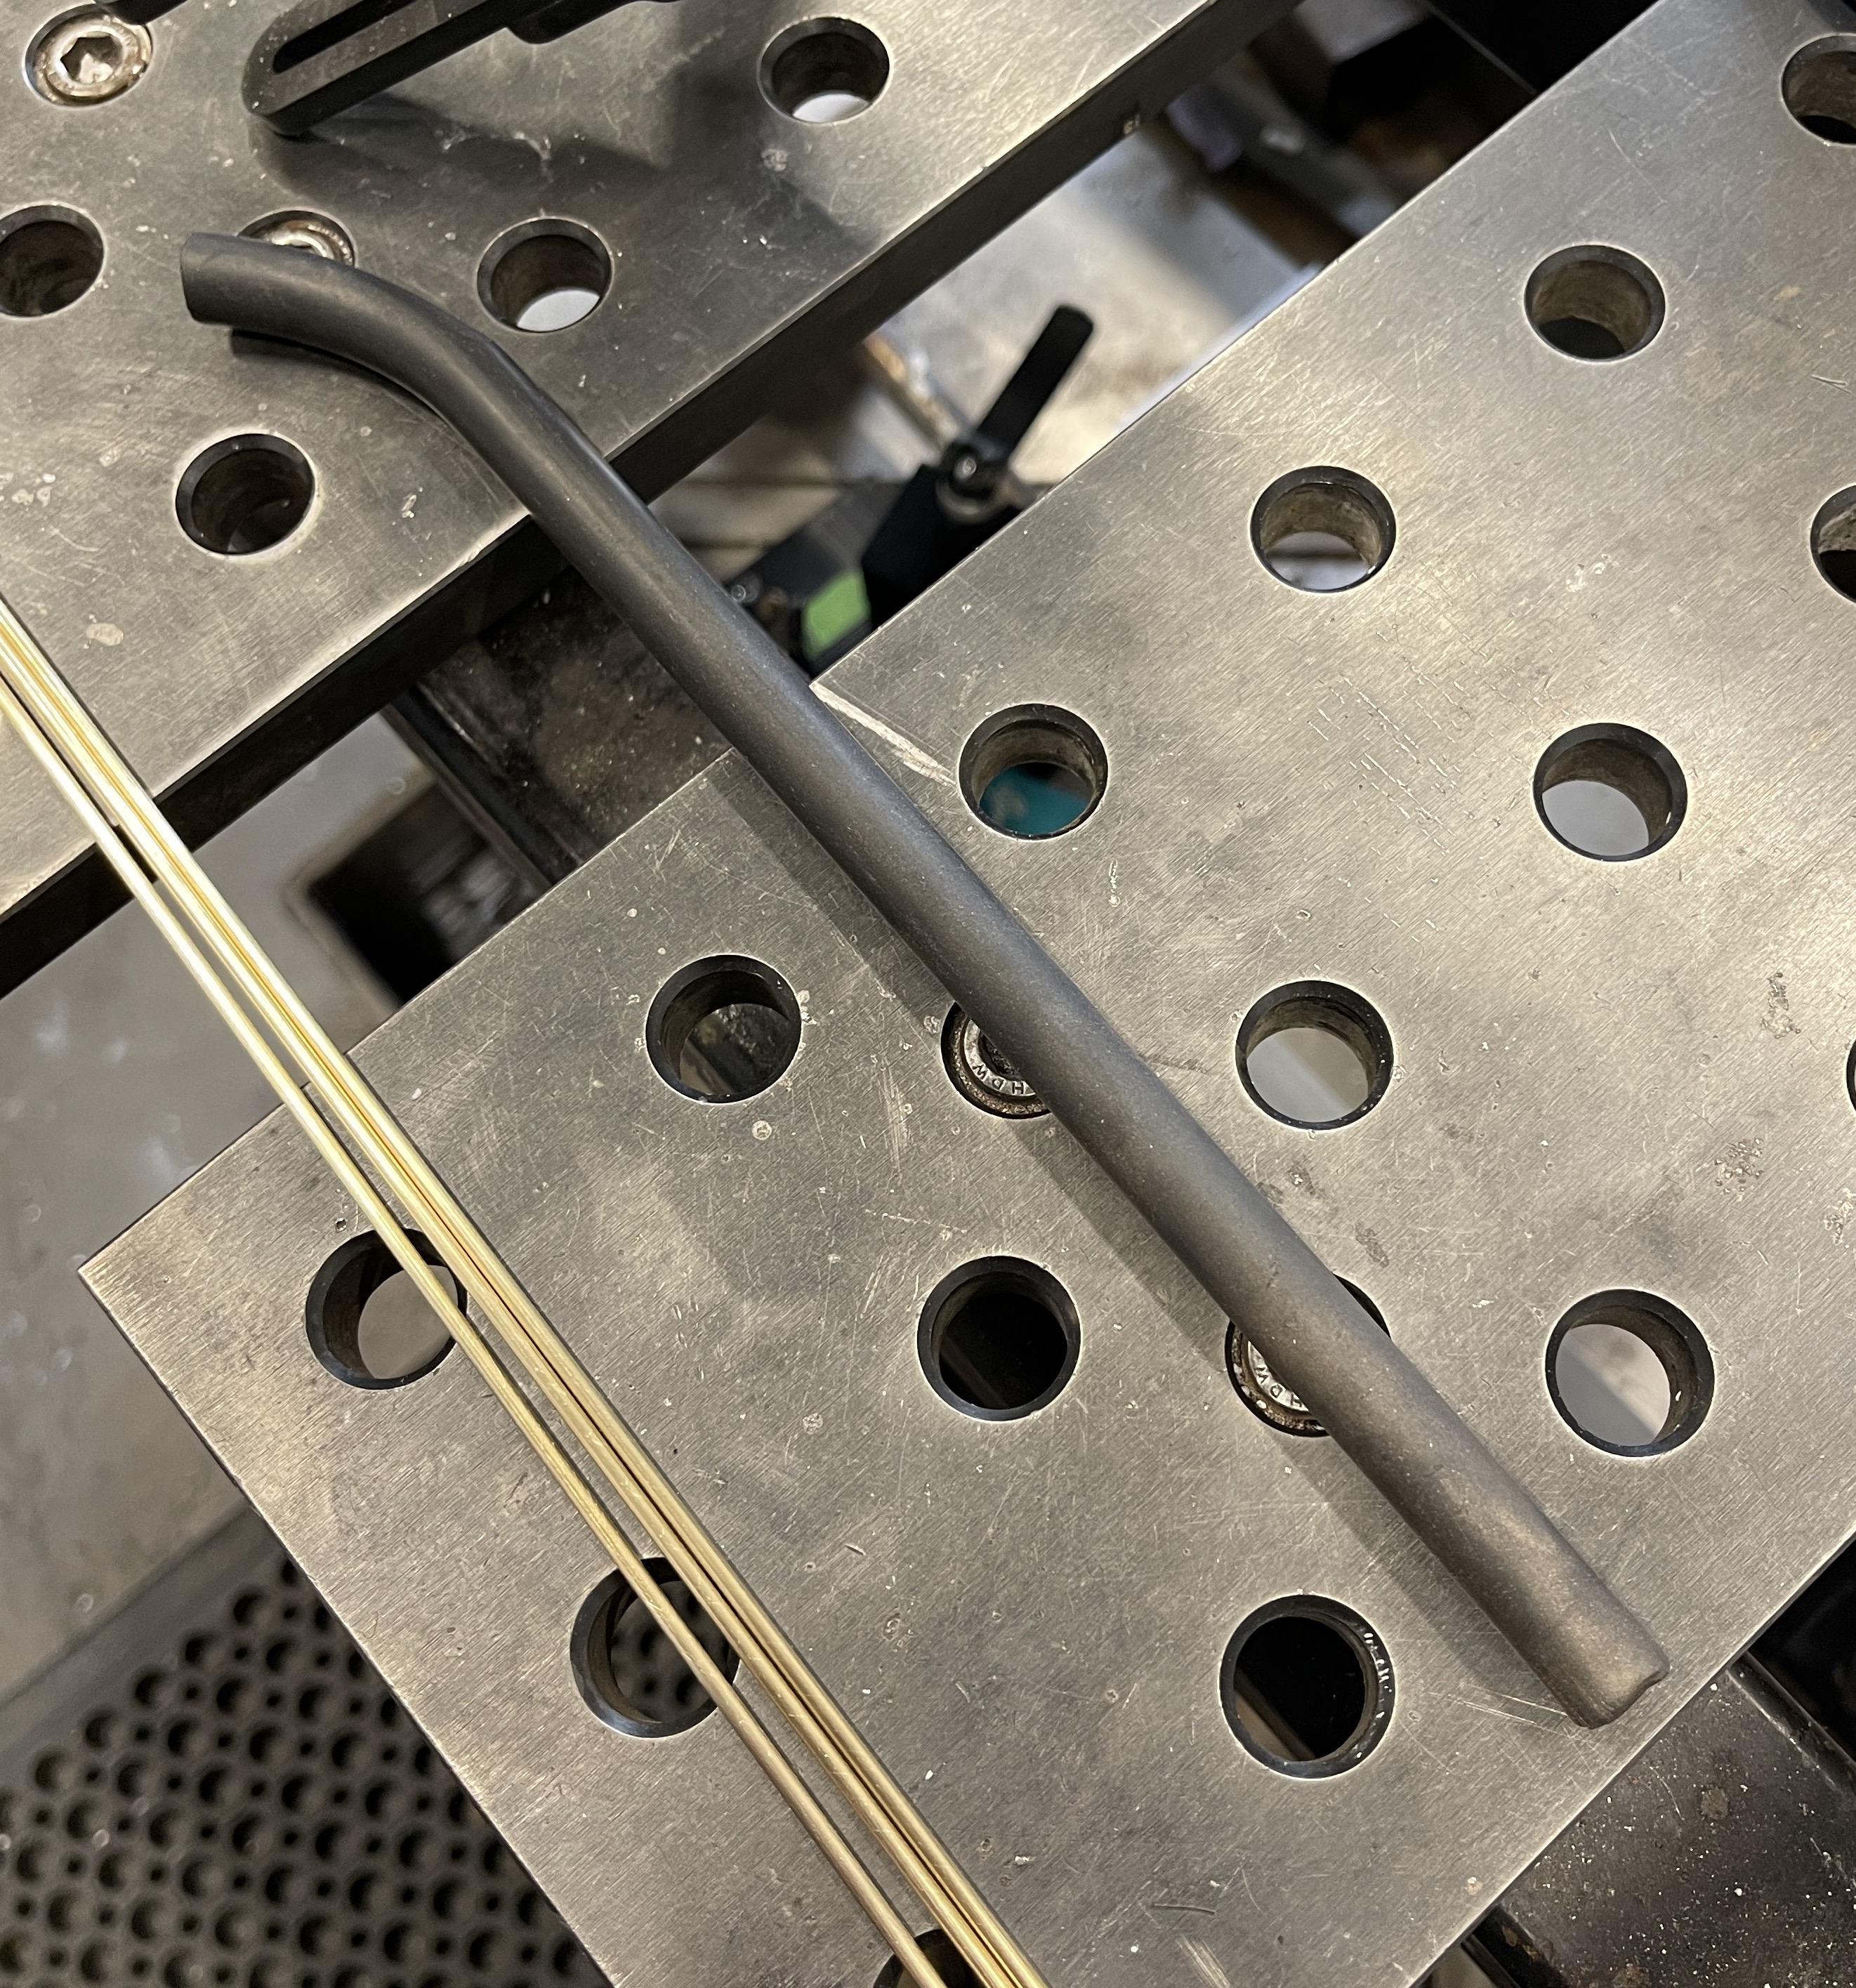
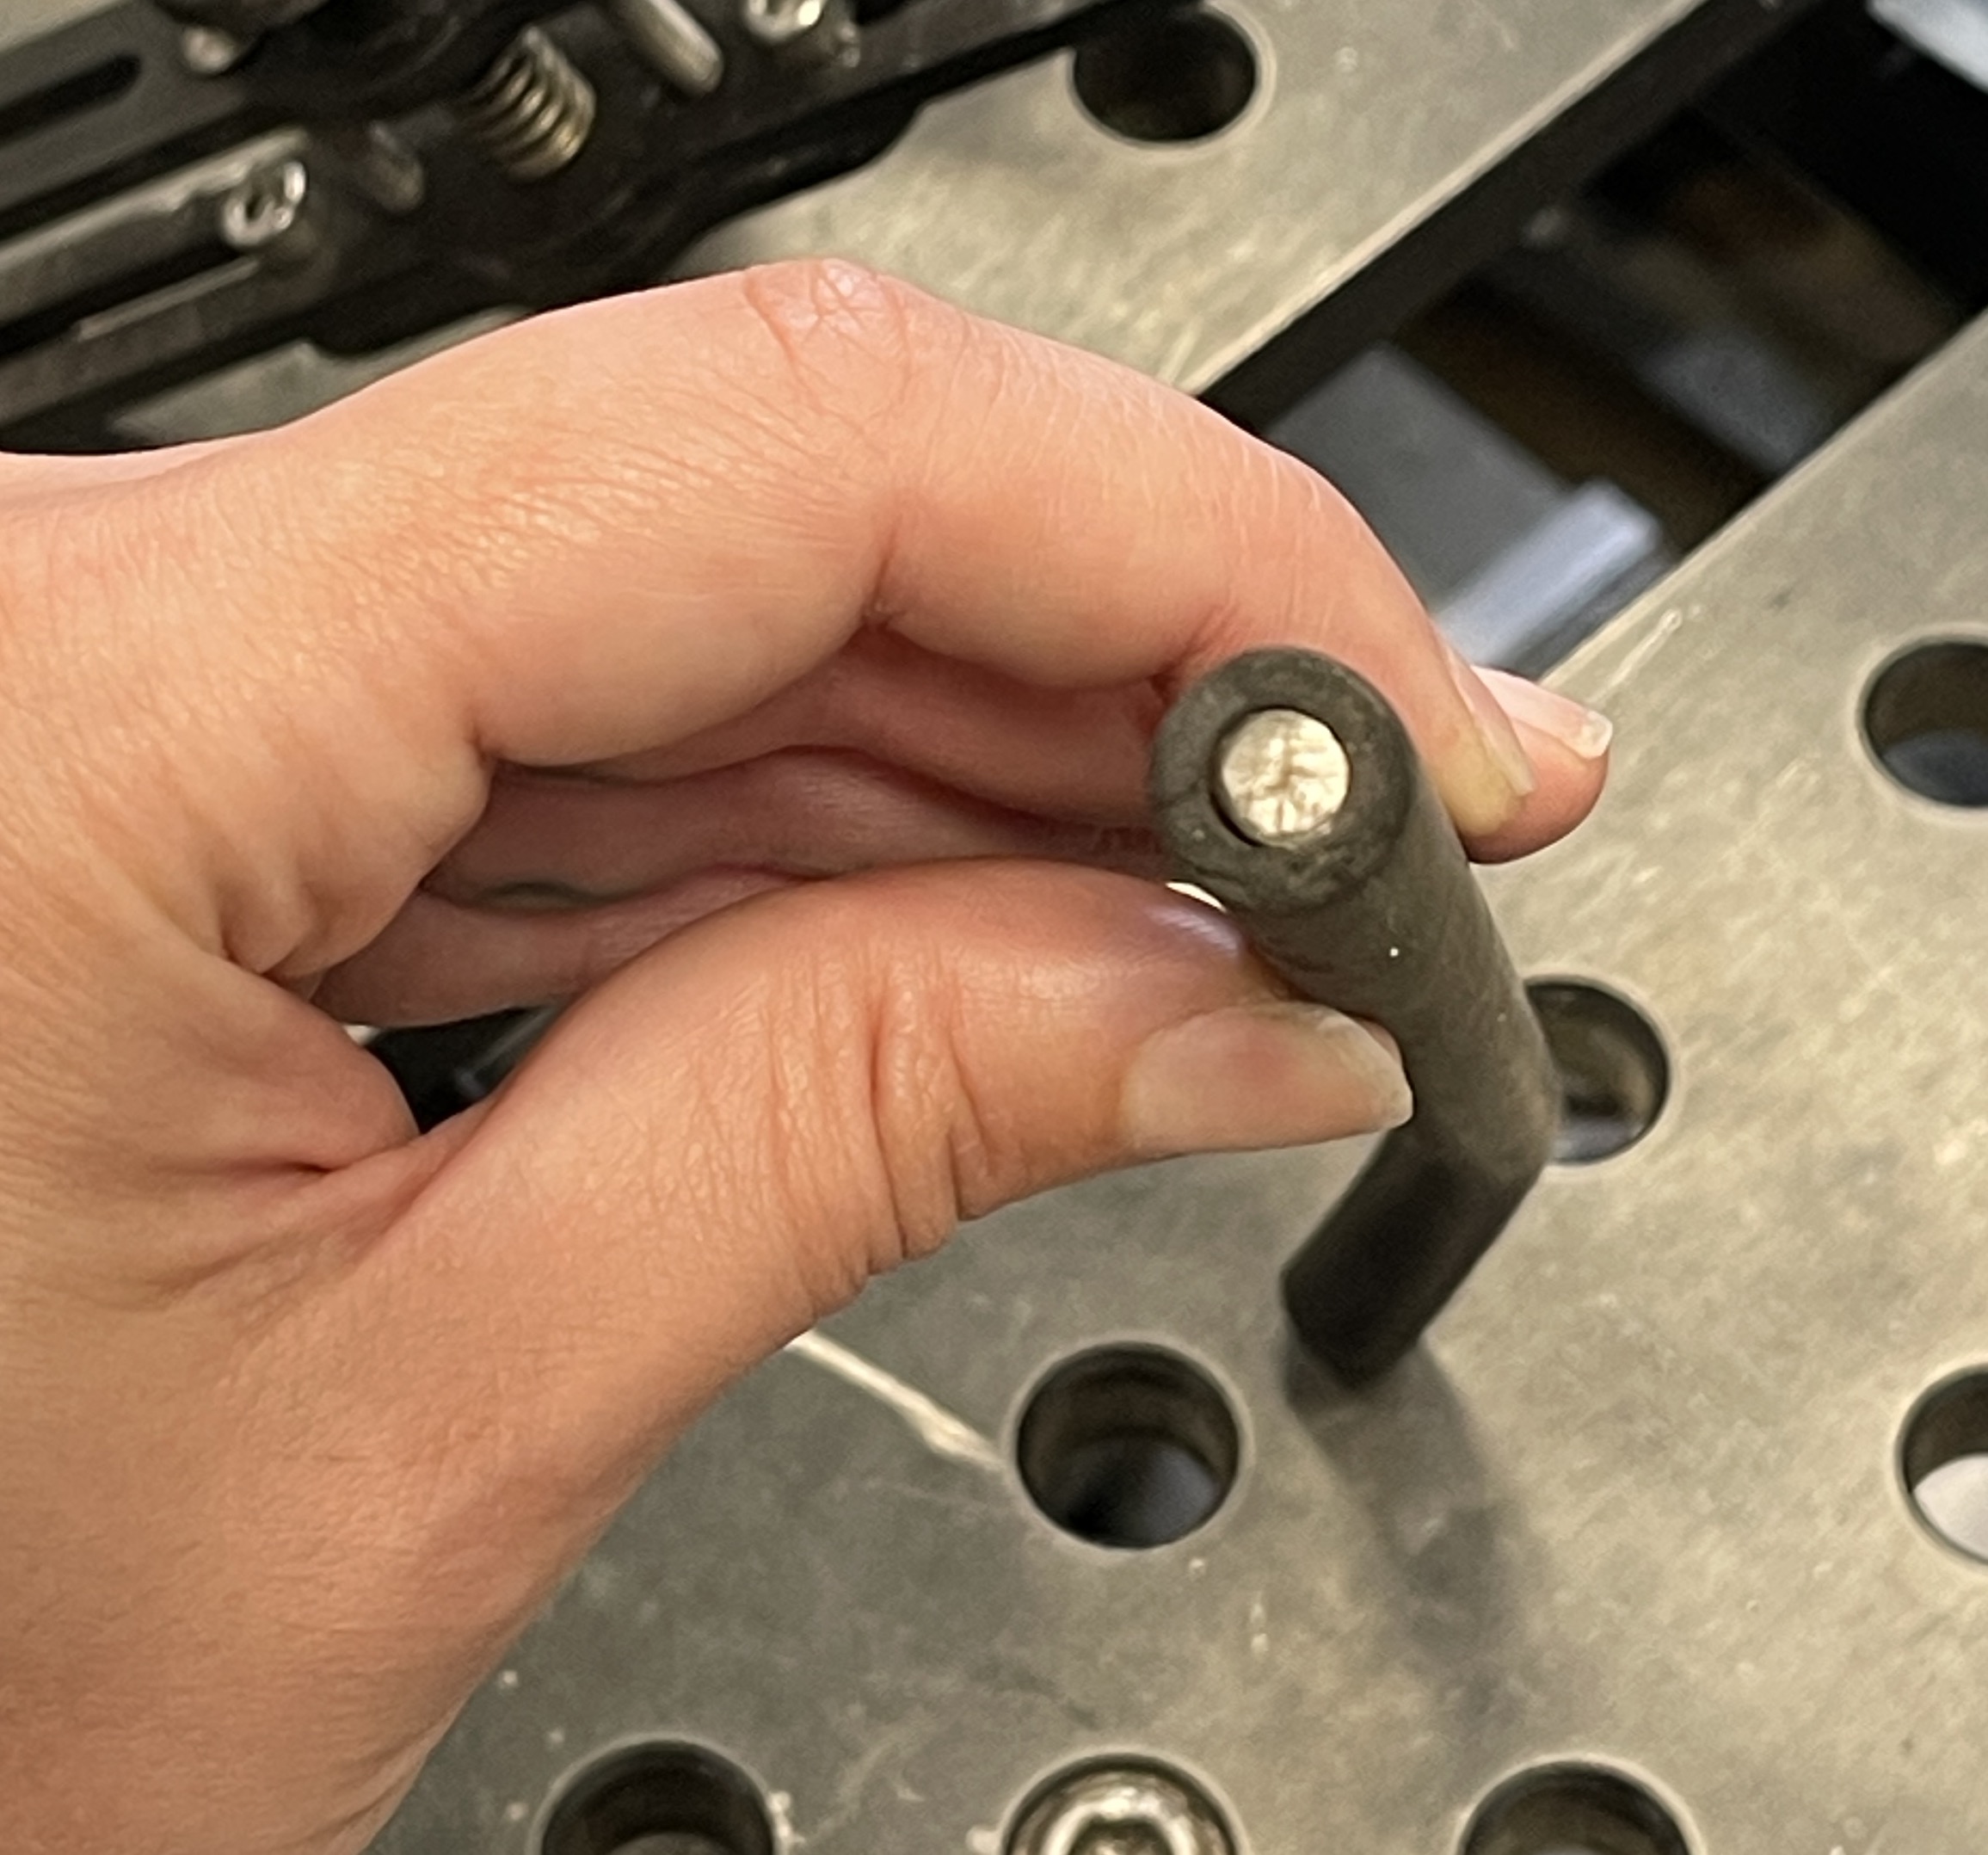
The strongest fillet-brazed bike you can make with thinwall tubes will have the smallest possible fillet, defined as the size where the braze is still stronger than the tubes, but only just barely. I recommend beginners arrive at this minimum fillet size experimentally (and seasoned pros alike if they haven’t already) by brazing samples and breaking them, like in a vise with cheaterbars.

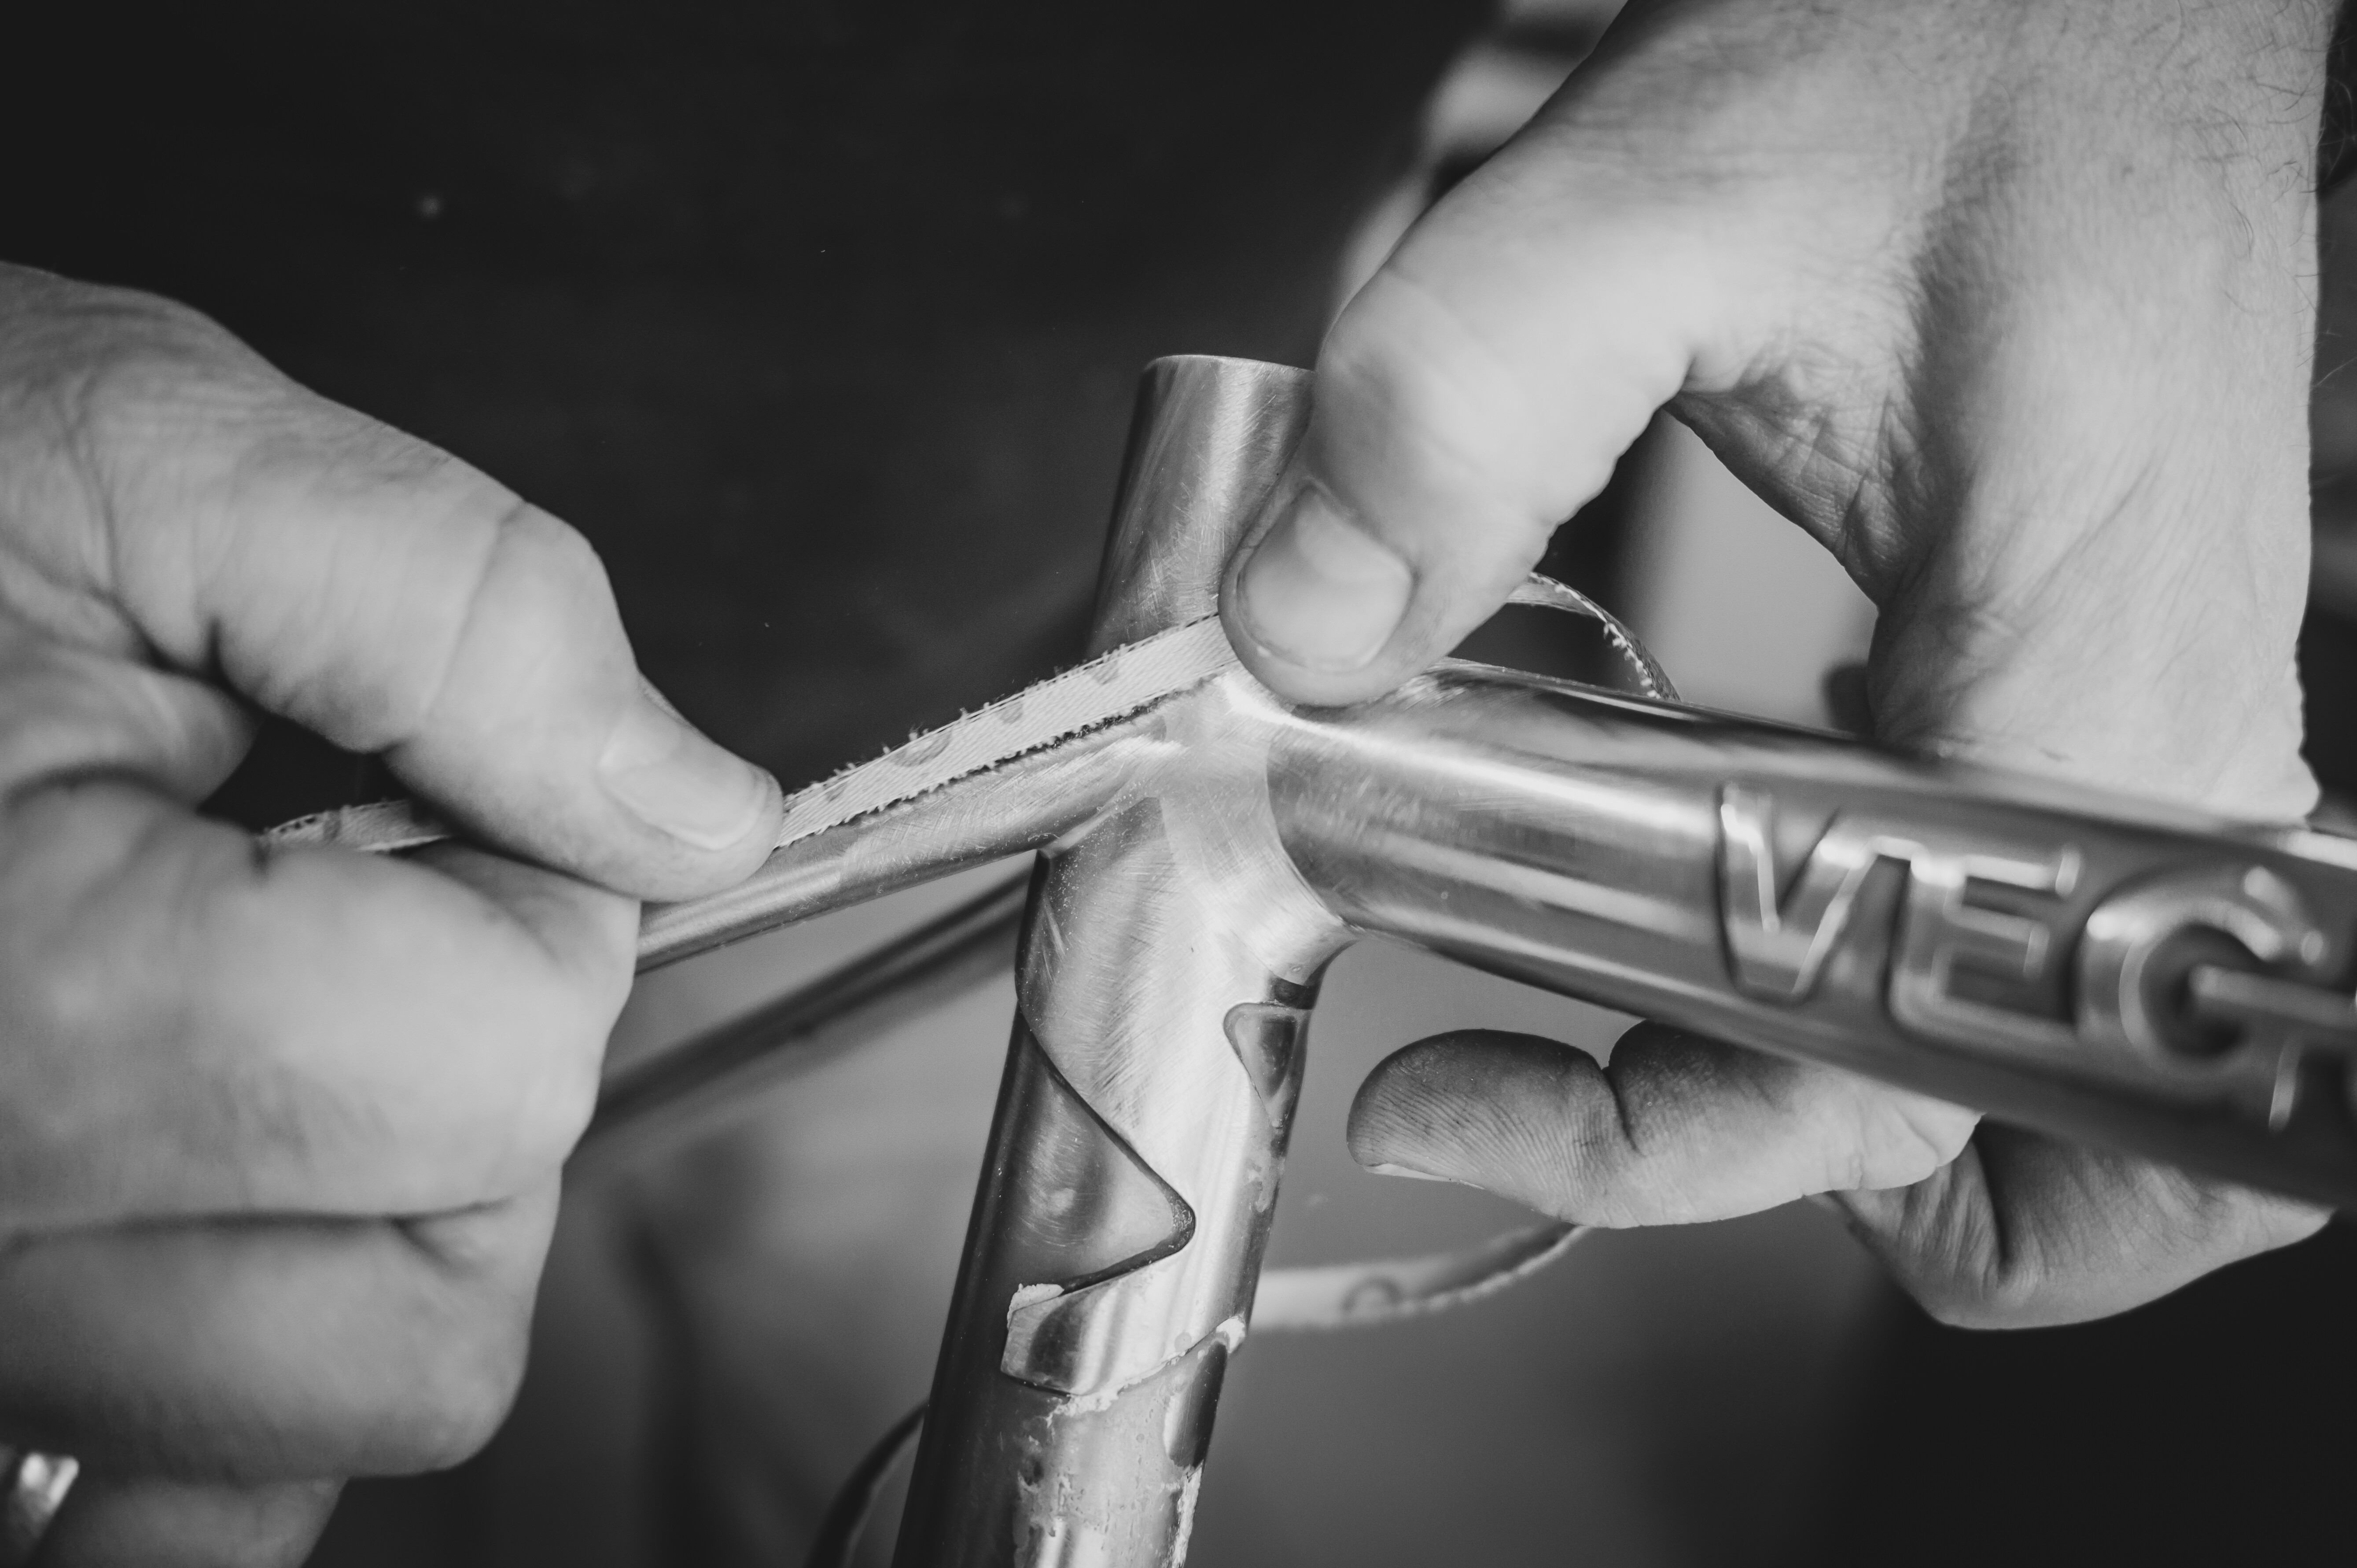
With small fillets, the skill and eyesight needed to not thin the steel adjacent to the fillet becomes superhuman, so I strongly recommend using the “least powerful” option, whatever gives you the most chance to see a potential thinning of the tube and react before too much damage is done. Dynafile is not that tool.

I have smoothed miles of fillet, maybe literally. I was a tandem specialist, all with fillet-brazed steel, for over 20 years. I started at Santana in the '70s, not going to go over my whole CV but there at Santana I was the apprentice, so my job was to clean the fillets brazed by the other guys. That meant they had no incentive to lay 'em down smooth, and/or they just didn’t know how, because those were some seriously lumpy fillets. I used a carbide burr on a air-powered die-grinder (“rotary file”) followed by hand-sanding at first, until we discovered Dynafiles, which made my job easier or at least a lot faster. But those were thick tubes (1.0 mm) and large fillets.

At other places I worked, I was the guy making the whole frame start to finish. I hated the die-grinder step most of all — showers of brass micro-needles that stick in your skin and get in everywhere, even migrating through clothes to stick in your skin. Your significant other and pets will get them too because you bring them home. So I had a strong incentive to lay the fillets down as near to the final shape as possible. Also, just making the fillets smaller reduces the total amount of brass slivers on the floor.

I soon realized the Dynafile was too dangerous. No matter how good you get with it there will always be some thinning of the tubes. I could tell when a local FB at another shop got a dynafile, because his frames started showing up with deepish troughs in the tubes all around. My eye was finely attuned to see this gouging, by subtle clues in the reflection lines, and almost no one else could see it including apparently this guy down the road who must have been unaware of how badly he was weakening the frame. A couple who raced on the same team as me bought one of his. Not close friends but I was still disappointed. His asking price was lower and his waiting list was shorter. When they got it, they asked for my honest opinion. I pointed to where the frame was going to break, maybe kind of a dick move since they loved the bike, but it broke there after just a couple rides. He tried to get out of repairing it, saying they crashed it. I don’t remember what the final outcome was, but I never saw them on that guy’s bike after that.

So, no ( or extremely limited) Dynafiling. Rotary file followed by cartridge roll, then hand-sanding. And as little of all of those steps as possible.

Eventually I started offering the customers the option of unfiled fillets, just painted as-brazed, for a discount. OK a little shoe-shining with 80-grit, or 120 grit on superlight tubing, and the painter helped a bit with putty. I’d show them examples of fully smoothed and as-brazed, and they pretty much always couldn’t tell the difference, so of course they went for unfiled.

Pro tip: Leaving some work for the painter, if you have a painter you trust, can make the frame stronger. Not an option with powedercoat I guess, though I have no experience with that.

This freed me to use thinner tubing without worry of reducing the tube wall, right at the worst possible place, where it’s already weakened in the HAZ. Lightest I used was 0.6, somewhat rare on tandems but I used lots of 0.7 mm. Zero failures ever, unless someone’s bike cracked and they didn’t tell me (quite possible).

Summary: Until your brazing progresses to the point where you can lay them down “near net”, I strongly recommend using thick-enough tubing to compensate for the inevitable thinning of the tube at the fillet edge.

-Mark B.

14 Likes

OMG this! This! THIS IS GOLD! Thanks for that – I found that super helpful!

-Jim G

3 Likes

Hi, thank you for this. I think I just need a more practice.

My biggest concern is to not to file a tube, just filing the filler.
Your advice with proper wetting is probably the gold. I really have trouble (and I know about it) with the sides of joints - green area (especially with similar size tubes like TT - ST joint) and it ends up with more filler and with a bit more filing than I like.
I ask about post-processing in general to have more inputs than from one man, even if it is Brodie.
I have TIG welding my joints before, but I am working on the frame where I will like a brazed joints from aesthetic point of view :-). I hope I can show you a result shortly.
Thank you again for your advice.

Pavel

1 Like

I’m with Bulgie on this. I ihave been using the Brodie method for a couple of frames but I am currently taking more time to get the fillet good and then finish with a couple of strokes of a file and then finish with thin strips of emory cloth to get the fillet nice and even. Pulling it under your thumb you can very nicely tune where you take away material. Takes more time and the skin on your fingers, but also gets the best result.

8 Likes

Thank you for your insight, It is very helpful to me (believe also for others).
I look for a spiral roll here in Czech republic and I think a would try it.

1 Like

Well the task for me now is obvious. Make my filets nice :-). Mine’s are a bit lumpy but bette every joint.

2 Likes

I remember hearing on a podcast, I think with Chris Bishop, that this method works even better if you tape the pressing thumb for protection.

Yeah, I should try something like that. Luckily I don’t finish like this too often, so my fingers usually heal up in between frames. I tried with gloves but didn’t like that, but maybe a piece of tape is just right!

1 Like

I use more than just my thumb(s) for draw-sanding, so I’d be doing a fair bit of taping, but I might try it anyway. Back when I was full-time, I just had enough callus, but now I’m soft.

One thing I’d recommend, instead of the thin strip shown in @project12 's pic, use a strip that’s wider than the thumb or whatever digit is pressing down. The grit on the edges gets you, so keep your thumb away from the edges. I use 1" cloth on a roll and just tear off a length, don’t bother ripping it down the middle. That would slow me down too much, and I’m all about efficiency. (Those who know me know what a joke that is.)

I have used Kevlar gloves for draw-sanding. I bought a box of a gross or however many come in a box, I forget but it’s a lifetime supply for me 'cuz I end up hardly ever using them. I always forget to put gloves on until I’m bleeding… They work better than most gloves due to being thin for sensitivity, but tougher than most thin gloves. Also the kevlar cloth is somewhat low-friction against the back of the sanding cloth. They’re still expendable — they get holes in 'em, but they last longer than cotton and give better protection

2 Likes

@manzanitacycles This is great advise. Fillet brazing started coming a lot easier for me when I started thinking about it like tig welding

1 Like

You have to indeed be a bit careful with the edges of the strips, but I find that a strip at the width of the fillet (or even a bit less) works best for me. The emory cloth I am using has a fairly stiff backing, I can imagine that with a more supple variant wider works better. But yeah, you have to make sure to clean the edges after cutting and tearing, or you will mostly cut your fingers. I also not just use my thumb but depending on the angle and direction also other fingers, but the thumb is best to put a lot of pressure on it.
I will check out some Kevlar gloves, that sounds like an excellent way to keep using the fingerprint sensor on my phone.

@manzanitacycles I am starting to learn to Tig weld and I indeed do find myself using this when brazing, excellent advise!

1 Like

One of my favourite fillet cleanup tools: this is 1/4" steel bar, and automotive brake housing fit over top of it. I push the steel bar almost all the way through so I end up with one firm end and one soft end for tight fillet spots. It’s like a dowel but better. It allows you to get good arm weight into buffing a fillet with emory cloth without destroying your fingers. You can do this with emory cloth over a file, but you have to be careful as the file will cut through the emory at some point and gouge up your tubes.

22 Likes

3 Likes

You mean hand built, handheld belt sander. Some people have just put in so much time they make it look too easy. Brodie is making aces content. Buy him and Mitch a coffee, they like coffee.

Tape works the treat, I was using a cheap dear skin glove that fit snug. The tape lasted longer.