As I’m getting back into powder coating in a new space, I’ve been thinking about how to improve fixturing, material handling, and masking processes. One thing I’ve been trying to nail down is more robust plugging of the frame combined with better workholding.
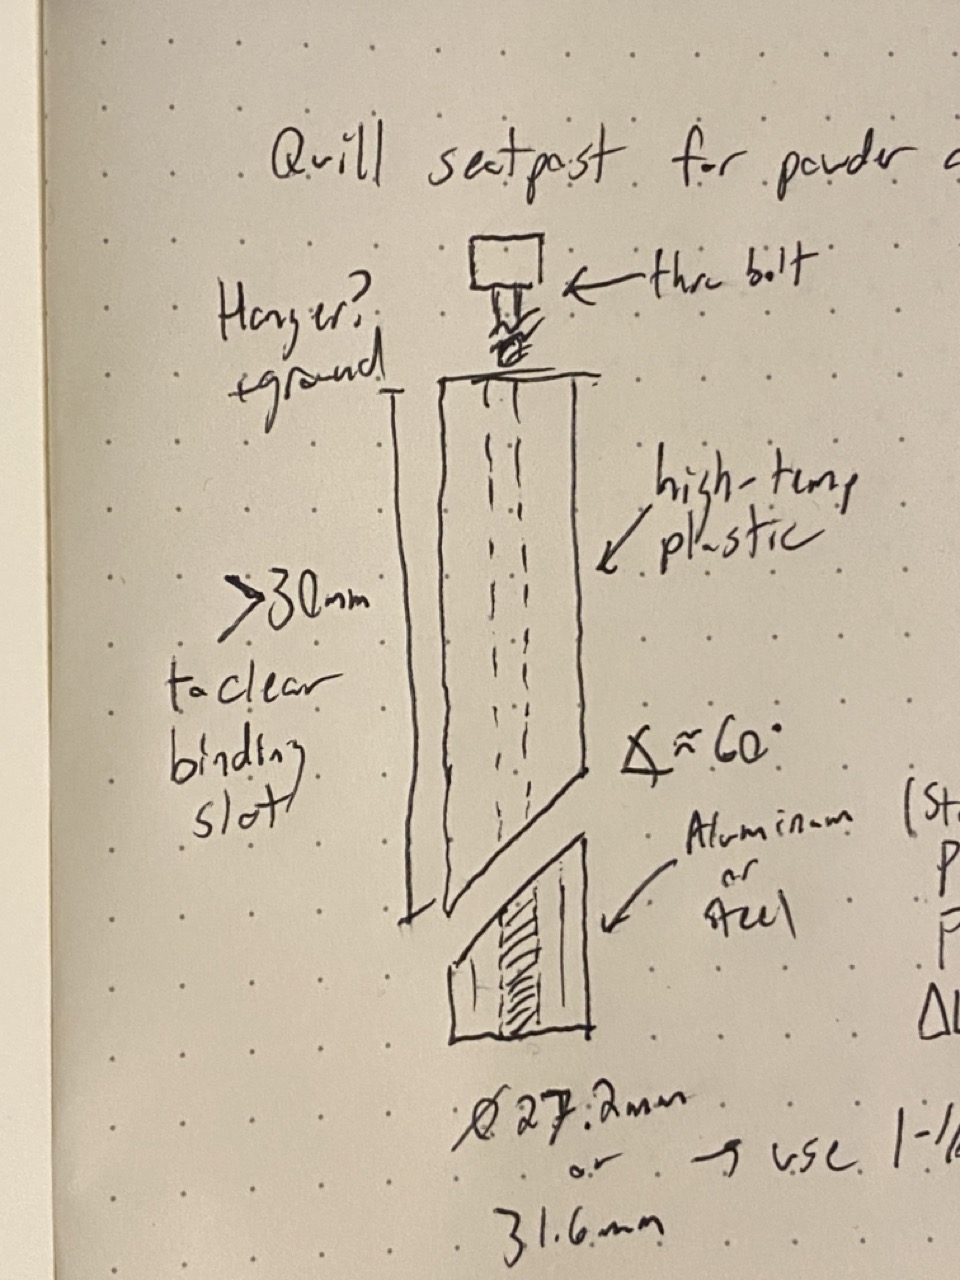
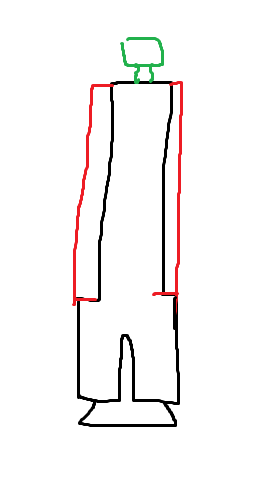
To that end, I’ve been thinking about a quill seatpost design with a metal bottom expander wedge and a plastic shaft. This would all then attach to a hook for hanging & grounding. In theory, the plastic part would resist getting coated in powder while the metal expander maintains solid contact between the ground wire and the frame. The metal bit is inserted a ways past the seatpost slot and the plastic bit protrudes above the clamp seat.
Based on some preliminary research, it looks like PEEK might be the best material for this? It has a relatively high melting point and a CTE more matched to steel. The only issue is that the glass transition temperature is ~290ºF which isn’t ideal. I was also considering using PEEK plugs for covering the BB & HT since I’ve been unimpressed with the performance of the standard silicone ones.
I’d love to hear anyone’s thoughts on this! It seems like a neat idea but perhaps I’m missing some sort of pitfall.
2 Likes
Cool idea. The fewer chances of dropping a frame, the better 
What are the typical powder coat bake time and temps?
I’m guessing you are thinking of printing the plastic with PEEK? I think FDM printing is not a good fit for high-heat applications (the plastic needs to be easy to melt)
Resin printers with epoxy-like chemistry can achieve >200c heat deflection temp
I have had good luck casting silicone in 3D printed molds:
They make some high temp silicone/epoxy resins:
I think there could be a cool over-engineered solution with an aluminum collet and a 3mm thick molded silicone coating on the outside:
Edit: you don’t even need a 3D printed mold, you can just pour it into a seattube cutoff
2 Likes
Usually in the 350-400ºF (175-205ºC) range for 10-30min.
No, I’m thinking of machining solid 1.25" rod stock down to 27.2mm or 31.6mm. I thought about 3DP but quickly came to the same conclusion.
The silicone idea is interesting - I know that’s what most folks use for powder coat plugs. I gotta think about that idea more! The only big issue I could see is that the CTE of most silicones is pretty high so there’s a chance it gets wedged in until the frame cools.
1 Like
This is a great idea! I actually just took a powder coating class at my university’s makerspace today!
They use Kapton tape to mask off parts- it’s good to about 500F. Could the whole quill setup be made from aluminum, and the top piece is turned with .5mm clearance? I think you’d be able to put a layer of Kapton around/on top of it to keep the powder off, and not have to worry about an expensive plastic part degrading over a lot of heat cycles
4 Likes
Yeah! I think you and Daniel are onto something with taking a mostly-aluminum part and then covering part of it in a high-temp non-conductive material. Do you know if kapton holds up to media blasting? I know silicone is pretty resilient in that way.
1 Like
I used to use it as a bed material for my 3D printer. It held up pretty well against errant craft knife attacks.
I’m gonna powder coat a few swatches early next week. I’ll blast some tape with AO media and will report back
1 Like
Yeah good thread!
I’m one month in into actual powdercoating and usualy I’ve hanged parts with what was around at the time.a bit sketchy!
I had to do some handlebars so I used an expanding holder as I like to call it, basicaly your idea but with what I had on hand.So I put slots on a tube that fits the ID of the bars, turned a threaded cone on the lathe, washer and stem bolt to tight things up .
It did the job so I thought about doing the same for the frame, for easier handling while coating and after curing… well it didn’t worked so well, too much material gathered in one place ( HT ),so while most parts of frame were heating nicely,the powder didn’t flaw out at all at the HT.I panicked a bit and removed my fixturing setup half way thru curing and put it back in the oven .
I don’t know how much temperature difference the powder can really handle on the same part and still be strong everywhere, will have to try to find out…
For masking, I used heat resistant tape succesfuly but I’m looking into silicon plugs for BB and HT.
(Sorry for the long sentences, it’s a bit of a story, still learning to be a bit more concise in english )
7 Likes
That is a great point! Any thermal mass in the hanger will impact cure time for the surrounding metal. That was part of why I was thinking about making it out of plastic instead of metal. Maybe using tube instead of rod extrusions would be the way to go?
2 Likes
I’ll definitely +1 the Kapton tape. That stuff is great.
But, you can also mask with regular masking tape while spraying, and then just remove it before going in the oven. That’s how we did it at a company I used to work for.
But when I do my bikes, I usually don’t worry about plugging or masking anything. I do my reaming / tapping and such after it’s done.
If the powder gets onto any of the inside surfaces or threads a bit too much, I’ll just brush it off with my finger before it goes in the oven. Some cheap & small paintbrushes are great for that also.
As far as hanging it for spraying & oven-ing (that’s a word, right?) I would just use some wire I had lying around to bend into hangers. One in the seat tube and one in the head tube. (my oven was horizontal)
I never got around to a more permanent solution, but it did work great.
Whenever I get around to rebuilding my oven, I’m going to orient it vertically, so the frame can just hang from the head tube to spray it and load it in. That would solve some of the gymnastics and balancing I would have to do to hang the frame horizontally.
3 Likes
@liberationfab Hey Eva! I did a bunch of media blasting blasting today. I tried putting a small piece of kapton tape on a piece of aluminum. I really blasted the hell out of it, and the tape held up fine. I did have issues with the media getting under the tape, but I’d be willing to bed that wrapping the tape over itself would make that a non issue.
1 Like
That’s great to know!! Kapton is truly a miracle material.
Another trick is painters tape under duct tape-great release with no residue and no breakthrough with the duct tape.
4 Likes