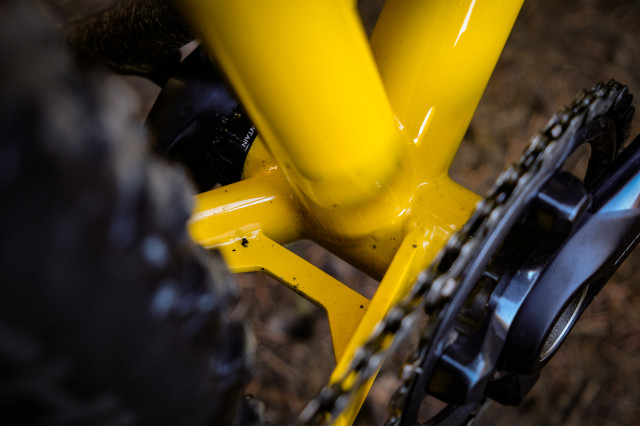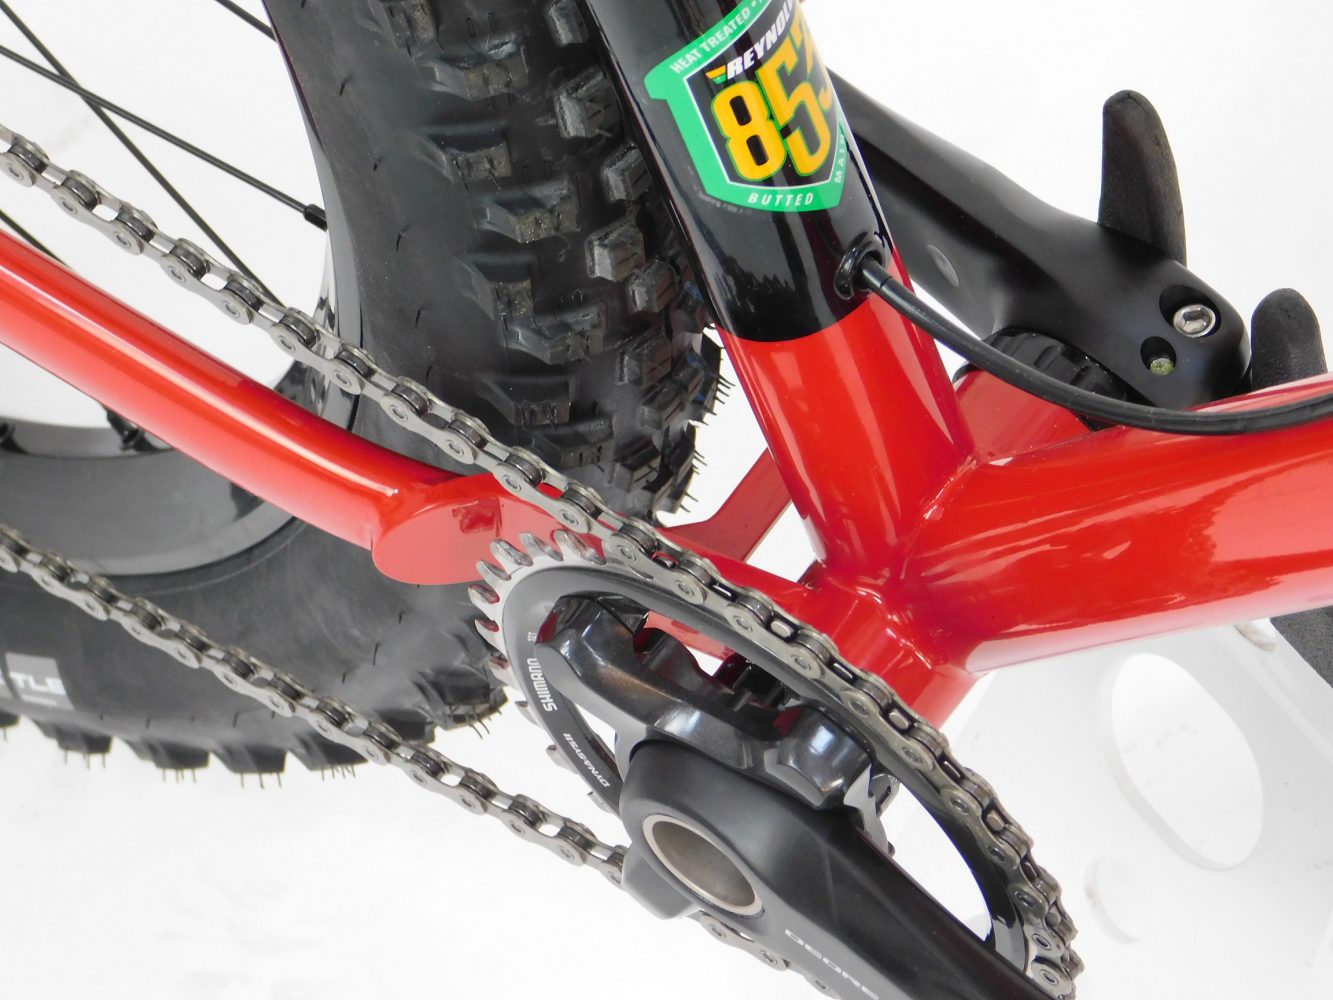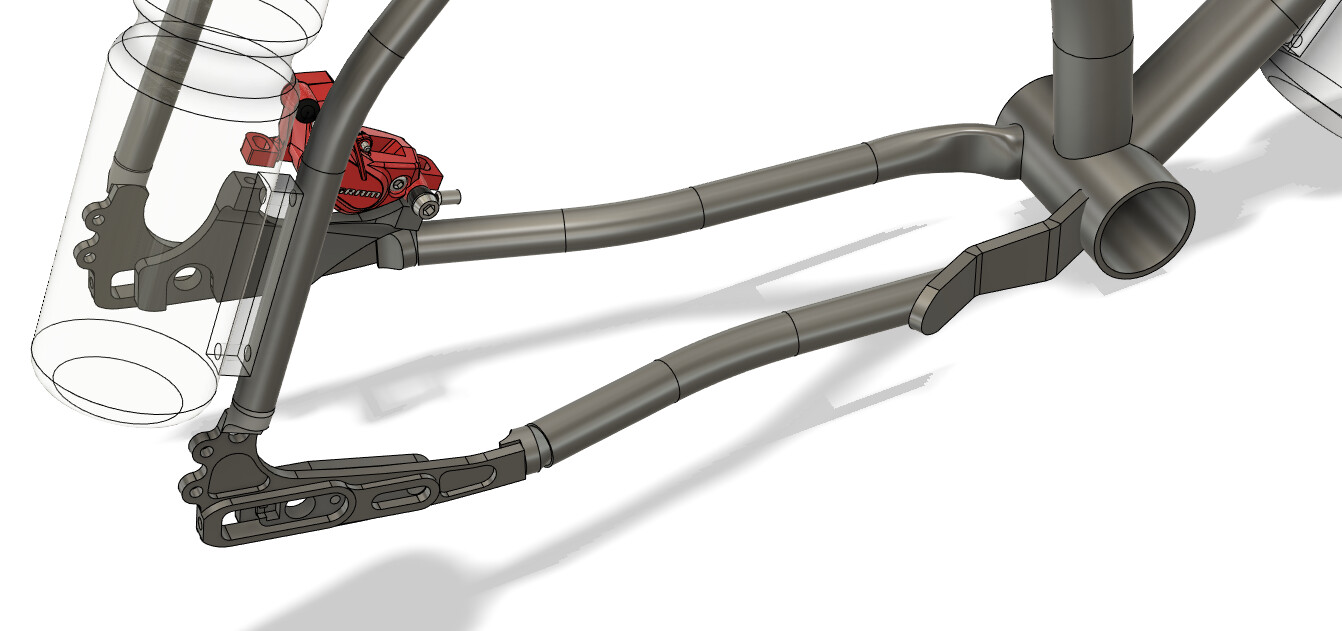
RTUOTB Yoke:
I always wanted to try a laser cut and bent sheet metal yoke from Send Cut Send that was ready to use out of the box (RTUOTB). I knew it was possible, but never had the opportunity to try it. Luckily, Whit @Meriwether had a frame that was a great candidate for a plate yoke:
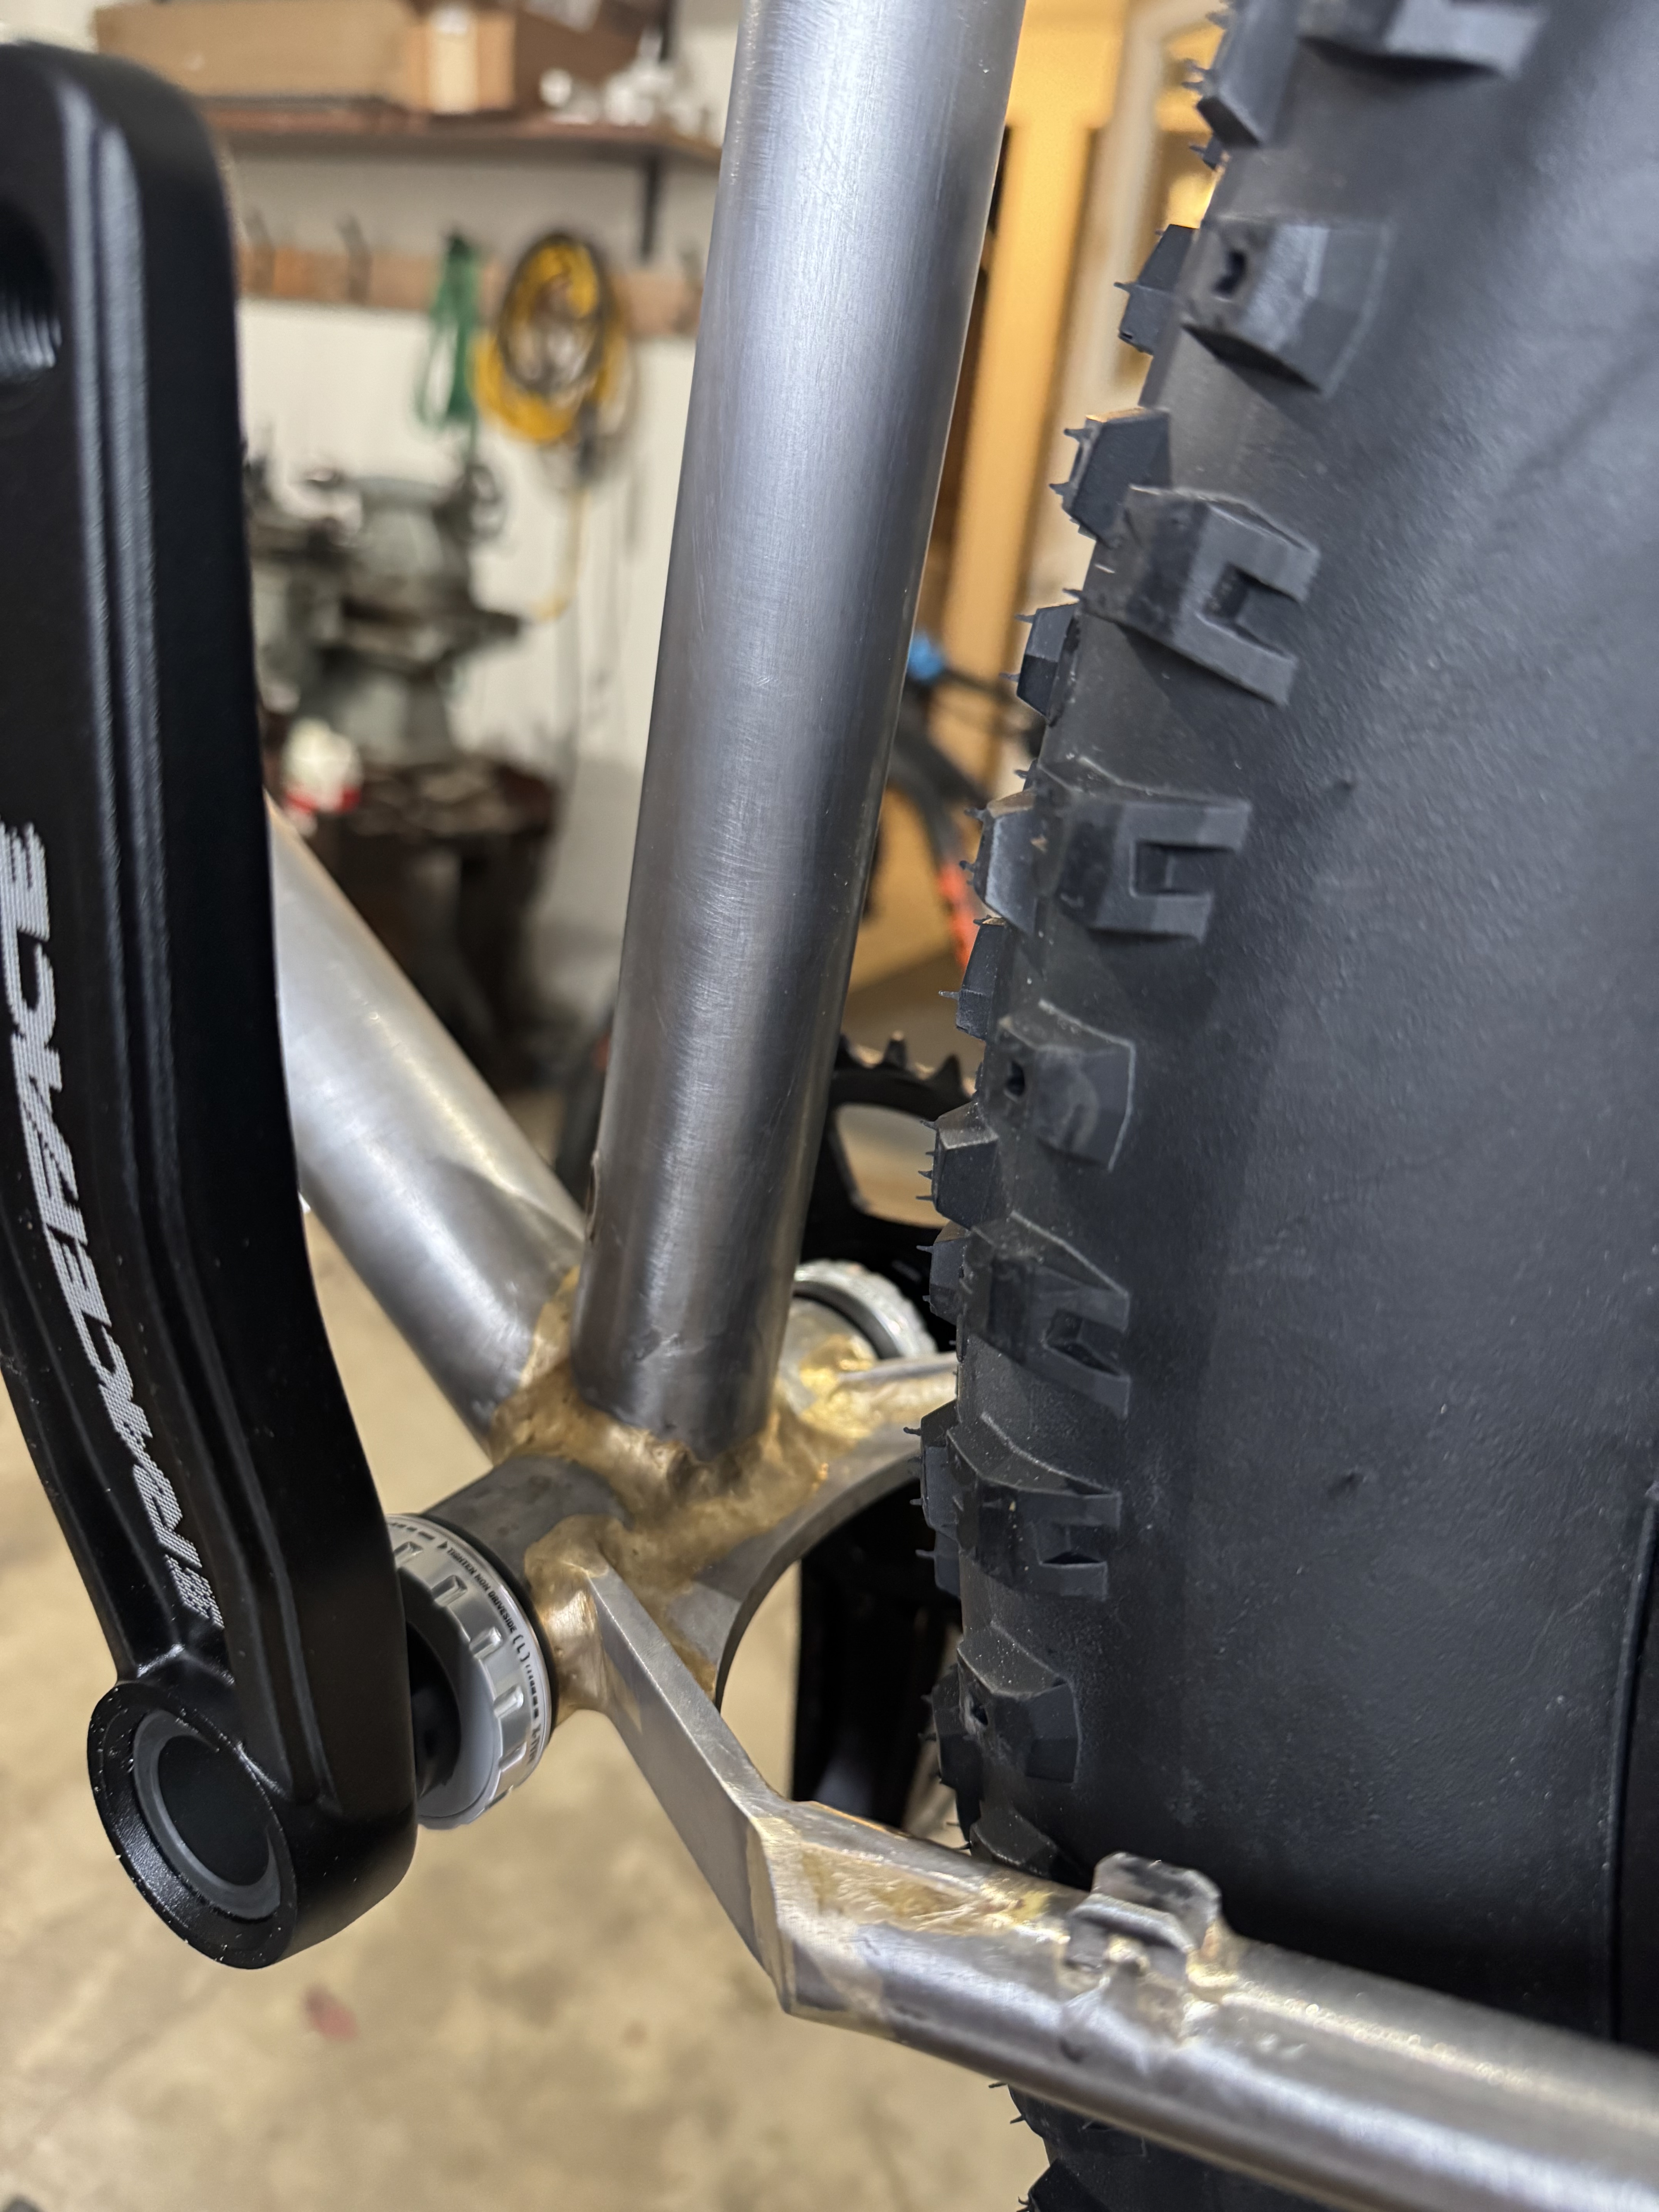
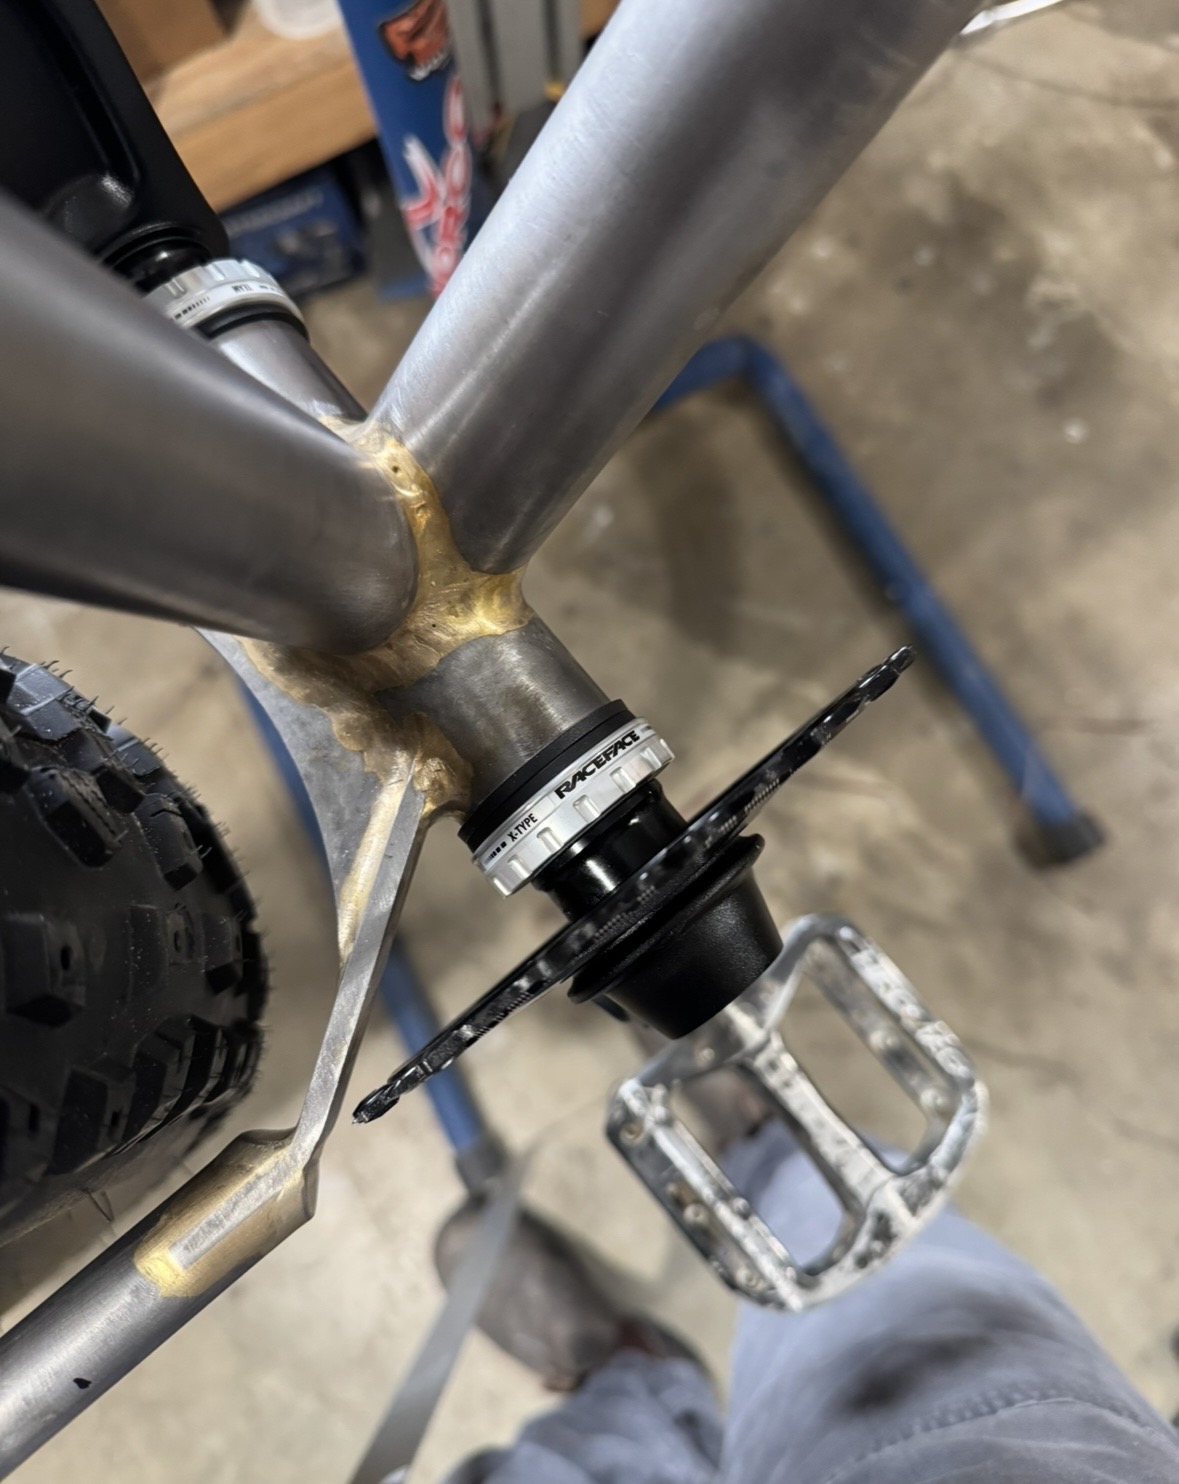
- super short 395 CS
- clearance for 2.6
- 52mm chainline
- 38t capacity
The tire and drivetrain constraints required a really long, thin, yoke, which I didn’t feel comfortable 3D printing.

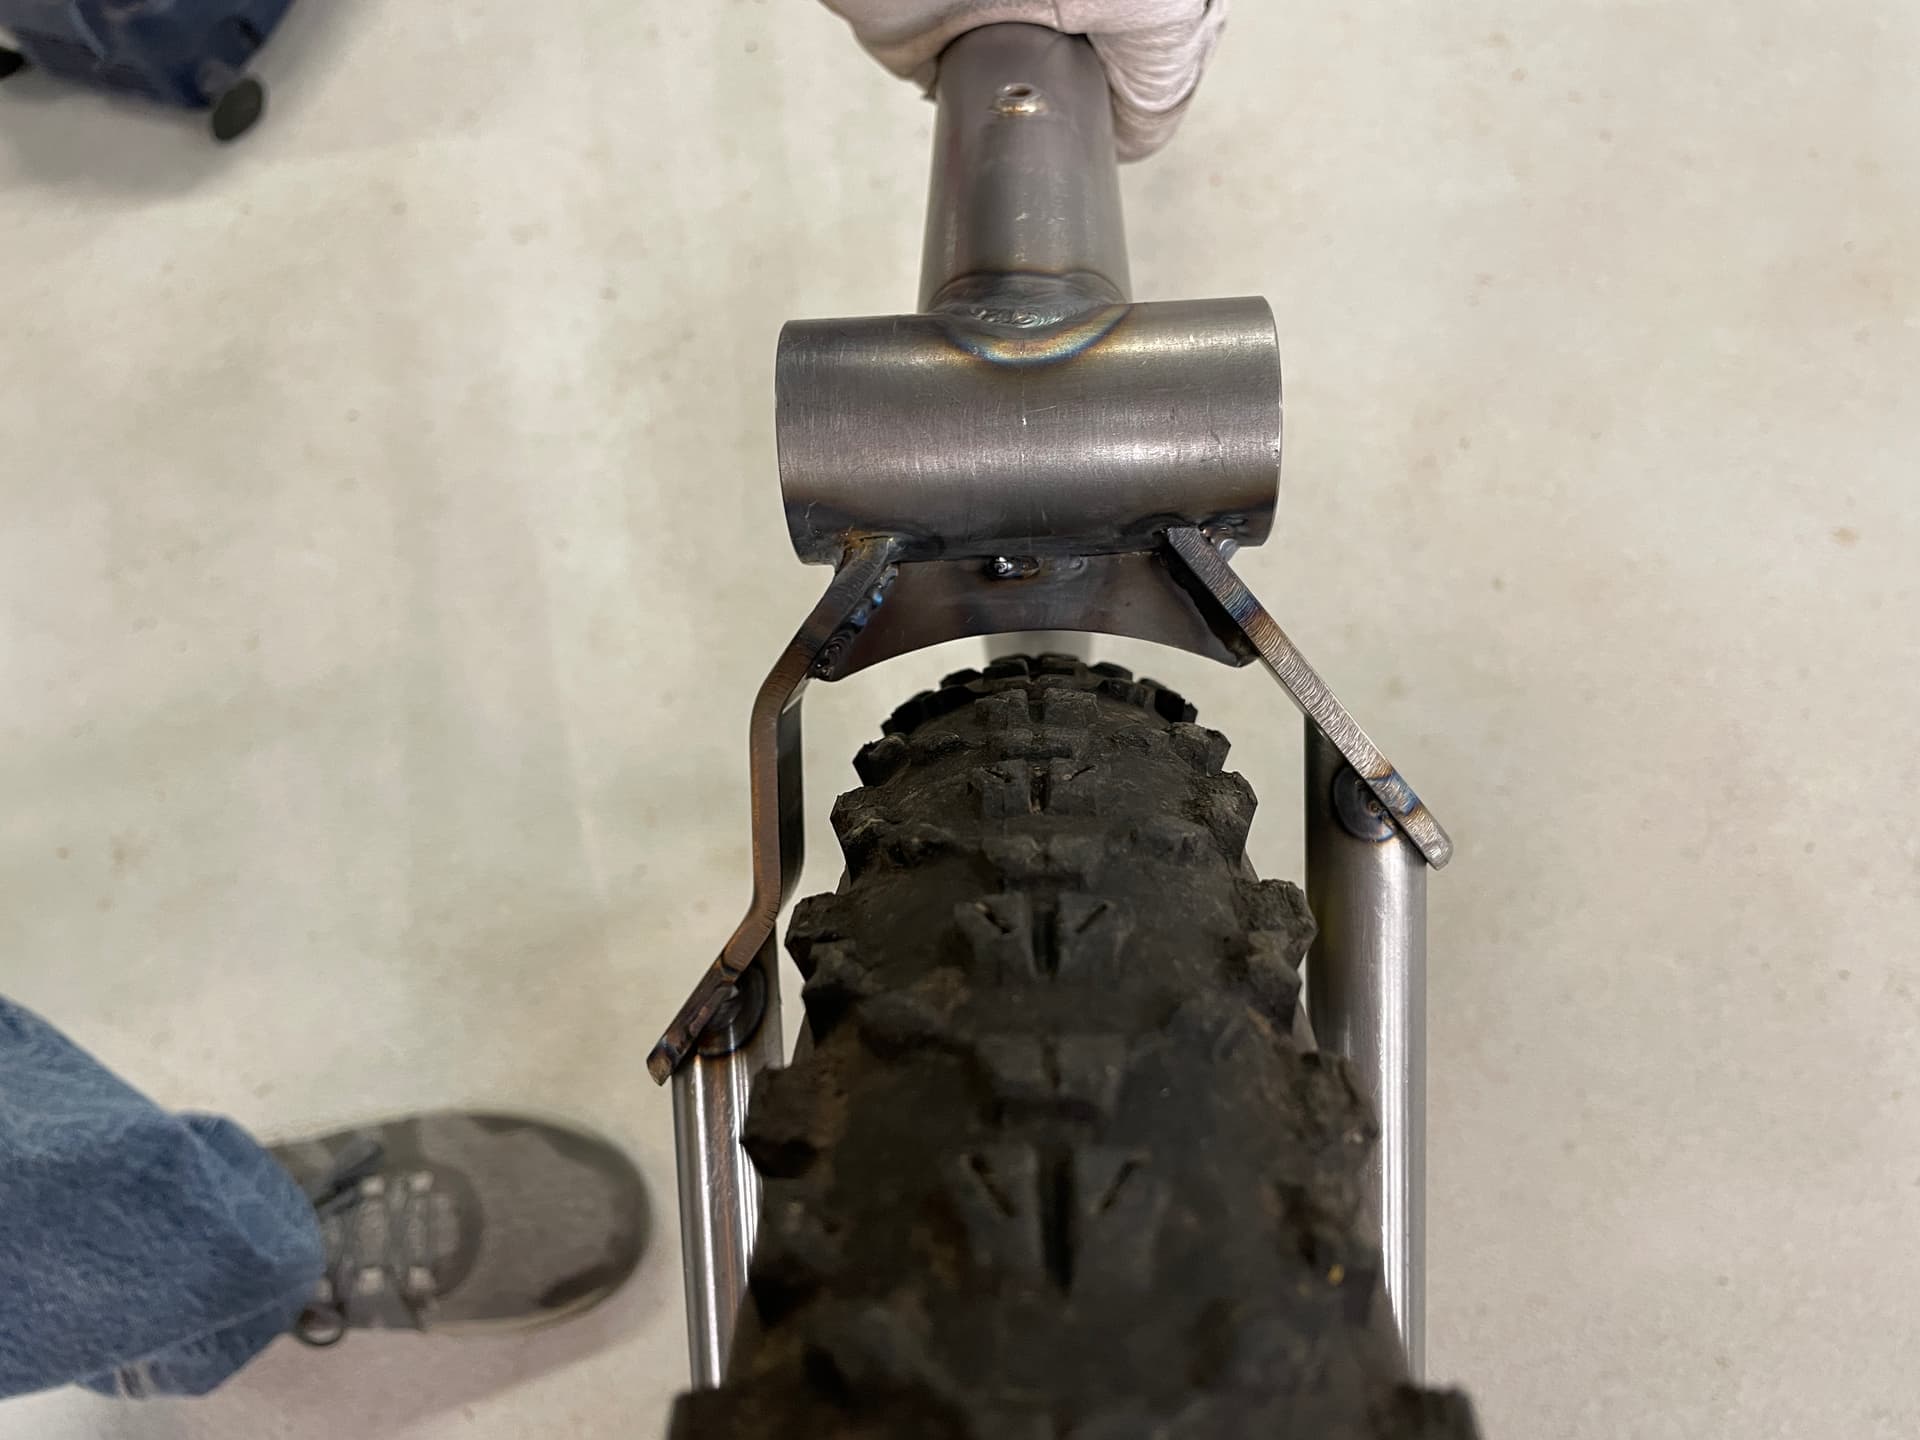
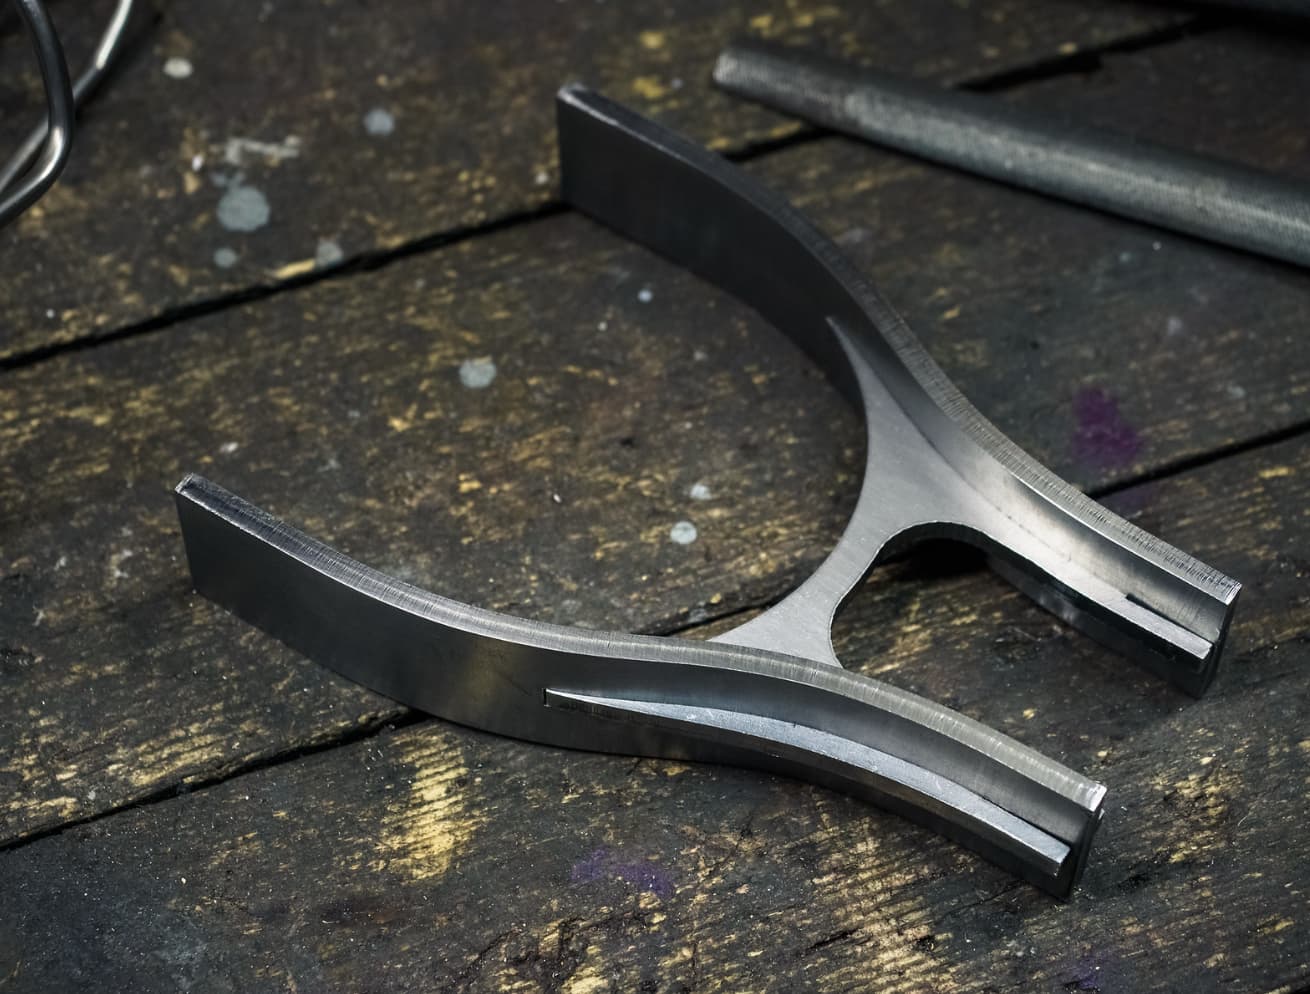
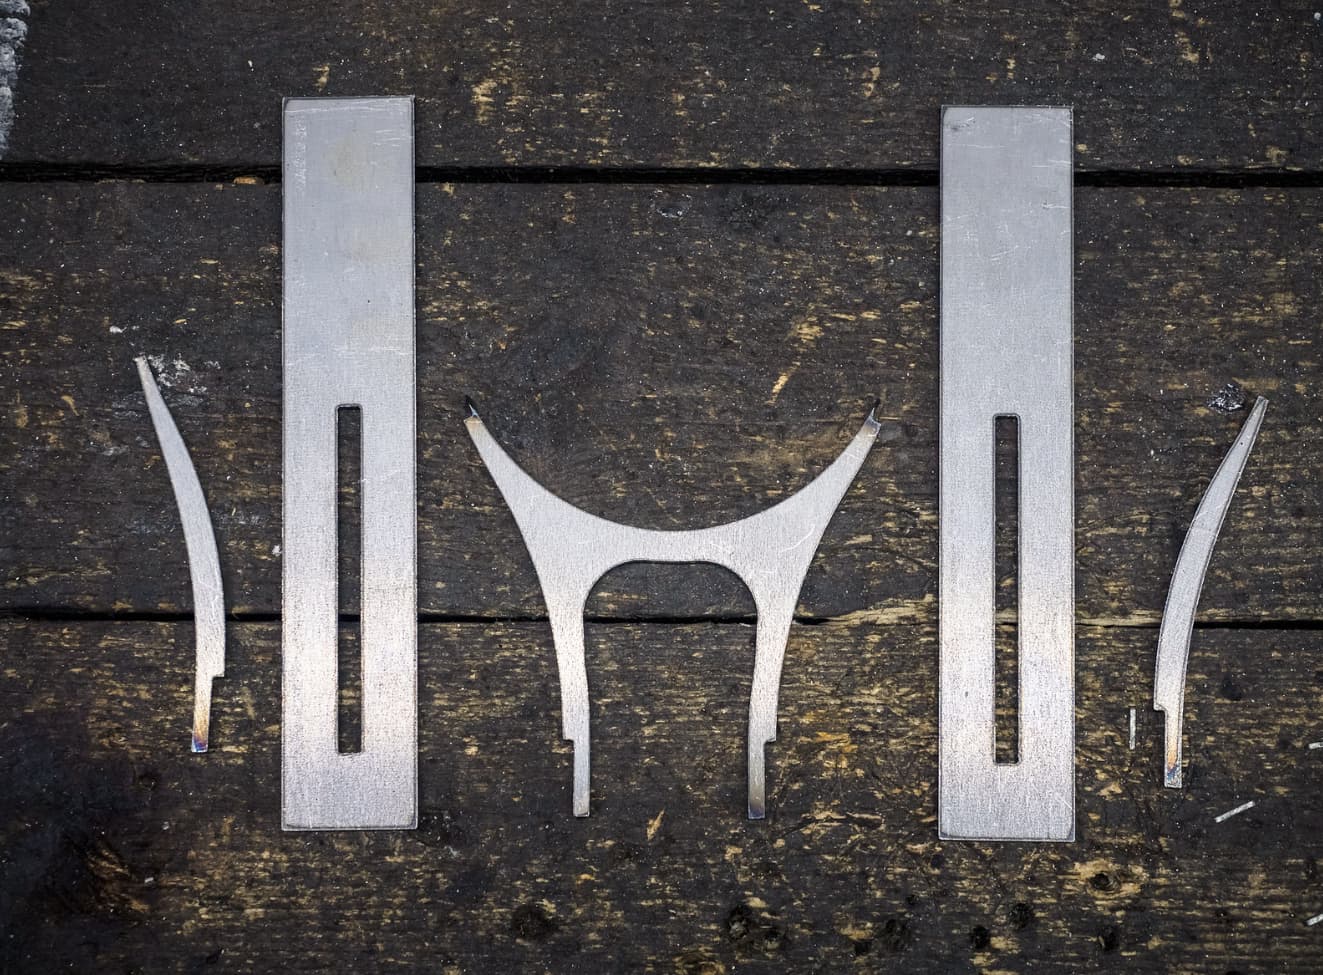
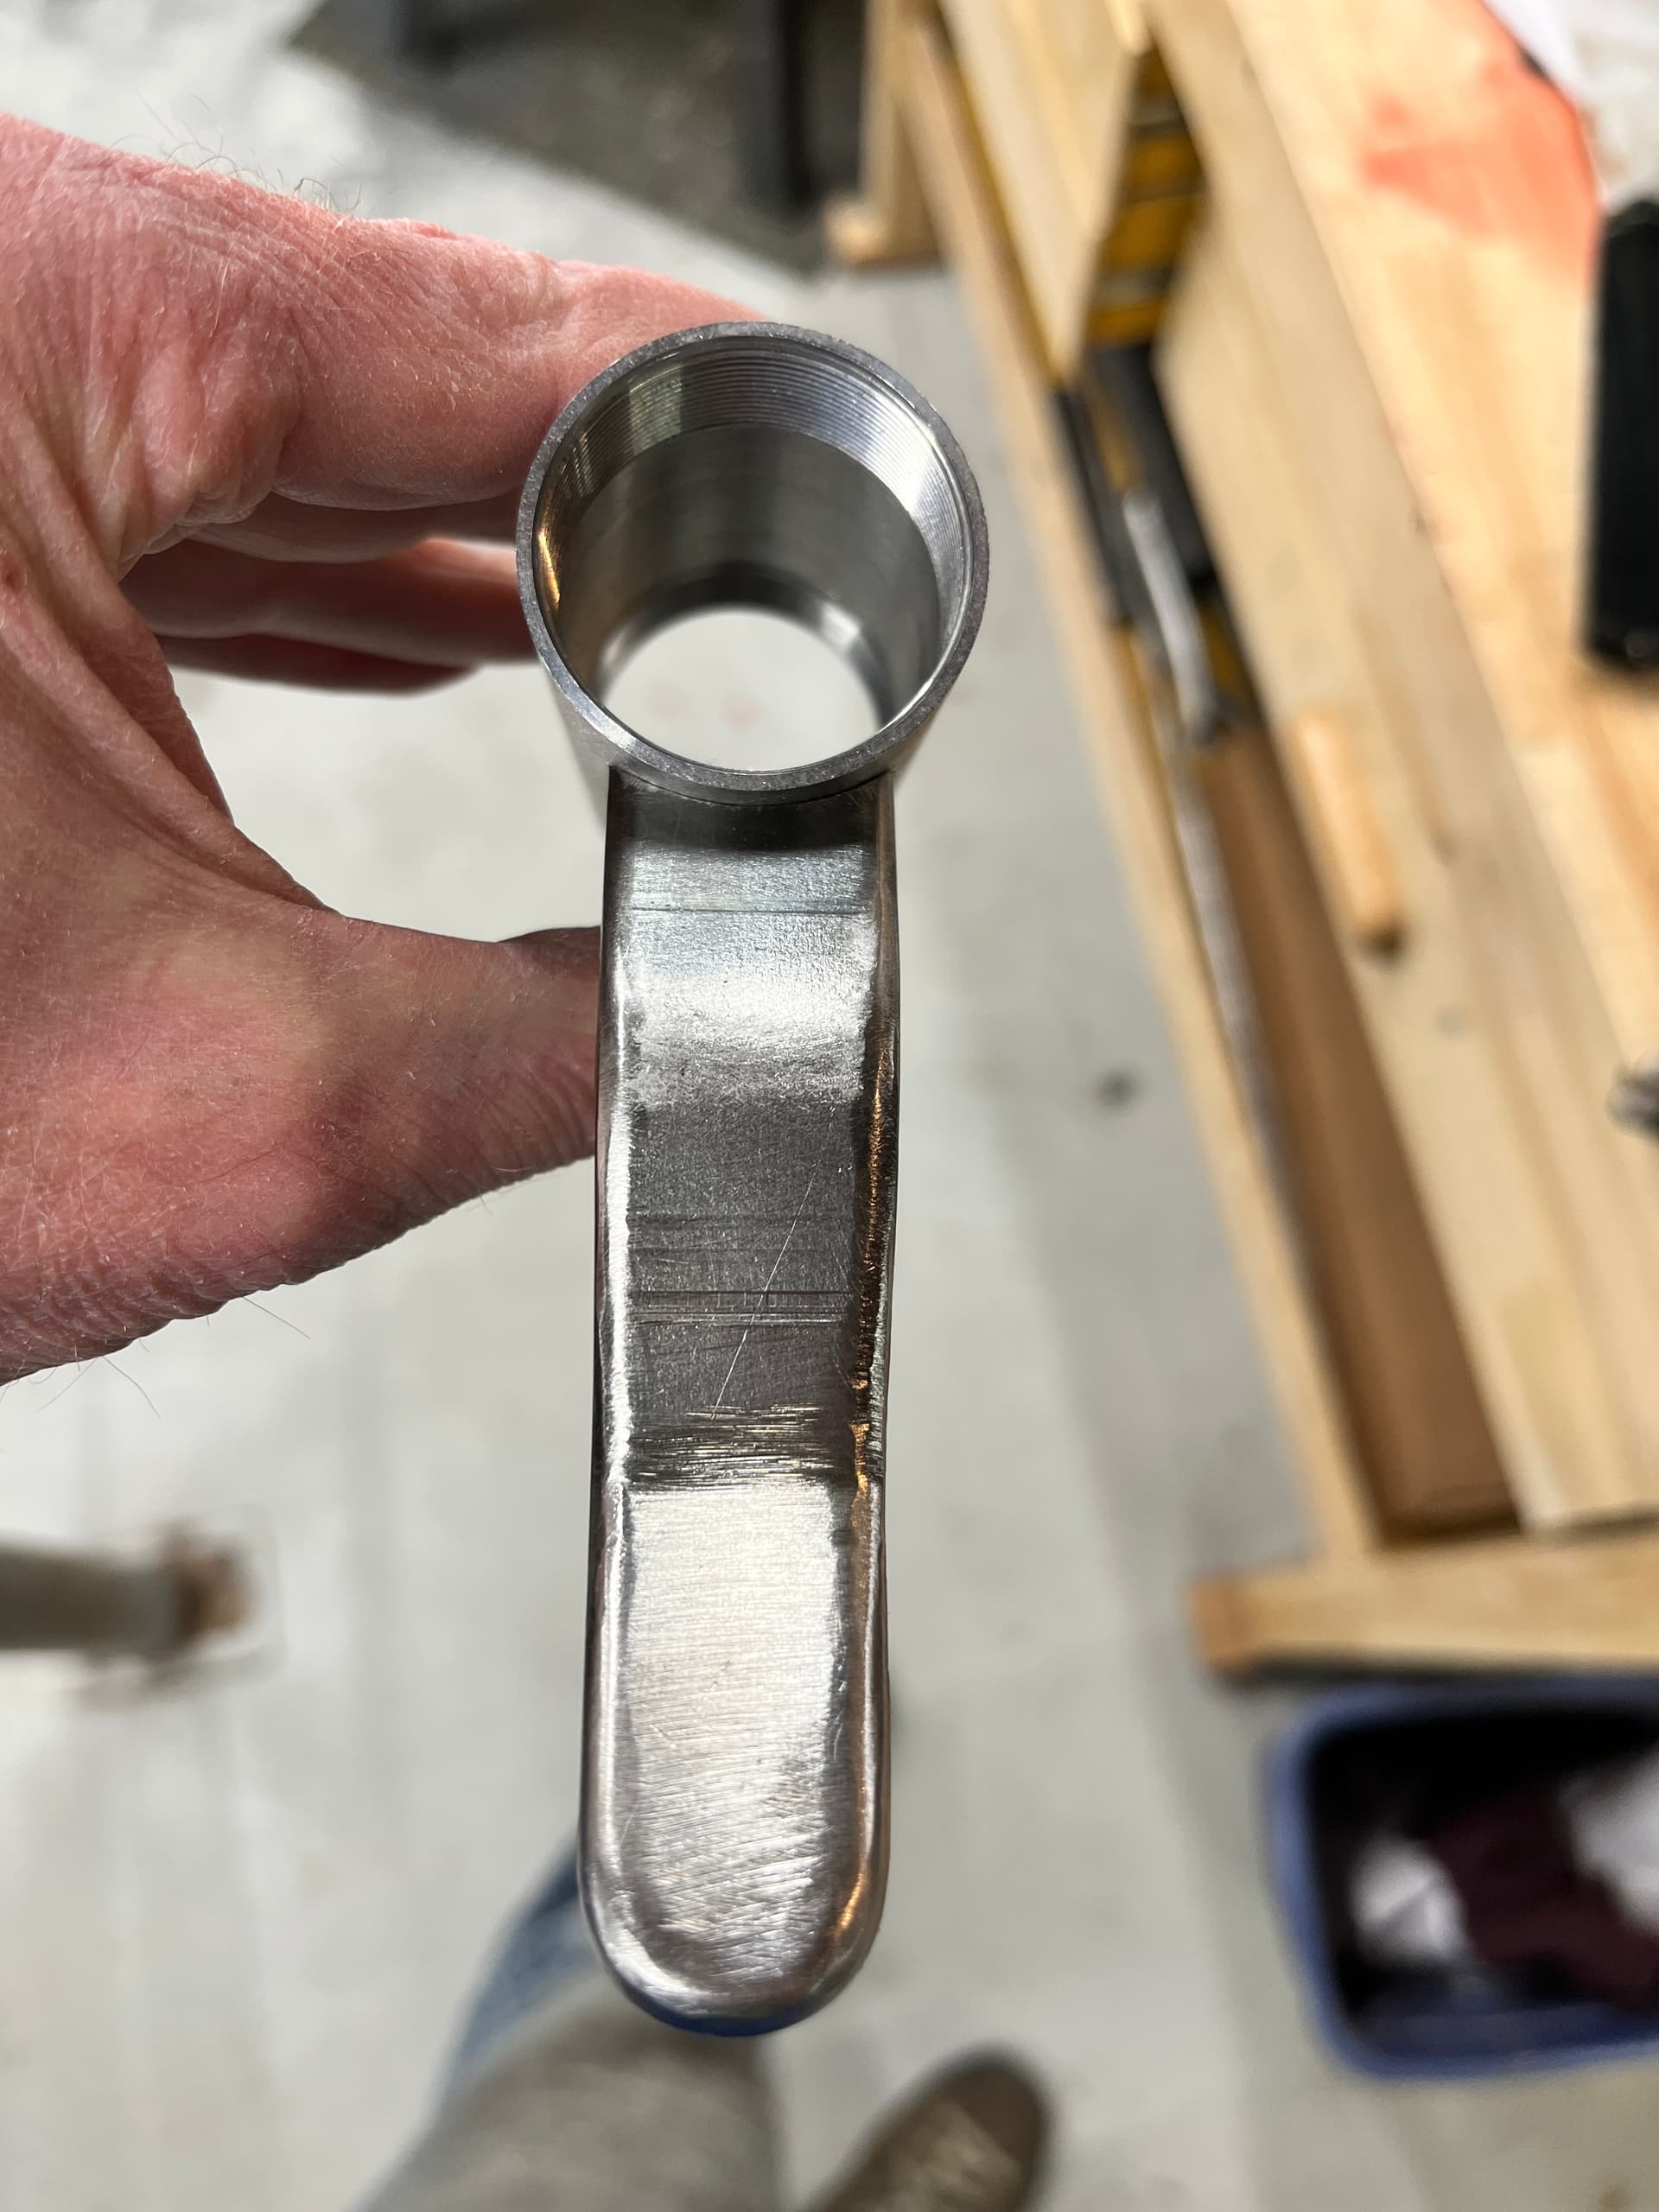
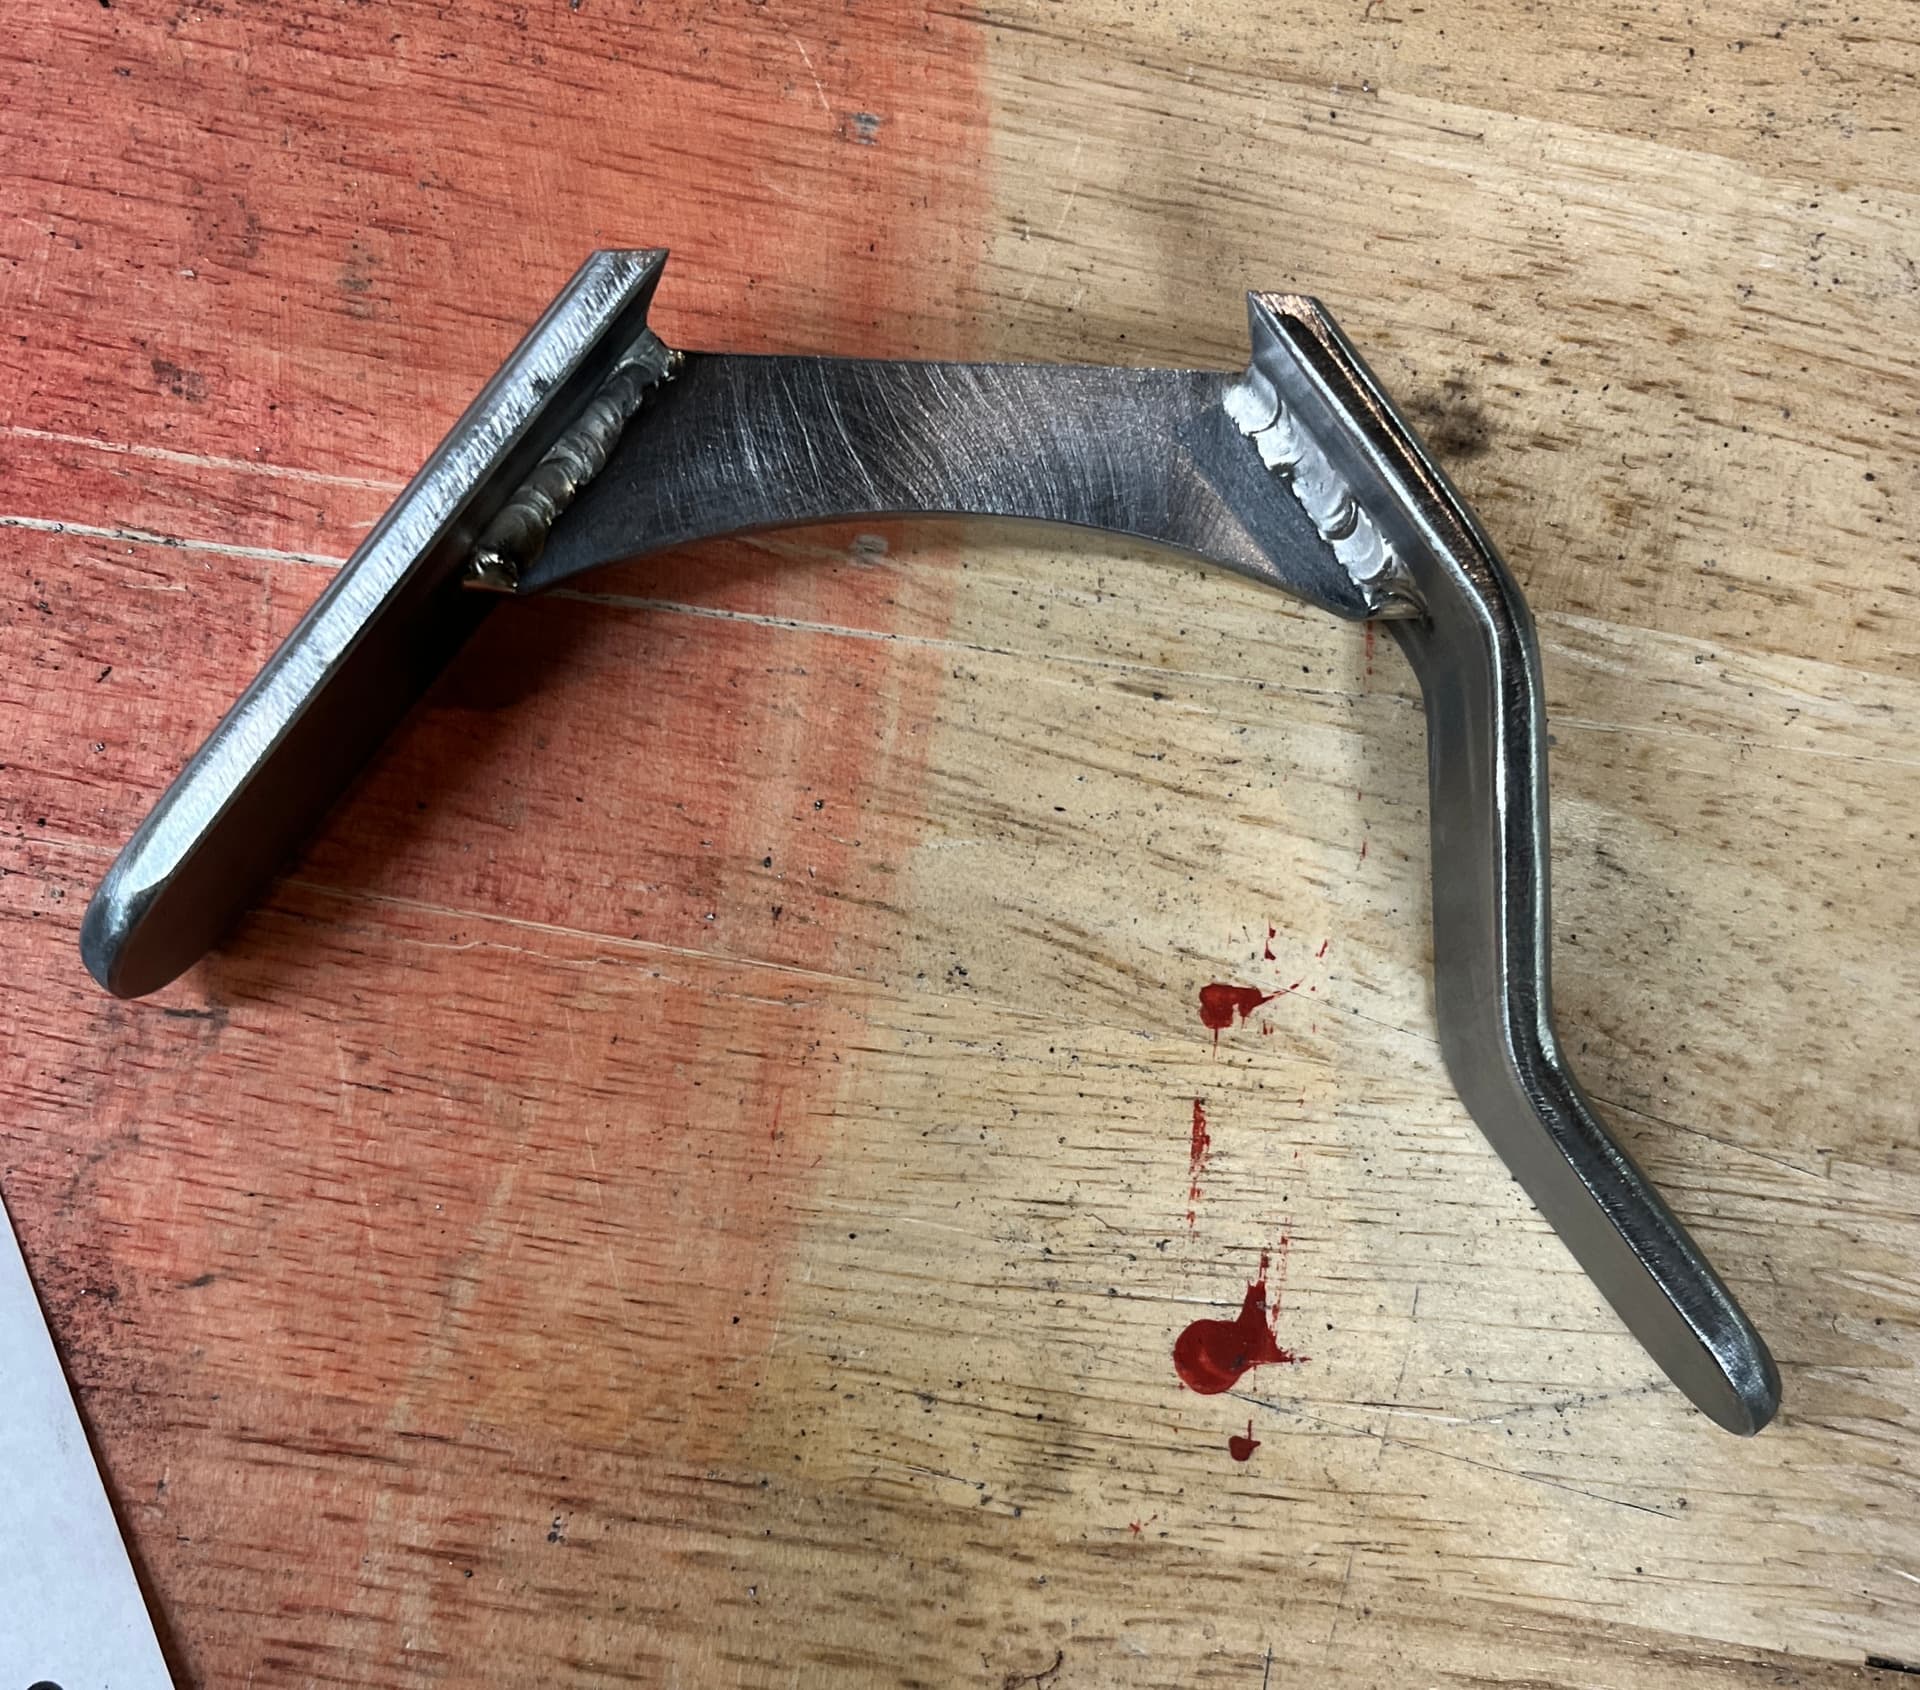
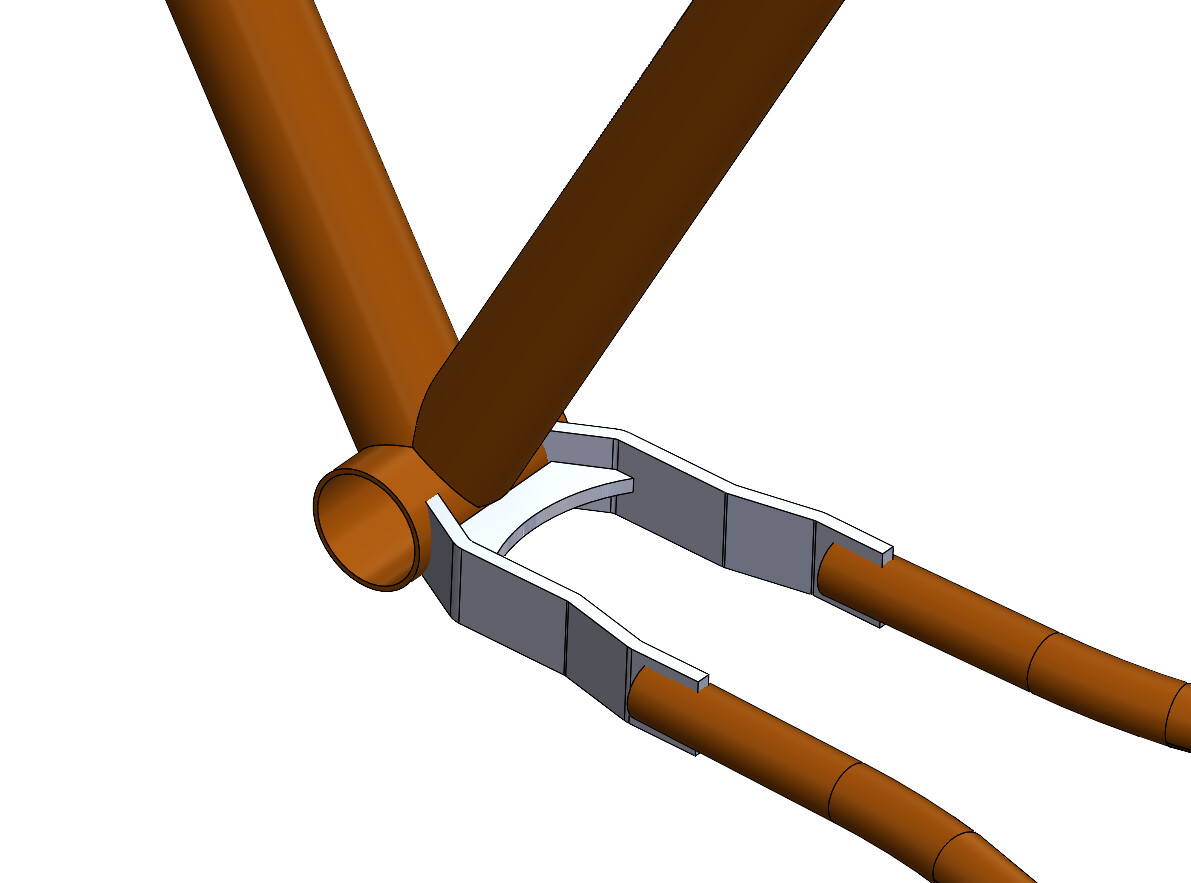
This plate yoke was designed as a sheet metal part in Fusion360, mitered to the BB shell, then flattened. It is made from .25thk 4130 steel.
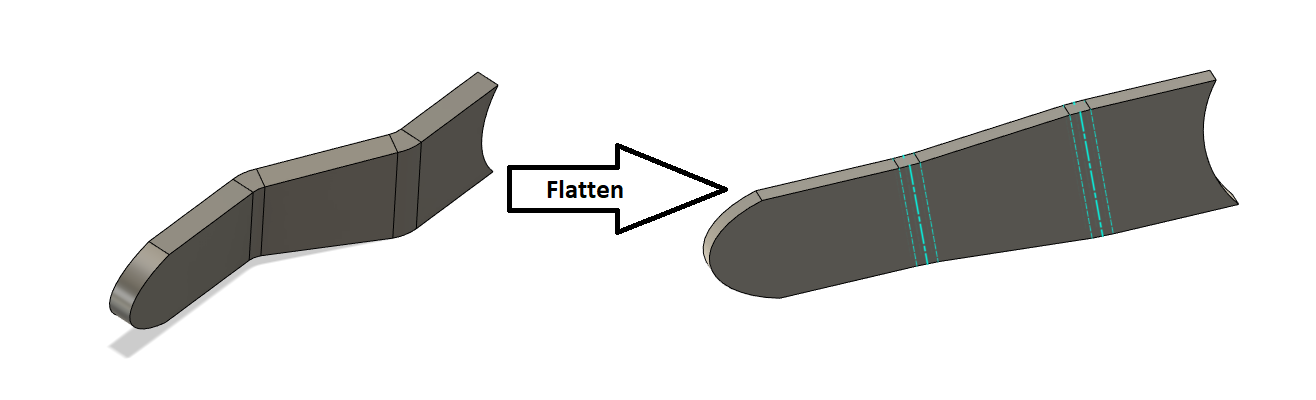
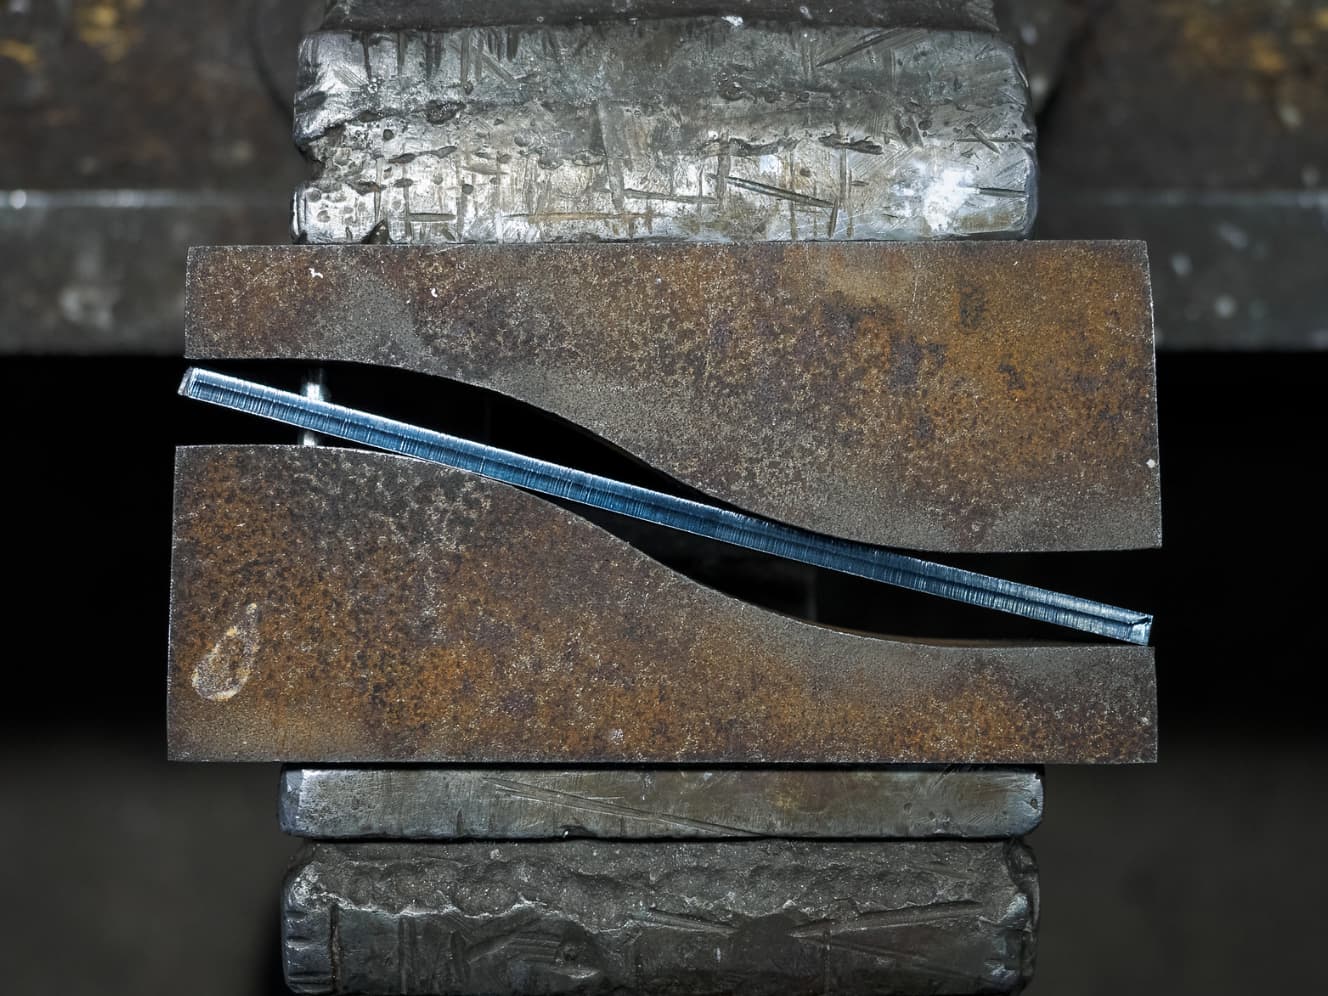
Send cut send has a CNC “bender”, which allows for really tight radii and good bend tolerances. The end result is that you get a ready-to-use-out-of-the-box yoke for $15.
It does require a tiny bit of filing to make the BB miter flush with the BB. It also helps to file down the excess material after welding on the CS. So… ALMOST ready to use out of the box ![]() .
.

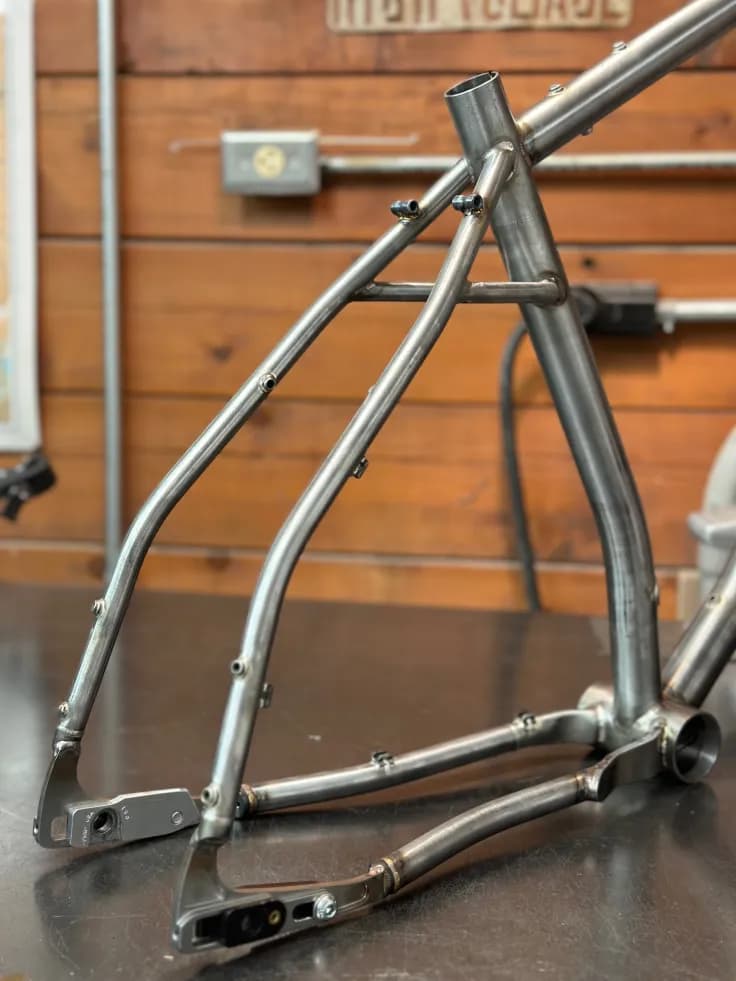
Results:
The result was much better than I expected! Check out Whit’s photos and build:
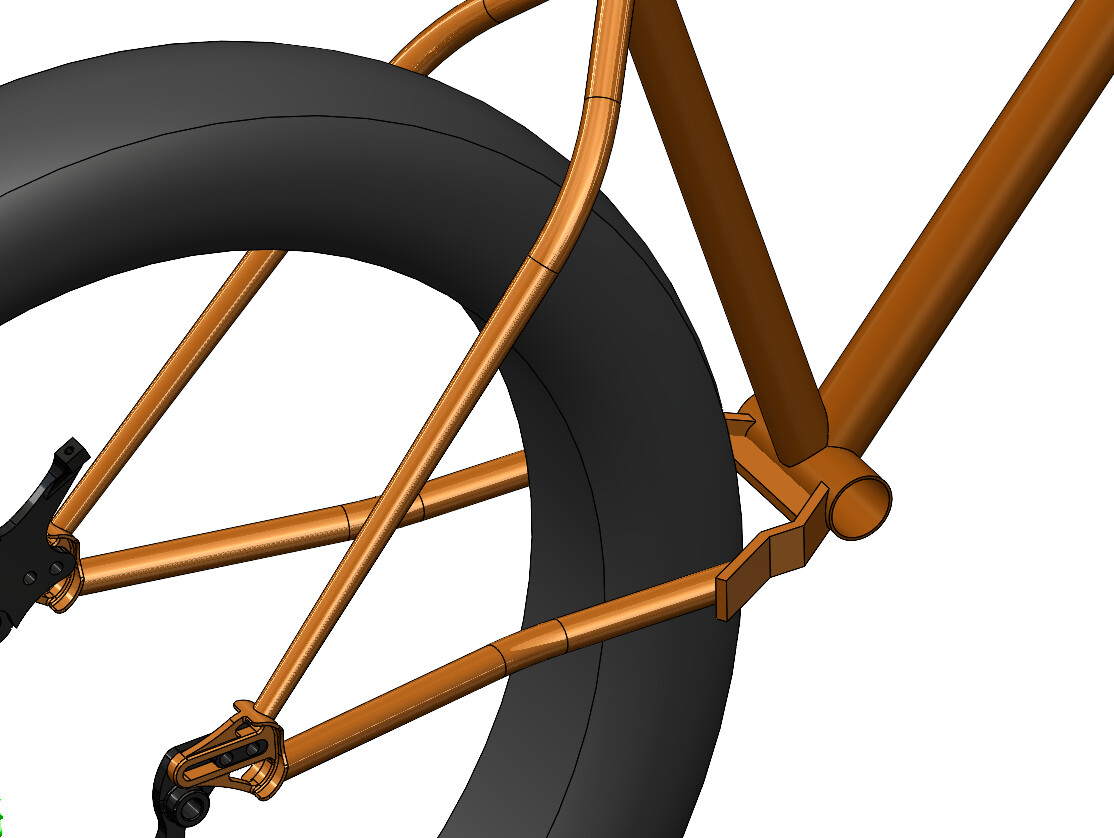
I enlisted the help of Daniel Yang to help me with the engineering and 3D CAD. We were able to drop the CS length to 395mm all the way forward while fitting up to a 38t chainring. To achieve this we used a lasercut plate yoke on the driveside and a 3D printed yoke on the non-driveside. With these yokes the frame fits a 29×2.6 in the longest setting (415mm) and it’s up to Abe what he wants to squeeze in there in the shorter settings. Utilizing this technology is all new to me. I’ve always bent the plates by hand and i could never get as tight a bend as this one. 3D CAD allowed for compound 3D bends, and the 3D CAD just helped all the weirdness come together and make my time in the shop much more efficient.

.We were actually planning to use 3D printed yokes for both sides, but the customer would not budge on the 38t chainring, which forced us to switch to the plate yoke last min.
Files:
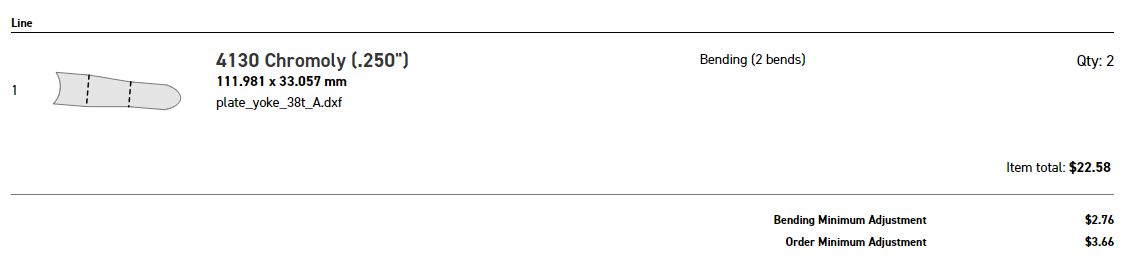
DXF:
plate yoke 38t A.dxf (5.2 KB)
Fusion Link: Fusion
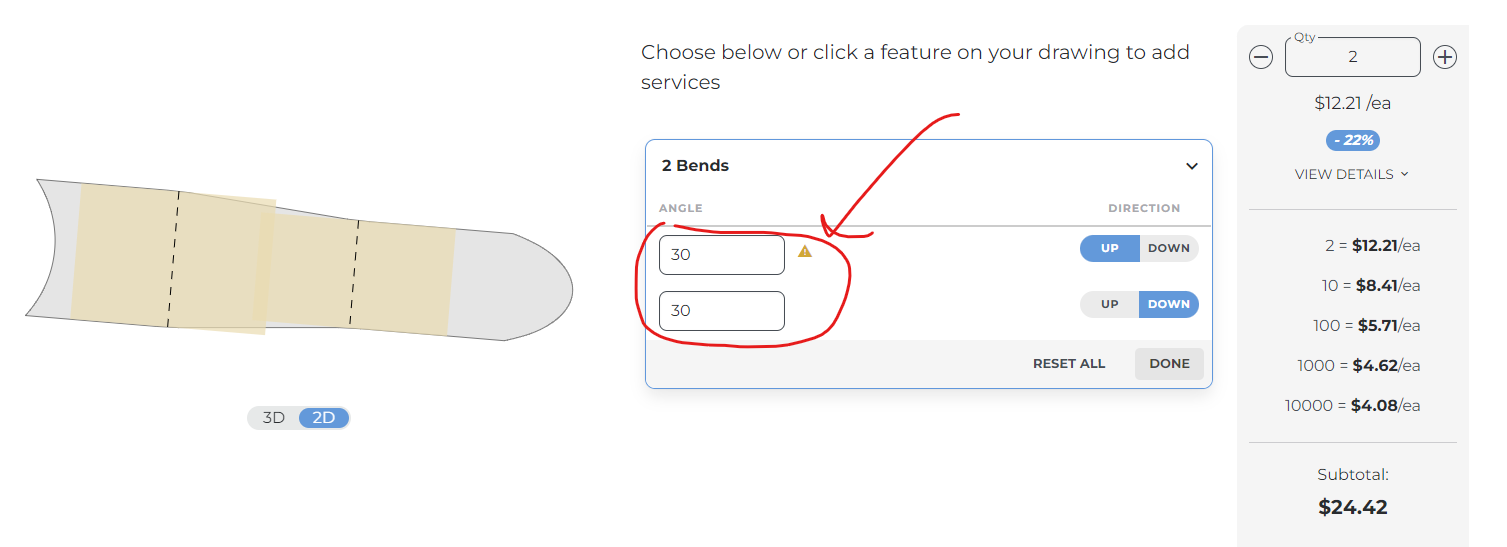
Bends:
- 30deg up and down
Bending information
- .25thk 4130 bending rules: 4130 Chromoly Laser Cutting | SendCutSend
- bending limitations: Sheet Metal Fabrication Bending and Forming Guidelines