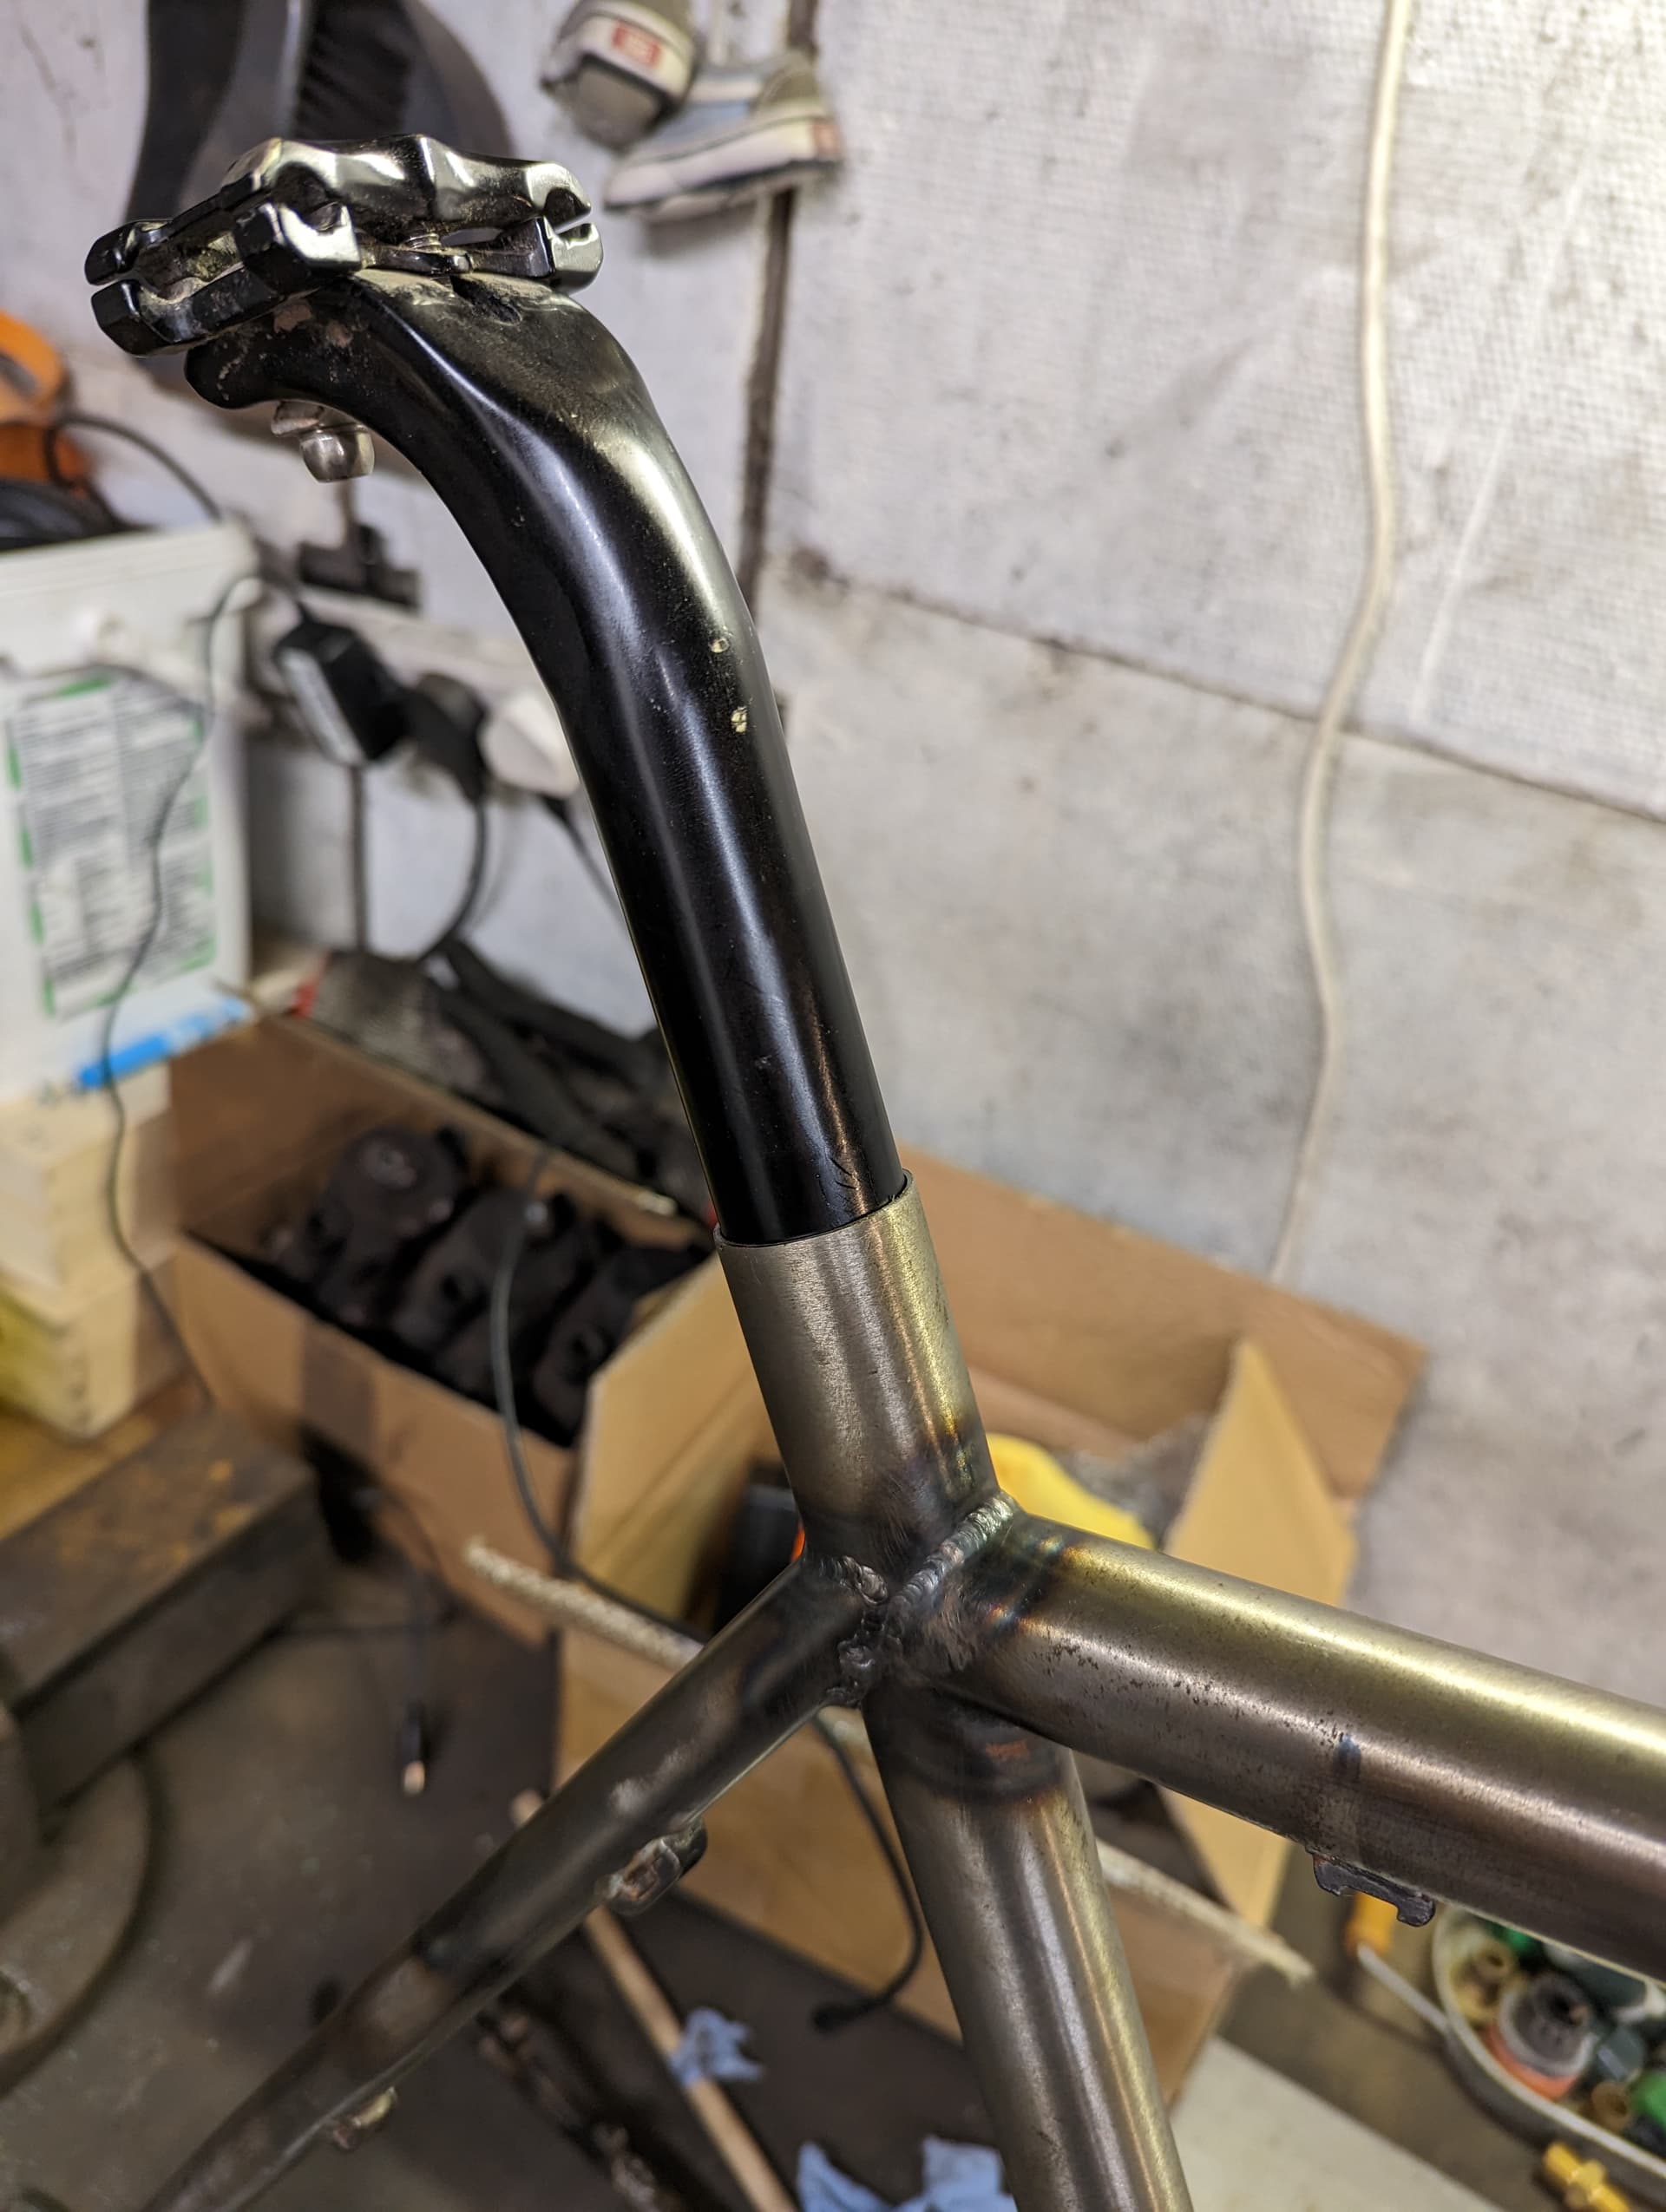
I’m pretty much finished my first frame and I’m at the point of needing the reamer the seat tube (27.2mm), face and chase the BB (BSA) and ream the heat tube (44mm).
The tooling to do this is expensive and the cost is too much for a first frame. Is there anyone out there in the UK around Derbyshire who be able to help me? I’ve enquired with Dawley bikes, who can do everything but the seat tube and Feather cycles who can do it, but is up North. With this forum I thought I’d reach out wider and see if there anyone else local to me.
Also, what is the view on if I should do this work before or after painting the frame?
For info the frame is steel, Reynolds tubing, TIG welded.
I can’t offer any assistance for leads on the reamers/facers but I highly suggest you do those steps before you paint. If you’re using the reamers/facer’s manually you will want the frame clamped down in a vise to make it nice and sturdy. This can’t really be down once the paint is on, also the chances of messing up nice new paint becomes greater when you are moving heavy tools around the frame and creating chips. I hope someone comes through for you on the tooling!
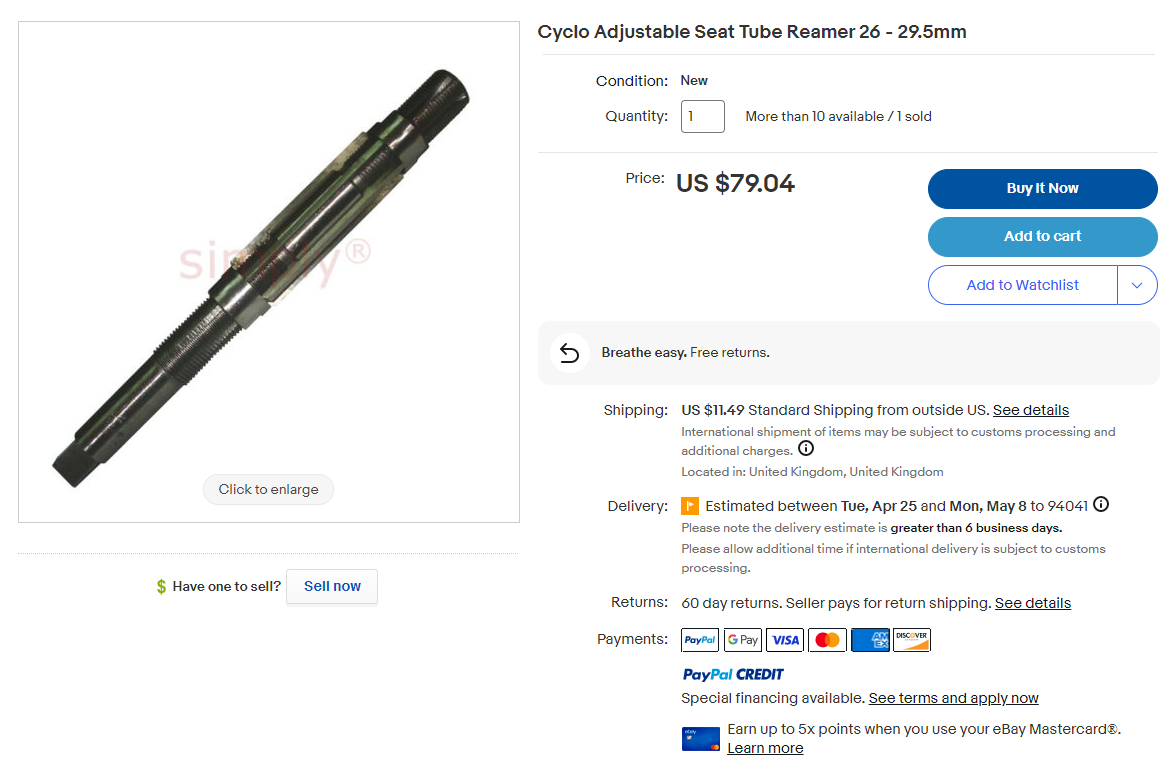
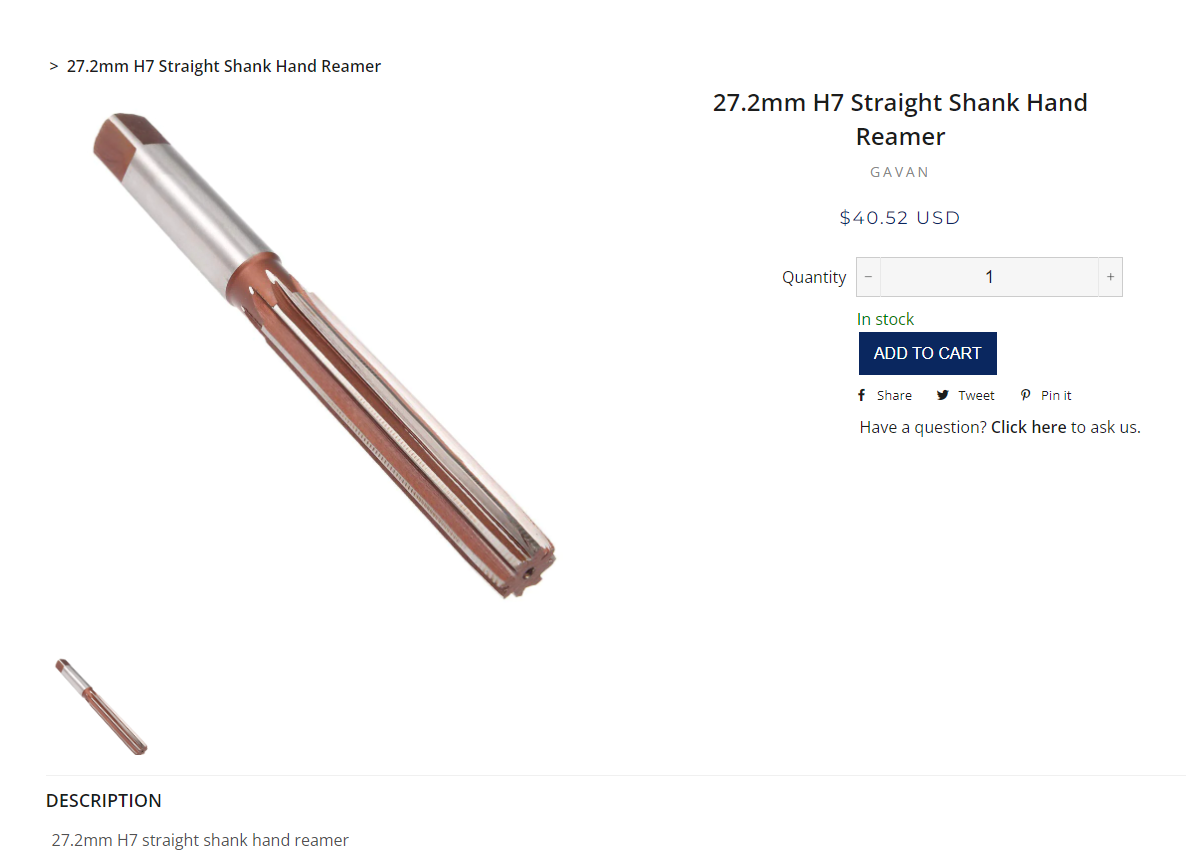
I use the 27.2 Gavin reamer pictured here (also have 12, 15, and 28.6 from them). I plan on getting a 31.6 and 31.8 from them as well.
Dispute they price they are really good. Better then the Cyclus st reamer I had previously.
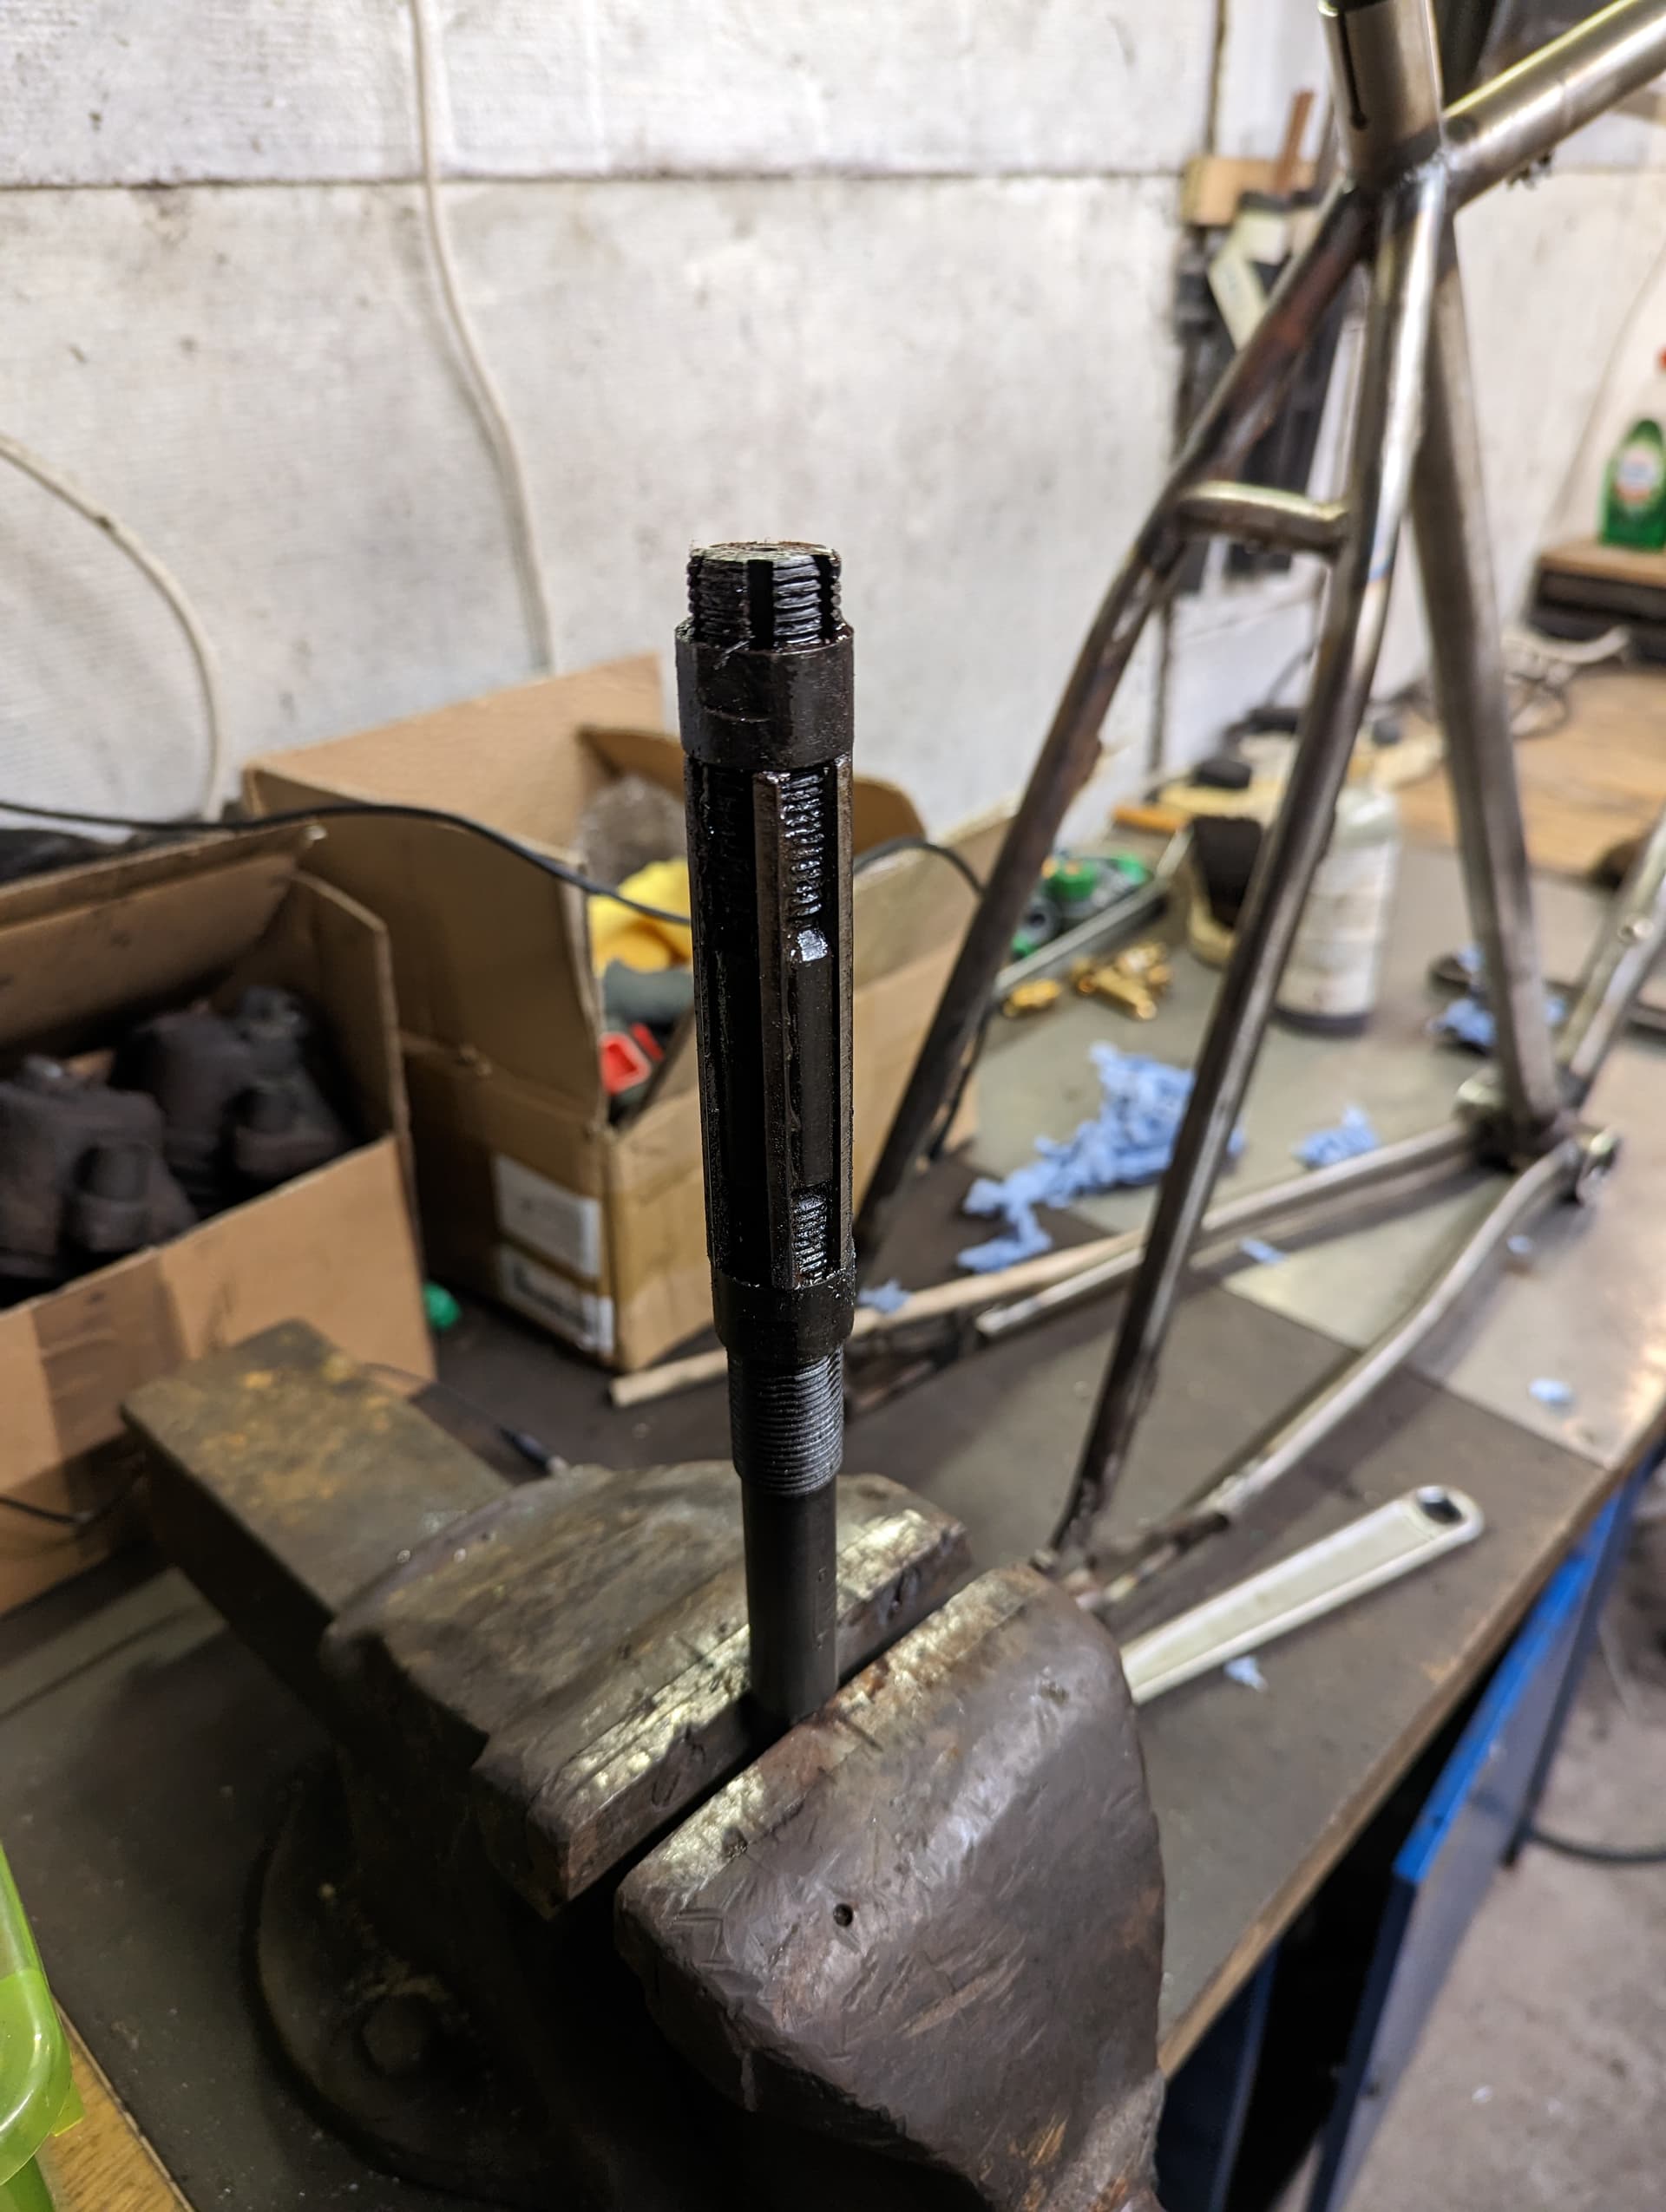
For seat tubes I just put the square end of the reamer in my vice and spin the frame around it. The original plan was to make some big handles, but here we are hah
haha! I’ve done that for a few frames. I broke down and bought an adjustable handle from Amazon and grinded two of the points of the square end to fit into it.
All went well. Took me a while but slow crept up on it till the seat post fitted. Also use a spare tube to make sure when I adjusted it that I hadn’t gone to far.
‘If you give me a lever and a place to stand, I can move the world.’
Framebuilders:
‘I will make the world my seat tube reamer handle’
Loos great! A question for those who use these adjustable reamers. Once you have a good fit. Do you lock the reamer in that diameter? Or do you always creep up to the spec?
I did think the adjustable reamer worked well in my situation. With it being TIG welded and not using a back purge or heatsink there was a bit of push through. Being able to adjust and creep up to size probably help to progressively remove the material, rather than in one go.
I use adjustable reamers on everything. I couldn’t find anybody with the correct tools to do the 44mm headtube, so I do that to final size with a big adjustable too. I’ve also had to ream all my seat tubes, even when using a seat collar, but I’m a terrible welder, so that may have something to do with it…
Take the time to creep up on stuff, I then do a final pass with a brake cylinder hone. Seems to work ok, however, I’m a hack and probably shouldn’t be trusted.