So I reamed the seat tube last night using the adjustable reamer I just bought. As best as I can tell, the reamer was set to ~27.2mm give or take a little. The reamer now turns/slides in fairly smoothly. However, when I stick a seatpost in there (also 27.2mm and yes I measured), it binds up. I think that my seat tube is curved/warped. I fillet brazed the TT/ST joint, and I also attached the seat stays with a lot of brass, so I’m guessing that all that action warped the tube.
Next I’ll cut the ST slot and see if the binder actually clamps. If not, I’ll ream to 27.4mm and I’ll buy the “customer” (my friend) a matching post.
Fillet brazing a frame is so much harder than building with lugs (and silver)!!! The lugged frame I built at UBI didn’t need reaming at all. Sigh.
Did you use a flex hone after reaming? This really helped me with small burrs at breather holes that were binding, as well as no longer scratching up seat posts.
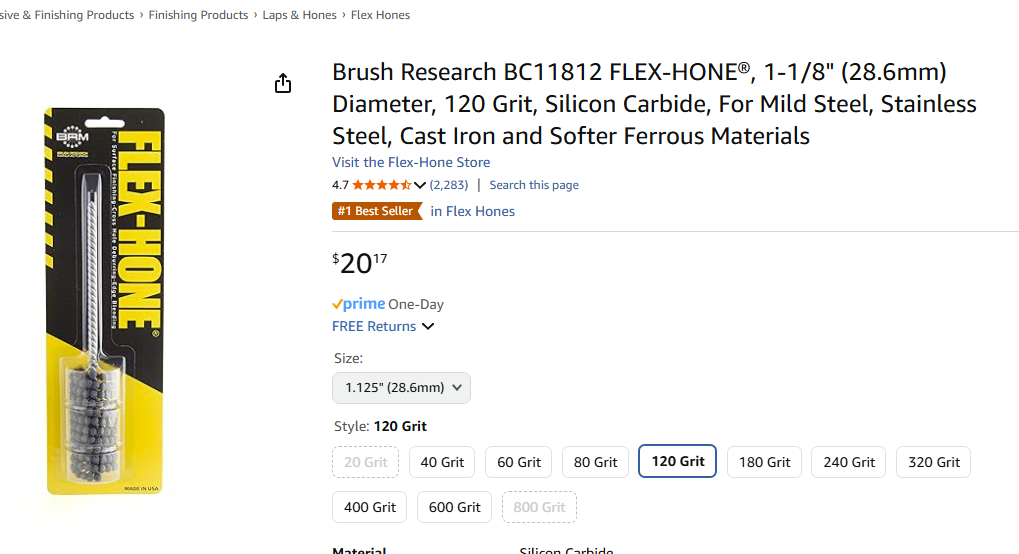
Not yet, but I plan to. It looks like they only come in either 1" or 1.125" diameters – which size would you recommend for a 27.2mm seat tube? Also they come in a variety of grits, what would you recommend?
Yes 1-1/8" flex hone for 27.2. The abrasive balls are on the ends of little springs (just plastic bristles) that supply an outward force. When the balls wear down enough that the springs are not being preloaded, the hone doesn’t cut much if at all. Cutting action is fastest when it’s new.
Don’t use a new hone on a painted frame. The balls spring outward when they exit the frame so they’ll wear off the paint on the top of the tube/lug/sleeve. Once the hone is worn down a bit, it is safer to use on a painted frame, so keep a half worn-out one around for that.
Does anyone have any evidence (even anecdotal) that honing oil is better than generic machine oil in any noticeable way? I’ve always just used cutting oil, since that’s what I have on the bench in front of me after I finish reaming. Results have generally been great so let me know what I’m missing, if you believe honing oil is better.
One place I worked, we didn’t ream at all, we only honed. But not with a Flex Hone, this was a giant Sunnen honing machine with rigid stones and flood coolant. Typically used to polish hydraulic cylinders. A whole different beast than a flex hone, which is just for smoothing/deburring. A flex hone doesn’t enforce a cylindrical shape, it follows whatever shape you start with.
I am also getting a little bit of distortion when fillet brazing. Any suggestions?
I know it’s not really common to use a heat sink unless TIG welding, but unless I can figure out how to stop these distorting the roundness of the seat tube then I’m going to go against the grain and buy a seat tube heat sink and give that a try on my next project. If a heat sink is going to cause me to take longer to get the joint up to the right temperature to start brazing, and I get a bigger HAZ, so what? At least, I preserve my sanity and keep the seat tube round. What other choice do I have?
You could try preheating the backside of the ST before creating the ST-TT fillet. If you want a joint to cool evenly (not distort), it helps if it is heated evenly.
Pre-heat and post heat are important and too frequently forgotten. Flux all the way around the tube you’re joining. So, take the Seattube/top tube joint - flux all the way around the seattube, front and back. Pre-heat the whole joint and all the way around the seattube so that the flux ‘activates’. It turns liquid/clear or whatever your flux does to let you know it’s ready. Then build your fillet, then re-heat all the way around. Don’t get it red hot but it should be near brazing temp.
Other causes of distortion are using tubes with too little material at the top. Silver-braze a sleeve on there. it makes the bike prettier and adds strength to a critical joint.
here’s a good thread on a different forum from quite a while back: Seat tube distortion…
Specifically, look at Garro’s pictures. You can see how the flux is clear all the way around the tube, not just around the brazing area. Even heating and more material until you get your brazing dialed in.
Using a heat sink for brass brazing is counterintuitive. You need the heat to build up quickly where ever you point your torch. A heat sink will fight with you the whole way.
Most important point to remember about fillet brazing a seat tube top tube junction comes well before picking up your torch.
Material thickness selection is probably the most important for the less experienced. If you plan on fillet brazing the seat tube/top tube junction use a thicker tube or make a sleeve. I like to use the seat collars from Paragon or make your own.
I’ve always wondered: If you silver a reinforcing sleeve over the top end of the seat tube, does that silver melt and run all over the place when you bronze-fillet-braze the ST/TT joint?
Yeah but I would discourage you from flowing silver under an inches-long sleeve. It’s do-able but I’d much rather make a seat colloar that only needs to be brazed a few mm deep, not inches. Making the part is a lathe job though, and maybe you don’t have a lathe, maybe having the tube be sleeved all the way up is the only way for you? If you do have a lathe though, making the part just takes a few minutes. Or buy it from PMW if your ST is 1-1/4" or 1-3/8"
This is how I do it. I haven’t ever had a problem with the silver melting out or distortion. Is there another concern?
I’ve also heard (in the thread above or somewhere else from Garro) that you really just need to soak filler about 3/4" of inch into the sleeve from top and bottom. You don’t need to completely fill it.
also, tight miters are critical to minimizing distortion. I didn’t mention that before but they are important for distortion and also overall alignment.
yeah you caught me acting like I know more than I know. I have no evidence that it’s bad, it just feels wrong to me. If only for the time-at-temperature while you flow all that silver through. Leaving the middle part unbrazed, with penetration partway in from both ends, is certainly strong enough but it bugs me somehow. Philosophically? That’s just in my head.
The lathe-made collars are one piece of metal where the TT joins, probably a little stronger than two pieces brazed together which in turn has to be a little stronger than two pieces not brazed together, as in the Garro advice. Still fully strong enough, as experience has shown, but I don’t like giving up strength for no good reason, especially if I have to braze 5x longer to do it.
Remember, strength loss from a heating cycle depends on time-at-temperature as well as the peak temperature reached. Grain growth and recrystallization weaken work-hardened or heat-treated steel, and it takes time. I like brazing as much as the next guy but I try to get it over with as quickly as feasible, consistent with full penetration.
But I realize that if the finished product is strong enough to be 100% reliable in use, then what I’m quibbling about is basically just aesthetic preferences of mine, not something I should be pushing on other people. Apologies for that!
Gotcha. I have assumed that since I don’t get any distortion or other apparent problems that it’s not too terrible, but I agree more time at temp is worse than less time at temp.