I have this same type of reamer. I’ve never reamed a new frame with it, but I’ve reamed lots of vintage steel bikes out from 26.8 or 27.0 to 27.2 to have way more variety in seatpost options. So max I’ve done with it is reaming ~.016" diametrically in steel and it works good for that. It’s just hard to get it adjusted perfect.
I have two adjustable reamers. They work well. If I could afford it I’d get a reverse spiral of the size I need. ie 27.2 If you can ream before you cut the slot for the seat tube. Makes it very diifcult to ream with the straight baldes. In my experience.
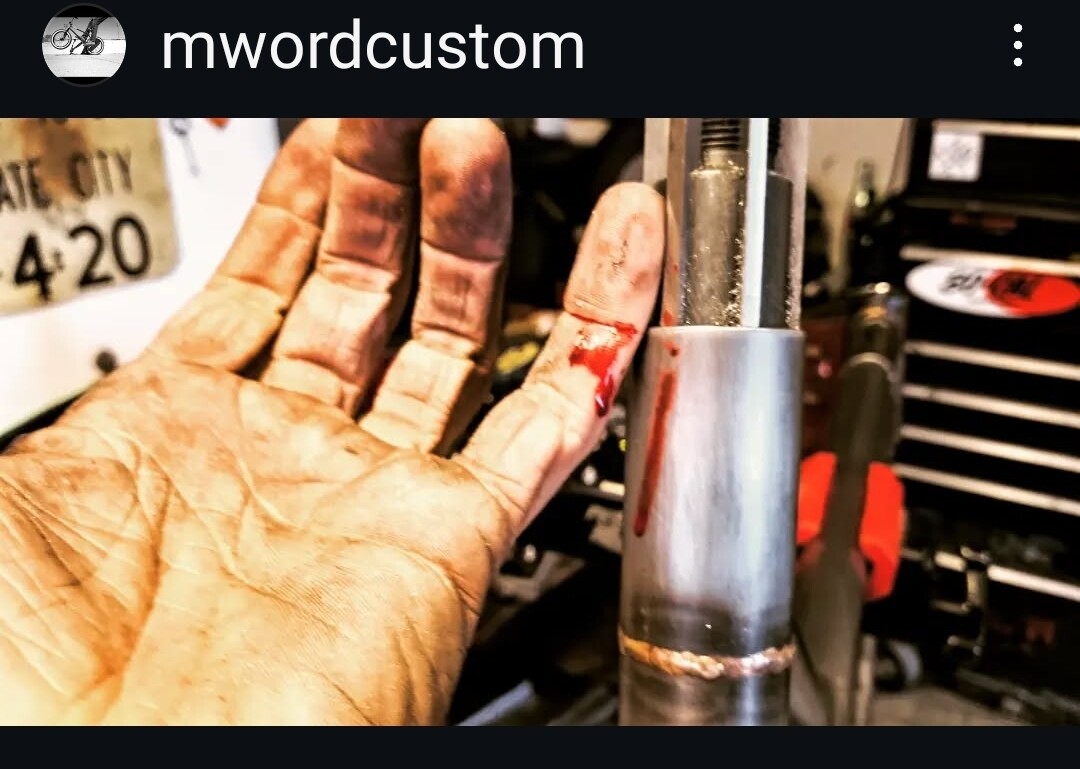
Also, if you accidentally slip a meaty part of a finger into that slot while reaming, it’s like removing a chunk of your finger with the worlds dullest scissors and it SUCKS.
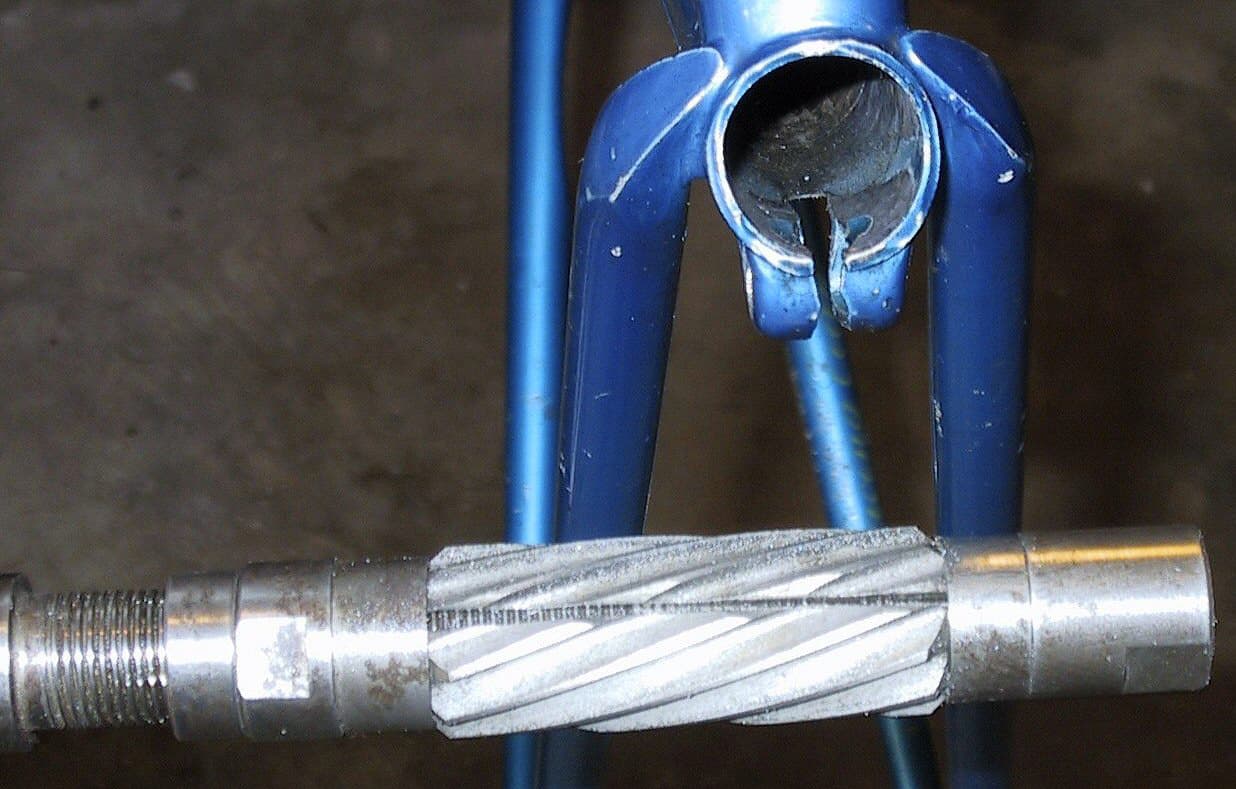
As @DEVLINCC said, ream before slitting, if your adjustable has straight blades (almost all do). A helical-blade adjustable is awesome, I have one in that size range, but I have heard they aren’t made anymore so finding a used one might be your only hope, and if it’s sharp, it won’t be cheap (and vice-versa).
If you have to ream with straight blades and the slit is there already, I bend the pinchbolt ears out ever so slightly so the blade isn’t cutting right there. The amount of bend or spreading you want is almost imperceptible.
It can also help to grind a small bevel on the inside of the slit. Like deburring only go further. Then when the blade hits, it’s hitting on a ramp instead of a wall at 90° to the direction of travel, which tends to stop the reamer dead in its tracks.
One more gotcha to avoid, if the frame has ever been sandblasted there’s probably sand in there, which kills cutters, so taking some time to push a rag down the tube first is worth it even if you don’t see sand. I push the rag all the way down, then extract it using a J-bend spoke — the spoke head hooks into the rag to let you pull it back out.
I have a nice Cyclus reamer for 27.2, but a very cheap adjustable reamer just like that one for larger sizes (it’s actually made in India). It works absolutely fine. I had to make a sort of tap wrench type thing to go on the back of it (although you can also buy one I’m sure).
This procedure works for me:
Buy the seatpost first.
Set the reamer to whatever will just about fit, put oil on it, and ream it in there
Take it out again and add half a turn of embiggenment and more oil
Repeat until the seatpost fits just nicely
Remember never to turn the reamer the wrong way. Always clockwise, whether it’s going in or out. This applies to all reamers.
If’n you’re slotting seat tubes yourself, leave a few mm un cut at the top. Pretty easy to cut and contour the last 3mm after while keeping the tool evenly engaged during the reaming. I seem to remember braze on seat collars that would leave a similar tab.
Pete
I fillet brazed my current frame, and I got a lot more distortion at the TT/ST/SS cluster than I expected. I might need to invest in a heatsink for this!
I noticed more distortion when I was a little careless about how “tight” my top tube was in my jig. The extra pressure due to the top tube being a mm or two too long I think contributed to the distortion I had on the seat tube. But I’m no expert either.
You don’t want a heat sink for fillet brazing. Heat control, technique and sequence is what you need. That’s not a ‘don’t rely on technology in place of skills’ statement (which I’d generally agree with if I wasn’t such a tool fetishist). The sink will suck the heat out of the joint and you won’t get the penetration you need of the filler.
Also, if you want, I have an adjustable reamer I’ll ship to you for $10 tomorrow. It was used once lightly. Send me DM if you want it.
I wonder if those work better for TIG than fillet brazing? I’ve only used the sleeve on .9/.6 seat tubes. I hope it’s recoverable and still good to ride.