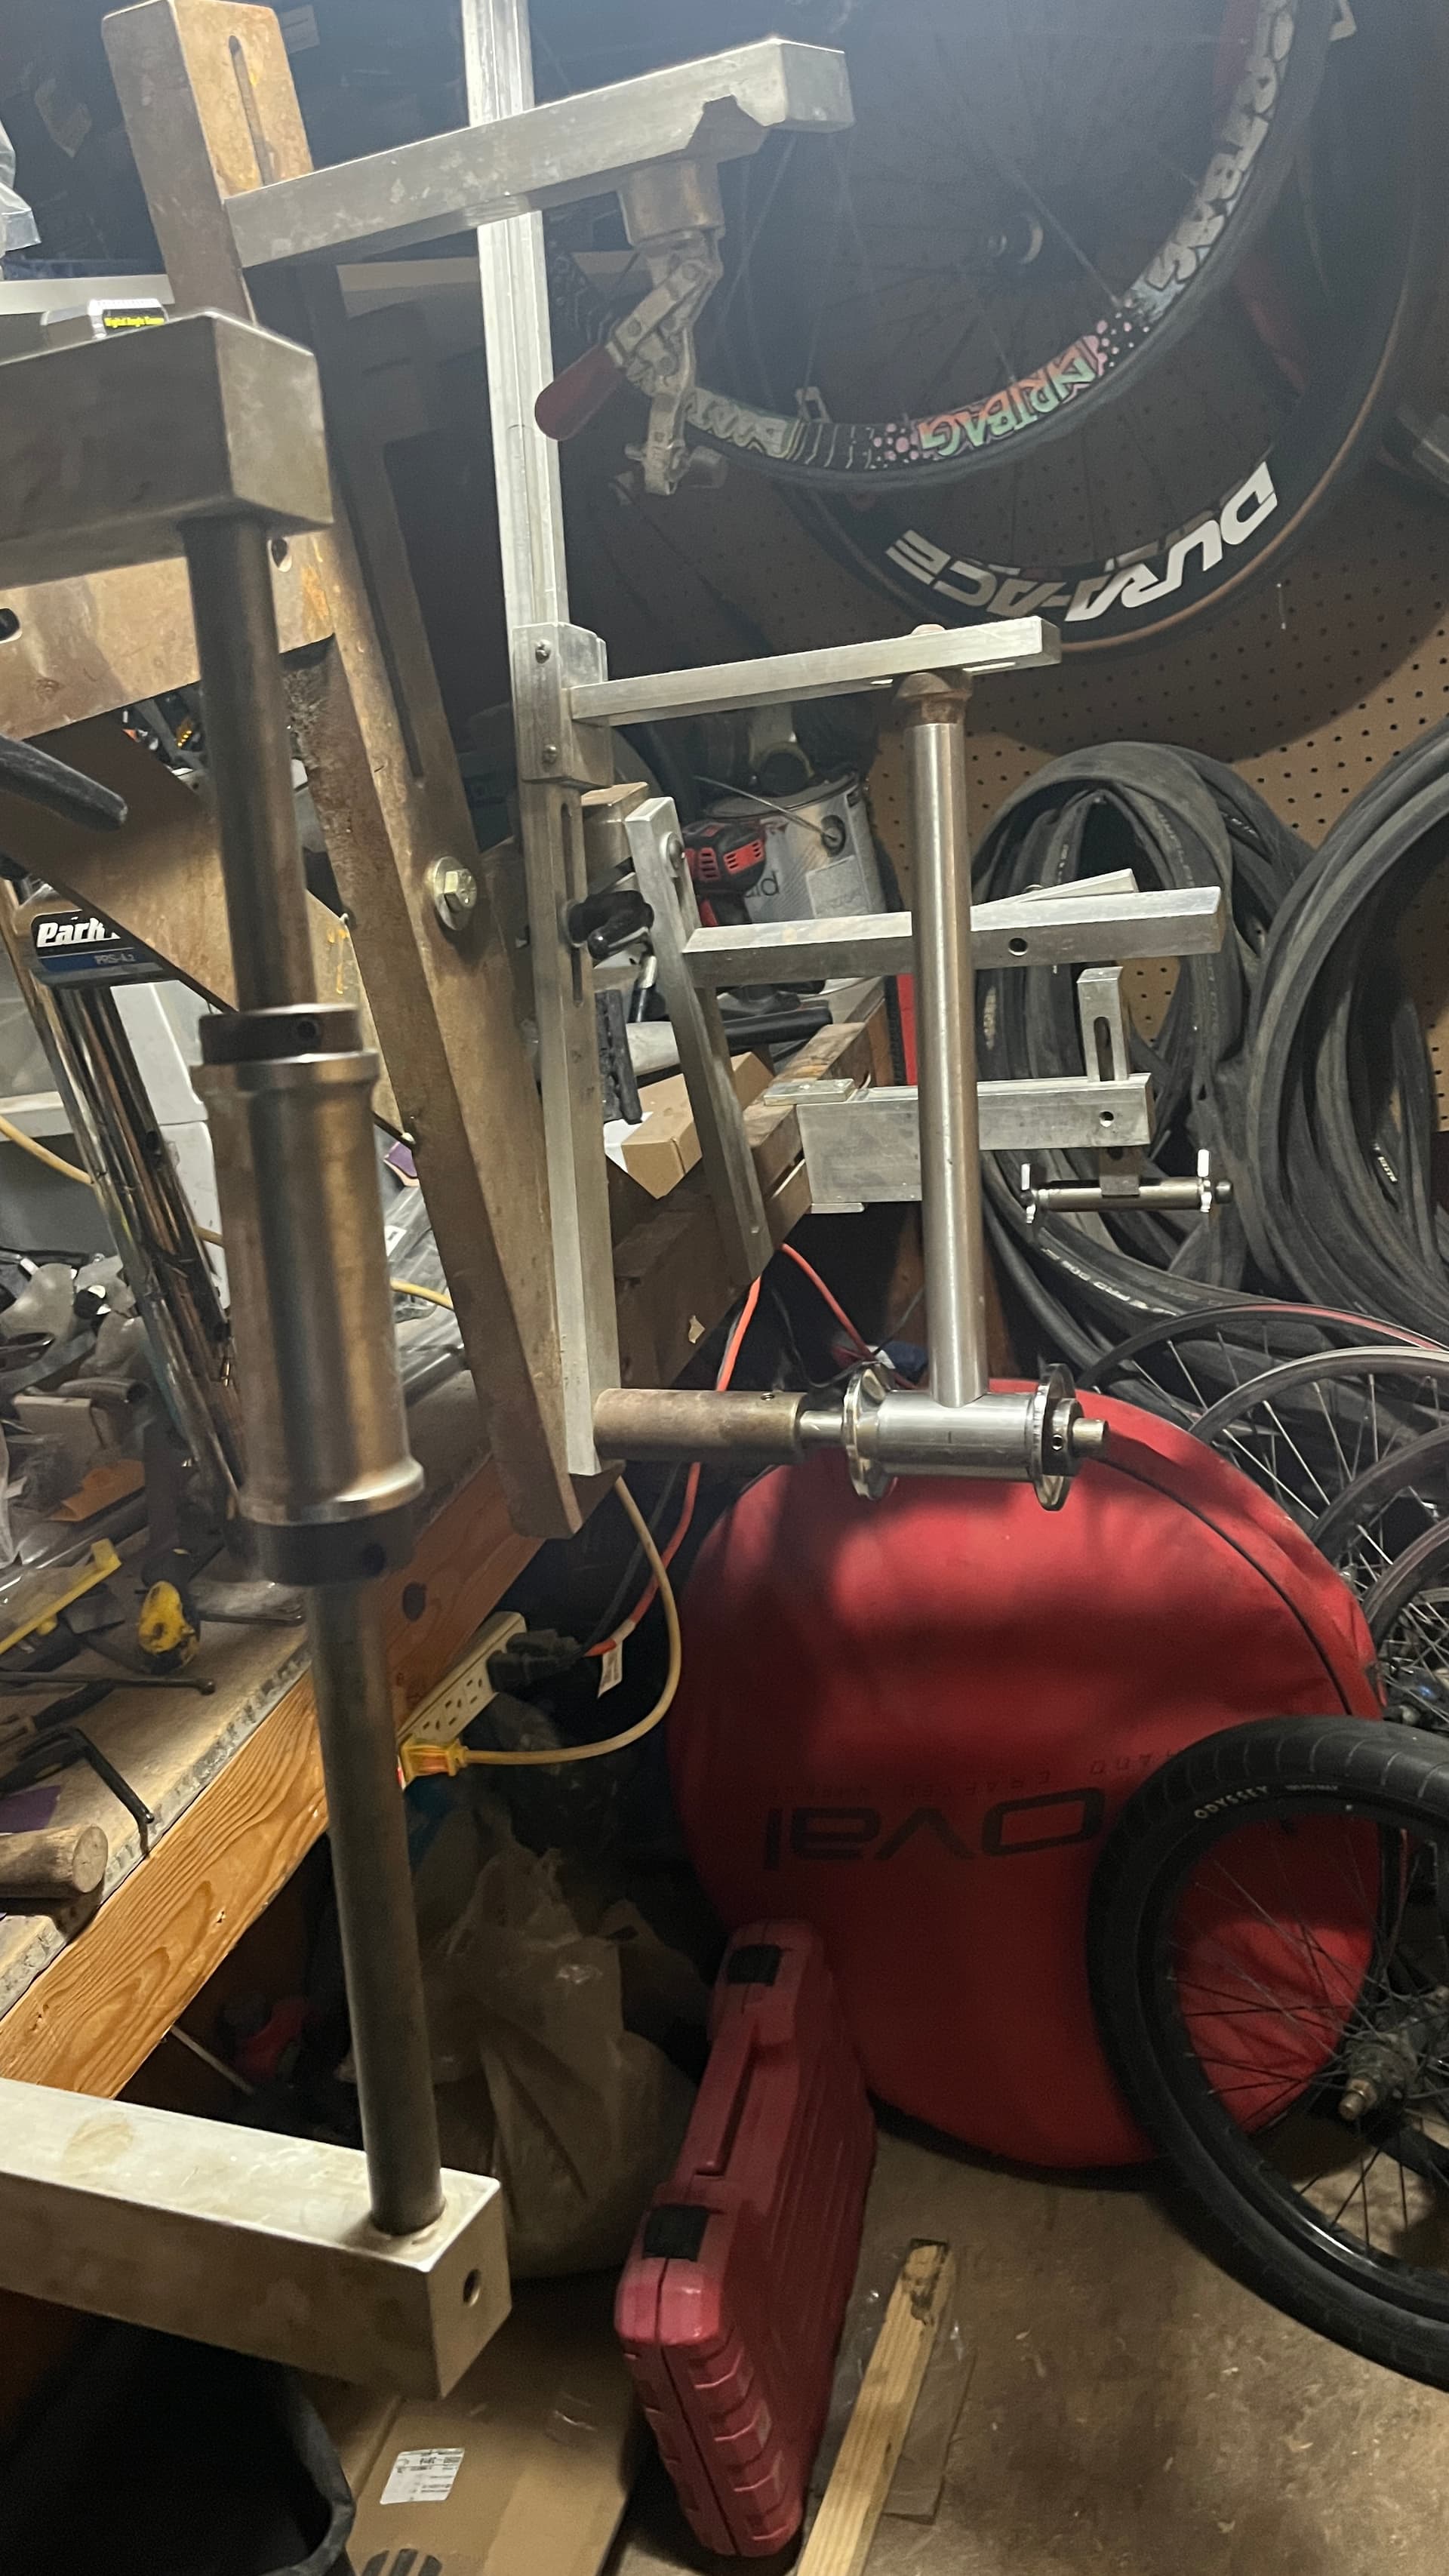
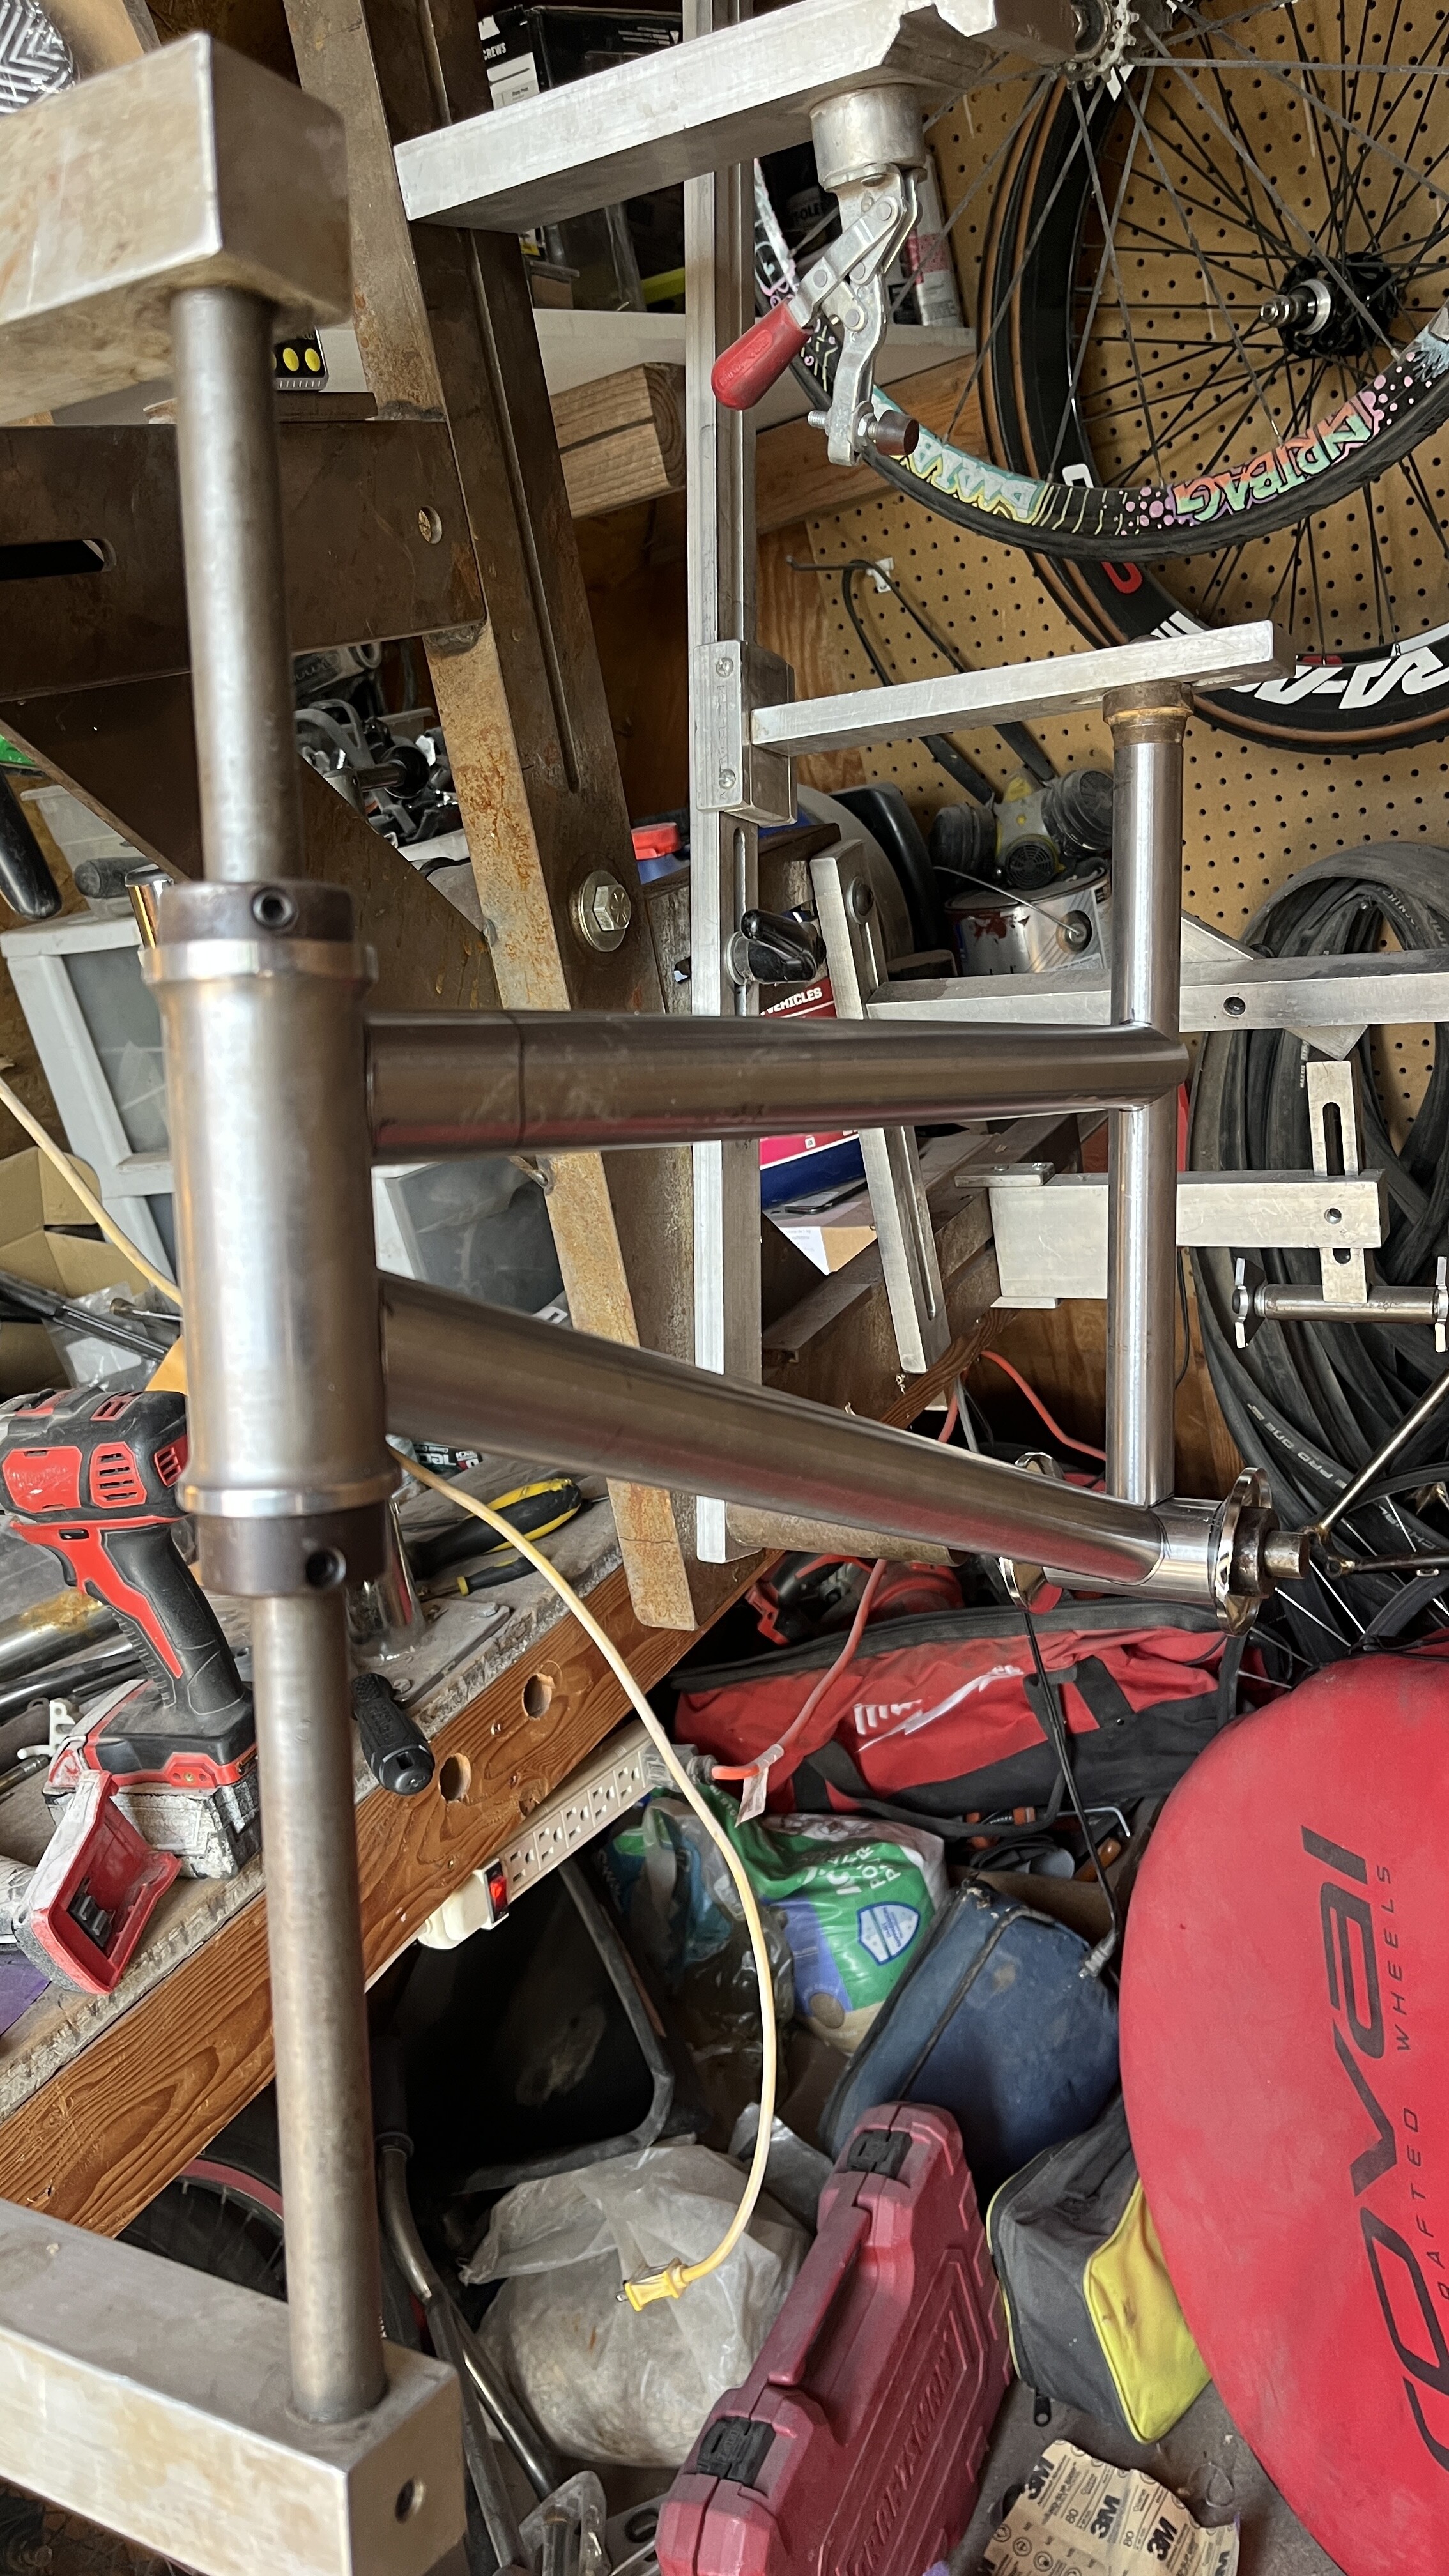
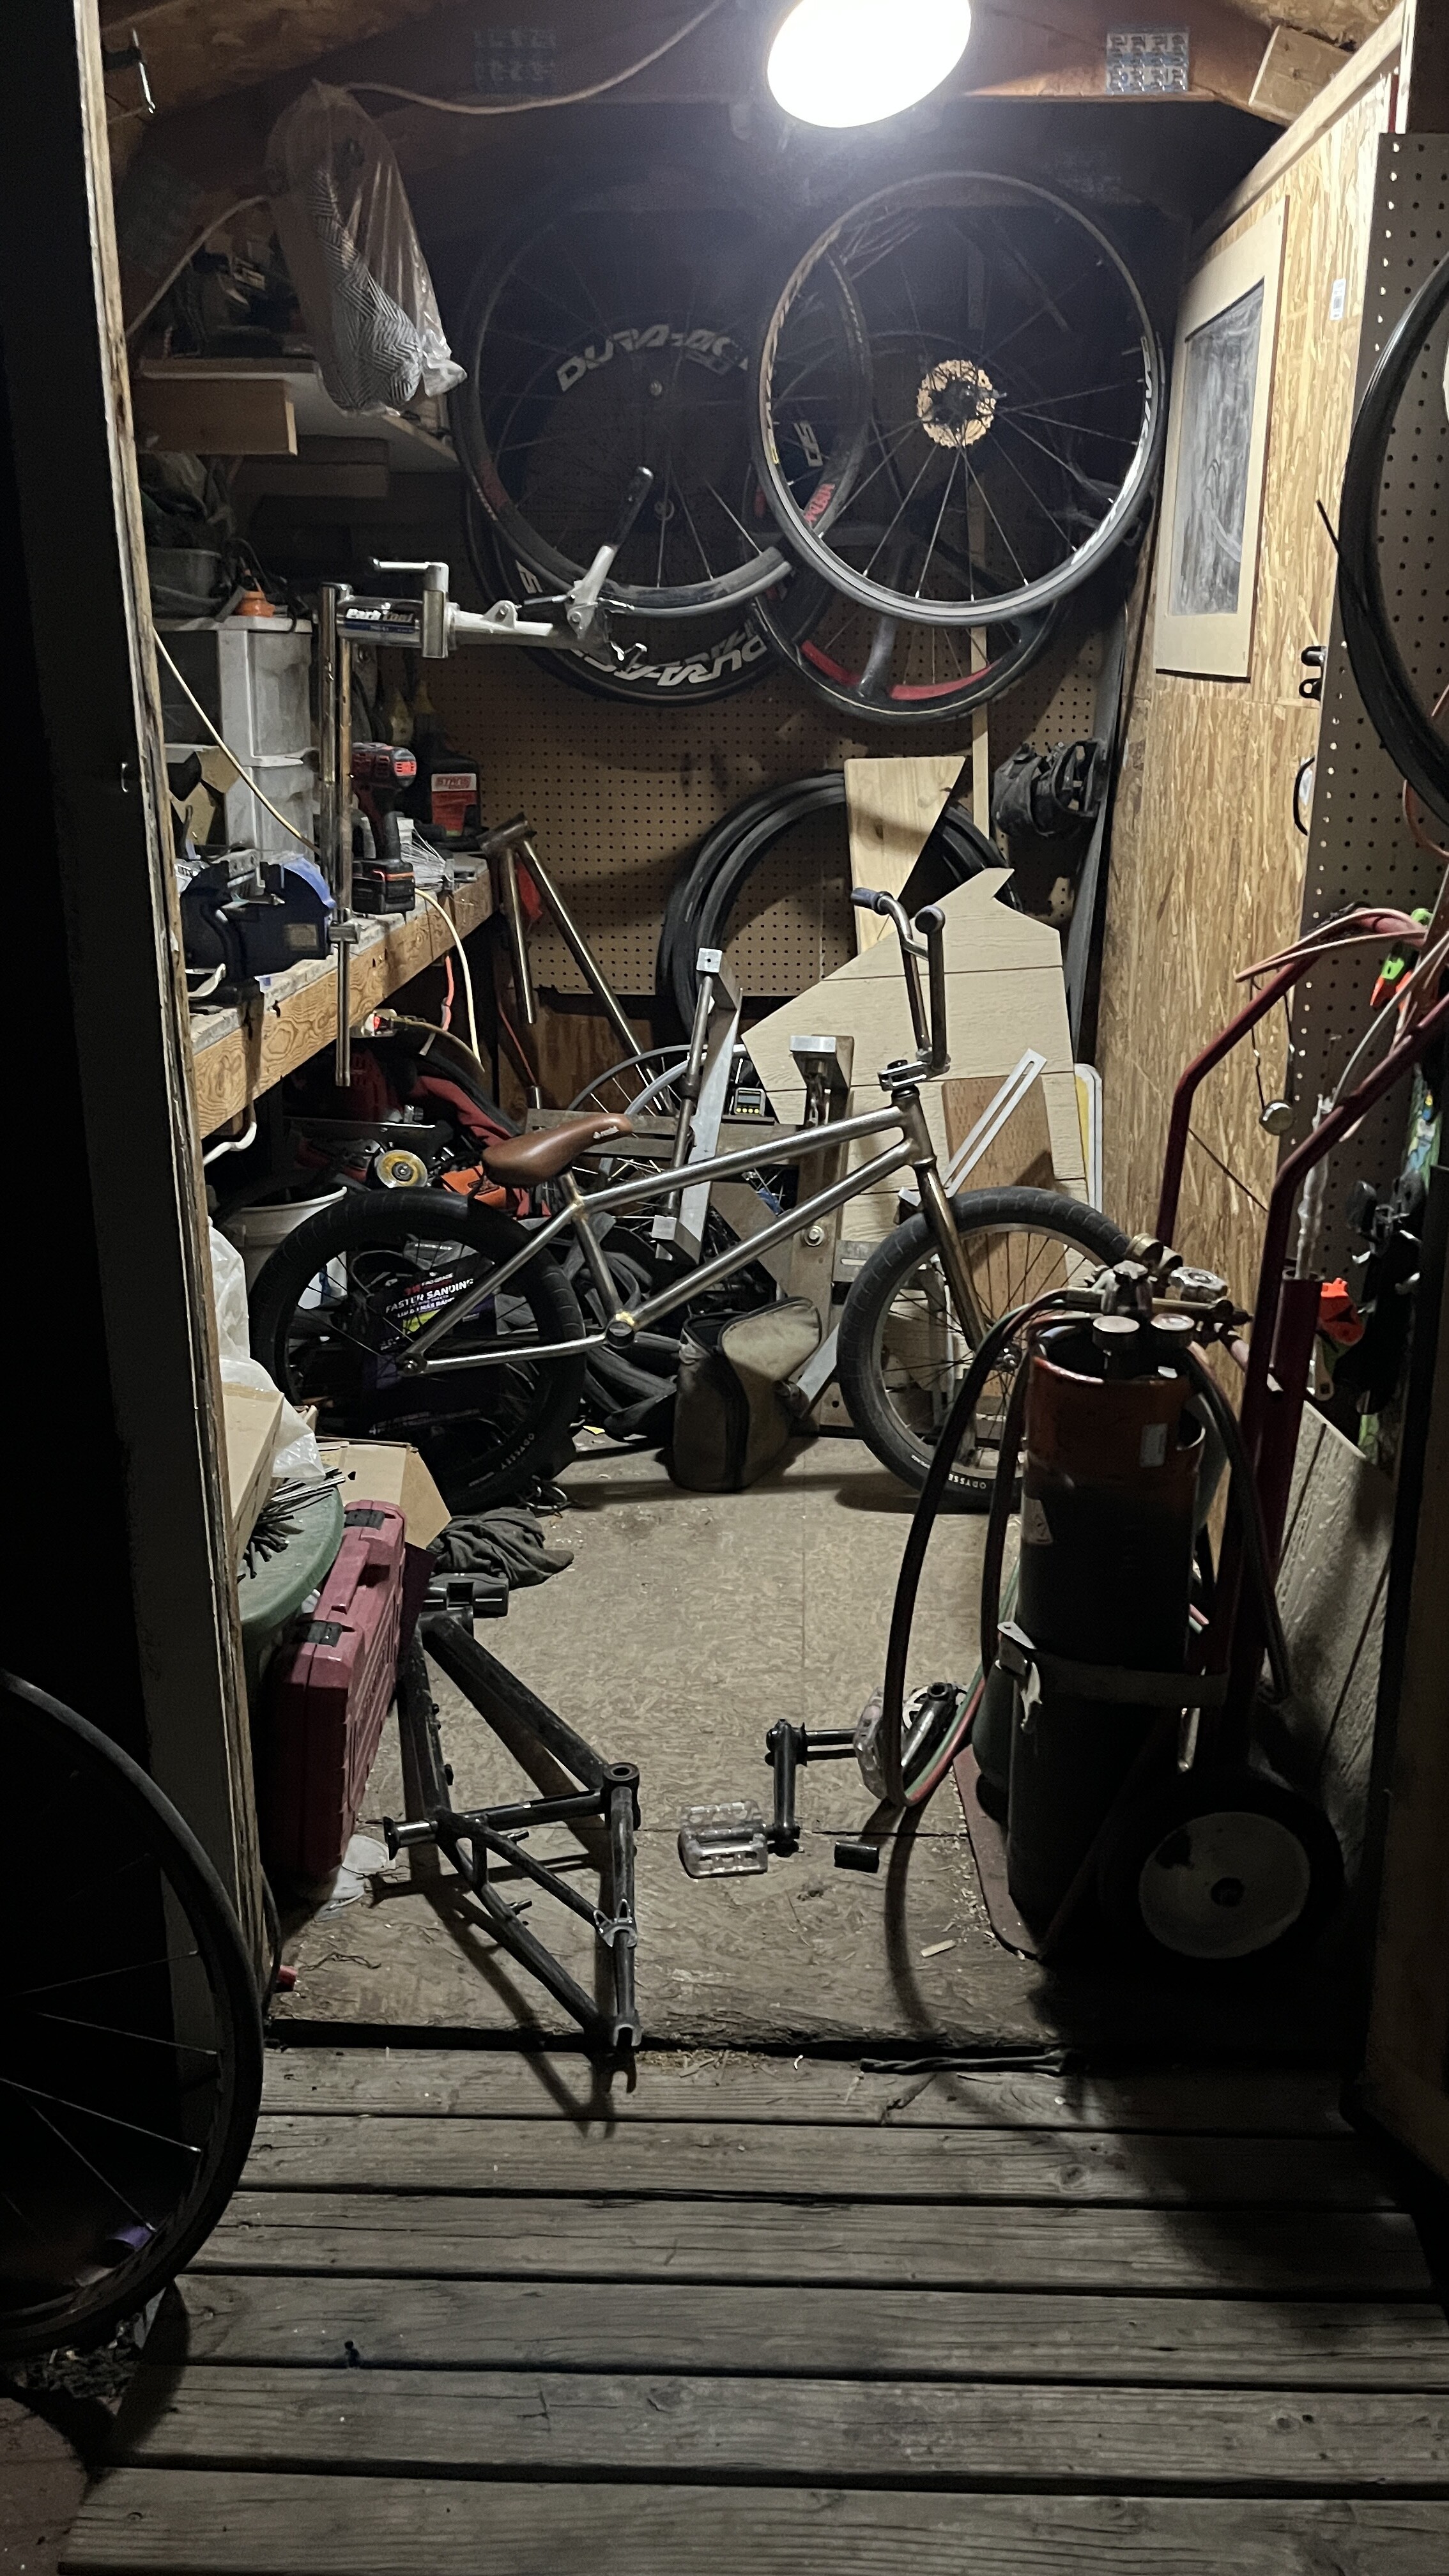
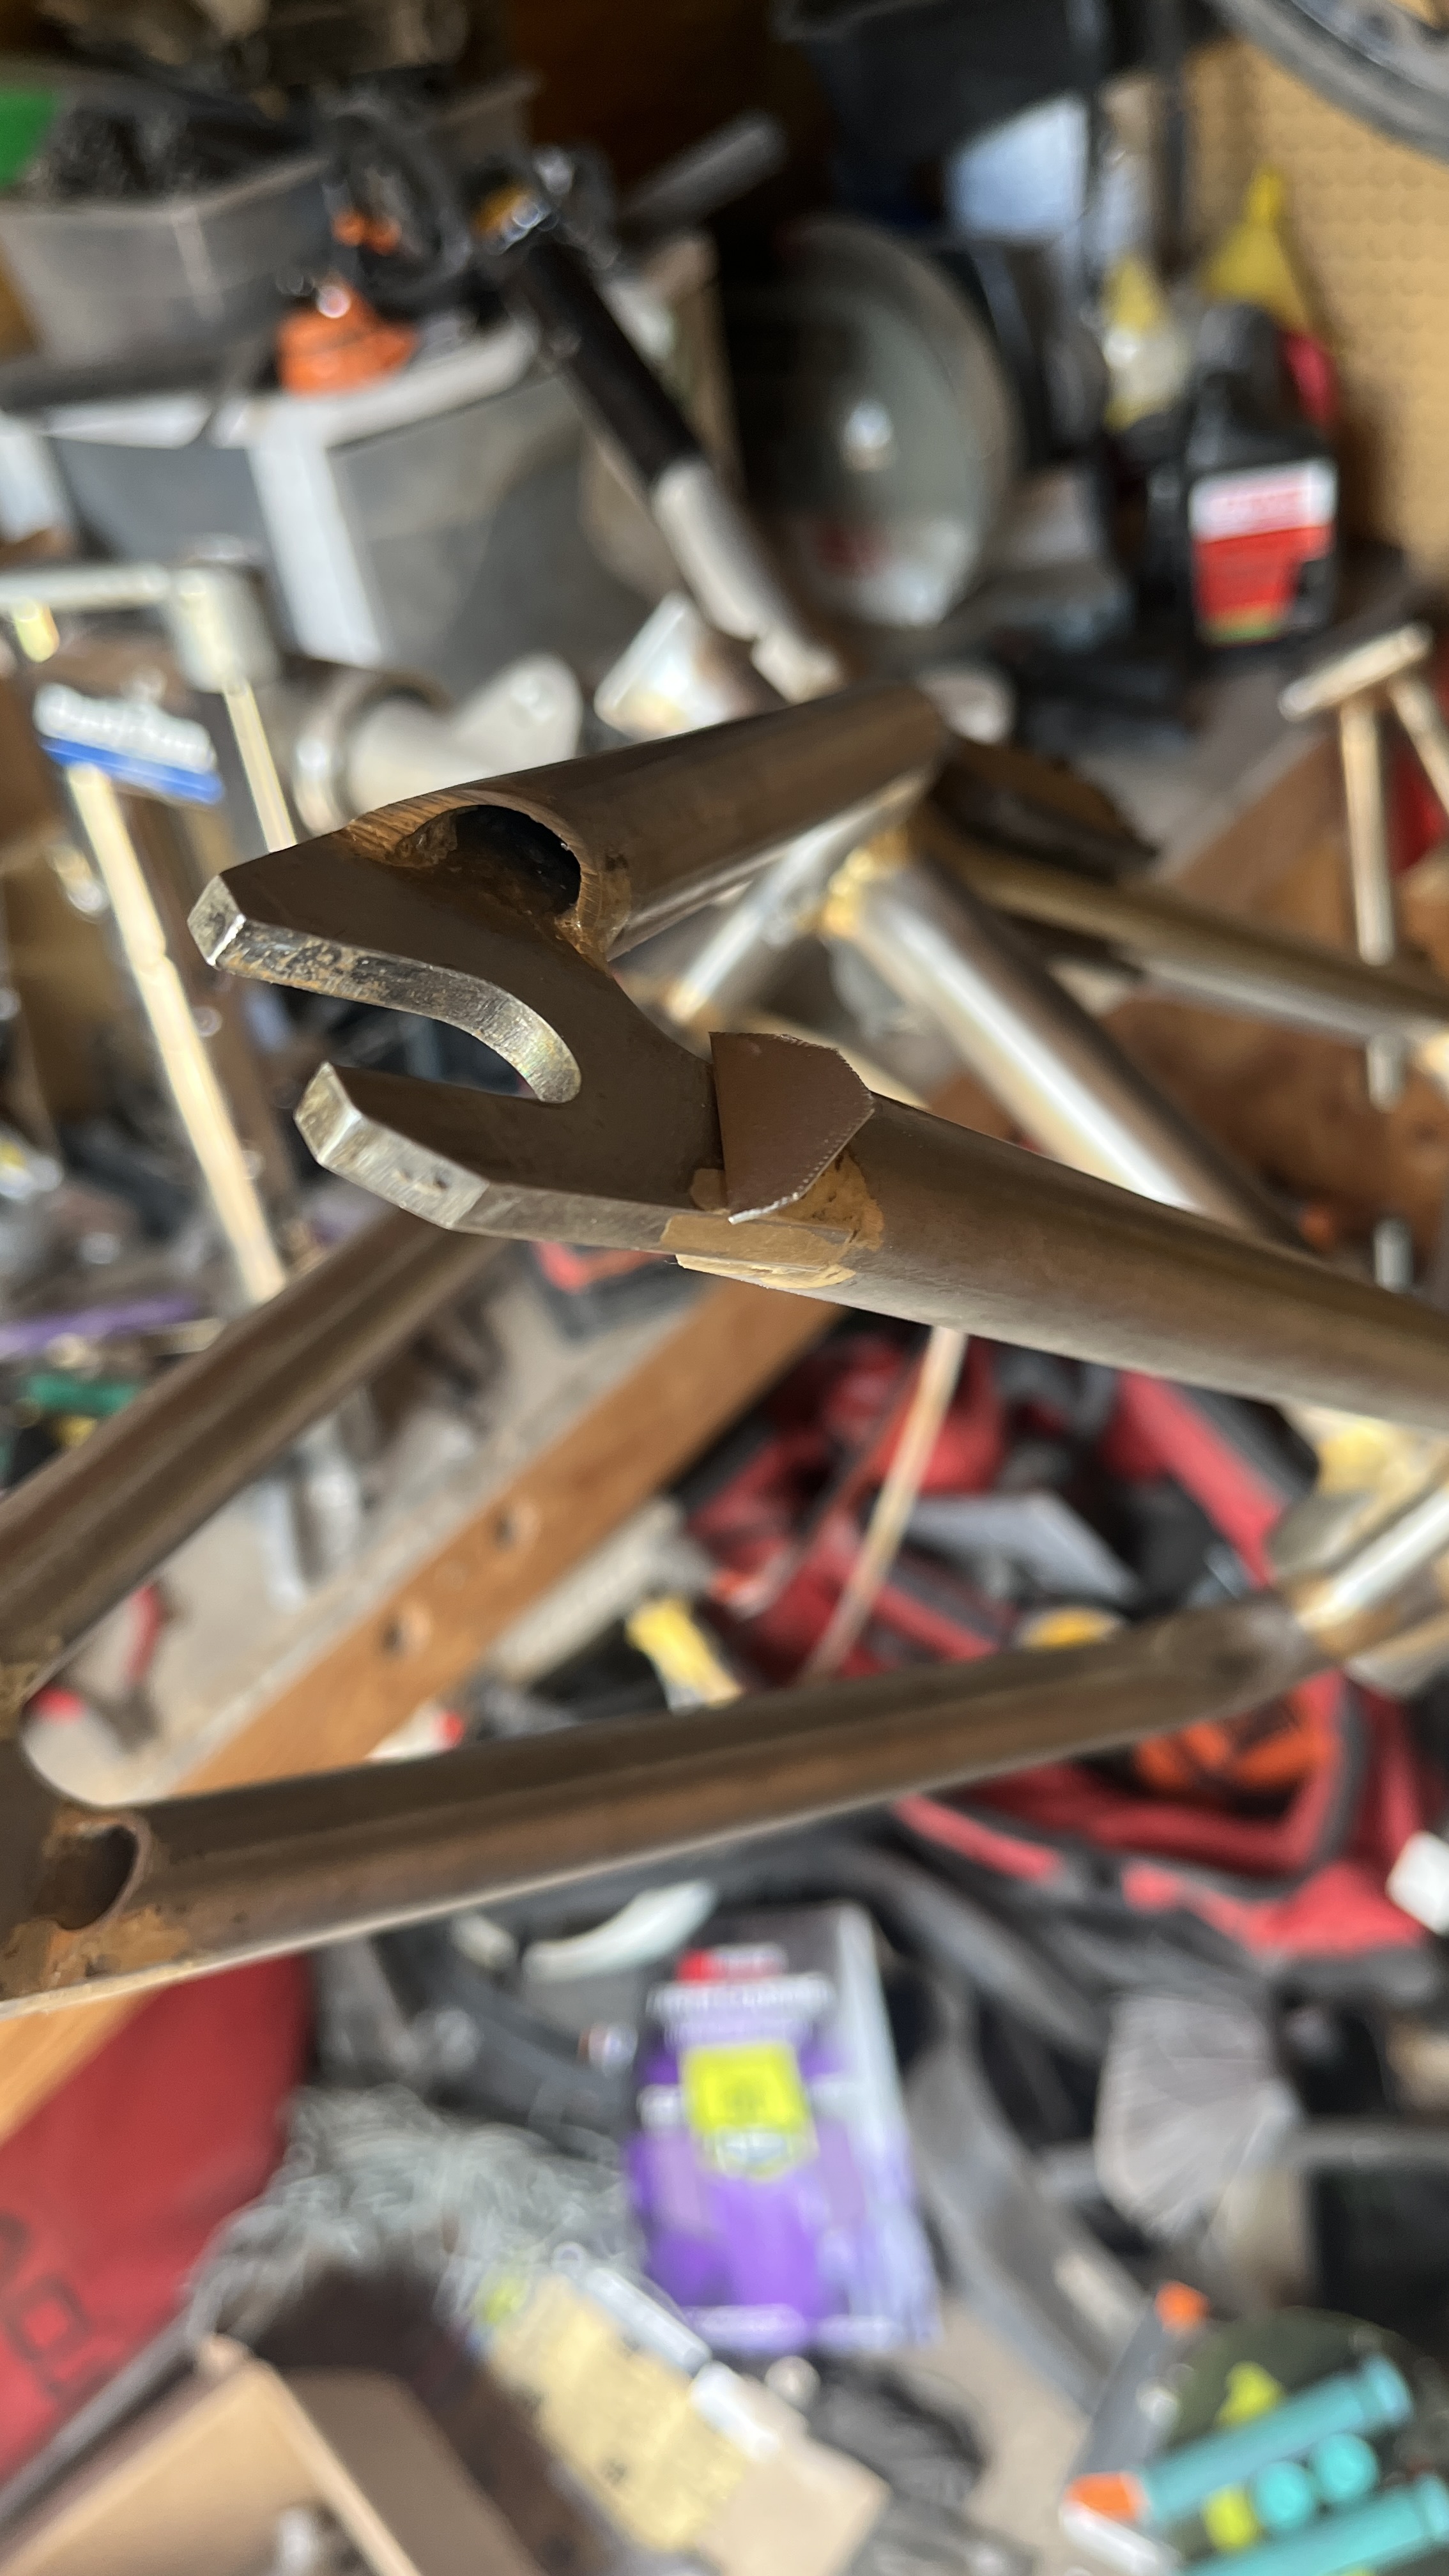
It has taken a little bit of time to get everything ready on my jig (and it’s still not done) but I at least have a solution for the BB. Here’s a photo of the seat tube, BB and head tube.
The Bringheli Jig uses a 19mm bar for the Bottom Bracket pucks. I figured I could use the BB bearings from the old BMX bike as sacrificial BB shell holders since those cranks have a 19mm spindle. However, the bike that I bought for parts is a Spanish BB and the BikeFabSupply BB shell I bought for this build is a Mid BB so the bearing OD is too small. I made a quick run to the hardware store and found some sink flange parts that will hopefully hold up long enough to get this build done. We’ll see.
I still have to figure out the rear axle. This Jig was not made for BMX bikes and the axle mounting is not intended to go below the bottom bracket. What i’ll probably end up doing is getting the front triangle tacked together then do some measuring and set the jig up on an angle that allows me to mount the rear axle properly. I think that would require rotating the jig clockwise while keeping the frame still. I’ll mock up the math part in my CAD drawing and see.
4 Likes
I’m painfully slow at this, but in my defense, my shed doesn’t have any heat and it was 10 degrees outside. I’m not made for that. But the whole front triangle is mitered (mitre-ed). Just need to put vent holes in the head tube and bottom bracket. Then it’s on to the rear end.
9 Likes
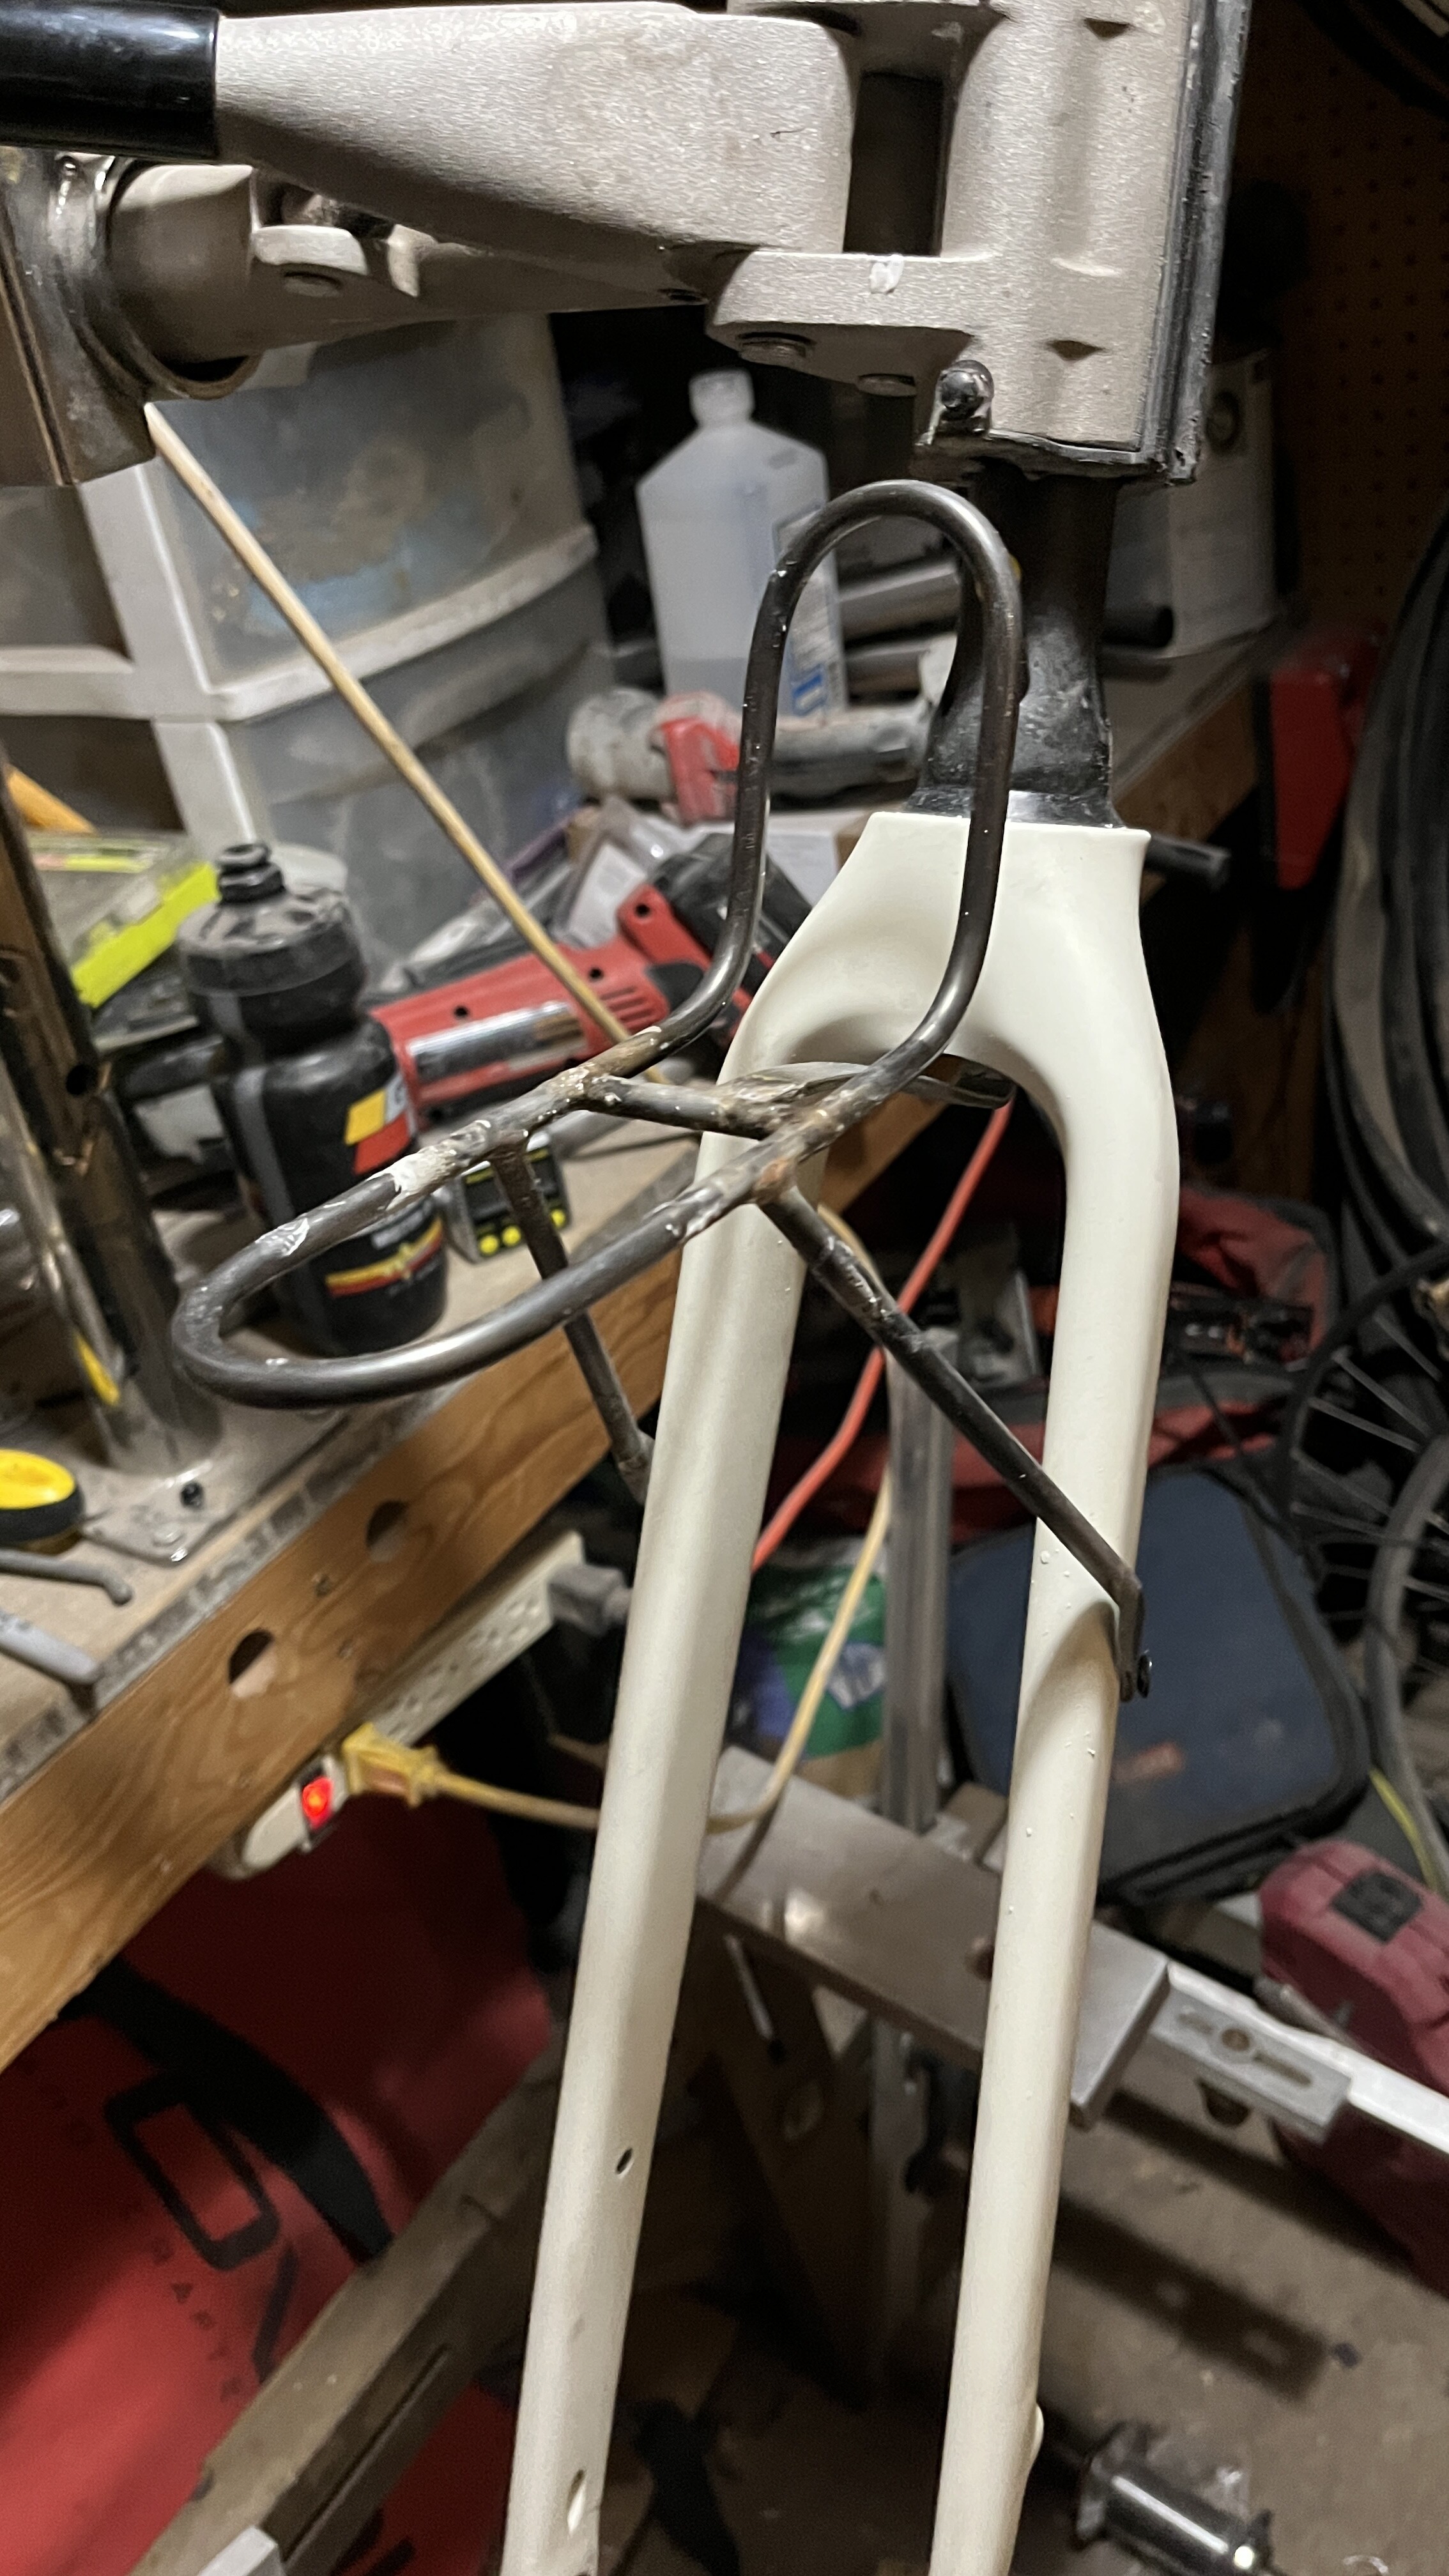
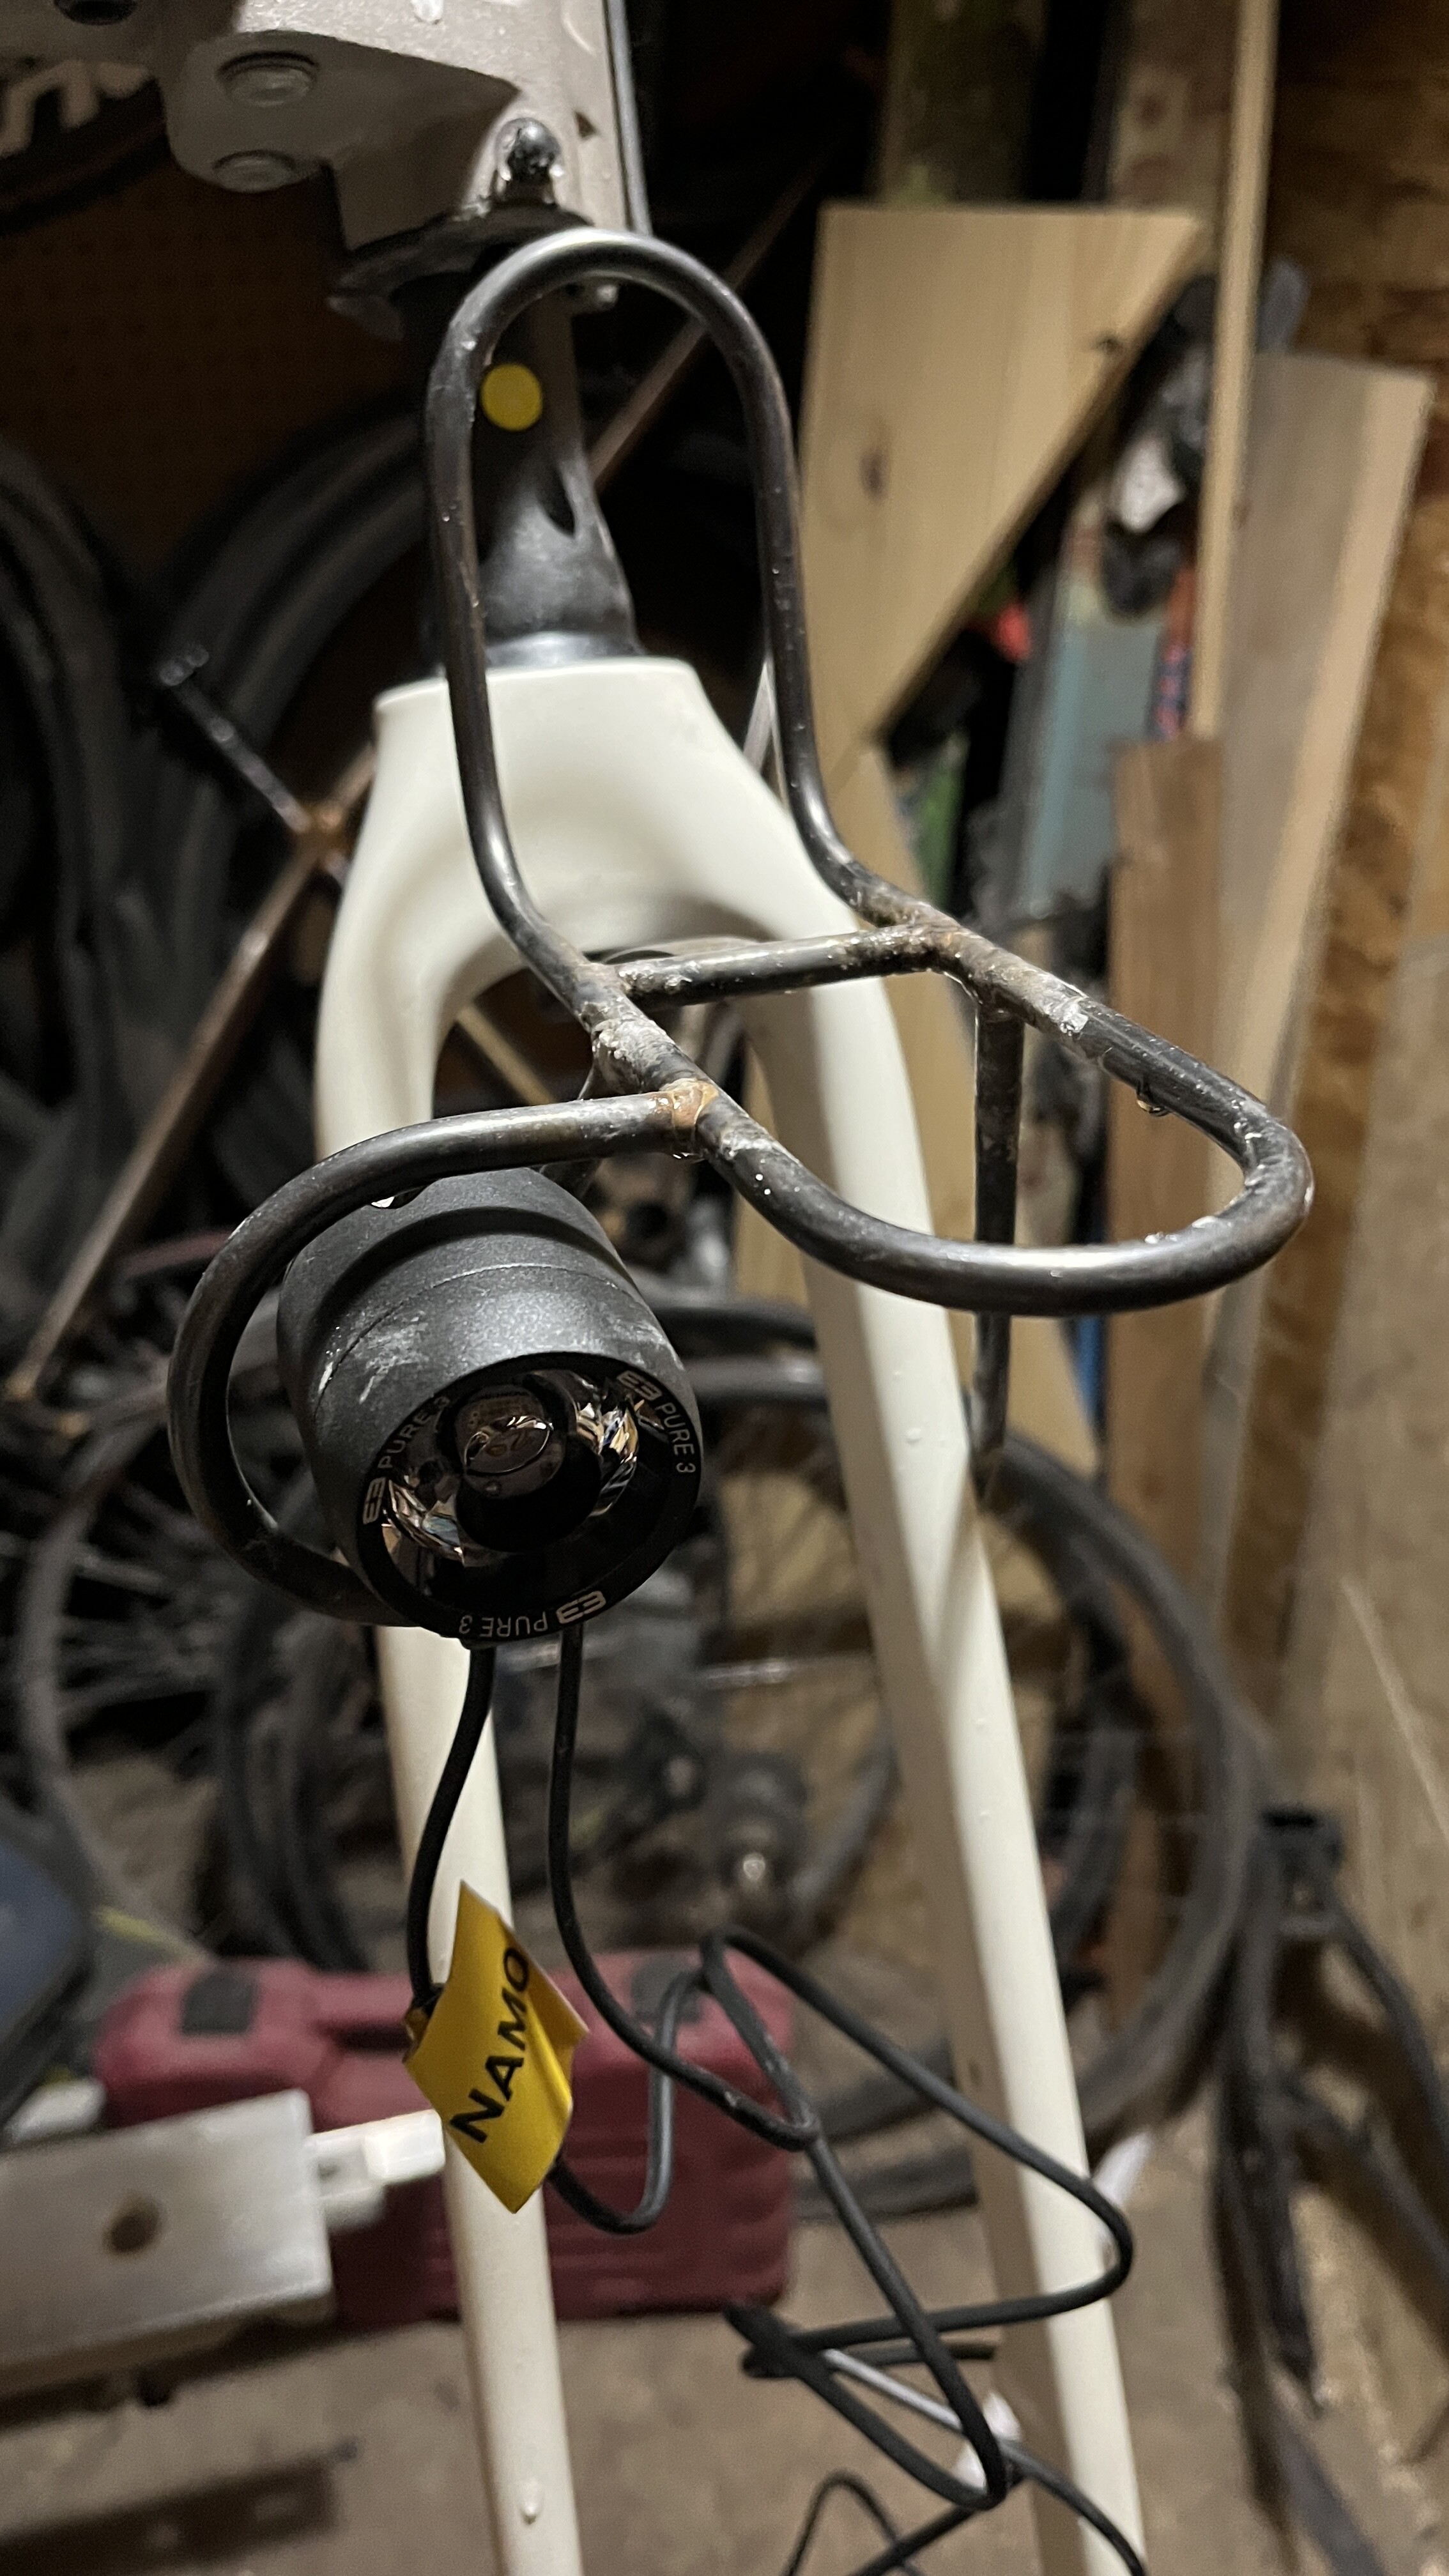
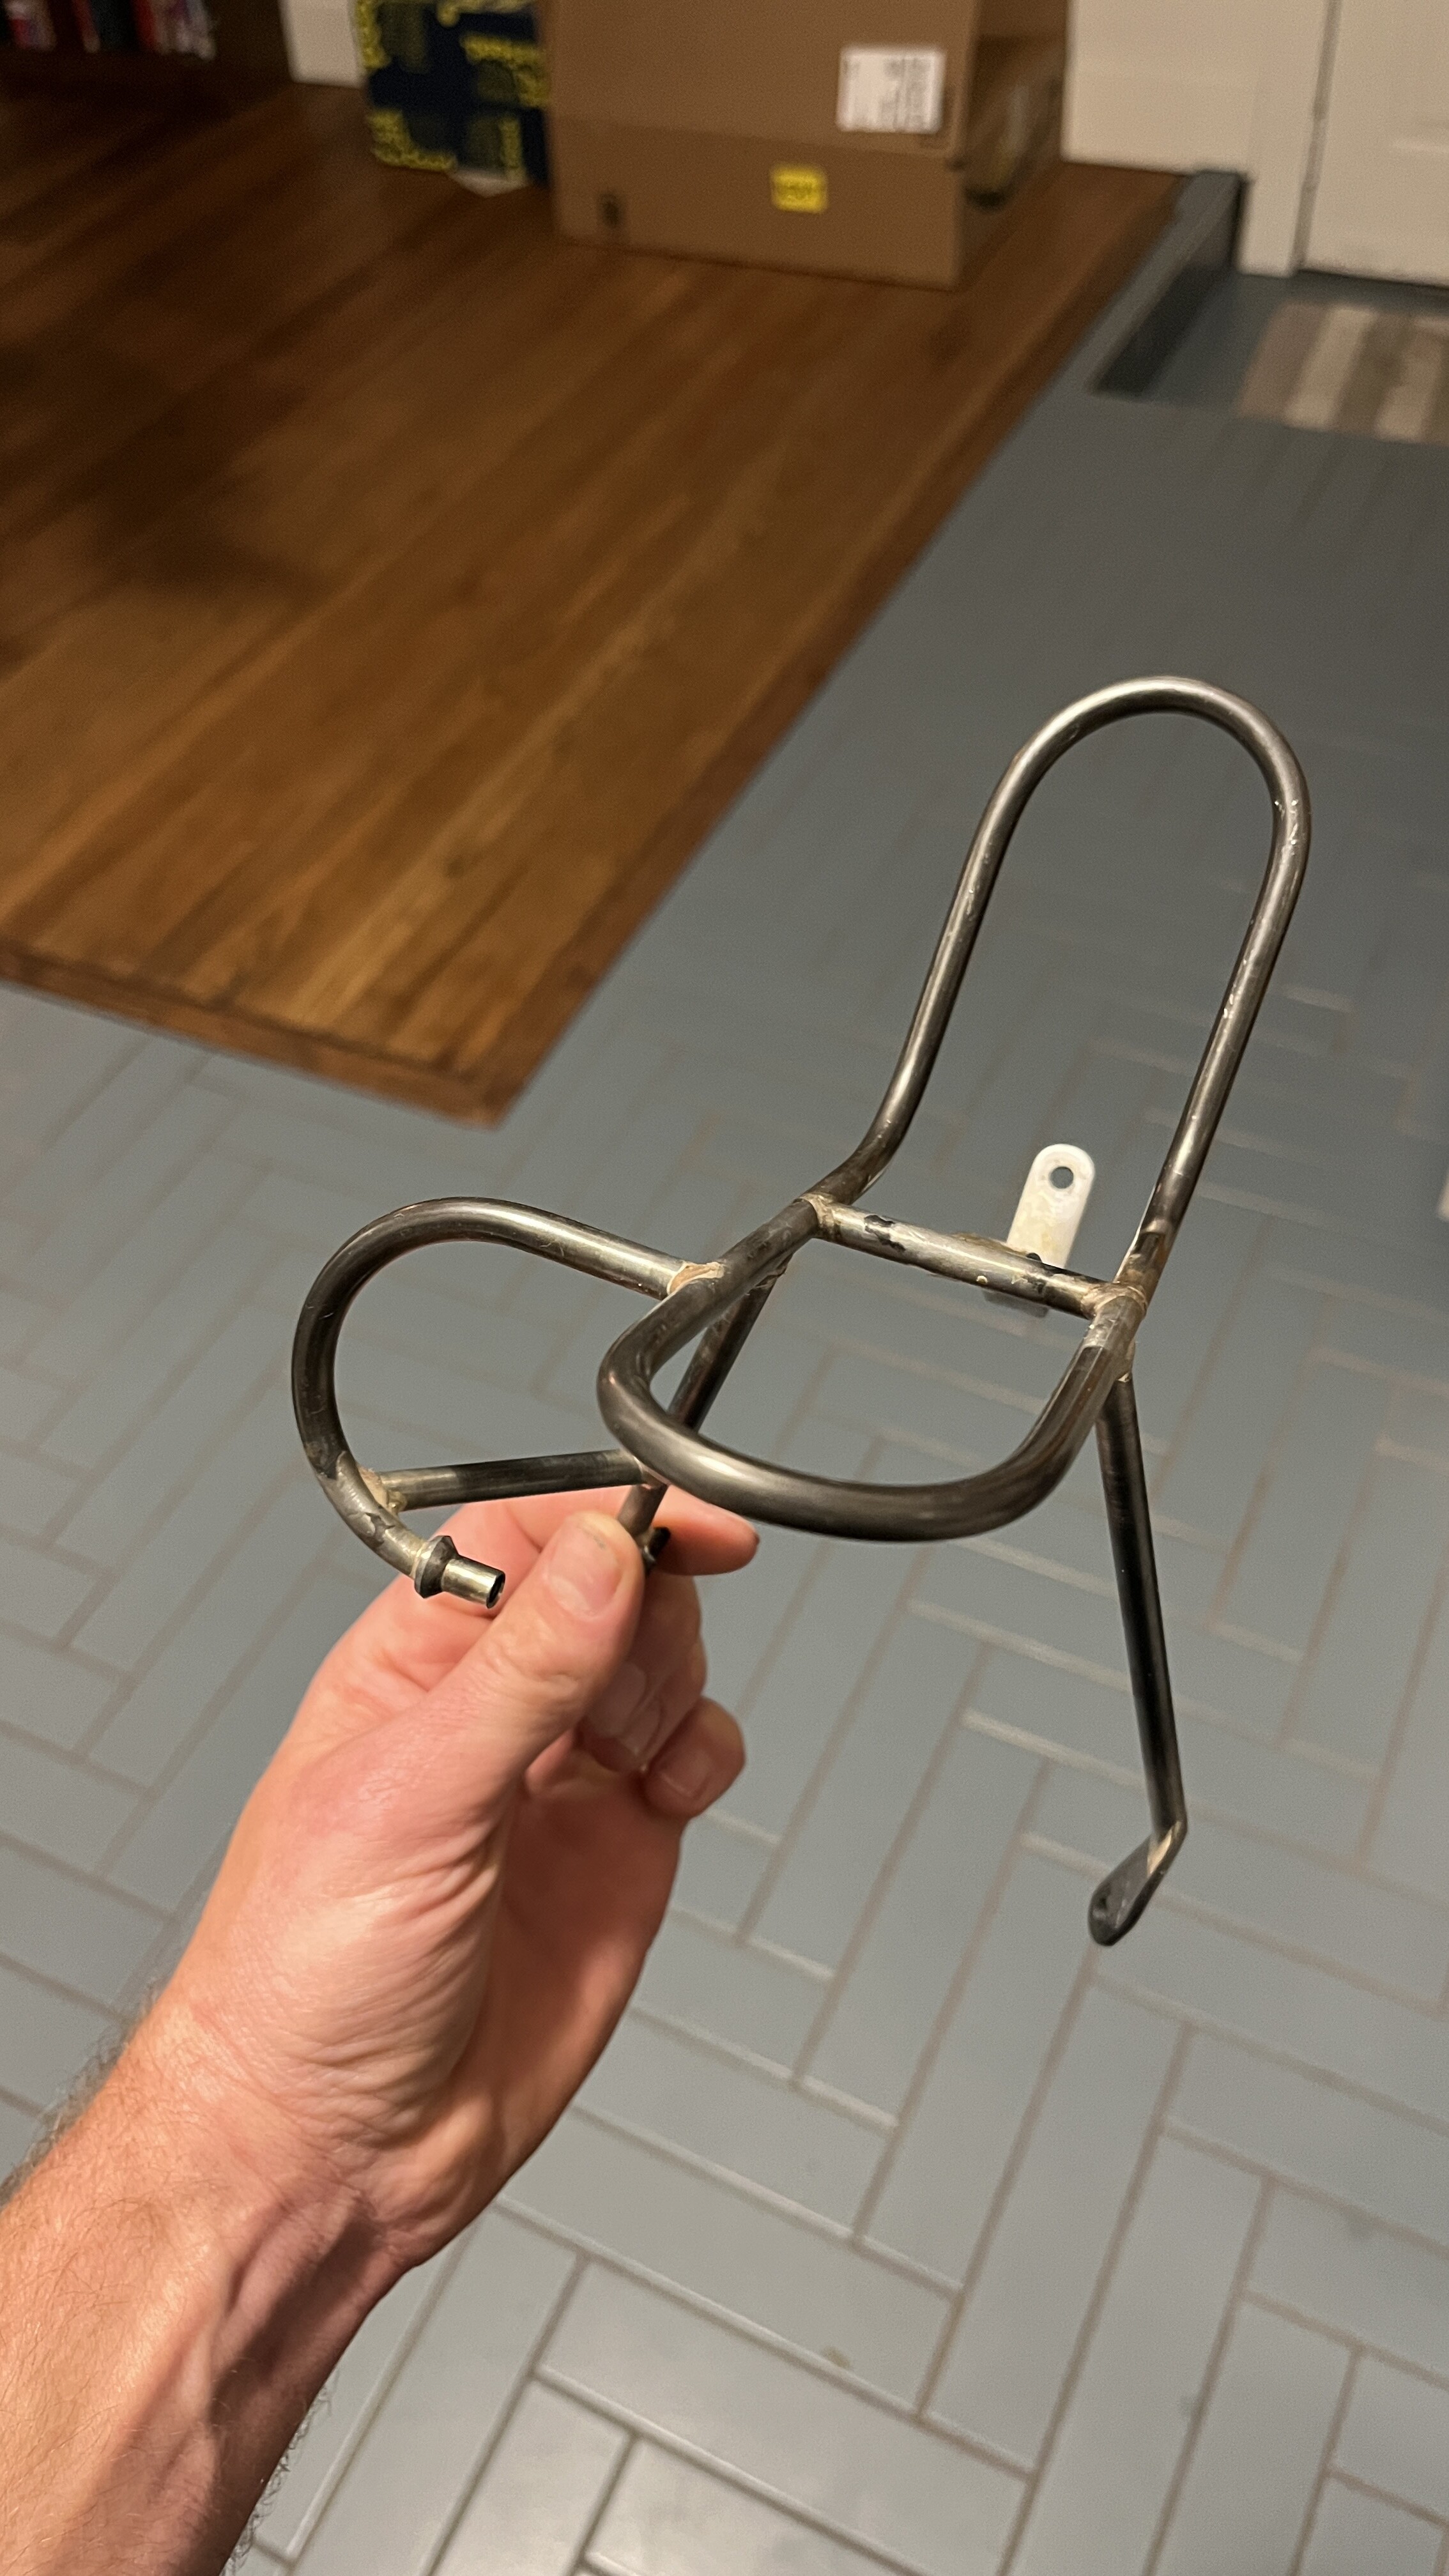
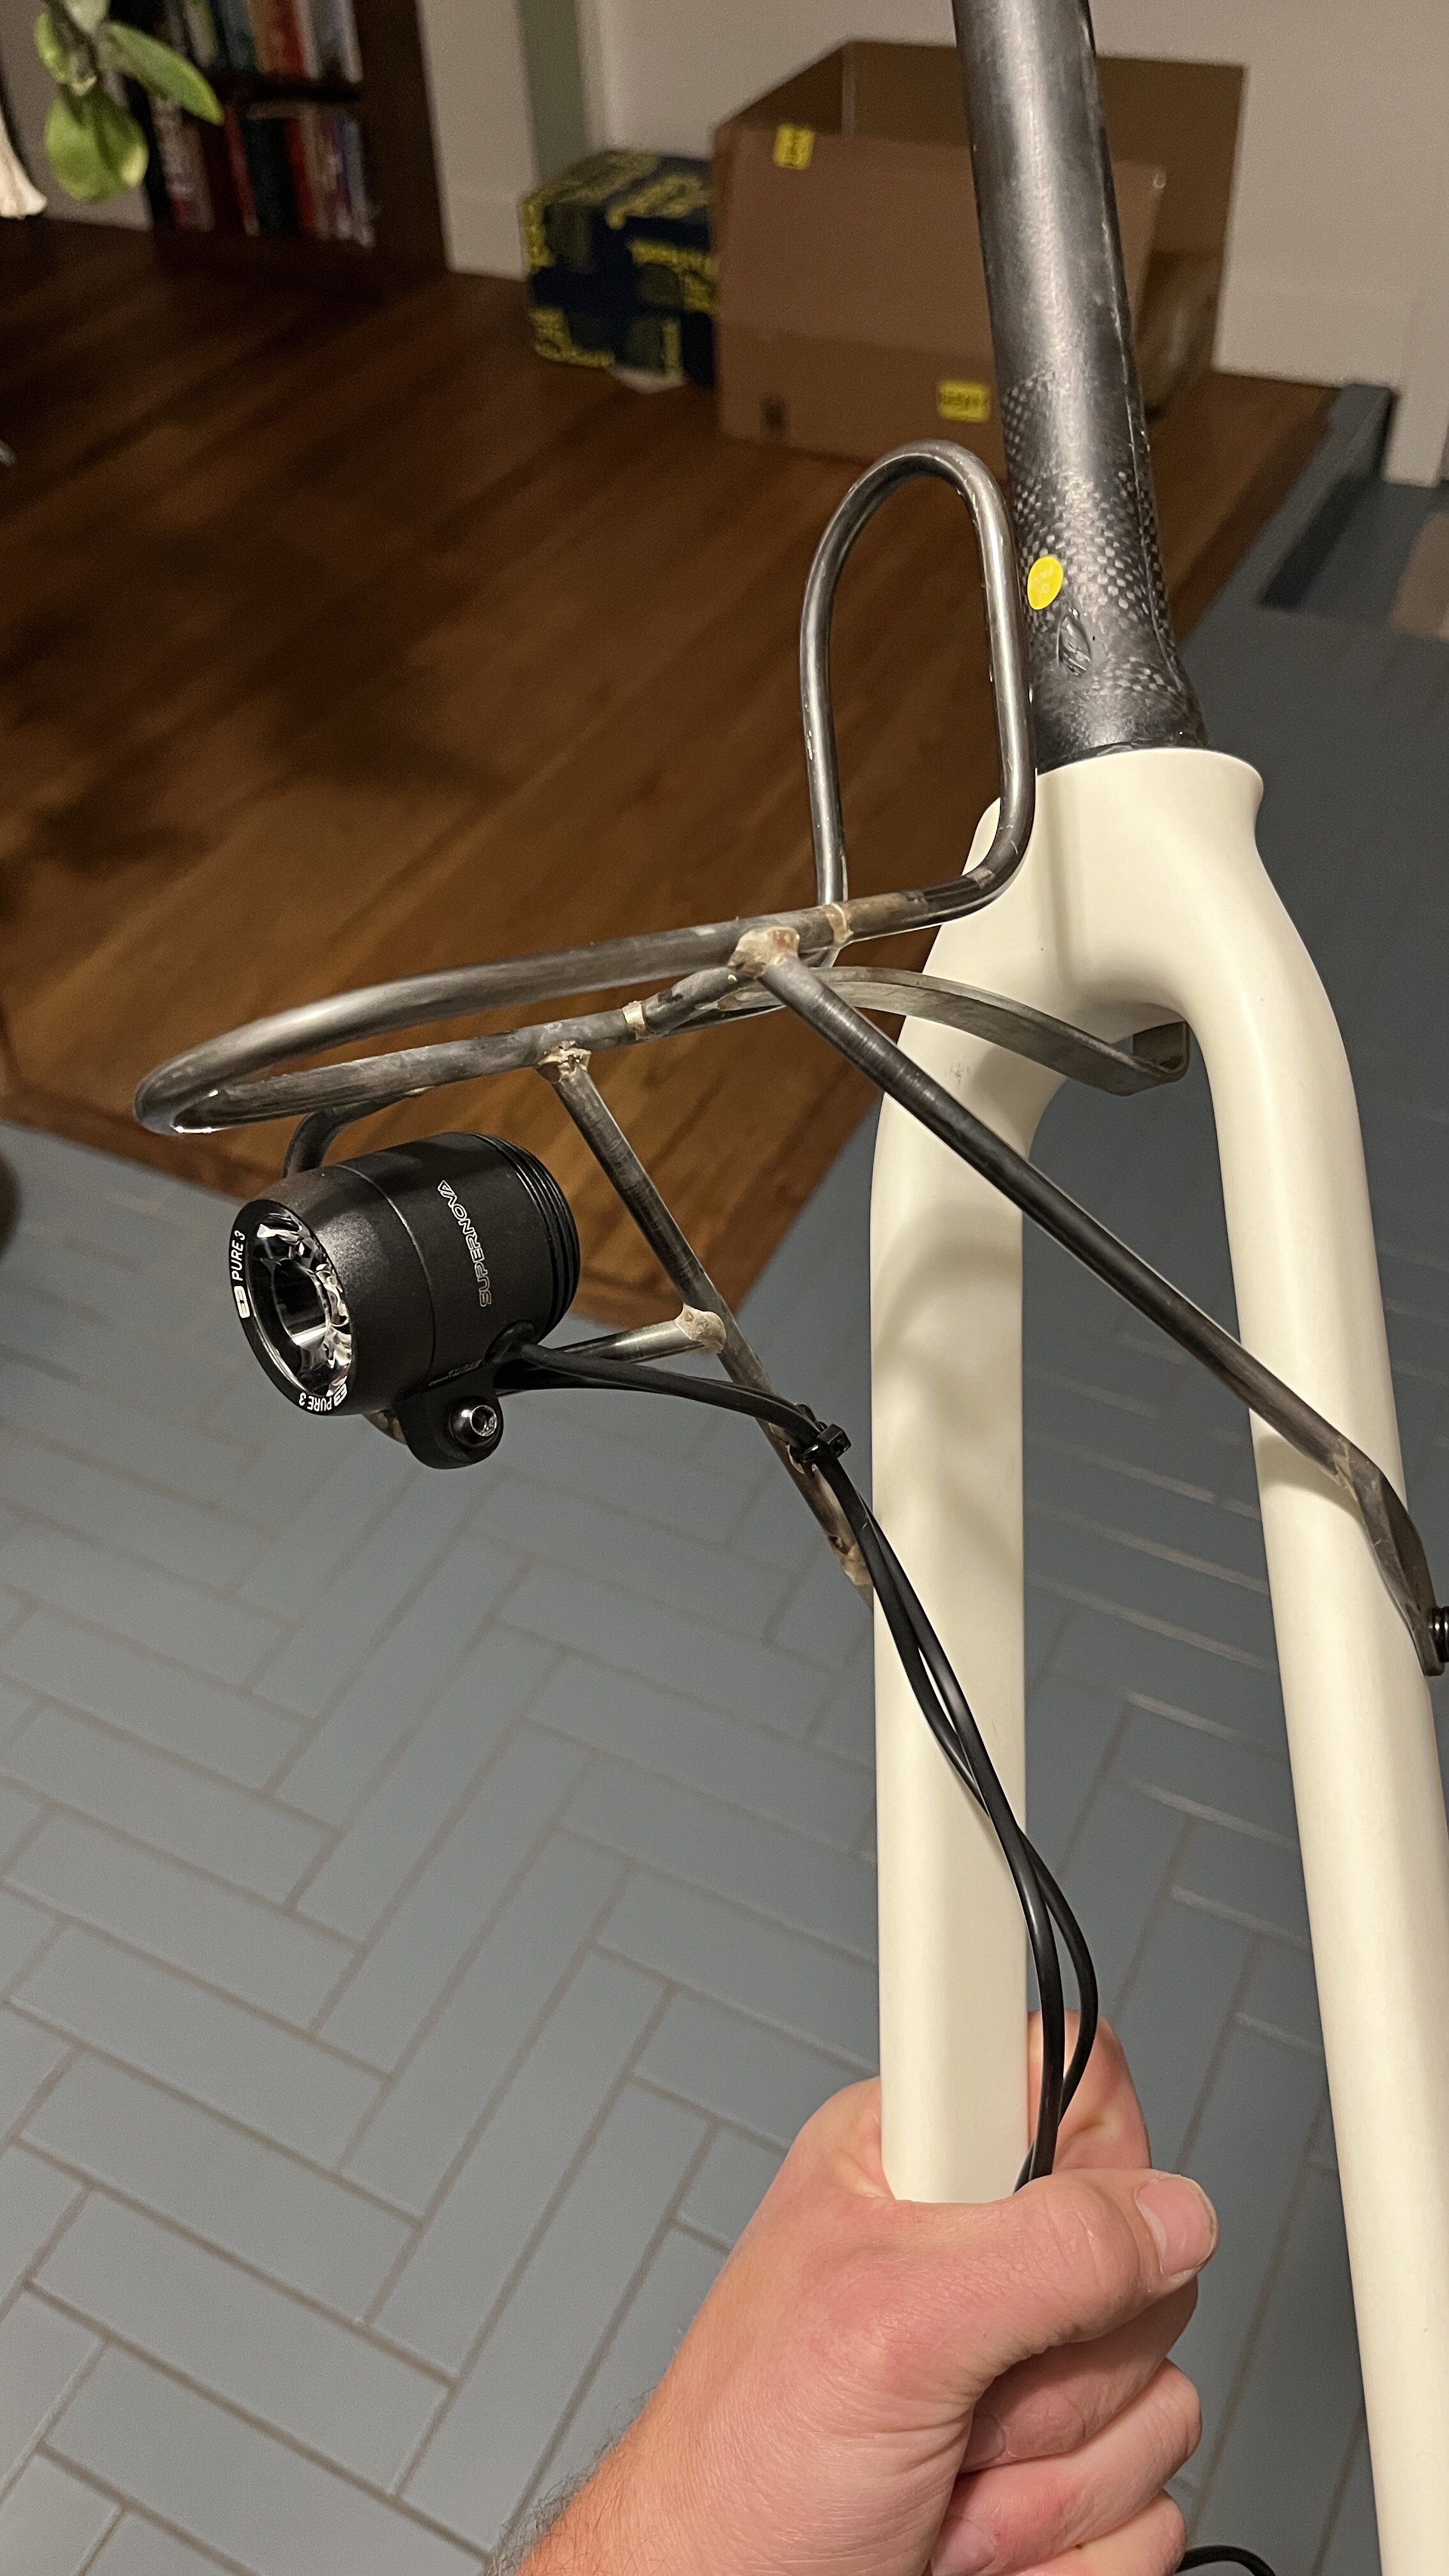
I took a minute to work on something new. I had started this little front rack a while ago for a different bike. I finished the platform for the rack but never started the bike, so it sat around but I finally got a new bike started and have a reason to make a rack for it.
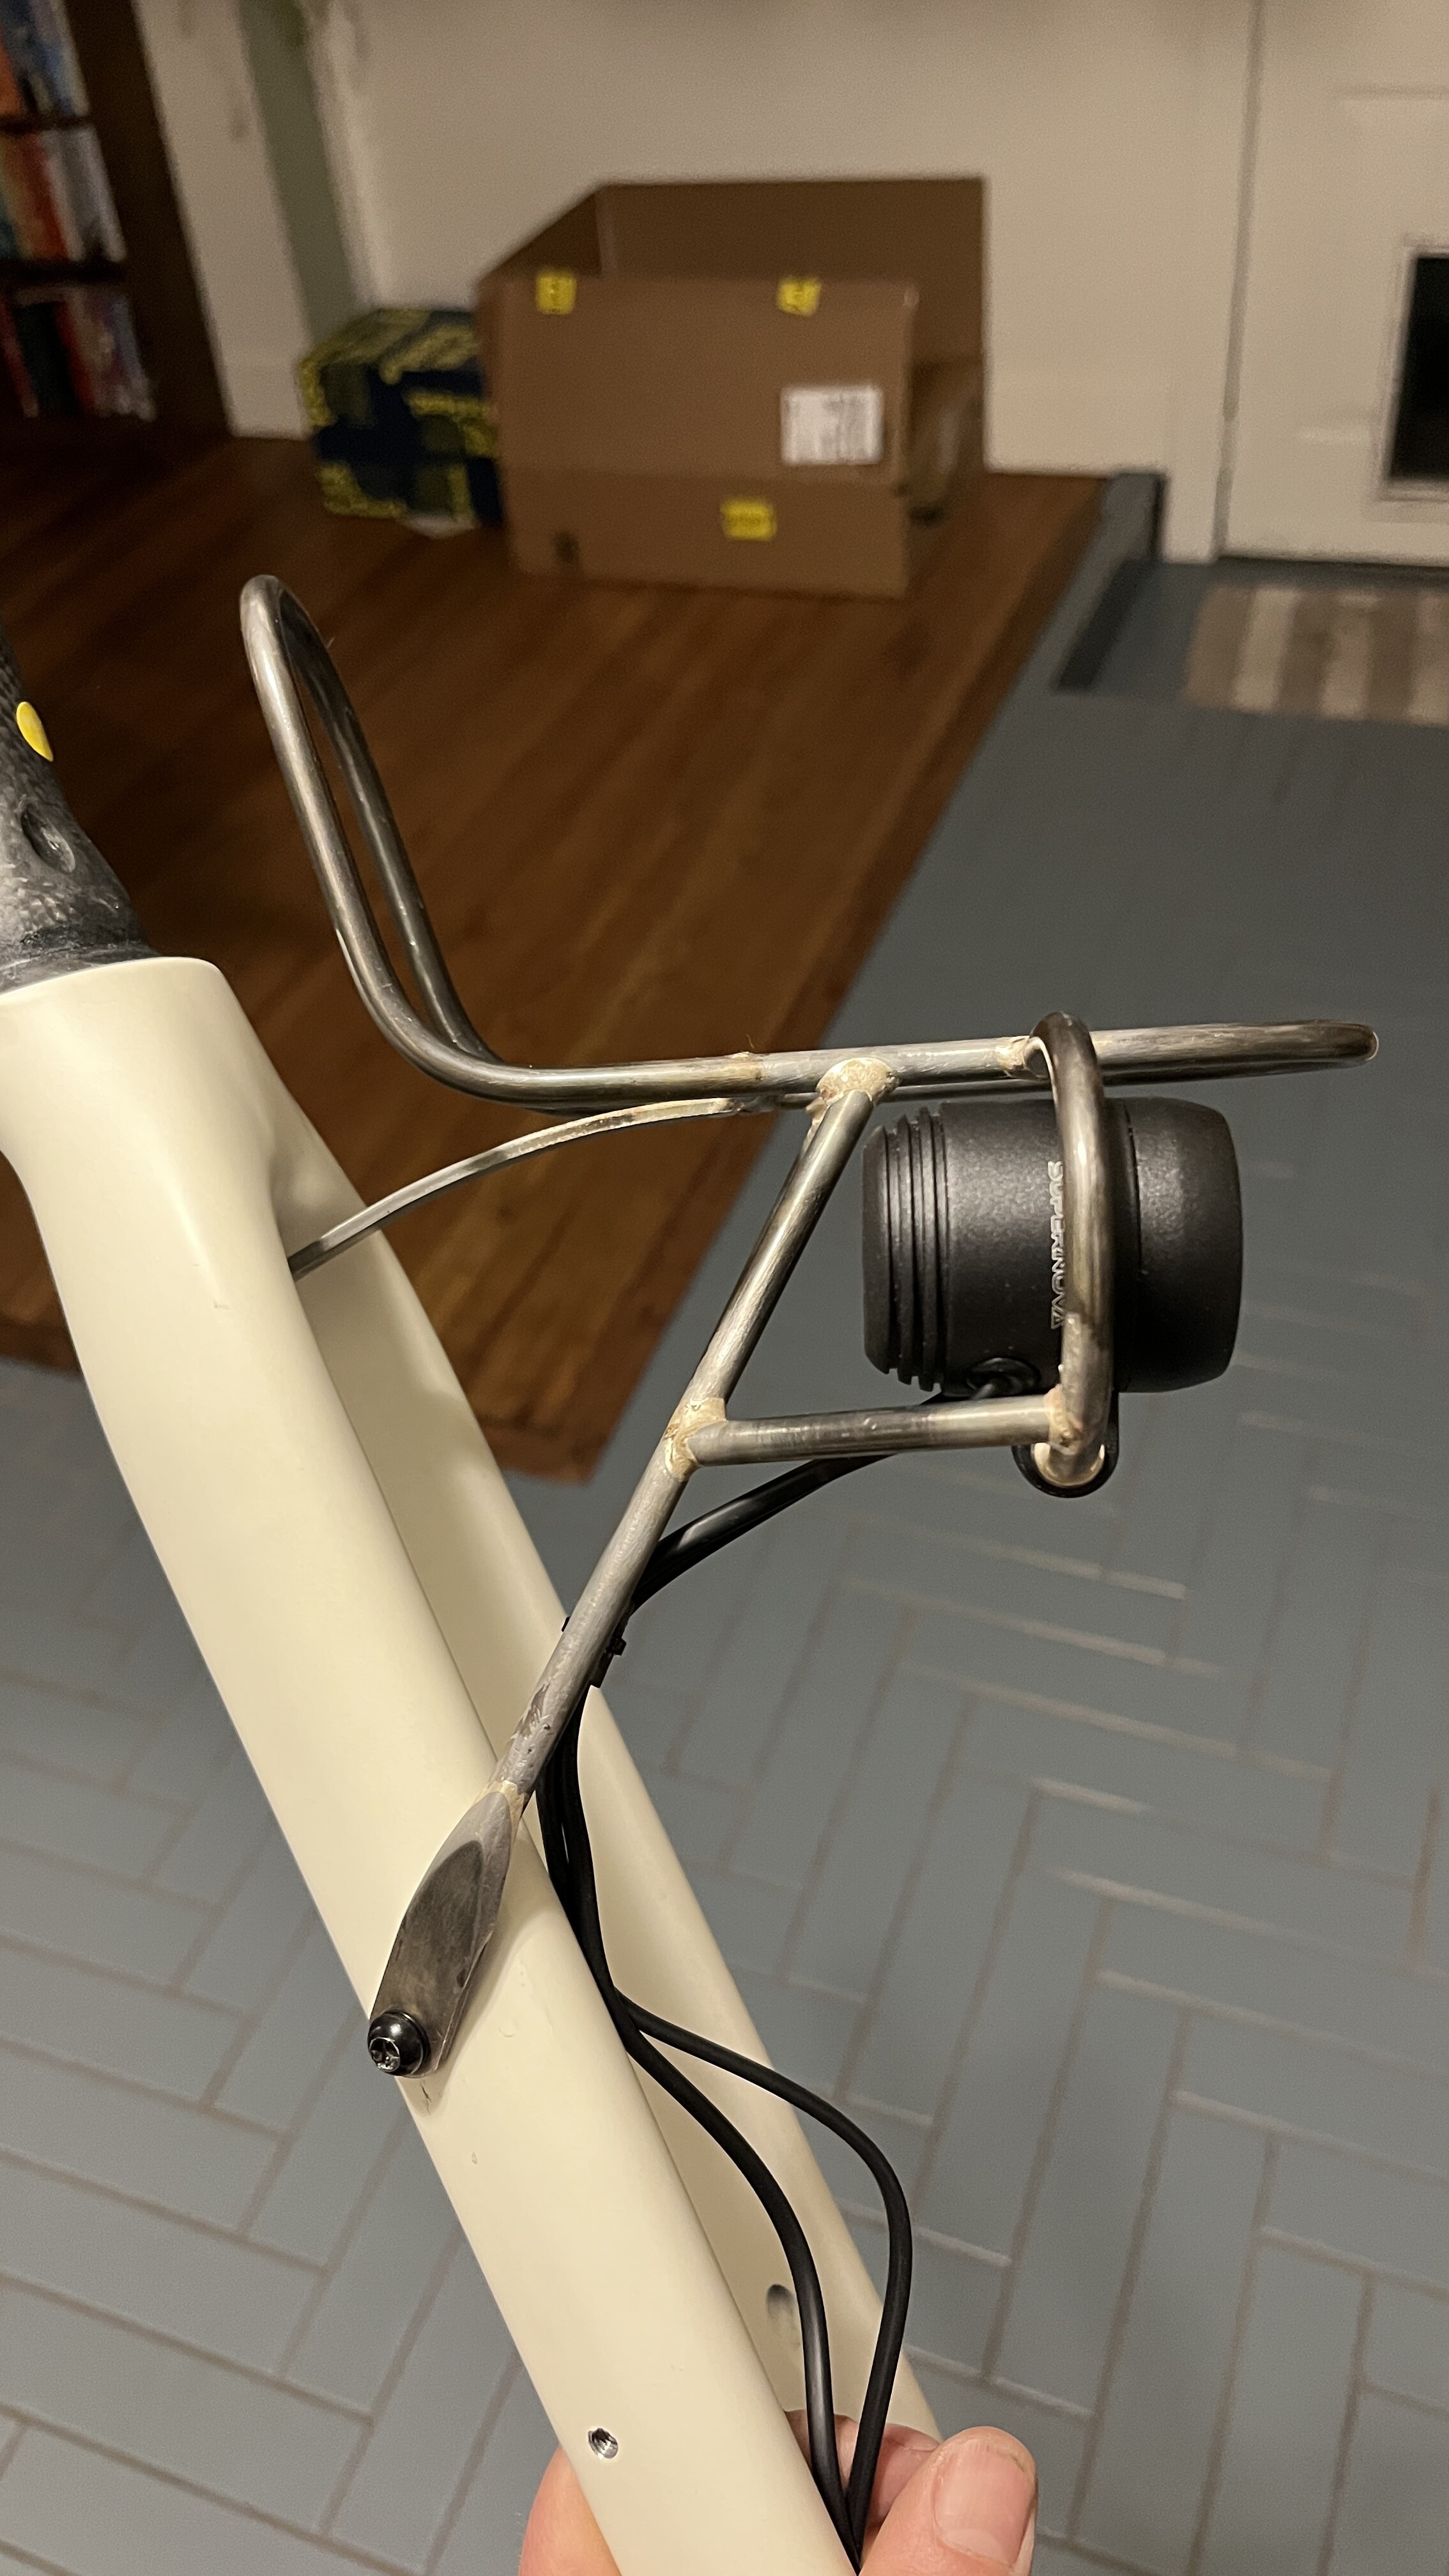
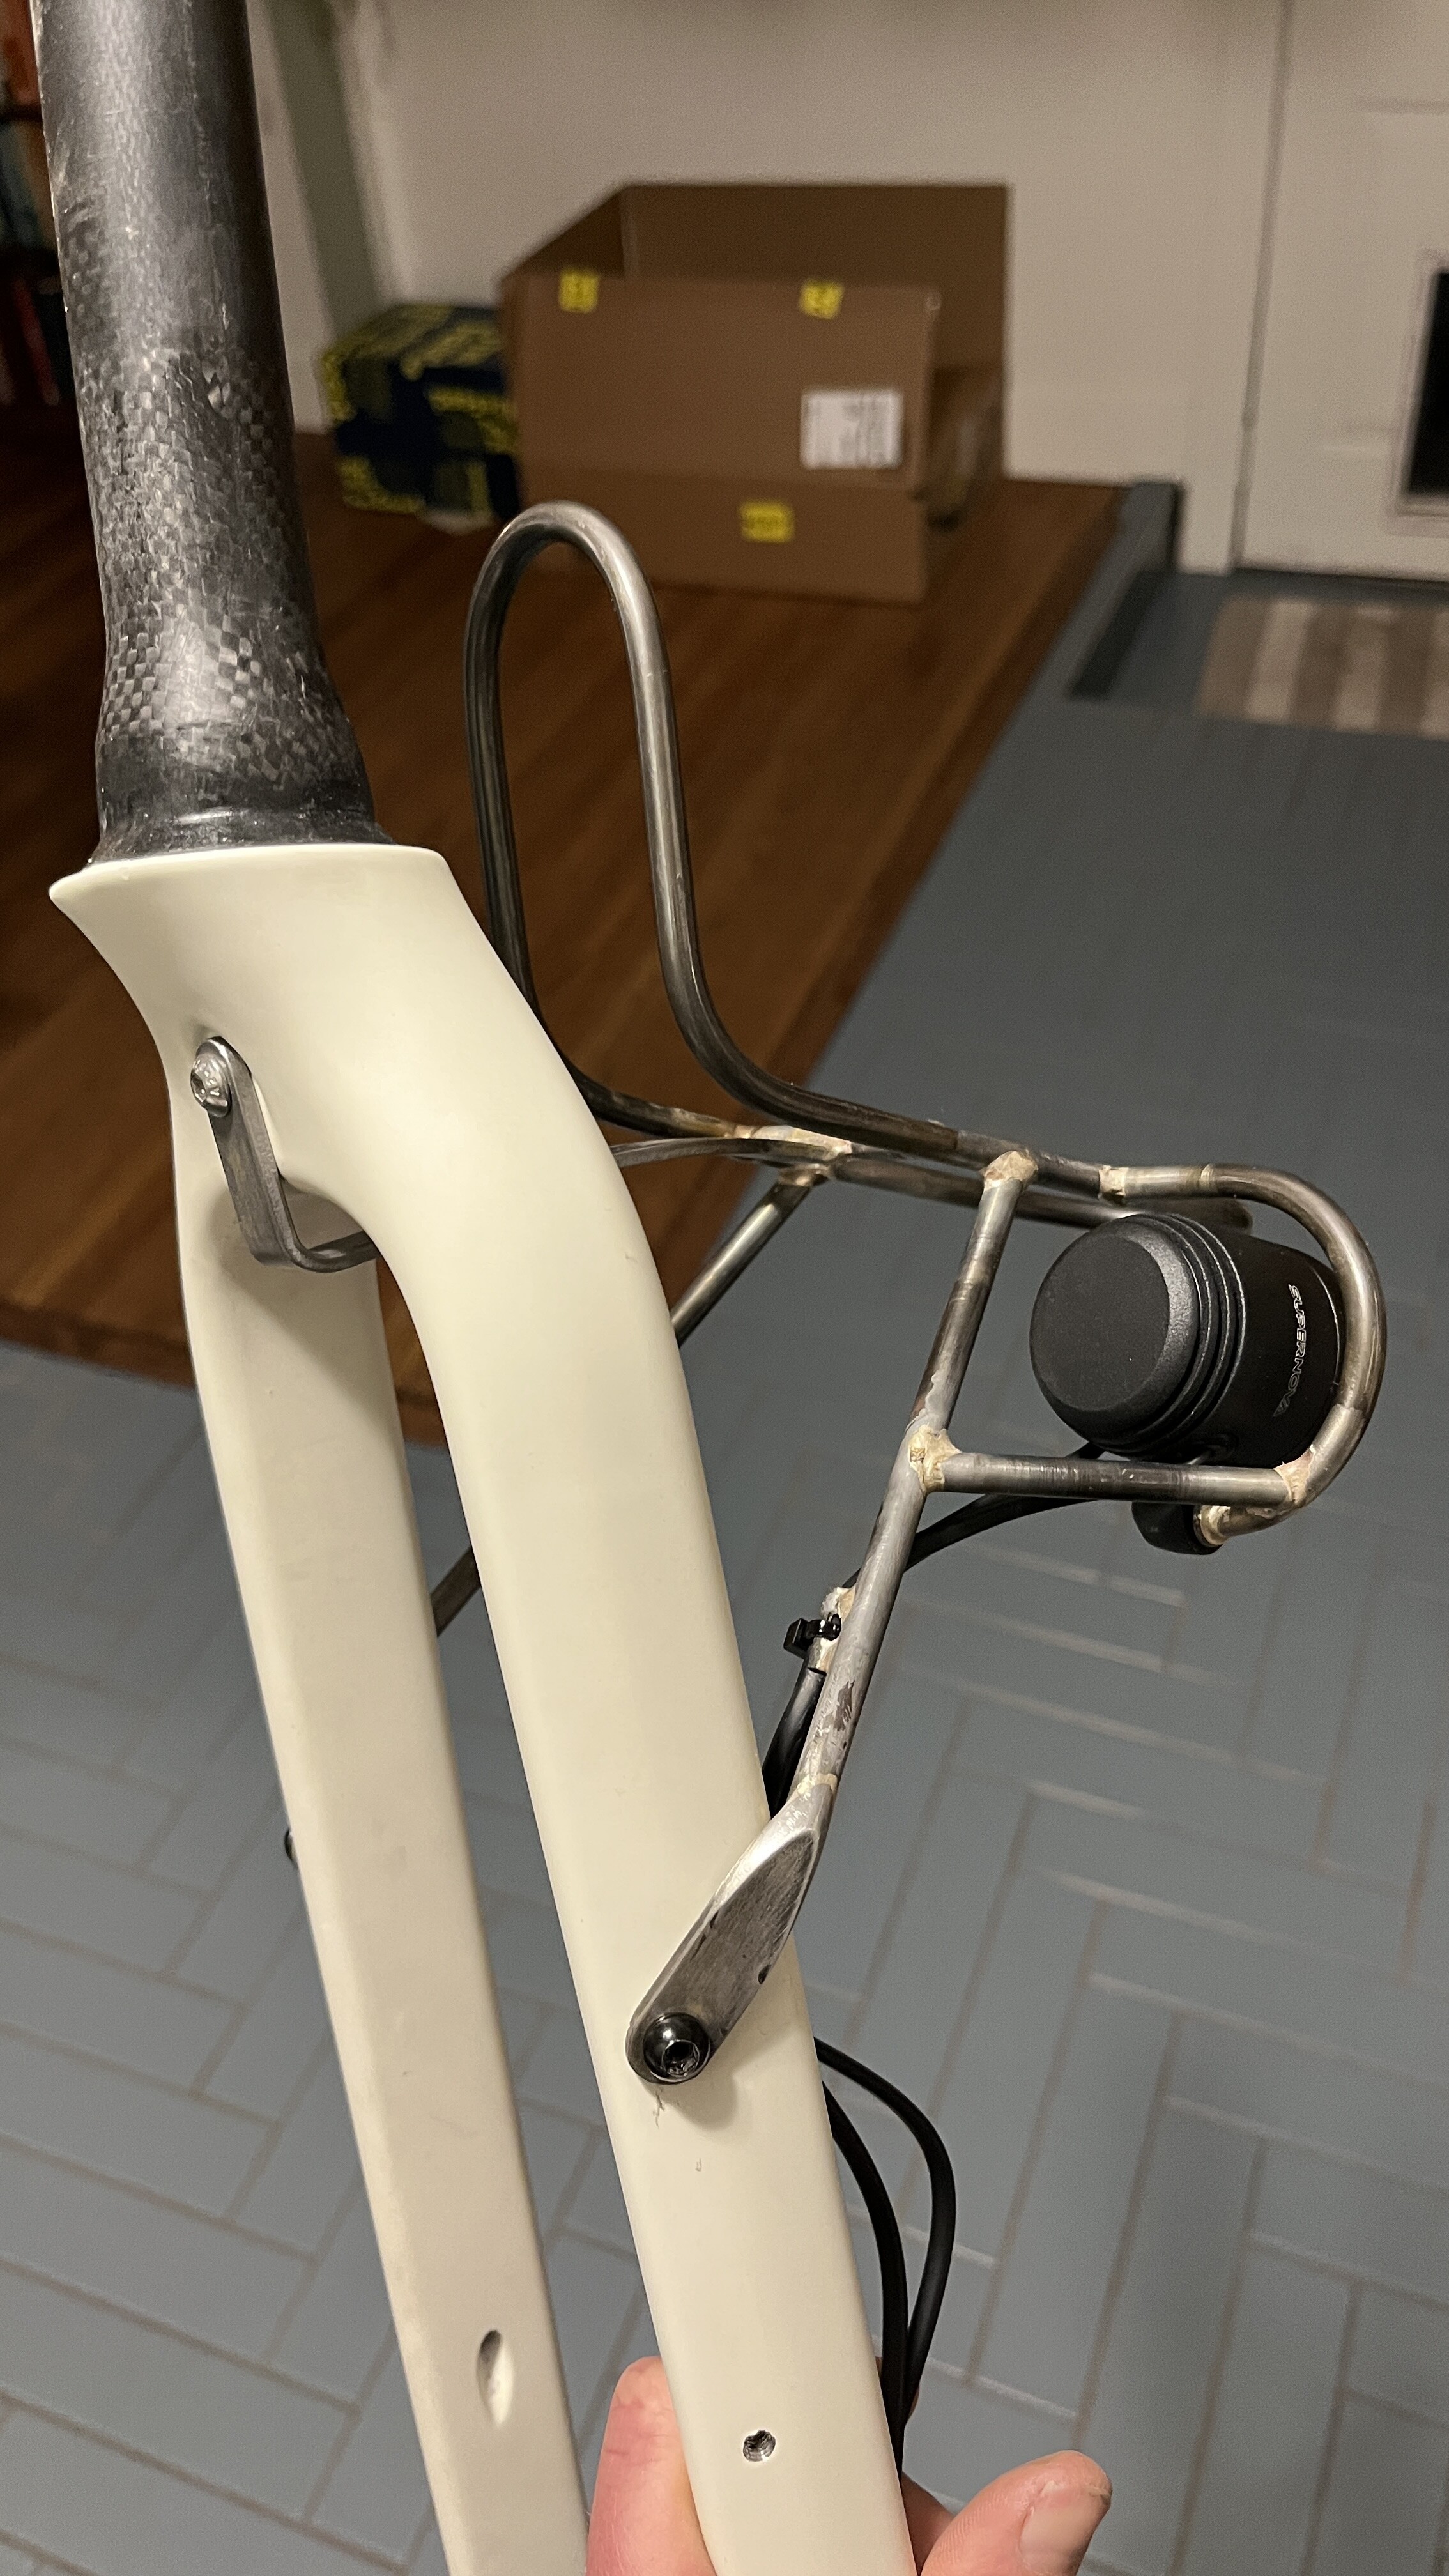
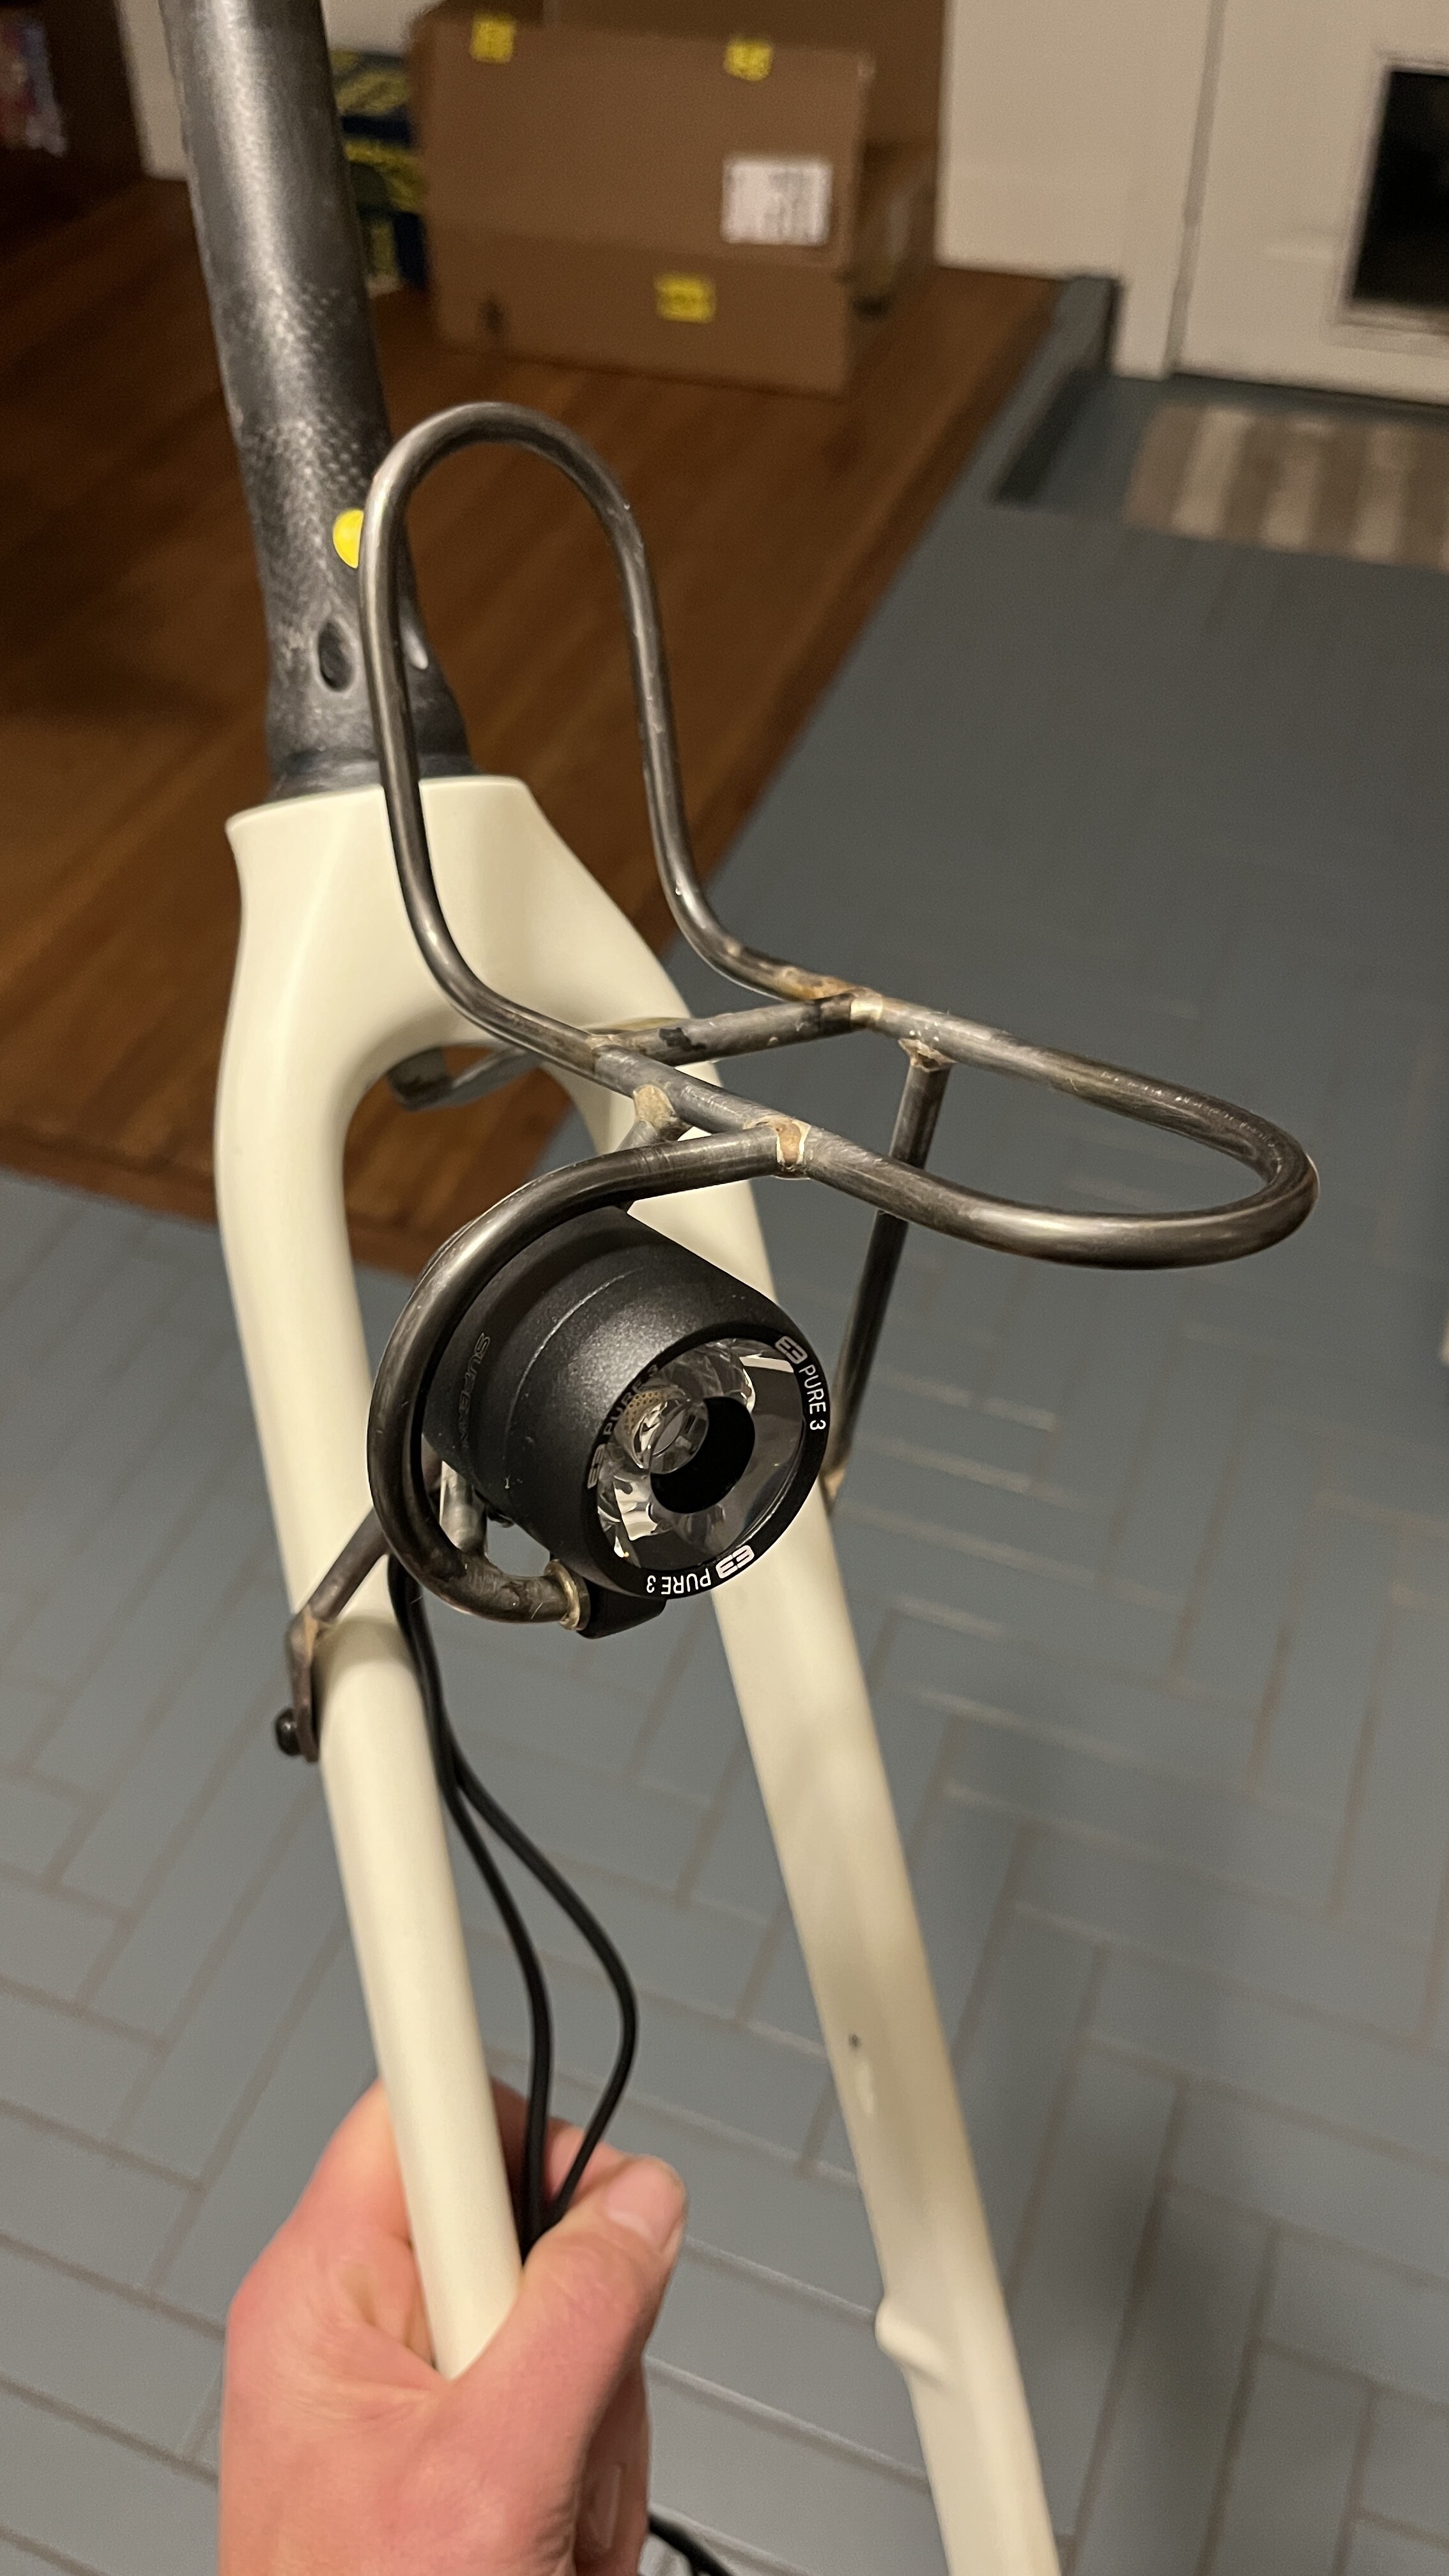
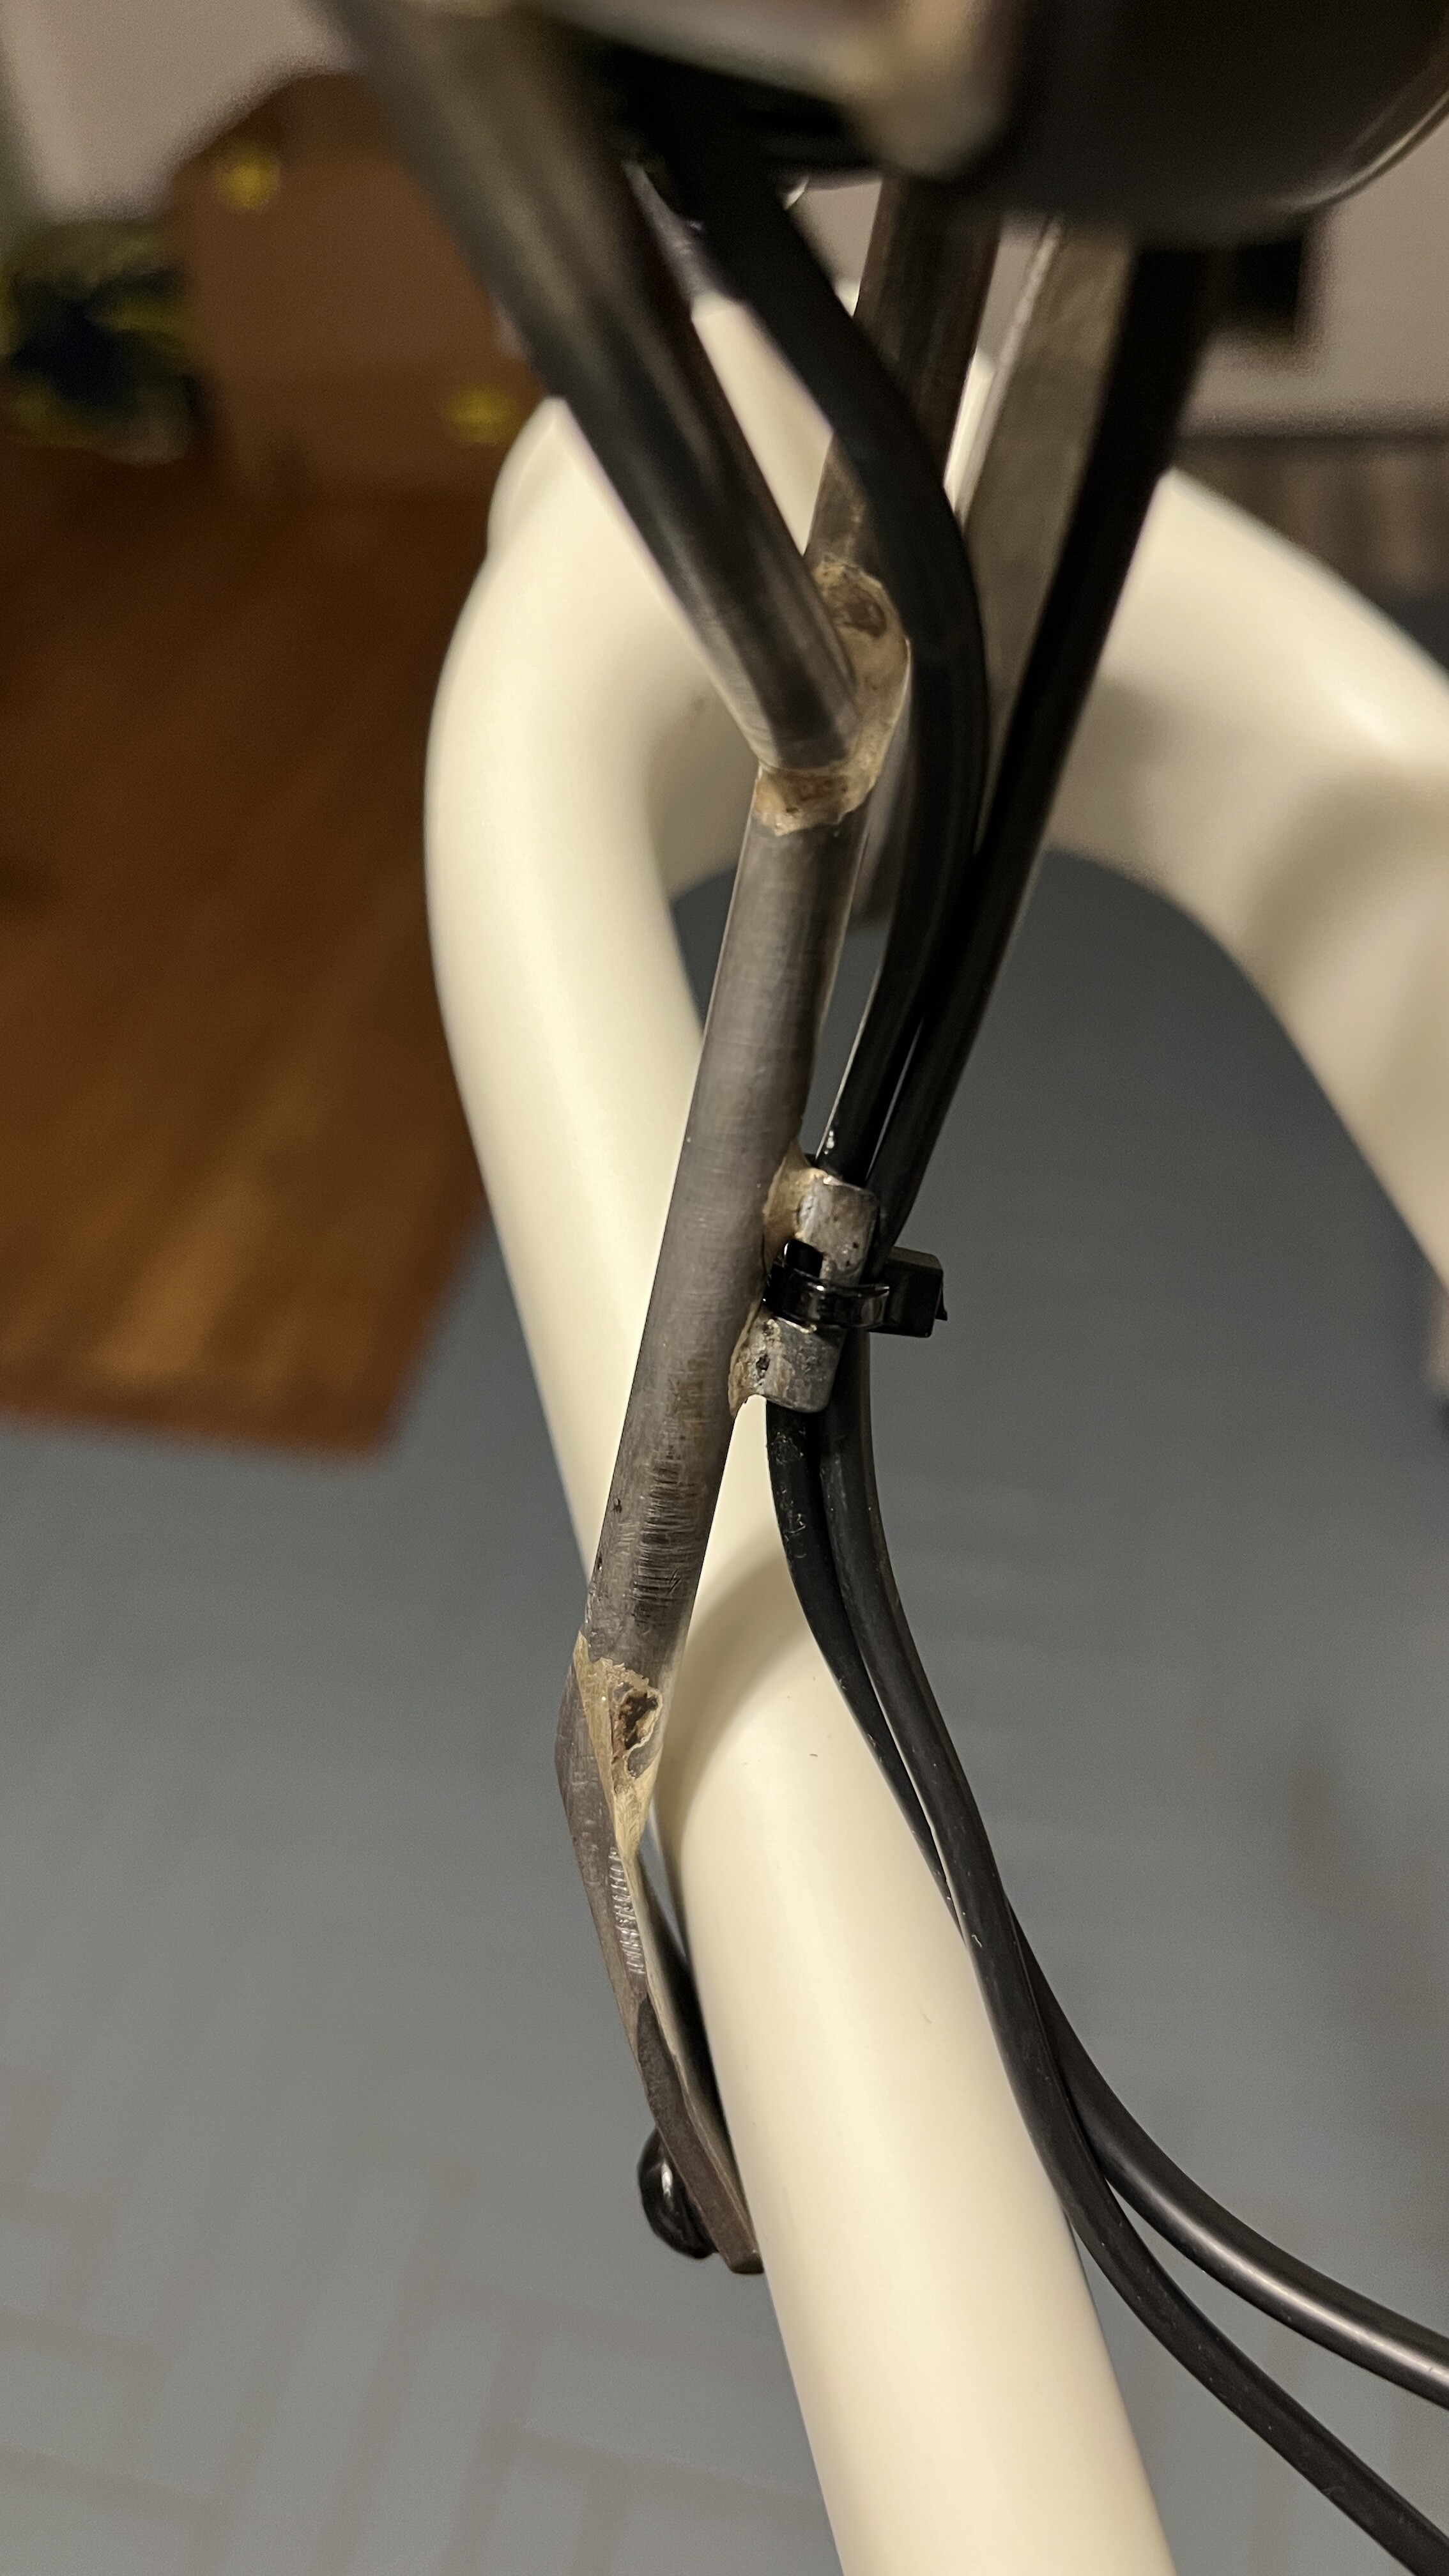
I’m setting up this bike with a Dynamo. This is the first time for me and I’m trying to make this look nice, but also be easy to work on. It’s going on a carbon bike for now. But I’d like to make it easy -ish to move over to another bike when the time comes. Who knows though, I might like dynamos so much I build up another wheelset for the next bike.
Anyway, here’s some photos of the rack I built. It’s my first rack and I gotta say that holding and fixturing was the biggest challenge. Lots of baling wire, c clamps and random pieces of metal. I was having a really good time working in my shed so I didn’t really take many photos.
I haven’t seen a ton of information surrounding best practices for rack design, so I’m totally open to any suggestions on improvements for the next time or even modifying this one. I’ll post photos of the wheel installed later, can’t post photos of the bike yet because it’s under embargo till it’s public launch.
7 Likes
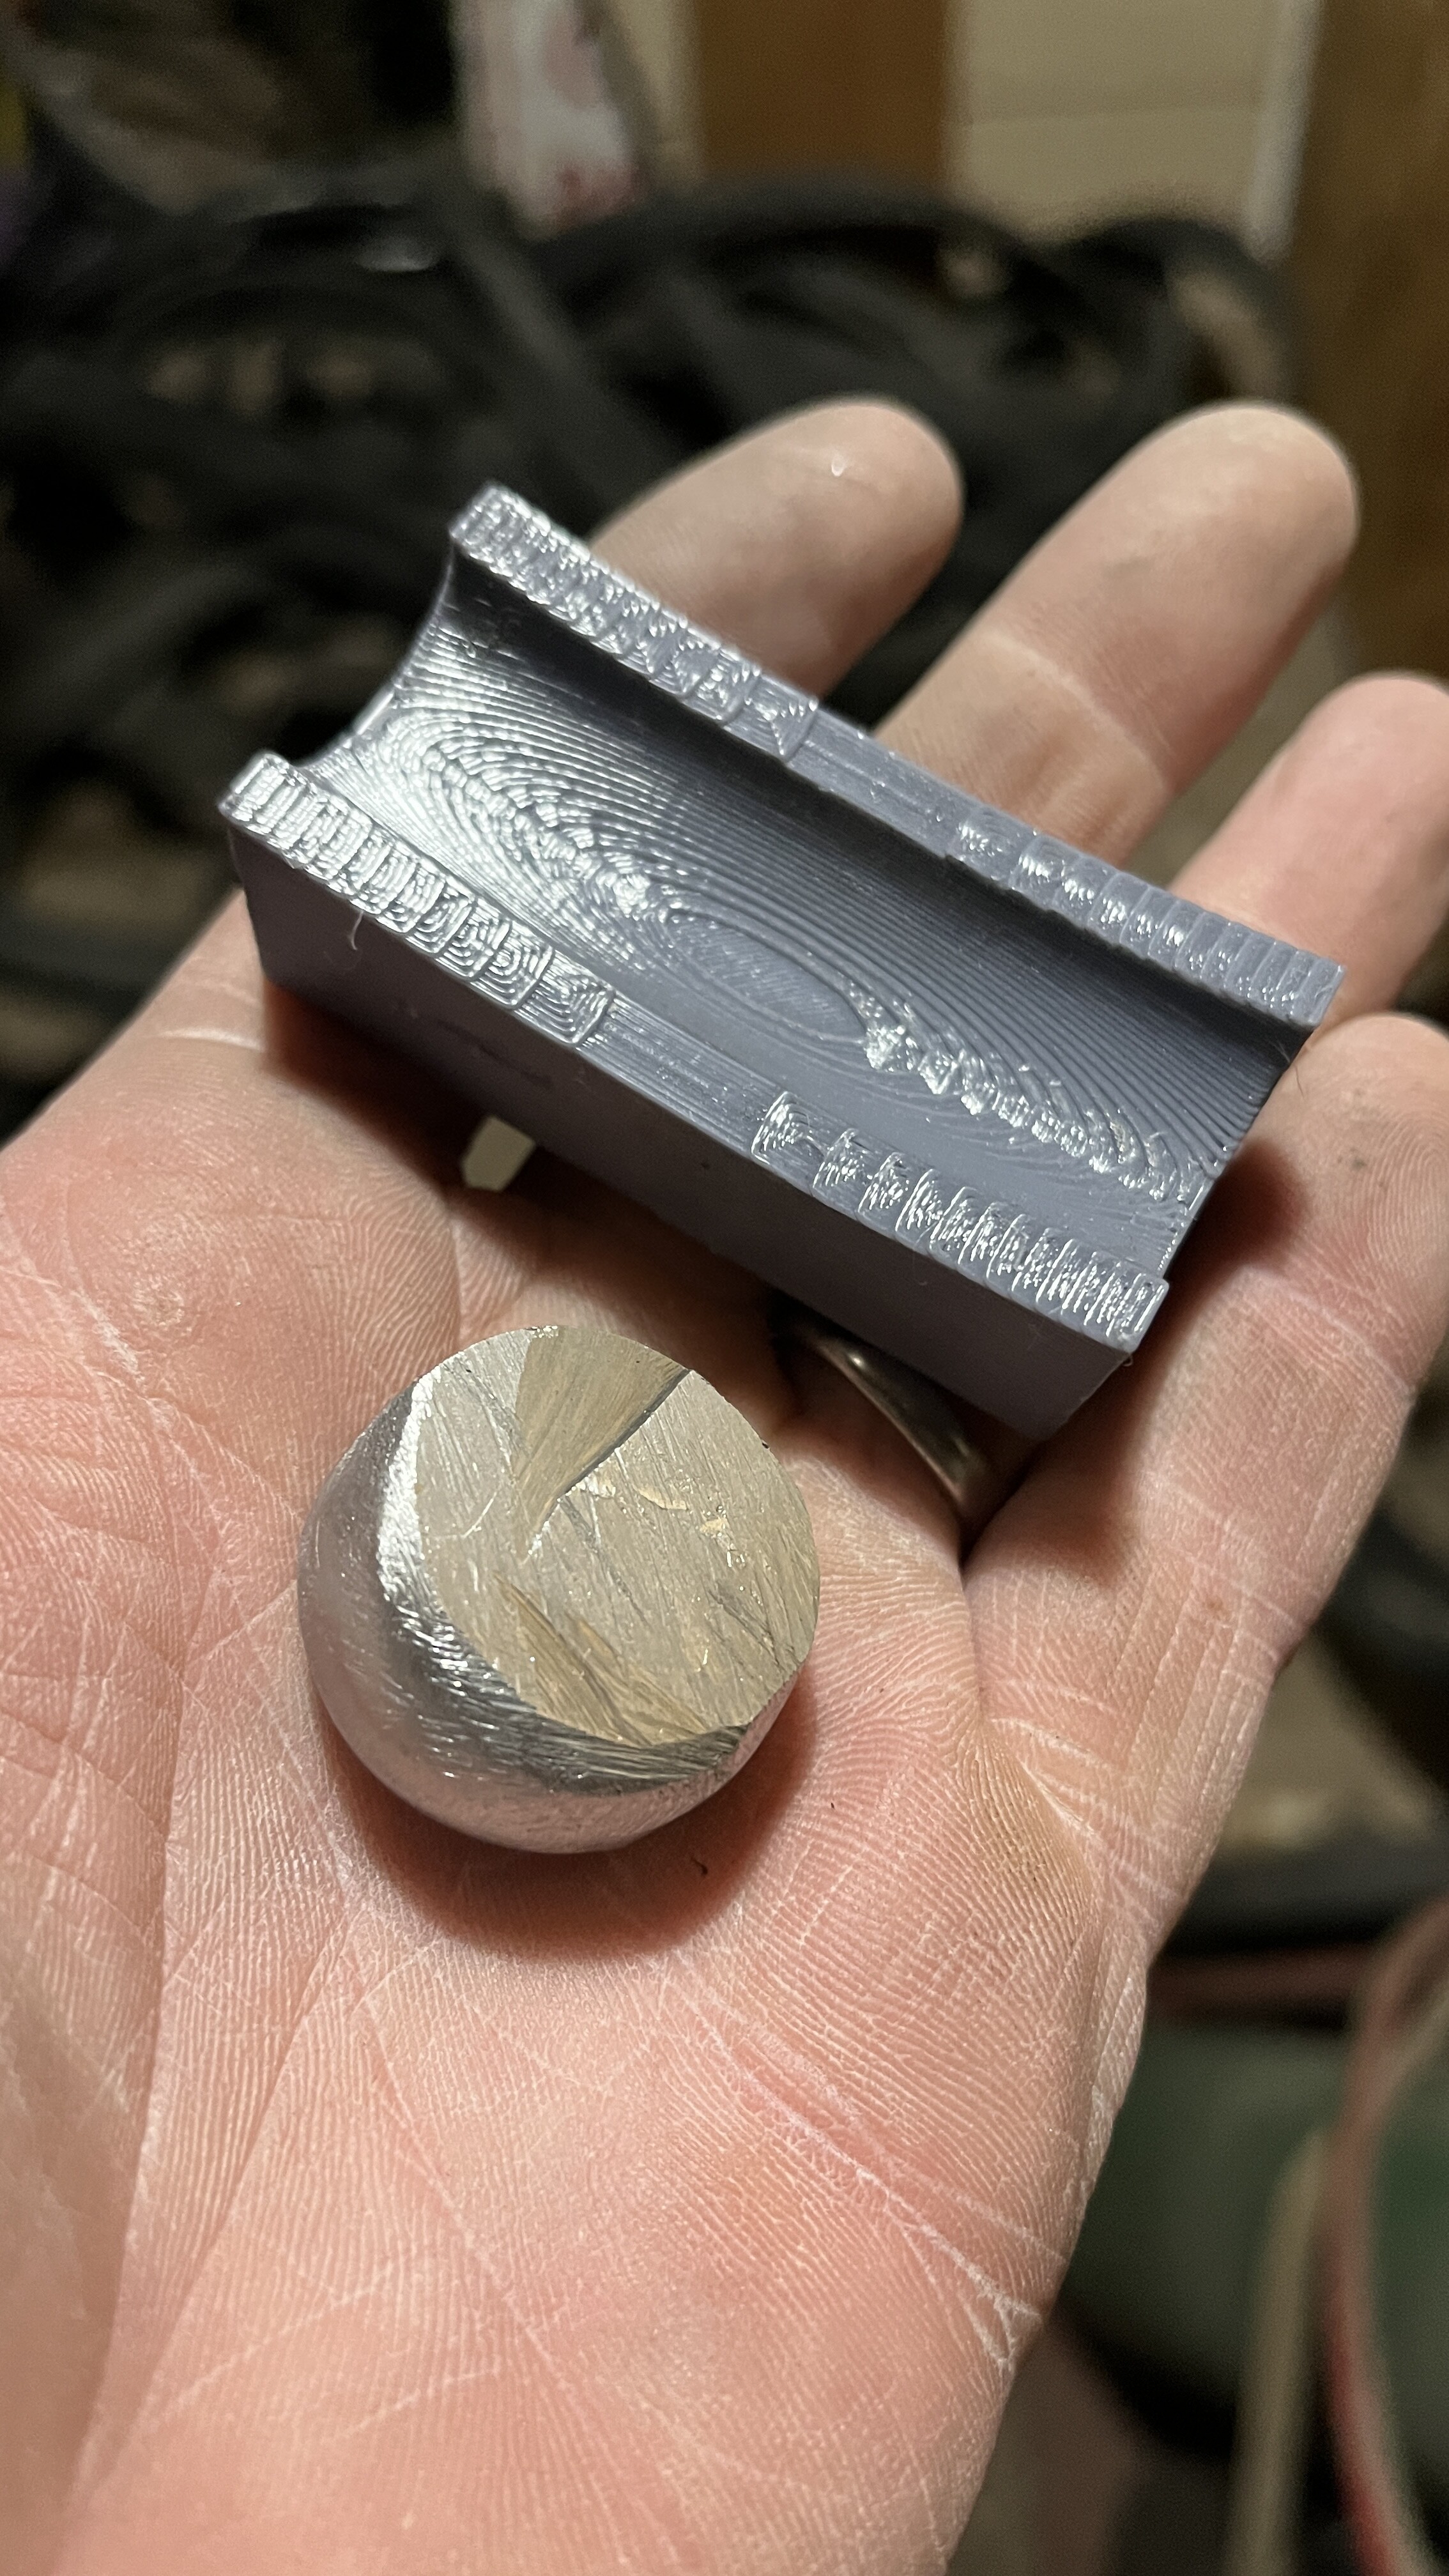
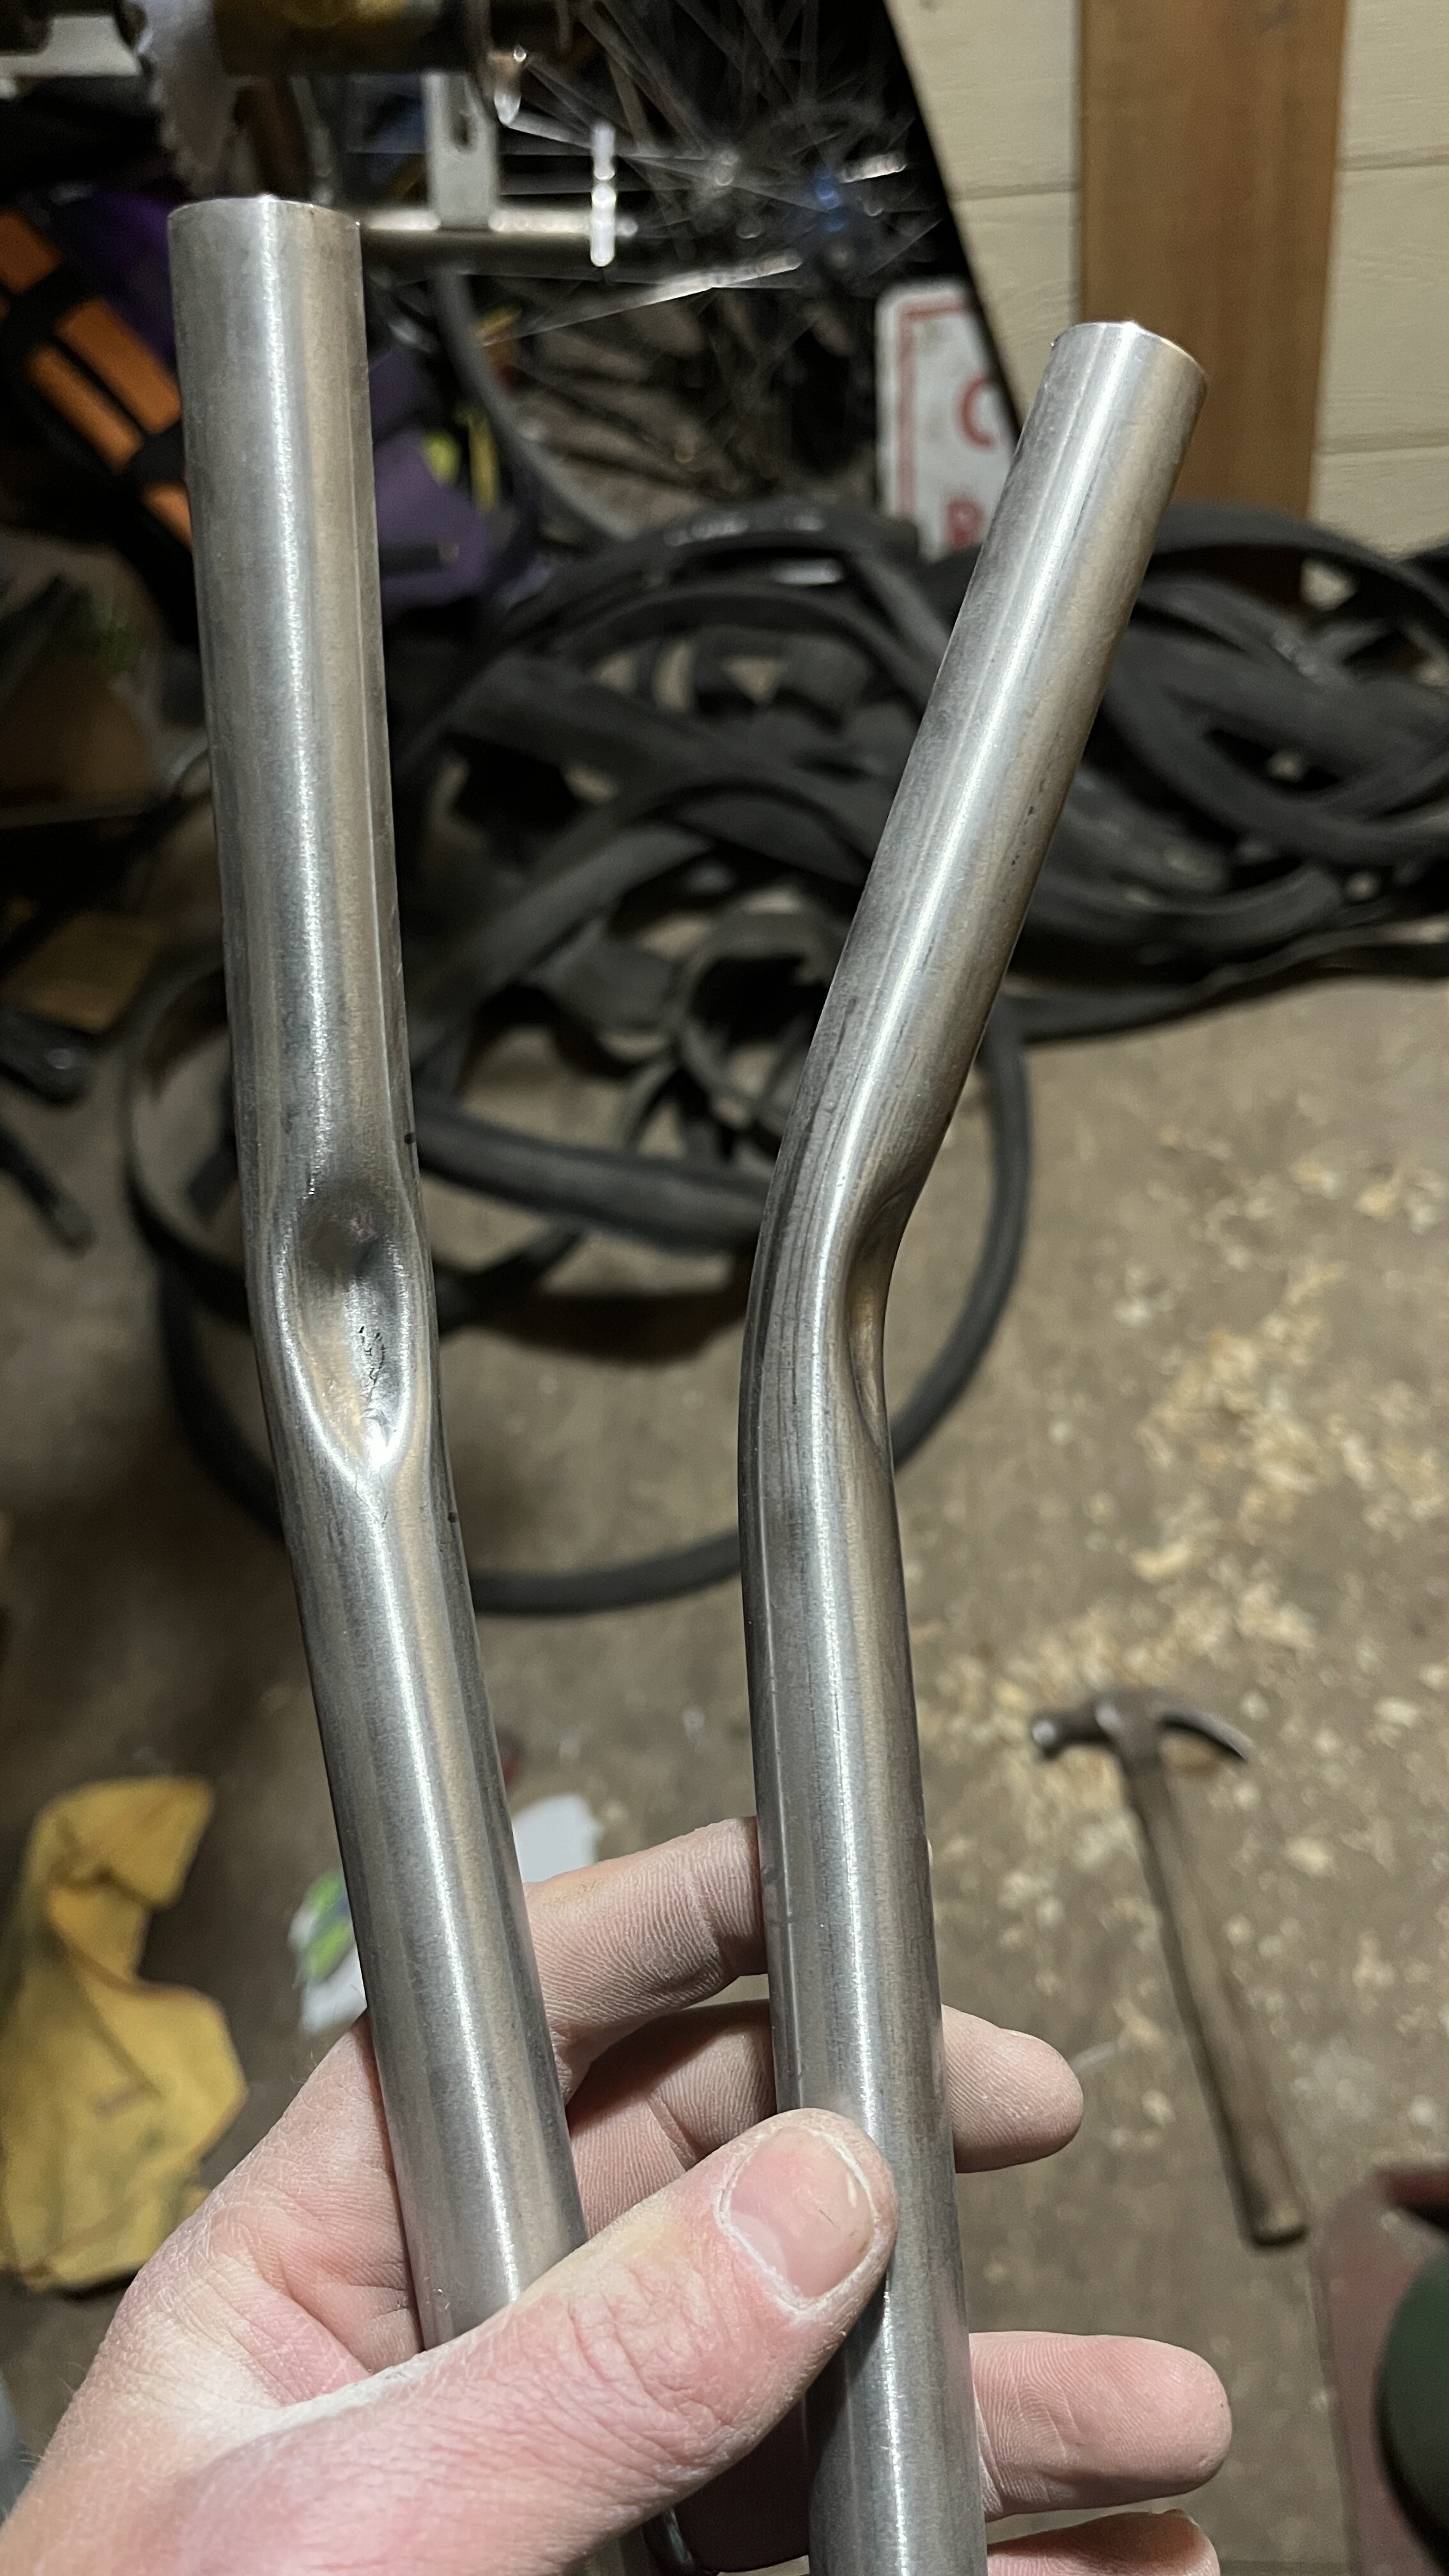
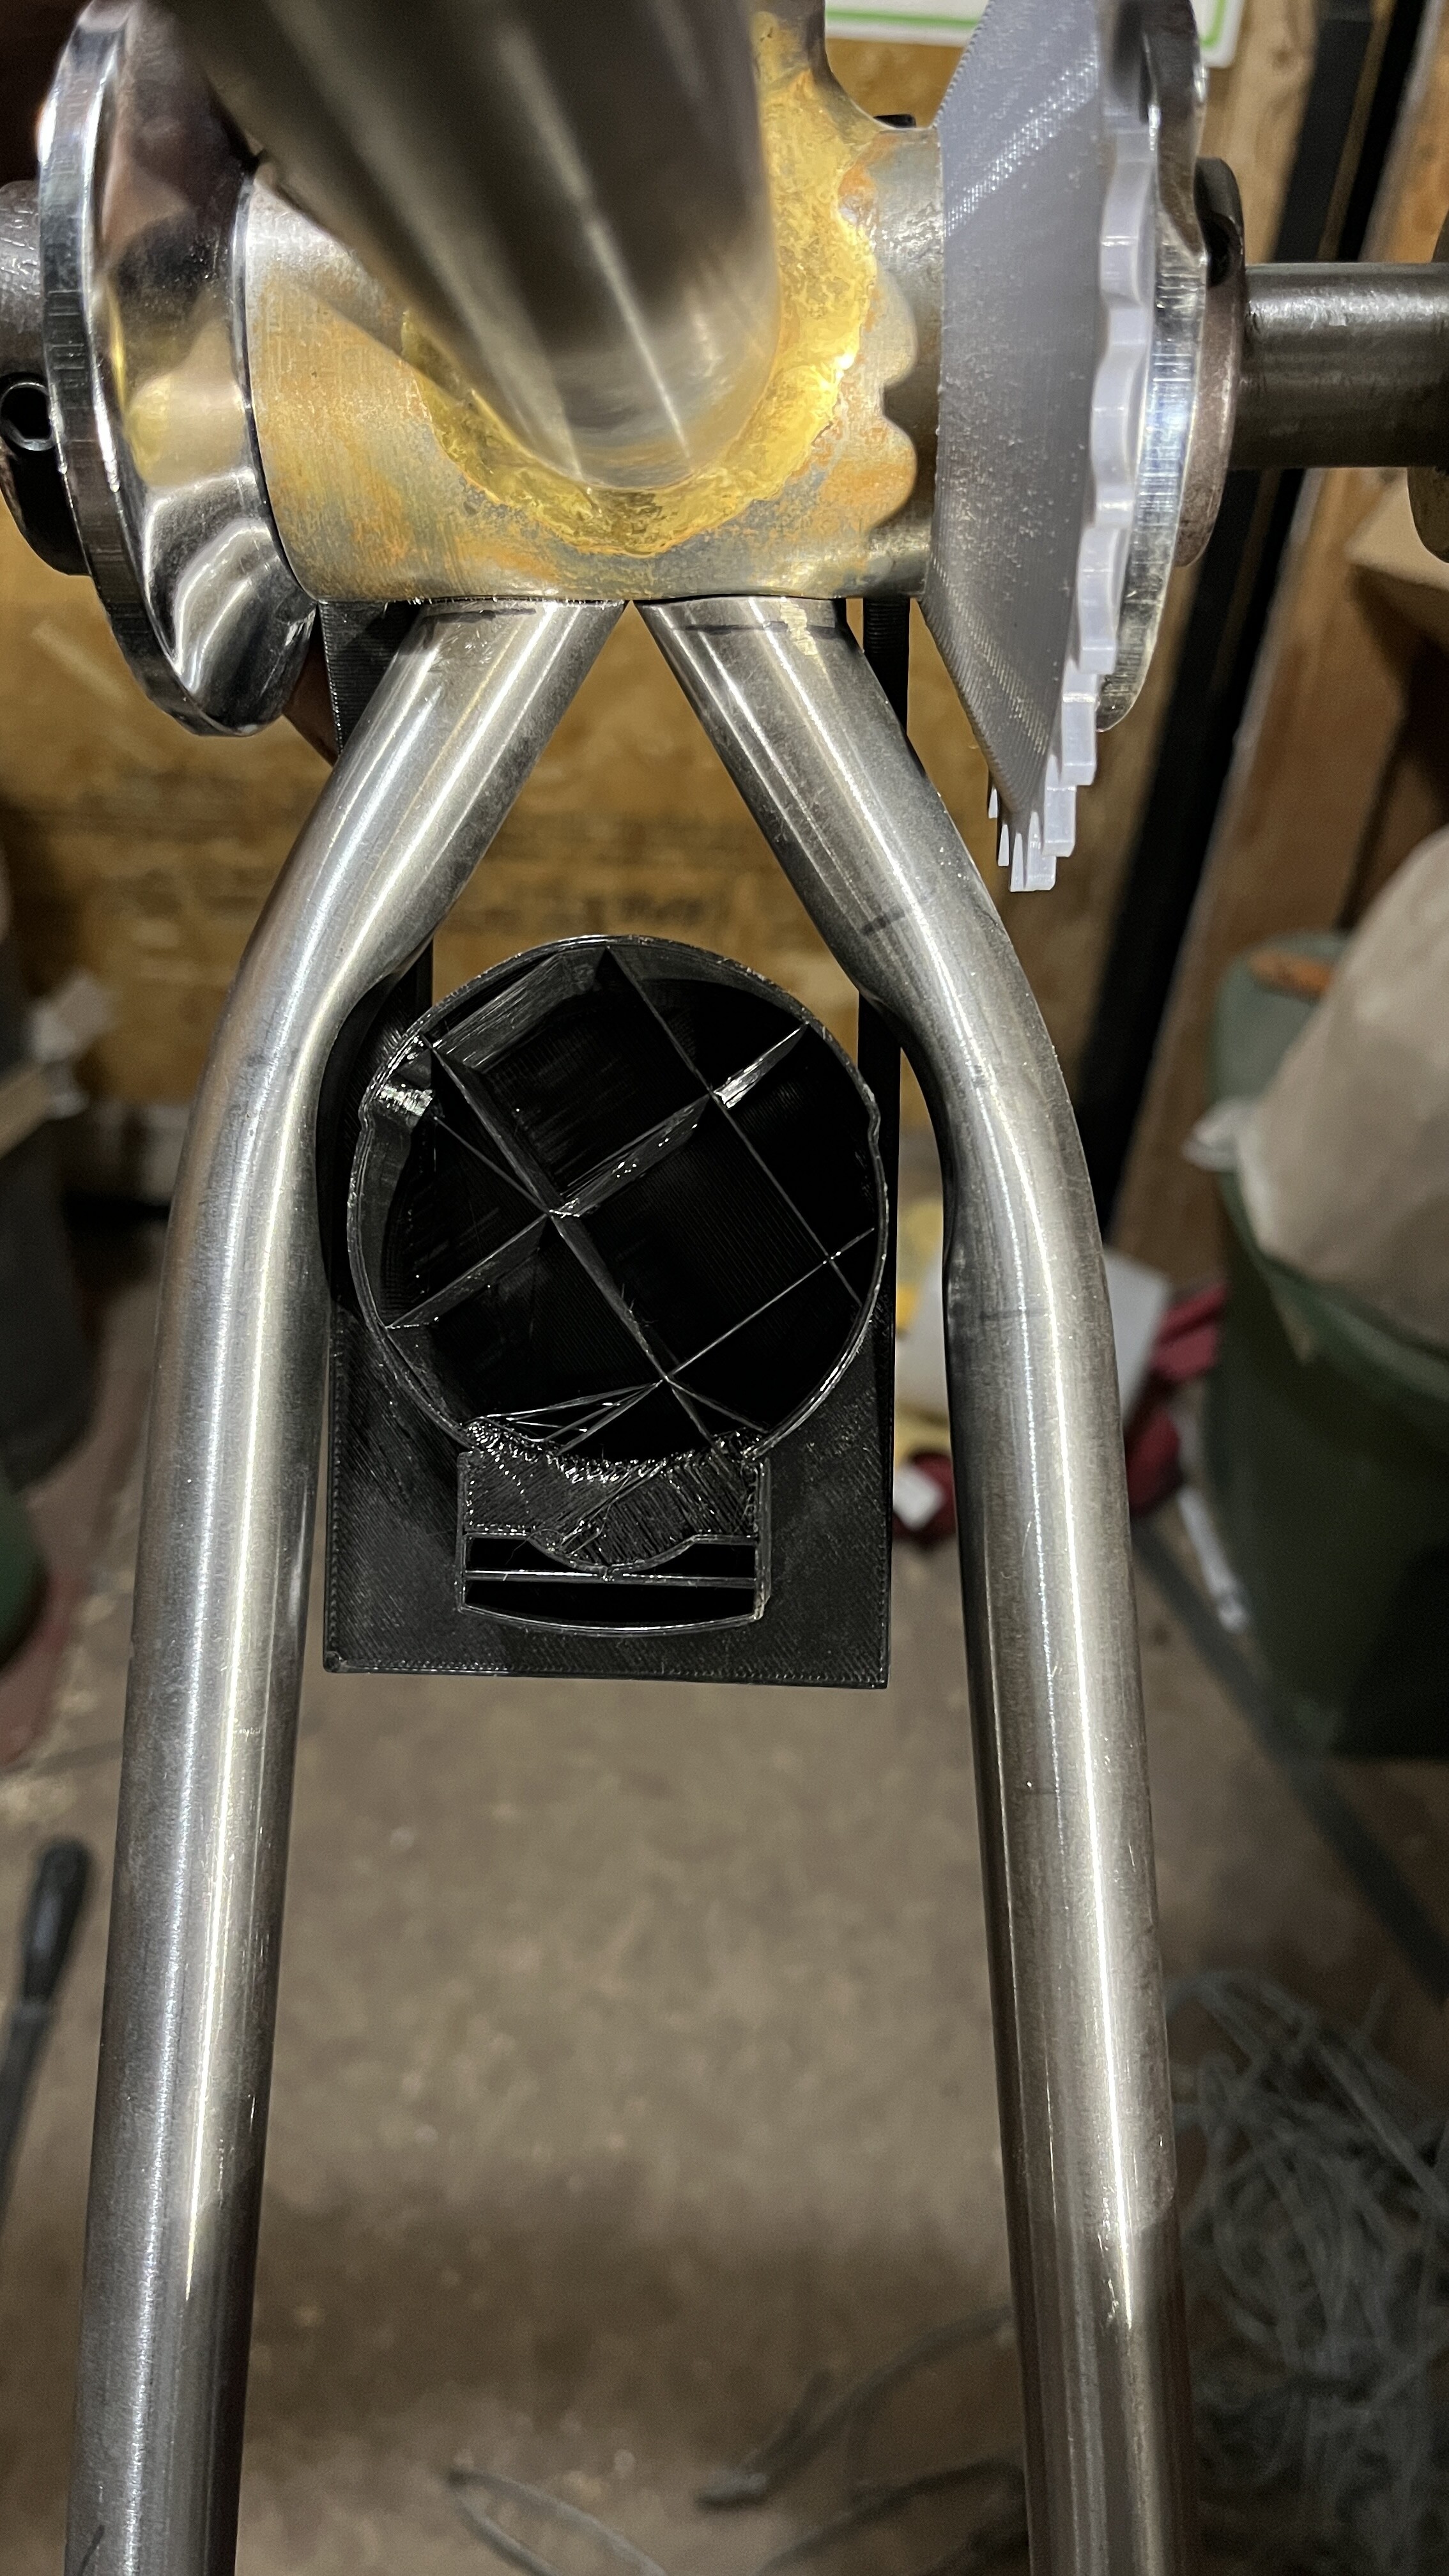
I got a burst of energy last night around 11 and I stayed up till 1:00 am to put some dimples in my chainstays. I had just found the head of a hammer in the street so I used that to make my die using a grinder, files, and some sandpaper. I had 3D printed the tube holder at work already. Hopefully this will allow me to have 2.4” tires in my BMX bike with short chainstays.
8 Likes
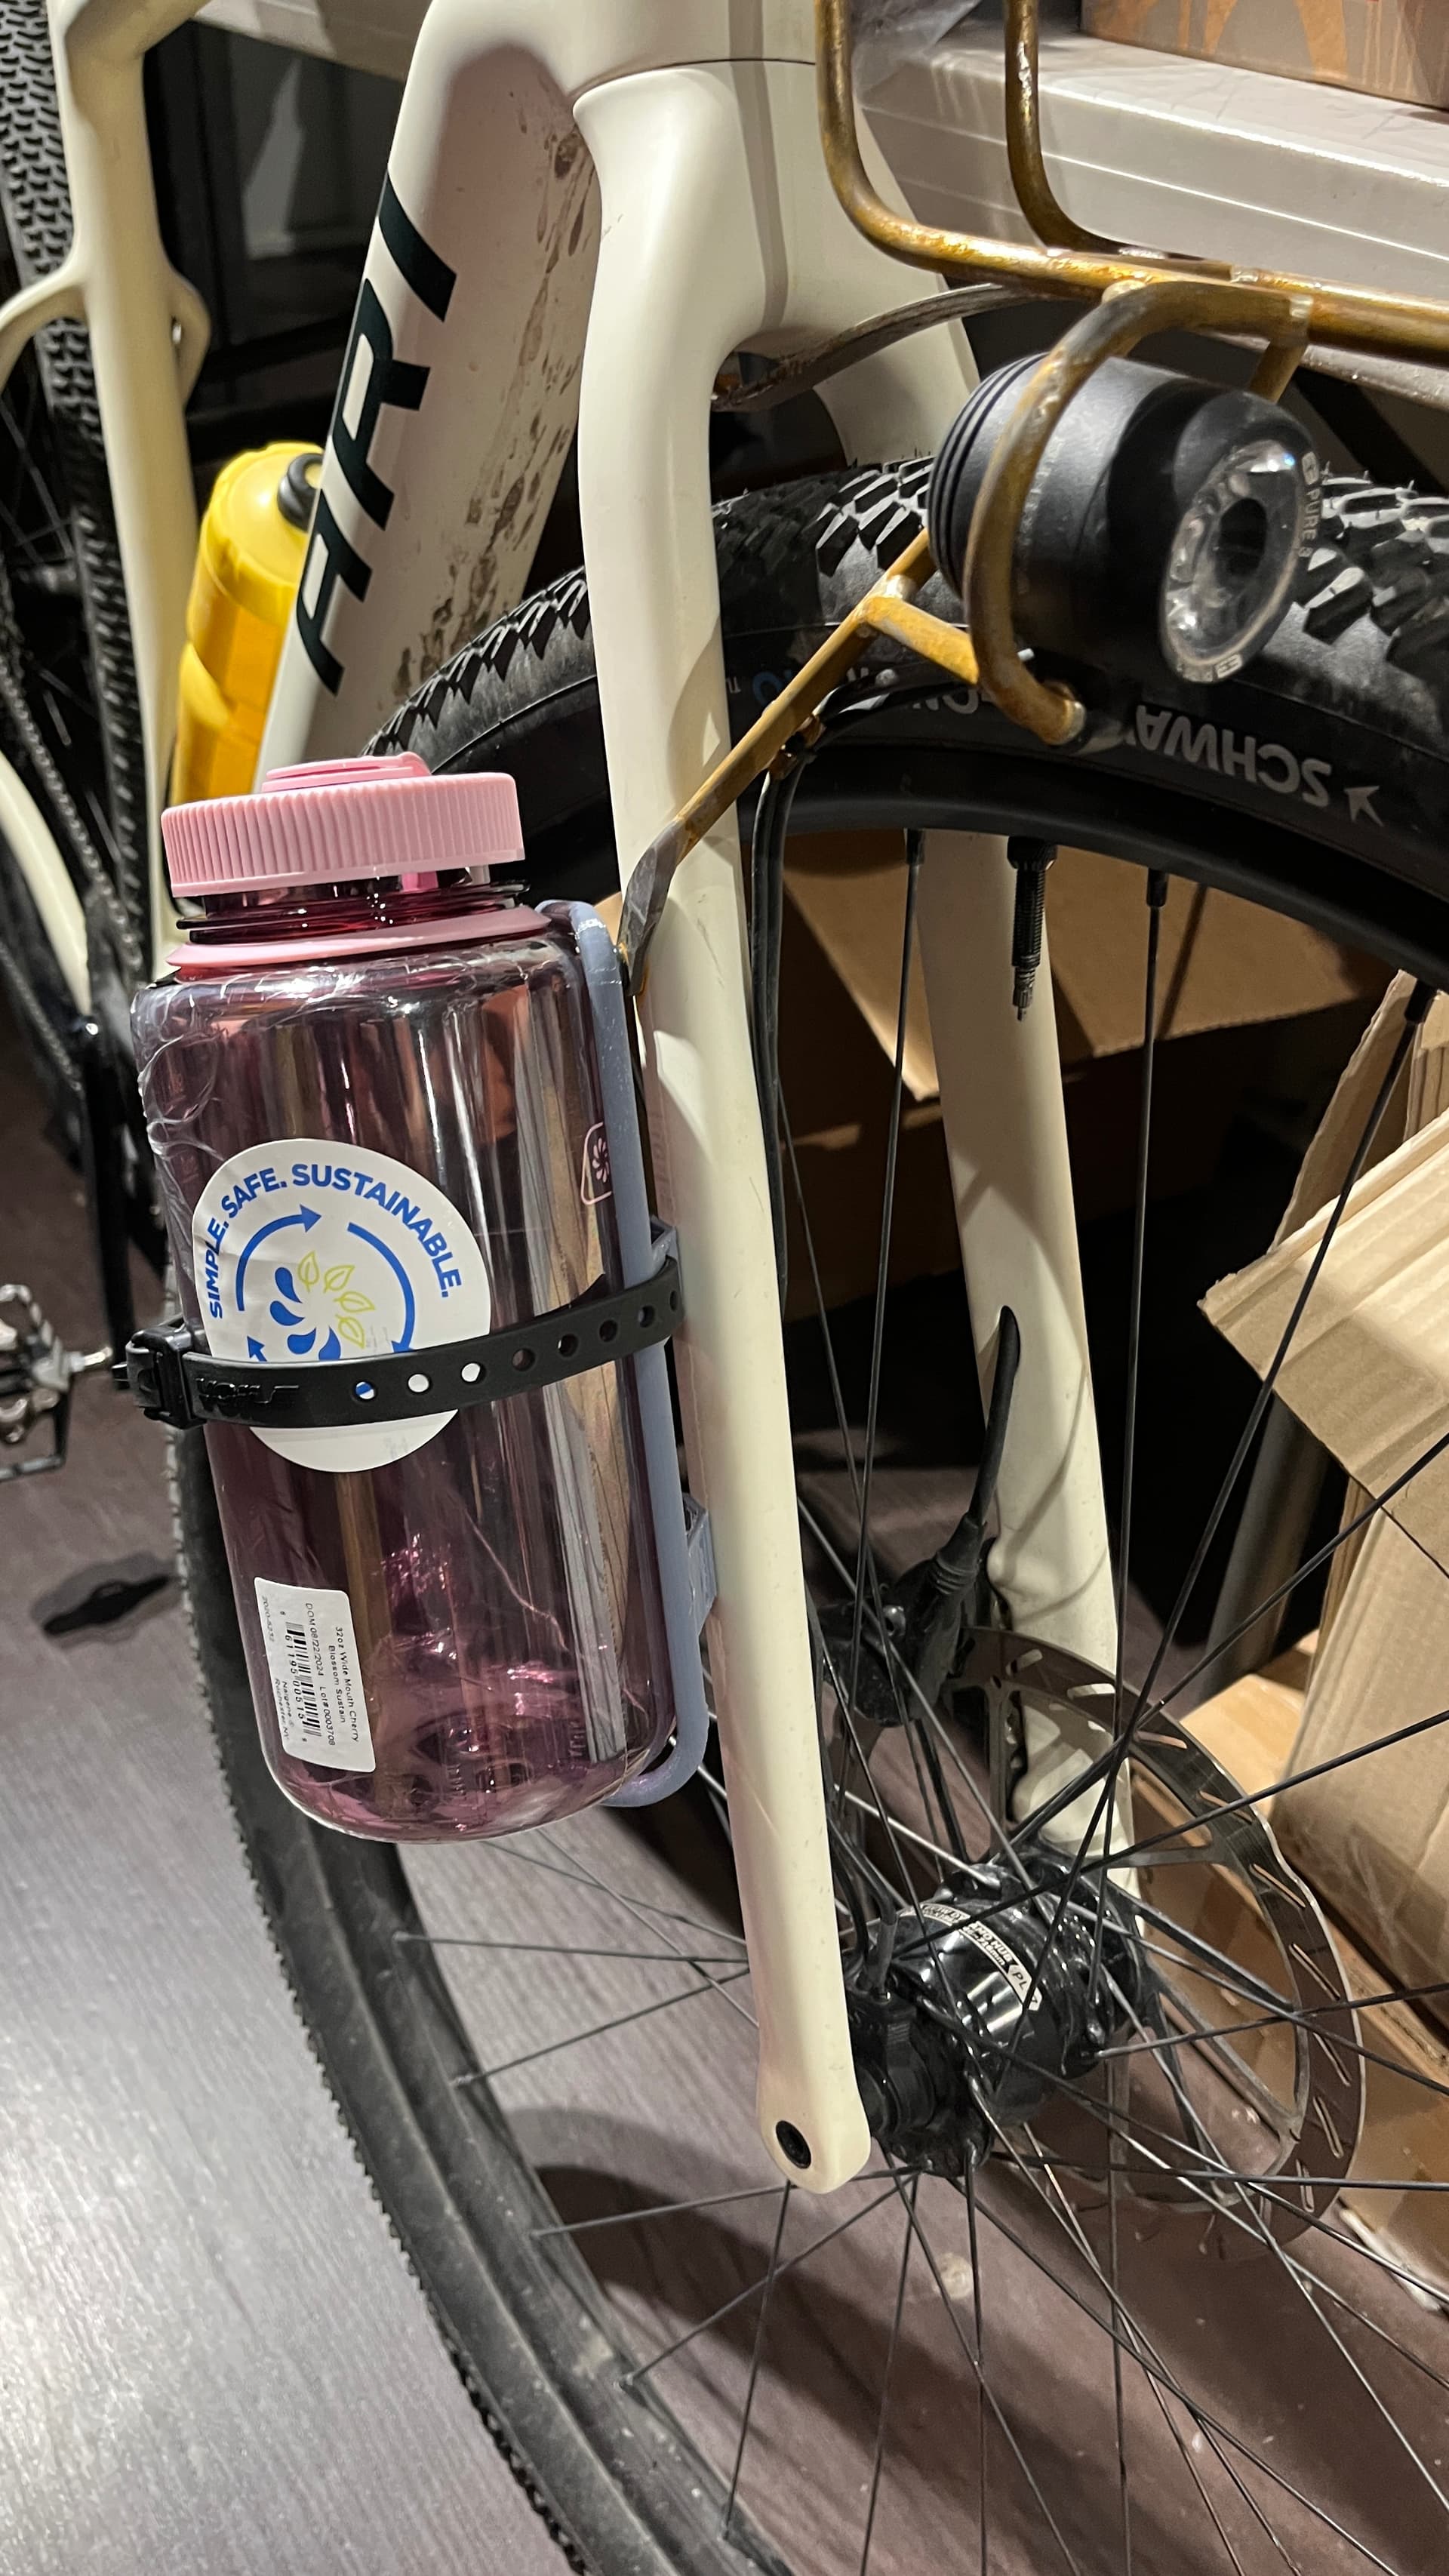
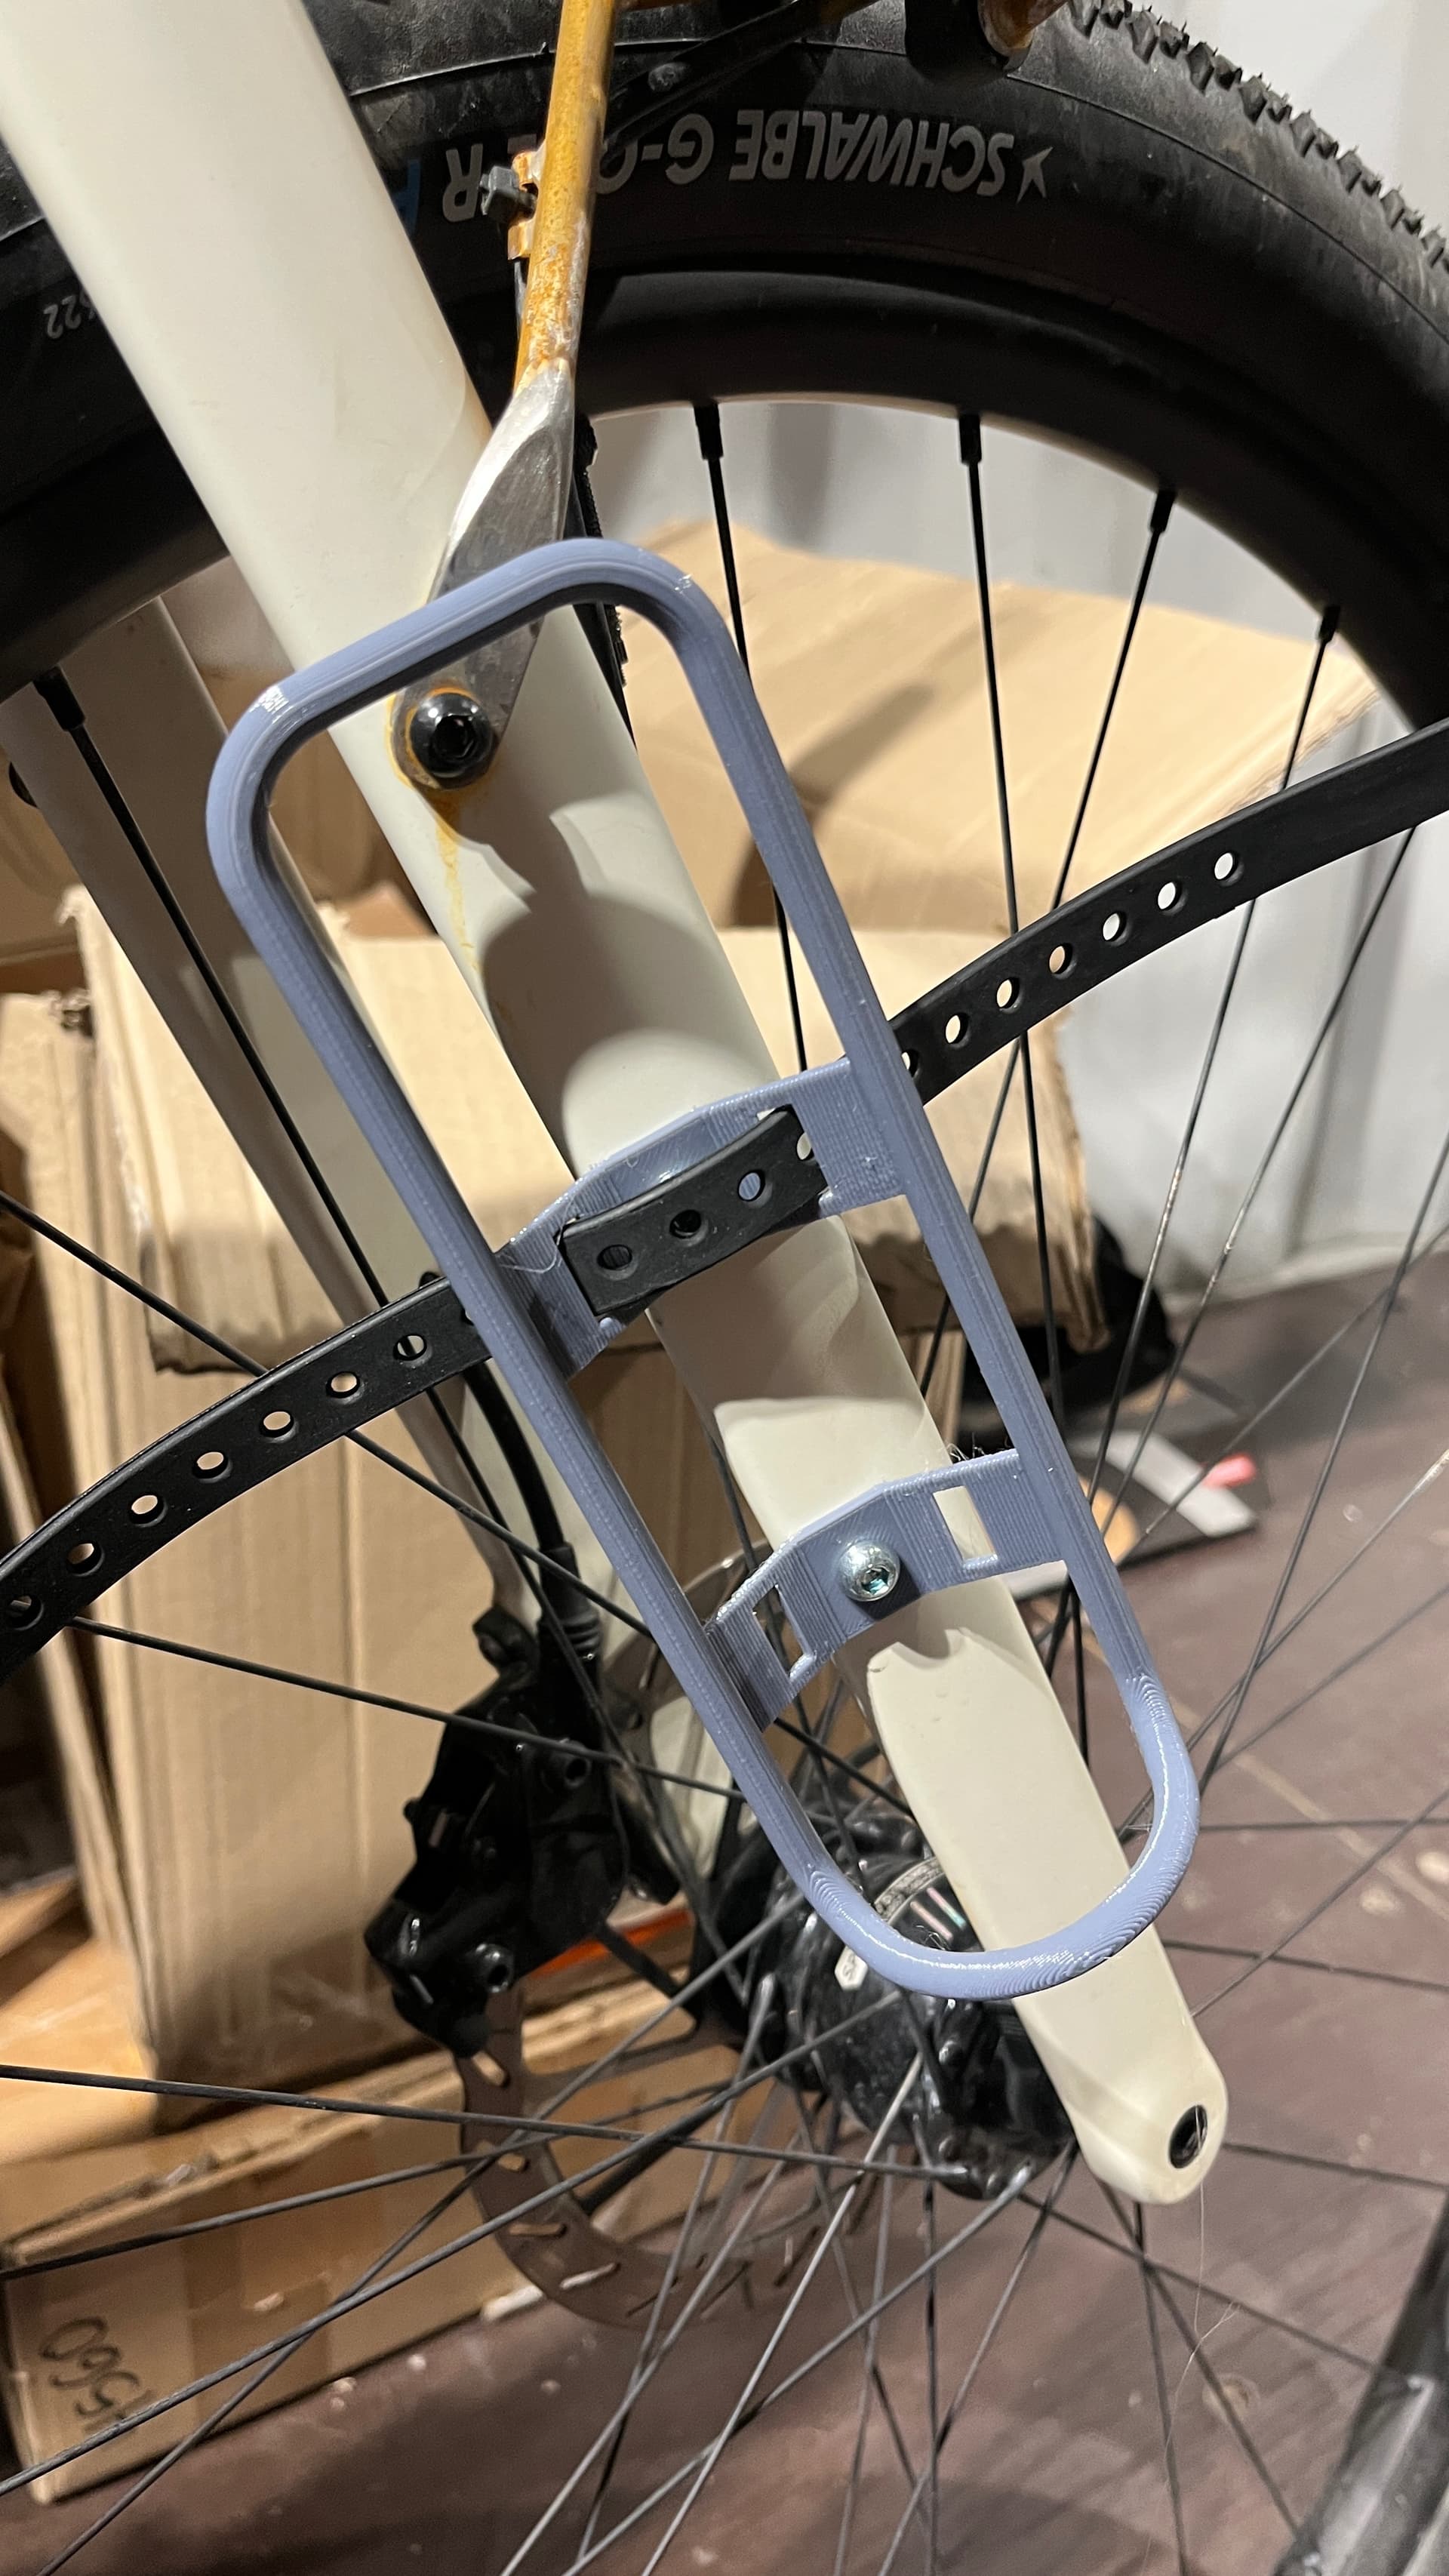
I also threw some other stuff on the 3D printer at work and have been toying with bottle cages for a Nalgene. I know that options exist, but I’m a tinkerer. I like to make things myself even if they cost more. I have a torch and I like to use it.
This is V3. It has been a fun project so far. I am planning on using 1/4" stainless tubing. The mount plates are going to be stainless from SendCutSend. They have stainless 304 in .074" thickness (1.88mm) which I think is thick enough. If not, the next size up is .1" (2.54mm)
After V1, I realized that the tube bender that I have is too large of a radius bend. So I found an option with a tighter radius. With the 3D print, I was able to test fit it on a bike and I think it’s gonna be perfect. I plan on both mounting plates being compatible with a voile strap so that if you want to strap a dry bag or something other than a Nalgene, you can. Also it saves on cost to cut out more of the same part. Hopefully I’ll throw some money at my computer screen soon so I can get the bender and tubing and start building these.
6 Likes
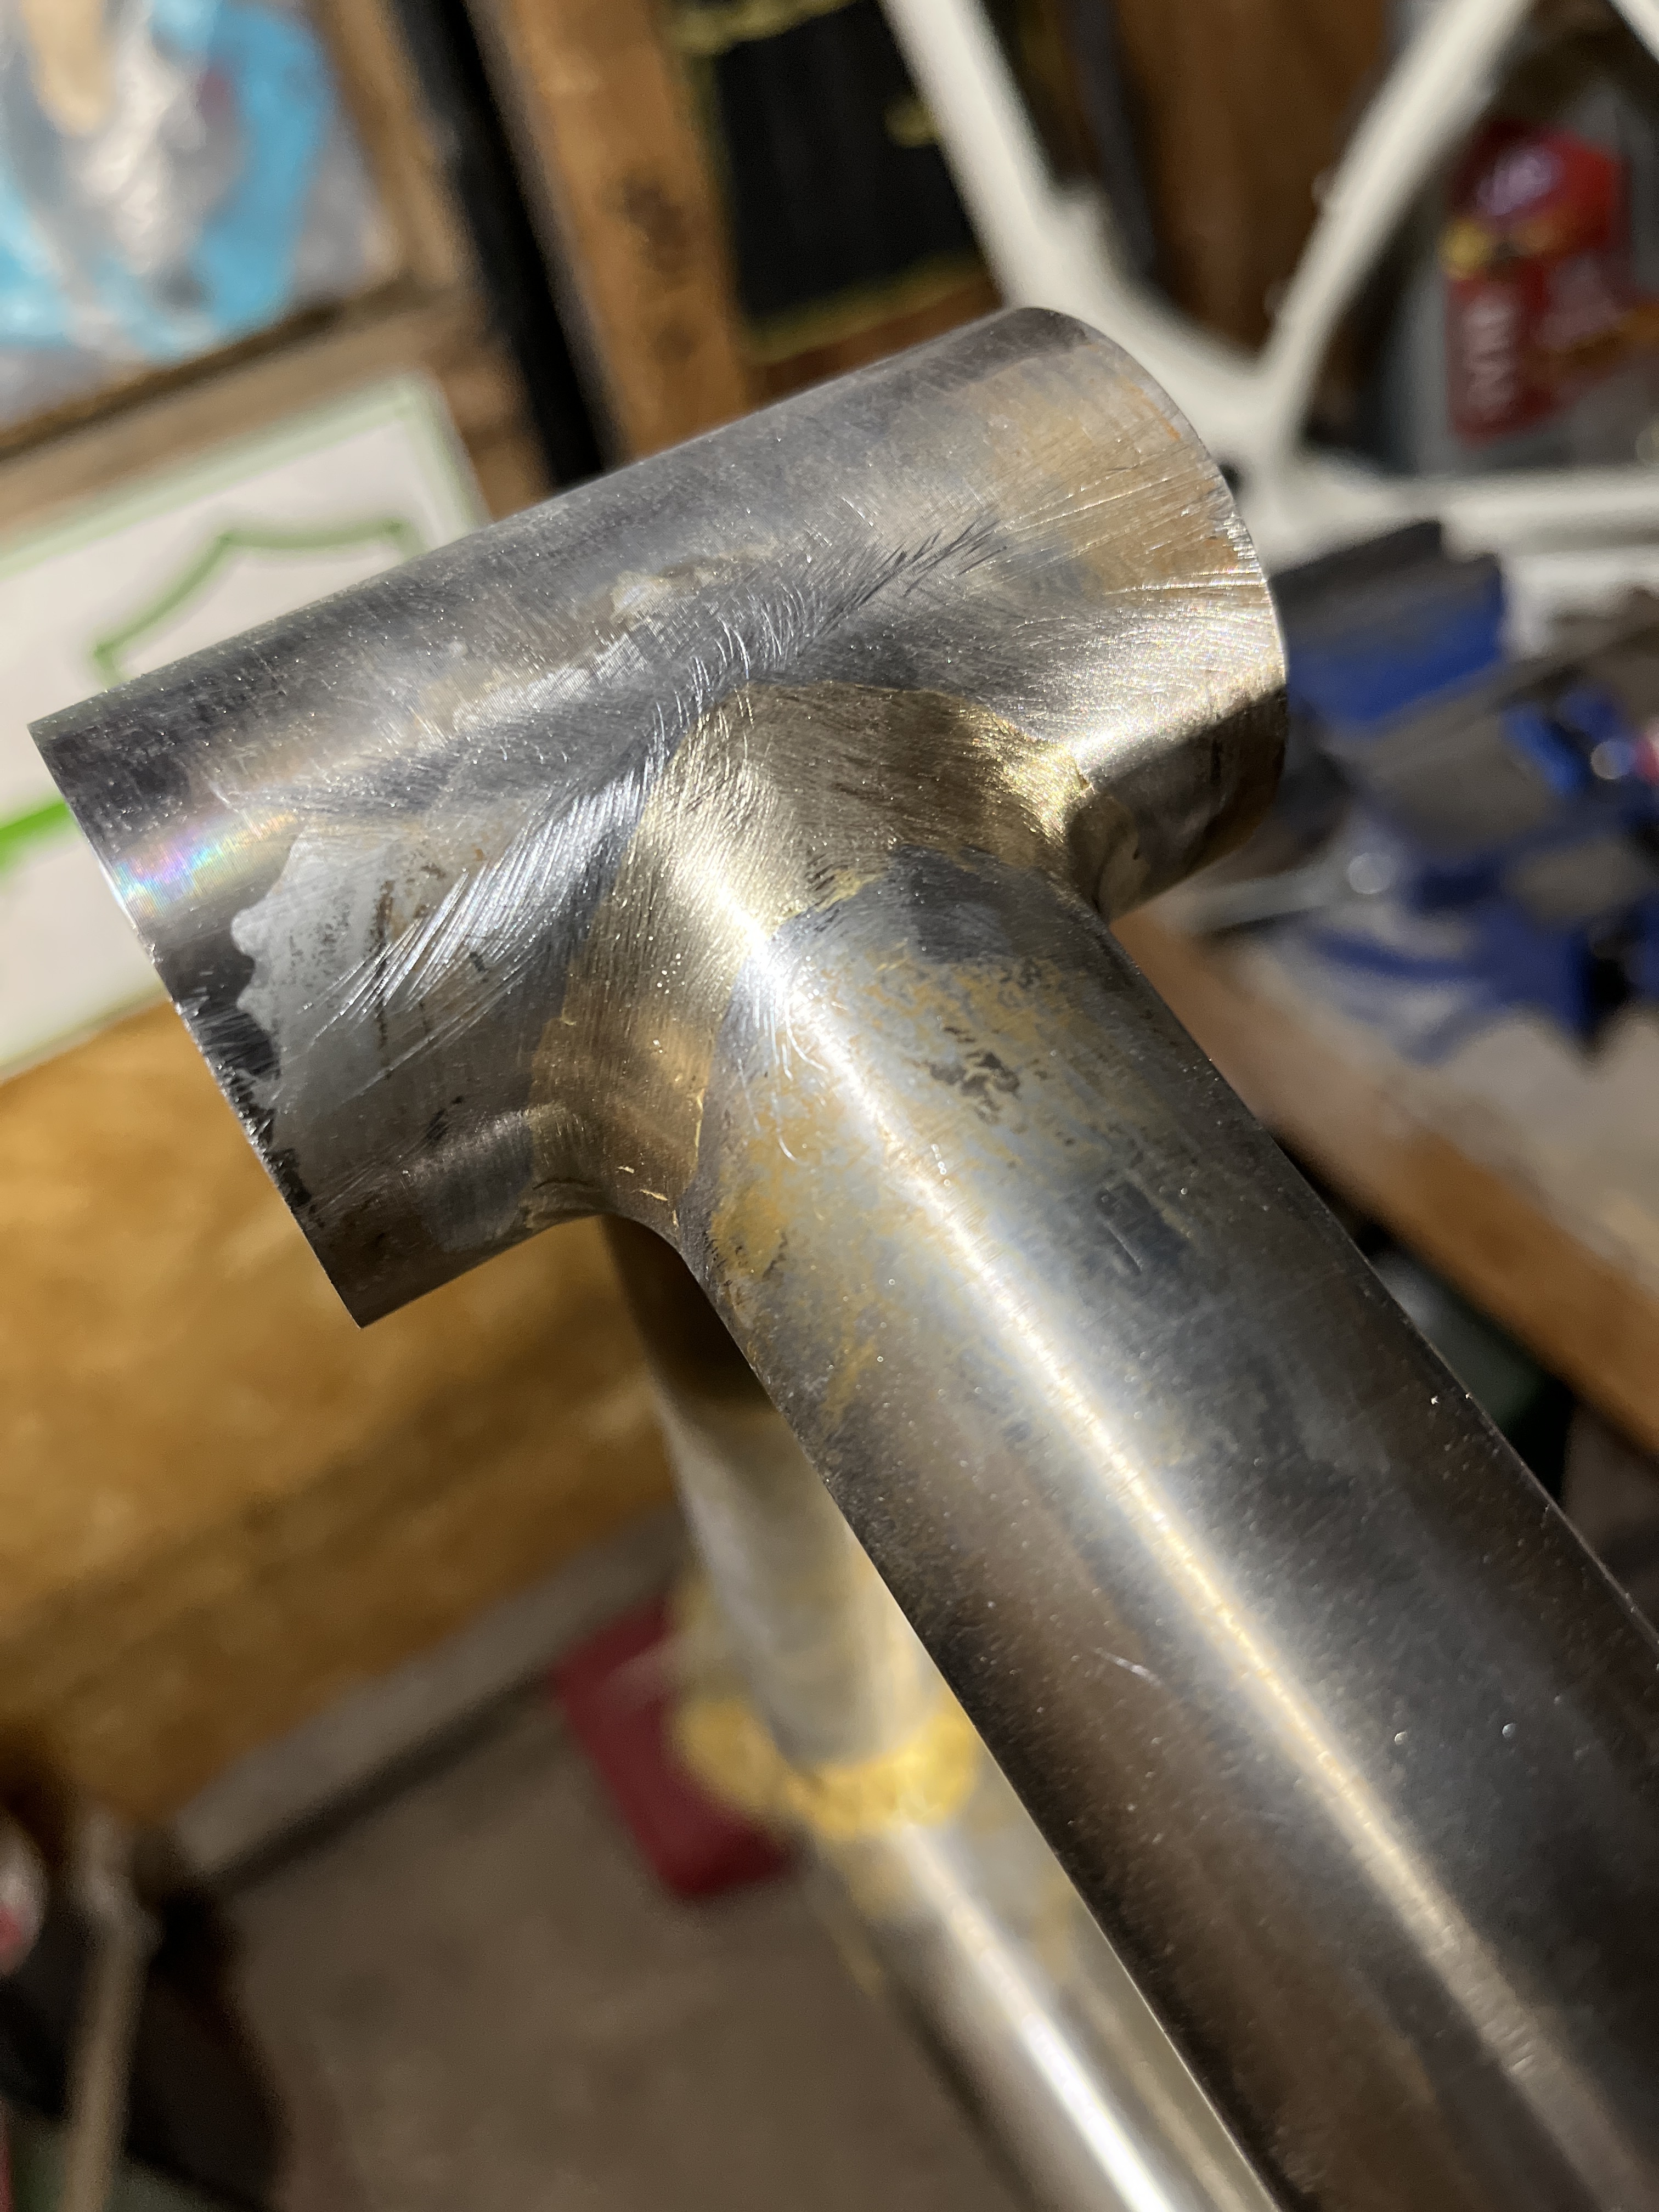
My 3d printed tire clearance tool ran out of filament on the printer, but it was finished enough. Looks like I’ll be able to fit my tires and chainring just fine. The chainstays are ready to braze. Gonna do the seatstays next before I do start brazing.
On another note, how do ya’all get your fillets to look so nice and finished. Filing and sanding these down sucks.
And once again the BB was better looking than the head tube. Which is why I don’t have any photos of that.
2 Likes
Looks like I measured well. I might even have room for a bigger chainring than 25. Or I might have just enough room to be able to fiddle with the chain line. We’ll see. I’m waiting on a headset and chainring and BB to come in.
6 Likes
what chainstays lenght you went for ?
1 Like
I think 12.75" in the middle of the dropouts. Likely 12.5" at the shortest. I might be able to run more than a 25t sprocket, but only barely. I’ll give you an exact measurement. Those are just from my CAD drawing and I haven’t really checked to see how close my frame is to my drawing.
1 Like
Wooooo, that’s short! It looks short but, damn, that’s a little rear end. The clearance looks gorgeous and perfect. Really, really nice.
1 Like
Thanks. I’m pretty happy with it. I think I gave it a little more chainring clearance than I needed to. But I won’t know til my cranks show up a little later this week. I forgot that when I dimpled my chainstays for tire clearance that I made the bend in the chainstays just a little more bent. Which may have made my frame not match my drawing. But the tire fits and that’s all that I care about.
I’ll get some better photos than this soon. I weighed the frame at work and it’s 4.714 lbs. I don’t know if that’s good or bad. But it has an integrated seat clamp.
3 Likes
That’s a short rear end , good you manage to make everything fit, I think you hit the limit of what’s possible to make in a shop with accessible tools and round tubes.
Weight is rather on the low side, usually the do it all BMX frames I make are on the same range, race frame usually a little bit lighter ( but I Haven’t had anyone willing to go for really light yet) and I made a batch of street riding dedicated frames earlier this year that came out at nearly 5.5 lbs.
Have fun with your new steed!
2 Likes
Maybe you’ve already seen it, but if not Paul’s fillet brazing method seems like a good way to get smooth fillets!
I choose to not file because… I prefer the look?… yeah let’s go with that. Nothing to do with how long and annoying filling is 
https://youtu.be/Y2CnJ9lmlQo
2 Likes
Really cool Bike!
I can‘t wait to see it build up.
Do you mainly ride street?
1 Like
I don’t ride a lot of BMX. I have always wanted to improve and it’s like $100 in tubing to build a BMX frame. I bought a bike for $80 to use the parts from and then I bought about $80 in new parts. I figured that’s about as good as I can get a competent BMX bike for.
3 Likes
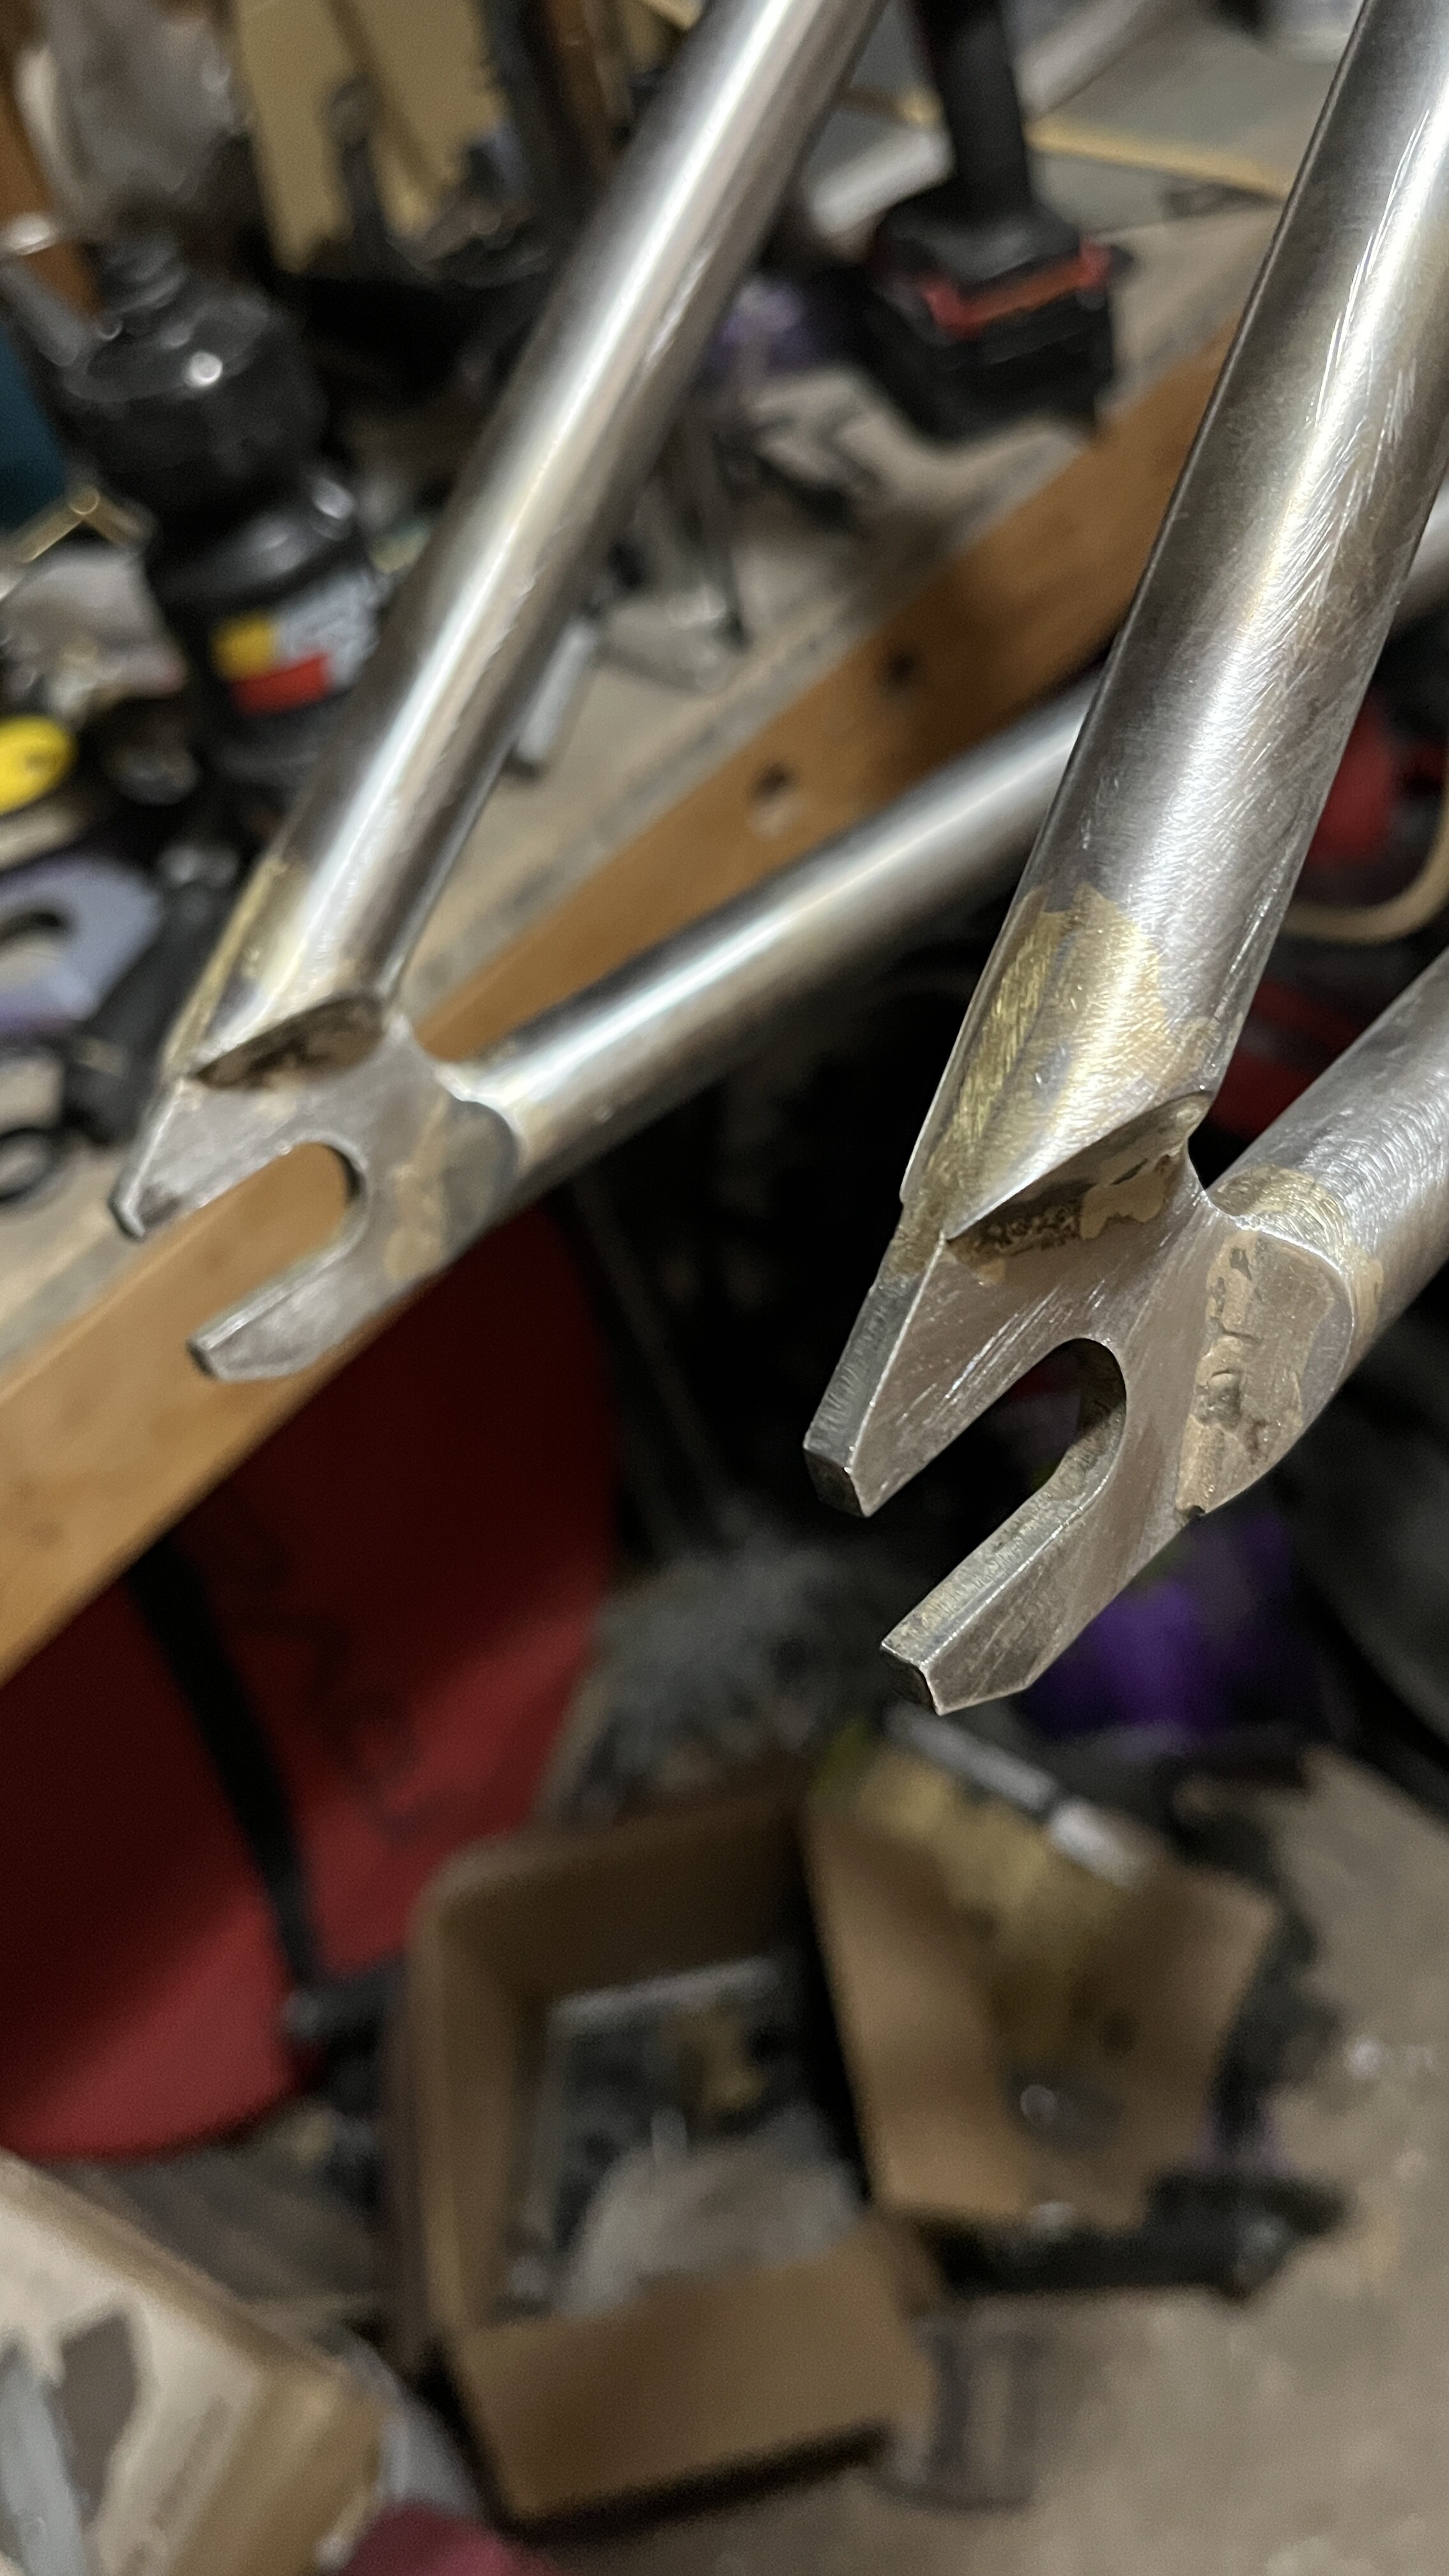
At the suggestion of others, I capped the chainstays and seatstays.
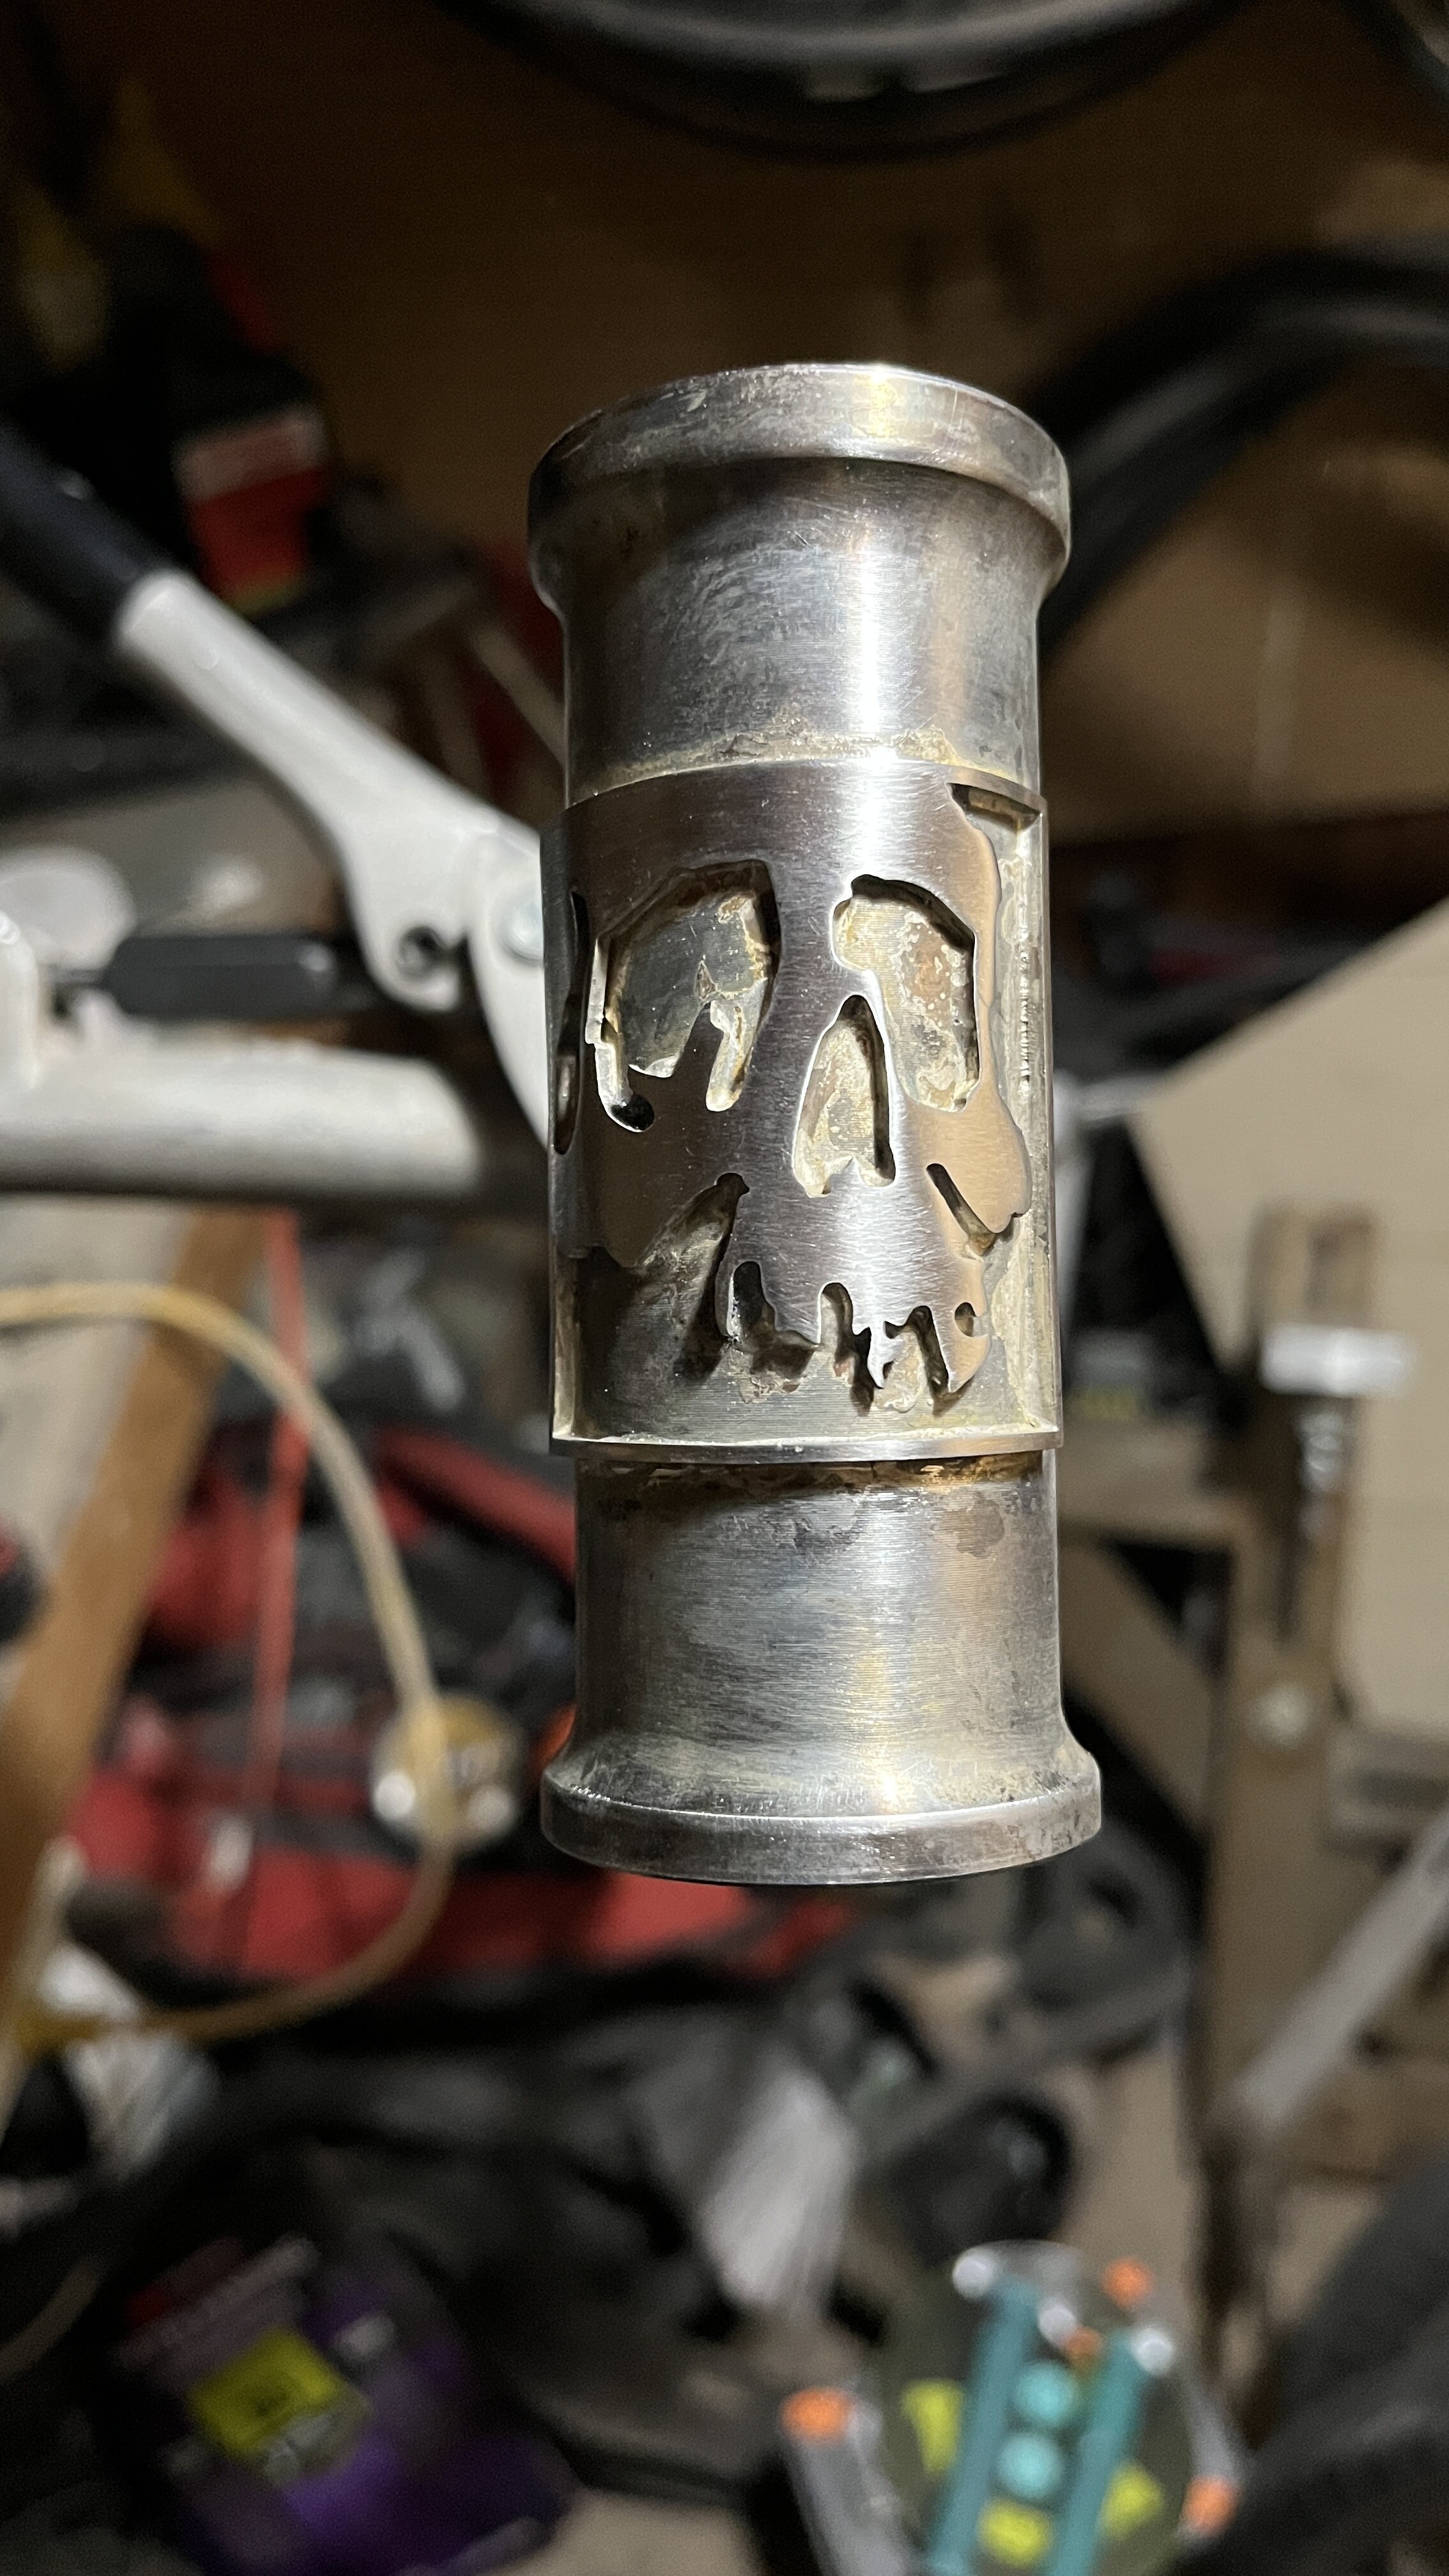
Since I had the torch lit and I don’t have any logos or brand names to put on my frames, I brazed on a stainless head badge. Before and after a little bit of filing and sanding. After paint, I’ll sand it down again so it pops.
3 Likes
That looks awesome! Would love to see how you capped the stays.
1 Like
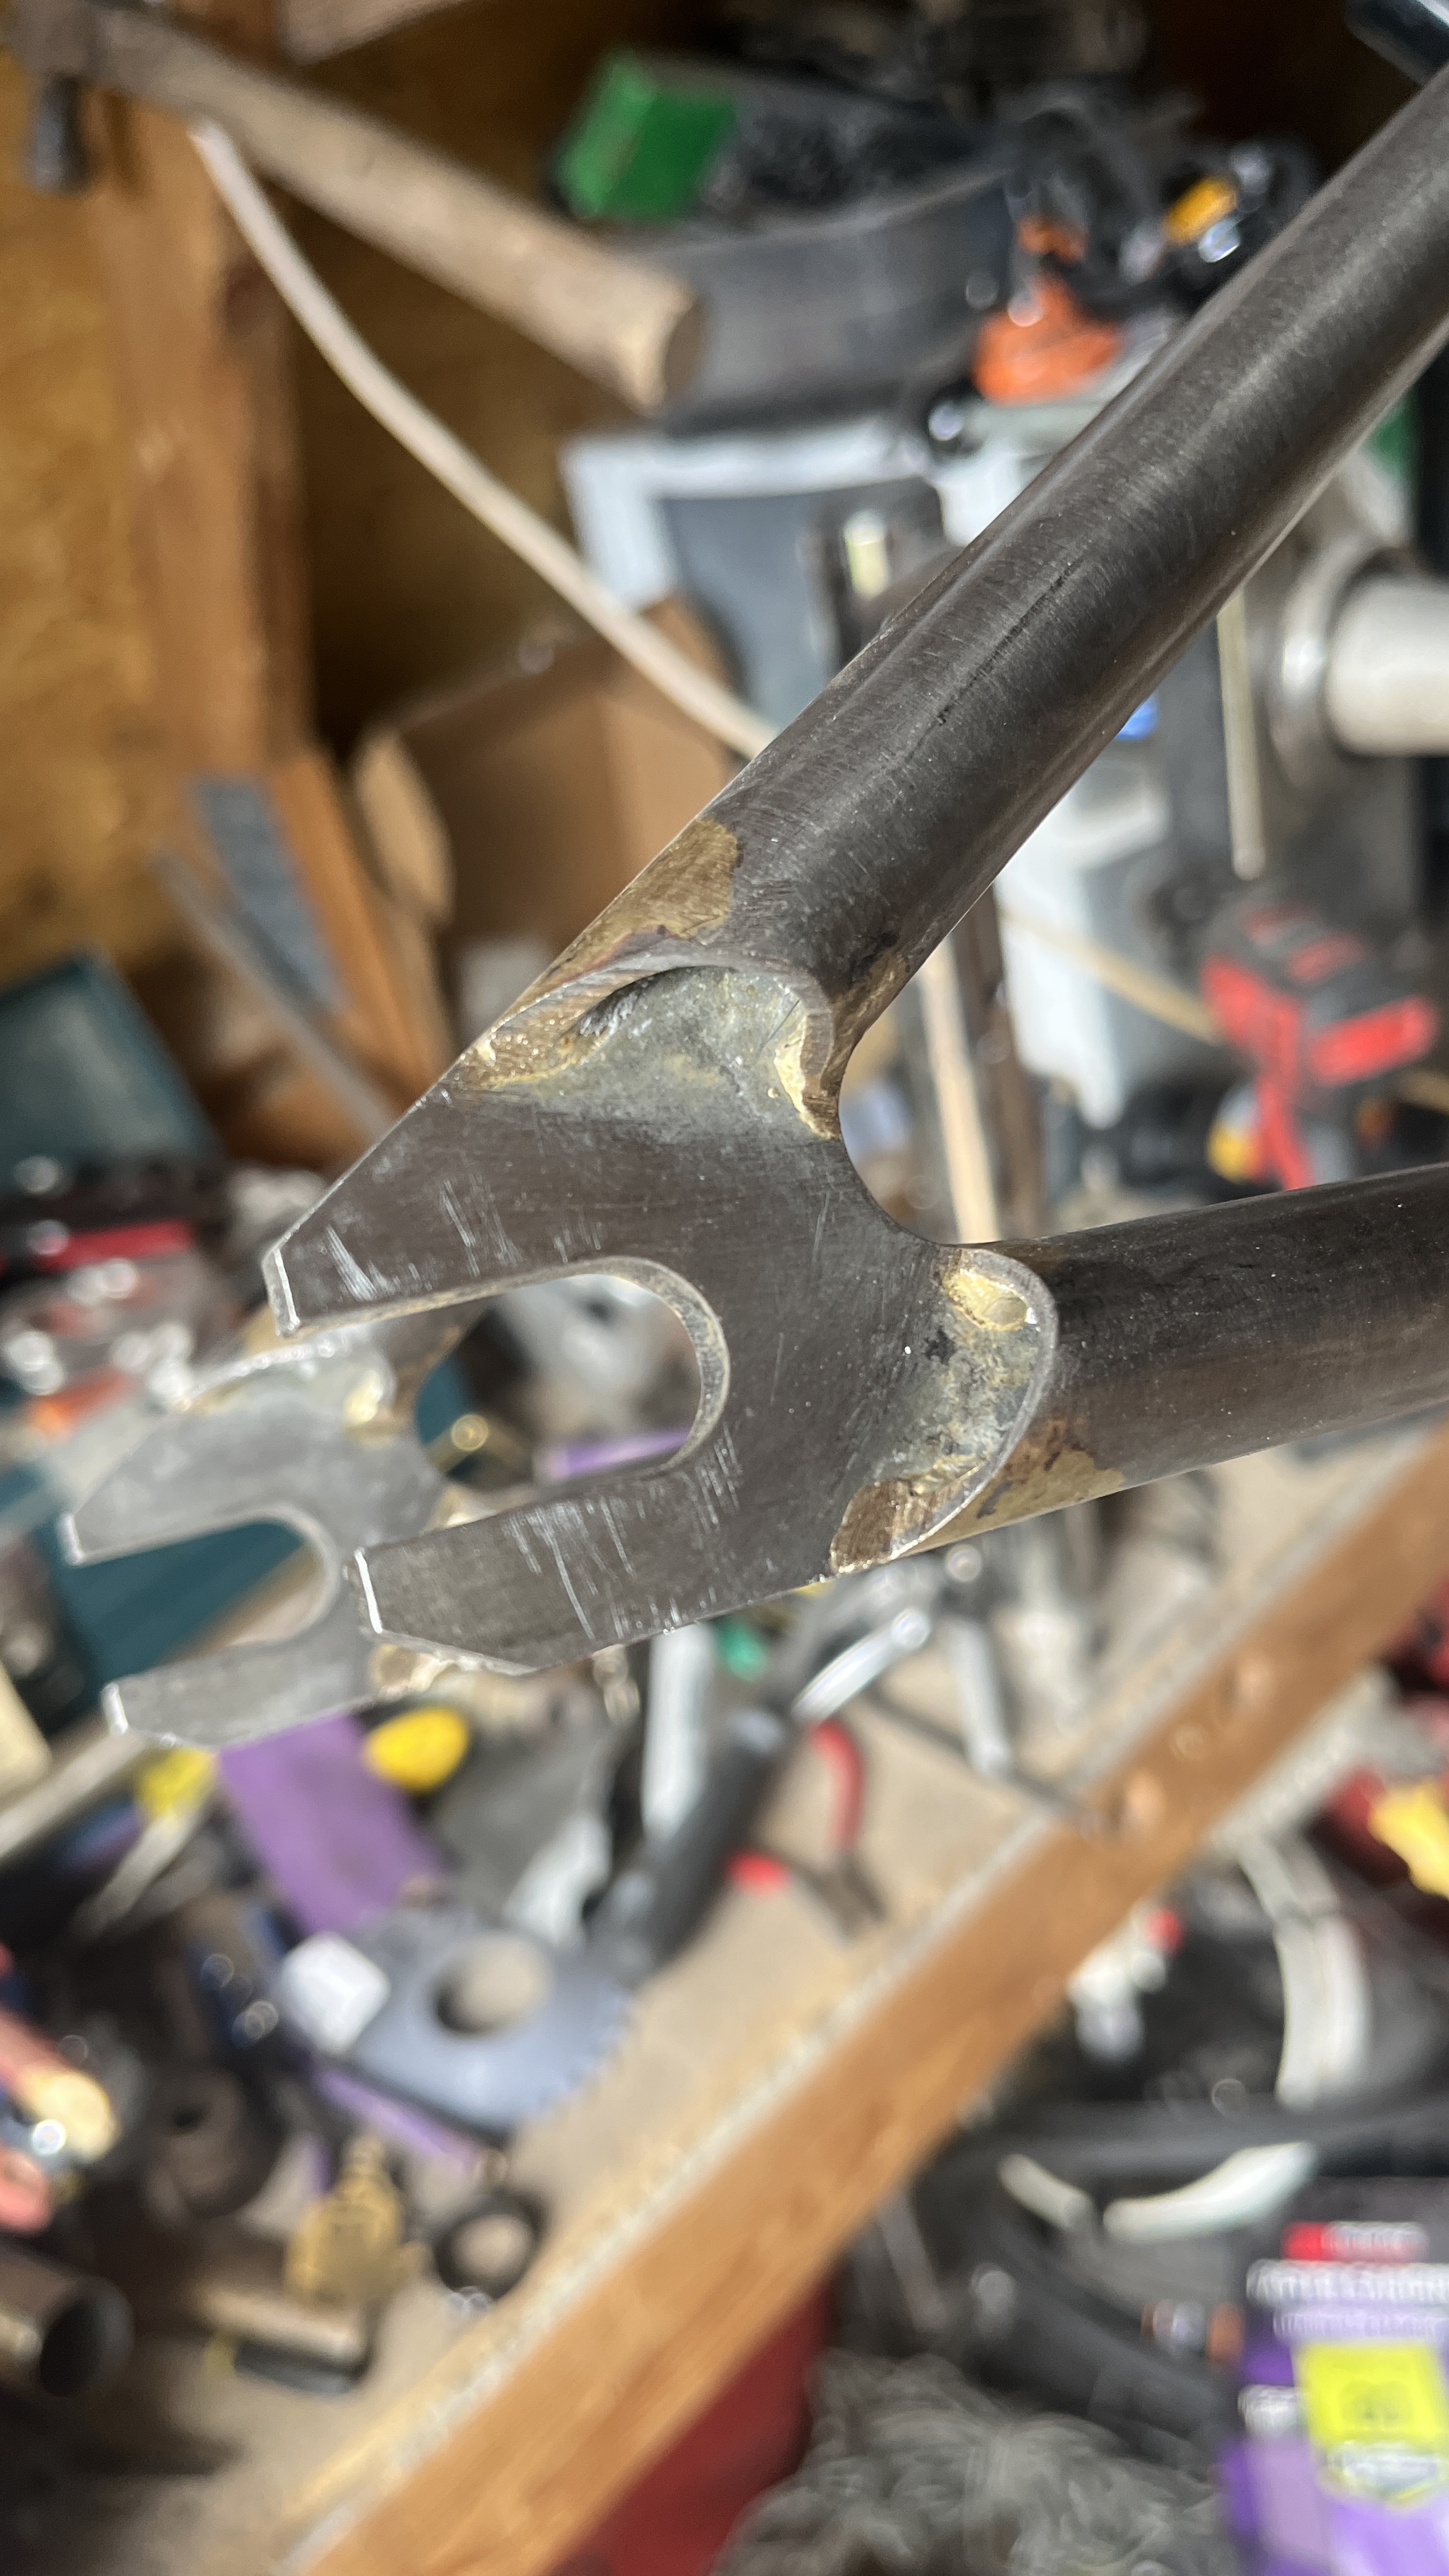
Lucky for you I took photos while I worked this time. It’s rare.
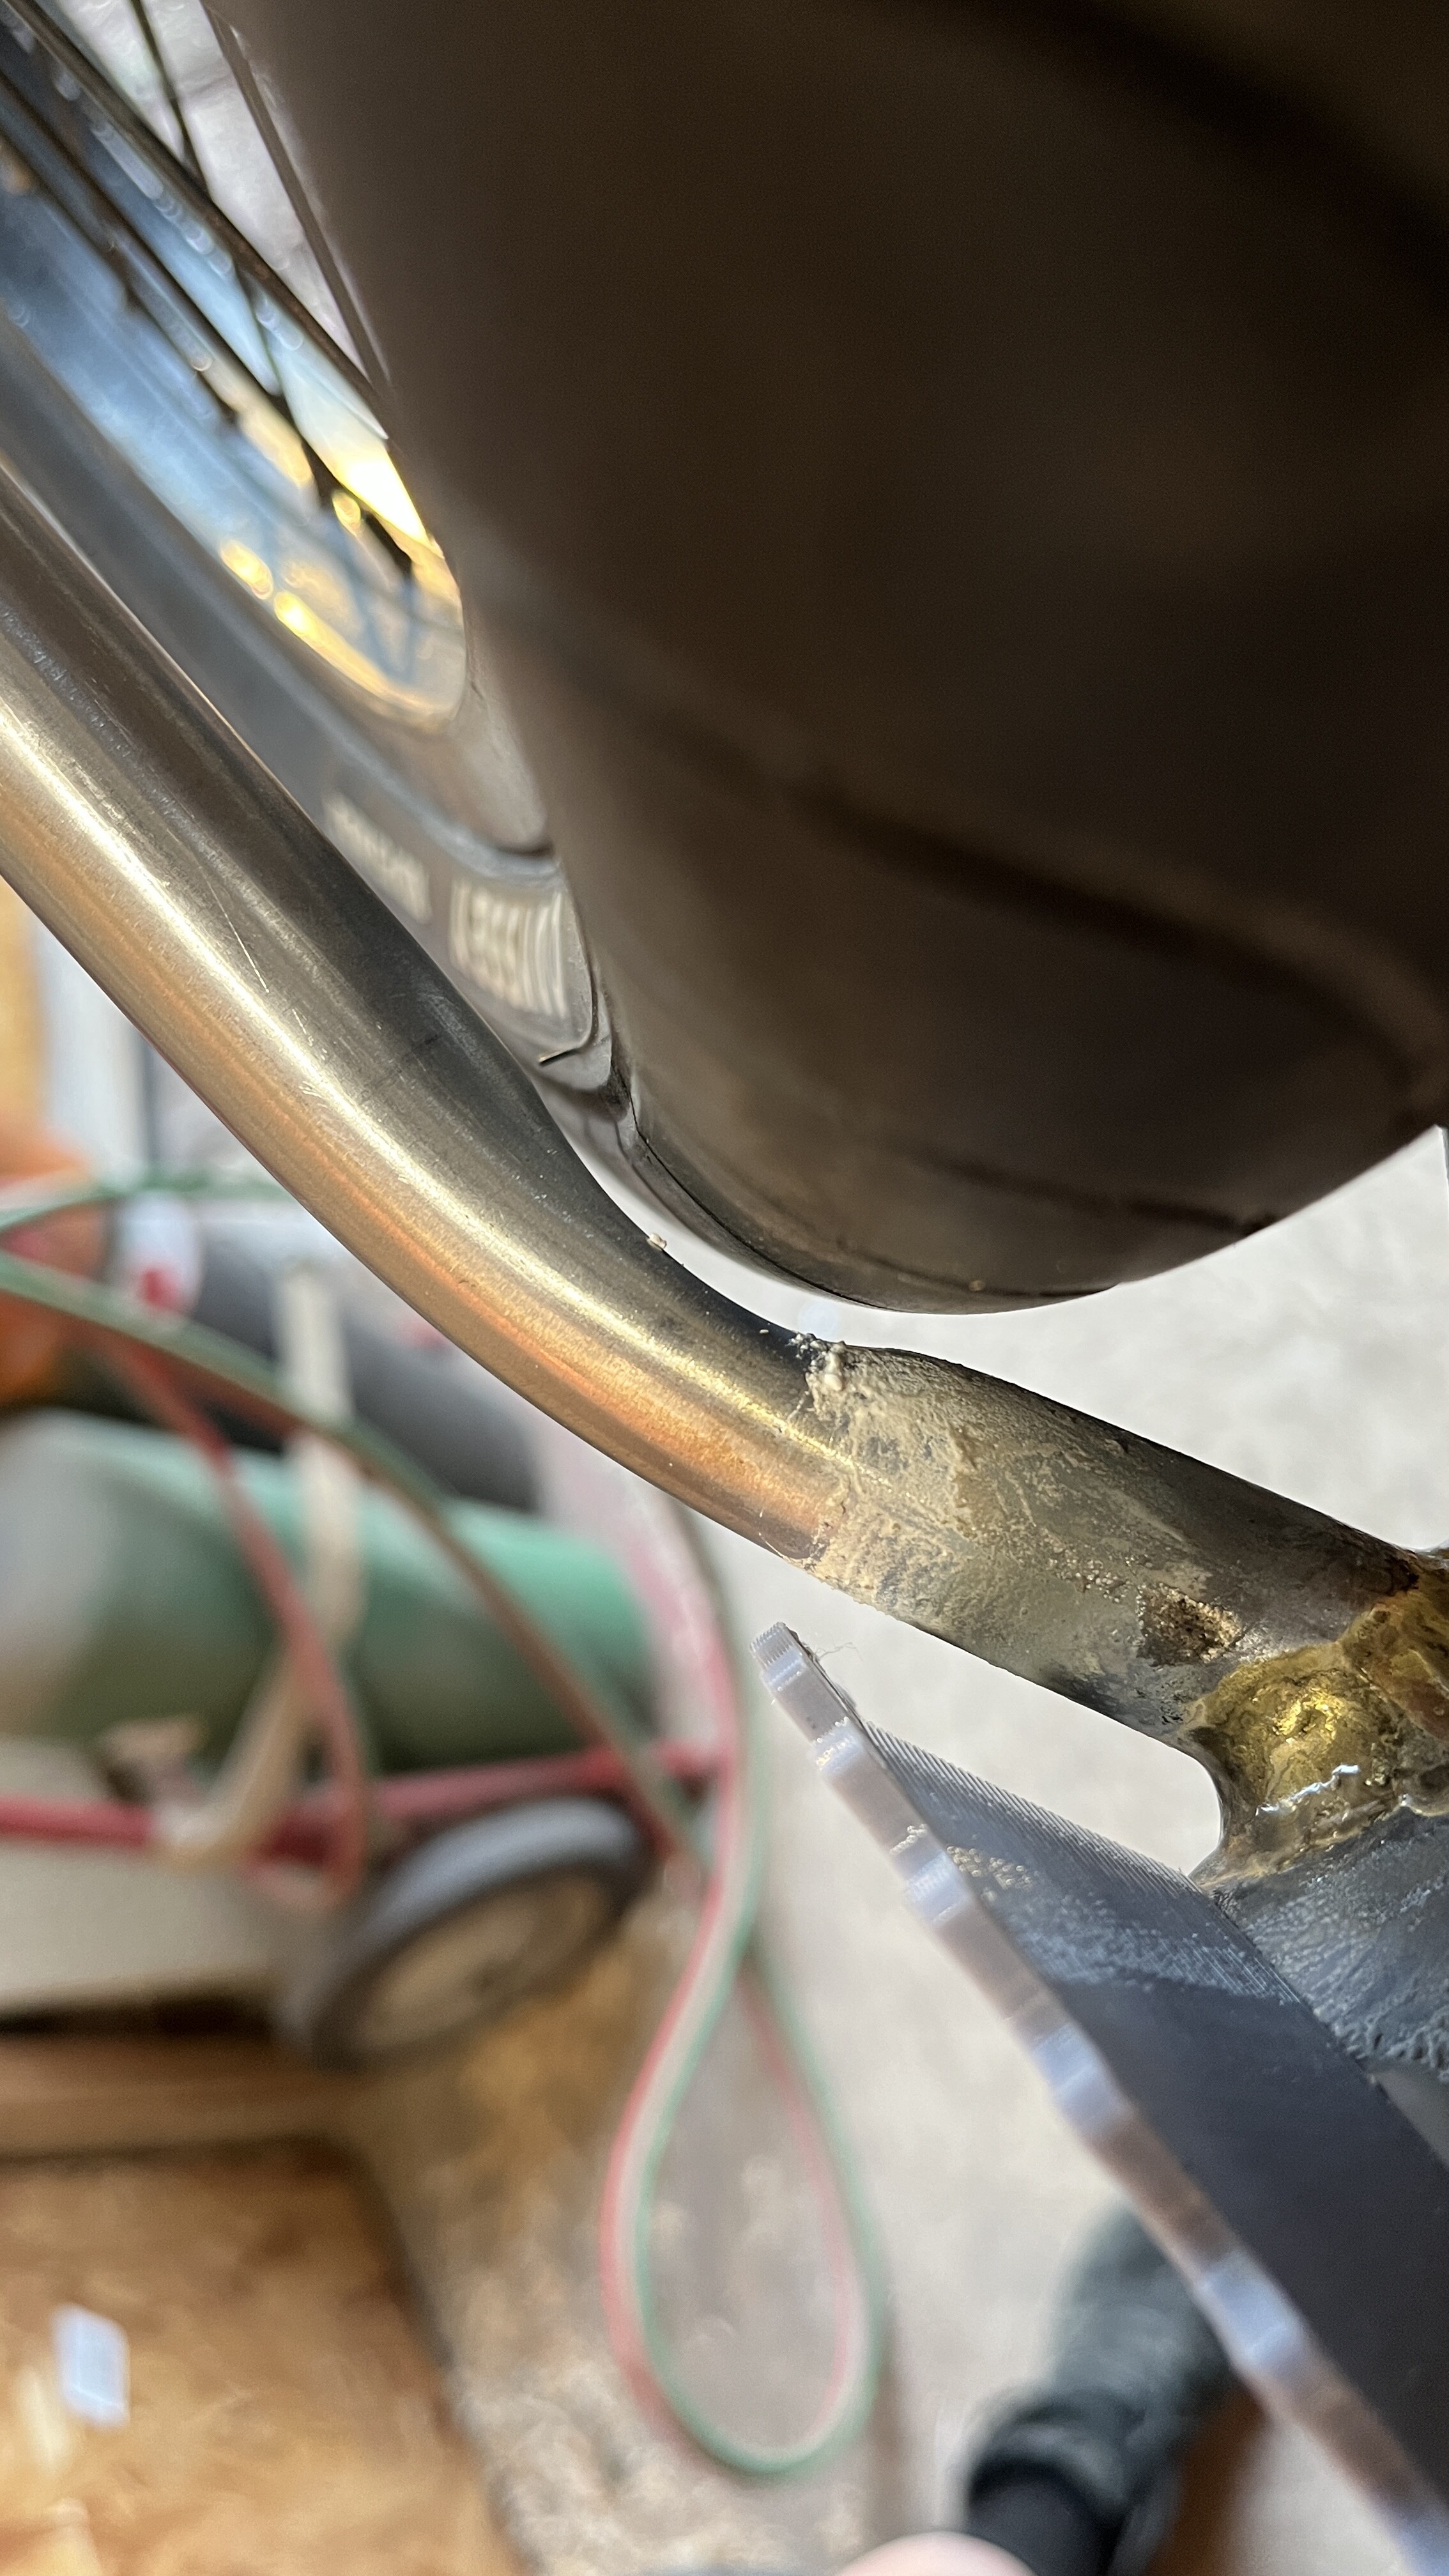
First I cut and filed the chainstays and seatstays into the shape I wanted. In this case a flat face at an angle. While I like the old school aesthetic of a rounded concave face, it’s not quite right for this bike. Plus I think it’s easier to make a flat face flat, than to make a curved face match a specific curve/radius.
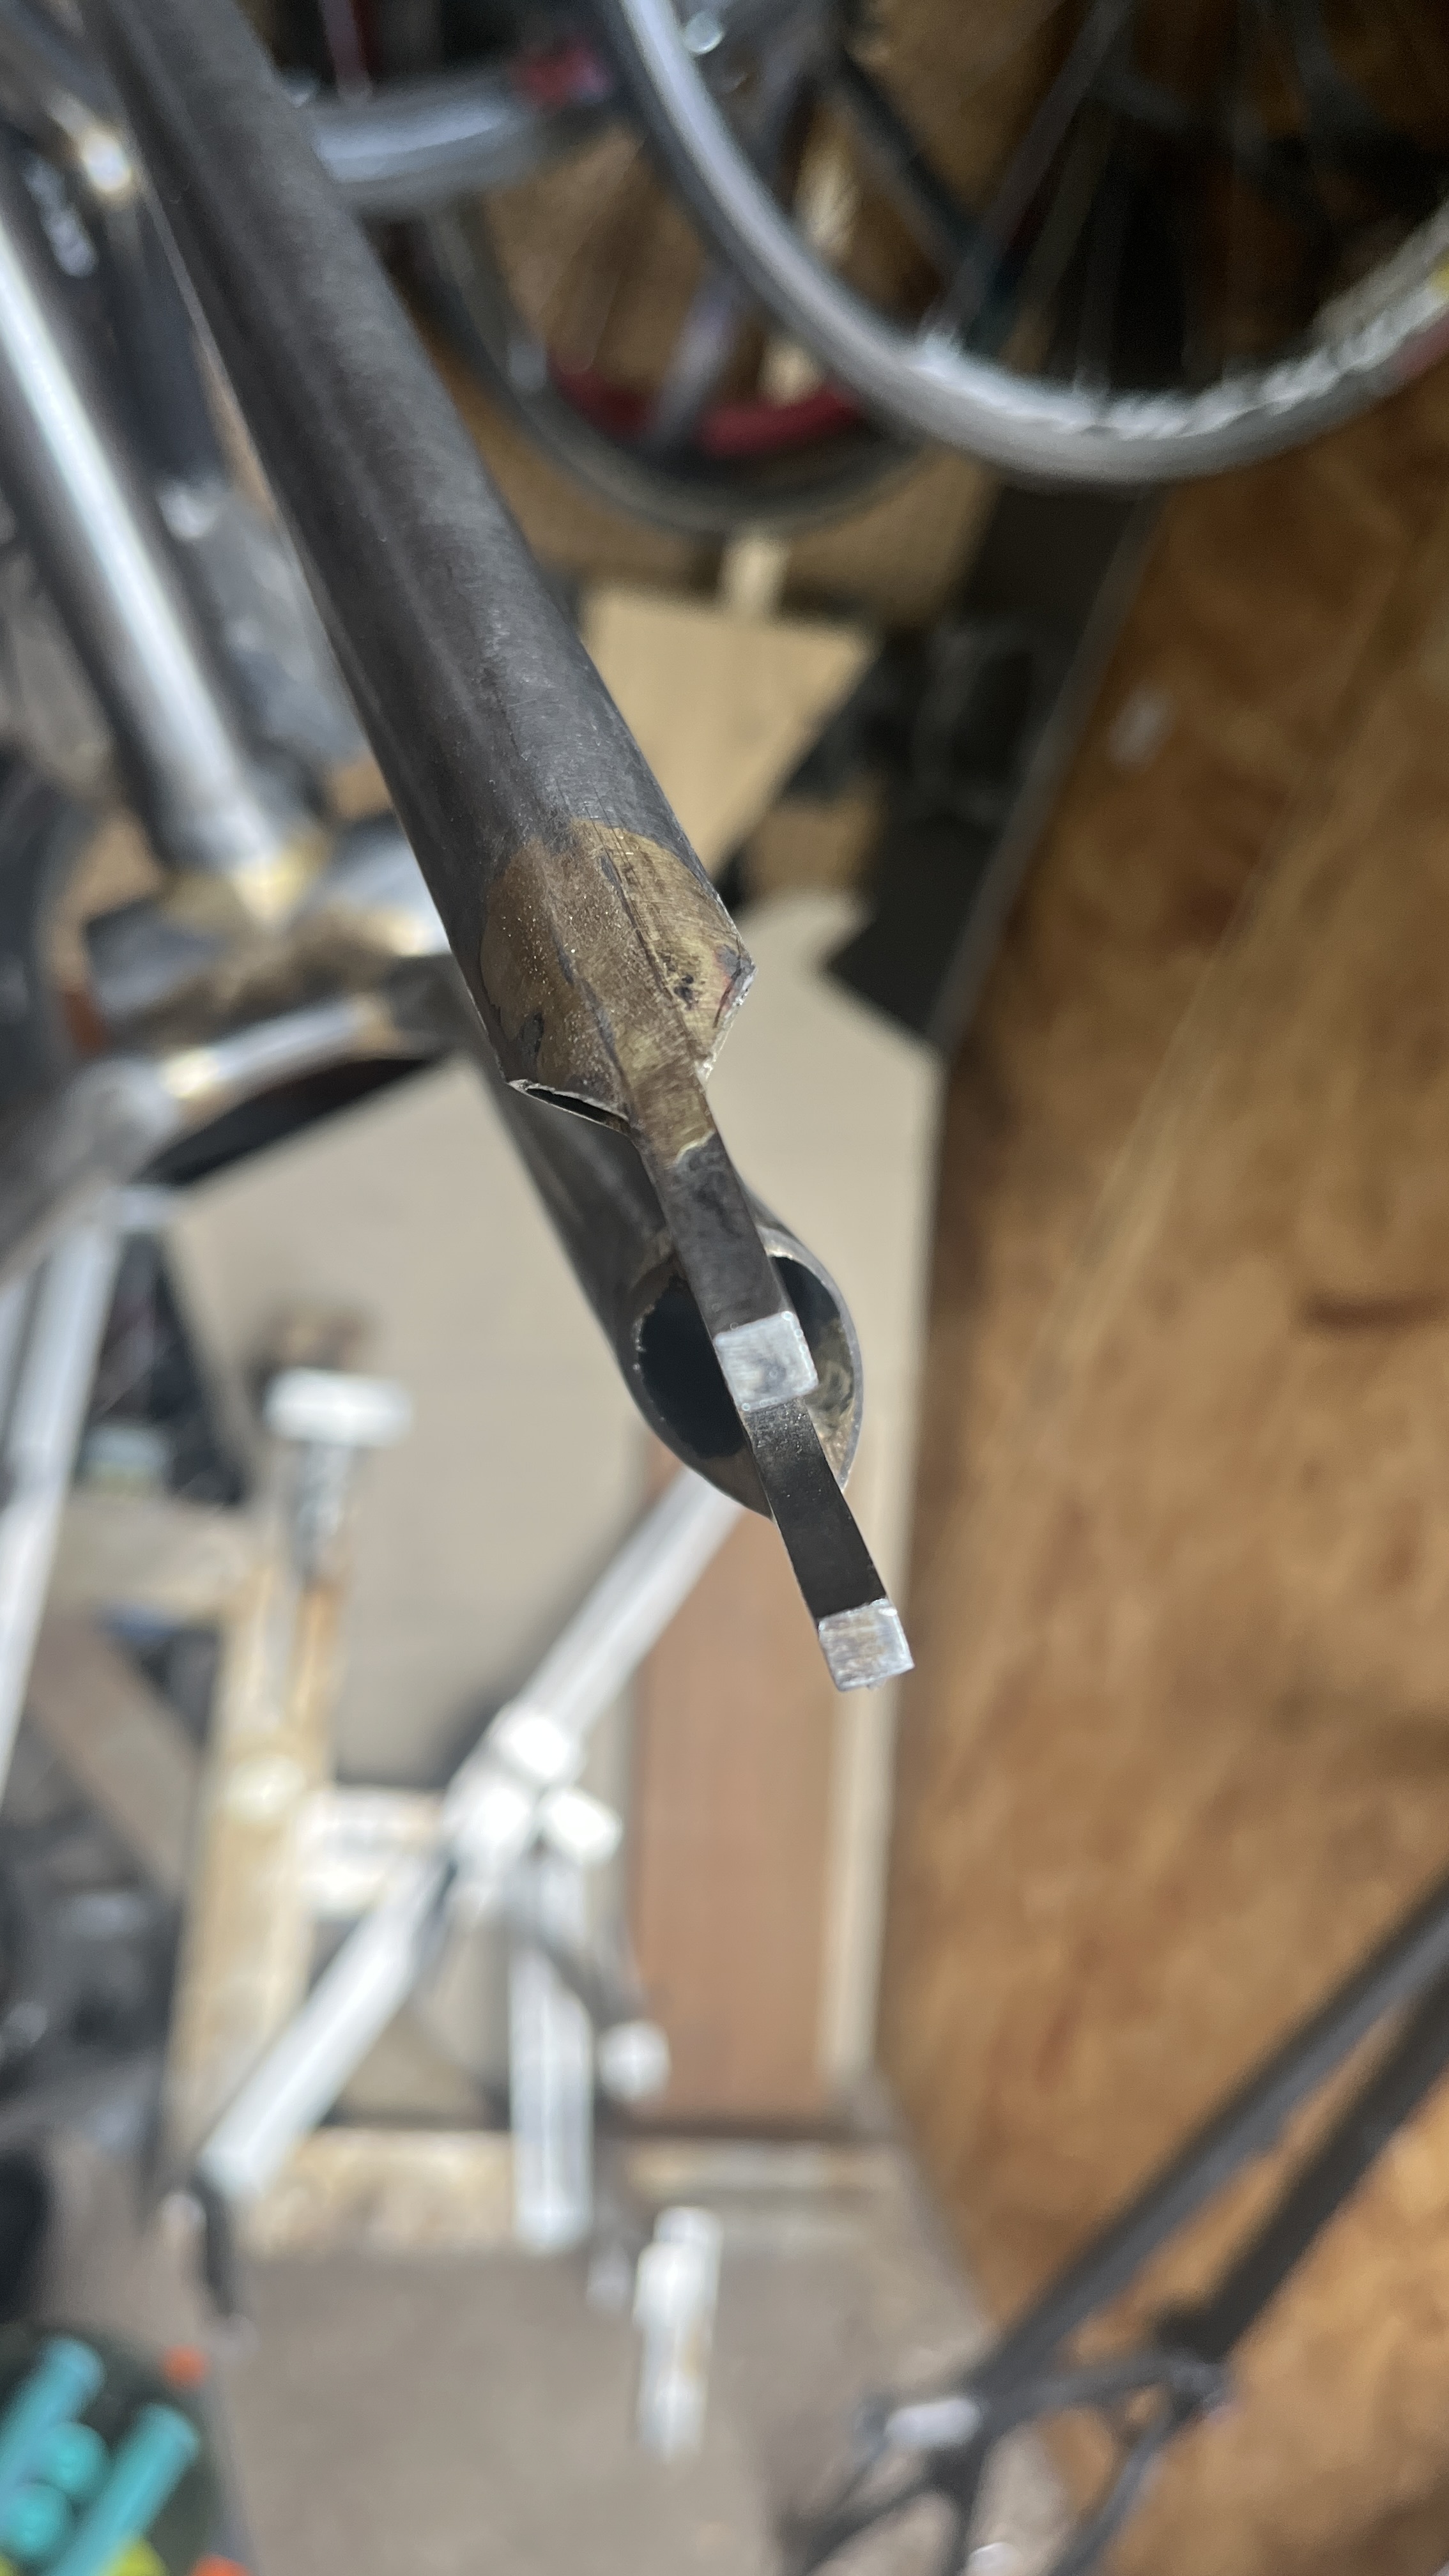
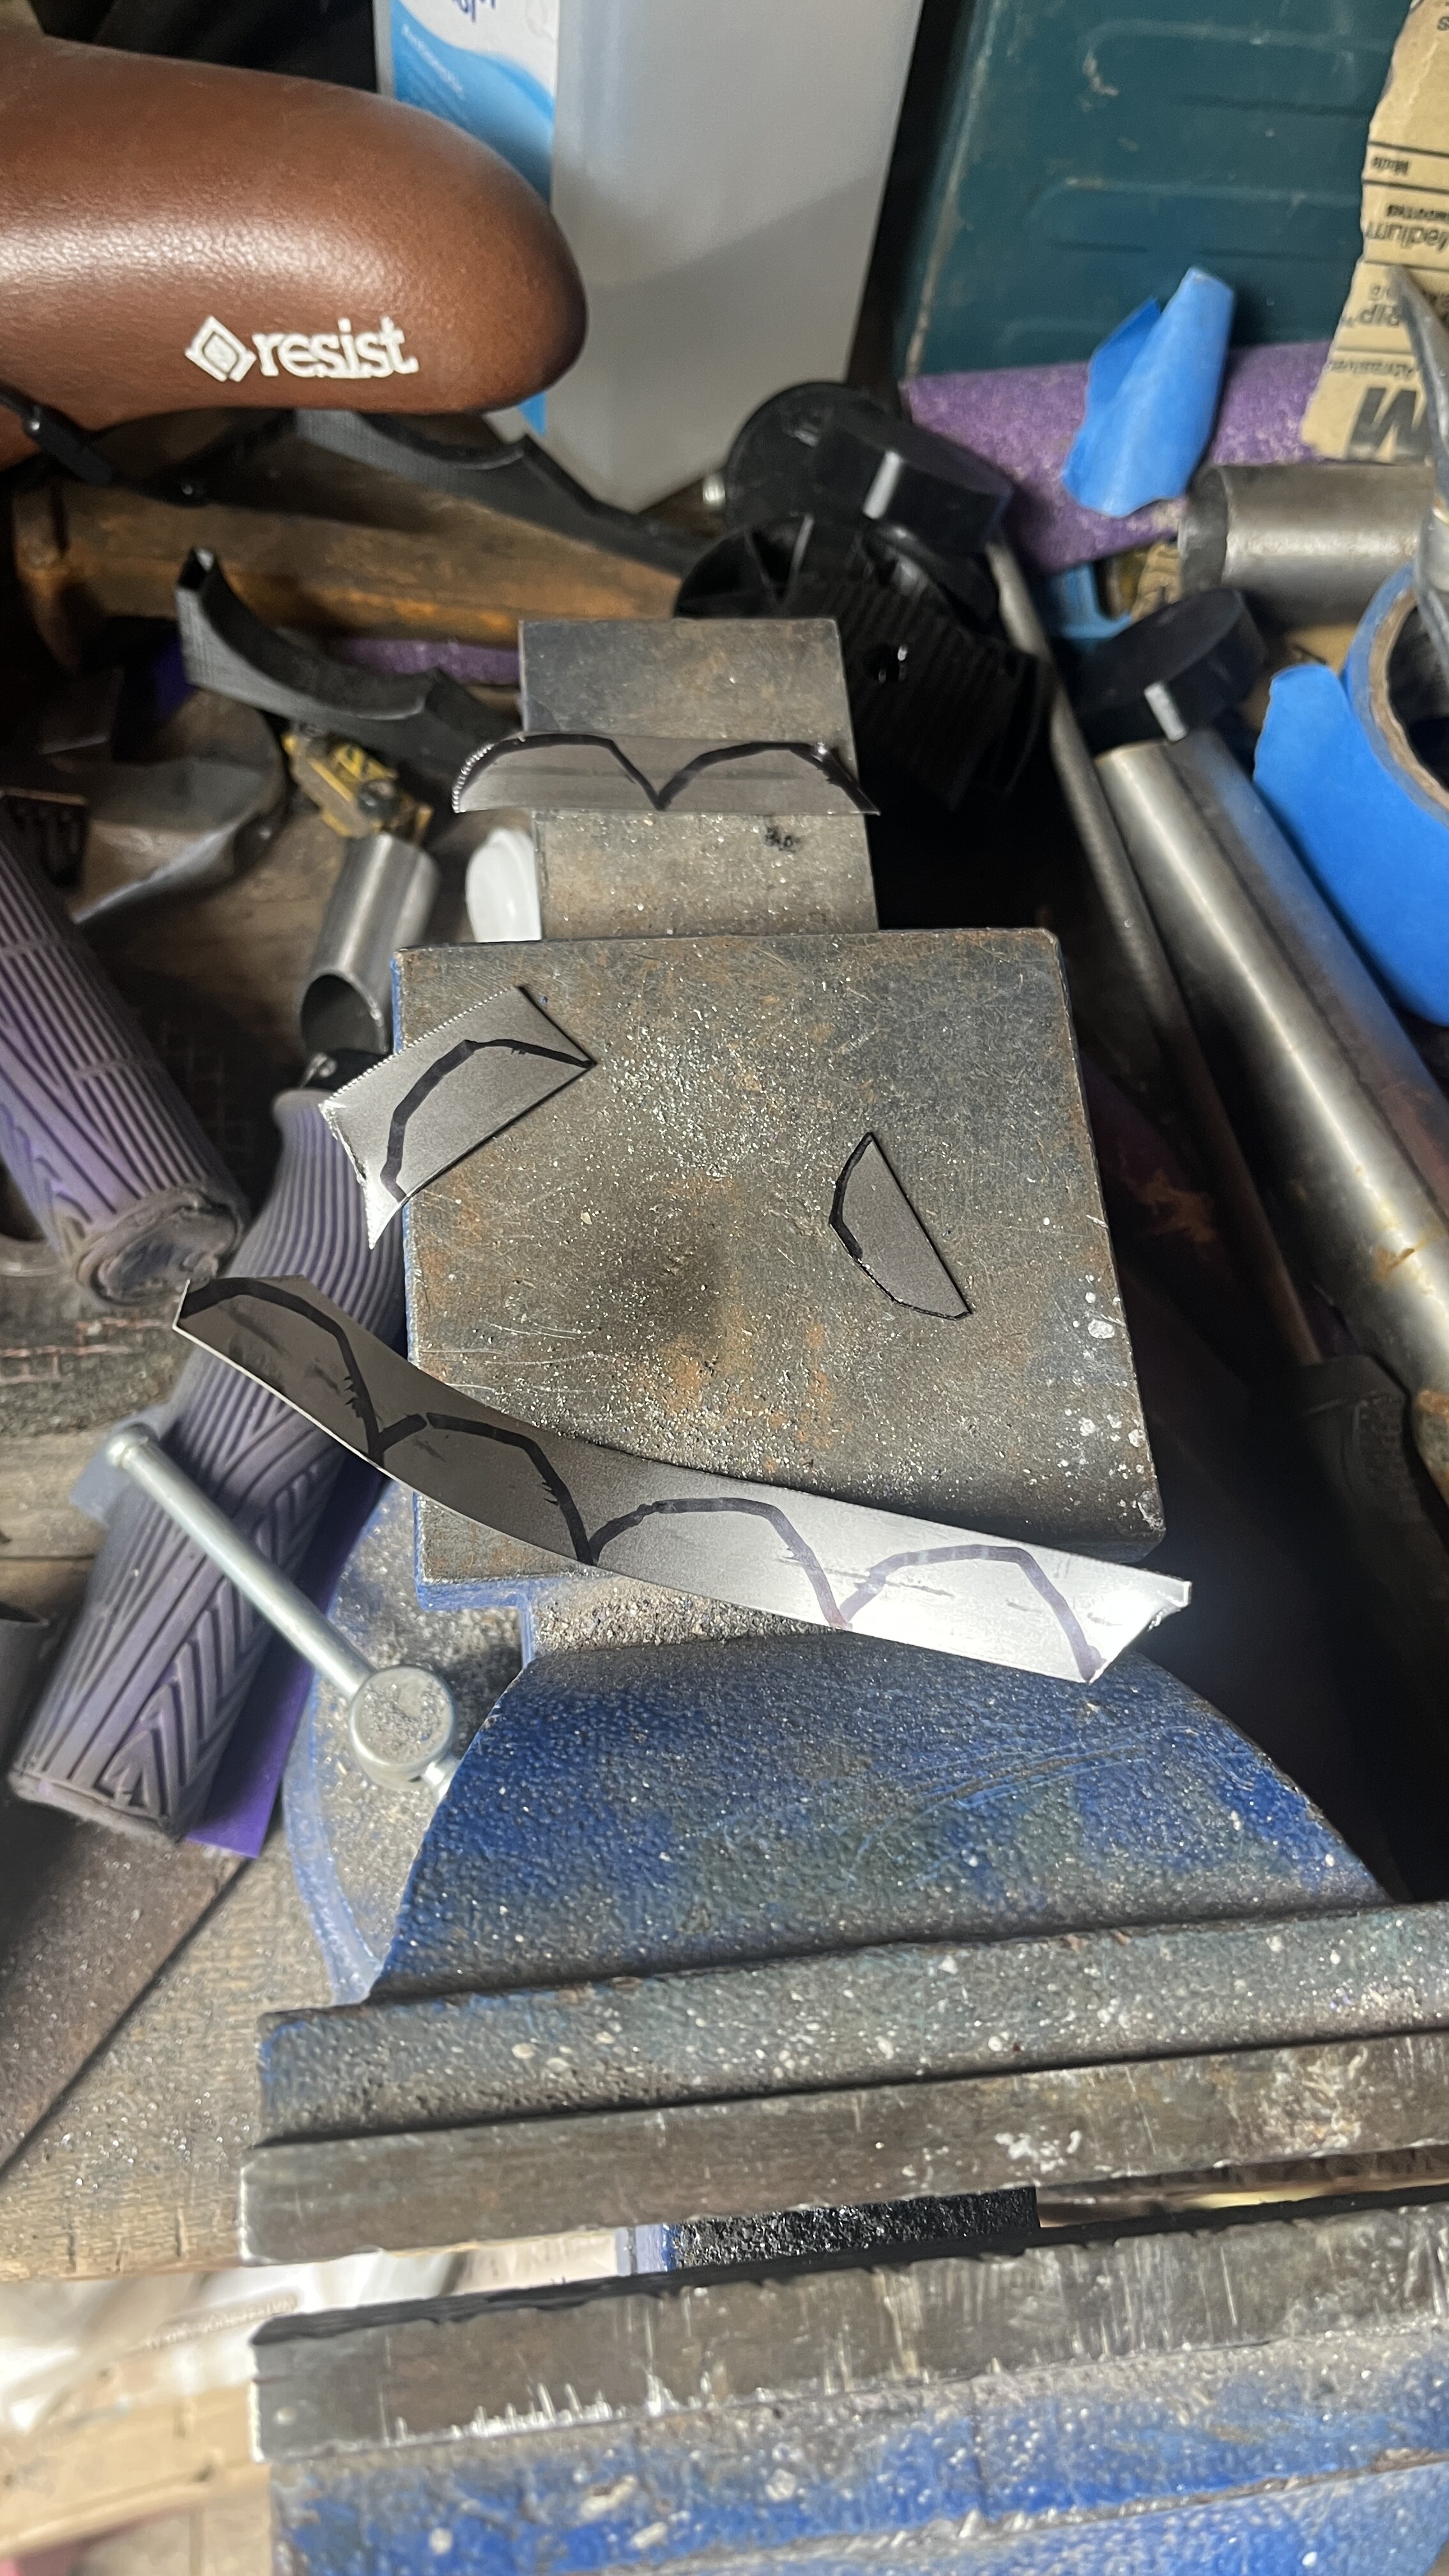
Next I cut out a bunch of half moon metal pieces slightly larger than the opening. I had this sheet of metal from the hardware store and I just used tin snips to cut them out then smashed them flat with my bench vice.
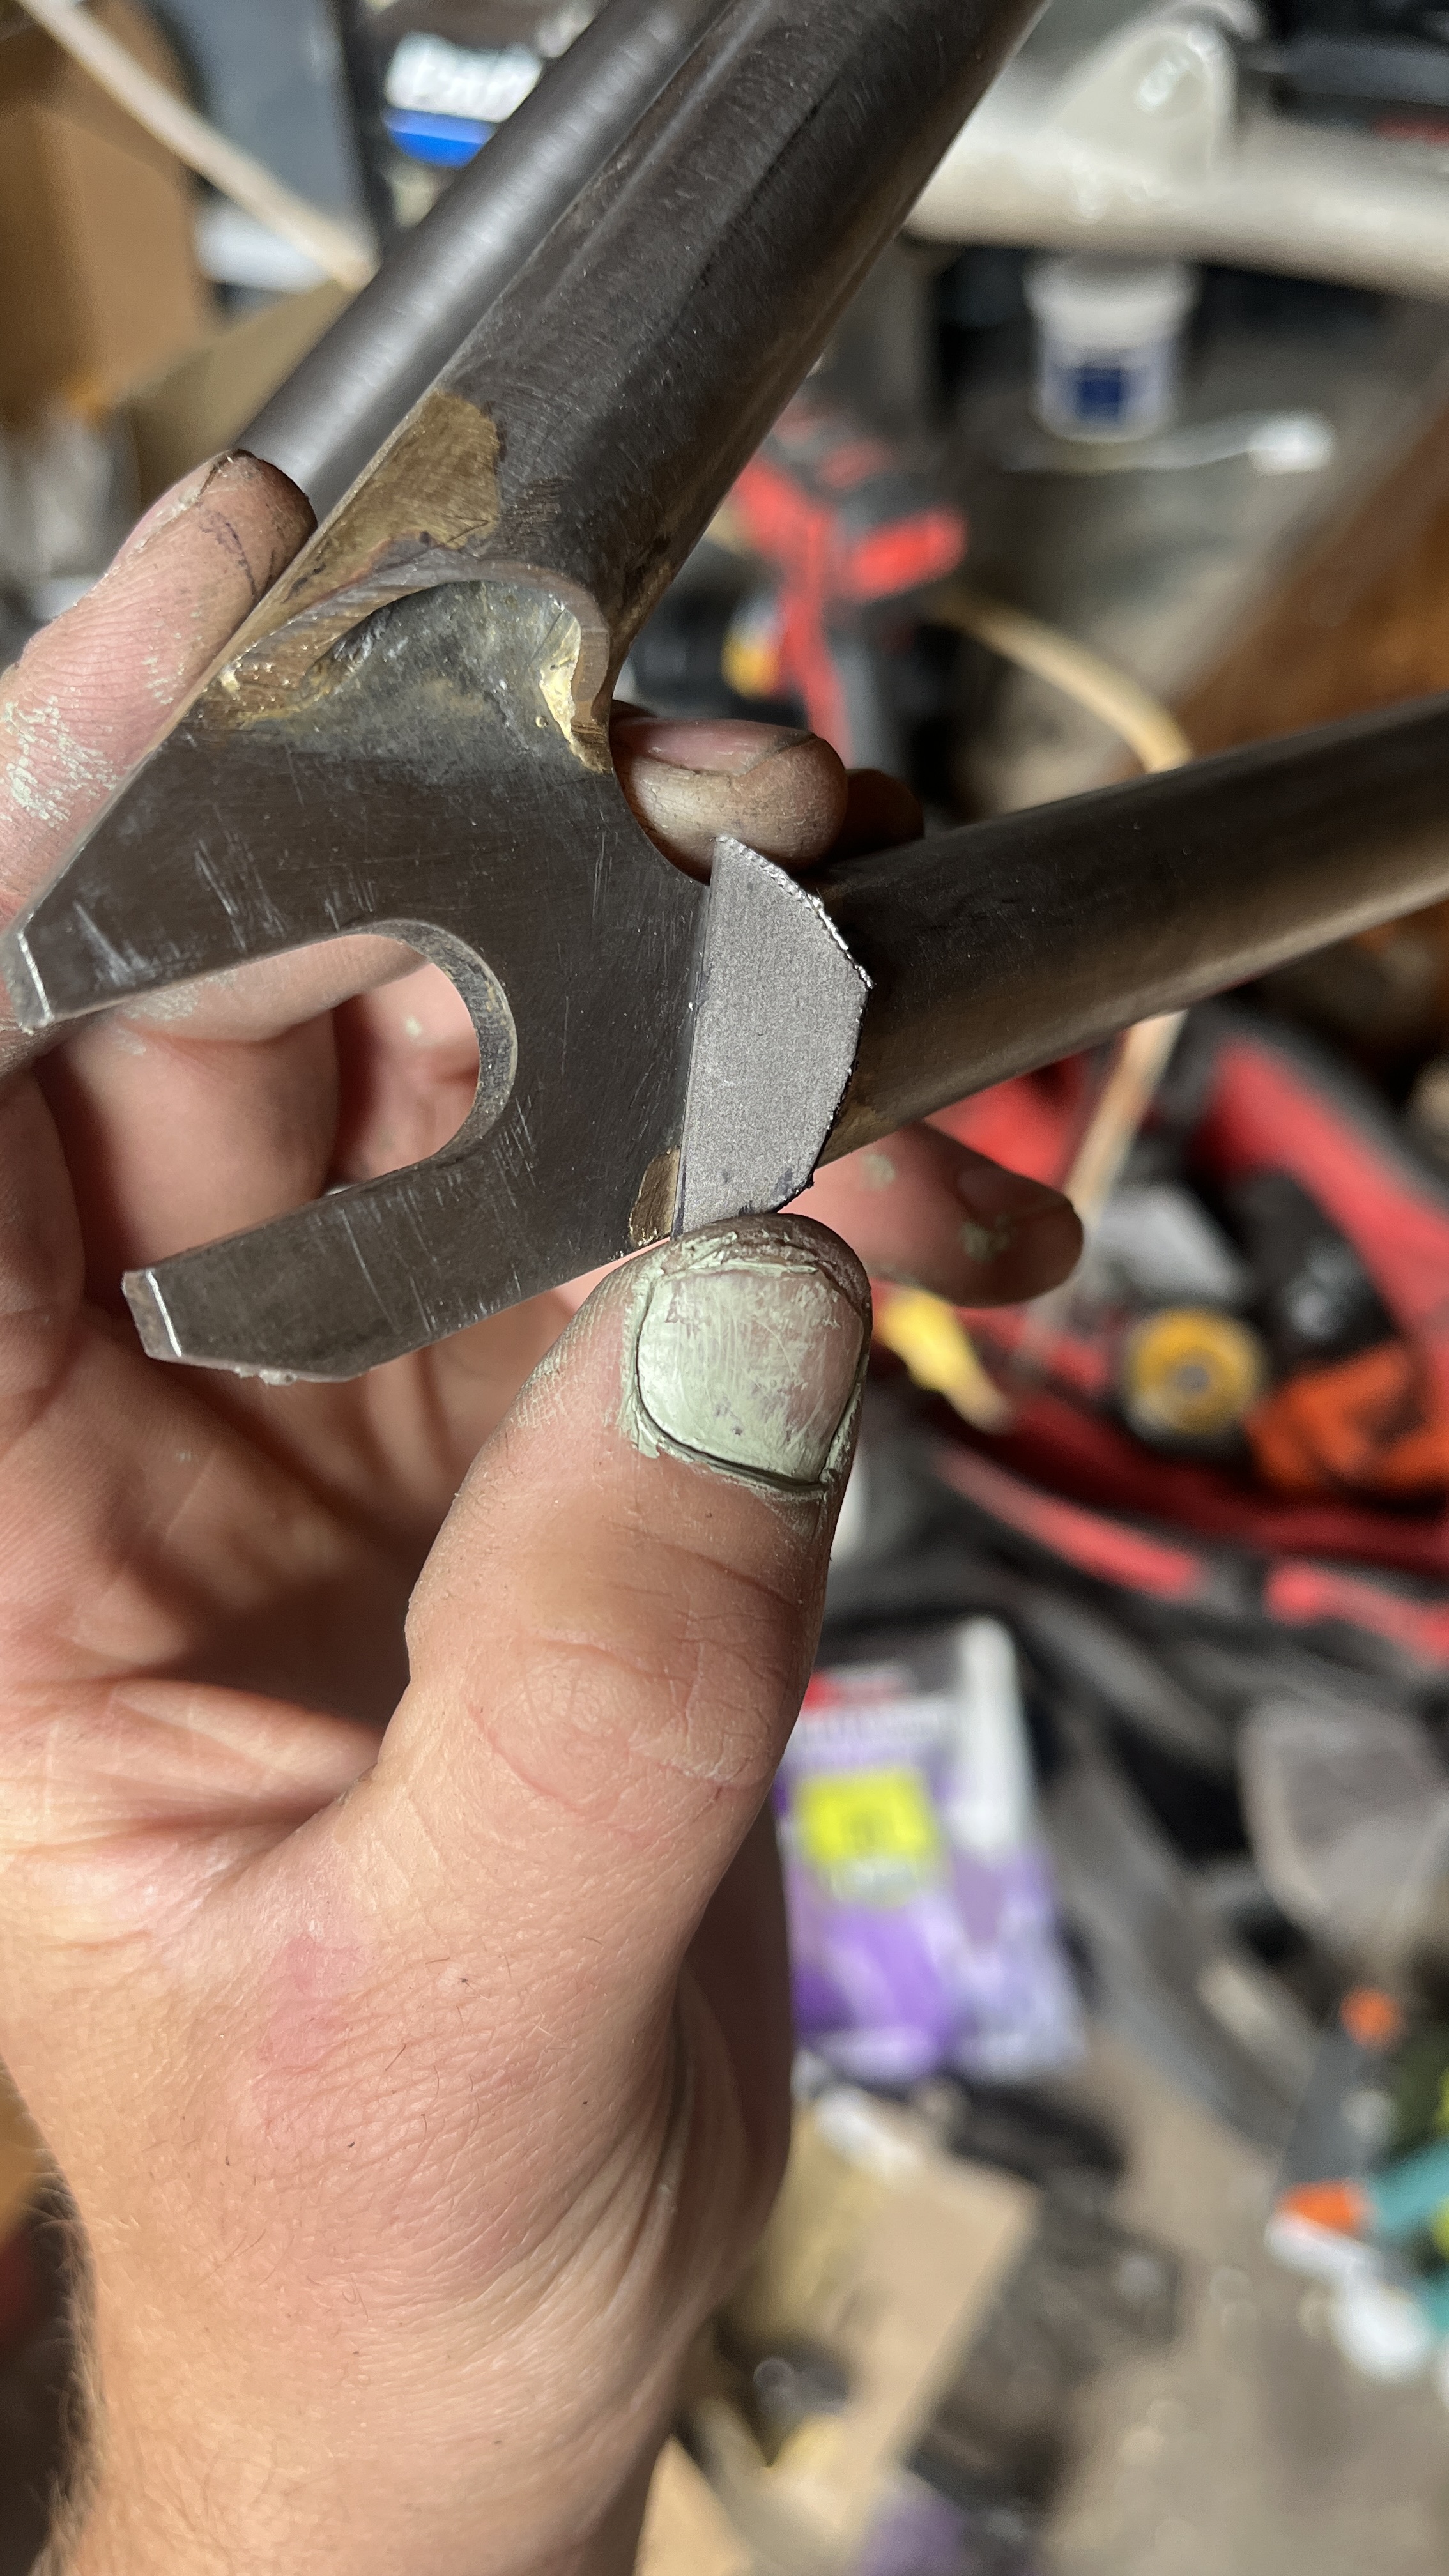
It was surprisingly tricky to put them in place and braze them. I’m not good at fixtures, tools, or holding things. I kept dropping them on the ground since I was just using gravity to hold them in place. I held the frame in the stand with the opening I wanted to braze as flat as I could.
Then I just used silver to braze them in place. The thickness of the dropout plates does make it difficult to get everything up to the same temperature for brazing without overheating the thin caps. After brazing I just filed them down to match the shape of the chain stay tube and seatstay tube. Some of the pieces had enough overhang that I was able to trim some excess off with a hacksaw. I could have spent more time cleaning them off, but I didn’t care that much. It’s a BMX bike not a show bike.
1 Like
These tedious little details are very time consuming and I can see why some would skip this step. I think they came out excellent!
I was hoping to try something similar soon. Thanks for sharing!
1 Like
a lot of people use tubing offcuts for this and a half round file to get the chainstay to match the shape of the tubing offcut for a nice rounded shape. Nice use of otherwise scrap metal.