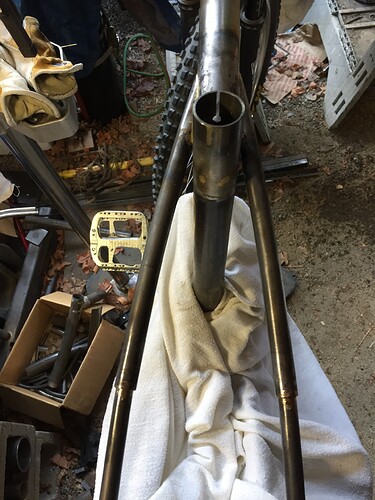
@StratoCycles back to your original post: do you think it was just skipping tacks that caused the issue? 10 degrees off is a lot, I agree! Which direction was it tilted?
It’s the only thing I did differently in my process and it ended up tilted to the drive side. I followed my normal weld pattern of welding in alternating quadrants and moving around the various tubes to let things cool off. I was a bit dumbfounded. But I’m getting setup with a new front triangle and will be taking my time to follow the process (read: don’t do errands for the wife)
Haha, indeed. Distraction + hurrying turned into a lot more work later. You can learn from experiences like these but at the same time you hope they never happen to you. Thanks for sharing!
My first frame was never ridable because I got way too much filler in the bb shell and bb taps were pretty rare back in the mid-'70s. I didn’t have access to one in any case. Also, I managed to dent the seat tube in a Park stand, so there was no way to get a seatpost in. If all that wasn’t enough, I attached the seat stays to the seat post binder for a fastback. But the stays were too close together, so you couldn’t make a wide enough slot. So I built another frame. Probably for the best.
I’m glad for this thread, because we occasionally need to see buckled downtubes from cold setting as a reminder. BITD, we didn’t really have to worry about that so much.
Failure #1 — I tried to use the one joint at a time process from the Paterak manual and was also building with a large eccentric BB. The ST/DT fillet pulled the tubes together about 1.5 degrees more than I wanted. friend’s trimmed the top tube to make it fit, but didn’t like the resulting angles.
I ended up scrapping it and starting over. I made the whole front triangle at once and switched to FilletPro for the BB shell and everything came out great.
A couple of years later a friend who was a mech-e student wanted to analyze a brazed structure and did some destructive testing and cross sections of it. That was good validation of my ugly but strong fillet brazing.
Failure #2 — I didn’t have an ISO disc tab jig when I made my first disc fork. I thought I’d be clever by making a “rear” geometry ISO tab that was integrated with the dropout so that I would be self-aligning. I didn’t think about the fact that the 4mm offset on front tabs is a property of the hub, not the brake mount. I salvaged it by machining down one of the old cast Avid BB adapters by 3mm which was enough to get good caliper alignment. It was a good reminder that I shouldn’t get too clever — it would have been better to make an ISO jig with my CNC mill than a custom dropout.
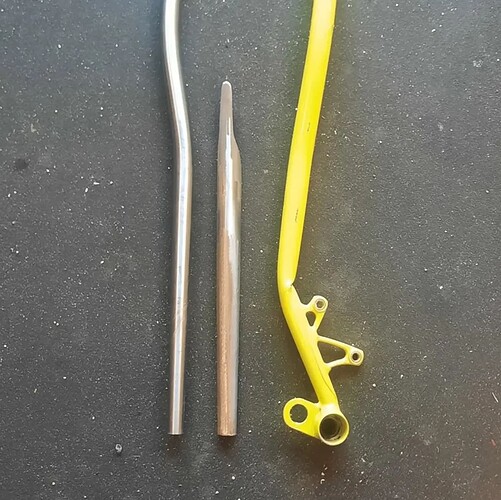
I have had a couple failures. First was an underbuilt seat stay on the second suspension frame I built.
This has failed a second time so am abondoning using catalogye seat stays for my suspension bikes and using the long taper 28x17 chains stays instead. Definitely underestimated the forces from the calliper.
The second is in the swingarm of my first trail bike, the red one pictured elsewhere. I underbuilt that on purpose to see how long it would last. 18 months of abuse that a trail bike normally wouldn’t see. So it was a bold experiment in some ways knowing Id built a potential catastrophic failure. Just recently I popped the main rocket pivit housing too. Again lasted way longer than expected especially given the minuscule silver fillets I used on it. Its now rebuilt with huge fillets and will get a new swingarm eventually.
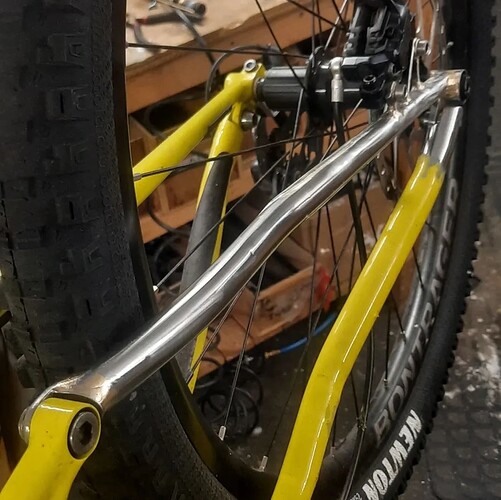
That yellow one needs a brace under the top caliper bolt, to pass some of the load down onto the chainstay.
Its a horst link set up. You can’t brace to the chainstay. Ive redesigned the whole thing to take care of the loads.
Let’s see - haven’t done the tube twister yet, probably because I don’t have something to clamp the frame to that would give me that much leverage! I have tried some flame straightening with decent success, but hey that might lead to failure down the road.
When I first got my Cyclus BB facer/chaser tool, I misinterpreted the R and L markings to mean right side and left side of BB shell. So for my first few frames I was using the tool backwards and sweating bullets because my BBs wouldn’t thread in nicely. Luckily I realized eventually that the R meant right hand thread, L left hand thread. ![]()
That use to get me all the time. Ended up cutting DS and NDS into the tops of the handles.
Frame number #0
Definitely had the bb in backwards, fixed that with some red lock tite and never looked back.
I also got super excited and sort of winged the seat stays. I had ordered a cx tube set from nova but had neglected to check tire clearance. I wound up having to dimple them in situ with a large pipe and some ratchet straps. It actually worked pretty well but needless to say it wasn’t the plan.
That frame is hanging in the shop as a reminder to take your time.
Measure 18 times, cut twice?
On my second mtb frame I had things pretty close to dialed, but my seat stays were a bit too long. I trimmed the seat tube end rather than the dropout end and ended up with not enough tire clearance. I took it for a few rides before deciding to cut off the tops of the seat stays and sleeve them, attaching differently and increasing the clearance. It worked great and gave the rear end a unique look, so no real harm done - just learning!
Over the decades at both Co-Motion and Moots I have made, seen and fixed a lot of mistakes. Twisted downtubes, bulging seattubes (filet brazed softened tube), backwards bb ( did that once) dropped and dented headtubes, broken frames in a variety of places etc. Learned what I could from these.
One thing that it came back to again and again was fixturing that was off (even from a very popular fixture maker, we had to abandon them). I have reworked several fixtures to make them straight over the years. Remember a very small amount of deviation at the dropouts can have a big effect at the front of the CS and top of the SS and even more at the headtube. Weld/brazing sequence can have a huge impact on alignment as well. I am a big believer in tacking a complete frame at one time in a well made rigid fixture. I know a lot of builders like to do subassemblies, align and reload. I have always felt that if the fixture is rigid and straight (I really like Jeff @ Sputnik’s frame fixture), the mitering process is accurate and precise and the facing is done properly the frame will be good. IMO final alignments are always necessary for the fine tuning.
Obviously a lot of folks are doing this as a hobby etc so a good flat plate can go a long way to figuring things out as well.
Thanks for participating in the forum Butch! You have more institutional knowledge than the rest of us combined.
You have been building a long time and I’m sure have seen it all. I wonder if you could share what you’ve seen to be the most common builder or process errors that result in frame failures? Or the most memorable failures you’ve seen at Co-Motion and Moots? I realize it’s a public forum so you may not want to share but had to try ![]()
There are a few memorable failures. (1) Early on at Co-Motion we made a mountain bike frame with elevated chainstays for a local guy, remember the Nishiki Alien. We used Tange Prestige MTB tubing, nice and light, this must have been '89-'90. He loved the ride, nice and complient until the seat tube broke between the E-stays and the bb shell. Of course it had a 3 color candy fade paint job as well. So we made a 10" long sleeve that we brazed on, sent it back to the painter and got him going again. Yes it broke again so we ended up building him a traditional hardtail. We were broke at the time but our pride made us replace it, plus it was our fault for saying yes.
(2) Another lesson I learned the hard way was when Moots built the MX Divide full suspension bike. I was responsible for outsourcing the aluminum swingarm. We had done prototype with SAPA, previously Anodizing Inc, when I got the call that they were stopping all bike products. So I started working with Zen manufacturing. Things went well, we had good results from testing and were ready to go to production. Last minute I decided to move one of the welded on zip tie cable guides on the drive side chainstay 1 inch closer to the weld at the yoke. We had a batch made and started shipping frames. Didn’t take long for chainstays to crack. Ended up moving the weld on back, recalling all the swingarms and replacing them with the ones that did not break.
There are more. I learned a lot from testing over the years and from fixing frames made before I arrived at Moots
My dislectic brain saw 418 for the Y plane to set my fixture. But it had to be 481.
I mitered the tubes, down tube and top tube didn’t work with the numbers from bike cad. So I made it work.
When I came home today I made the same frame in bike cad to see what’s going on.
And yes there it is 481.
Start again next week, 2 more tubes for the pile
Here is another that falls into that category. When I arrived at Moots Kent did not drill water bottle boss holes until after the frame was built. At the time the YBB had taken off and we were doing pretty big batches, 15-30 of a size at a time. So we knew the locations (before we had CAD drawing) and could predrill downtubes and seattubes. I knew the holes were 2.5" center to center but the person mitering and drilling transposed numbers on the metric measurement on a batch of 18 downtubes in one size. I called my friend Ron Andrews and each frame came with one custom Ti King Cage gratis from Moots.
That reminds me that when I made my travel frame, I put the seat tube water bottle bosses as low as I could. Not thinking about the couplers. I customized a king cage to raise it a centimeter.
