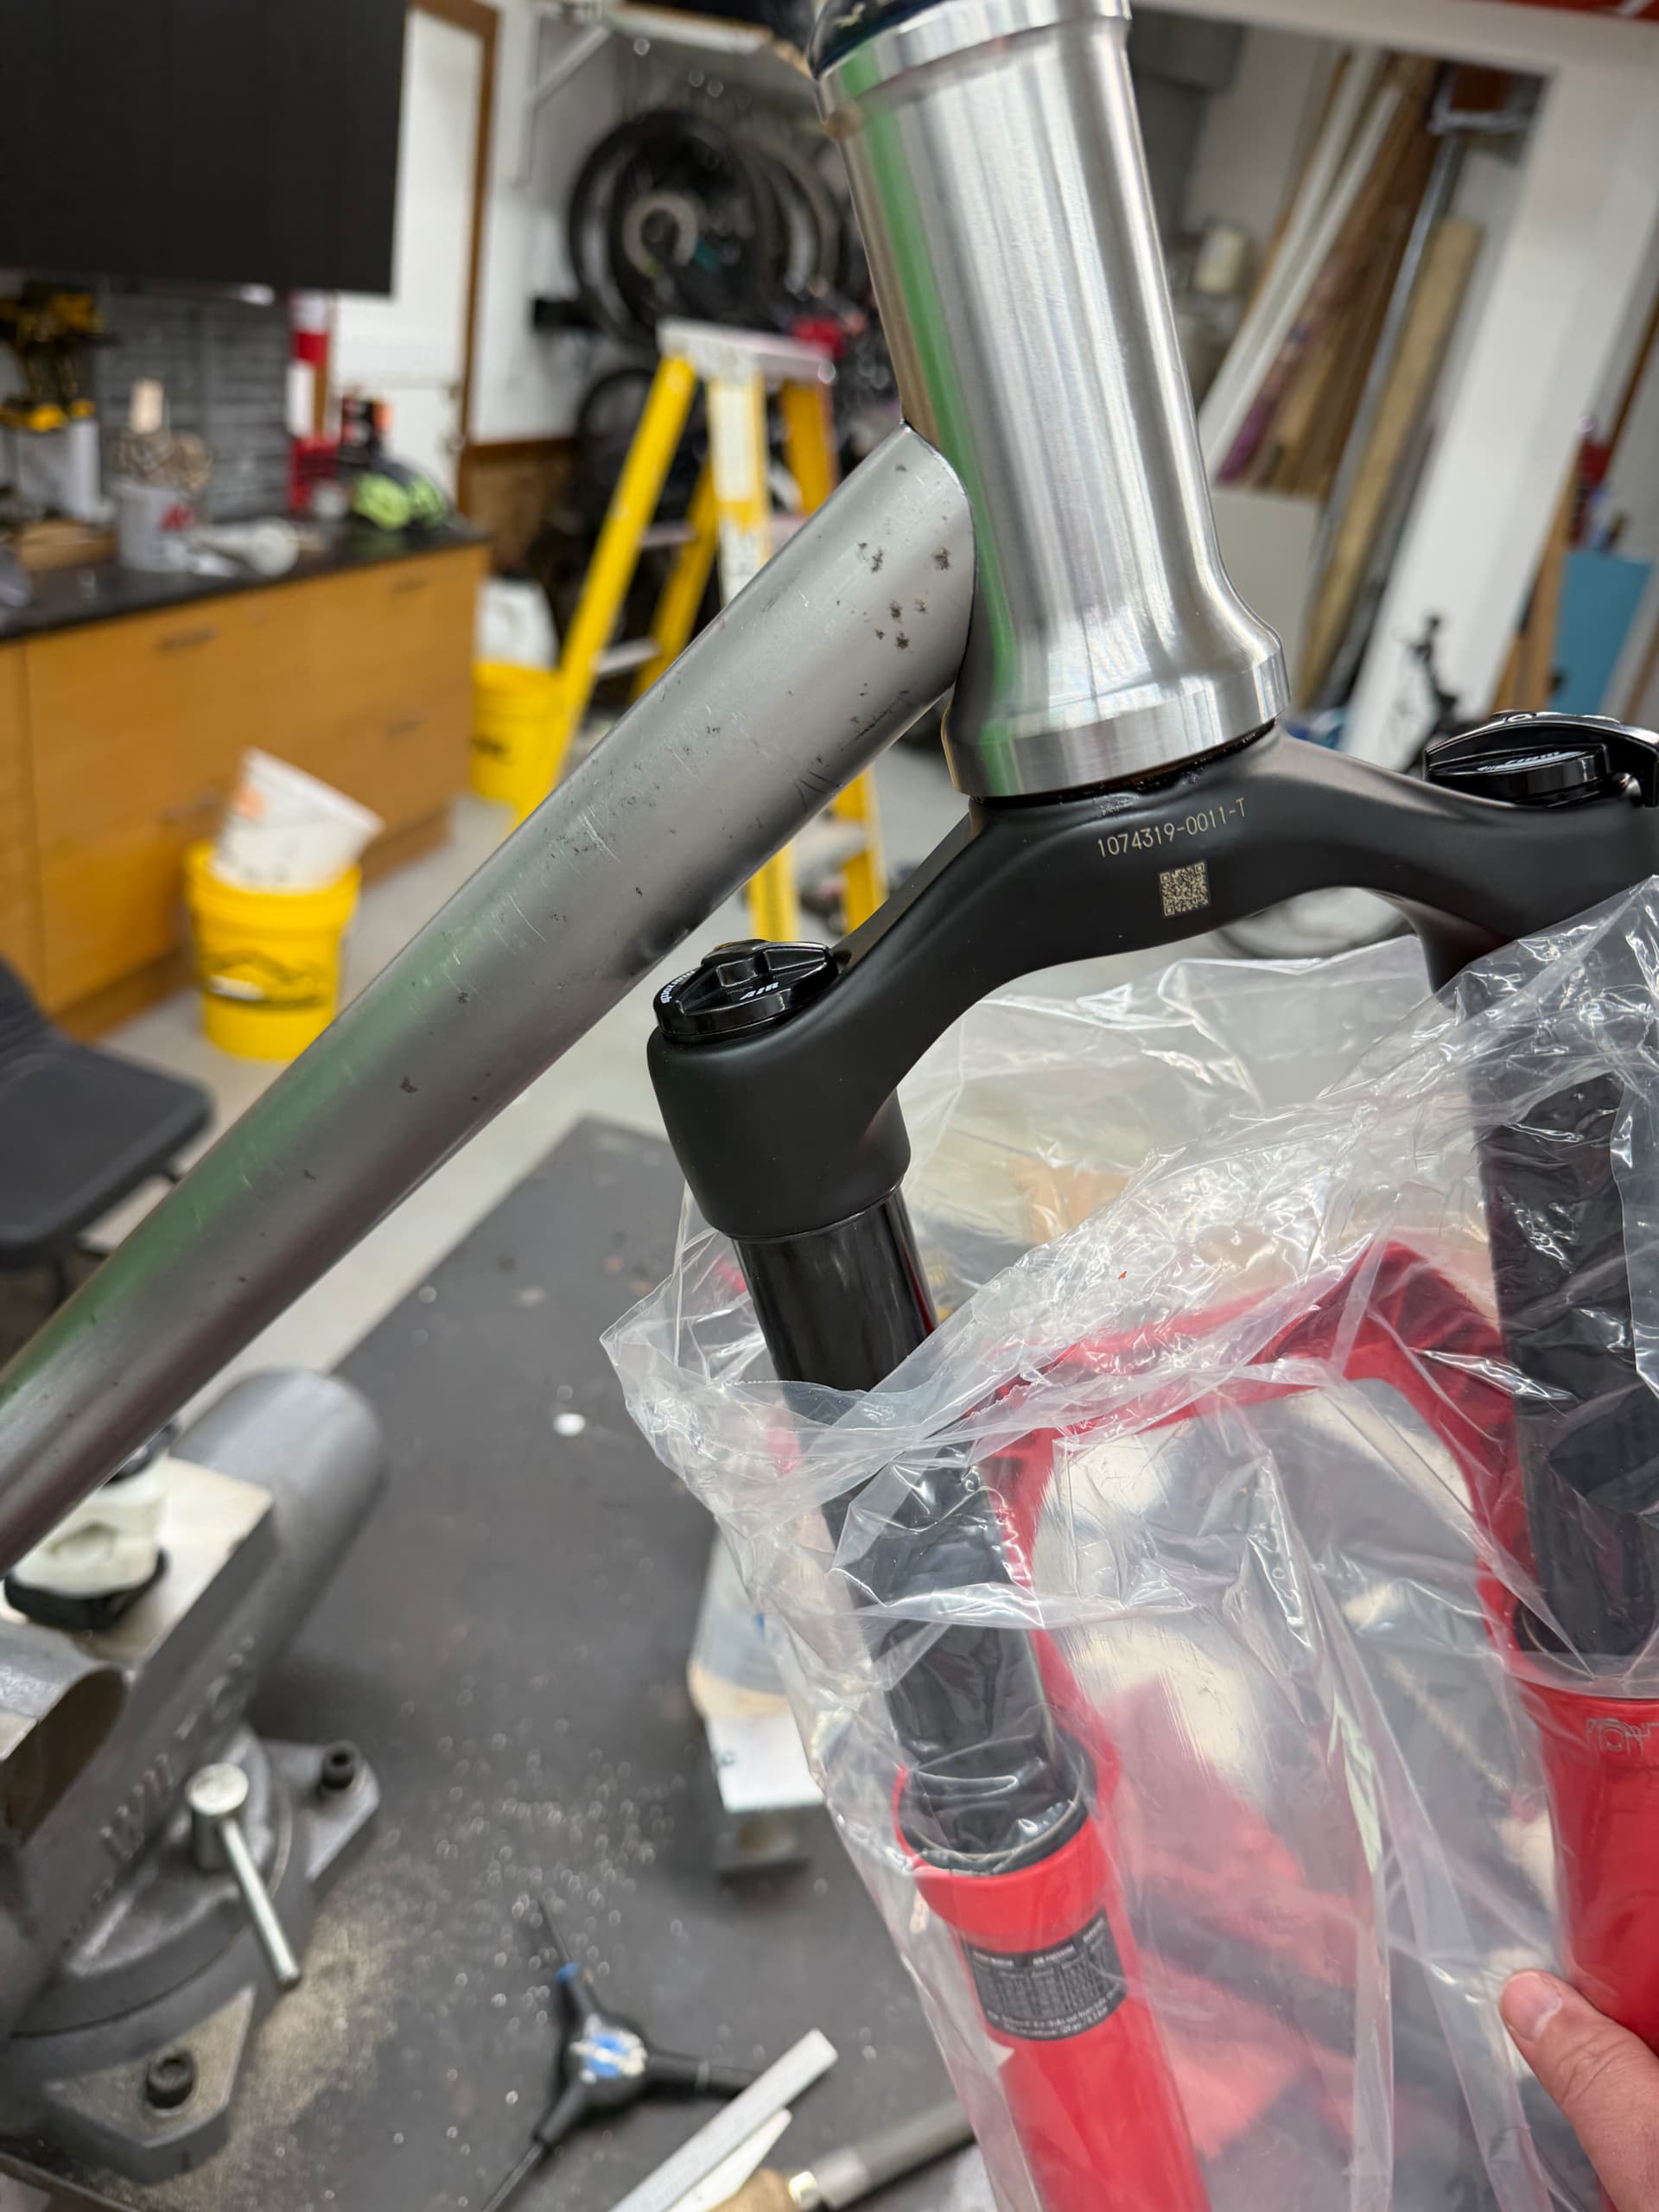
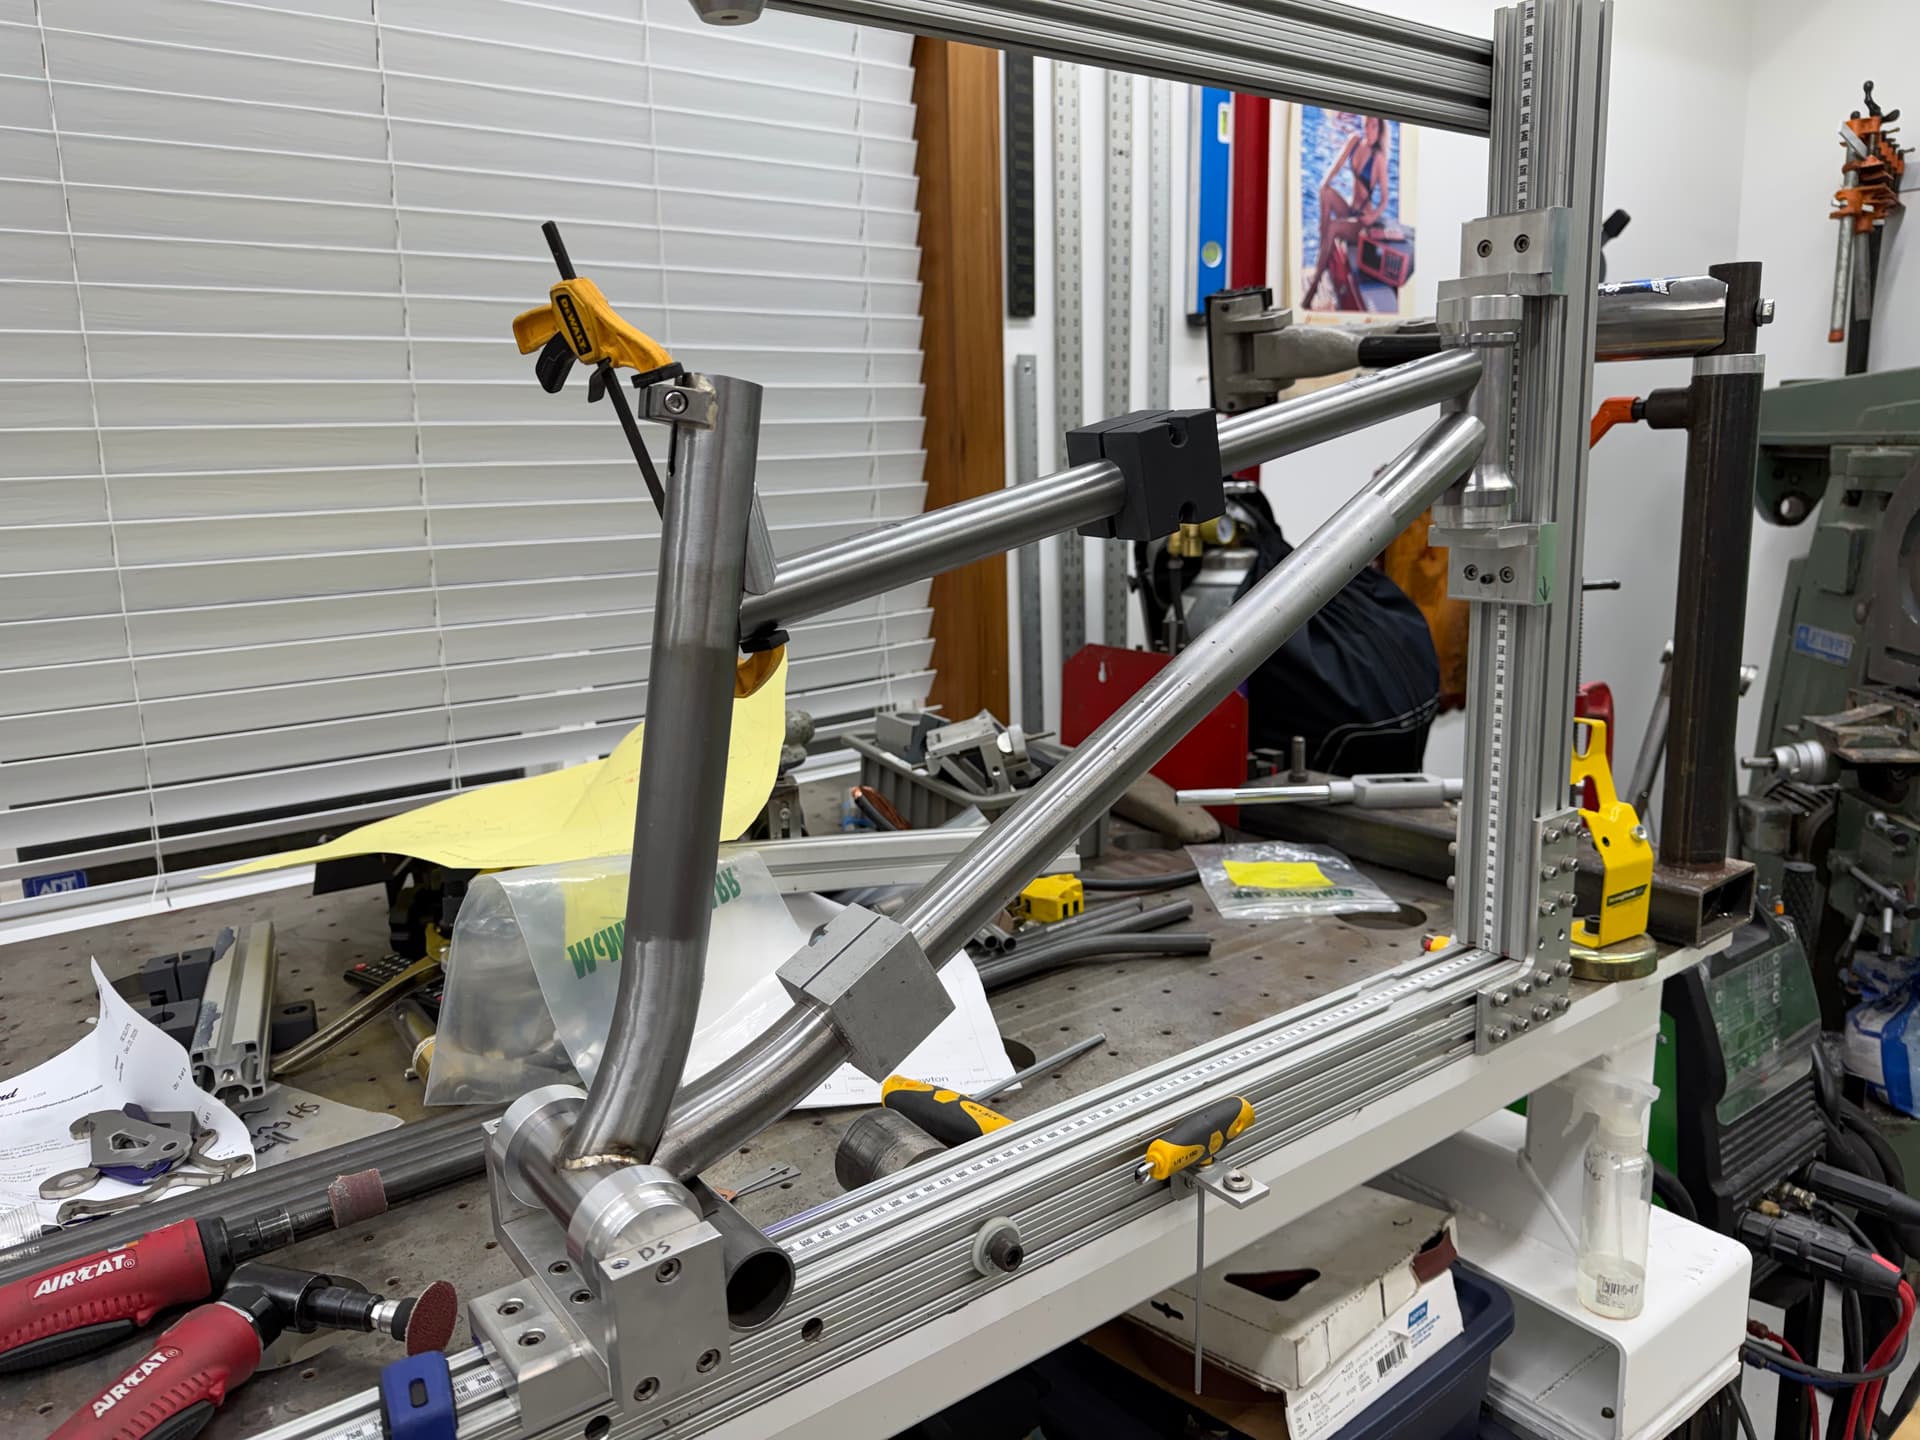
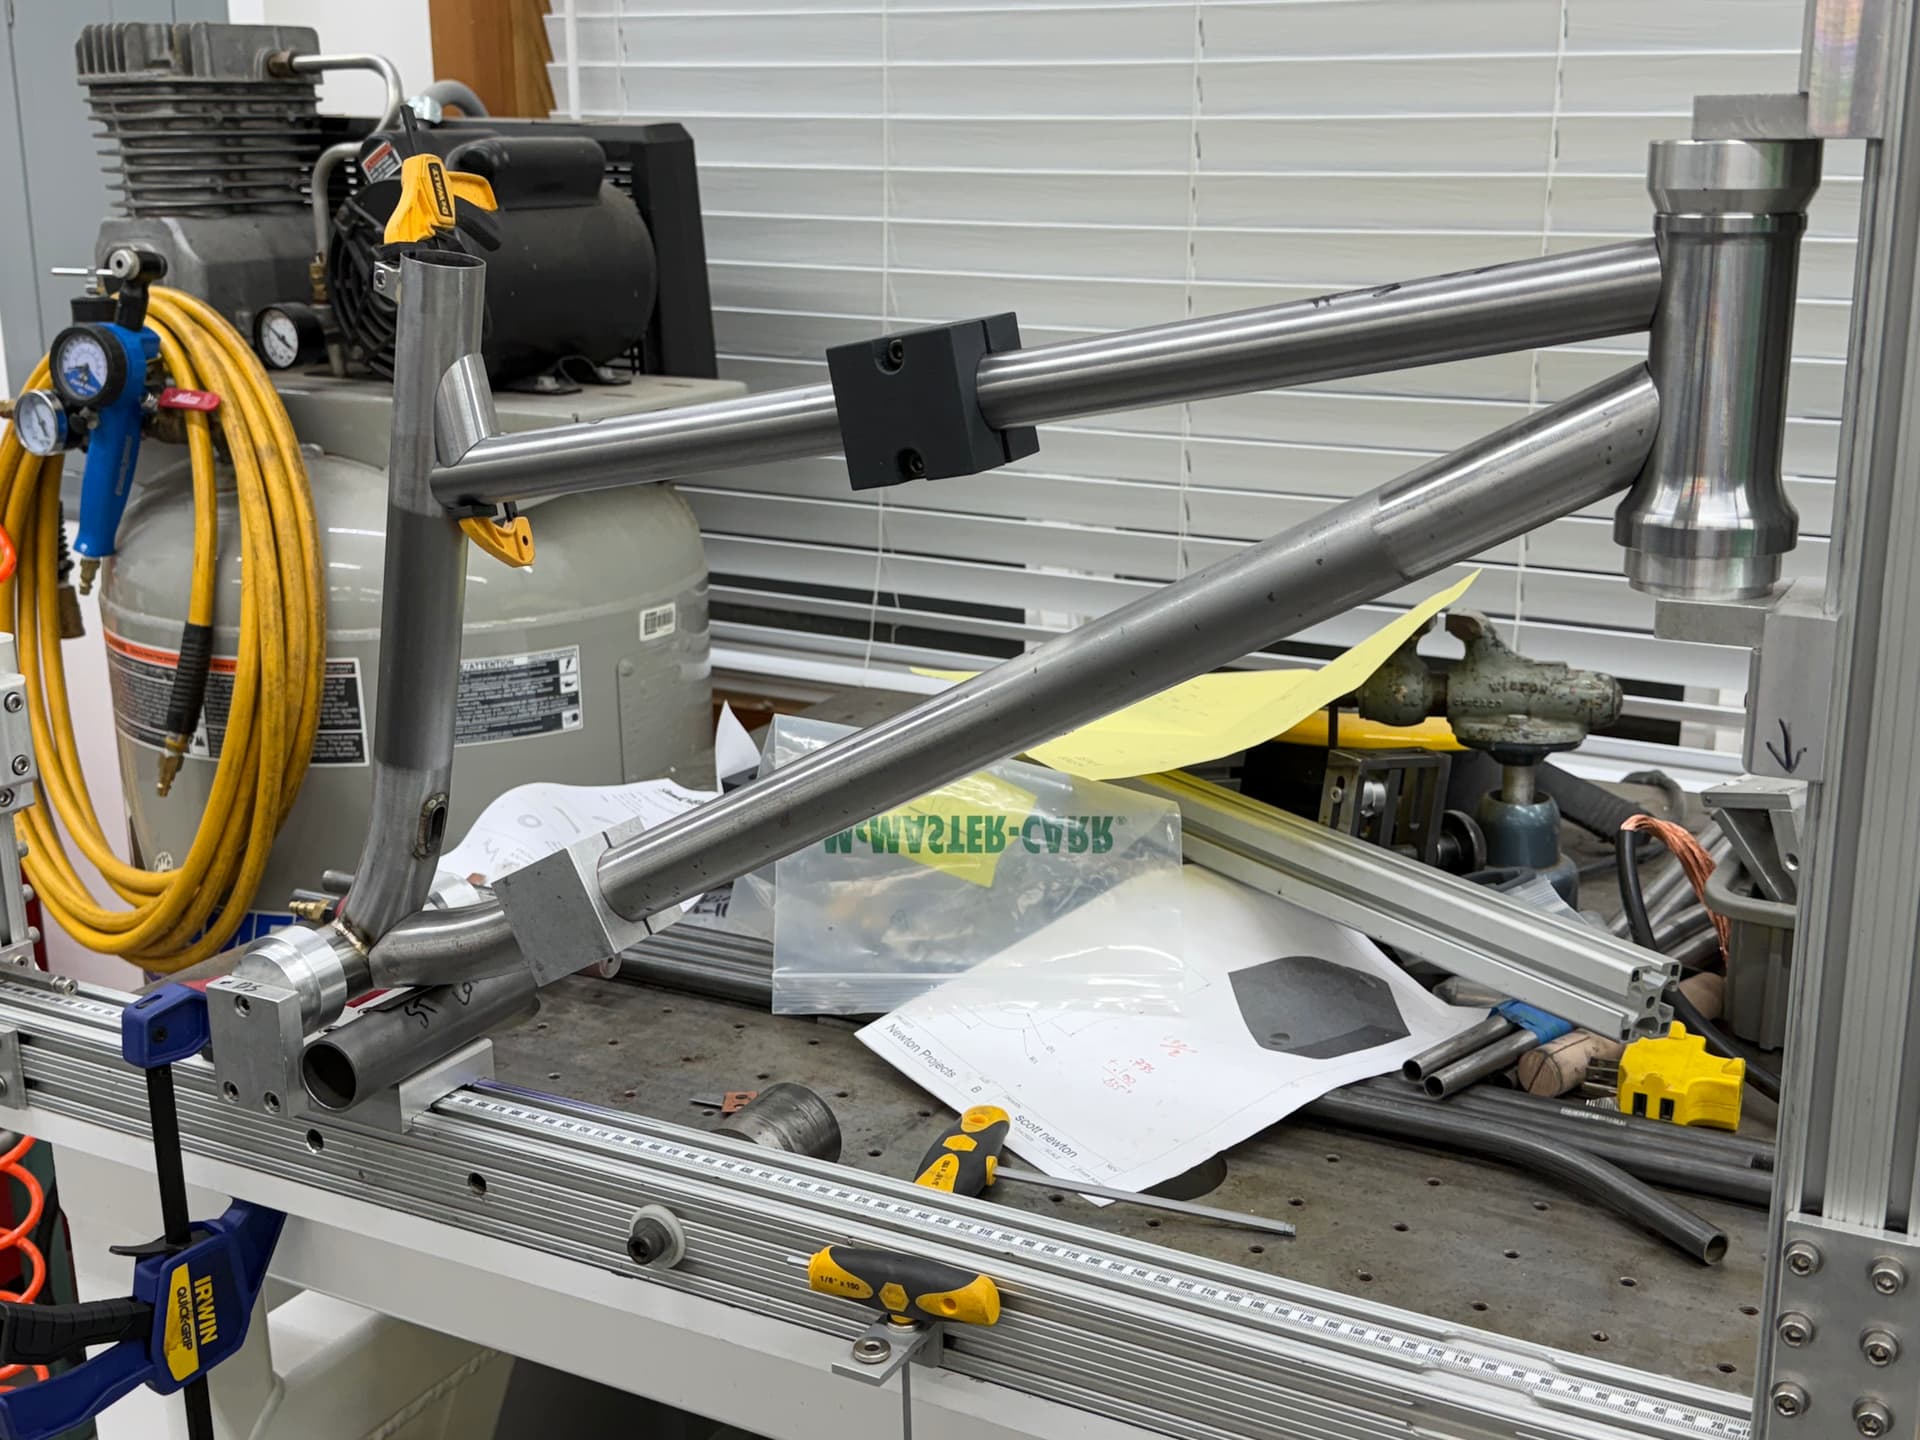
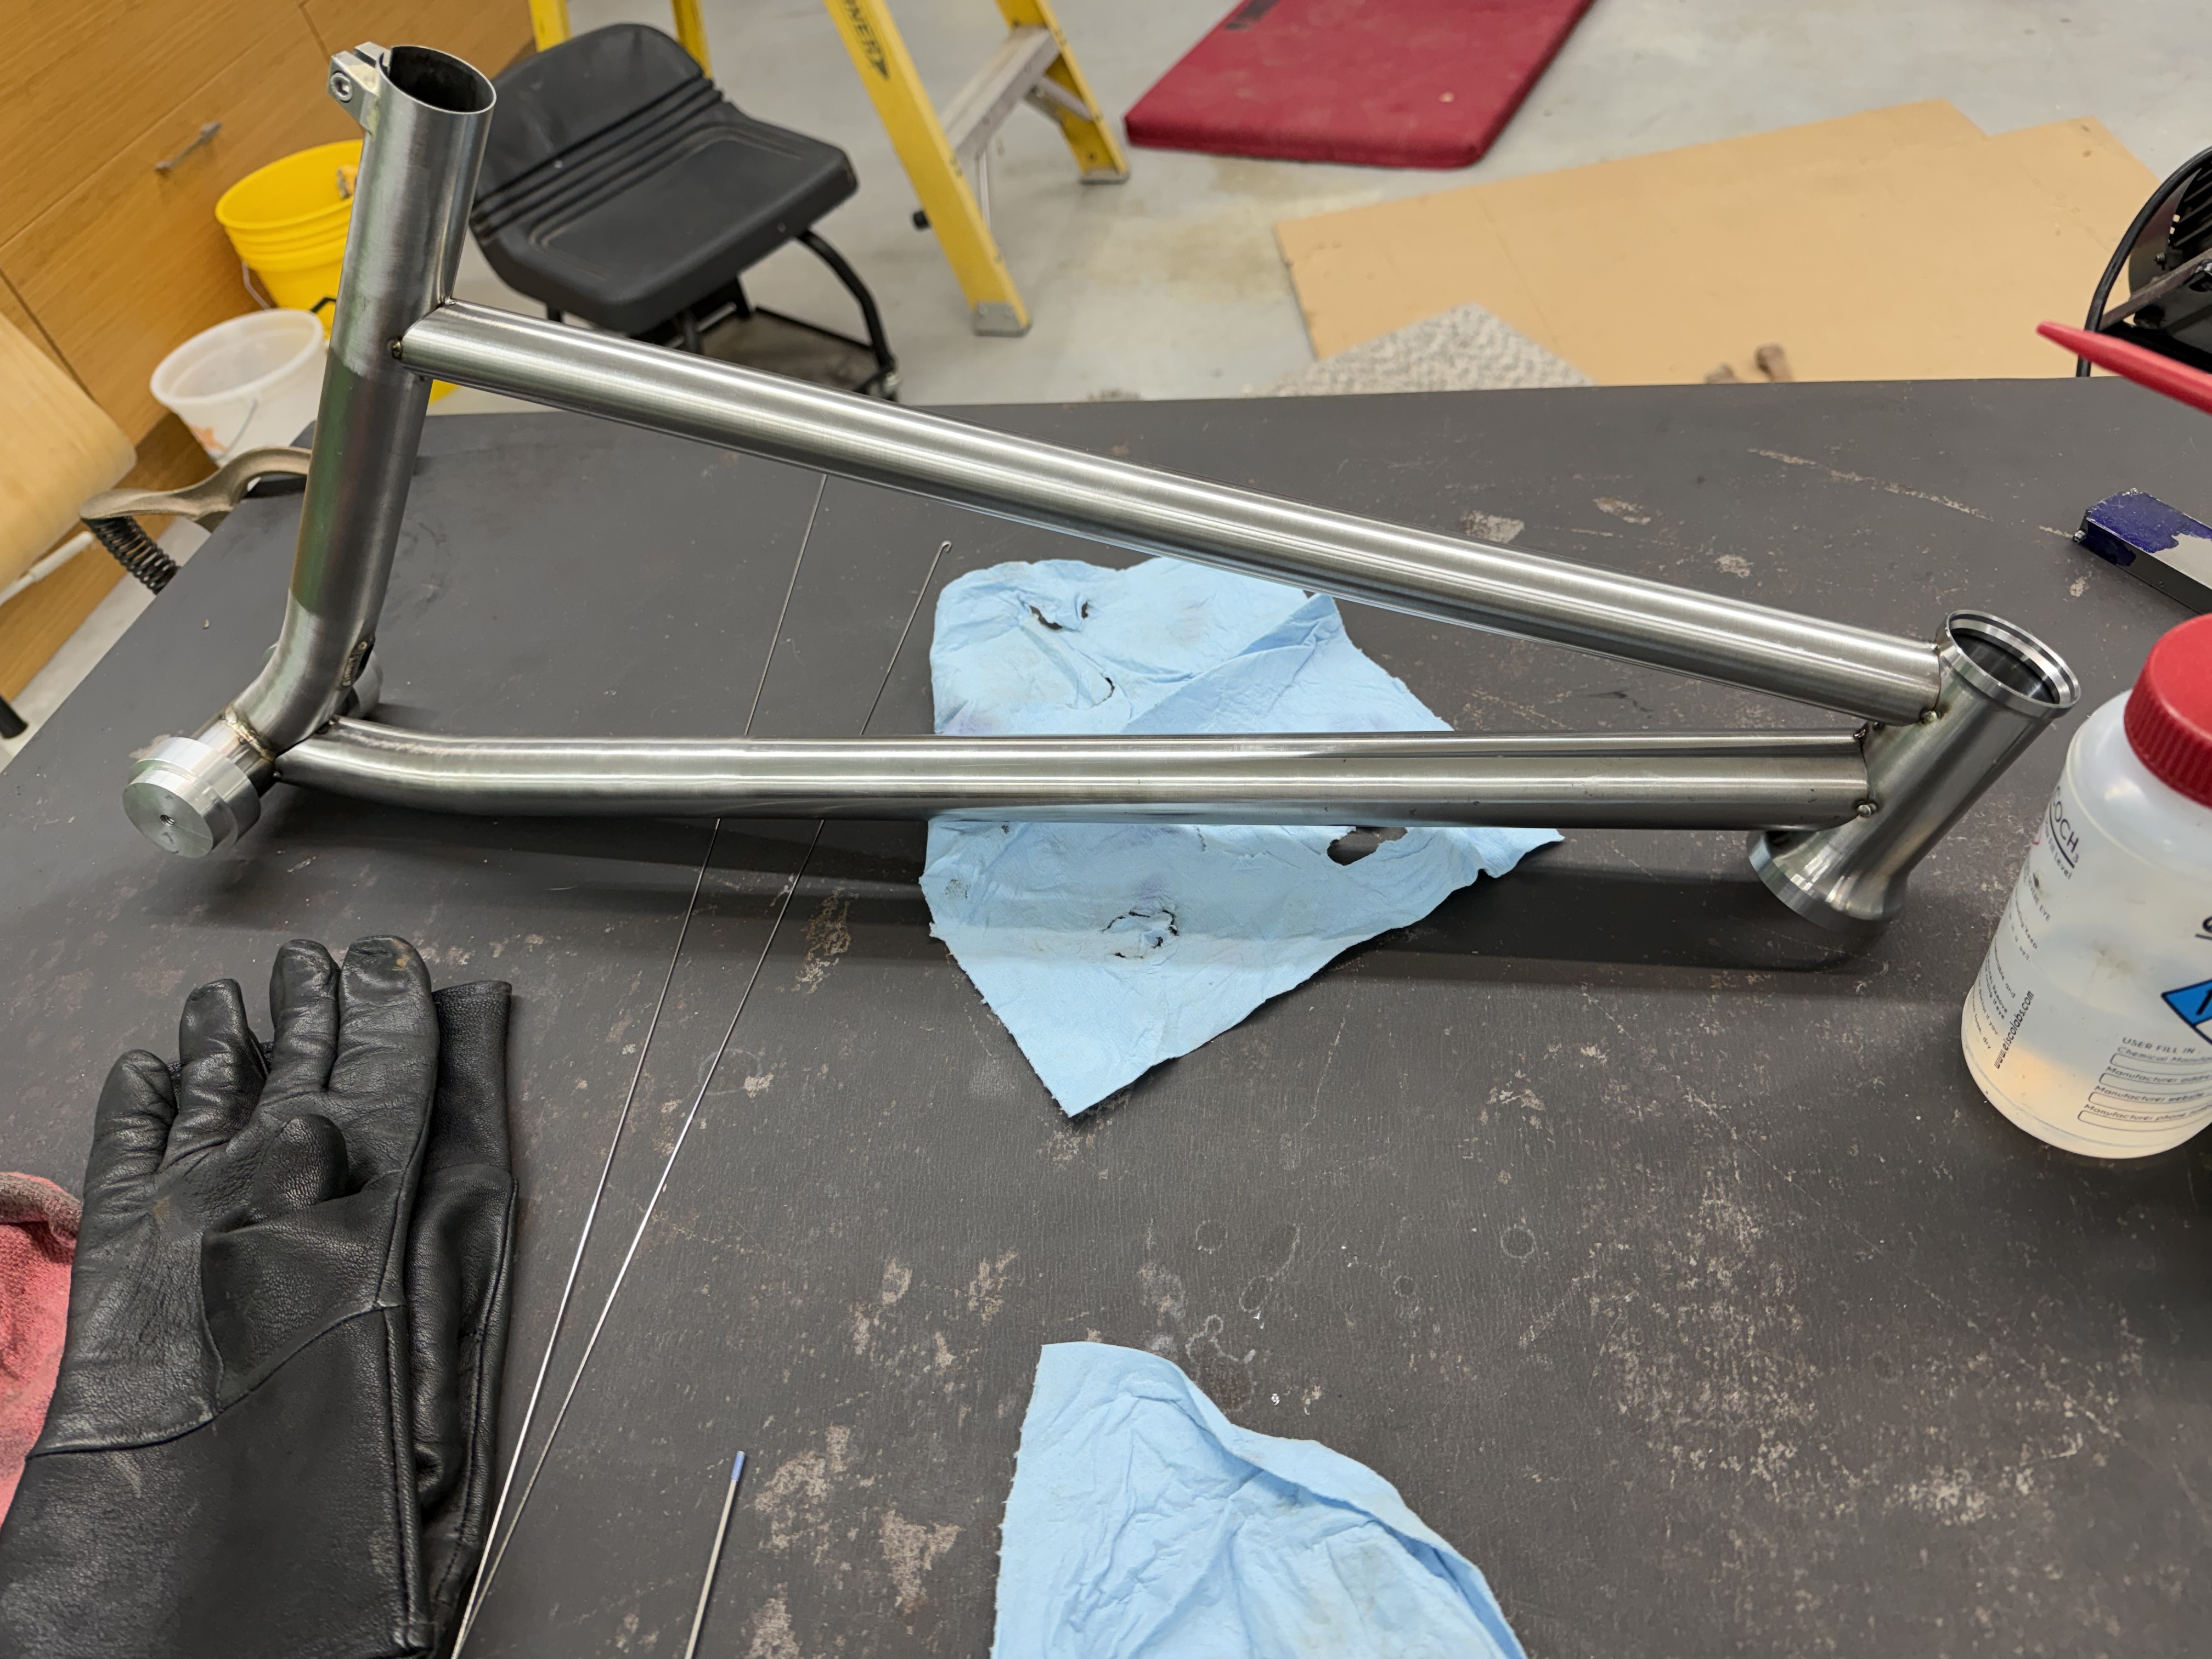
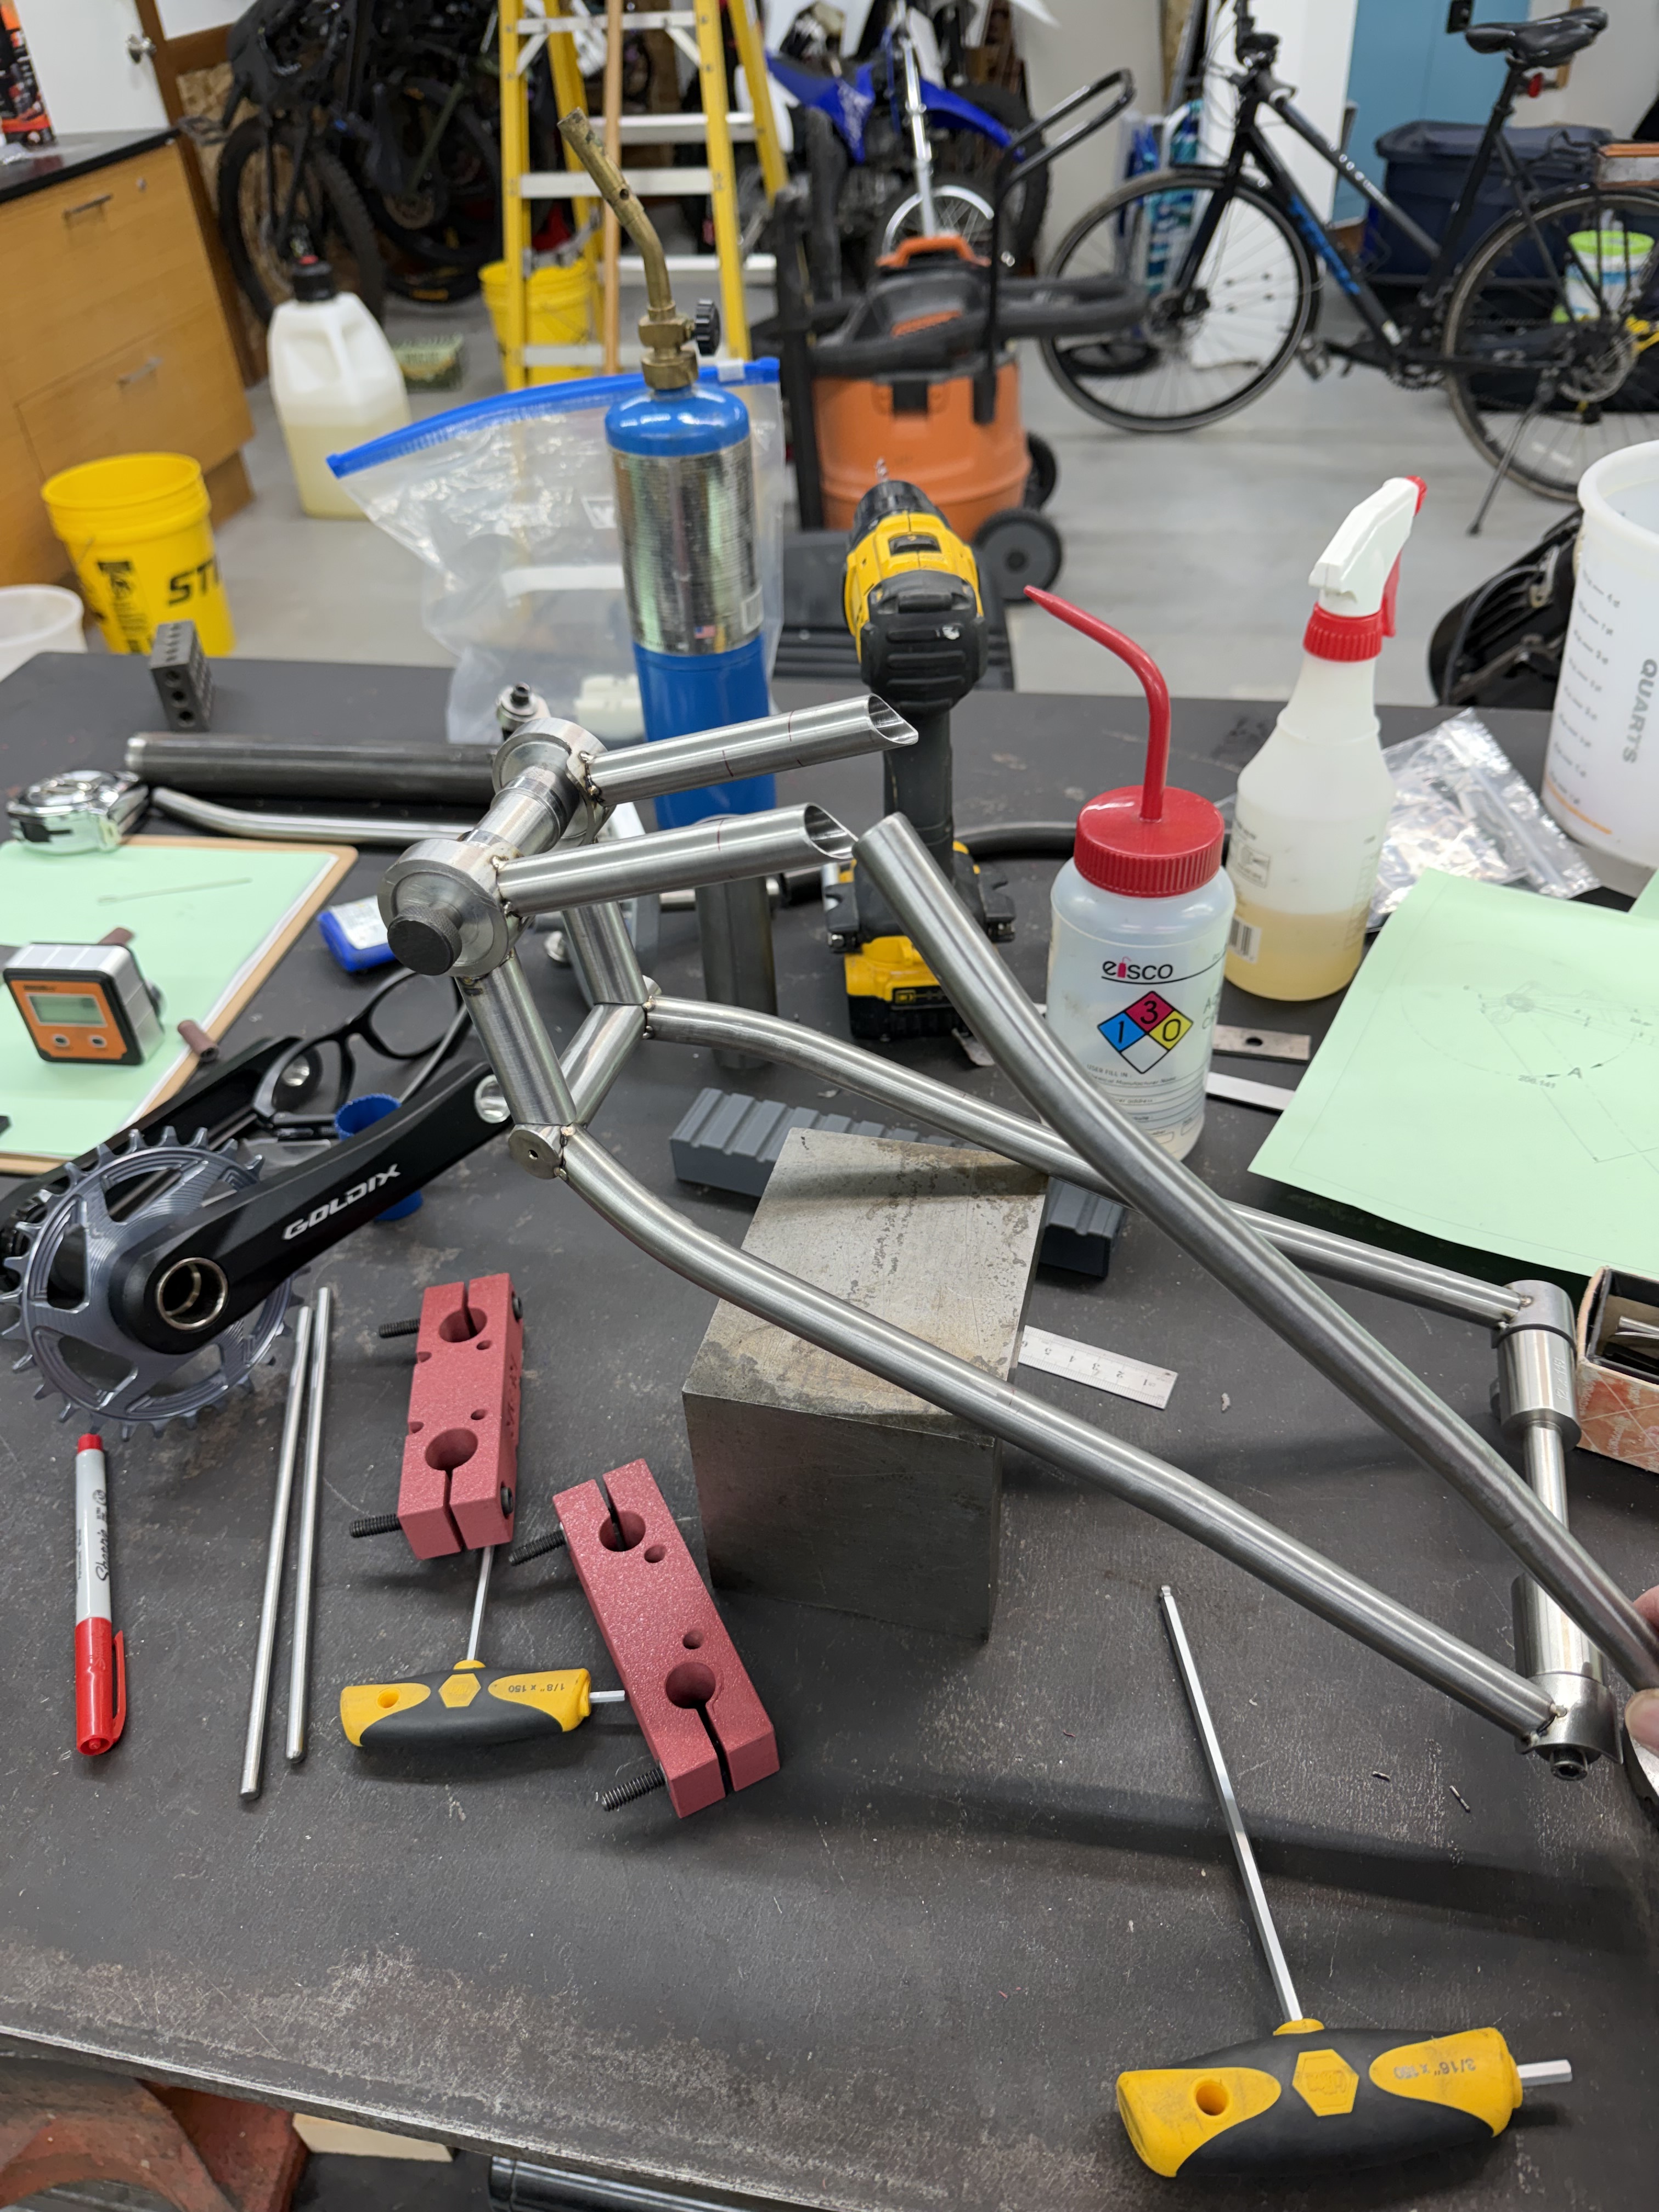
It’s been quite the saga getting this DT to fit- the two curves meeting, and one of them being rather flattened, made for some tricky fitting. I also put the DT low on this HT, which then when I switched forks made the DT crown clearance come into question again. So despite CAD saying it was ok, I do a single tack to check on the real parts, and thankfully it’s still a go.
Another result of the low DT on this HT made the very bottom of the HT/DT interface almost a “V” shape… not my favorite for strength, so I may figure out a gusset. But super psyched to get the front tri preliminary fit up!
4 Likes
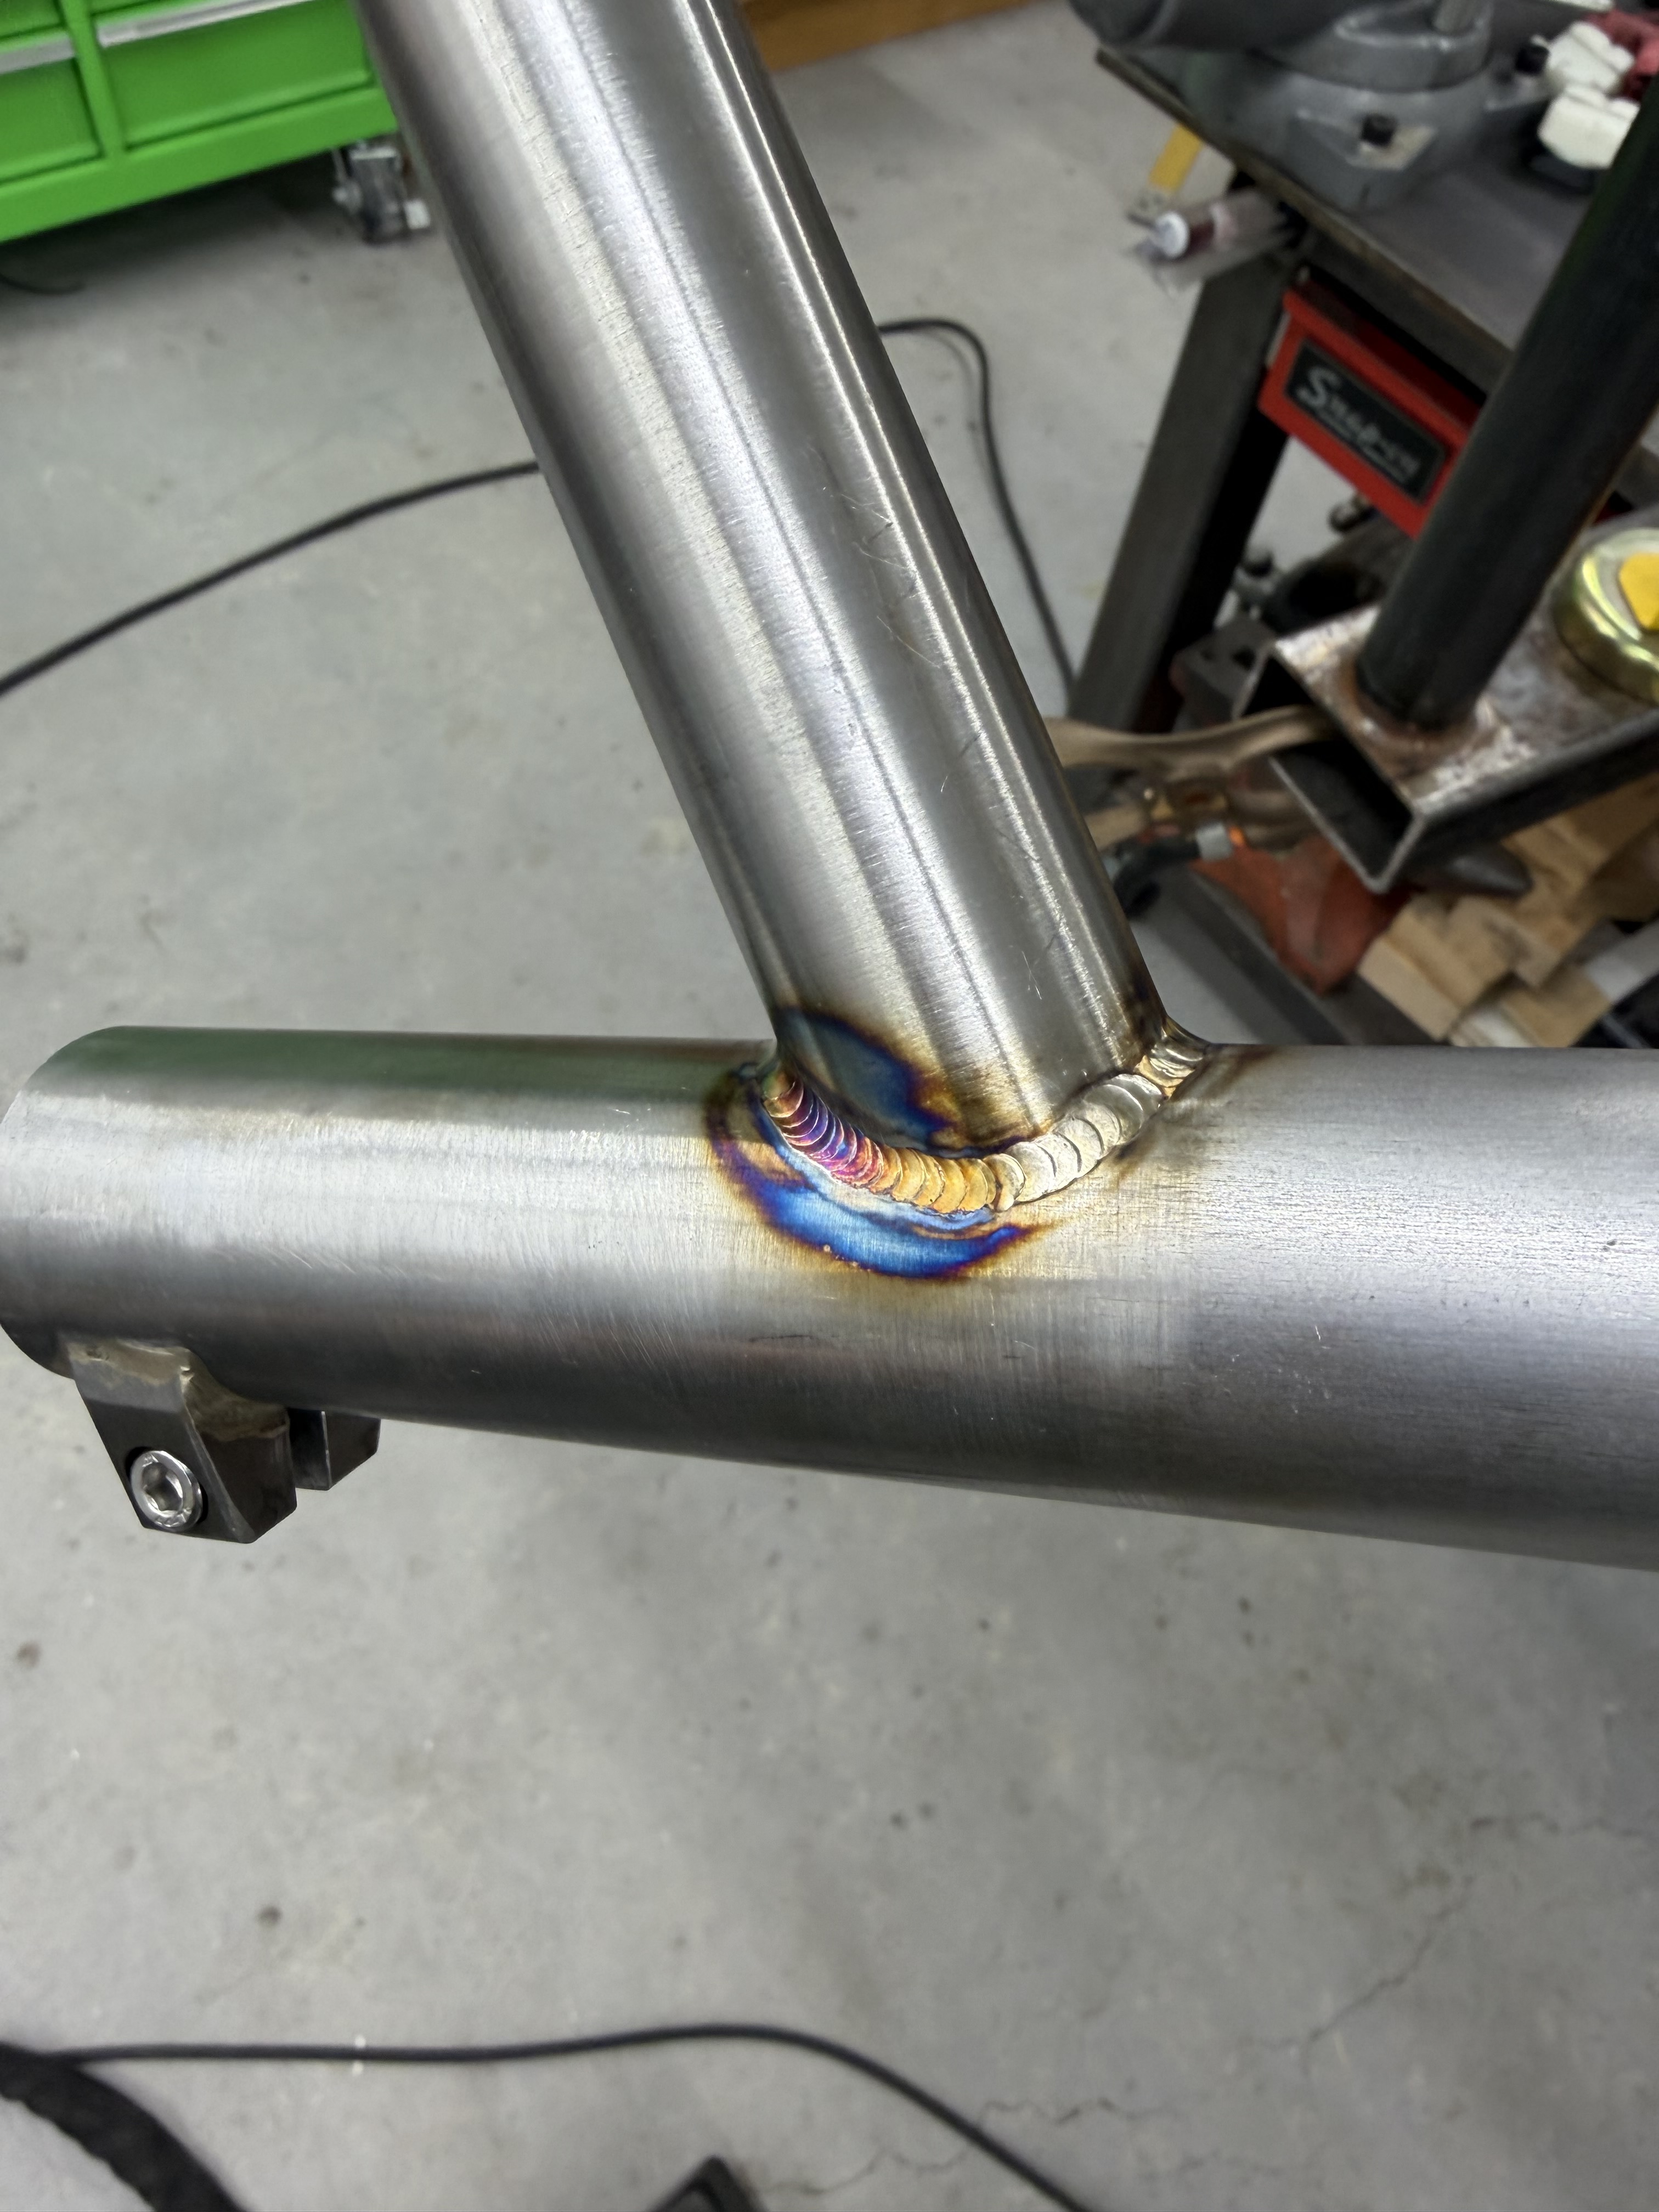
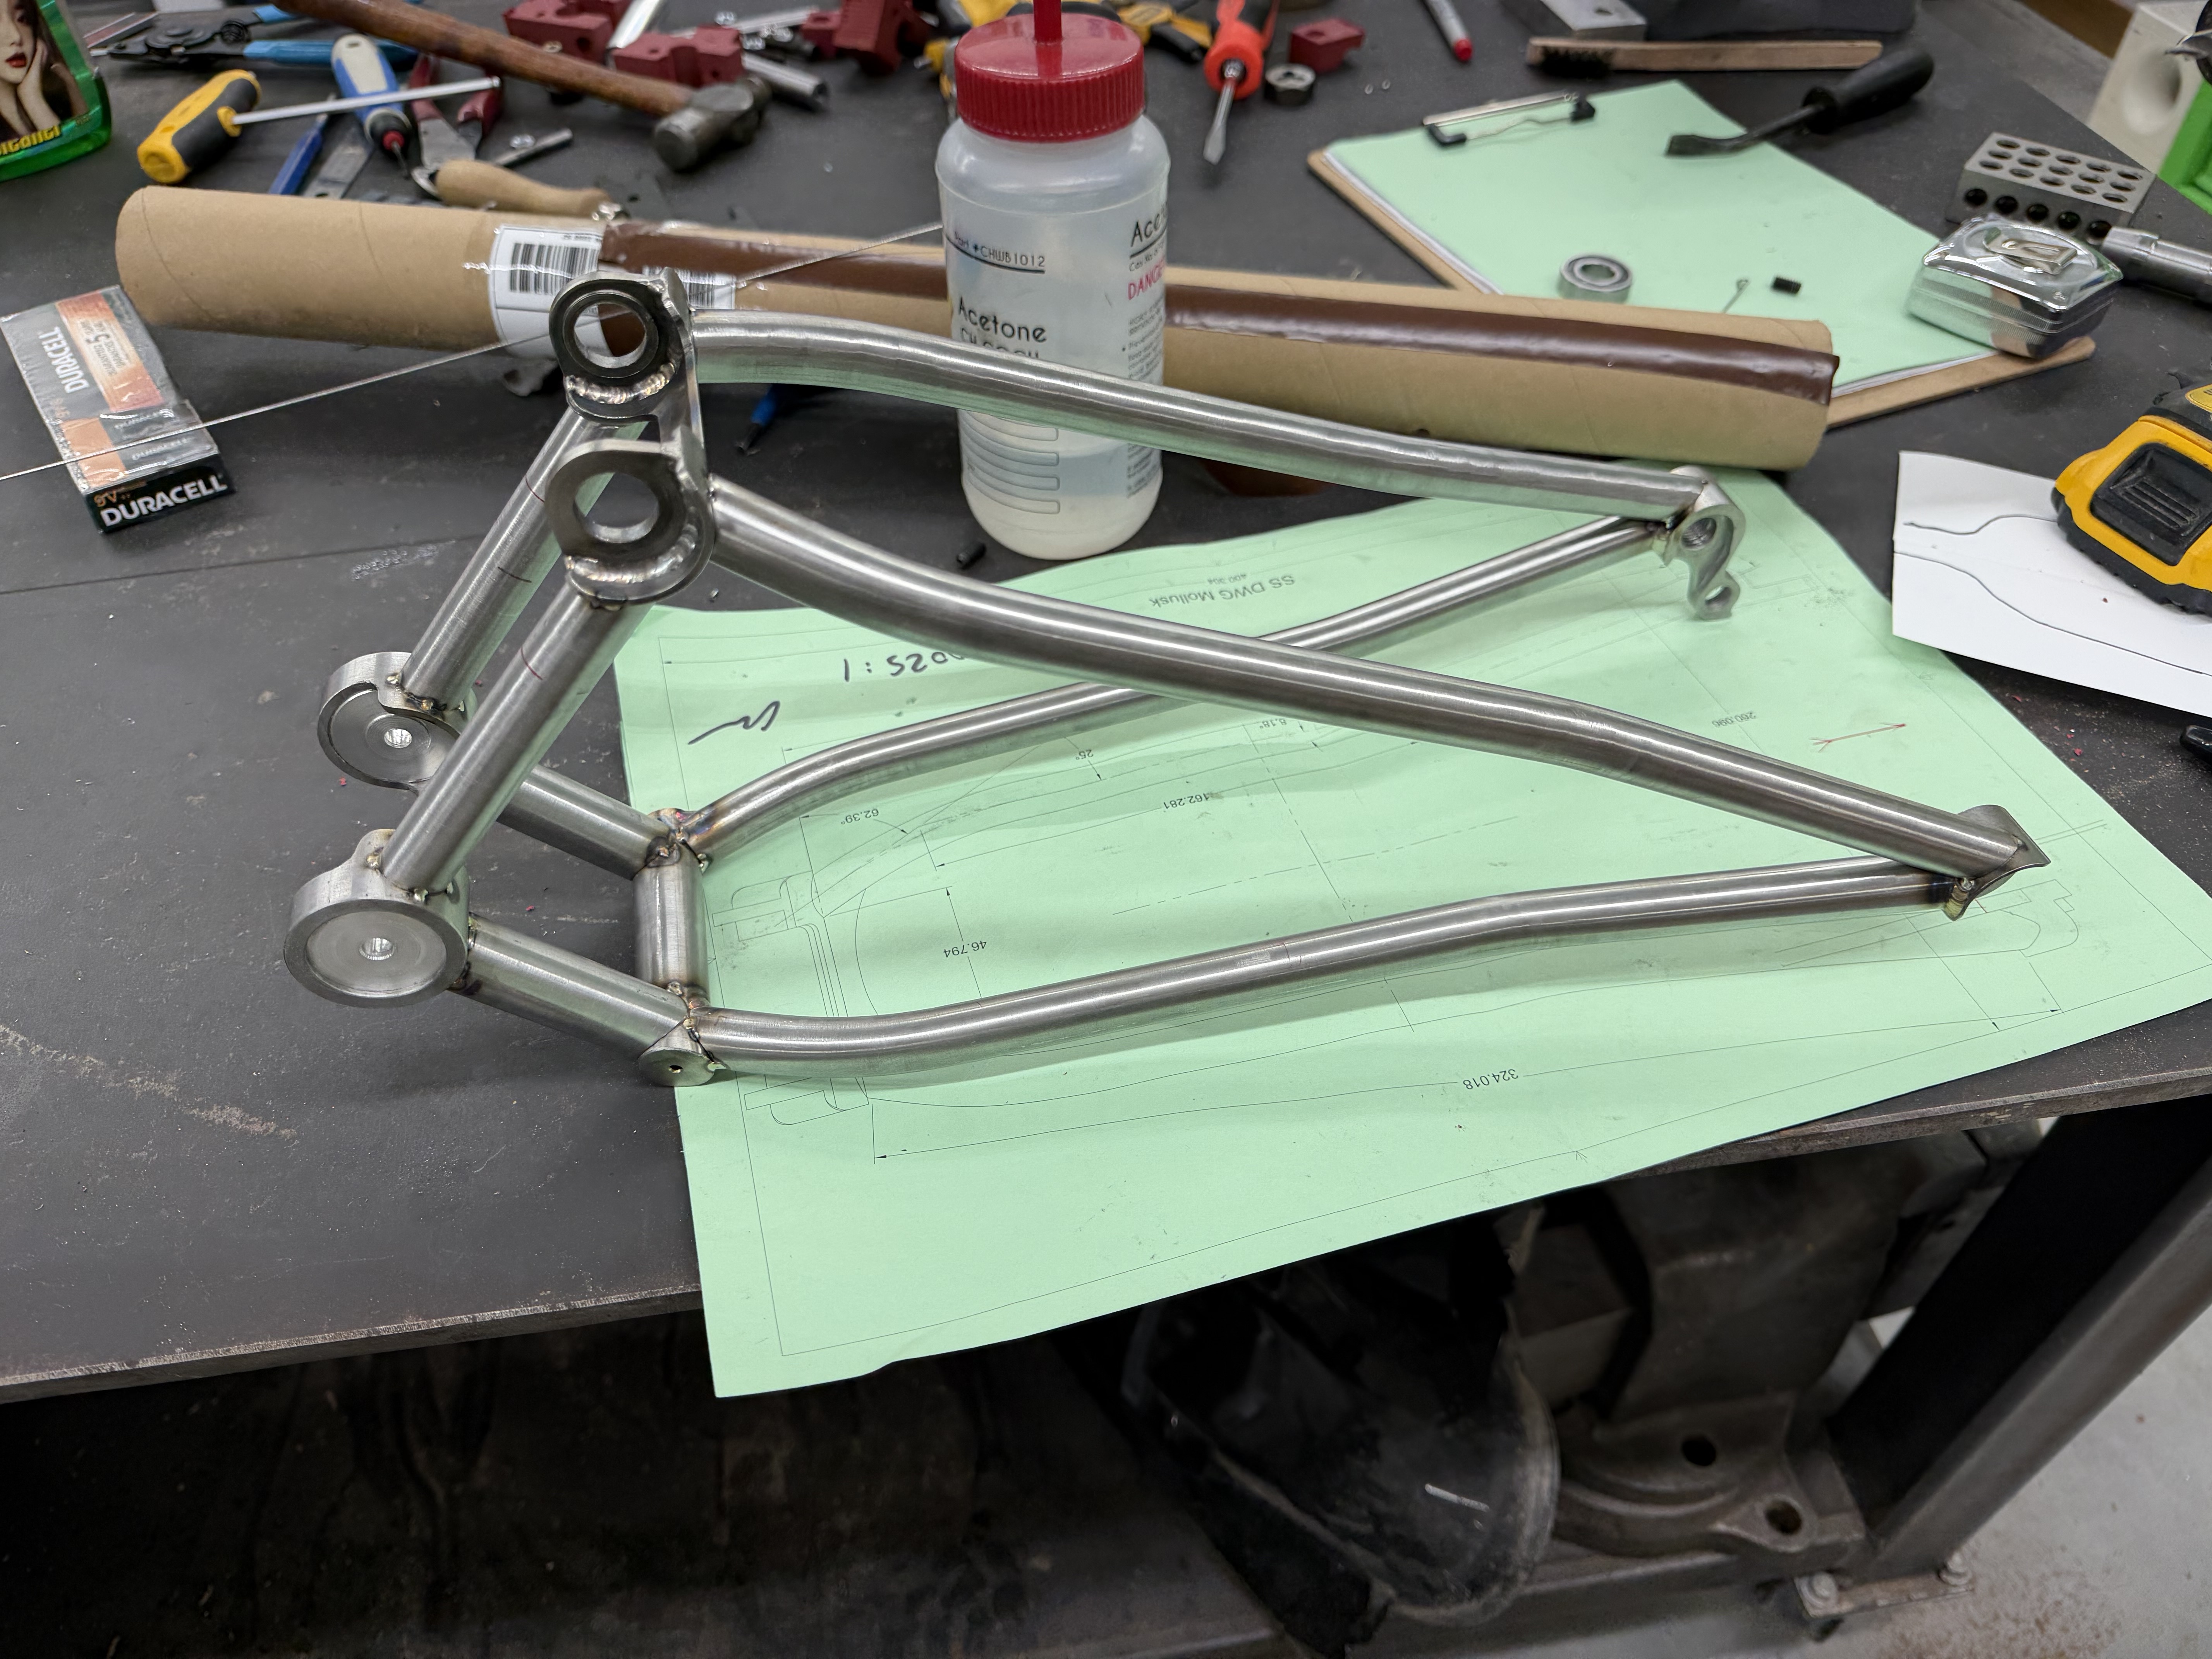
More progress! Front tri all welded up, now it’s time to cut in the main pivot 
7 Likes
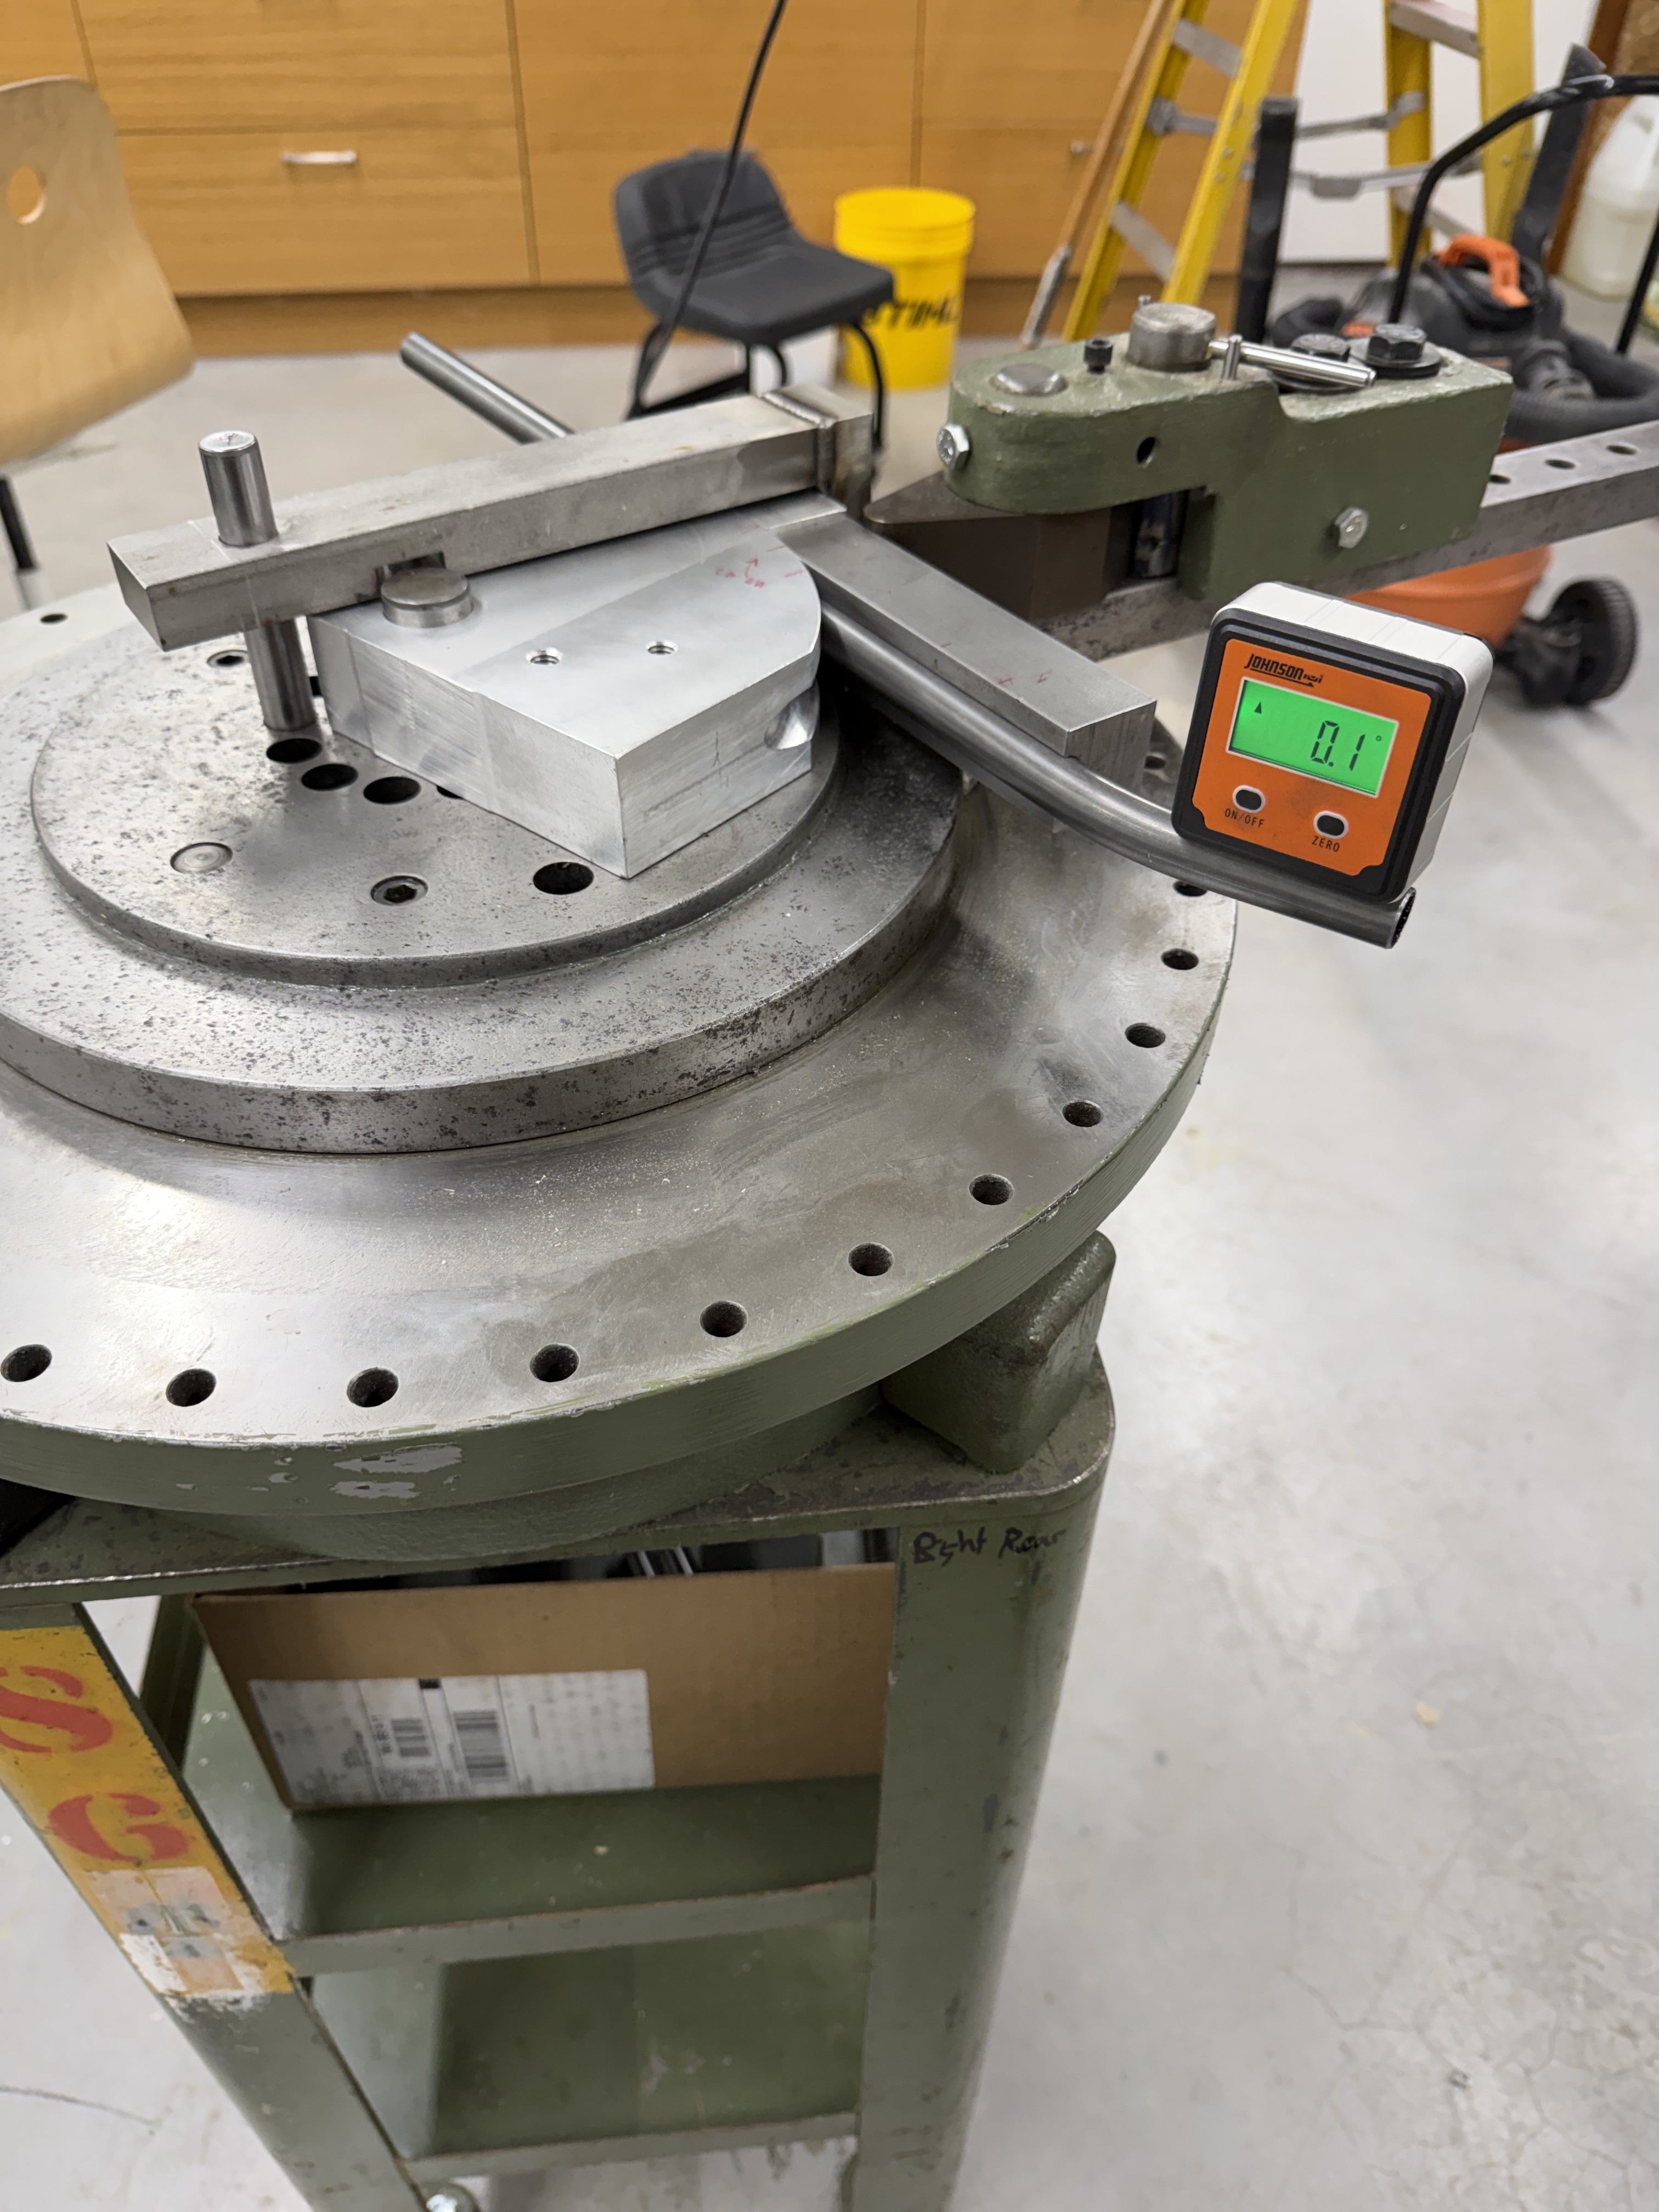
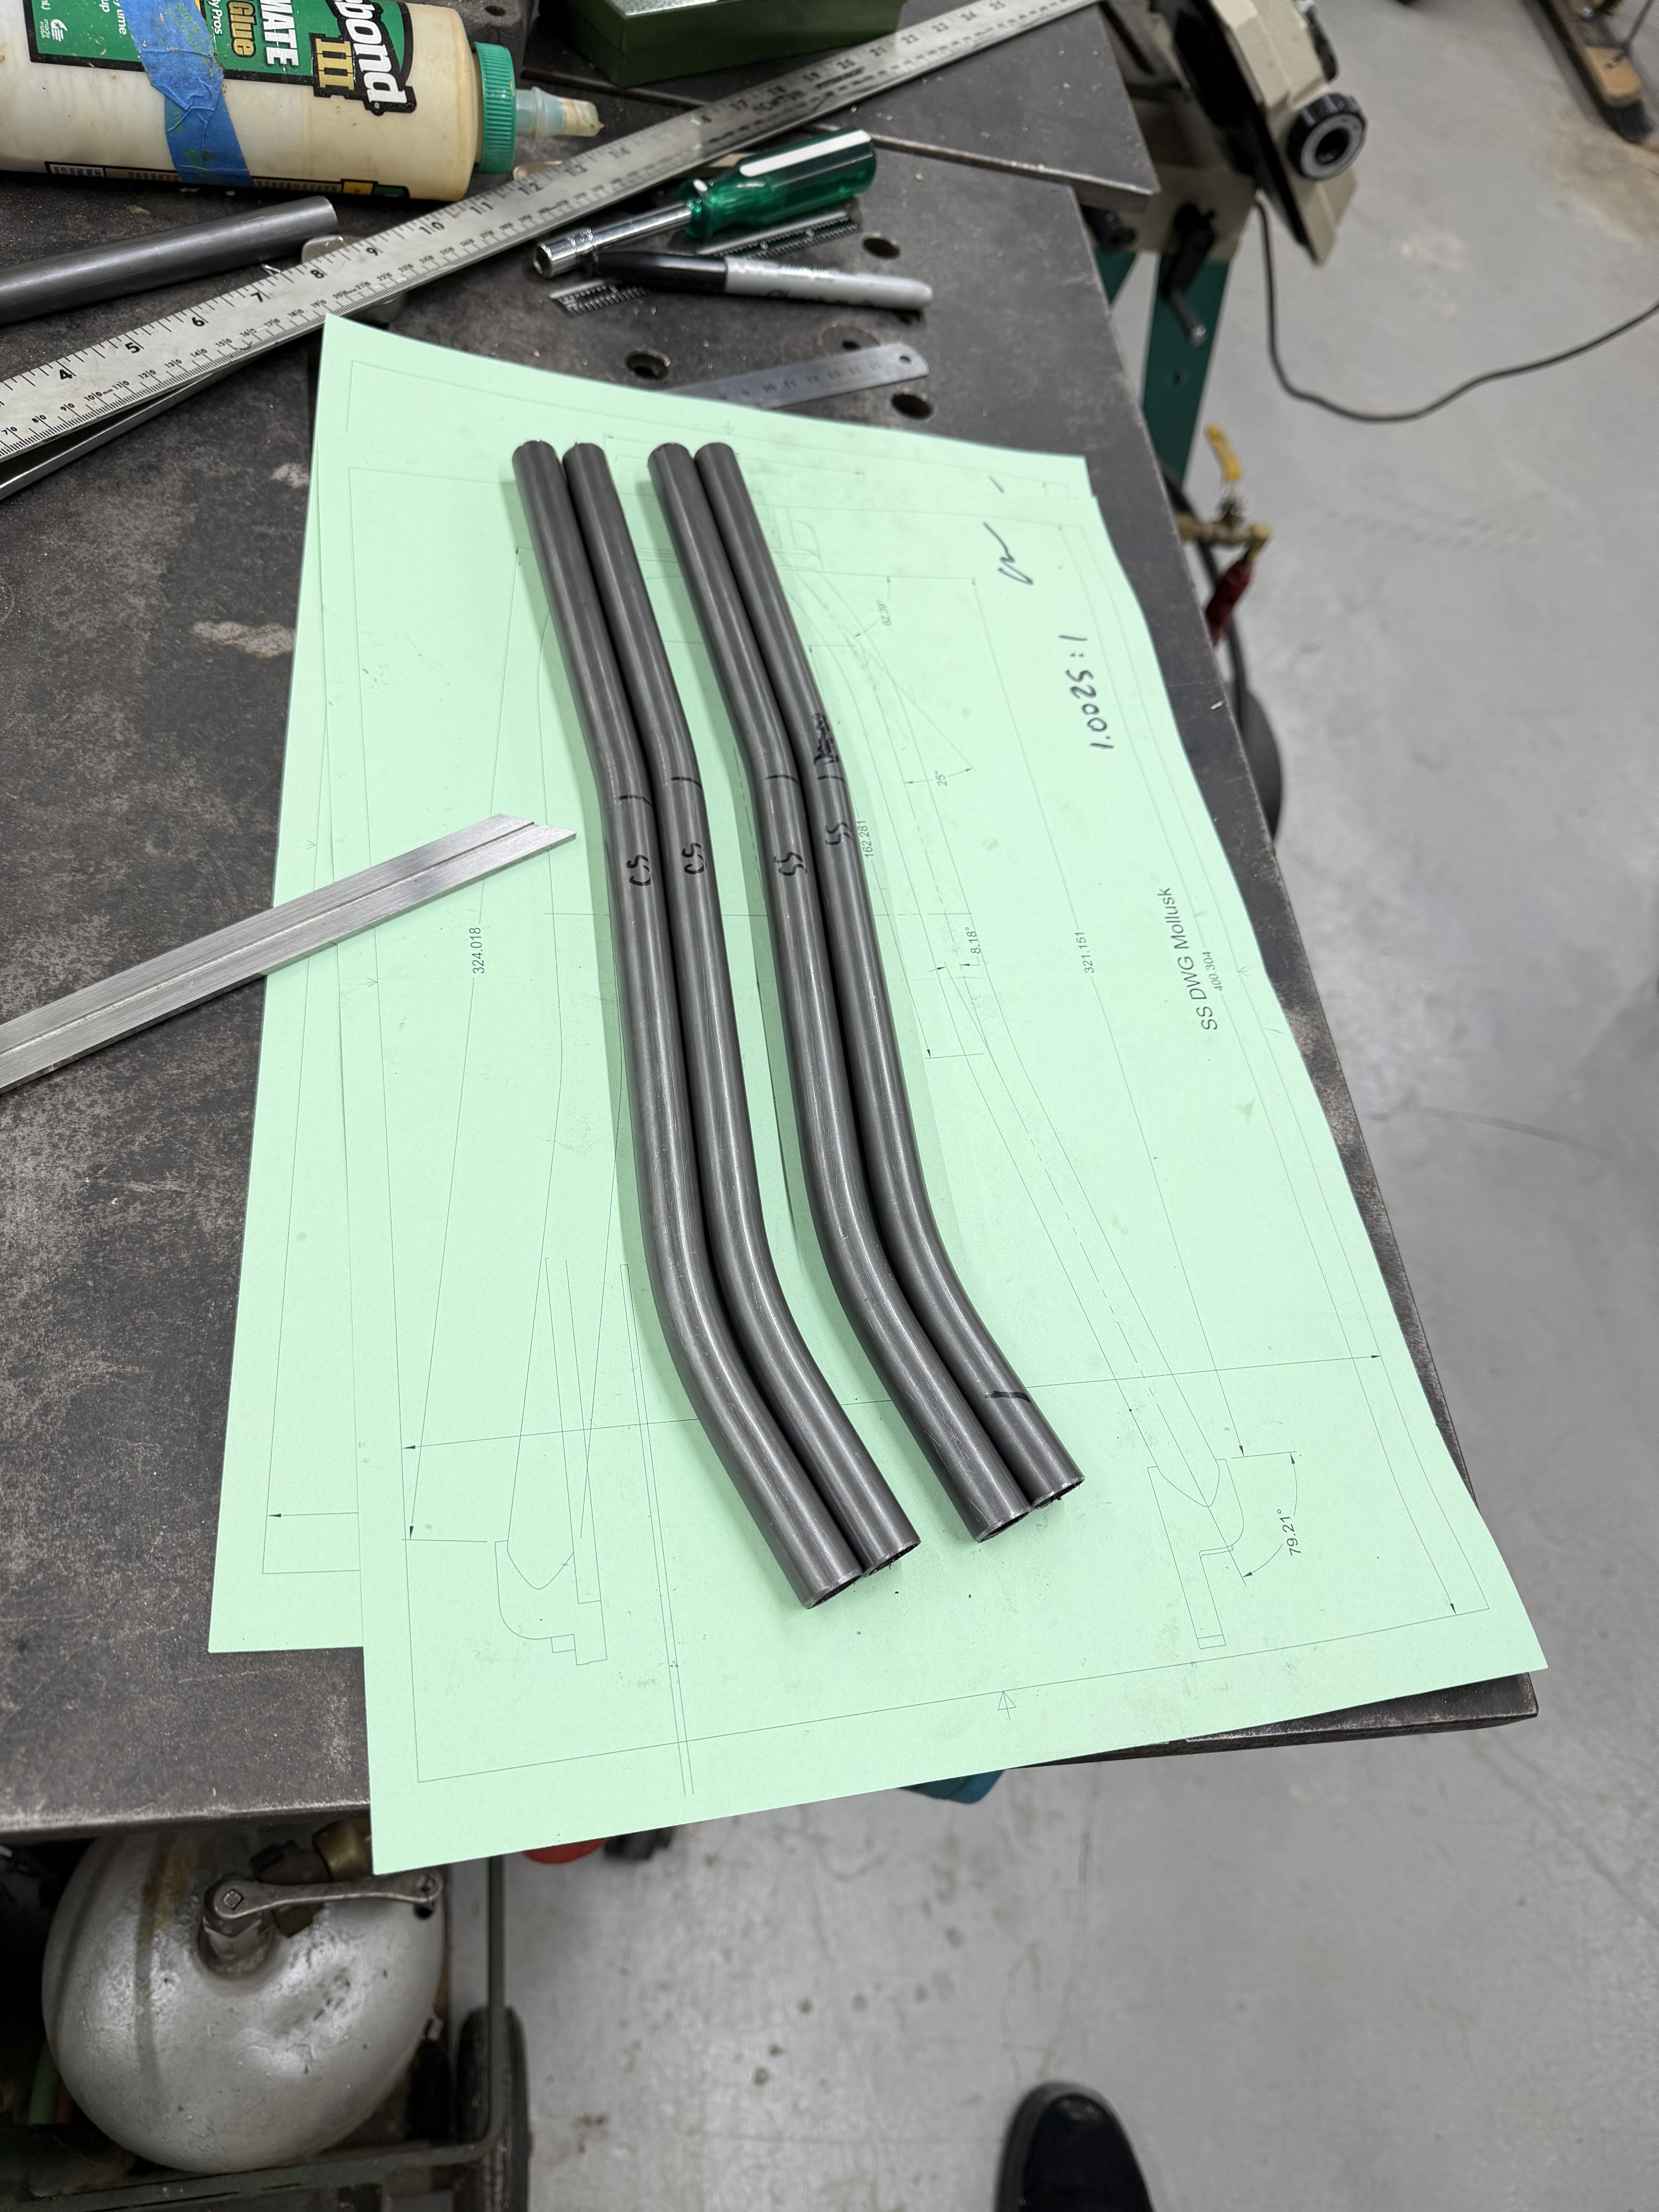
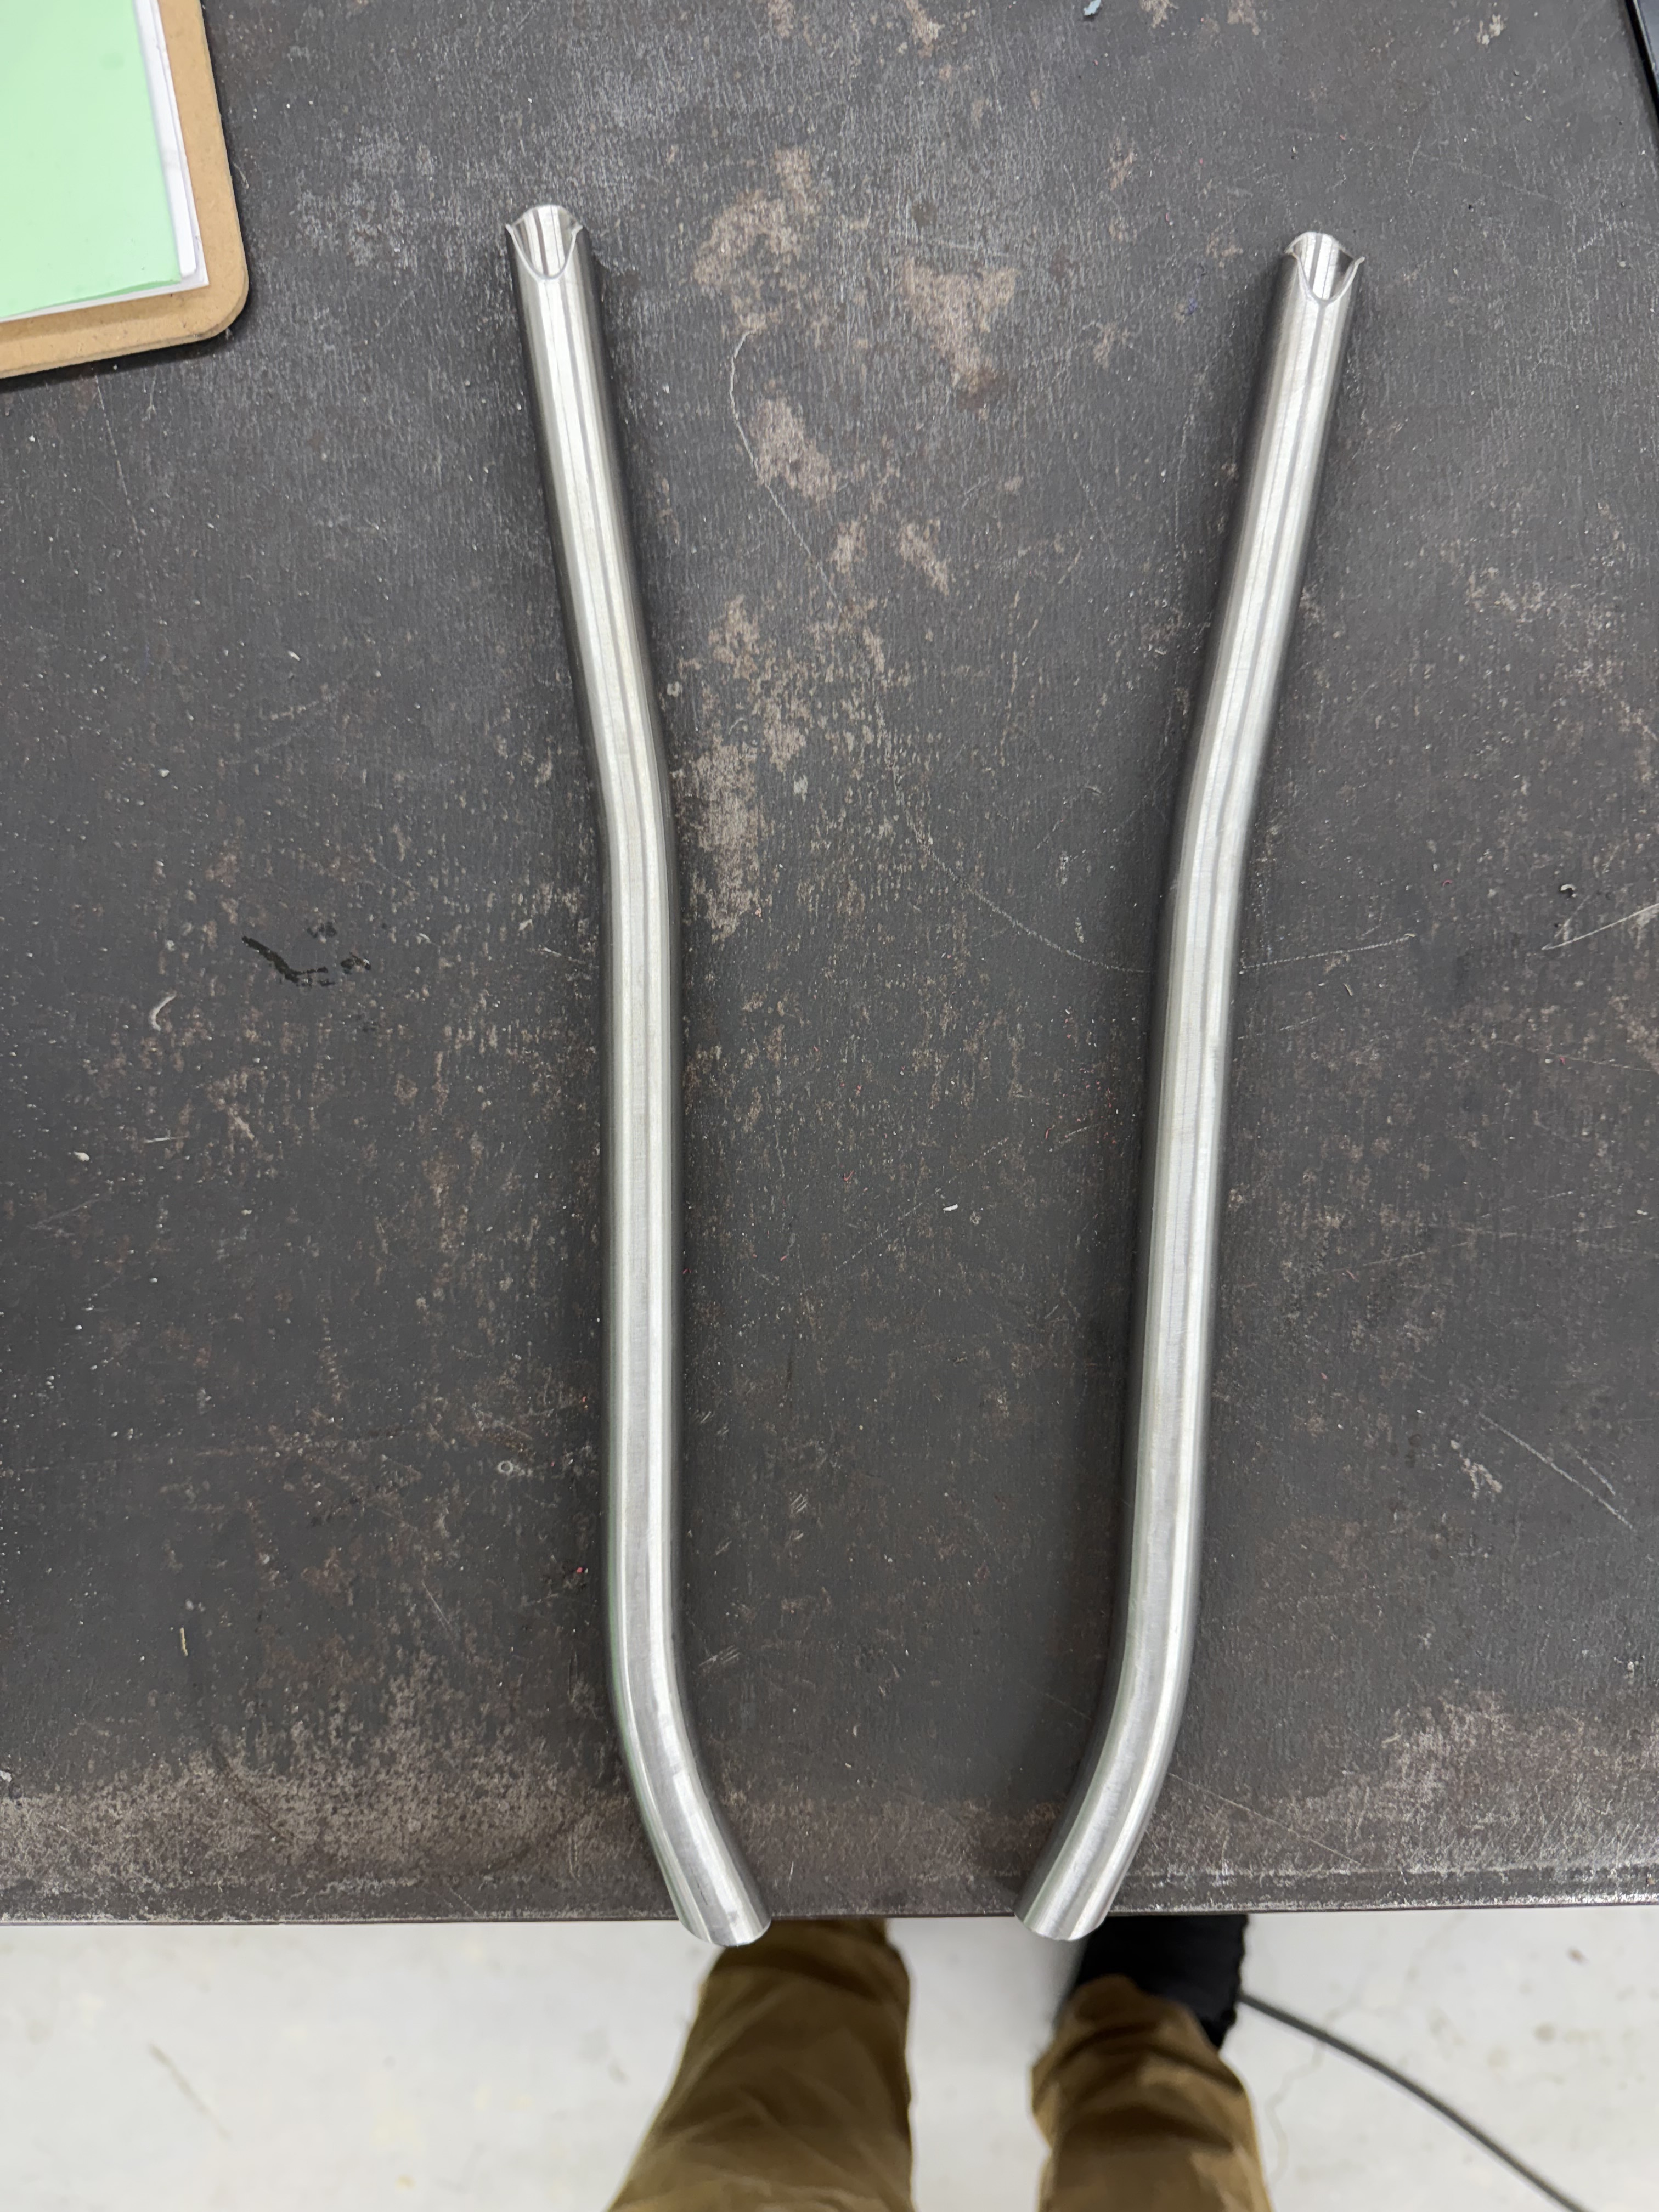
Stays bent! 
The DiAcro got the job done- this will be my first bike with stays bent on this!
8 Likes
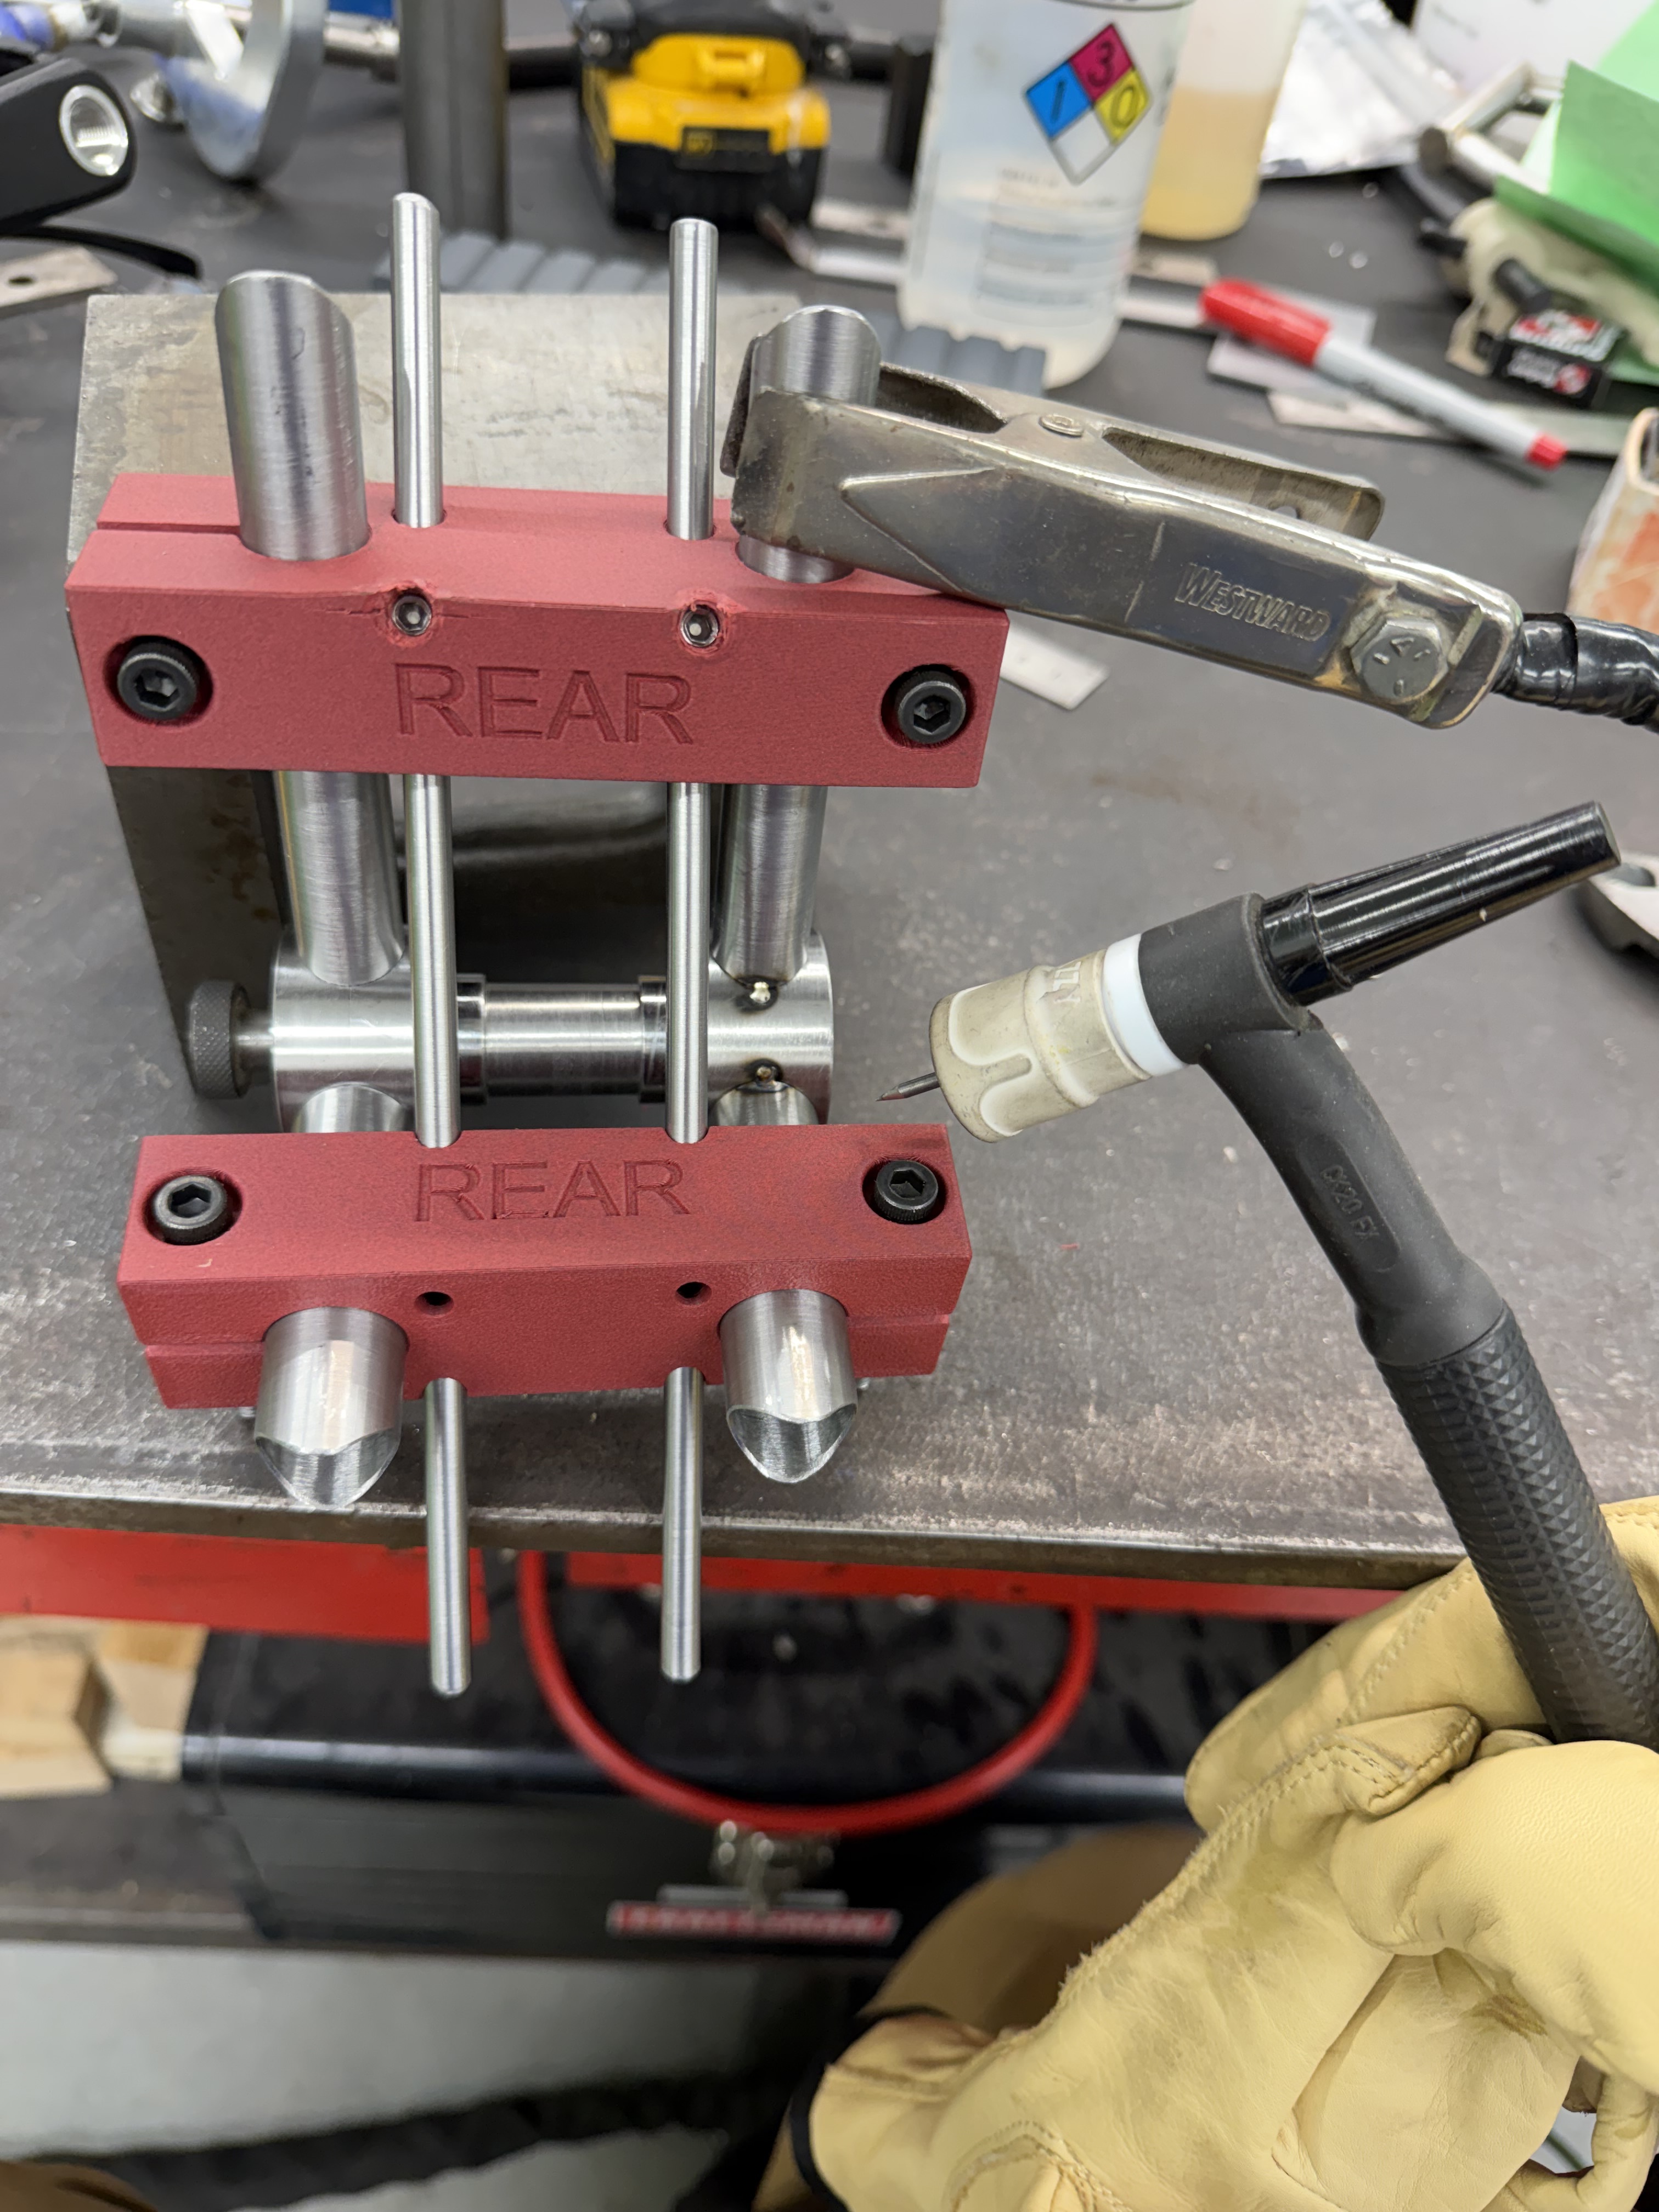
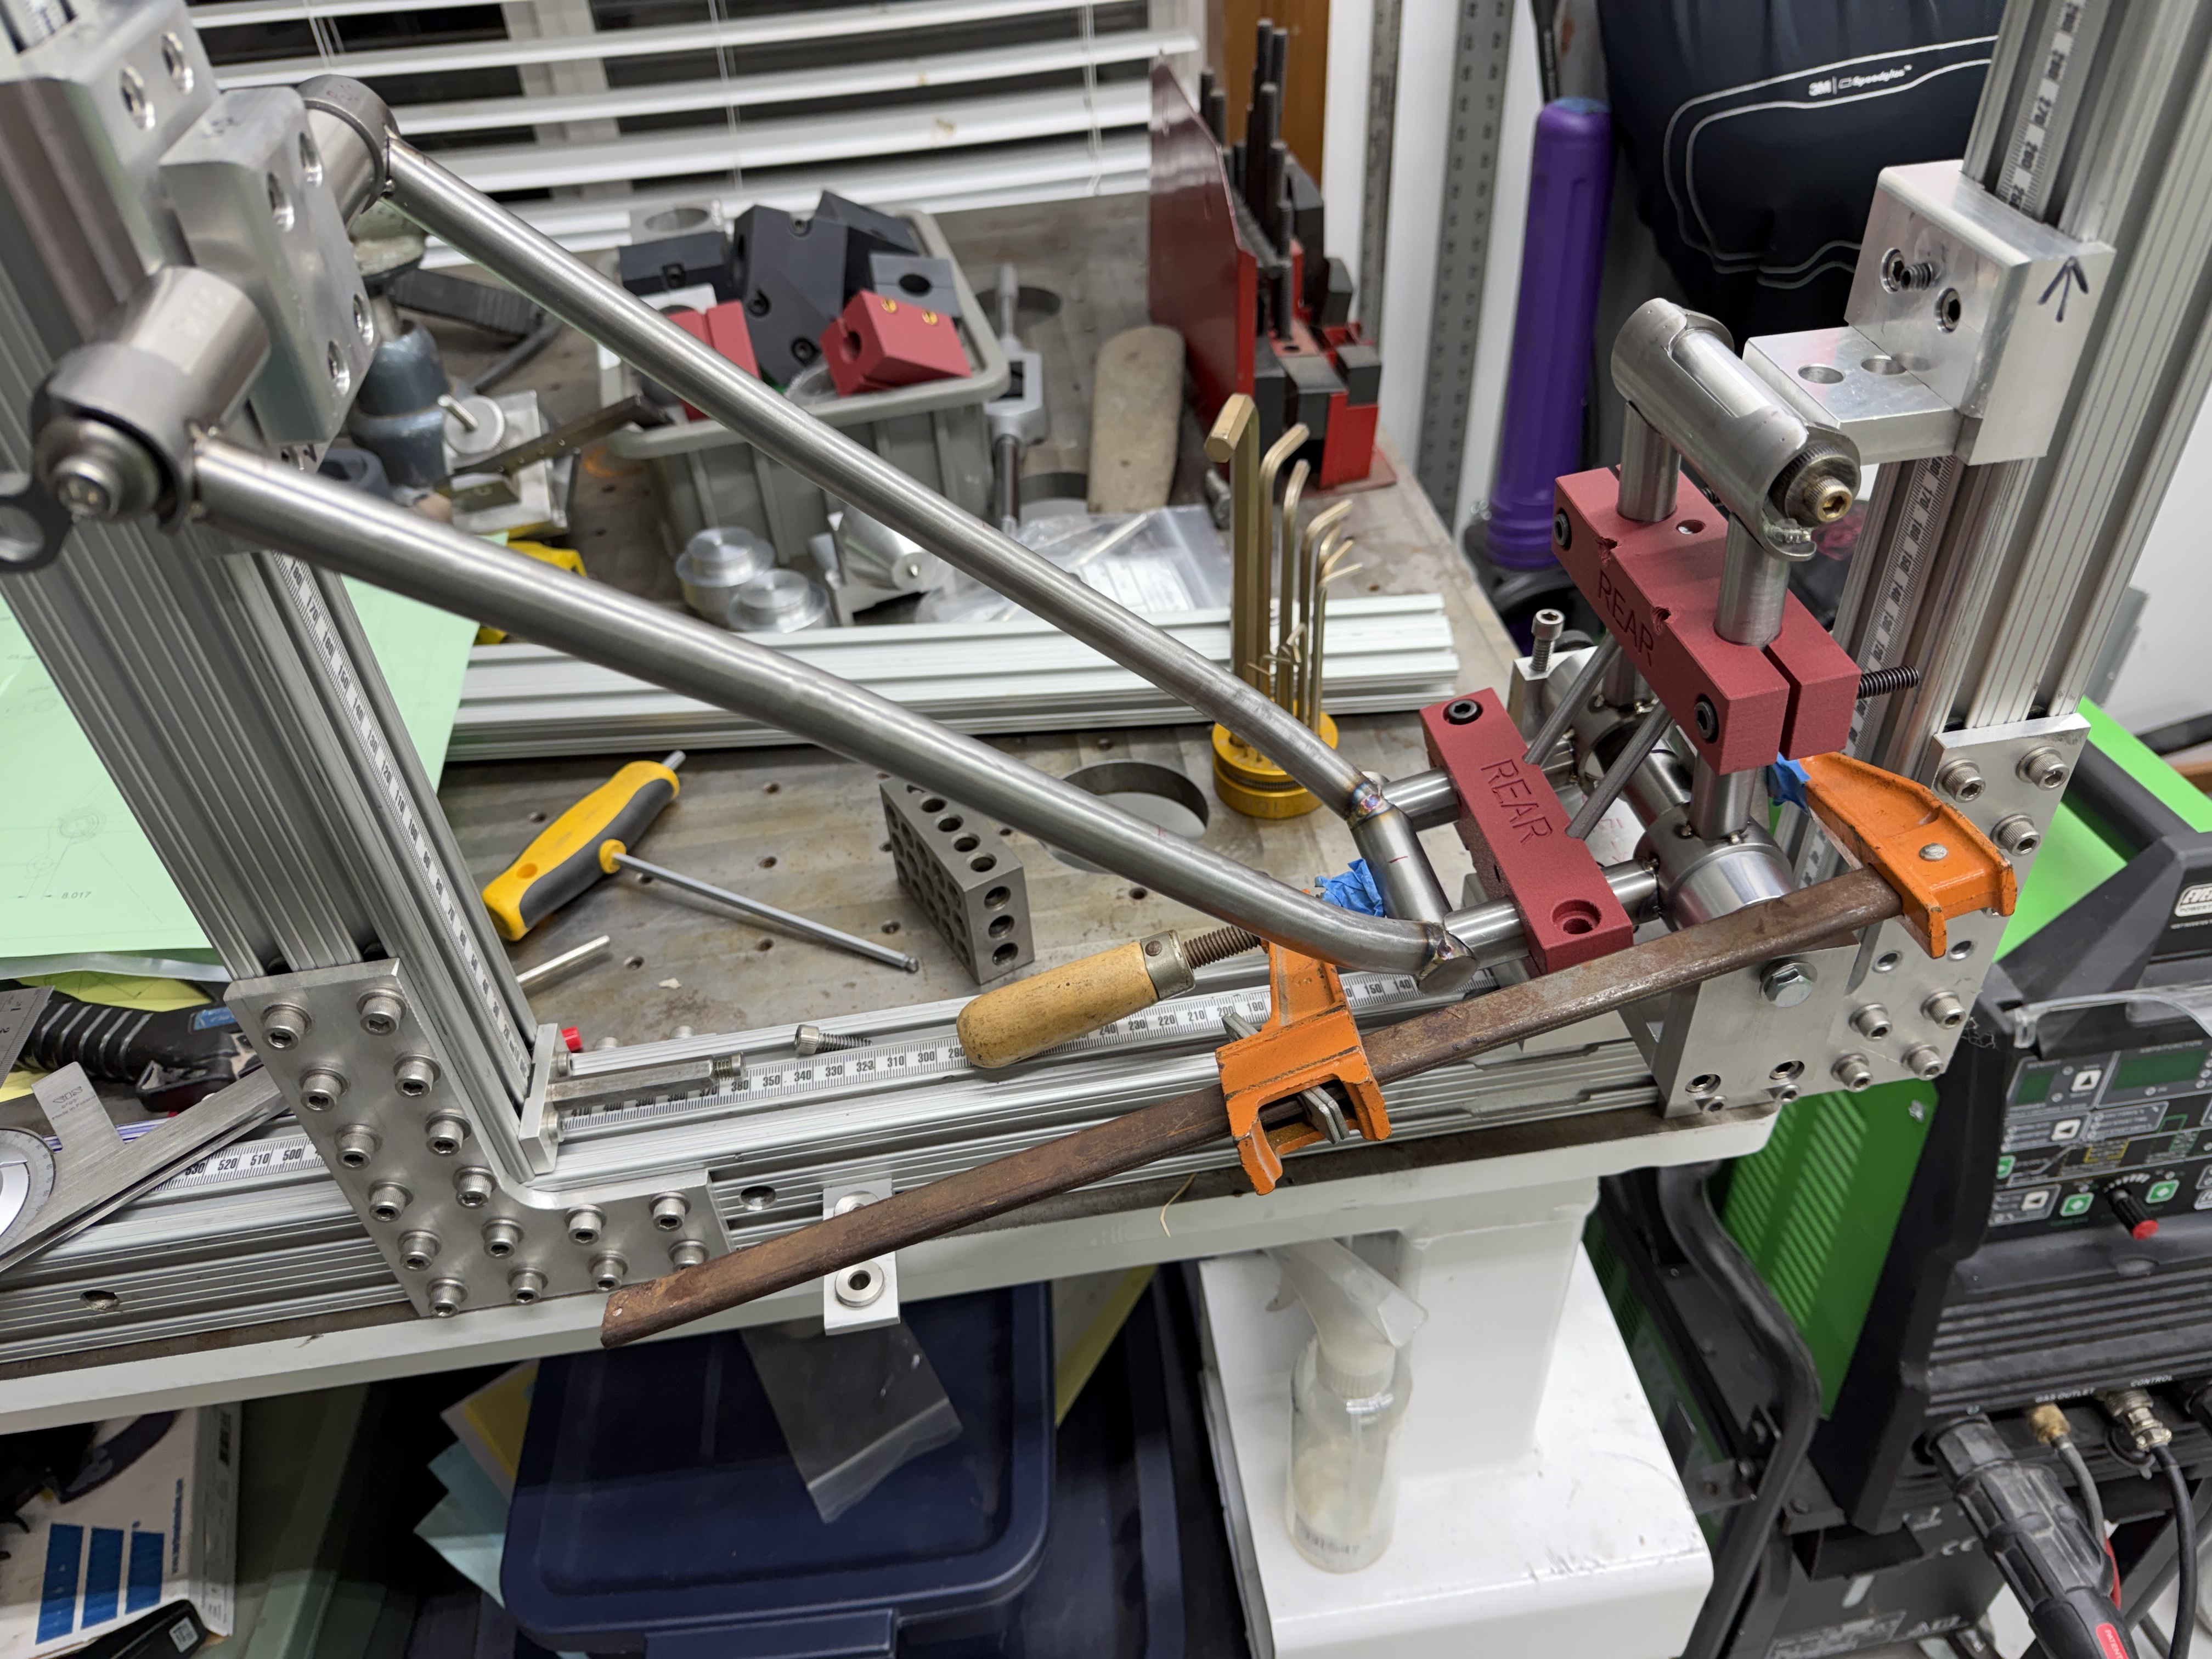
As I avoid hacking into my front triangle for the main pivot, I’ve errr “pivoted” to more work around the rear-triangle main pivot. If you don’t watch S&M factory Fridays, you should! I’ve learned a lot from the little tidbits of a bike manufacturer that you get to see. For example: sub assemblies were a revelation to me, especially seat stays, so that’s how I’ve built my last four bikes, and it’s what I’m doing on this bike: Seatstay, chain stay, and vertical mast as sub assemblies- we’ll see how it goes!
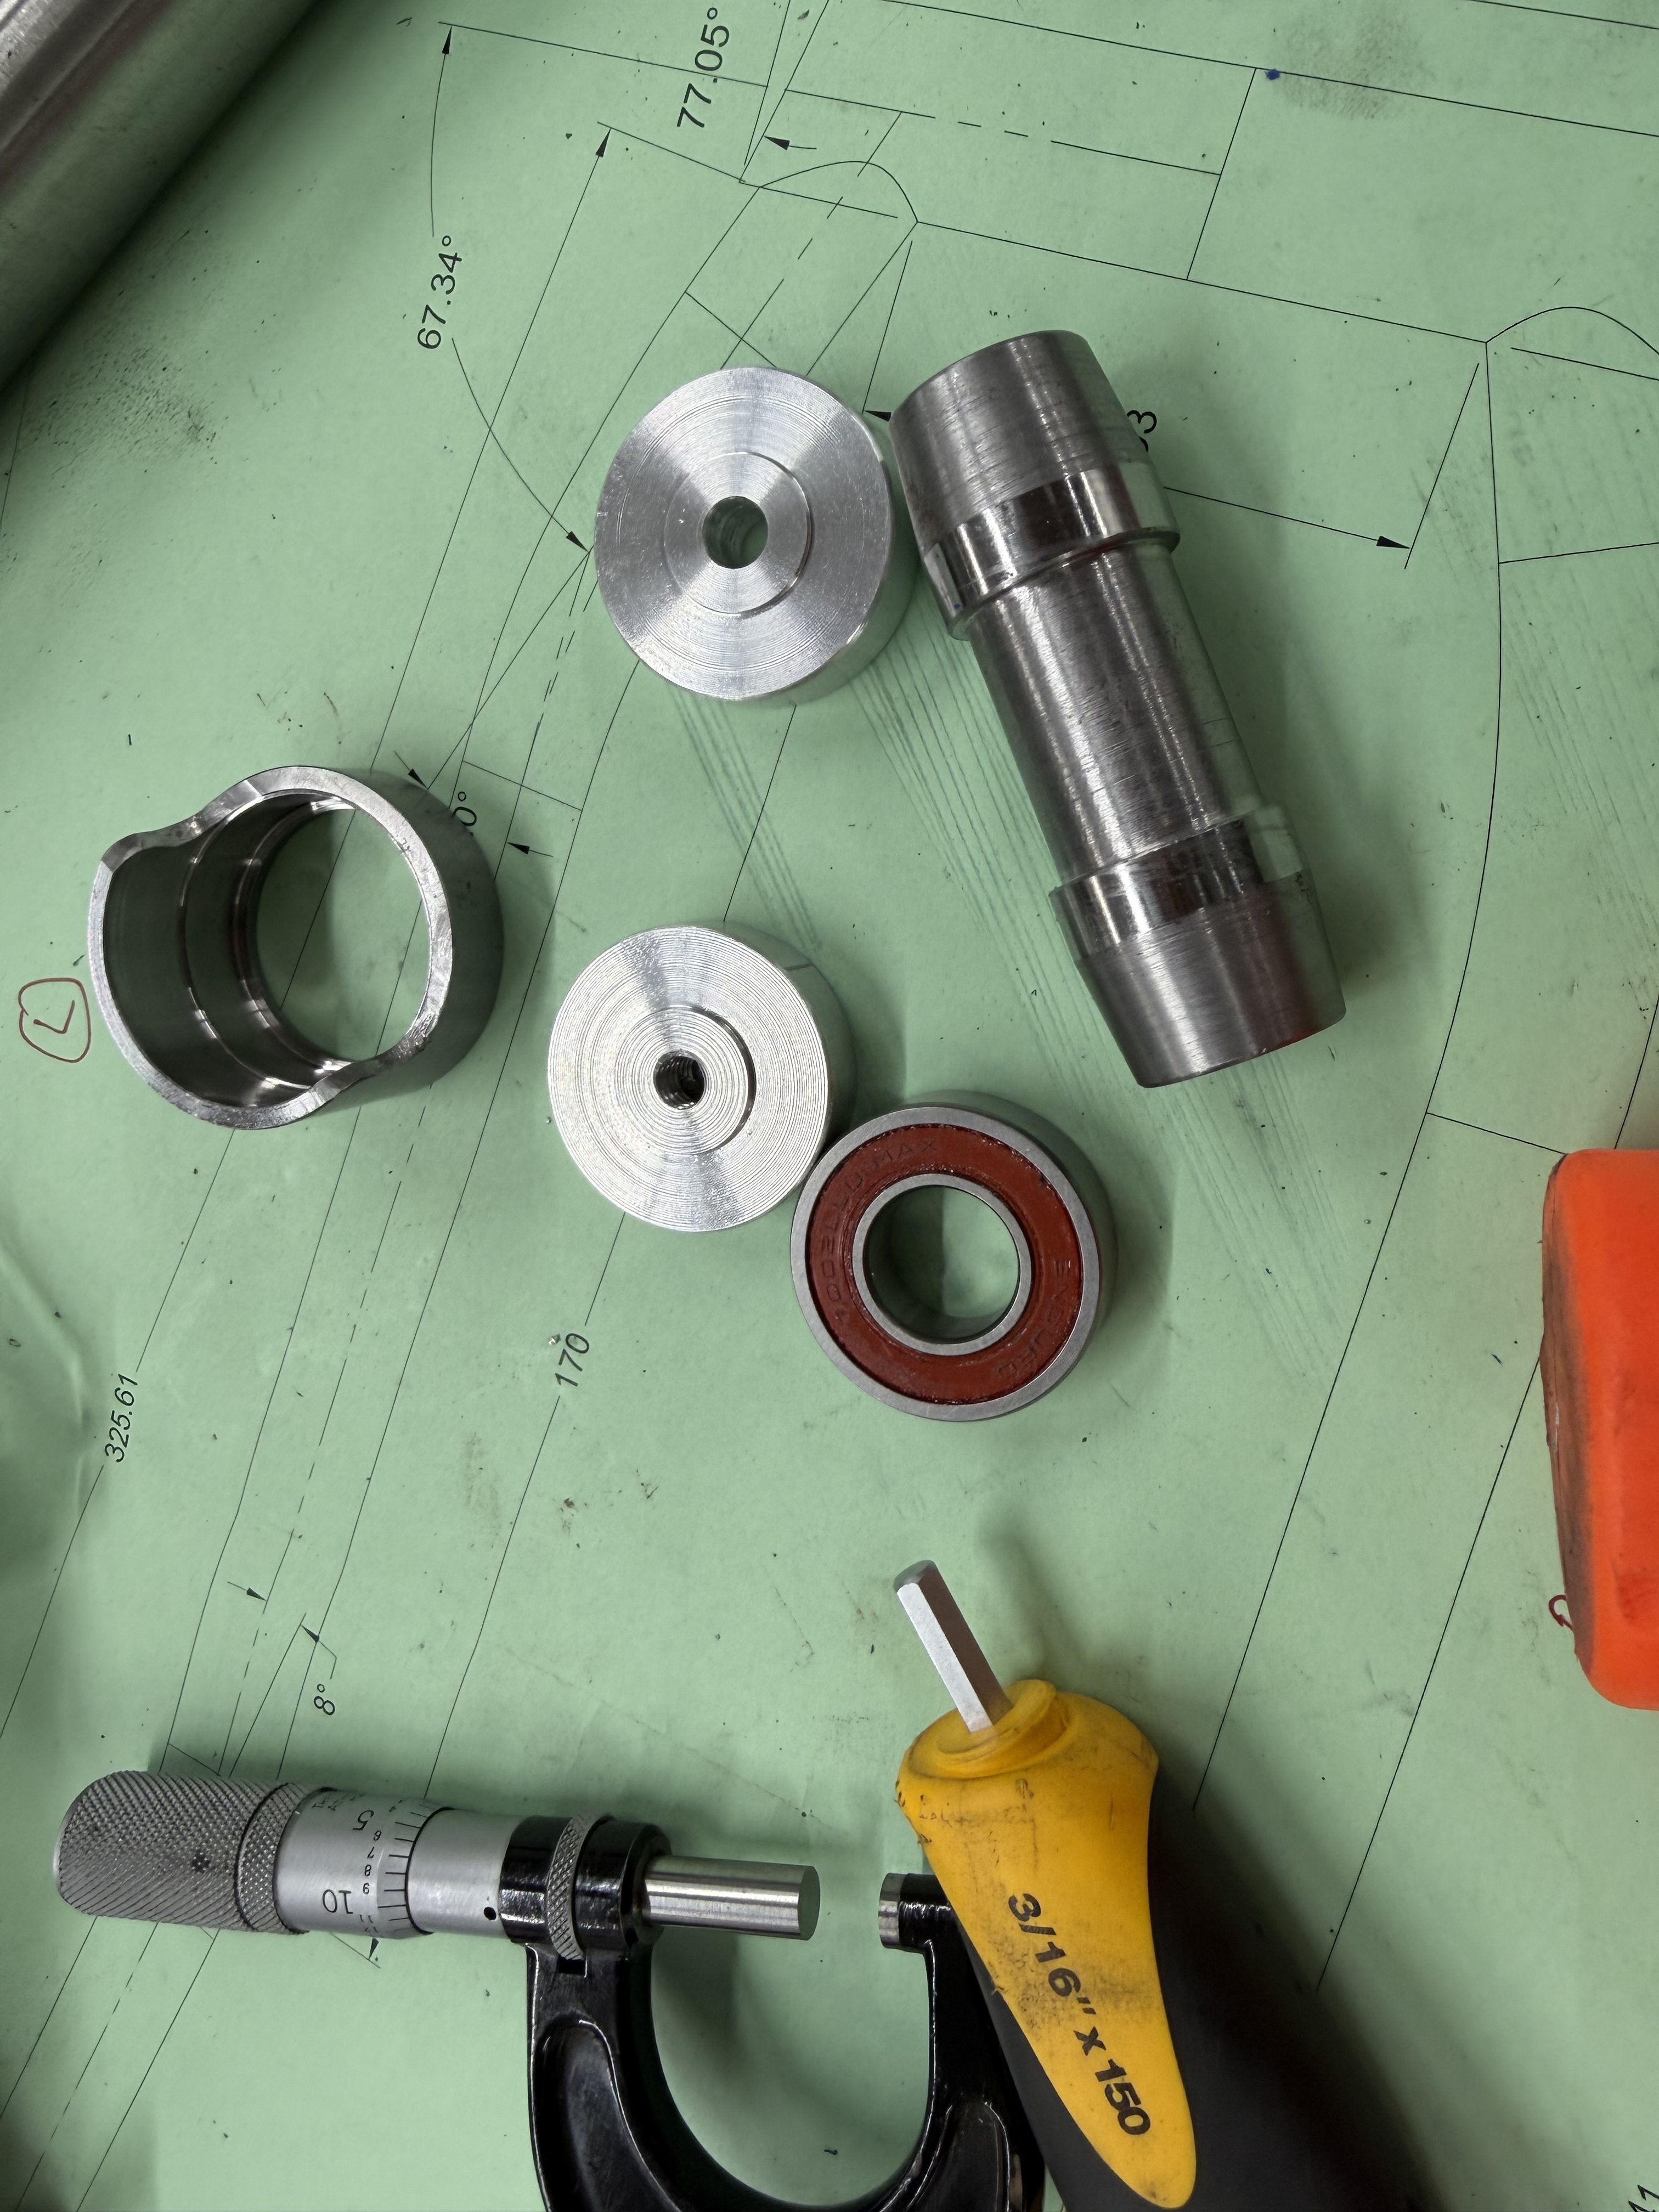
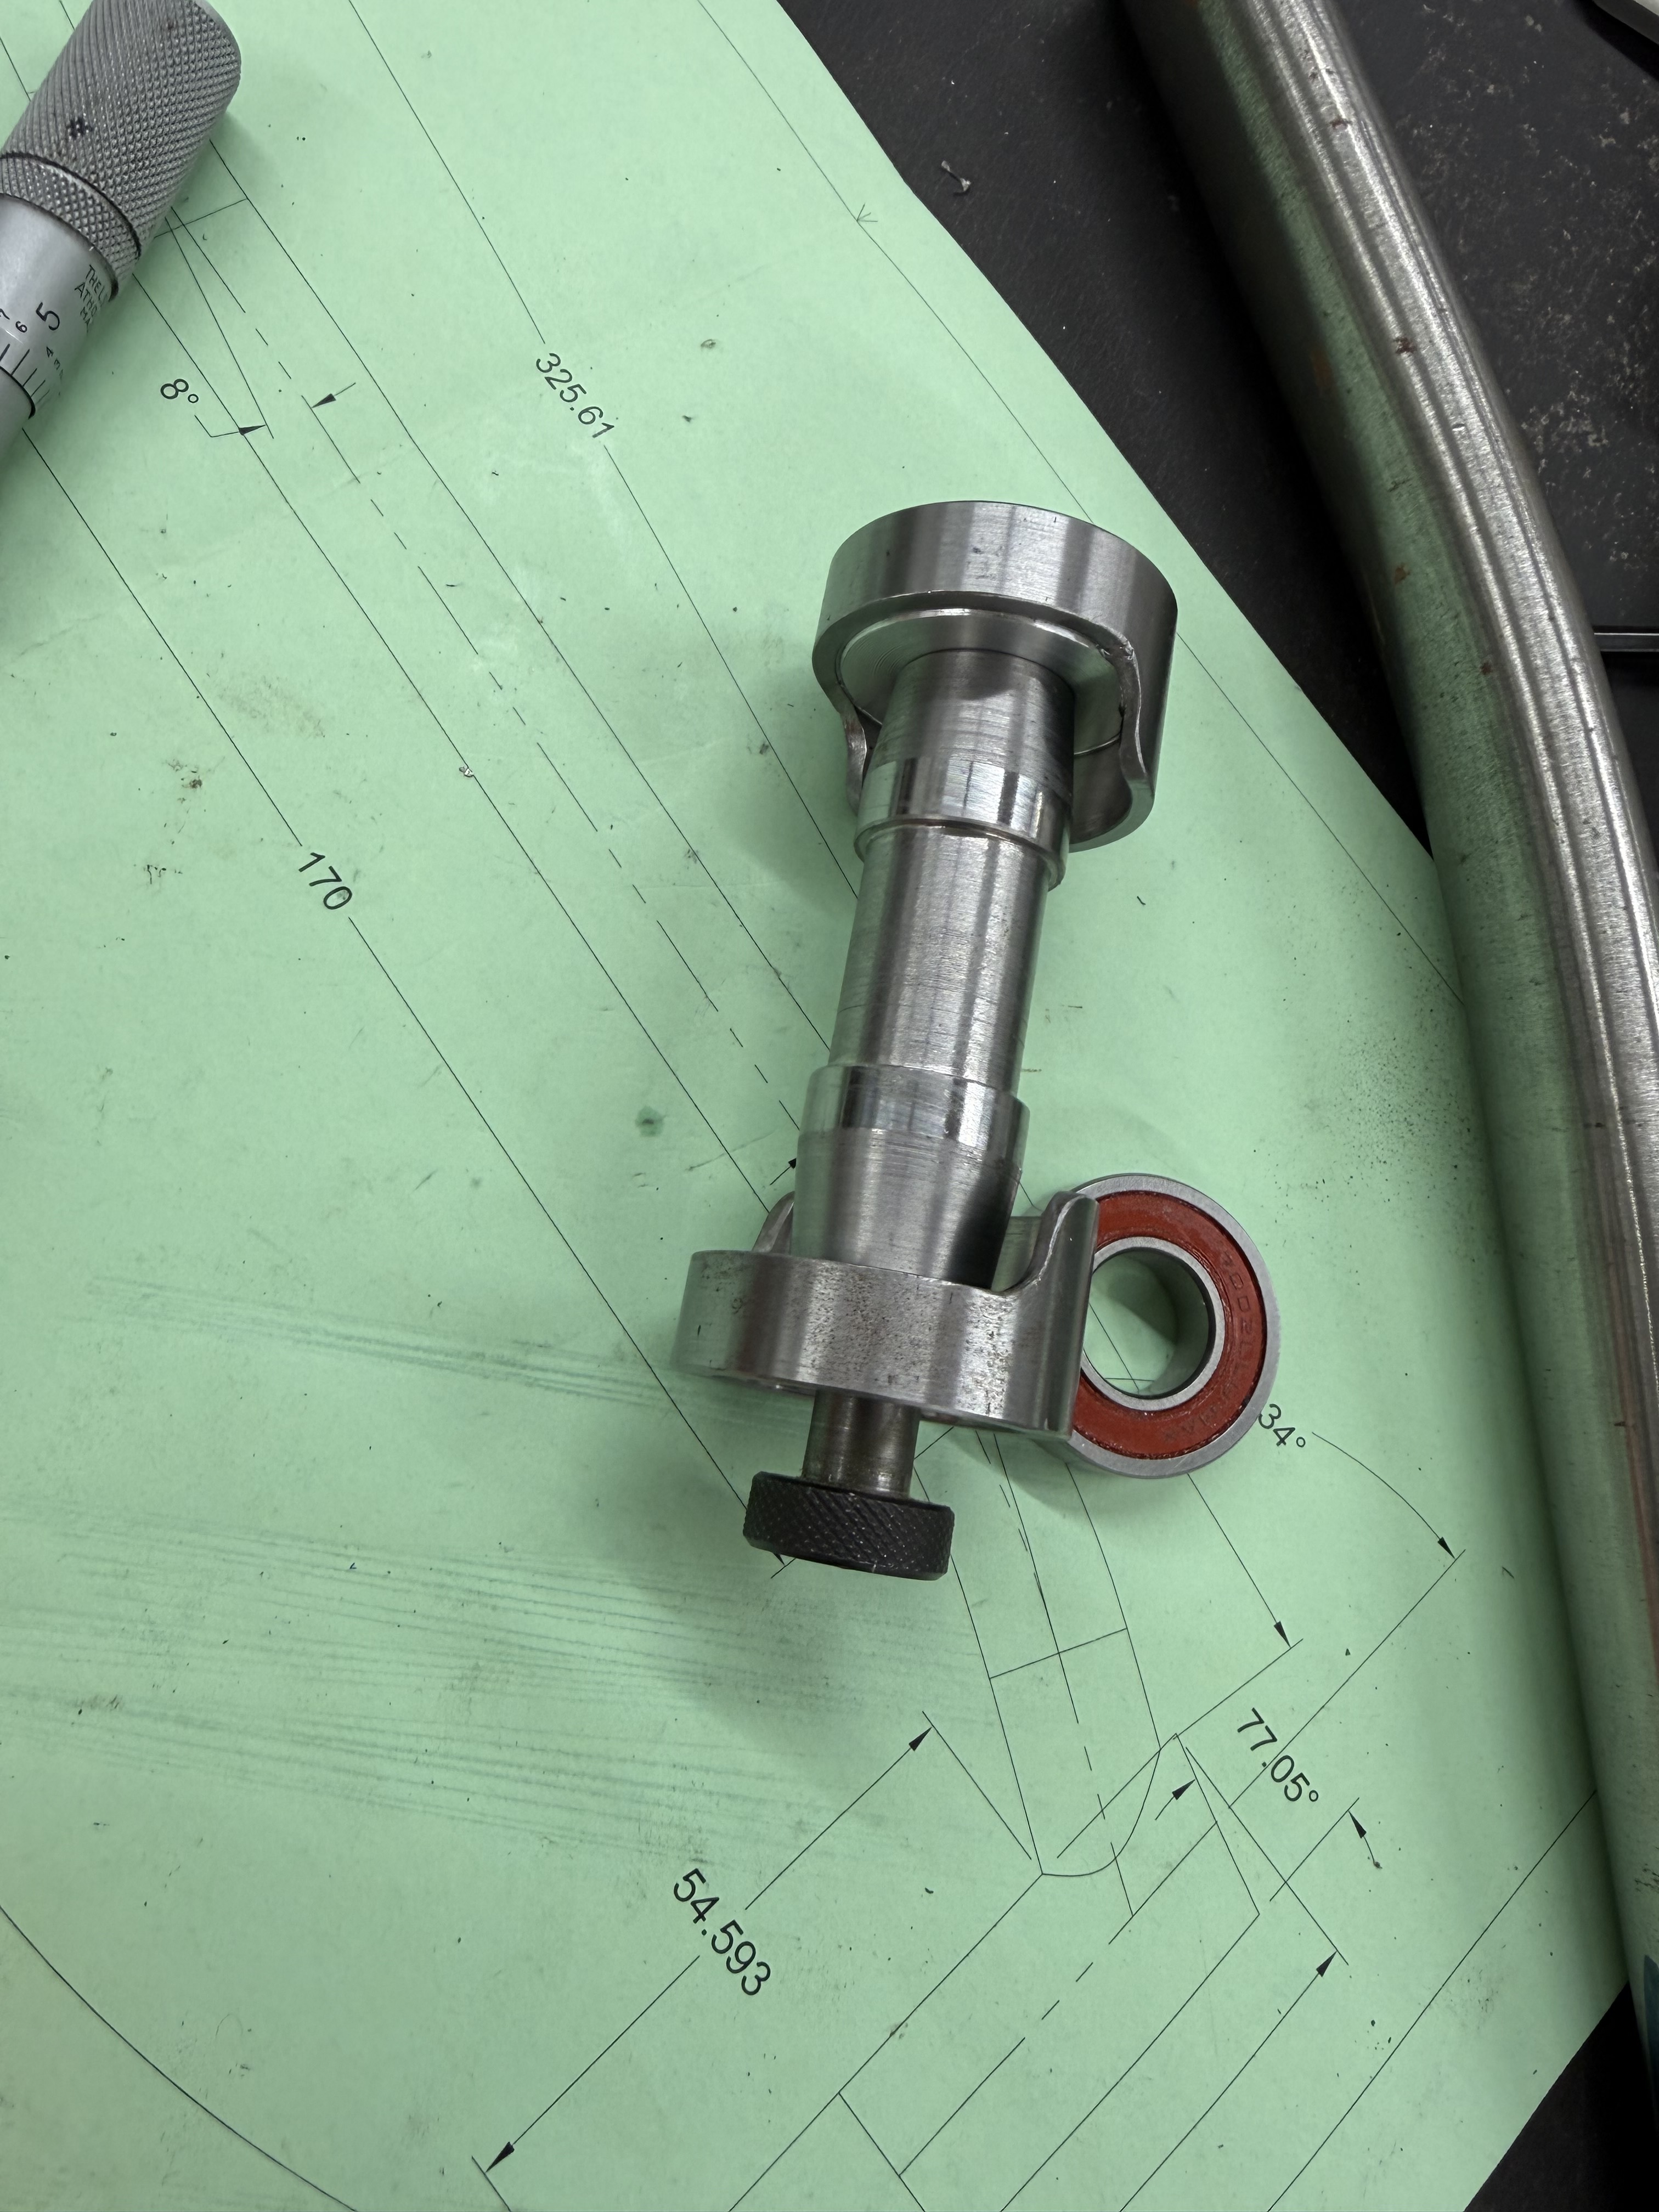
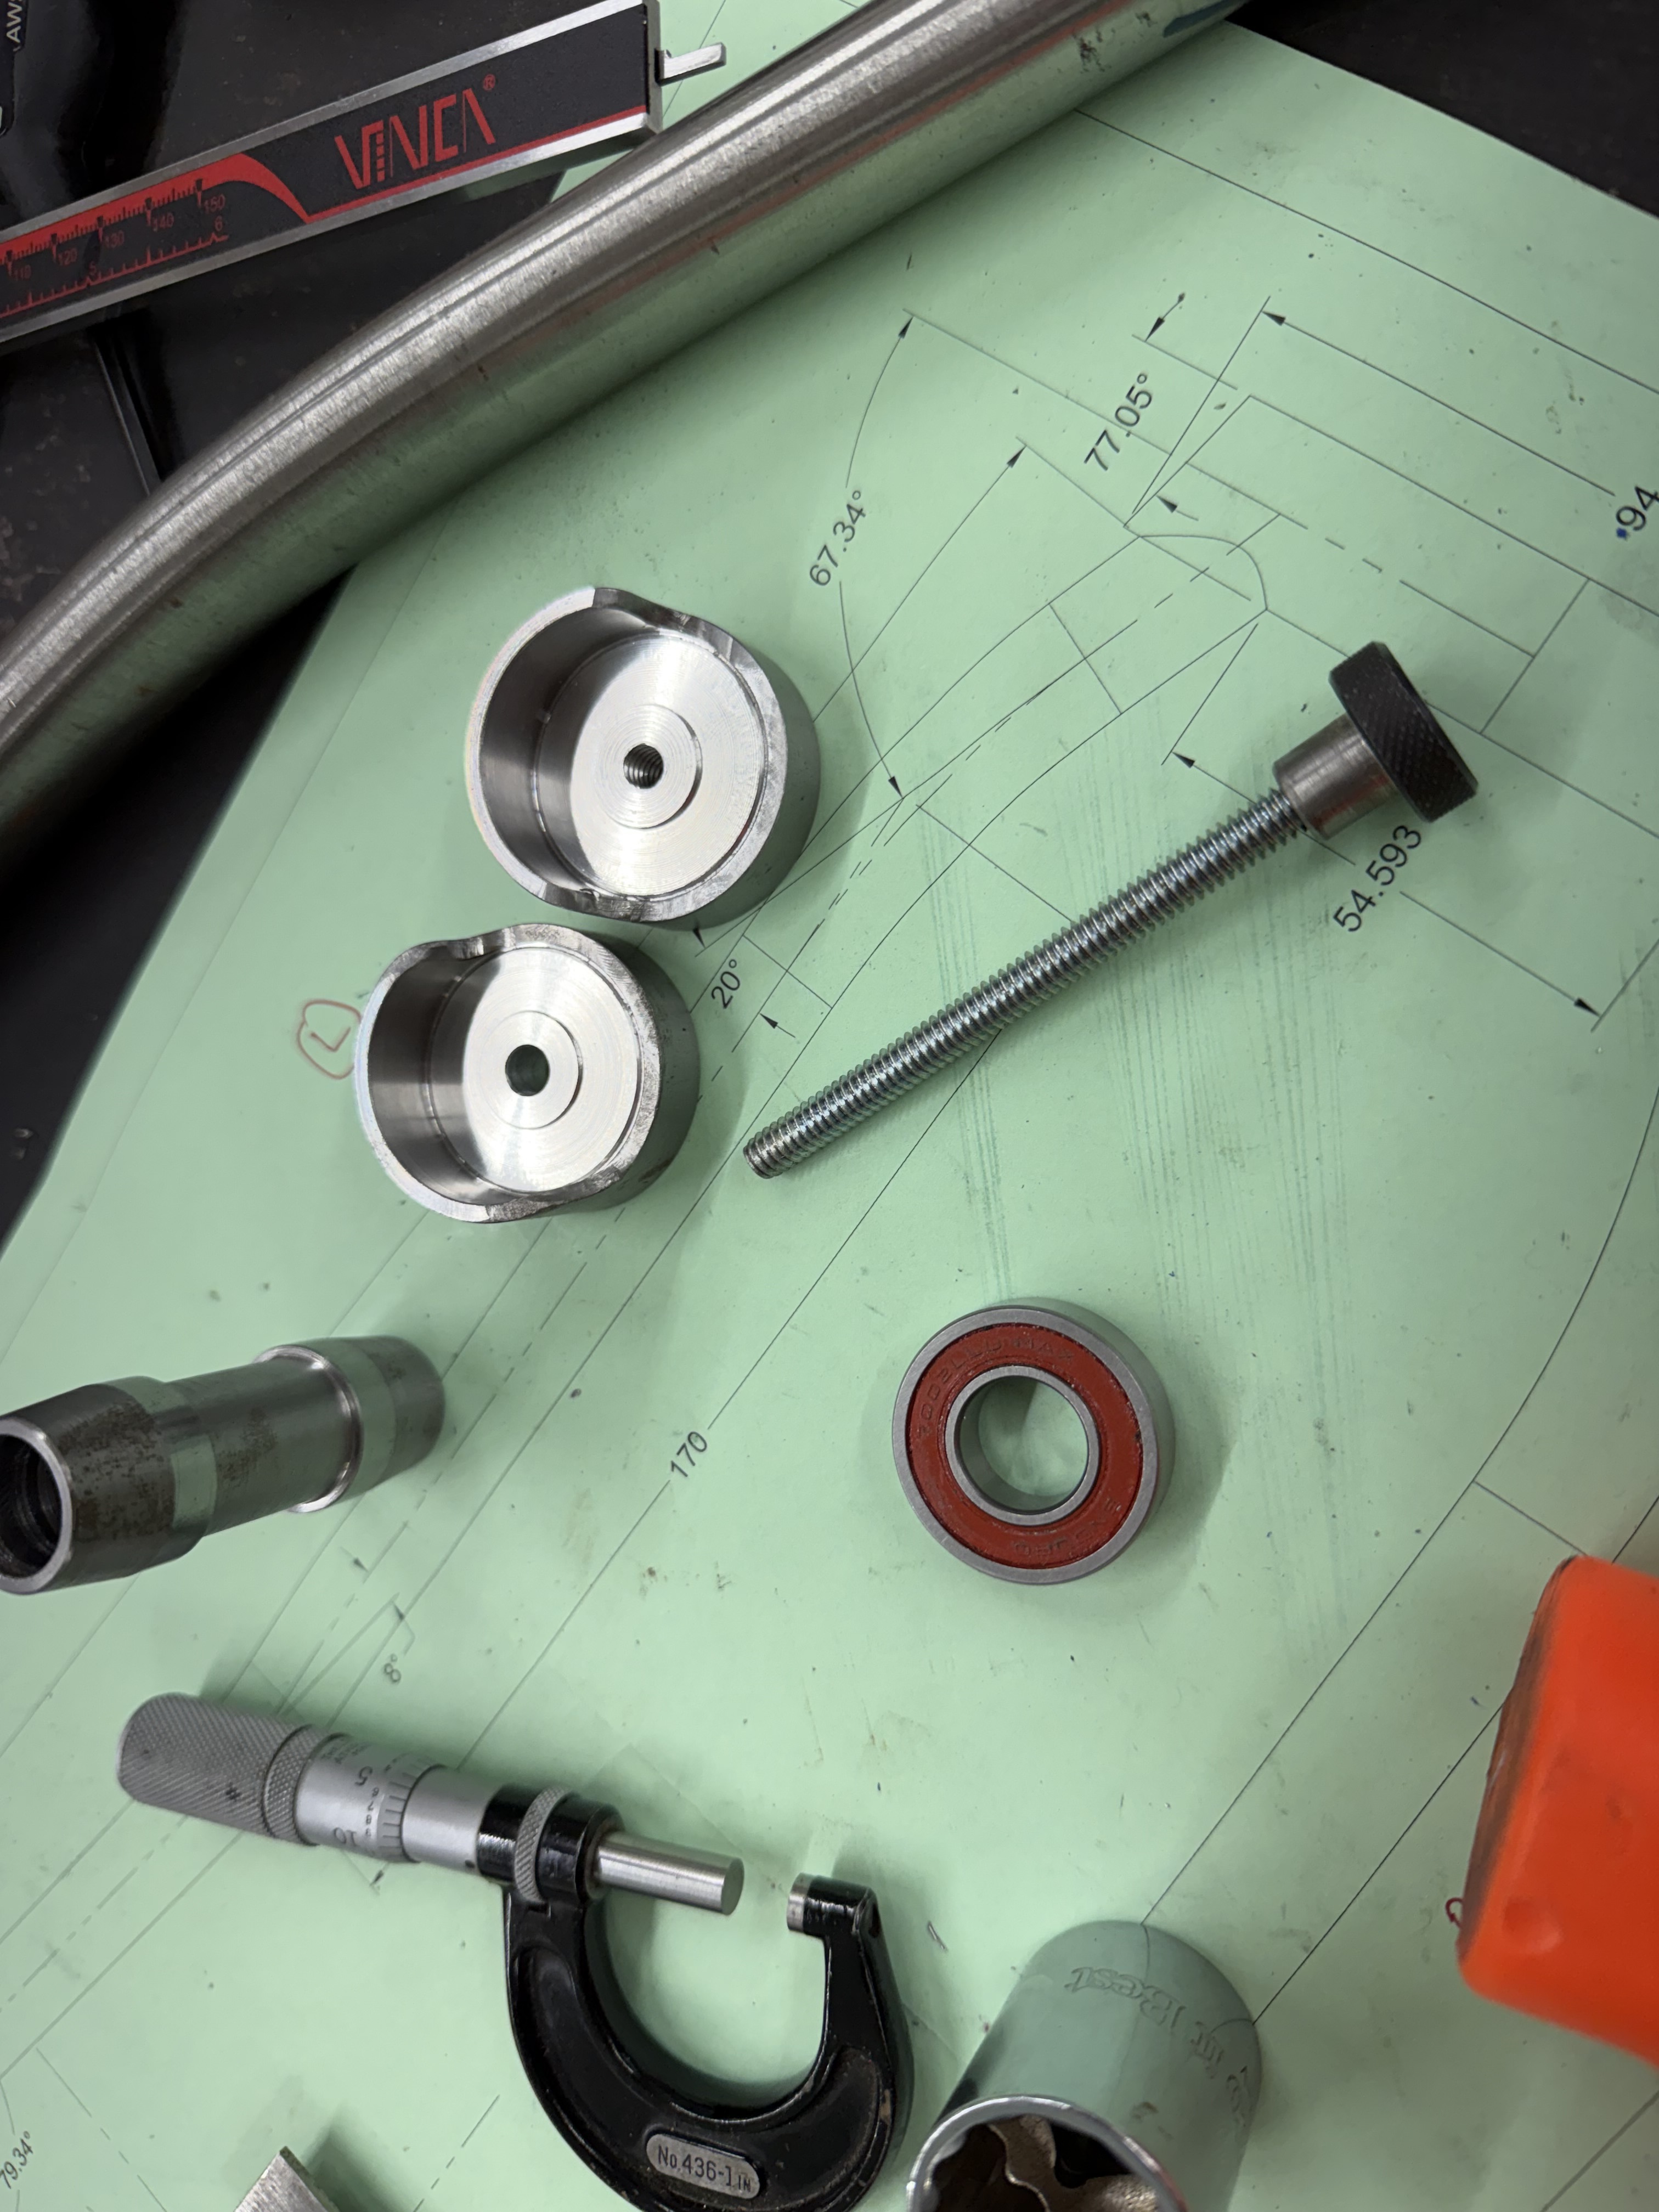
First up, I decide to turn “dummy bearings” to use in my build, that way I should be able to use them for building the mast, and also for aligning the rear end with the front triangle in the fixture… I hope. lol
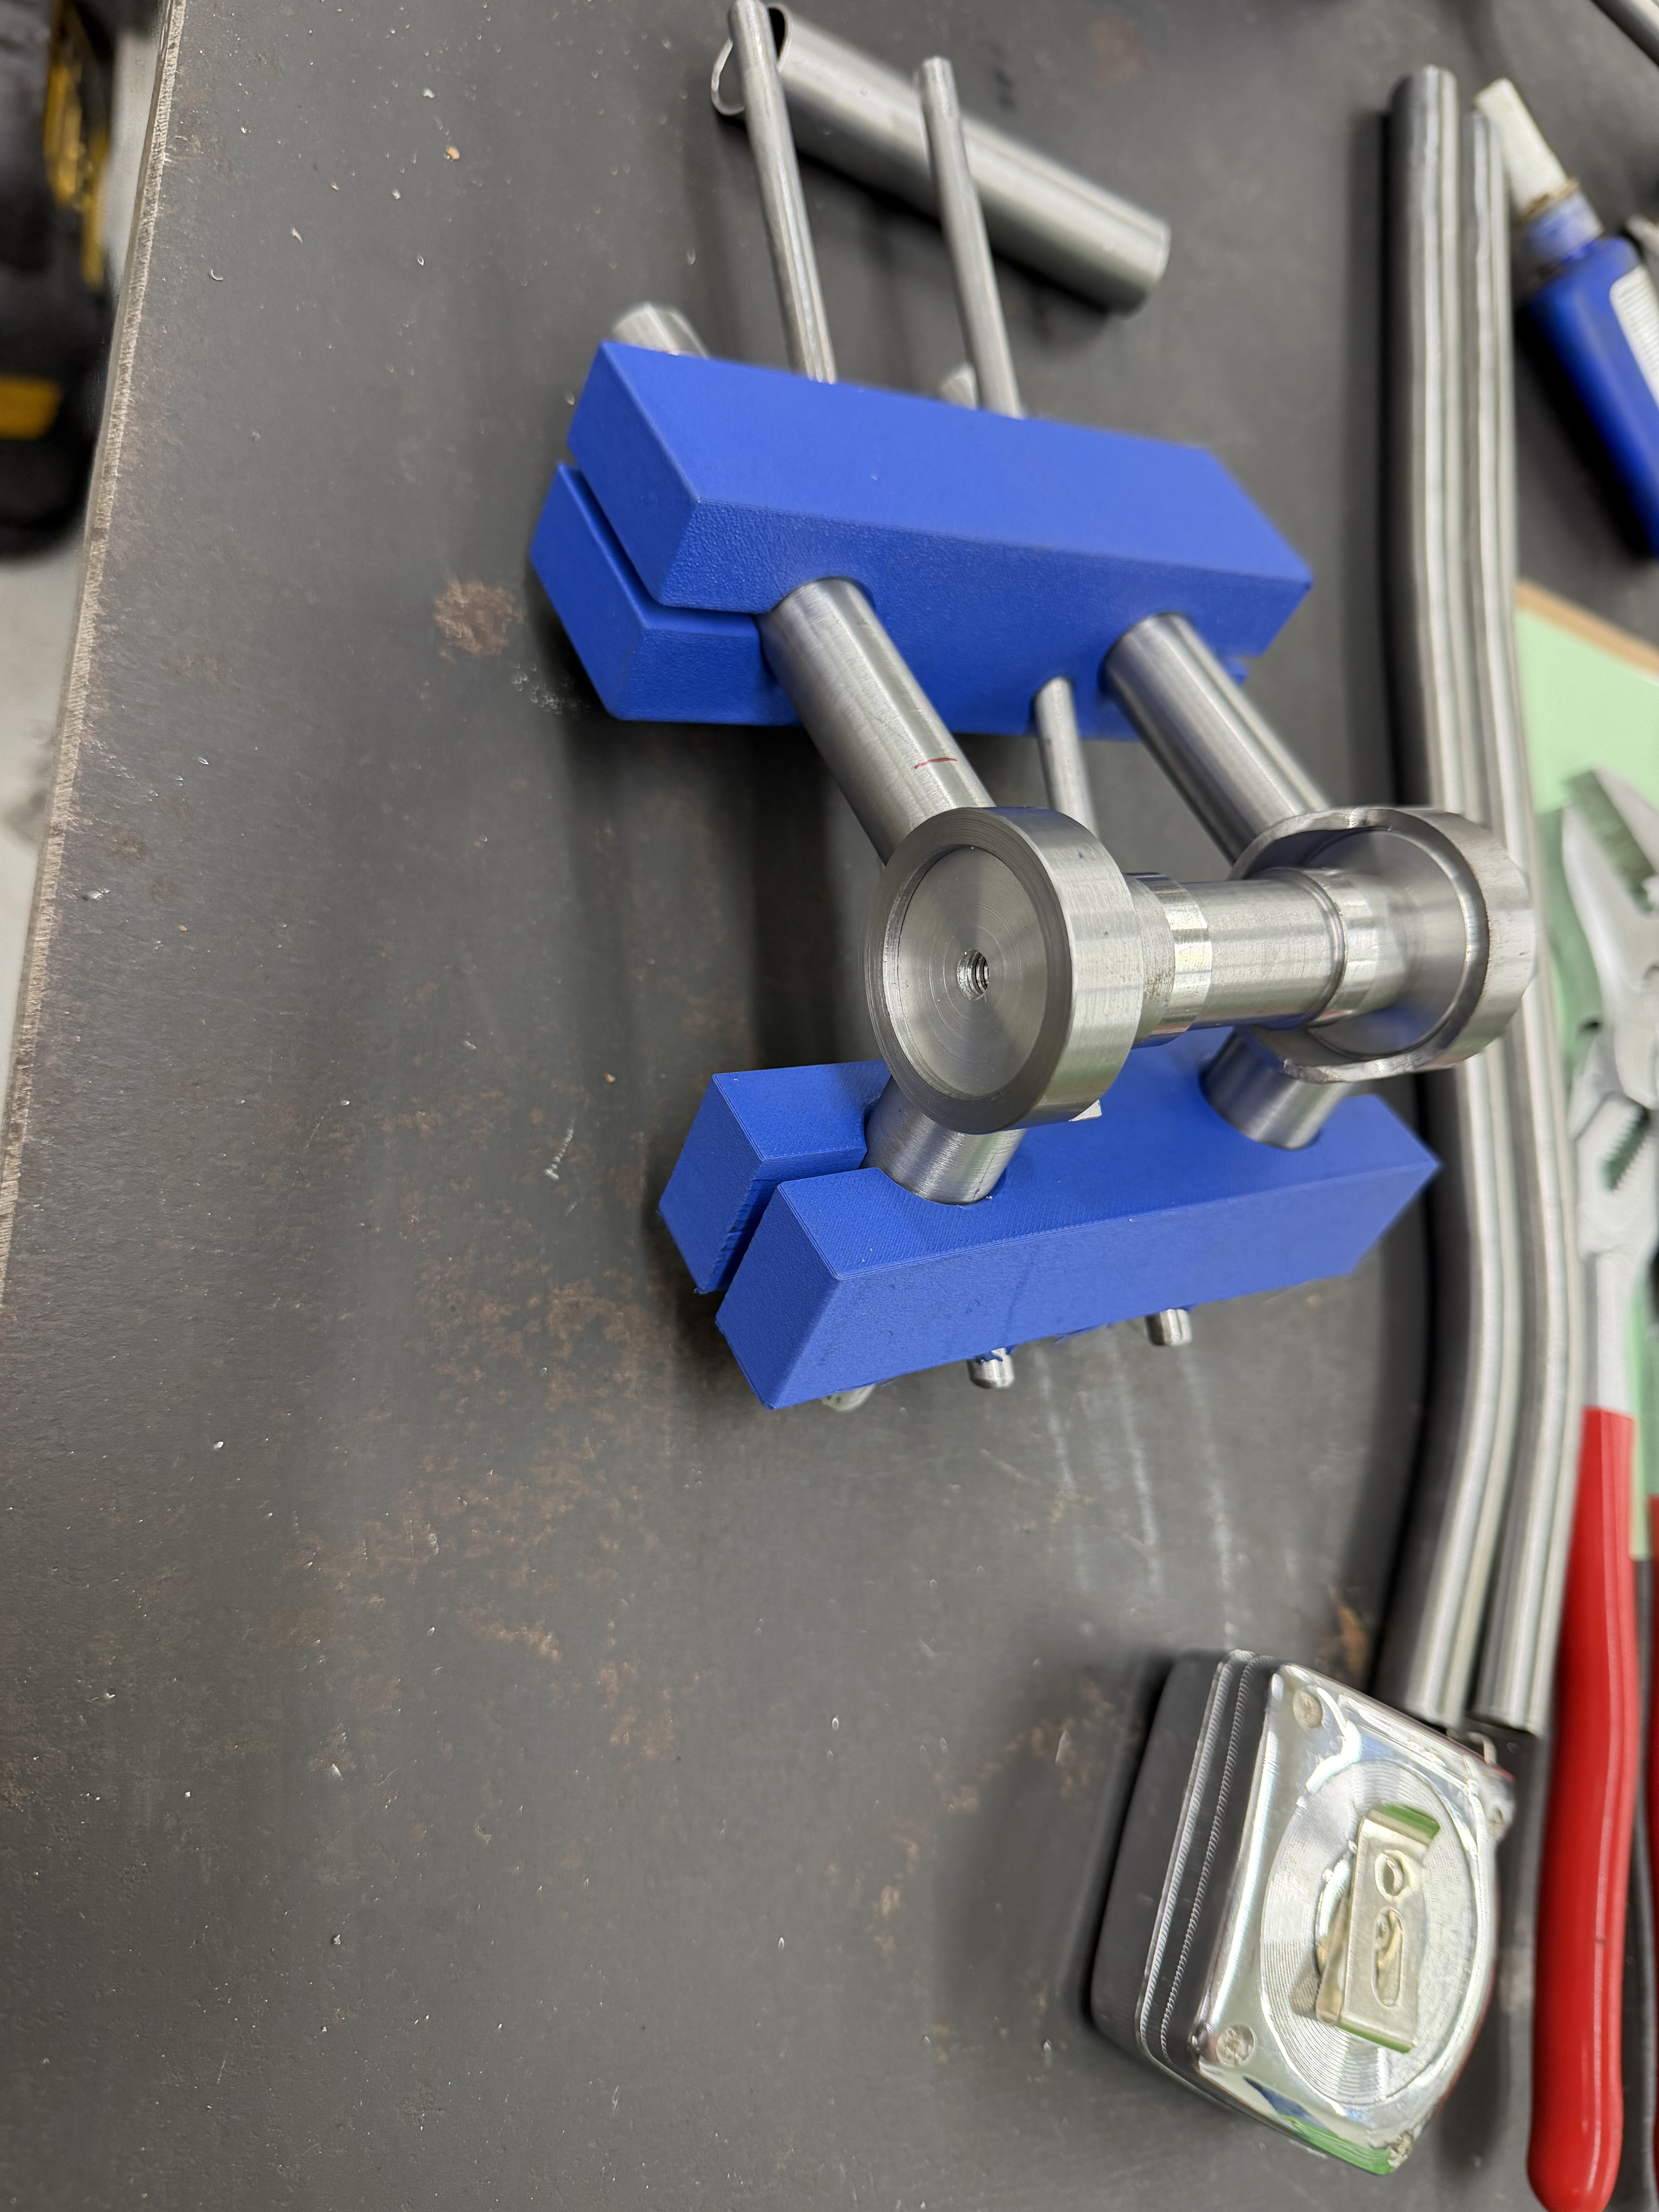
Next I came up with a fixture to hold the angle and parallel elements of the mast. It’s fiddly, but relatively quick and reliable, and will get the job done.
Until next time!
Scott
PS- I did an update to the first post with tubing, geometry, and build charts for anyone interested.
4 Likes
I need a 3D printer!
The Mollusks geo is sweet!
1 Like
Just a basic little printer with PLA is impressively useful in framebuilding- I bet you’d love it!
It’s funny our geometry on our mullet kids bikes is pretty similar! If mine was a hardtail, I would have lowered the BB and slackened it, just like you did!
I was initially shooting for 380 on the rear end, but it was going to push mud, tire, and chainring clearance into potentially sub-optimal conditions, so I backed off lol.
1 Like
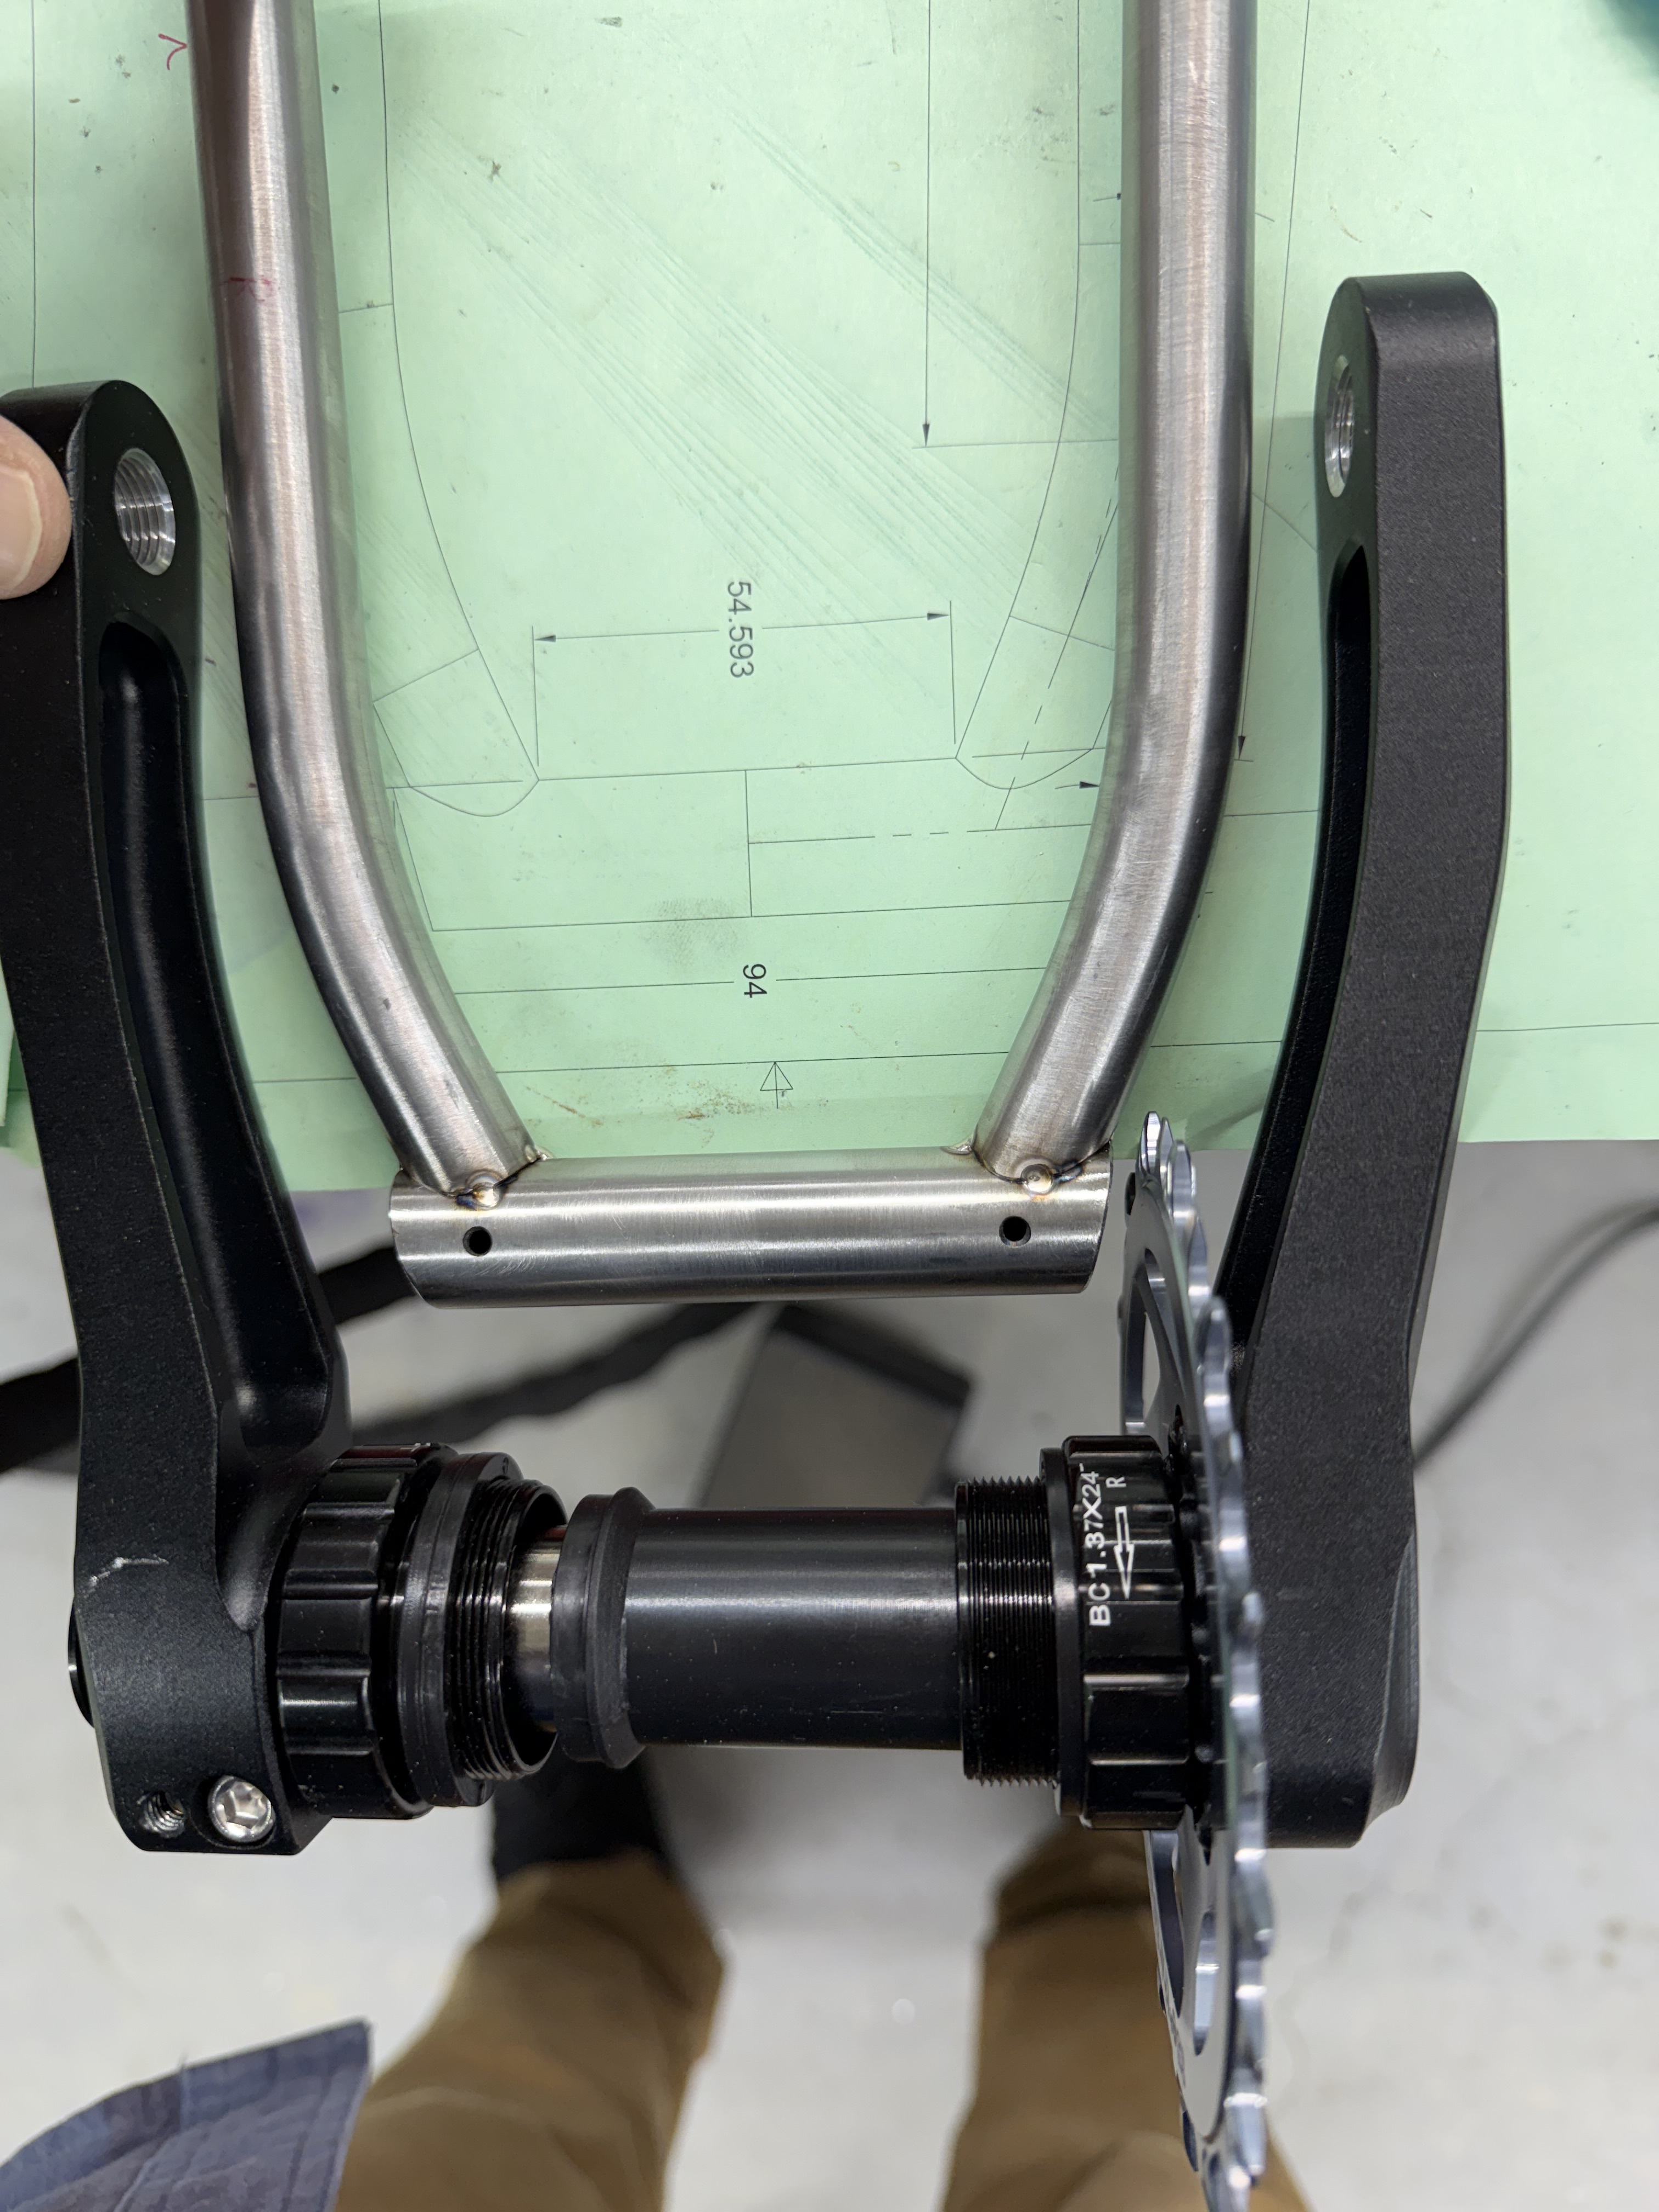
So I built the front CS bridge and made a last second decision to cap the ends, which pushed my sprocket clearance to “none”. 
So I cut the tacks, pulled it off, made a new better one, and now I have SOOO much clearance!
The cranks are evenly spaced I just had to move the camera at an angle to even show the clearance. On a positive note, there will be ample room for the tyre!
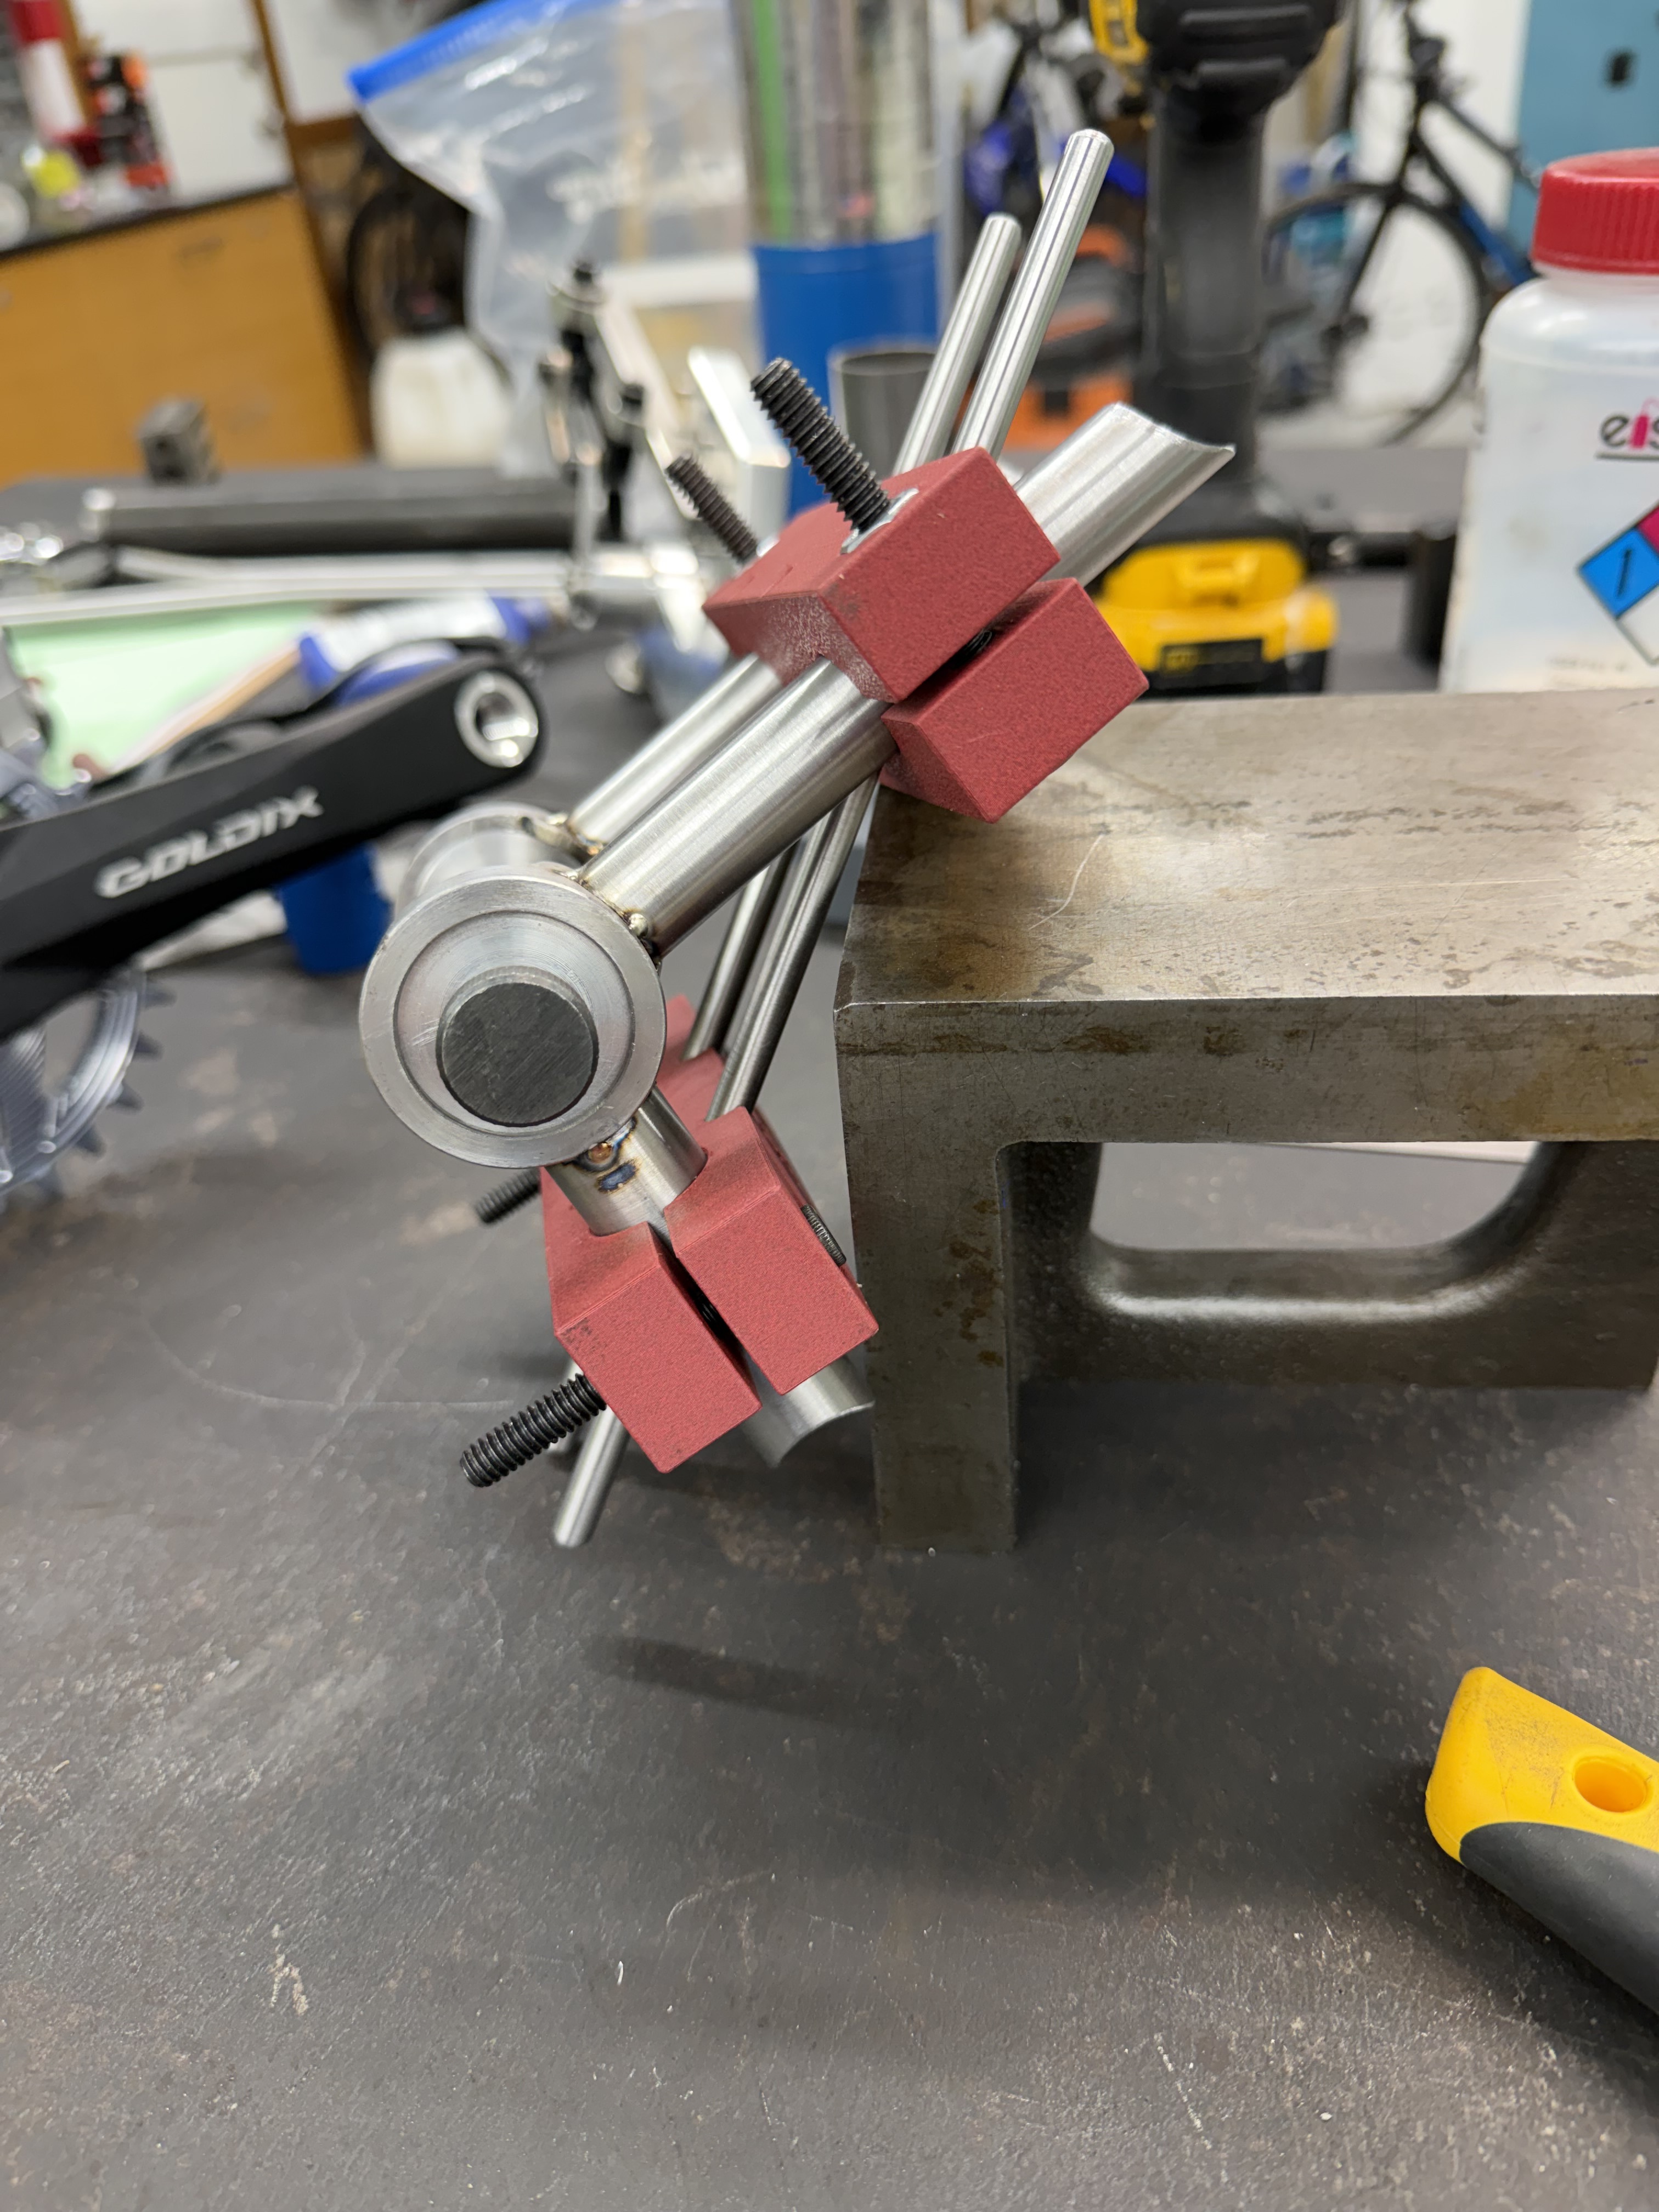
Finally I rebuilt my little 3d printed fixture (was overly-tight fitting and hard to adjust) and found that it kept everything very parallel and at the correct distances and angles for tack welding:
4 Likes
This lil fixture seems to be a big help. The possibilities nowadays are so cool!
1 Like
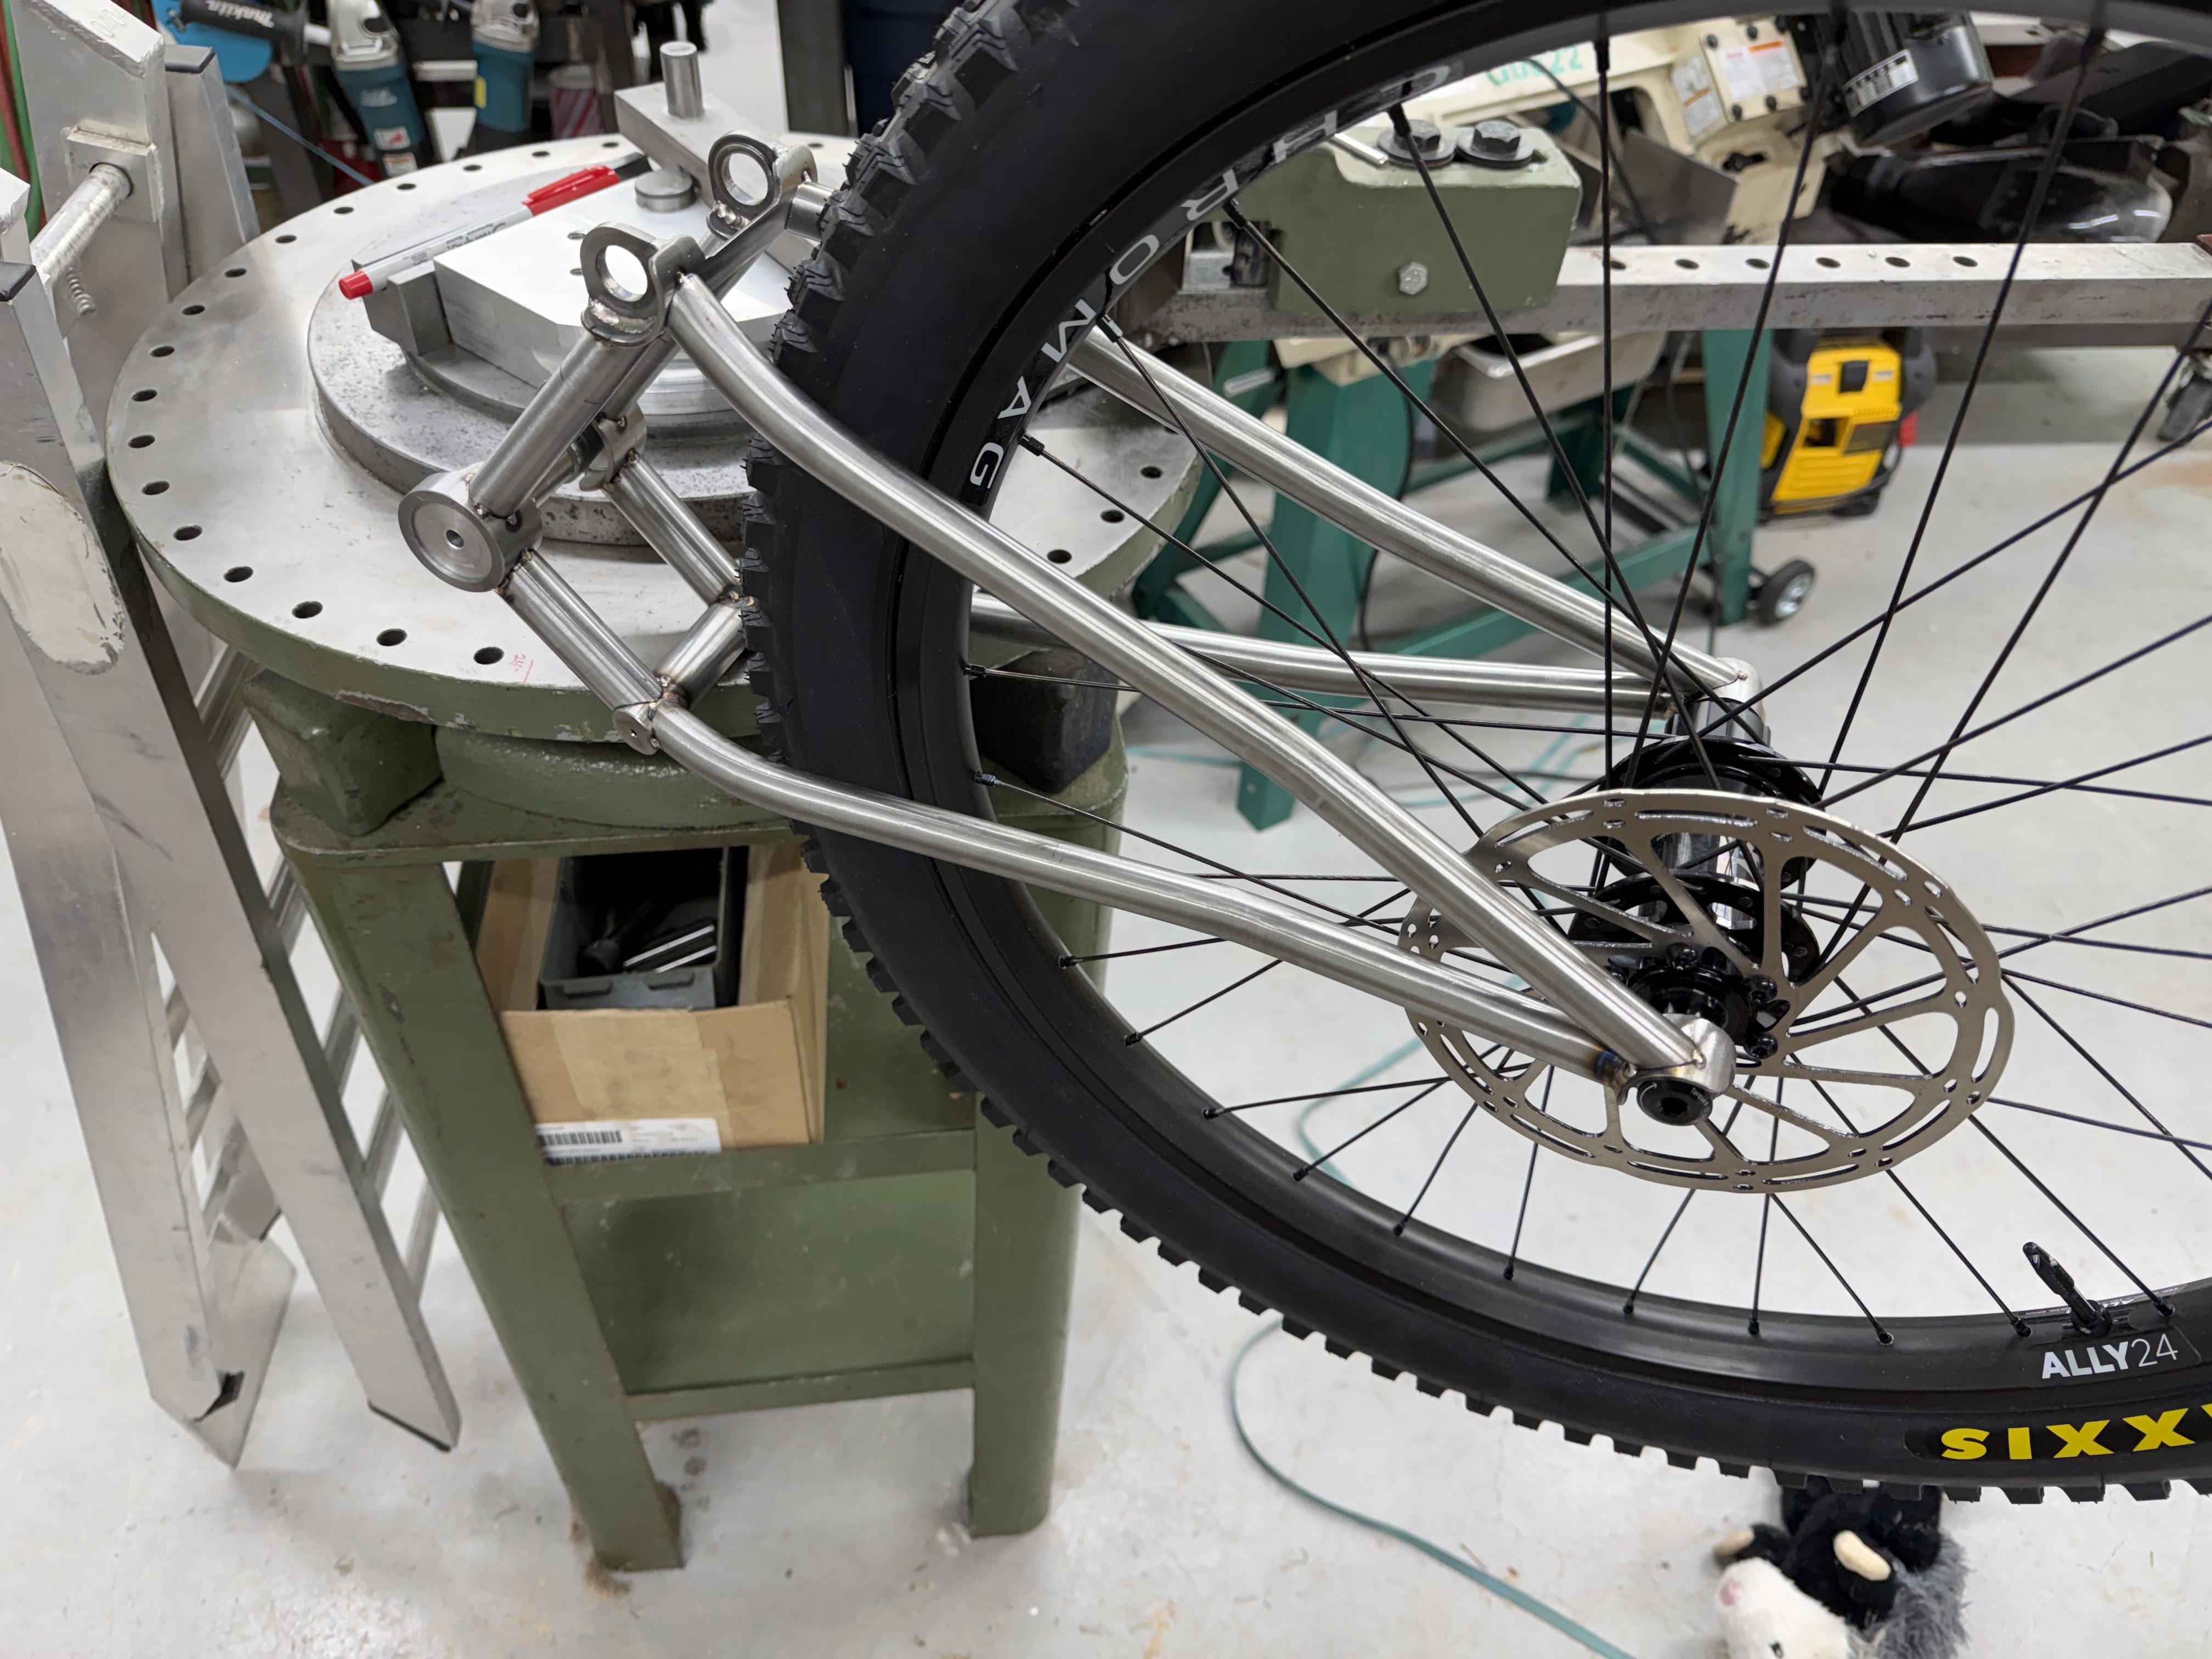
Fixturing on-the-go with the beam fixture has been working, but slowly. I guess that’s just how it is with a one-off/ V1! Tacked, out of the fixture, tyre fits! Phew!
7 Likes
Finally got to use my old prototype Anvil Post Punk on this, too. Kind of an interesting one that was fitted with a drill guide for the front post mount. I made a bushing that fits a regular bolt so it can be used the “normal” way:
5 Likes
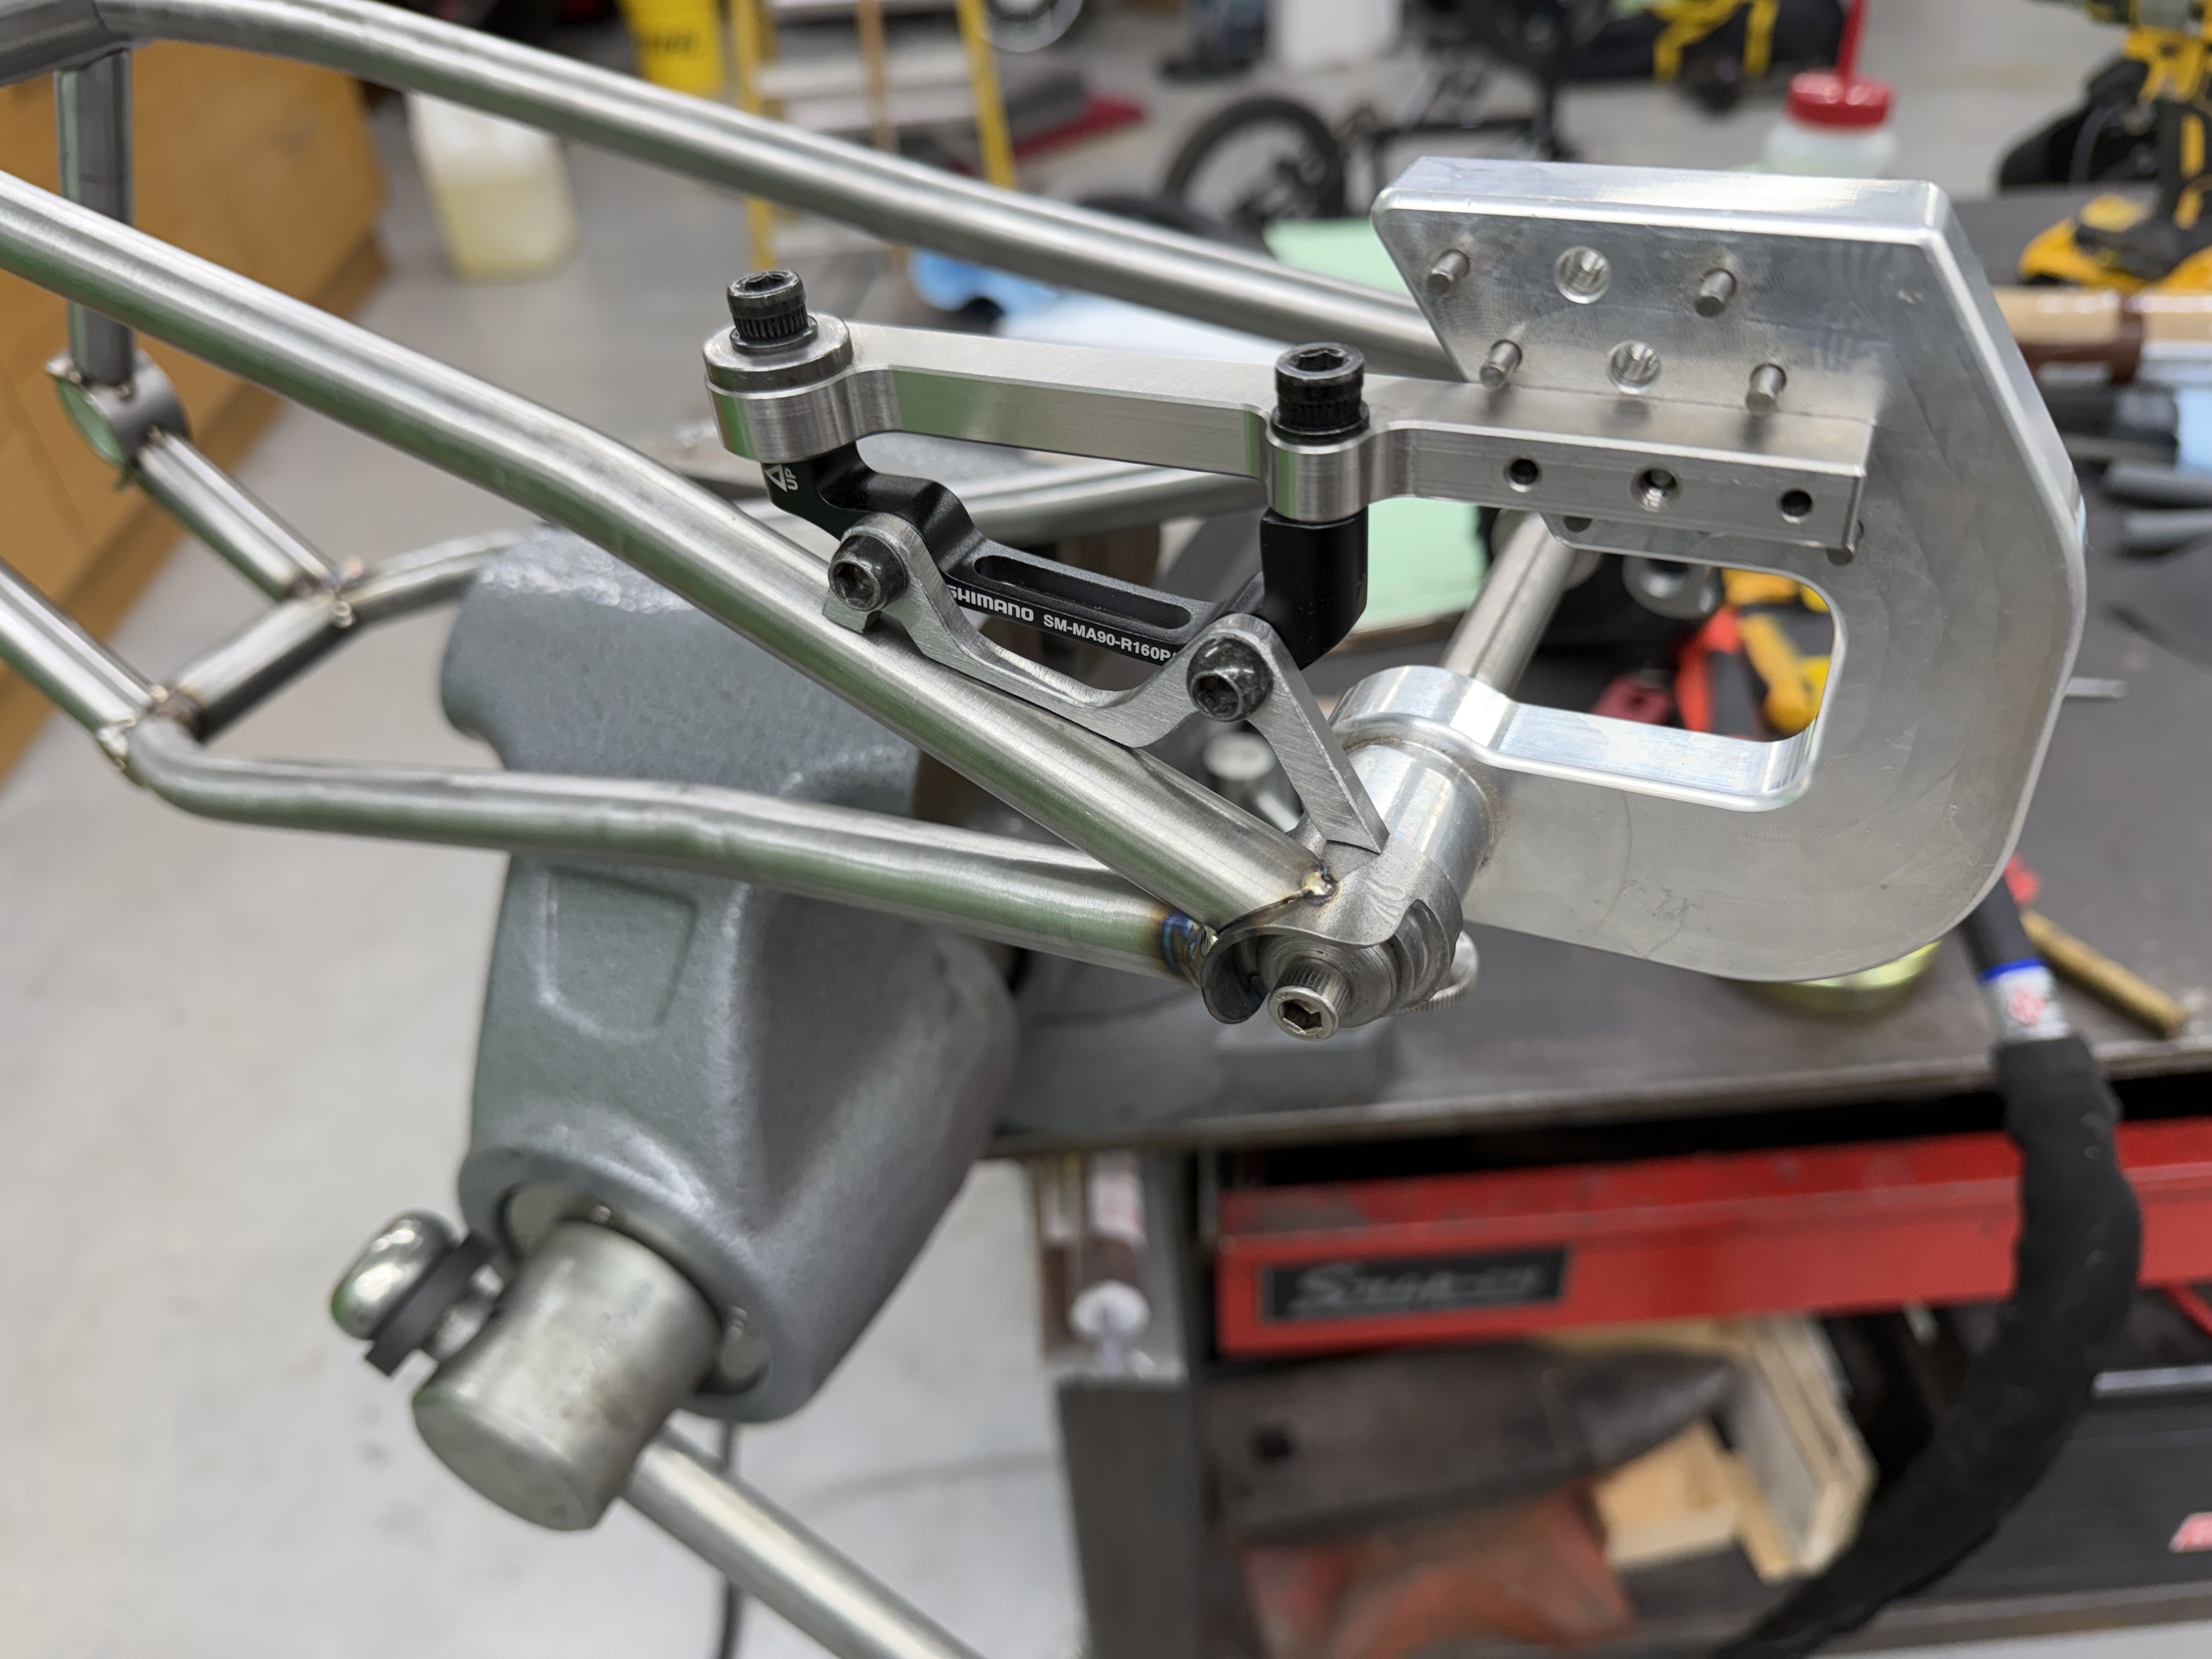
Took a little hiatus doing work and family things, but I’m back! Some welding has been completed, and started machining hardware for the frame:
Picked up a cheap and sketchy rotary broach holder and a high end 6mm broach, and the combo does a good job!
4 Likes
This must be a nice tool to have.
Can´t wait to see the complete build.
I’m also excited to see the completed project! haha
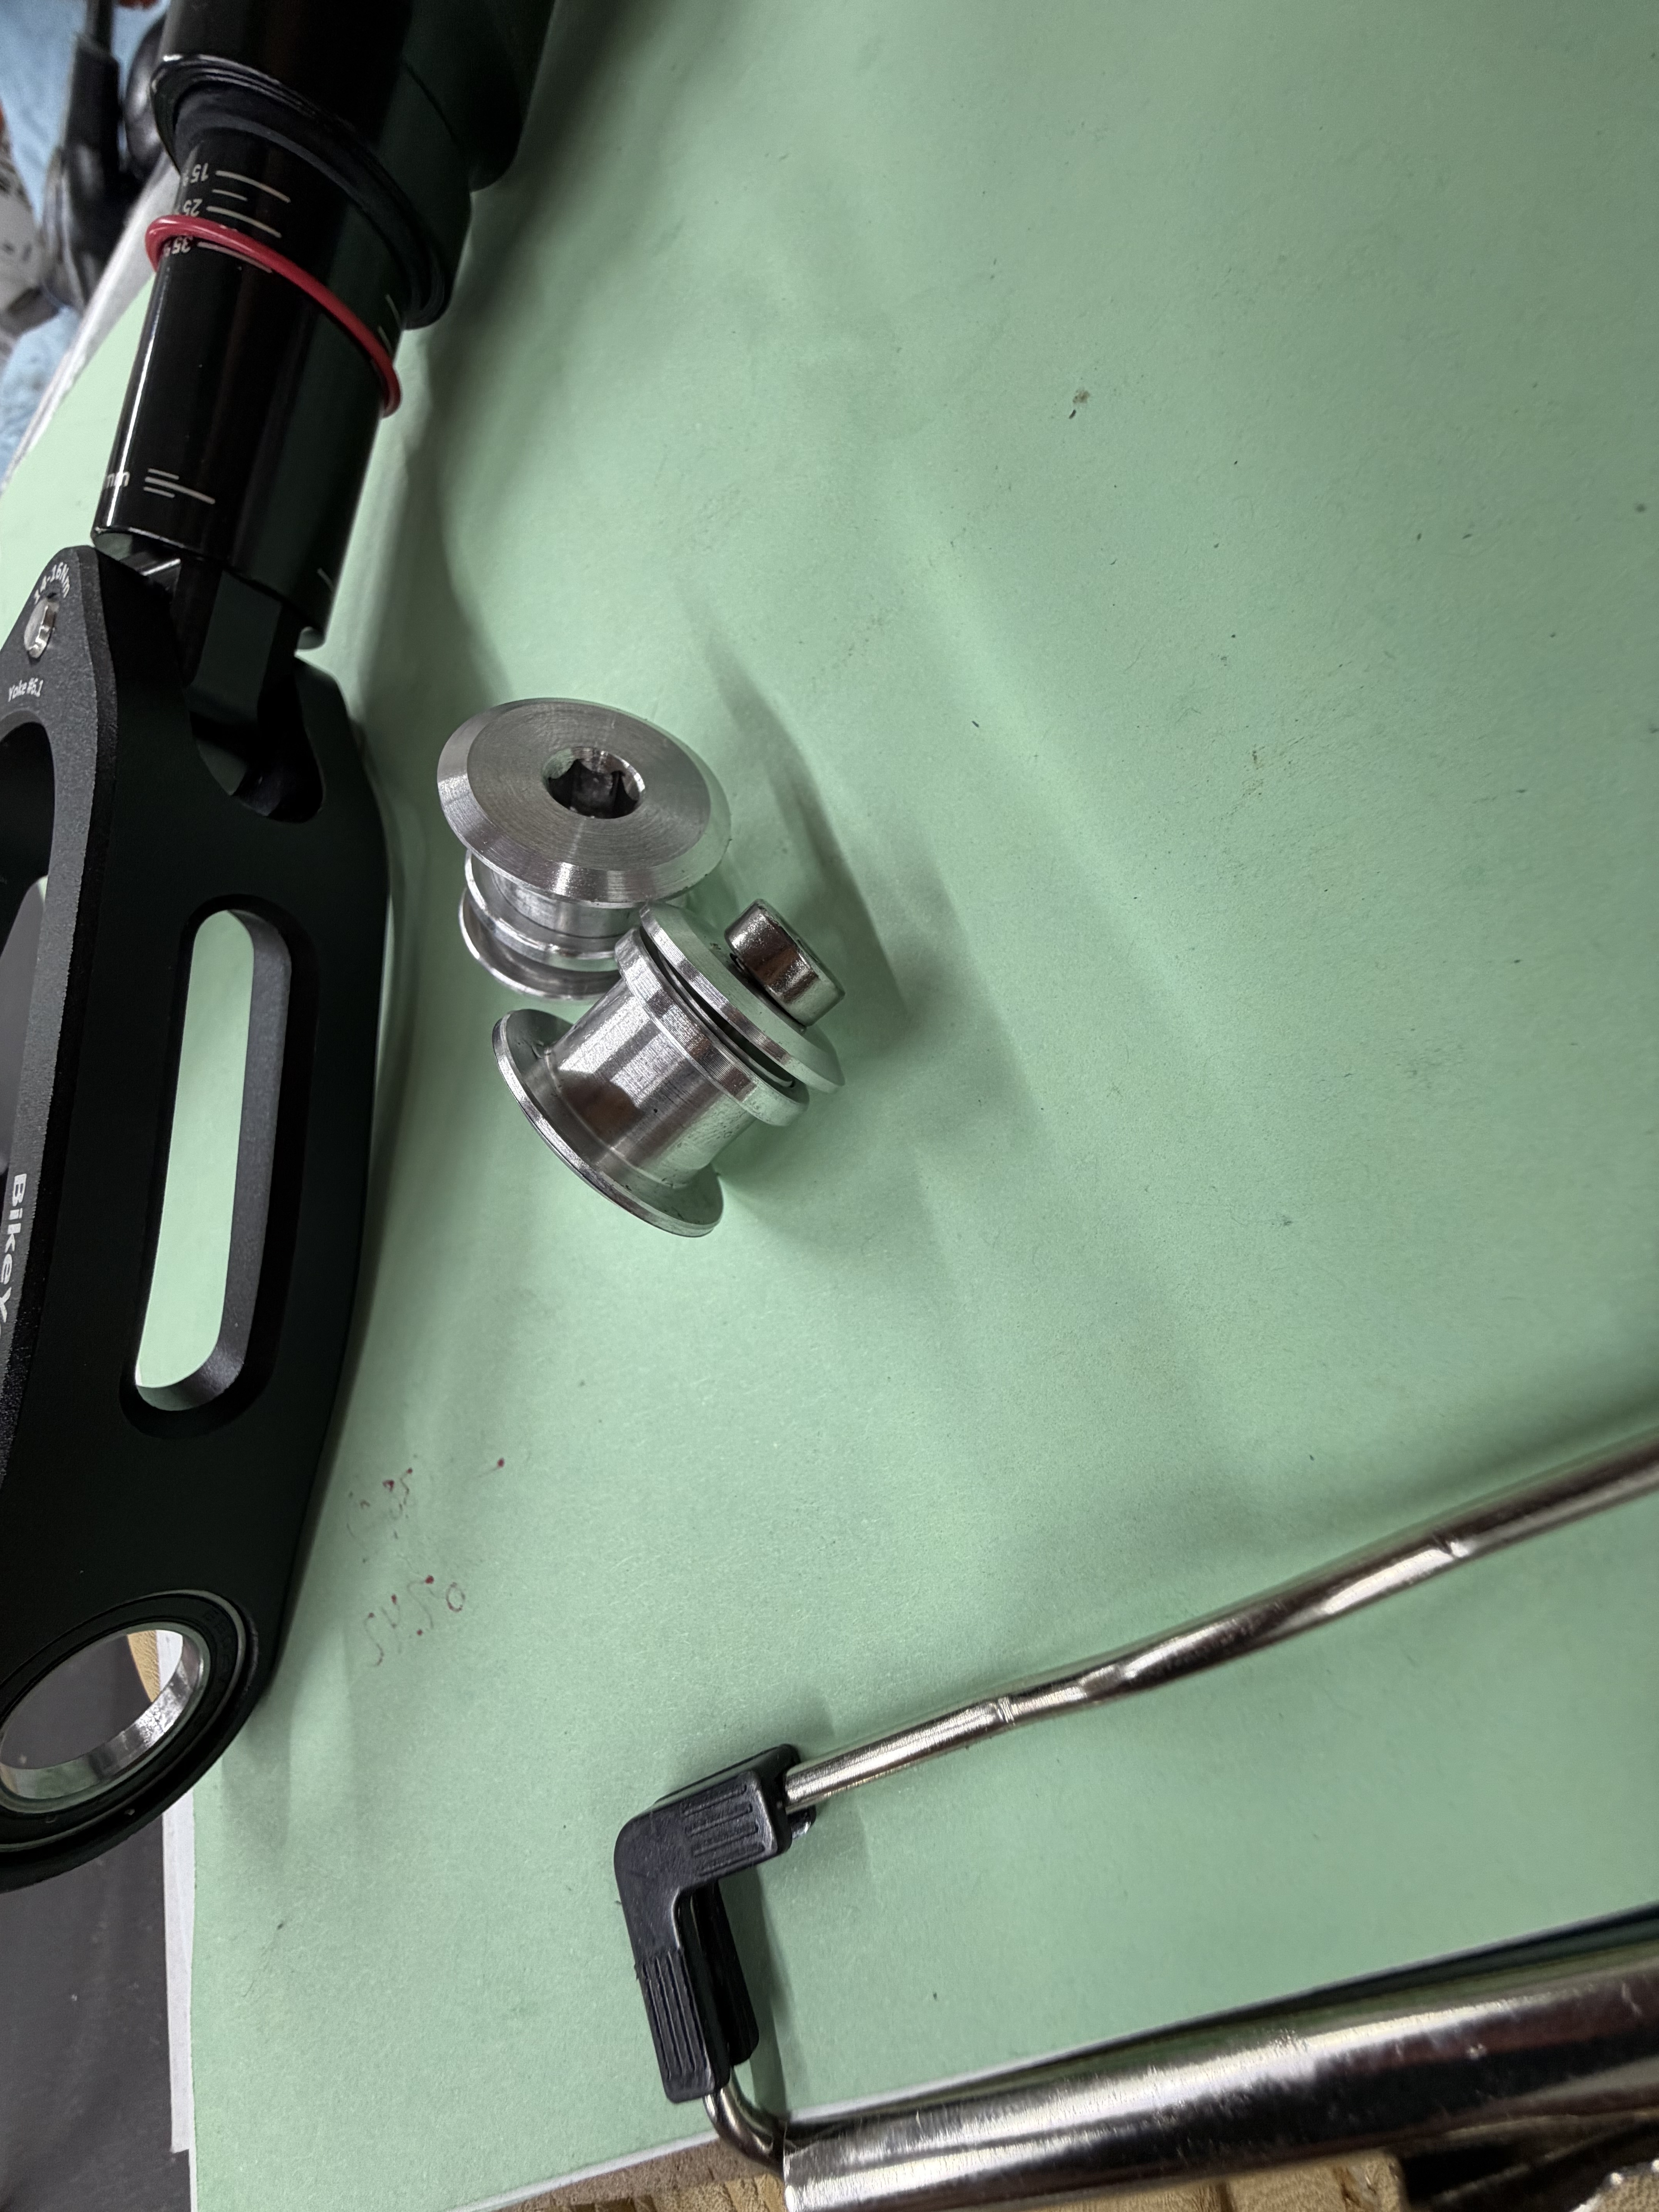
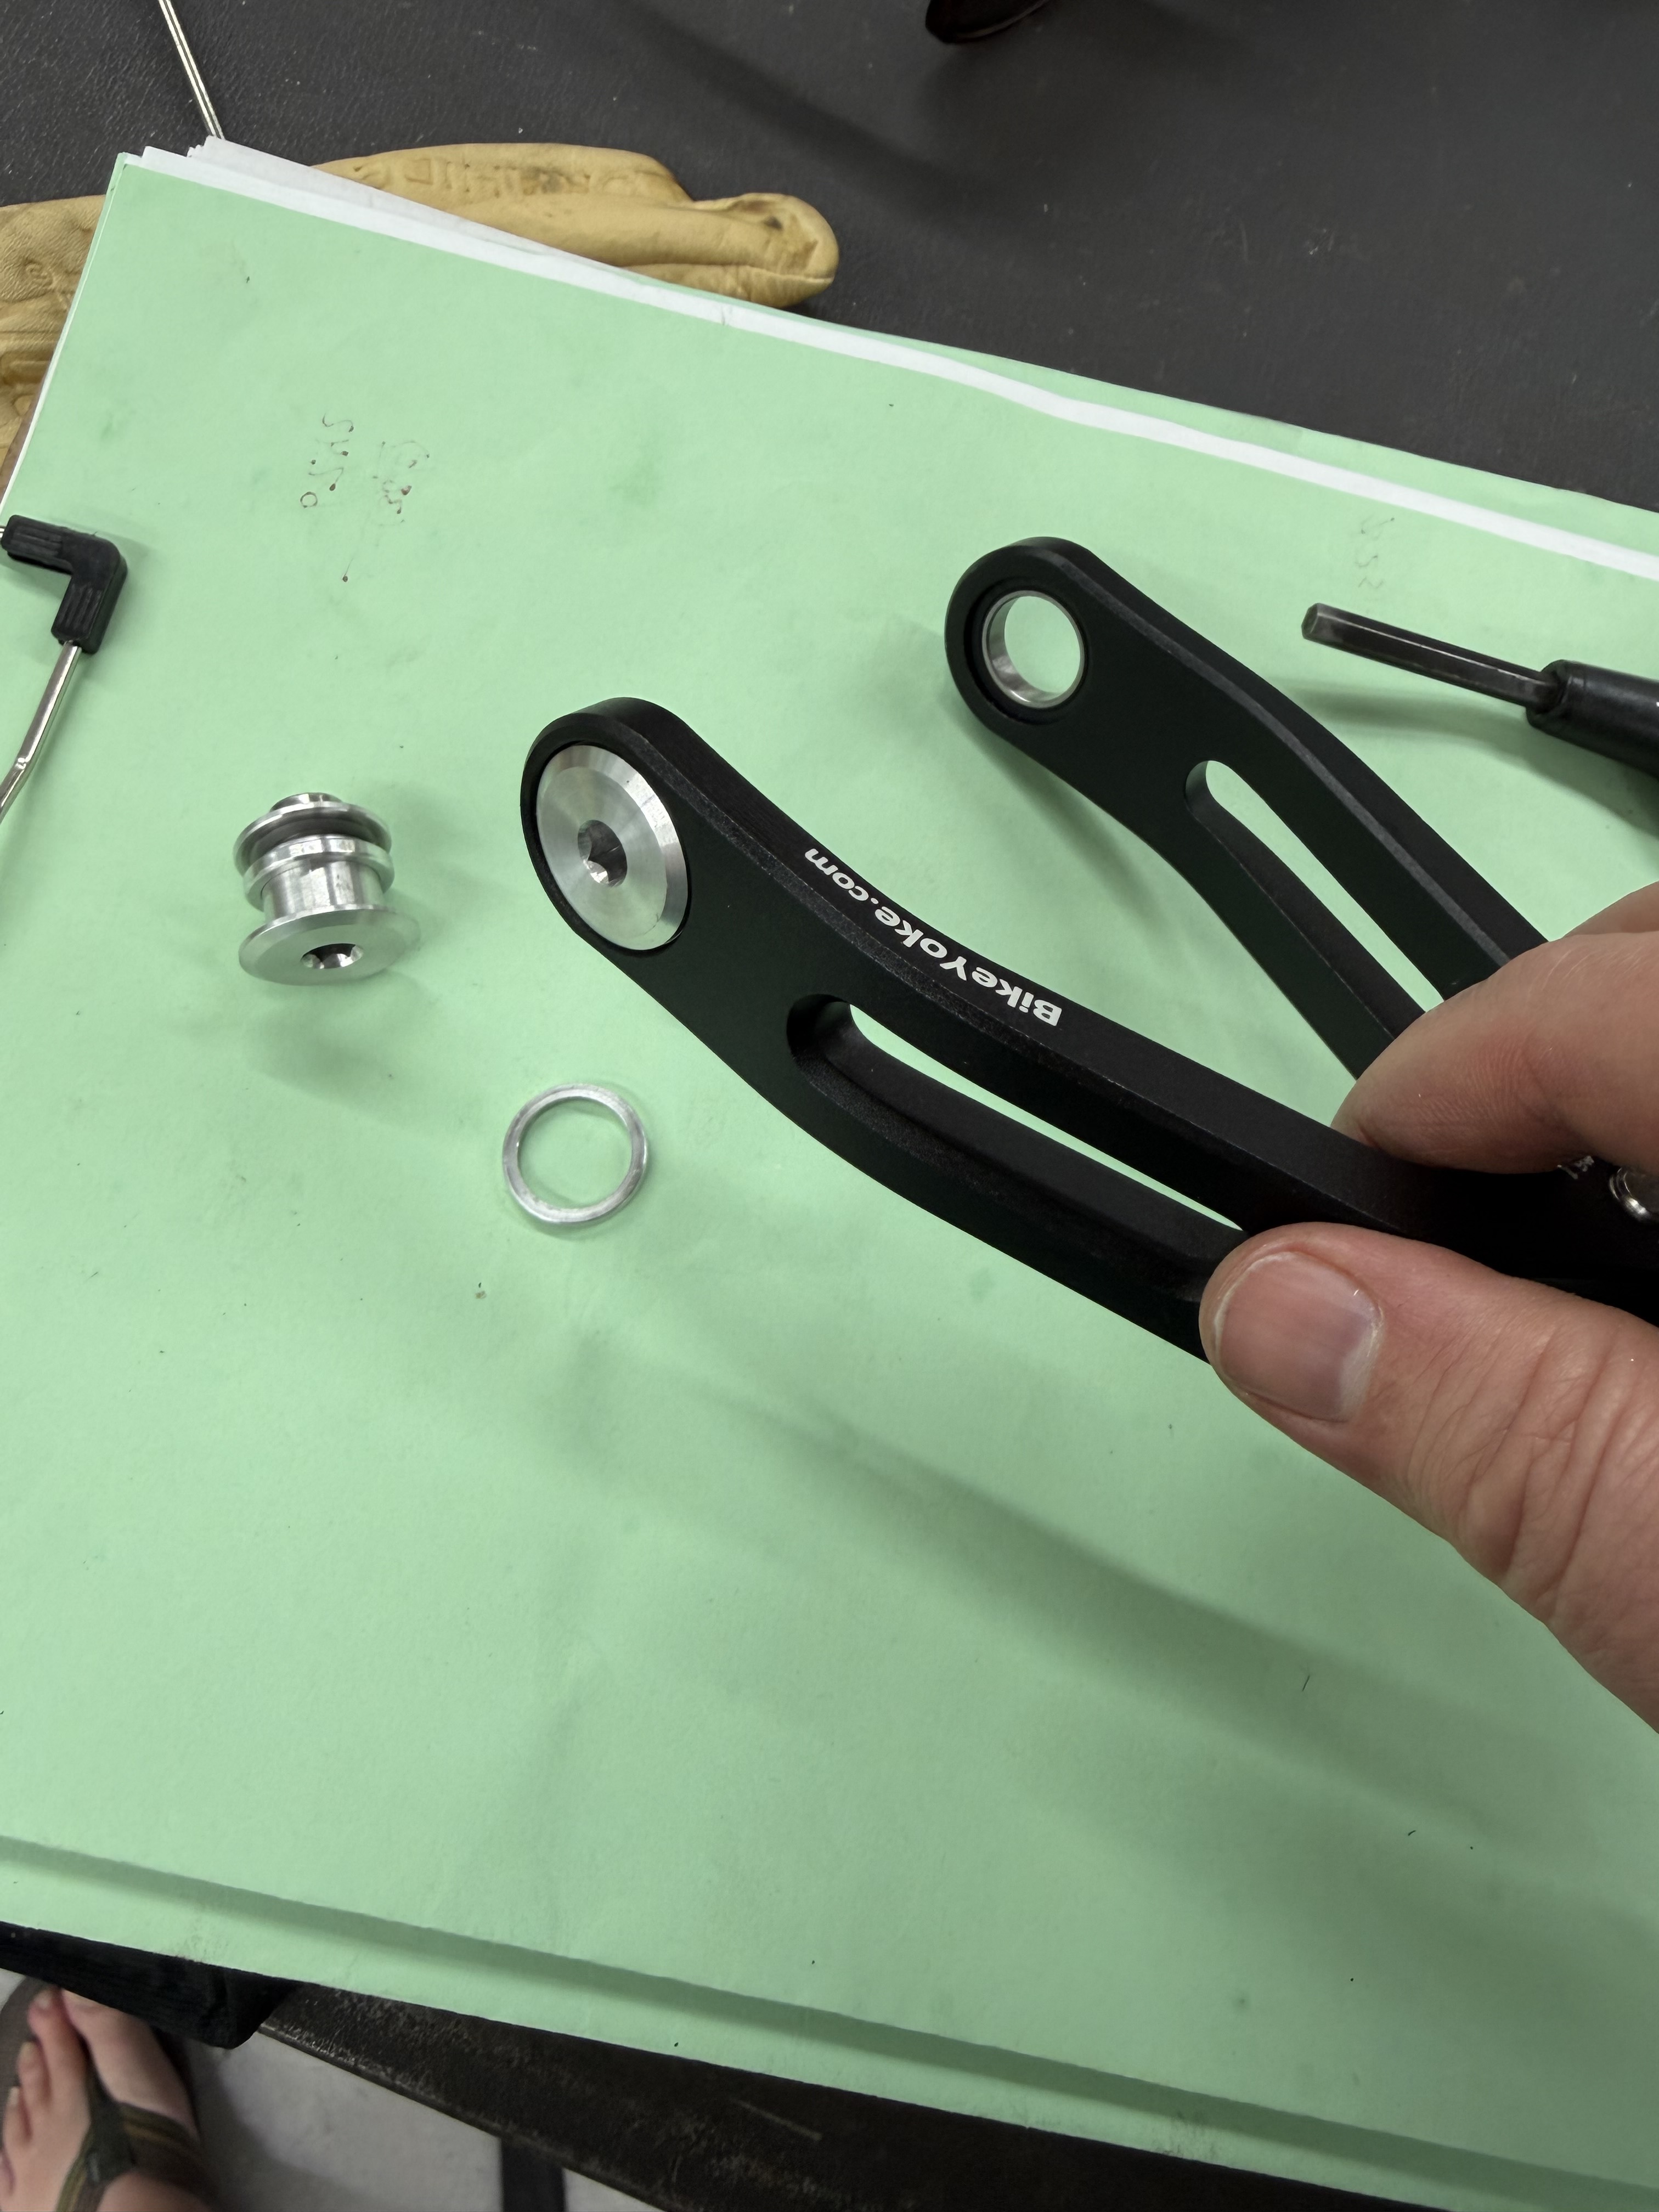
Putting hex holes in things has always been mysterious/ too expensive for me category. The setup came in at ~$150 usd, which while a stretch, I can justify for the ability to make custom fasteners for various projects.
1 Like