I mentioned somewhere about wanting to make some improvements to my trail bike (purple guy), there’s a couple big things I wanna remedy and just basically refine the whole thing a little.
Things I want to fix:
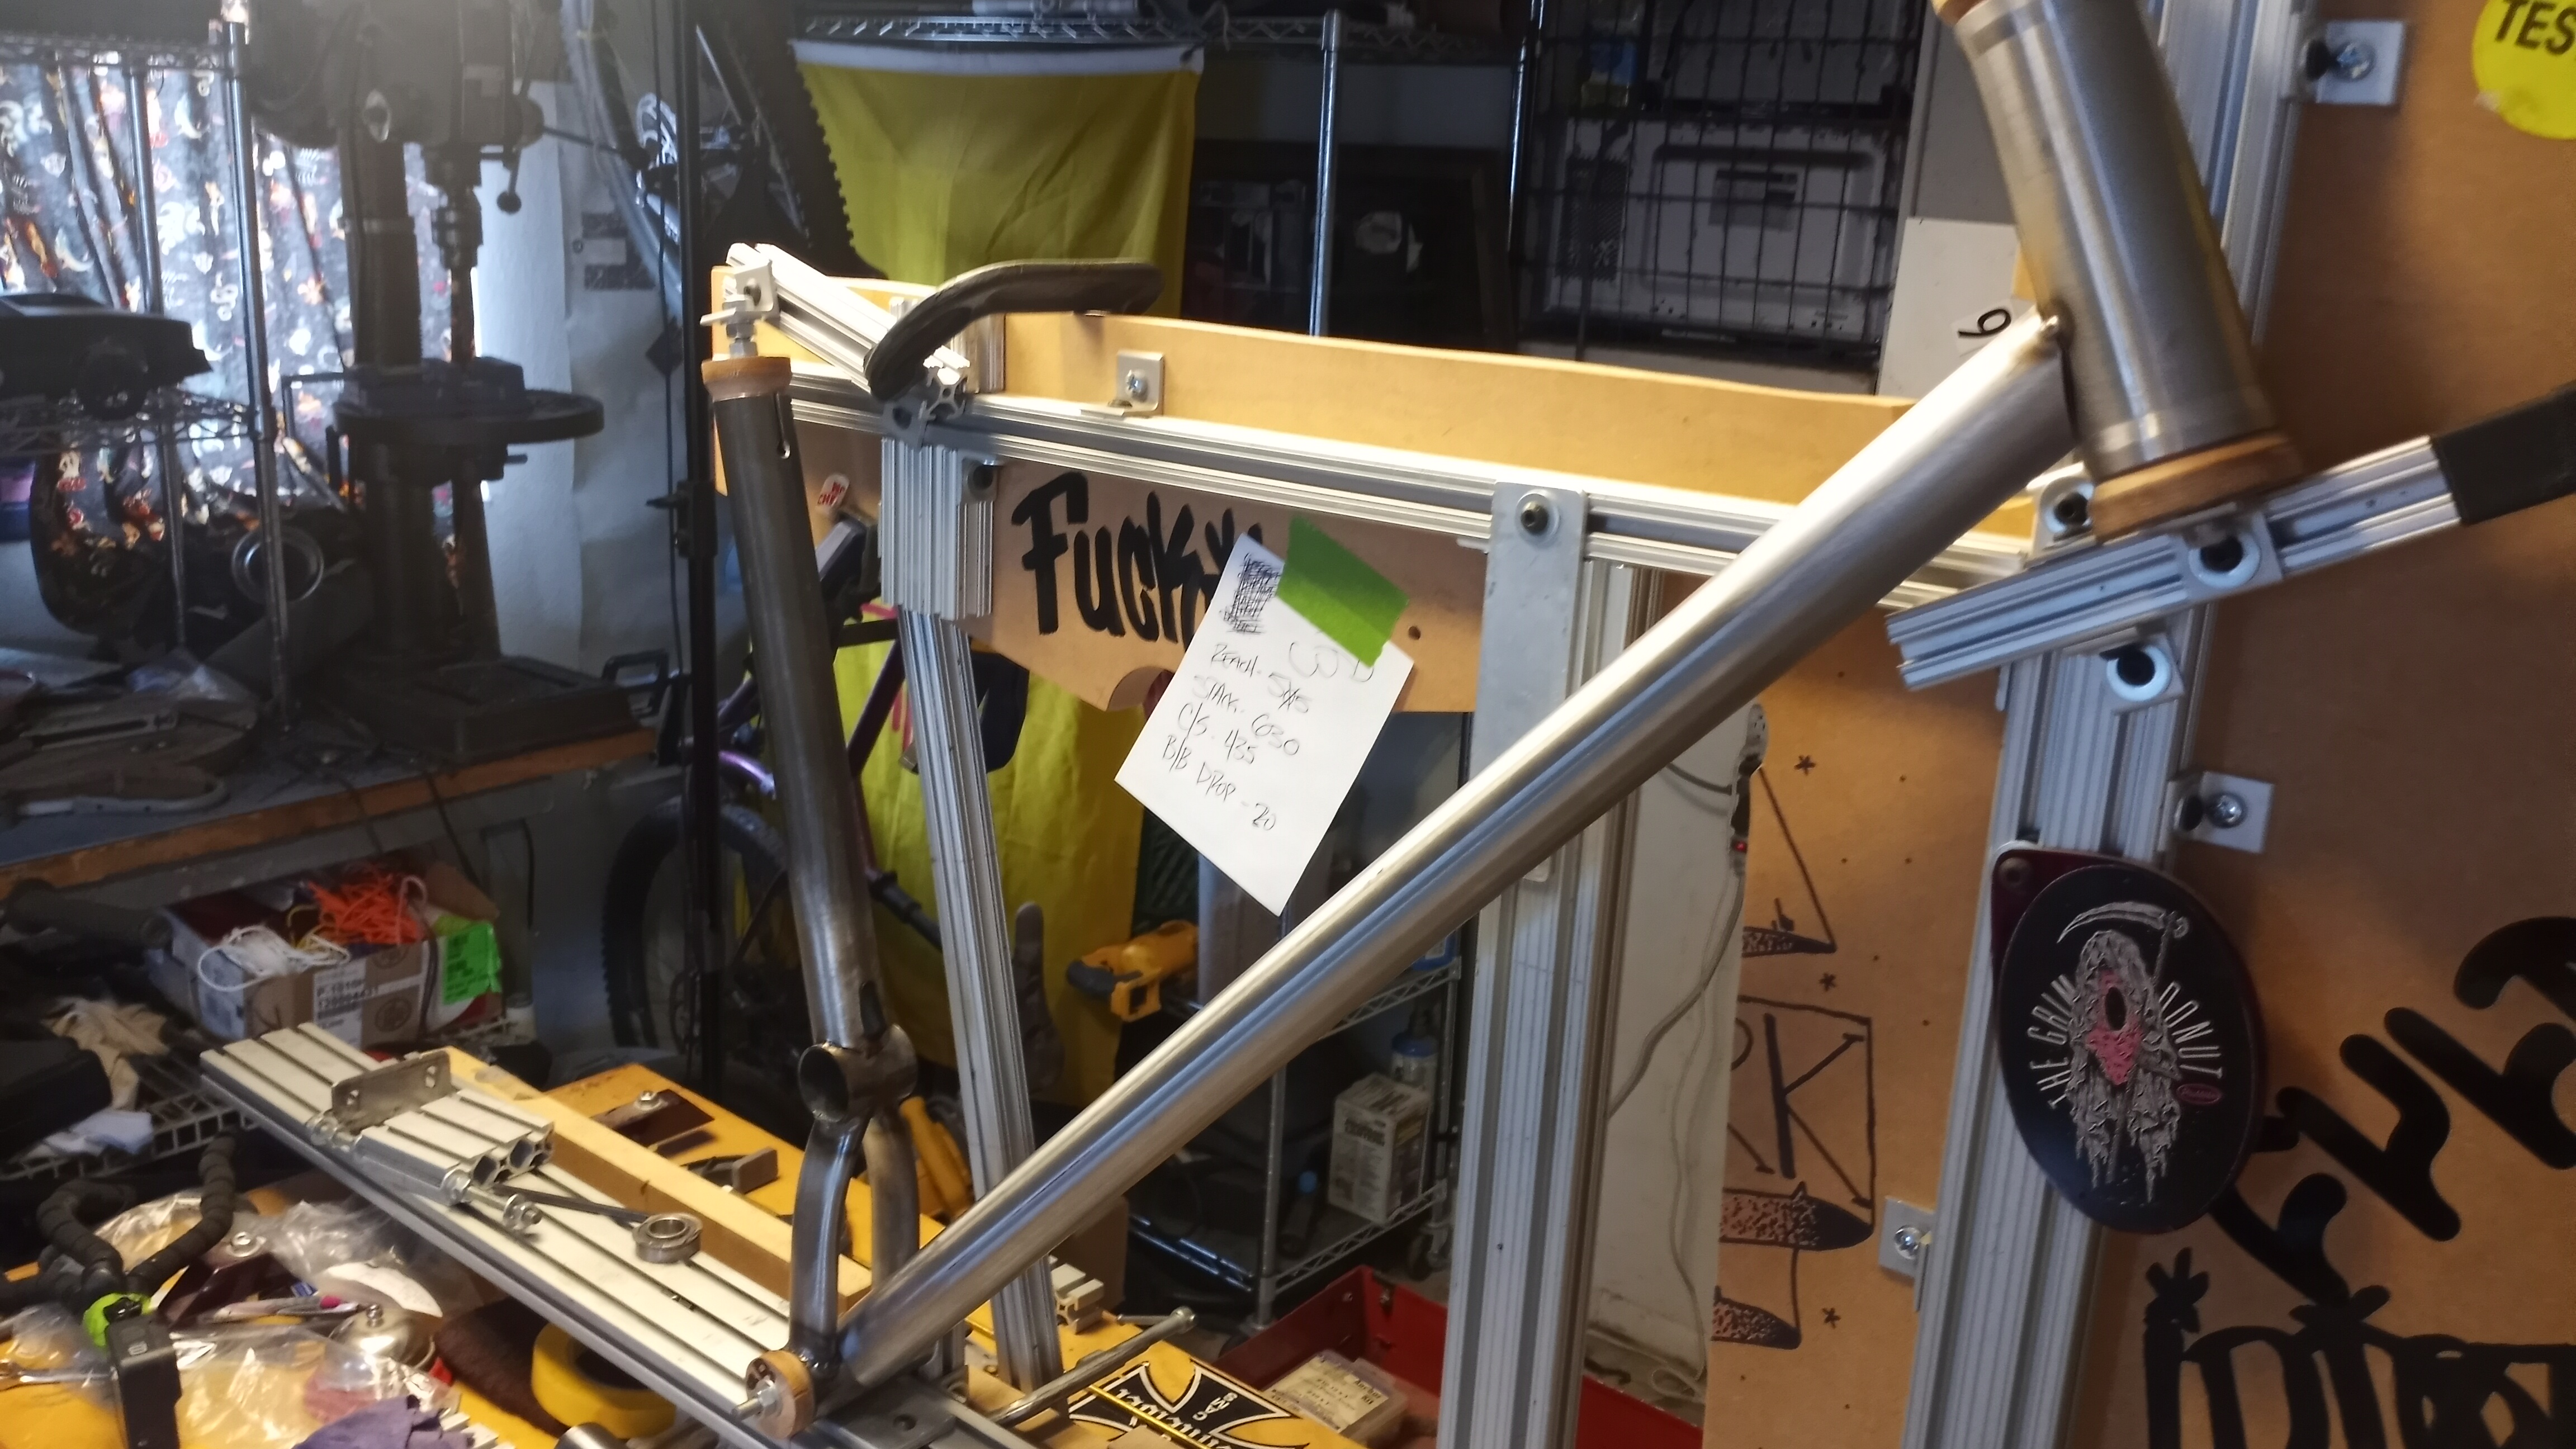
1-it’s too long. 540mm of reach is too many. Lesson learned. New one is gonna be 515, so still plenty big, just not stupid big.
2- I want a shorter seat tube with fewer pieces (see below) and I’ll just run some more stickout on my dropper
3-move the pivot froward and down a little, less anti-rise while still keeping a high antisquat number in the climbing gears and super low anti squat in the big gears for all the traction while descending.
4-little steeper, prolly 65* rather than 64.5, not a huge change but more trail bike friendly.
5- I reworked the sespension design to live in a smaller package but still keeping the travel and leverage ratio in the ball park of where it is now, cuz I like that. The rocker link is about 50% the size and it’s all gonna live within the front triangle and pull through the seat tube rather than on both sides. Smaller, stronger.
6-Gonna try and slim it down a little, I’ll be ecstatic if it comes in anywhere under 40lbs, really surprised, but ecstatic.
7-It’s extremely crooked. The main pivot is out of square with the BB and the linkage pivot is wonky as shit. I have a plan to keep everything in a little better alignment.
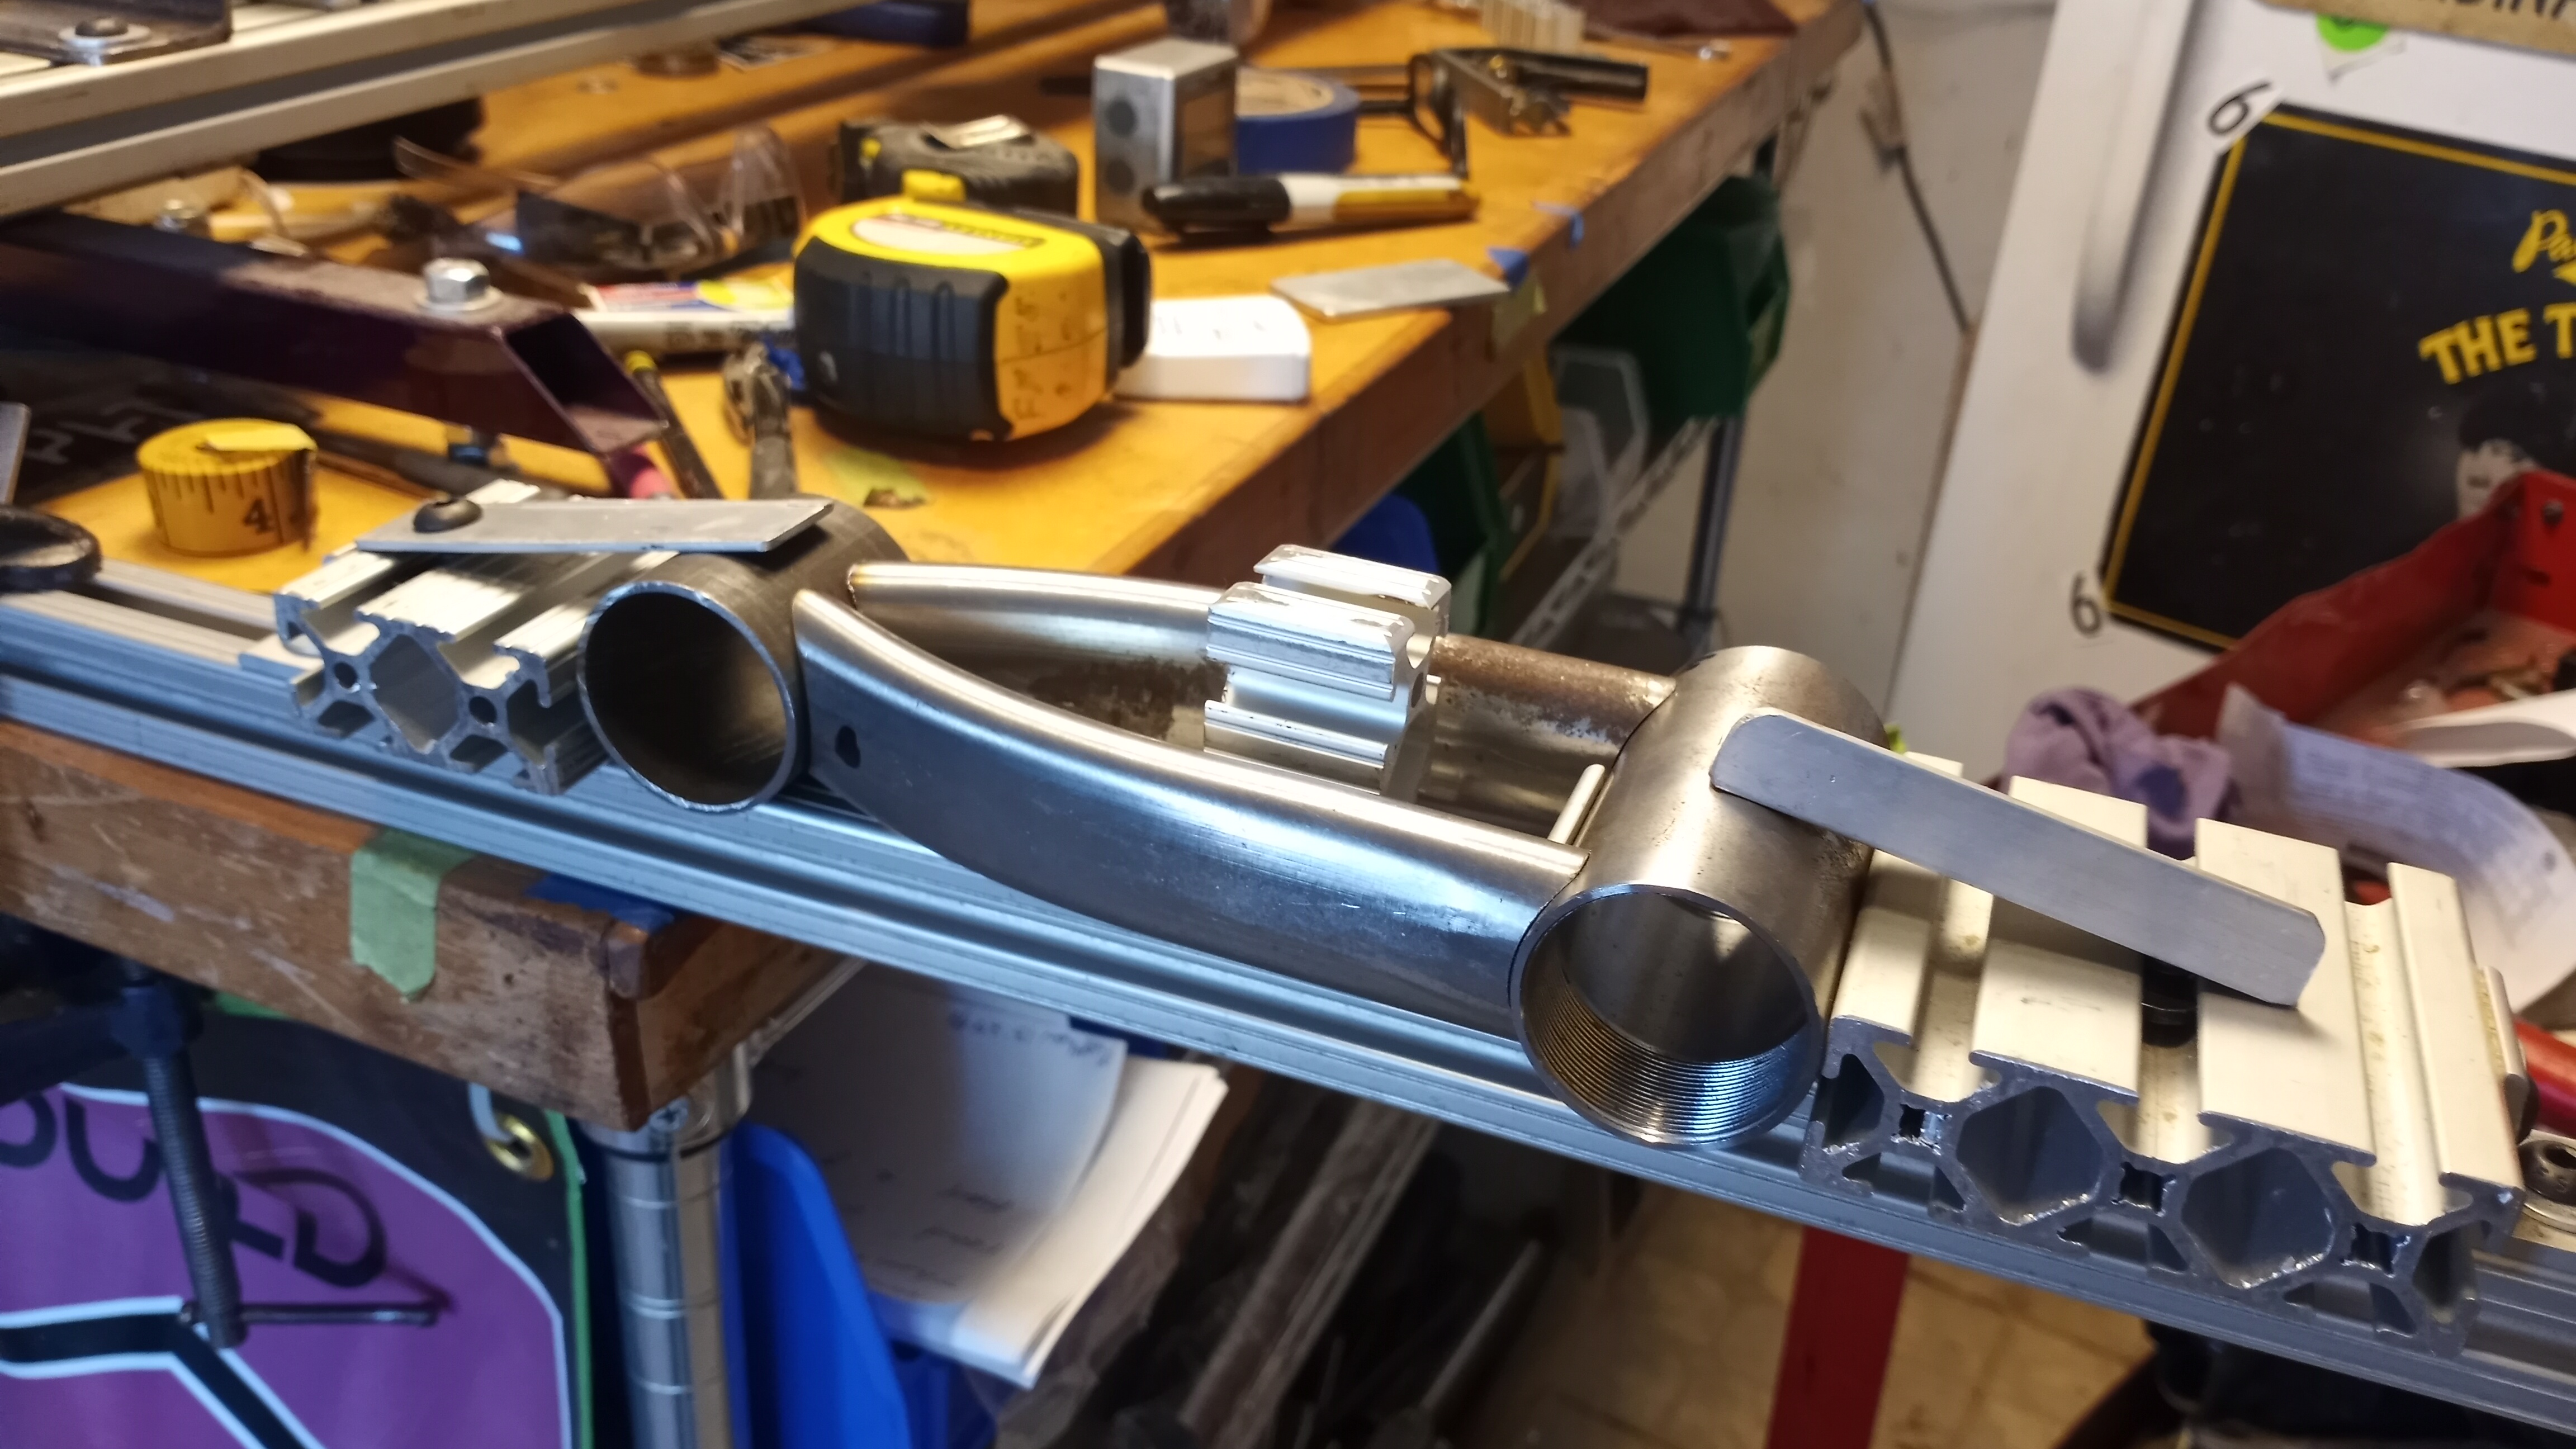
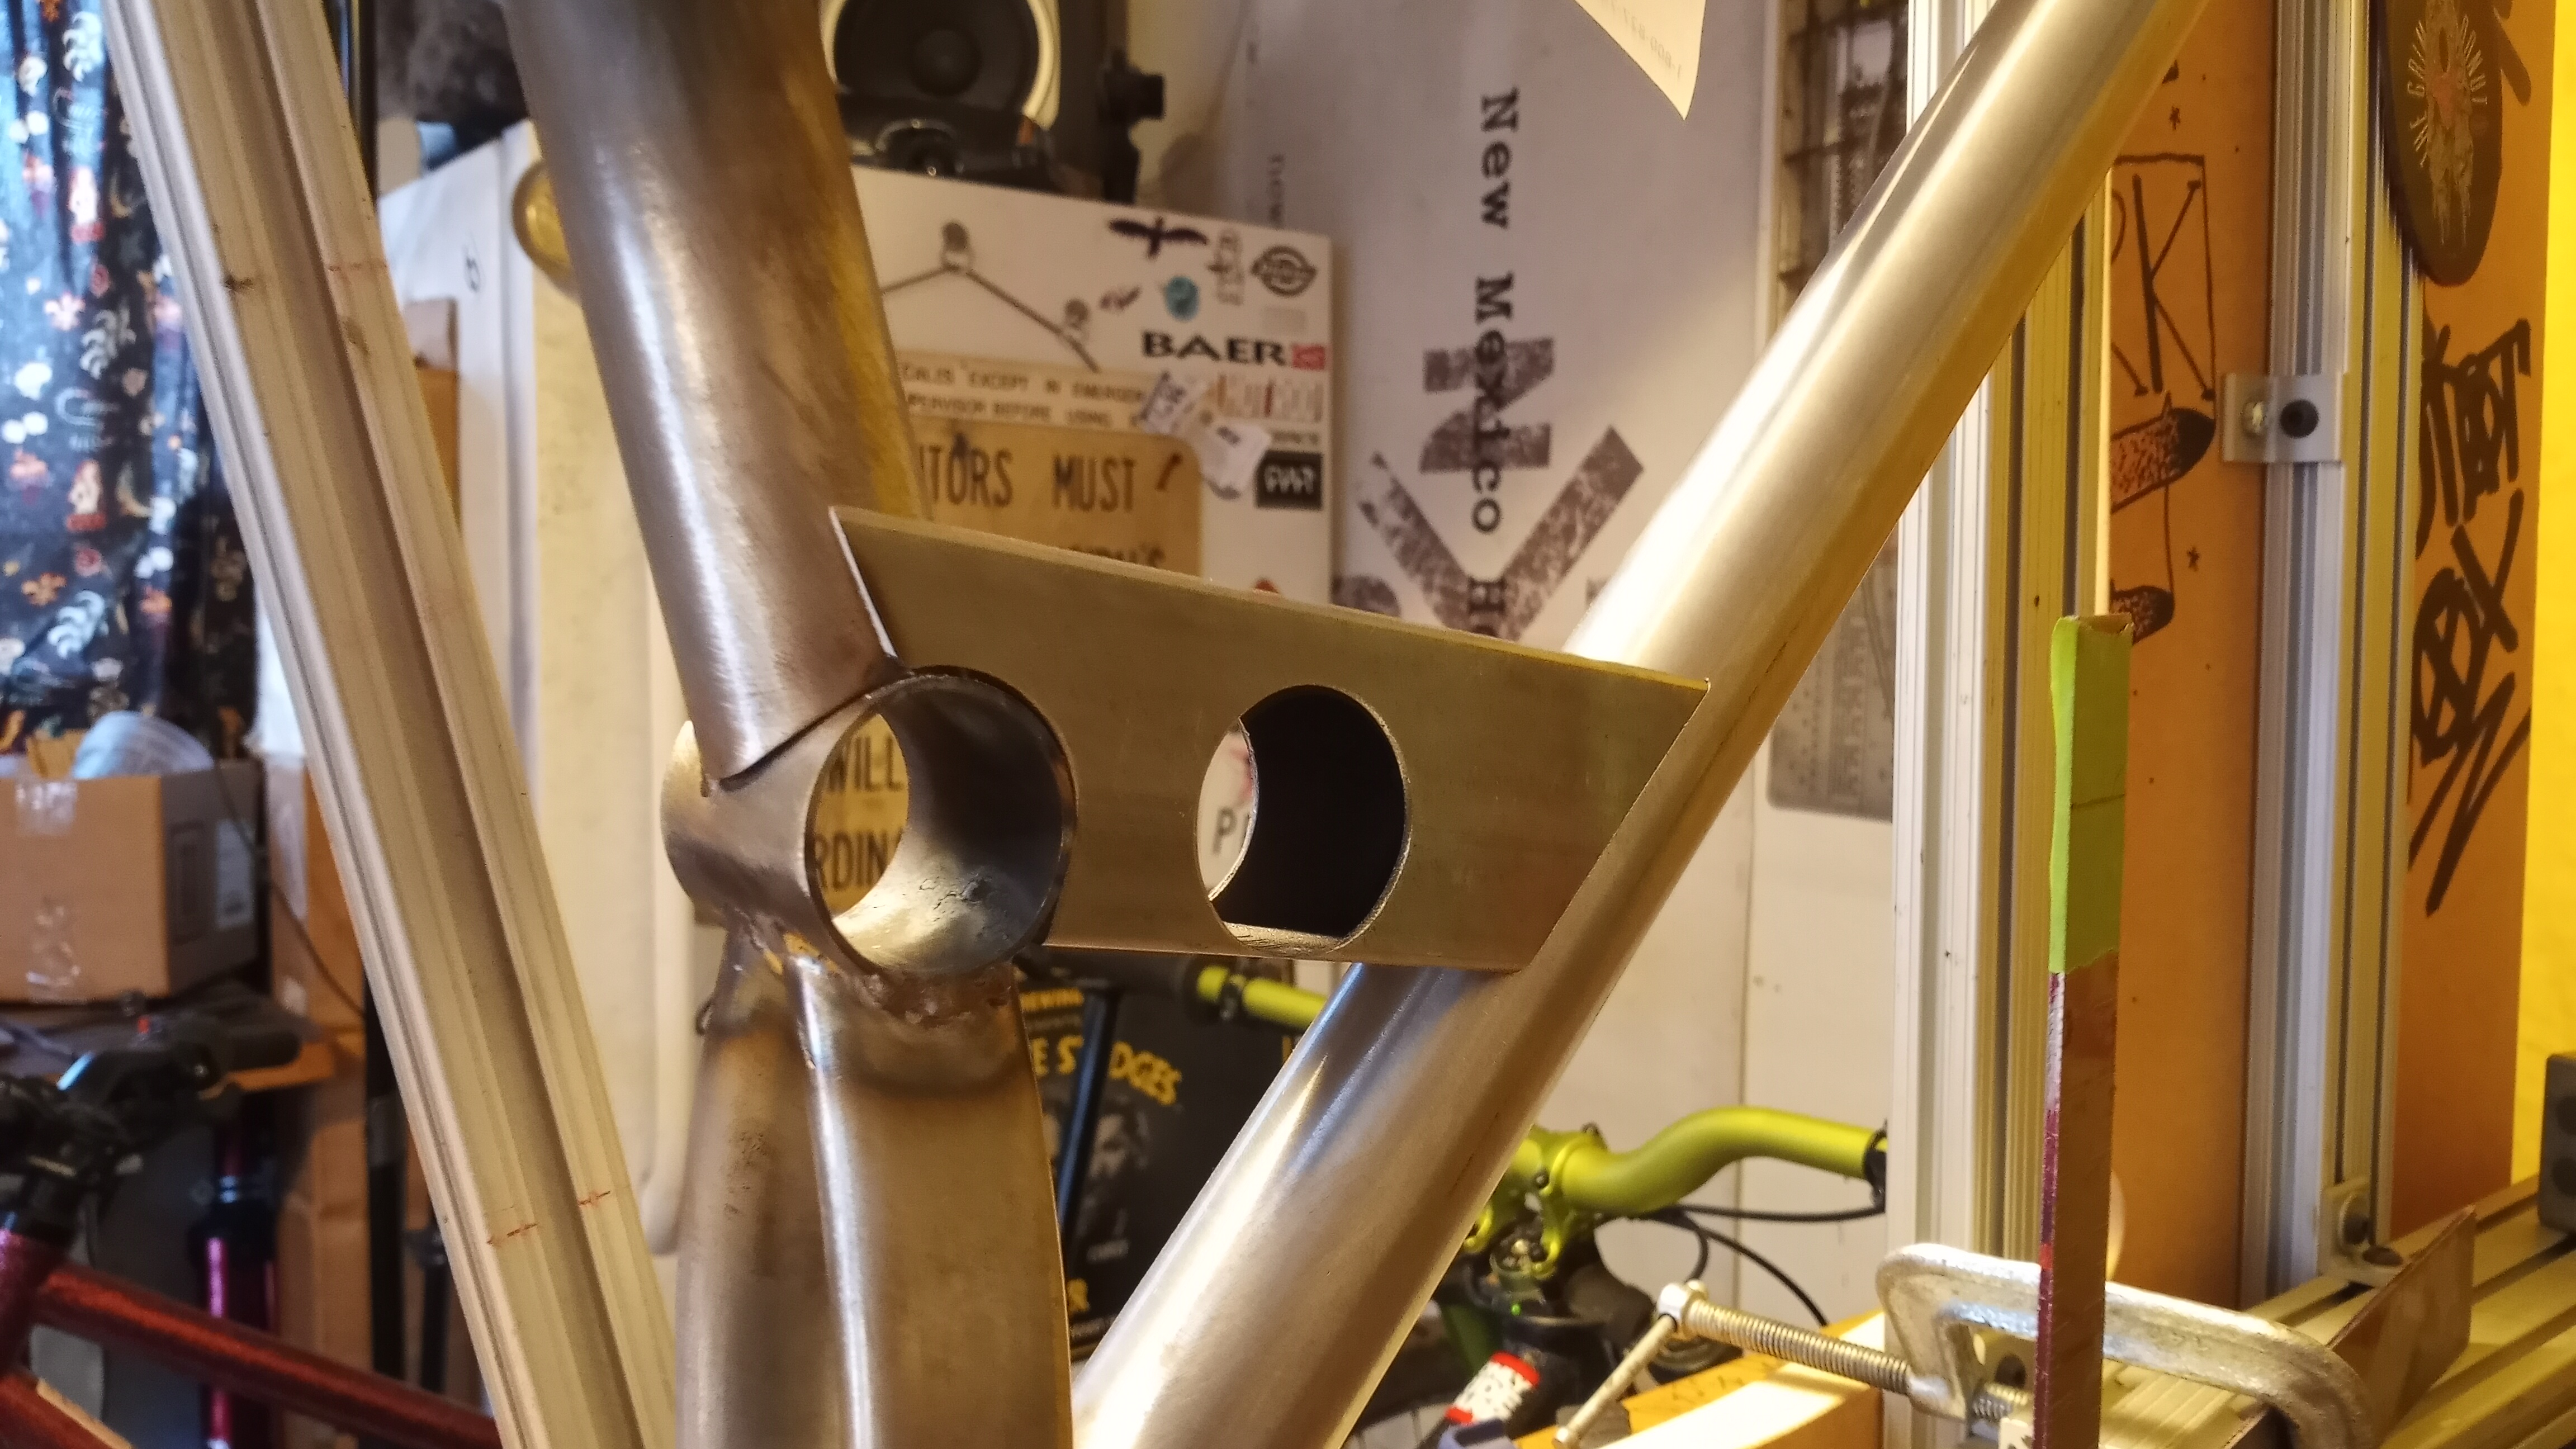
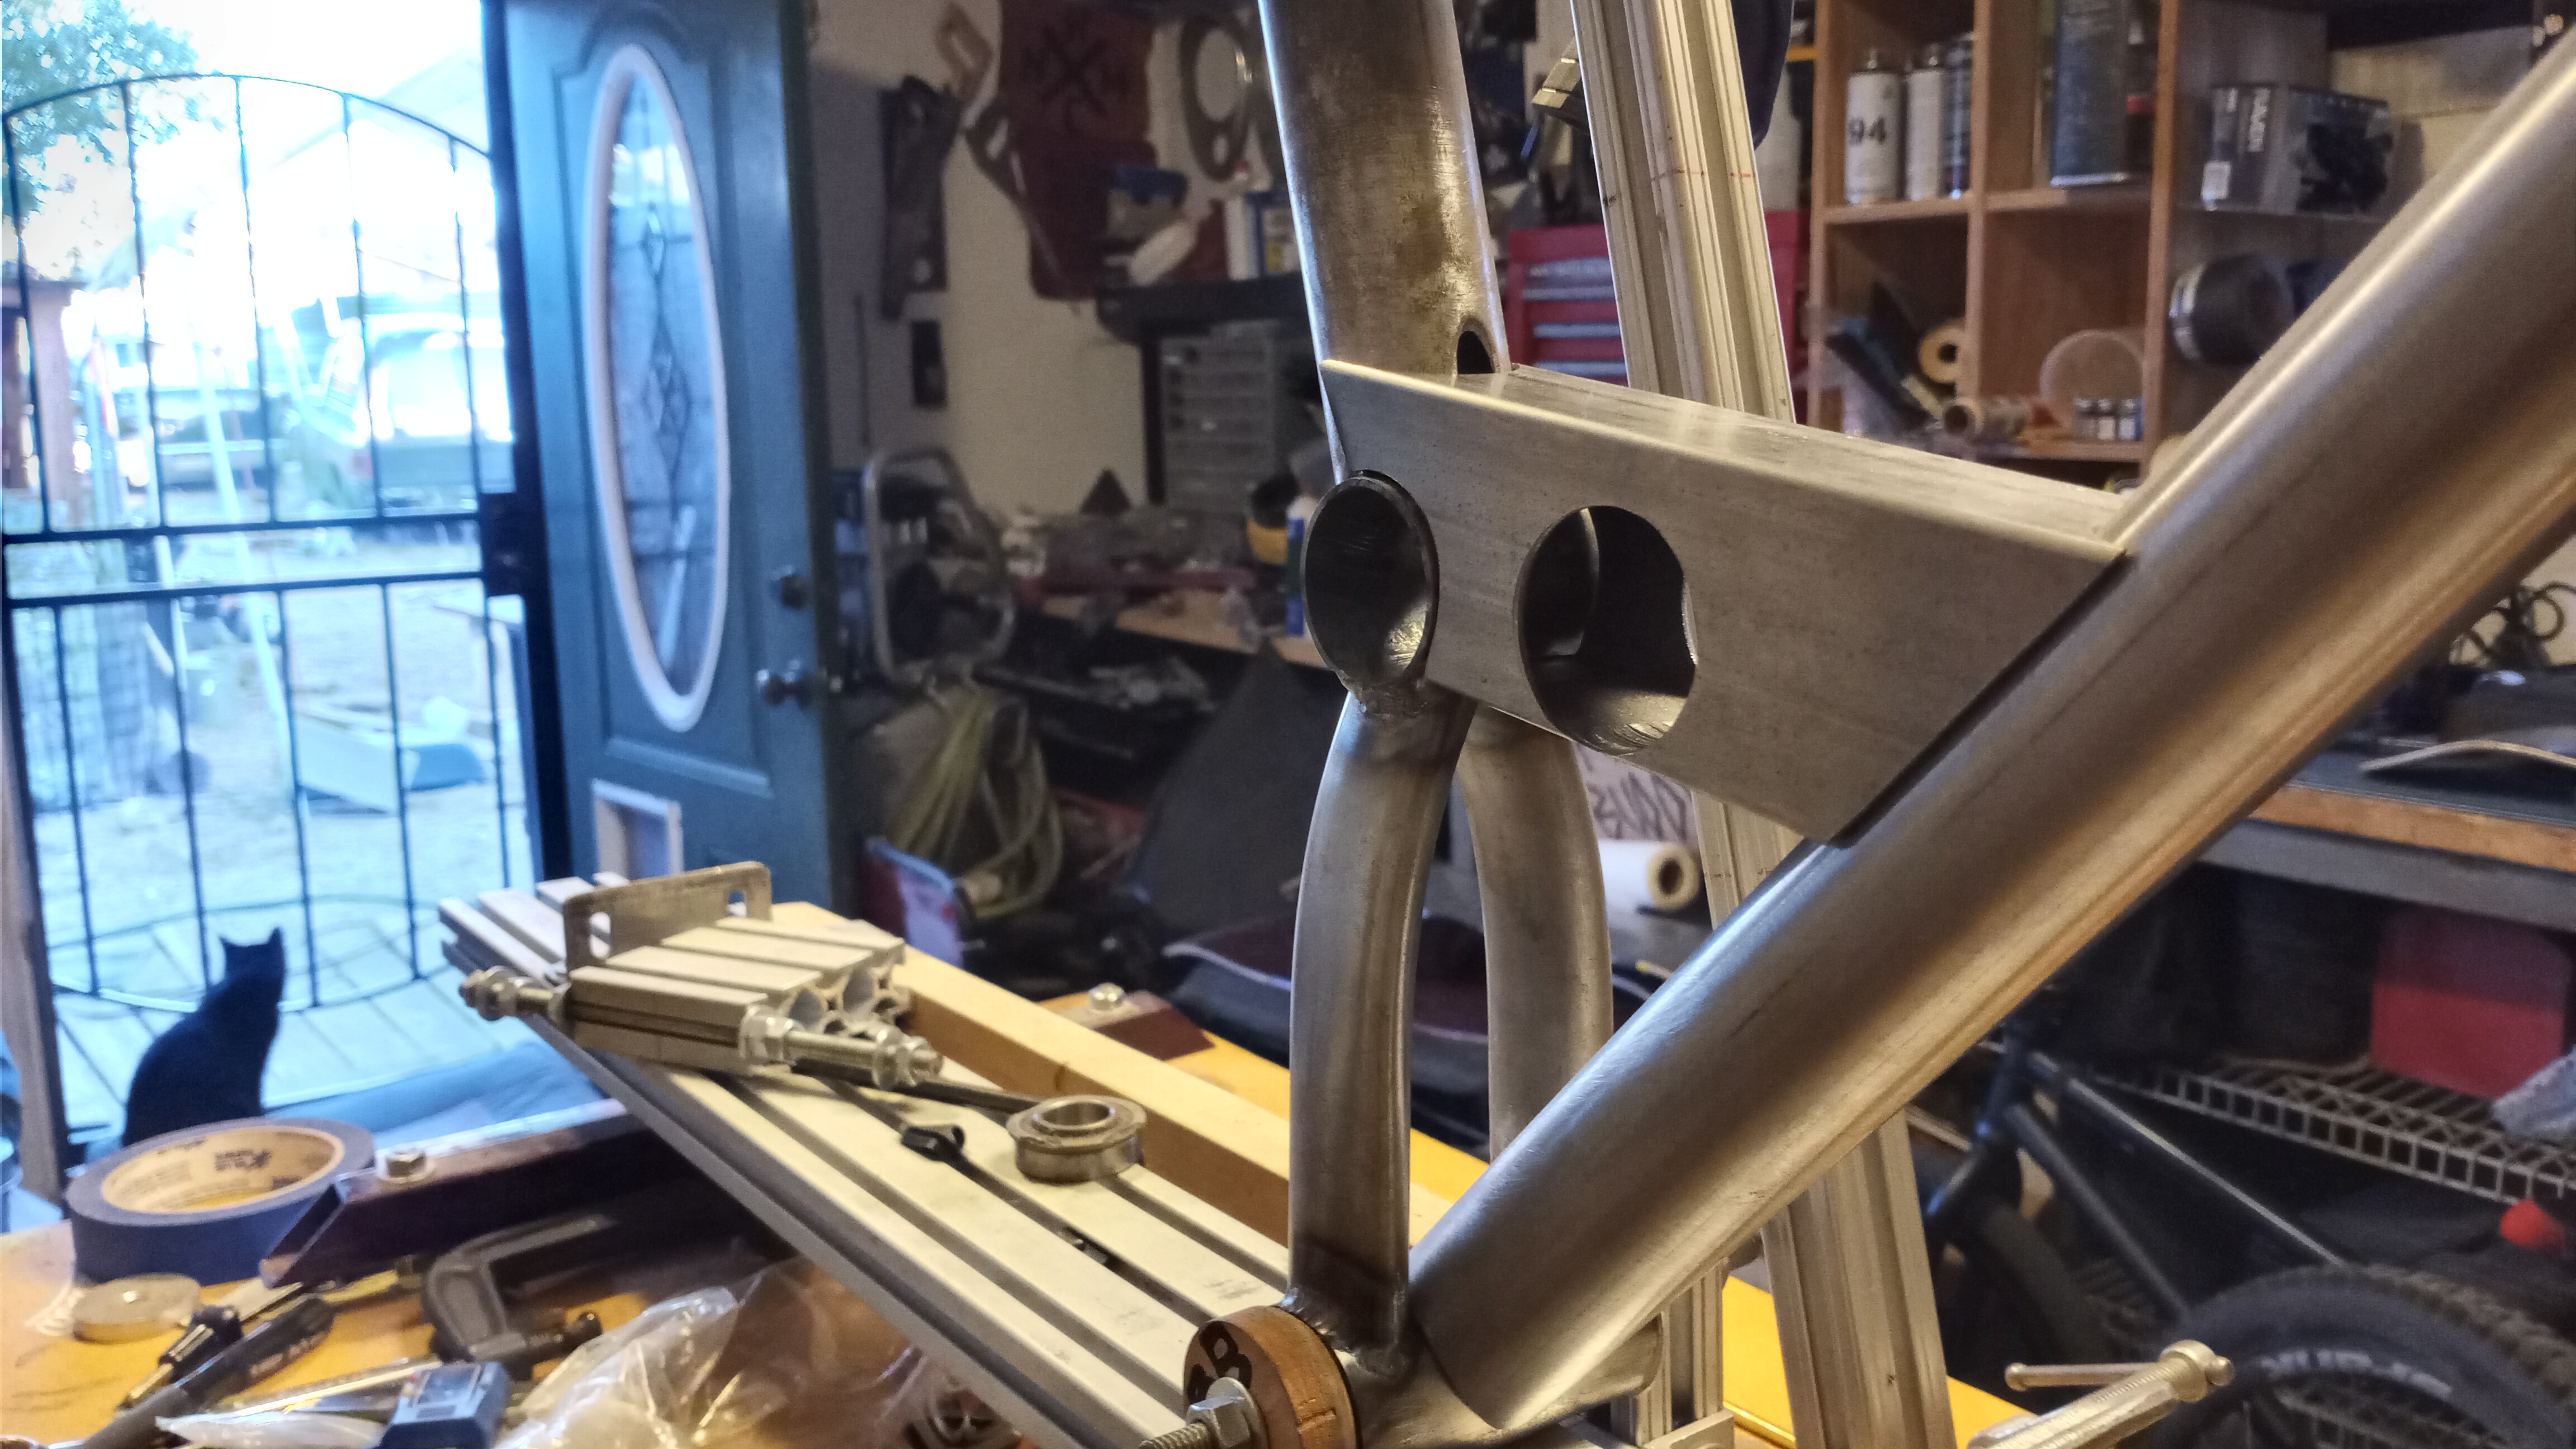
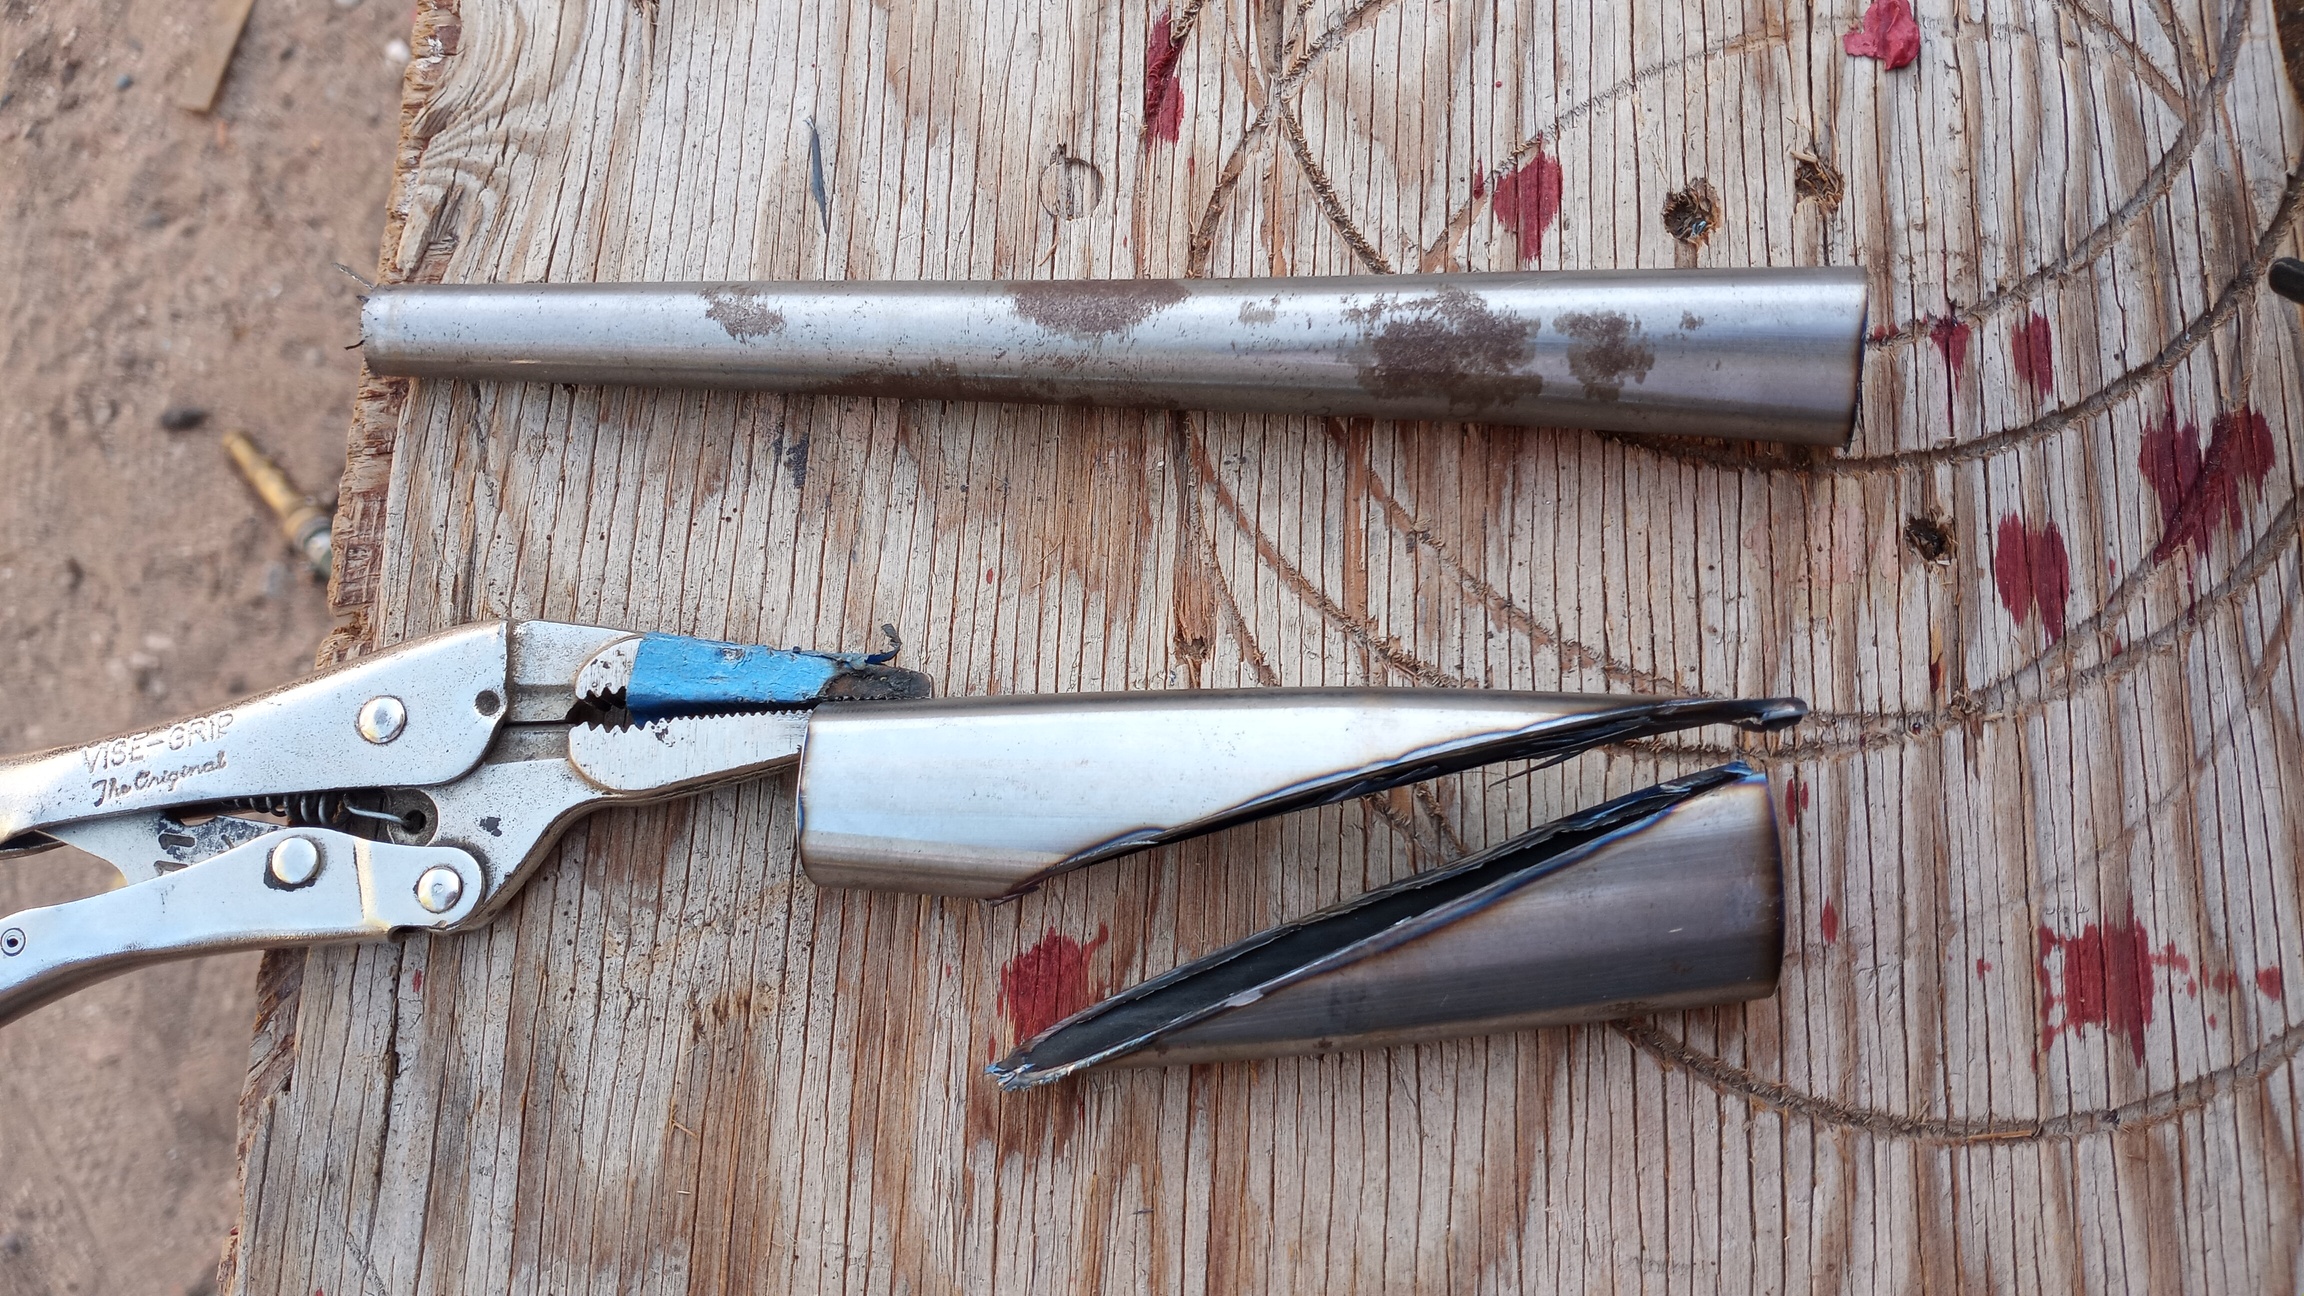
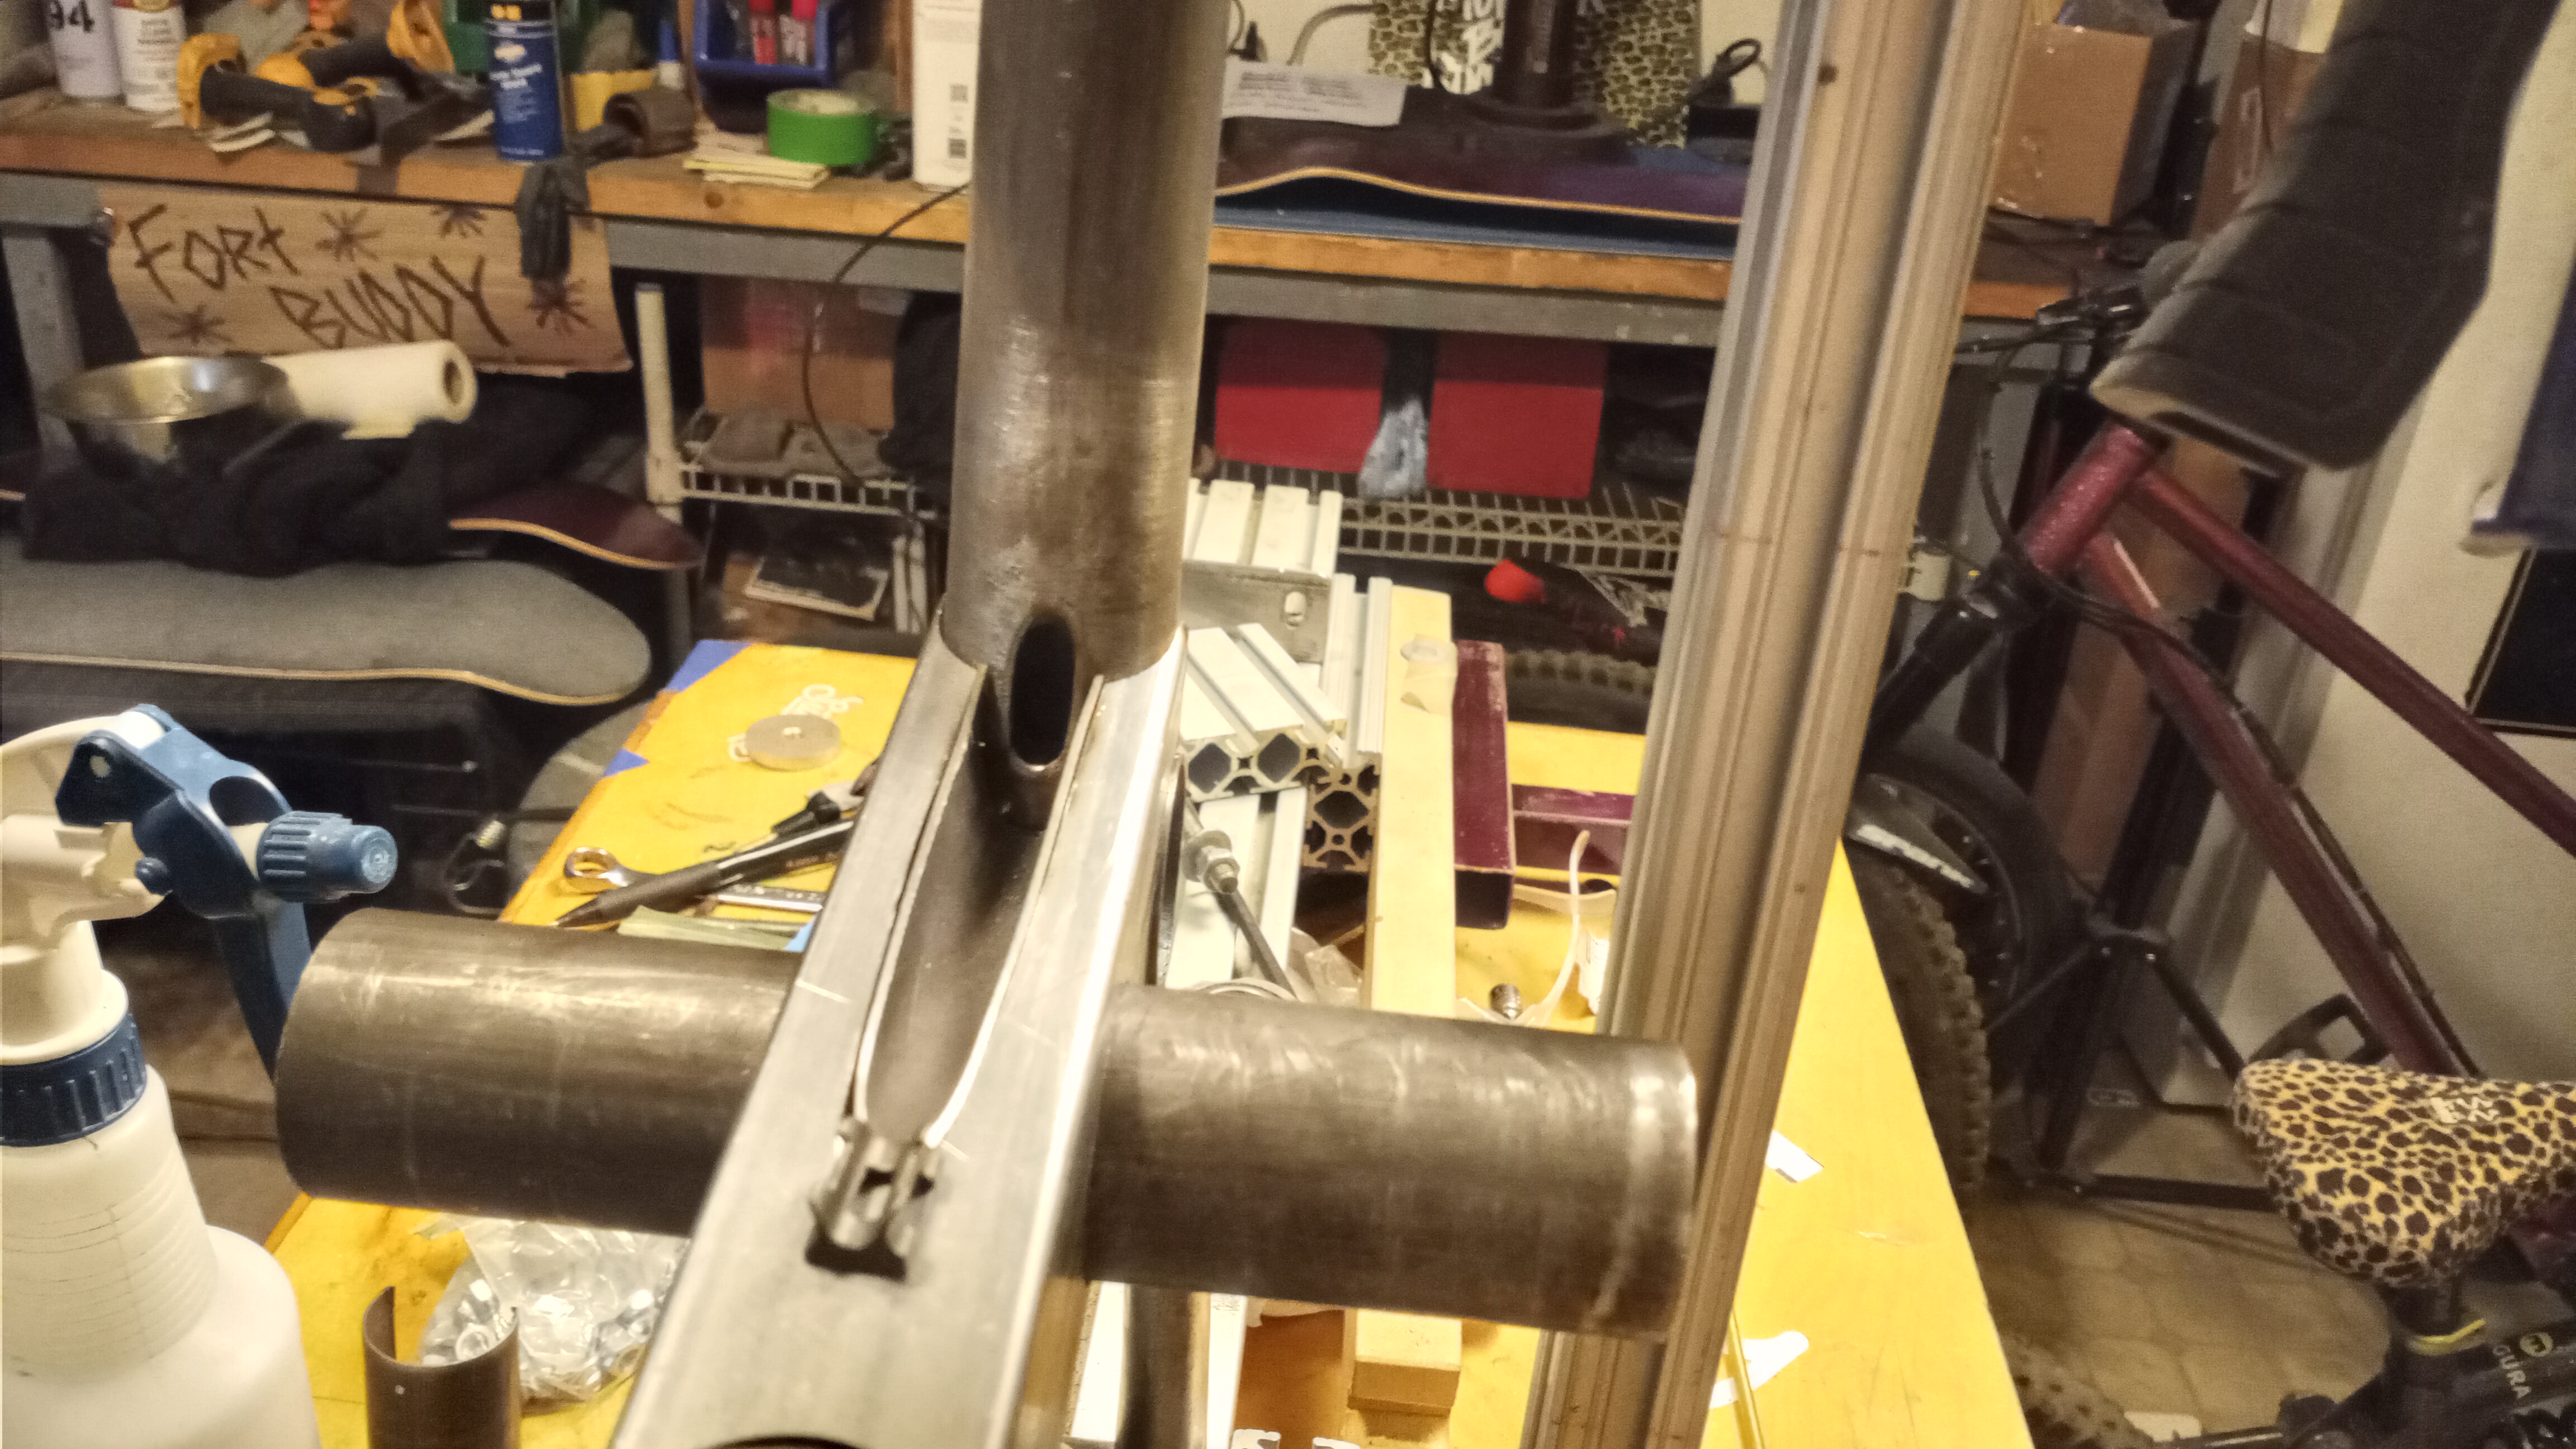
I’m sure I’m missing a bunch but, whatever, that’s how I get down. I cut up some chain stays for the seat tube pass-through, I’m really liking that. I’m thinking the actual pull link is going to be a solid 1" square aluminum bar
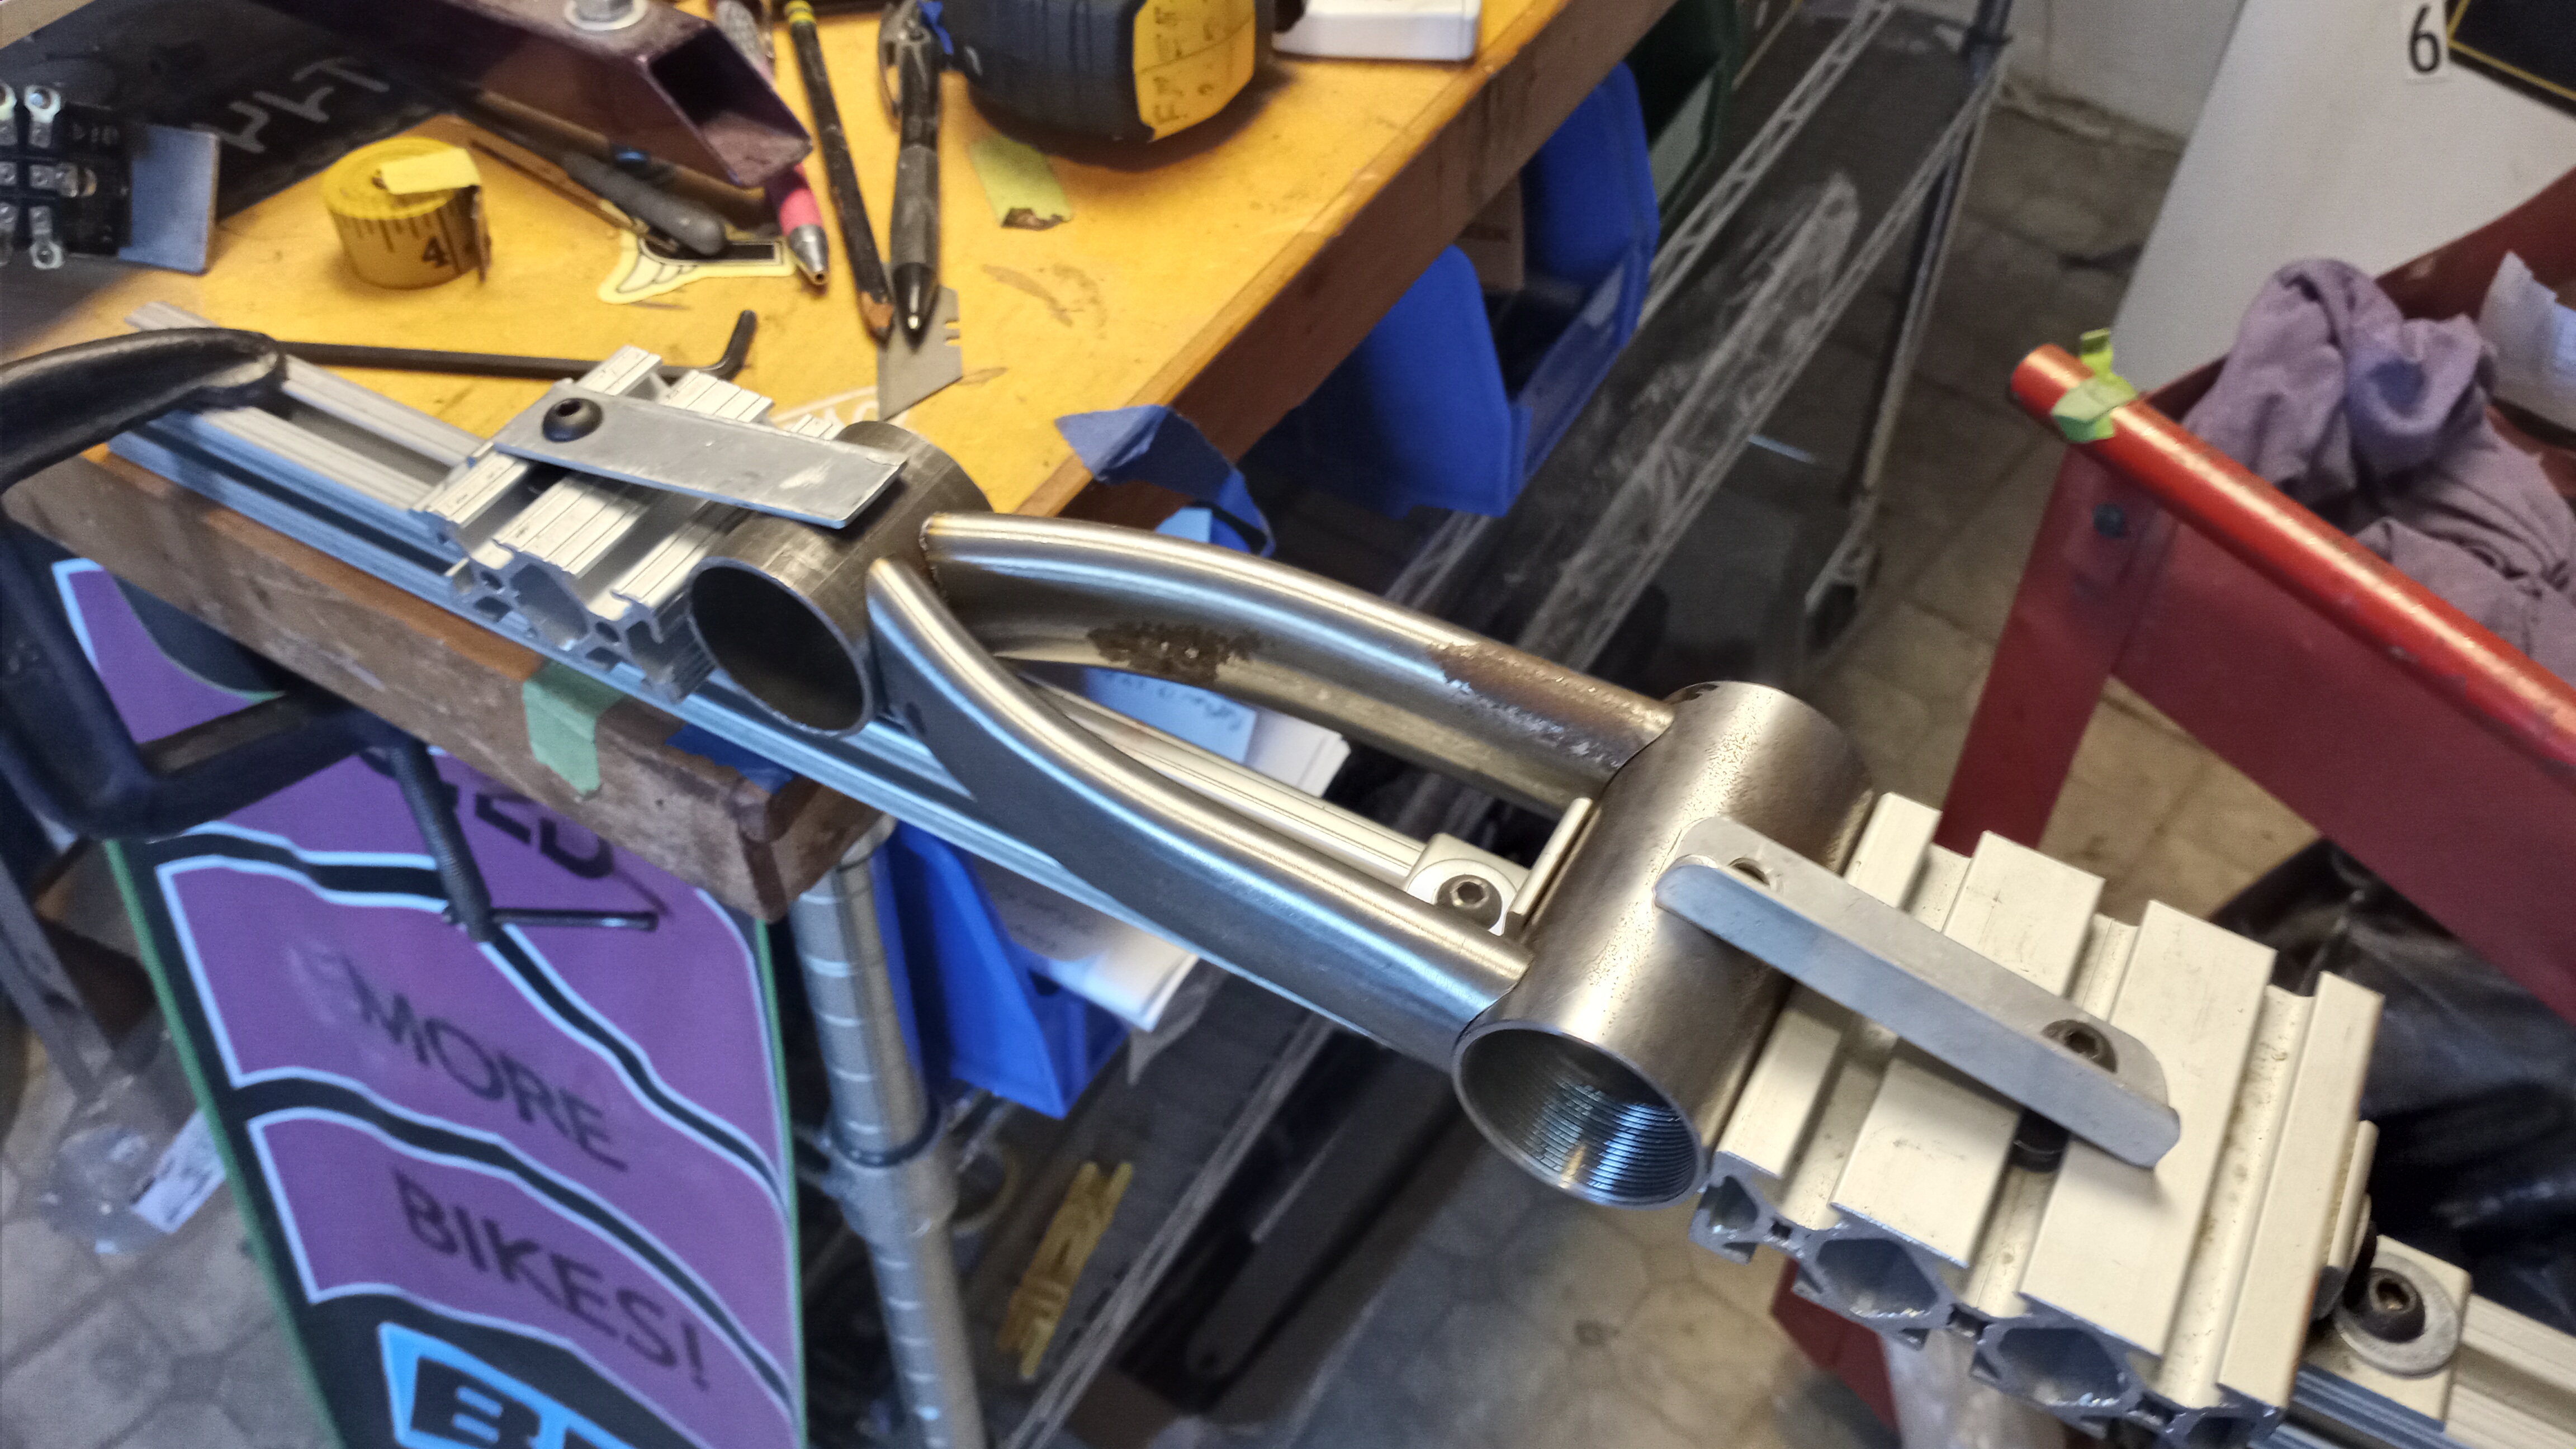
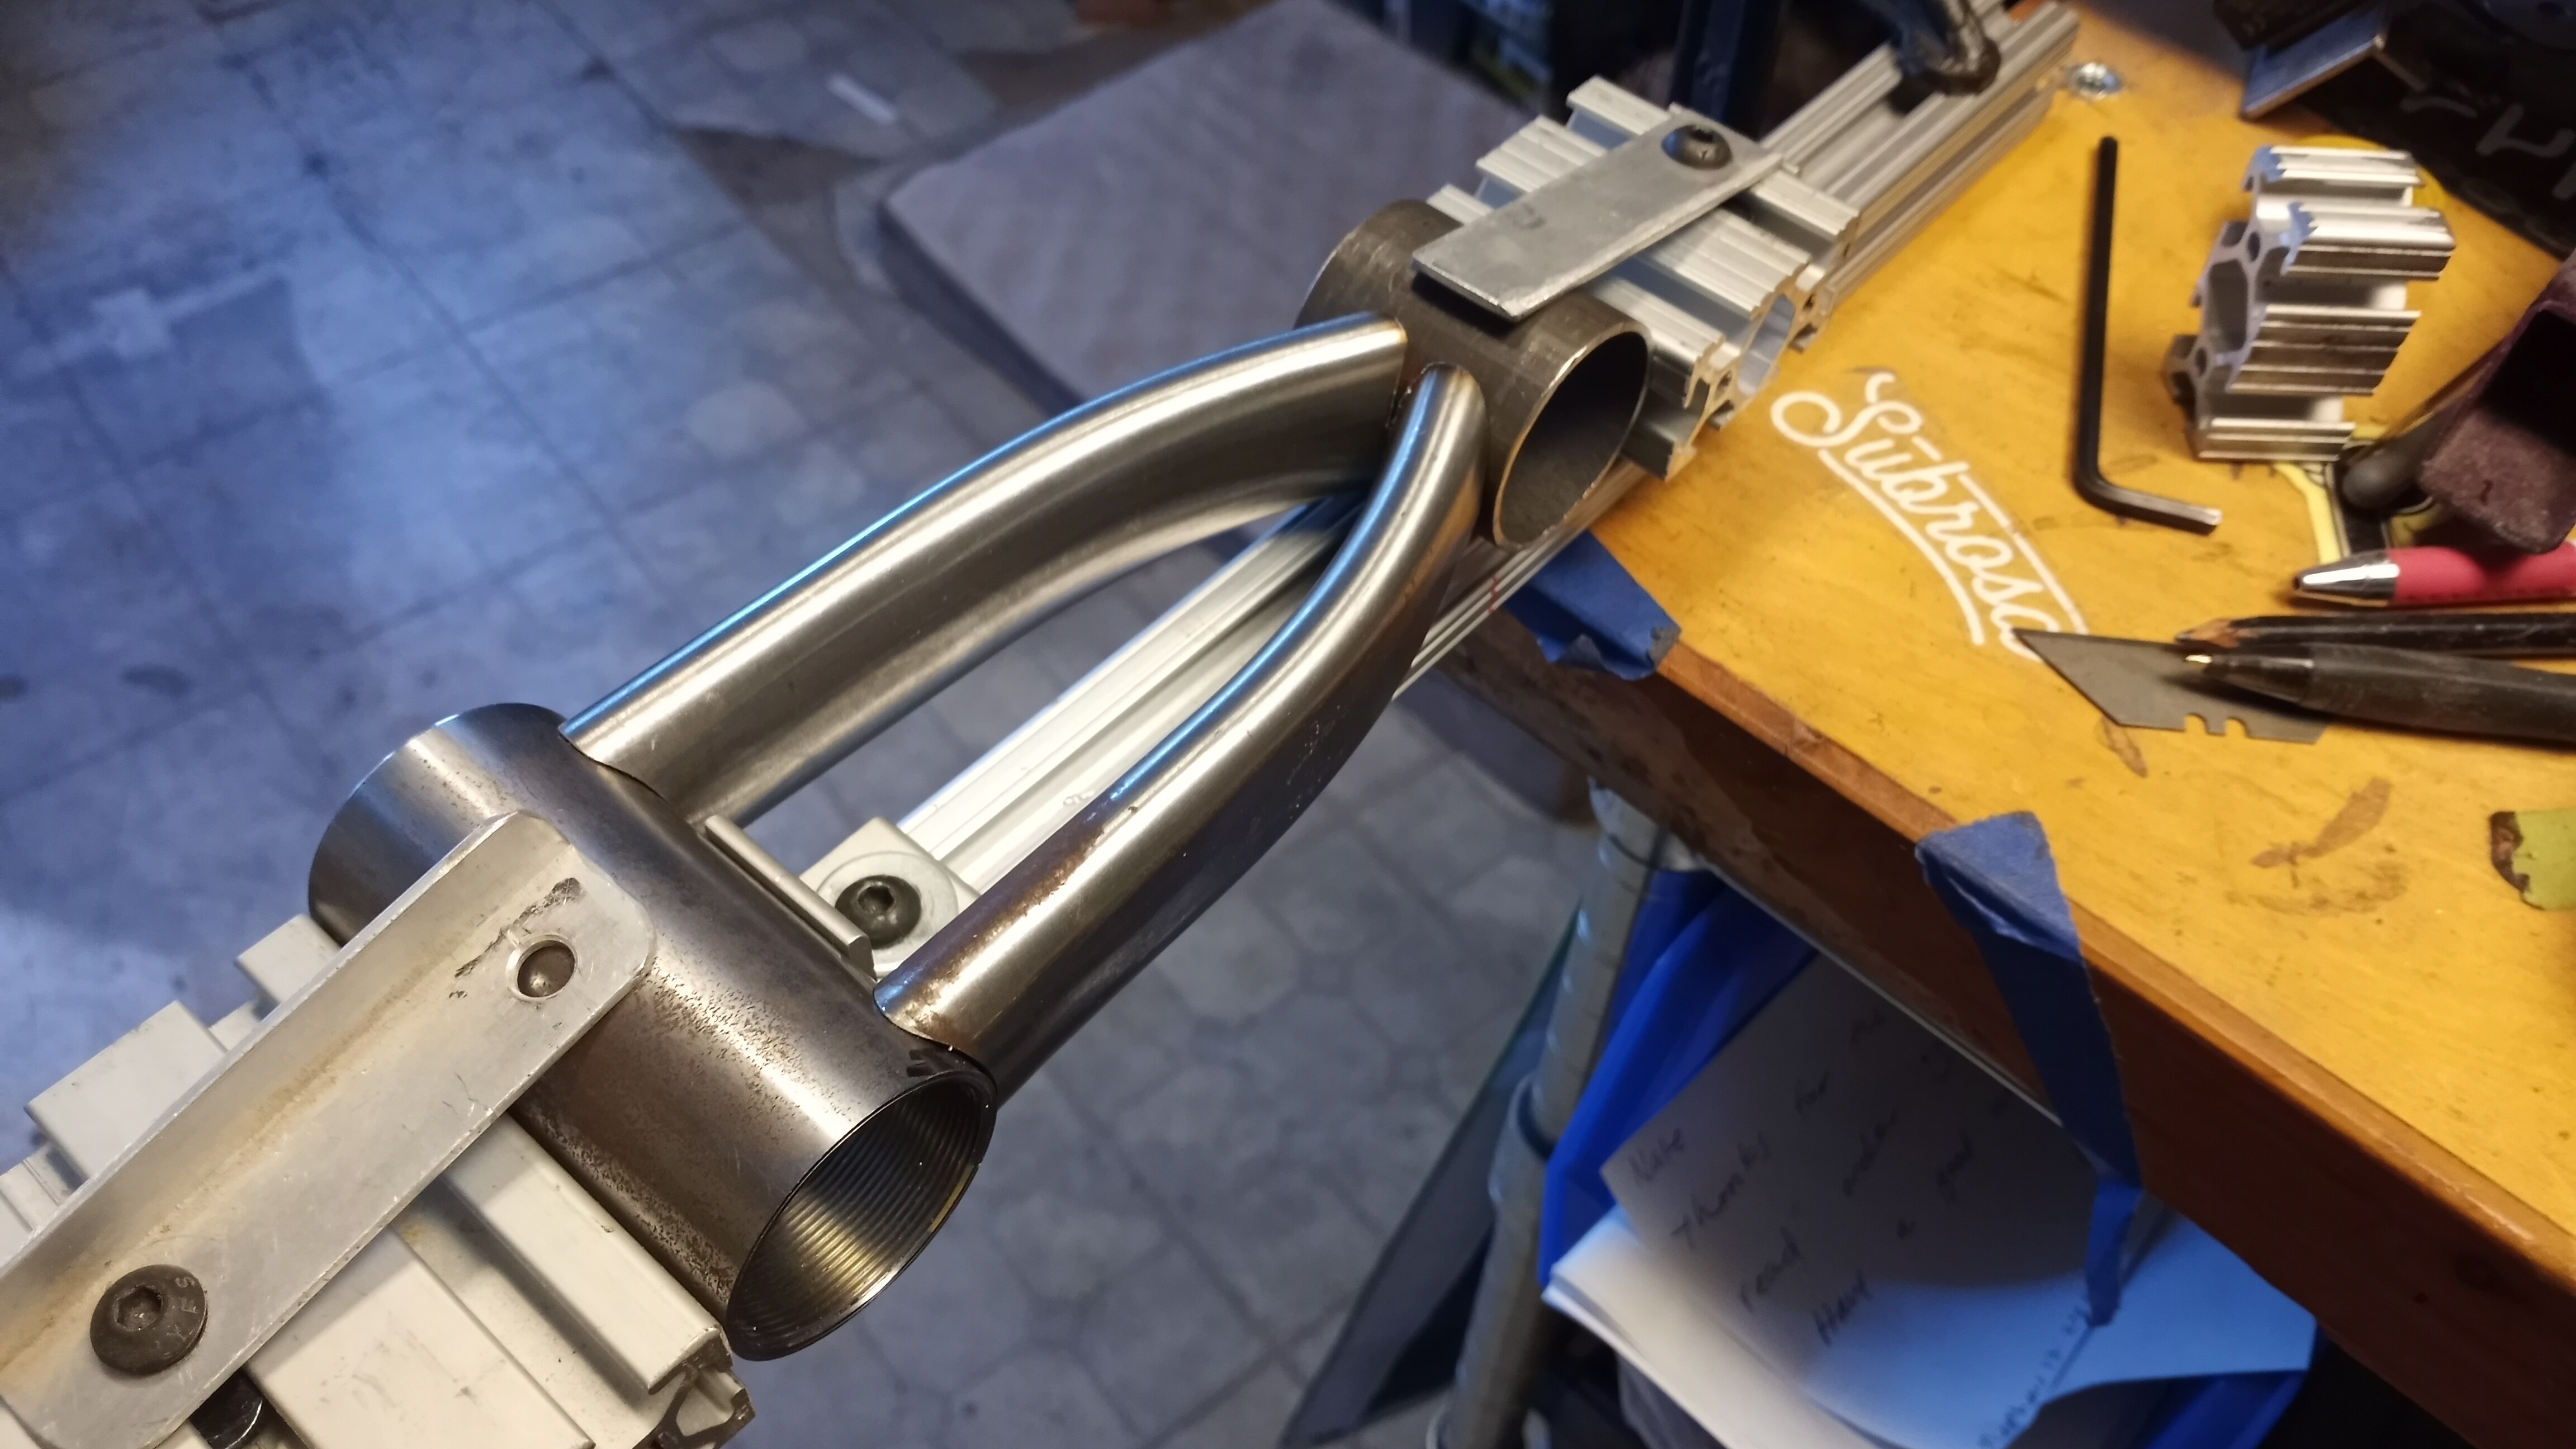
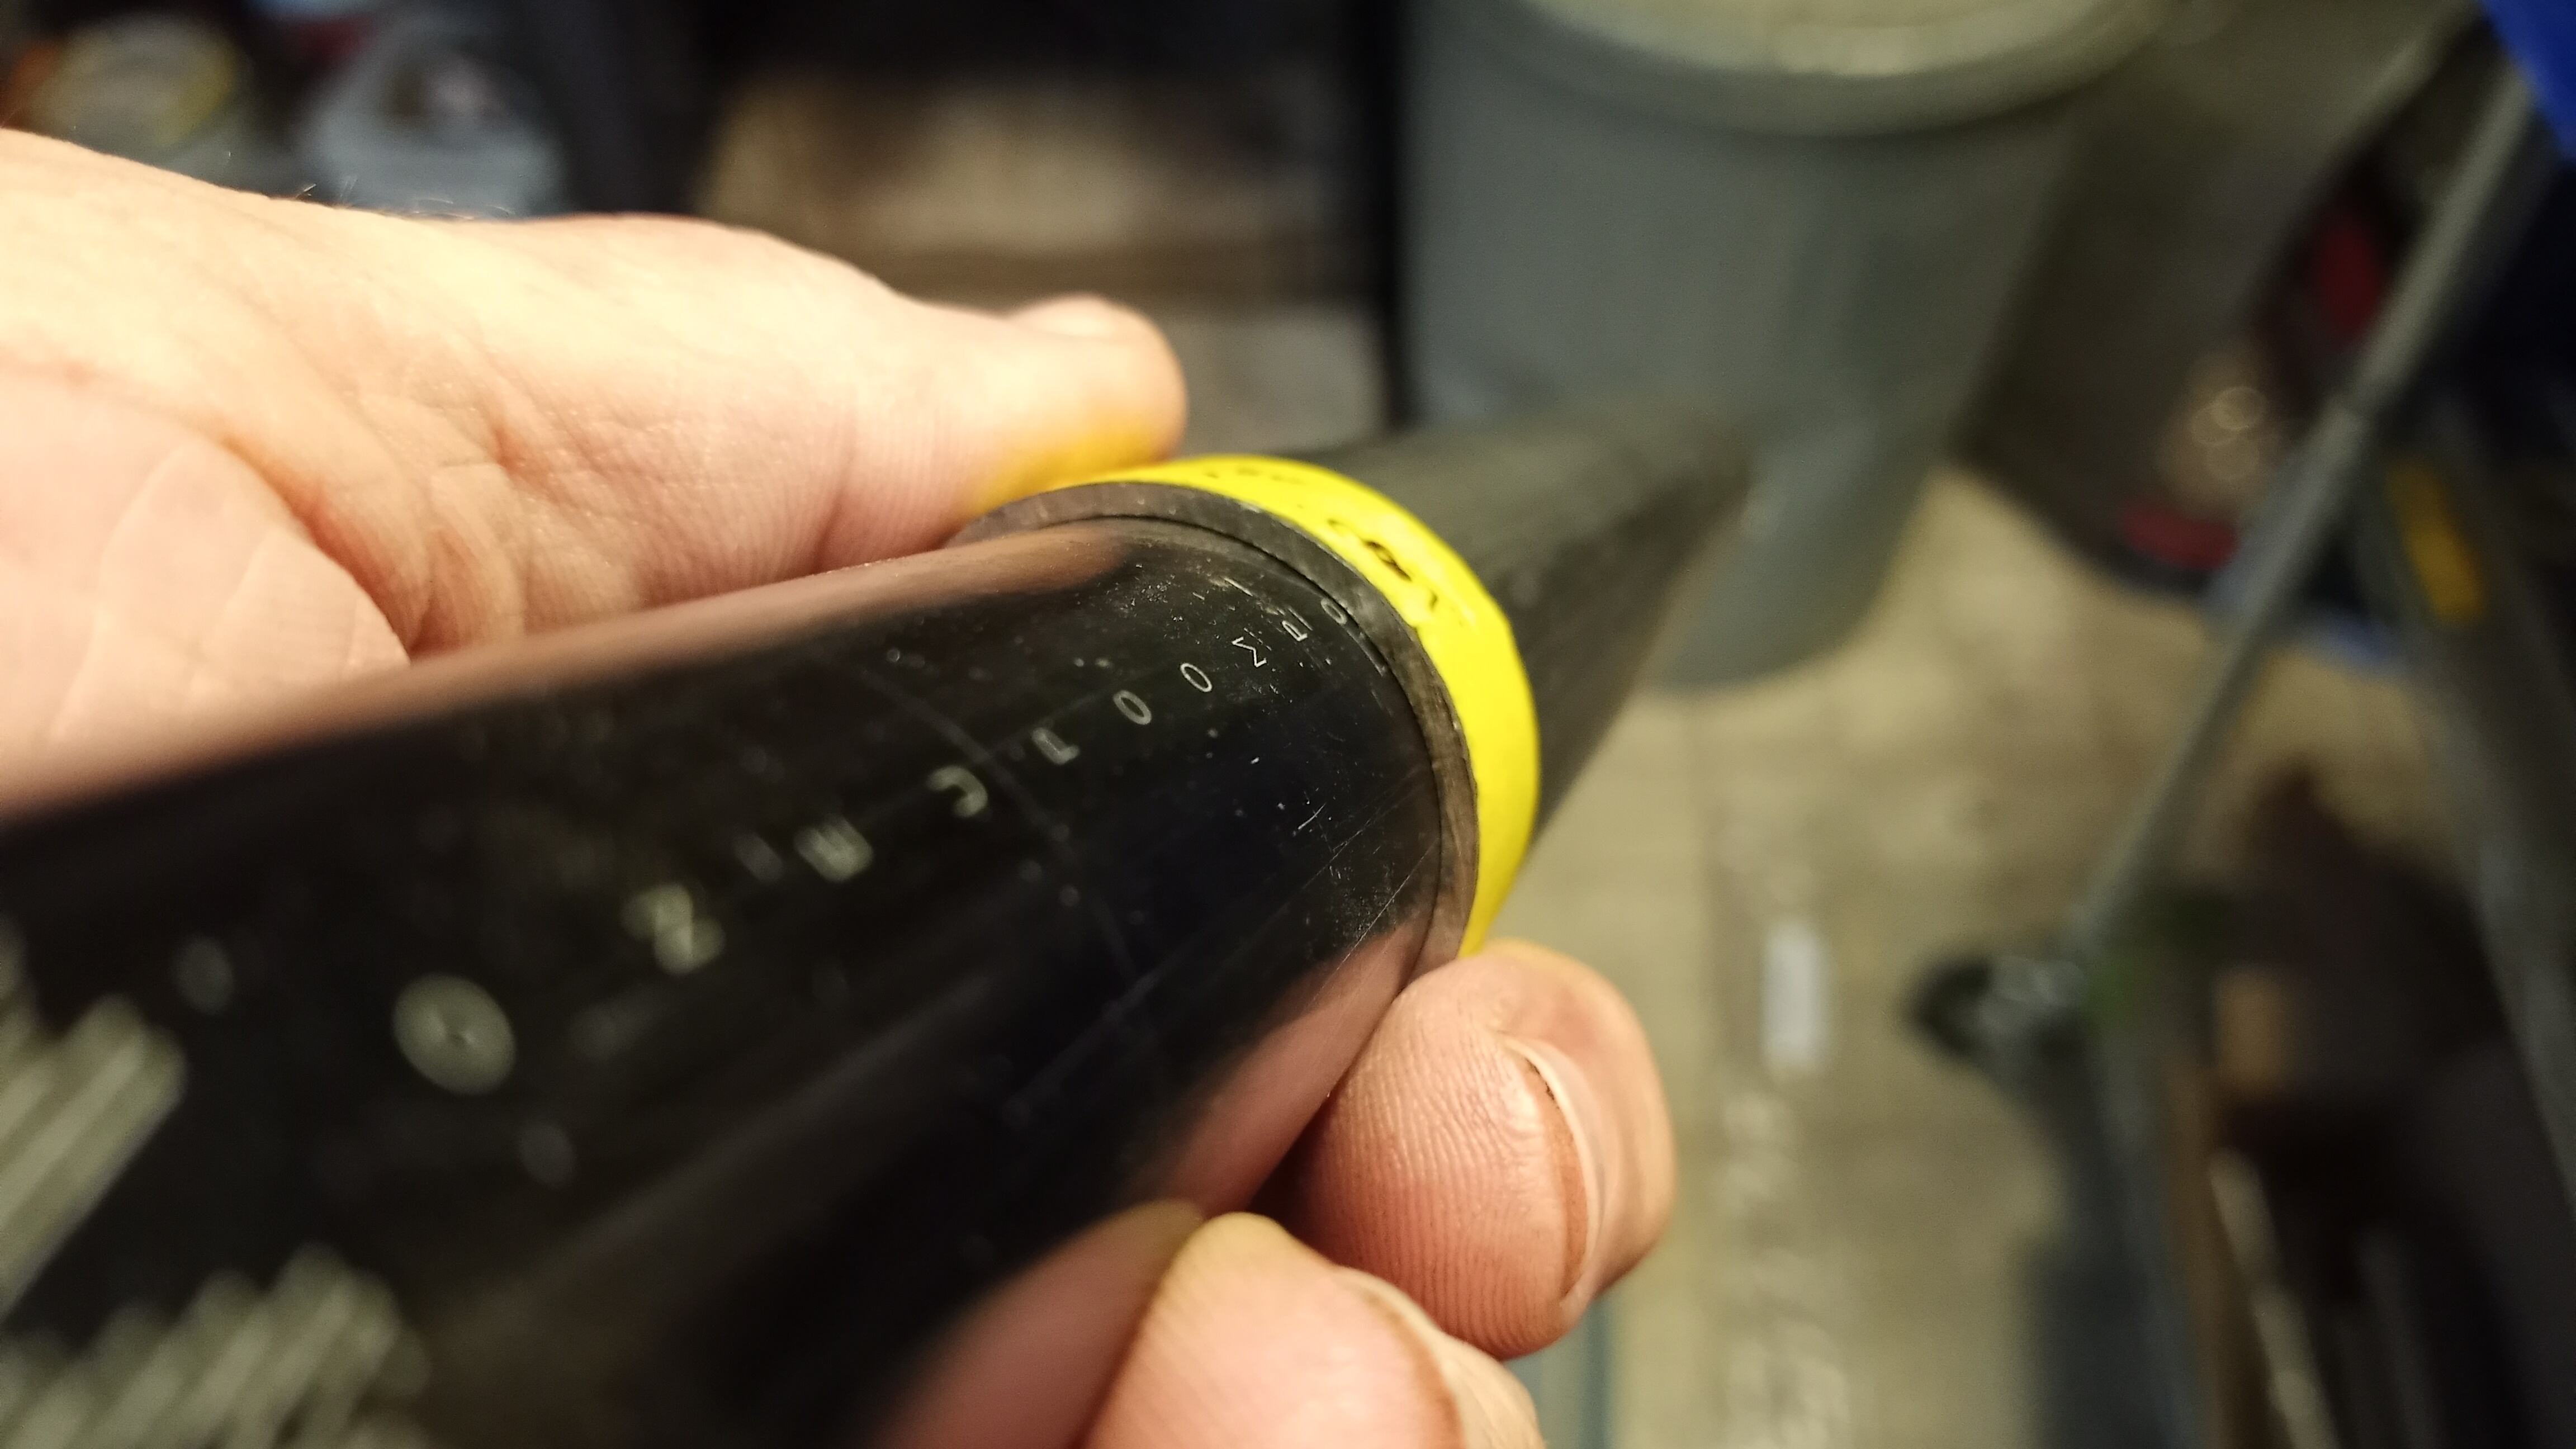
Seat tube, done! I made the whole thing out of 1 3/8" (35mm) .065" wall. I’m pretty sure that’s what everybody uses to make seat tube collars out of, it’s ID is something like .001" bigger than a 31.6mm seat post. I’m going to be running close to minimum insertion on a 210mm dropper, so I wanted it to be robust. Effective STA with an 800mm saddle height is 77* ish.
Try getting the seatpost in there before you go much further. Maybe you have a solution already but 0.001" is too small of a clearance for the seatpost. Tubes are rarely round from manufacturing and then they distort from welding. You’ll need to ream that tube at least. The slot will make reaming a challenge.
I’m always amazed at what people jump into. I’m a few dozen bikes in and wouldn’t feel confident of taking on this project!
It’s gonna get reamed for sure. My reamer will fit down past where the top tube will attach, so that won’t be an issue either. I’m about 99% sure this is exactly what people who build seat tube collars use as a starting point. I’ve done 3 others with a collar and a slot with zero issue, other than when I slipped the meaty part of my finger into the slot and caught it with the reamer. That hurt.
A guy on a turbo forum I used to frequent said something along the lines of “it’s amazing what you can accomplish when you don’t know you can’t do something” or something like that. I didn’t know if I could do this, I still dont, but I’m not convinced I can’t. My grandmother used to say “know nothing, fear nothing” and I’m guilty of that too. I figured if I wanted to build good suspension bikes, I had to build shitty suspension bikes first. I’m trying to figure it out as I’m going along…
I have only used those toppers once. I turn it on the lathe to the right dimensions first then attach to the top of the tube. I prefer an external sleeve that I can decorate. Like I thought, you have a plan
I think I’m on hold until some steel shows up. I need some 1 1/2 x 2 16g rectangular tubing to really tie the room together with the main and rocker pivots and the small metal parts store didn’t have any and there’s no way I’m buying a half stick (10’) when I need 9". That should be here this week. I was able to use an off the shelf, butted down tube from @BikeFabSupply, that’s a nice change. Every bike I’ve built has been so damn long I’ve had to use straight gauge from the airplane store.
I did pick up some material for the link. It’s 3/8 (10mm) x 3" 6061 aluminum, I think that will be robust enough. I need to go collect the 1" square for the pull link, I didn’t have enough monies on me to get both.
Speaking of pull link, It will (hopefully) end up running something like this…
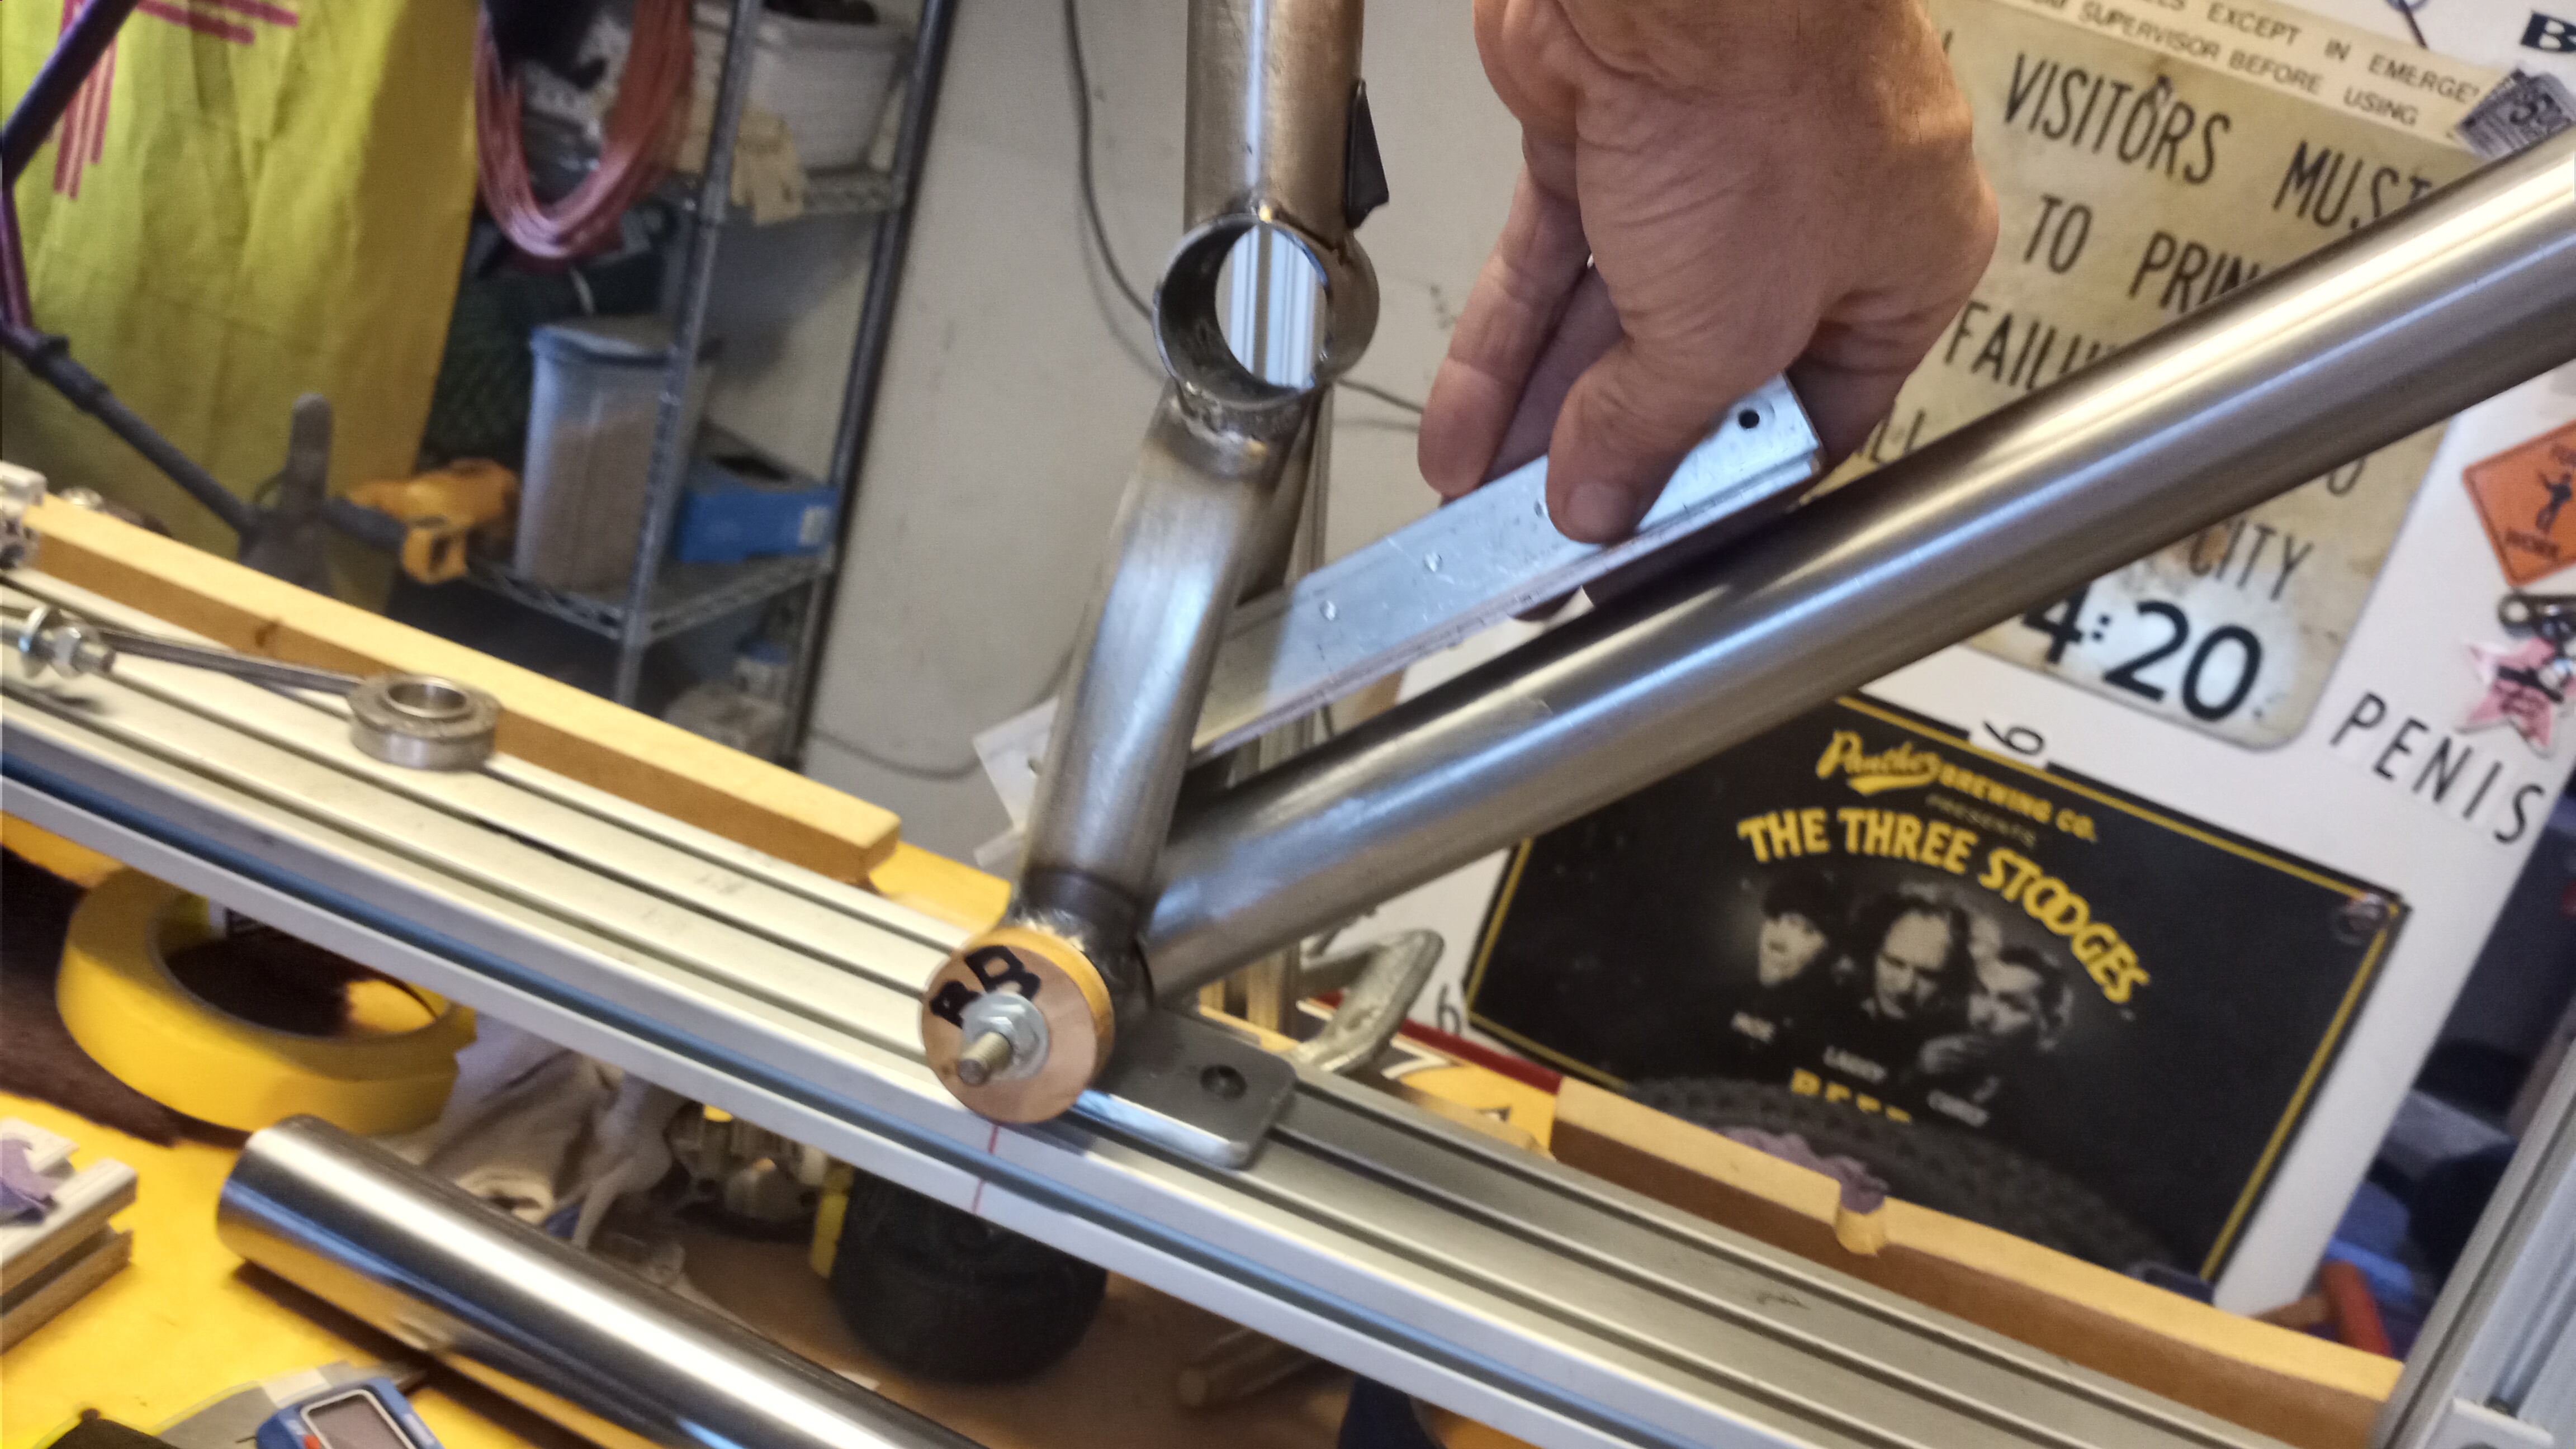
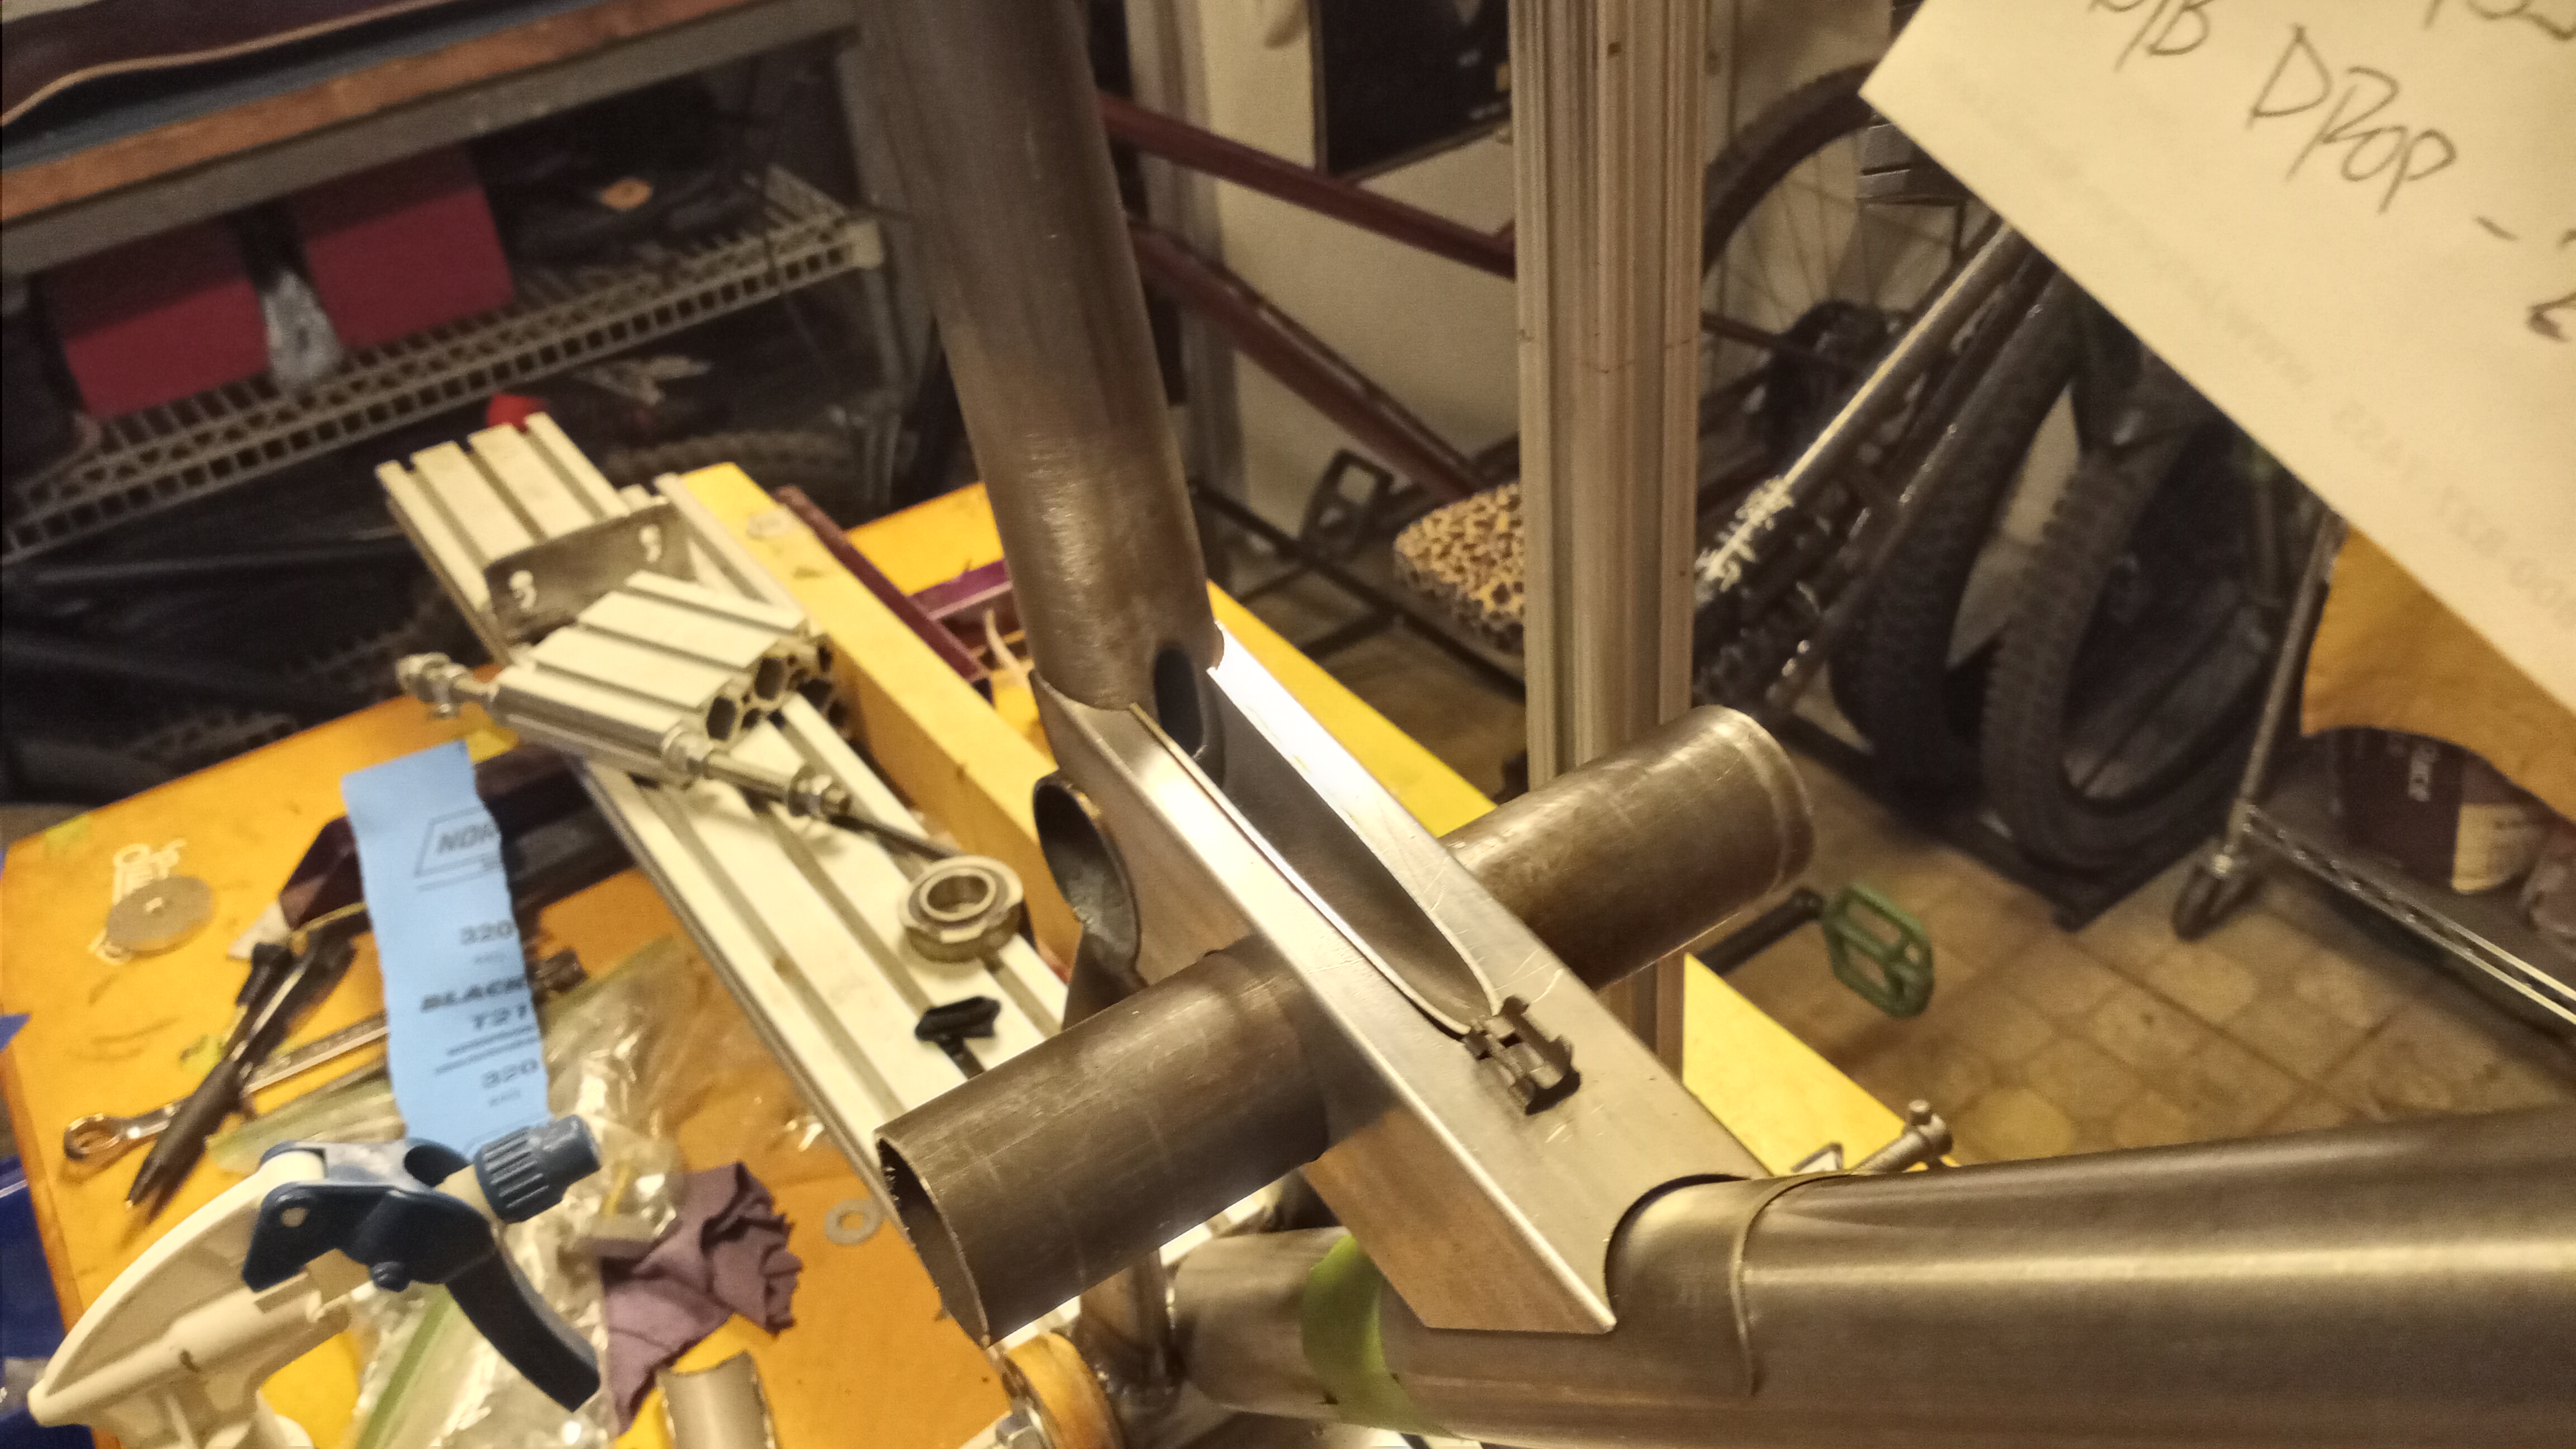
Remember that thing I said about trying to keep everything a little straighter and in better alignment. Roight…enter the 1 1/2 x 2 mild steel, rectangular tubing (break for applause) it’s 16 gauge, so it’s exactly as wide as the down tube on the OD and 35.16mm ID, so it just delicately envelops the seat tube.
If I didn’t know any better, I’d think I’d planned it that way.
The main pivot and the link pivot will be the same “precision” wheelbarrow bearings that festoon all of my other piles. Excellent. I also think I came up with a really good way to do that central pull link, keeping the infinite adjustability as well as the use of hot rod parts.
Still got some filing to do and work out how I’m gonna handle that dropper cable, but that’s future me’s problem and fuck that guy
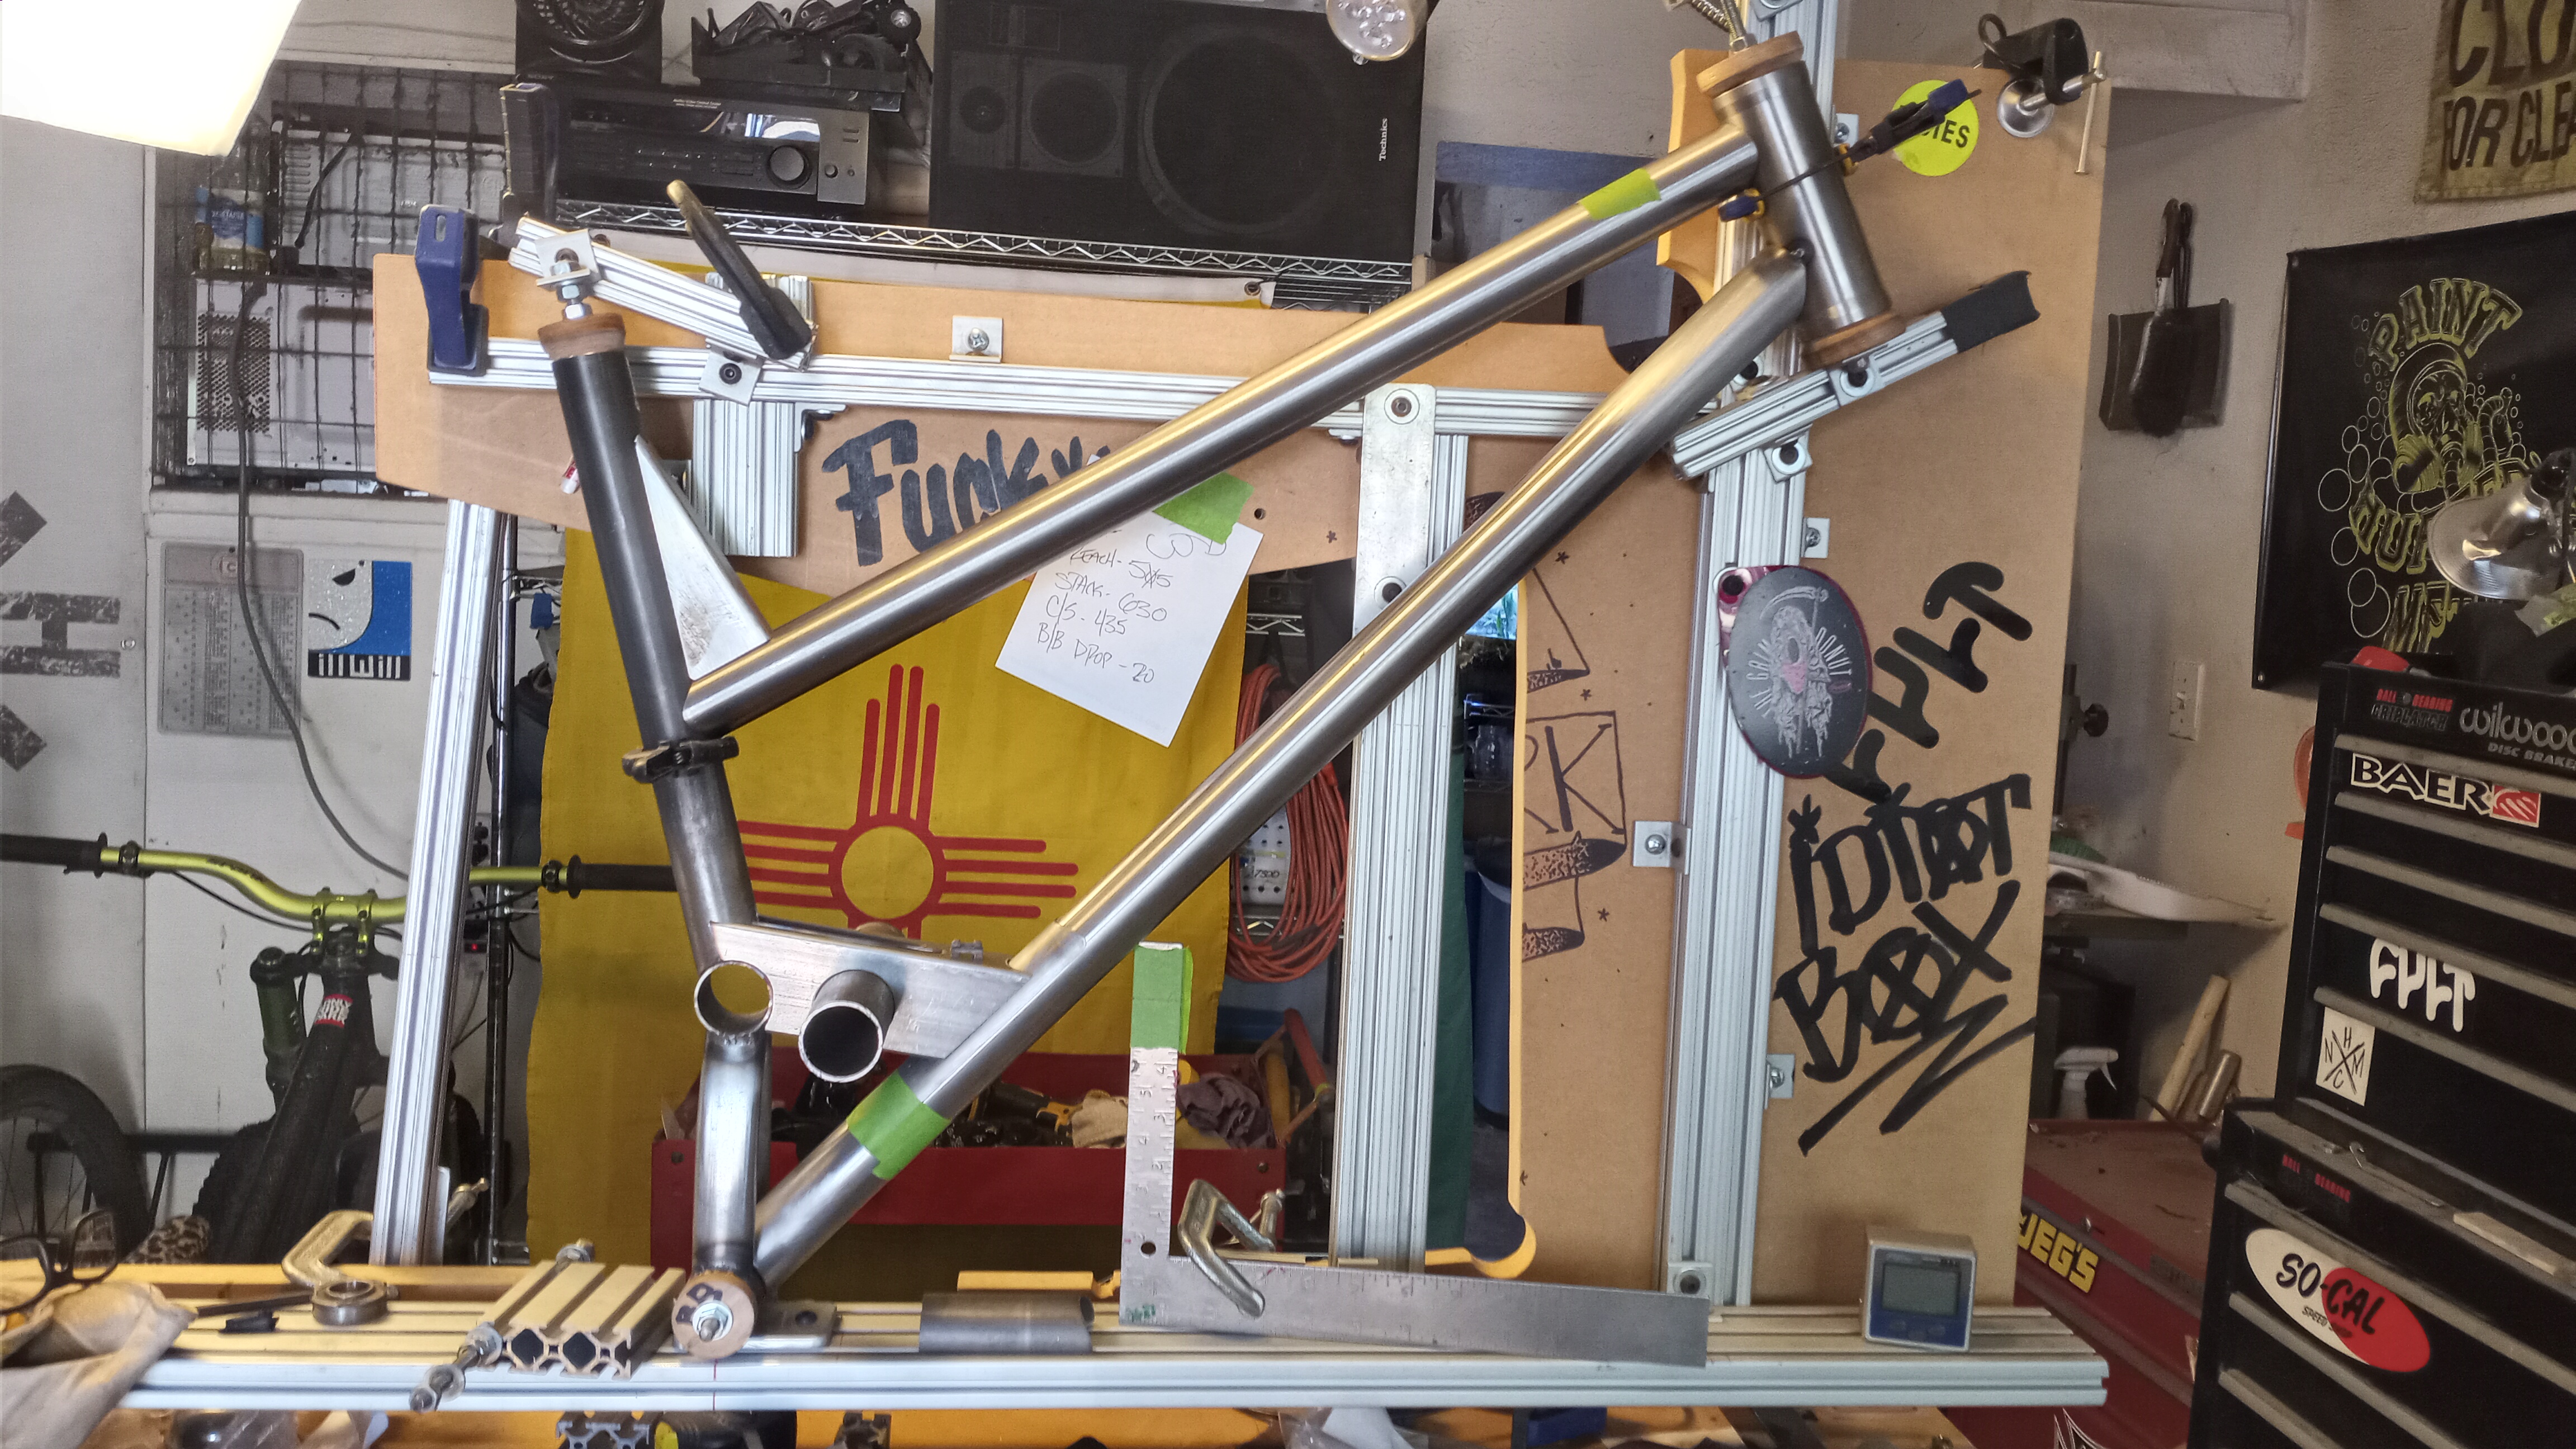
I left that dropper cable problem for the night crew. Gotta admit, I like how they handled it. Seems like they also did the final filing on the pivot connector and fit the top tube. That little channel for the dropper cable is just a chunk of the chainstay I cut up for the bottom of the seat tube.
That top tube is a 600mm guy from @BikeFabSupply that was so perfect, I just had to cope the ends, didn’t trim any length. I really didn’t think it was gonna be long enough, so much so that I ordered a 650mm when I realized I ordered the short one. Oh well, extra parts.
The seat tube brace is just a piece of 1x2 .063" that I’ll silly bronze in there. I wanted to have the top tube tacked in before I weld the front of the seat tube so I can tack the pivot bridge in place. I also got parts ordered for the pully part of the linkage, didn’t think I was going to get what i did, but I think it’s gonna be cool. Here’s a hint Rod End Supply AM8-10 Aluminum Rod End, 5/8-18 RH Thread, 1/2 In
FWIW, for steel I’ve begun using McMaster-Carr for the odd sizes. They have 4130 in a lot of choices, even thin wall sqare/rectangular, and will cut and ship as short as 1 foot. Quicker (in N. Am.) and more options than the aircraft guys. And I’m and aircraft guy!
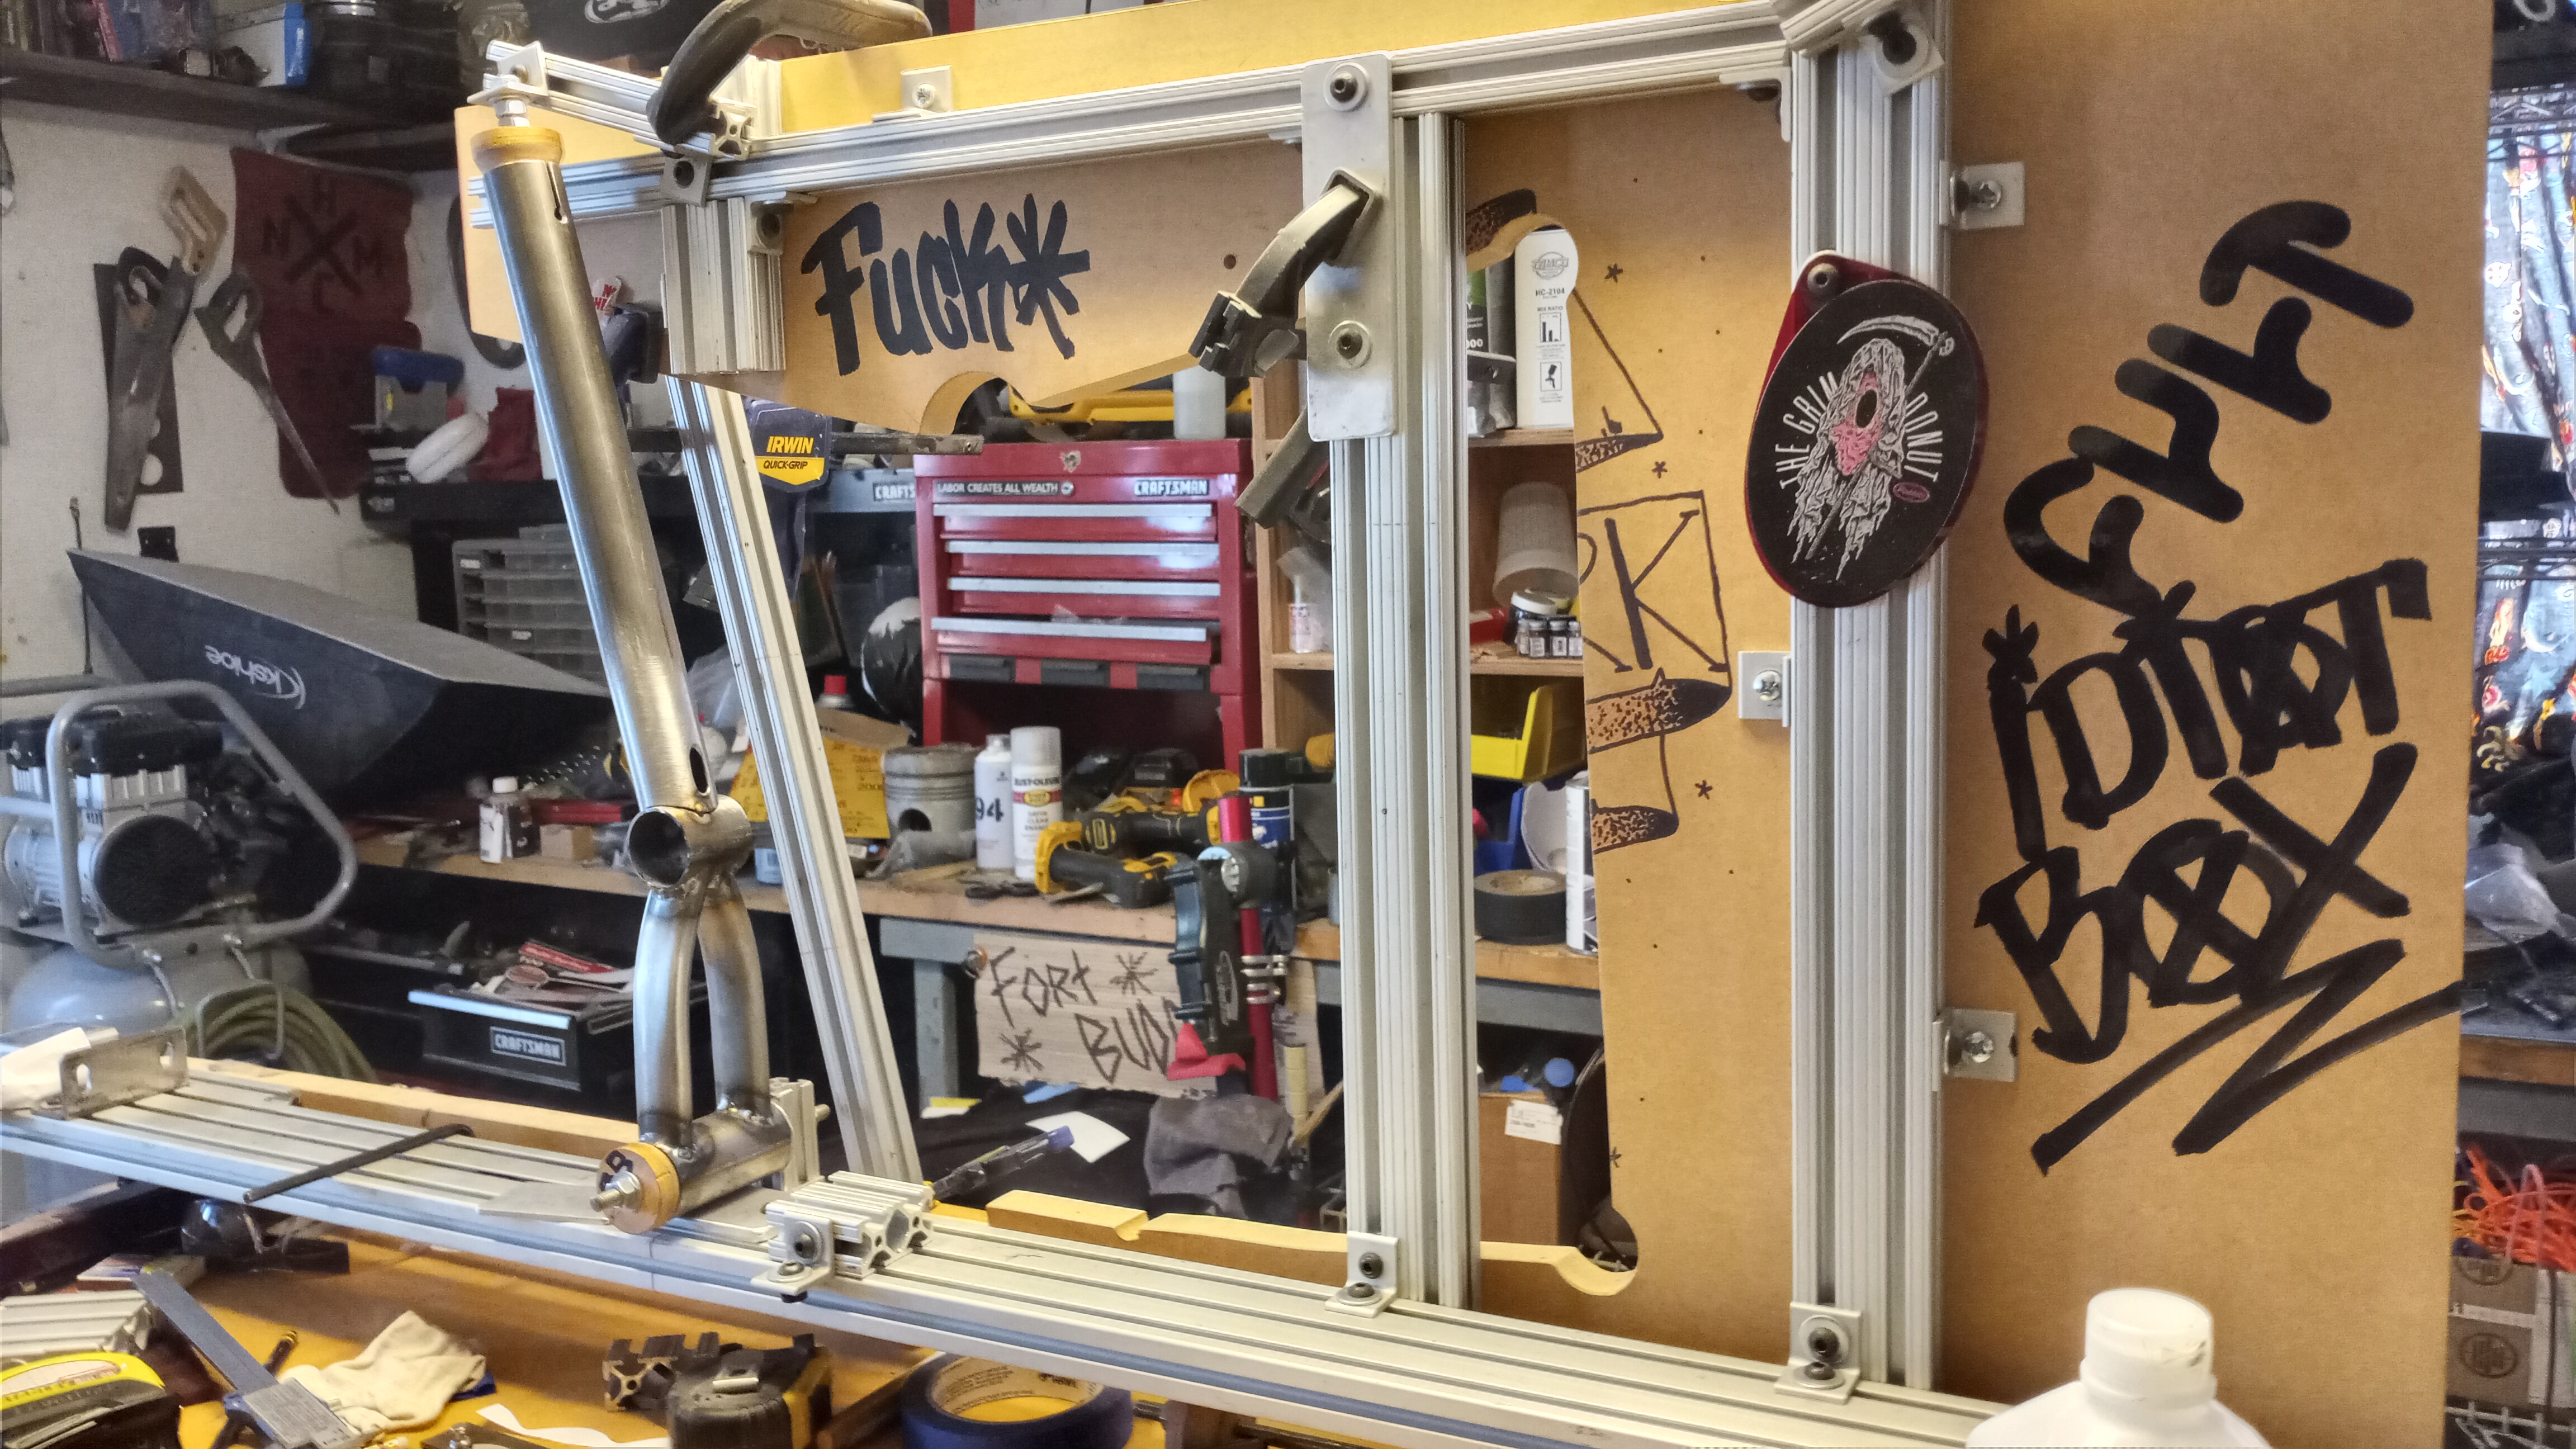
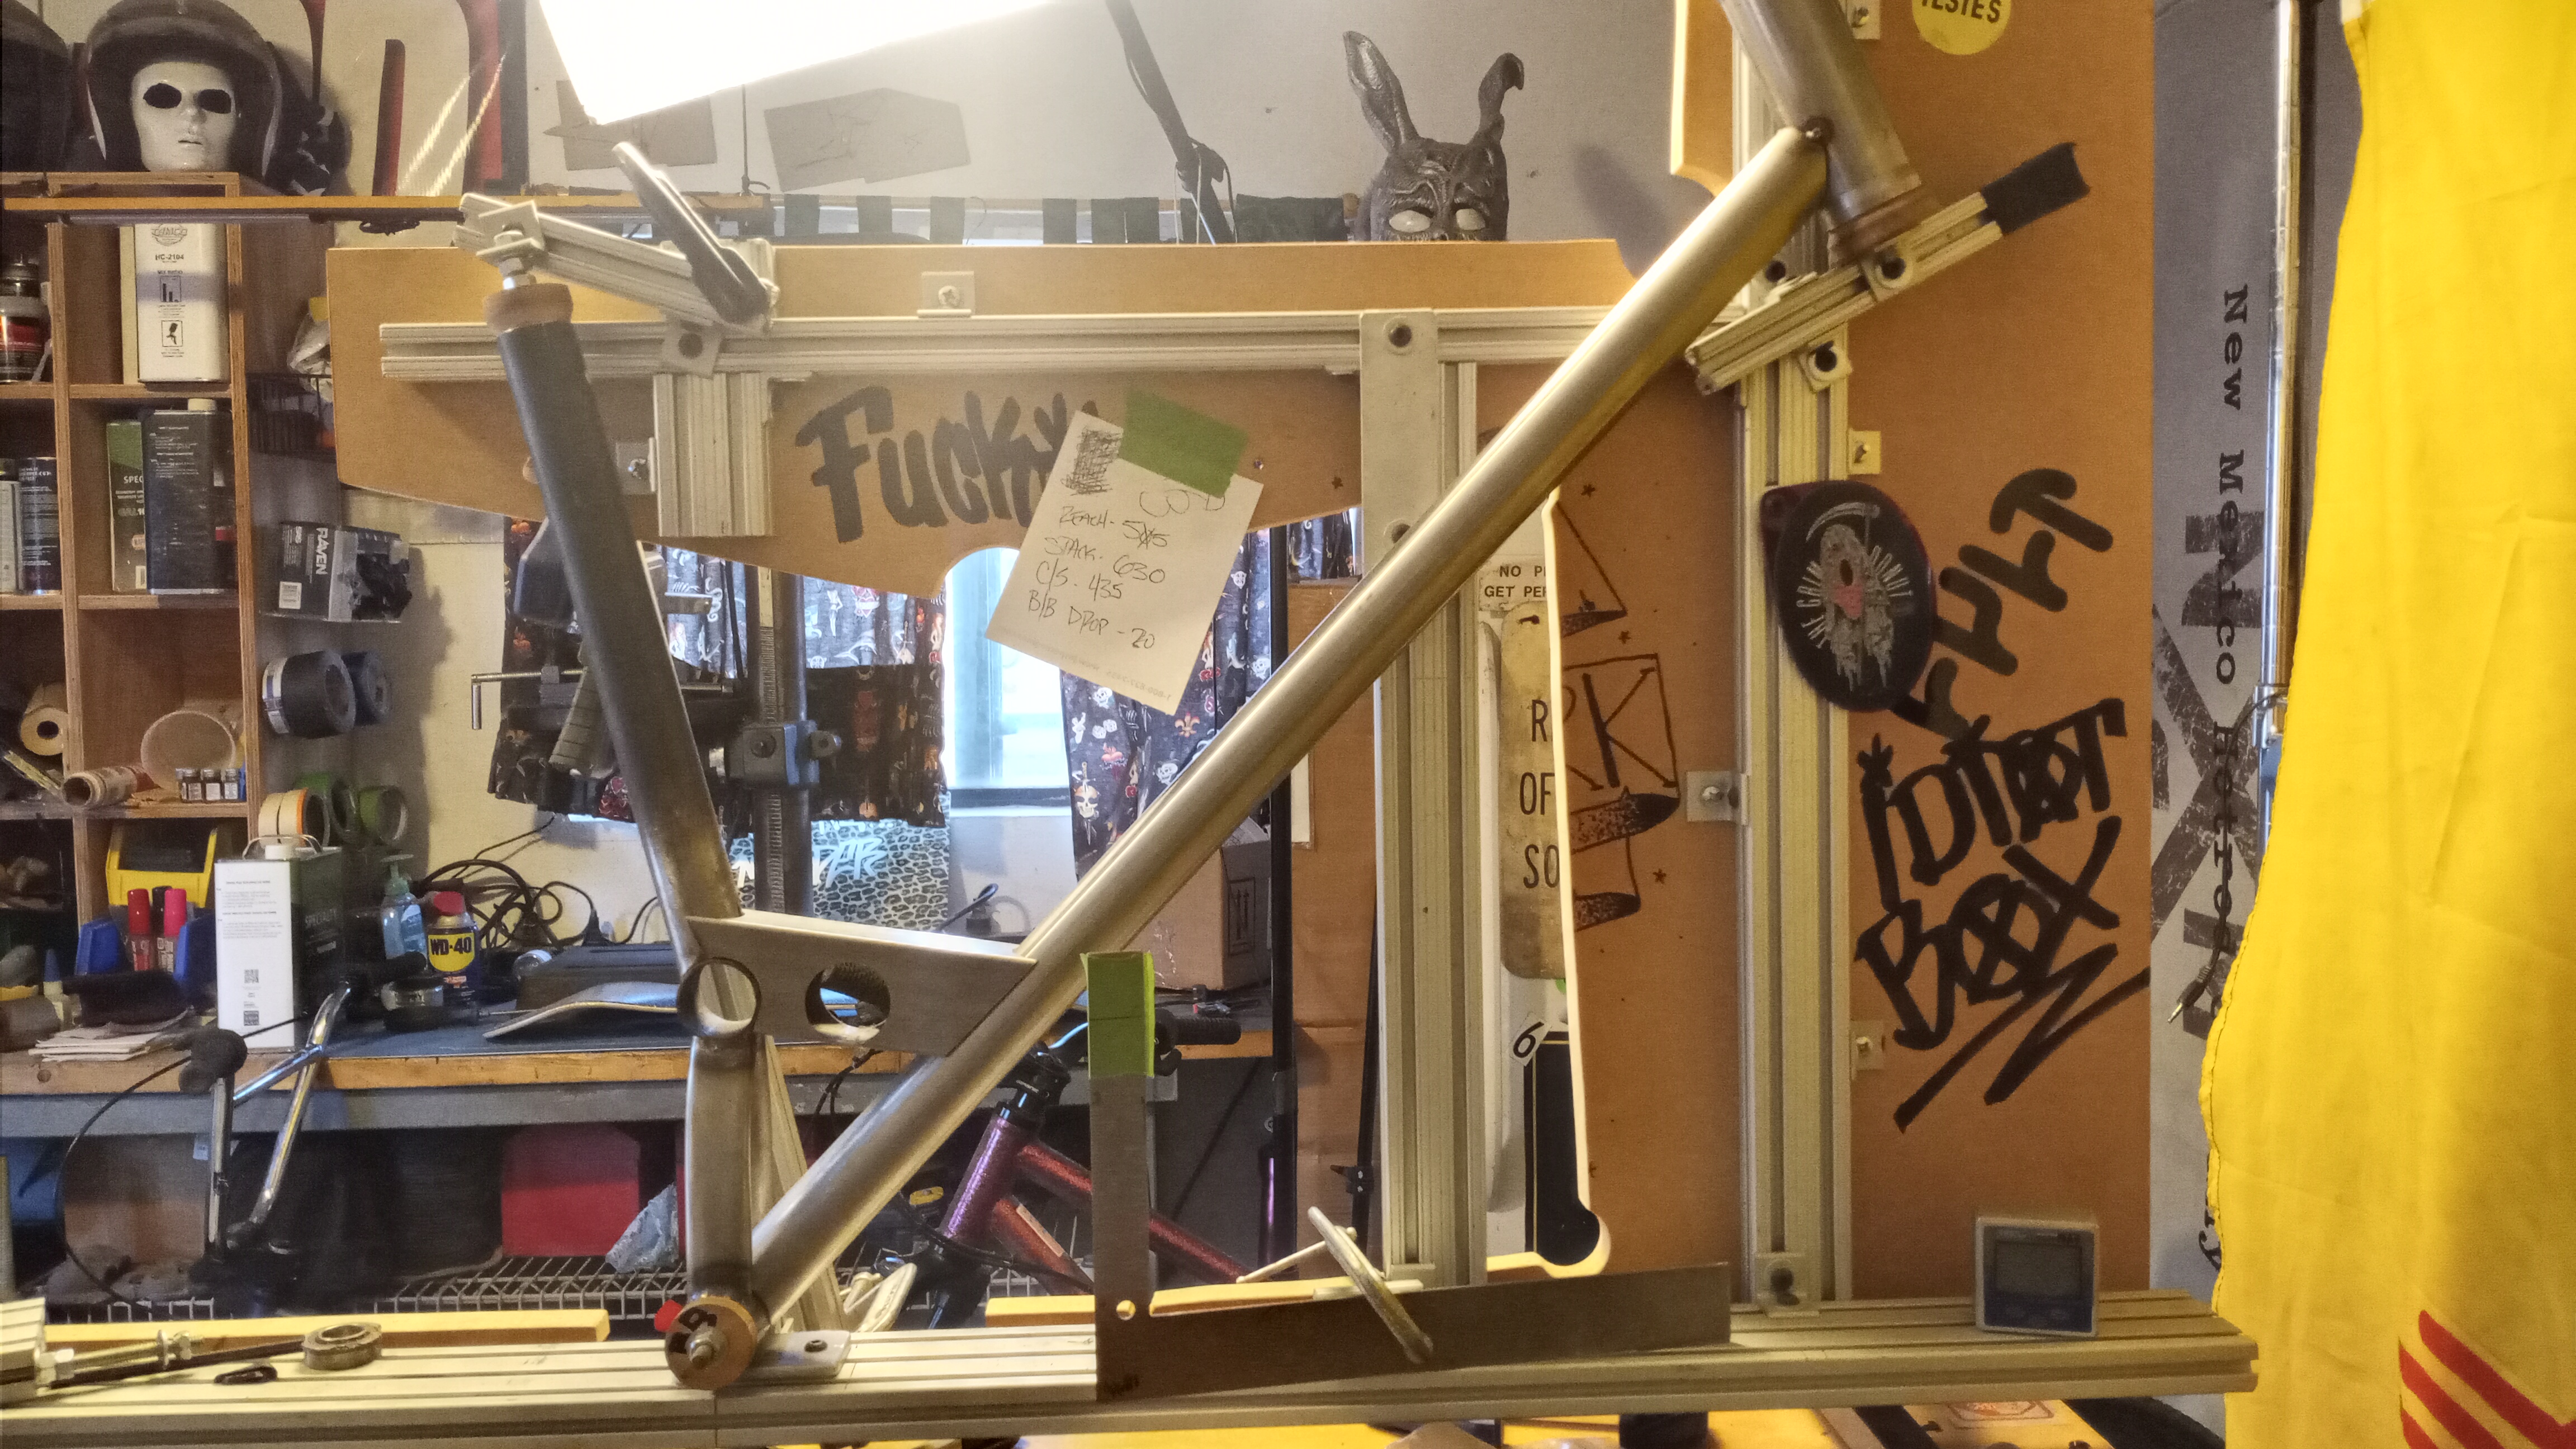
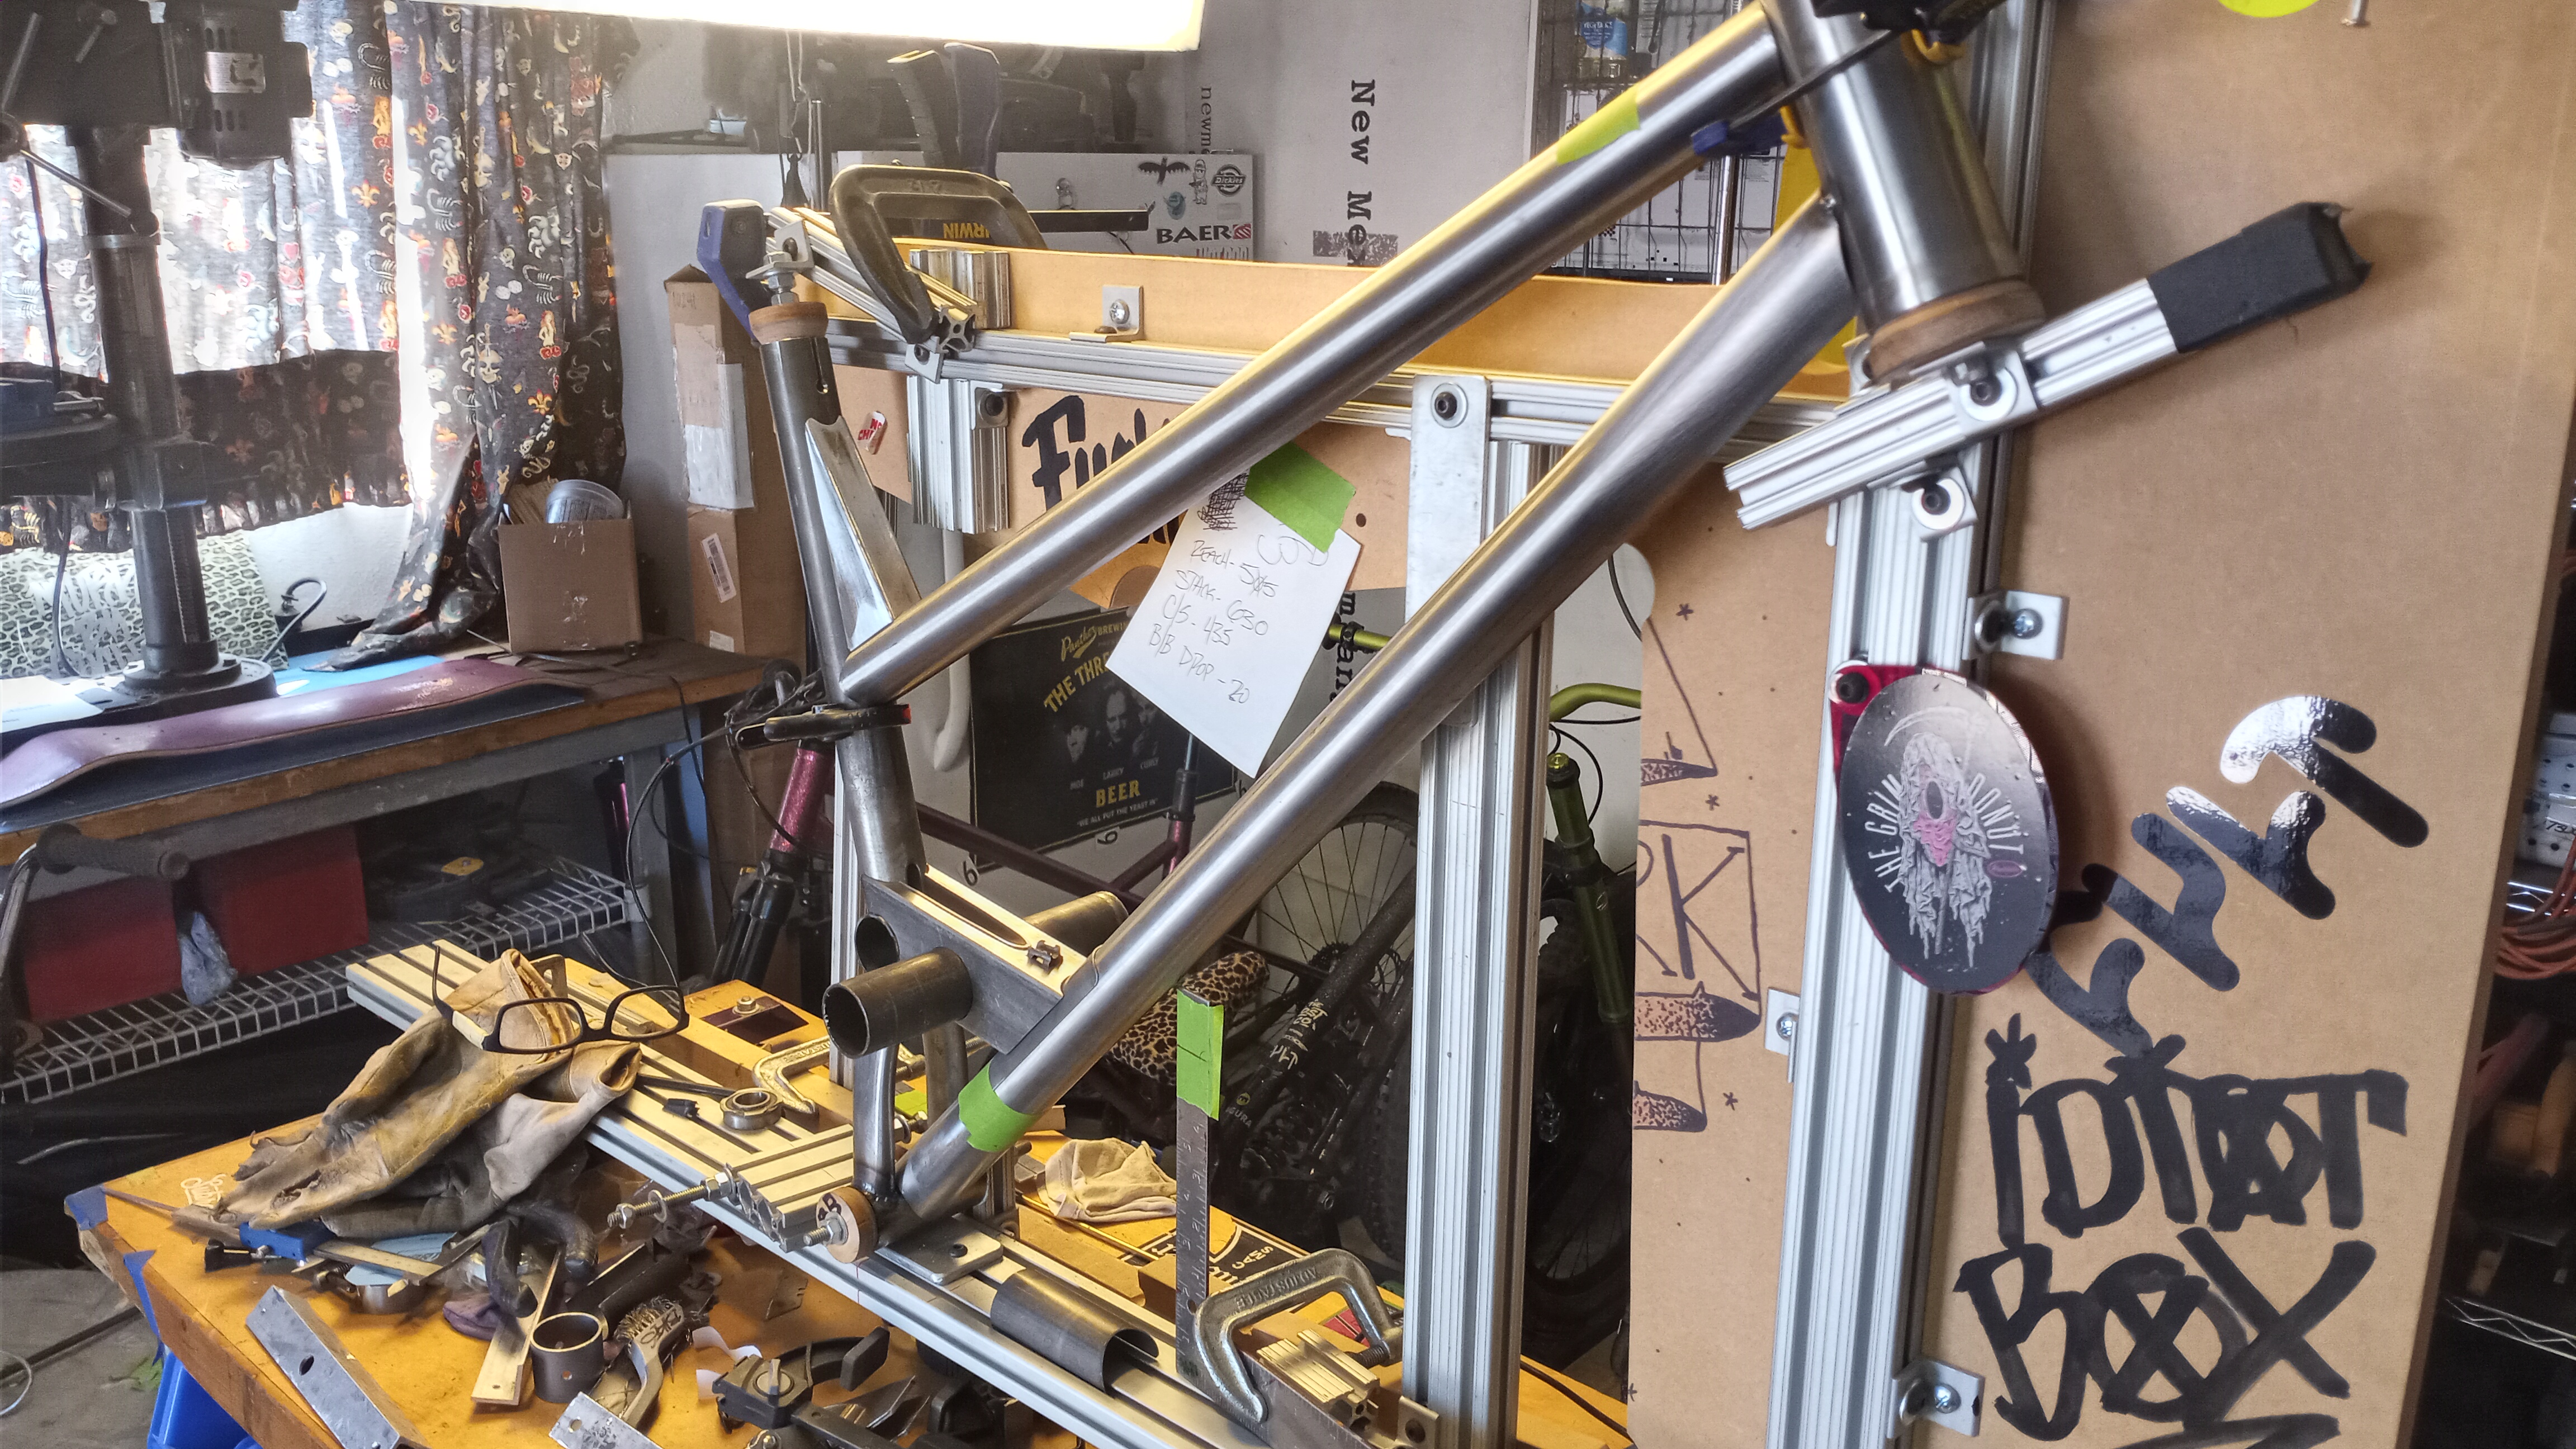
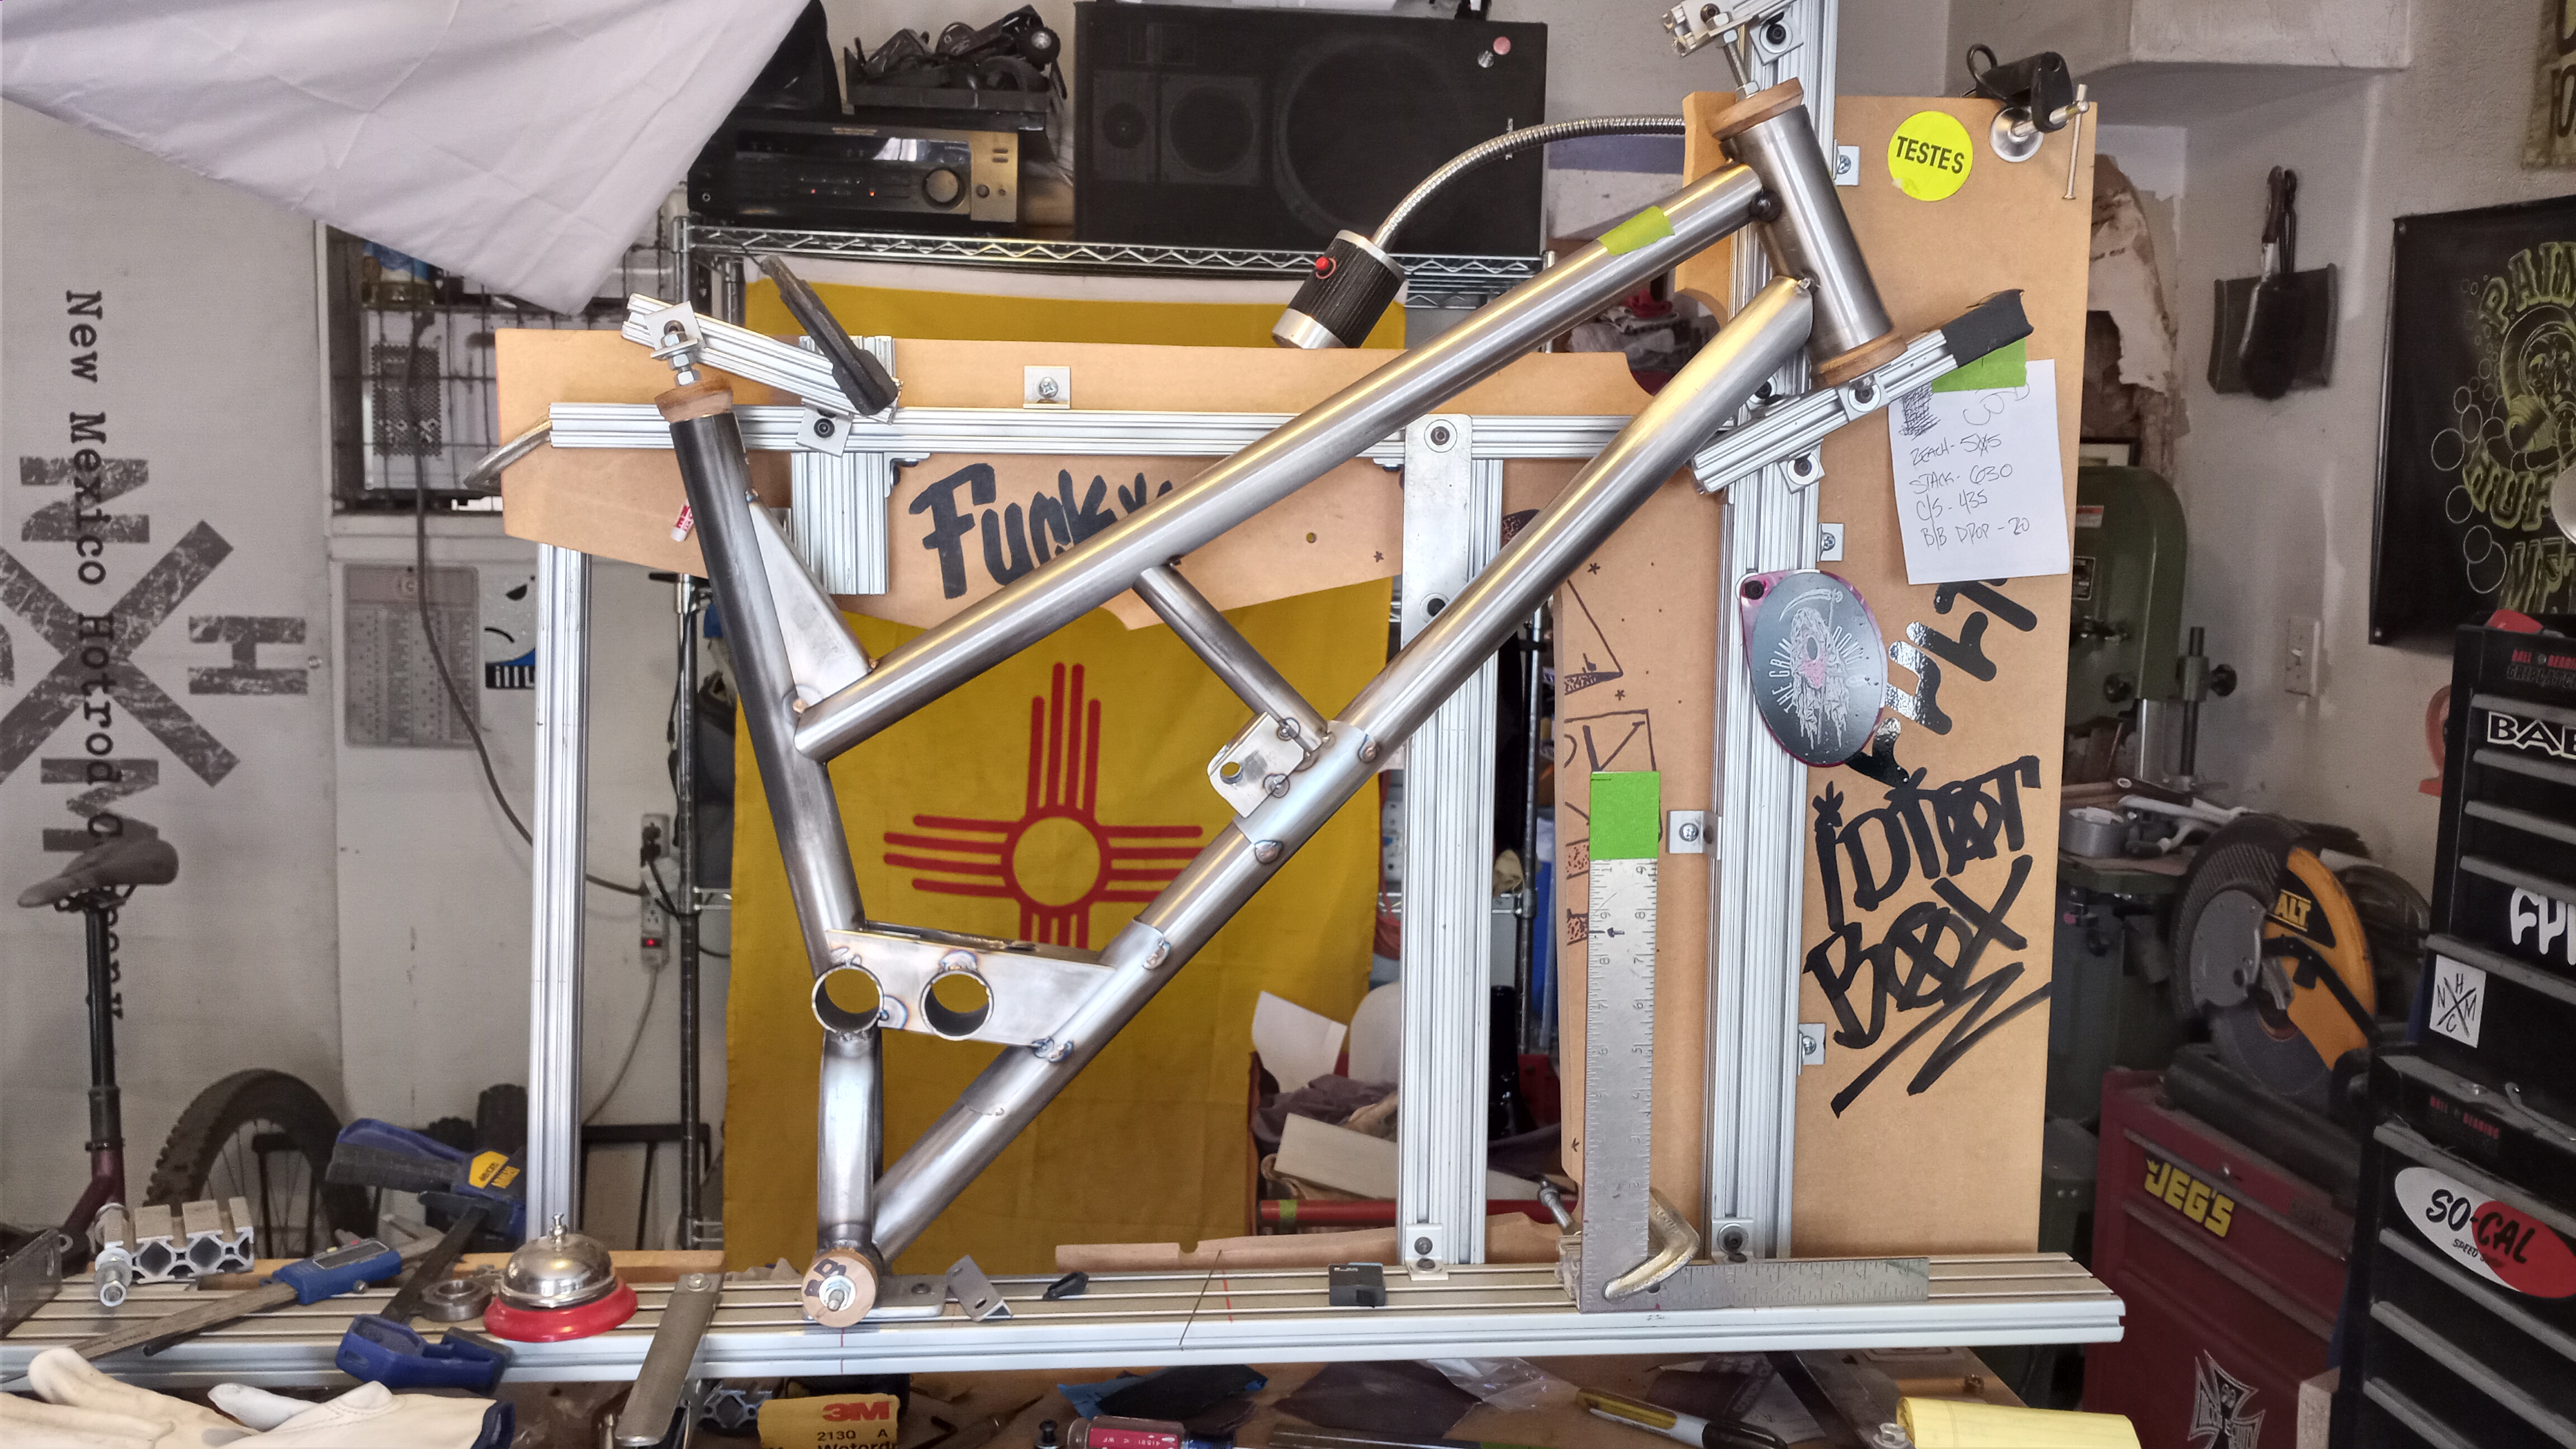
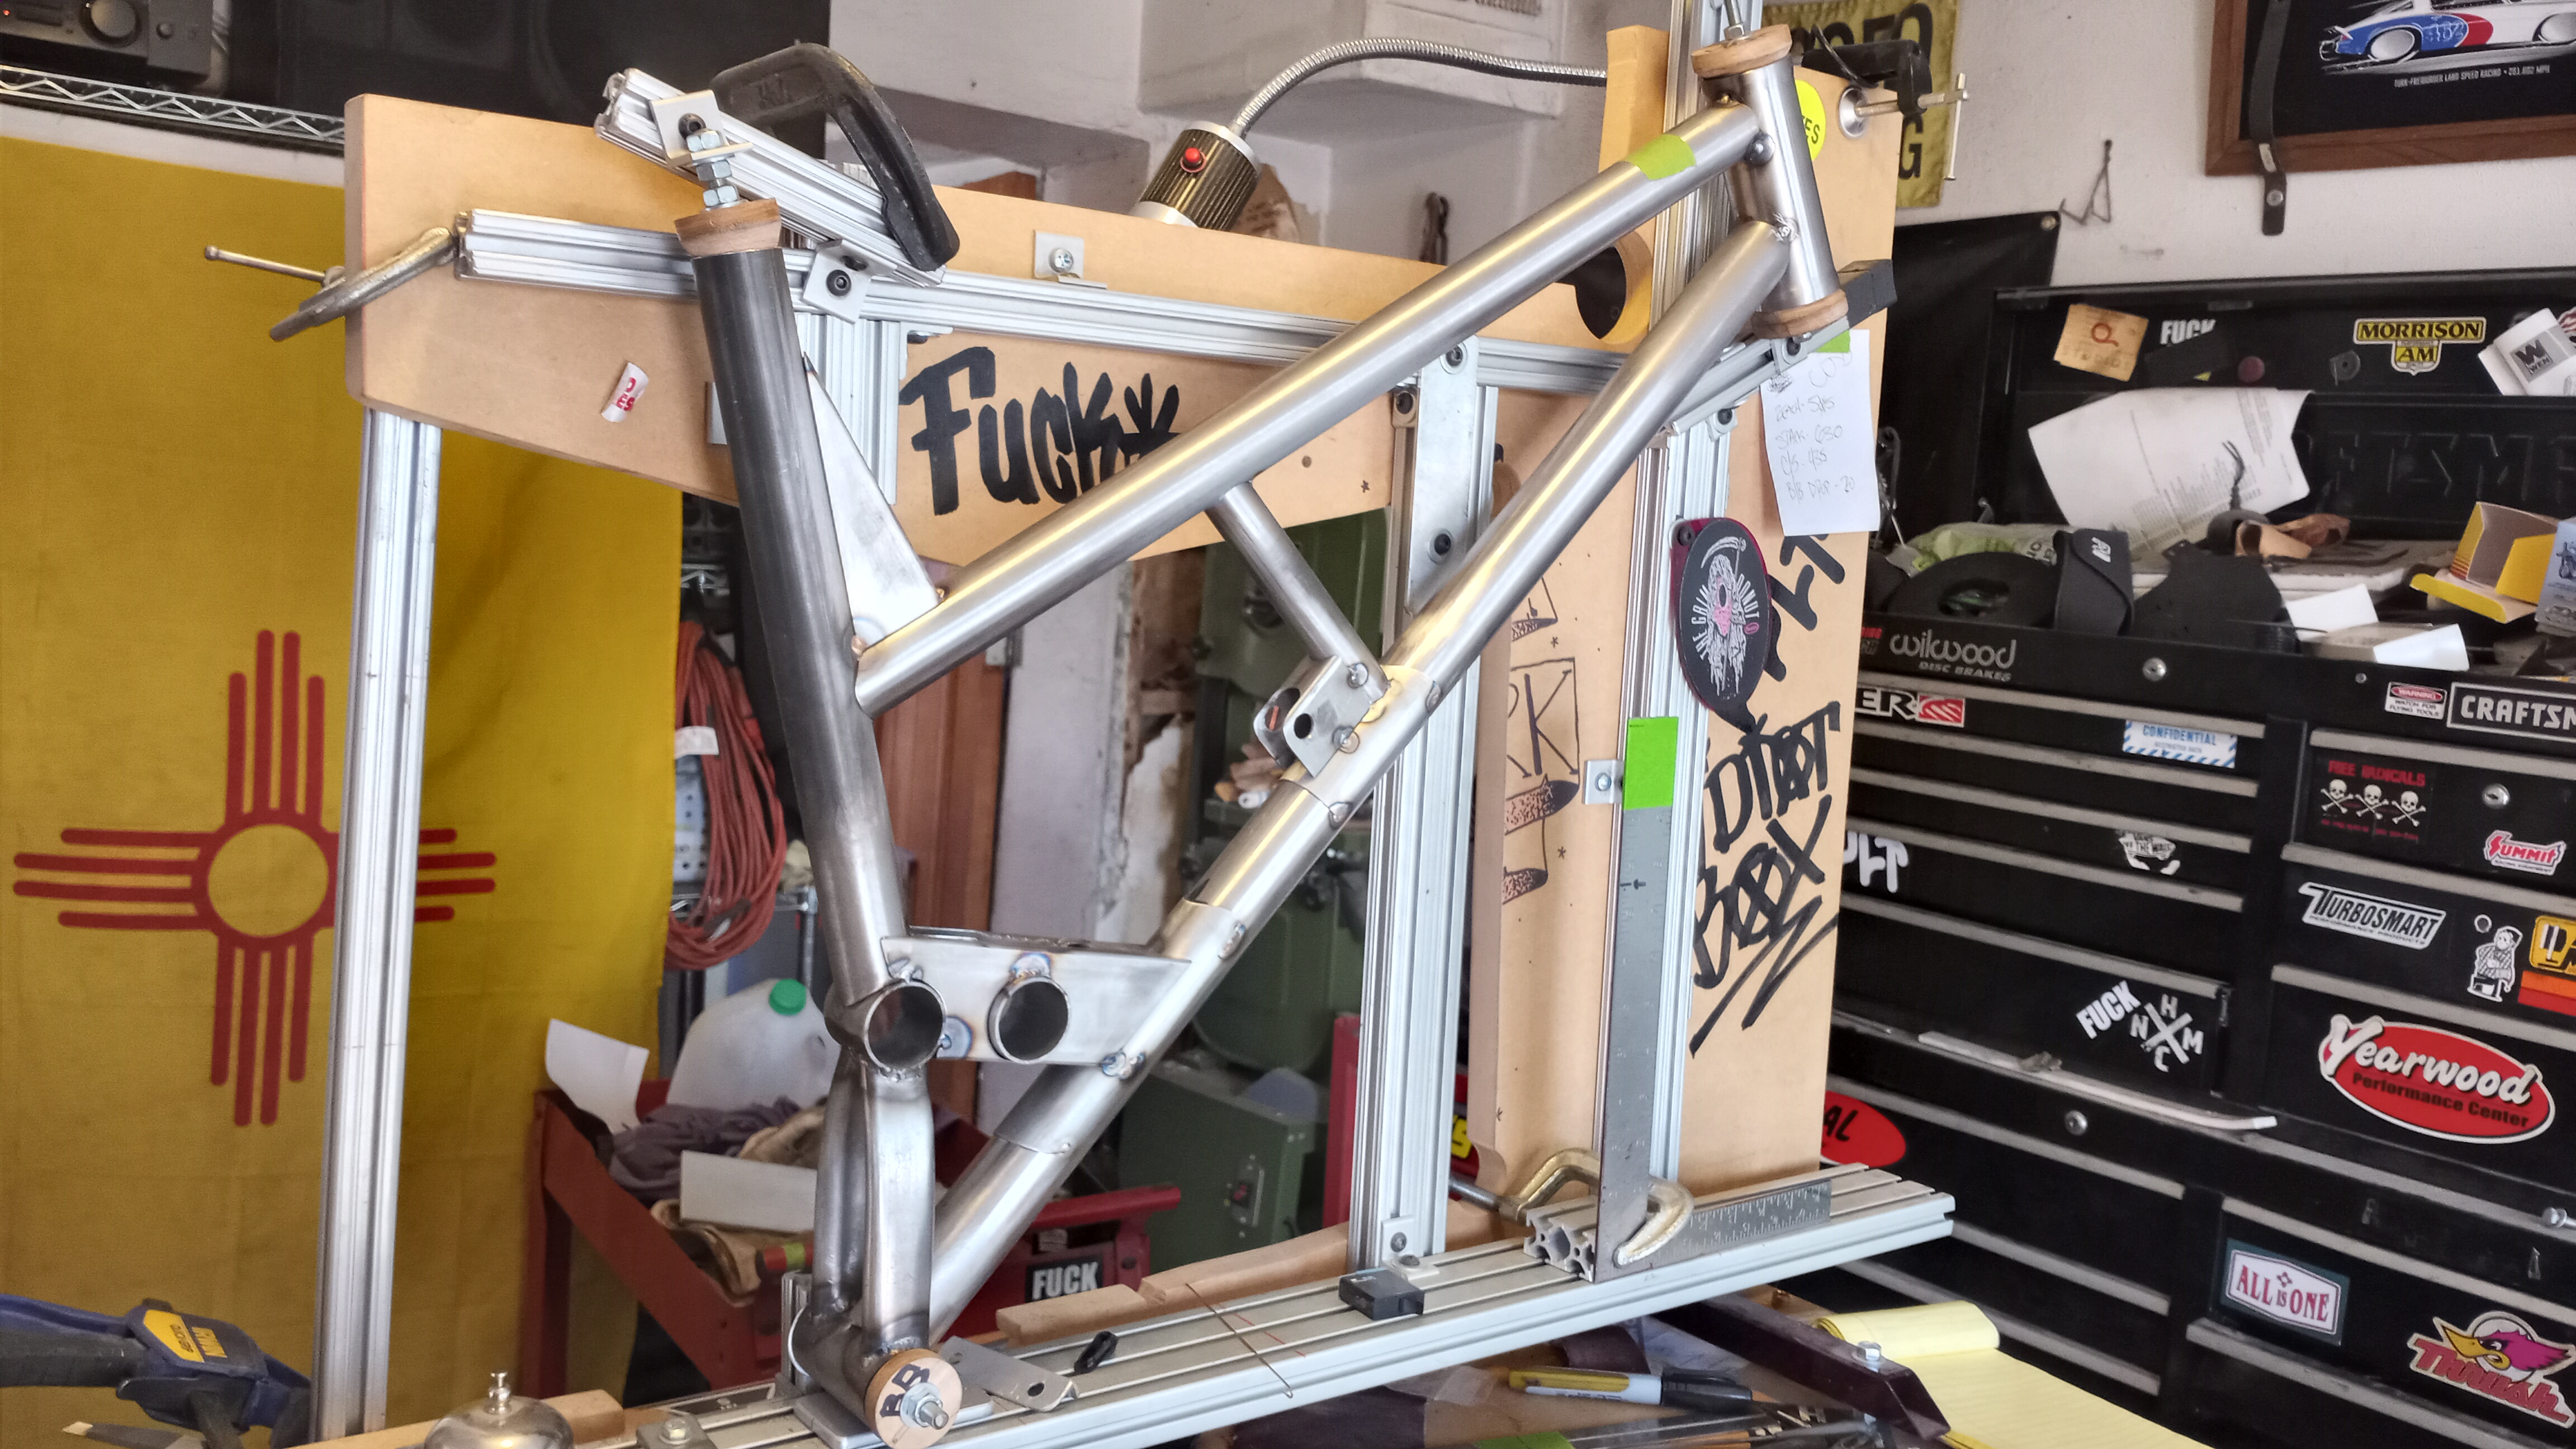
Little progress. I think I’m ready to finish weld this front part, I think the only fabrication that I haven’t finished are the head tube braces. I’m liking the look. I think it still looks like a machine while losing some of the stupid rat-rod feeling. More function, less fuckery.
The rod end and swedged tube I plan on using for for the pulling bit make an appearance at the end of this,
if that fits it’s gonna be reallty tight. I’m actually having a hard time believing this is gonna work at all, but I’m gonna trust that the computer is right and everything is gonna work out. Cross all your stuff.
Rather than clutter @Lester 's thread up any further (sorry dude) I wanted to bring my “ideas” over here, let them run around a little.
I’m intrigued by the thought of diy (DI-why) carbon parts, but thought it was out of reach for my skill set. Having been inspired by some of the stuff I see here, I’m seriously reconsidering giving it a try.
The thought:
I have the front end of this frame currently tacked together. I own all the steel for the rear triangle (I think), I’m pretty sure I still have receipts for all the rear end parts. I haven’t started it yet. What if we made 2 rear triangles? A steel one and a cabron (look it up) one and see which one is more affordable, easier, faster, whatever and we could even see if there’s huge differences in the way each rides?
I’m thinking of making a foam core and hand laying it, vacuum bagging or pressure tape, bonding in aluminum tubes wrapped in fiberglass for bearing seats.
Am I insane? Is this just a terrible idea? It might be fun just to watch me struggle
Yes! The benefit of the carbon rear end is that it has “perfect alignment” and has better sprung to unsprung mass ratio. In a weird way, the chunky steel front end gets better with a lighter rear end.
For the forum loyalists: I am exploring a carbon rear-end “kit” manufactured in Asia. It is surprisingly more feasible than I thought.