Hey all, I’m curious what folks who make racks are using to to bend tubes. My friend had a 3/8 swagelok hand bender that I’ve used to make a rack or two, but I definitely had some issues keeping bends in phase. I unfortunately had to ship the bender back to him, so I’m looking for a replacement. I don’t know much about bending tubes, so I have a few questions about benders, and how to get accurate and precise bends.
*I’ve seen some folks with bench mounted benders that have some type of phasing mechanism, and I’m curious how something like that would go together. I’d love to get a replacement swagelok, but I see Rigid and Vevor have some similarly designed hand benders. Does anyone have any experience with those? It looks like Vevor makes a table mounted bender `[vevor bender], I imagine that would that be easier to add a phasing assembly to. I’m not really bending any main tubes or ss/cs, are there benders that can bend a wide range of diameters?
I know it obviously depends on what kind of bender you’re working with, I’d love to hear a bit about how y’all measure your bend start points and manage the bending distance for tubes with multiple bends. Sorry if I’m not coming across super clearly, just wondering where people are at on the spectrum from tweaking it by sight after bending, and meticulously planning every bend out.
@wzrd I’ve been a huge fan of your racks and would love any insight you might have about your process!
Also, may be a bad/unpopular idea, but I’m a little obsessed with the idea of integrating racks directly into the frame.
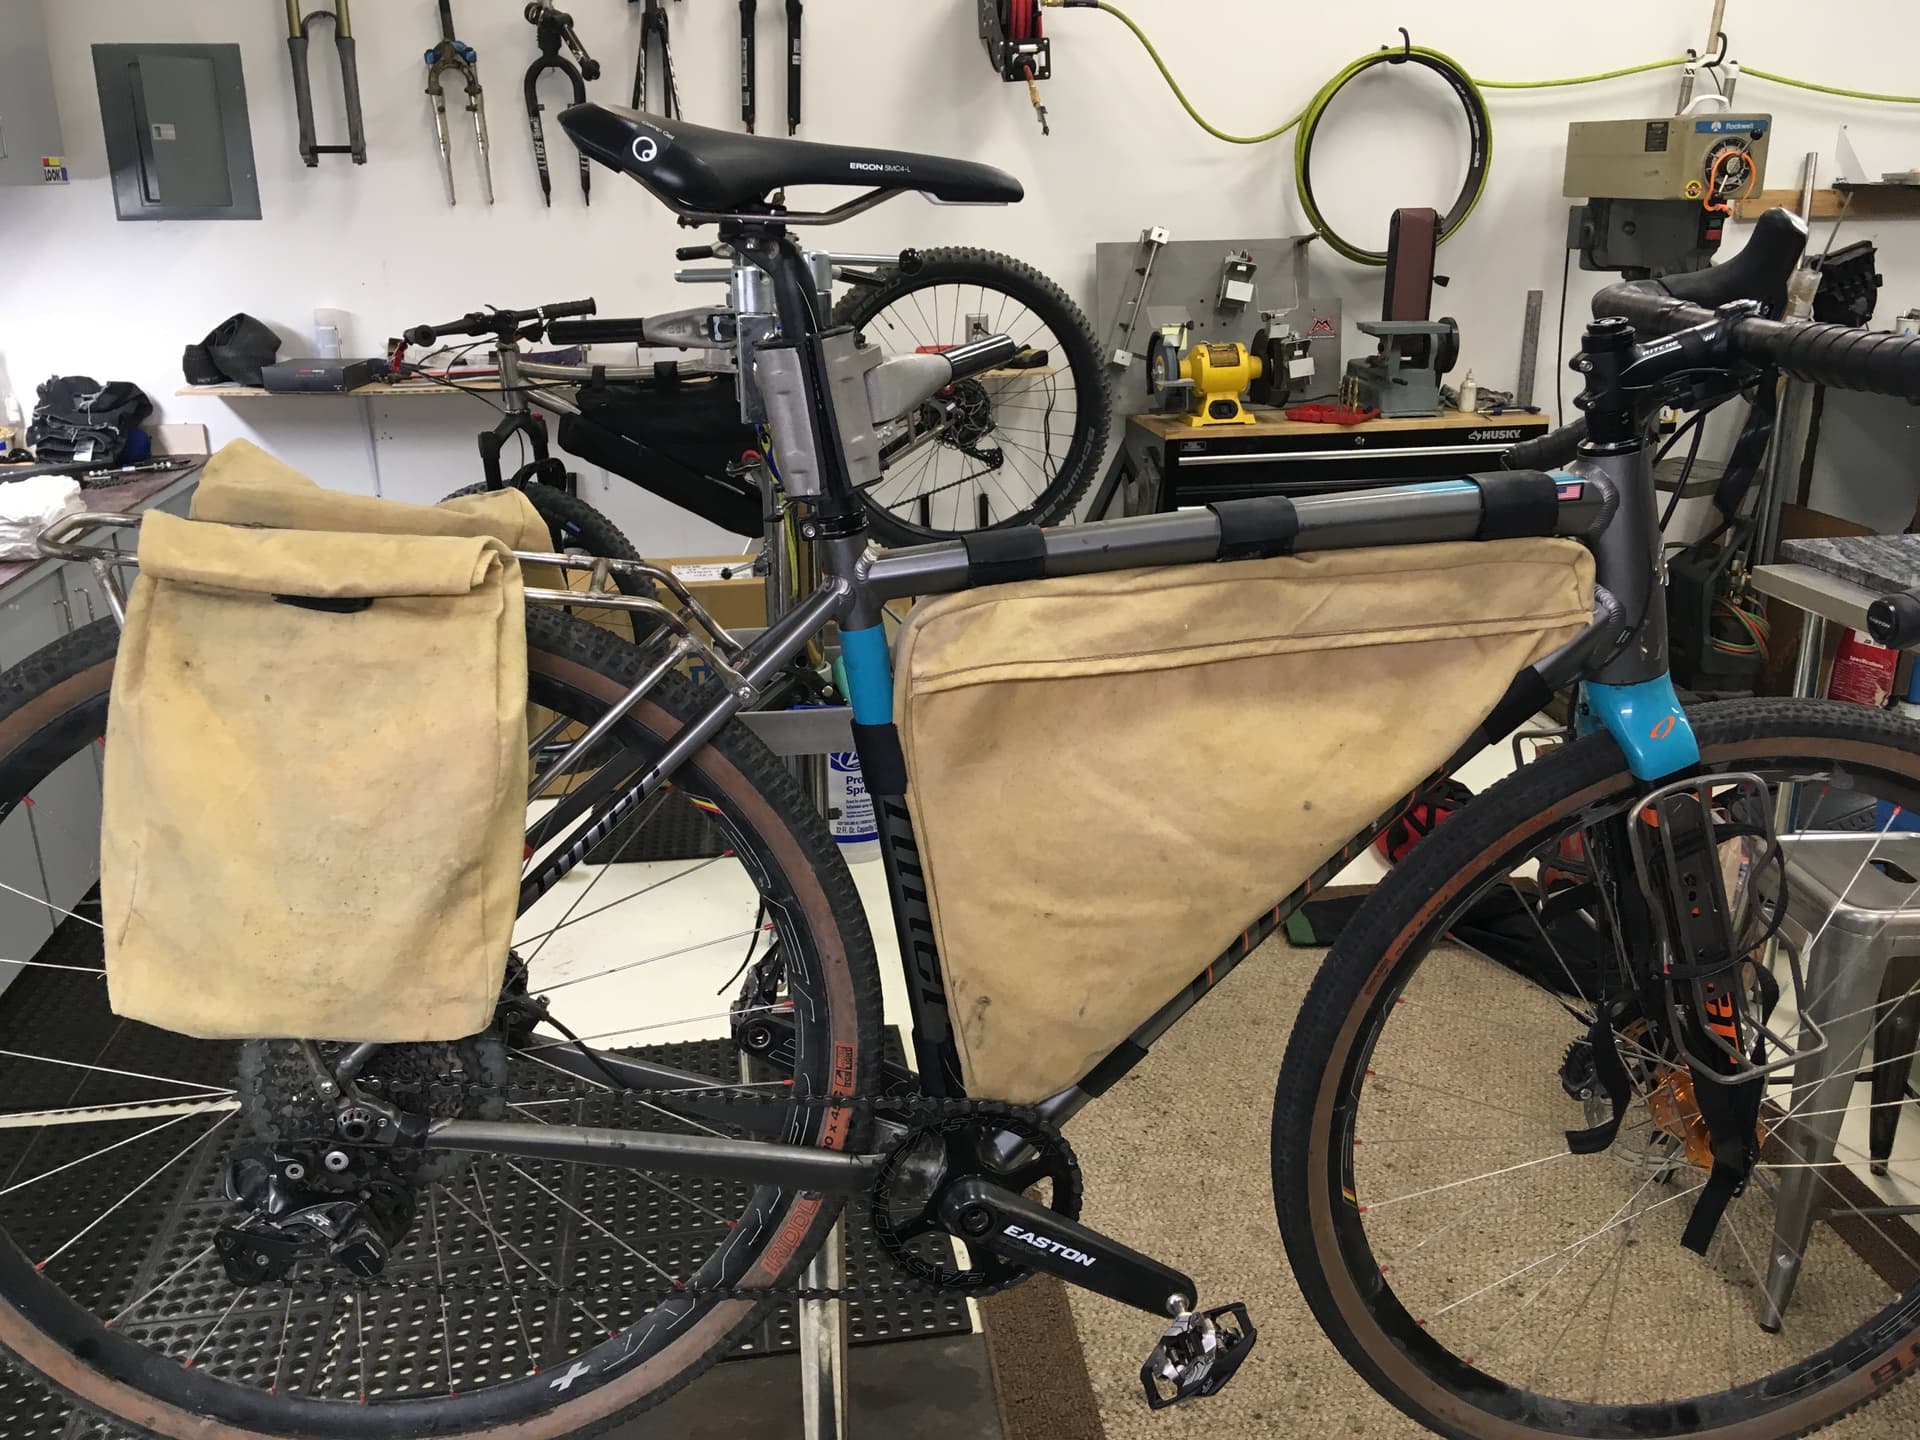
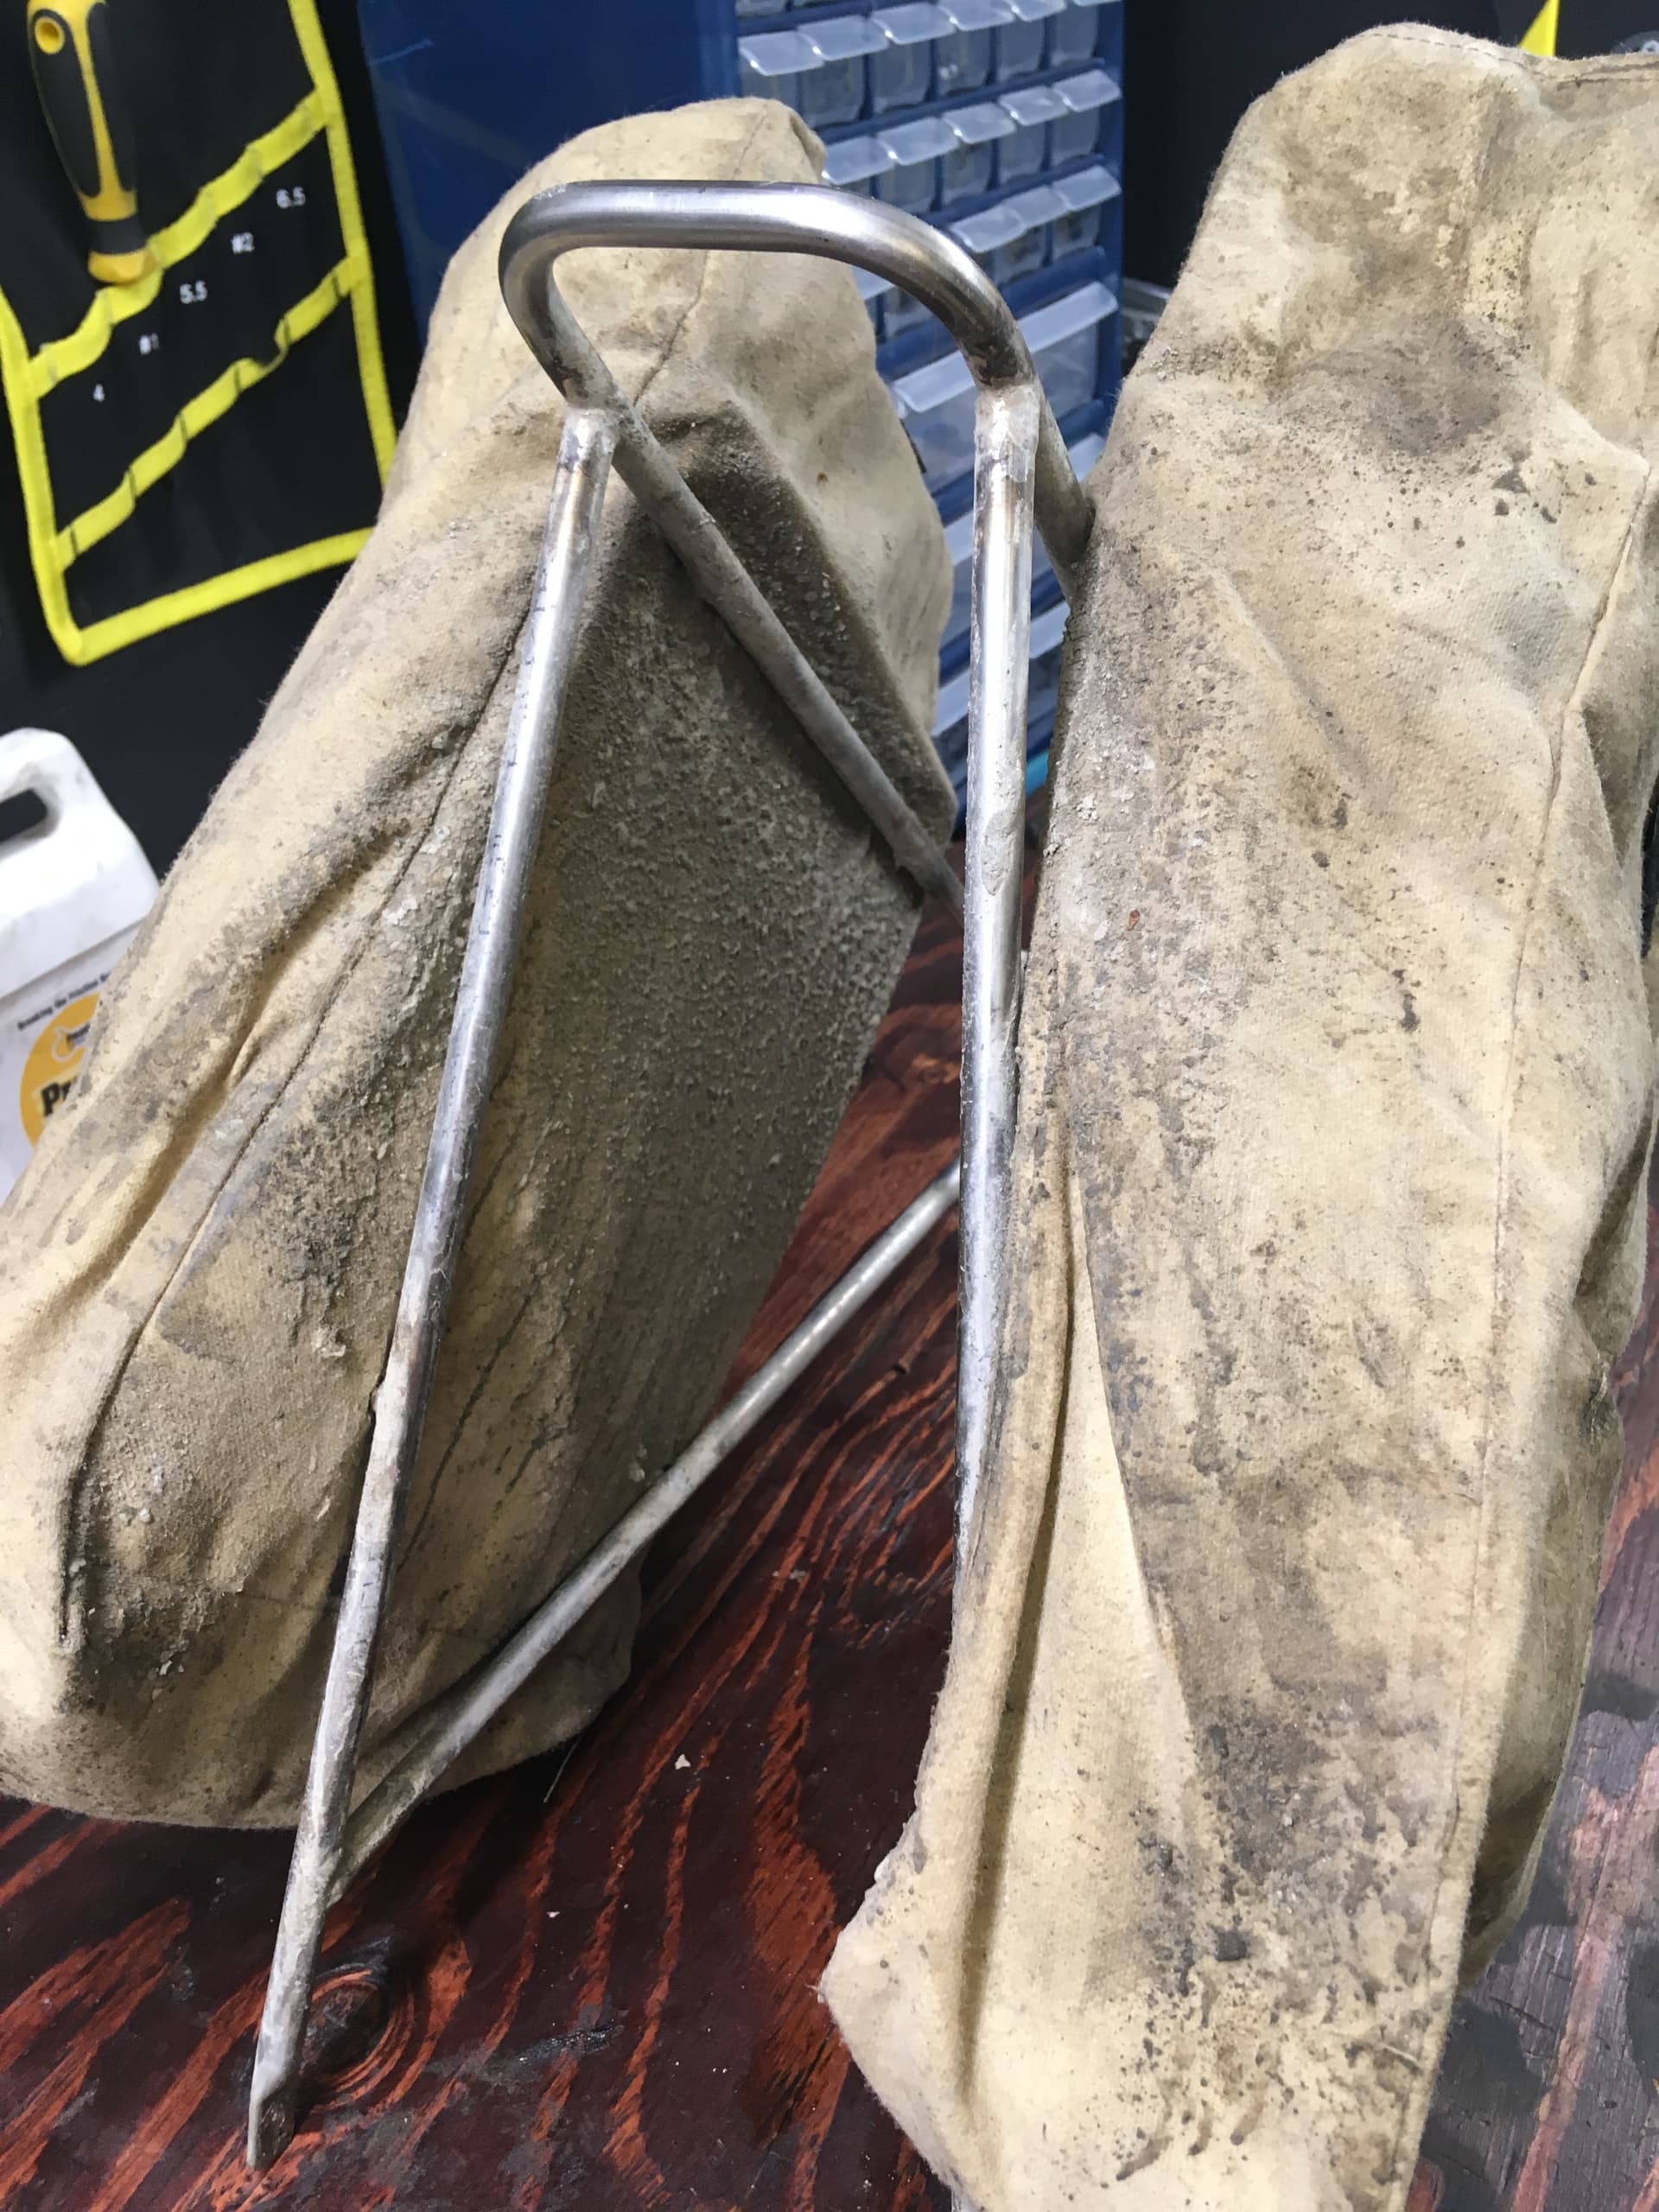
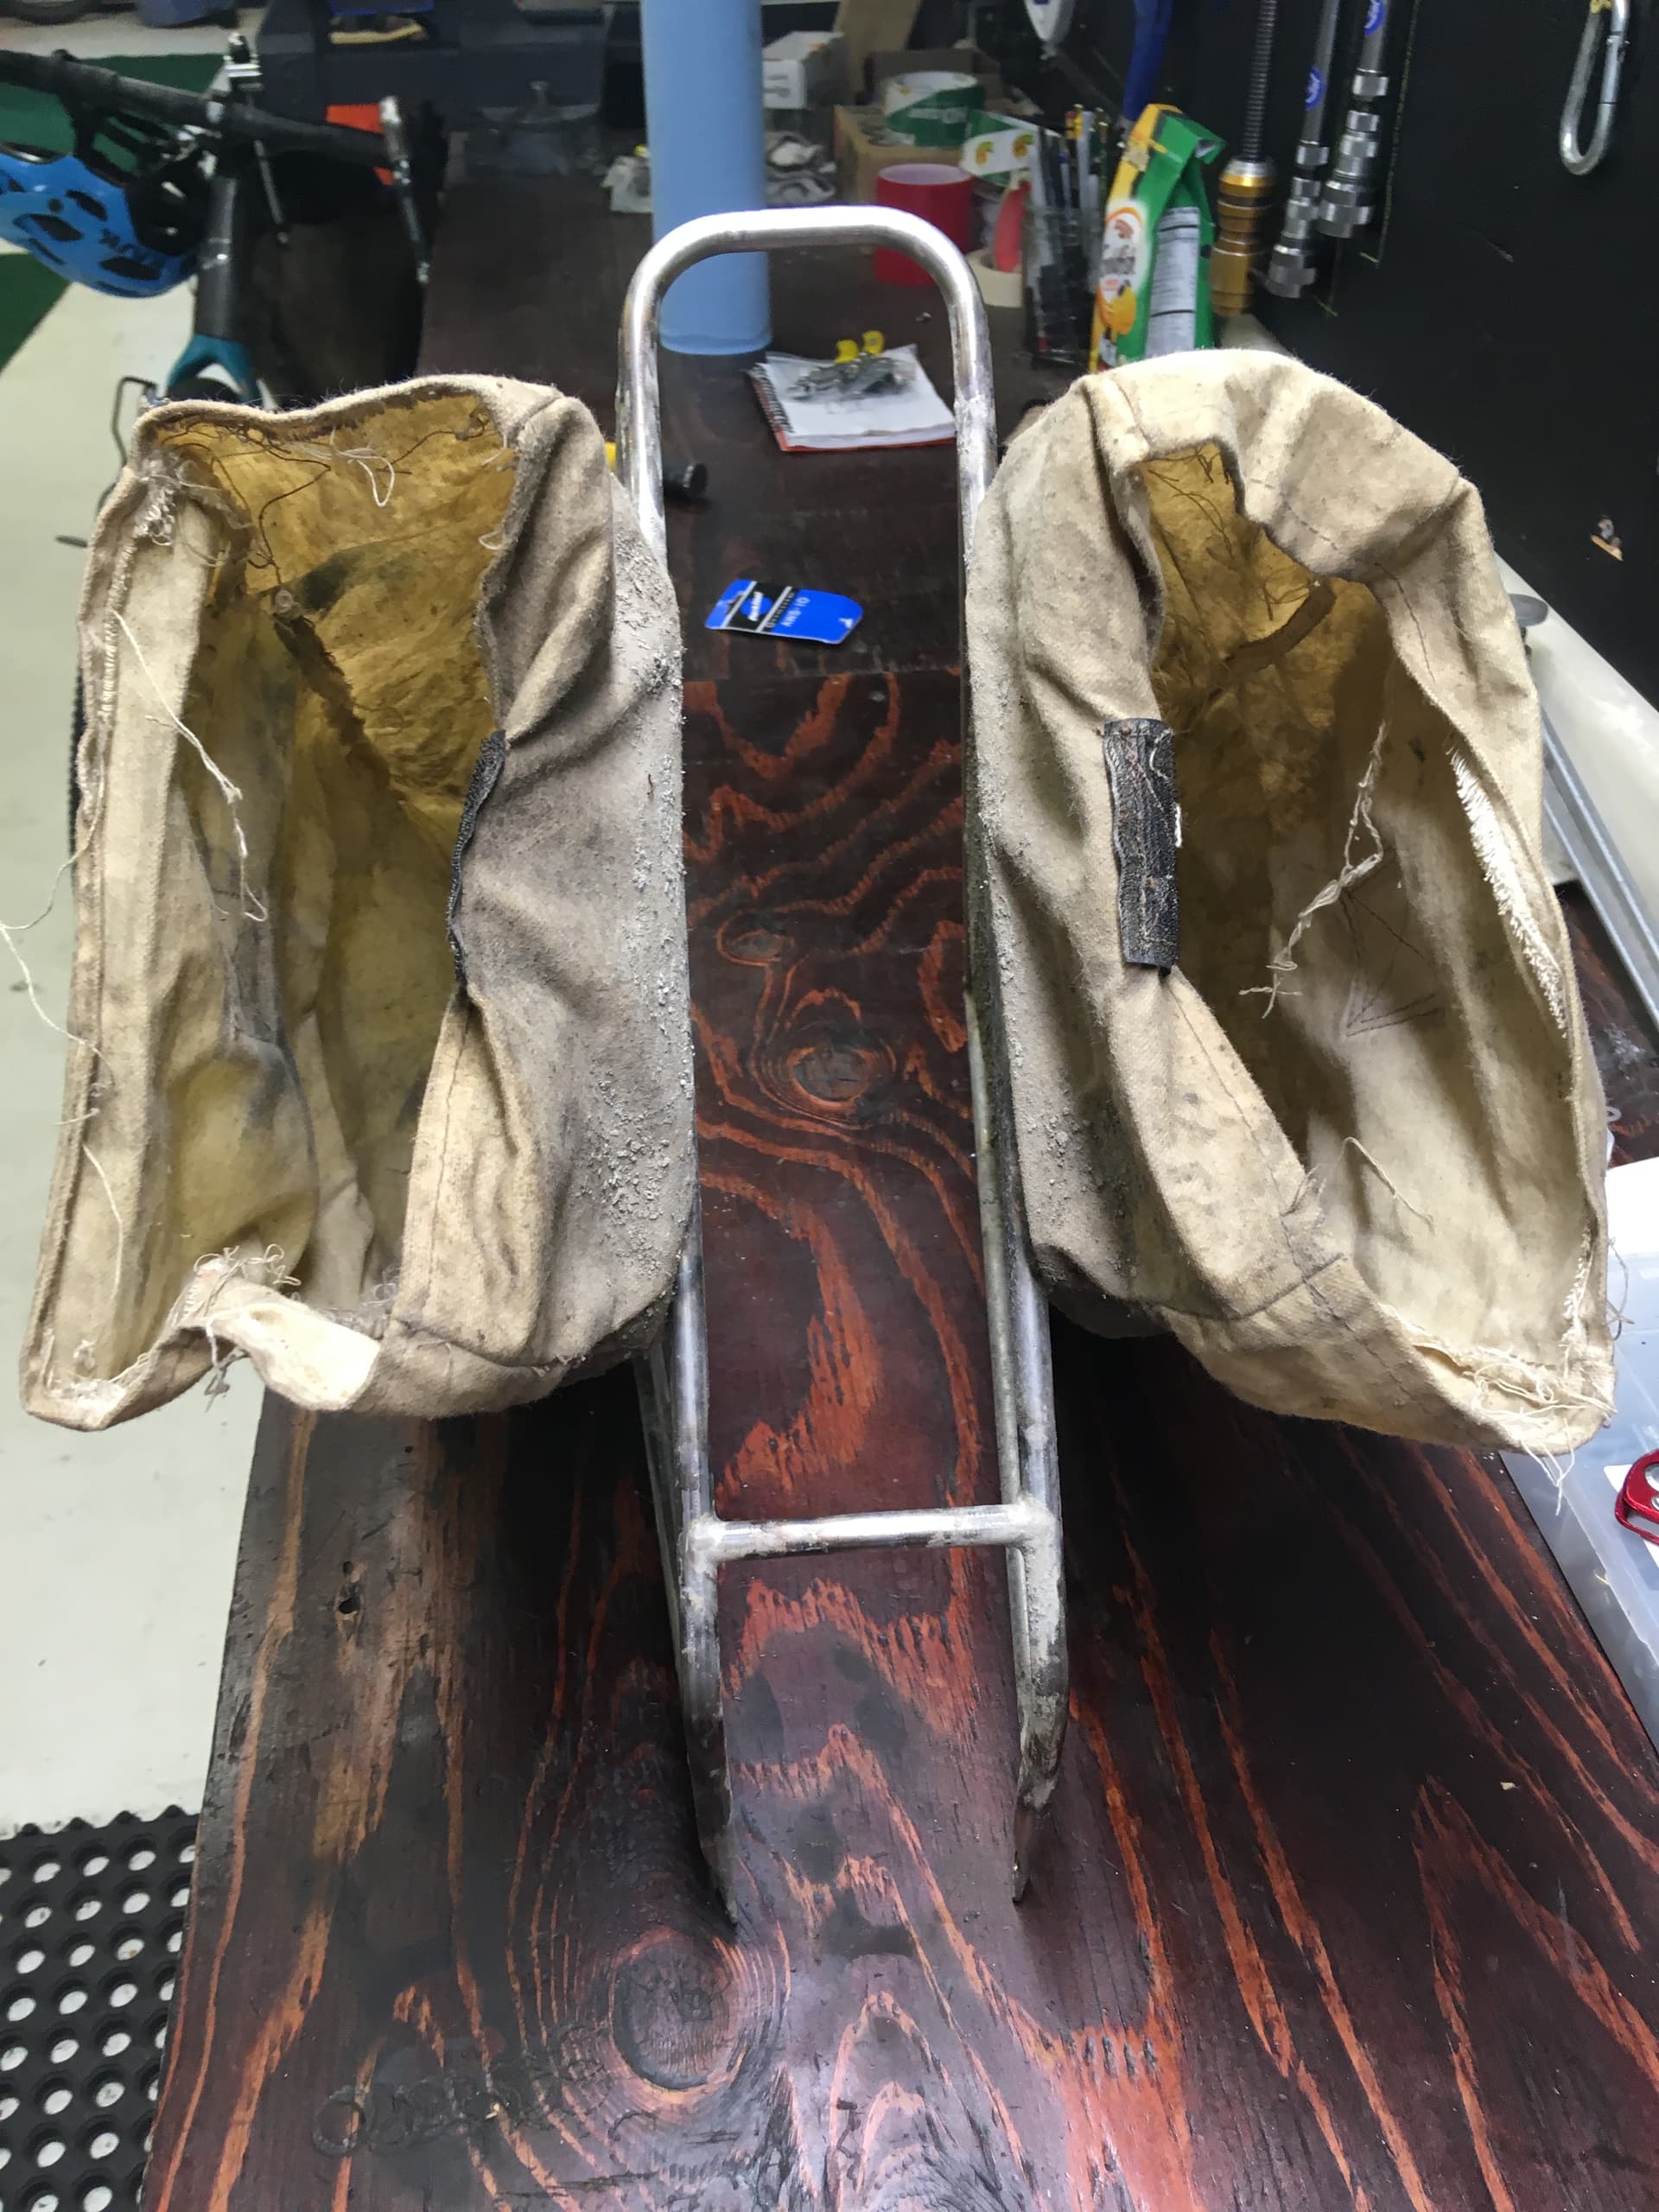
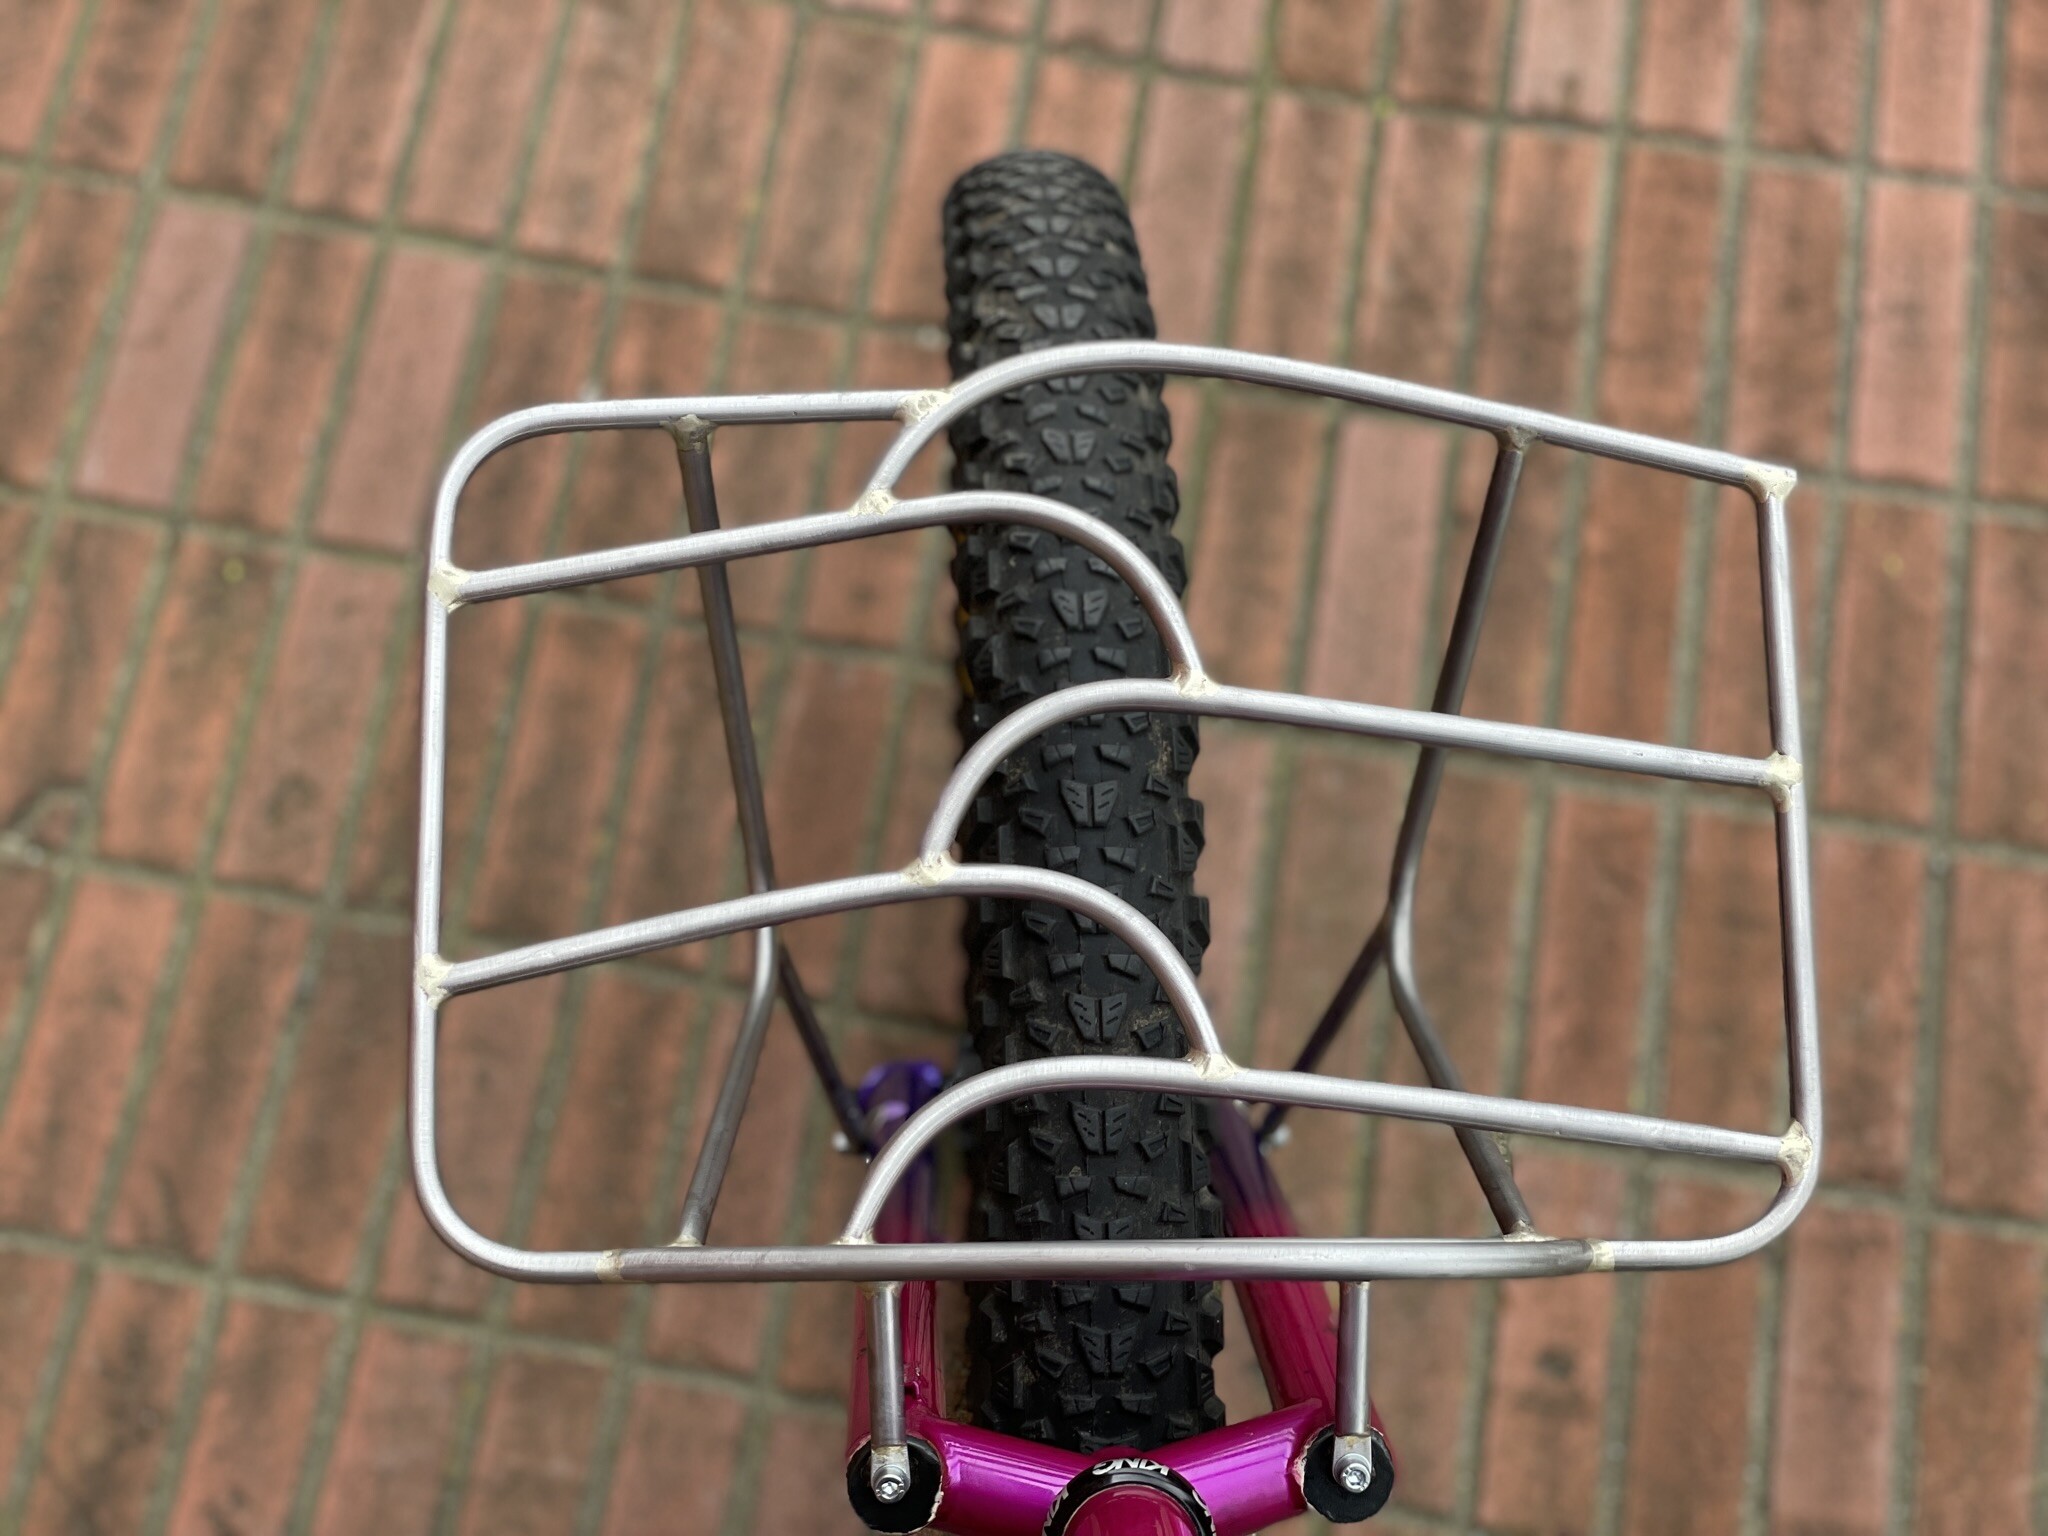
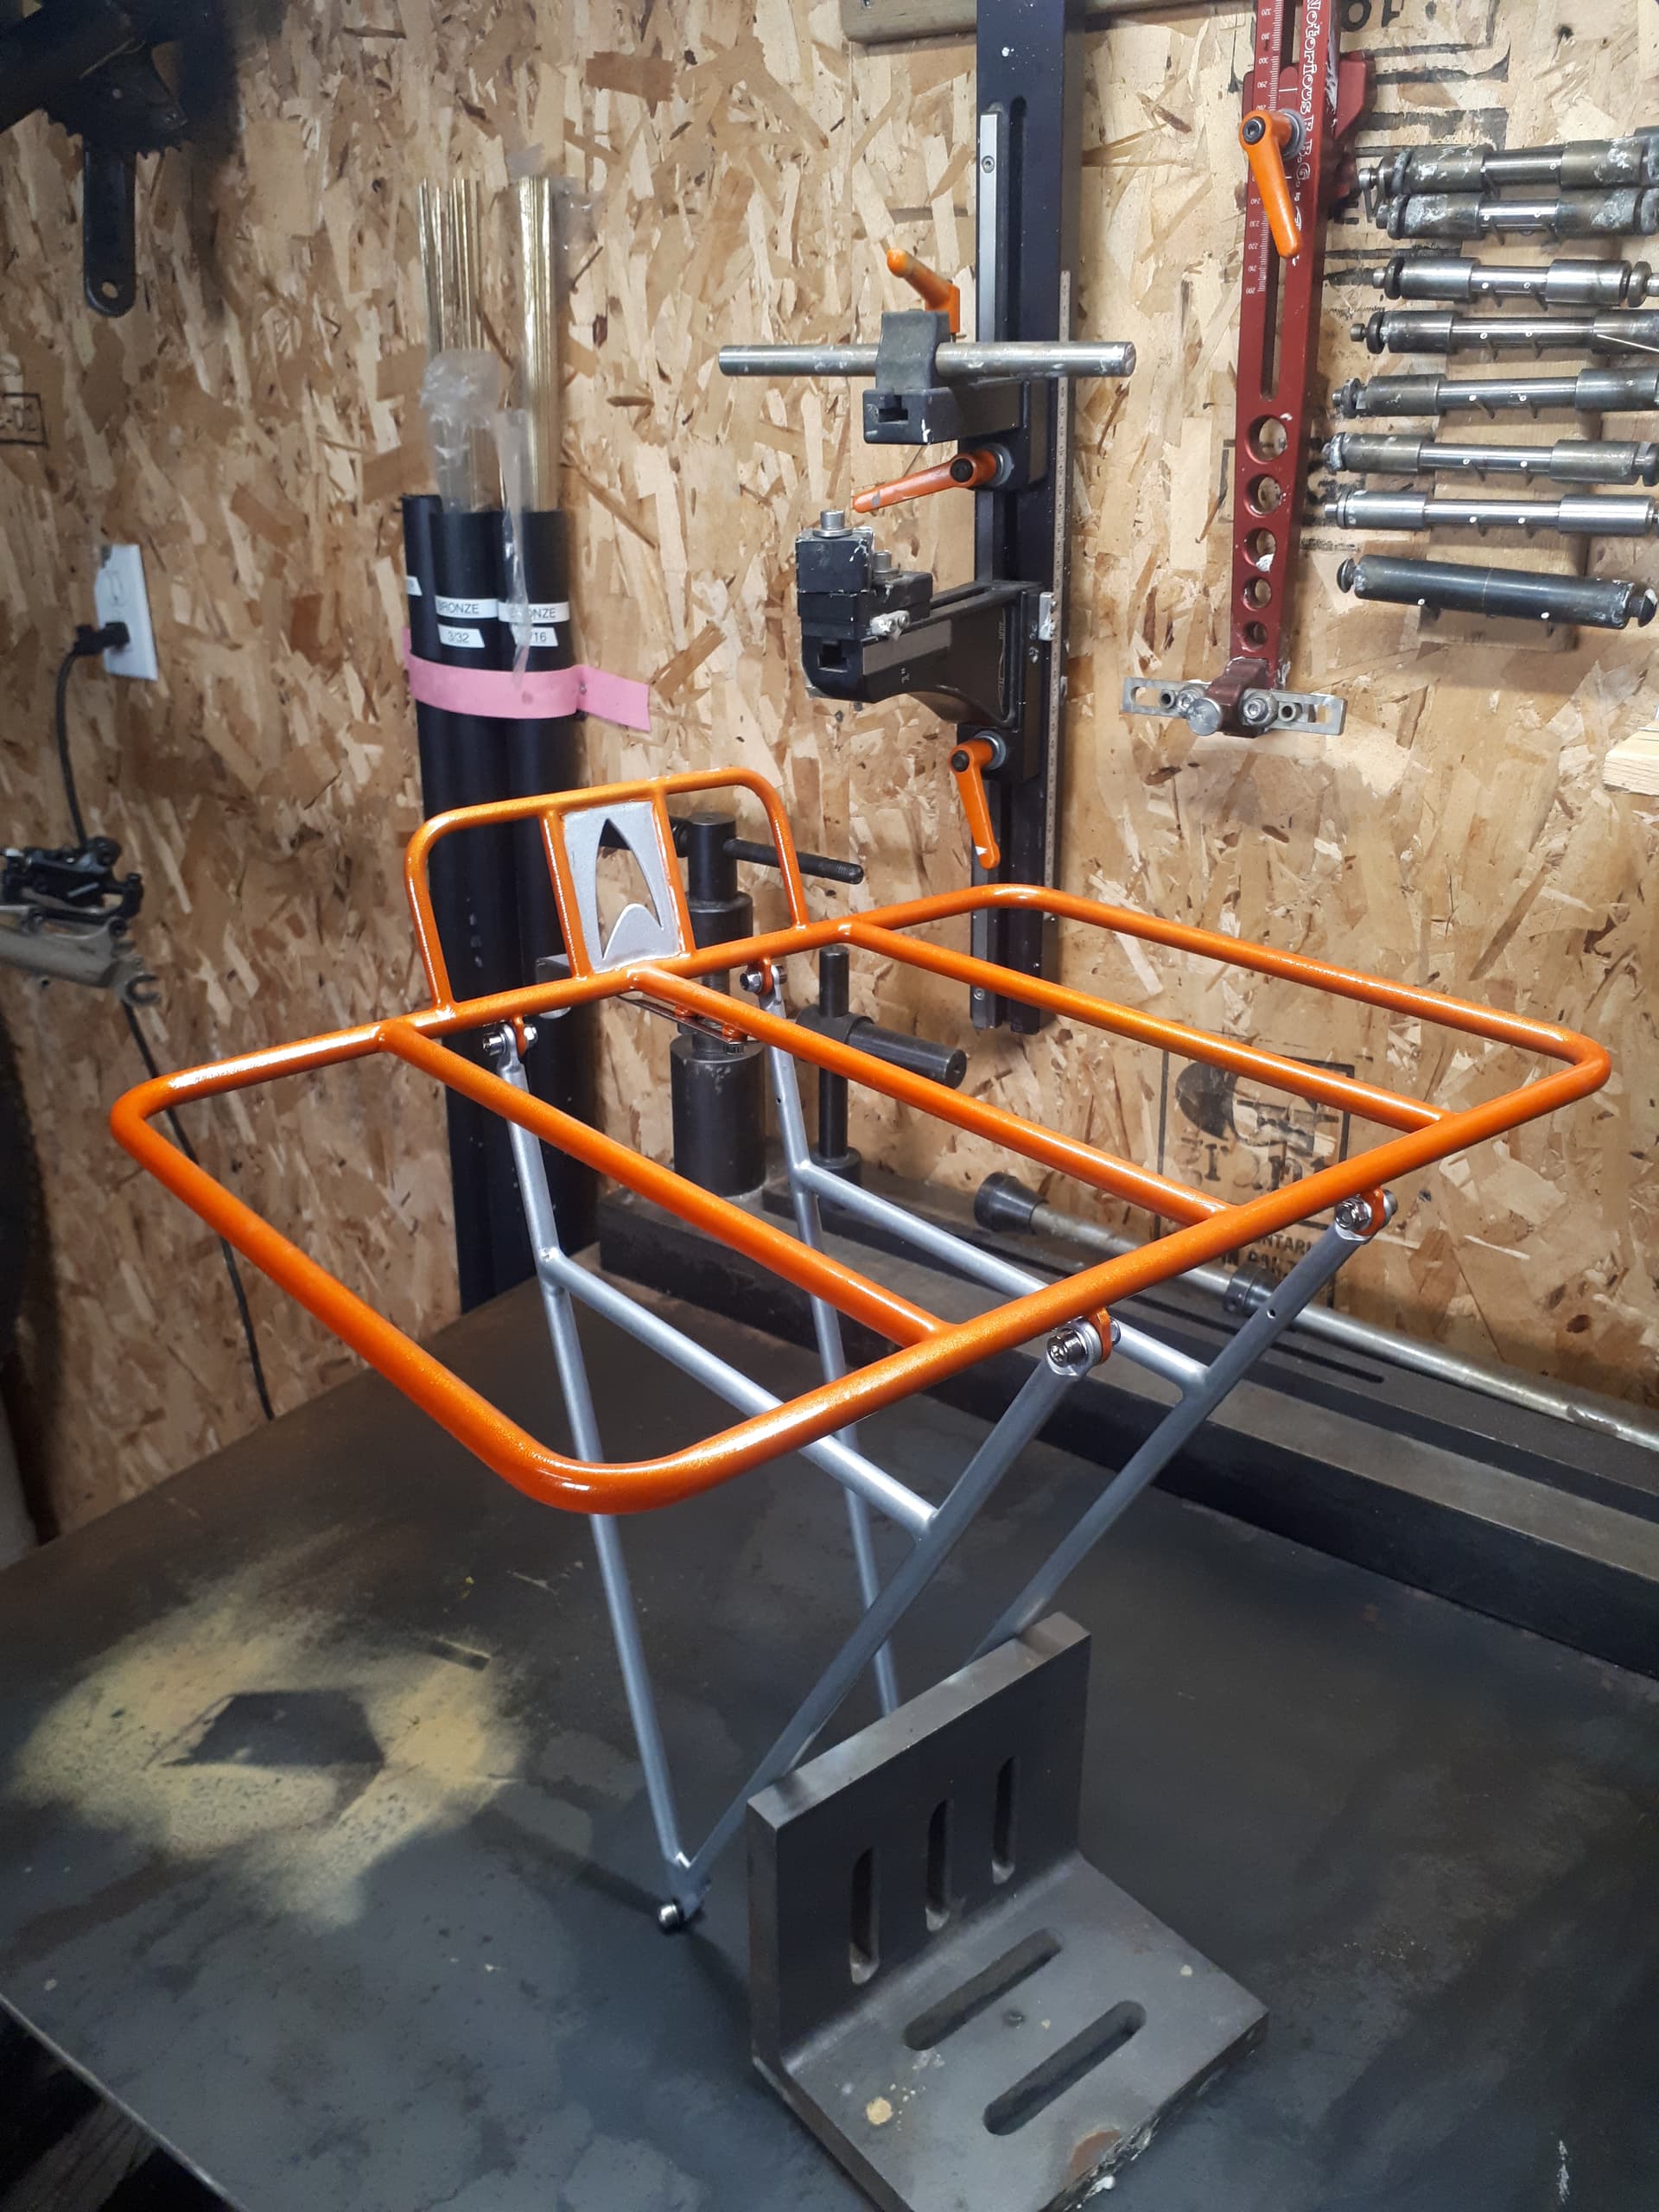
Here’s a custom rack and bolt-on pannier set I made for a Deadhorse-Anchorage bike tour
I use a rigid bender and bend both 1/4 and 3/8 with it. It doesn’t have anything too keep tubes in phase, but it becomes easy to eye ball it after a few. I also intentionally come up with non-square designs to hide the non-squareness of my process haha
I’ve had a few people to braze racks right into frames or forks, but I won’t do it. If a rack bends or breaks on tour there’s likely no saving the rack. And the braze ons act as breakaways to save the frame or fork from bending as well. At least with a bolted on rack they can hit up any only bike shop and toss a production rack on.
Oh my god those are insane And awesome feedback about eyeballing it! I’ve definitely struggled to get good brazed joints, and I’ve definitely never been able to get fillets like that with silver brazing! I have a super regular viktor oxy torch, and even on the lowest settings I feel like I have problems with overheating the joint and losing my silver.
Excellent points regarding integrated racks, that makes a lot of sense haha.
The bend dies are larger than the Swagelok, so they work better for thin wall tubes.
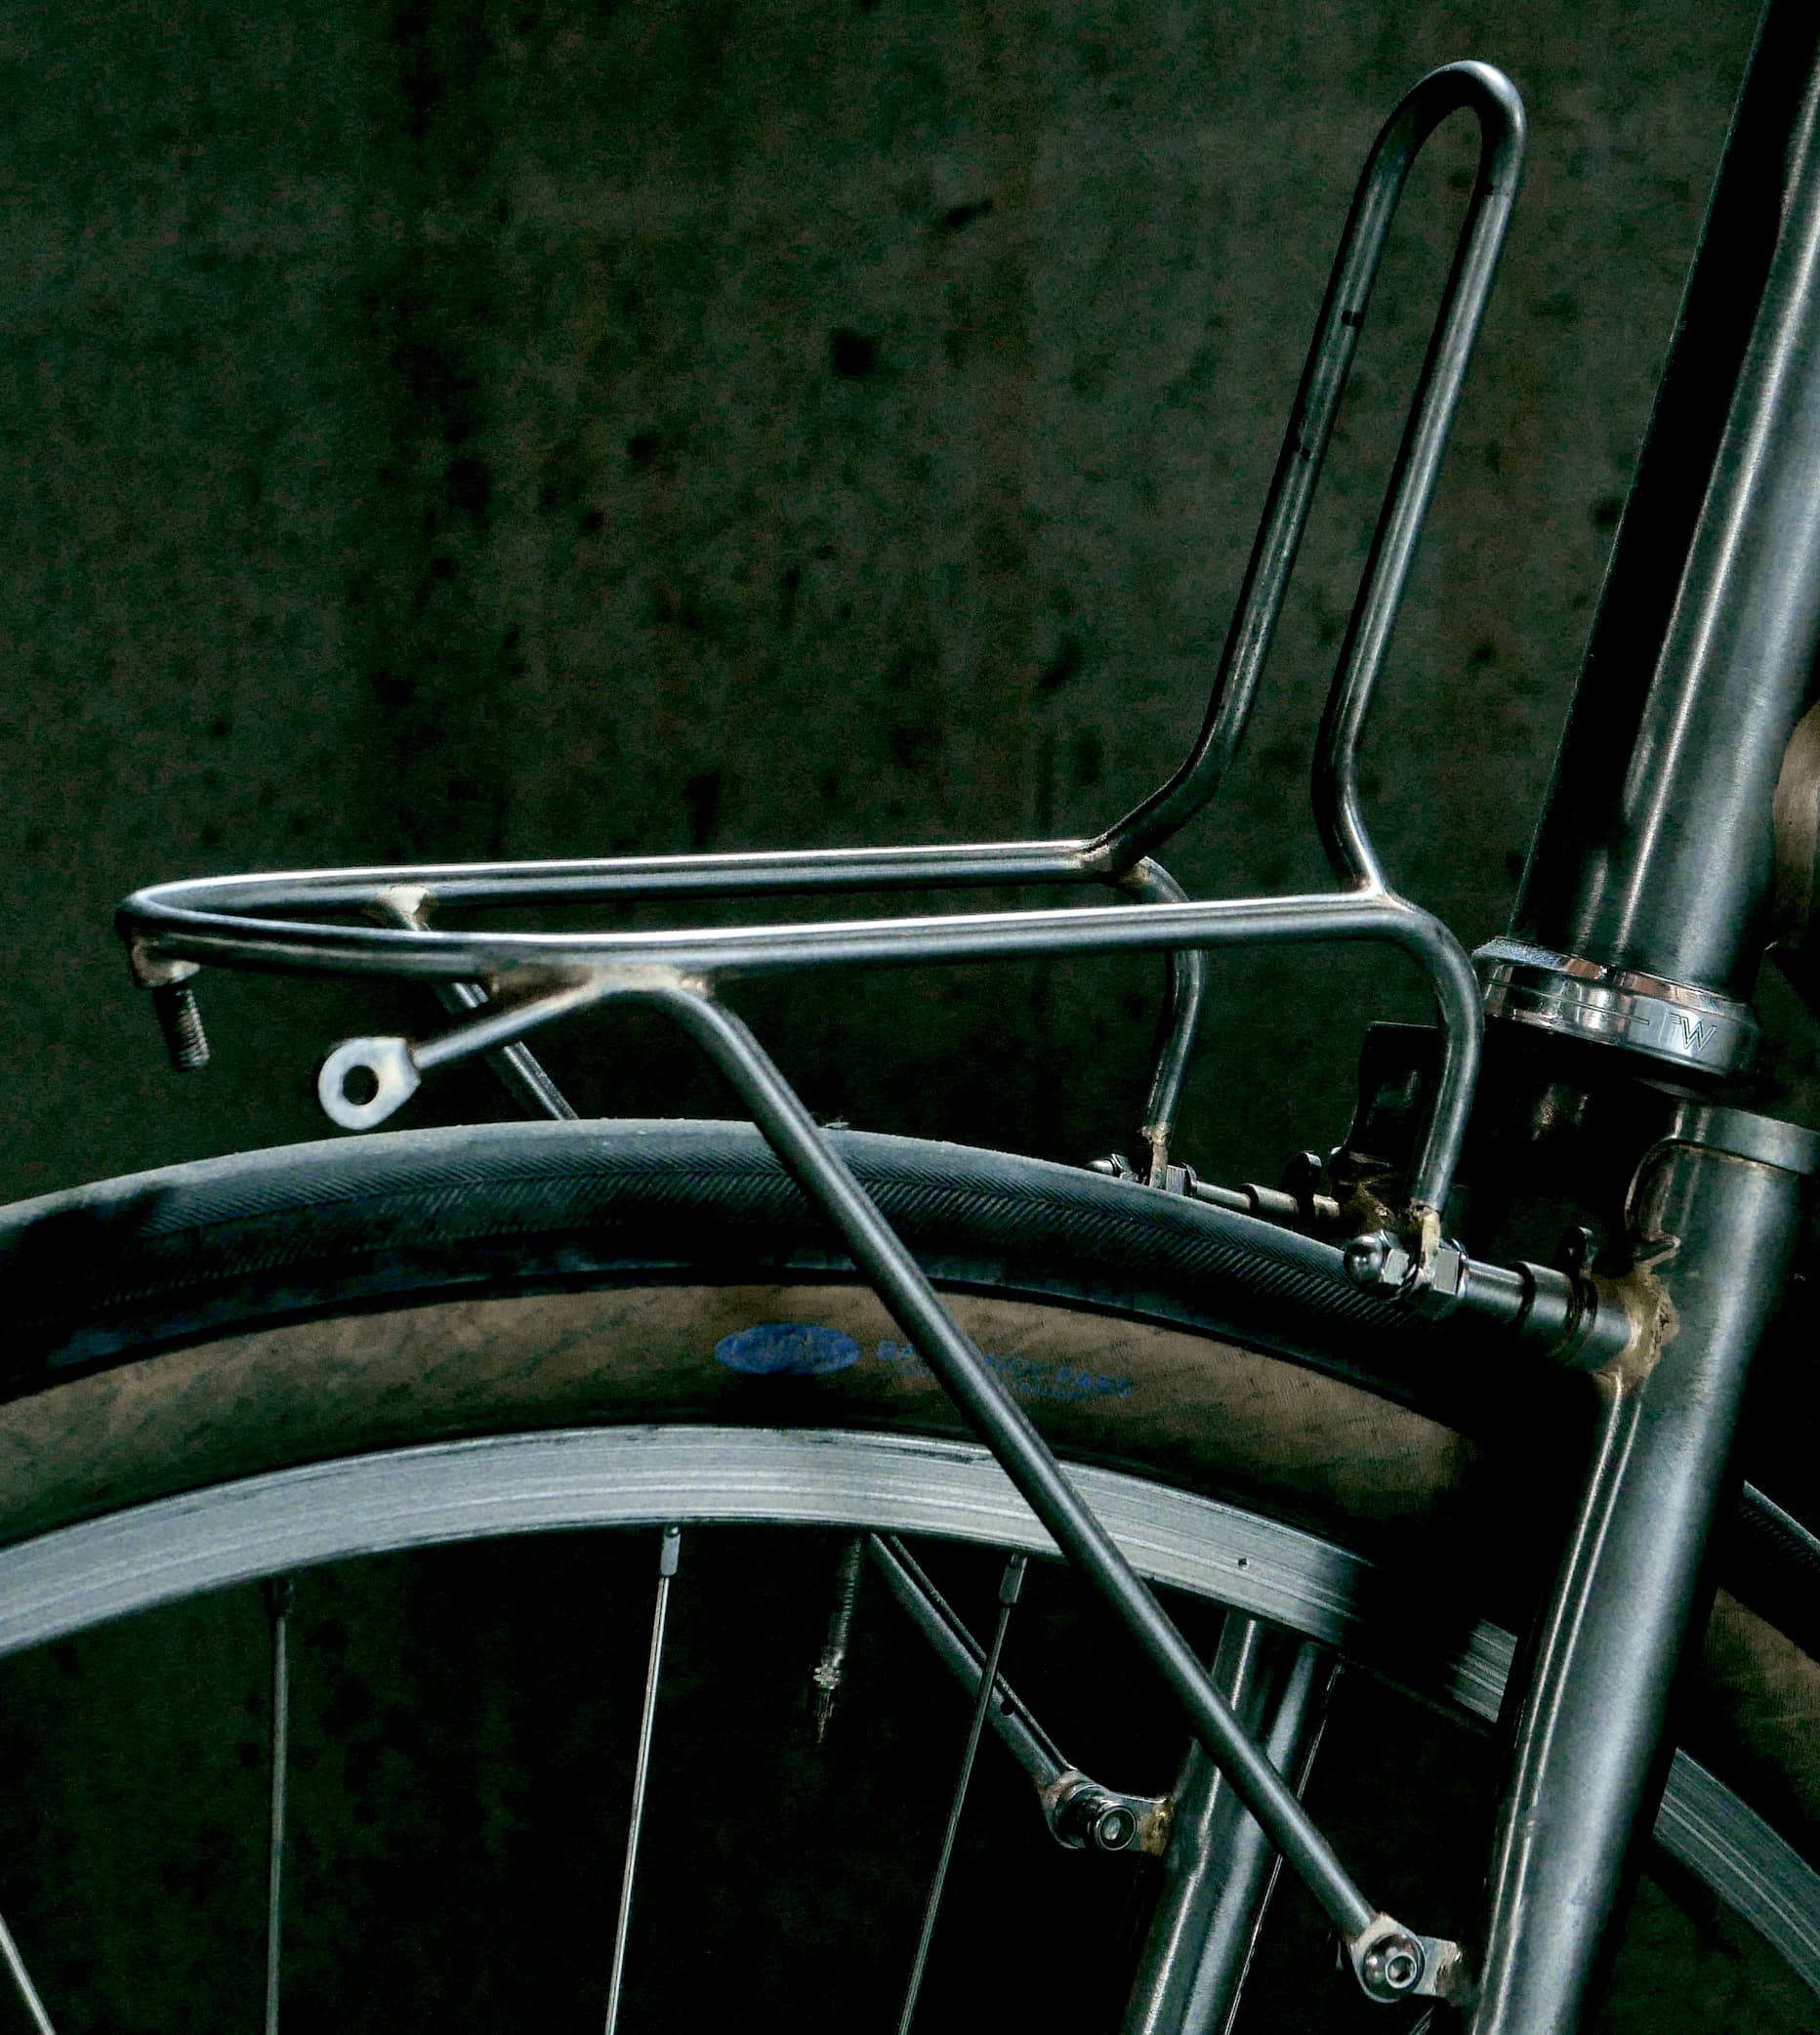
@Alex had/has an excellent blog post about measuring and making rando and porteur style racks. If you can dig that up it’s a gold mine.
FYI, if you need to make large radius bends with 1/4" tubing you don’t even need bending dies, just find something round to bend around. You can do it by hand without kinking. That’s how I’ve made the big bends for my rando racks and seat stay bridges.
I use a #00 tip with my regulators set to like 3psi. I found the black flux (type h) to work best - it manages the heat so much better then any other flux I’ve used.
Awesome thank you so much!! I really appreciate the technical tips, I haven’t been doing this enough to feel super confident with any of my settings. I know you gotta practice to get better, but it’s helpful to have some specifics so I’m not stumbling around in the dark
I use two Swagelock benders. 1/4" and 3/8" I think? I’d have to check. They are pretty nice but they did take a bit of practice to get good technique with.
I made a Porteur rack with just nickel silver about two years ago. It’s being used by a bicycle messenger / bicycle tourer and they’ve put it to the test many times.
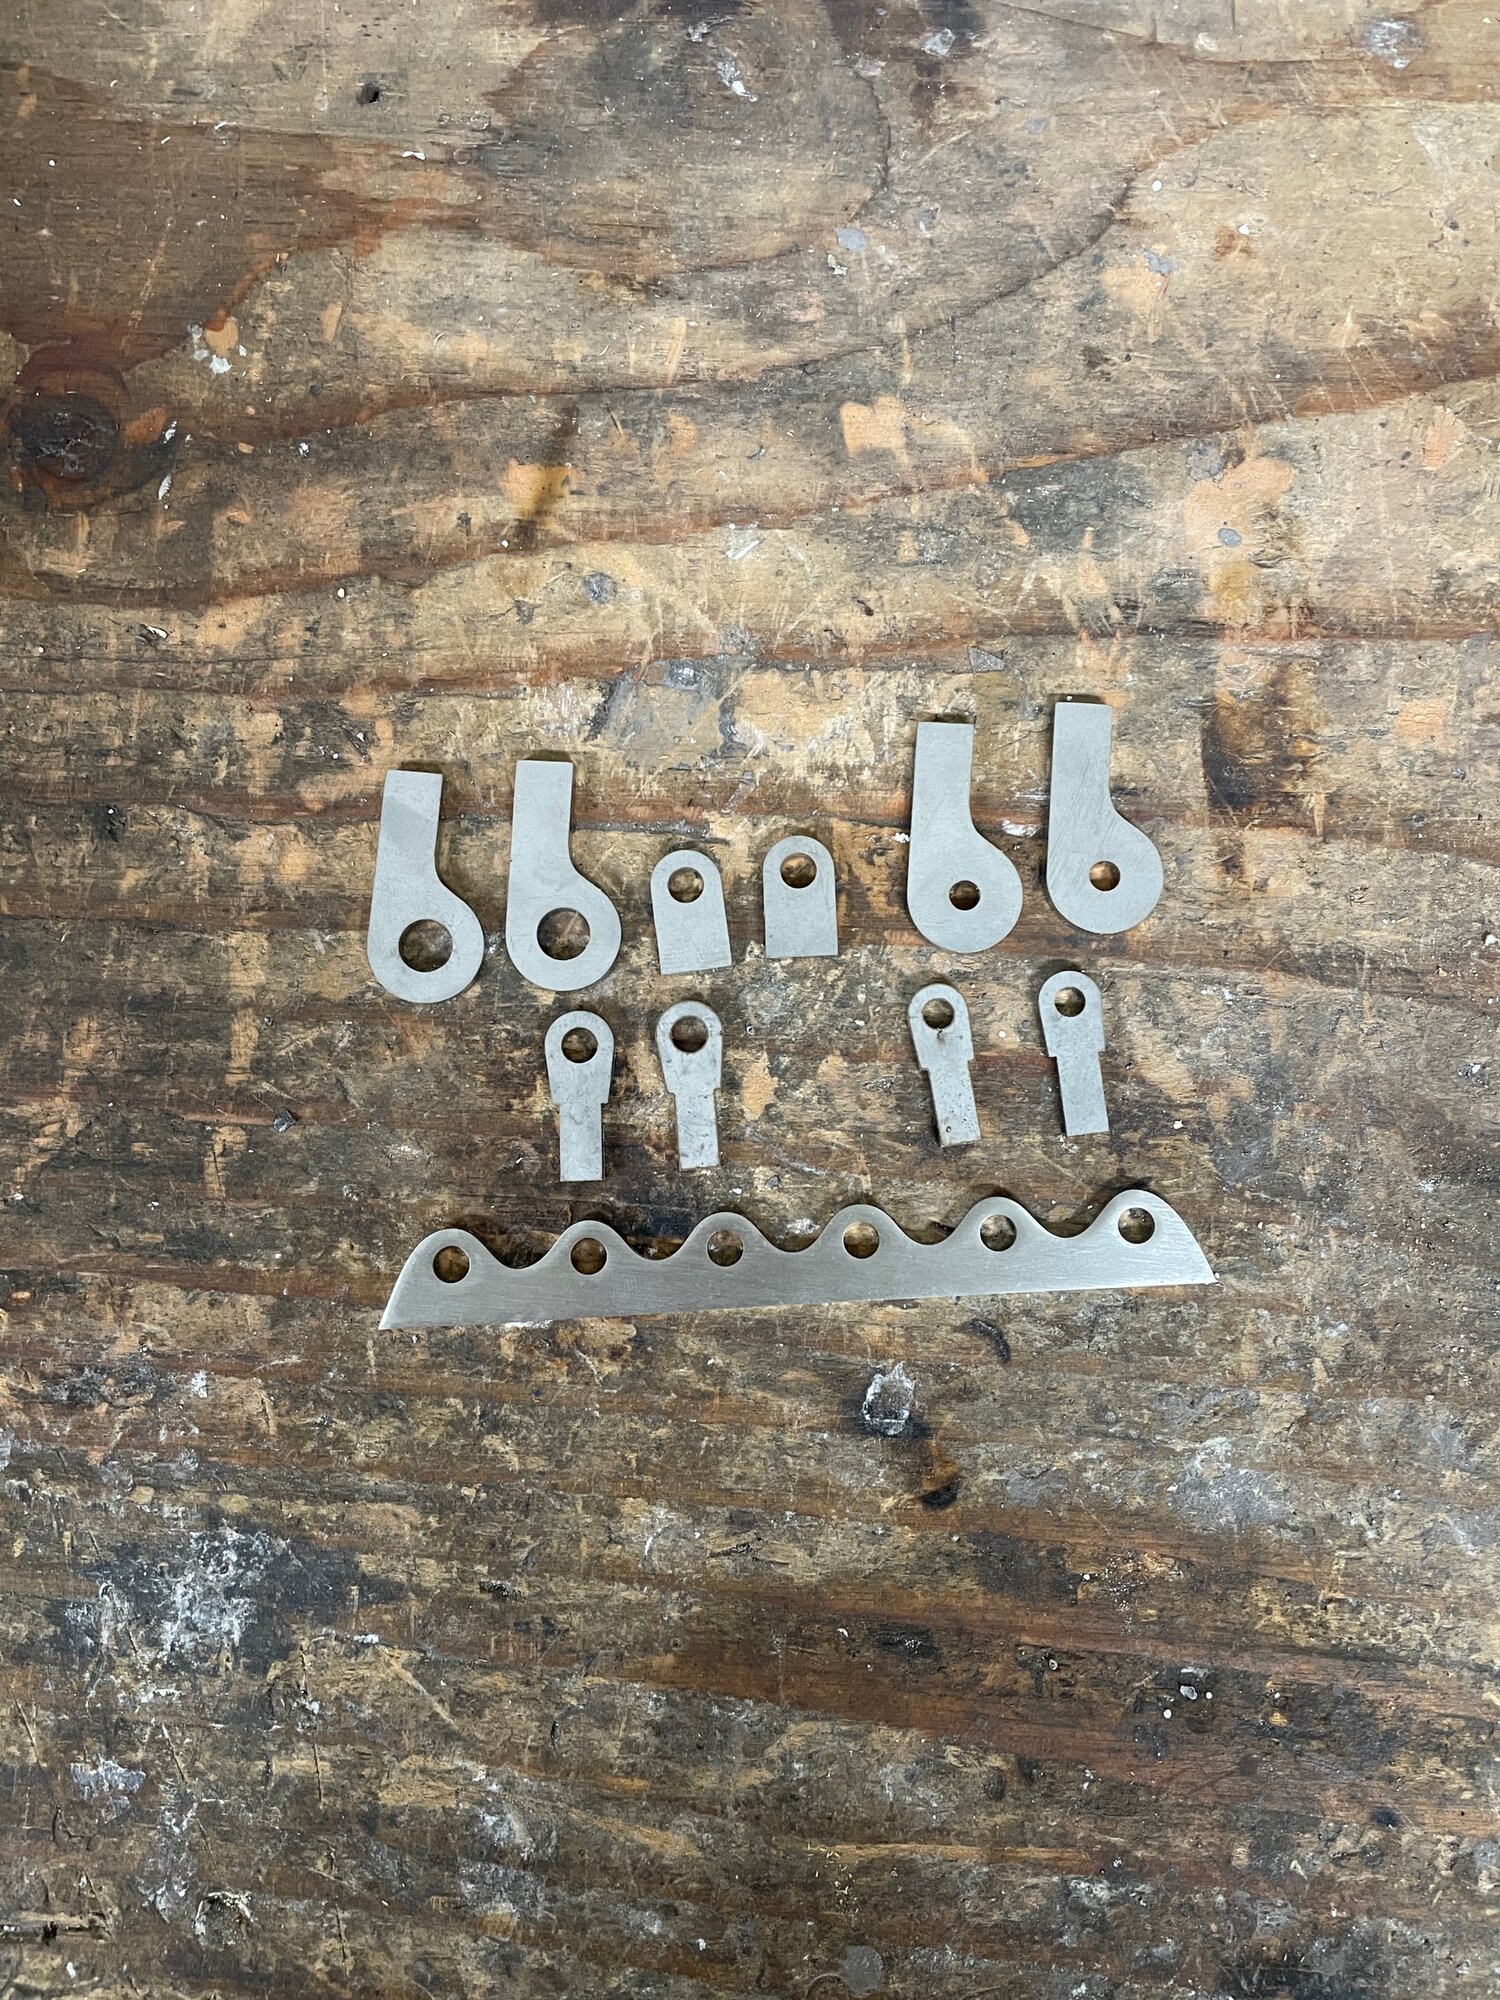
I designed the stay attachment pieces (similar to the Rene Herse ones) and had them laser cut locally. 100pc for $50 or something. Way cheaper than the RH ones. They also wanted a Star Trek symbol in the tombstone.
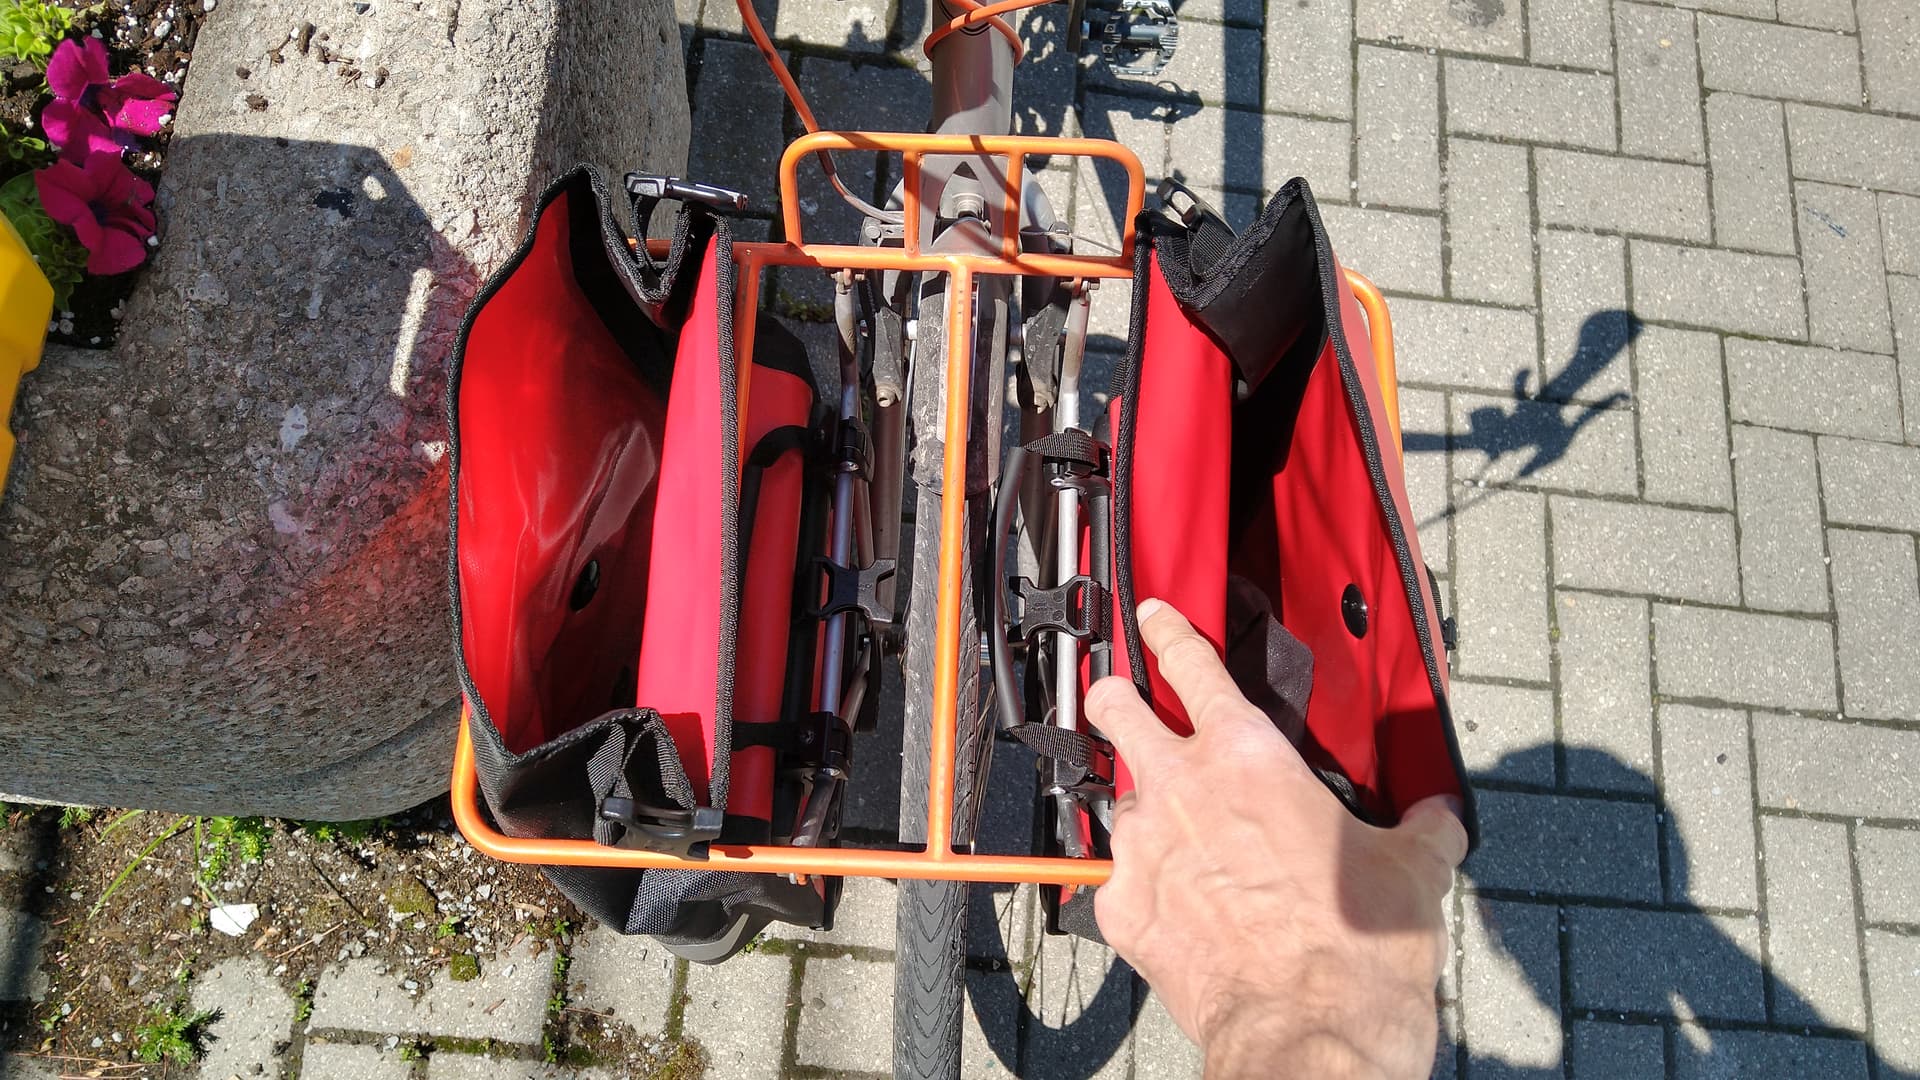
It can also hold two front panniers, the legs come off of the rack so it can be completely disassembled, and the user can get into the front panniers through the platform, making it so they don’t have to take the panniers off to access them.
I’m pretty sure this was 1/4" tubing, 0.035 wall thickness. Sourced from Aircraft Spruce. I did have to make two platforms because my first one wasn’t square at all.
I was intending on making a run of these but just haven’t had the time or patience.
Custom racks are a pain for time and expense, but I thinks it a place where small builders can really makes their bikes more practical and more beautiful.
I thought I hated racks until I figured out I just hated production racks that are just trying to hit the lowest common denominator.
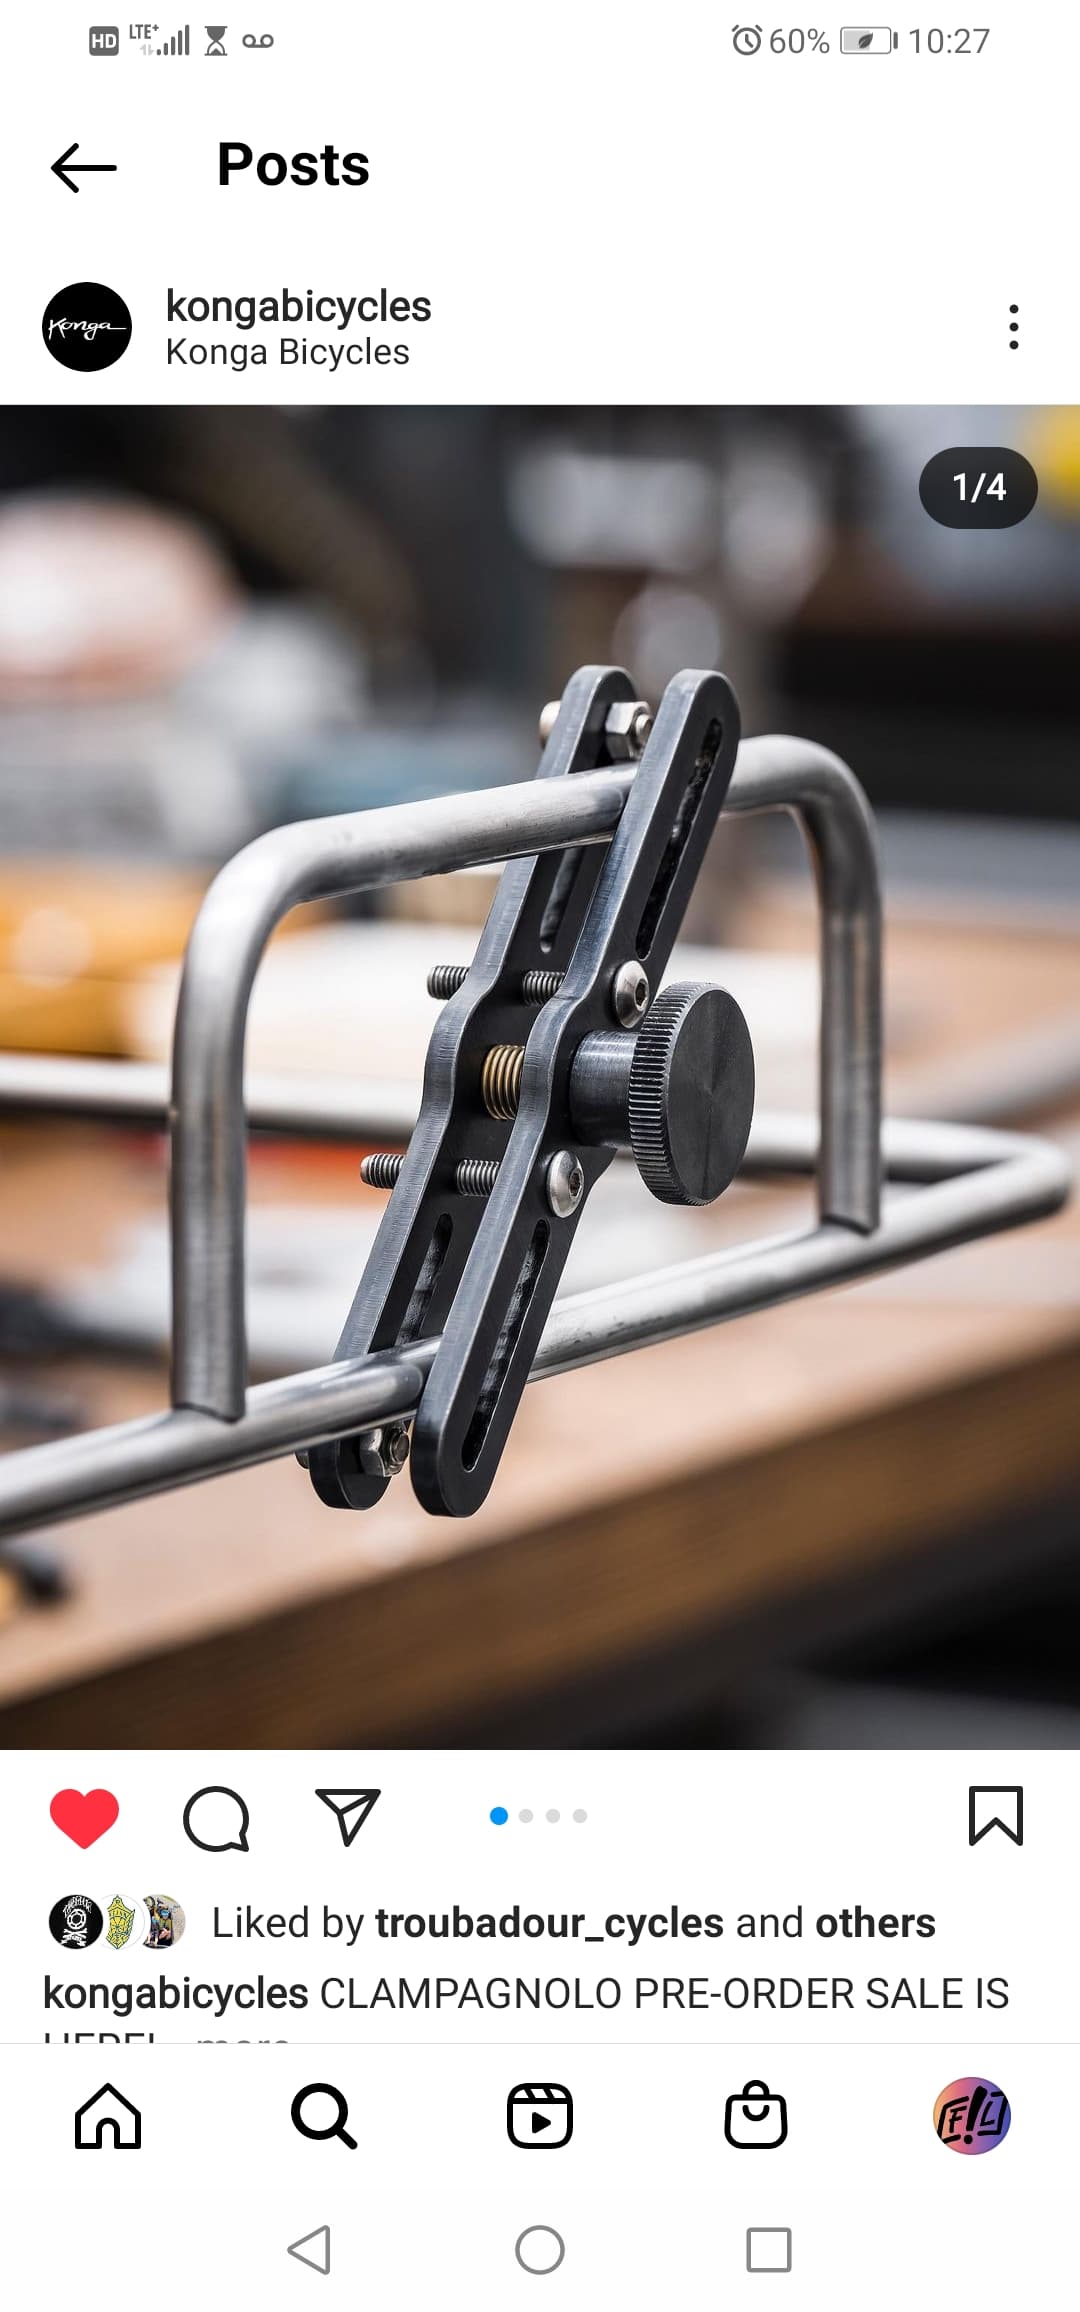
Also, Konga bikes in Finland makes these really handy clamps the really help fixturing racks (and seatstays too!)
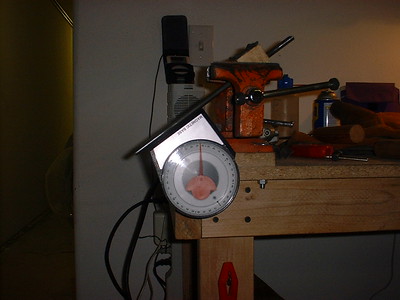
I use a Rigid 5/16 bender and also a homemade bender based on a V-belt pulley. To keep bends in the same plane, I use a cheap plastic torpedo level. I clamp the bender in my bench vise, using the torpedo level to set the bender horizontal. Then, once I make one bend in a tube, I lay the level across that and use it to ensure the 2nd bend is coplanar to the first.
Lovely looking rack! But also similar enough to a Pass & Stow 5 Rail that batching them probably doesn’t make much sense. Matt seems to have that process nailed.
I spent a lot of time researching Pass & Stow before making mine. I tried my best to not directly copy, but there are definitely similarities. P&S definitely has the fabrication process nailed.
Thing is, I can’t think of a rack available directly in Canada that has the features mine has.
Can completely take it apart
Accepts front panniers
Able to make the legs and platform a different color from each other
Able to access front panniers through the rails
Ordering a Pass & Stow is more expensive as well after shipping / duties / USD conversion (around $520CAD). I promoted it a bit after handing it off to the client and had enough people interested in making a batch, I just never got around to it.
In total, I believe materials came to about $200~ish dollars. Not a lot of bank to be made off of making racks unless I start taking features away like pannier compatibility, detachability, etc,.
Ahh true. I’ve owned two Pass & Stows and have put about 15,000 k’s on them. Could hardly think how they could be improved so yeah if can gonna copy something may as well start with the best. The internal dynamo wiring is a really nice feature too!
Also I really don’t understand why shipping/taxes between the US and Canada is so bad/expensive. I live in Australia and it sounds like it’s easier to get US stuff sent here sometimes haha.
So yeah , if you can turn a small profit on a locally produced rack then it makes sense. Might not be super profitable standalone item but could be one of those things that will win you a few customers for complete bikes. I don’t fabricate them myself but racks are always something that’s on my mind when designing a new bike.
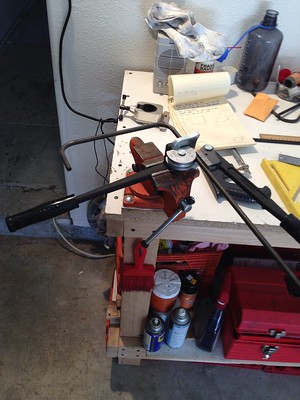
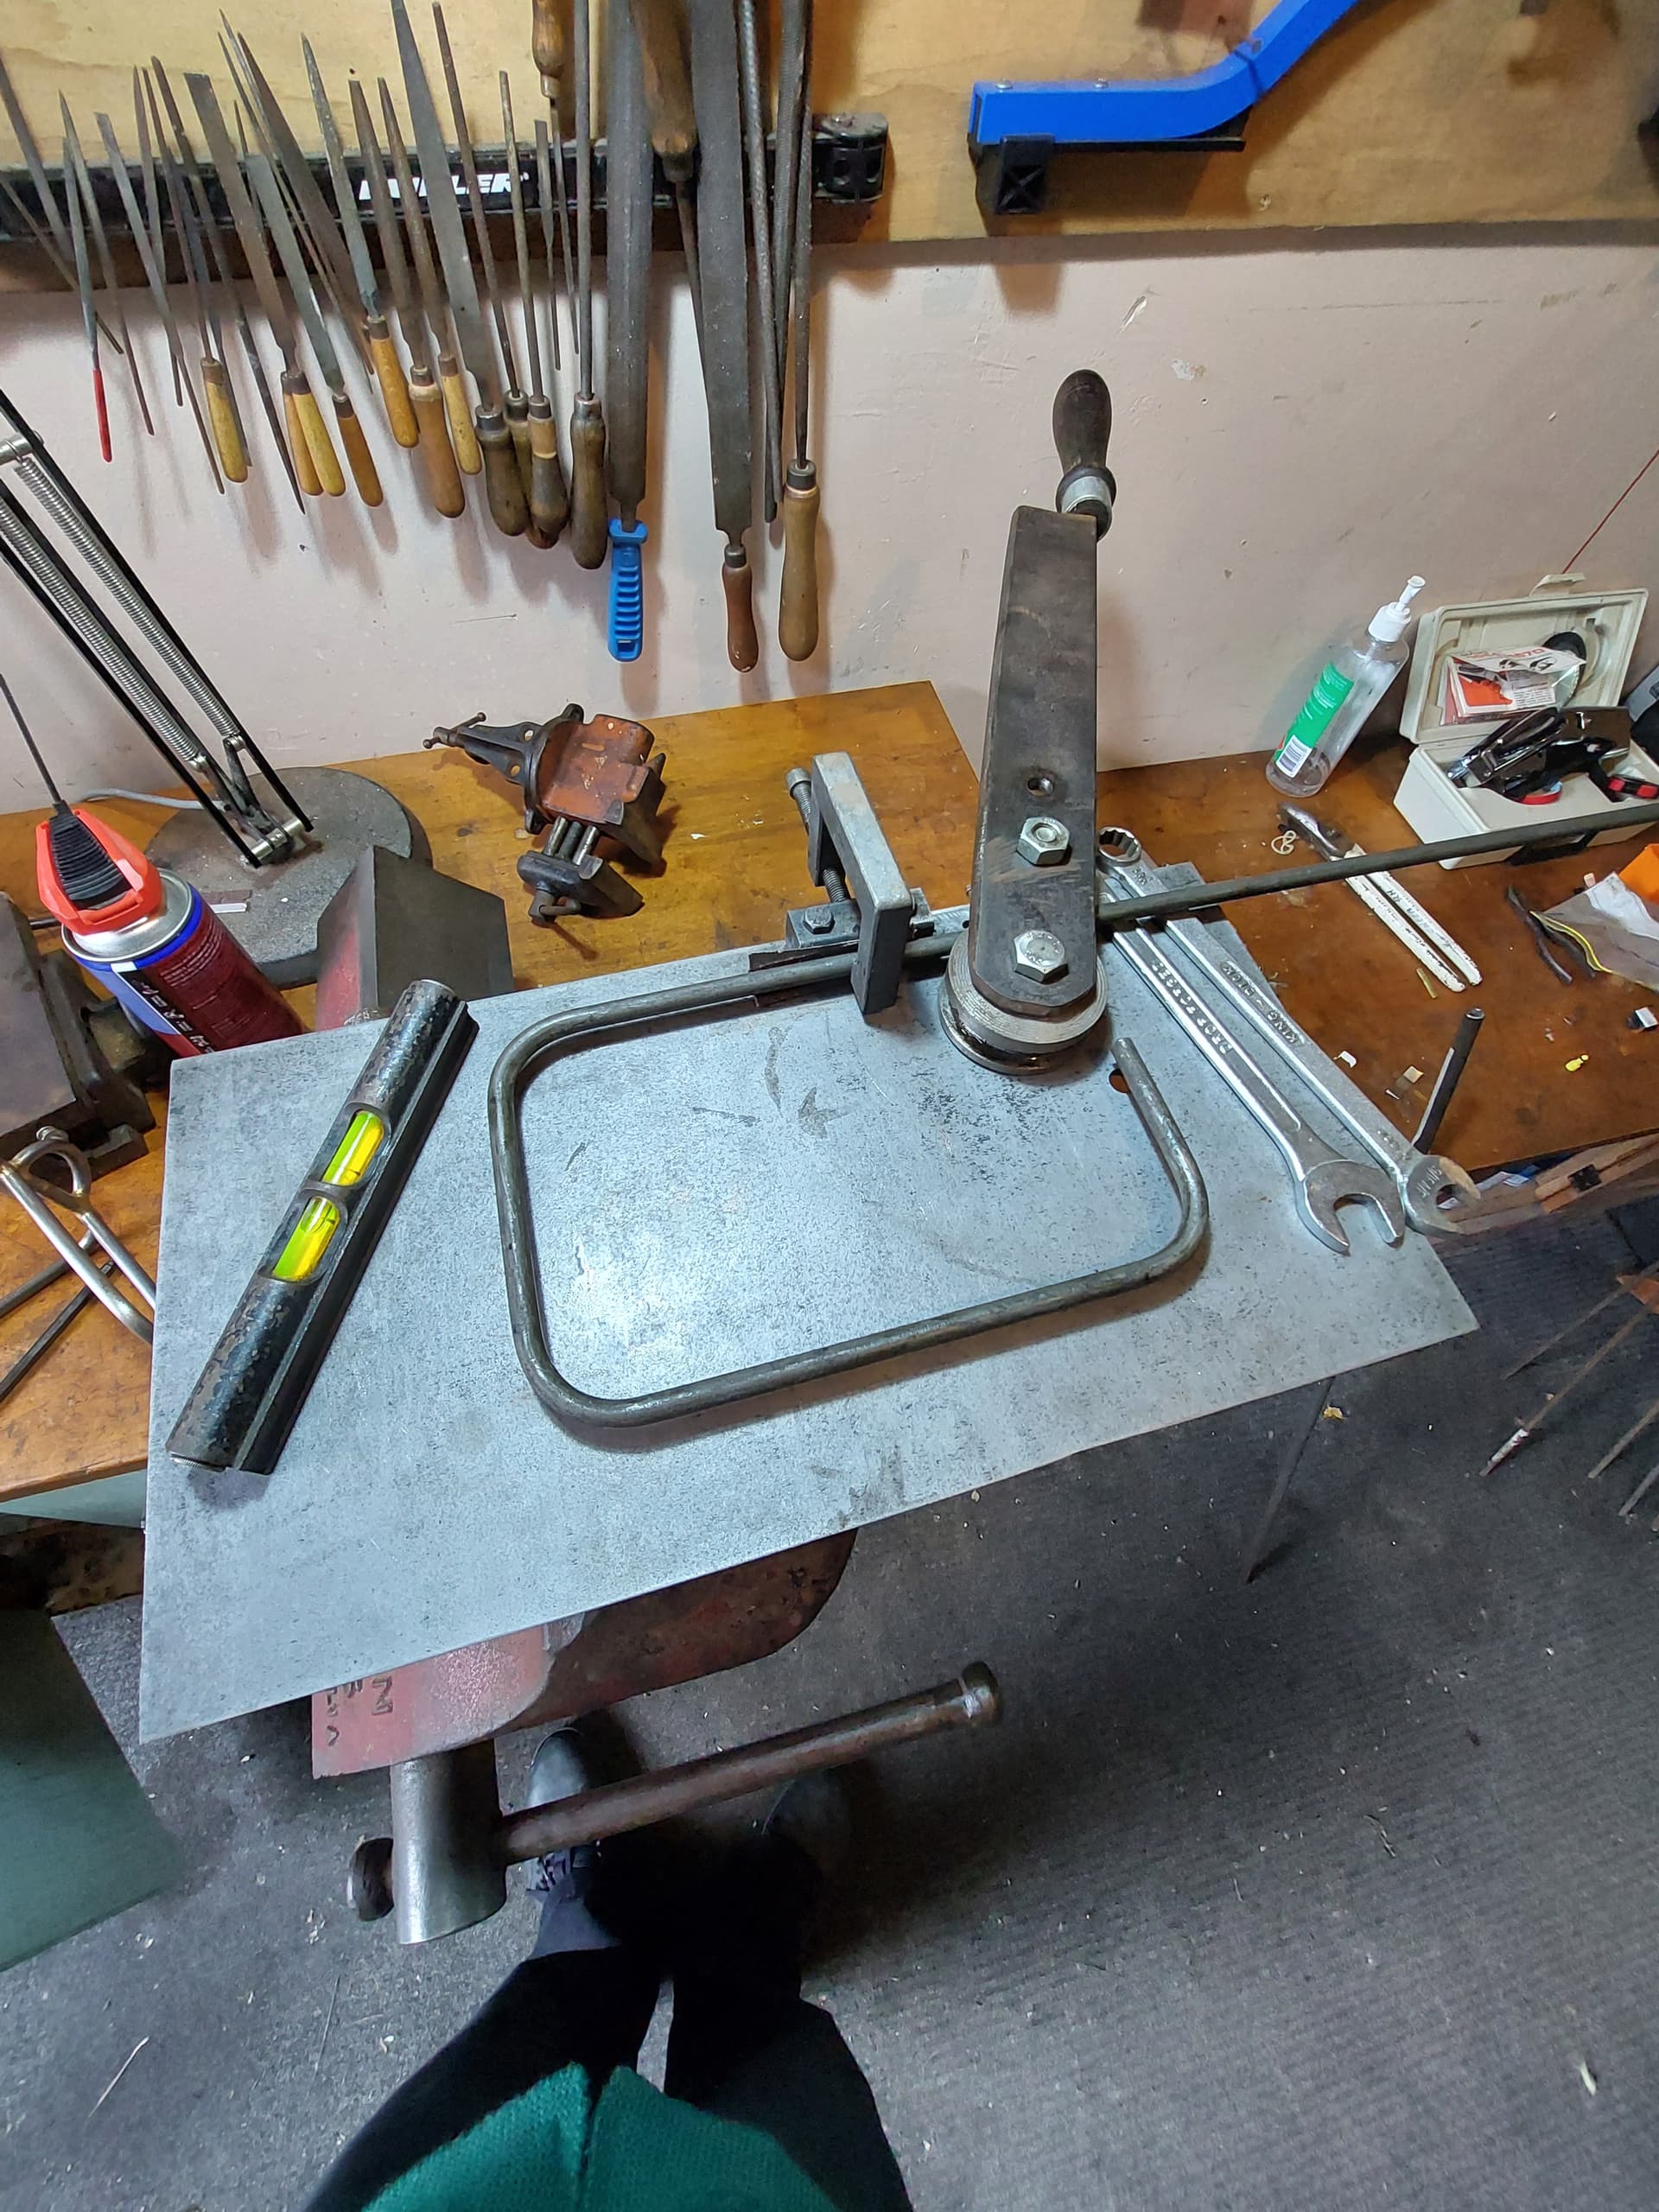
I had some bad luck with a cheap hand bender(crimping, bender snapping) and wasn’t able to afford a ridged or swagelock here in NZ. So I ended up making a bench top bender. I saw this Instagram post by Muirandessicycles.They said that they were inspired by the bender in this video of Hirsoe(Skip to 5.49 to see it)
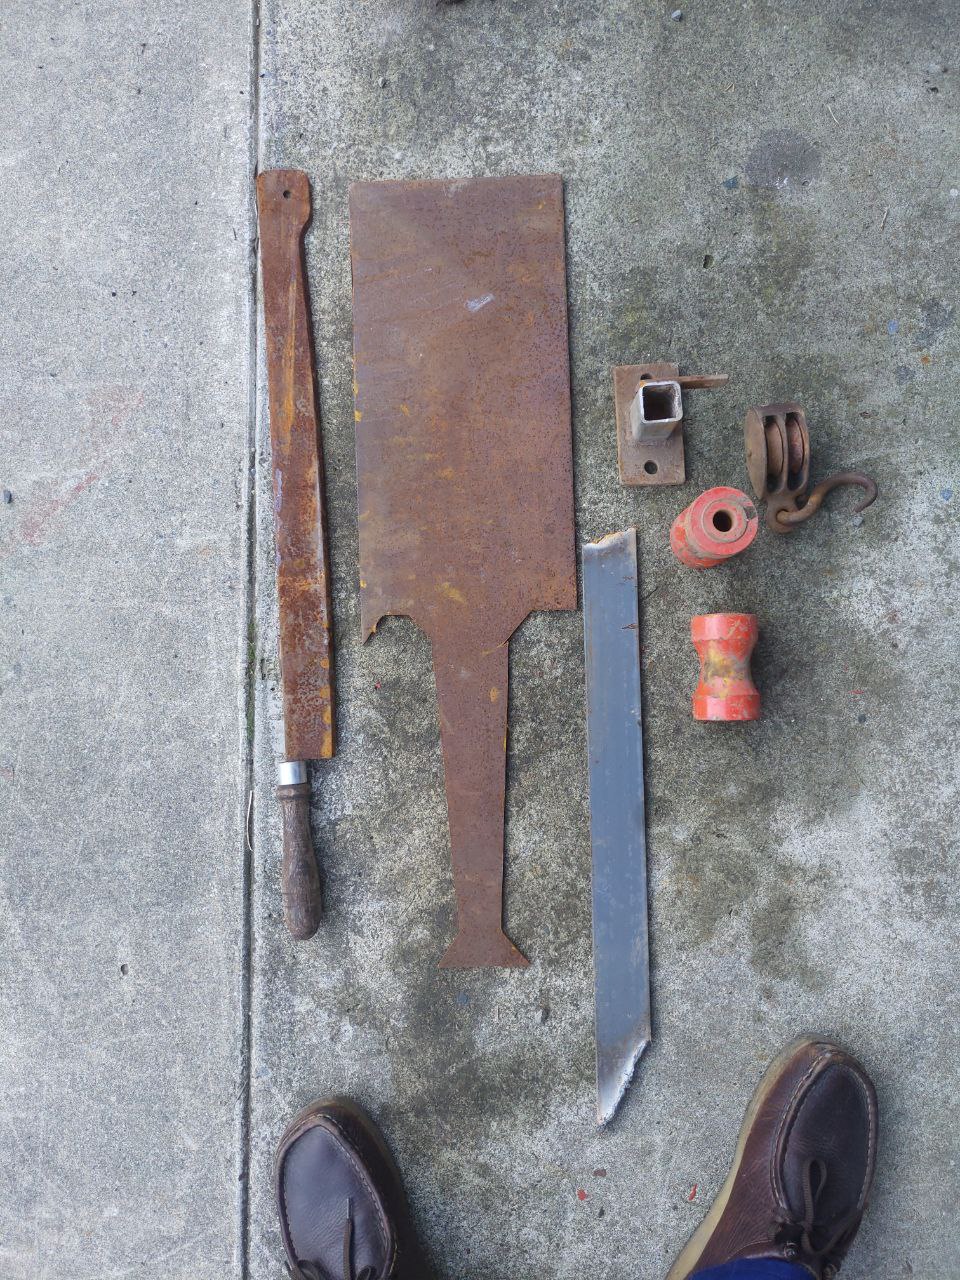
I had a hunt for some stuff at a scrap metal yard as I didn’t really have any stock that would work and walked away with this.
Was pretty happy with the guillotine blade as a handle but was a pain to drill through. Thought I could use the pulleys for dies but the groove was too deep. Ended up turning those red things on a lathe.
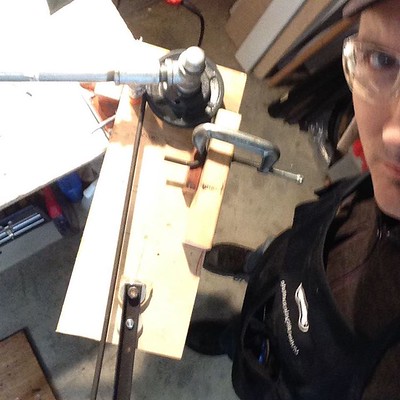
You just need to drill the handle and base plate for different radius dies. Also something to clamp the tube on so it doesn’t slip when bending.
I have a couple of other benders now but cos of ease of set up and use i seem to come back to this one often. Only downside is you can’t do too many following bends at different angles as the base plate gets in the way. Though I guess you could always drill holes for a counterclockwise bend.
Also, after watching that video again and seeing the pins Hirsoe uses for measuring between bends I think I’ll add that when I get a chance.
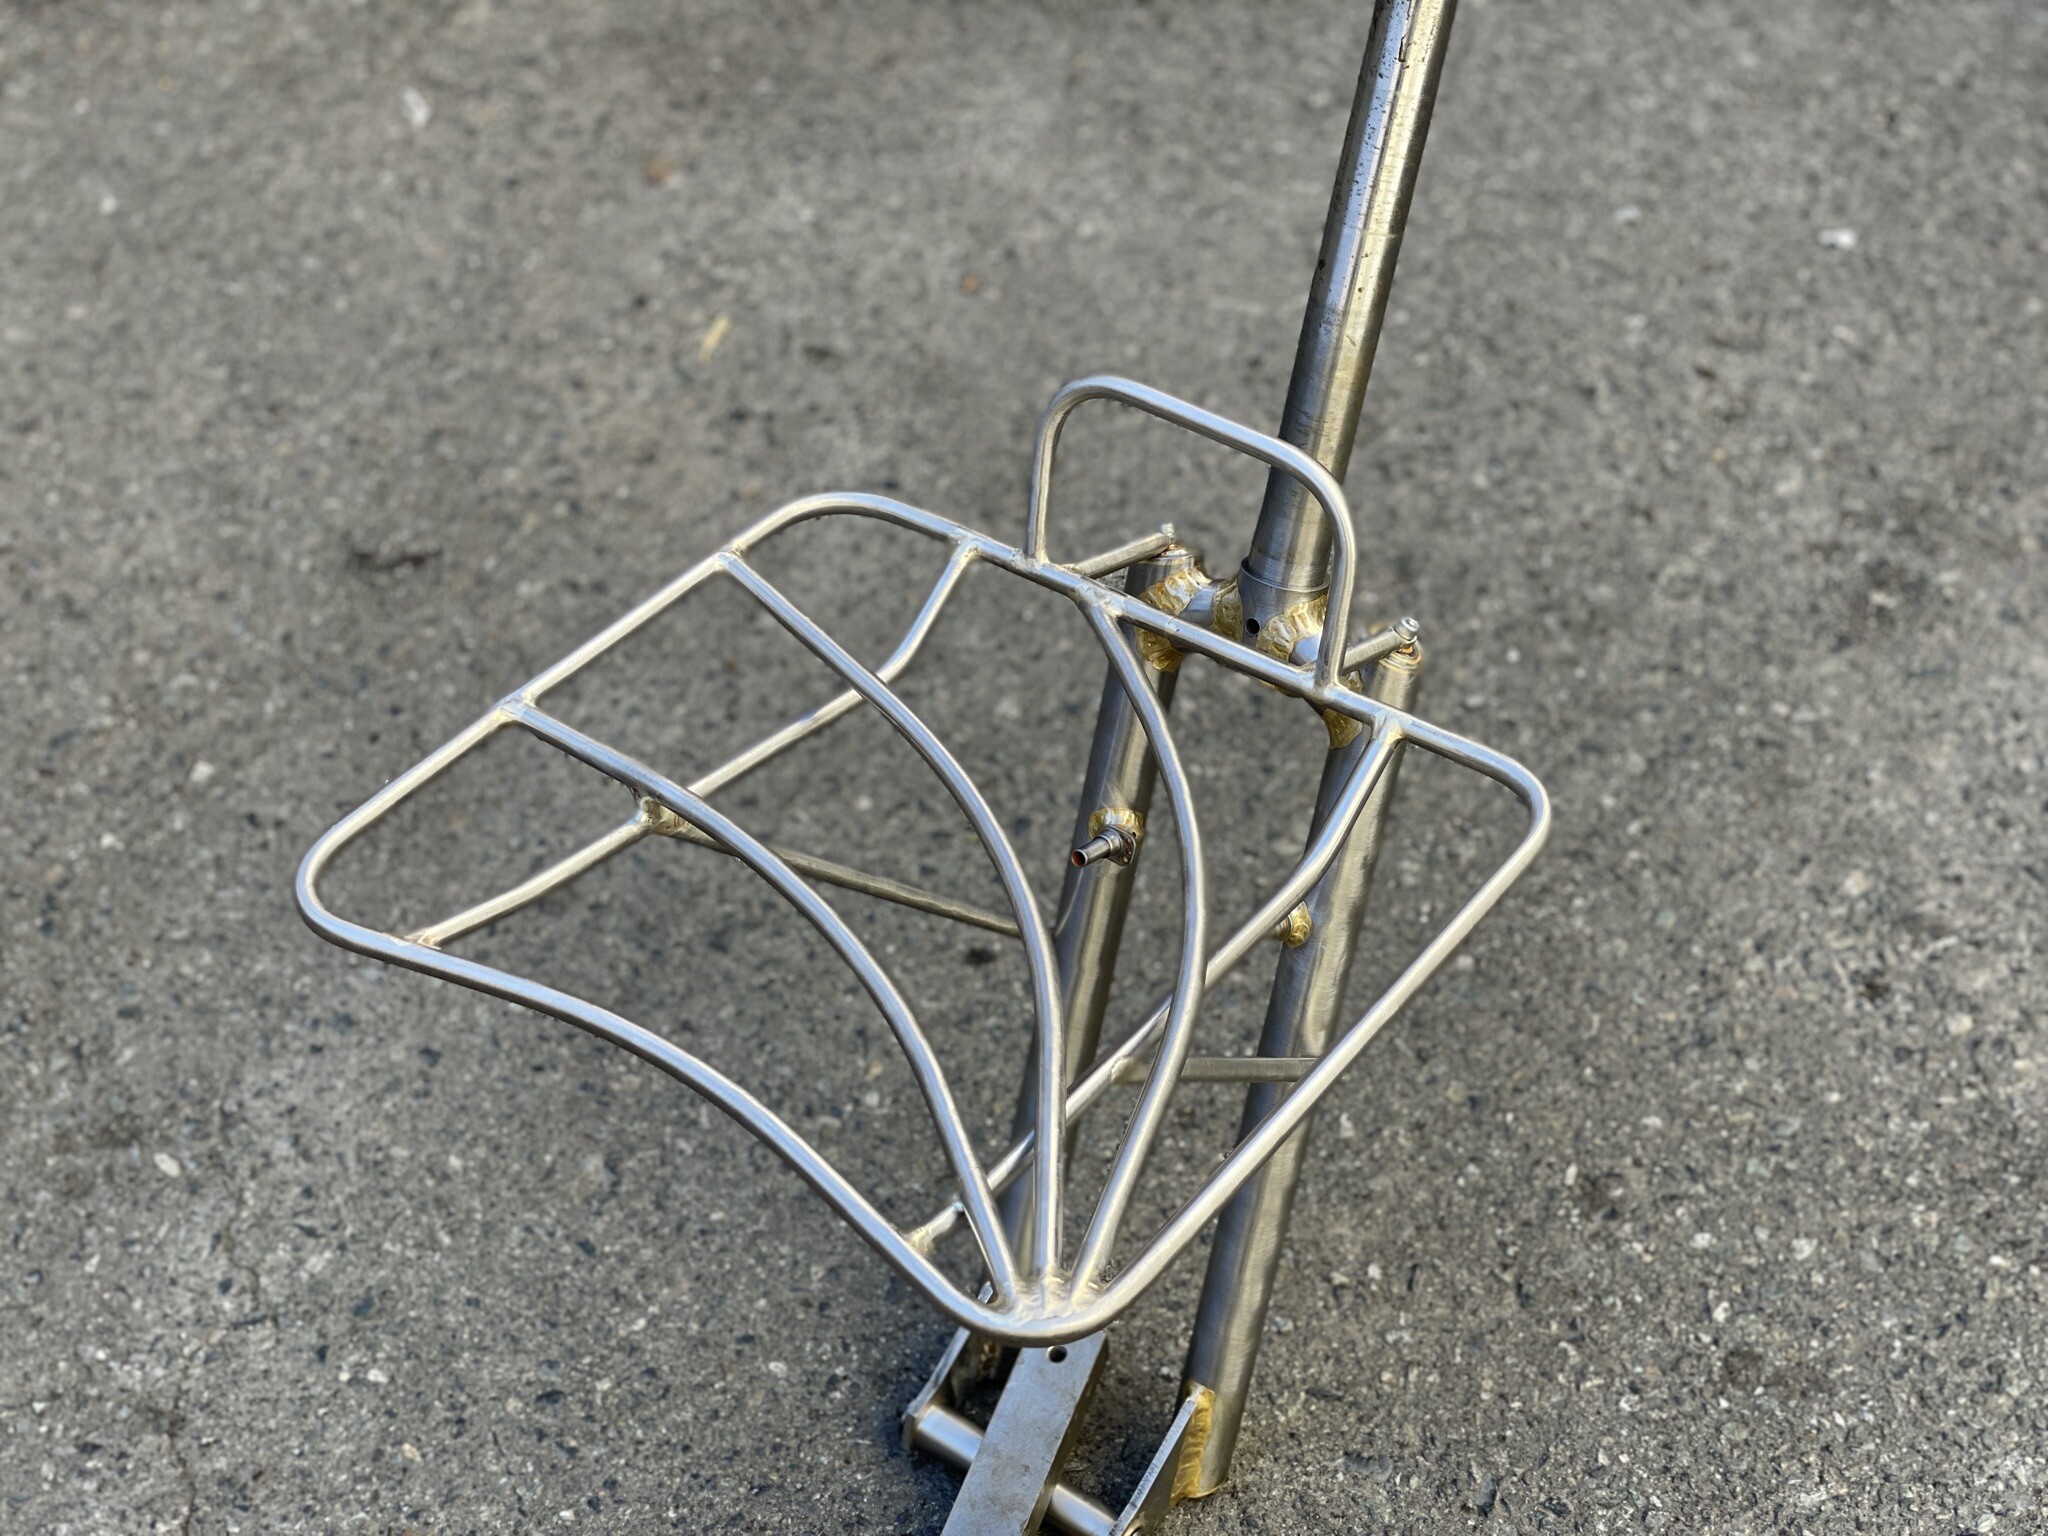
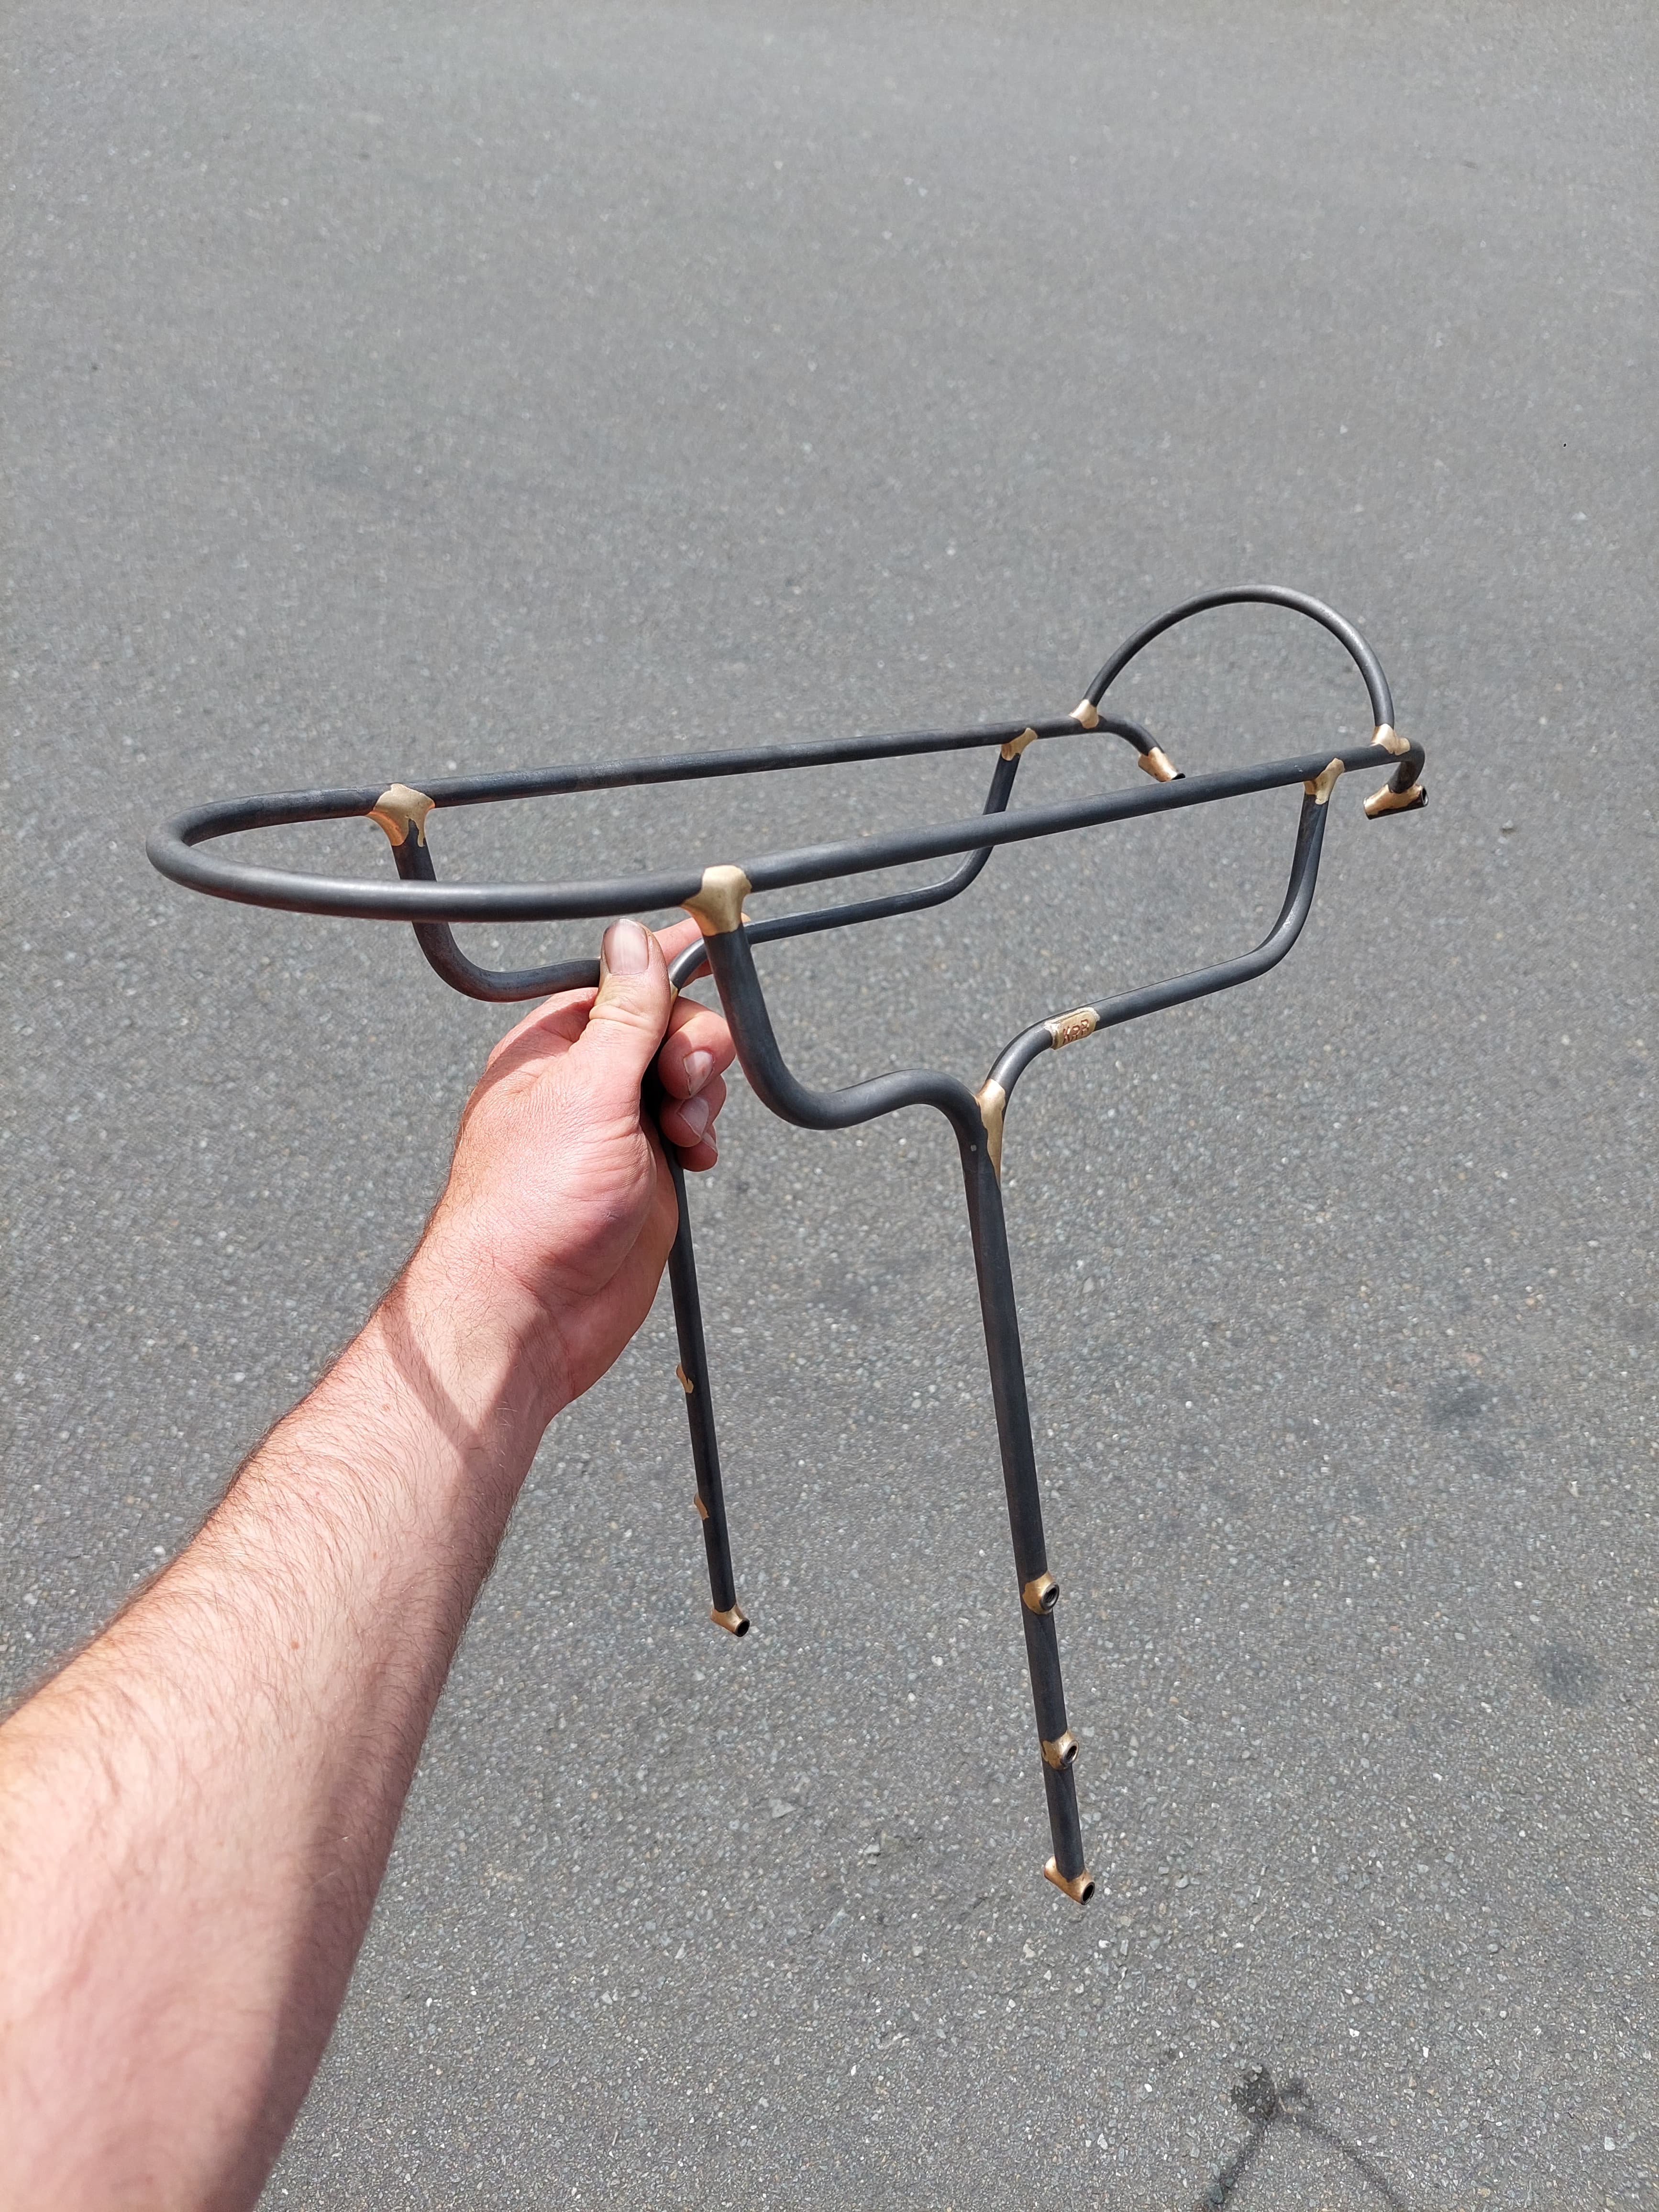
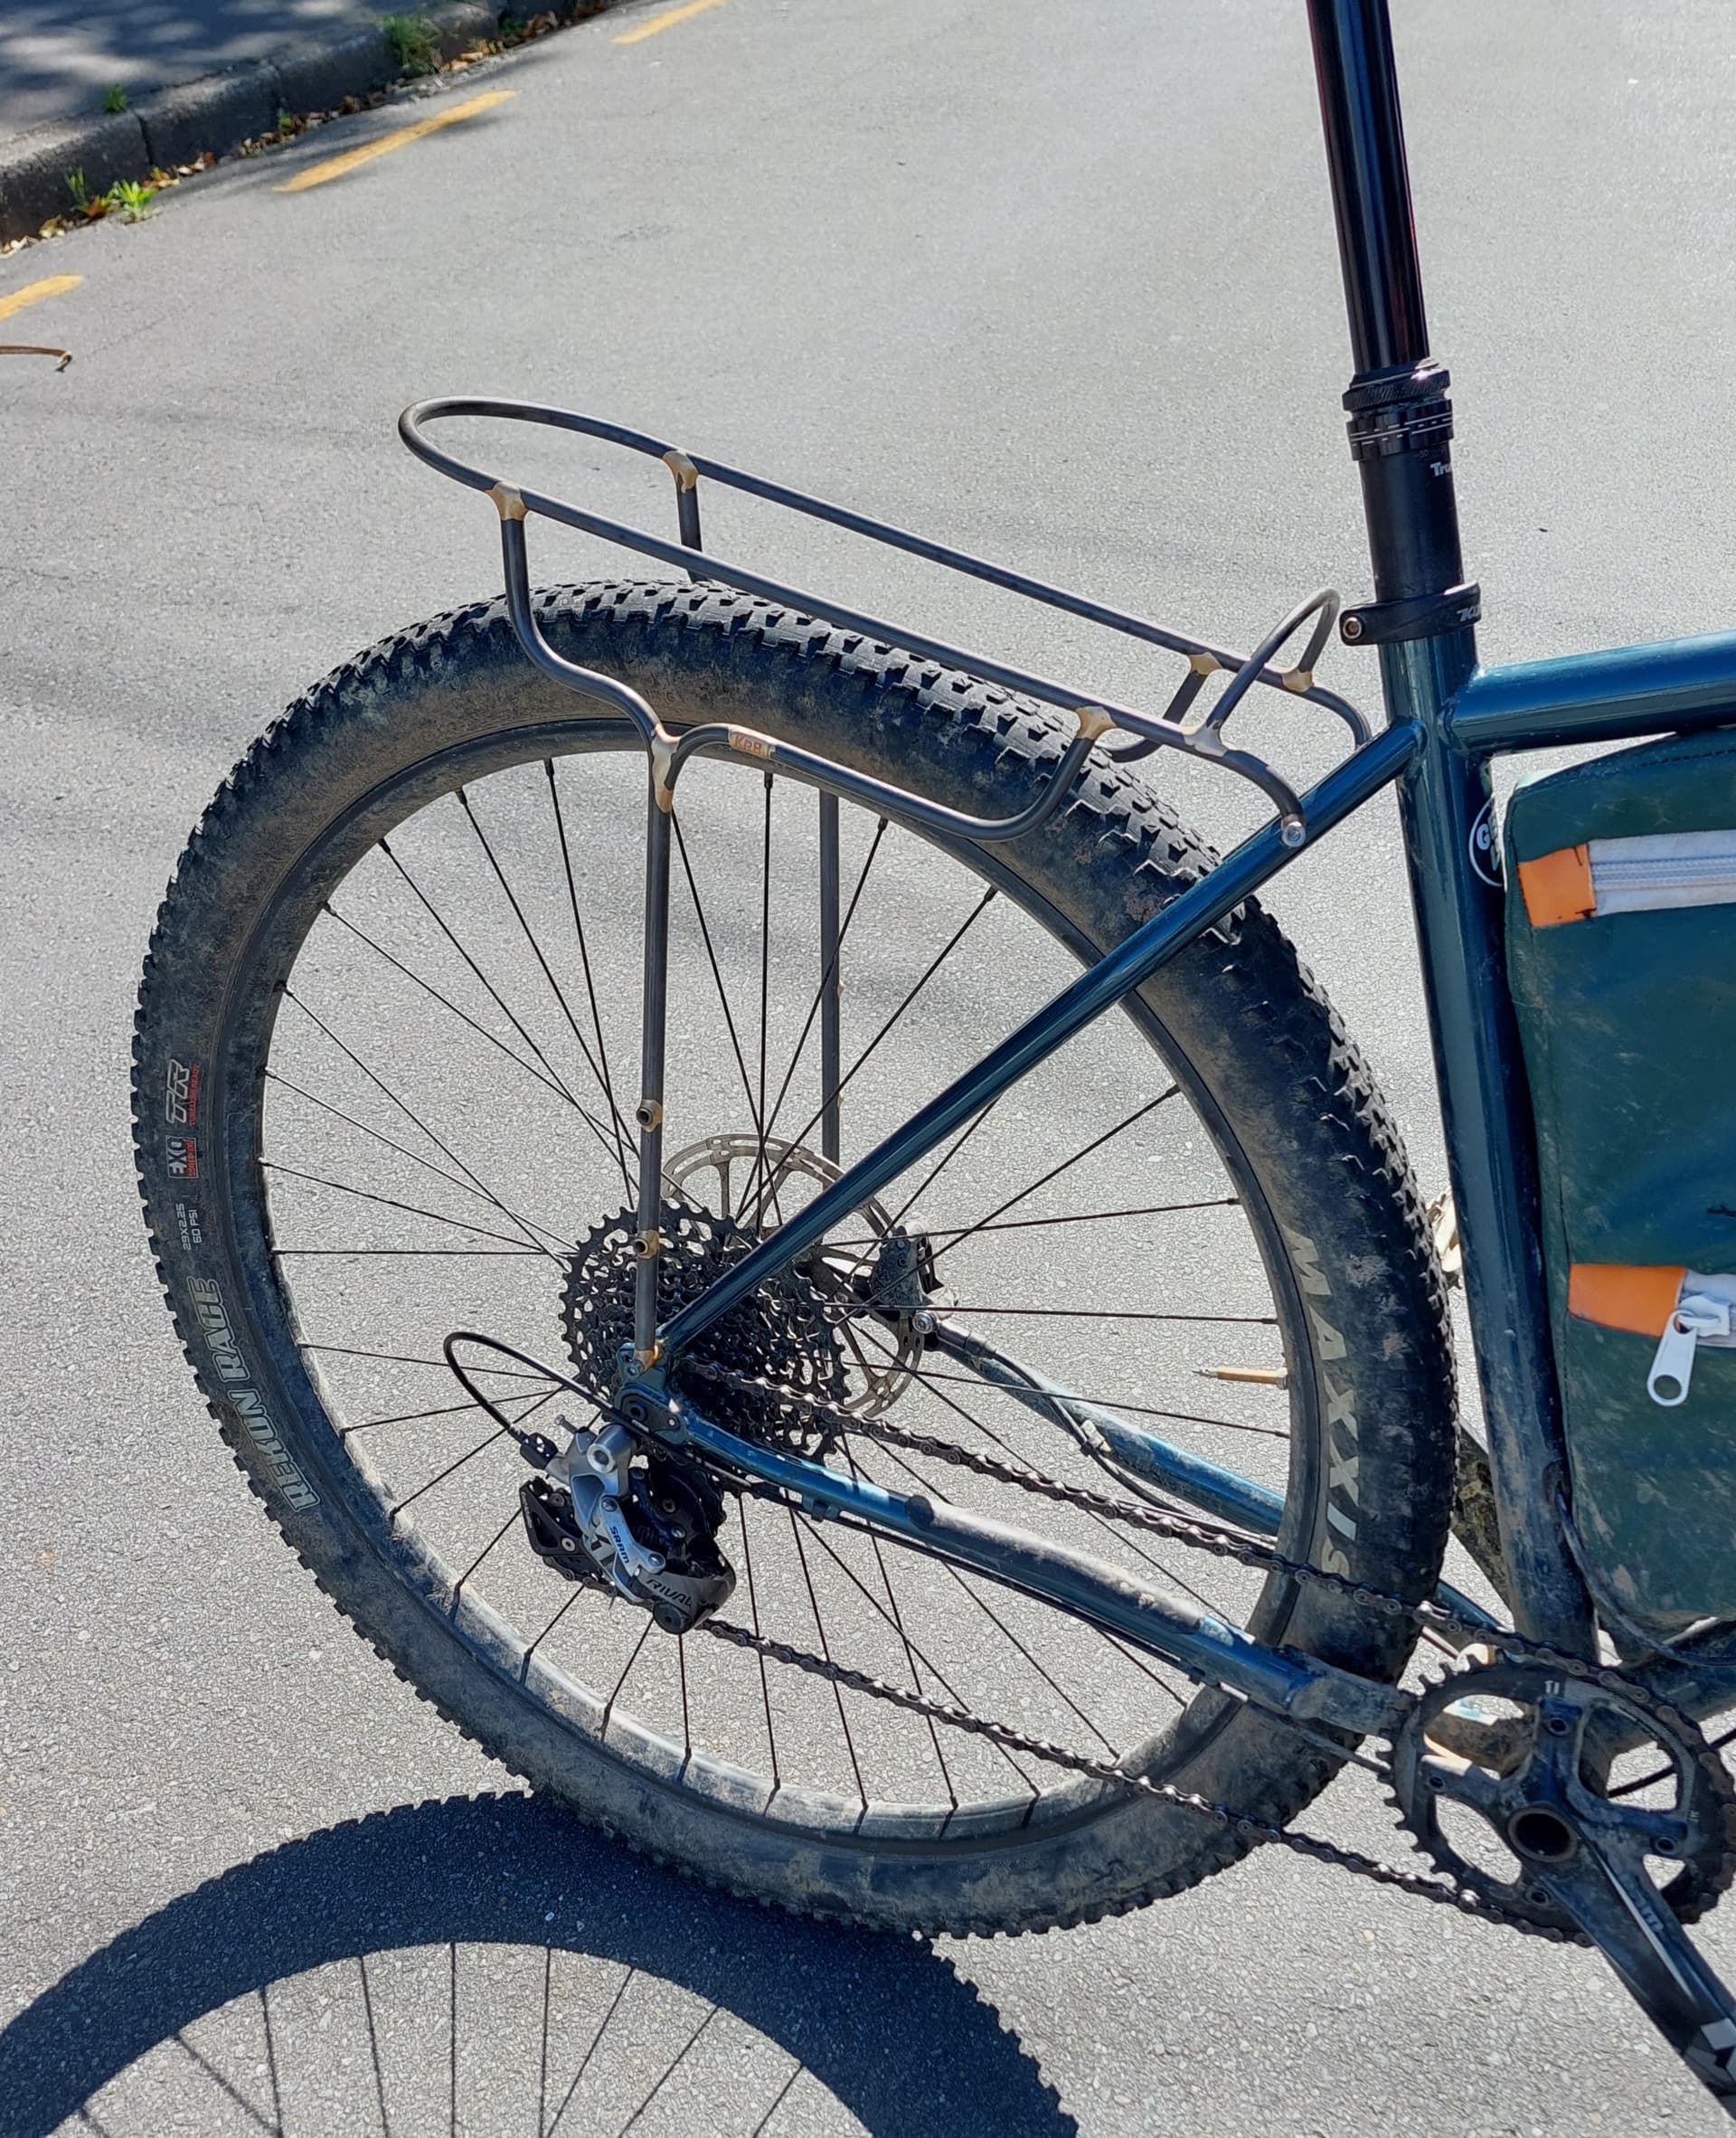
Anyway, here’s the latest rack I made with it. It’s a rear (my first) harness holder for a dry bag.
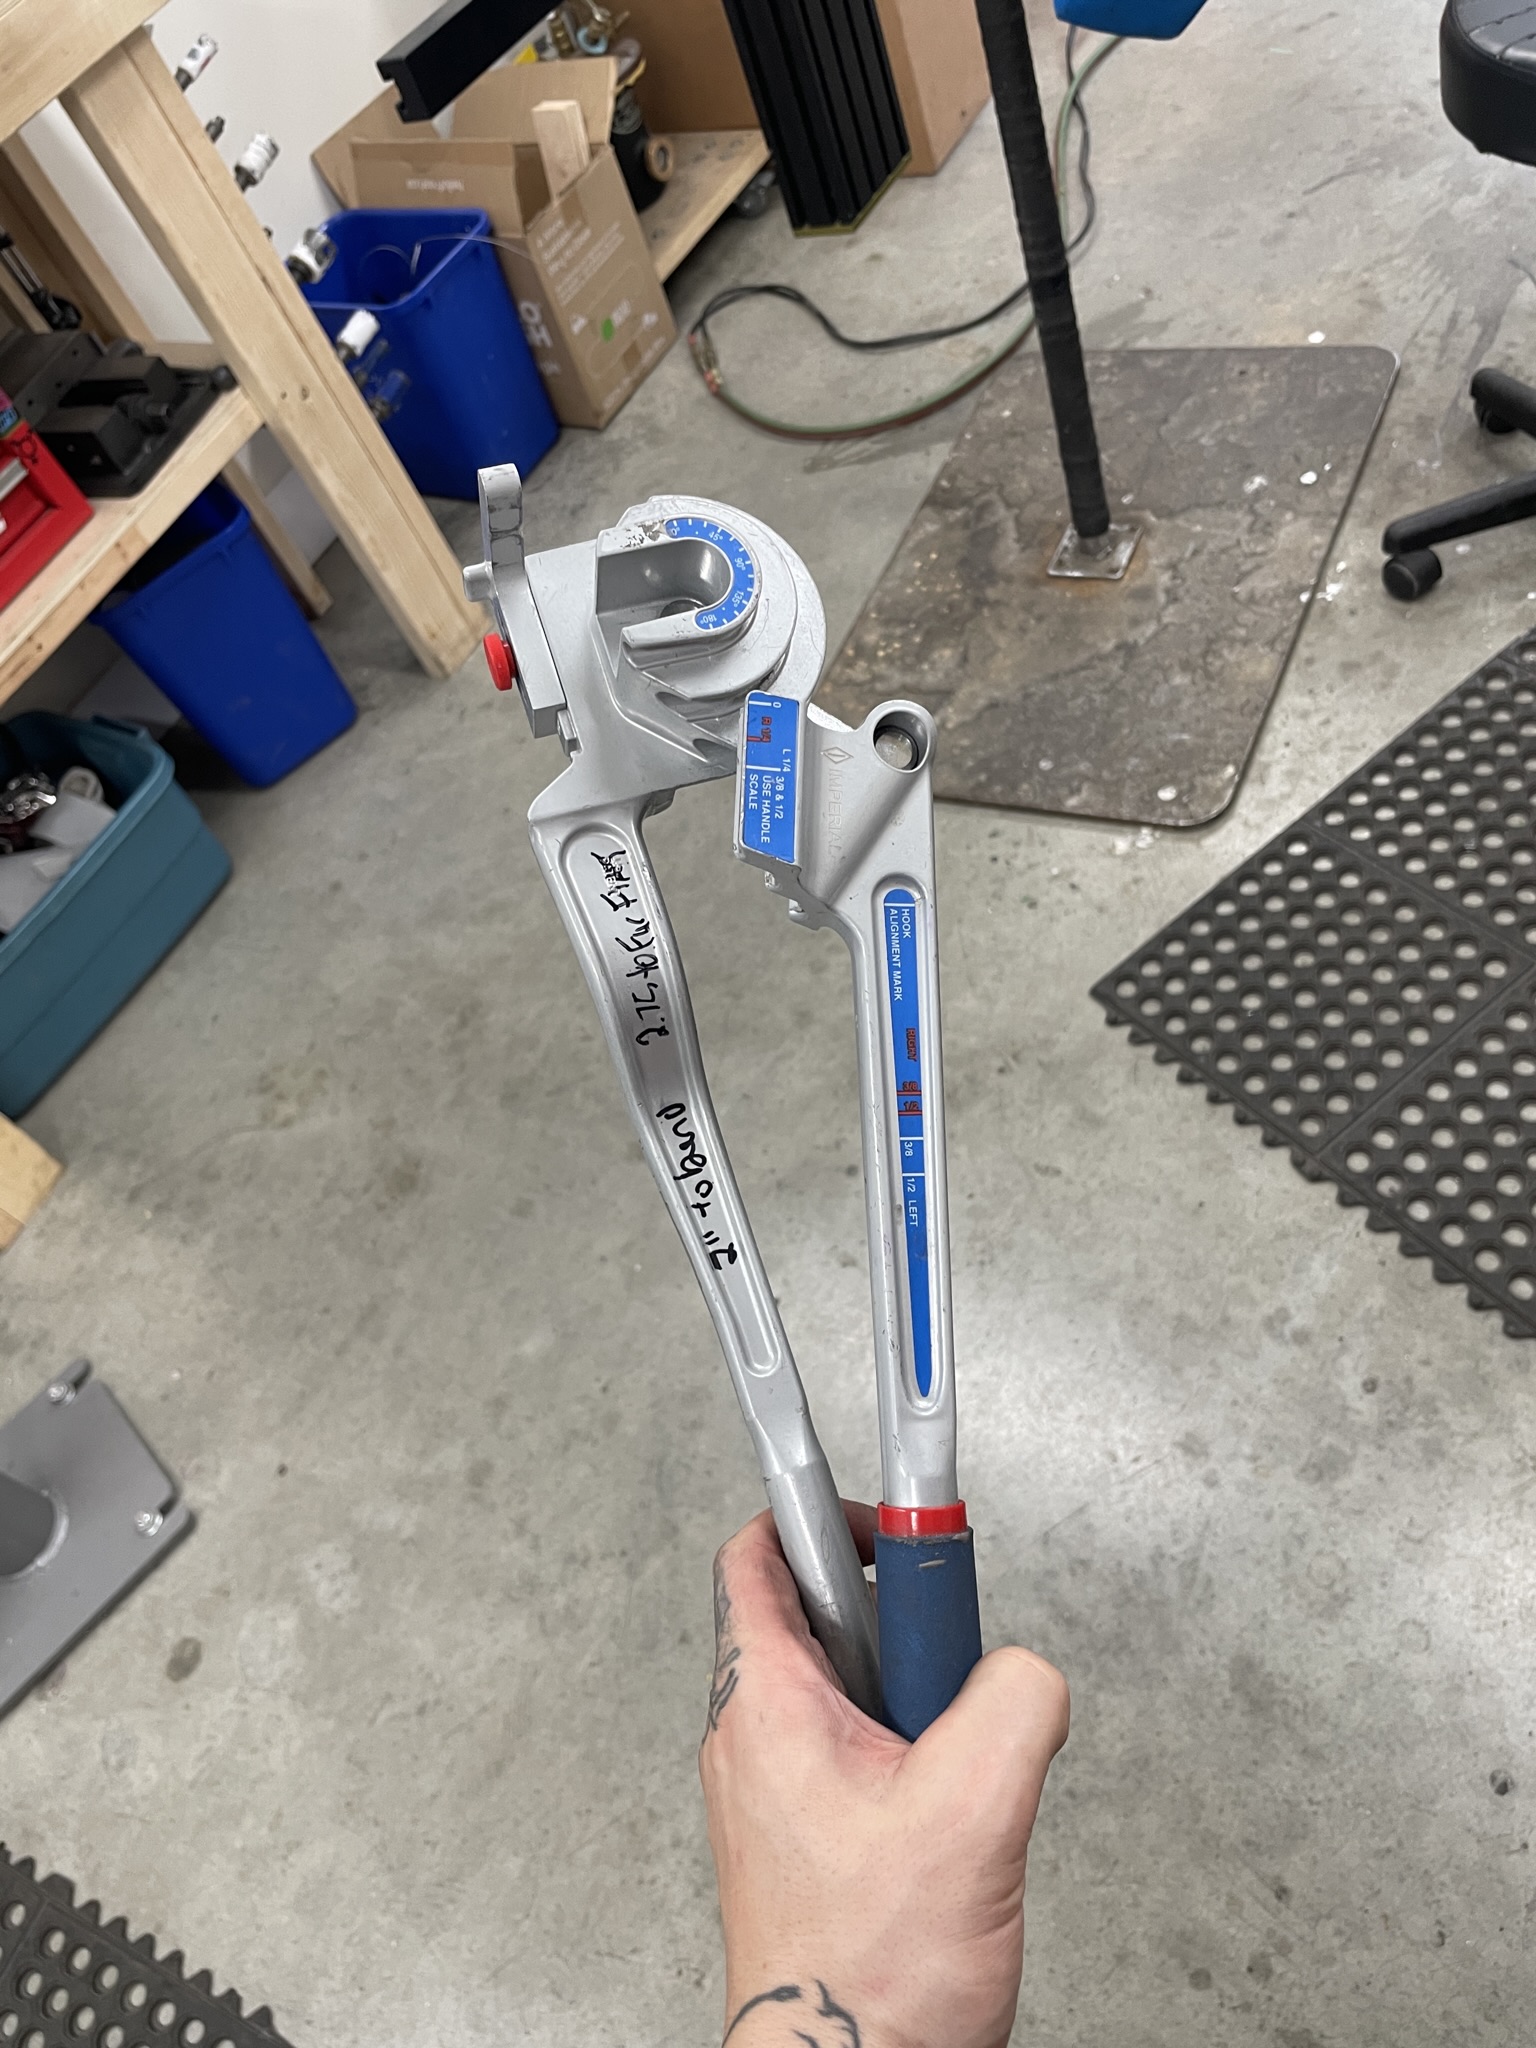
Even before I first tried making racks, I had to bend some hydraulic tubing at work. Work had a set of Eastman benders, and I couldn’t make a good looking bend with them. Parker and Ridgid sell benders that are similar to the Swagelok, but have a bigger radius bend. I find that the tight bends with Swagelok makes an ugly bend, but sometimes it’s helpful to have that tight radius. Parker sells some benders that are identical to the Swagelok except they are black. Every once in a while you will see them on ebay.
I have an Eastman kit for bigger tubes that has replaceable dies and it works well. If I’m making a randonneur front rack, I’ll use the 5/8" die to bend the front bend and it comes out fine. At some radius you can use a cylinder with no groove as a die. The Hirose videos on youtube used to show him using steel dowels to bend racks. But many of those videos have been sanitized to be much less useful.
Thank you! It was a little hard to get right tbh.
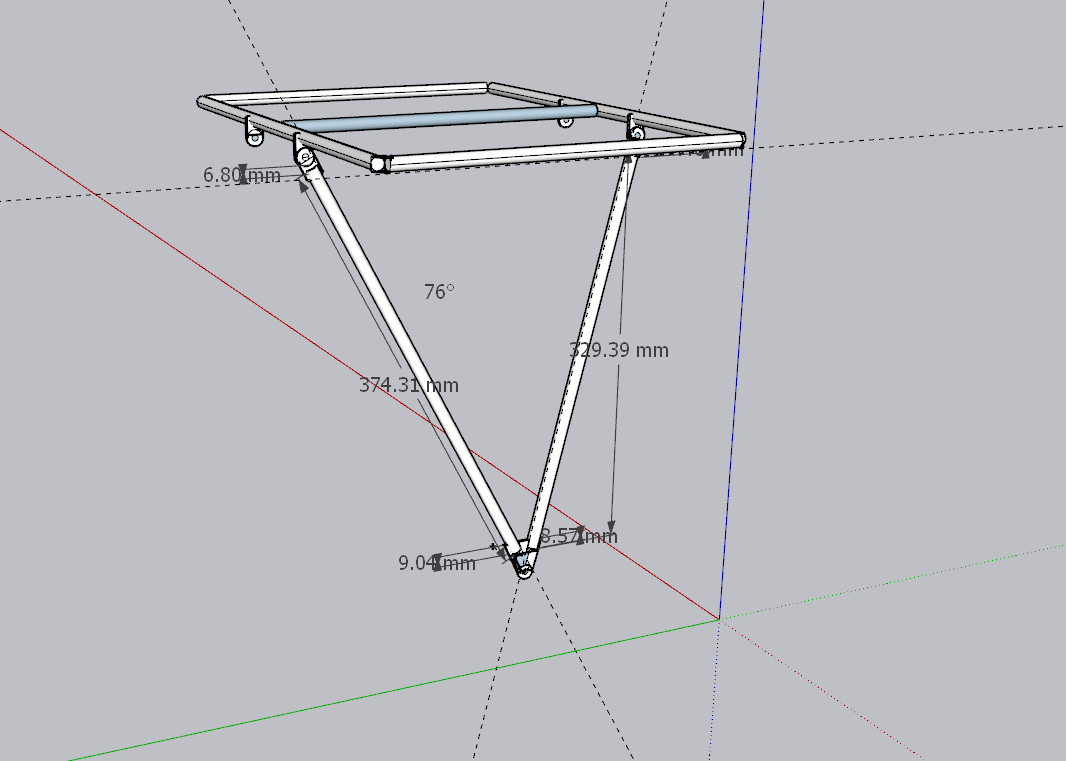
I’m really keen to make a rack jig so I don’t need someone’s bike after I do the first measurements. I’ve been thinking of something that uses 20x20 extrusion and part of a camera tripod. That way I can adjust height and all angles to the bike and work off the jig.