Intro:
This is a quick tutorial that shows you how to design an ISO brake tab in Fusion 360. Even if you don’t need an ISO brake tab, I think its still a worthwhile exercise that teaches you how to:
- Design to a standard
- Fumble around with sketch constraints
- Export 3D parts to 2D DXF drawings for laser cutting
Finally, there are a few good reasons to design your own ISO tab:
- Personalize the aestetics of your frame
- Save money (laser cut tabs are $4-5)
- Save time. Since the tab is designed for your SS angle, offset, and diameter, you don’t need as much eyeballing, filing, and bending for the tab to fit
Video:

Files:
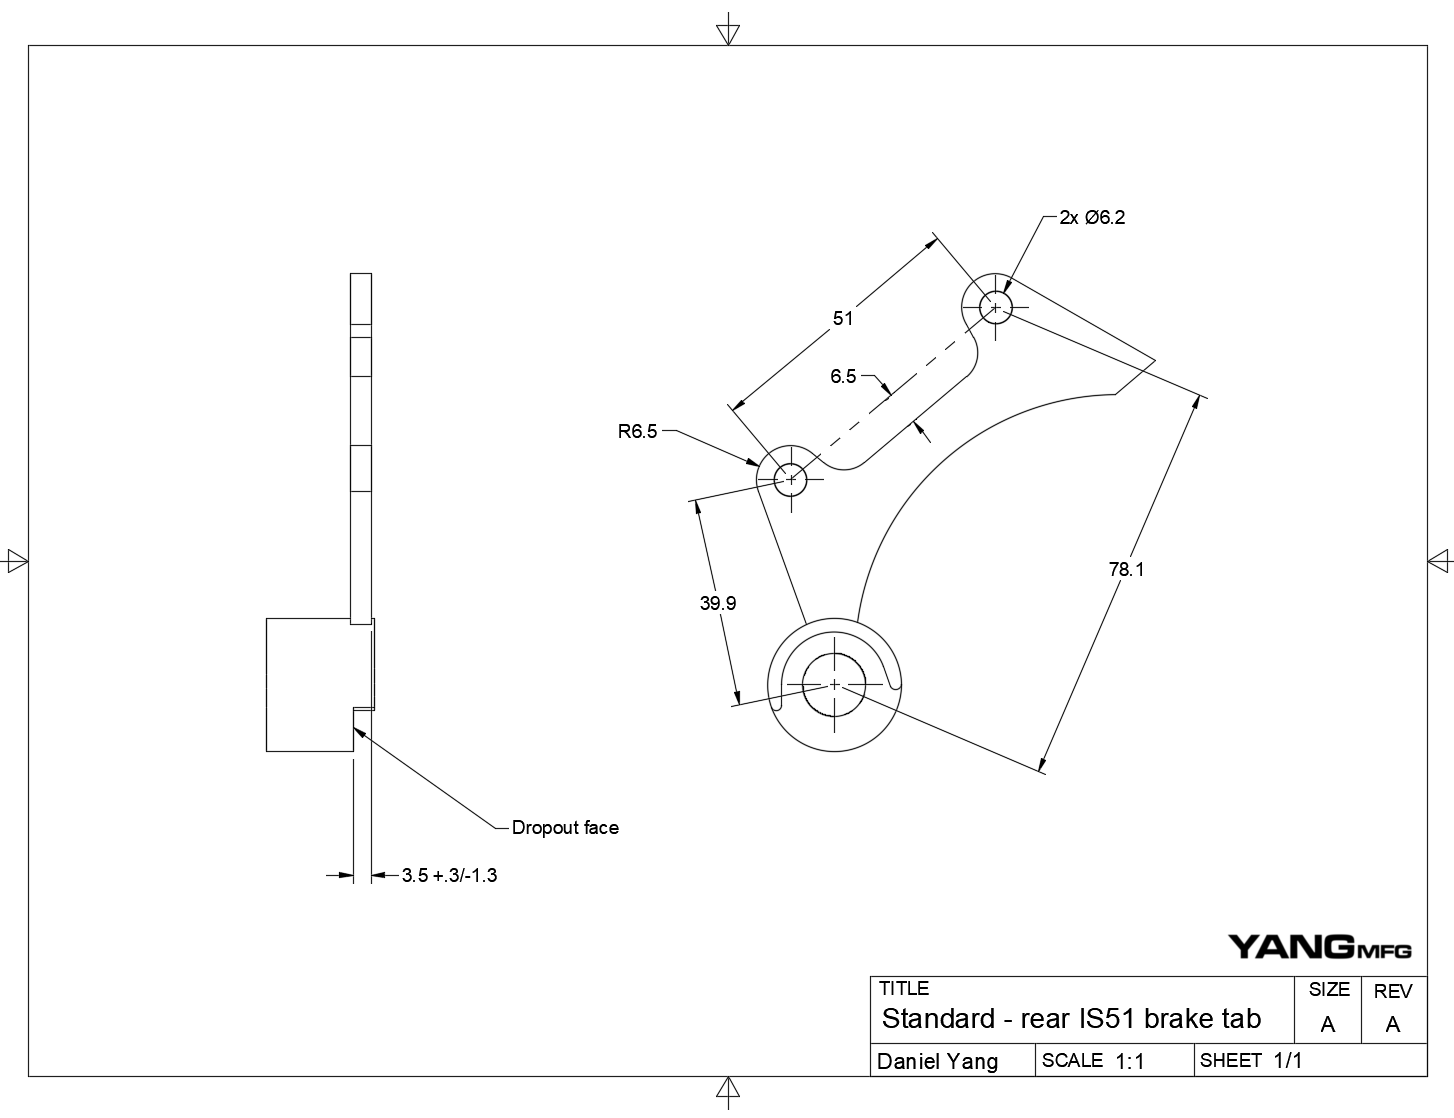
Standard - rear IS51 brake tab Drawing v2.pdf (109.3 KB)
Finished Fusion360 Brake Tab CAD: Link
Understanding the Standard 01:00
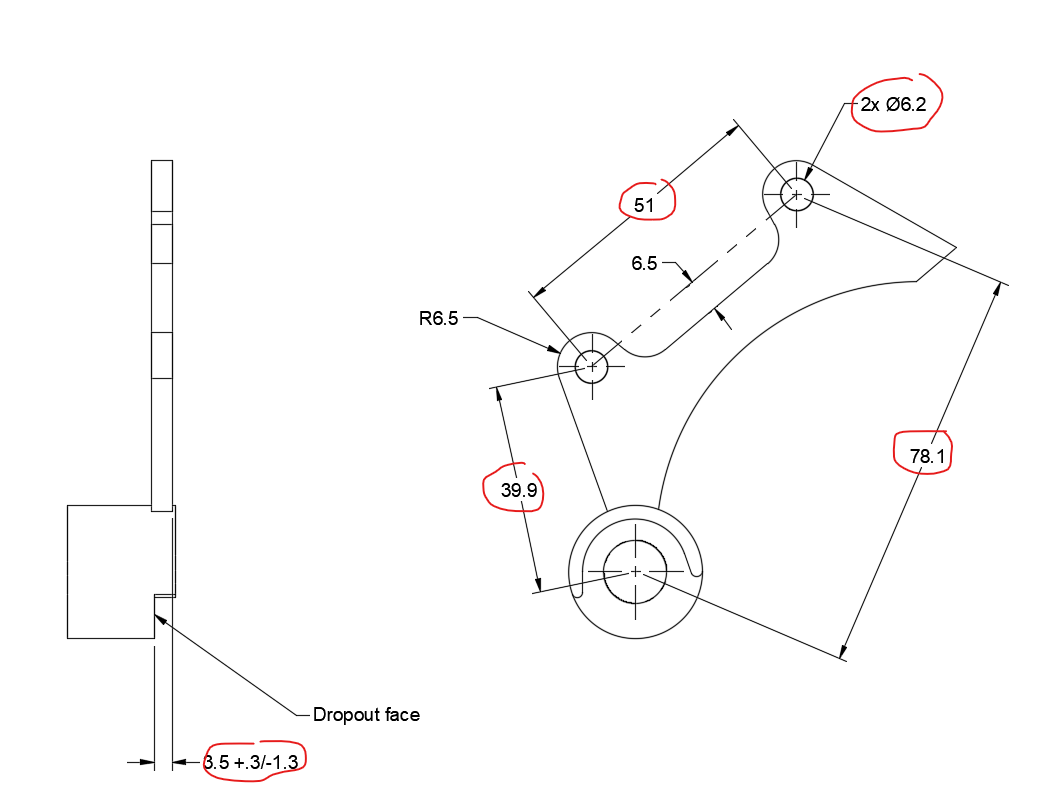
The drawing above was based on Shimano’s documentation. Their documentation shows slightly different constraints based on different brake calipers or adapters. ISO is an old standard, so I don’t think those constraints are relevant anymore. The drawing I show is the most conservative design (should work with all calipers).
I encourage your own experimentation and validation!
Drawing the Brake Tab 02:21
I think this is the hardest step in the tutorial (it is also the only real step ![]() ). You will see me fumble around with the sketch constraints. This is par for the course for 2D sketching. Don’t get discouraged. Don’t be afraid to nuke your sketch and start over.
). You will see me fumble around with the sketch constraints. This is par for the course for 2D sketching. Don’t get discouraged. Don’t be afraid to nuke your sketch and start over.
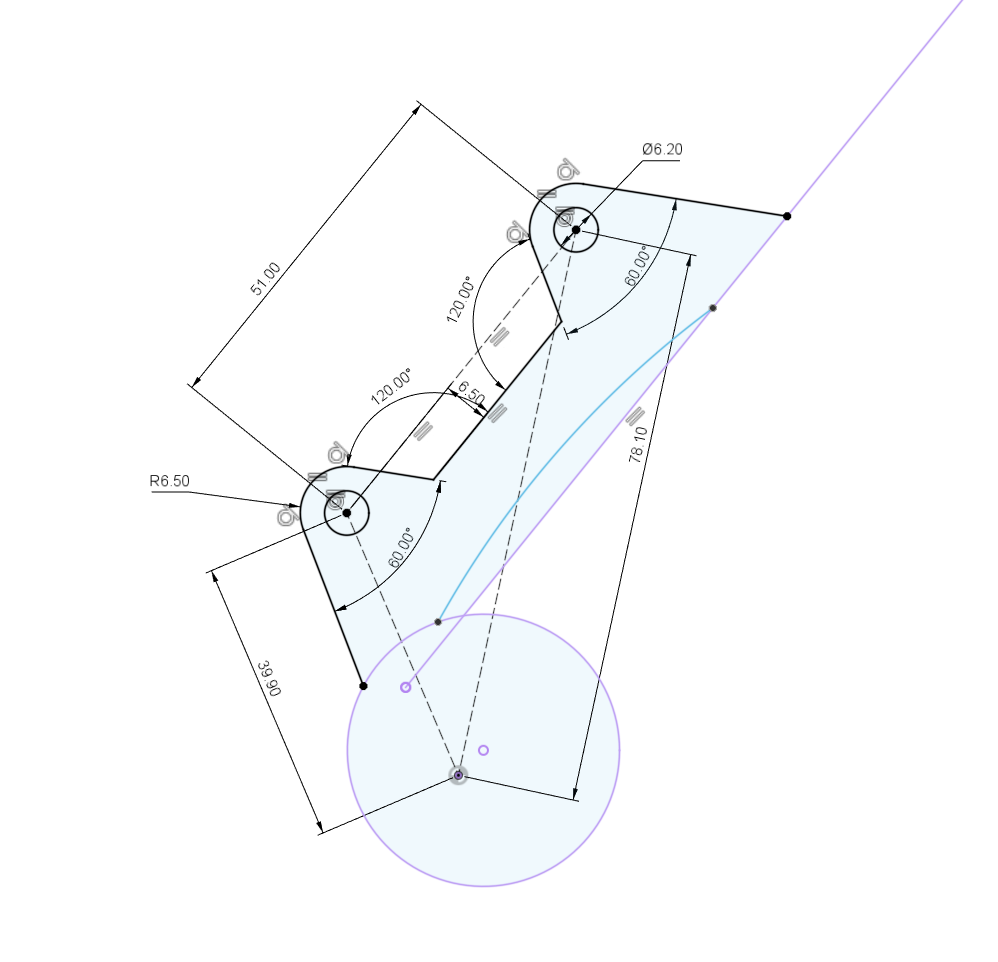
This tab is intentionally ugly to save time. Creativity is encouraged in this step!
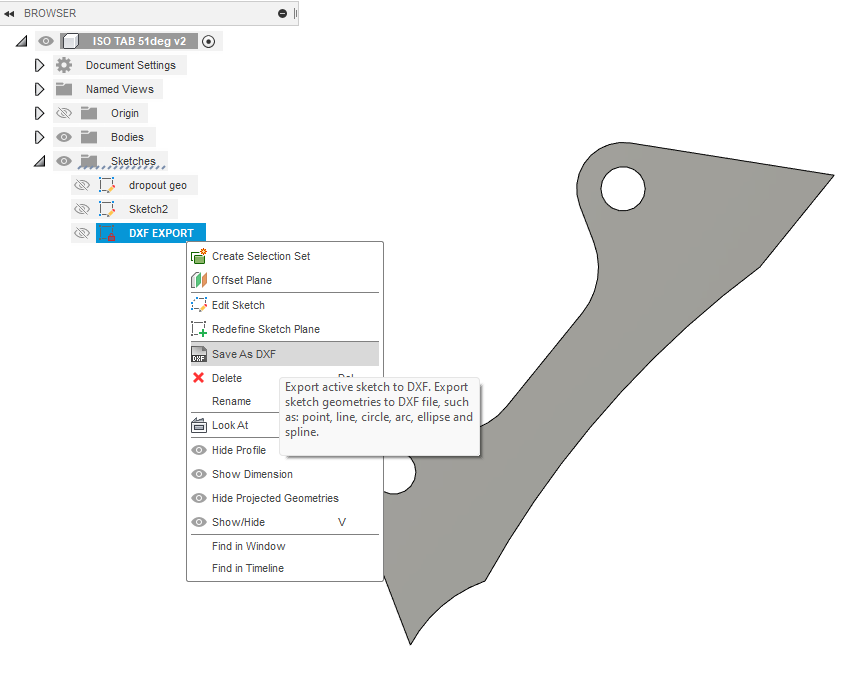
Exporting to DXF 14:20
There are a few ways to do this. This is the way I think is best:
- create a new sketch
- project the entire sketch
- right click the sketch, save as DXF
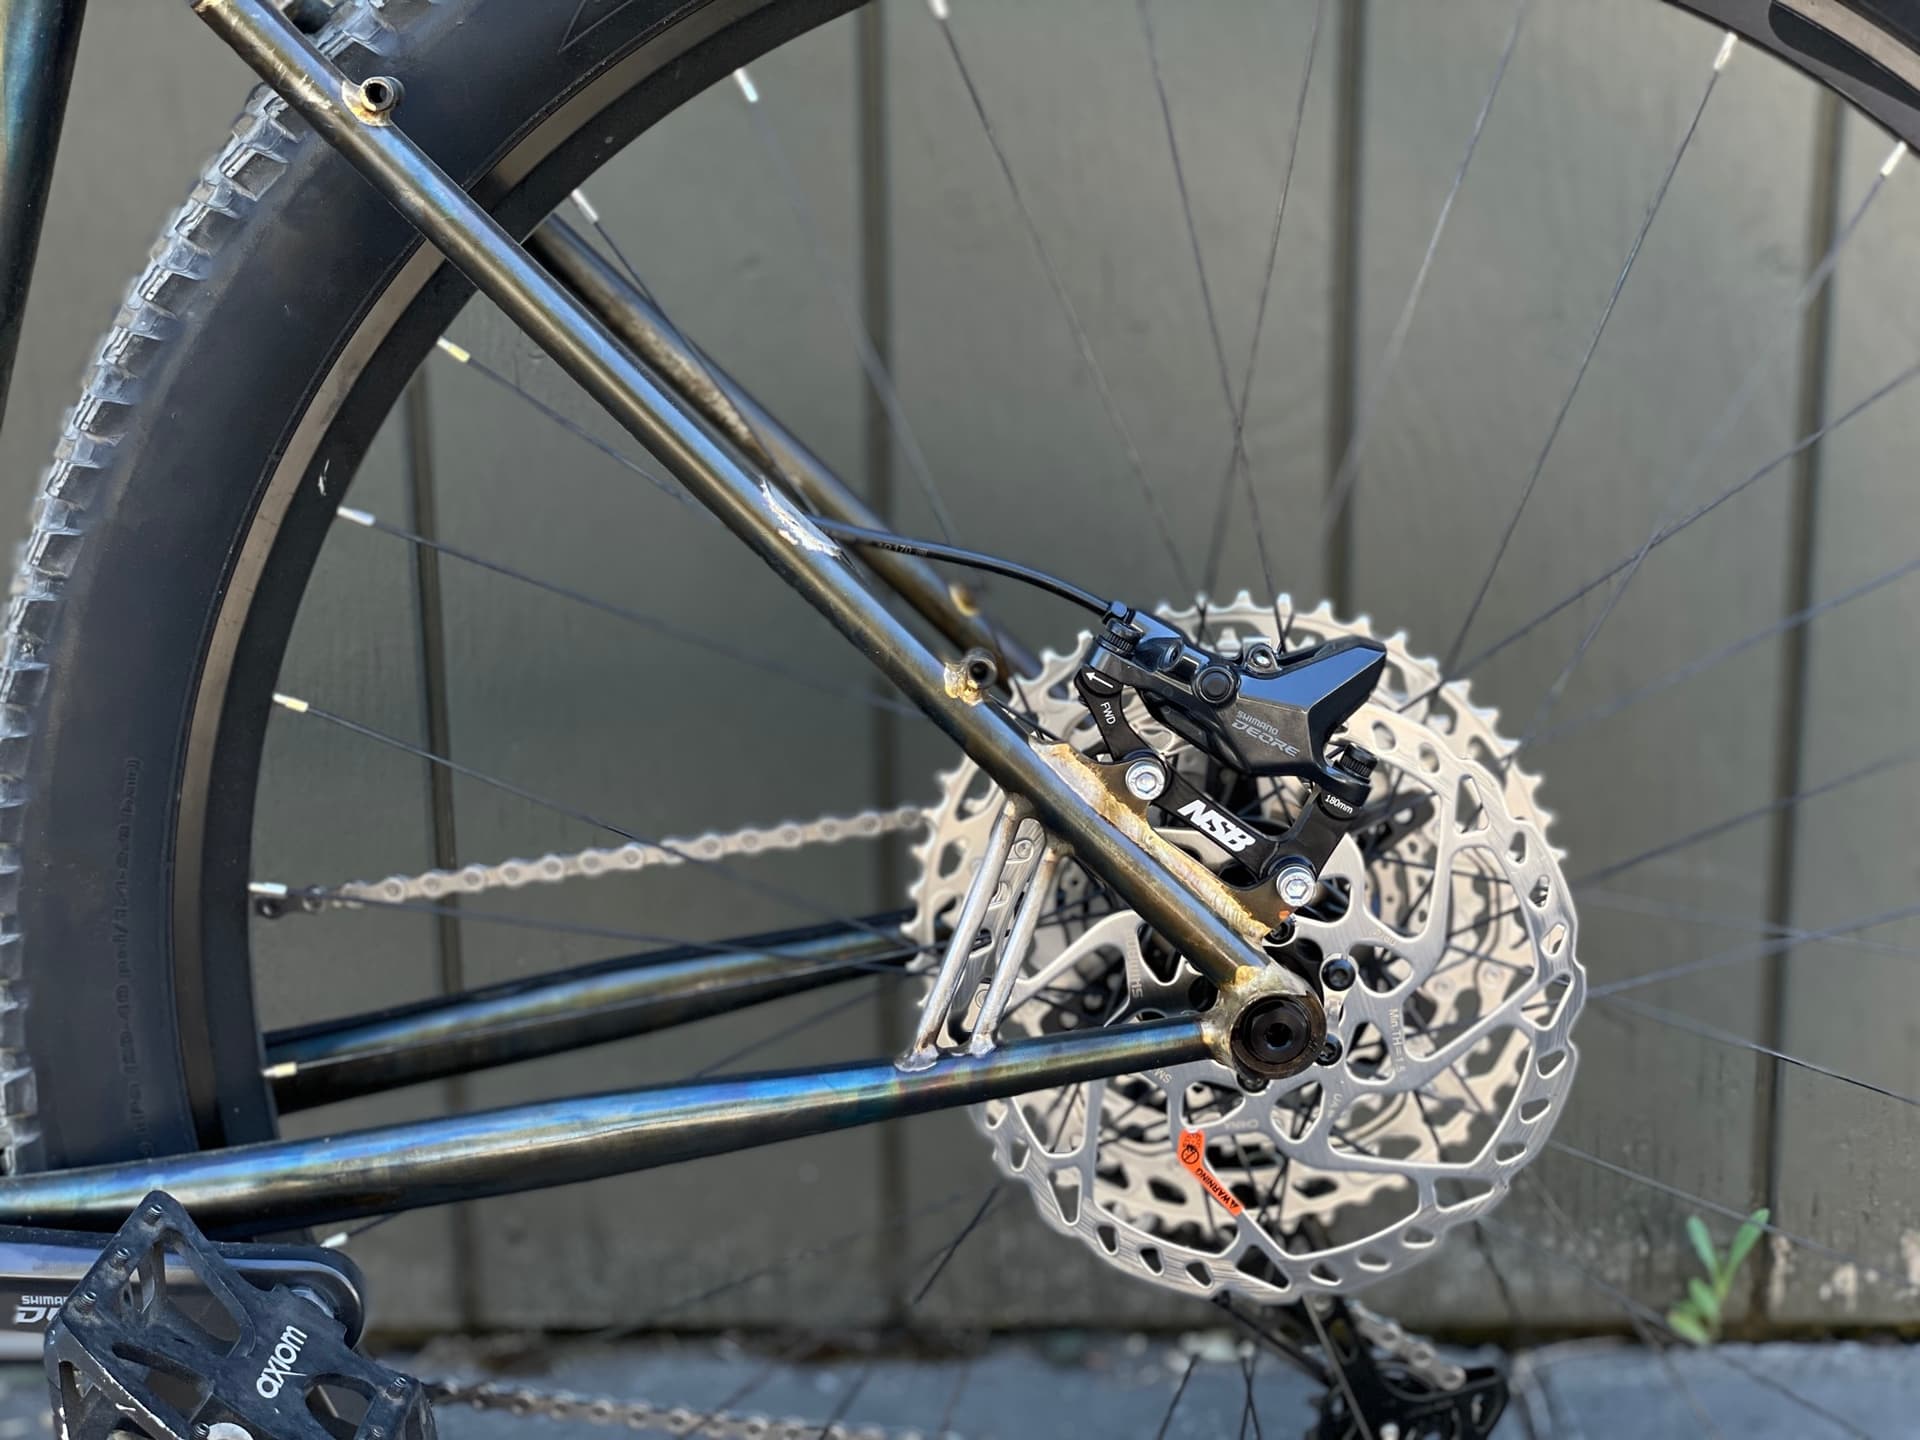
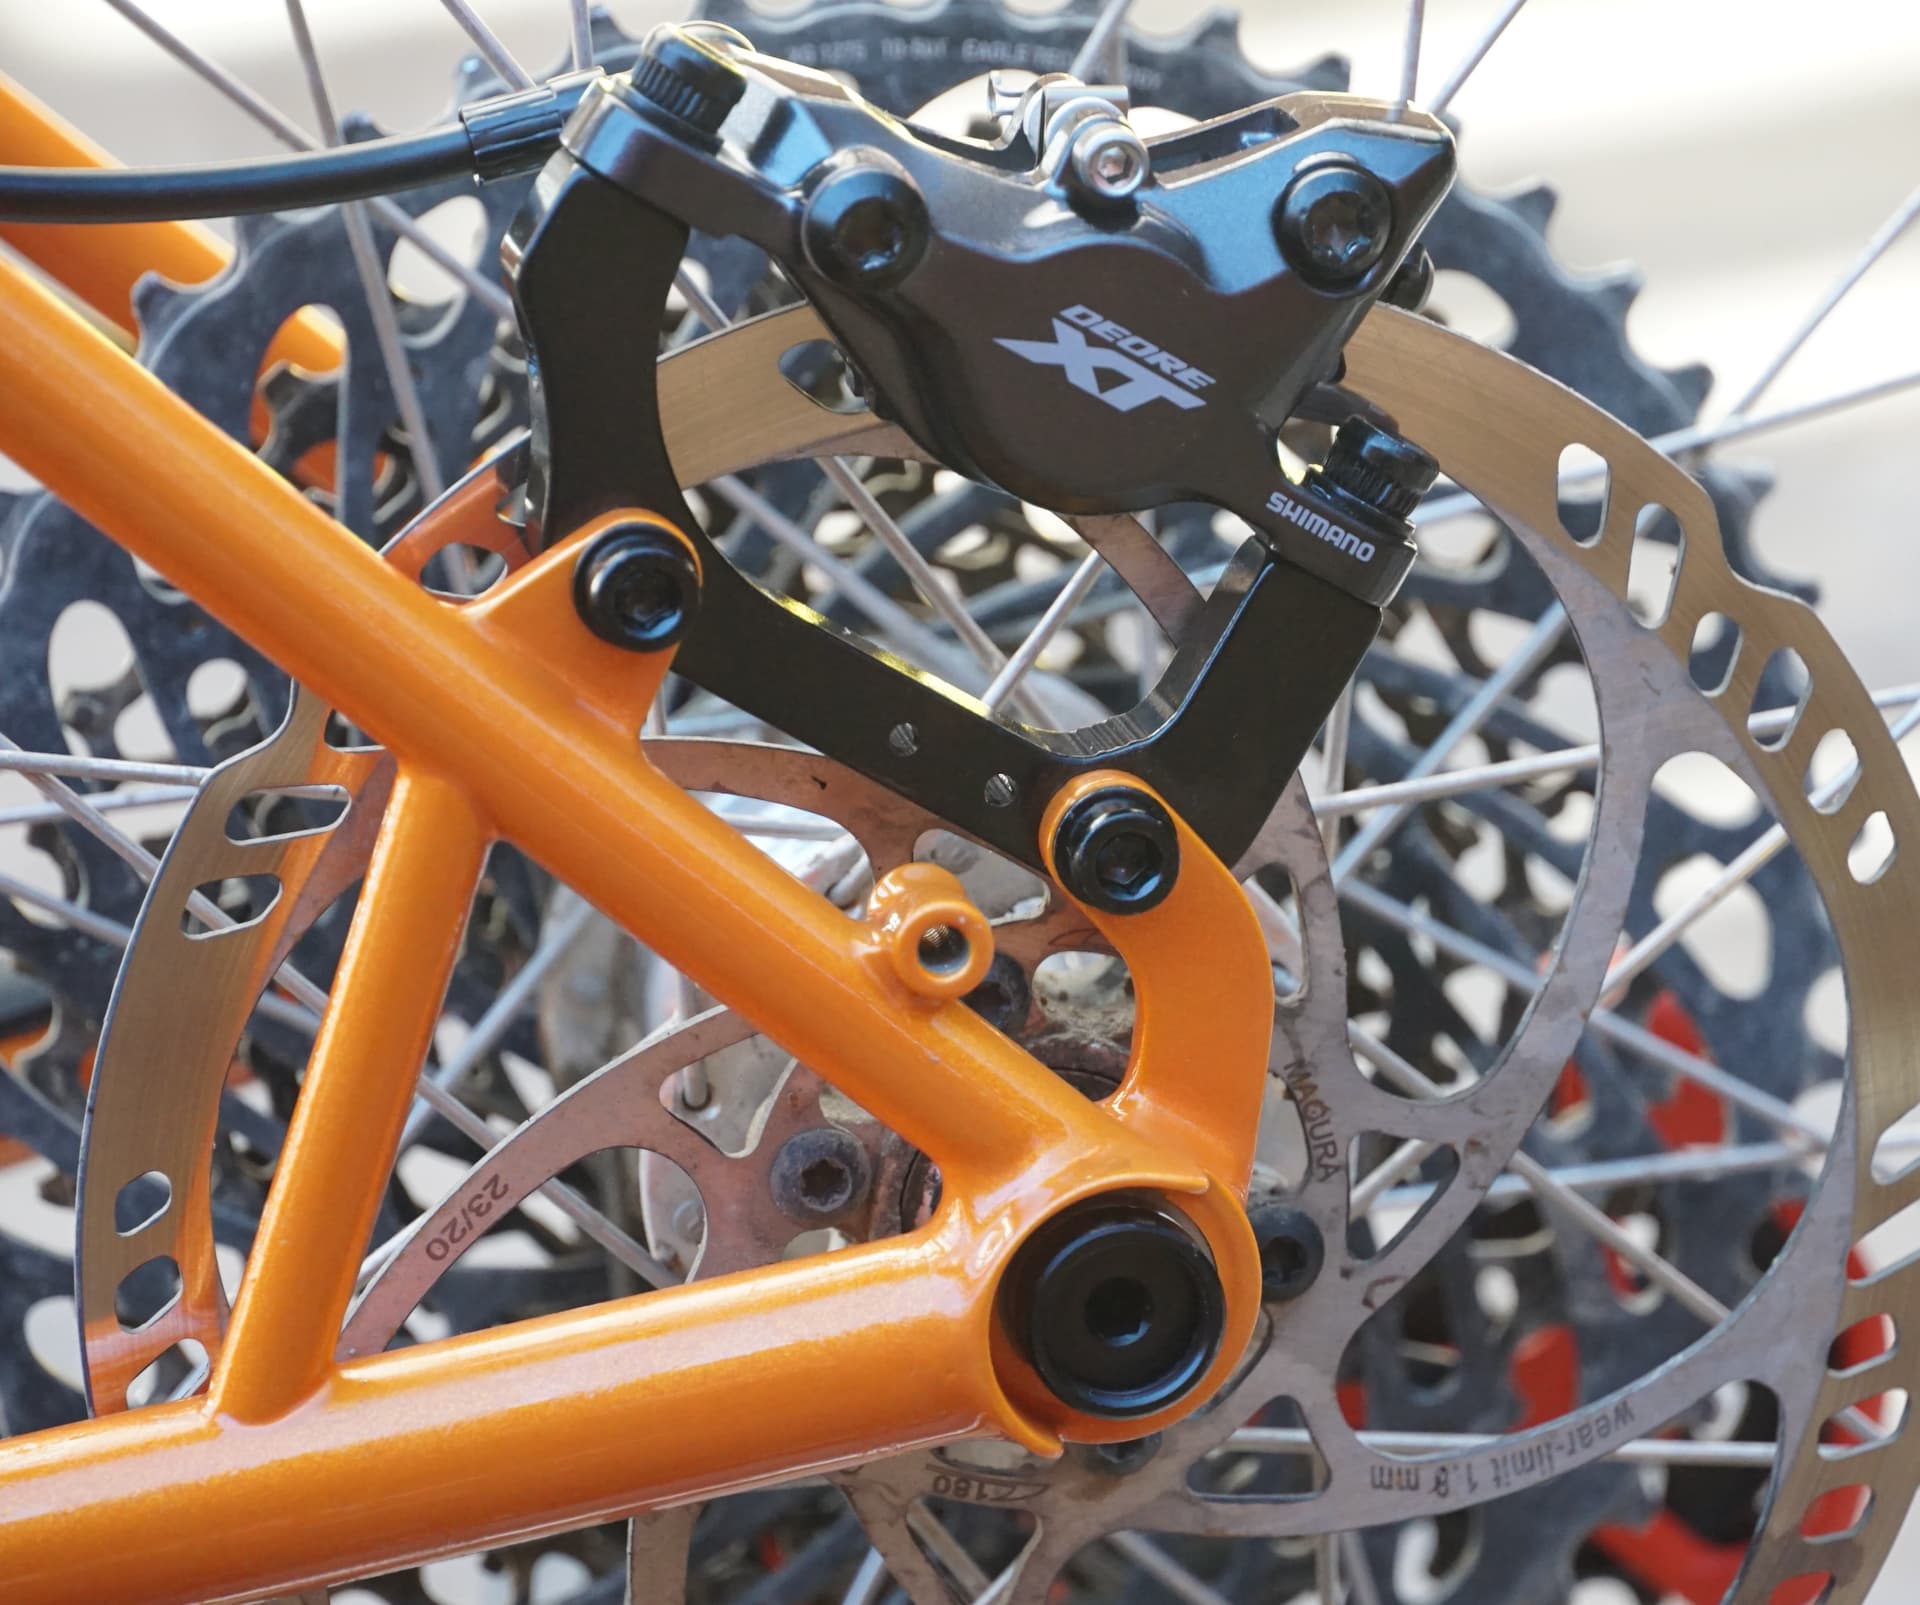
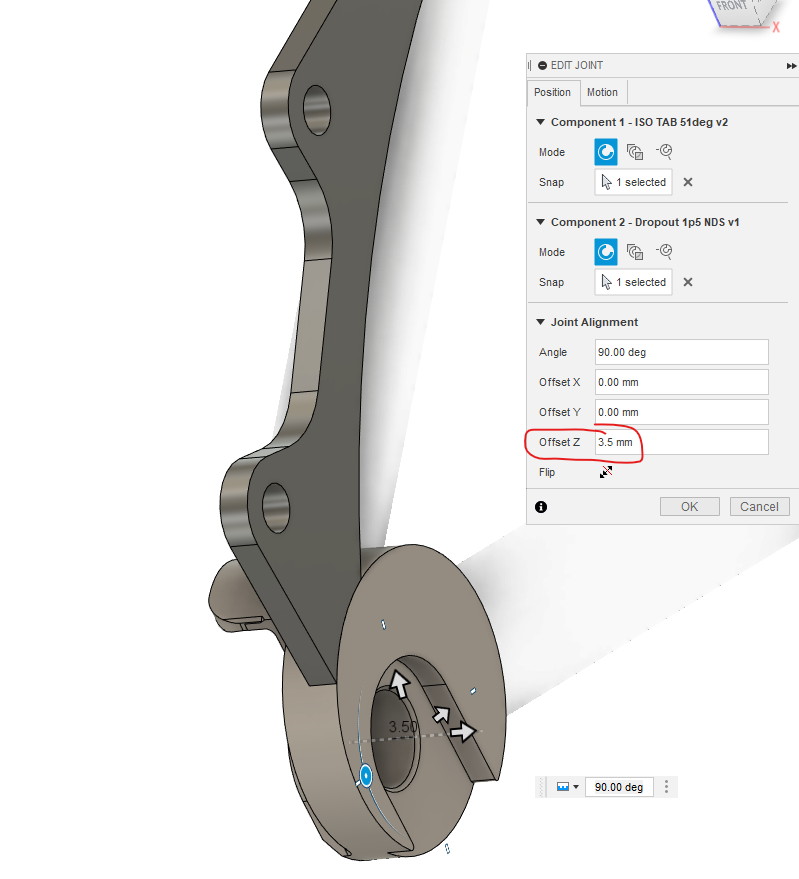
Adding the tab to your assembly 14:33
This step is not necessary, but it is both good practice to learn CAD, and good practice to do with your CAD.
By joining the tab to the assembly you can:
- double-check that your drawing fits
- edit your part within the assembly
- tweak where the tab lands on the SS
- Visualize the clearances and weld/joining locations
I show a very important trick while joining:
- Holding CTRL key to “freeze” the joint selection
- More details here: https://www.youtube.com/watch?v=px73ZkVjimI
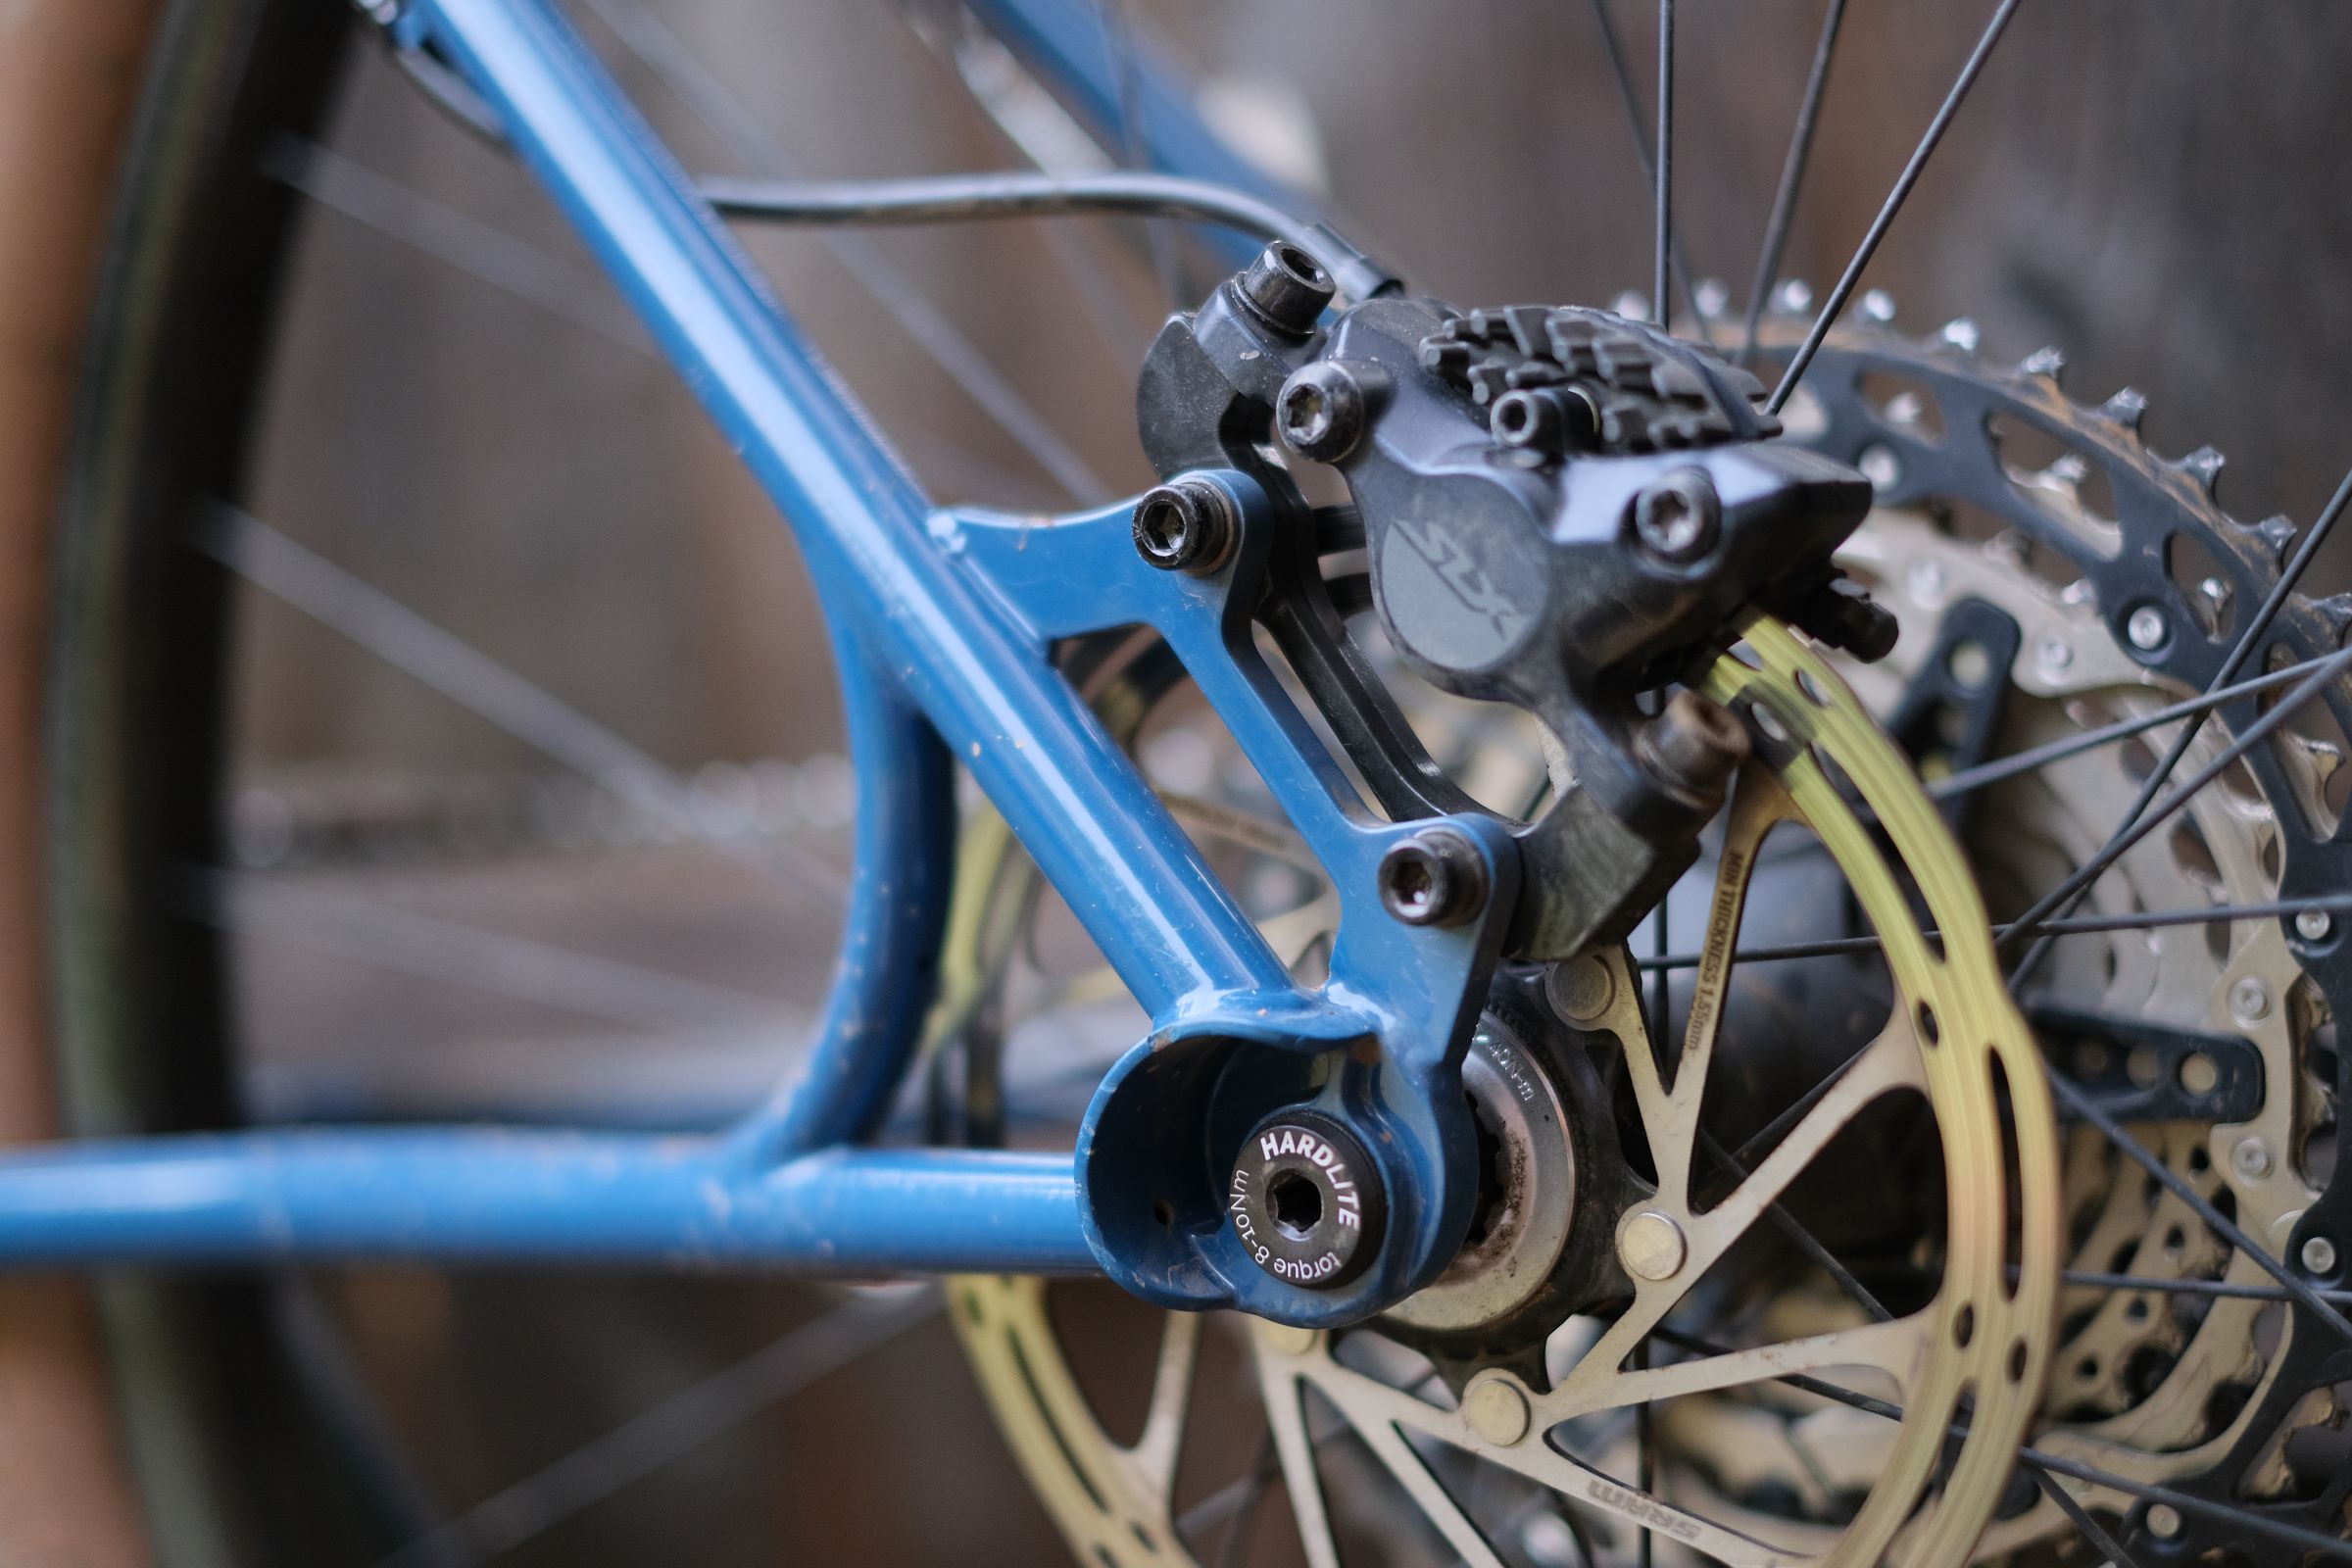
Don’t forget to offset your tab to the standard’s 3.5mm nominal dimension! It just happens to line up with the paragon dropout (almost like they designed it for this purpose ![]() ) but it does not always have to! Refer back to the standard drawing above.
) but it does not always have to! Refer back to the standard drawing above.
Conclusions
The hardest part about designing the brake tab is the 2D sketch. It is difficult because the lines are neither horizontal nor vertical, so it requires the careful use of constraints.
Also, at the start I mentioned two methods:
- designed as a separate part
- designed within your assembly
For our workflow, I choose to tab it as a separate part because we use one tab for several different seat stay angles. With a concentric dropout, one tab design can be used for all seatstay angles. In my opinion, it’s better to keep the assembly as simple as possible.
Some final tips:
- This tab seems simple, but I really encourage you to sit down and do the exercise to completion. You will get a lot of 2D sketching practice
- We order parts from sendcutsend
- You can email them or write in the notes to “media tumble” which will debur and round the corners for free!
- I reccomend either .19 or .25in thick 4130 plate