I have been fillet brazing for a couple of years now, and gotten somewhat decent at it. For my new projects we are gonna weld small batches. We have an excellent welder with 30 years experience in all sorts of fields, but he is just welding, while I (and in the future hopefully someone else) am cutting tubes and adding brazeons and such. As for 3 weeks ago I had never welded in my life, and have always been a bit intimidated by it. I am currently welding up bits of cut off in my spare time, on a old welder without a foot pedal and making steady progress. But I was wondering if the welders here have some tips on how to weld frames and thin walled tubing. How to continue around a tube, what to do with positioning and angle of the torch, how to weld in tight corners (DT/HT underside) etc, etc? What not to do? Are there any pitfalls for fillet brazers when welding?
Thanks in advance!
I think the most counter intuitive thing going from torch to tig/vice versa is that with a torch when you pull away you decrease the amount of heat input but if you pull away tig welding the welder needs to up the voltage to maintain a longer arc, therefore increasing the heat input.
There’s a few threads kicking around here for newbie welders. Here are my main points:
-
Keep things clean. Use denatured alcohol or acetone to remove oils. Metals should be bright/shiny. You need to remove mill scale if you’re practicing on hot rolled steel. Clean the insides of tubes too. DO NOT USE OTHER DEGREASERS/SOLVENTS. ( Phosgene Gas)
-
Figure out your rhythm + technique with thick stuff first. 3/32" or 1/8" is your friend right now. Use a metronome to help with your “dabs.”
-
The distance between the tip of the electrode and the weld pool should remain constant. (I probably do 1 - 1.5x the thickness of the electrode). When you stop welding keep the torch in the same position until the argon shuts off.
-
Practice your filler feeding technique a bunch. While you watch TV.
-
You’ll be tempted to move too quickly at first. Establish your arc, let the puddle form, add filler, move a bit, let the puddle catch up, add filler, move a bit, etc. (aka FILL AND CHILL! )
-
When you transition to welding thin stuff get a foot pedal or one of those pressure sensitive triggers ( 6061.coml) so that you don’t blow holes in your metals.
Excellent tips, thanks! Indeed moving away as one would do with brazing makes everything worse, and I when I get overwhelmed I find myself doing this. But the more meters I make the more natural it all starts to feel.
As for ElysianBikeCo’s list:
1: I cut up a box of very old very greasy tubes without cleaning, I will fix that!
2: I have already do a bunch of thicker plates, but haven’t thought of a metronome, I’ll try that n my next session. I have moved on from thick plates to scrap 0.6-0.9 tubing (depending on where I cut the tube) and I seem to like that better than the the heavy stuff.
3: Keeping the same distance is hard, especially on round tubing! My biggest challenge at the moment I think . I need about 5 or 6 stops and repositions to go around in a somewhat decent way right now.
4: Will get a TV in the workshop
5: This part feels actually a bit like brazing to me, only much smaller and easier to burn through the tube when I linger too long. Thanks for the video, I’ll put that on repeat!
6: Yeah, currently using a on off swich on the torch, but a footpedal is on the way. Curious to see if that will make stuff easier.
And then my tip: Reading glasses! Apparently I am so much closer to the weld than to a fillet that I had trouble getting it in focus. Cheapo reading glasses gave me full HD view again. (And also improved my view while brazing)
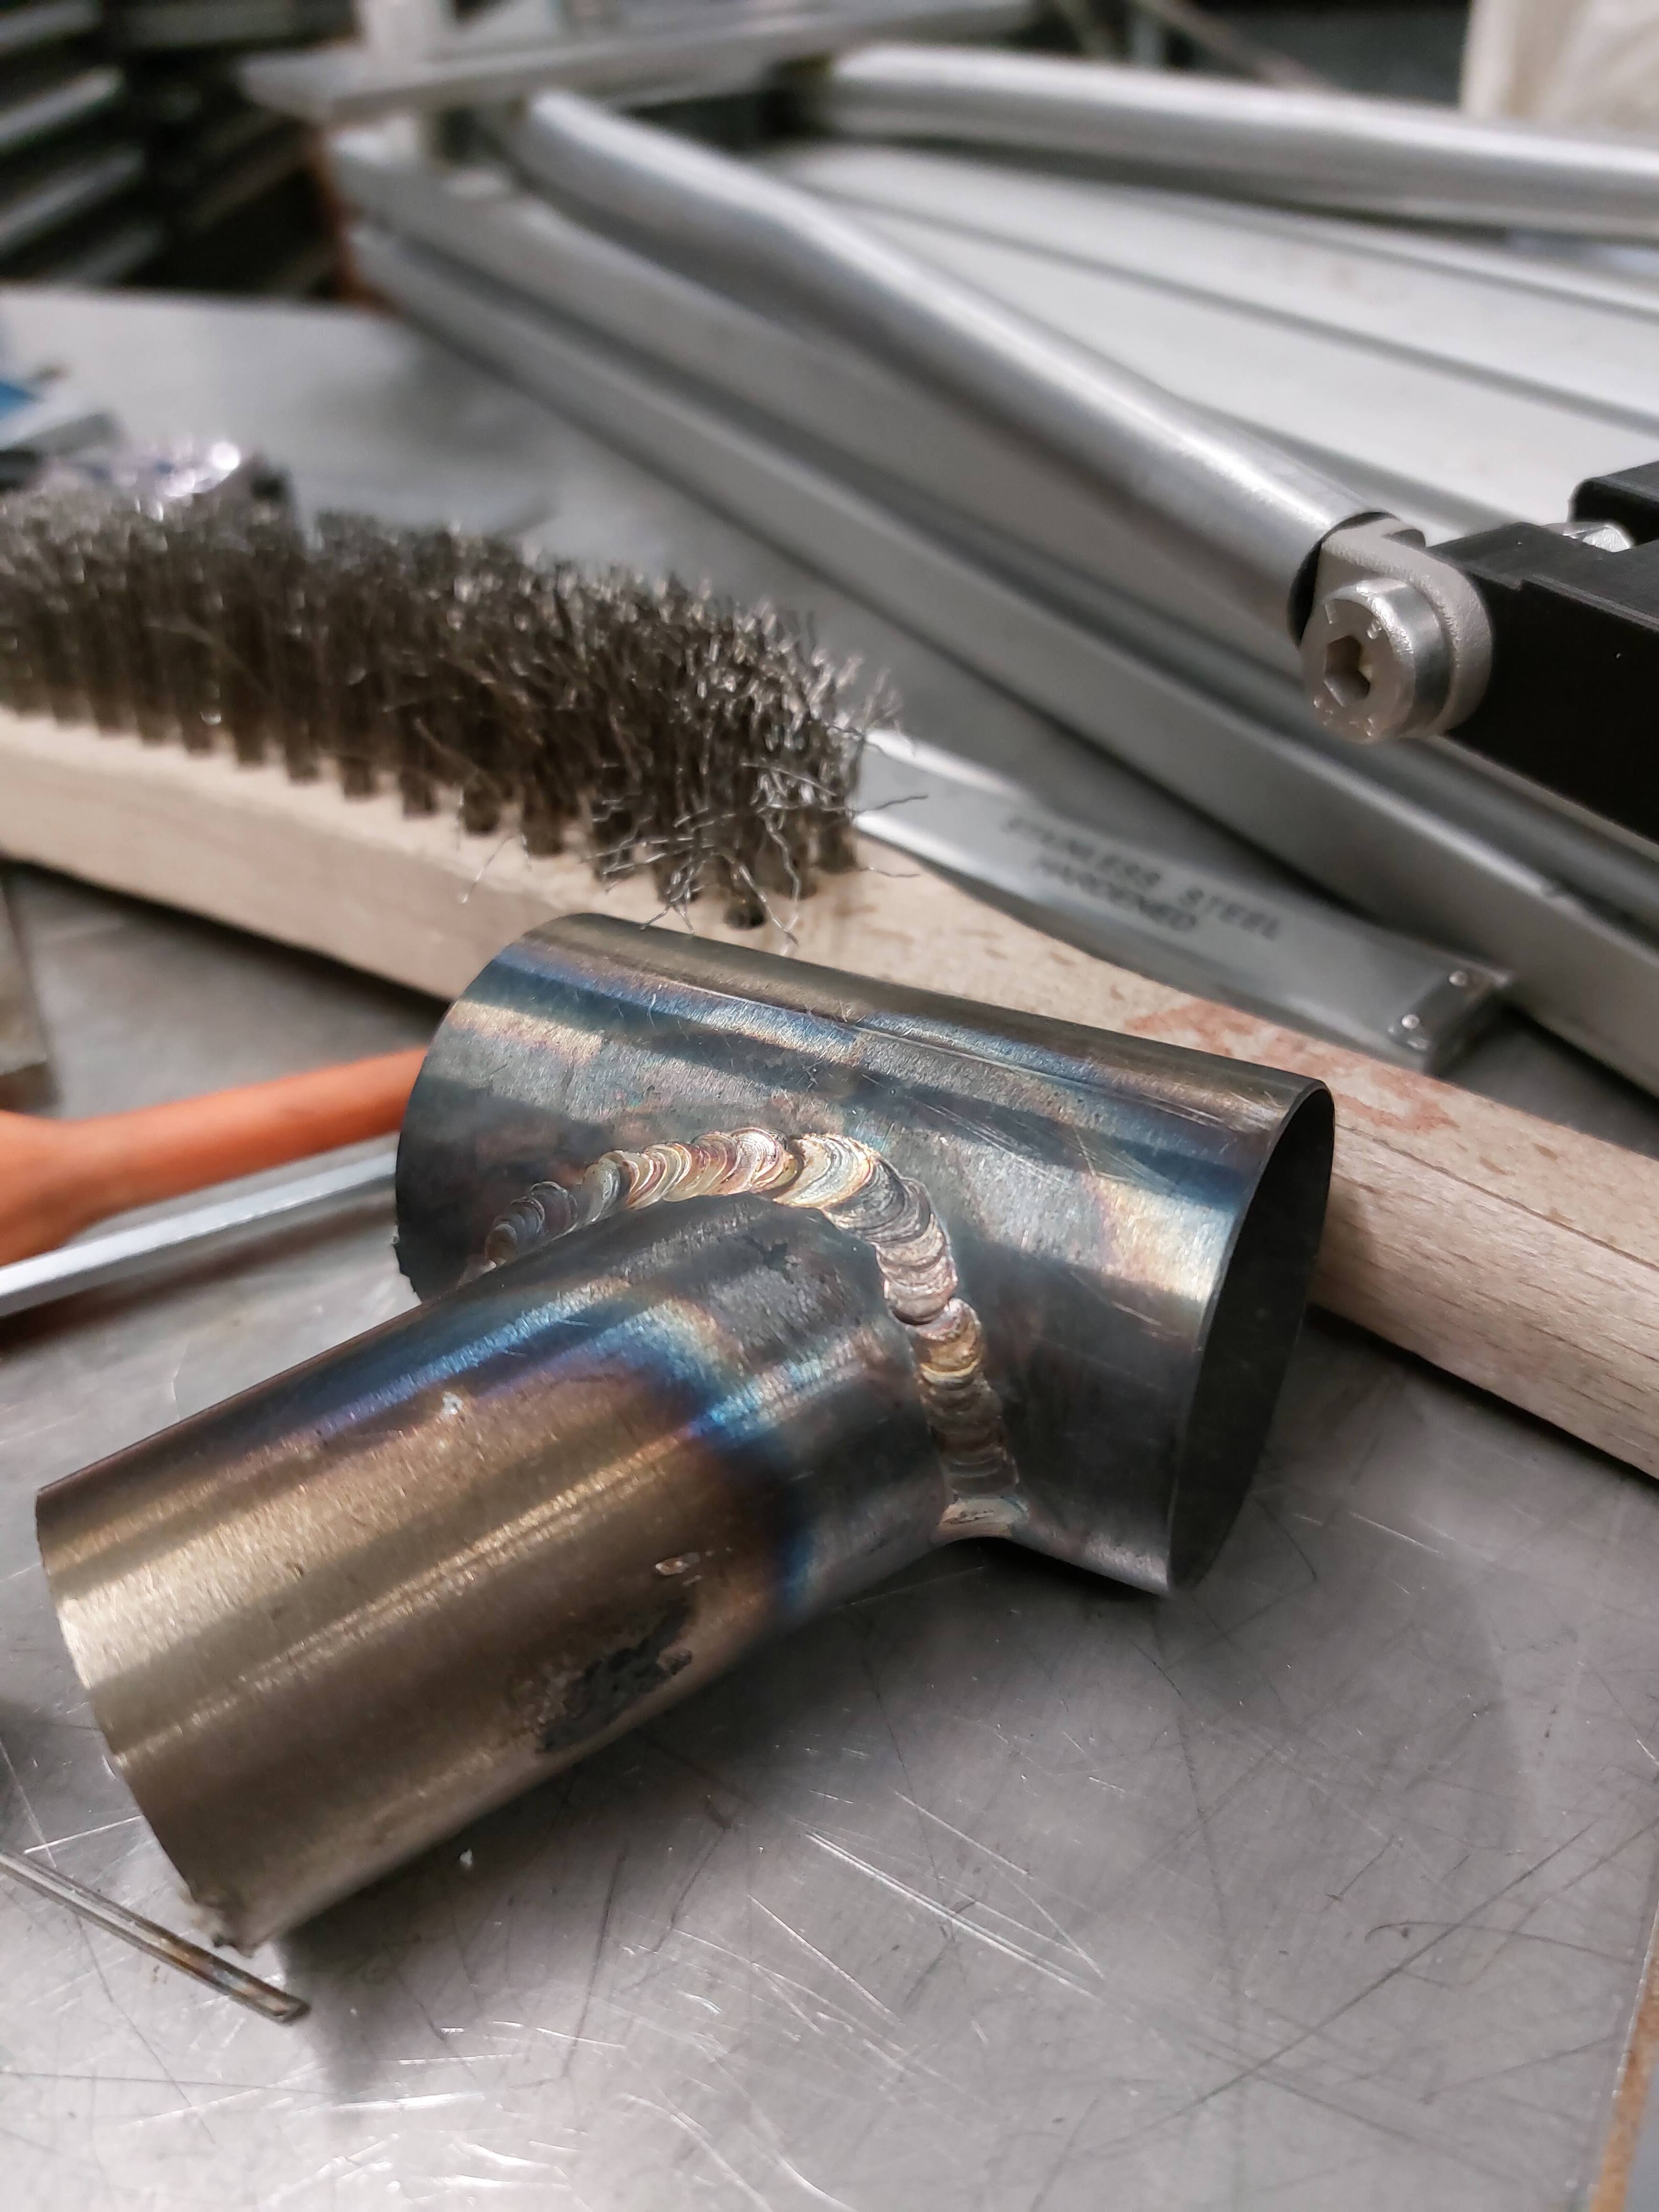
One of first pieces that looked somewhat like a weld from last week, and since then I’ve been welding about 30 min every day trying different speeds and angles to see how I can control the puddle.
Looks good compared to my welds so you are doing good.