Does anyone have any experience or examples of printing bending dies? I am hoping to hot rod a JD2 bender with a 3d printed tandem die (two tubes) to bend chainstays and seatstays in pairs
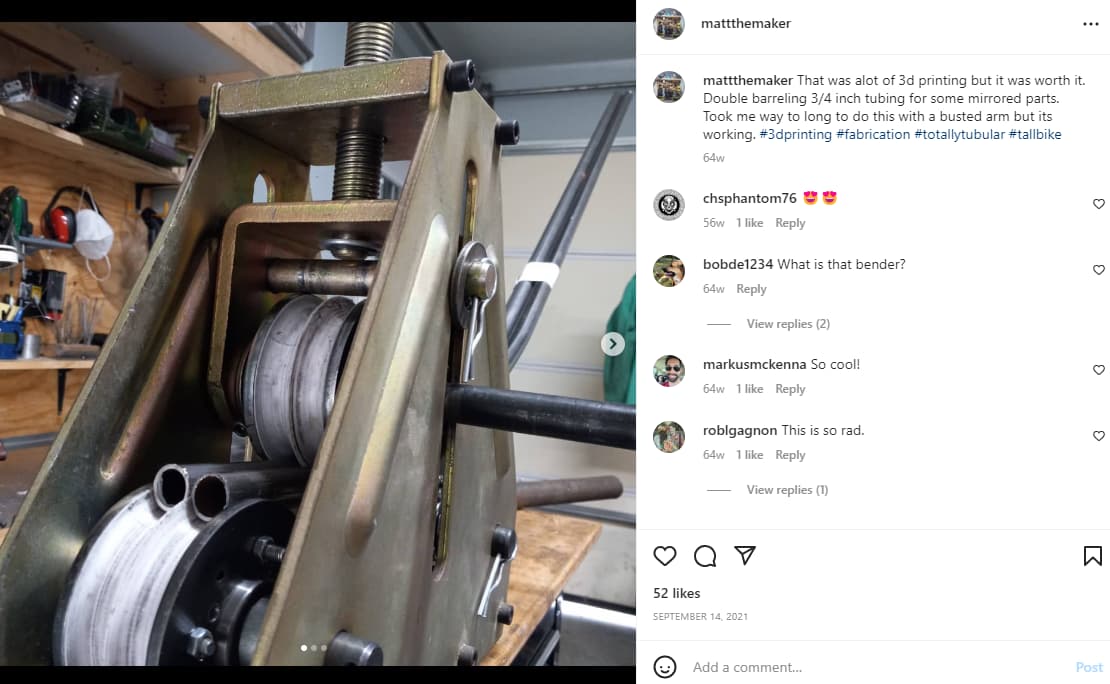
3D printed rolling dies by matthemaker @matttemaker did some really cool stuff with a tube roller and printed dies
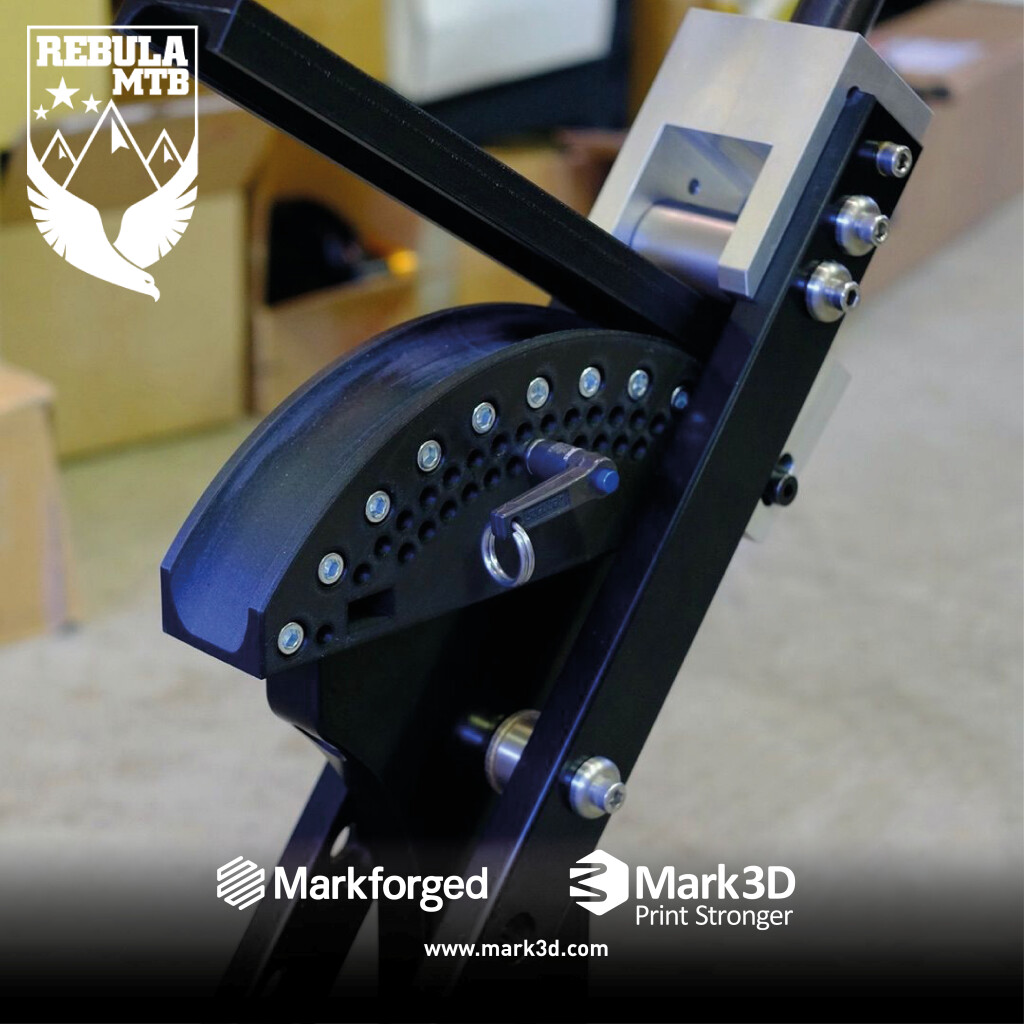
Rebula MTB tube bender
Rebula successfully made a square bending die using a markforge printed die. The markforge printer embeds a carbon fiber strand in the plastic filament.
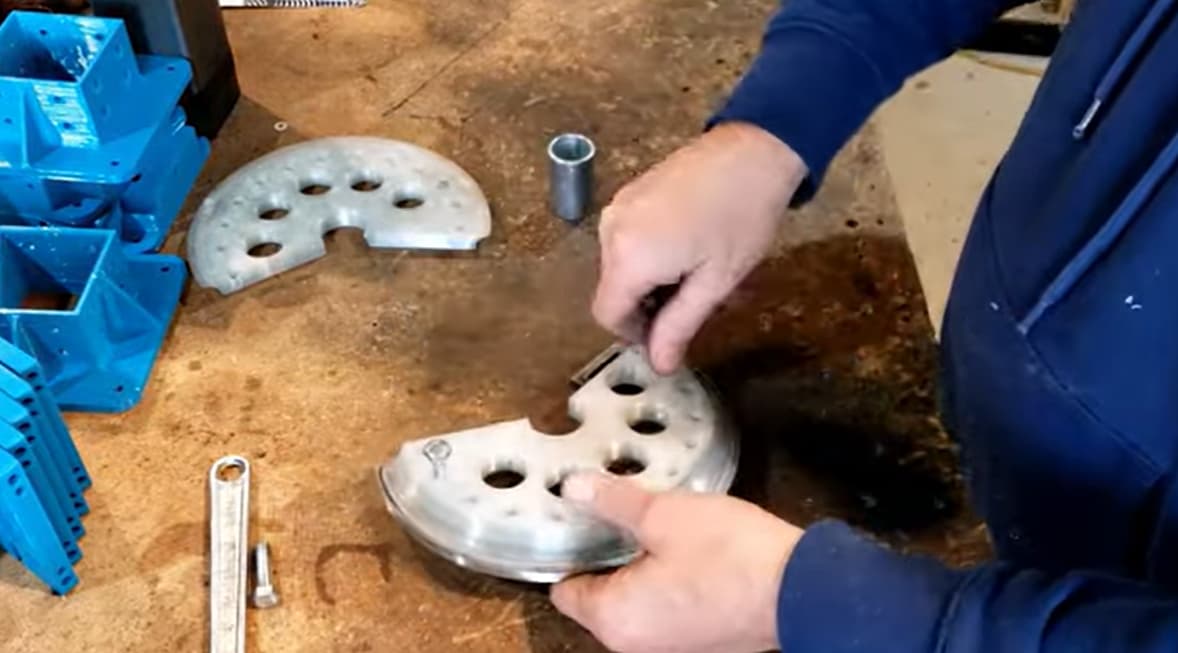
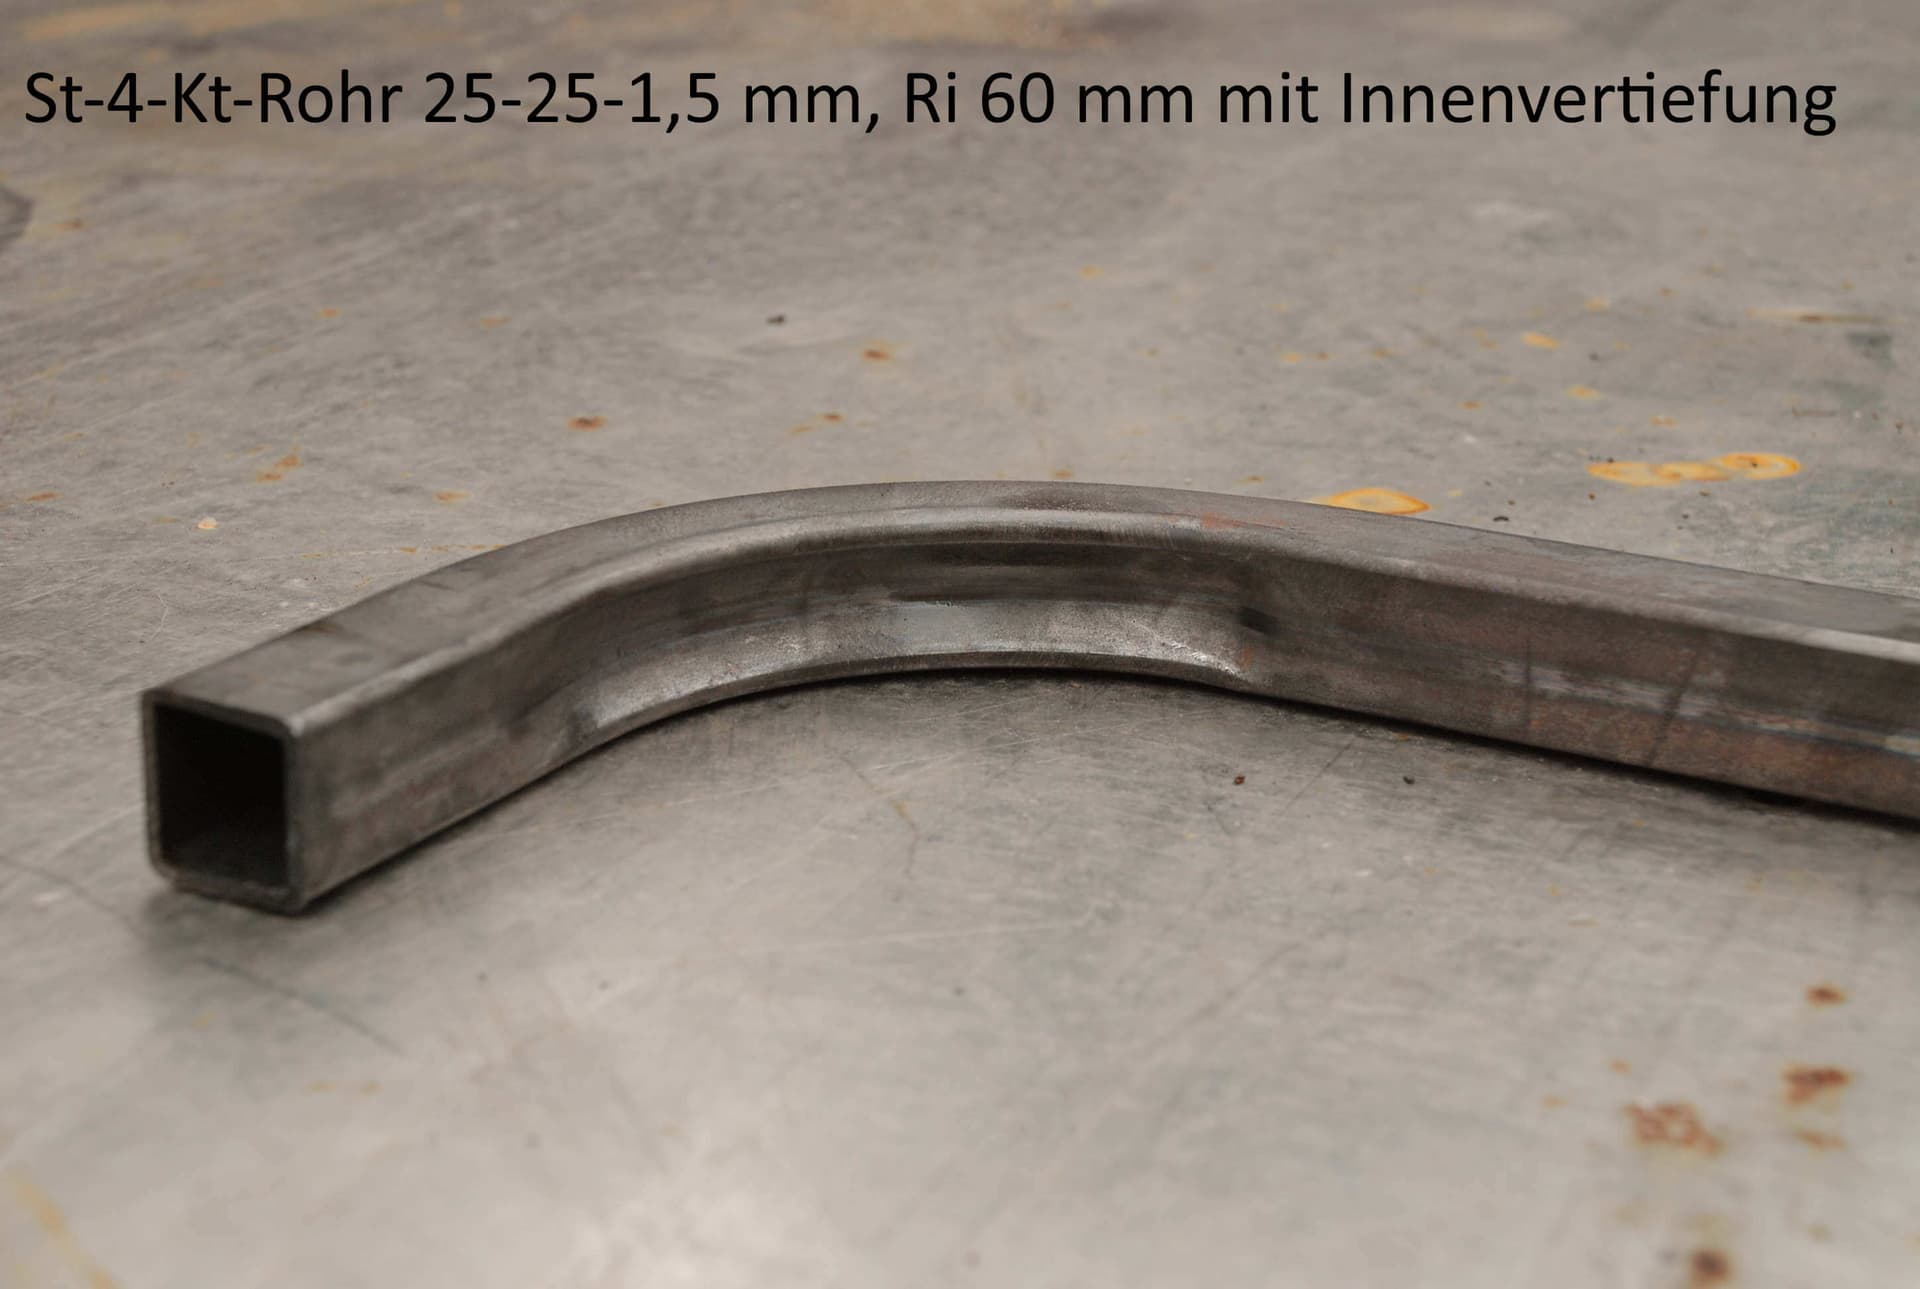
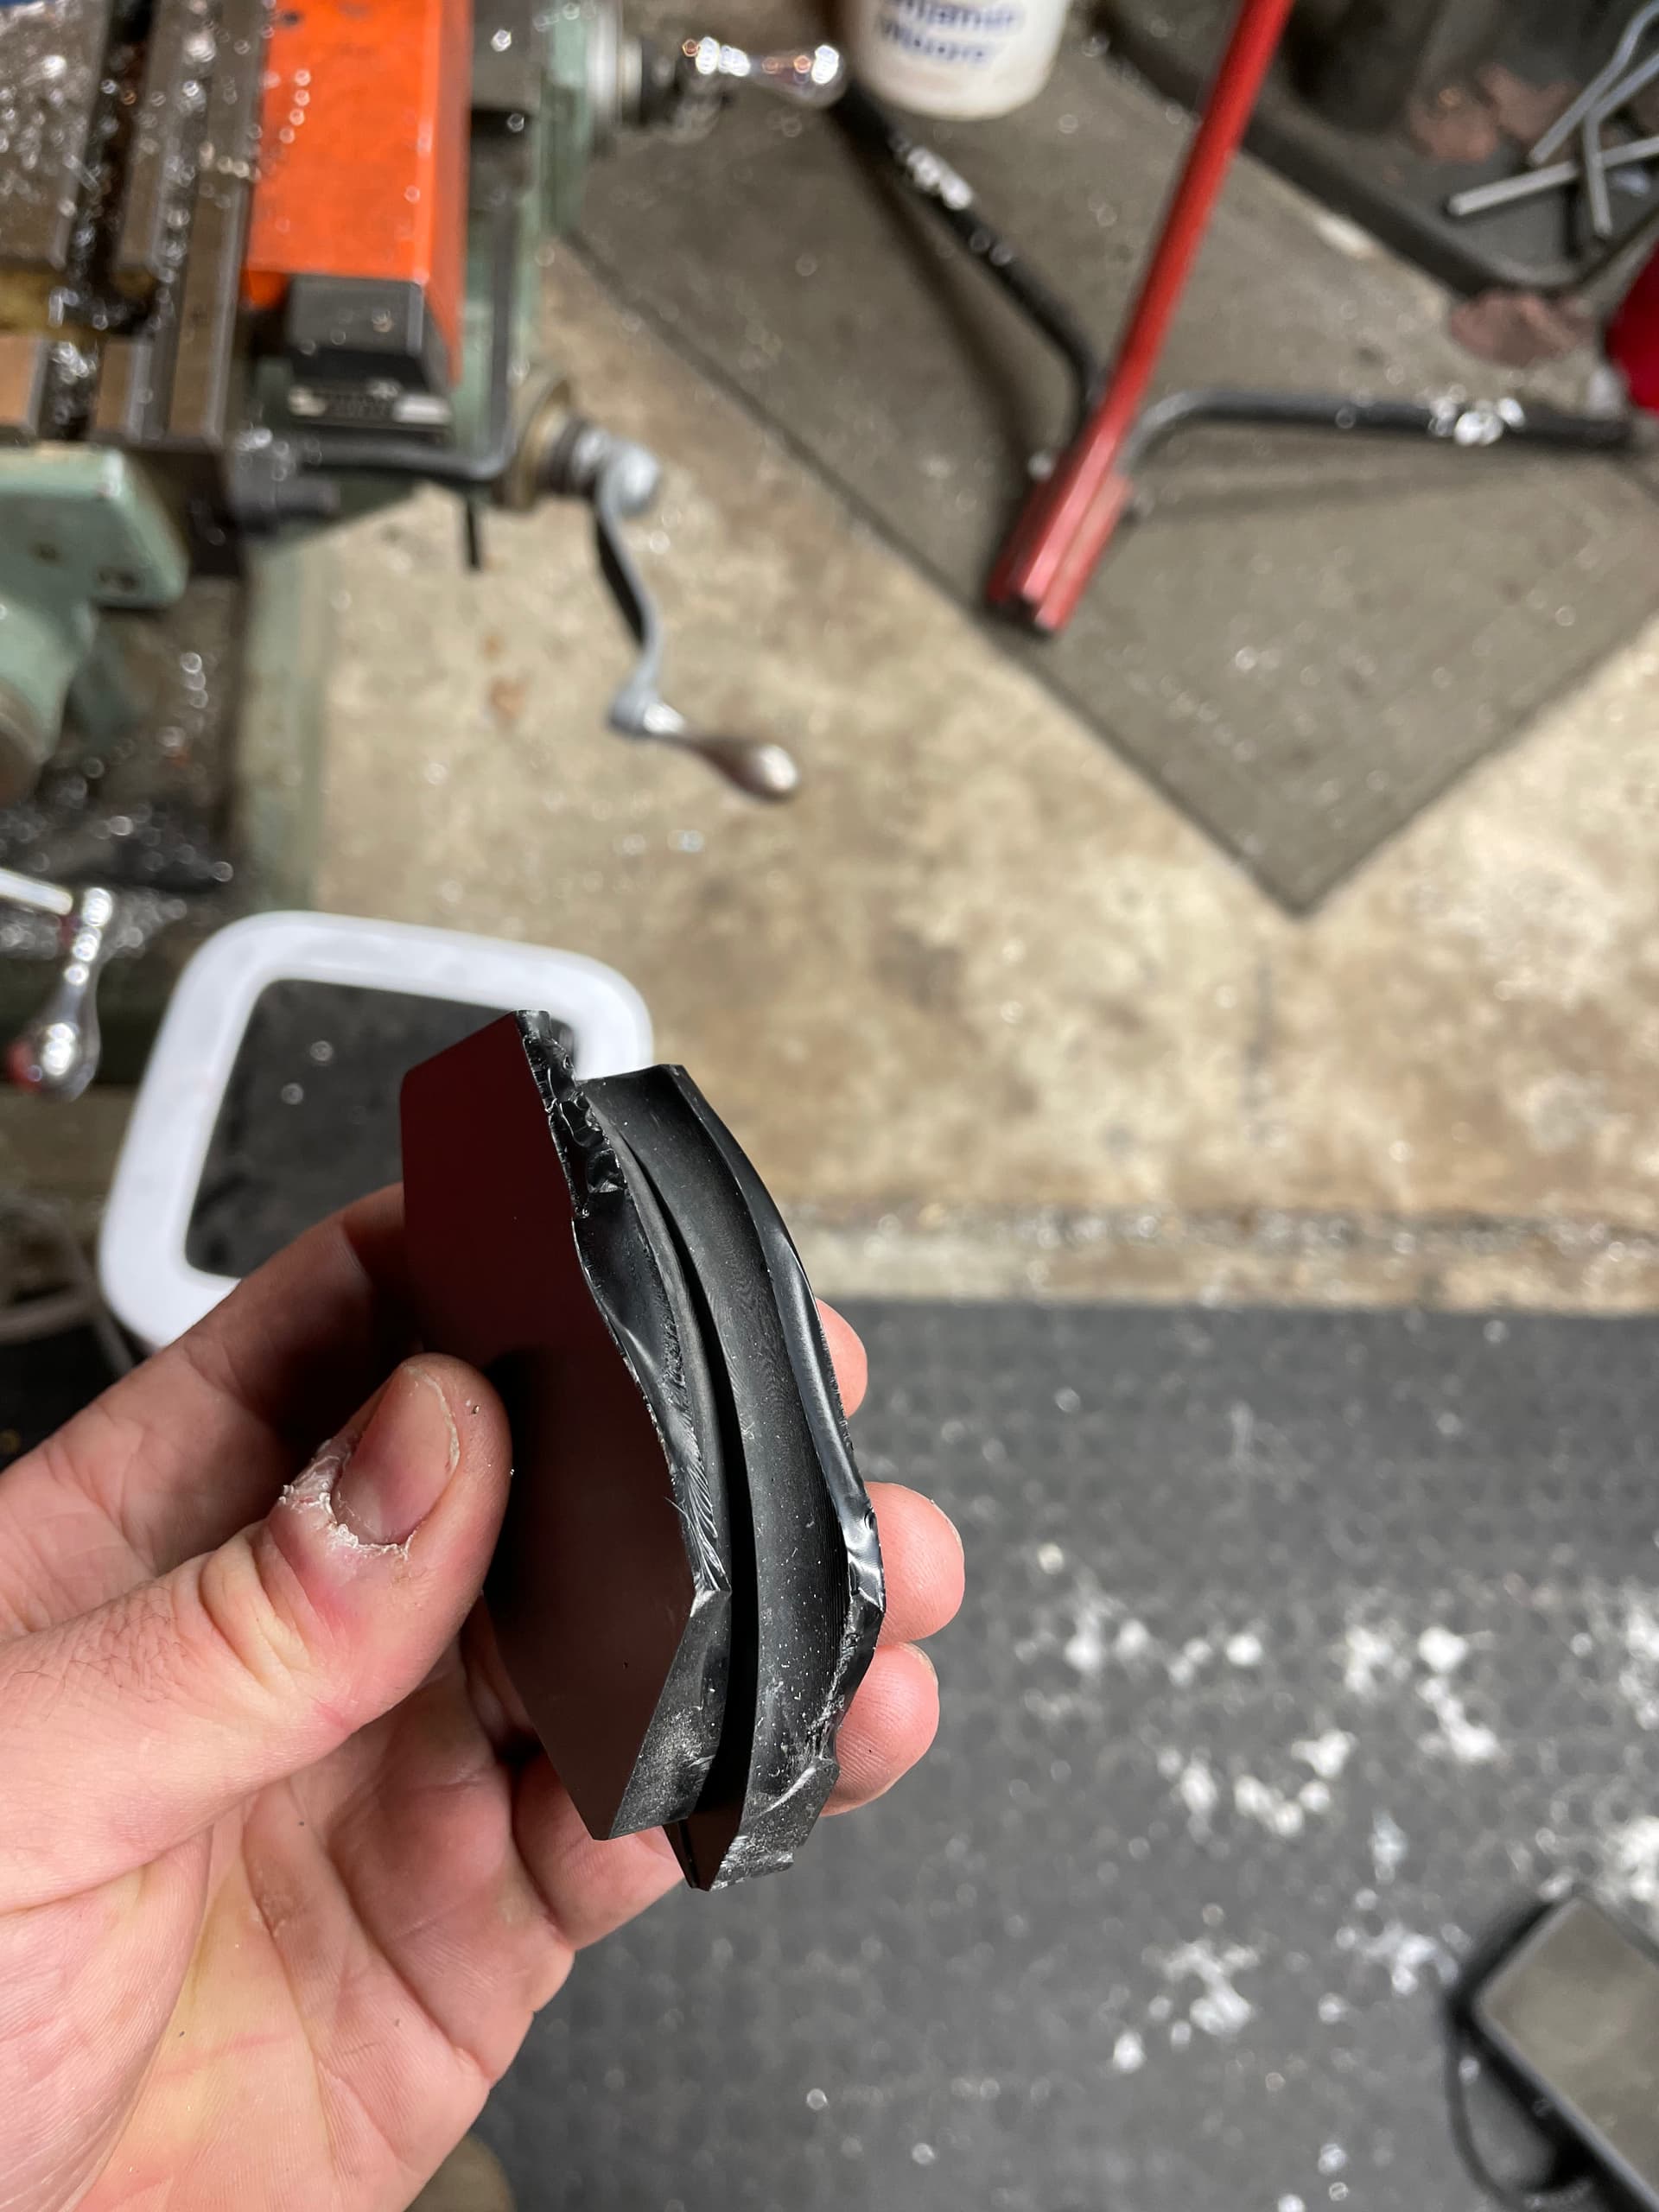
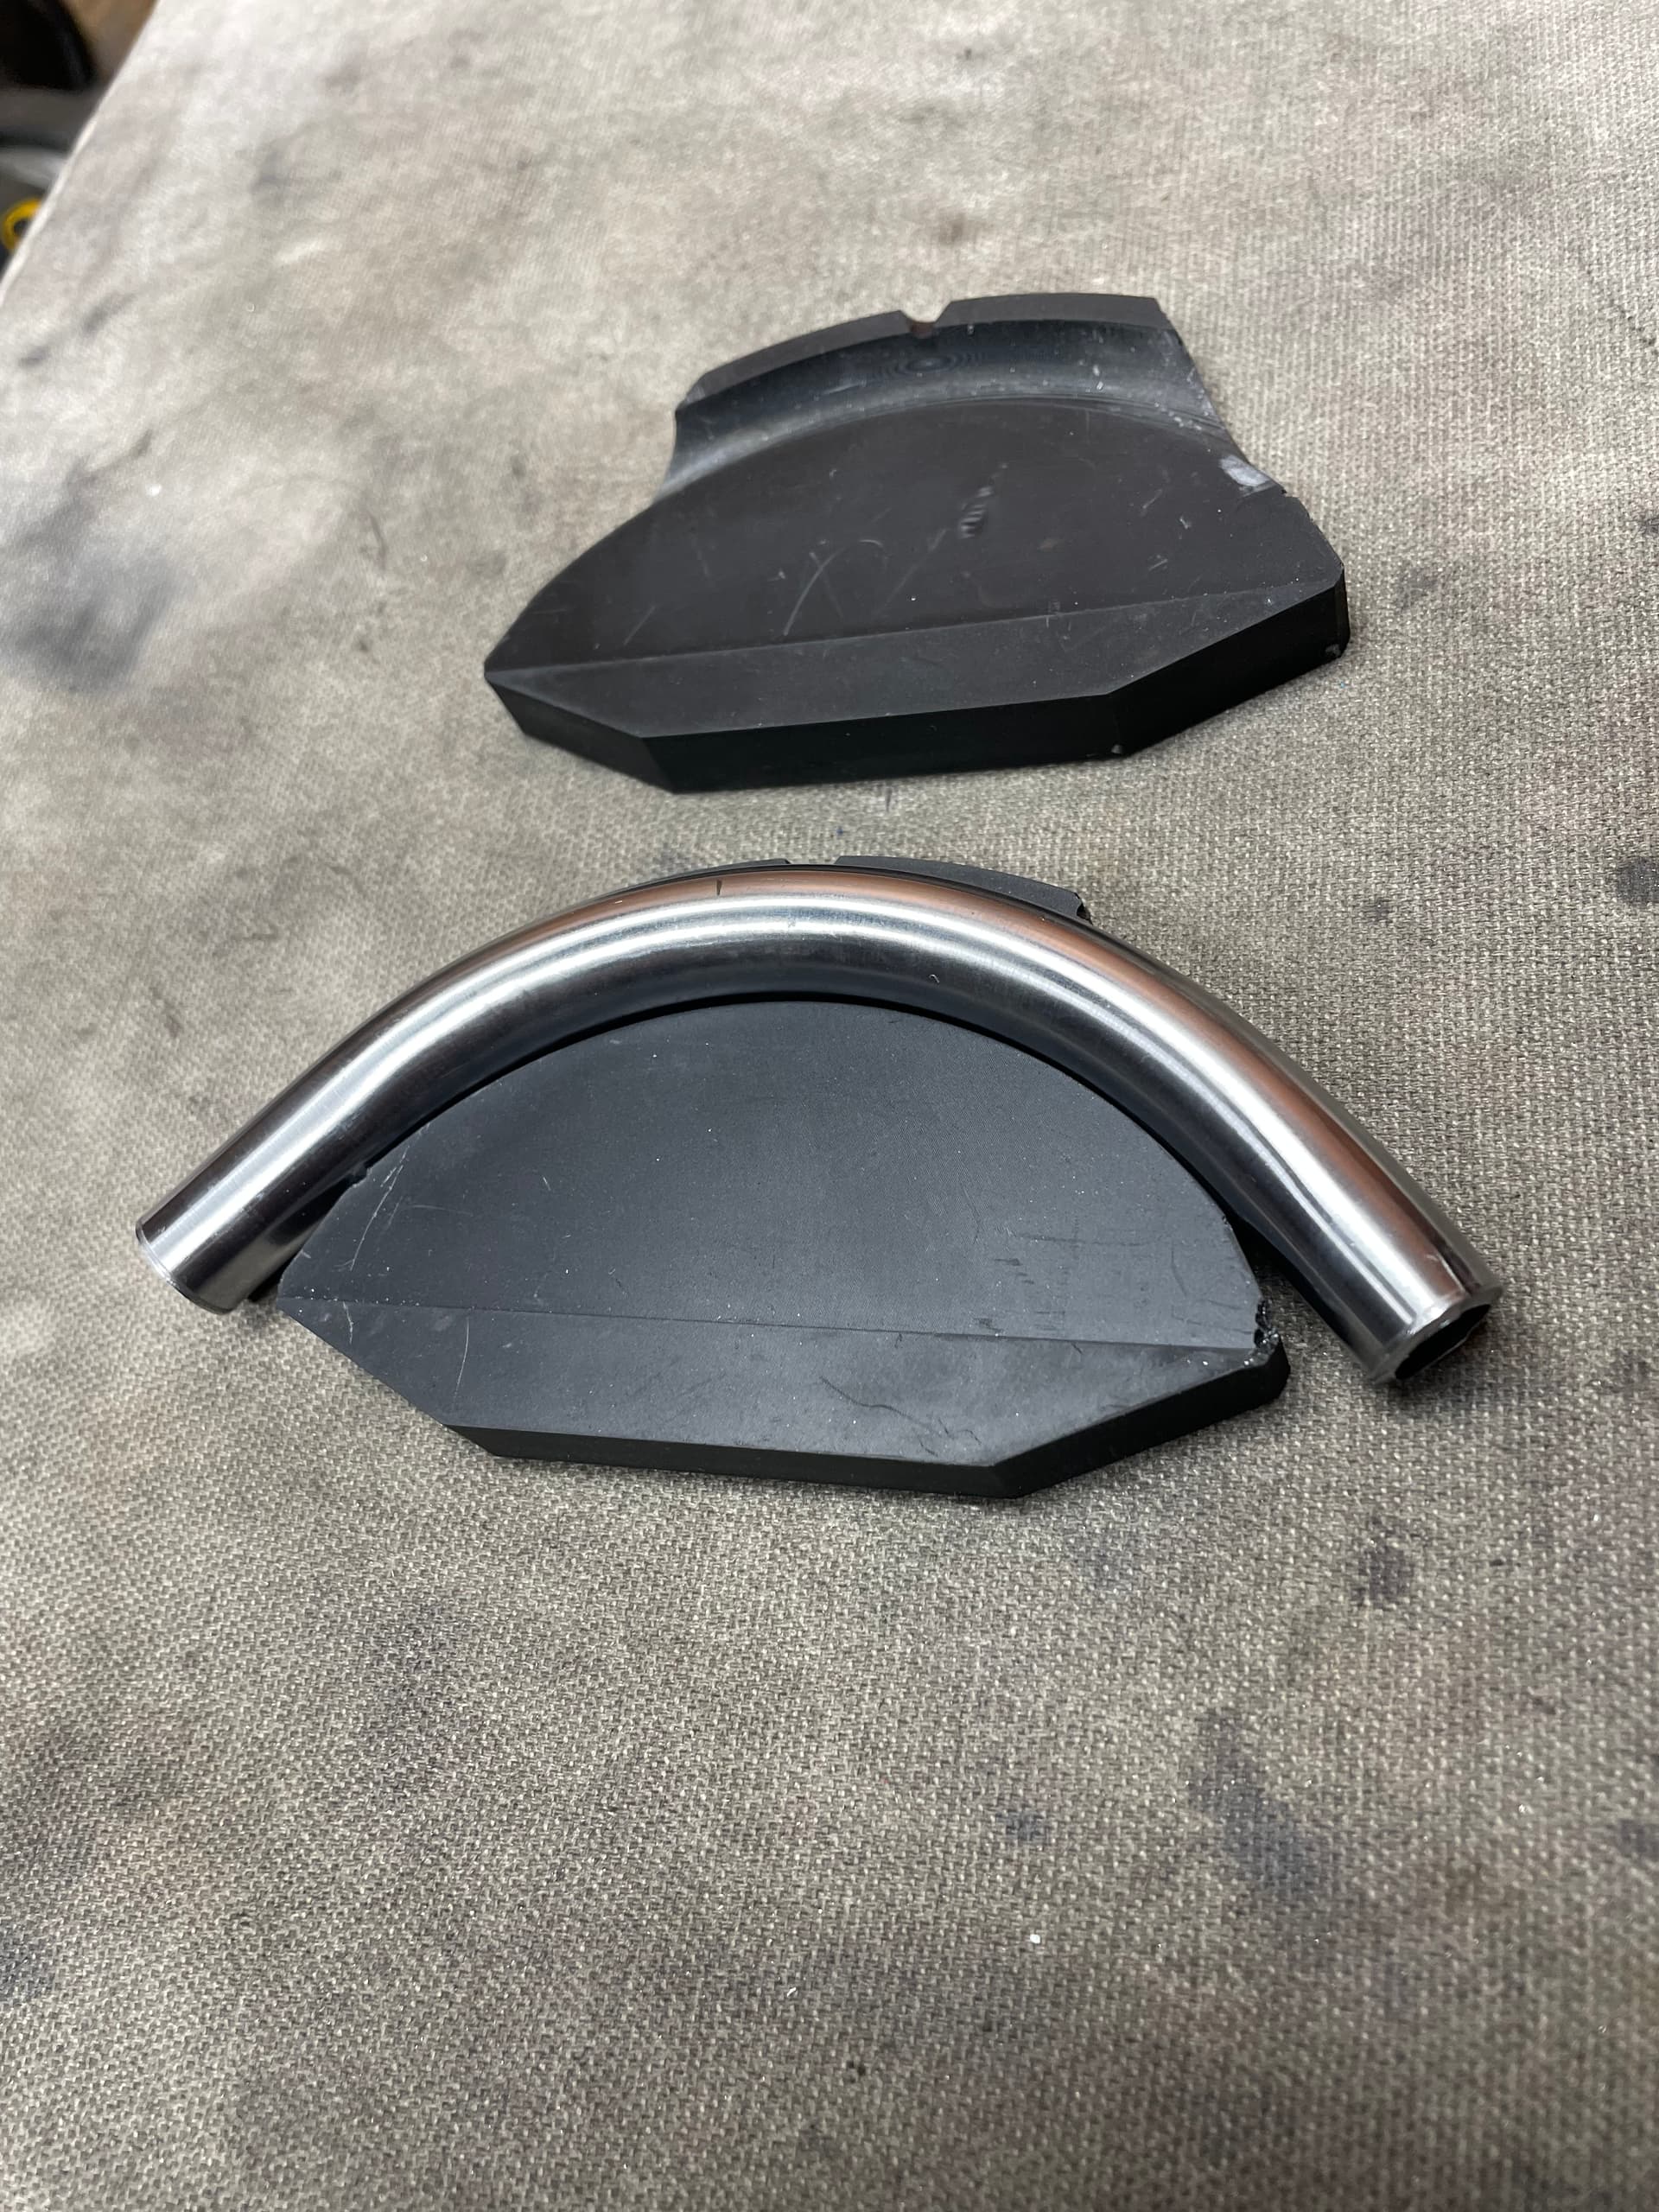
I have some experience using 3D printed parts for bending tubes. I have made purpose-built dies to bend shaped tubing (shown below) and I am working on an FDM 3D printed/laser cut steel, heavily Cobra-and-mattthemaker-inspired bender that will allow me to bend CS and SS material in tandem. I’ll post pics of this when it is finished, hopefully in a few days.
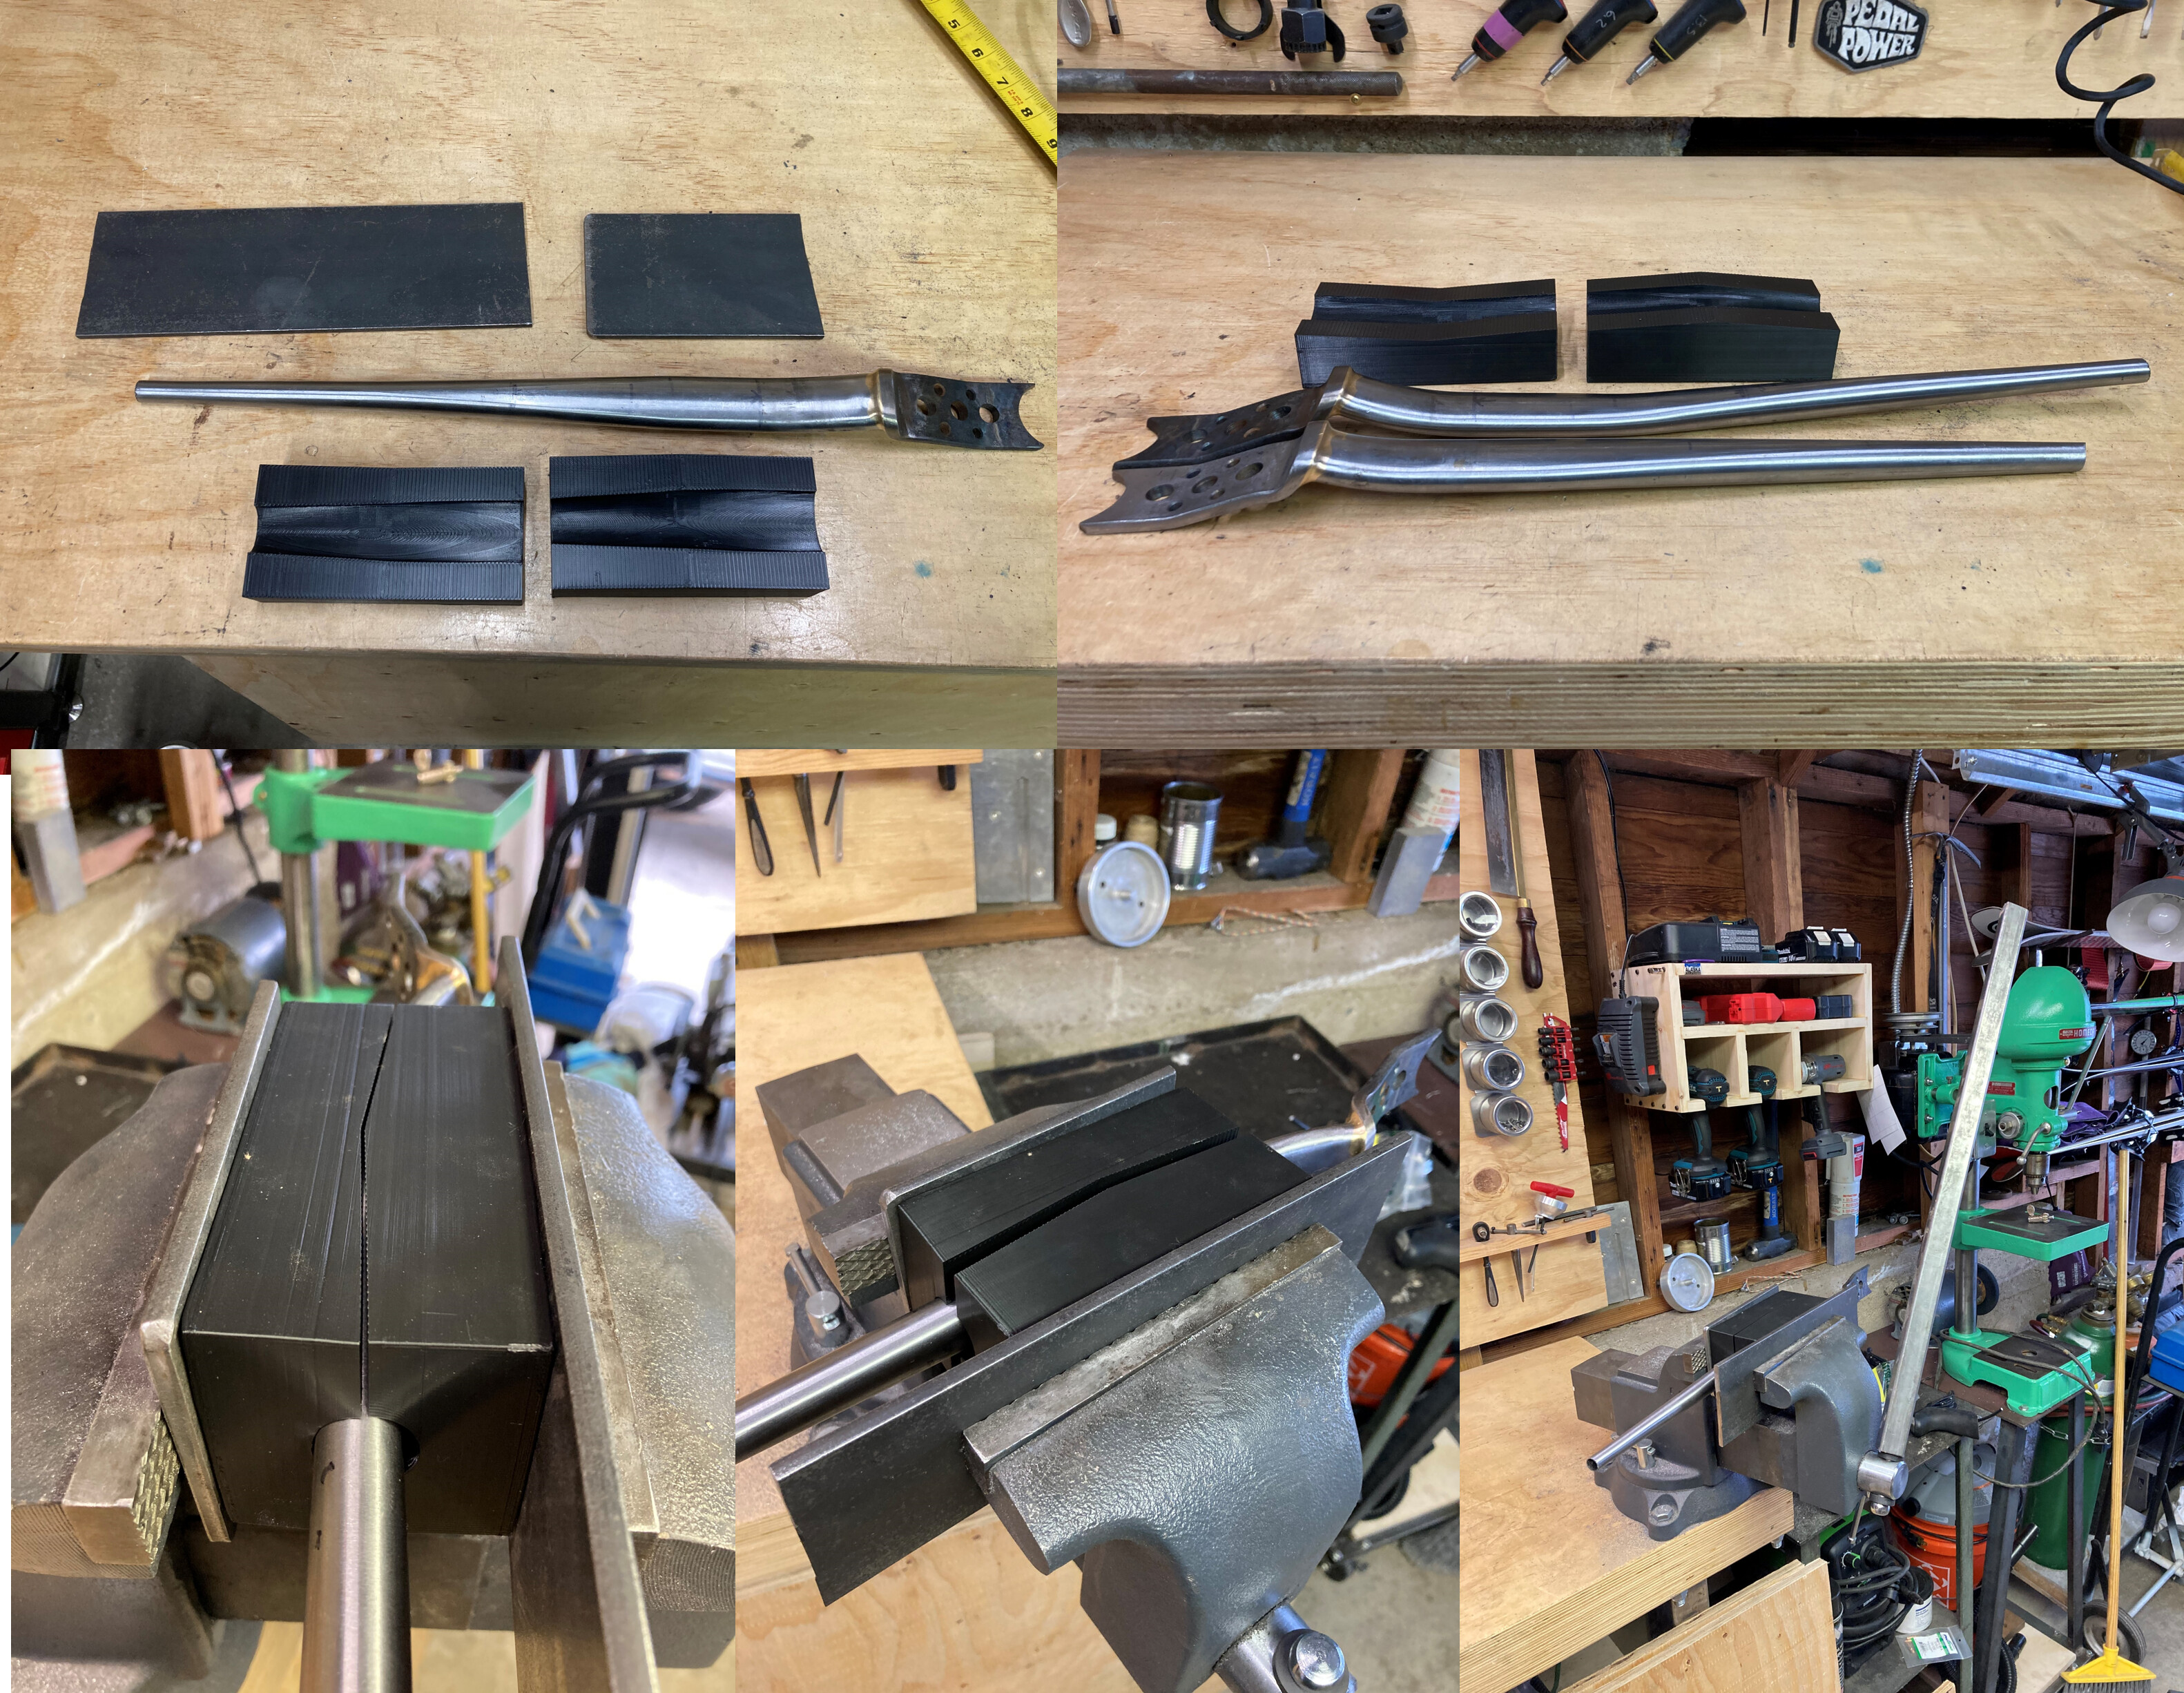
I needed to bend a tapered CS at one point, so I made the following 3D printed “dies” that were sandwiched in steel plates and squashed in a vise. This worked for the single small bend I was trying to achieve, but would likely not work for any larger bends or too many more bends, as the forces seen at the ends of the die are large compared to the resilience of PLA. I made the CAD designs in Solidworks, I sliced the .stl’s in PrusaSlicer to have 6 vertical shells and a triangle infill (the strongest shape IMO) of 80%, and I printed the parts on my older Creality Ender 3 with black 1.75mm eSUN PLA+.
very cool! Was this a straight chainstay that you were able to add the bend to? If so, that is very impressive. As far as I can tell, the surfaces look great. Definitely post on your progress.
Tapered stays look really cool, but the default bends suck for through axles. Being able to tweak the bends could unlock those chainstays.
I think it’s possible to use numerical modeling to predict the optimal surface geometry of a bend and dimple. This could result in easier bends, less fatigued material, tighter radii, and the ability to “two in one” bend and dimple for tire clearances.
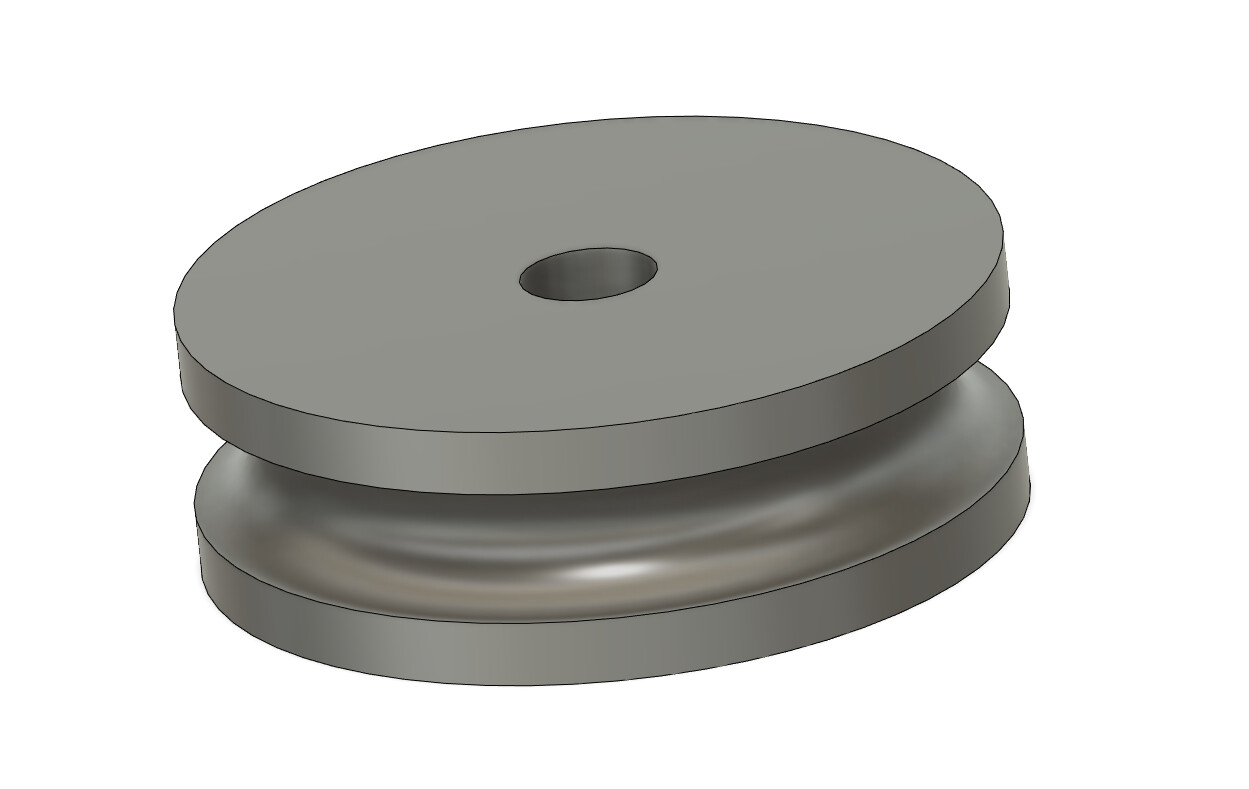
If you look at square tube bends, the material always dimples itself in a very predictable manner. The material on the inside radius needs somewhere to go:
Thanks! These stays are Zero Uno Fat Bike Stays which are single bend stays. This bend was added in the straight section and, with the addition of my plate yoke, essentially made them into slight-S-bend stays. This was my first bike and I’ve since refined my aesthetics - drillium plate yokes don’t quite make the cut anymore. It’s a little hard to tell because the bend is slight, but the upper right photo is a before/after of sorts, where the upper stay is bent and the lower is not.
Wow, that is a really good idea. You could 3D print prototypes in PLA. When you know the design geometry is good, you can 3D print a negative mold and cast it in urethane:
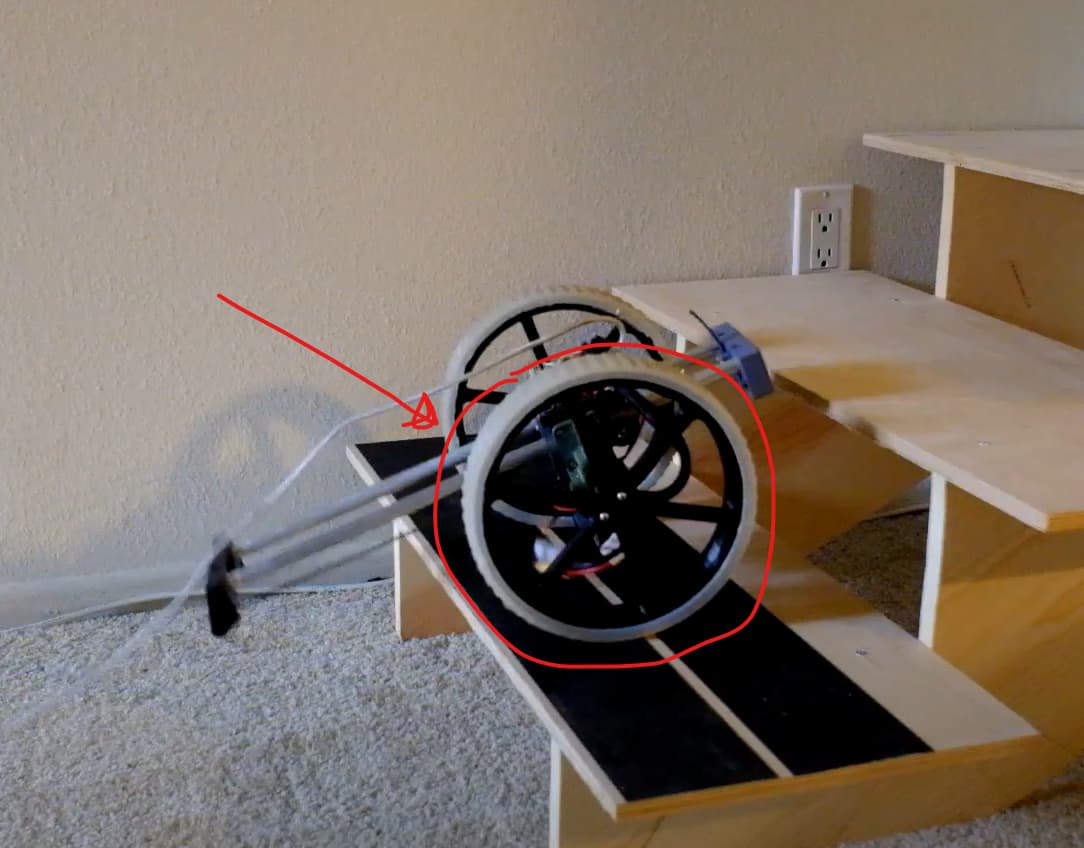
I have had really good luck 3D printing molds to cast silicone robot treads:
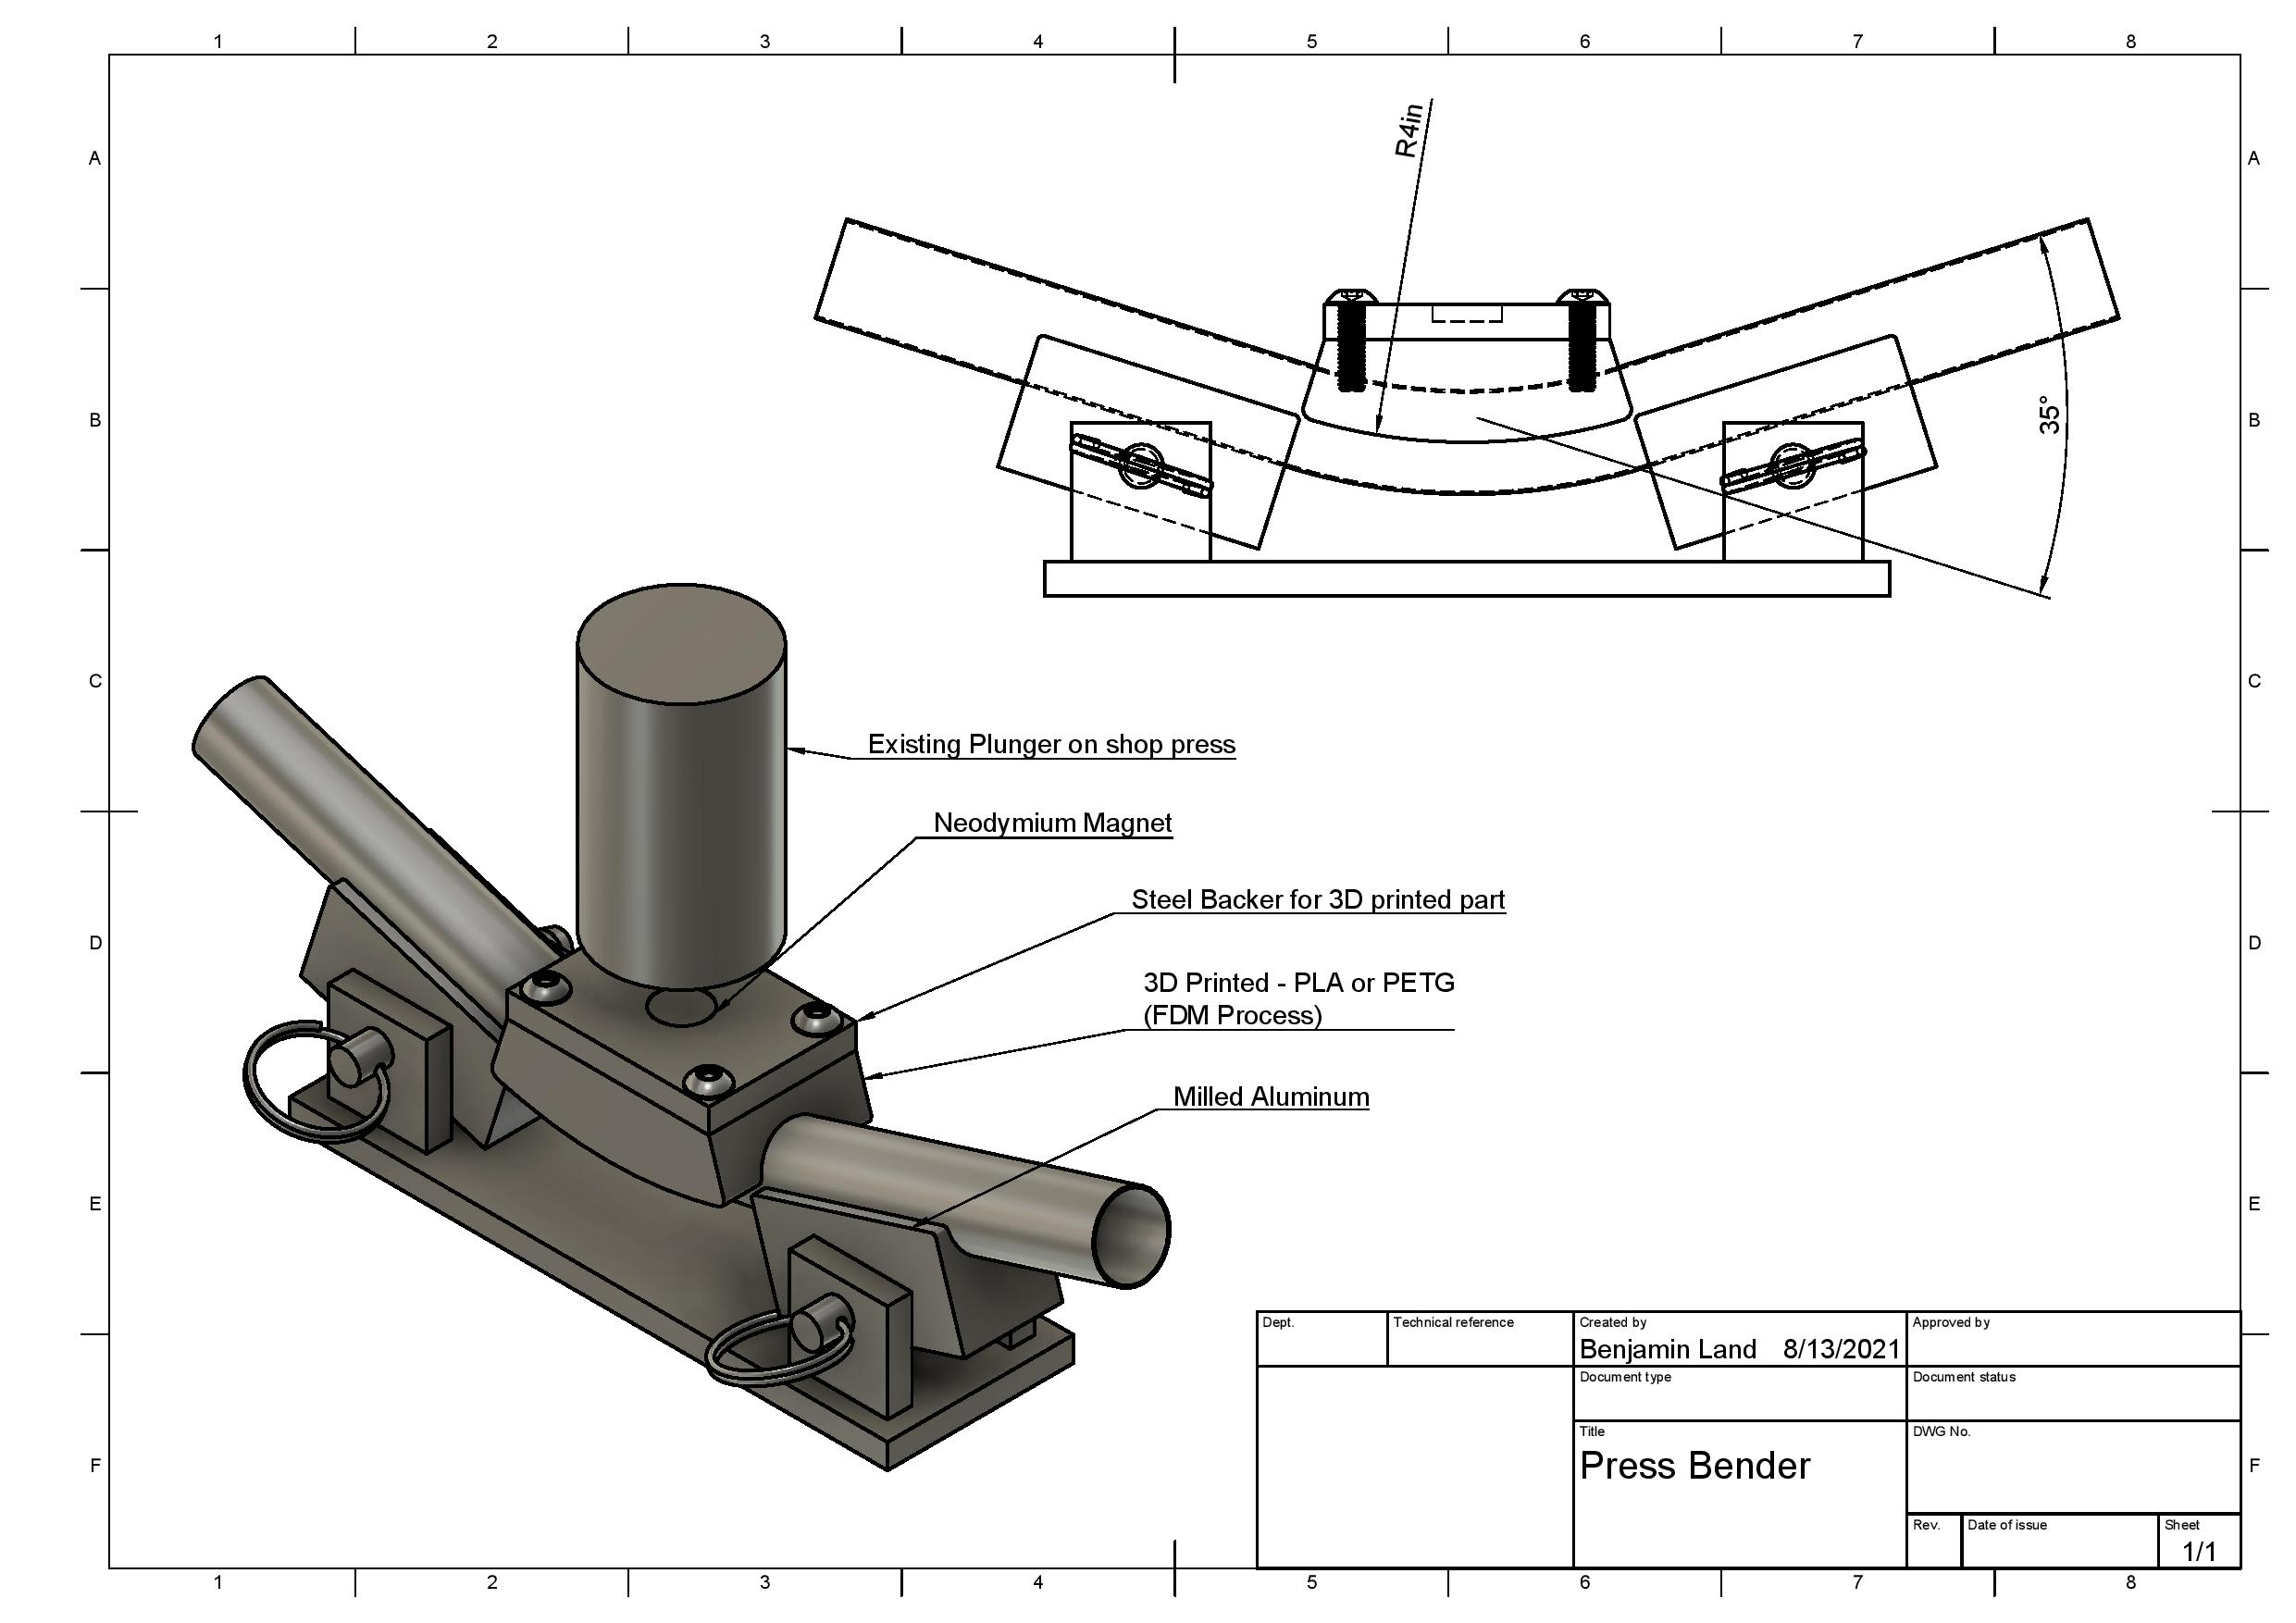
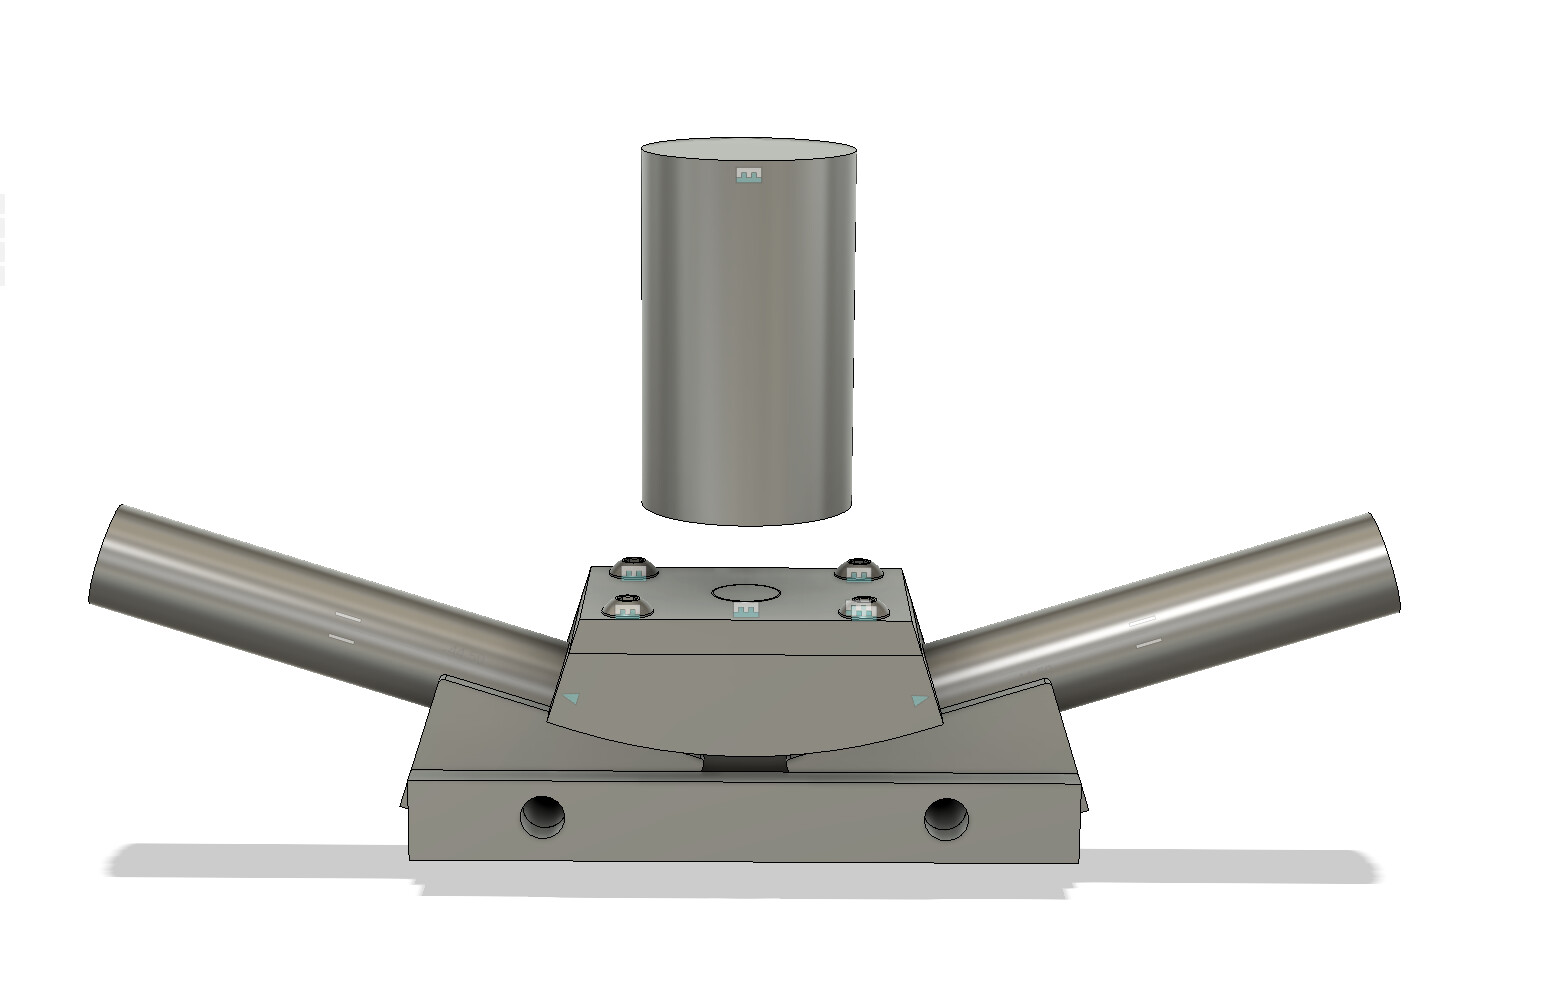
Figured I’ll go ahead and drop this here. I modeled this a long time ago, but I haven’t had the chance to try it out yet. But, I just ordered myself a 3D printer yesterday, so this project is officially a go now. This model is still a bit rough, but it gets the idea across. I’m figuring somewhere around a 30 degree bend is the highest bend most builders will need on CS/SS.
In the model, I note the ‘straight’ dies will be aluminum (which is an option), since that can be machined manually pretty easily. The curved die is the tricky part. That’s where I’m hoping FDM 3d printing will come to the rescue. If I can get it to work reliably I’m hoping it can be a good option for those starting out in framebuilding.
Maybe it’ll work? the question is of course if the plastic will be strong enough. Here in a week or so when my printer gets here I’ll start playing around and seeing what happens.
Print orientation is always important with FDM. The curved die has a big point load when the bend is first starting. I would experiment with printing it in a couple of different orienations if you have problems with the die cracking along the layer lines.
I also really like using some of the chopped carbon fiber filaments for projects like this. Color Fabb CF20 has been great and helps with warping problems
I agree, I think the press dies have the best chance for success but it’s important to remember, when bending or forming a tube material moves and the material used in bikes tends to be fairly robust. It will likely force a failure in the printed parts of adequate backing support is not provided.
Cobra Joe tried to push the toob bender past 38.1 on a 9” clr and had a machined aluminum die blow out the wall.
I shattered a printed tube holder mitering with a roughing end mill when it caught the tube. That was partially supported by the mill vice.
Mild Success. (very mild, like, the tomato puree they bring you at the Mexican restaurant if you ask for mild)
It went better than I thought, and I have some obvious tweaks that should help on the next print. That, and you all have given me a good bit of other ideas if I start getting desperate. haha
Pretty good result for a first design! That could easily put the tiny 3-5deg bended needed for thru axle road bikes. I think if you fattened up the parts it would be strong enough. When I design for plastic 3DP I just make everything extra fat.
Do you remember which setting you printed the dies with?
Interesting that the swivel support failed, but I think you are right. The hex key corner was probably bearing on the inside edge and you ended up with high stress along that edge. Round pins would probably go a long way to help with that. Aluminum dies would obviously help too, but it would be nice to stick with all 3D printed dies.
Other suggestion - Space the swivel supports wider, but this will introduce other limitations. It would reduce the minimum distance between bends, and the swivels would need to be higher above the base for larger bends.
I would say it’s better than the mild salsa at your standard Mexican restaurant. A high quality mild salsa success.
I used Cura, their ‘generic’ PETG profile. %50 tri-hexagon infill (complete guess on the infill type, I didn’t put much thought into it), and then 4 perimeters and 6 layers top/bottom thickness were the only things I changed, I believe.
I actually got a pretty nice idea from the Youtube comments, Using a steel backer for the two outer dies also. That way the bearing surface can be a simple metal bushing or similar. I may try that next.
I forgot to mention in the video, as it sits right now it’s a 4.5"CLR. I chose that at somewhat random, but also smaller CLR bends are a bit easier to design around most of the time. Increasing that is of course also an option if needed!
Success this time. Was able to achieve a bend ‘good-enough’ for use on a bike. ish.
I got about 12 degrees on 3/4"x0.035" tube. Still 4.5"CLR. Slight wrinkling on the inside of the bend though.
Still more stuff to improve, I’m going to spend some time cleaning up the model and then publish it all in one go with 3D files and such.