Best Practices: Fillet Brazing

There are a lot of people building fillet brazed bikes here, and I think it would be a good exercise to combine our knowledge and create a master document for the “new brazer”

Everything this person could want to know is already online, but finding it takes a lot of searching and weeding through bad and idiosyncratic info. I think it would be good to have a set of best practices in one place and that having it here would add to the value to the forum.

Masters like David Kirk and others have answered all possible questions on other forum sites, and Paul Brodie has made some really amazing videos on YouTube, but I would like to see if we can come up with a list of best practices that has all the information in one place.

I’ve started a bare bones outline below. Feel feee to add to it and expand upon subjects of your interest. Cite sources, if possible. I imagine this could be messy but I’ll try and make sense of it if other people contribute and it seems like we are getting somewhere.

@Daniel_Y, if you have a better idea of how to consolidate and present this info, please chime in.

Tools and Materials: Oxy-acetylene, Oxy-propane, Regulators, Paste flux, Inline gas flux, hoses, fittings, filler metals, heat sinks,

Preparation and startup: Metal cleaning, safety measures. Leak testing, setting regulators,

Brazing: Preheating, tinning, tacking, brazing sequences, material thicknesses,

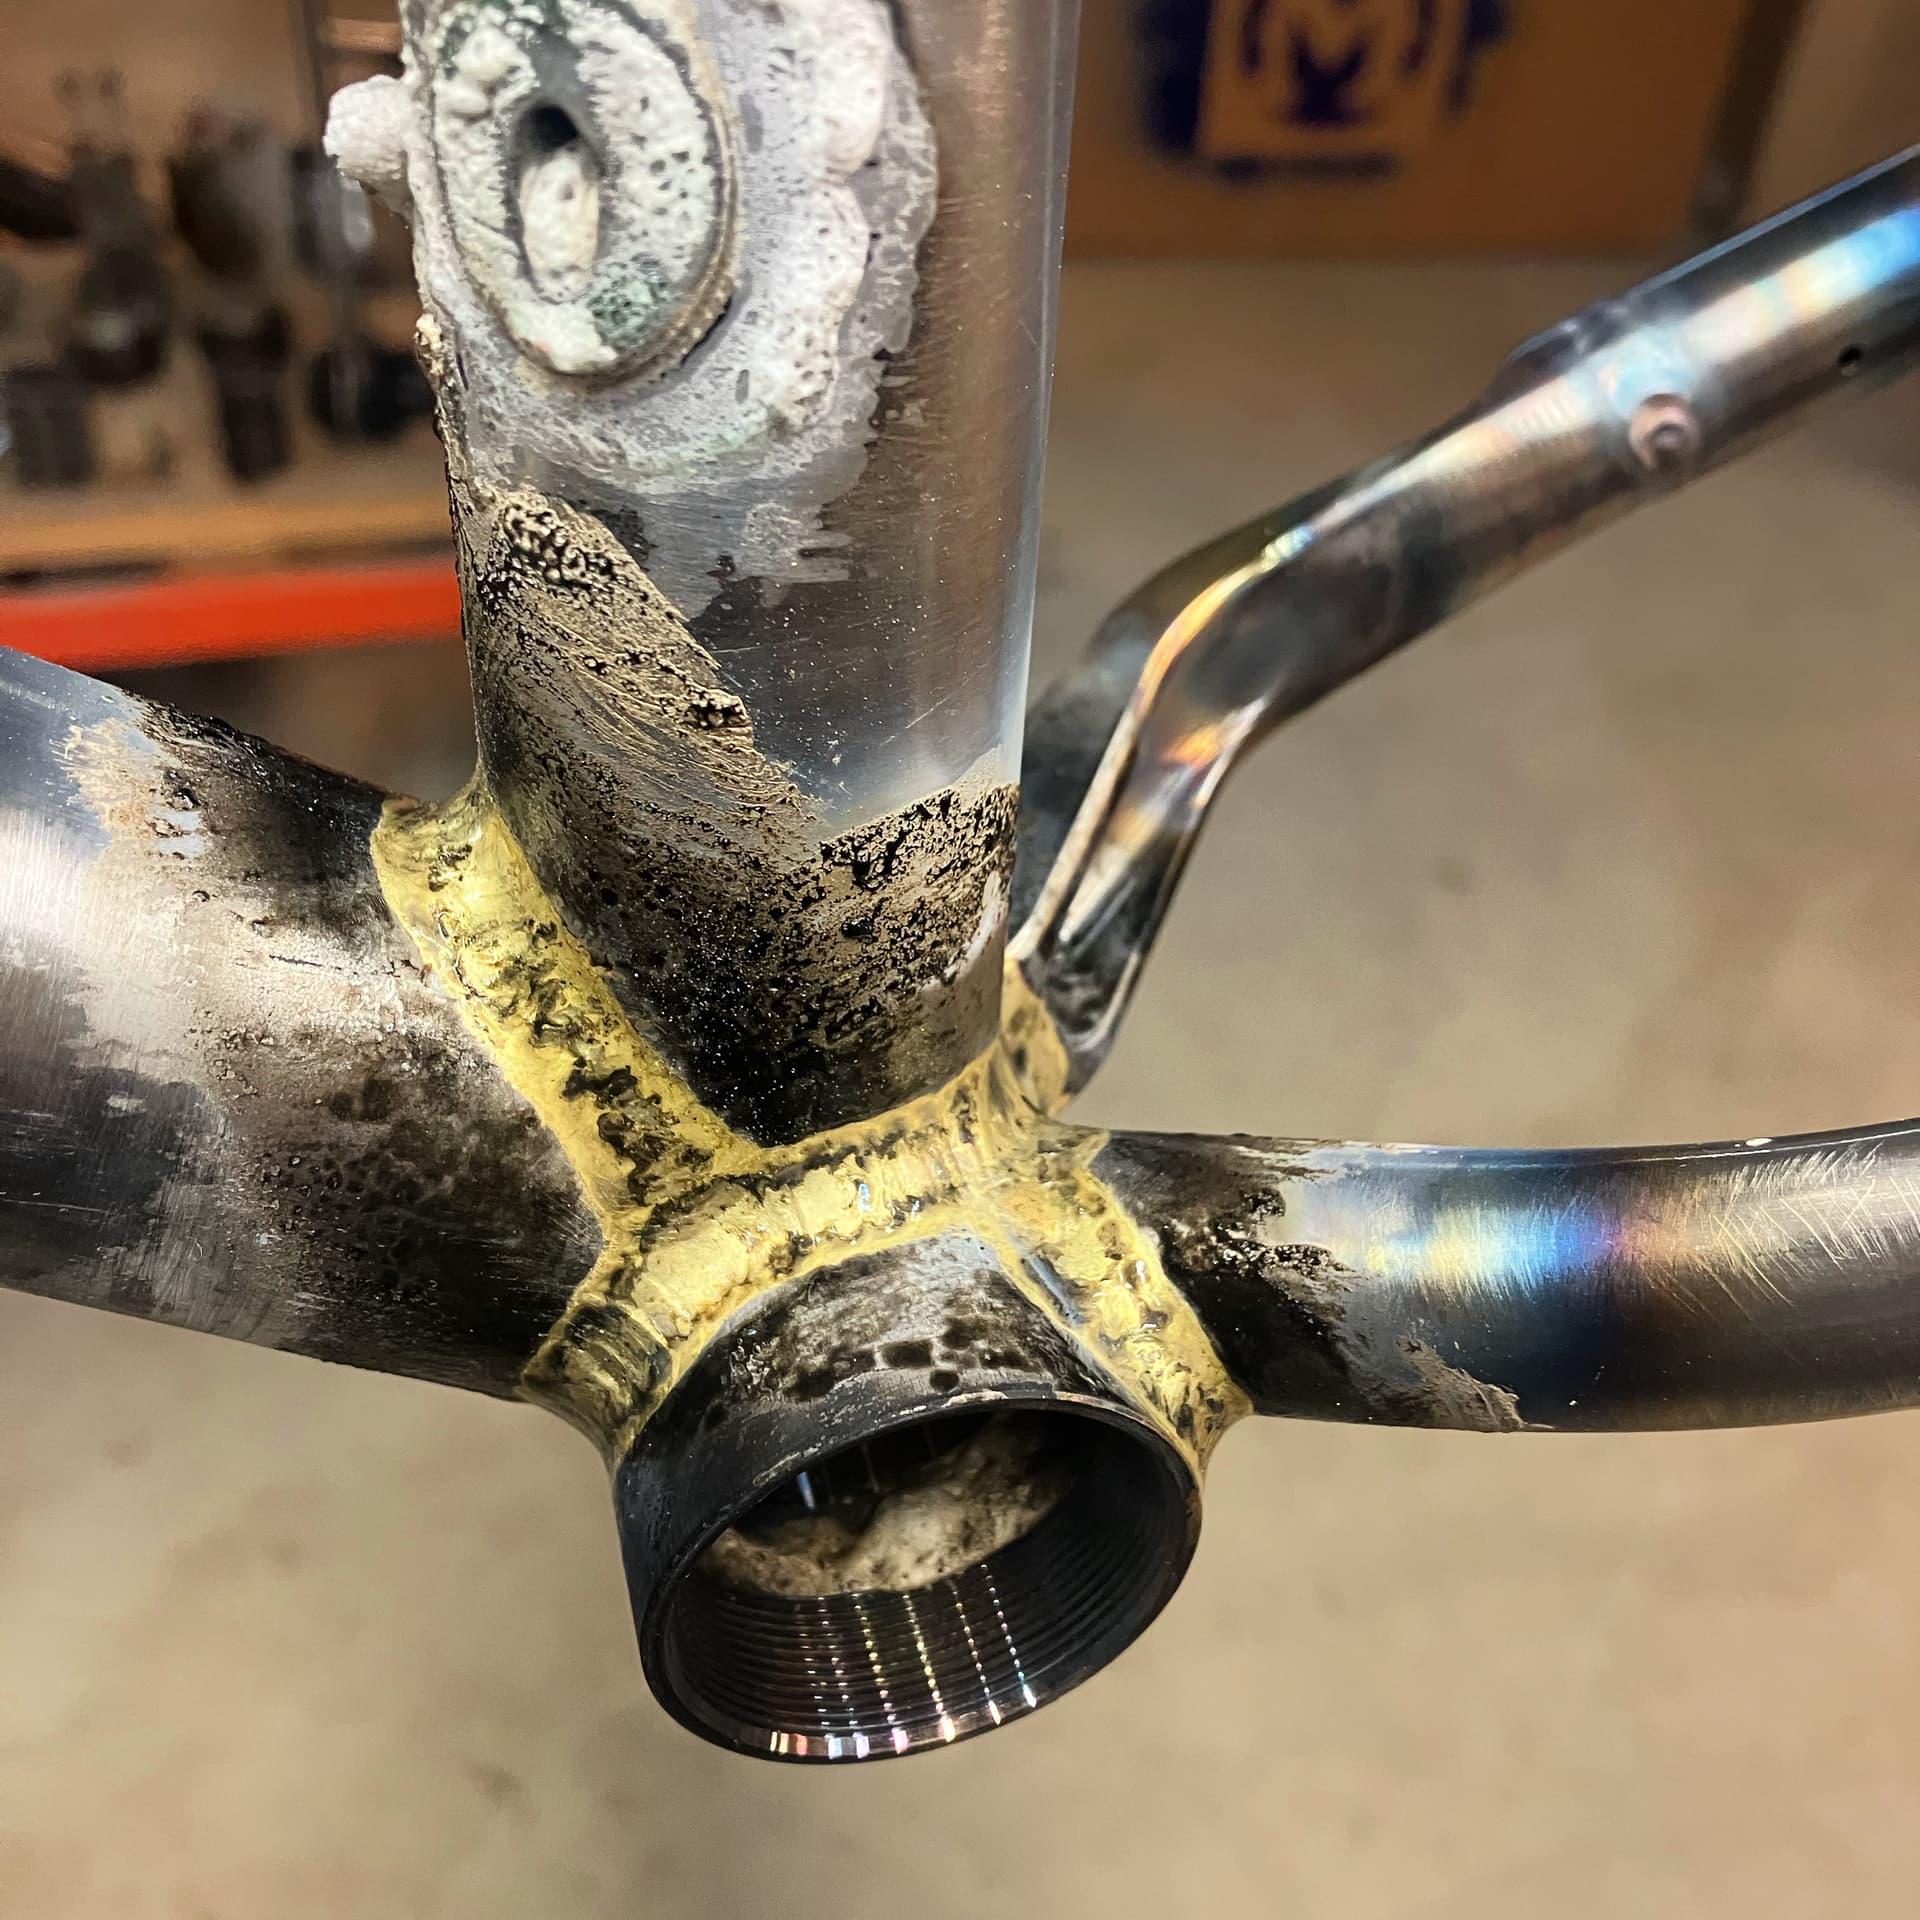
Troubleshooting: porosity, distortion,

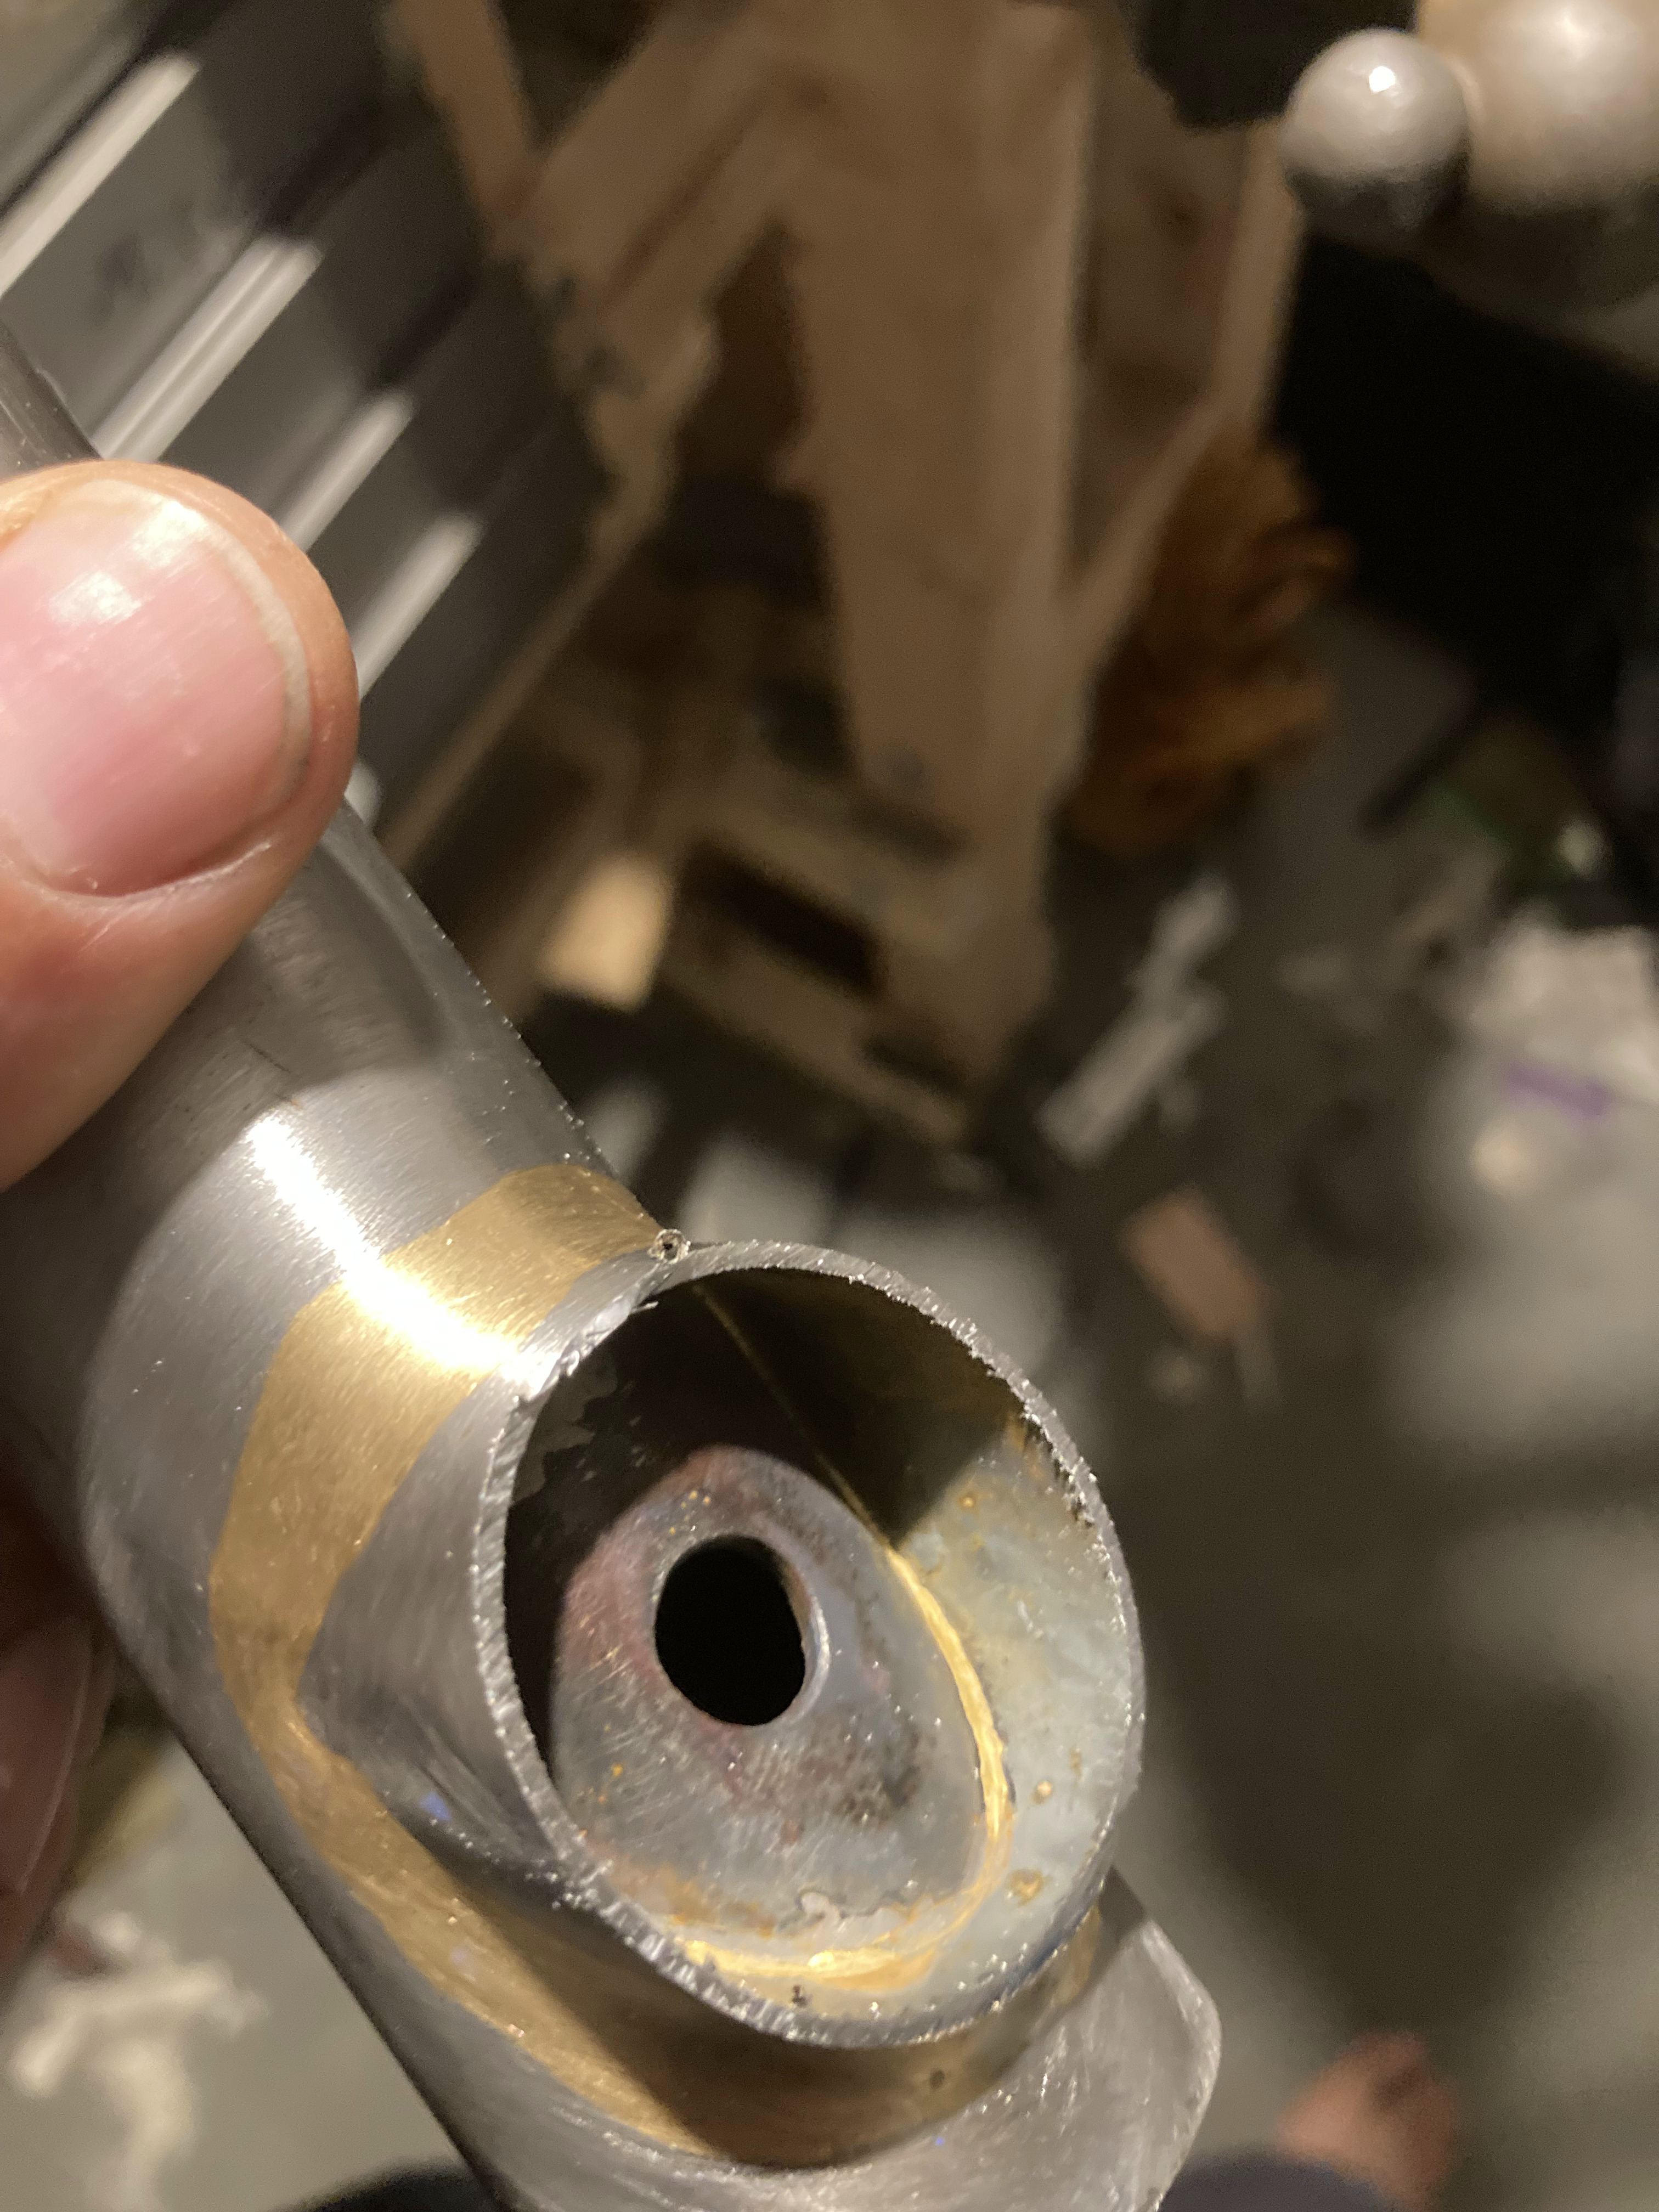
Post braze: line purging, regulators, flux removal, fillet filing,

6 Likes

@anon68659156 Great idea! I have zero experience with fillet brazing, so feel free to take the wheel. I can help organize the information.

Maybe a good start would be to compile the existing information.

2 Likes

@anon68659156 - cool idea! I feel like I could both add to the conversation and learn from it. We are all at some place on the spectrum of beginner to master, and even the masters are probably trying to improve their brazing every single time they pick up the torch.

One thing on your list jumped out at me: heat sinks. I don’t think heat sinks are useful for brazing. This was until recently just a gut feeling, but was reinforced recently when I heard Rob English’s interview on “Shut Up and Build Bikes.” A heat sink pulls heat away from the area you are trying to heat. It seems to be an important tool for TIG welding because of the extremely localized application of intense heat.

A topic I’m interested in is the formation of scale during brazing: how to avoid it and the best ways to clean it up afterwards.

In addition to where to set your gas levels at the regulator, I’d include a description of the flame size/sound for different tasks like silver brazing a bottle boss vs fillet brazing a frame joint. Going over definitions of oxidizing/carburizing/neutral flame and the look/sound of each would be super helpful.

I’d add alignment to your list, specifically how to correct alignment with heat and filler.

I’d also be interested in gear: specific brands/models of torch, tips, hoses that folks like.

3 Likes

@scharencycles Excellent! We are getting off to a good start already!

Heatsinks, as used for tig welding, are absolutely counter productive for fillet brazing. Extremely localized heat isn’t an oxy-fuel torch problem and a cold chunk of metal is going to warm up and pull heat away from where you want it. I also think that they are unnecessary for someone like Rob English, who has a lot of experience and can complete a joint without creating distortion through uneven heating.

I read all the same conventional wisdom when I was starting out and wholeheartedly believed in it. I was doing everything without a heat sink, and having distortion in the heatdube and seat tube, sometimes the BB due to my lack of skill. Another builder I respect told me how valuable they find a seat tube heatsink to be for eliminating distortion and I started thinking about them a lot.

My fixture is essentially one big heatsink: a stainless rod and some cones, I started playing with it, and I noticed that when I left it in the headtube while completing the DT/HT joint (subassembly 1 for me), I needed to spend a lot more time preheating. But, when I did, I was seeing almost no distortion on the inside of the HT.

My hypothesis is this: if you preheat your heatsink along with the tube, it holds the whole assembly at temp better and compensates for uneven heating.

I come in with a huge flame to preheat everything and then turn down when the flux tells me that I’m ready to braze.

I like your suggestions, I will spend some time on flame types next

1 Like

I feel like I’ve tried every trick in the book at this point and still have tons to learn.

Here are some random tips:

  1. A gas fluxer isn’t necessary to make smooth flowy fillets or even TIG style dimes, that’s all in your technique. It’s really best for tacking the frame and doing some small braze-ons without flux. Don’t think you need a gas fluxer to improve your fillets. You just need more guidance and practice.

  2. For a while I used to tin my front triangle together in the frame jig. Now I just apply tacks. I found that adding all that heat for tinning increased distortion, especially at the head tube. Crank your flame and apply tacks really fast. Dave Bohm taught me to count to 8. If the joint wasn’t hot enough to lay a tack my torch was too cool.

  3. I don’t spend a lot of time pre-heating a joint. Again, the more heat sunk into the joint the more chance for distortion. When starting a joint, get your flame in real tight and point it more on the thicker tube. Dab your filler in when it’s come to temp then move the flame away from the joint. Wait for the filler to solidify (you can usually count to two) then move the torch back in slightly overlapping the solid filler. Get it to temp, dab the filler, then get out. It’s kind of like the TIG pulse setting: Apply heat, dab, turn off heat.

  4. The TIG stack of dimes raw fillet look seems to be popular right now. I get it. It saves a ton of work cleaning up the fillets to make them smooth. BUT if your fillet has a thick edge beware that you’re creating potential stress risers. Several years ago a friend requested that I leave the fillets raw on his hardtail. After a year or so of riding, he took the bike off a small drop and either the top tube or the down tube (not sure which) cracked right at the fillet edge causing the whole head tube to pop off! Luckily he walked away with only some bruises. The fillet joints were perfectly intact. It was a tube failure. I can’t say for certain whether it was an imperfection in the tube or a stress riser from the fillet edge that caused the tube to crack. But I always file my fillets with a smooth transition to the tube to be safe.

8 Likes

Super interested in this as well as I currently build with lugs but would like to move into fillets.

That is what I think of when I think of a good fillet!!

1 Like

Hello guys, thank you for the initiative. I’m planning to get into fillet brazing next year, after learning some TIG welding aluminium at Work. The information you are planning to gather will be perfect for newbies like me.

What I haven’t been able to find is information on what filler material to use: brass, bronze, silver or nickel silver. What are the advantages and disadvantages of these fillers, when do you use them for what (main triangle vs stays, stainless steel vs ChrMo etc), what temperature (indicators) to look out for, what type and size of flame, some things to keep in mind, etc.

Greetings from Germany!

1 Like

I’m not sure what’s available in Germany, but in the US we usually use 1/16" or 3/32" nickel bronze for steel-to-steel fillets. For stainless steel, you’ll need a silver alloy, like fillet pro. Both fillers require their own paste fluxes.

You’ll want a neutral flame. You adjust the flame size depending on the joint you’re brazing. For instance, the seat stay to seat tube joints don’t need a powerful flame because the stays are usually really thin. But you’ll usually need a bigger flame at the dropouts because they’re thick. Knowing flame size comes with practice and personal preferences.

If you’re using bronze, as the steel gets to brazing temperature, it turns a little red. If it’s bright red it’s probably too hot. You’ll need to practice keeping the area you’re brazing in that ideal temperature.

I think beginners tend to use a soft flame and spend lots of time pre-heating and getting things up to temperature. This dumps a lot of unnecessary heat in the joint, potentially causing excess distortion. I like to be as quick as possible. Get the torch close, dab the bronze when it’s up to temp, remove the flame, wait for the bronze to solidify, then repeat. It’s very similar to pulse welding.

When you’re working with stainless, it’s a different beast. You wait for the paste flux to get glassy and then apply your filler. If your tubes are glowing red, you’ve made it way too hot. The filler has a much lower melting temperature. I wouldn’t recommend working with stainless until you’re comfortable with regular steel. Things can go wrong a lot faster.

3 Likes

Positioning the joint to fight gravity as little as possible helps a lot, and is a pretty big difference to get used to if you come from a welding background. It usually pays off to stop and change position if you’re starting to braze uphill or downhill.

3 Likes

Question about the tinning pass: my newbie understanding of this is to do this with the goal of attaching the tubes via small internal fillet before going back around on pass #2 to create the fillet on the outside of the tube?

IIRC from watching some of the Paul Brodie videos, he sometimes does this with 3/32 nickel silver and then does the fillet with bronze. Is the idea here that the silver is easy to flow inside?

Is there any special techniques/tips for doing this vs. creating the fillet on the outside? Sounds like from the above, some of you, aside from a tack, just start to create the fillet in one pass?

I have always made a serious effort to lay an internal fillet. In practice, I’ve found I can do this most consistently if I lay a tinning pass. You don’t often get to see how well you do on an actual frame, but here’s a picture of the HT/DT joint from a one that I abandoned. You can see I did not manage to draw bronze into the very bottom of the joint.

I tacked to the top and bottom of the downtube in the fixture and then worked around the joint, focusing the cone on headtube with a small flame very close, trying to get the HT hot enough that bronze will flow inside the joint without overheating the thin parts of the DT miter or the bronze.

When the flux looks right and the HT is just barely beginning to glow I use gravity to draw it around quickly, ensuring that there is enough heat where I want the bronze to go. Since I work in subassemblies, I then remove the DT/HT joint from the fixture and lay the external fillet while it is still hot.

Nickel silver is a misnomer and has no sliver in it. It’s largely copper nickel and zinc, and melts at a higher temp than low fuming bronze. I think he does it for strength.

6 Likes

This is very similar to the technique I have come to use over the years. I agree about the tinning, I think it is good for beginners to insure penetration but with proper technique the brass should be wetting into the joint before you lay your next dab of brass. -Zach

4 Likes

Thanks @anon68659156!

I think I’m going to try to collect and miter some tubing scraps and do a ton of practice so I can observe the results inside the tube until I can do it consistently. The note on gravity is helpful! It’s so easy to work on scraps in my vice where I have access on all for 4 sides and the workpiece is in a fixed position. Will definitely try tacking first so I can move it around and use gravity to my advantage.

2 Likes

I was taught not to heat up joints more than necessary, so I practiced until I could get a nice internal fillet without the tinning pass. When I’m rusty (like right now) I would always do a practice joint or two that I could cut up before working on anything real.

Both methods obviously work, Brodie has built way more bikes that I’ve ever dreamed of. It’s probably partially based on who you learned from.

I also would repair pinholes using 48% silver instead of bronze to avoid heating up the joint again.

2 Likes

Got some SS Dropouts. The problem is that i only have bronze in my shop… is it also possible to braze the dropouts in with bronze? i only know the way with silver.

Brazing stainless is difficult enough with silver. Although bronze will wet stainless steel, I’d avoid it myself. Heating stainless is tricky, and easy to overheat. Silver flows better into tight gaps and requires less heat than bronze.
What dropouts are you using?

1 Like

some track dropouts from ceeway. Okay so maybe i have to buy some silver rod before i braze them in. should i use a different size ore alloy like the rod for braze ons?

In the US, we commonly use 1/16" (1.59mm) filler rod. That works fine for dropouts. When shopping for silver brazing rod, look for something with 40%-45% silver. It doesn’t wet out like the common 56% silver alloys, which makes it easier to fill larger holes.

1 Like

Cycle Design Fillet Pro is great for this!

2 Likes