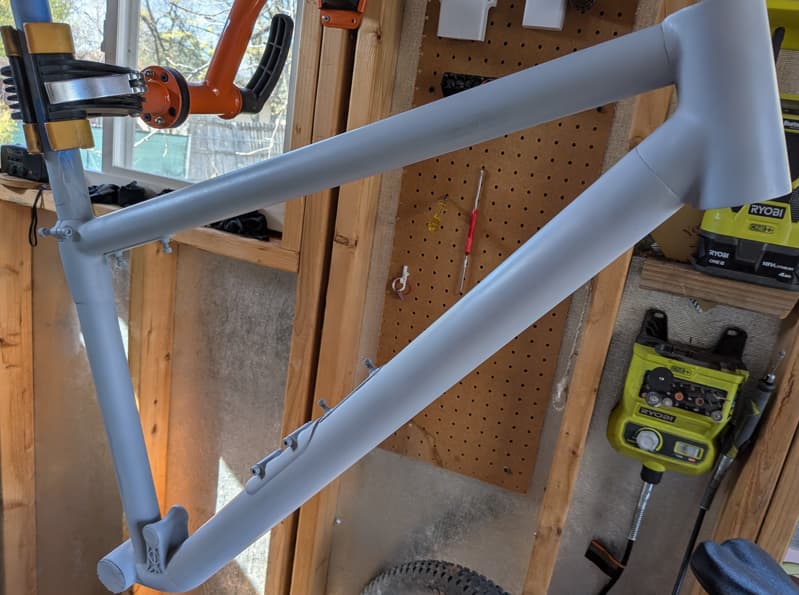
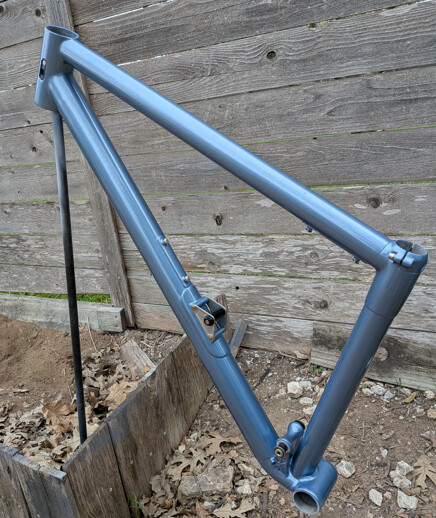
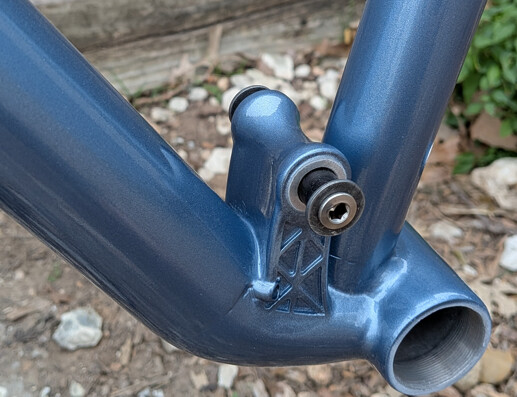
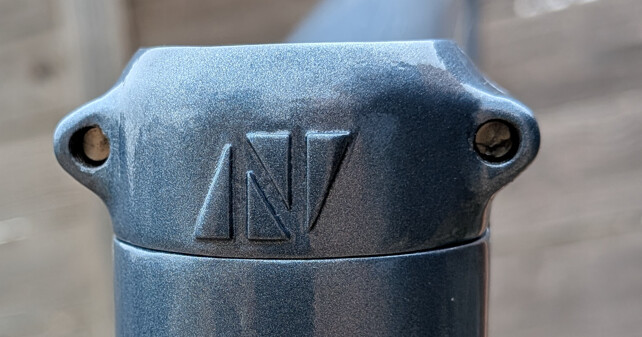
Paint on the front triangle is DONE.
For paint, here is the process I ended up following. I am bad at this, so it took alot more coats and sanding than it should have.
The results are not perfect, but MUCH better than I expected TBH.
- Alodine all the aluminum parts (see earlier post on process)
- Dry sand all carbon tubing with 320 dry, and maroon scotbrite. I OVERSANDED the tubes, and ended up needing to use alot more filler to correct for this… Don’t overdo the sanding on carbon tubing.
- Prime with Epoxy (2k) all over (spraymax 368 0032). This may have been pointless. I basically sanded 90% of it back off, because I am bad at this and should have used glaze/putty first on some sections. If I did this again I’d likely just go straight for the filler primer I ended up with later.
- Glaze/putty (3M Bondo 0907, 1 part stuff). Used this to fix all sorts of imperfections. 95% sanded back off, but thats the point. Very Easy to use. Just glob it on there and sand back.
- Primer - 2 coats of filler/primer (Rustoleum 2-in1 automotive primer/filler) Sanding heavily between.
- Wet sand 320>400>600>800 grit
- Topcoat with 1-stage 2k epoxy automotive color matched paint (Spraymax 368 0080 matched to GM Light Blue Metallic). This stuff is THIN. I had to use WAY too much to ensure coverage over some areas I sanded too deep through the last primer on. If using this paint, get the primer all 1 color before paint and use a light colored primer.
Now I just have to make a rear triangle. I’ll hopefully print the Ti lugs for the rear end in the next few weeks, and have thing thing all bolted together in a couple of months.